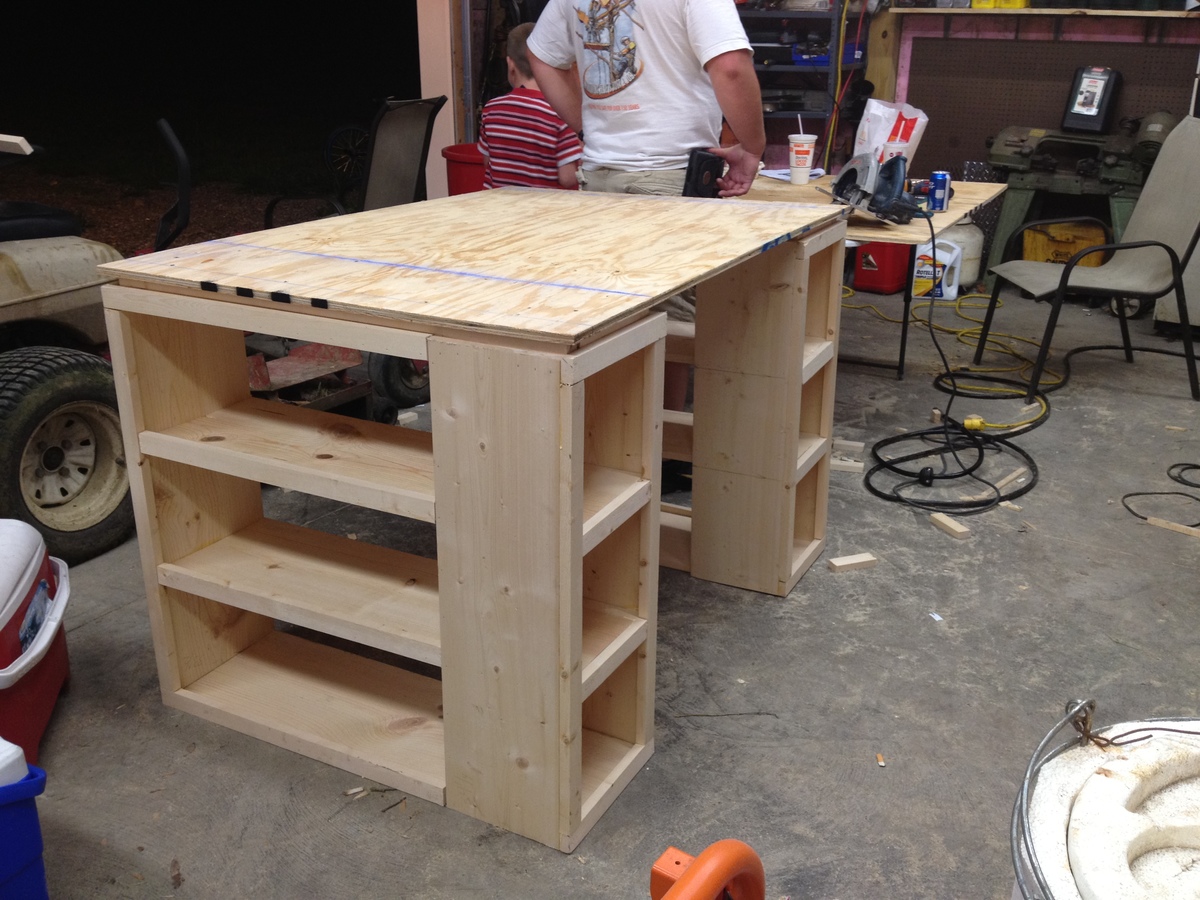
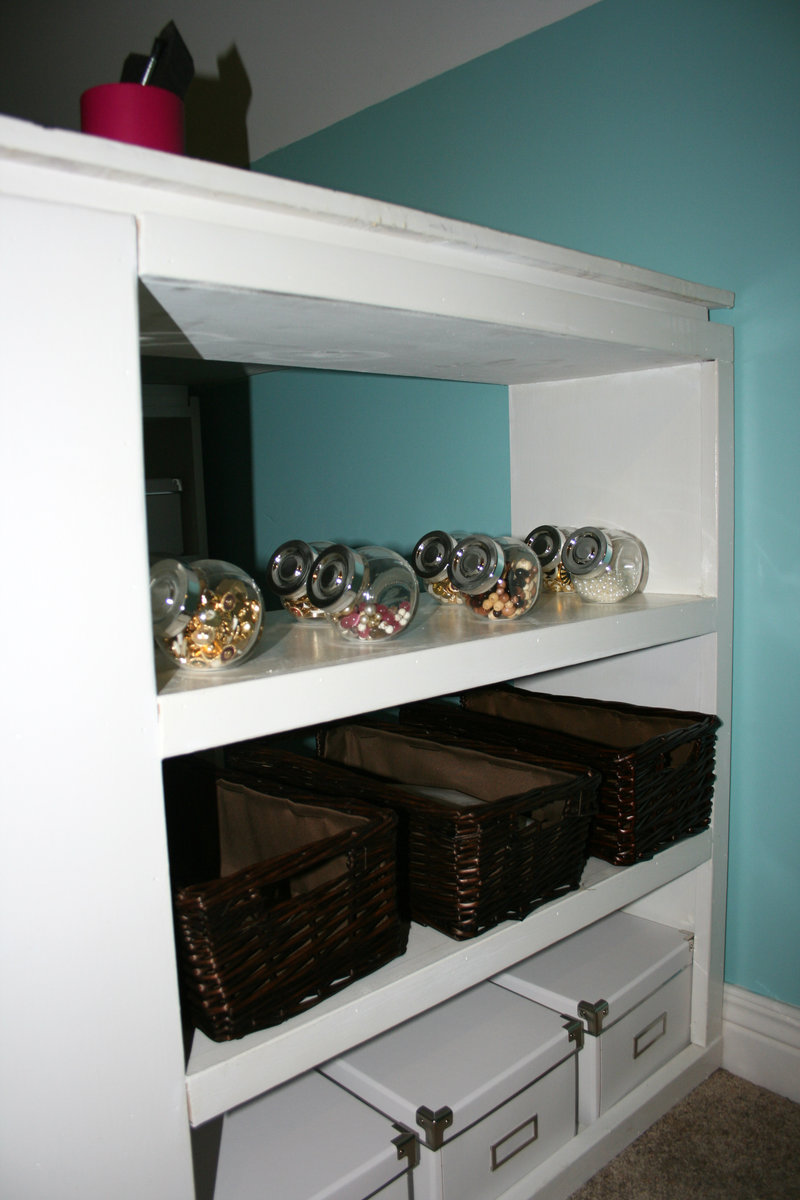
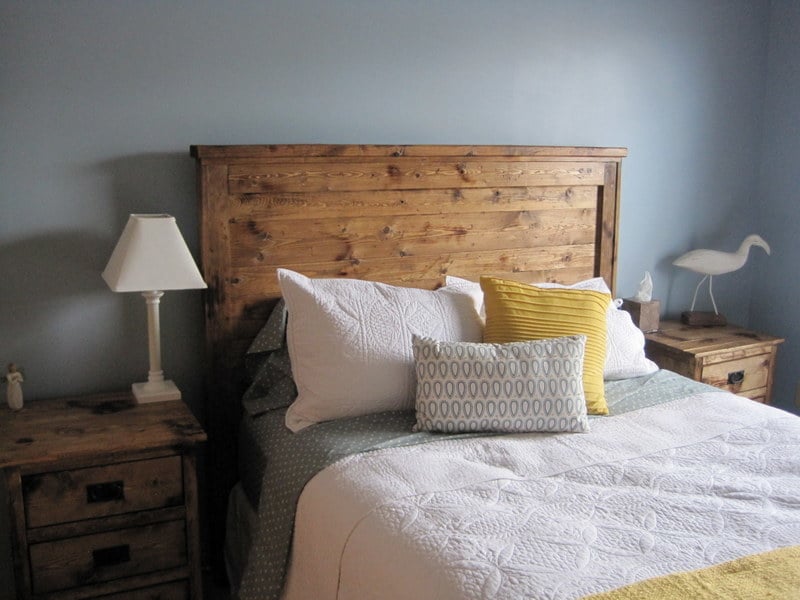
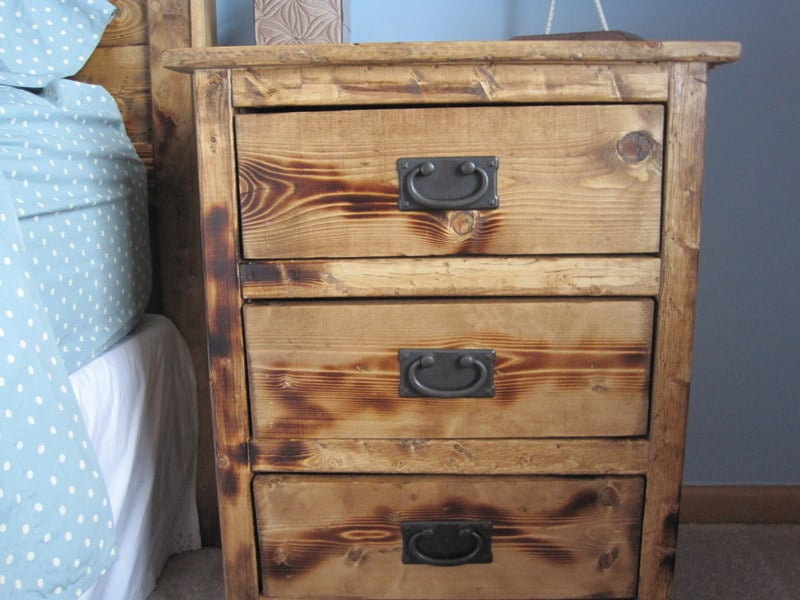
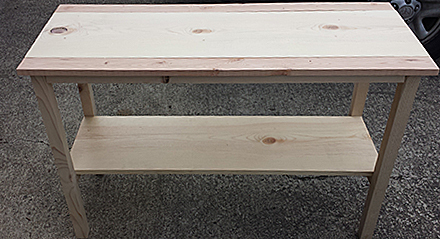
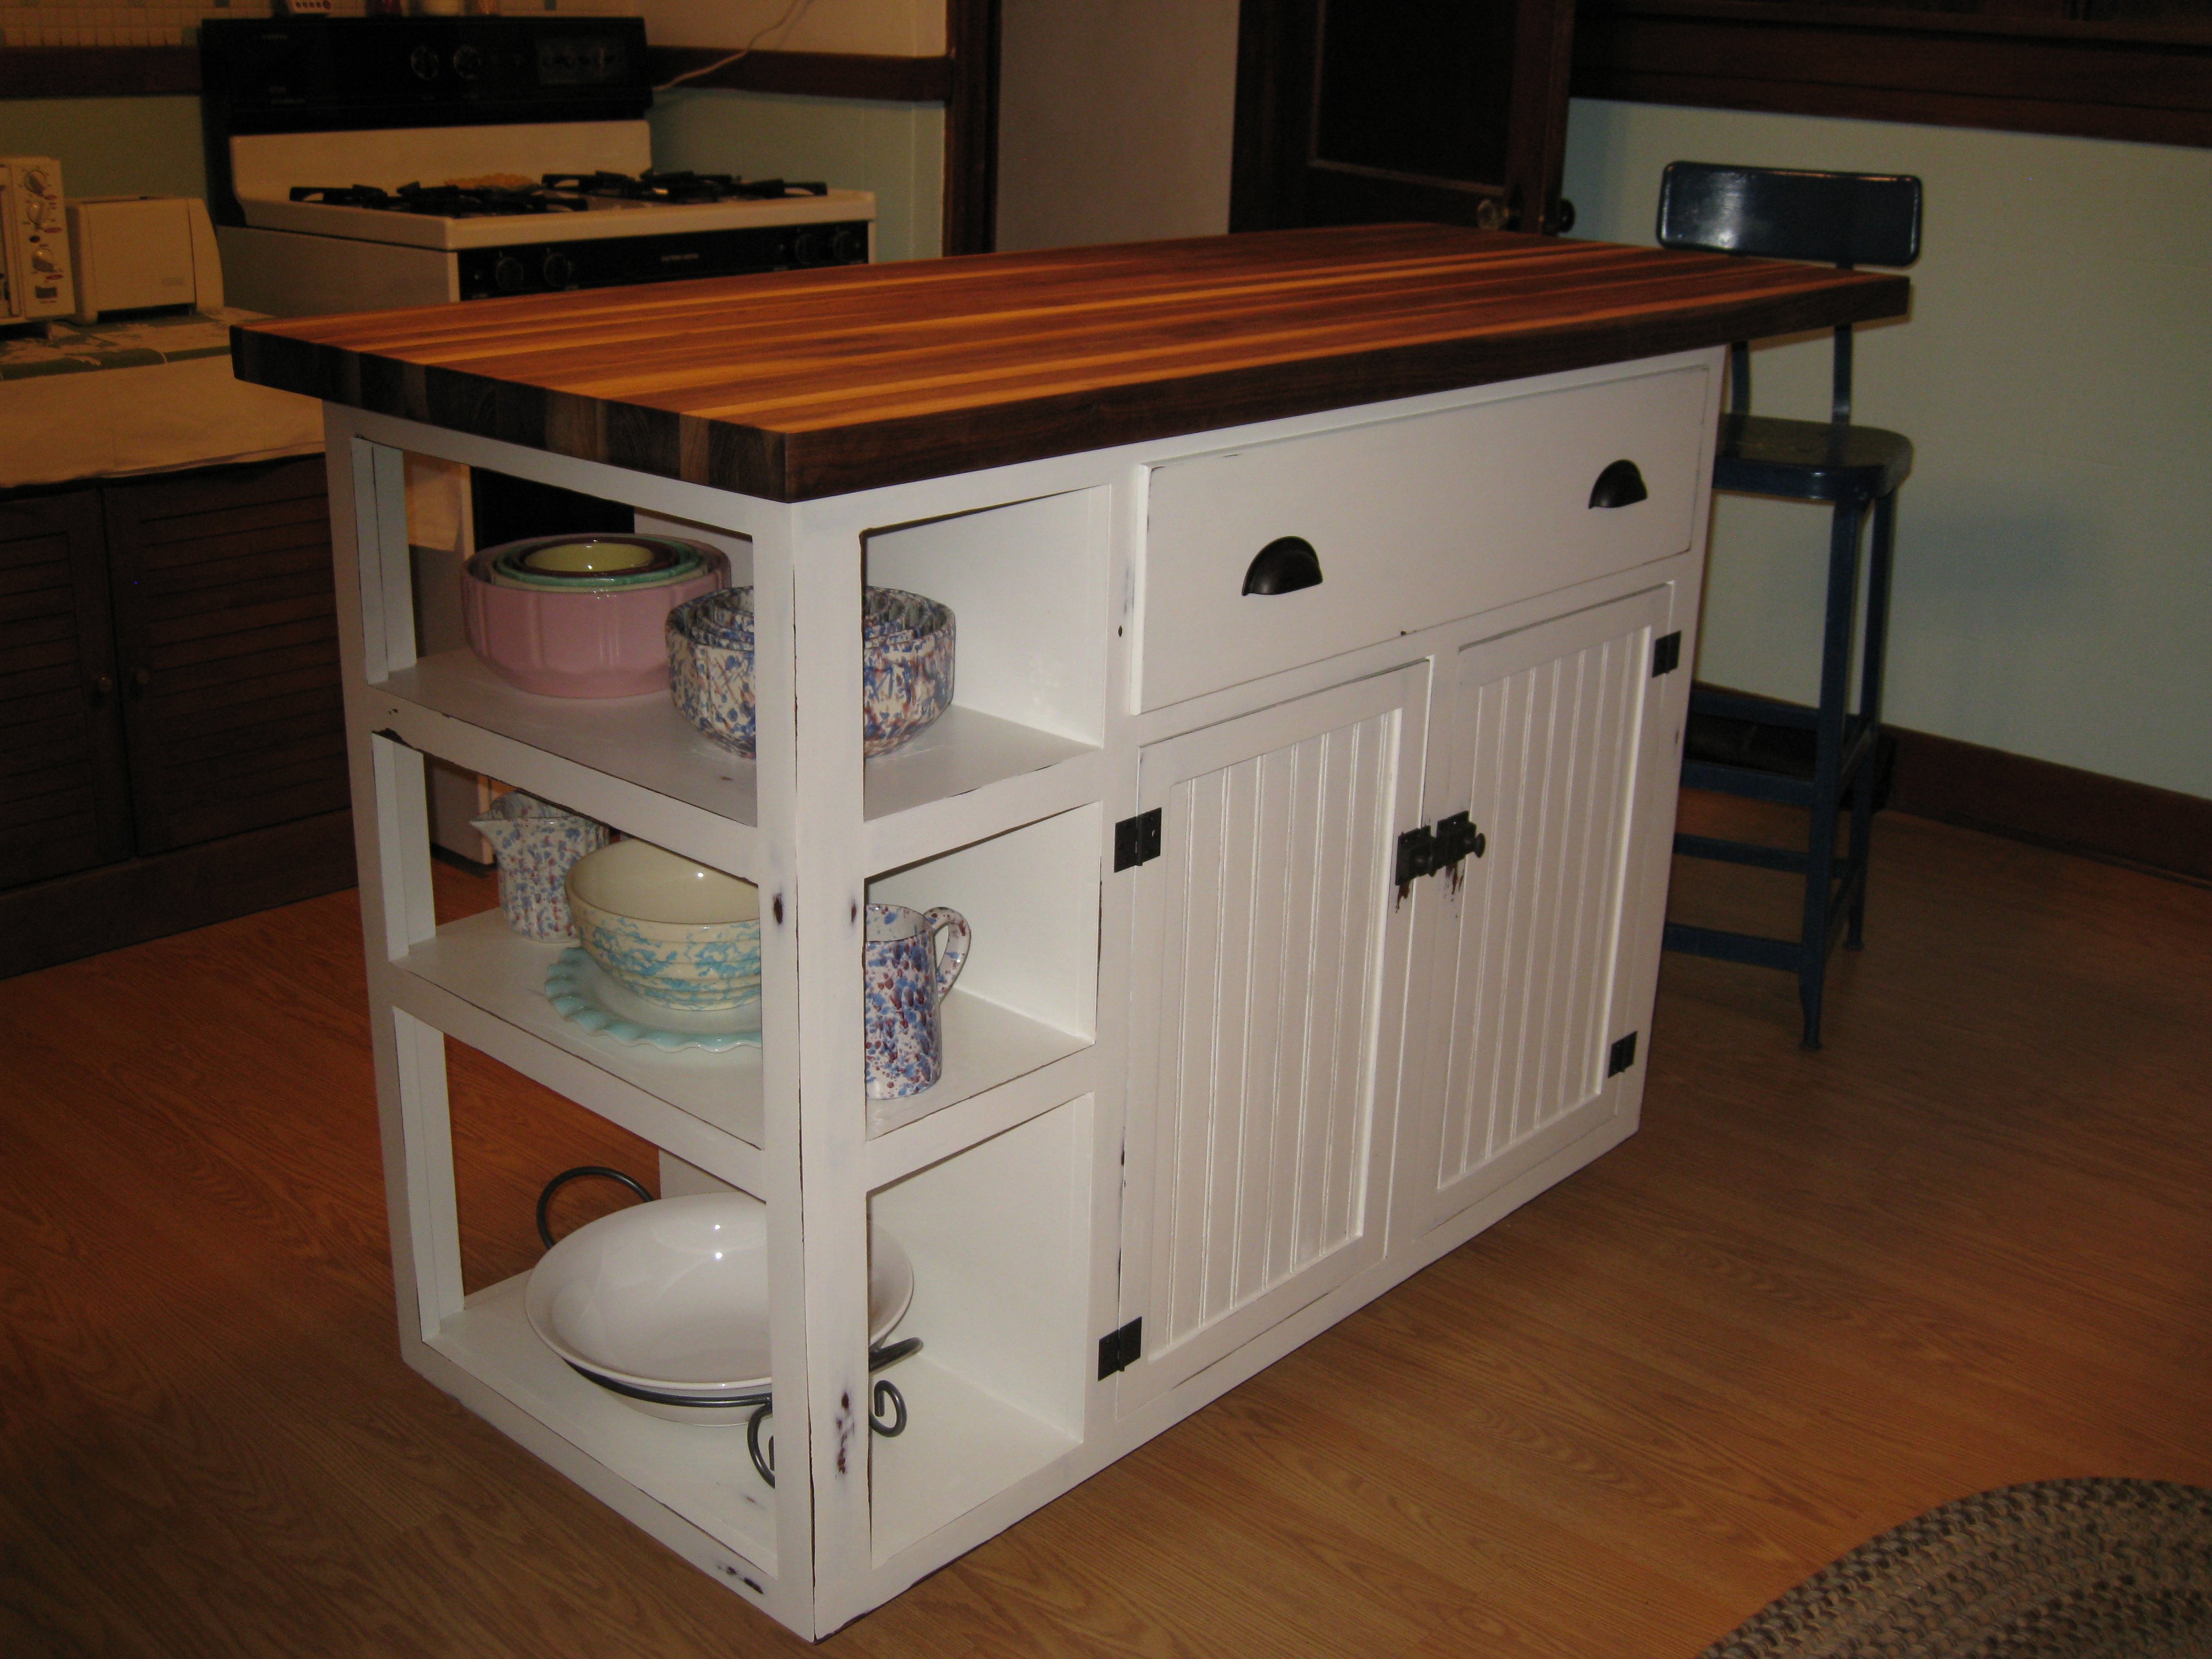
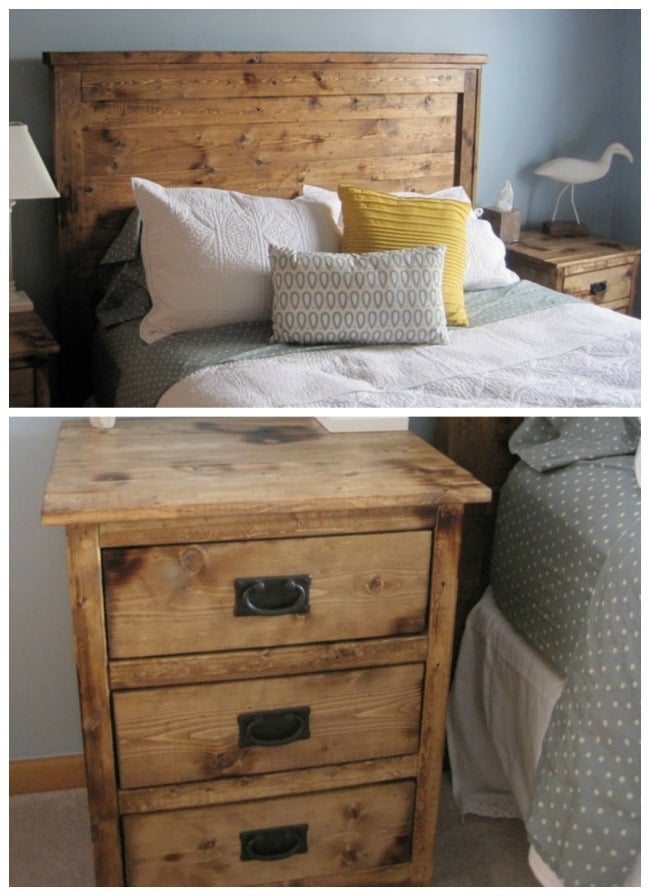
So after my husband and I conquered the headboard, we decided that we were geniuses at furniture making and we would just build the two side tables. Well, the two side tables are much more difficult than the headboard. The side tables are definitely do-able but make sure that you leave plenty of time for them. We built most of them on a Sunday and then finished them up in the evenings the rest of teh week. We do not have a Kreg Jig and were able to build them without it; however, if you have a Kreg Jig it would make thing 1,000 times easier. We did end up buying a miter saw because we were building the Old style Workmen's Bench bar at the same time (crazy, I tell you). It is CRITICAL to make sure that your inside drawer measurements work. If you are off just by a little, your drawer pulls are not going to fit. We ended up buying bottom mount drawer pulls. The drawers are a little less stable and can hold less weight (up to 35 pounds) but it worked for us. I think the real key to finishing this project are choosing the right drawer pulls. I really believe that spending a little bit more on the drawer pulls makes the piece look more expensive. We spent about 6.50 a drawer pull but they look really nice in person. TIPS **Stain drawer faces off, then attach hardware, then attach to drawer base **If you are going to use wood filler (I wouldn't), make sure that you use the least bit possible - the stain does not take to it the same
Estimated Time Investment
Weekend Project (10-20 Hours)
Finish Used
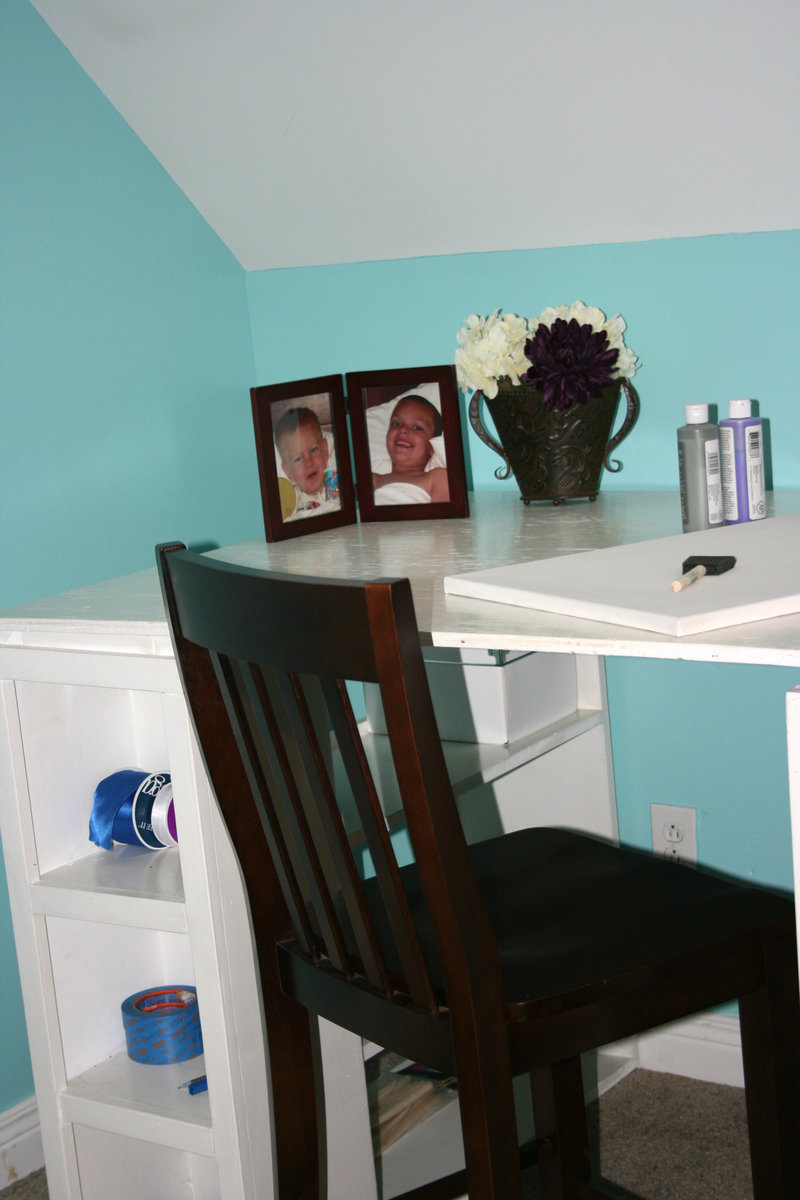
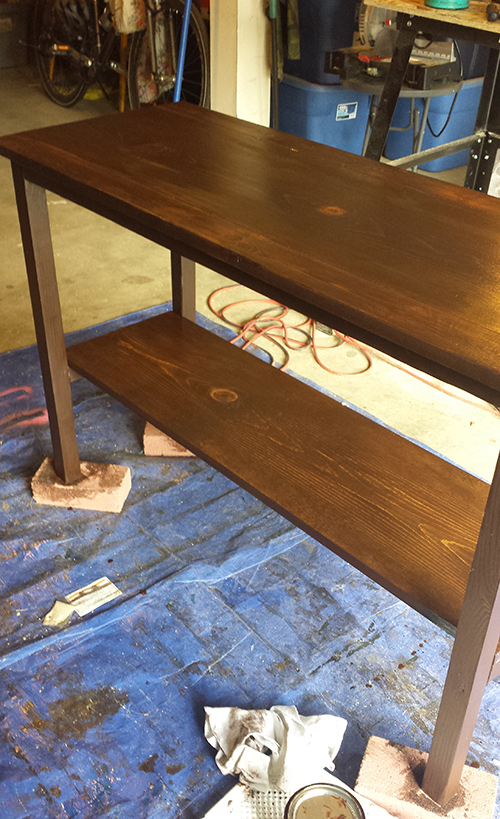
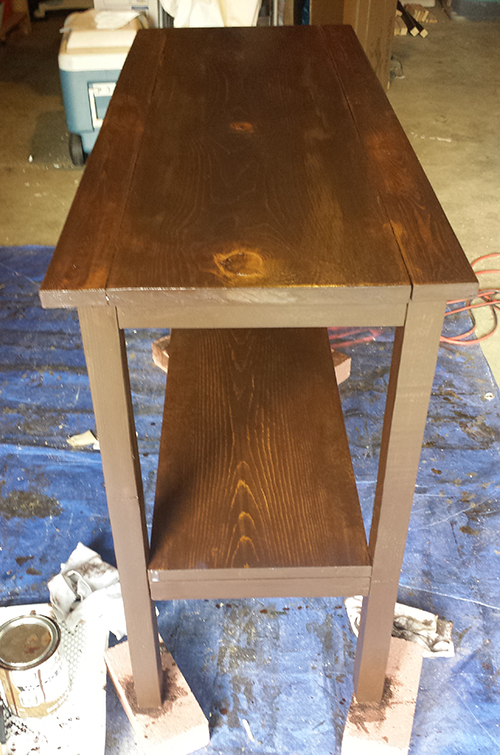
Provincial from Minwax, left on for about 10 minutes and wiped off (after prepping wood with pre-stain), clear coated. For the inside of the drawers, we used Minwax Natural - next time I would go a bit deeper and do Honey for the inside; distressed with creme brulee torch, chain from hardware store, drill bit and hammer
Recommended Skill Level
Intermediate