Community Brag Posts
Pet Feeder
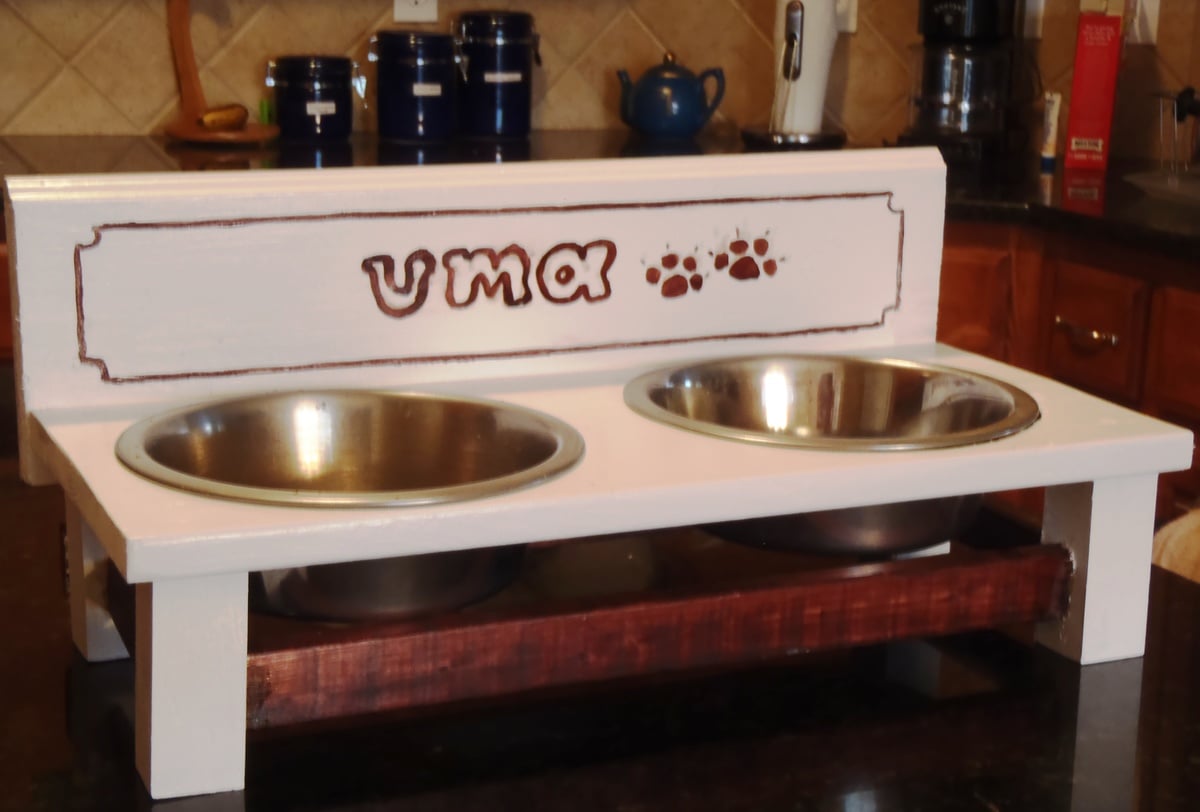
I am building a TV console and hutch (will be posting soon) and I have left over of small cut of boards from this project. While waiting for my media center to dry, I built this pet feeder.
I have this messy eater dog (weimaraner) who slobbers all over my floor moulding. Worst thing...she bangs the wall with her aluminum bowl when she tries to lick every single bits of her food there is! So, with that story to tell, I designed and built her a pet feeder(inspired by the small pet feeder plan). And no more banging and messy wall!
Built from Plan(s)
Estimated Cost
I'd say $ 2.00 to $5.00 (every materials used were left overs from my media center project)
Estimated Time Investment
An Hour or Two (0-2 Hours)
Finish Used
glossy white paint and drops of colored paint for the name and prints
Recommended Skill Level
Beginner
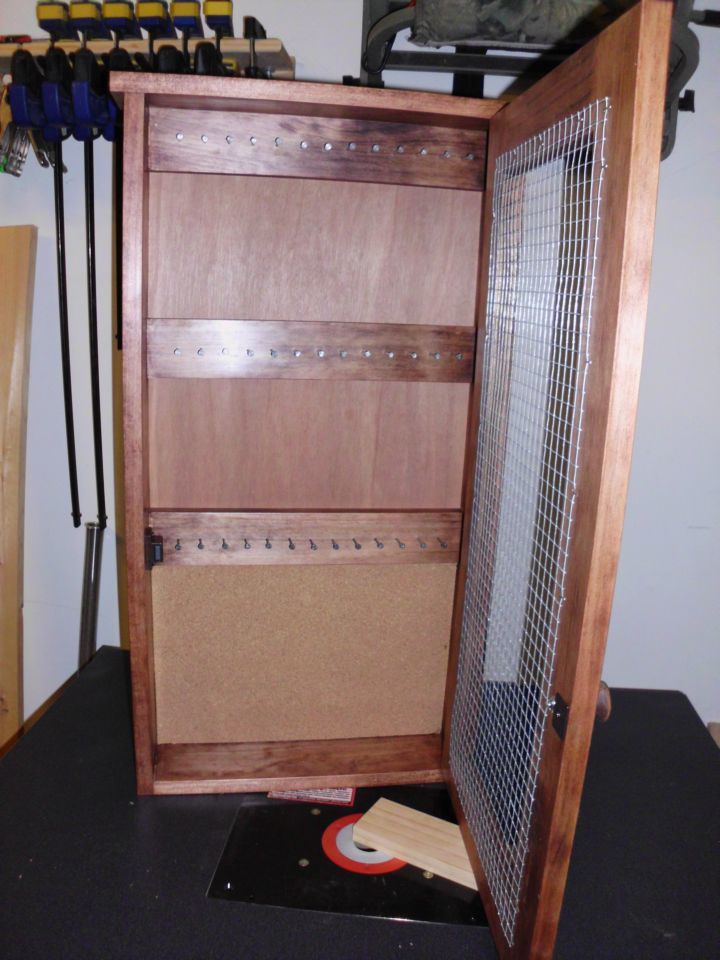
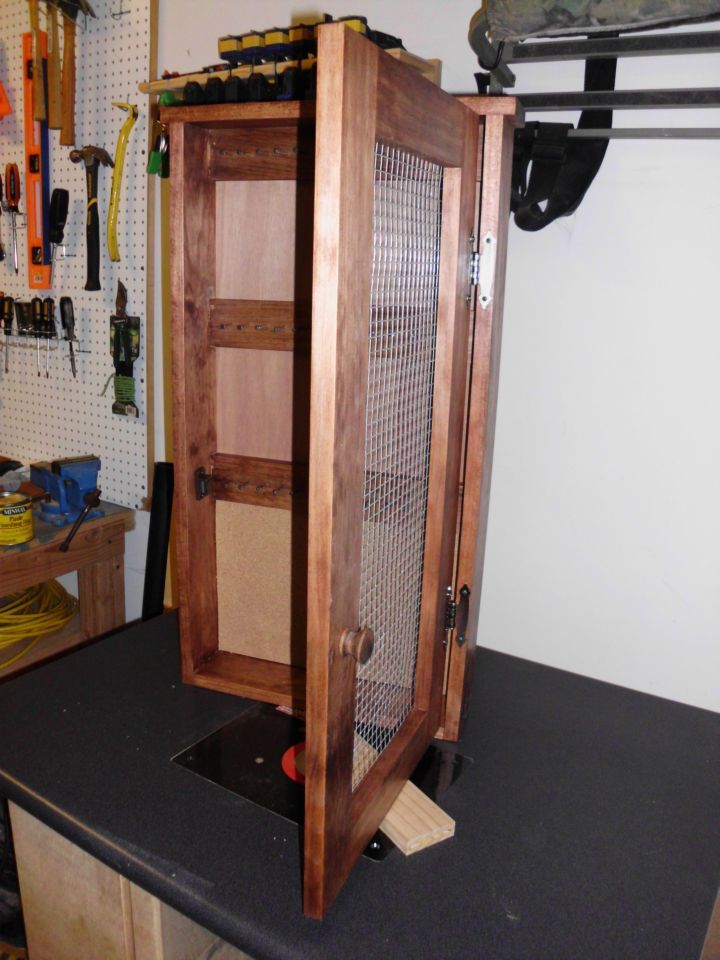
Wall Jewelry Cabinet
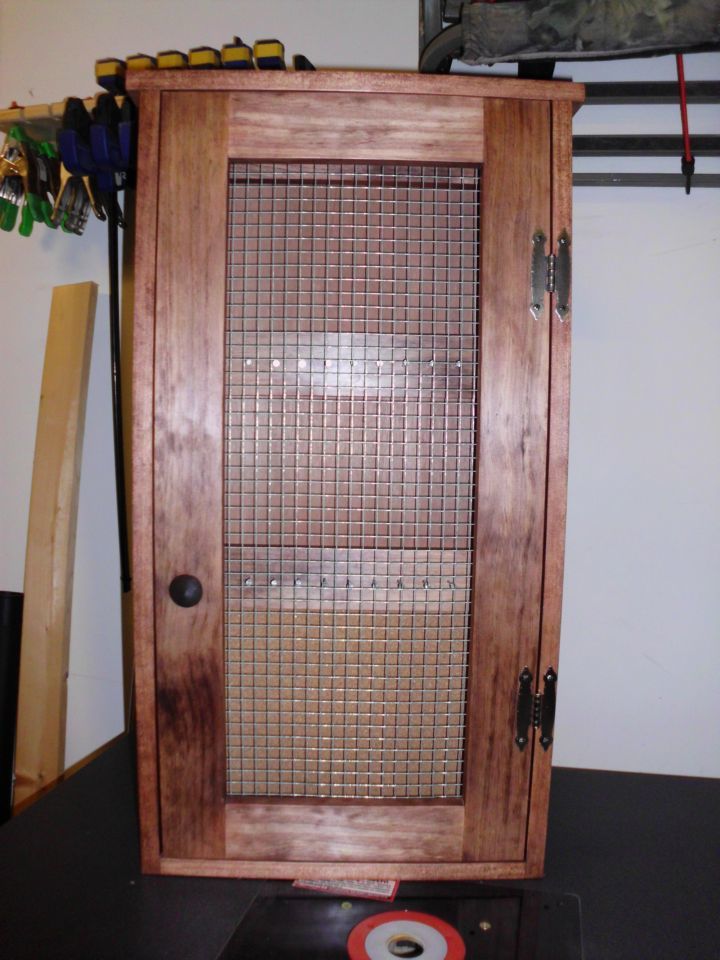
My wife has been looking for a jewelry cabinet at local antique markets so I decided to make her one for Christmas. I mostly followed the original plan but added cork in the bottom section so that she could push in earrings that can't be hung from the front.
Built from Plan(s)
Estimated Time Investment
Day Project (6-9 Hours)
Finish Used
Minwax Red Oak for the stain and Minwax Paste Finishing Wax.
Recommended Skill Level
Beginner
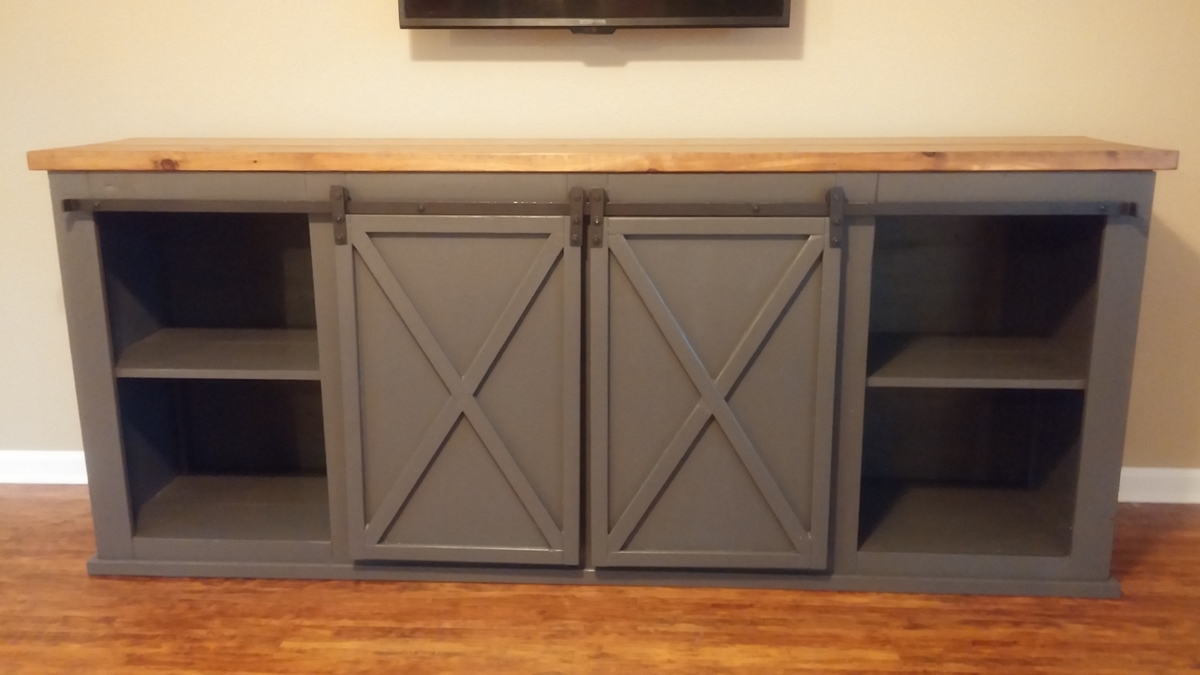
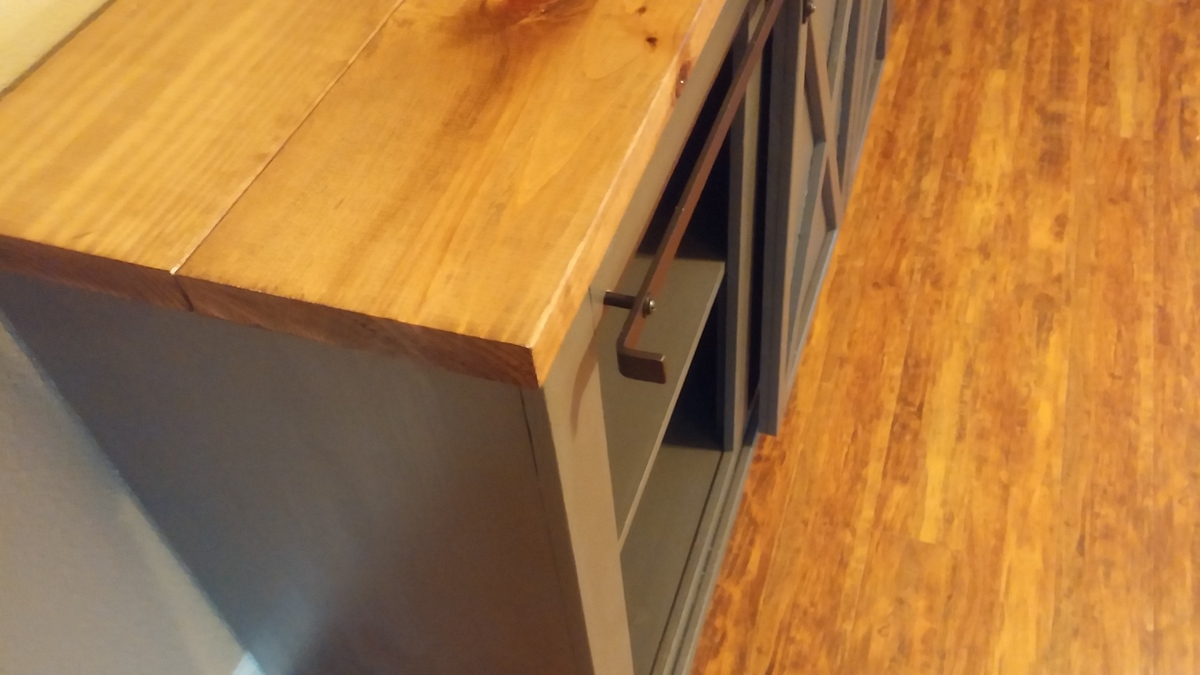
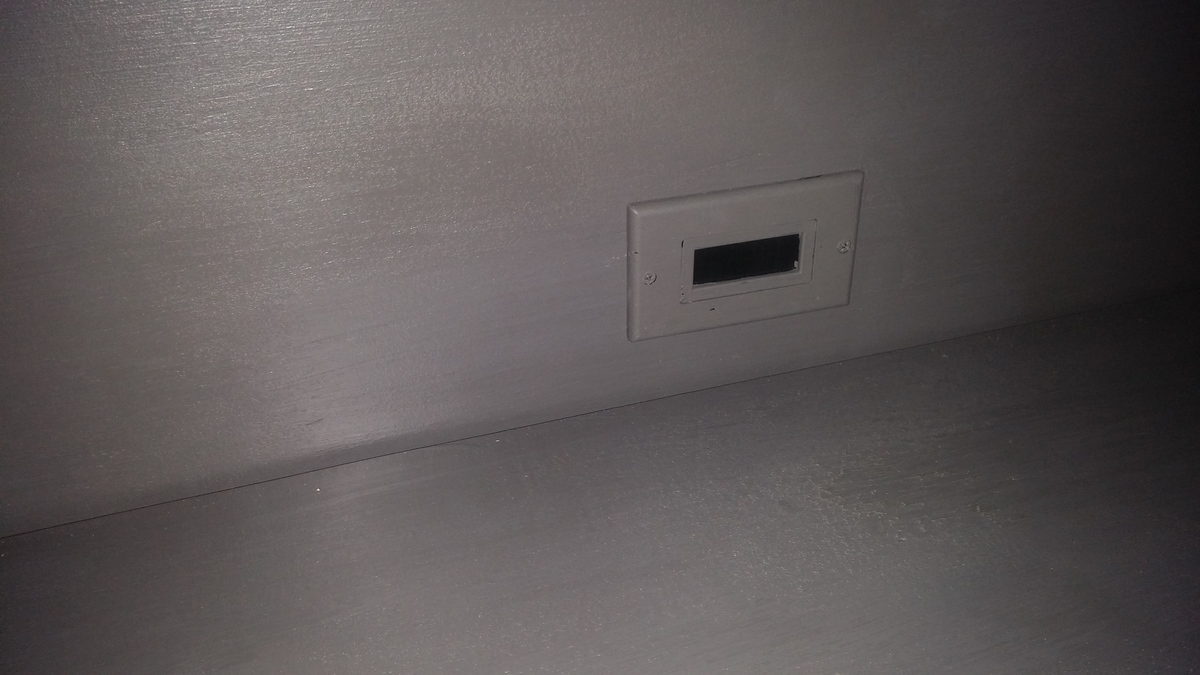
Grandy TV Stand
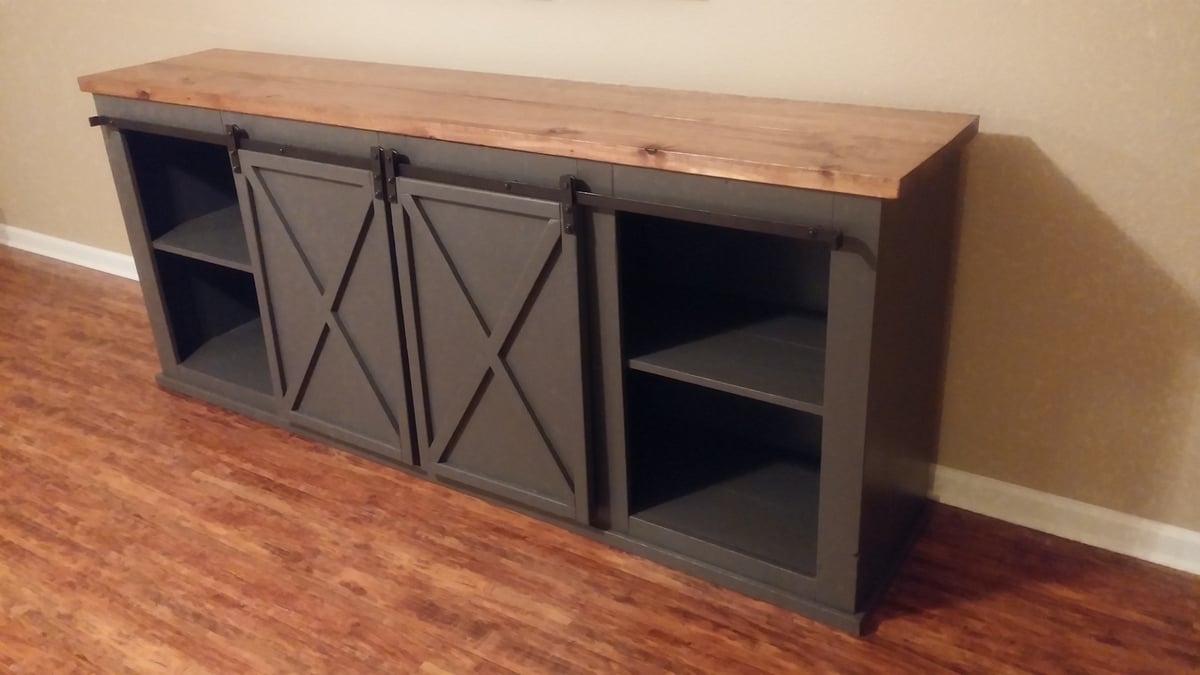
This was my first woodworking project and I really like how it turned out. The instructions for building the unit were pretty clear and I only deviated from them in two ways: 1) Since I am using this as a tv stand, I added a port (pictured) for xbox / cable box HDMI cables. I painted the port the same color as the unit so it blends in well. 2) To attach the top two stained pieces of wood, I used pocket holes instead of drilling down from the top. That way I didn't need to use any wood filler. I think I used 7 or so pocket holes per board and it seemed to be held pretty well. For the paint color, I copied kbdesigns' unit and used 'Intellectual' by Behr. I don't remember the stain for the wood but the stain is a darker color than it shows in the pictures. As far as the hardware, I modified those plans as follows: 1) I used a vise to bend the aluminum flat bar to provide stopping points for the doors, so they don't just slide right off the bar. I think I bent about 1.25-1.5 inches at the end. I just used a hammer and a vise and the metal bent fairly easily. 2) I drilled four holes instead of three for more support. 3) For the bar pieces on the doors, I made them 4.5 inches instead of 8.5 inches. I liked the shorter look in the original Grandy examples. 4) I used the clevis pins from the pulleys I bought to attach the wheels to the bars. Note: her instructions for the pulley wheels seemed very difficult. I was able to find pulleys on clevis pins that could easily be removed from the wheel casing, or whatever it is called. I found them at Home Depot. I think they were 1.5 inches.
Built from Plan(s)
Estimated Cost
300
Estimated Time Investment
Week Long Project (20 Hours or More)
Recommended Skill Level
Beginner
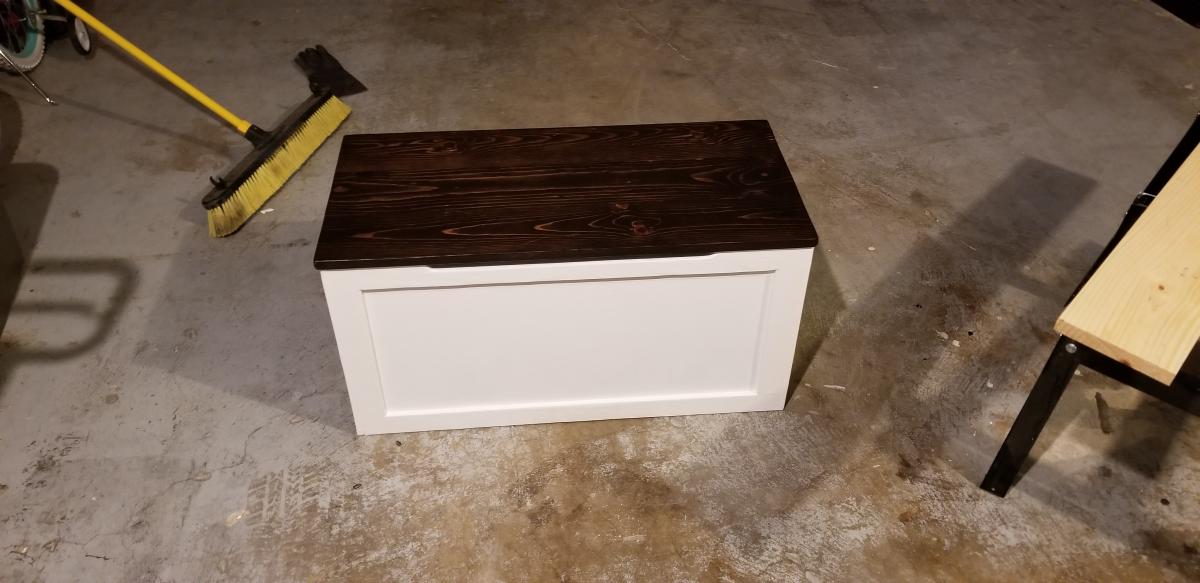
Simple modern toy box
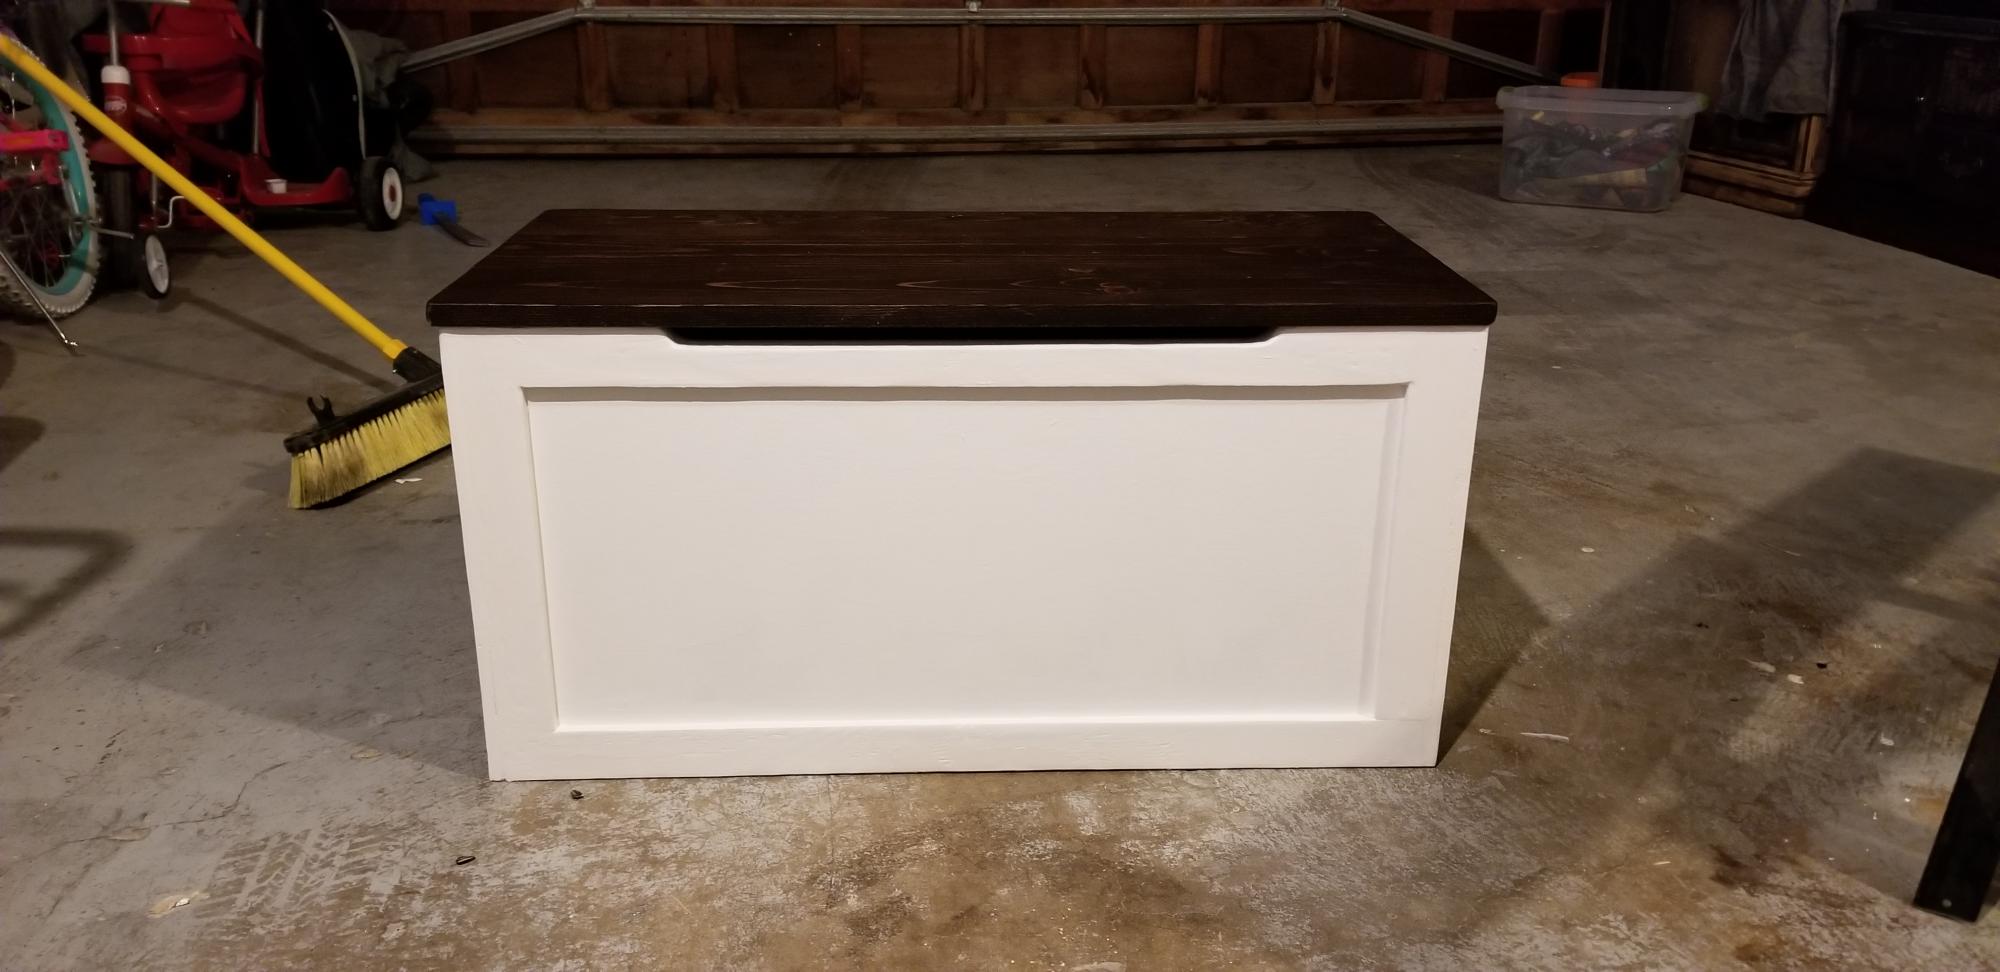
This toy box was actually something that was passed down through my wife's family. I saw this plan and gave it a face lift using this plan.
Built from Plan(s)
Recommended Skill Level
Beginner
ipex bookshelf
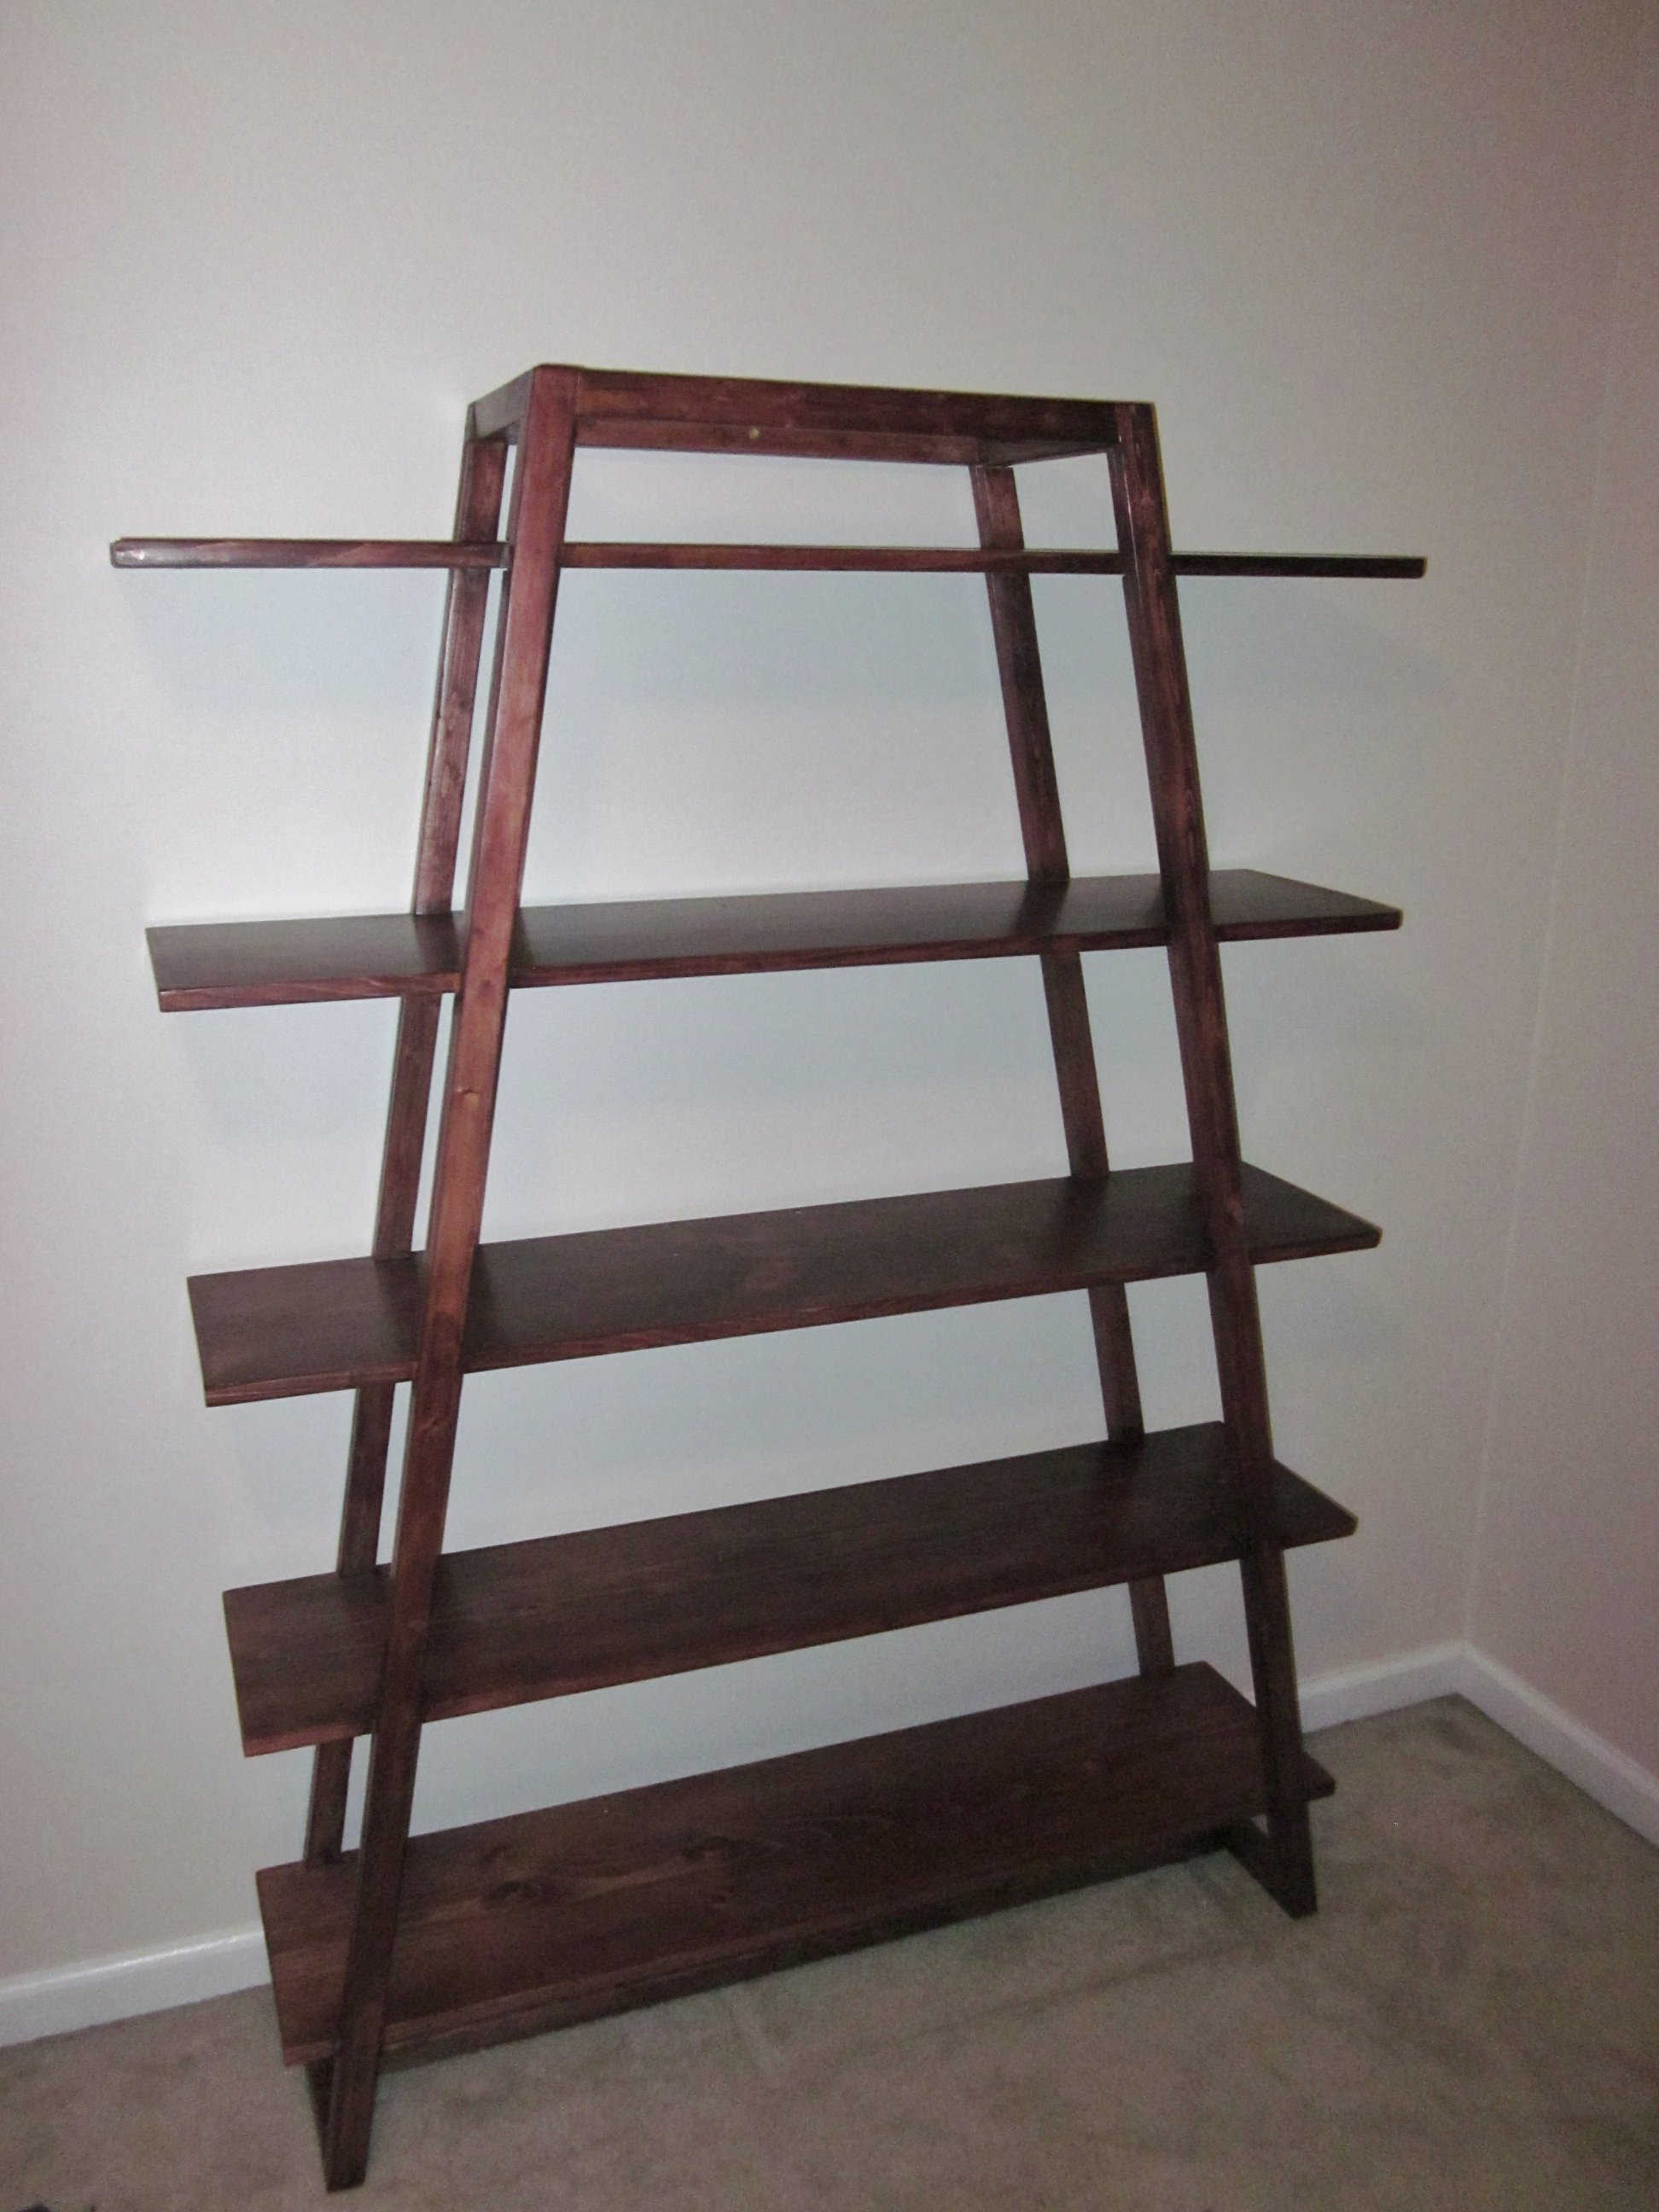
Great bookcase. I used a 3" screw through the top center into the wall to add lateral stability. Now it is rock solid. The majority of time was spent sanding and finishing.
Built from Plan(s)
Estimated Cost
$100
Estimated Time Investment
Weekend Project (10-20 Hours)
Finish Used
The all-in-one stain with poly doesn't coat evenly on pine. I ended up stopping half way through, sanding it off, then used a Minwax stain, then Satin poly.
Recommended Skill Level
Beginner
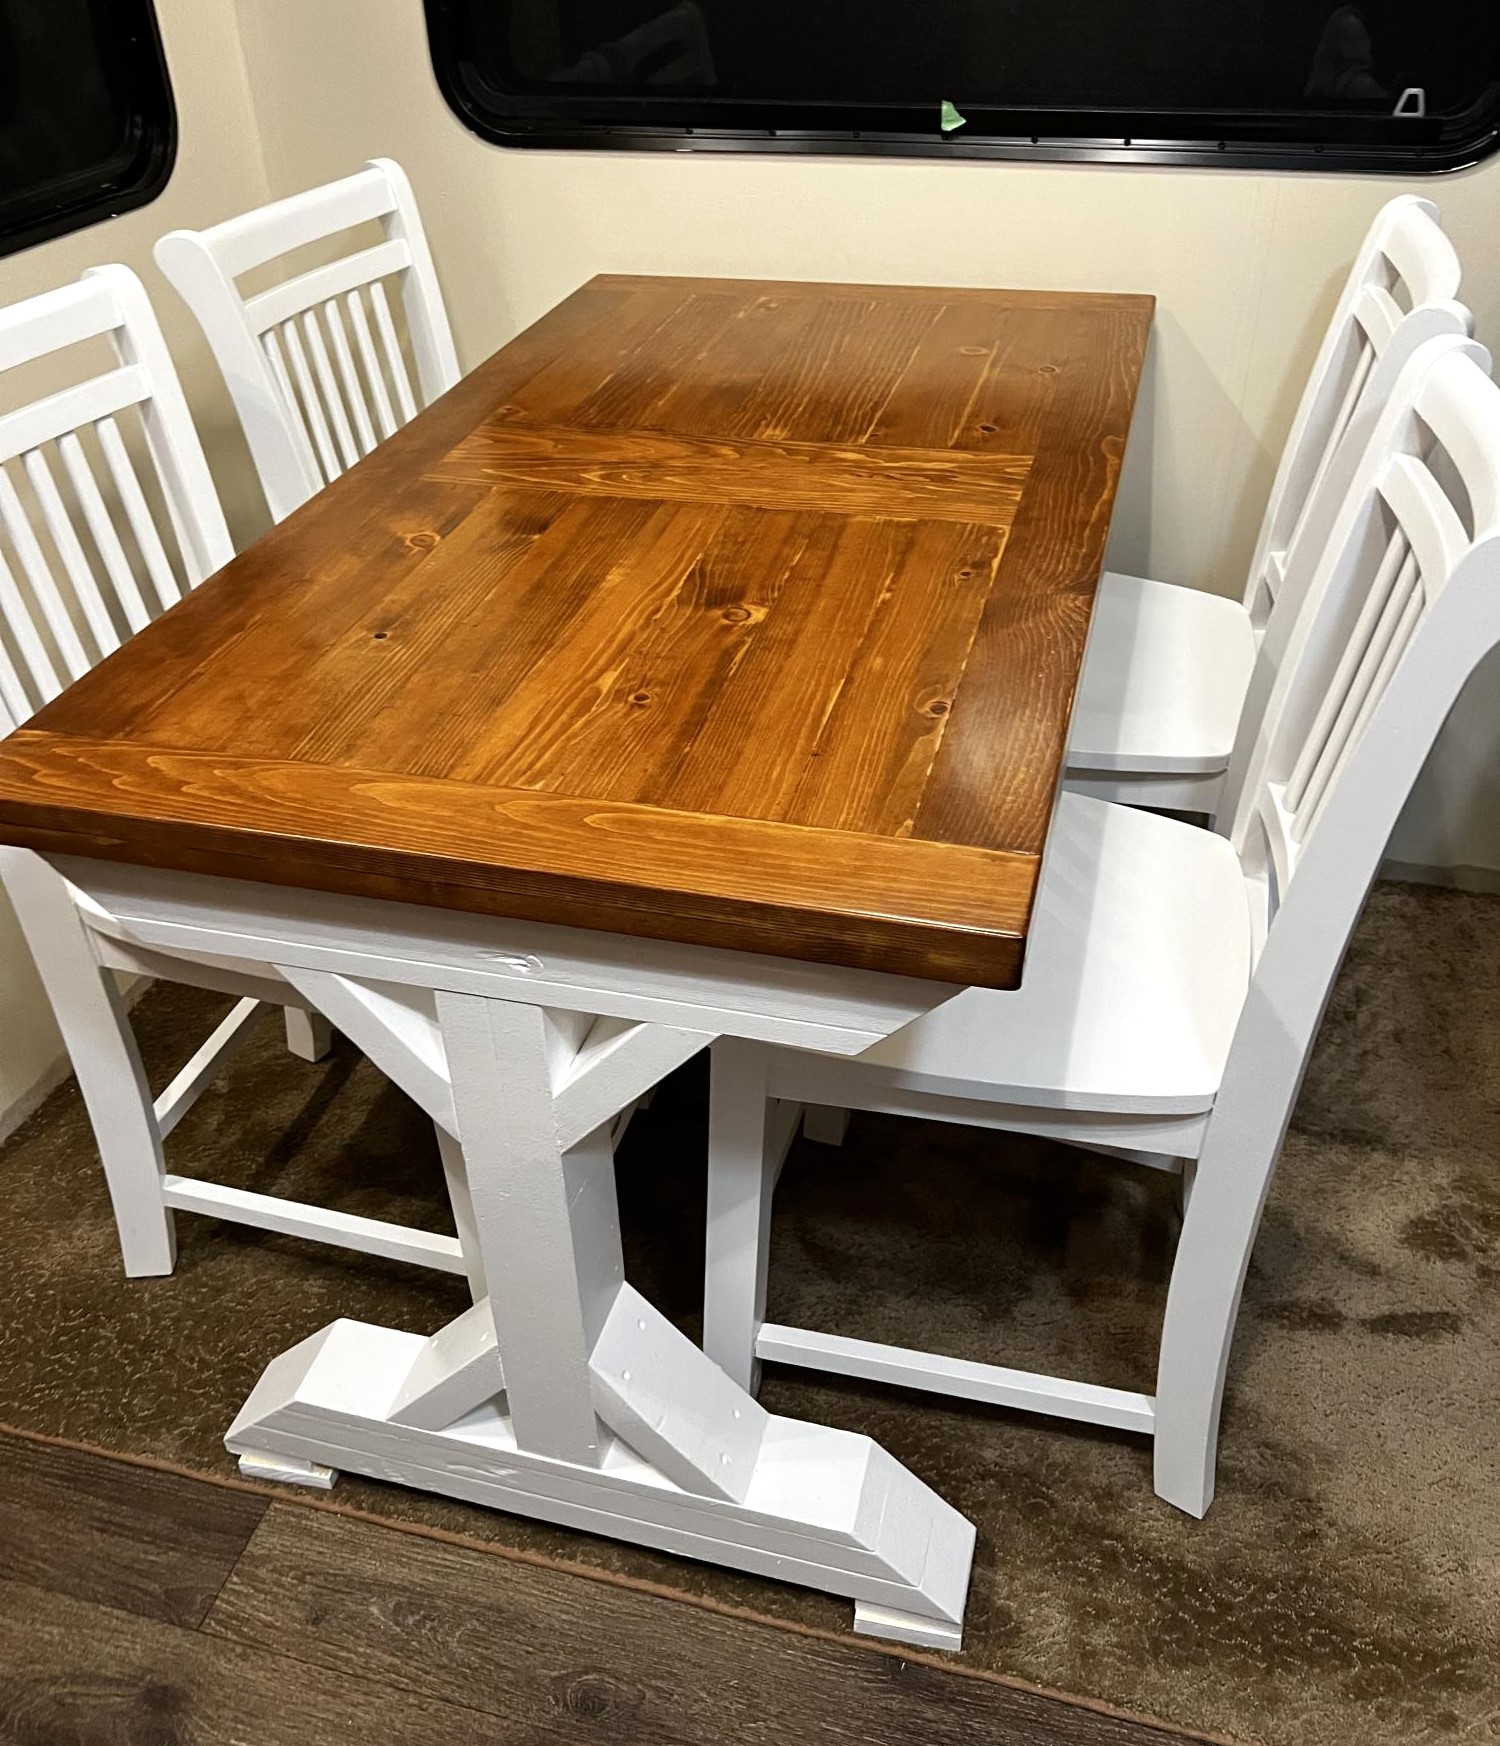
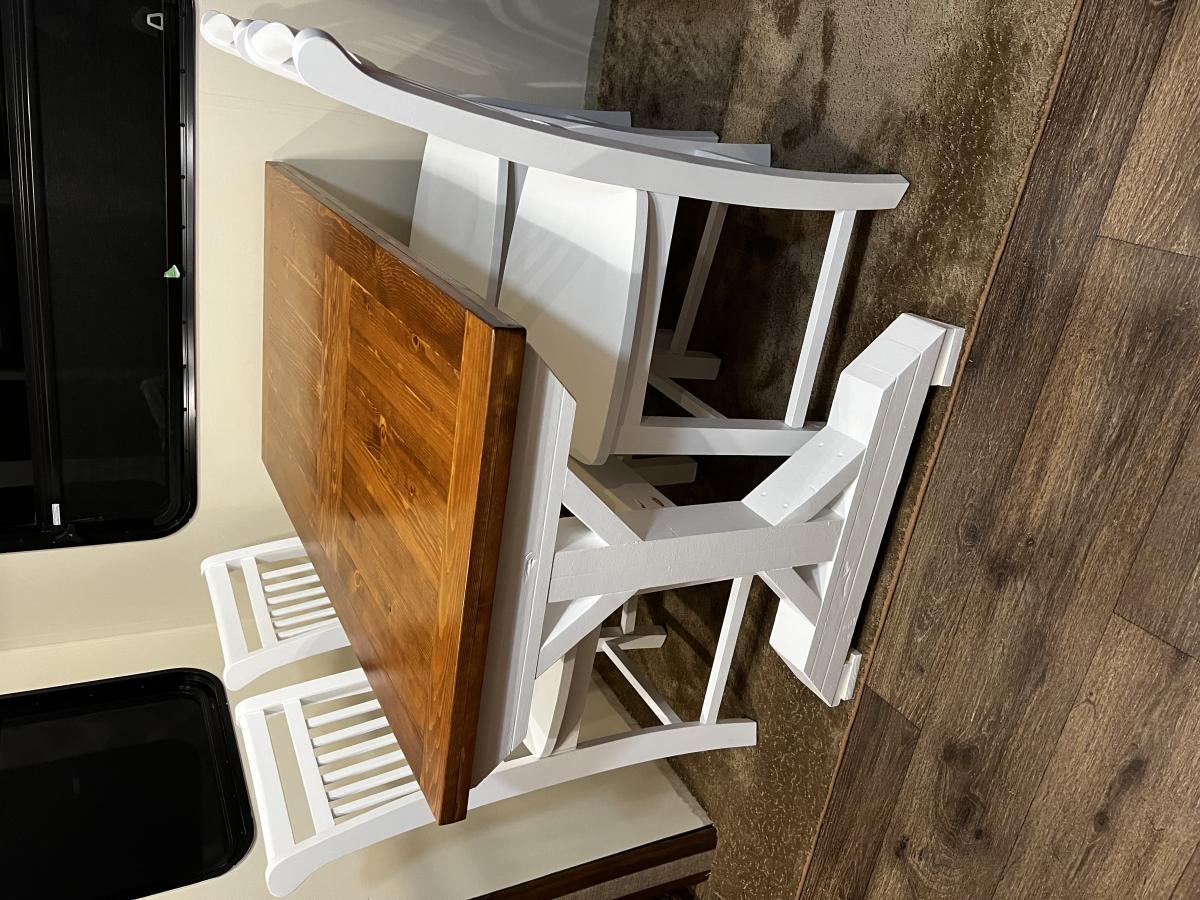
4X4 Truss Beam Table
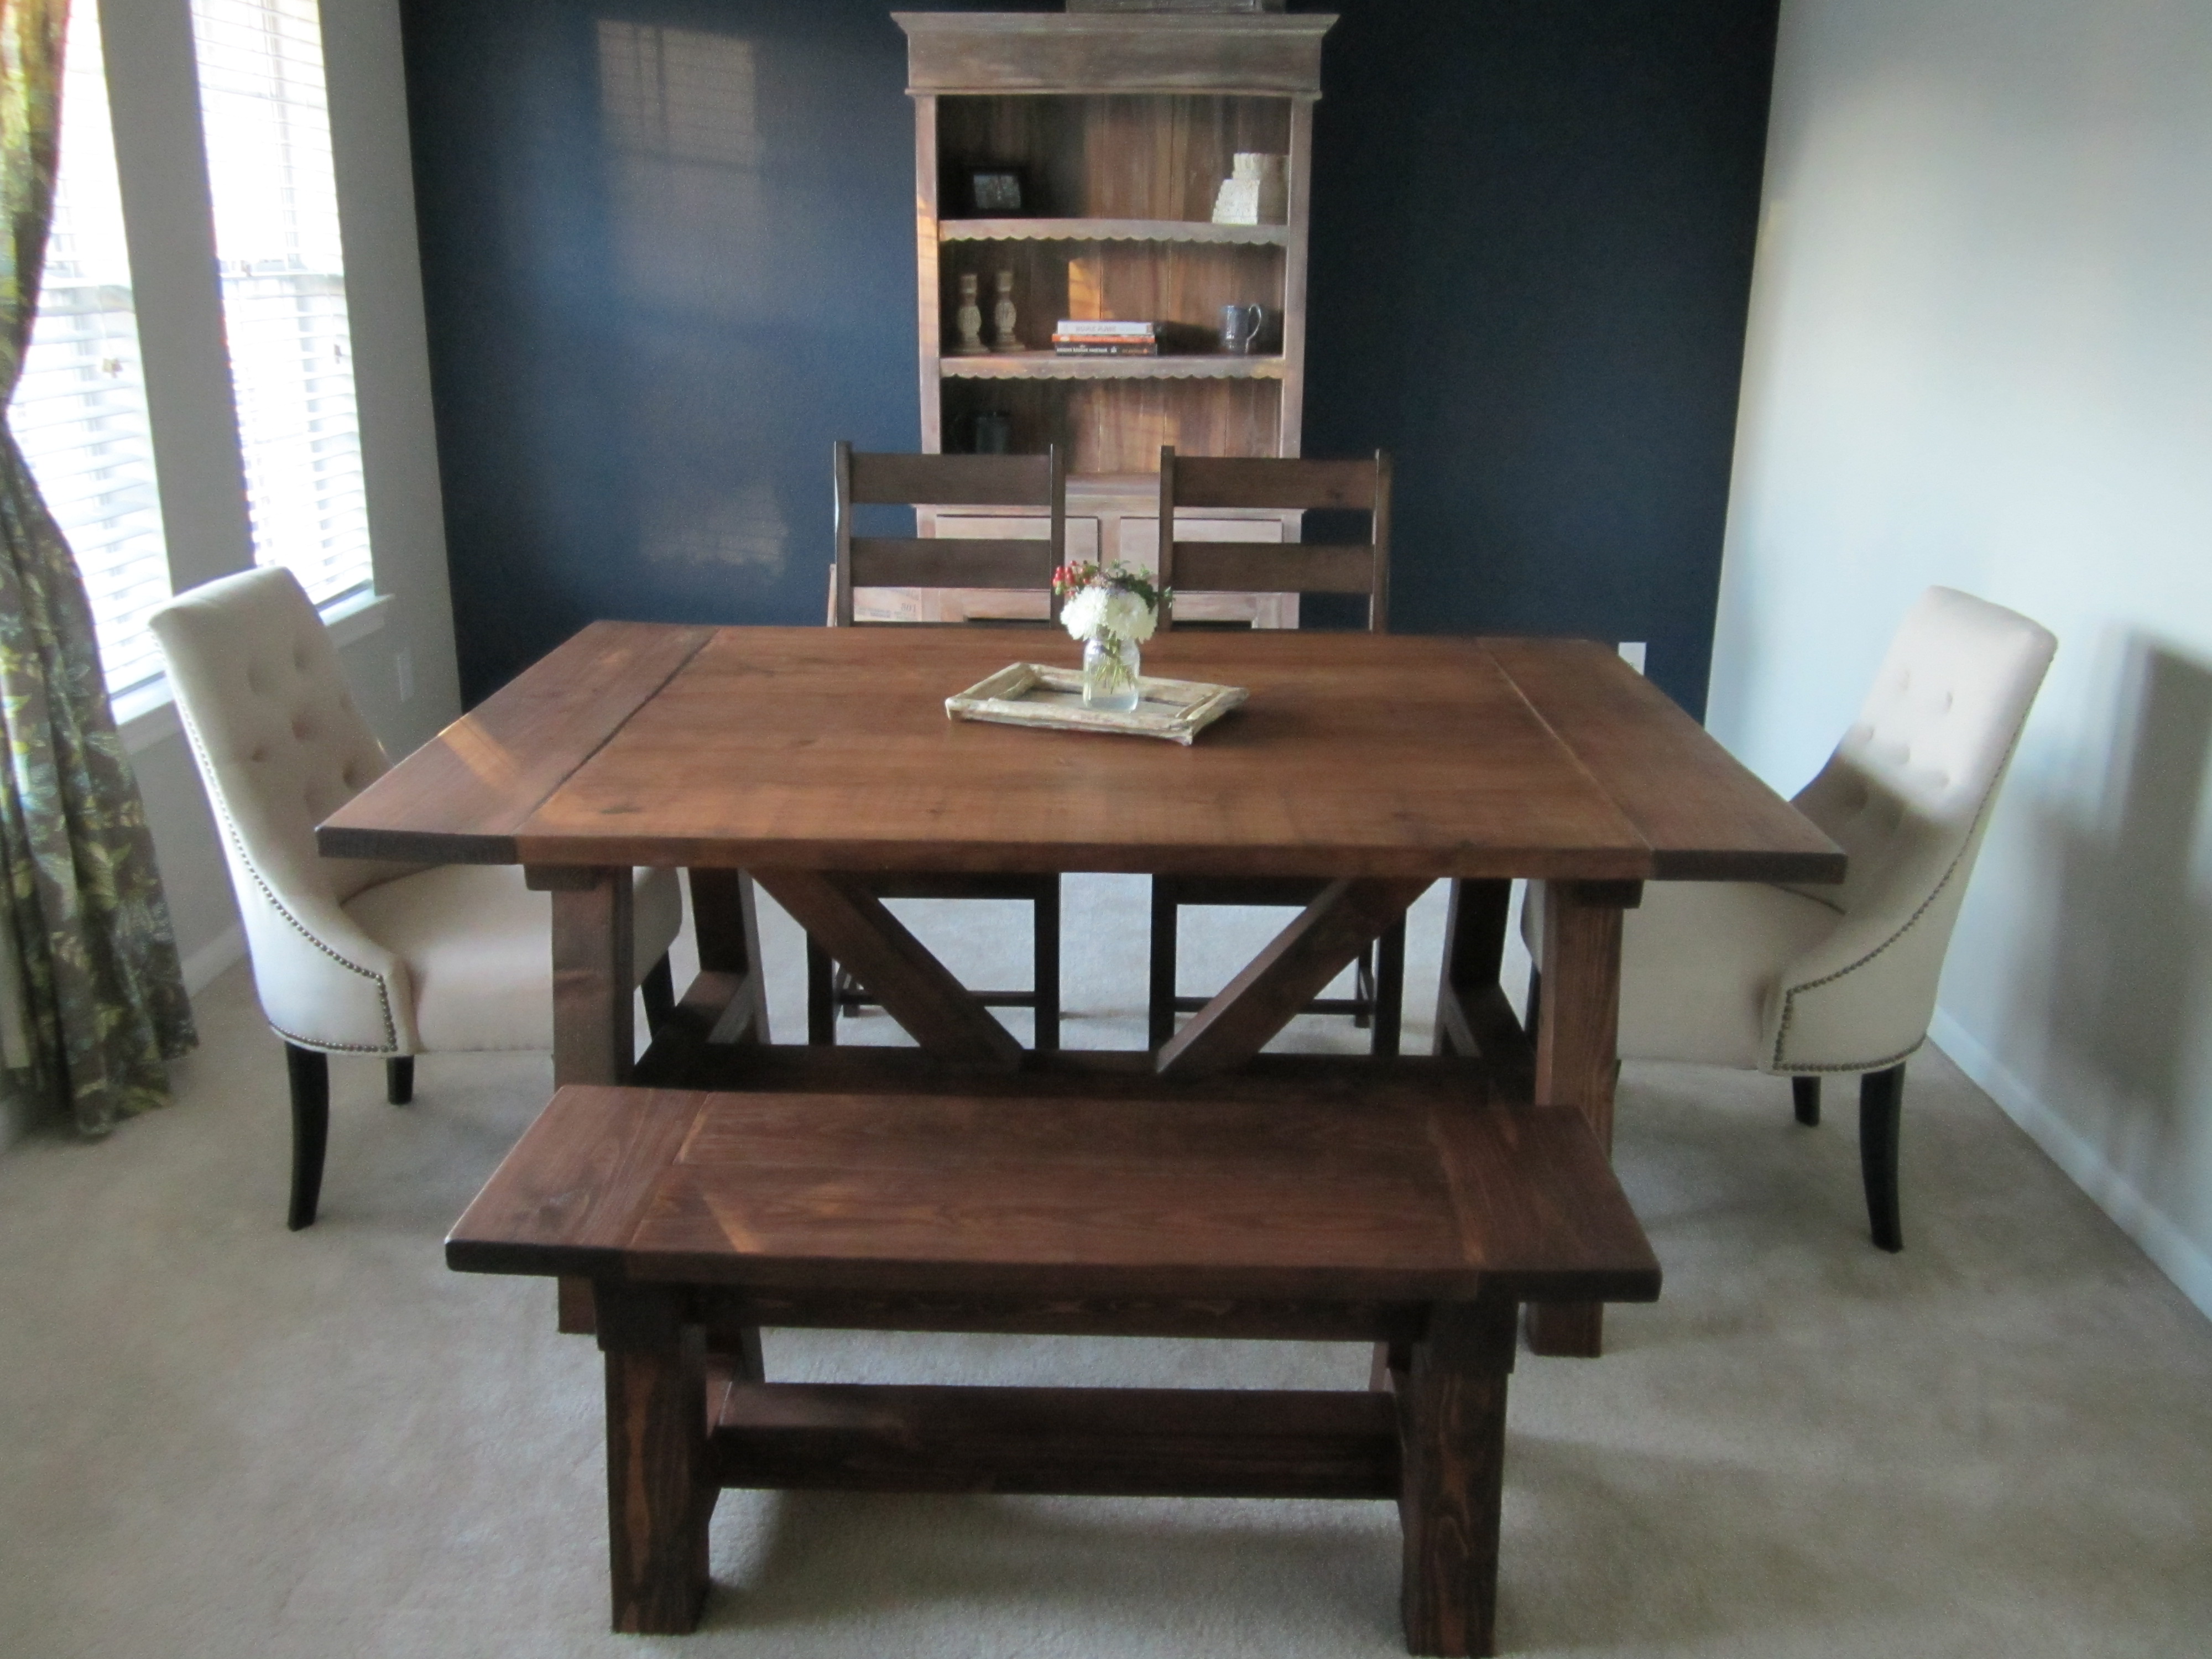
This was my first project. It's not perfect, but I love the way it turned out! The original plans were too large for my dining room, so I altered the plans to make it a 5-foot table. I actually ended up making it a little bit wider as well by adding an additional 2X10 to the table top to make the table look more proportional. The wider table top has made it perfect for family-style meals! For the finish, I did one layer of Rustoleum American Walnut stain applied with a foam brush and wiped off with a clean cloth after one minute. After the first layer of stain, I sanded the table with a very fine paper and then did two layers of Rustoleum Dark Walnut applied with a foam brush and wiped off with a clean cloth after only a few seconds of setting. Finally, I did three layers of Rustoleum Matte Finish polyurethane.
Built from Plan(s)
Estimated Cost
$120
Estimated Time Investment
Weekend Project (10-20 Hours)
Recommended Skill Level
Beginner
Comments
Tue, 03/06/2018 - 19:15
Beautiful can you help me with measurements
Your table is beautiful!!! You done a stunning job on it!!! This is the same size that I need for my table but I'm having a hard time figuring out the measurements for the legs and the length of the benches I need!!! My table needs to be 60"x32" would you mind helping me with the measurements of your bench and also of your legs on the table?? I plan to make the table legs the same height as hers but need to make the top board and middle brace to match the 60" top!!
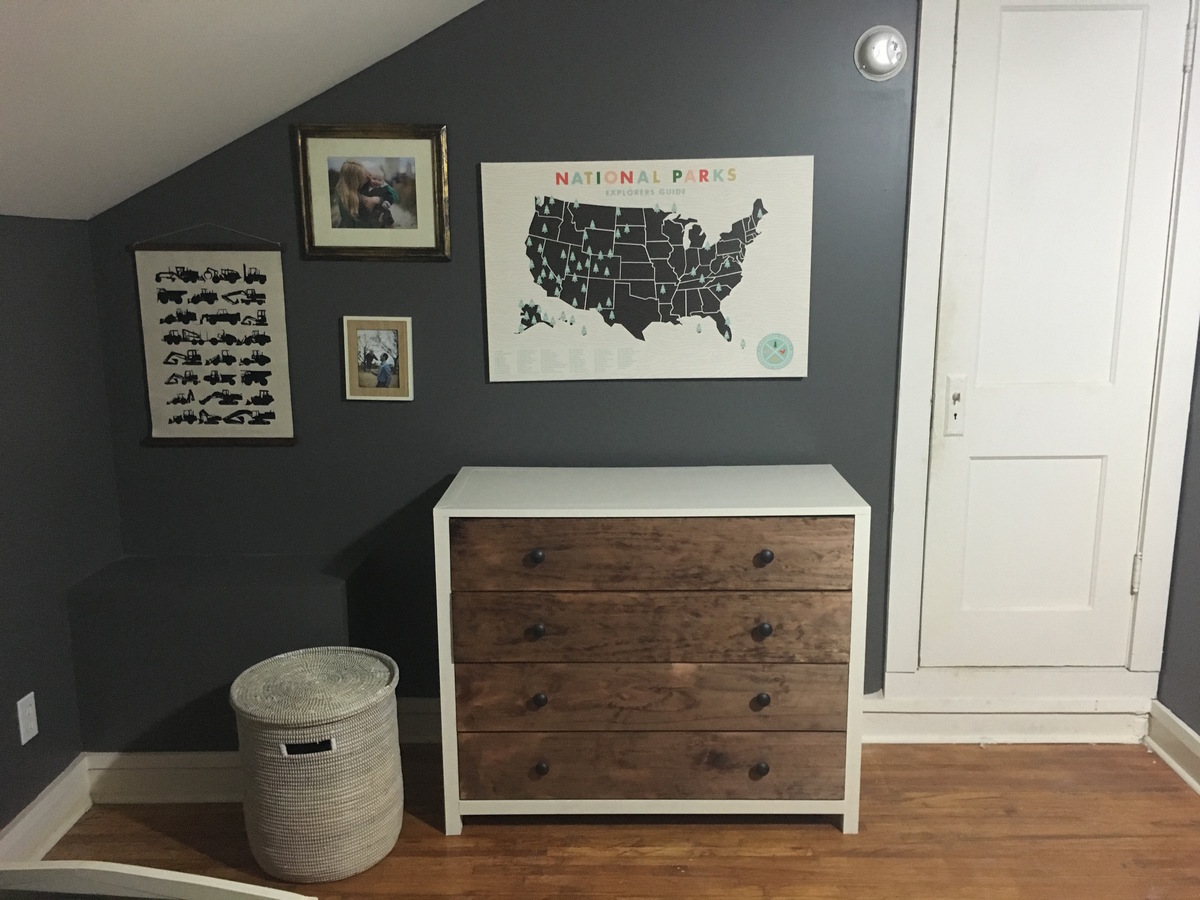
Noah's Modern Dresser
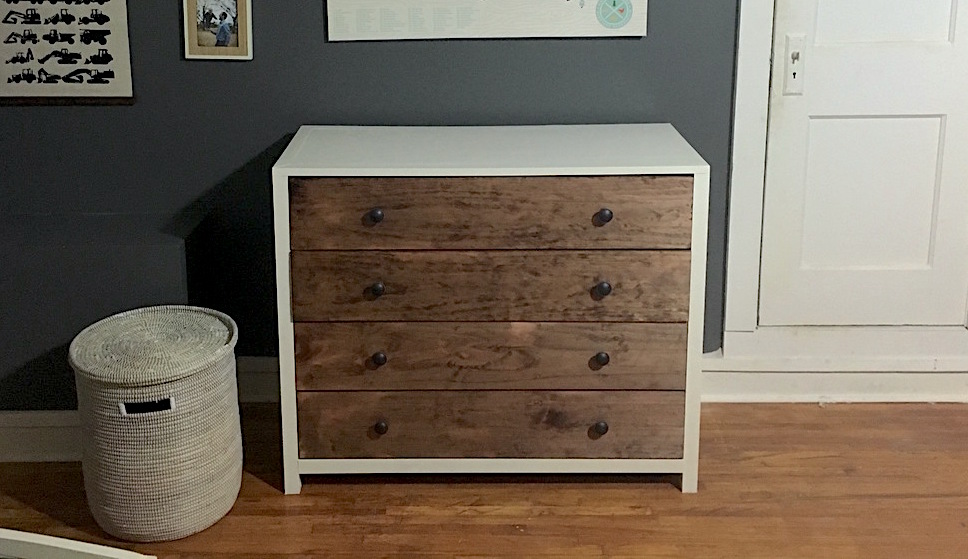
Thanks so much for this build post. We actually were about to purchase the dresser that this is designed after, but I couldn't stomach the 900 price tag. I headed to anna-white.com to see if she had plans for anything similar and voila! the plans for the exact dresser we wanted were here!
Built from Plan(s)
Estimated Cost
I spent about $300 in materials.
Estimated Time Investment
Weekend Project (10-20 Hours)
Finish Used
I used red oak stain from minwax, and white paint. We coated it all in a rub-on poly finish for durability.
Recommended Skill Level
Intermediate
Comments
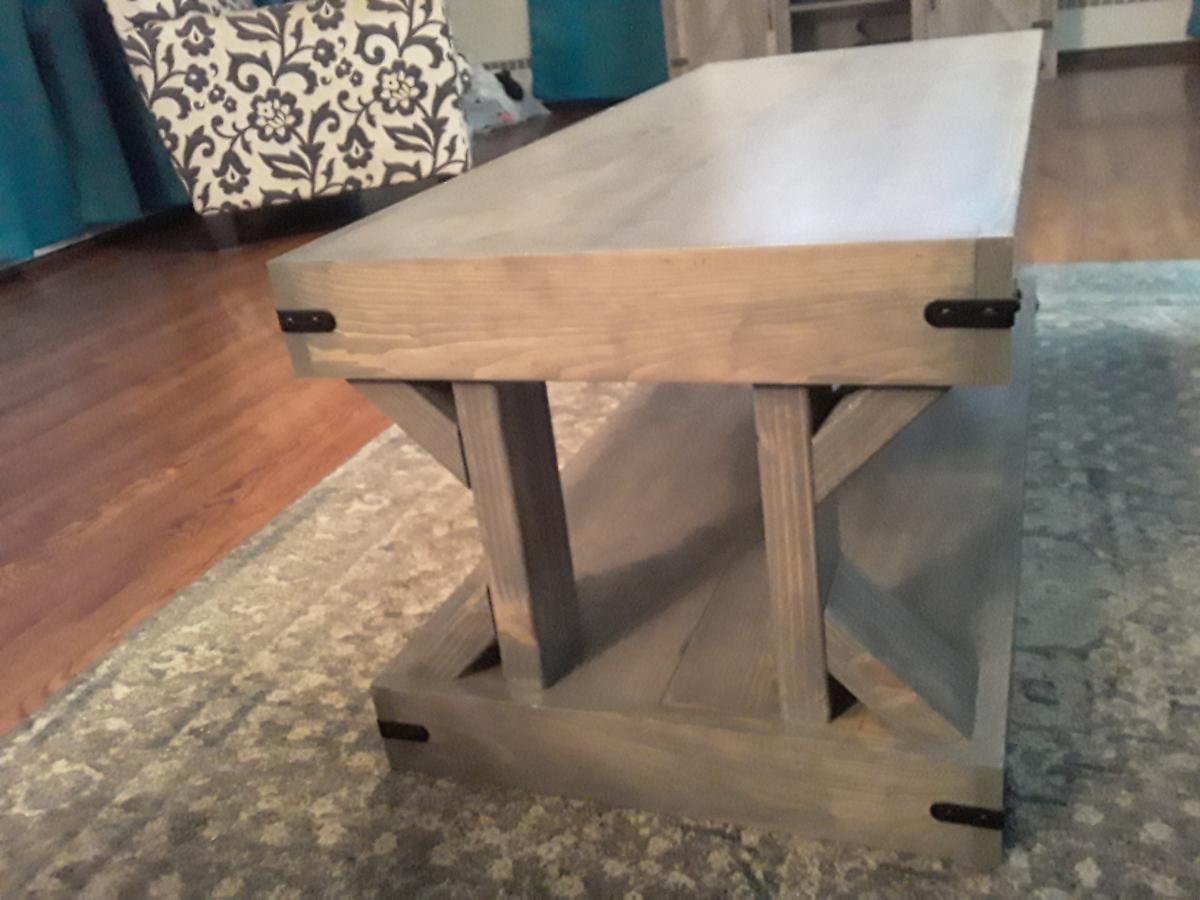
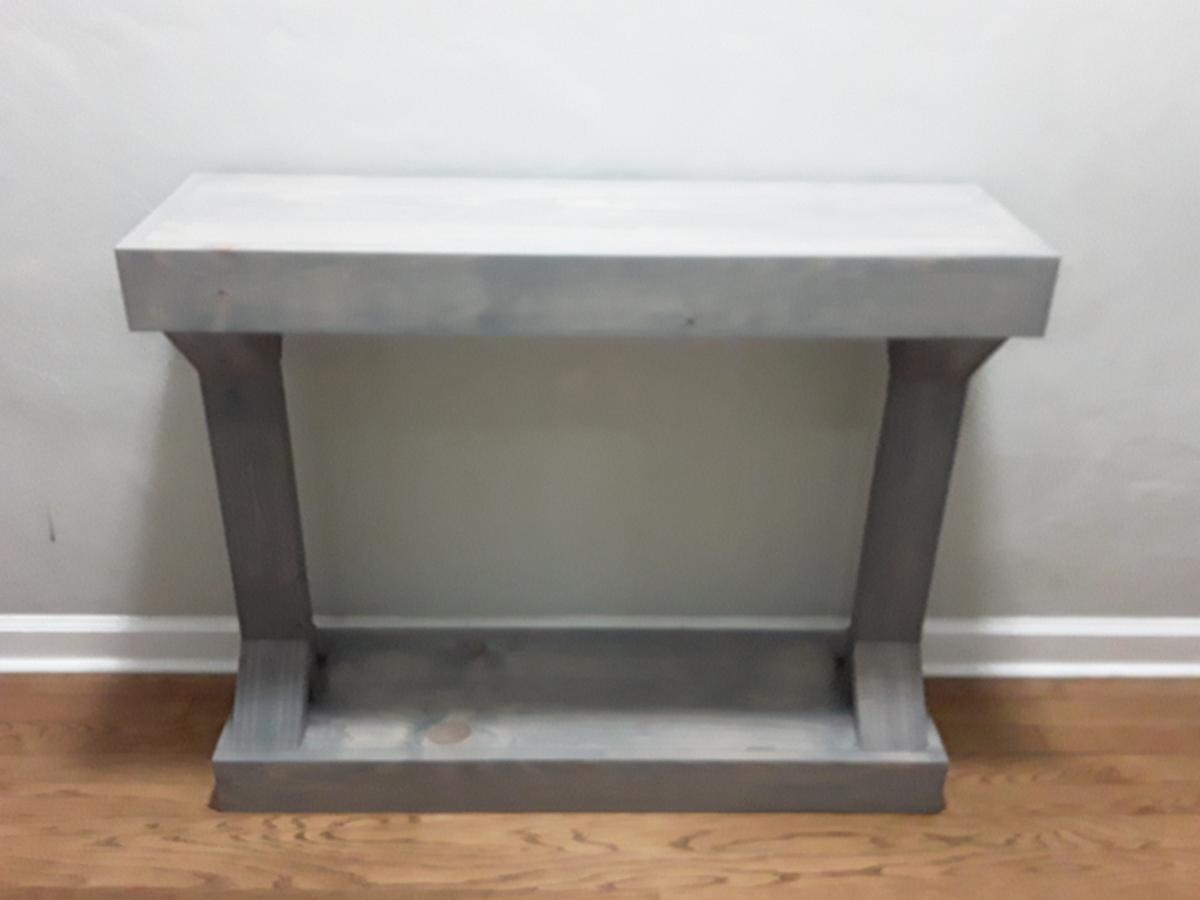
Modern Farmhouse Collection tables
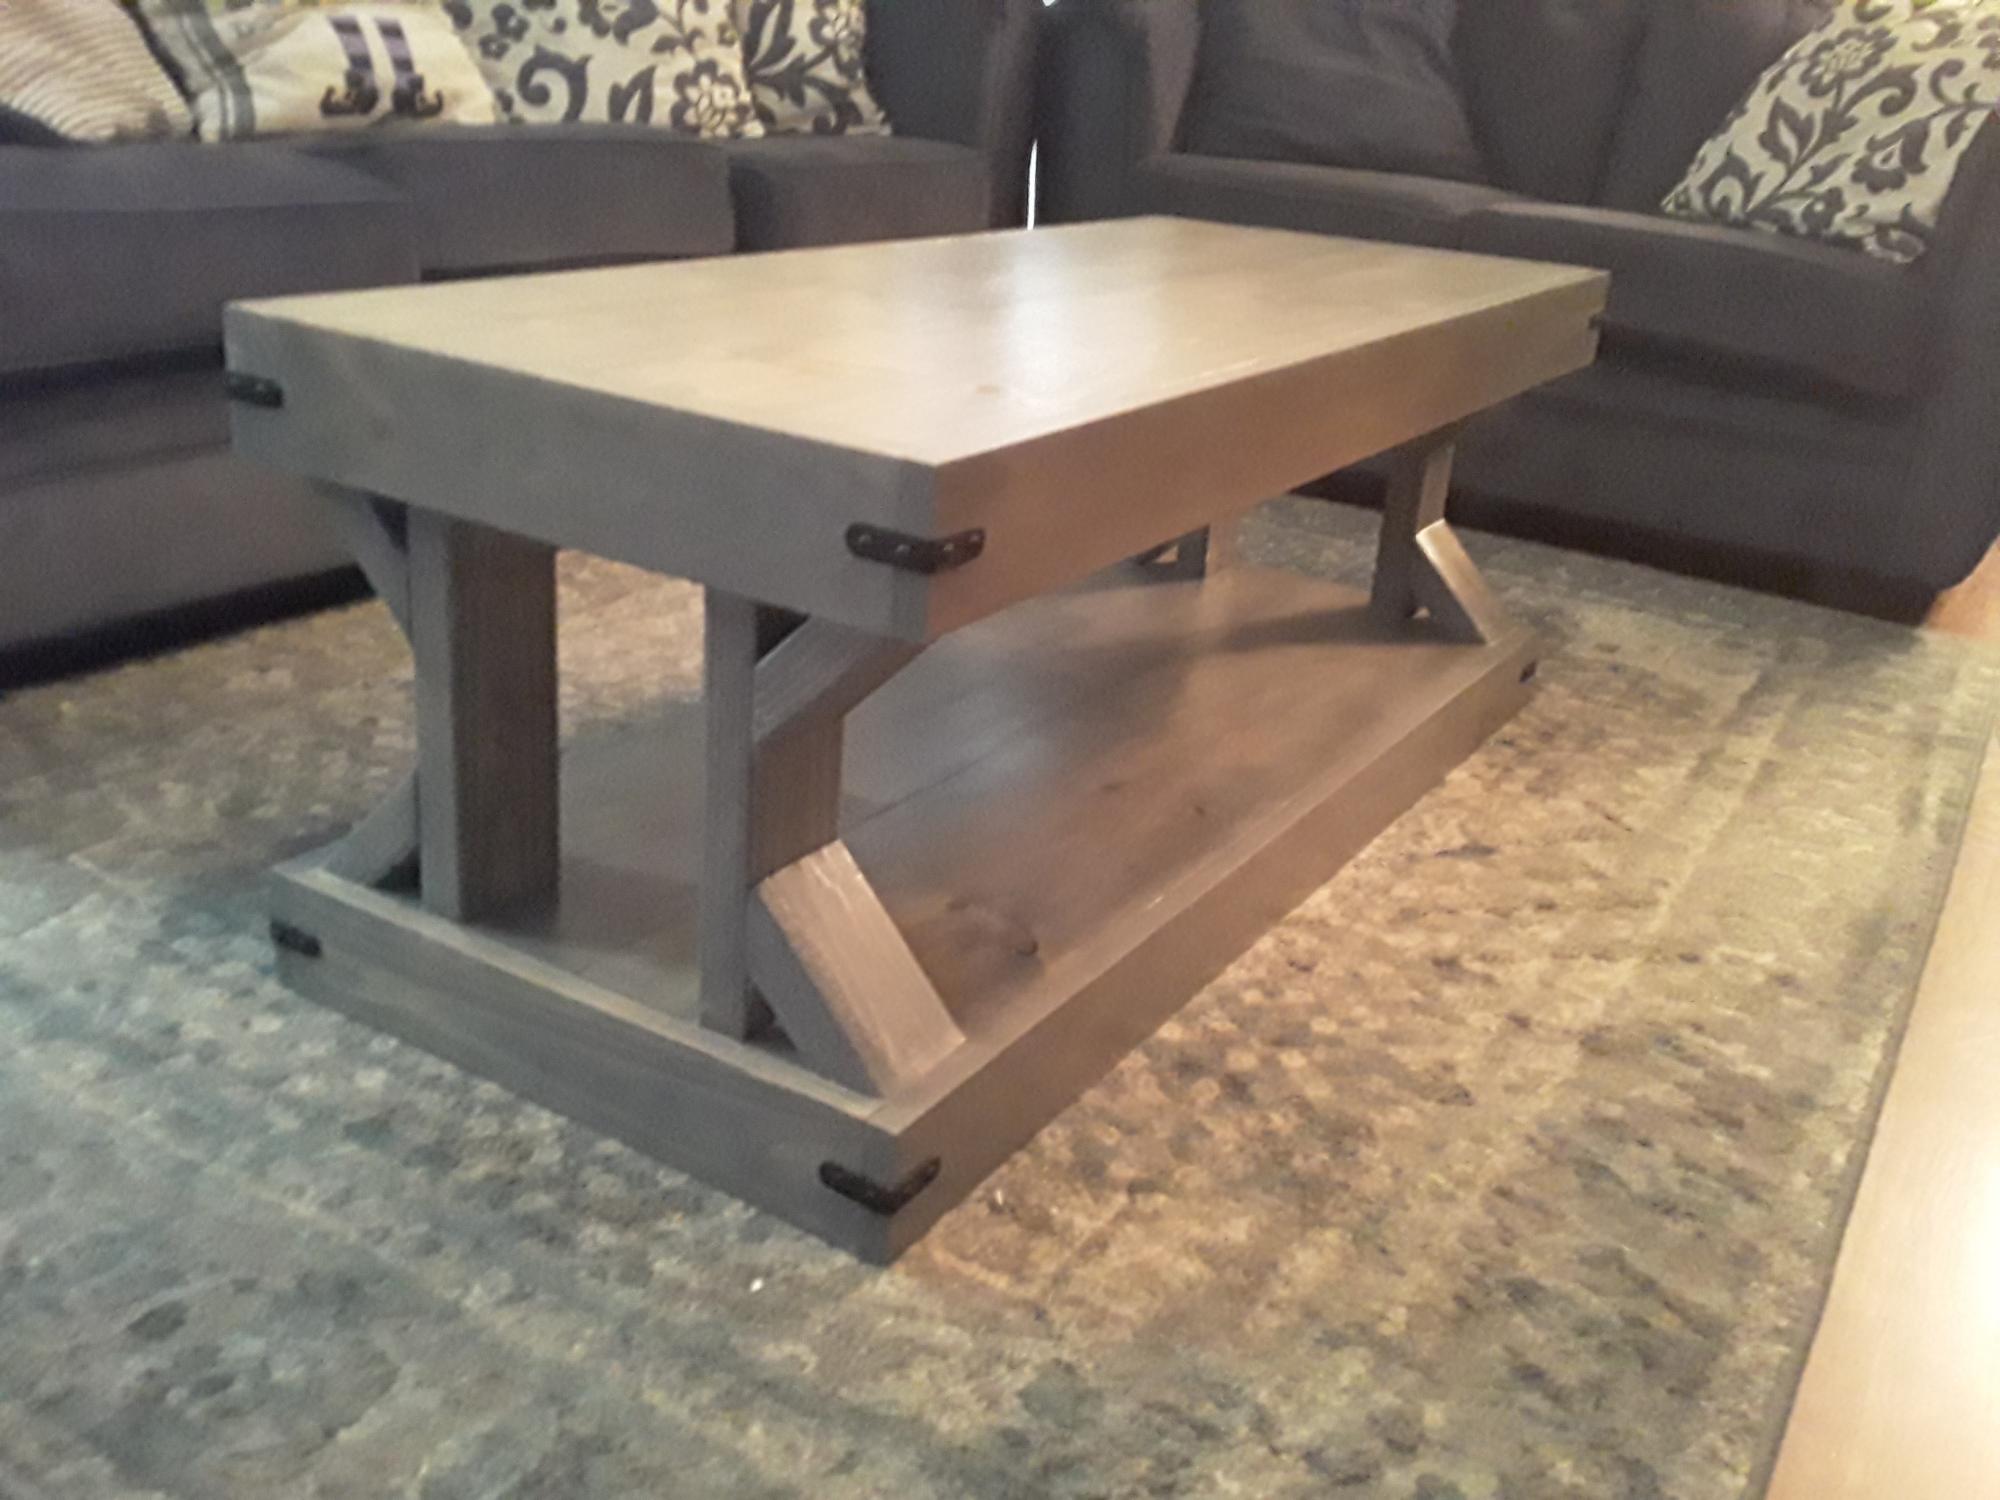
Saw this table and had to build it, love it, easy and fairly quick to build, I also built the console table after seeing the finished coffee table. I also want to make matching end tables. Love this site and how easy it is to build projects with the plans, my go to when finding projects, Thank you


Built from Plan(s)
Estimated Cost
$40-$60
Estimated Time Investment
Afternoon Project (3-6 Hours)
Finish Used
Minwax Classic Grey, Rustoleum Polyurethane Clear
Recommended Skill Level
Beginner
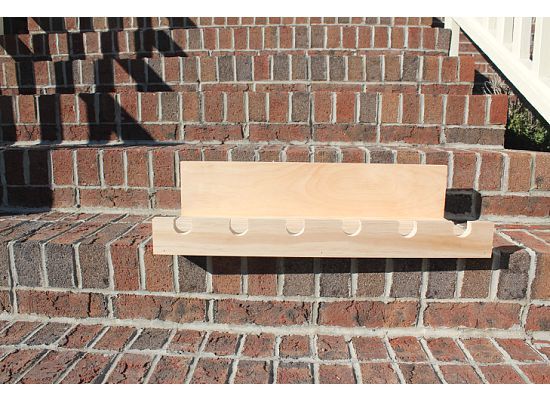
Wine Rack
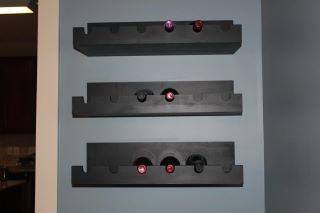
I loved the Holman Entertaining Shleves from Pottery Barn, however, I didn't like the price. Taking the $10 ledge plans and modifying them, I set out to make my own. I used a 1 x 10 (bottom), 1 x 6 (back) and a 1 x 3 (front). They are 23 7/8 inches long to get the 3 shelves out of 6 foot boards. To get the holes to hold the top of the bottle, I used a 1 and 1/4 inch forstner bit. Since I had gift cards left from Christmas I splurged on the wood and bought the select pine.
Built from Plan(s)
Estimated Cost
I had gift cards, but my out of pocket expenses for the 3 shelves was $22.89
Estimated Time Investment
Afternoon Project (3-6 Hours)
Finish Used
I painted them Valspar Lincoln Cottage Black
Recommended Skill Level
Intermediate
Comments

Thu, 02/09/2012 - 09:11
Each shelf has 4 drywall
Each shelf has 4 drywall screws countersunk and attached to the studs.
Tue, 01/14/2014 - 10:55
So pretty!
I love your adaptation of the original design. I have been looking for an example of someone who made this plan into a wider shelf. Has it held up well? I was worried about the stress on the joints when you make it deeper. Has yours handled the weight of the bottles?
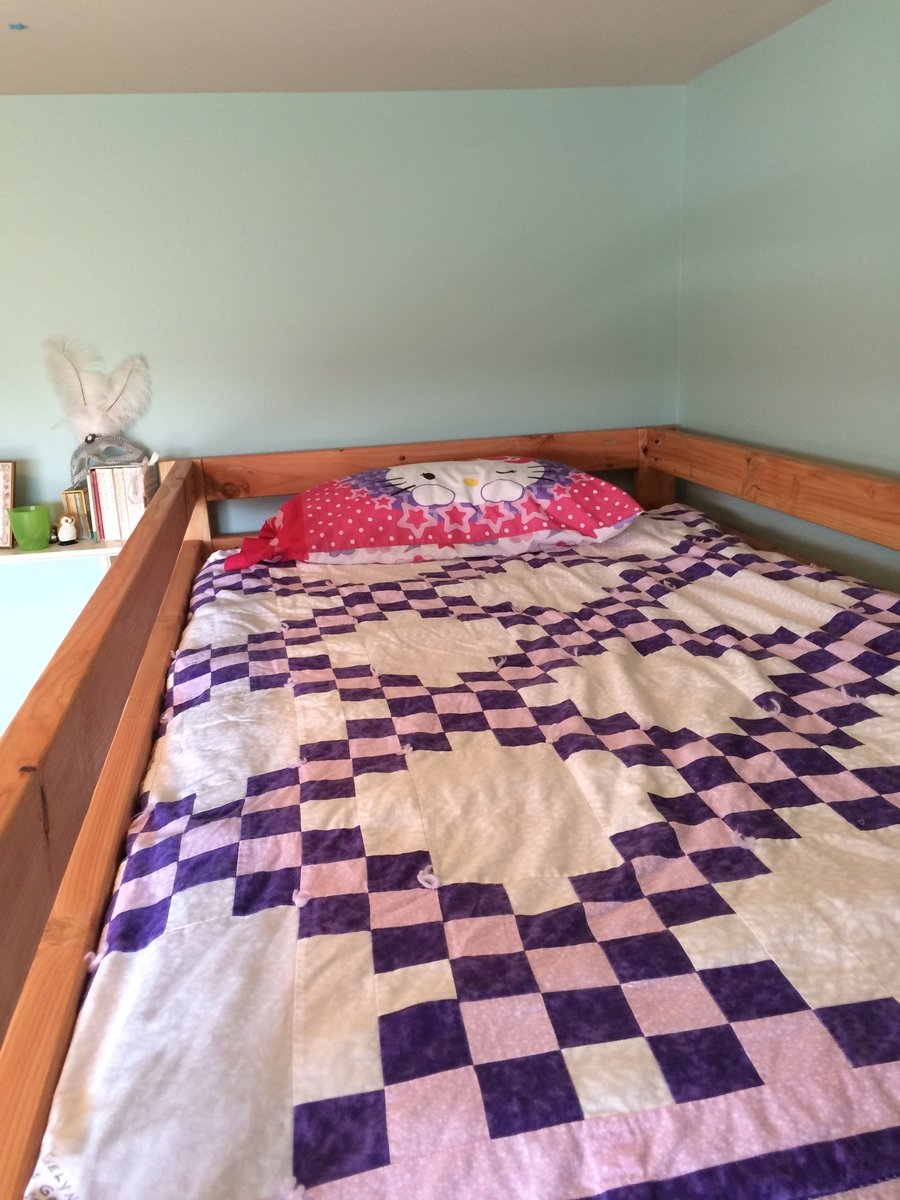
Loft bed
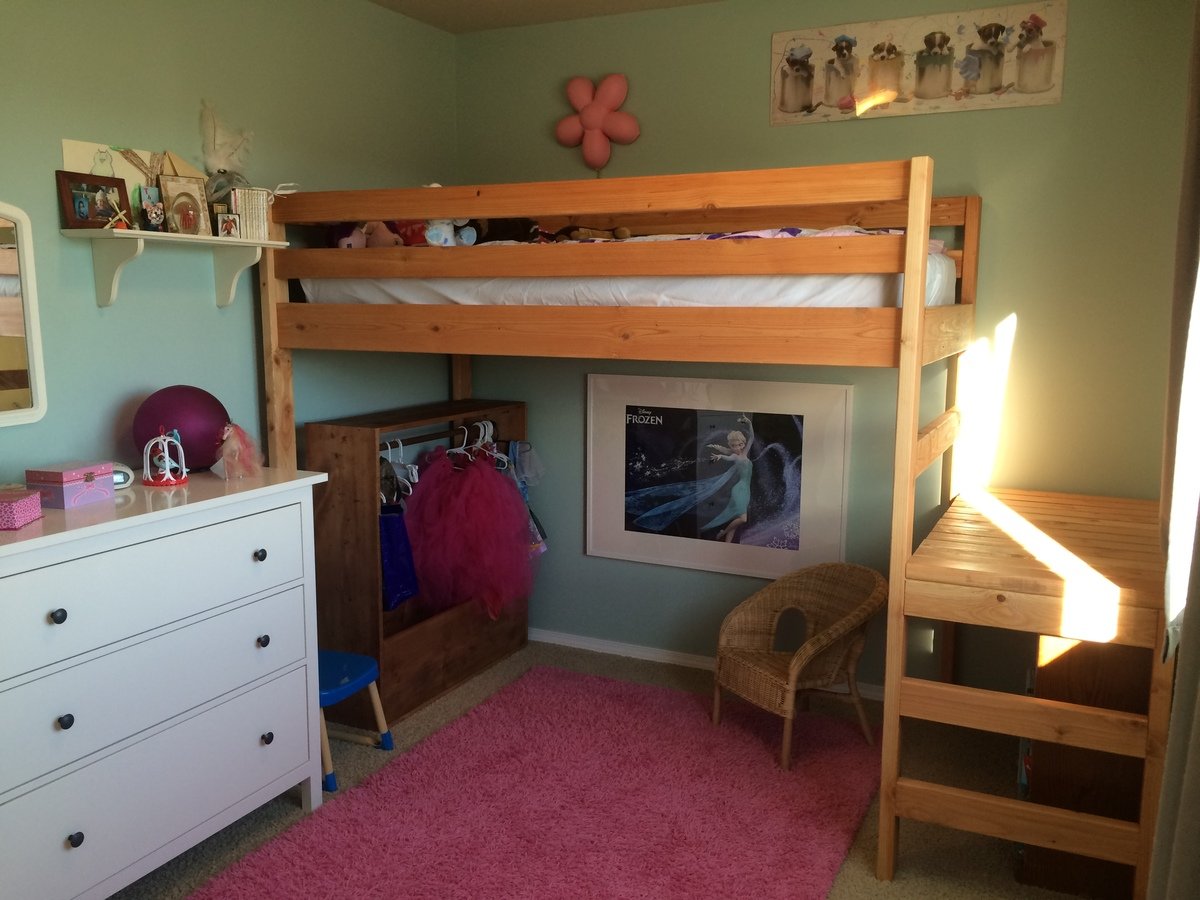
I loved making this bed. This was my first experience using a Kreg Jig and it was great! We added three inches to the height of the bed so that my daughter could stand up for the next two years or so without bonking her head. We opted for rungs instead of stairs to save more space. We also used 2x4s cut to width for bed slats instead of a bunkie board.
Built from Plan(s)
Estimated Cost
$90 for all lumber, wood condition, stain and PH screws
Estimated Time Investment
Weekend Project (10-20 Hours)
Finish Used
Minwax wood conditioner
Minwax Ipswich Pine
Minwax Ipswich Pine
Recommended Skill Level
Starter Project
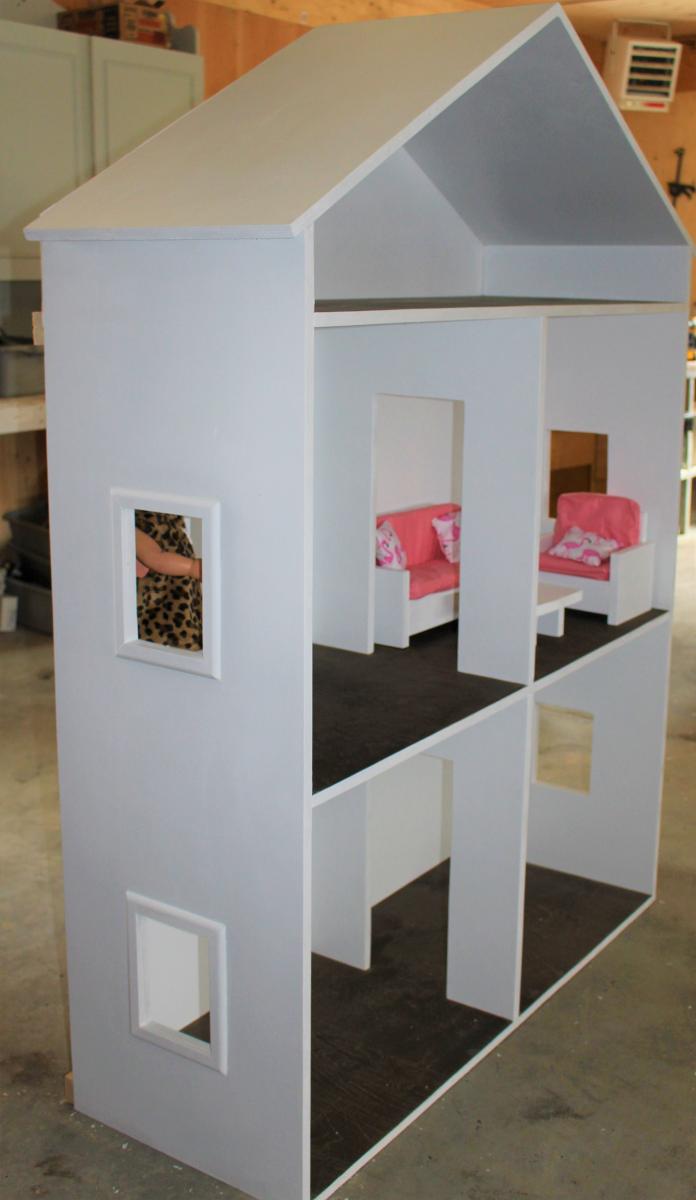
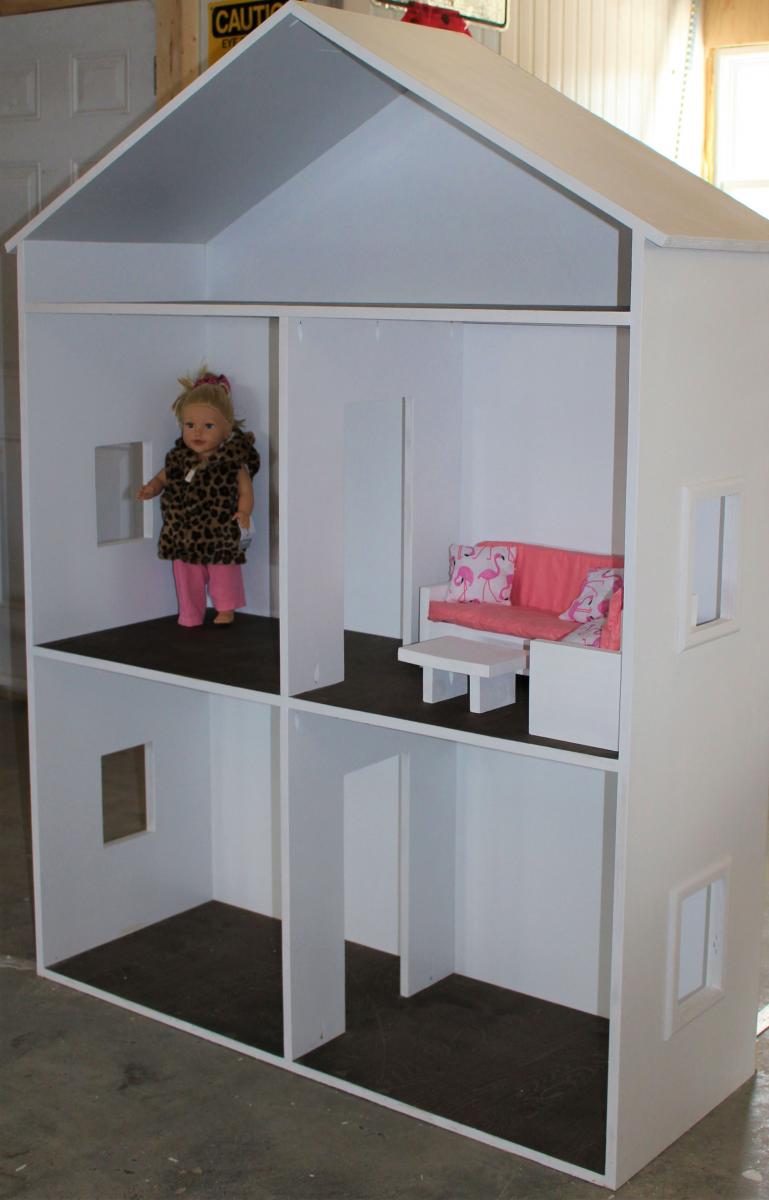
American Girl Doll House
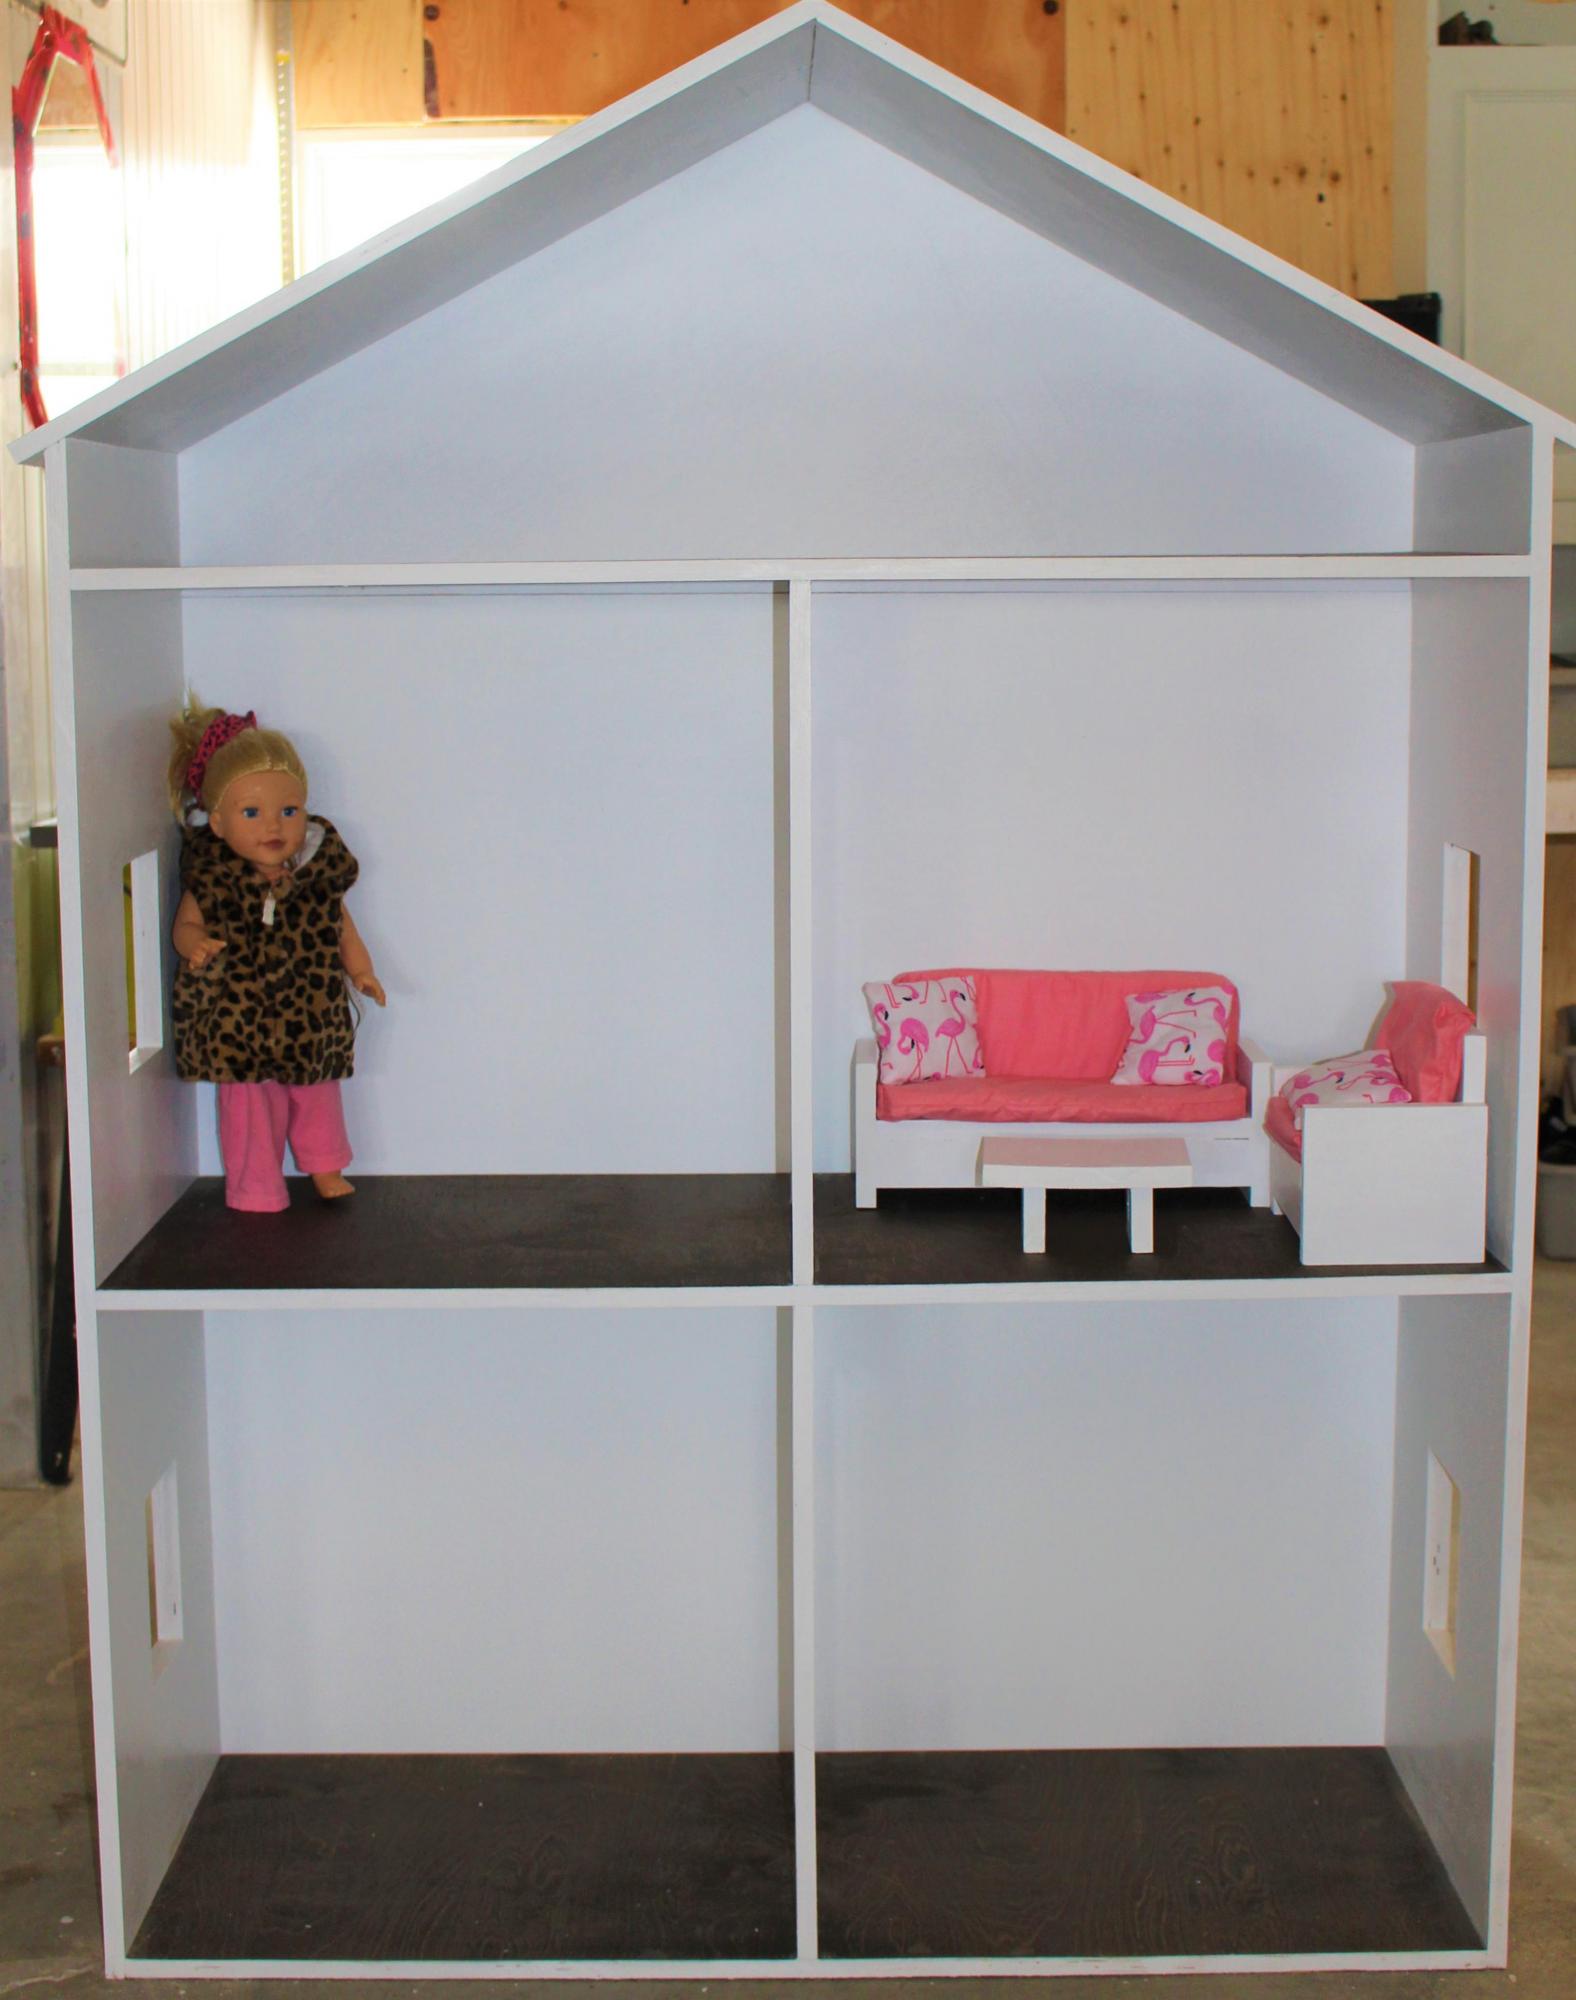
This Project was a Challenge mostly because of its size. Standing 6ft Tall and 4ft wide it was hard to handle at times but easy enough and fun to build.
I followed Ana's Three Story American Girl or 18" Dollhouse plans.
We also made the American Girl or 18" Doll Sofa or Couch.

Built from Plan(s)
Estimated Cost
$150
Estimated Time Investment
Weekend Project (10-20 Hours)
Finish Used
I used White Latex Paint and Walnut Mini Wax stain for the floors
Recommended Skill Level
Beginner
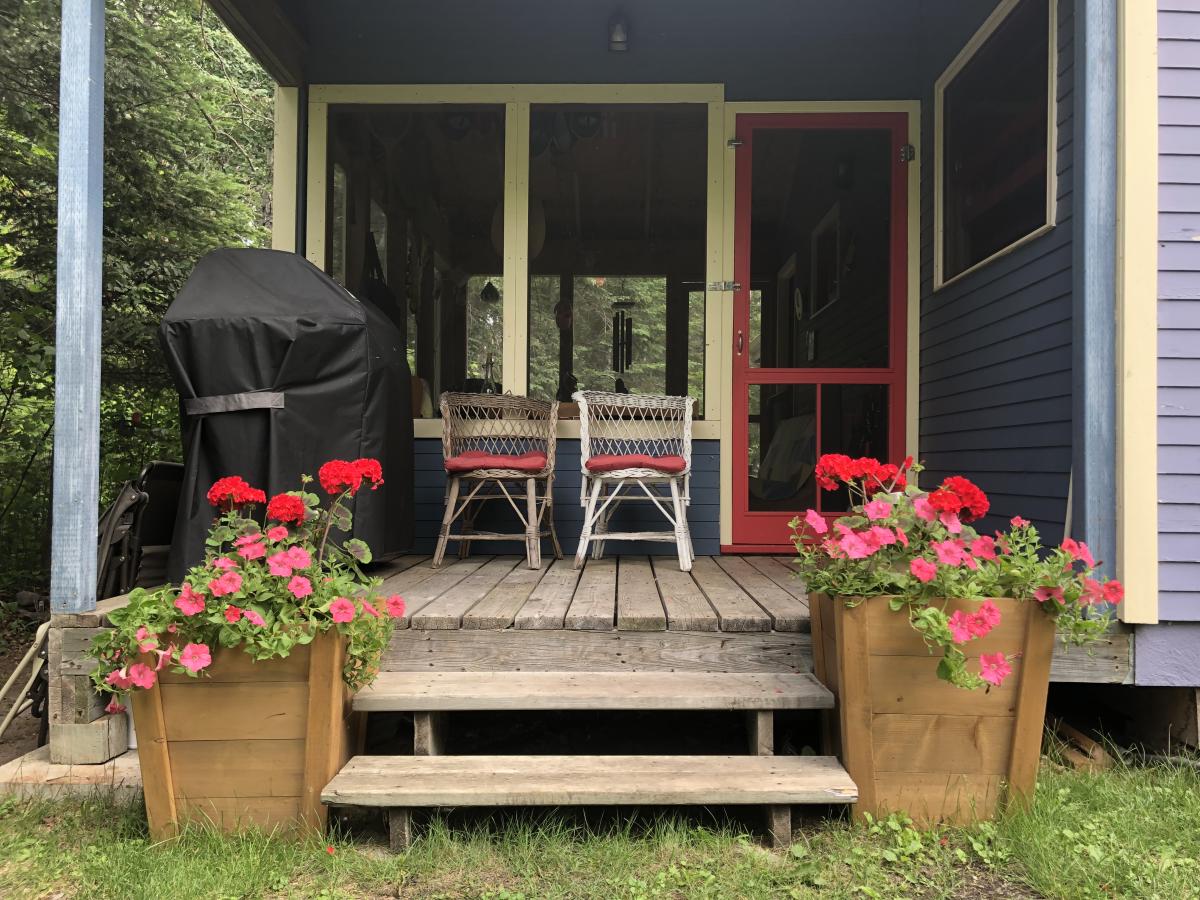
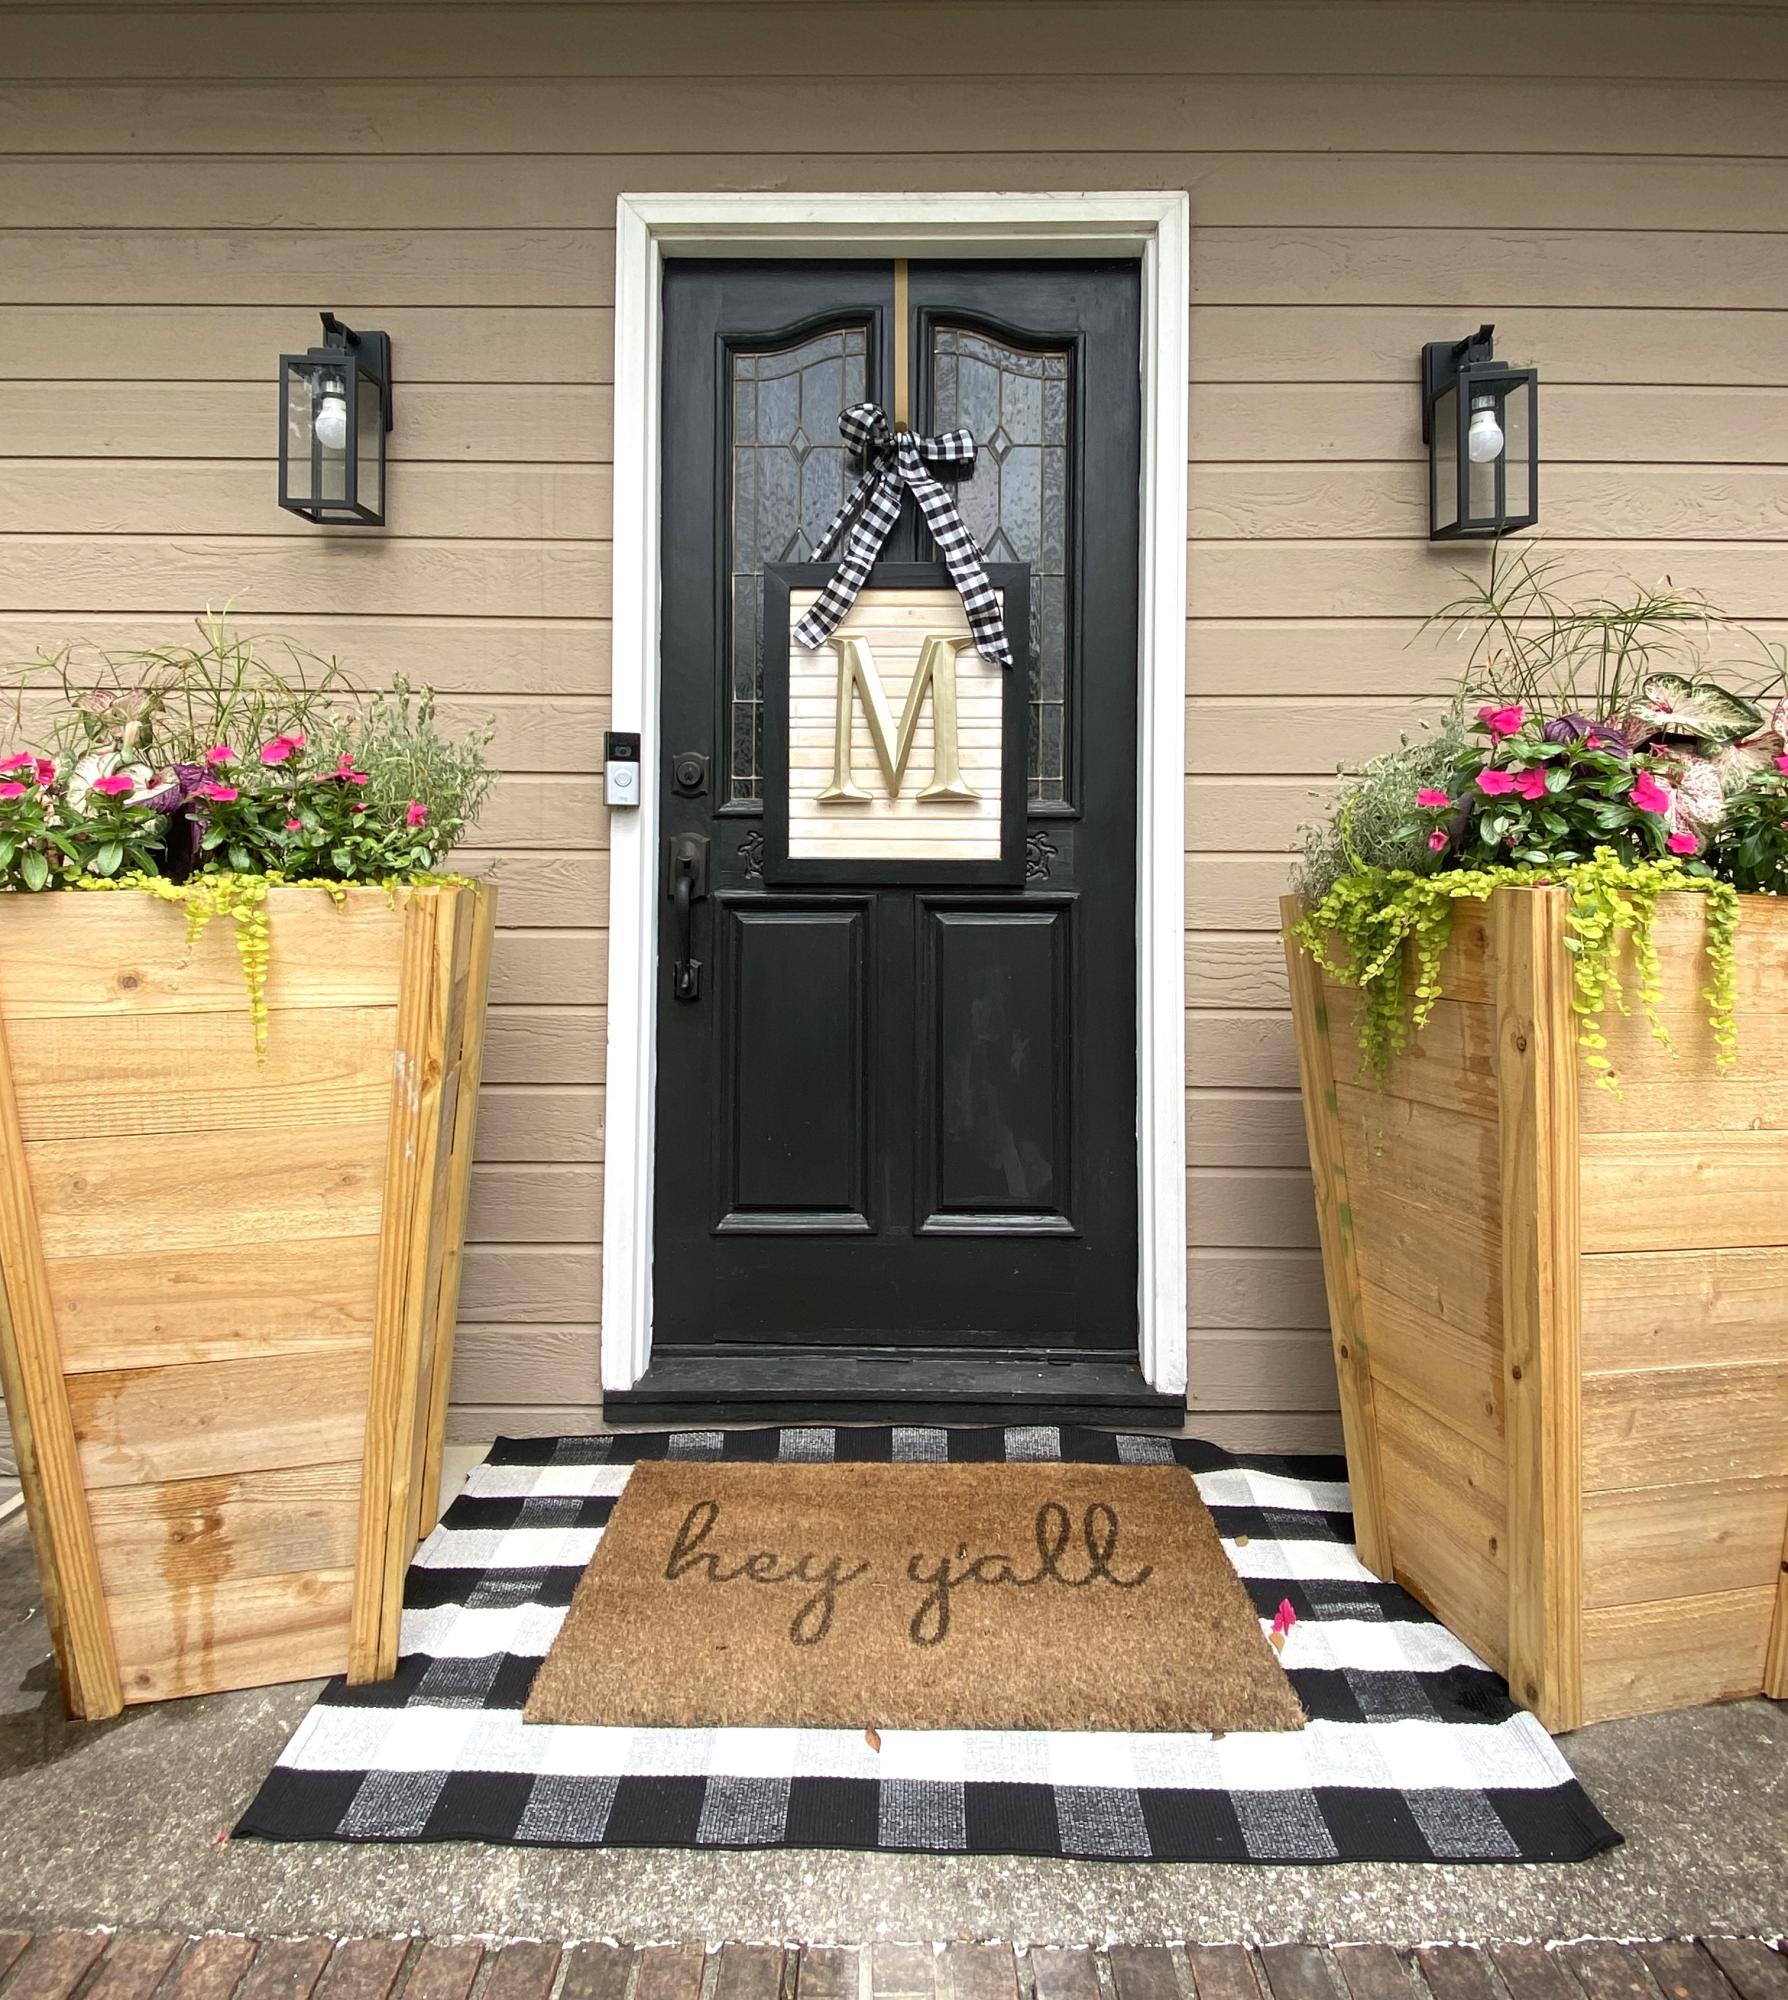
Planters for Steps
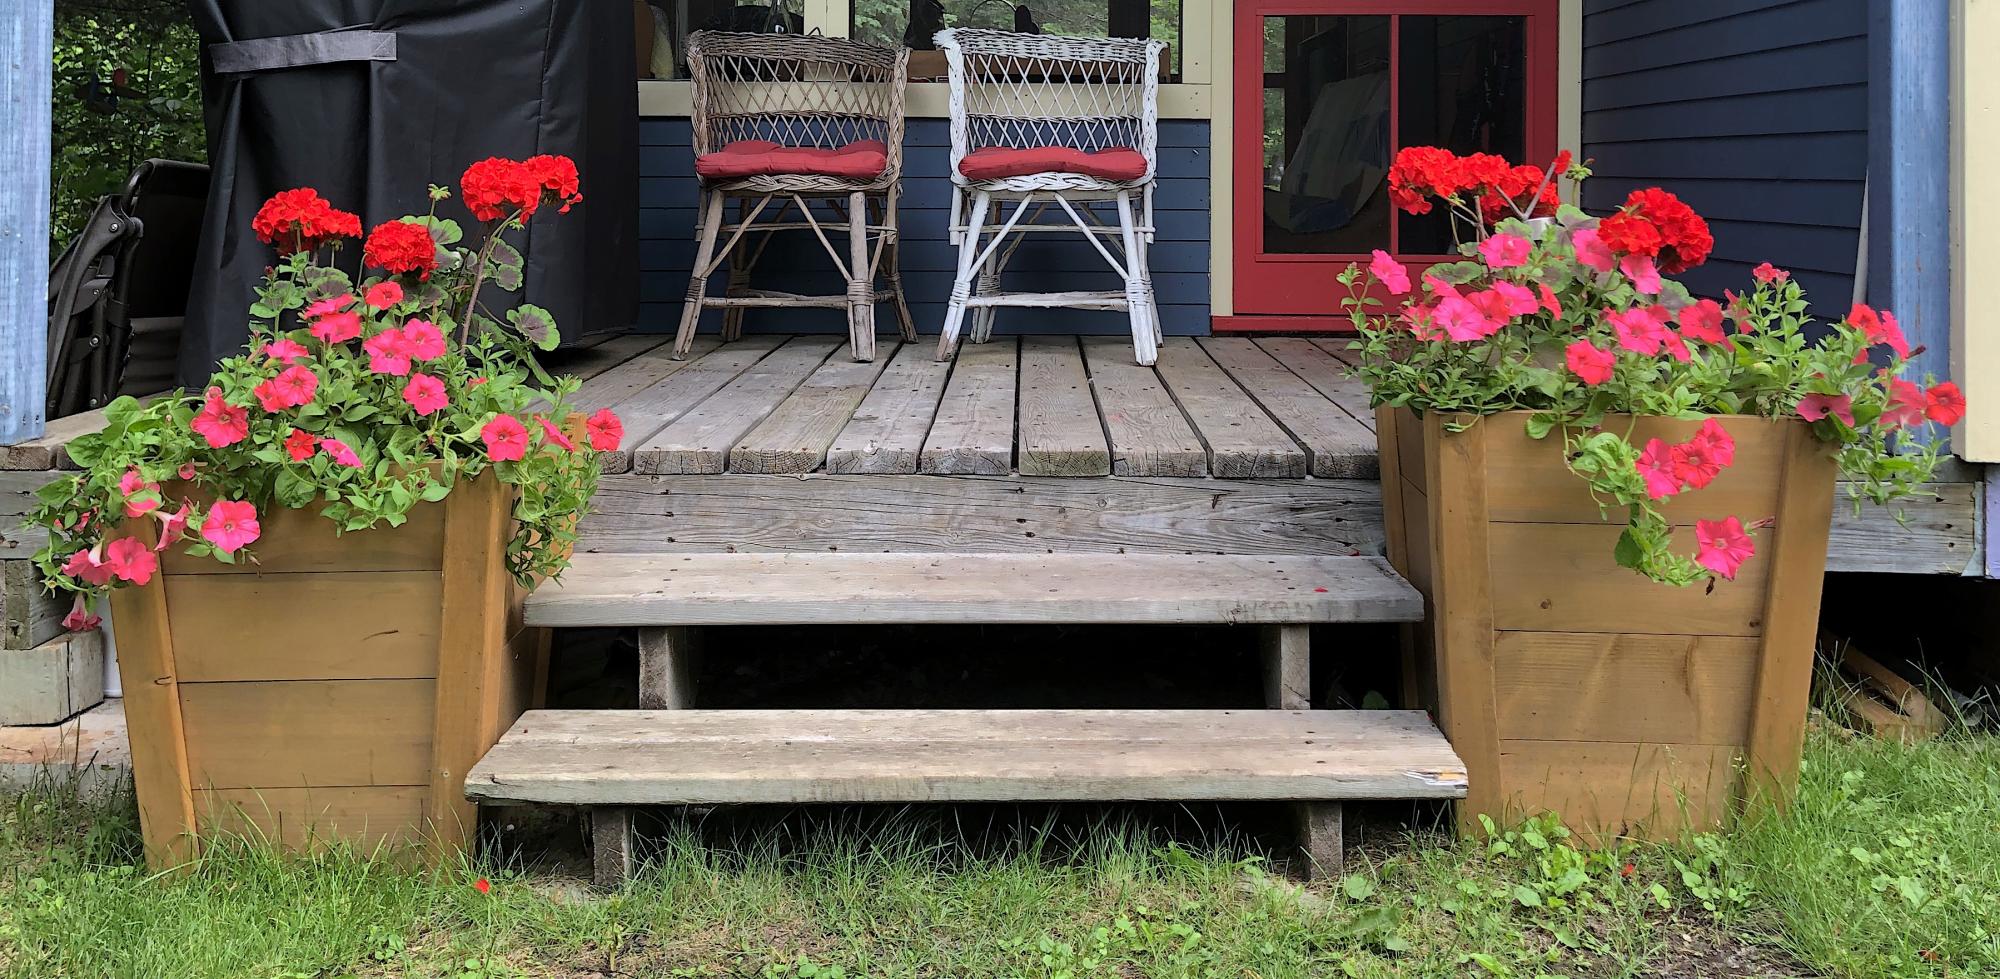
Very happy with how these planters turned out. Beautiful with red Geraniums and ping wave petunias.
Built by Dave
Built from Plan(s)
Comments
Tue, 06/27/2023 - 13:15
Beautiful addition to your porch!
Thank you for sharing your wonderful planters!
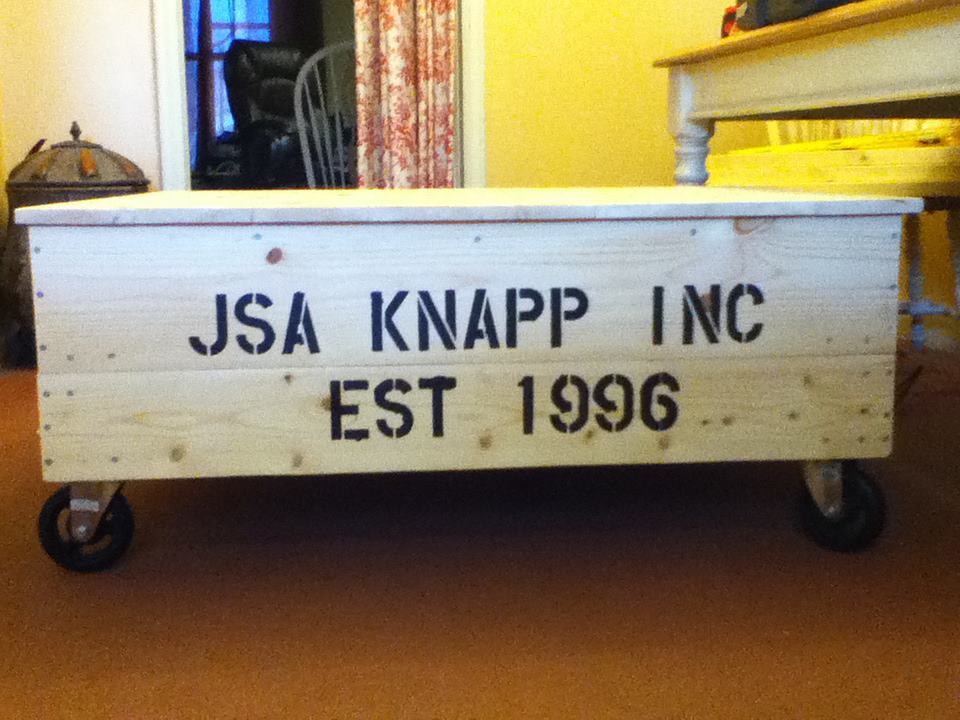
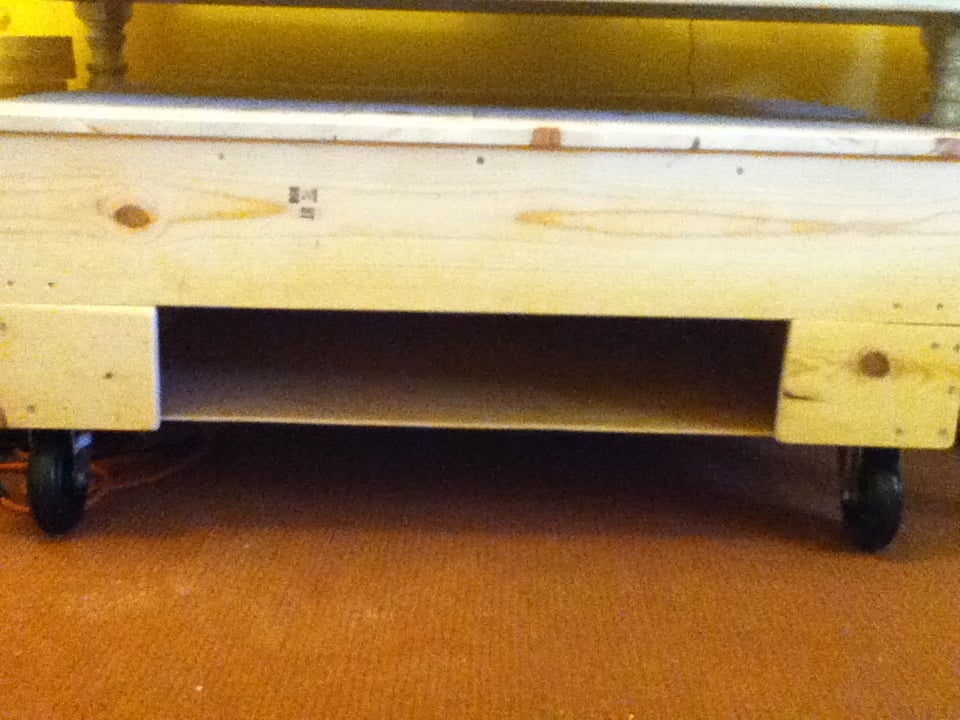
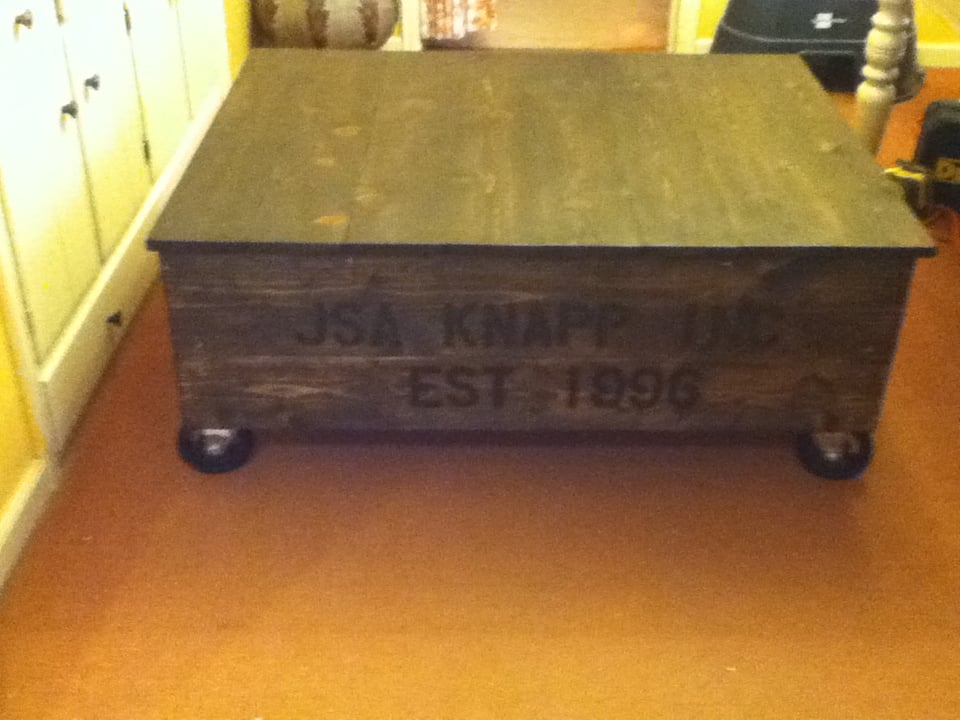
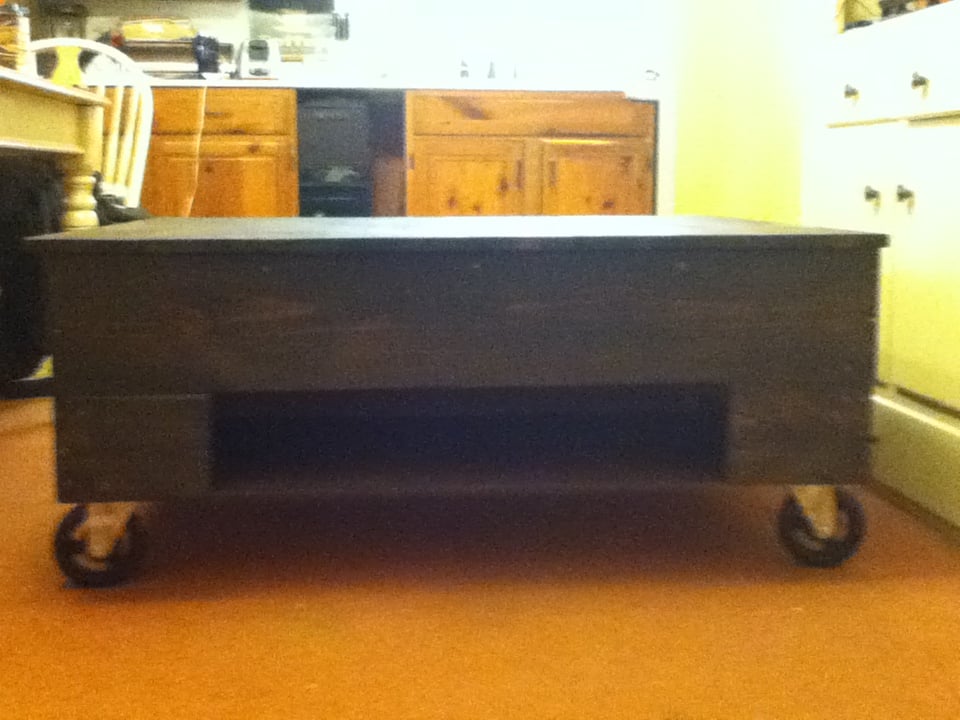
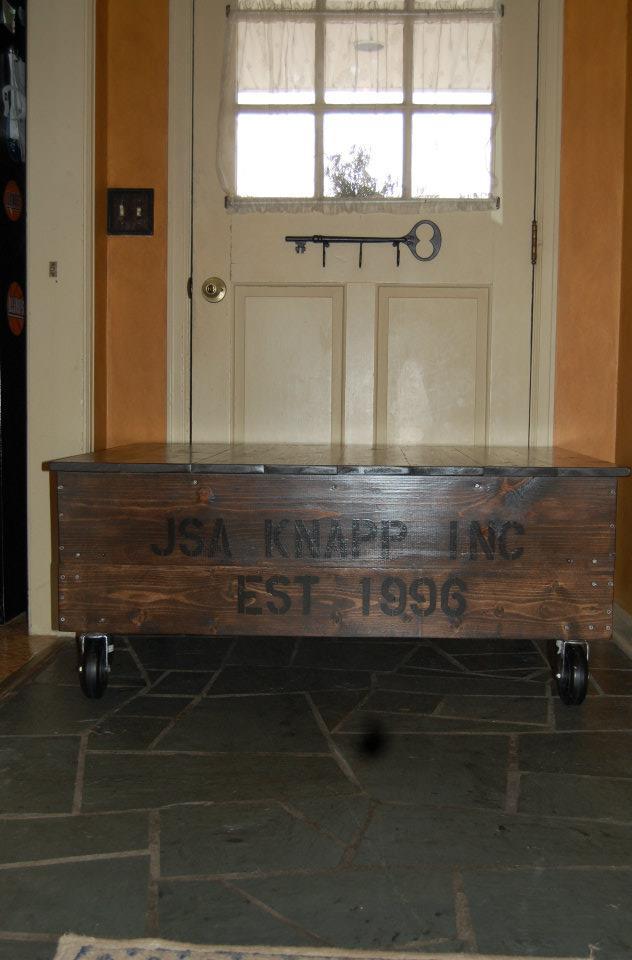
Factory Cart Coffee Table
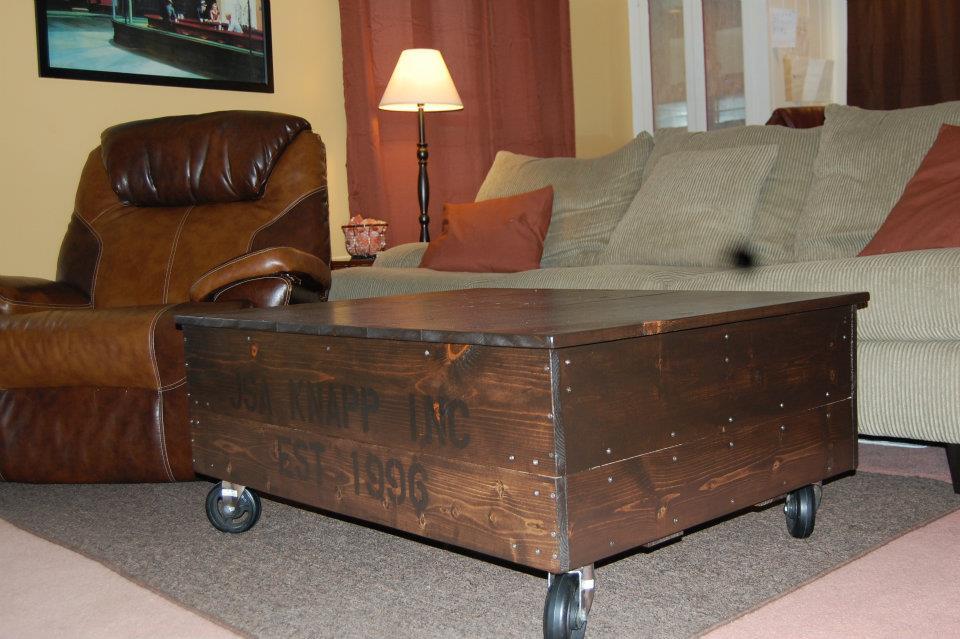
(Sorry my photos aren't the best, there is a black spot on my lens which shows up on some pictures.)
I had a lot of fun making this! I'd been wanting a vintage factory cart for over a year when I found this plan on Pinterest which led me here. I wanted to get a rustic industrial look so I made the table in the picture from the Ana White site that is stained and not the green one. After getting the base built, my husband and I decided we wanted it taller (since we have a dog who would love to sniff at whatever we put on it). And while I'm at it, why not add some storage? So I added more 2x4s and attached them to both the base and additional 1x6s. I put the 1x6s on the front and both sides, leaving the back open. I flipped the whole thing over, put the casters on and added plywood to the bottom of those 2x4s. then added two small boards give support to the plywood, which created a storage shelf. I then sanded and stained it and finished it off with two coats of semi-gloss poly. I did not counter-sink my screws or used wood filler as I was going for the rustic industrial look and I love the way it looks. It is very sturdy, too. I have moved it all around, slid it on its side trying to get some decent pictures and its just as sturdy as ever.
Built from Plan(s)
Estimated Cost
< $100
Estimated Time Investment
Weekend Project (10-20 Hours)
Finish Used
Stain color is Kona. Two coats of poly.
Recommended Skill Level
Beginner
Comments
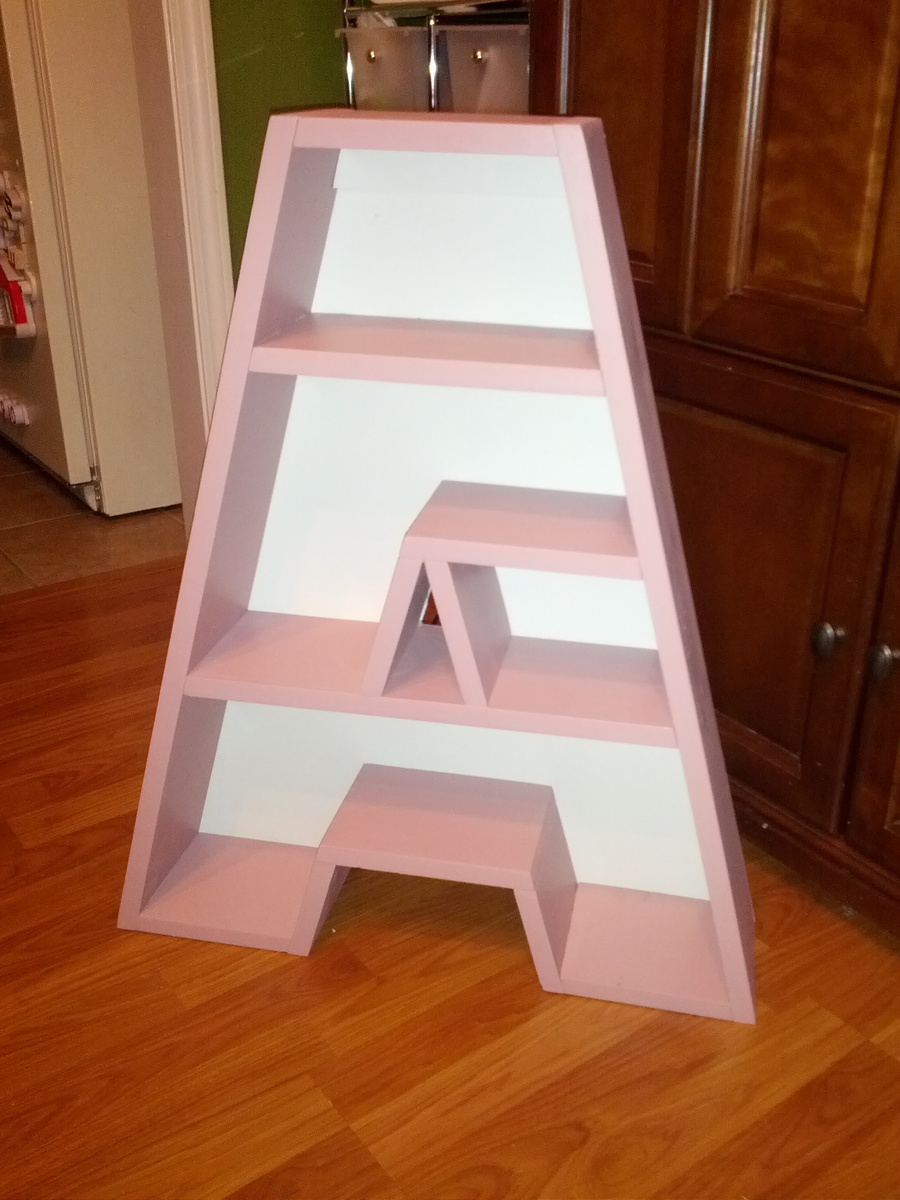
A letter shelf
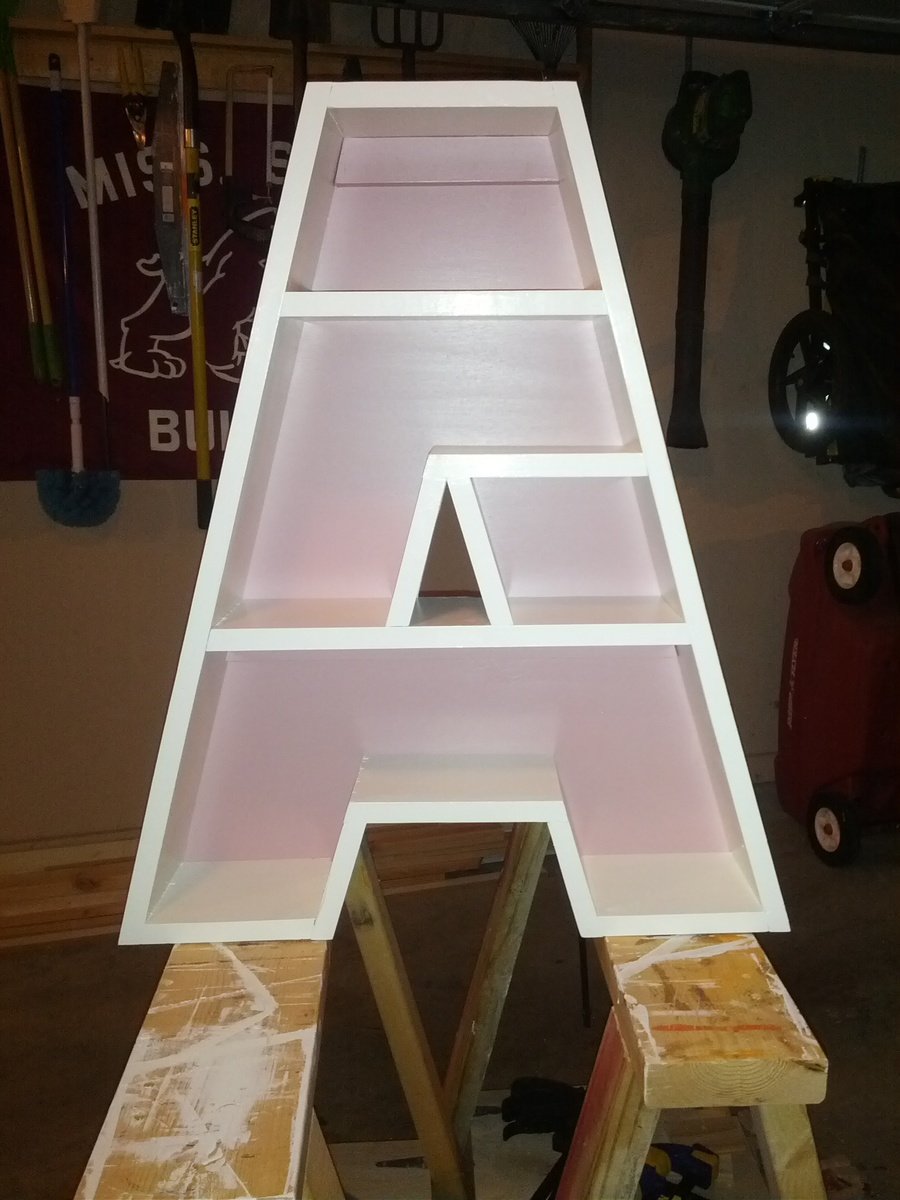
A built these shelves for my nieces birthdays. I reversed the color schemes to keep them separate. The plans provided are great! I would certainly use the added 1 x 2 supports if hanging on the wall because the shelf is heavy (about 14 pounds).
Built from Plan(s)
Estimated Time Investment
Afternoon Project (3-6 Hours)
Finish Used
Valspar paint sample from Lowes
Recommended Skill Level
Beginner
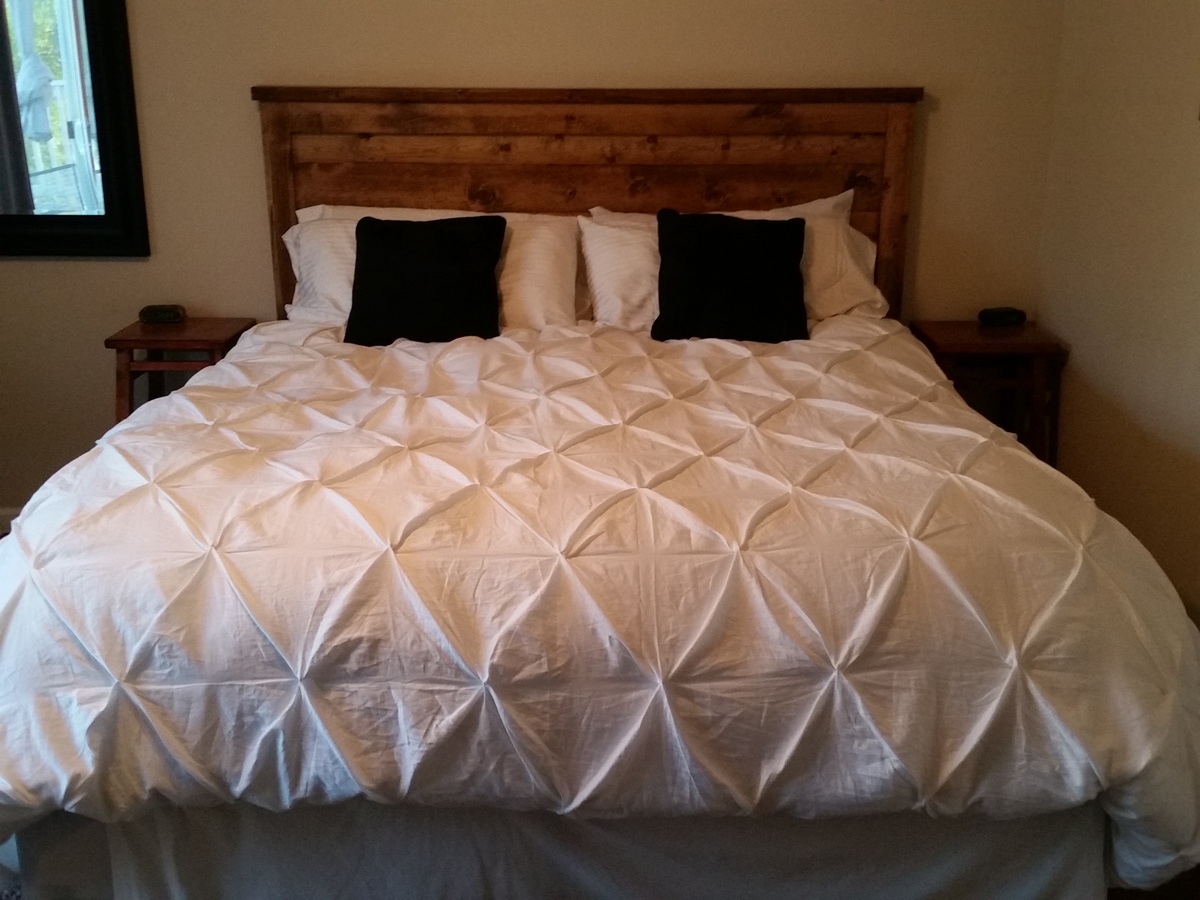
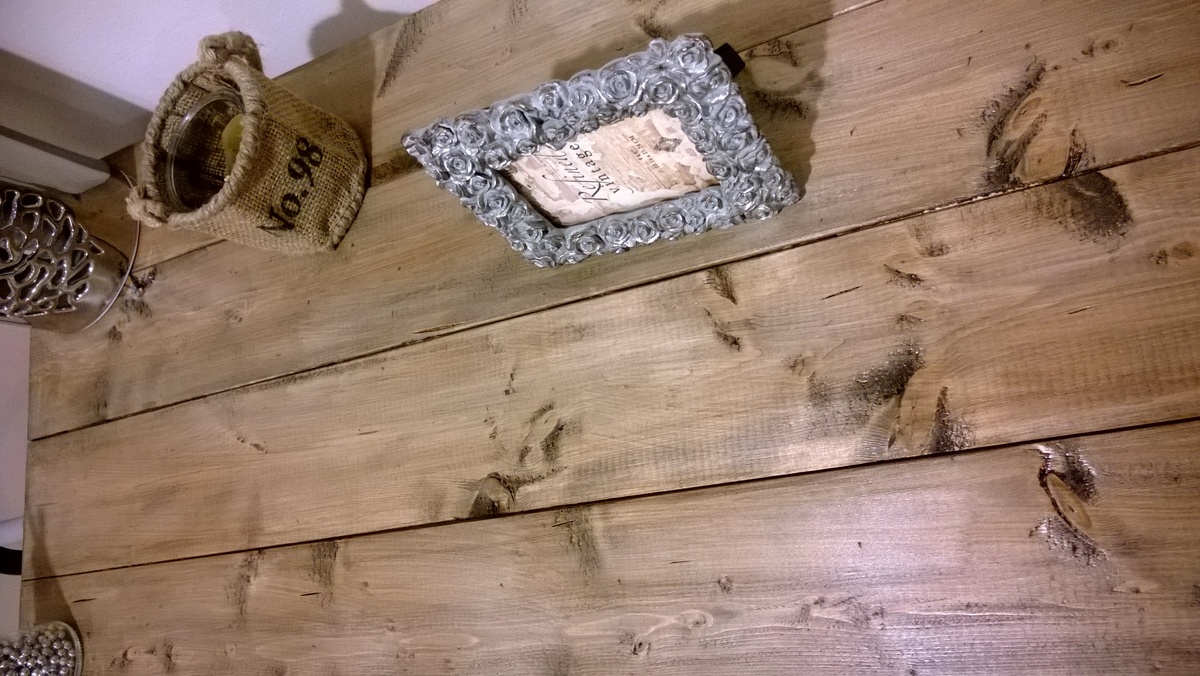
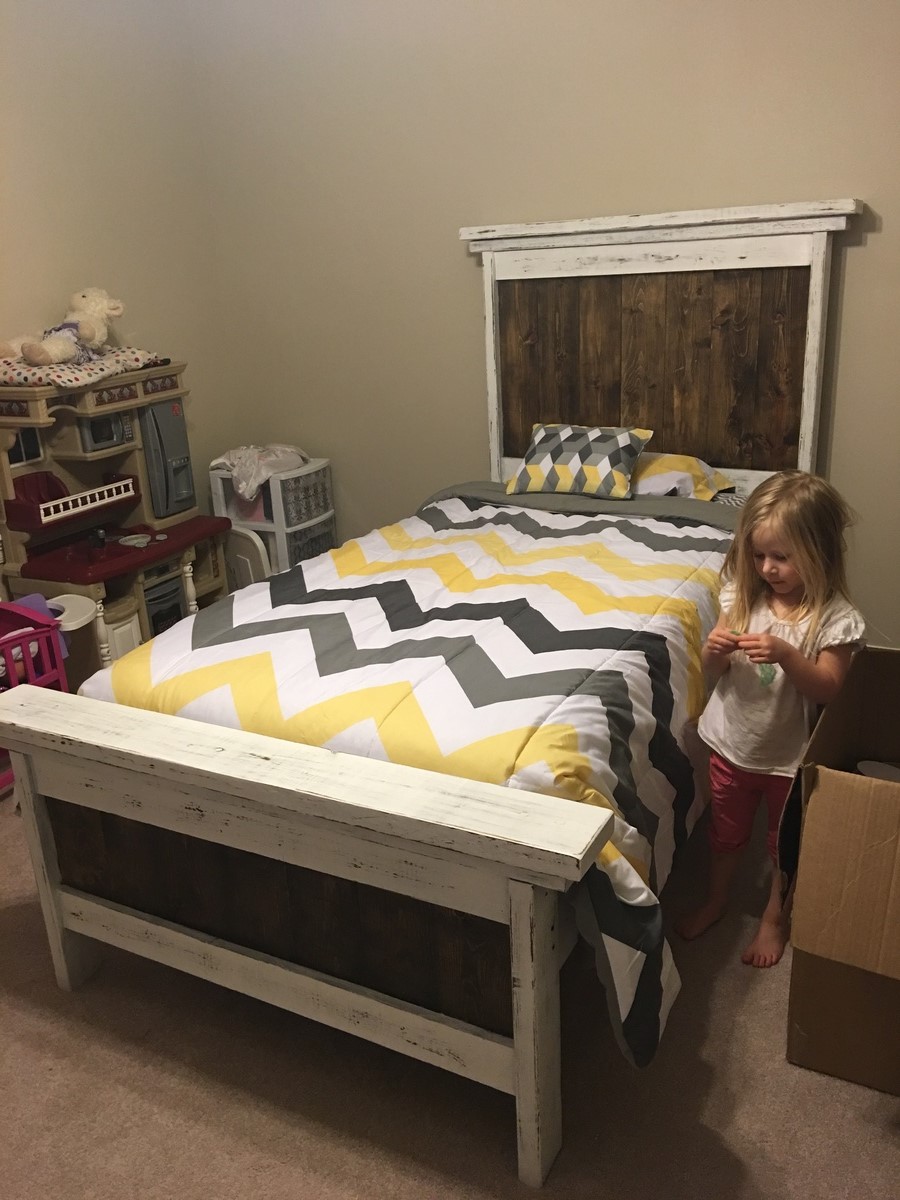
Planked Wood Headboard
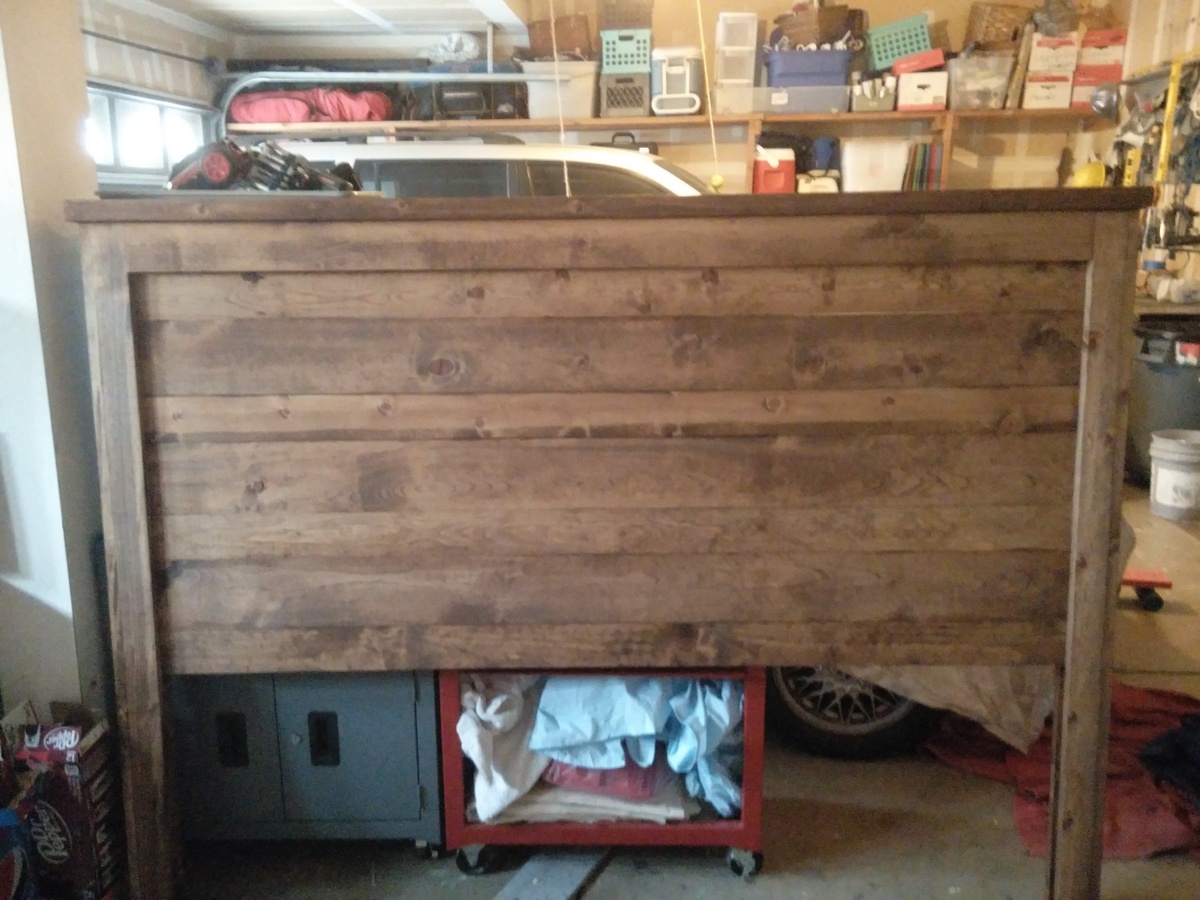
Followed the instructions. Very easy to follow. Made California King size.
Built from Plan(s)
Estimated Cost
$70
Estimated Time Investment
Afternoon Project (3-6 Hours)
Finish Used
MinWax Early American Stain
Satin Finish
Recommended Skill Level
Beginner
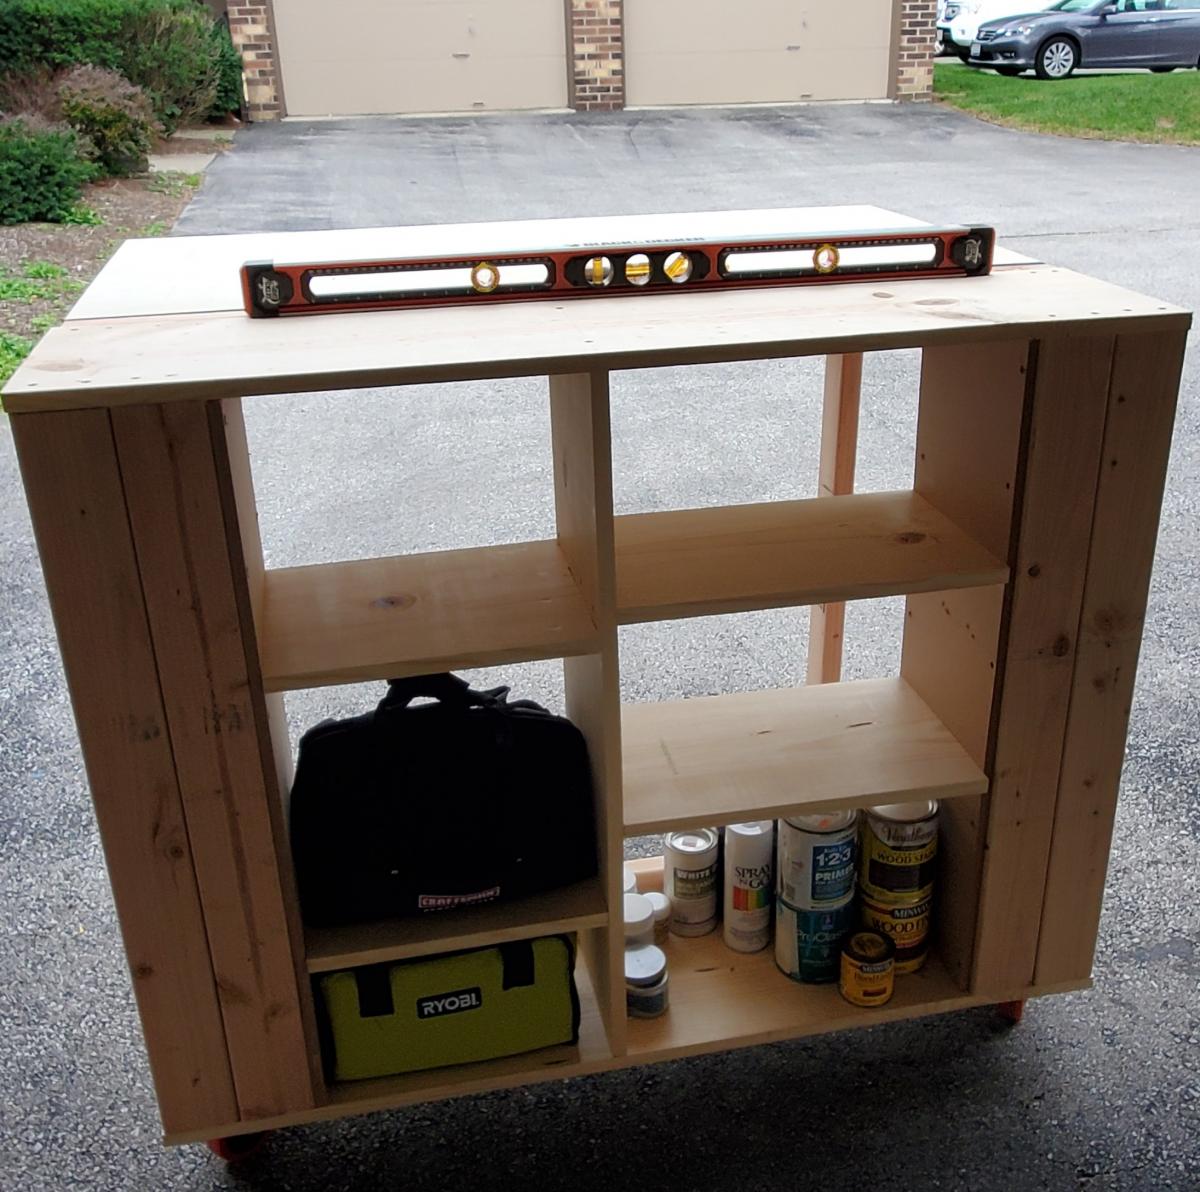
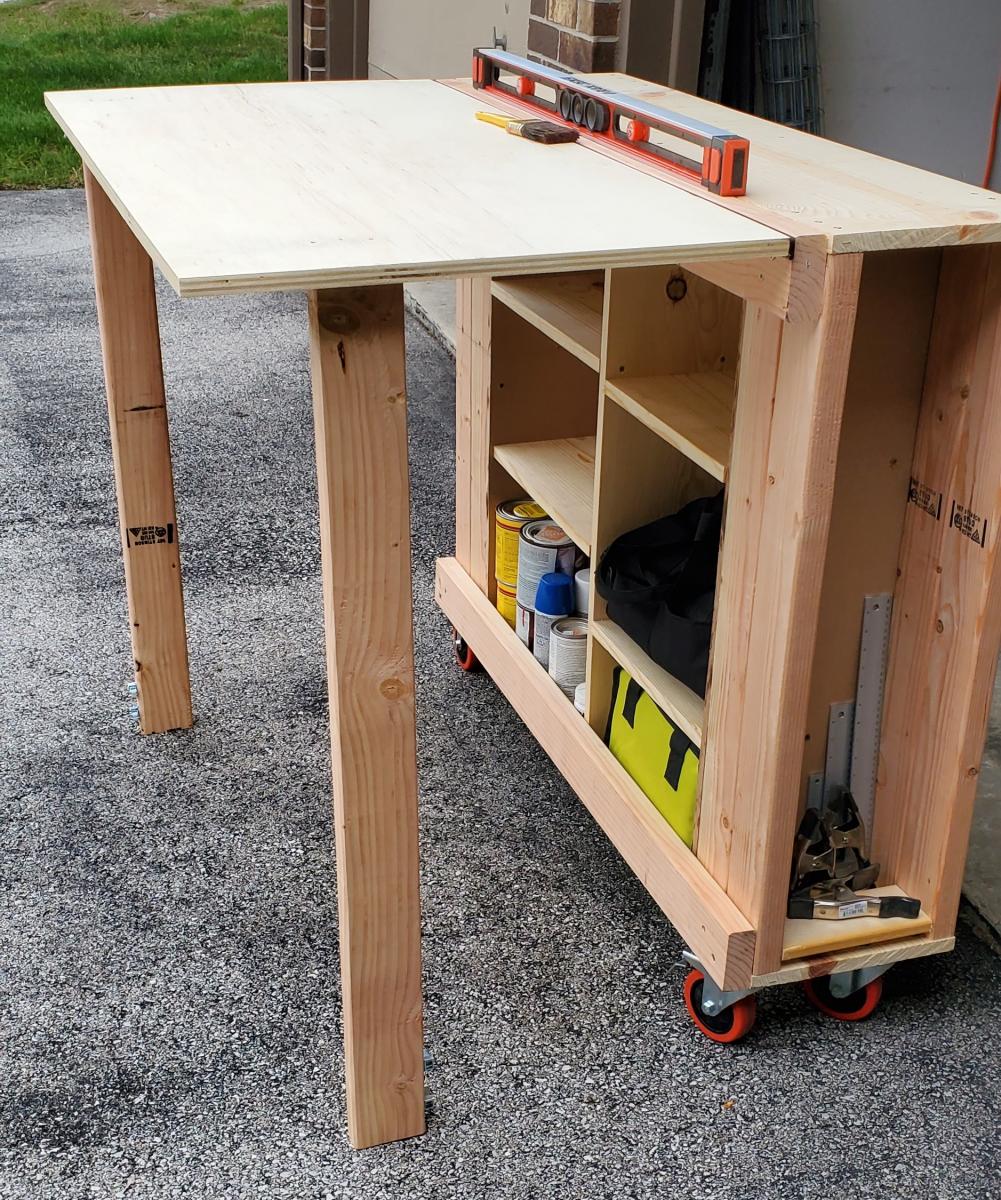
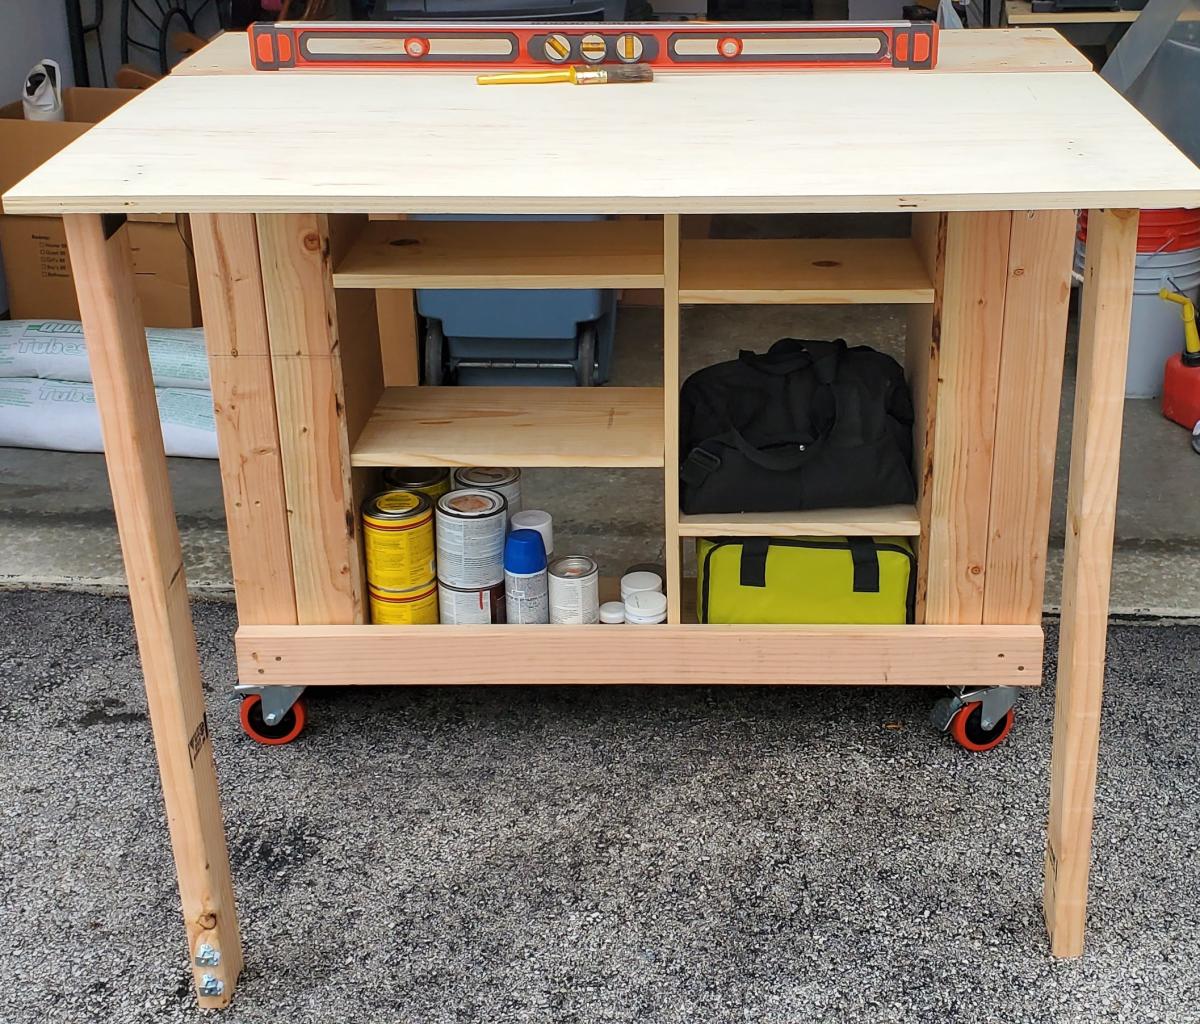
Folding Workbench
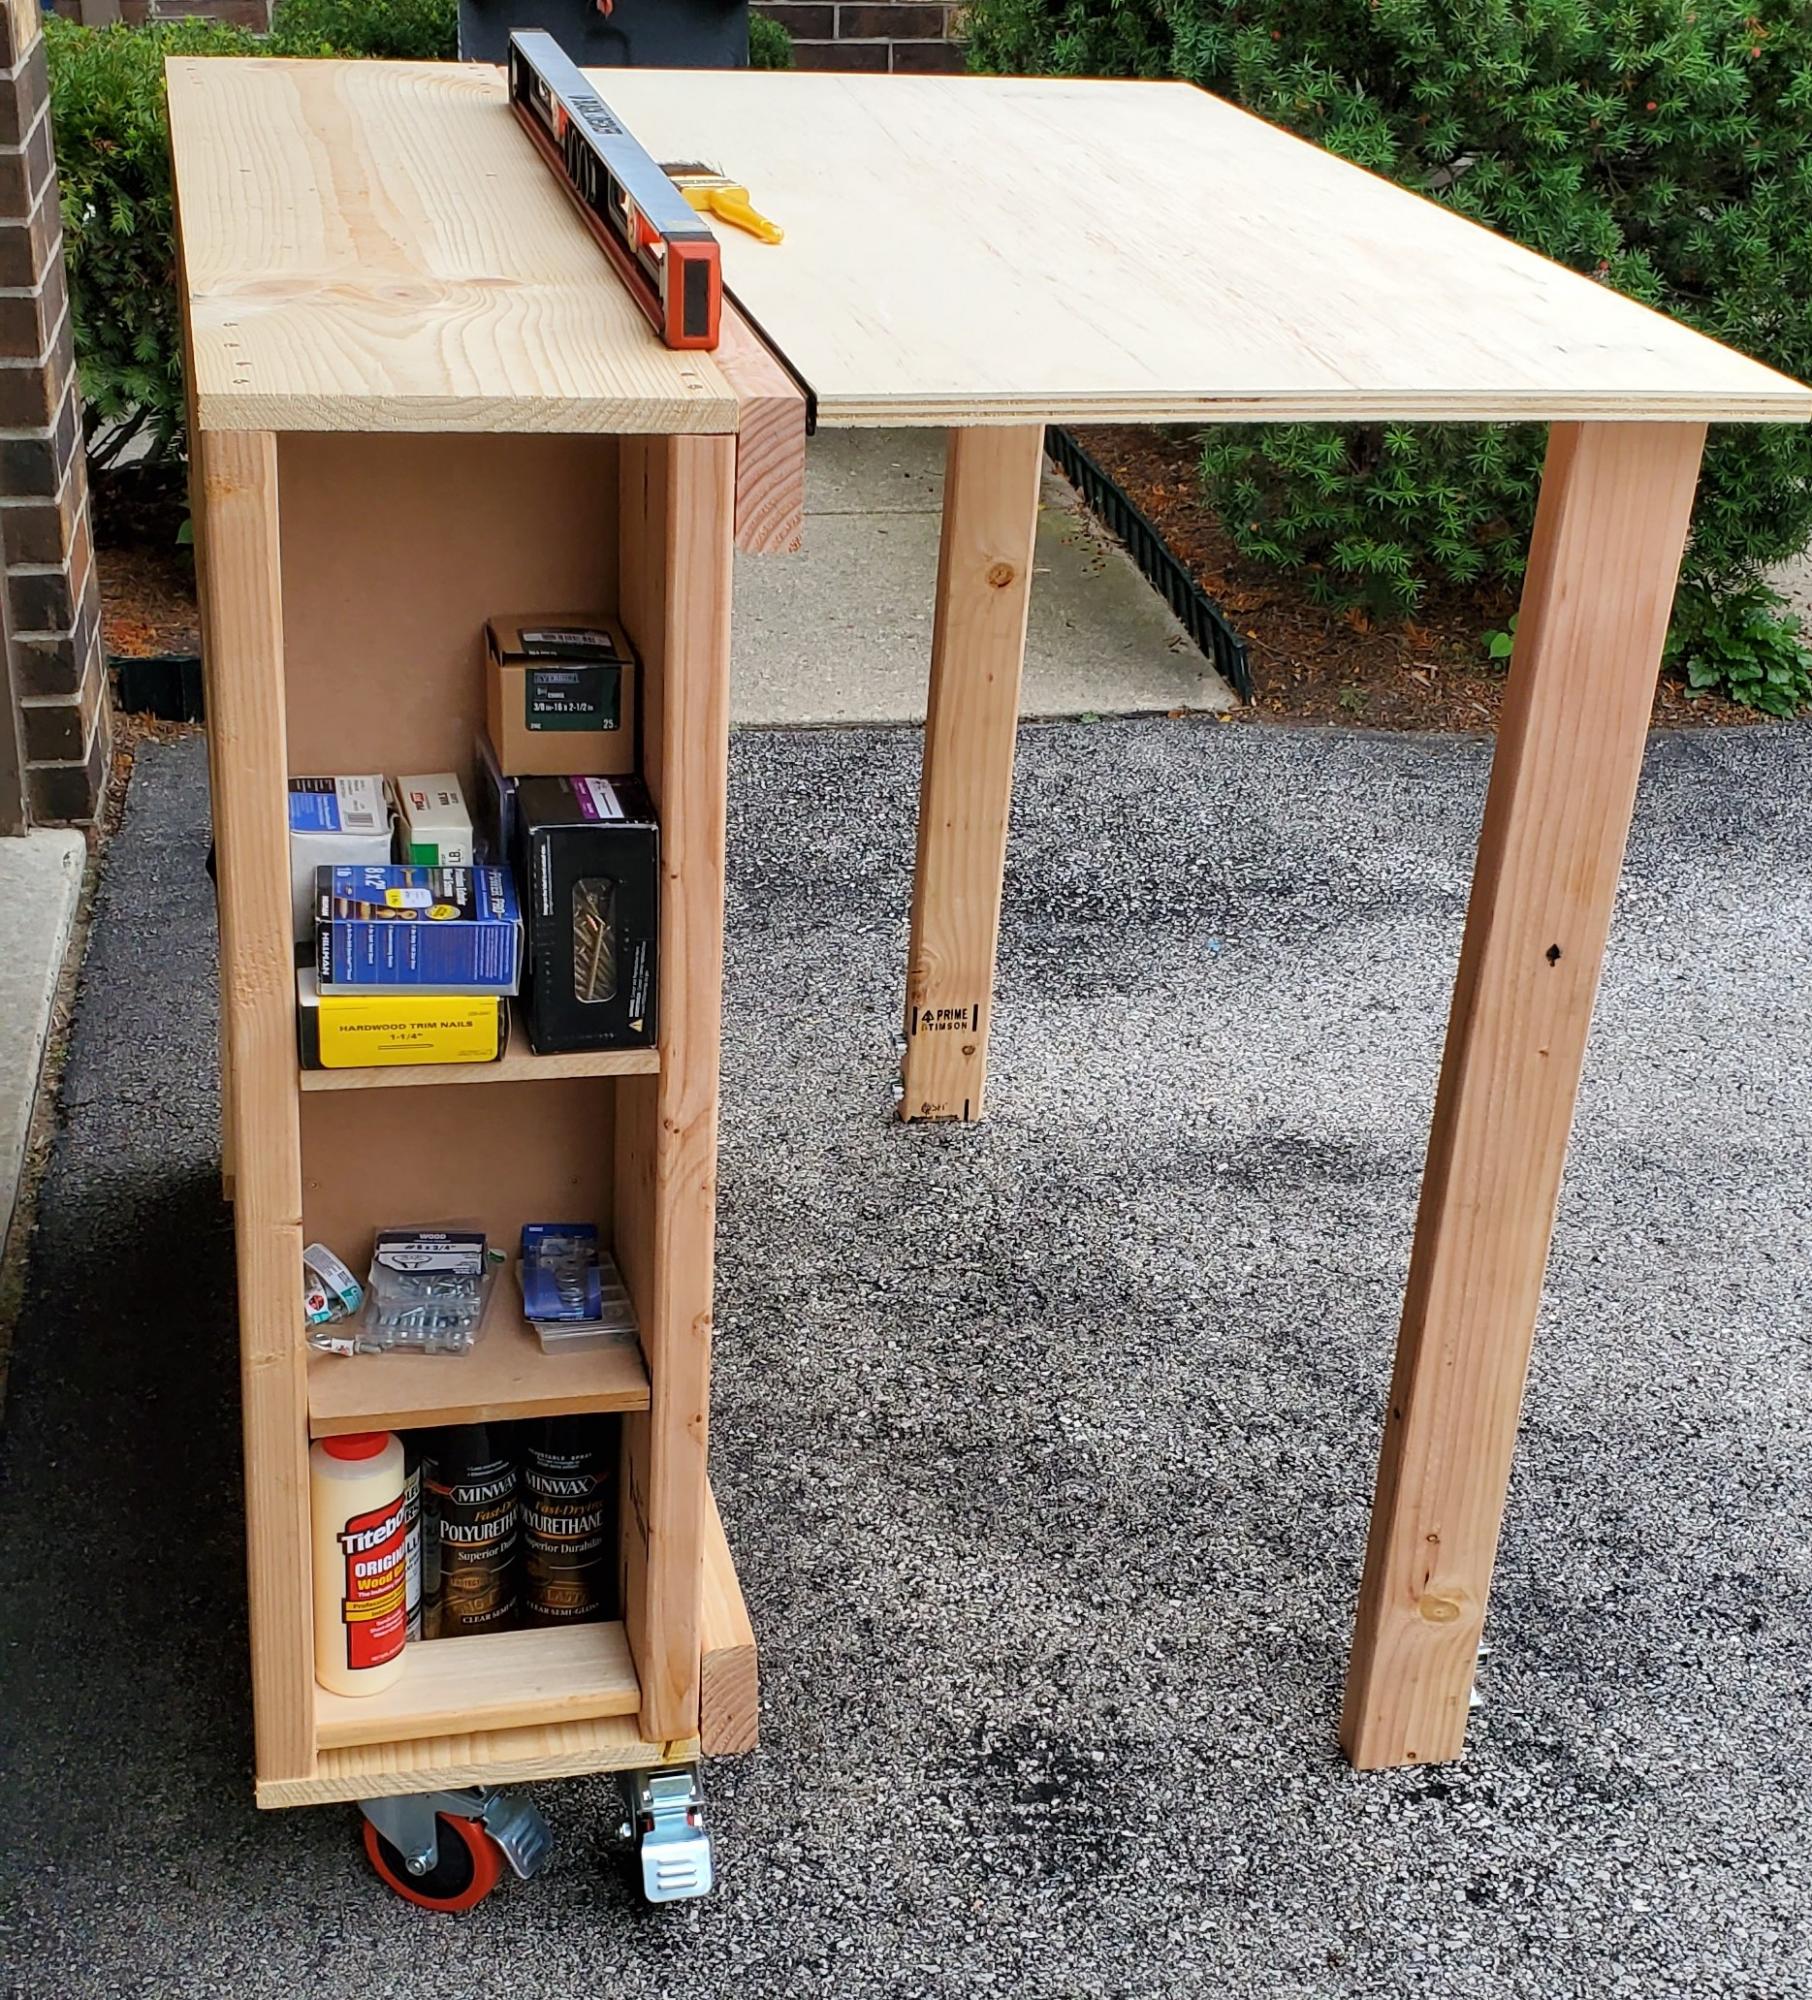
We chose this project because we have a small garage and space is at a premium. The dimensions of this build fit well in our limited space and allowed us to organize items such as paint, stain, screws and nails into one central location. I chose 2x4's on the sides to give it a more stable feel. Our garage and parking lot are all sloped and with the 2x4's this prevented the twisting. It feels solid and the wheels are smooth. We picked everything up at Home Depot. The screws that came with the hinges are to long and my husband used the Dremel to grind them down. You could just buy shorter screws. This is one of my firsts builds and I've definitely learned a lot of lessons along the way. Measure, measure, then measure again before you cut a piece and use a level surface to make level pieces. Overall, everyone in my family played a part in helping me build this piece and so I love it and will cherish this piece and the memories always. Thanks Ana for all your fun videos, sharing your life with your family, and providing resources like this plan to us for free. I'm thankful for my son who bought me a compound miter saw for Mother's Day and other family for buying me a Ryobi circular saw. I'm truly blessed and loved. Thanks
Built from Plan(s)
Estimated Cost
120
Estimated Time Investment
Weekend Project (10-20 Hours)
Finish Used
I'm leaving it in the raw due to the nature of the piece. I may put a clear coat on it later.
Recommended Skill Level
Beginner
Comments
Mon, 08/31/2020 - 11:19
I love how you used the 2x4…
I love how you used the 2x4 on the sides. great idea
Tall Cedar Tapered Planters
Two 7-plank cedar planters, unfinished. Thinking of charring….
Kim M
Built from Plan(s)
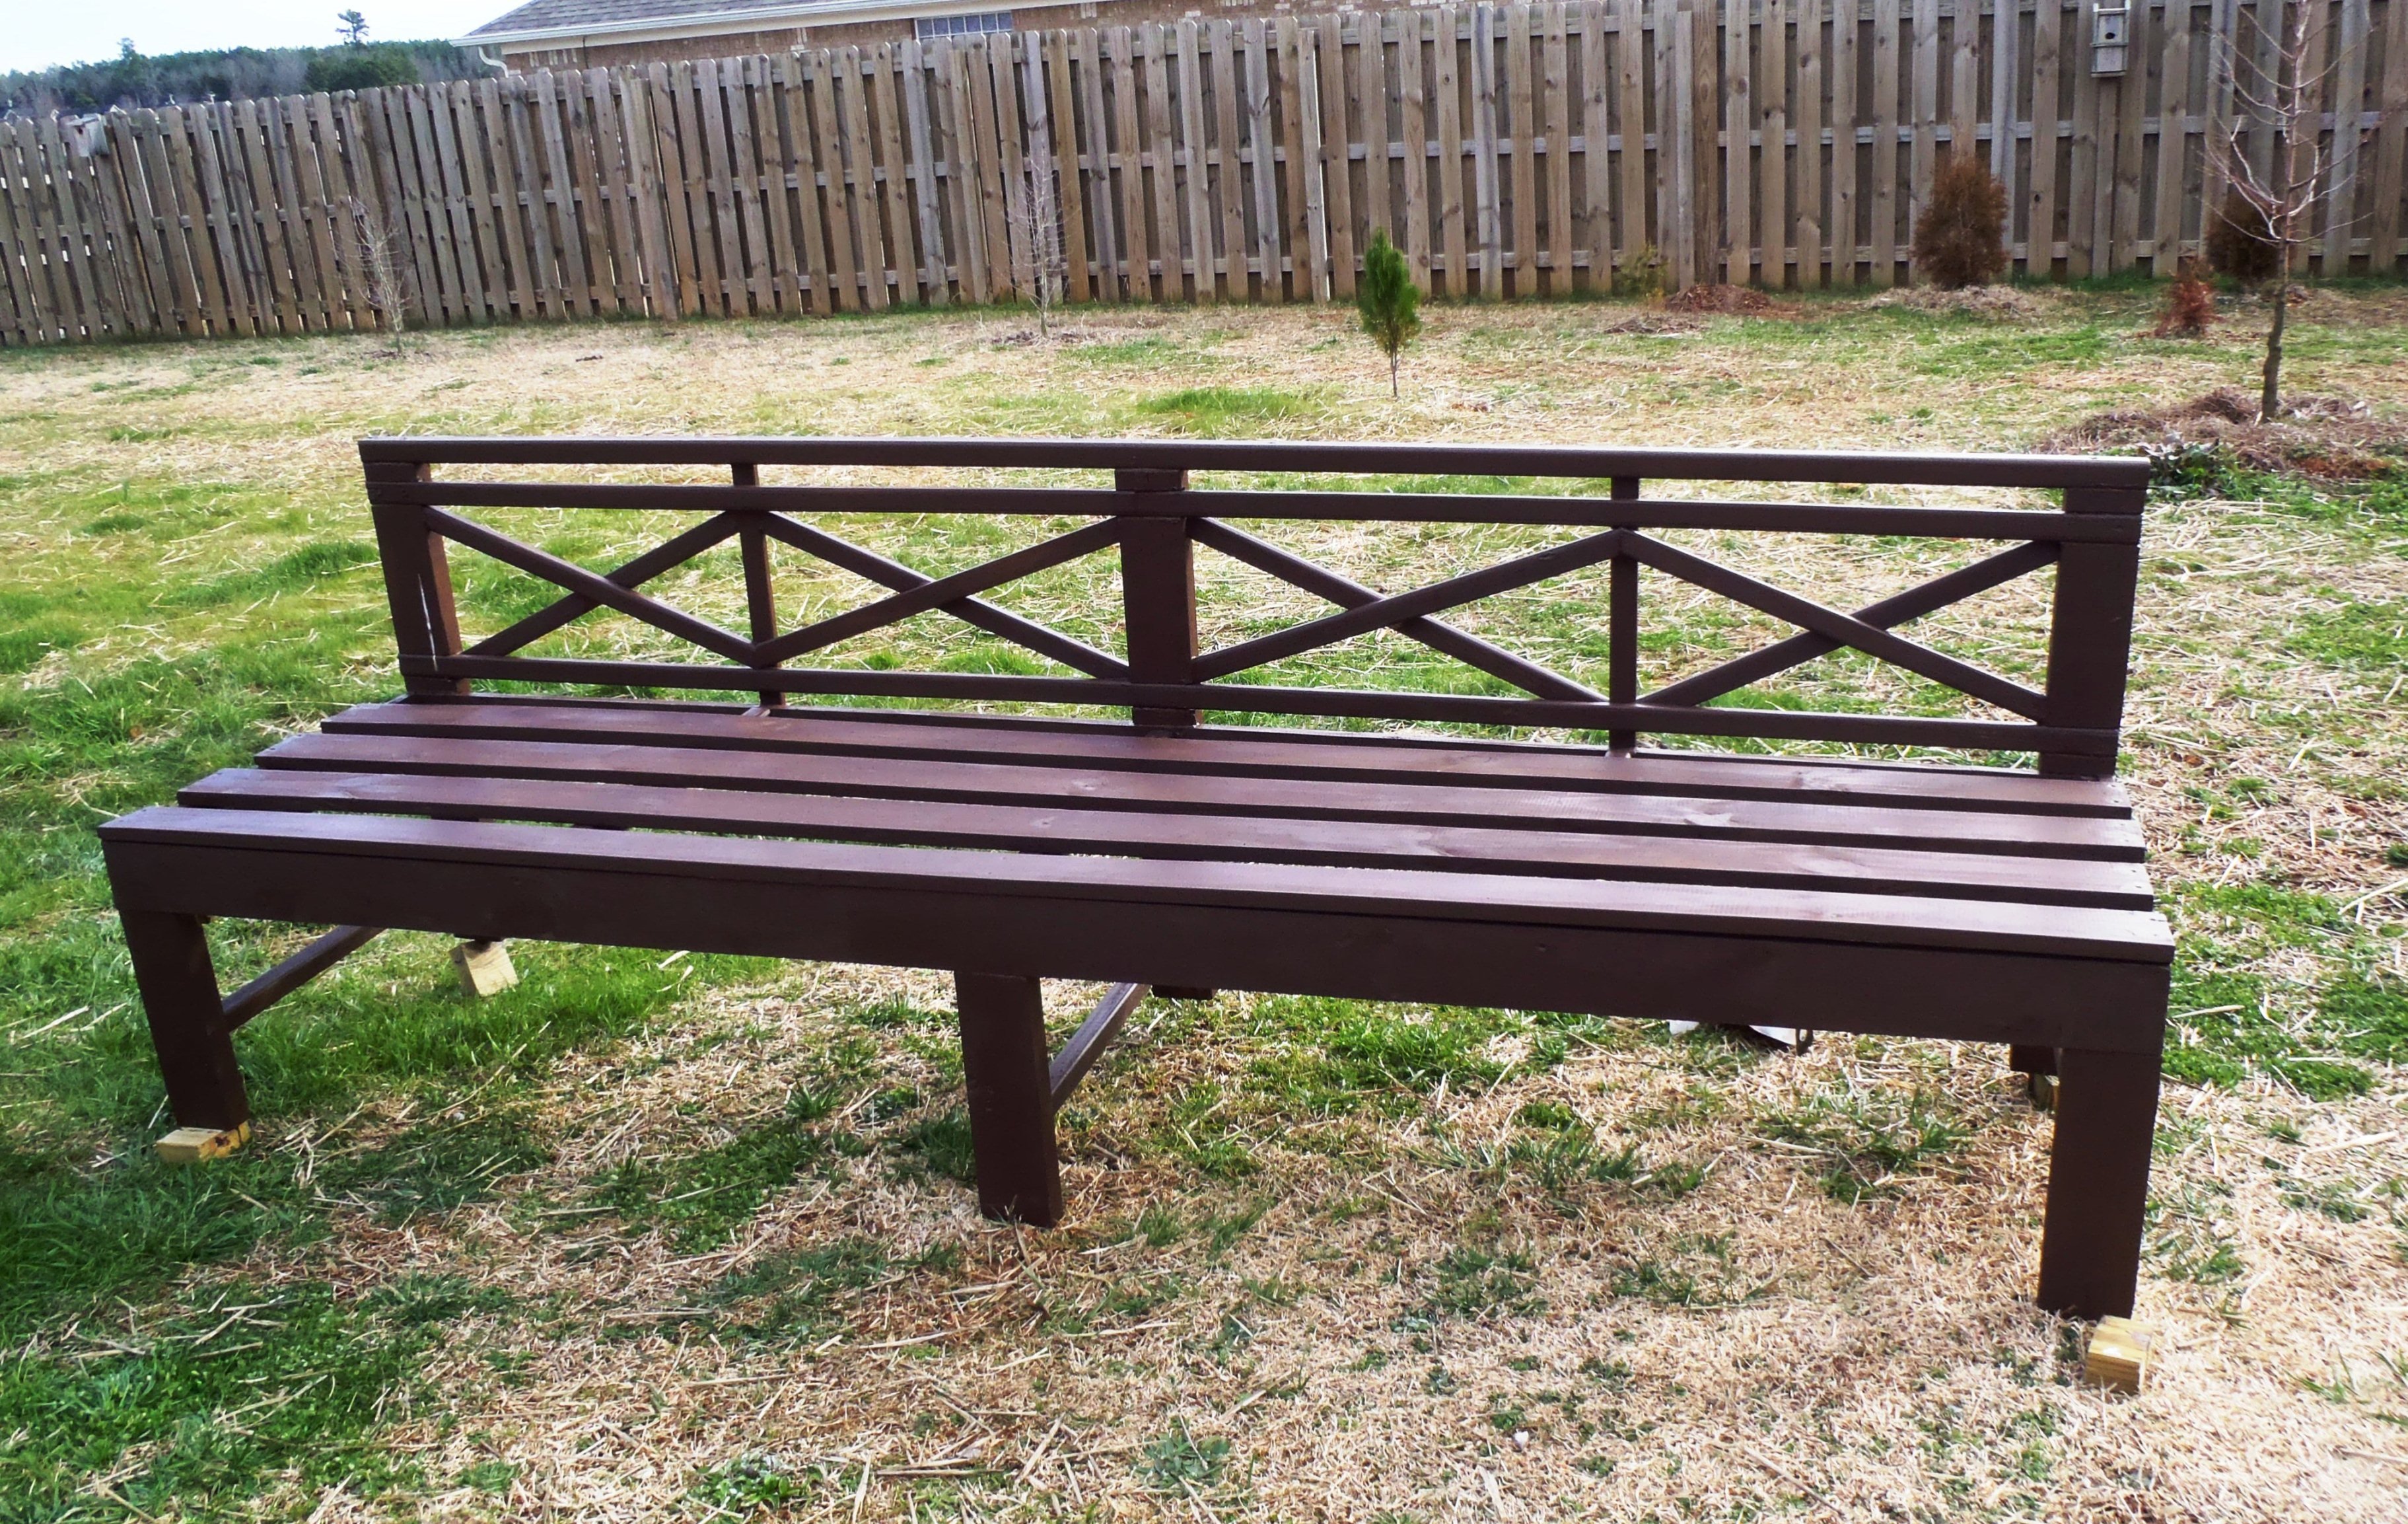
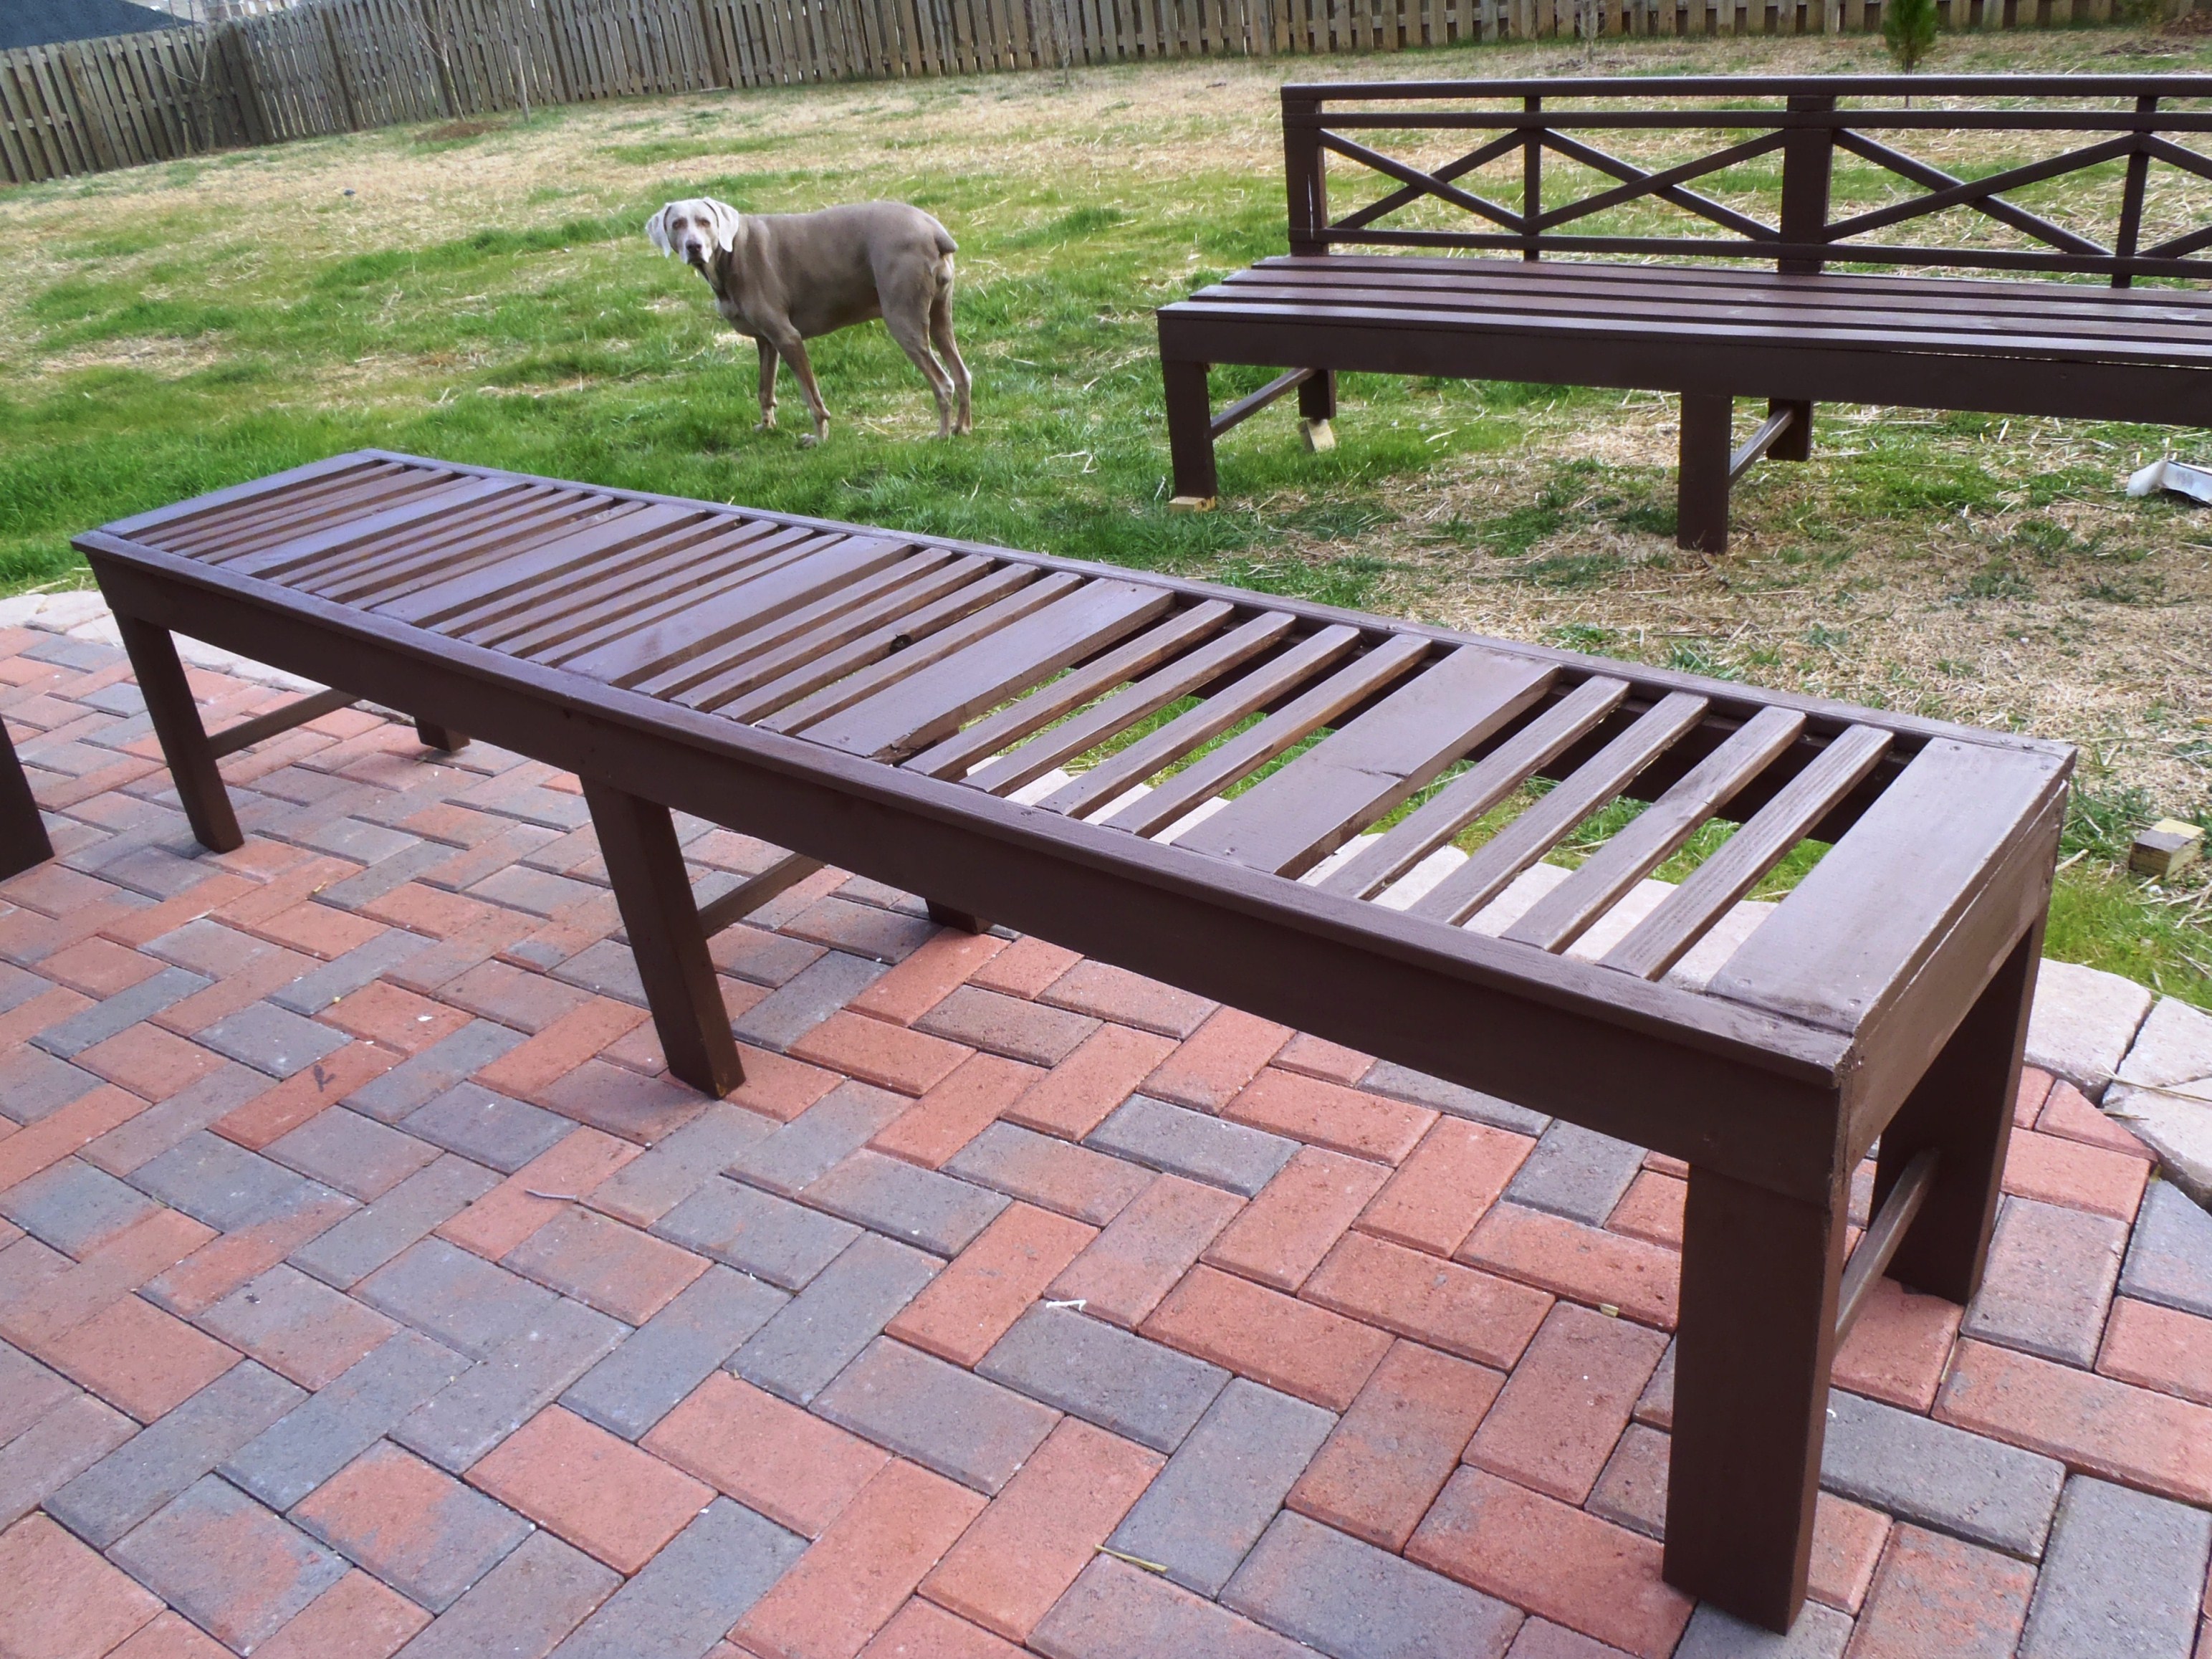
Modified sturdy bench and Weatherly sofa
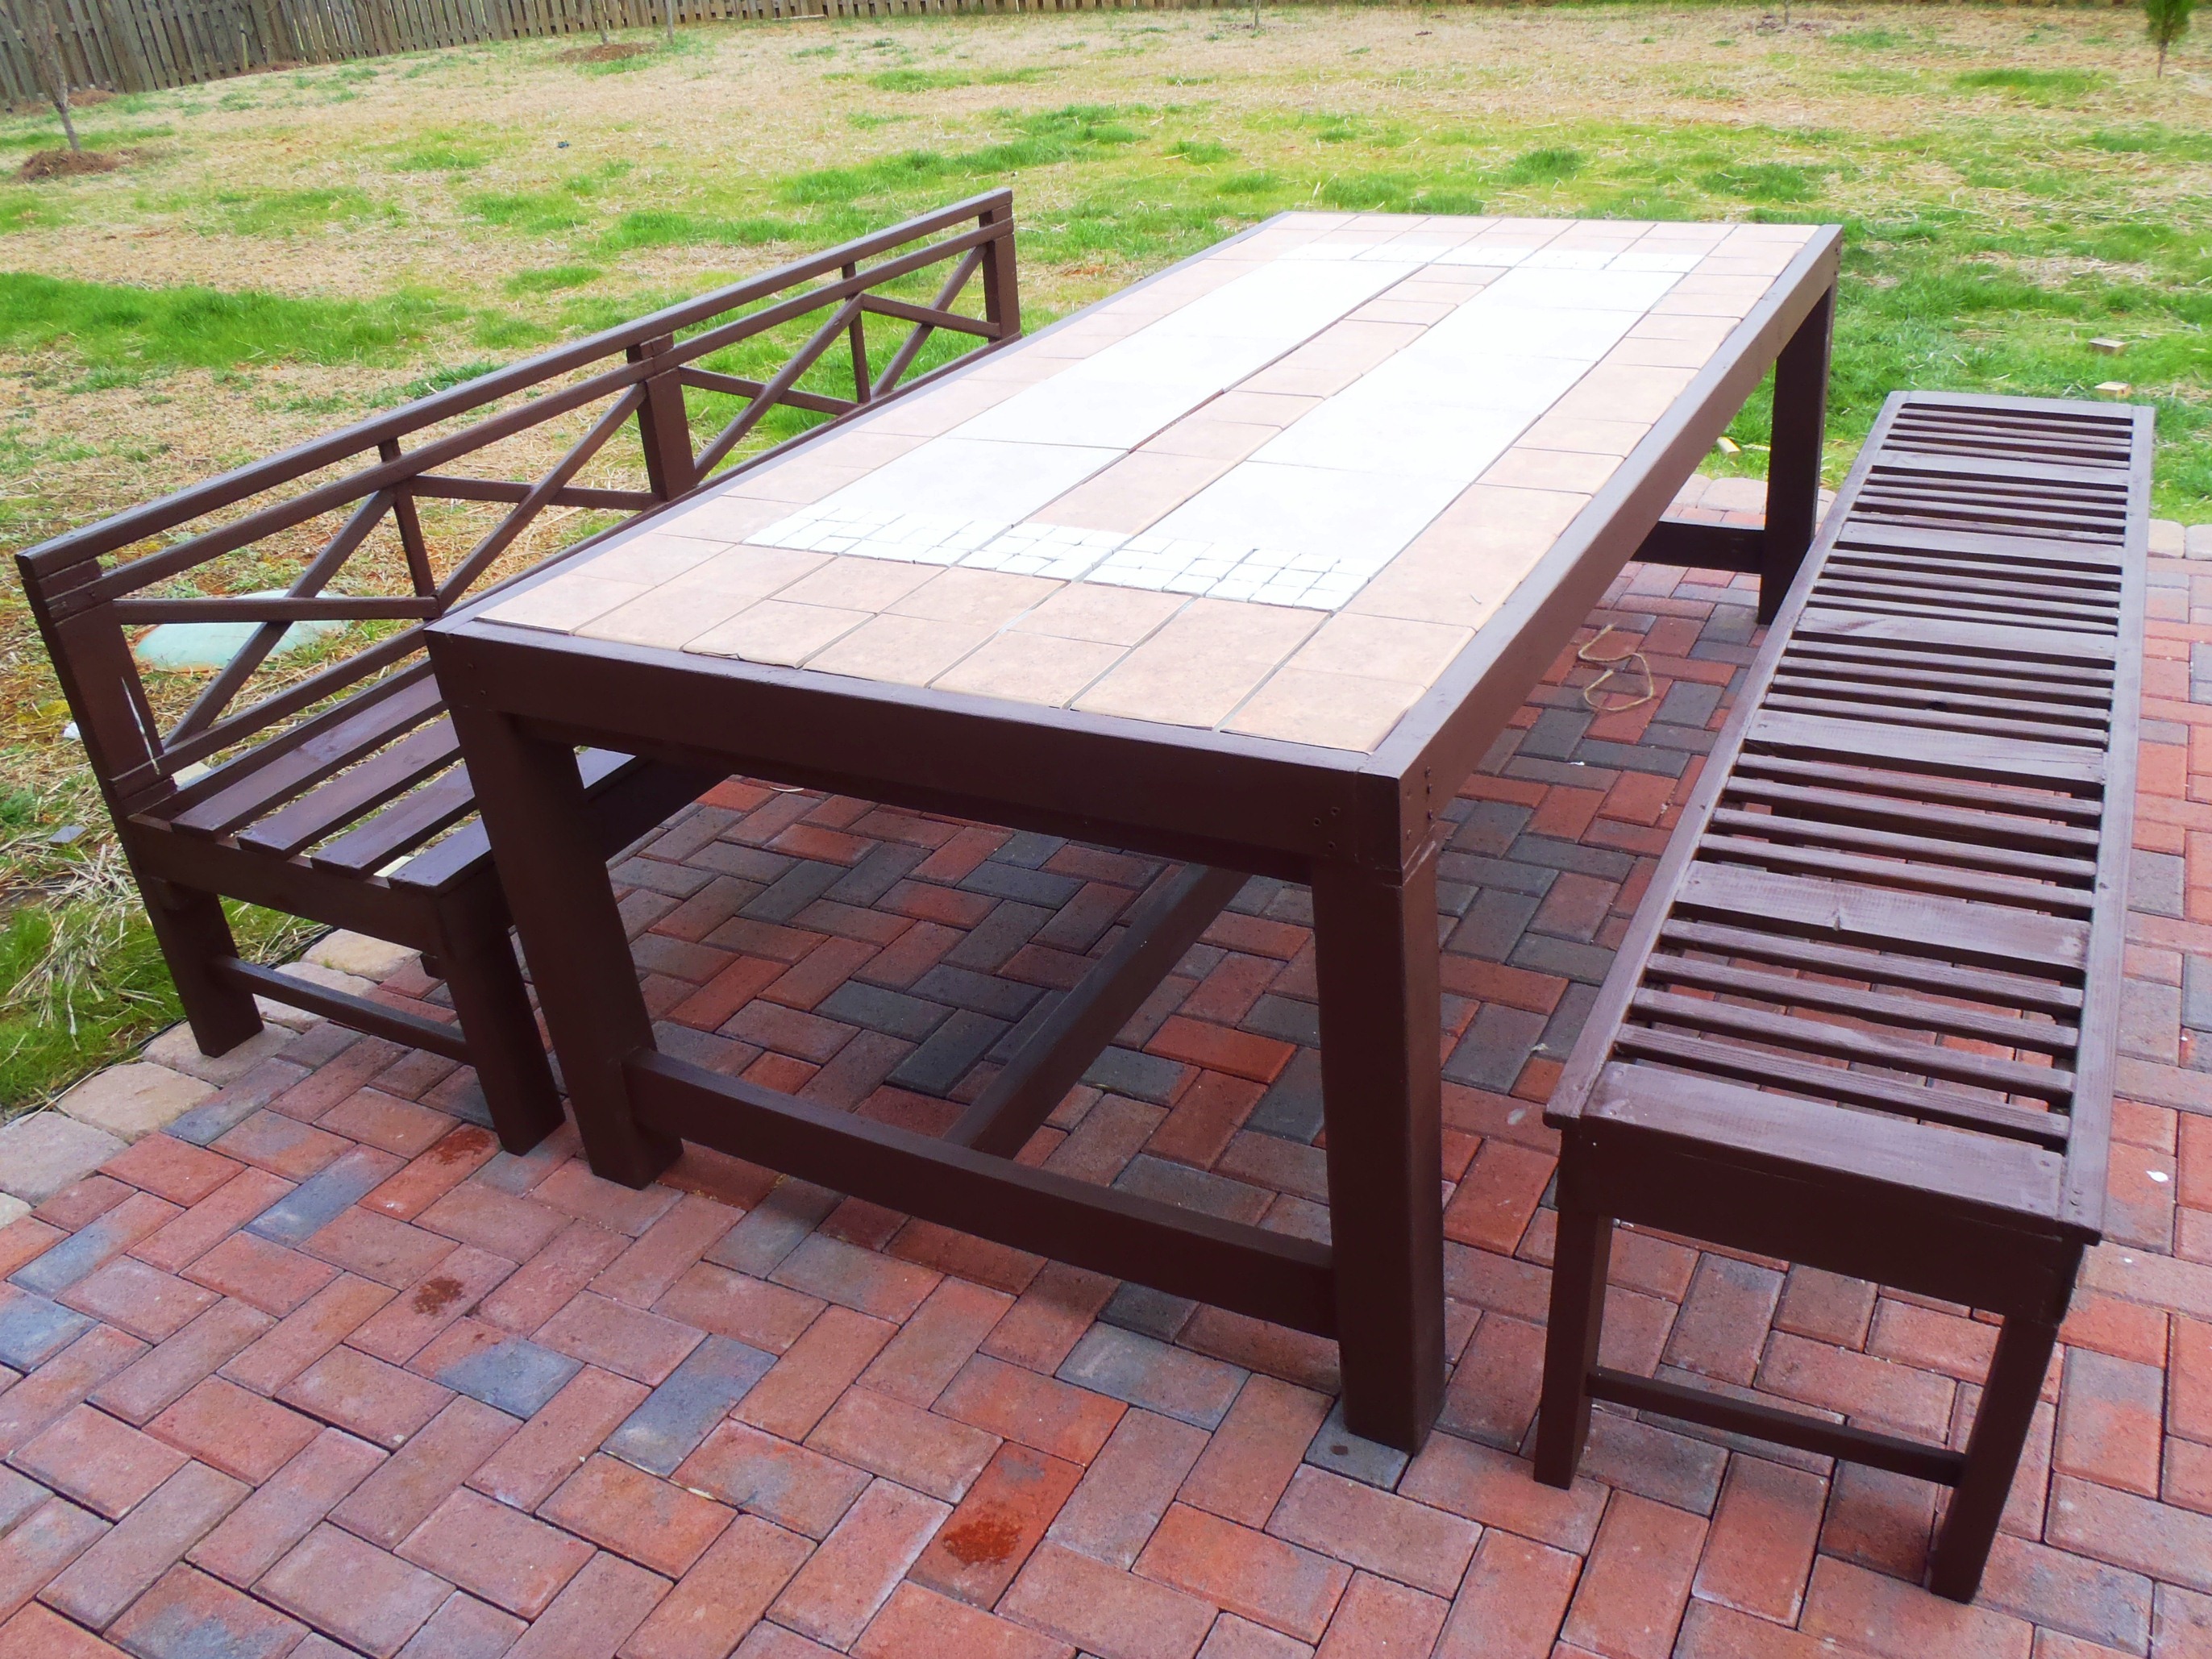
Modified the design and built from the sturdy bench and weatherly sofa plans for my patio set(will buy cushions in spring). I designed the tiled top dining table but I have yet to learn how to use the google sketch up to be able to submit plans here. However, if interested on what materials and step by step process with photos can be found on my blog link.
Tiled top table measures 42"X96" and 30inch high, seats 8 to 10.
All wood used are pressure treated pine.
Built from Plan(s)
Estimated Cost
Patio Set :$100-$150 (got my tiles from clearance section)
Estimated Time Investment
Week Long Project (20 Hours or More)
Finish Used
mahogany latex based exterior primer and paint in one, three coats
Recommended Skill Level
Intermediate
Comments
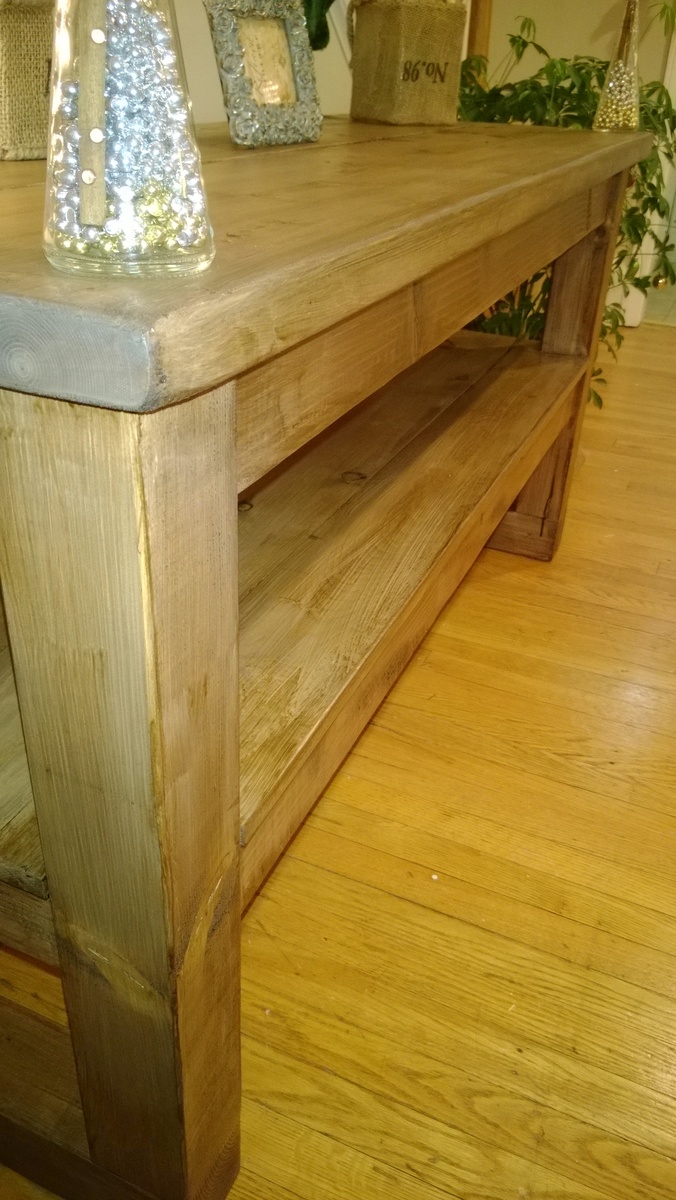
Our awesome new table.
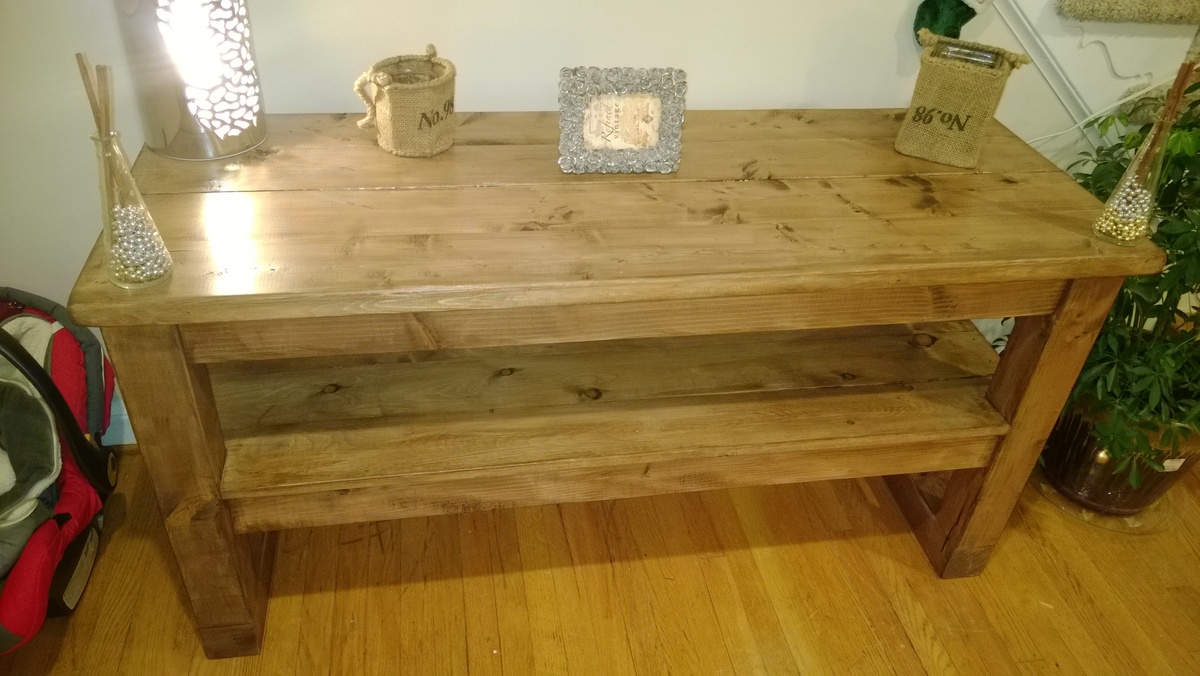
This was a fun and easy project to do. We really like how it turned out and how it compliments the room. For the bottom shelf I used four 1x6 boards instead of a single 21" wide plywood board. For that worn look, I took a drywall rasp and chewed up the corners and edges. Staining was a two part job. The first coat was called weathered gray. After it dried I lightly sanded it with 180 grit and applied a second coat of dark walnut. The gray subtly shows through the walnut. If I had it to do it over, I may have applied a coat of ebony stain to the corners and edges to make the color less even. I did very little sanding on this piece because I wanted a rough texture, but I did enough to make it sliver-free. The project cost about $80.
Estimated Time Investment
Weekend Project (10-20 Hours)
Finish Used
Varethane Weathered Gray water based with polyurethane.
Varethane Dark Walnut water based with polyurethane.
Varethane Dark Walnut water based with polyurethane.
Recommended Skill Level
Beginner
Comments
Ana White Admin
Sat, 06/10/2023 - 06:40
Beautiful table!
Great mods to fit your space, love the finish choice!
Ana White Admin
Sat, 06/10/2023 - 06:40
Beautiful table!
Great mods to fit your space, love the finish choice!