Community Brag Posts

Workbench

Submitted by Sheri-L on Thu, 02/20/2020 - 10:54

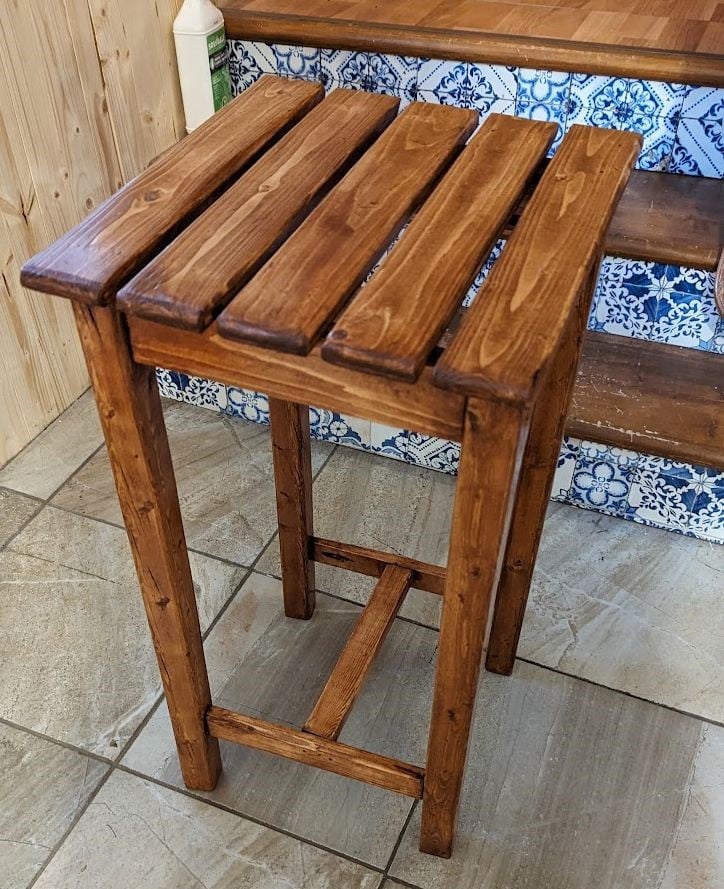
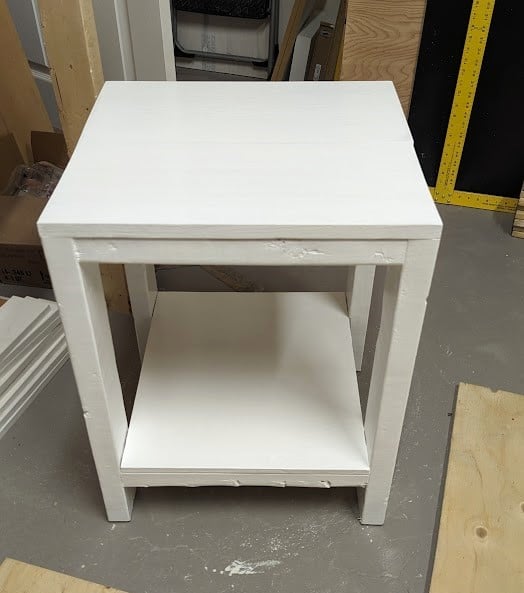
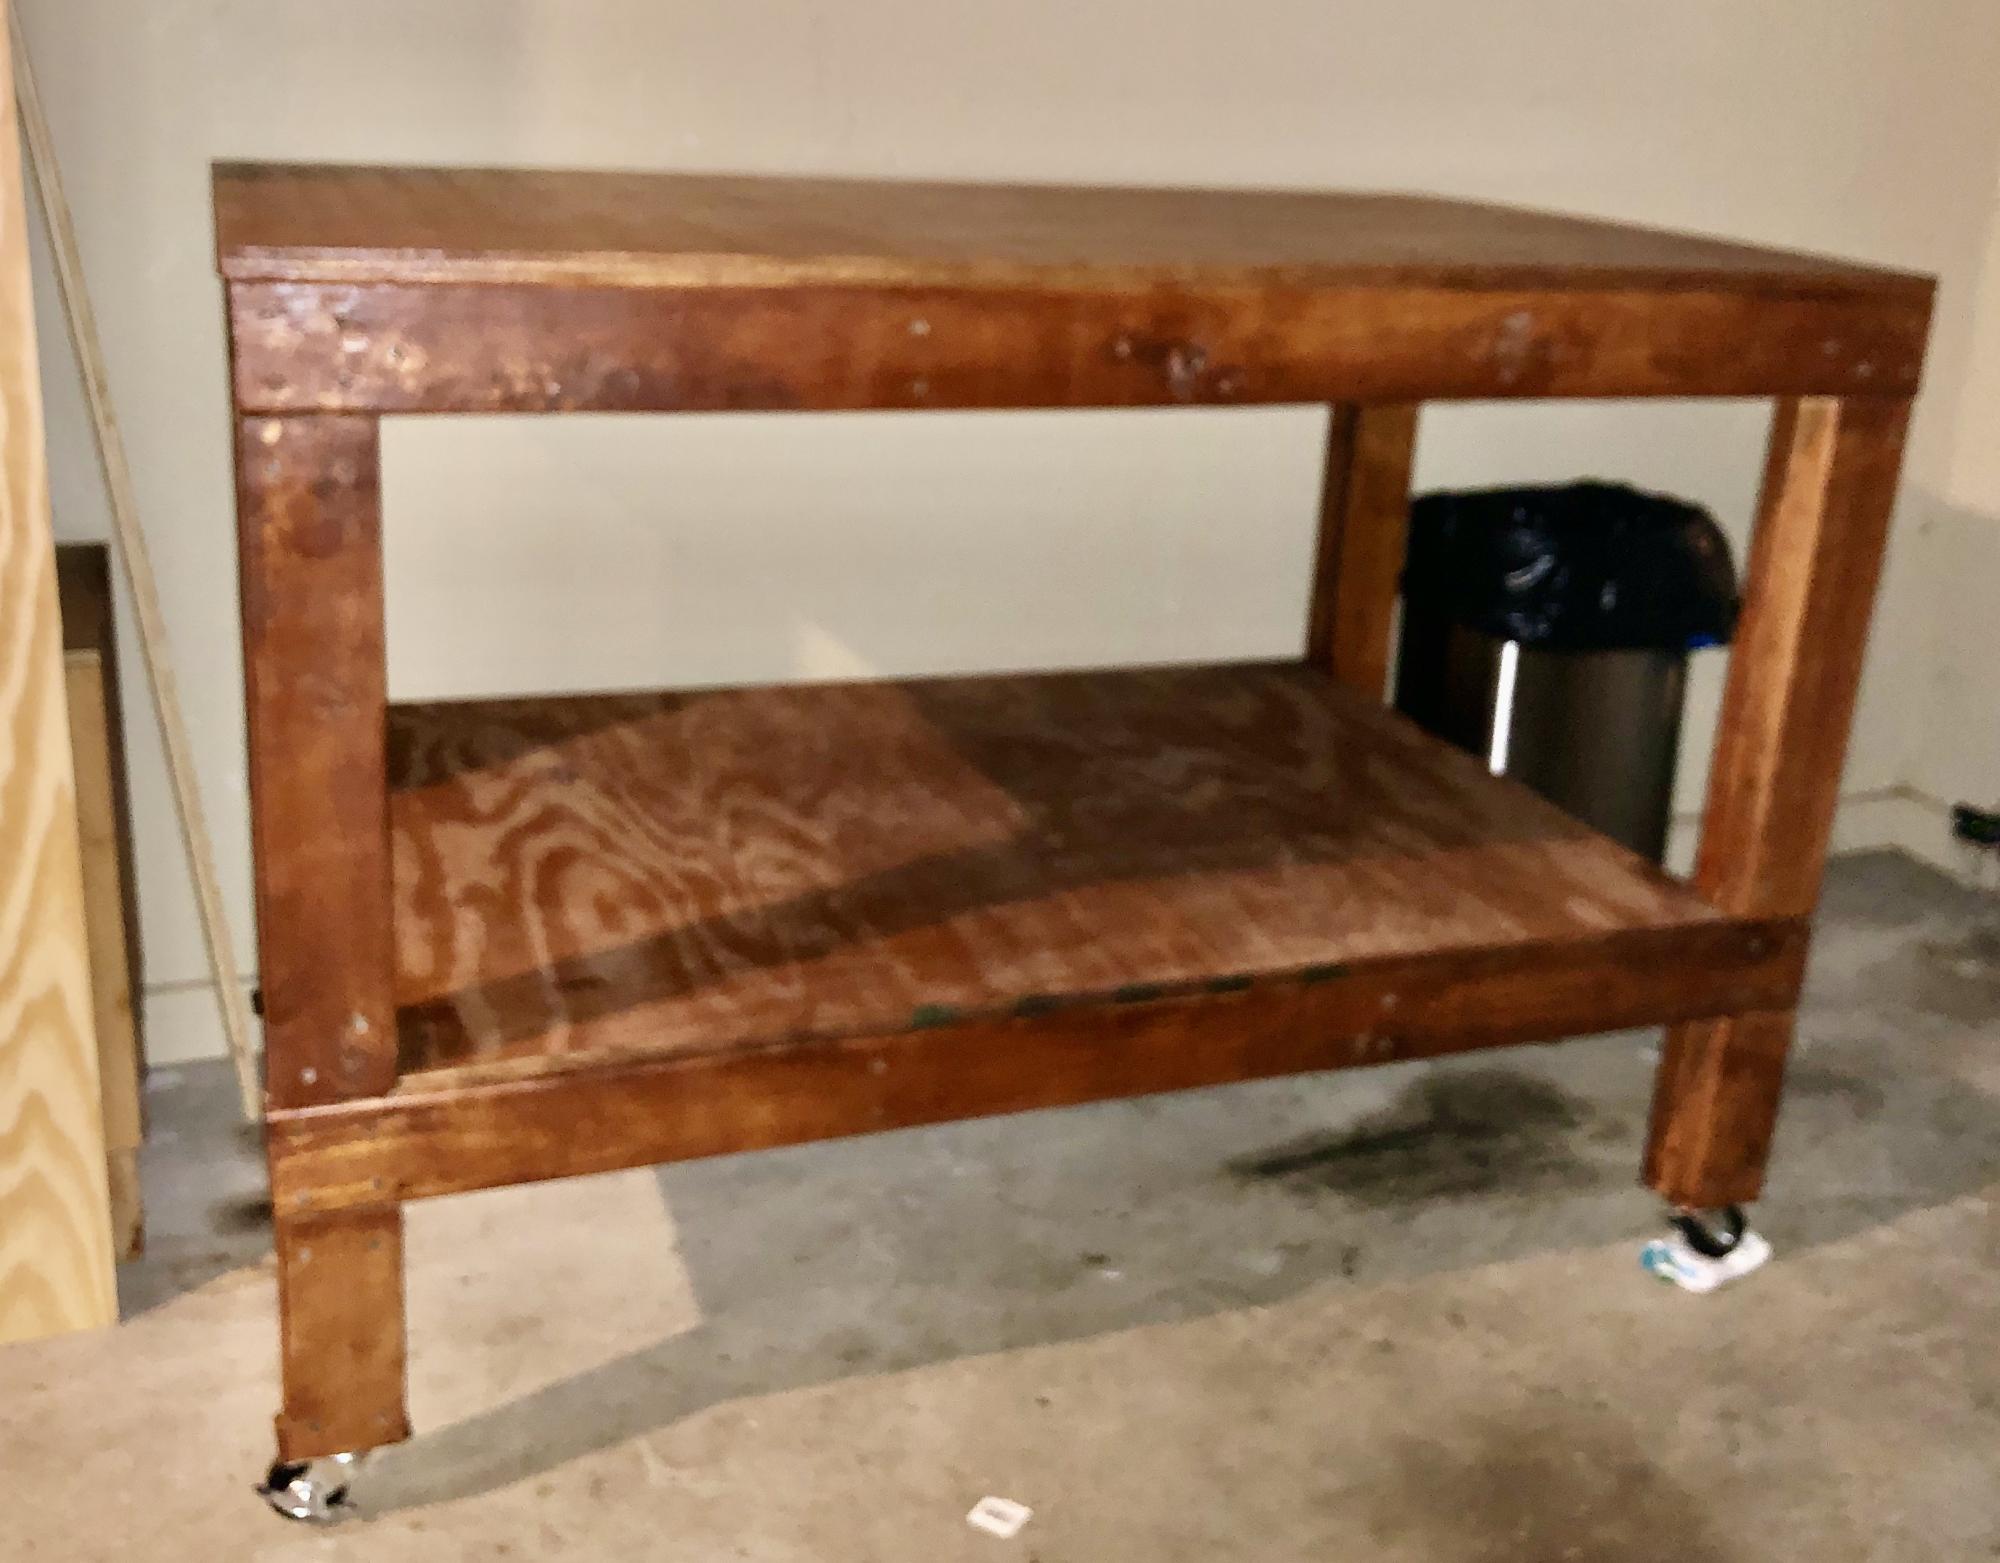
This was my first build and experience with power tools. The size of the workbench table is absolutely the perfect length and height. I ended up adding wheels that lock in place. I’m hooked! Thank you Ana White for providing the plans for a workbench. 

Built from Plan(s)
Estimated Cost
$70.00
Estimated Time Investment
Day Project (6-9 Hours)
Finish Used
Walnut stain
Recommended Skill Level
Beginner

Comments

Sheri-L

Thu, 02/20/2020 - 11:04

This project is perfect for the beginner. The plans are very simple to follow especially for one that’s never picked up a power tool. I am absolutely hooked. 

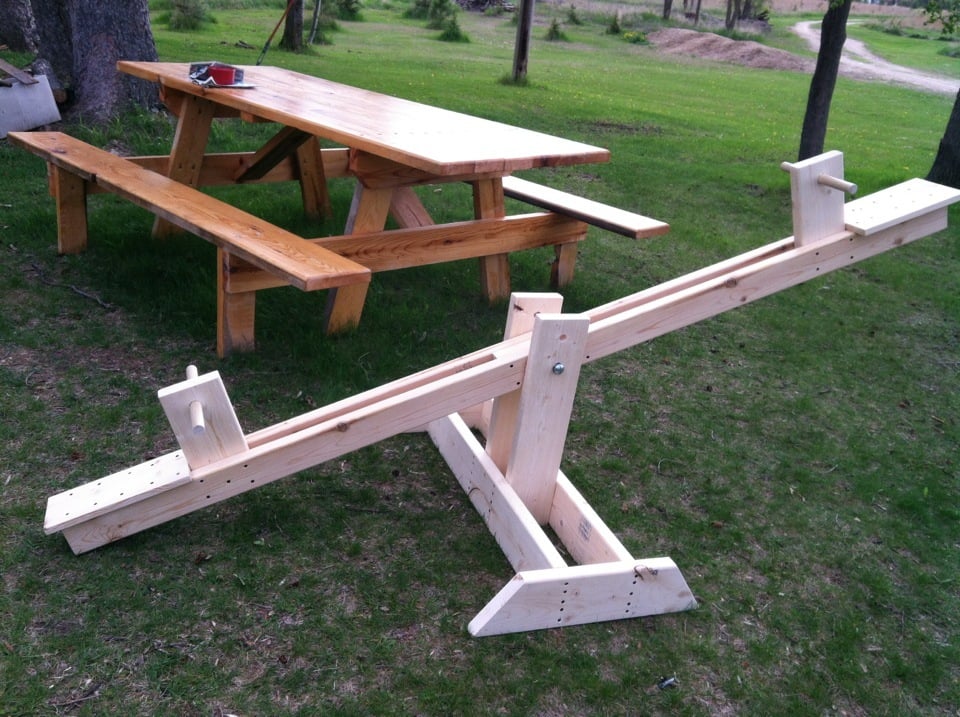
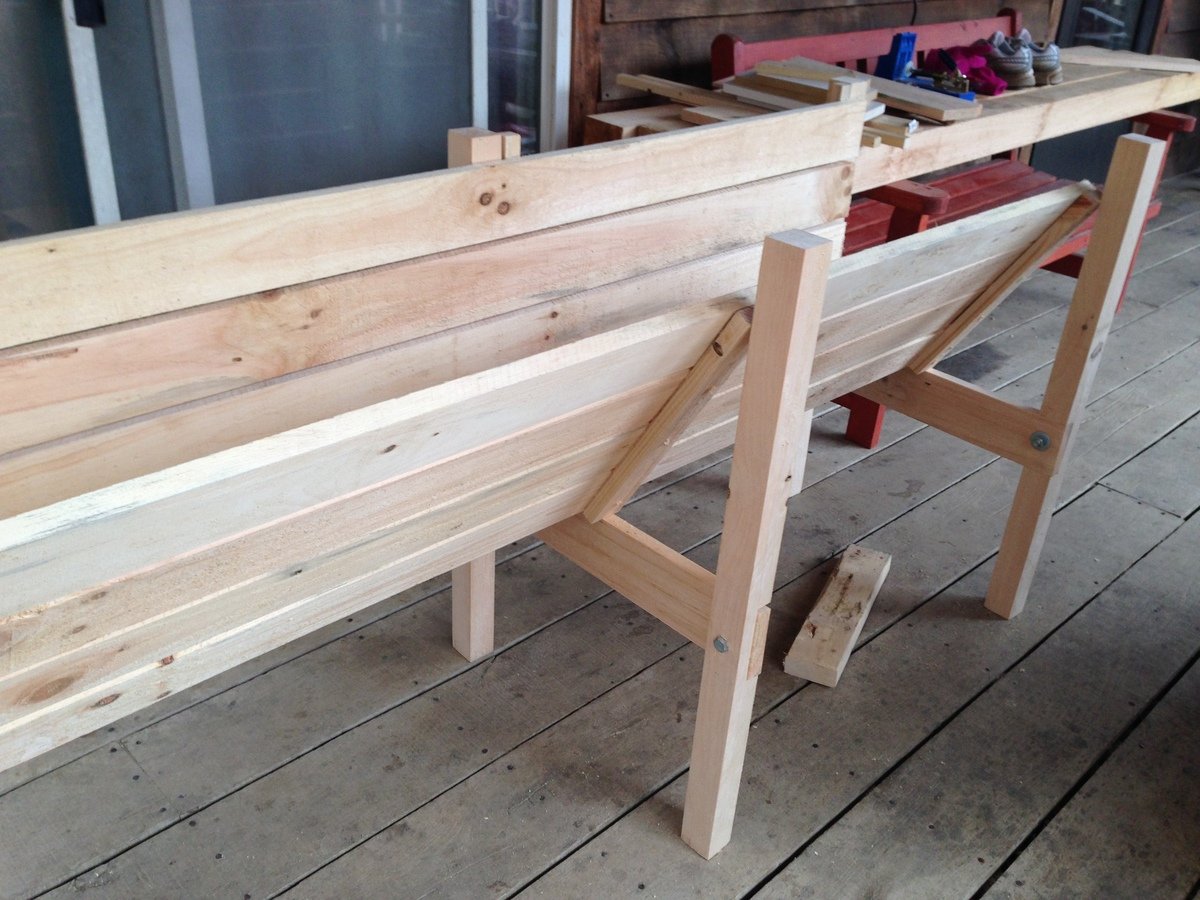
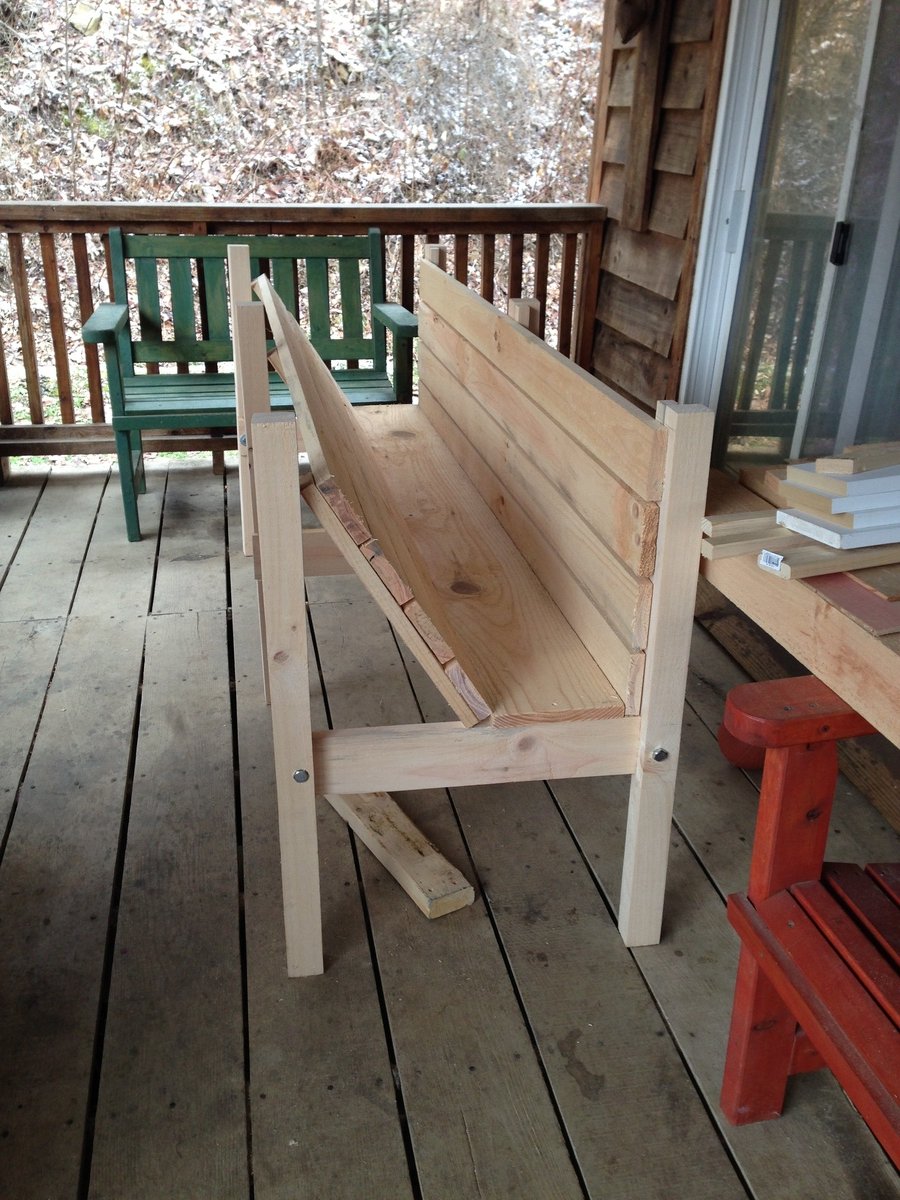
Let's go play on the see-saw!

Submitted by mamahowell on Tue, 05/08/2012 - 15:50

Super easy project....and already, hours of enjoyment by my kiddos!!

Thanks Ana for another awesome plan!

Built from Plan(s)
Estimated Cost
$22
Estimated Time Investment
Afternoon Project (3-6 Hours)
Finish Used
Haven't painted it yet....
Recommended Skill Level
Beginner

Comments

VegTrug

Submitted by carongirls on Sat, 02/22/2014 - 18:52

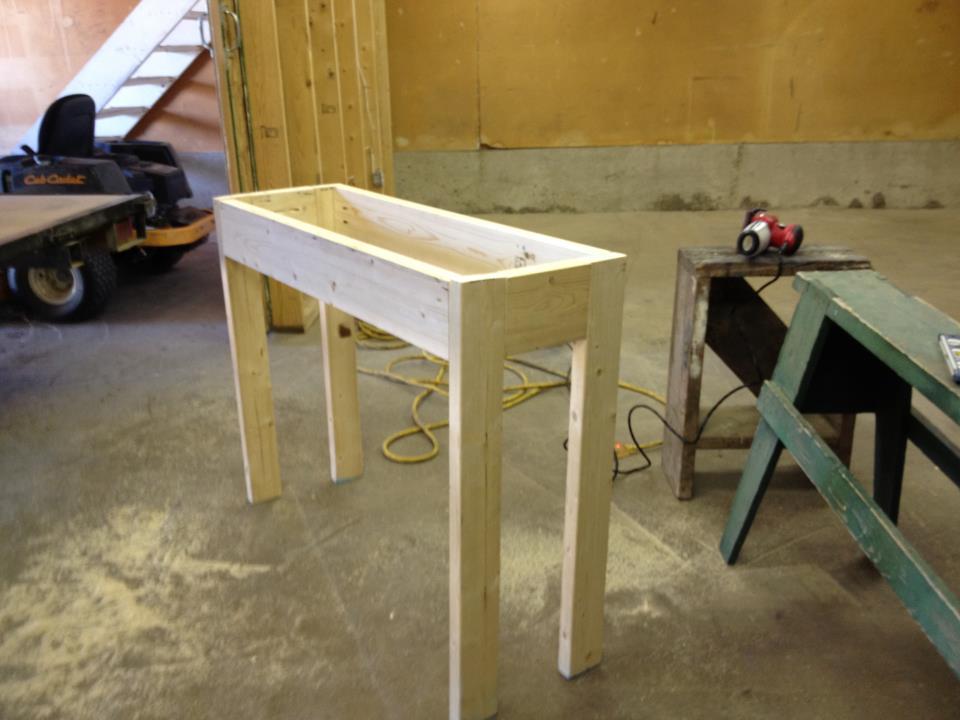
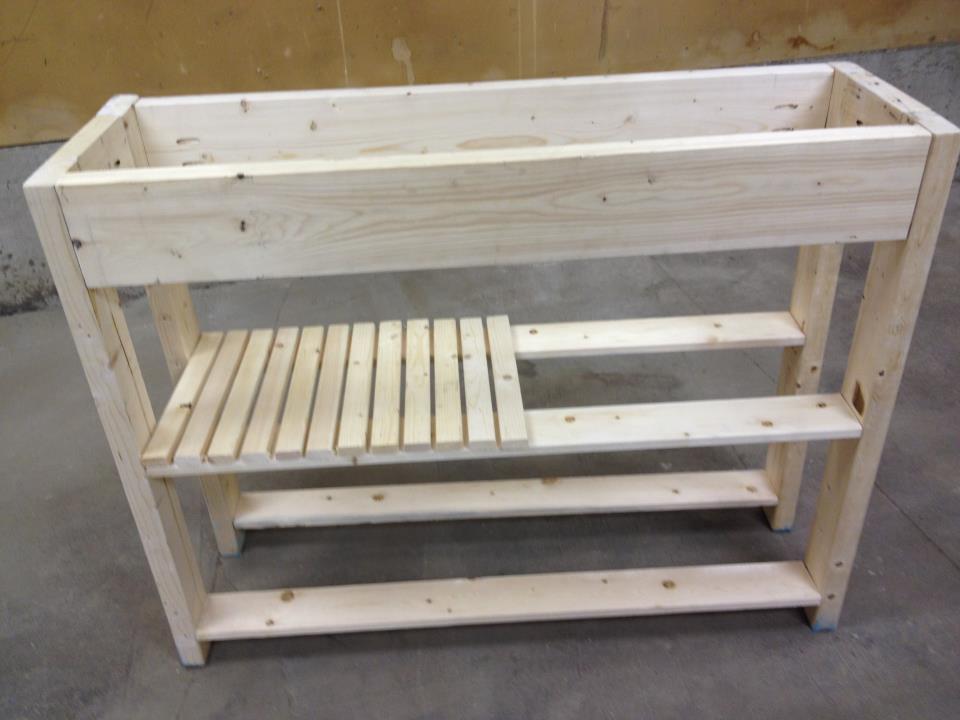
A friend needed a raised garden bed for her husband who is in a wheel chair. I searched and found the VegTrug's. It took a lot of trial and error. I based it off Williams Sonoma's pictures. I wouldn't of attempted this with out a plan if it weren't for Ana's website.

Recommended Skill Level
Intermediate

Comments

steve badham

Wed, 09/09/2015 - 02:56

We have just set up a "Men'sShed" in our little village here in the UK, and think that these would make a great first project for novice handymen. Are there any plans available to help us?

Steve

Trickman2

Wed, 05/18/2016 - 21:45

Not sure what the story is here,  Maybe she got in trouble for saying Vegtrug?  I would like plans for a DIY Raised planter bed like the above. 

Love your plans!! Tv show please!!

Submitted by Anonymous (not verified) on Thu, 02/27/2020 - 07:59

Your plans are awesome!! Your YouTube videos rock!

Built from Plan(s)
Estimated Time Investment
Weekend Project (10-20 Hours)

Comments

Turned Leg Farmhouse Table

Submitted by pde00311 on Mon, 02/24/2014 - 22:39

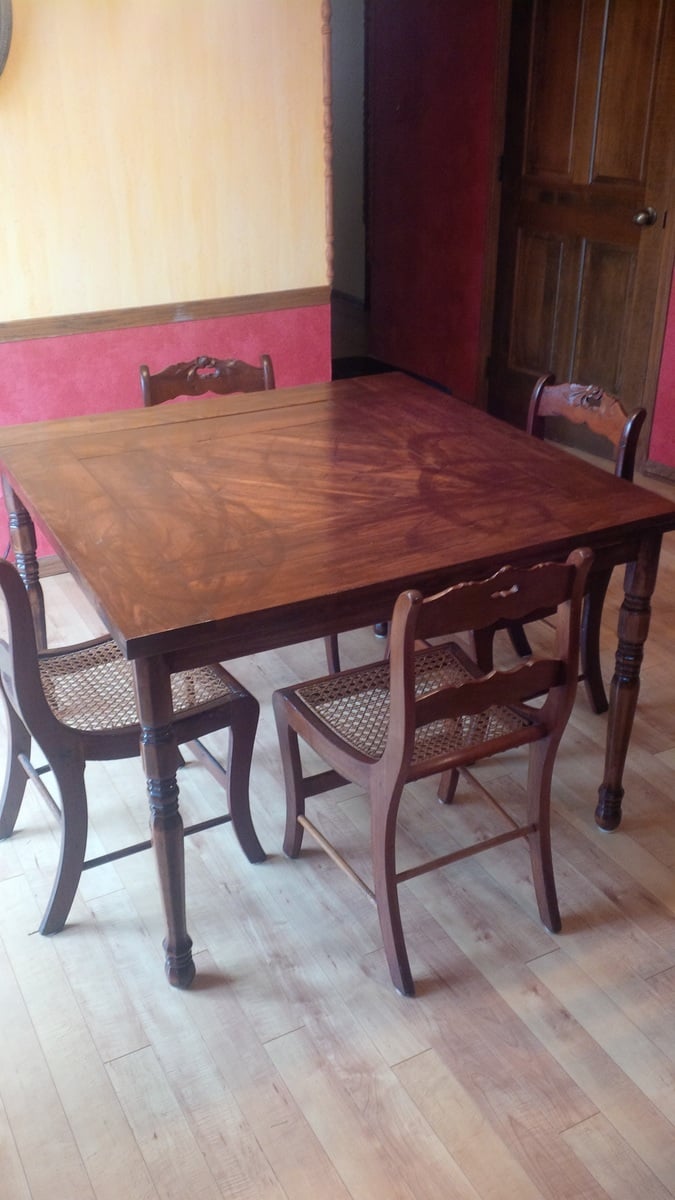
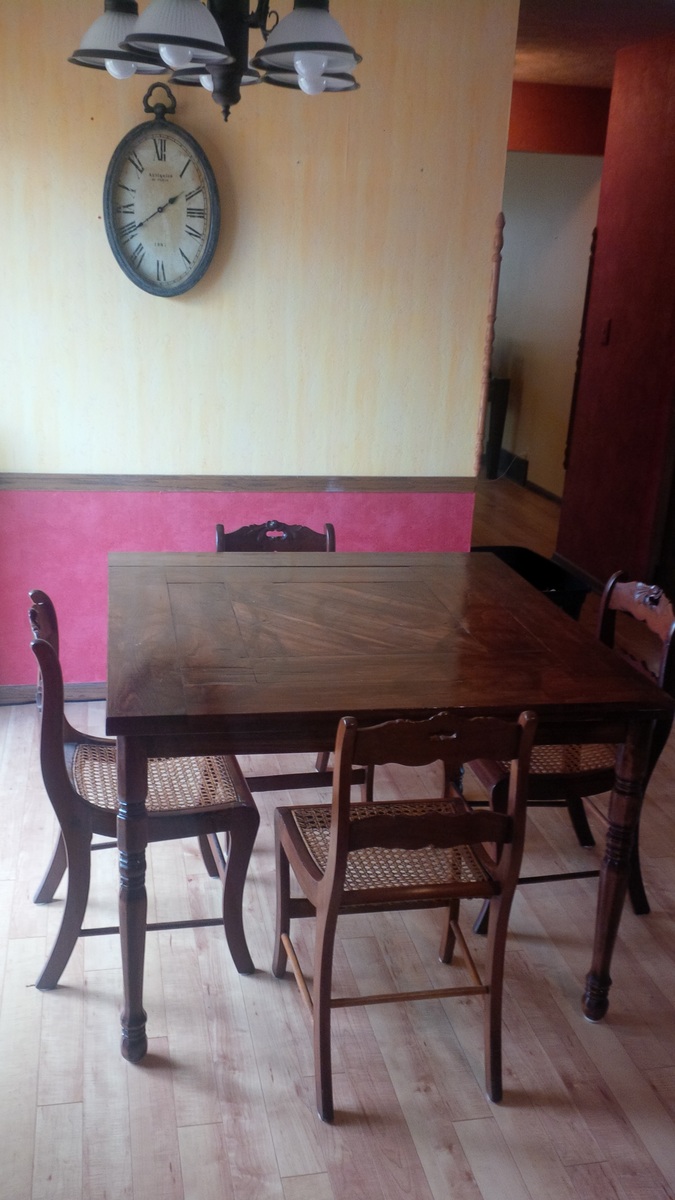
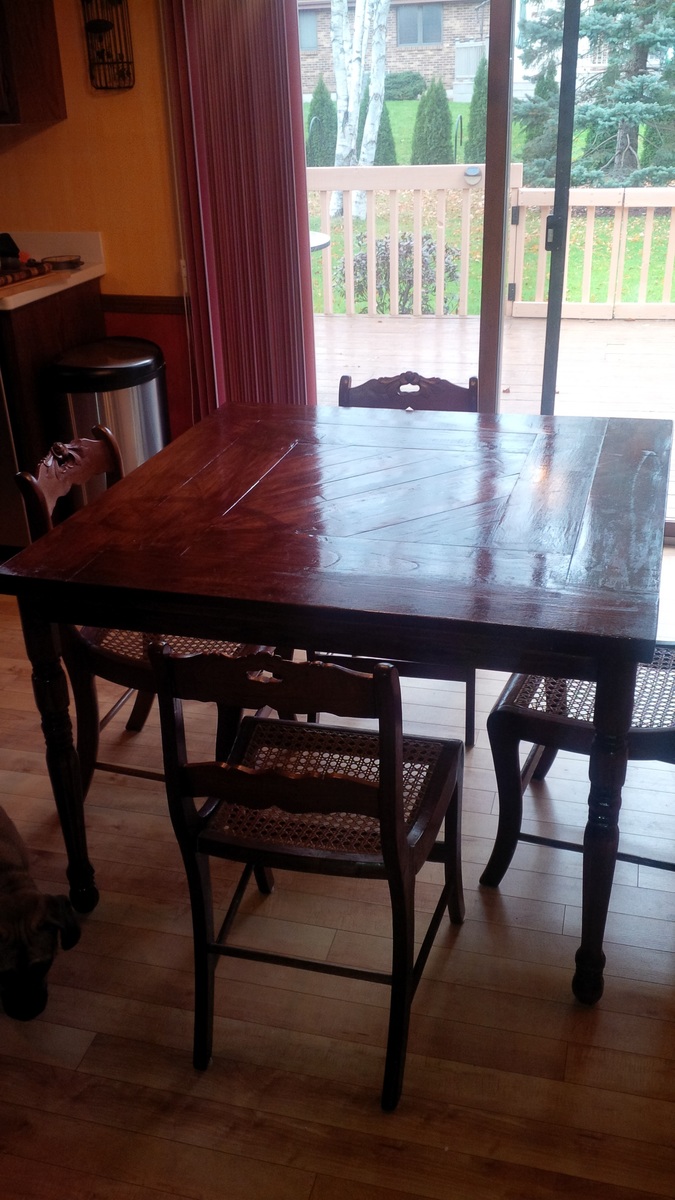
After I found these awesome walnut chairs on craigslist, I did by best to match the stain and build a kitchen table on the cheap for our new house. As you can see, I modified the design into a square to fit the space. I also attempted to create a unique design by making diagonal cuts with the miter saw and connecting everything in the underbelly with my Kreg Jig. My one regret is that after my palm sander broke, instead of buying a replacement, I got a little hyperactive with my belt sander. It ended up making a unique swirl design over the grain. A part of me thinks it looks cool and the other part thinks it looks ridiculous. The moral of the story is never use a belt sander on something you intend to stain.

Built from Plan(s)
Estimated Time Investment
Weekend Project (10-20 Hours)
Finish Used
Old masters American walnut with 3 layers high-gloss polyurethane
Recommended Skill Level
Intermediate

Comments

DogDoc25

Sat, 03/08/2014 - 16:33

I've accidentally done the same thing with the sander on pieces of my furniture too. I don't think yours looks ridiculous at all- it is a really beautiful table!!

pde00311

Fri, 04/25/2014 - 07:04

It was a fun build, and despite a few marks on top, we love the table!

A clearance shelf

Okay in all fairness to a woodworking site, I did not actually MAKE this shelf. However, I saw the plan for how to decoupage my scraps and thought hey I did something like this a few months back. I think I will take a picture and share what you can do with decoupage and some scraps.... did that make sense? Anyway, this is to give you an idea of something you can do!

So - found this shelf on the damaged section at Hobby Lobby for less than $20 in fact I think it was about $16 or so. It was missing 2 of the glass sections, one of the backs to the picture, and one hook. It also had some small places where the paint was chipped off. So I bought it with a great place to put it but no definitive plan on how to fix it.

Here's my rehab - filled in scratched spots with a black sharpie, it looks pretty good. Instead of trying to find glass/backs, I found some copyright free letters and had prints made of them (there is a whole folder out there on flickr of copyright free letter photos for personal use). Of course, I had to agonize over which ones to use and which had the correct orientation - I ended up with a metal stamped C, a concrete O, a wood carved a, a stitiched T, and a painted s. Then I took thin scrap board, cut them to size, and decoupaged the letters on to each board. For my final decoupage coatings, I used a small brush one way and then the other to give the product a canvas like texture. When that was dry, I sprayed it with a matte clear coat (if you don't do this over mod podge it has a sticky feel to it and dust/dog hair etc will stick to it). I put these little plaques in the holes of my shelf with tape. No glass needed when the decoupage is sealed like this.

Unfortunately, I could not find hooks to match the missing ones so I just bought new ones and will save the other 4 for some other project.

Hung it up and hung coats on it!
Estimated Cost
$20 - including the shelf
Estimated Time Investment
An Hour or Two (0-2 Hours)
Recommended Skill Level
Starter Project

Monster mash activity table

Submitted by monster on Wed, 02/26/2014 - 19:20

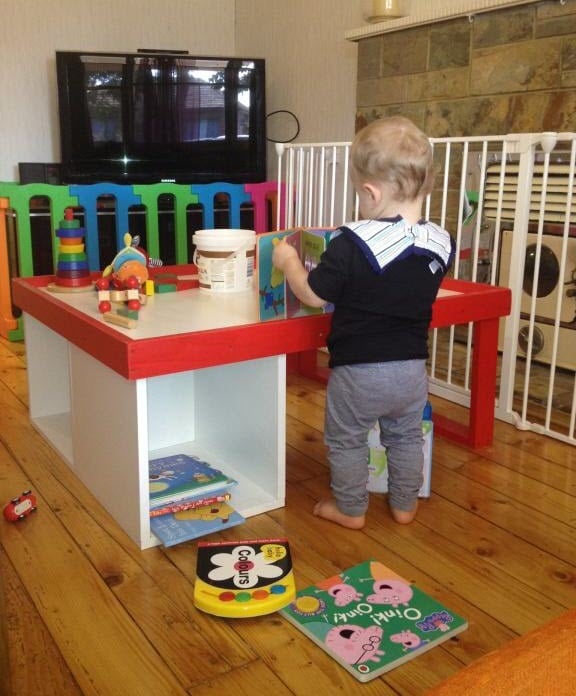
This was a really easy and inexpensive project. As I don't have a table saw and I'm scared to death of my circular saw, I had the laminated MDF cut to size and edged. Assembly and painting was really quick. This little man will road test it for me!

Estimated Time Investment
Afternoon Project (3-6 Hours)
Finish Used
Enamel paint for the red trim
Recommended Skill Level
Beginner

My pallet coop and Ana White run

Submitted by Anonymous (not verified) on Mon, 05/30/2016 - 09:44

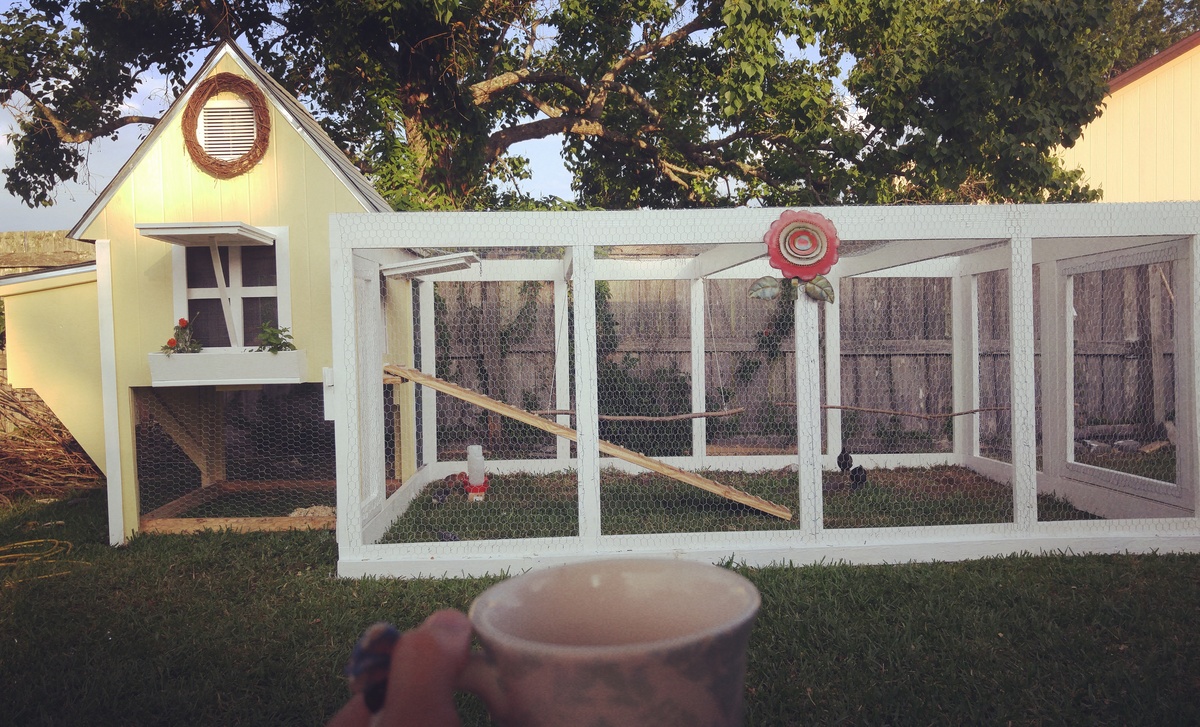
My husband bulky this coop from pallets and used Ana White's chicken run plans. Took us a weekend to build the run.  

Built from Plan(s)
Estimated Cost
$200
Estimated Time Investment
Weekend Project (10-20 Hours)
Recommended Skill Level
Intermediate

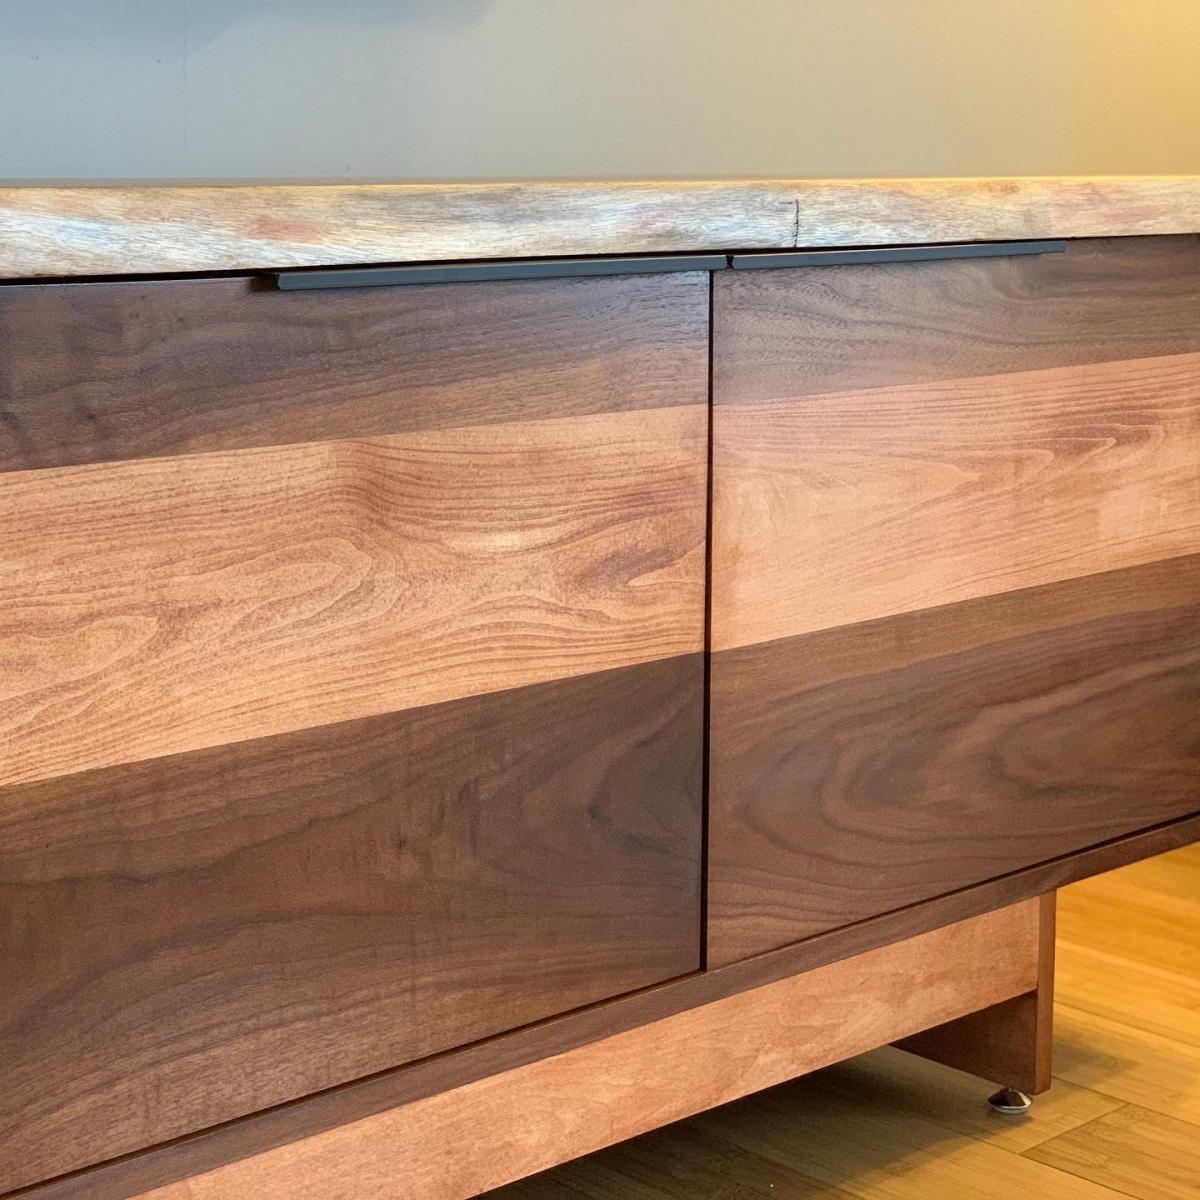
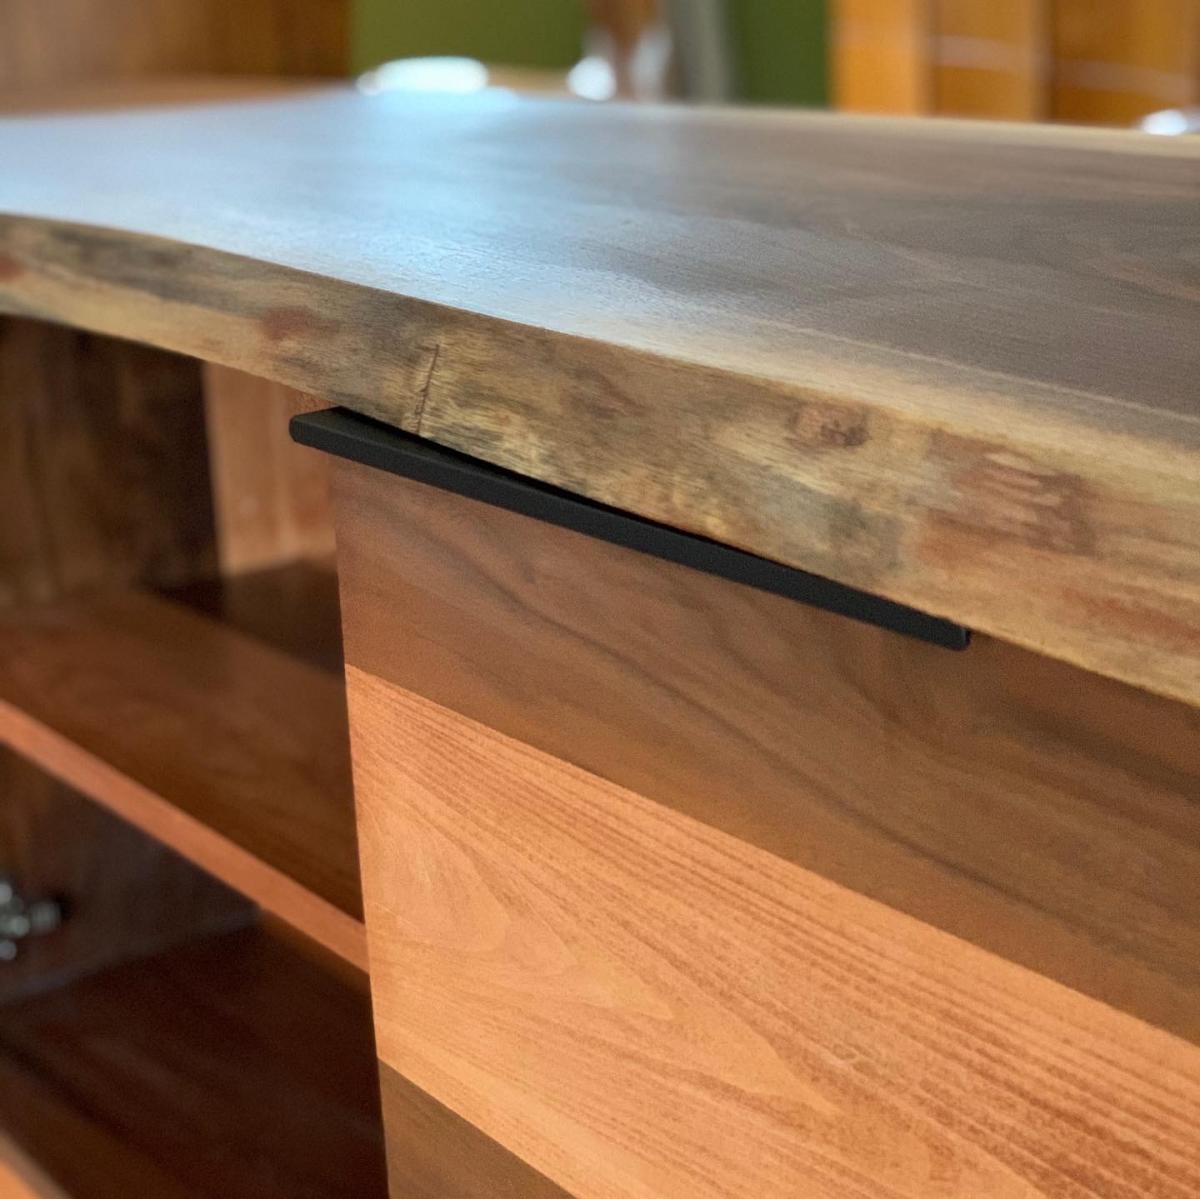
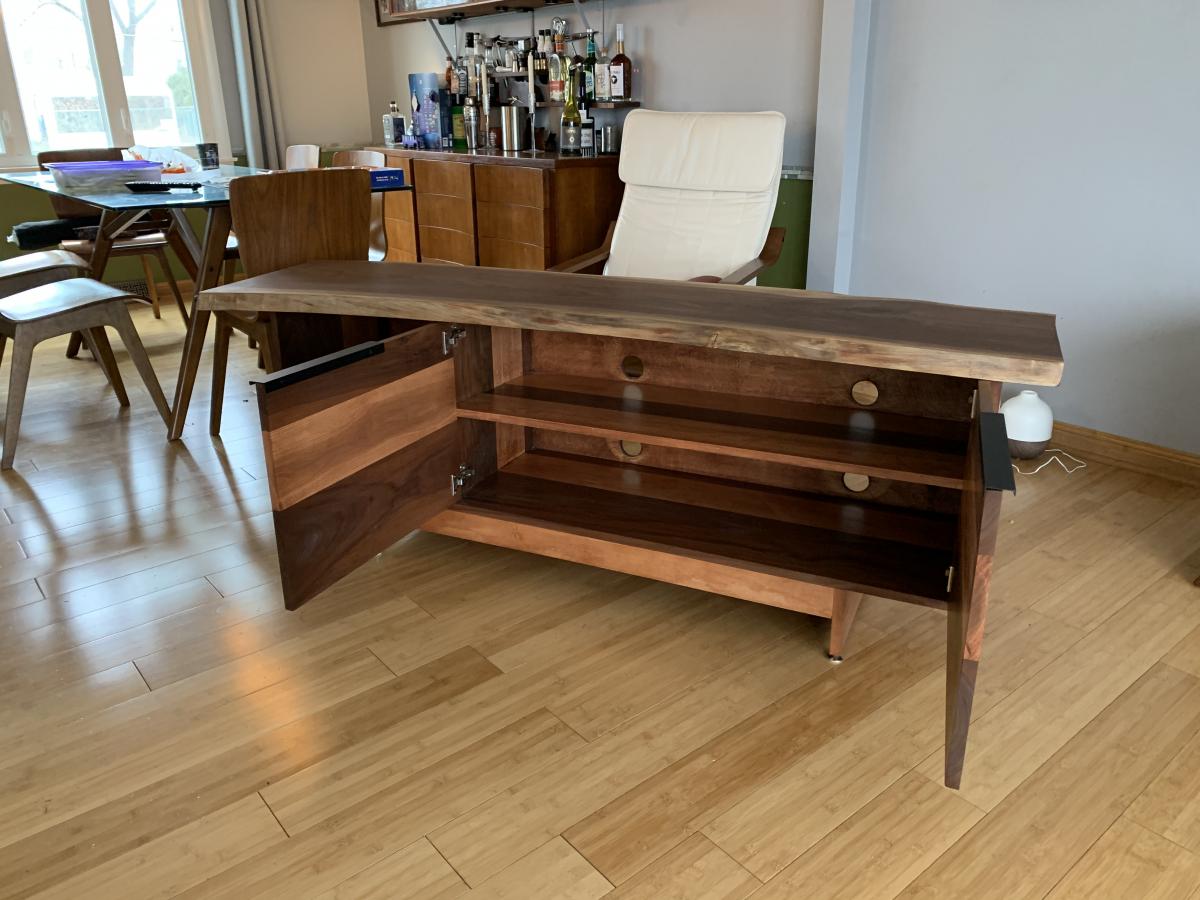
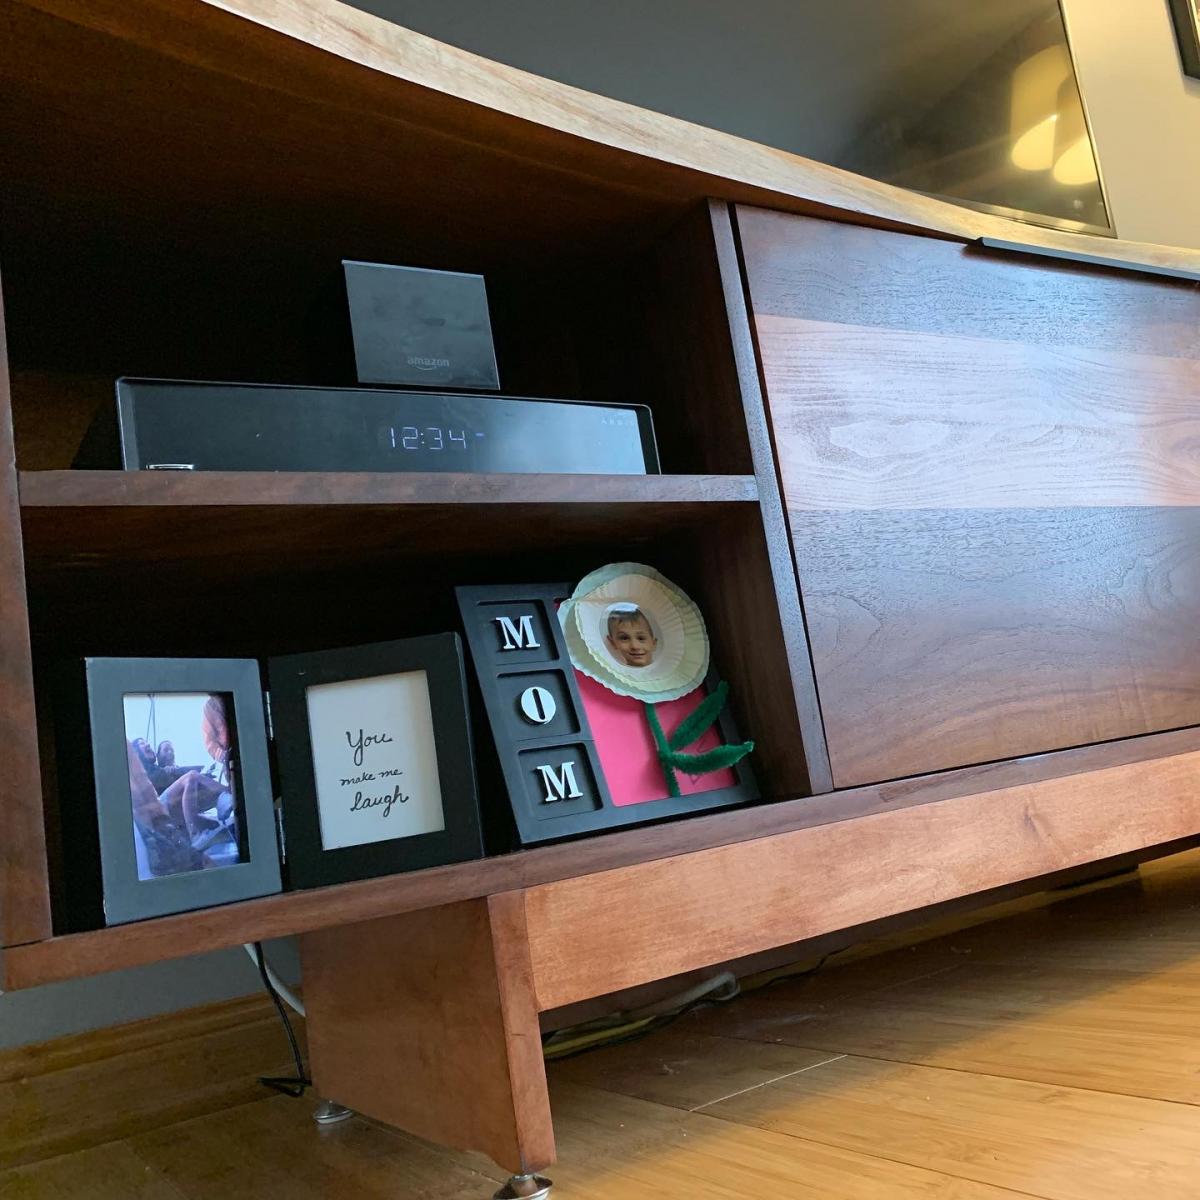
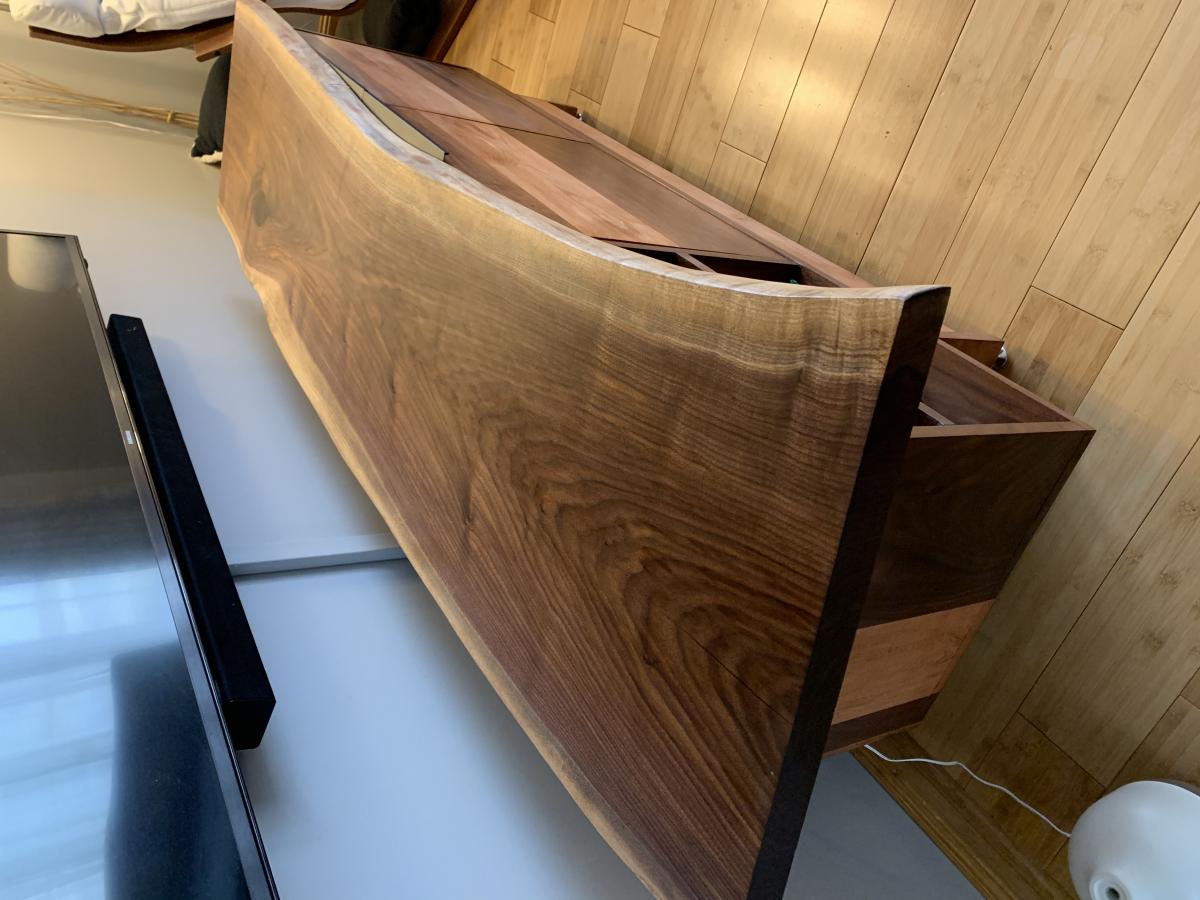
Modern media console - walnut slab

Submitted by jvtoomey on Sat, 03/14/2020 - 14:02

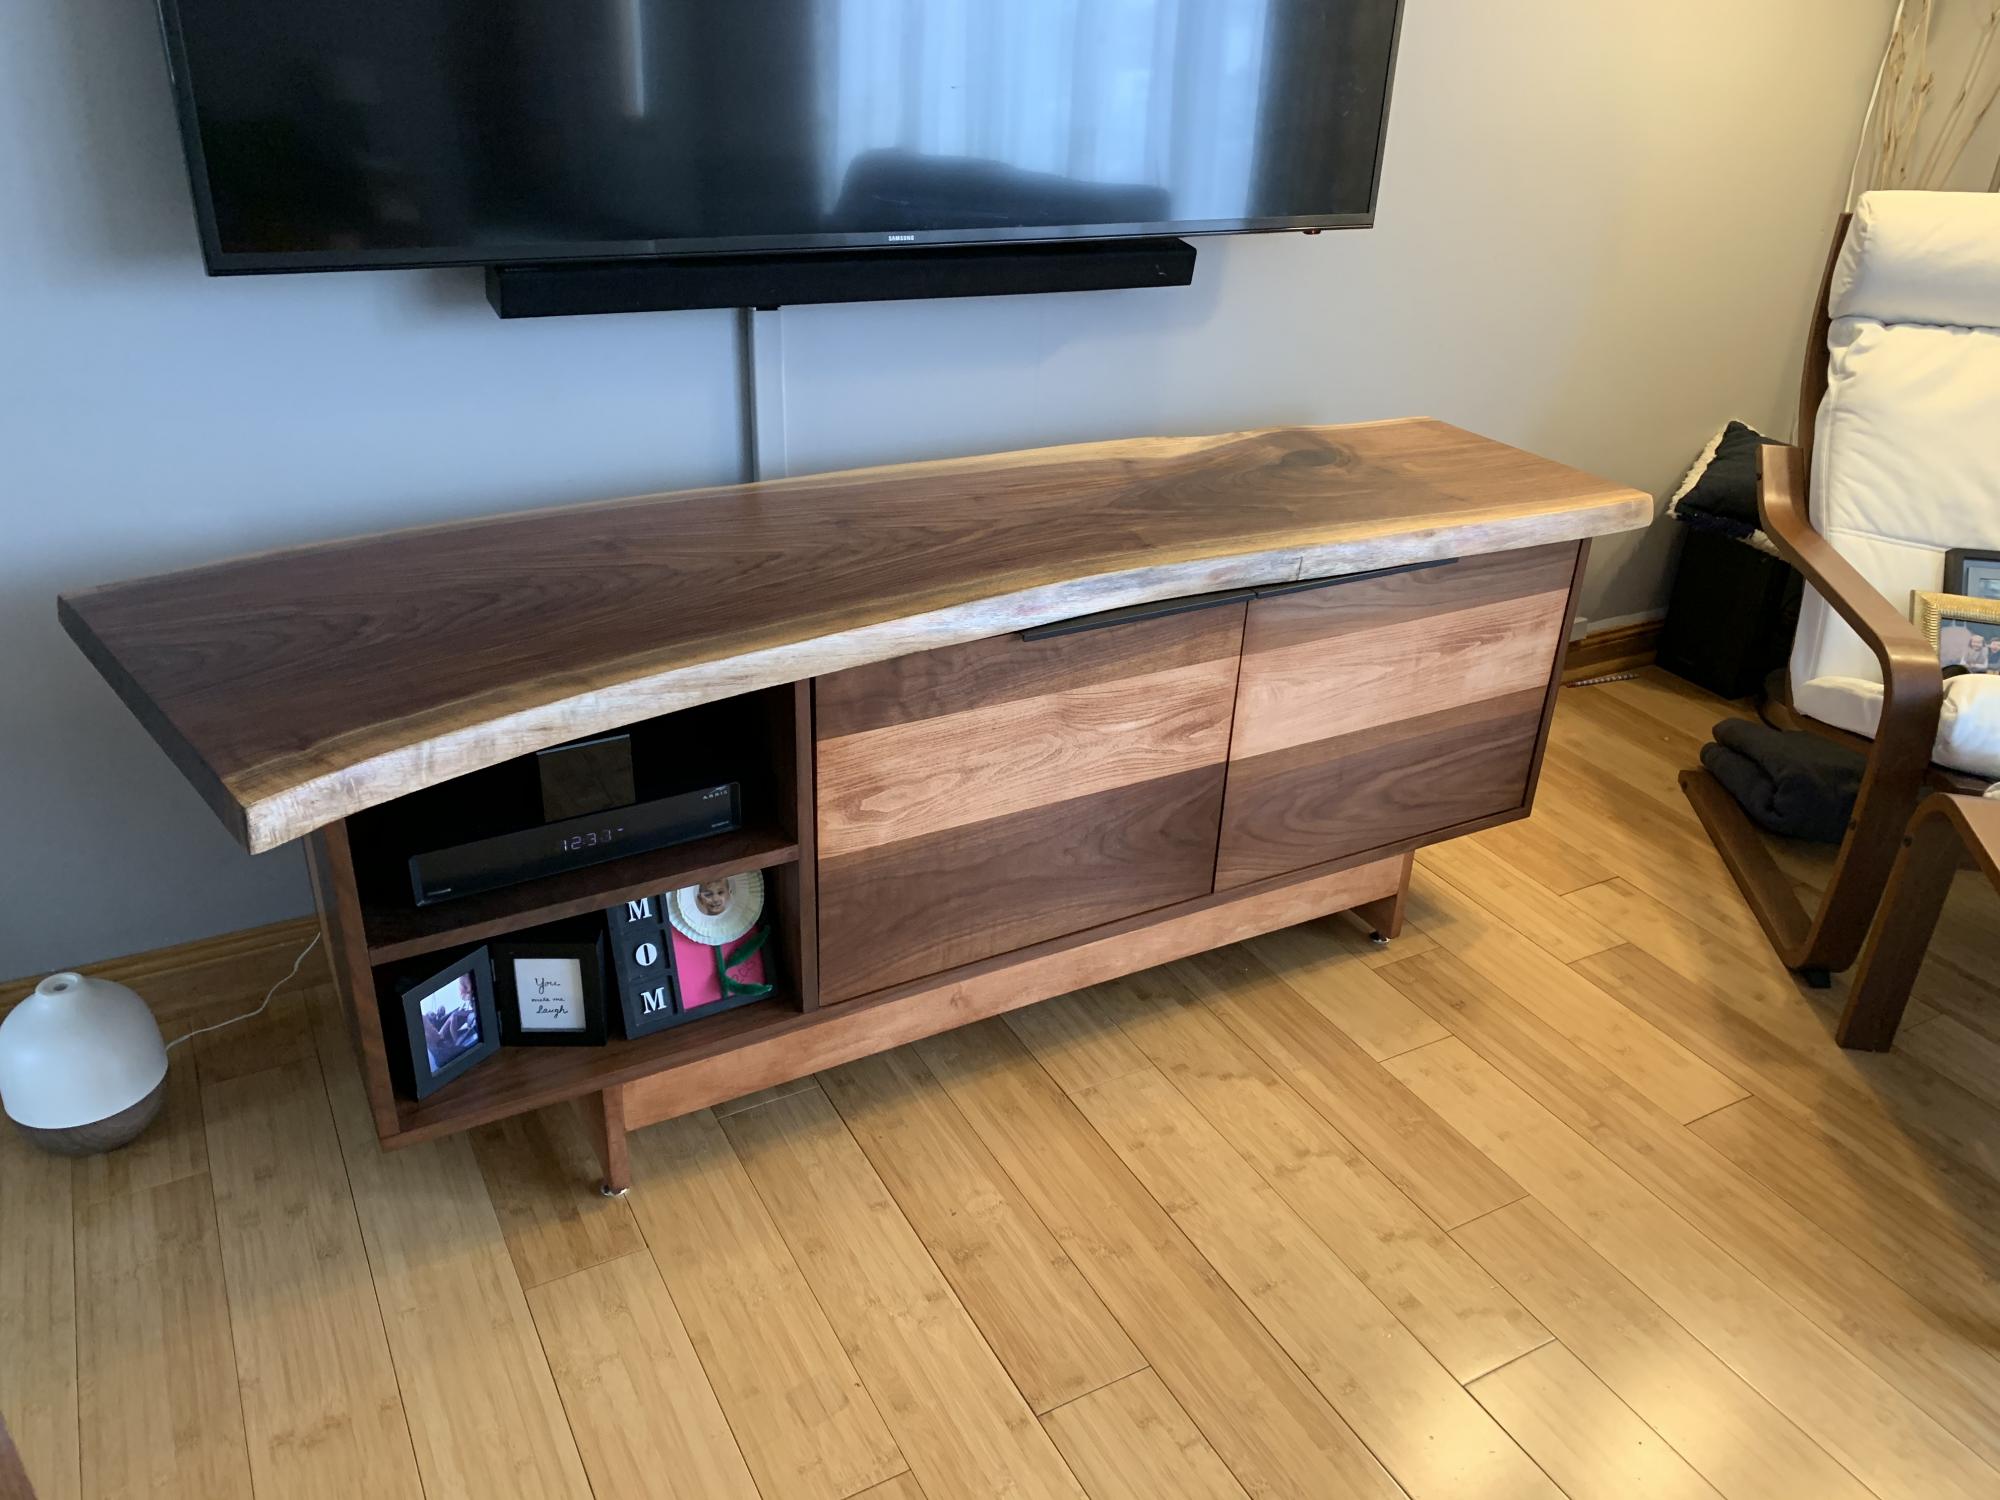
Built mainly from the Modern Media Console plan, modified in a few ways.  Aside from the obvious part being the walnut slab on top, I modified the doors to be inset hinges for looks, and it’s slightly longer than the original plans.  The other main modification was using the base from the Emersen Console or Buffet plan with the addition of the adjustable height leveling legs. 

Estimated Cost
750
Estimated Time Investment
Week Long Project (20 Hours or More)
Finish Used
Stained with American walnut to bring the hue of the walnut and maple to be similar, then finished with a light coating of clear satin polyurethane.
Recommended Skill Level
Intermediate

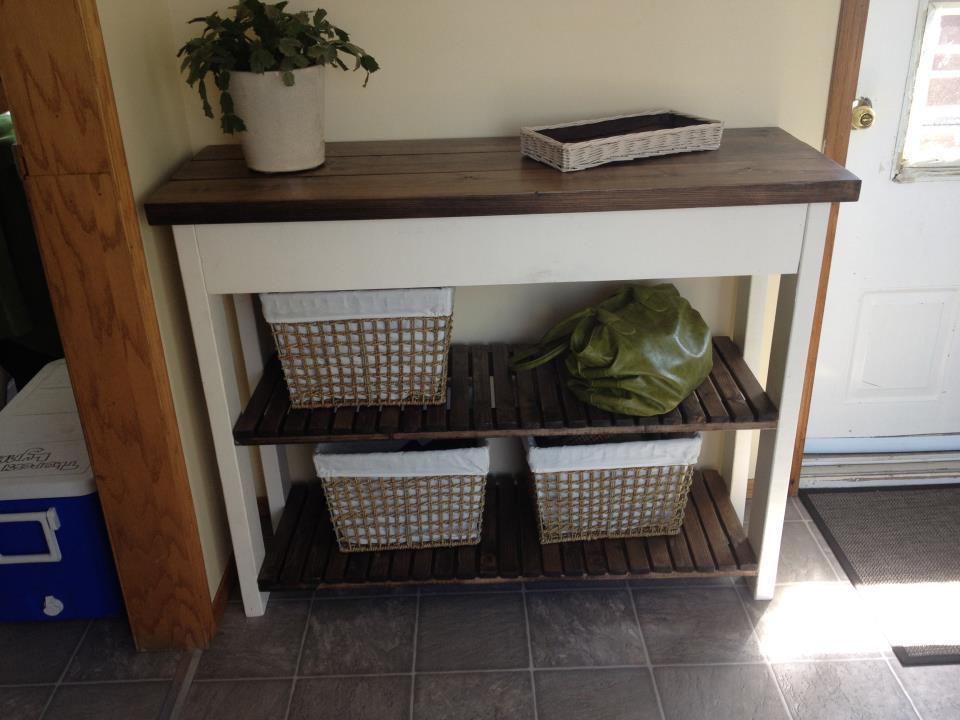
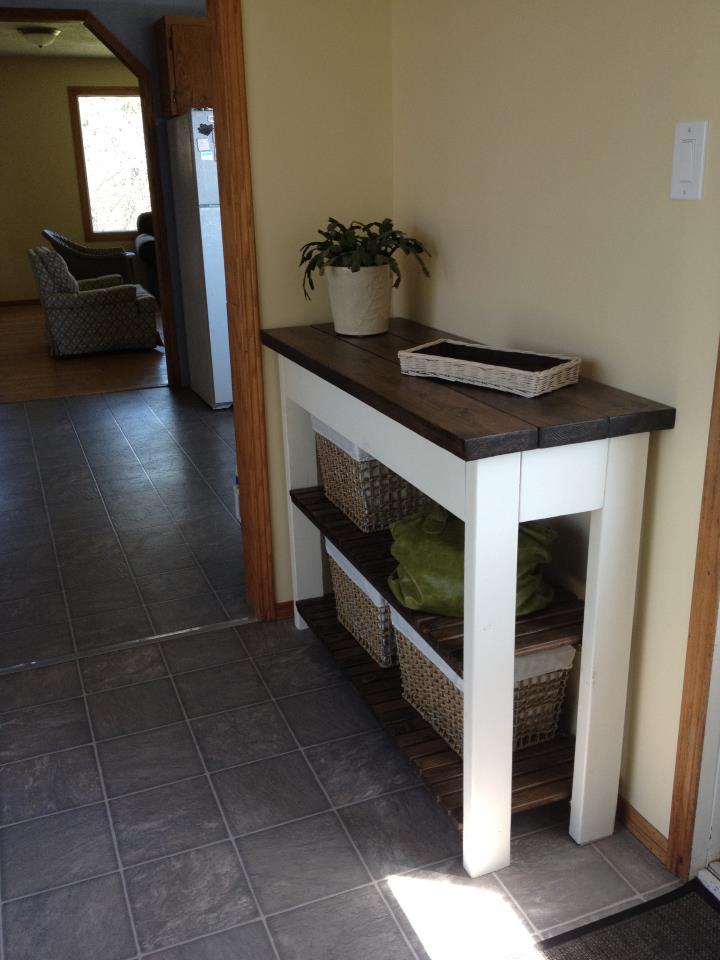
Entryway Shelf

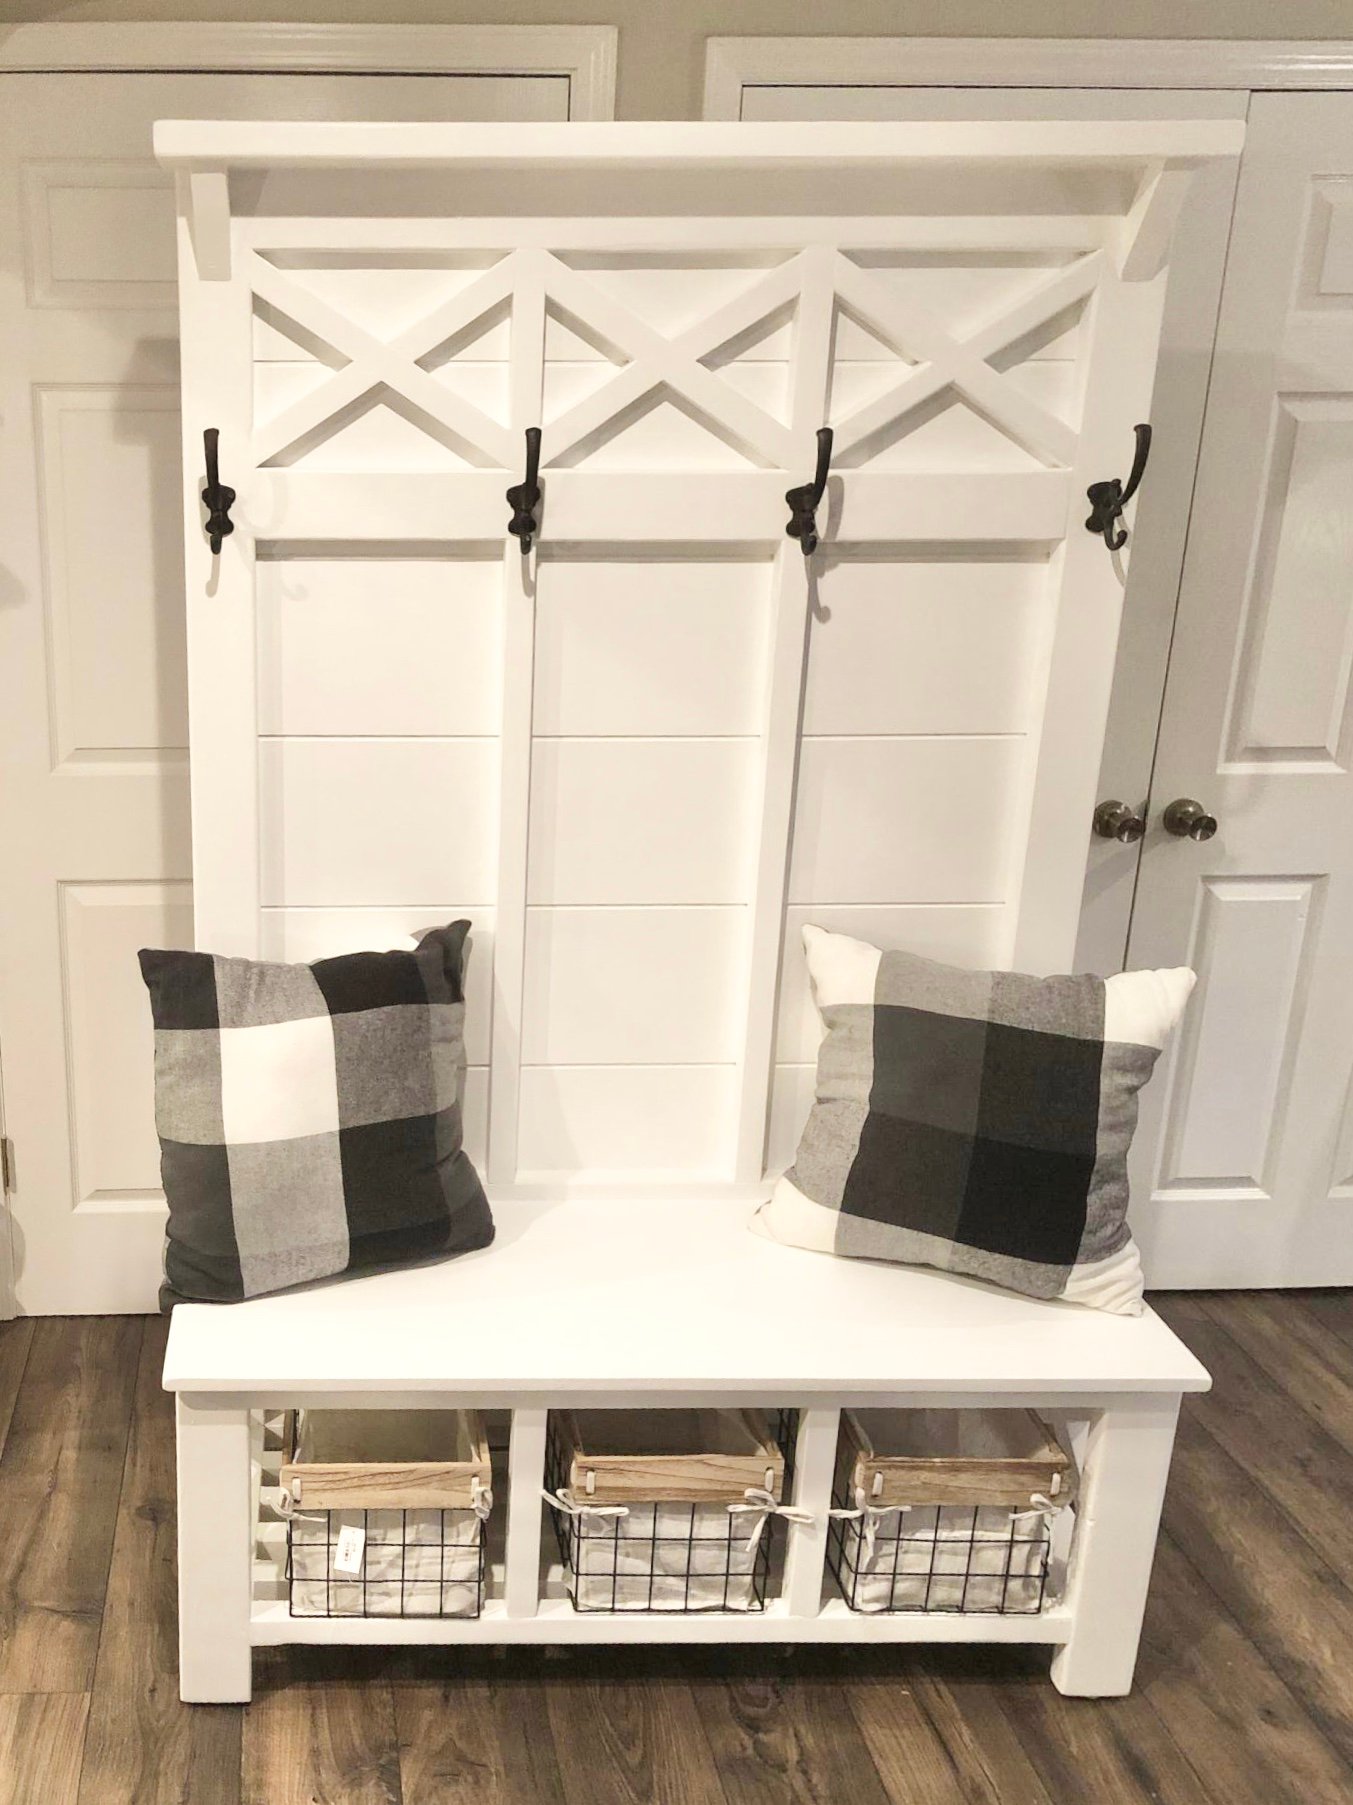
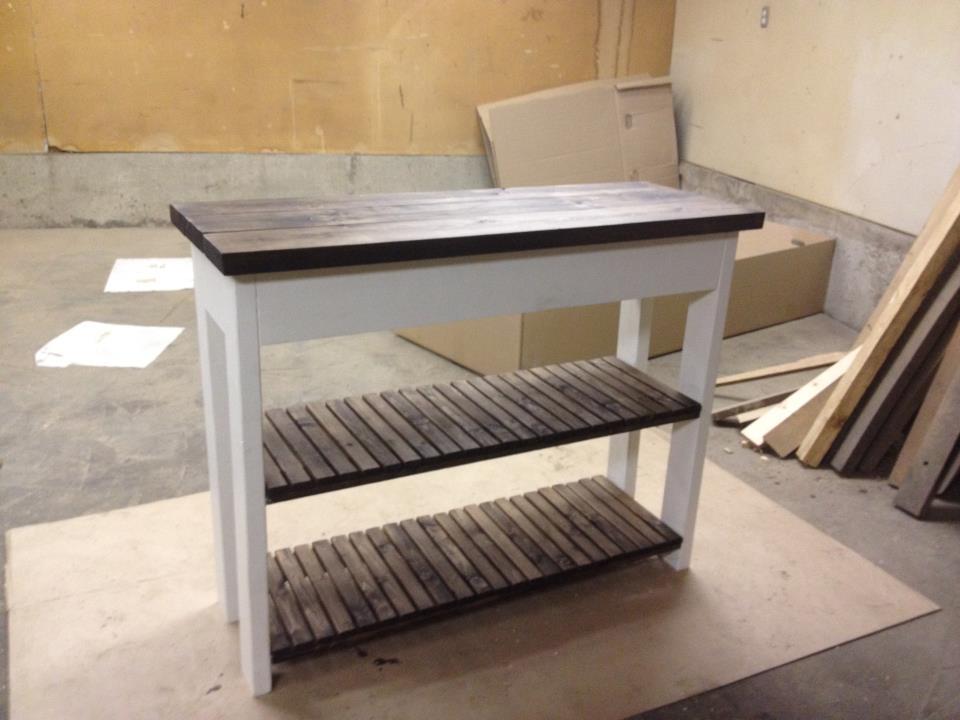
I built this from the Easy Kitchen Shelf Plan, but only used 3 2x6's as the top to make it 16.5" in width and shortened the length to 46" to fit the space.

Built from Plan(s)
Estimated Cost
100
Estimated Time Investment
Day Project (6-9 Hours)
Finish Used
I finished it with Minwax Dark Walnut Stain and used some leftover off-white Beautitone paint for the legs. Finished it with 3 coats of Crystal Clear Varathane.
Recommended Skill Level
Beginner

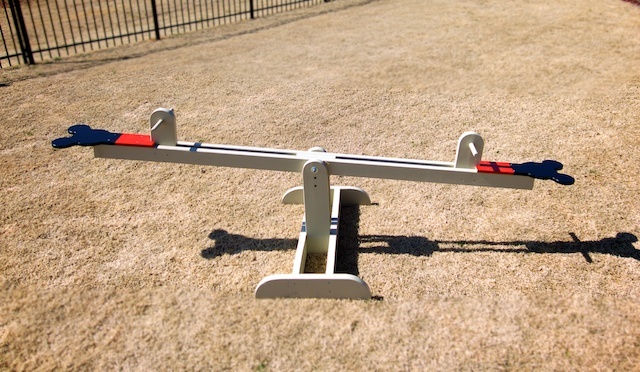
Disney inspired SeeSaw

Submitted by Anne in AL on Mon, 03/03/2014 - 11:51

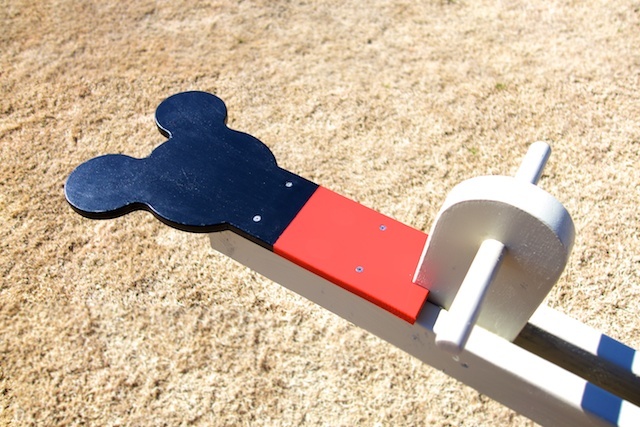
Our 2 year old granddaughter loves seesaws, so my husband built this one for her. We had just been to Disney World and decided to make the seat Mickey shaped for a little extra fun. He used his bandsaw to cut the seat.

The seesaw is plenty stable enough for us to go on it with her and has been a BIG hit with the neighborhood kids.

More pictures on our blog: http://yearoflivingdisney.wordpress.com/2014/03/03/disney-ride-at-home/

Thank you, Ana, for these plans!

Built from Plan(s)
Estimated Cost
wood was minimal cost, the paint was the expense!
Estimated Time Investment
Afternoon Project (3-6 Hours)
Finish Used
exterior semigloss
Recommended Skill Level
Beginner

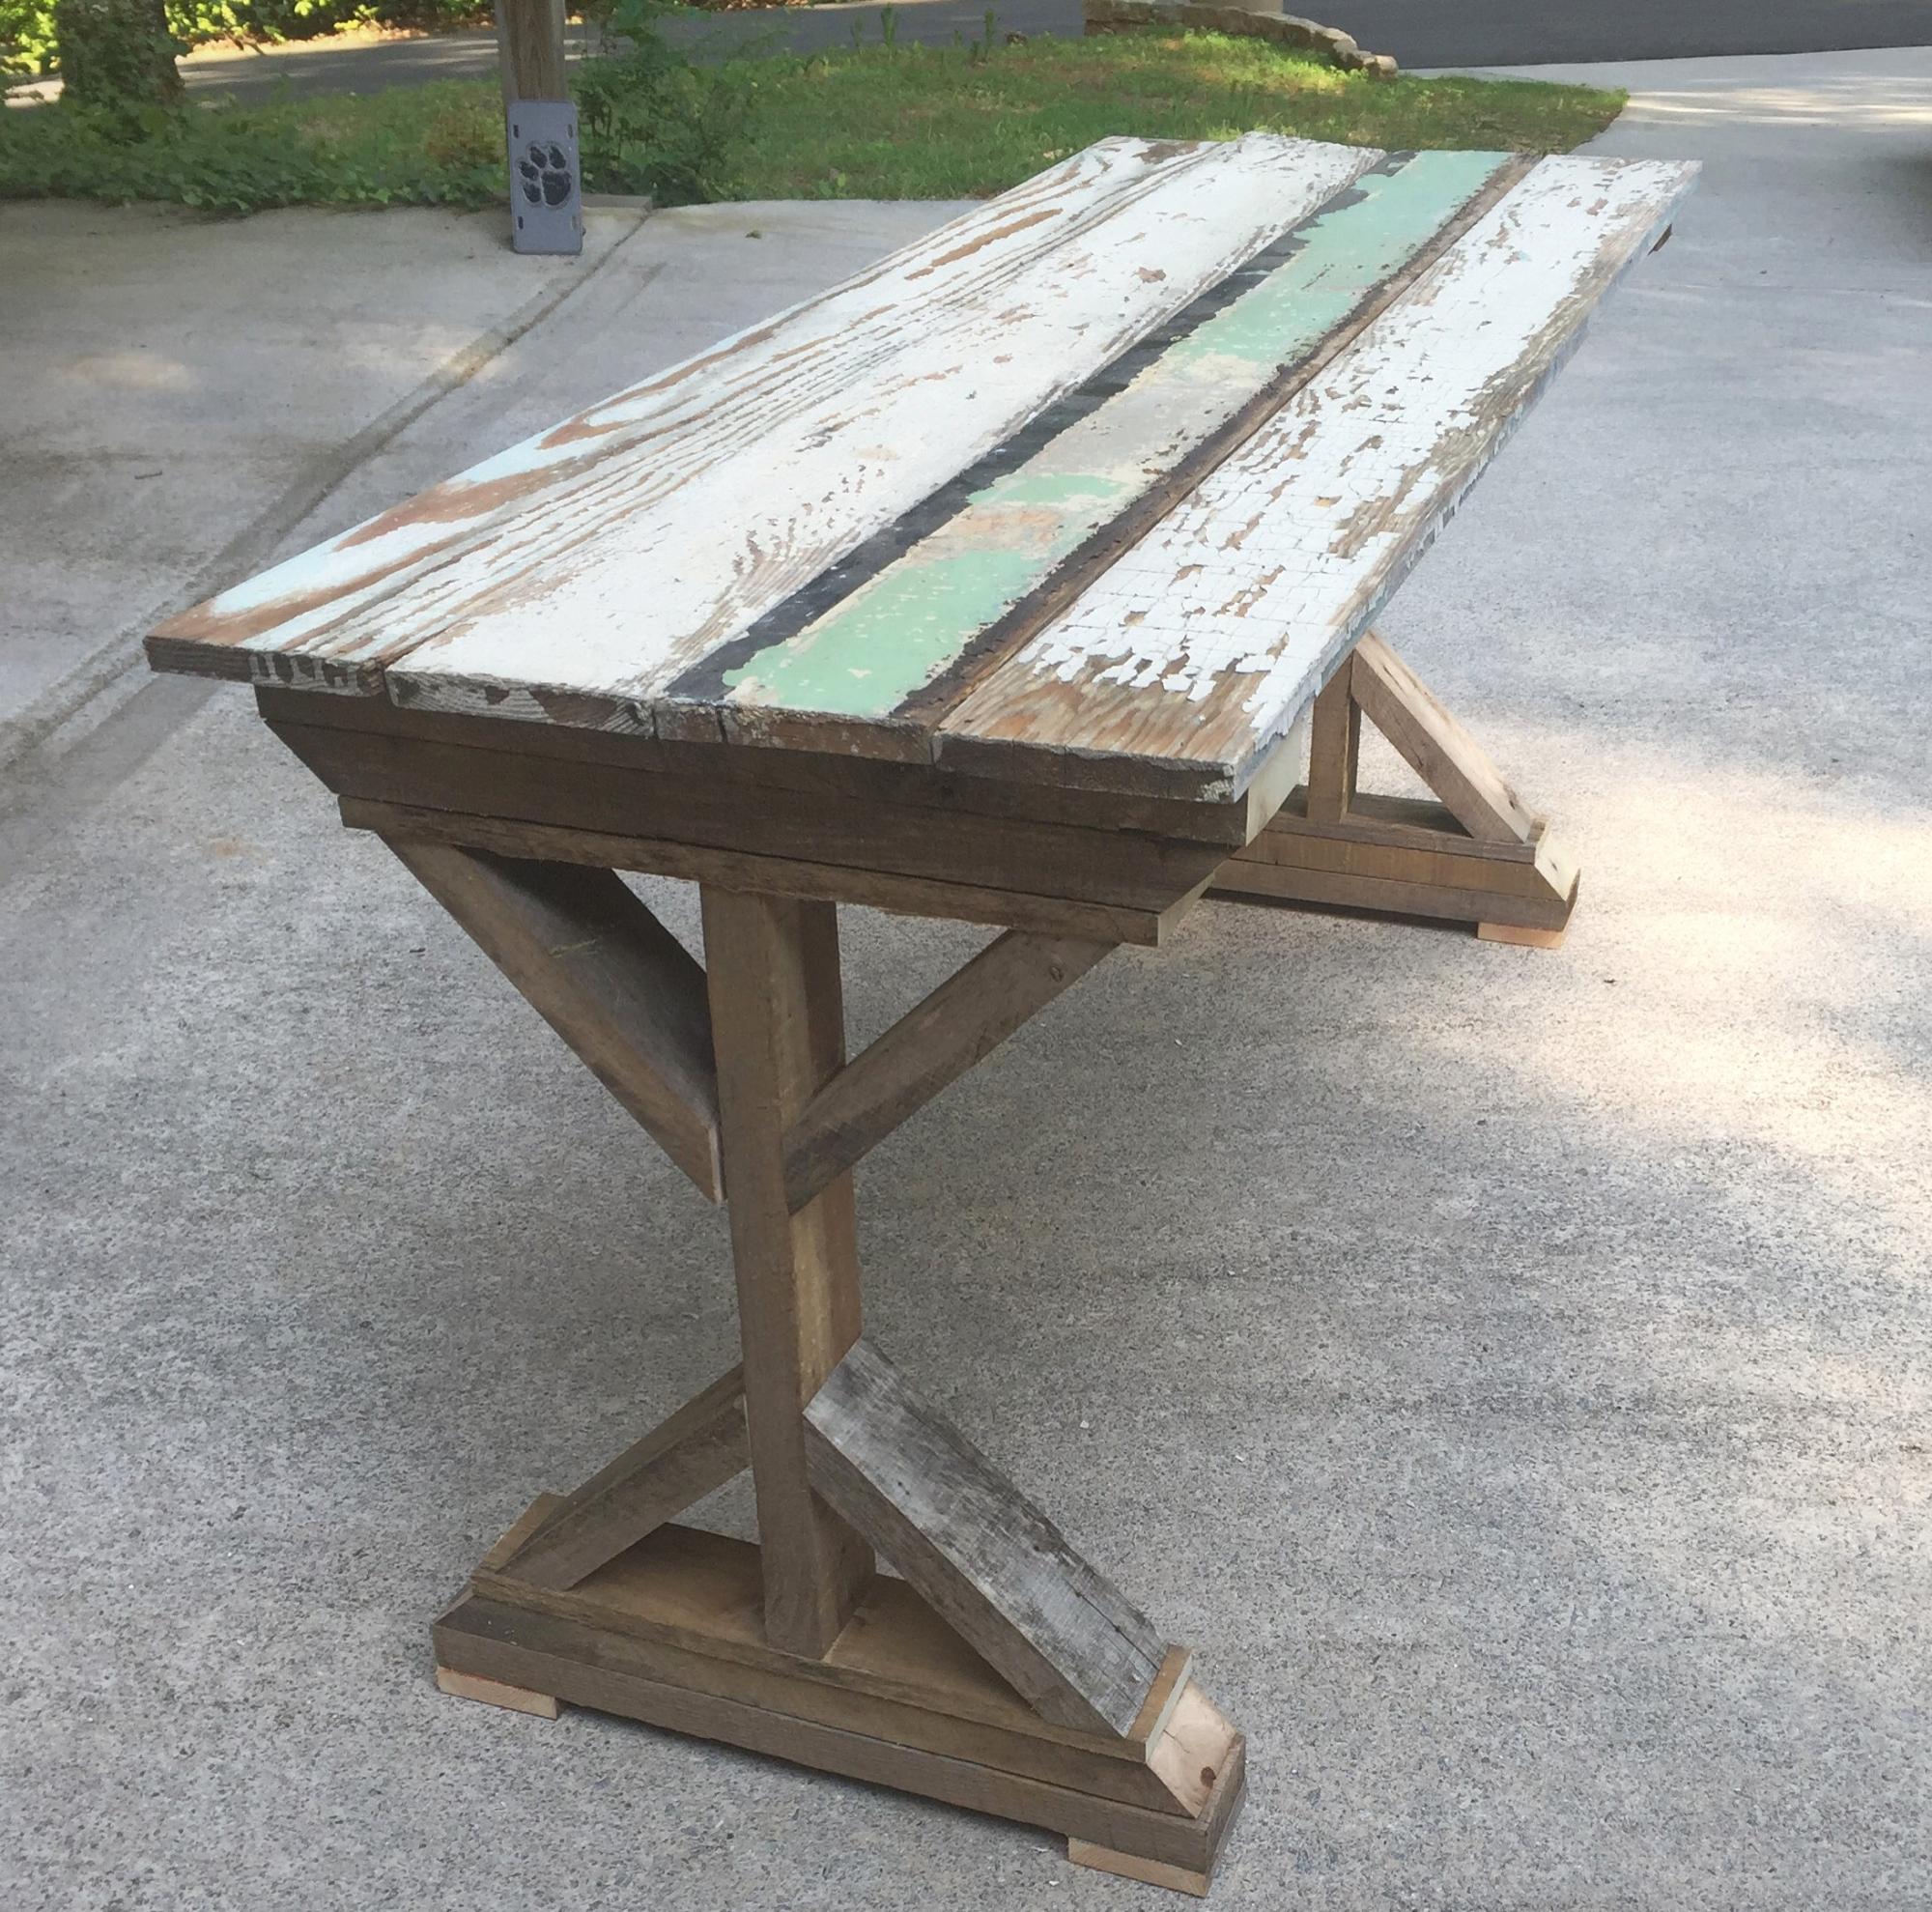
Fancy X Desk Success!

Submitted by mrcleland on Thu, 06/02/2016 - 06:07

Started this project out of boredom. I had some time and some extra wood laying around. Some was from pallets I took apart, some from a salvage house, and some from an old barn. I built the table in a few hours and worked through any misshaped boards as best as possible. It was a relativley easy project and fun to see the legs turn out with each step. I plan to use cables and turnbuckles for the cross braces on the back and will update the pic when I do. I just need to find a home for it now.

Estimated Cost
Free since all wood was salvaged or scrap.
Estimated Time Investment
Afternoon Project (3-6 Hours)
Recommended Skill Level
Beginner

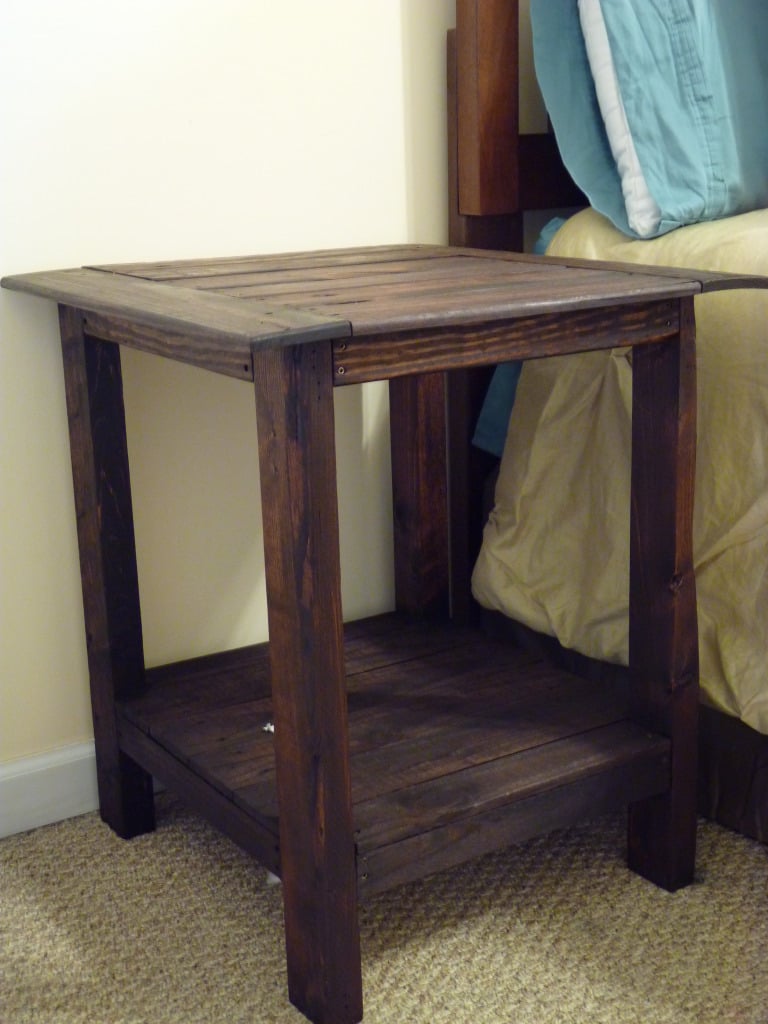
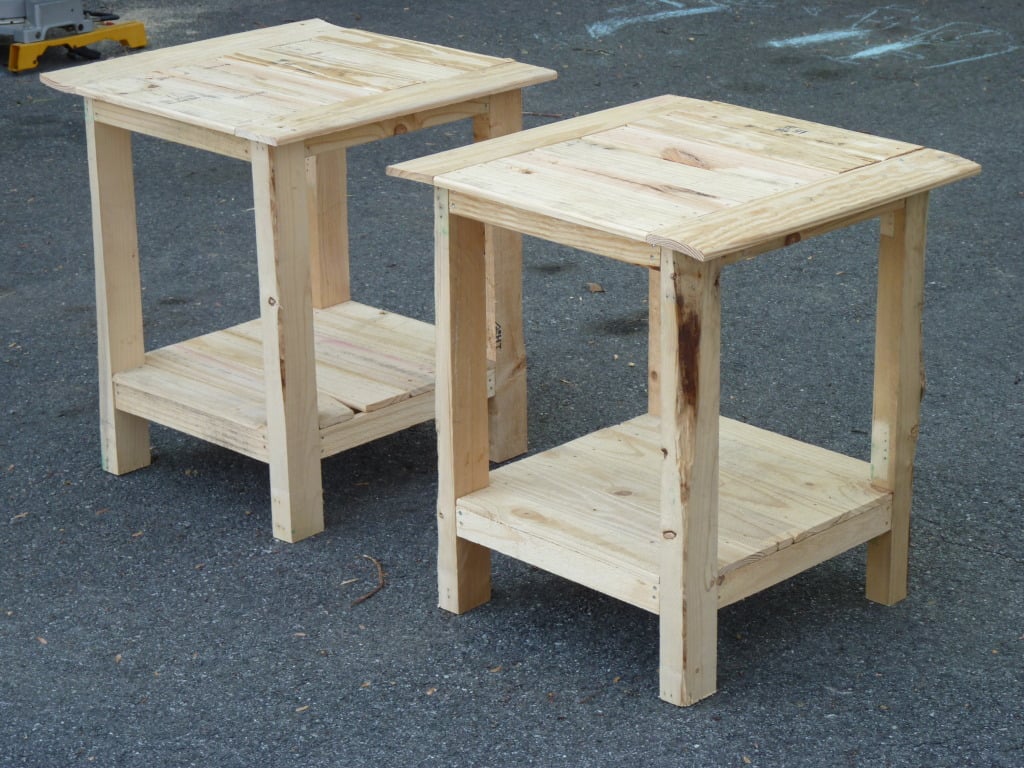
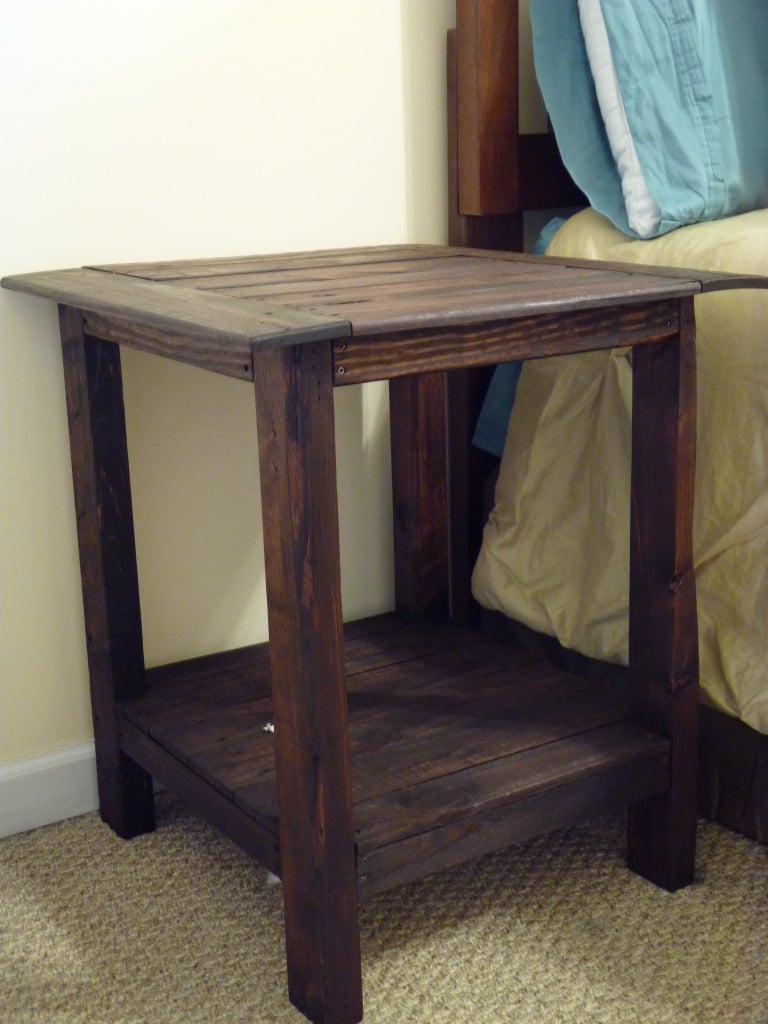
Tryed Side Table with Shelf

Submitted by papadaddy on Mon, 05/21/2012 - 18:59

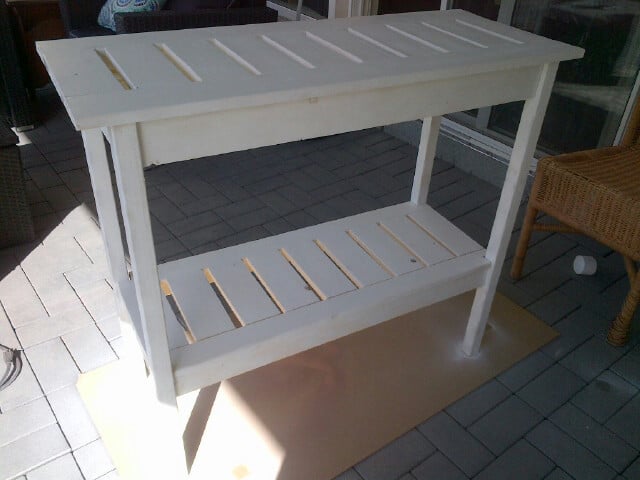
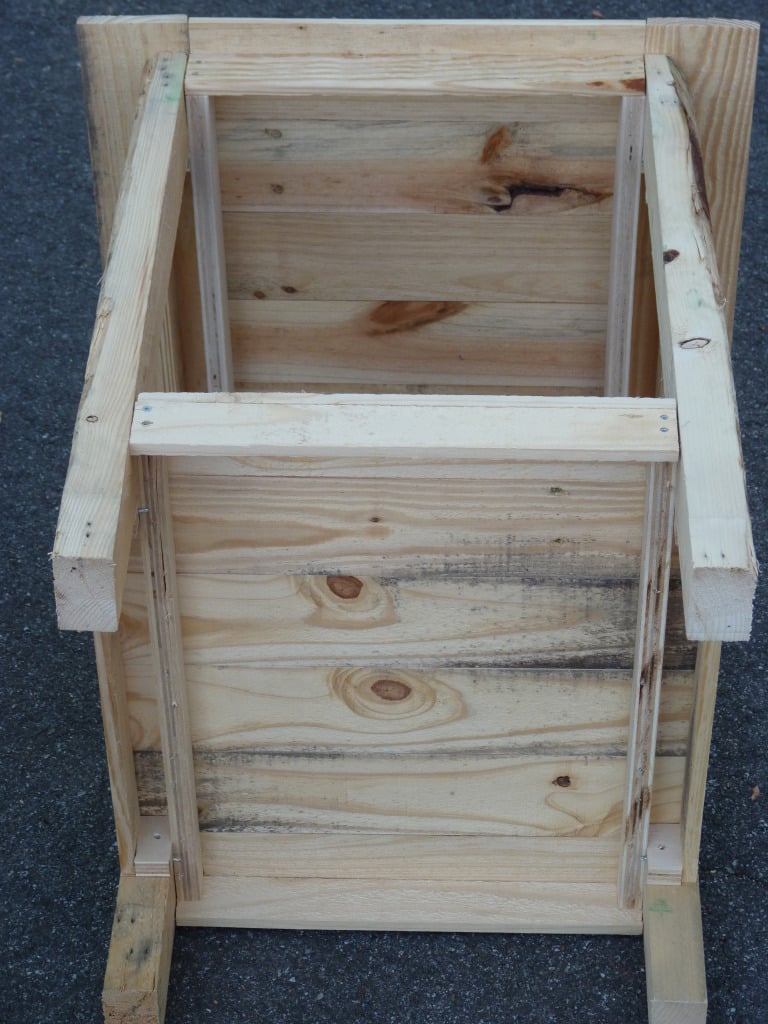
All the wood is from pallets, which you can find for free at local big box stores.
I added the shelf with the same support system used for the table top.
Made with as little cost as possible so materials are not too much.

Material:
A few pallets
Wood screws

Tools:
Table Saw
Miter Saw
Drill
Sander
Measuring Tape
Square
Pencil and Paper
Stain
Brush
Shop Cloth

This is my first Project :)

Built from Plan(s)
Estimated Cost
$7
Estimated Time Investment
Afternoon Project (3-6 Hours)
Finish Used
1 coat of Red Mahogany 225, applied with a brush and rubbed with a shop cloth after 15 minutes.
Recommended Skill Level
Beginner

Comments

anderjes

Tue, 02/12/2013 - 07:55

Do you have blue prints or suggested measurements for this table?

8 Foot long Book Shelves

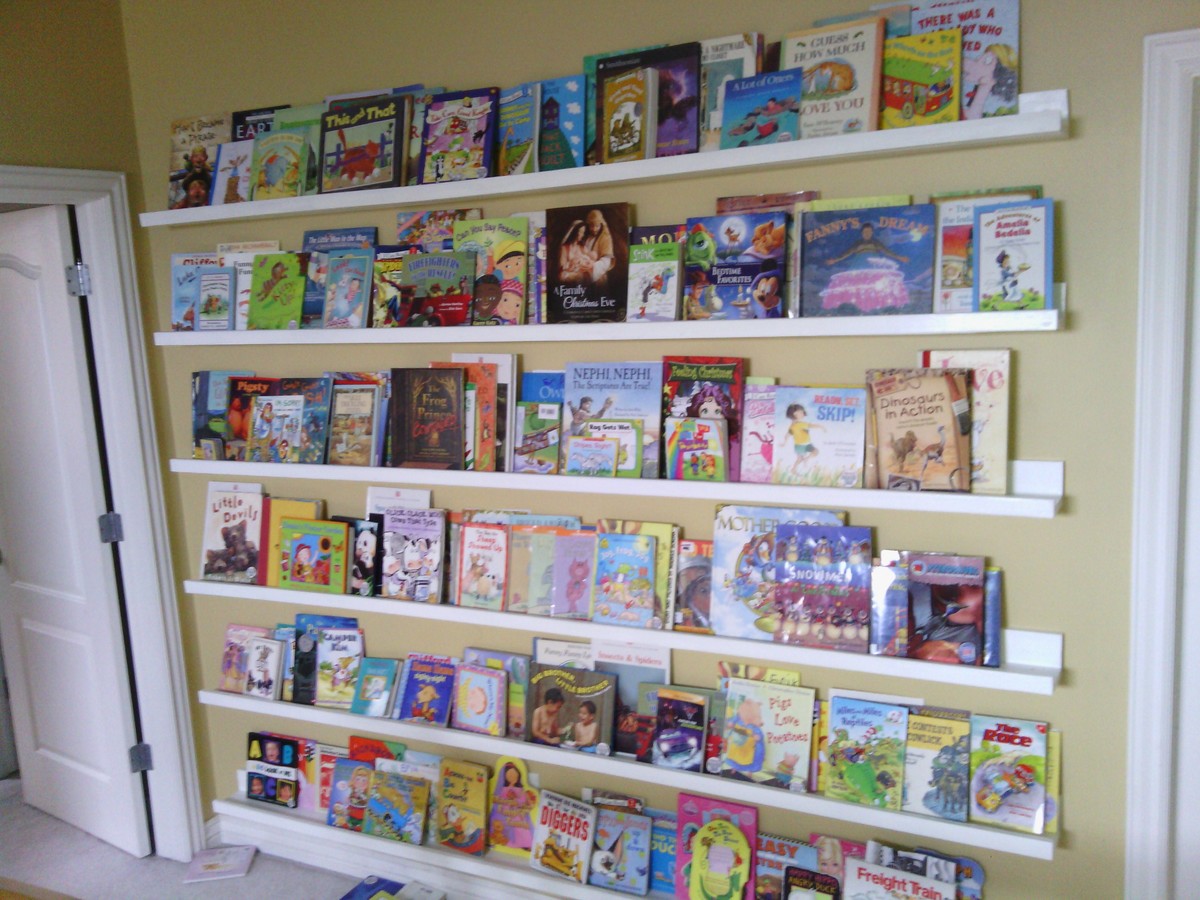
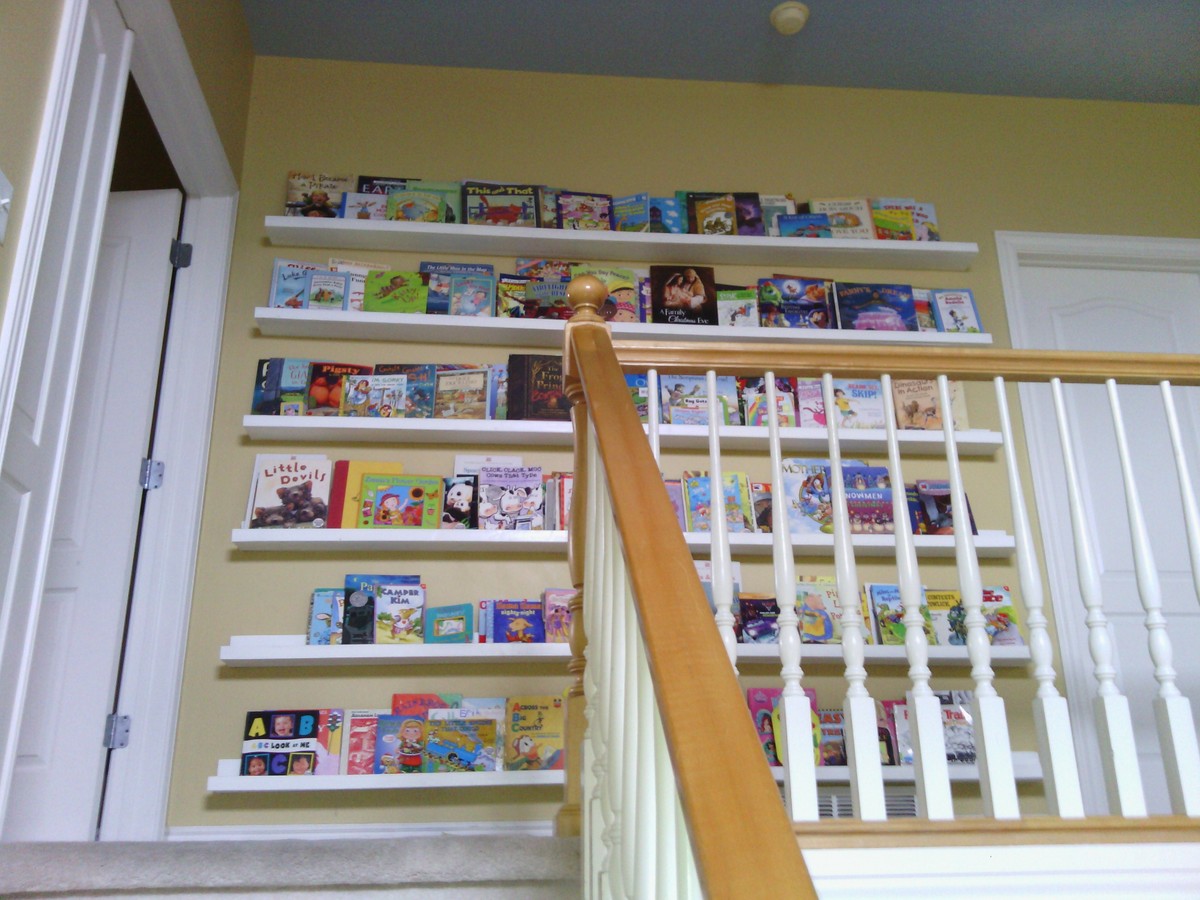
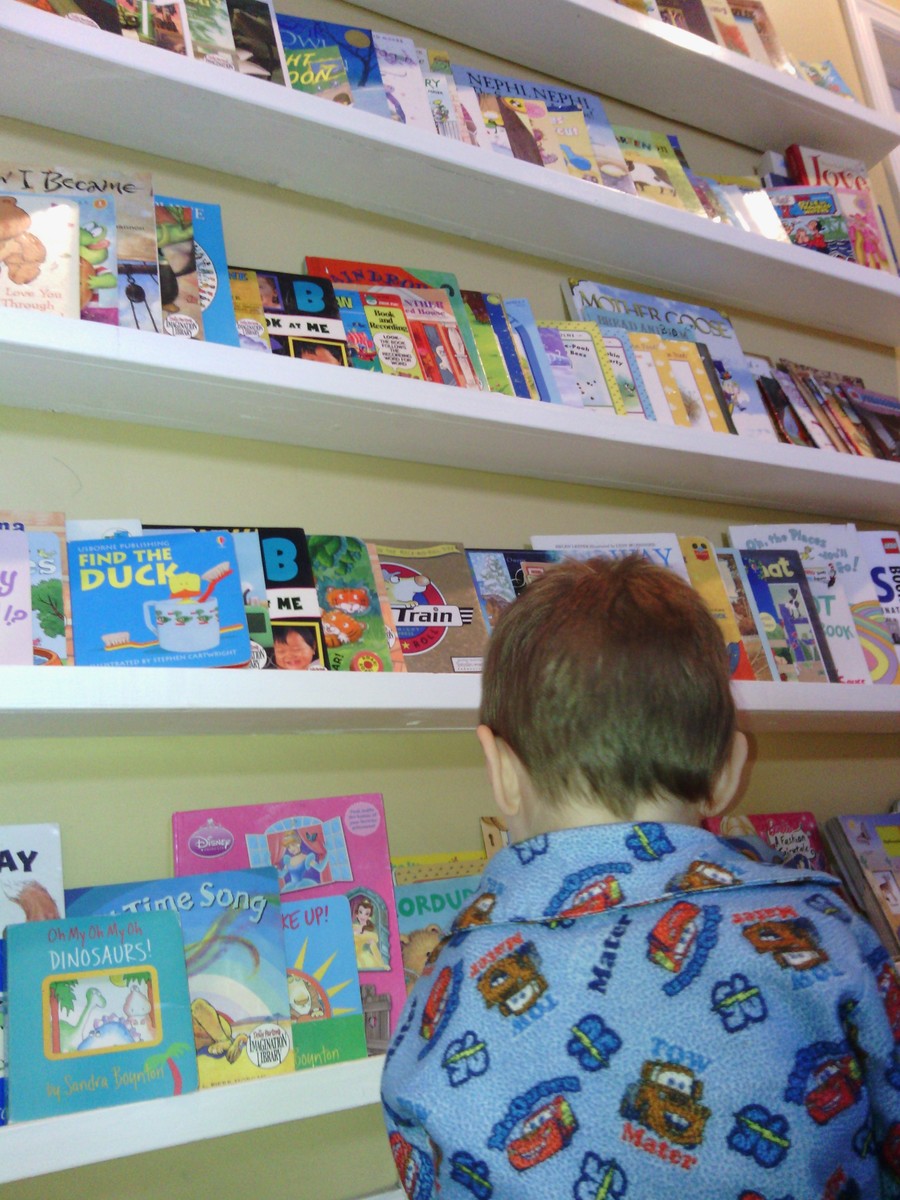
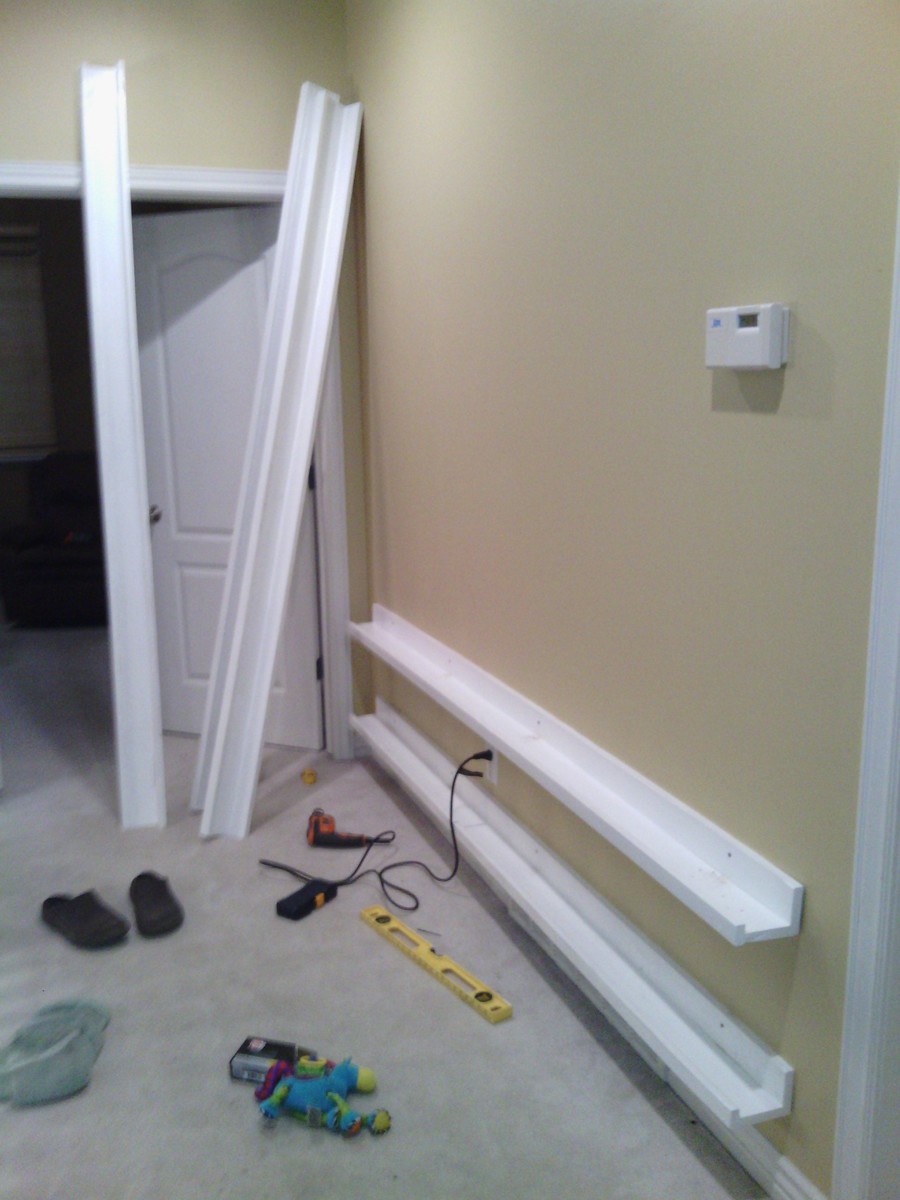
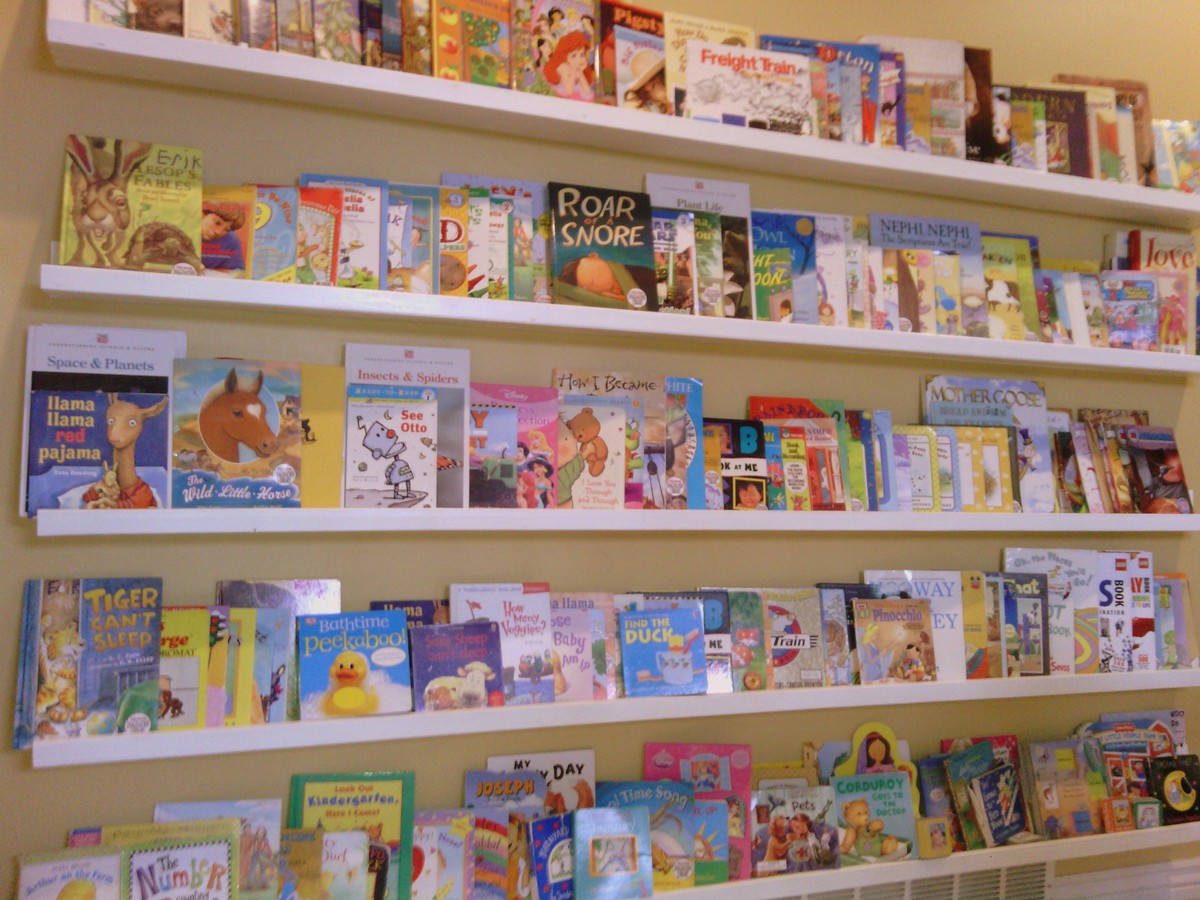
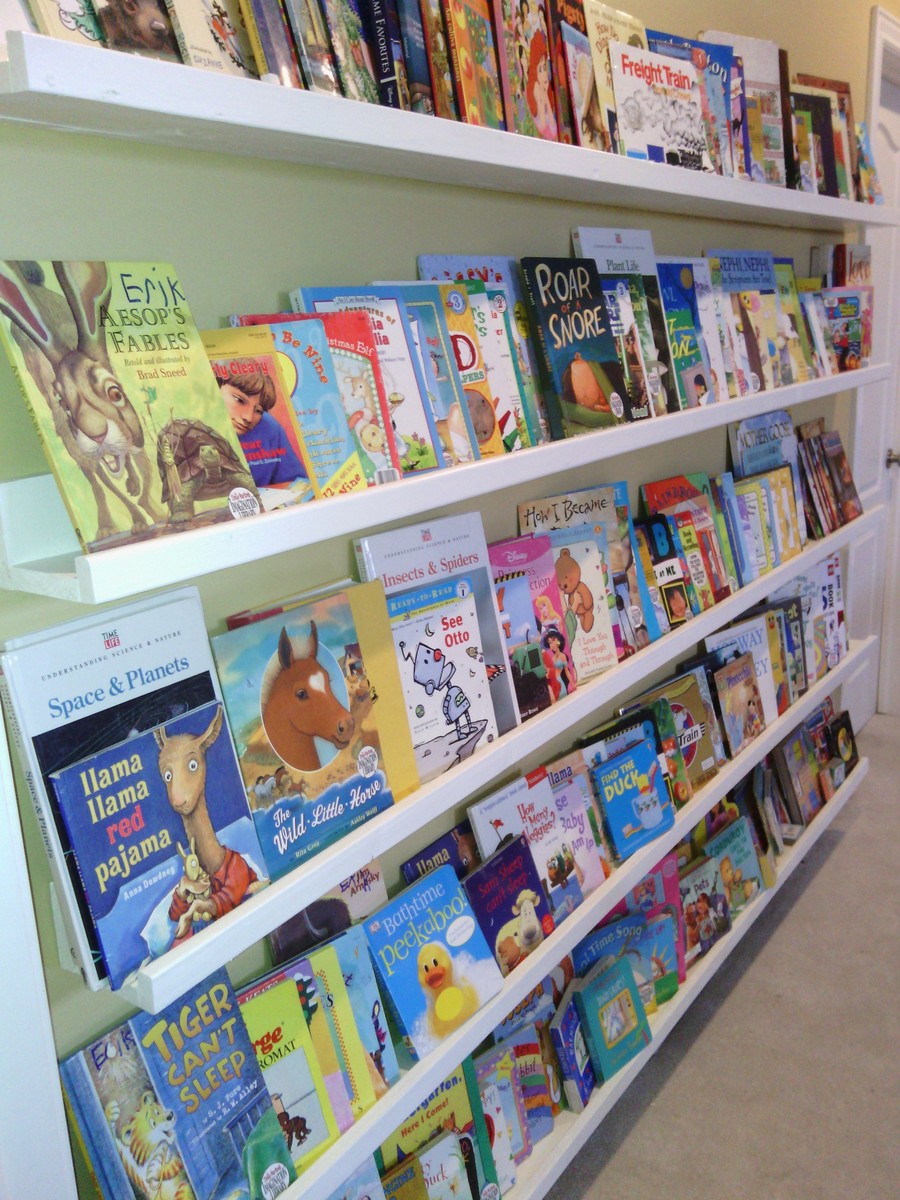
We recently created a Dr. Seuss themed reading nook on our upper level. We have one large book shelf near it, but have also wanted a way to display children's books. These ledge shelves make the books easy to access while also creating a beautiful piece artwork at the top of our stairs. Now, instead of have a long blank wall in the hallway between doors on the little landing we have a beautiful library. I have loved how they have turned out and wanted to share with others!

Built from Plan(s)
Estimated Cost
60
Estimated Time Investment
Day Project (6-9 Hours)
Finish Used
After screwing them all together we painted them white. It gives a elegant look!
Recommended Skill Level
Starter Project

Comments

Simple vanity

Submitted by jlrd13 on Sat, 06/04/2016 - 19:57

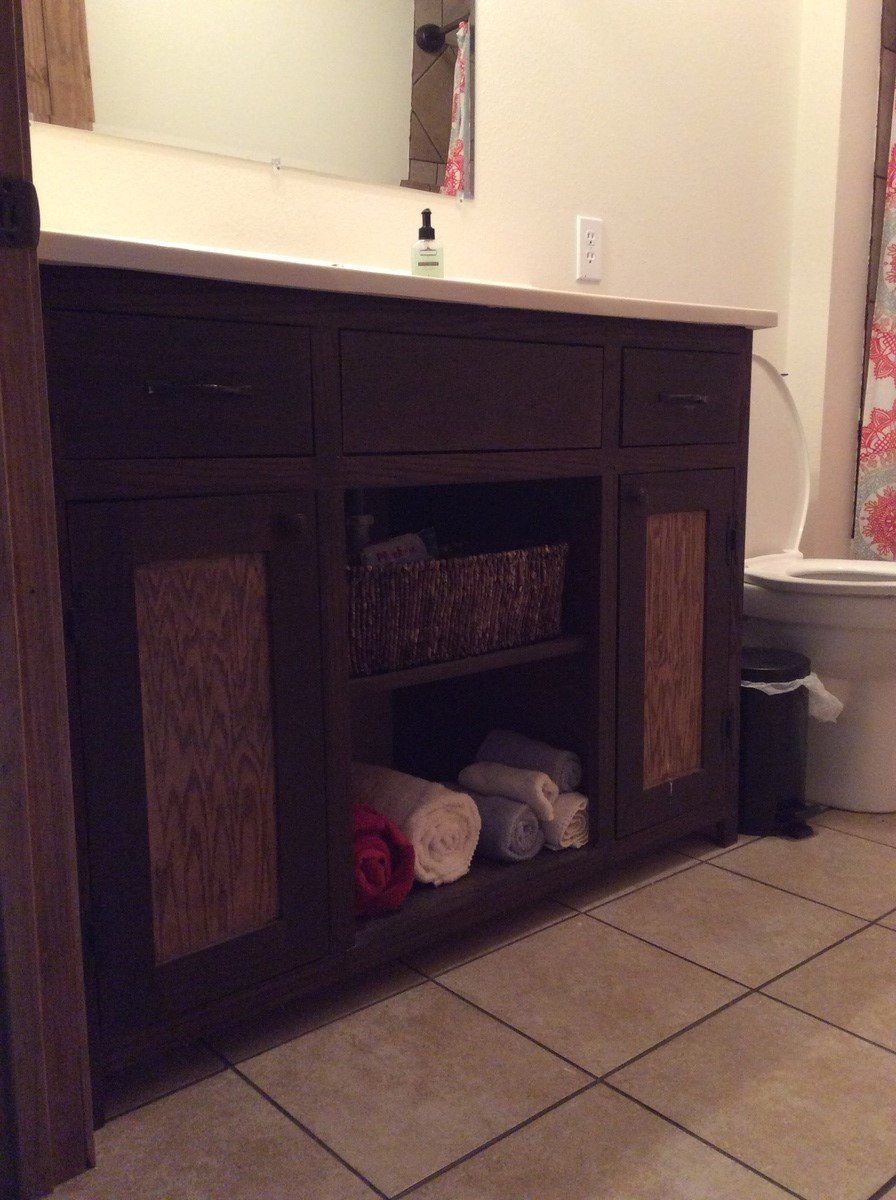
My husband and I built a house doing all the work that we could. When we started the project, I told the men in my life they were going to build the kitchen cabinets. They were pretty adamant they weren't.  I started visiting with experienced cabinet makers. One kept repeating, "It's just a box. It's not that hard to build a box."  With that encouragement, I found Ana's website and set about learning woodworking. First I built a step stool for my grandson, next I built some shelves for the shop, then I built this vanity. After I finally got it finished, I called an experienced woodworker to build my kitchen cabinets. Ha! I will say though, when the appraiser came out, he commented on what a nice vanity it was! Thank you, Ana, for opening up a new world to me!!

Built from Plan(s)
Estimated Cost
I had to buy an additional piece of oak as I made a wrong cut. It also took me a lot longer than someone with more experience, but it is doable for a beginner.
Finish Used
Custom stain. 24 oz mission oak, 24 oz paint thinner, 12 oz English chestnut.
Recommended Skill Level
Beginner
Back