Patio tables

Fun and easy project. If I did it again I would definitely follow the directions to stain the wood first. My first Ana-White project. I’m hooked!
Built from Plan(s)
Fun and easy project. If I did it again I would definitely follow the directions to stain the wood first. My first Ana-White project. I’m hooked!
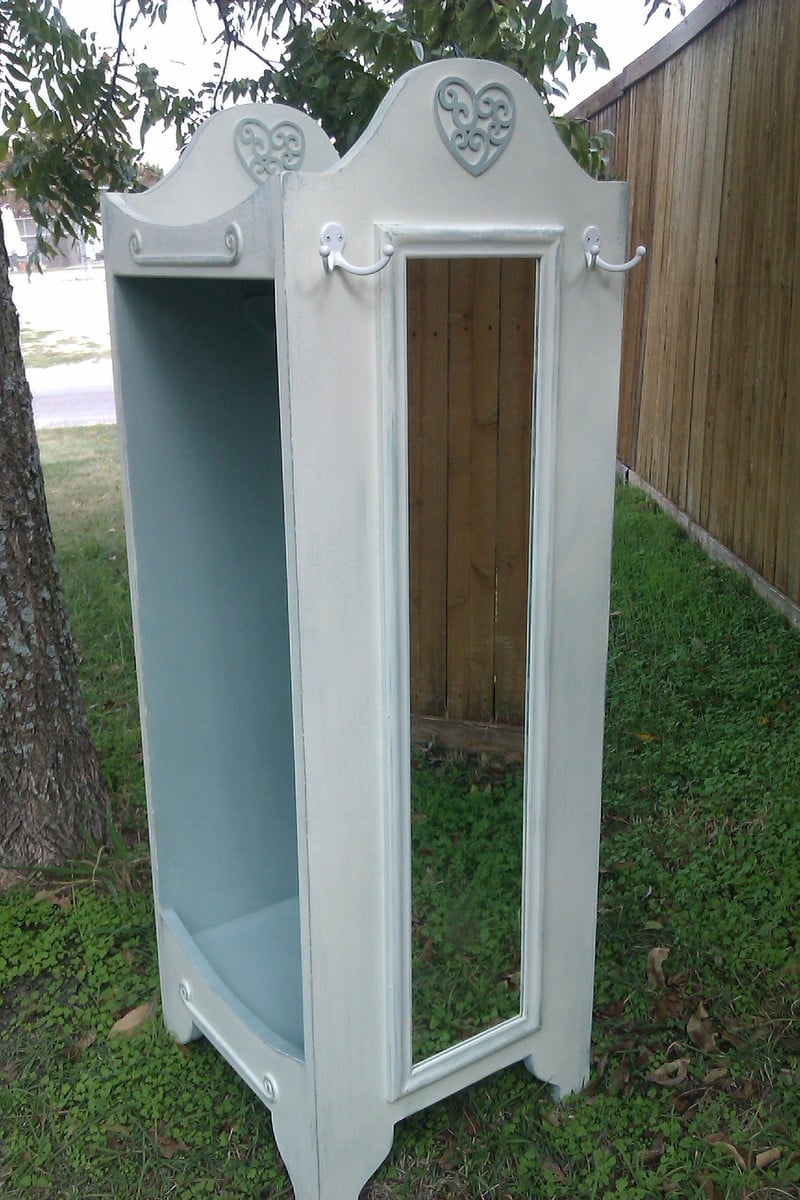
I'm a furniture builder now! This is actually the fourth project built from Ana's plans, but the first one complete and gifted. I bought my materials in the morning, and had it together by late afternoon. Now choosing colors, trim and do-dads to embellish was a whole nuther thing. I opted for chalk paint with a wax finish, and distressed her. She has mirrors on both sides as well as two, double hooks for hats, belts and jewelry.
My grand daughter is one pleased princess. Me too! I'm proud of myself.
Thanks Ana for the terrific instructions, encouragement and education you provide.
Fri, 11/11/2011 - 09:19
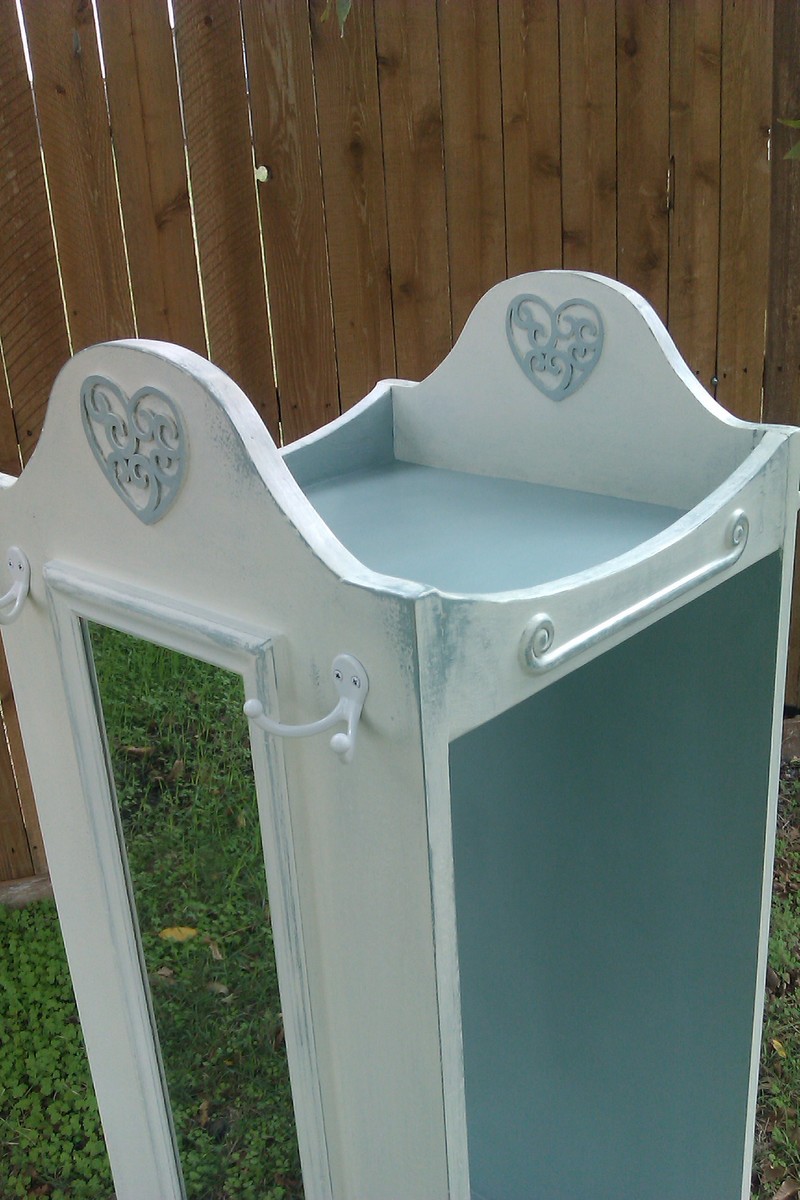
Great Project! I really loved the heart embellishment on the inside of the top...it makes it even more interesting to look at from many angles.
Question: does the waxed chalk paint finish feel that it may wear away with use? I am considering this finish but have never felt it in person.
In reply to Great Details by cathryn j (not verified)
Sat, 11/12/2011 - 19:20
I love the hearts too! Found them in a clearance bin at a local hobby supply store for .29 cents each. The price thrilled miserly me.
Regarding the wax, it feels very smooth and satiny. I'm new to the chalk paint and wax technique, myself, but I did research before using it. From what I gather, wax, in general, will eventually wear away and have to be redone. When the piece looses it's luster a soft rag should buff the sheen back. When you can't buff up a sheen, then it's time to rewax. It should last years. Ask me again in 5 years. :-)
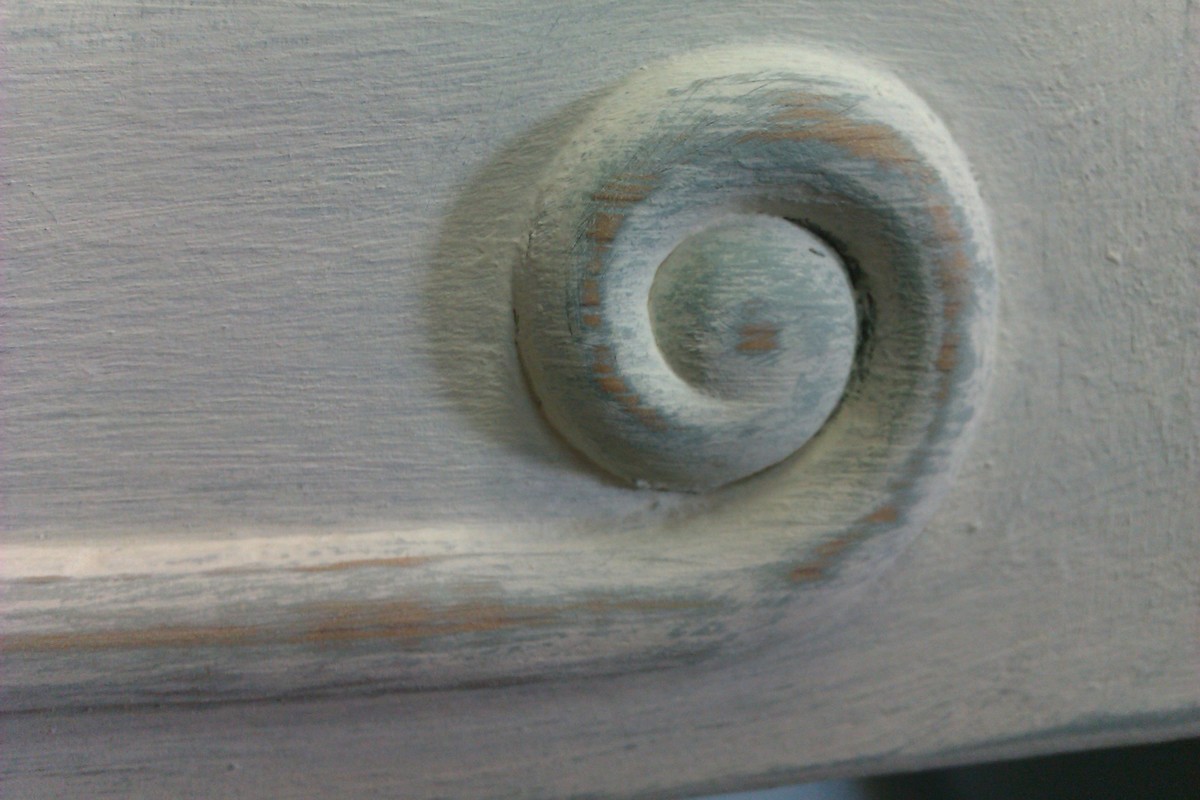
Oh, I should add, the close up of the curly embellishment was taken before I waxed.
I came across a lot of conflicting info regarding the soft wax. Nothing bad, just different techniques, and it seemed the more I read, the more questions I had. Finally just dove in and found my way. I like, like the method!
Did I answer your question? And then some!
In reply to Great job! by margjack
Sat, 11/12/2011 - 19:49
She's a foo-foo girl, so yes, she was excited. Even more so when she was able to stand in front of her own full length mirror and see how stunning she was in the princess outfit her Aunt gave her. So cute!
Sun, 11/13/2011 - 19:48
You did a beautiful job, and I love the finish! I built the same piece, but only gave it an antique white painted finish. I may have to try some of your techniques on my next build.
Where did you find mirrors to fit? I can't find them short enough...
Tue, 11/15/2011 - 16:20
I'd planned to use mirror tiles, but while at the Lowe's buying trim and mastif, I came across 2 to a pack beveled mirrors for $19. They were the perfect size! Now that's luck.
Wed, 11/23/2011 - 18:43
Thank you, Ana, for this awesome site! I'm building Christmas gifts now. :-)
Sat, 12/31/2011 - 04:05
j'adore , je vais en faire une mais j'ai du mal avec les cotes de chez vous.... Happy new year Isabelle
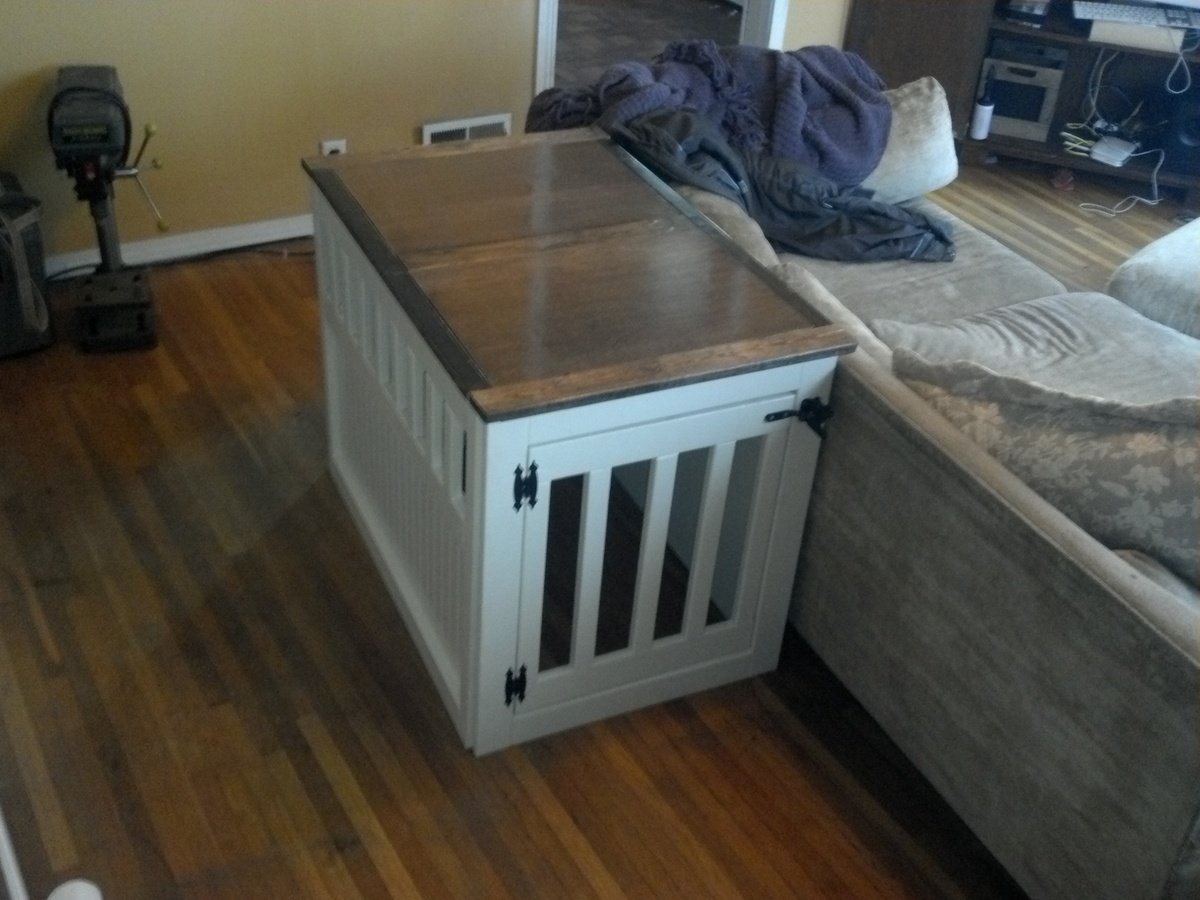
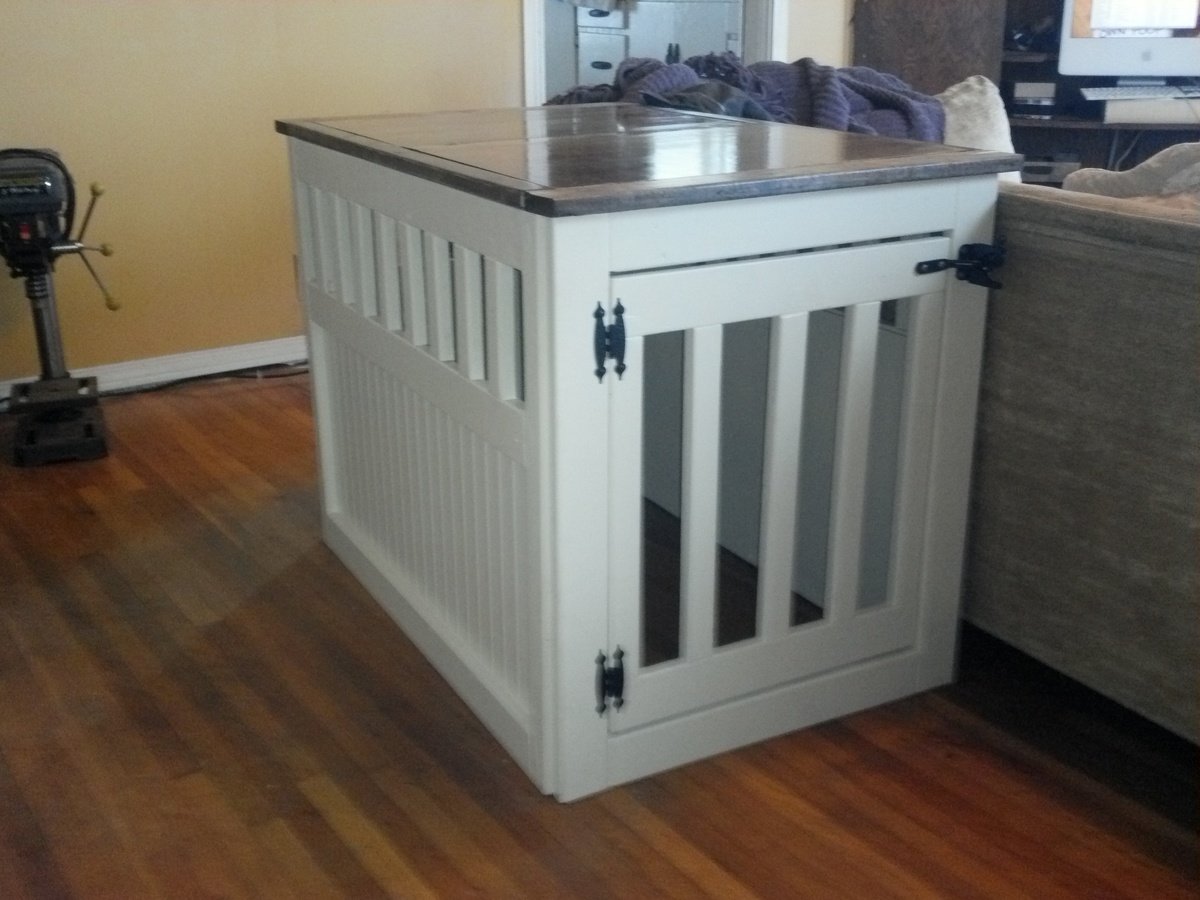
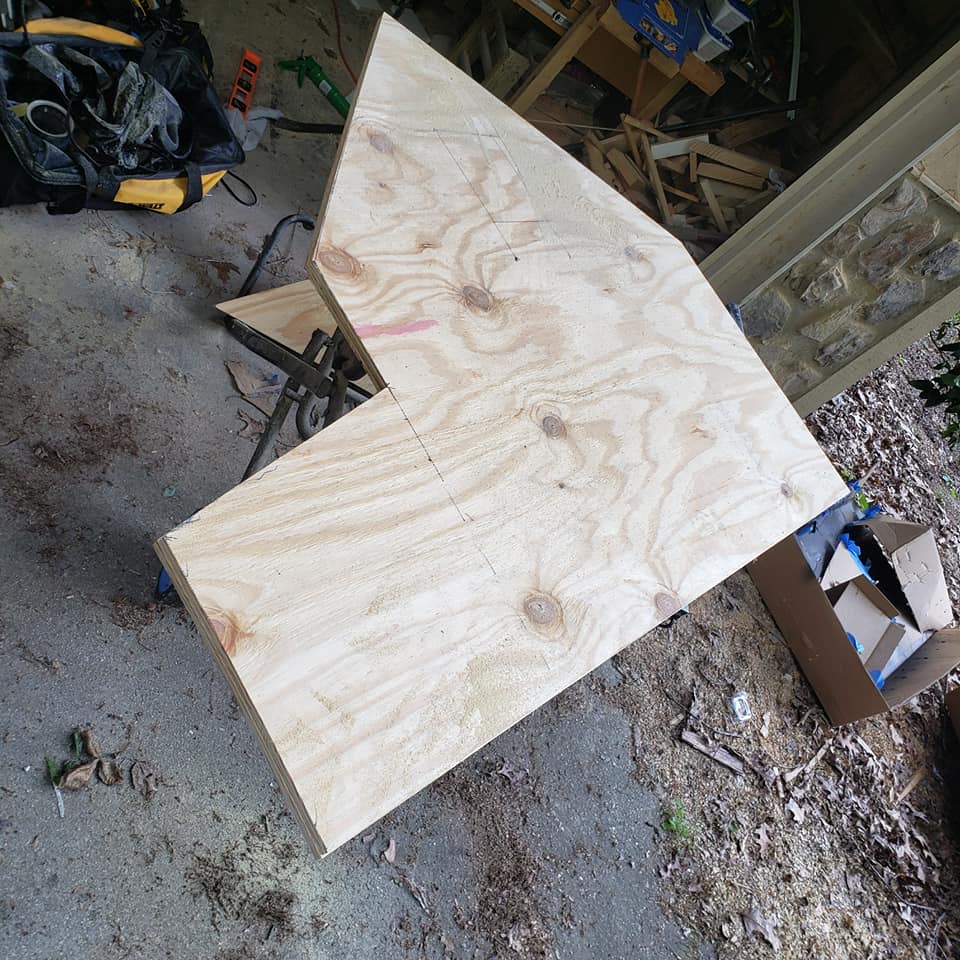
We built this dog kennel as a donation to a fundraiser for our favorite dog rescue. It was auctioned off at the silent auction and all the money went to the dogs! :)
We used cheap furring strips for the majority of the project. We also had some leftover beadboard so we used that for the sides & back panel. We painted the base antique white and made a nice top out of some scrap lumber & old hardwood plywood. It took about an afternoon to assemble but another few days to sand and paint. We finished it while all 4 sides were separate to make it easier and it was still a pain to paint. This would be a great project to have a paint sprayer because it is sooo hard to avoid drips with this design.
The whole piece cost us almost nothing to make and we love how it turned out. We need to make ourselves one for our dogs!
The best part of this project was seeing it go home to someone who loves it and all the profits go to the Basset Hound Rescue!
Thanks Ana for the plans we couldn't have done it without you!
Fri, 12/06/2013 - 03:51
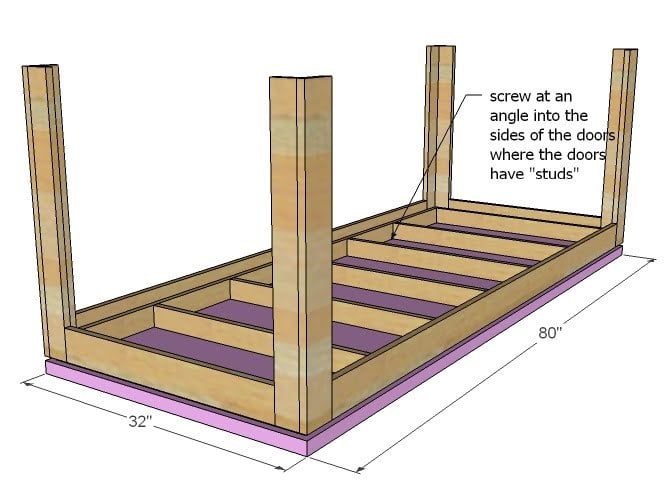
I'm working on this project right now and this is my first time building anything. How did you attach the 4 walls together and how do you screw the top portion on? Please help me, I would so grateful!!! [email protected]
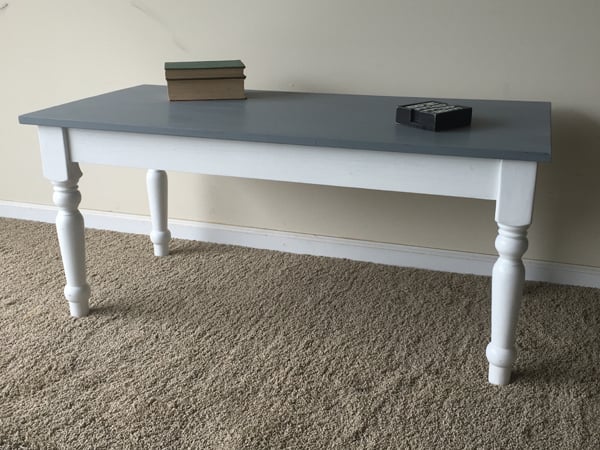
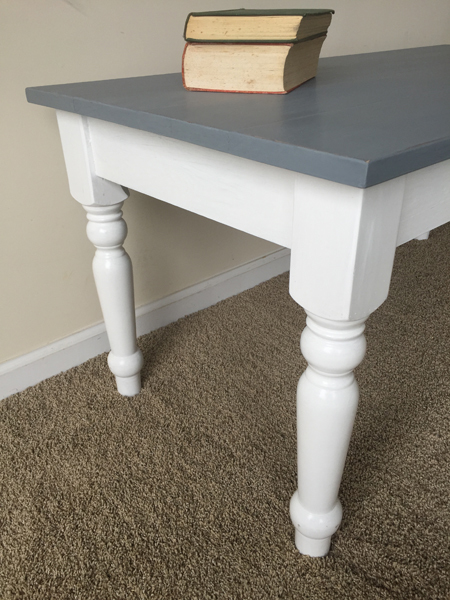
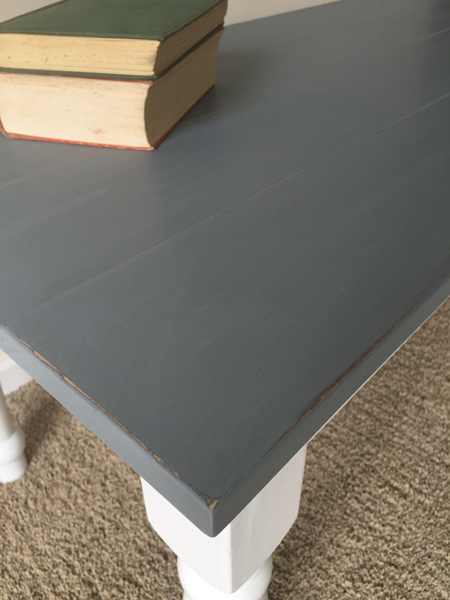
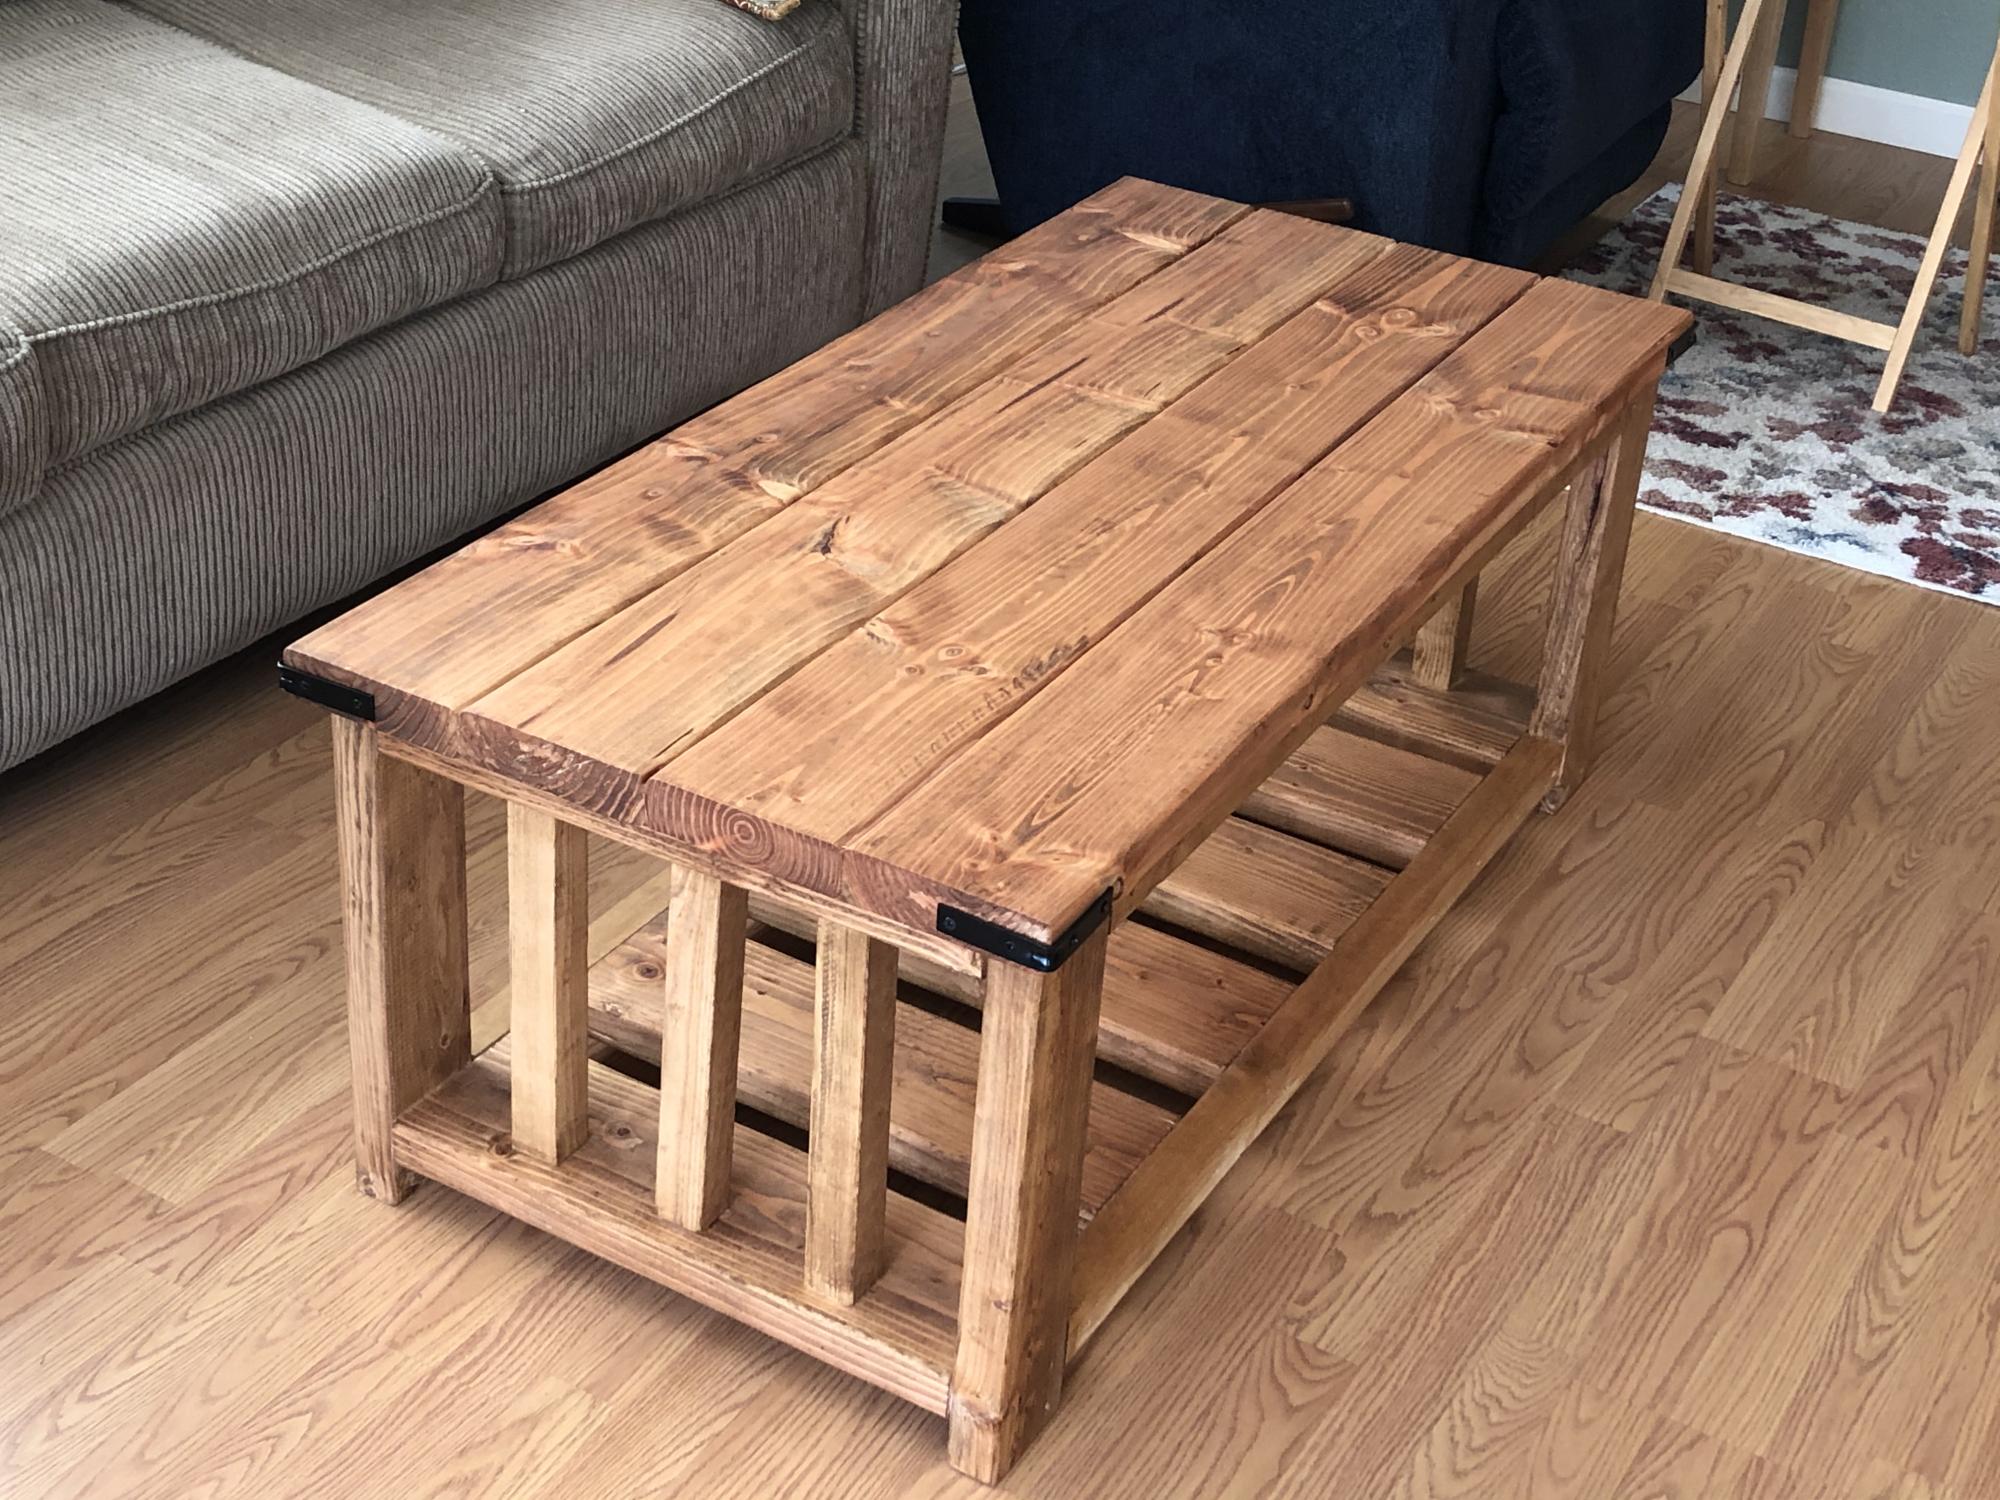
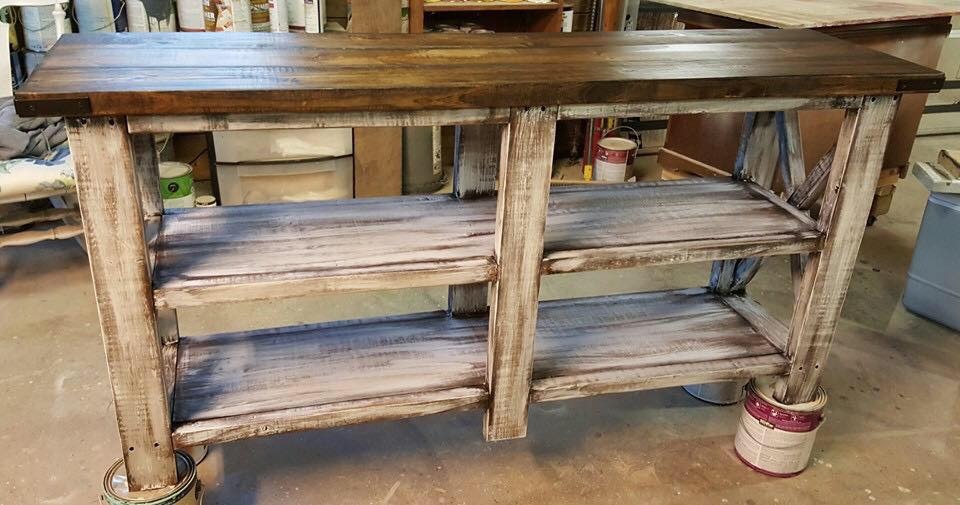
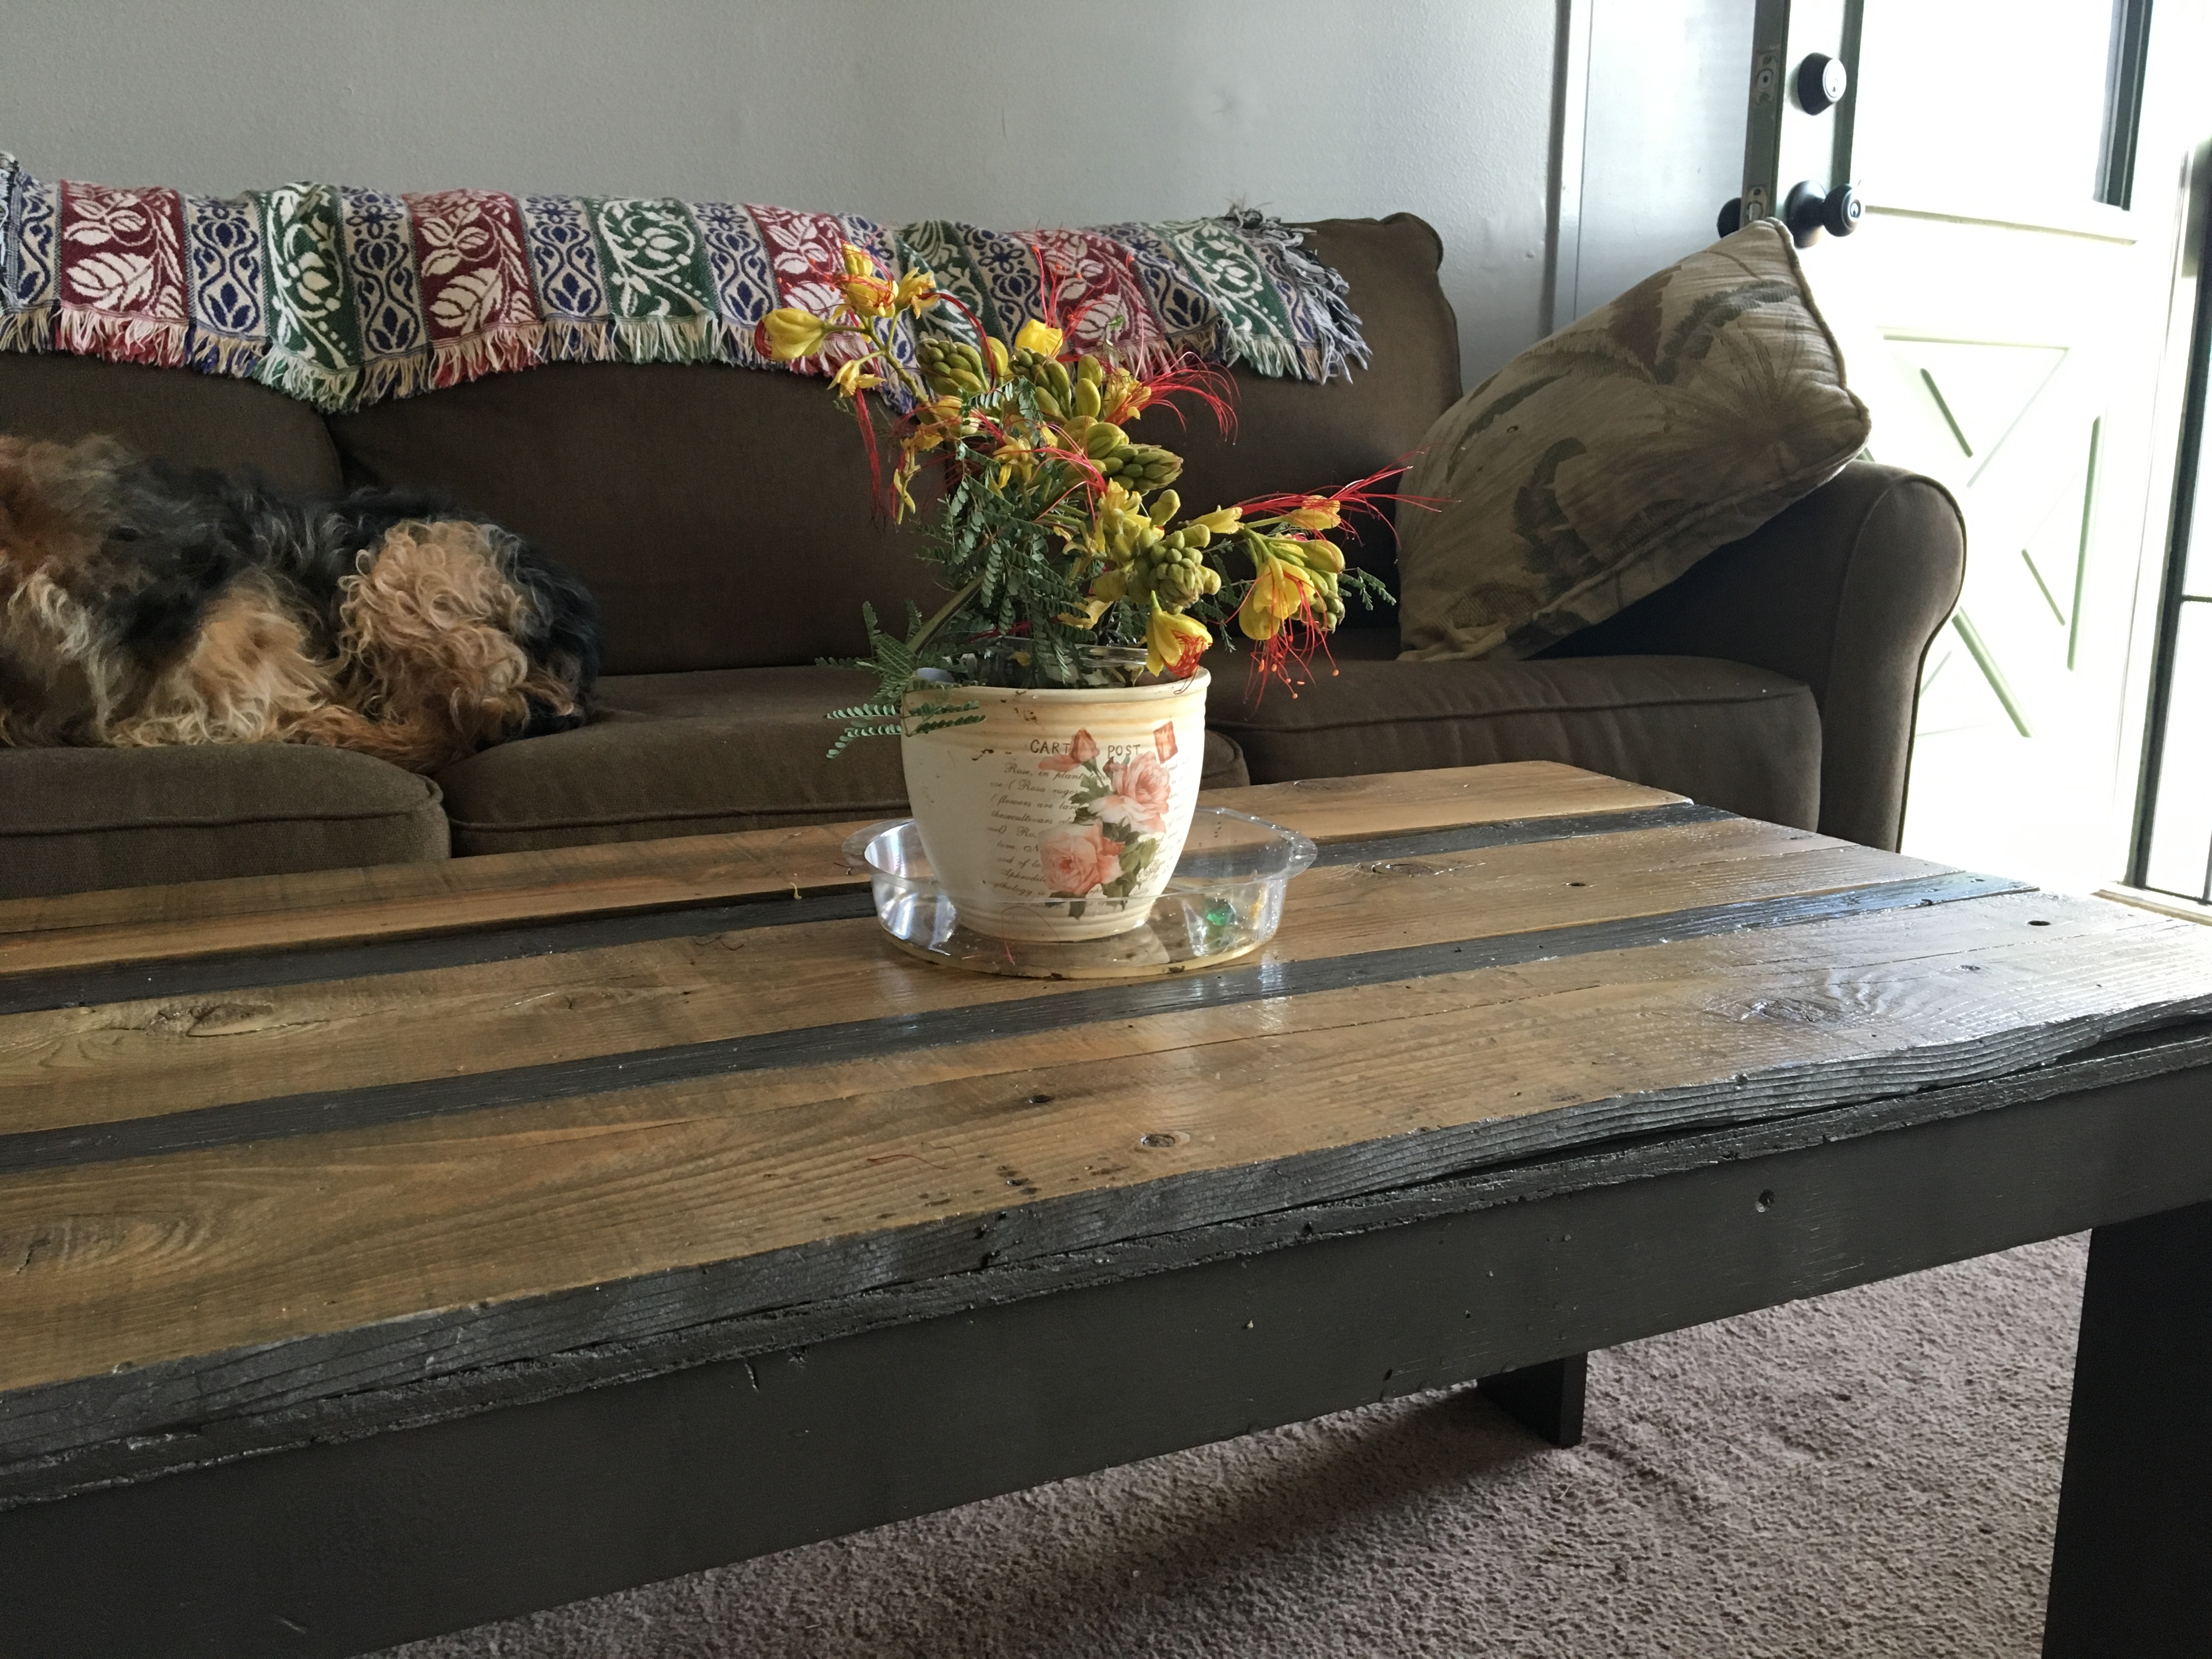
I found an old coffee table with stained legs for $10 on one of those app "for sale" sites. Sanded them down and with two pieces of 1 by 4 for the apron and 2 pieces of 1 by 6 for the top made this table. Apron is No2 whitewood and Top is select pine. Top was stained in a dark color (Varathane Kona) and then painted gray and sanded back to show some of grain and stain through. Total cost of new table about $60 (most expensive part was the select pine for the top at around $35)
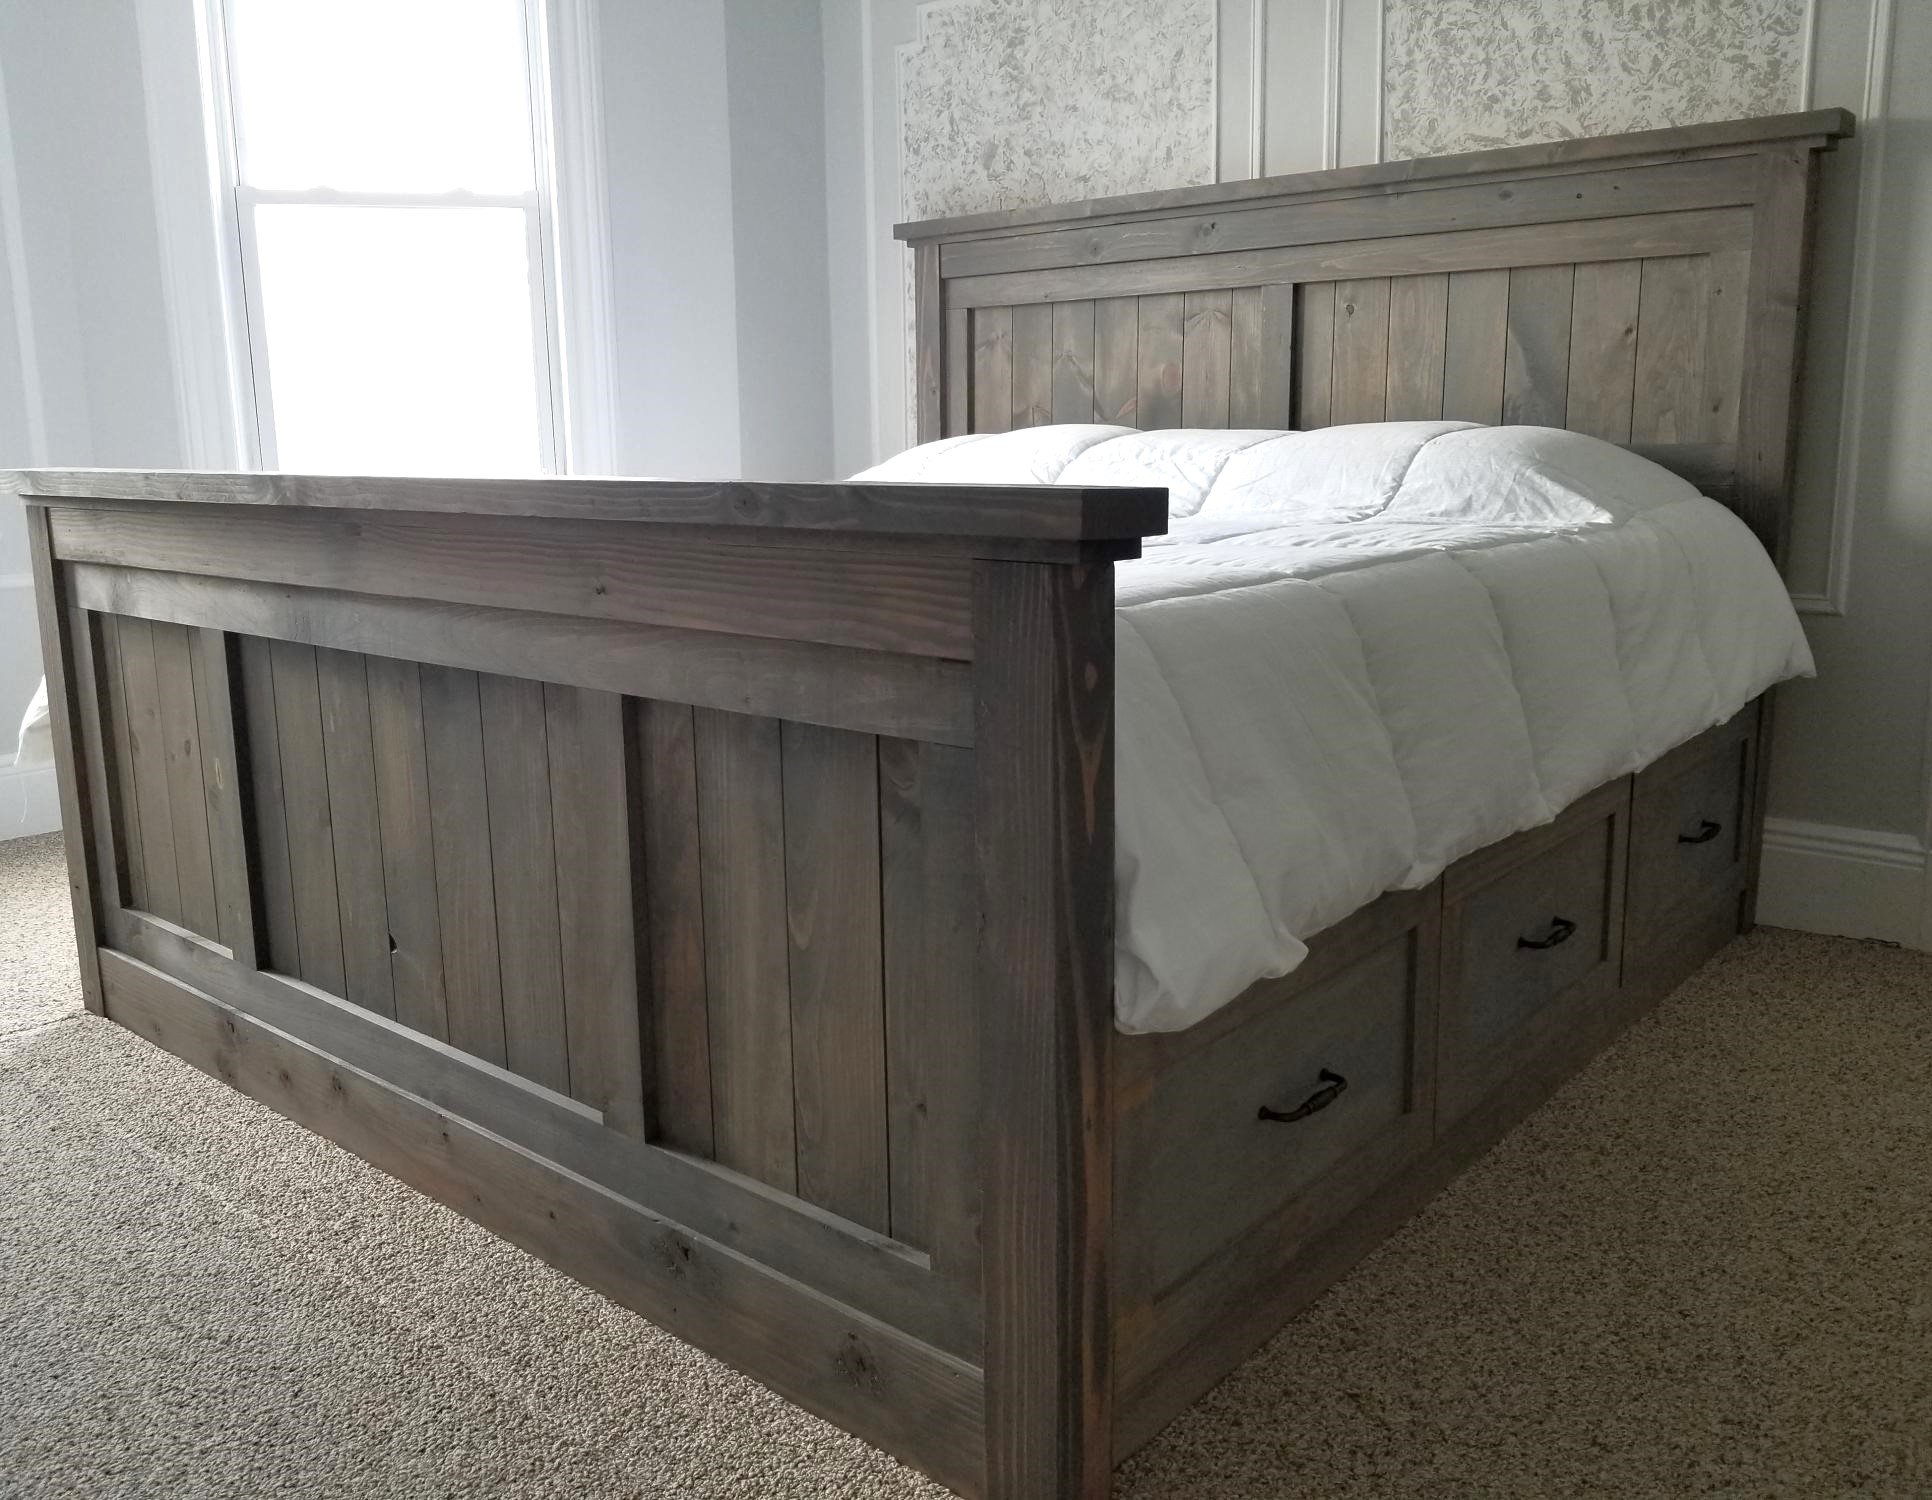
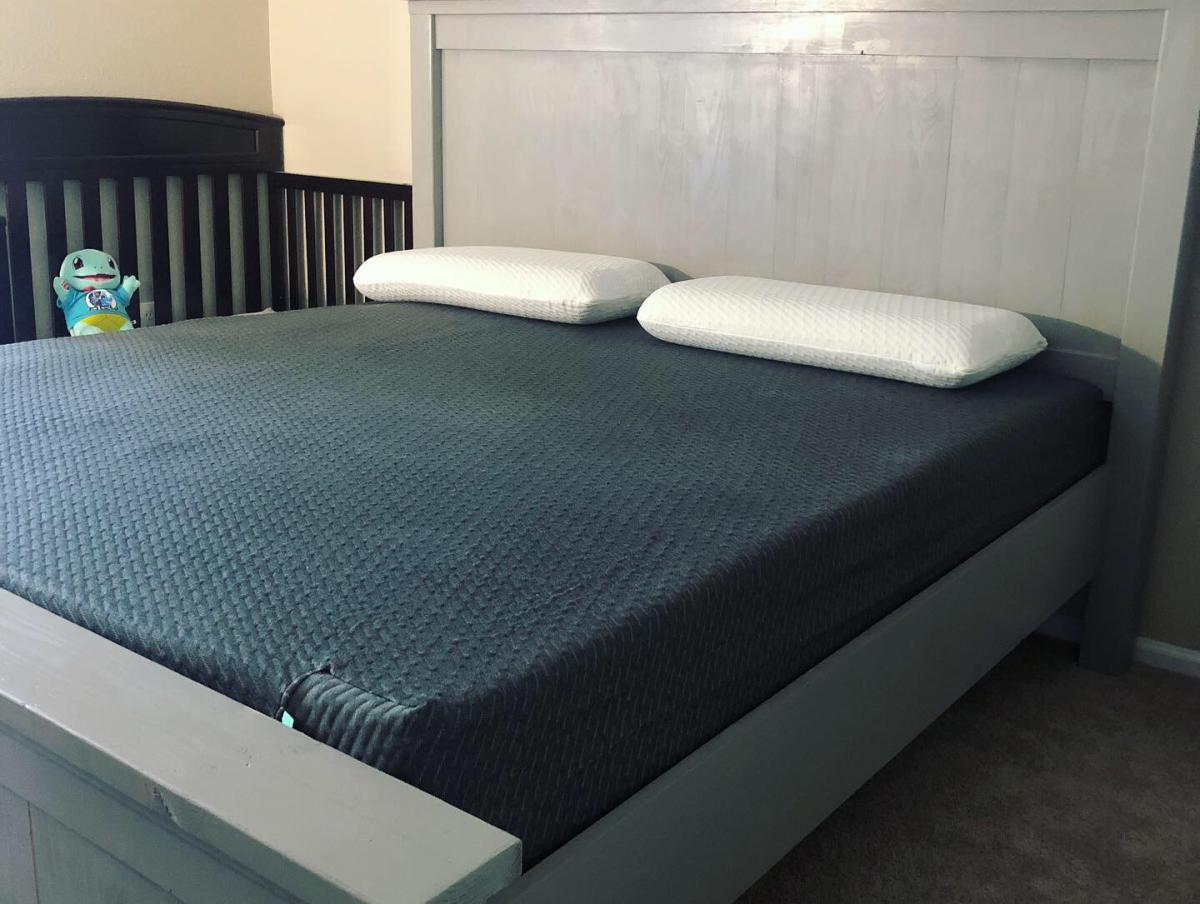
Seen this awesome plan on Anas site and had to build it in KING SIZE. The drawers are enormous, the bed is rock solid. I love it
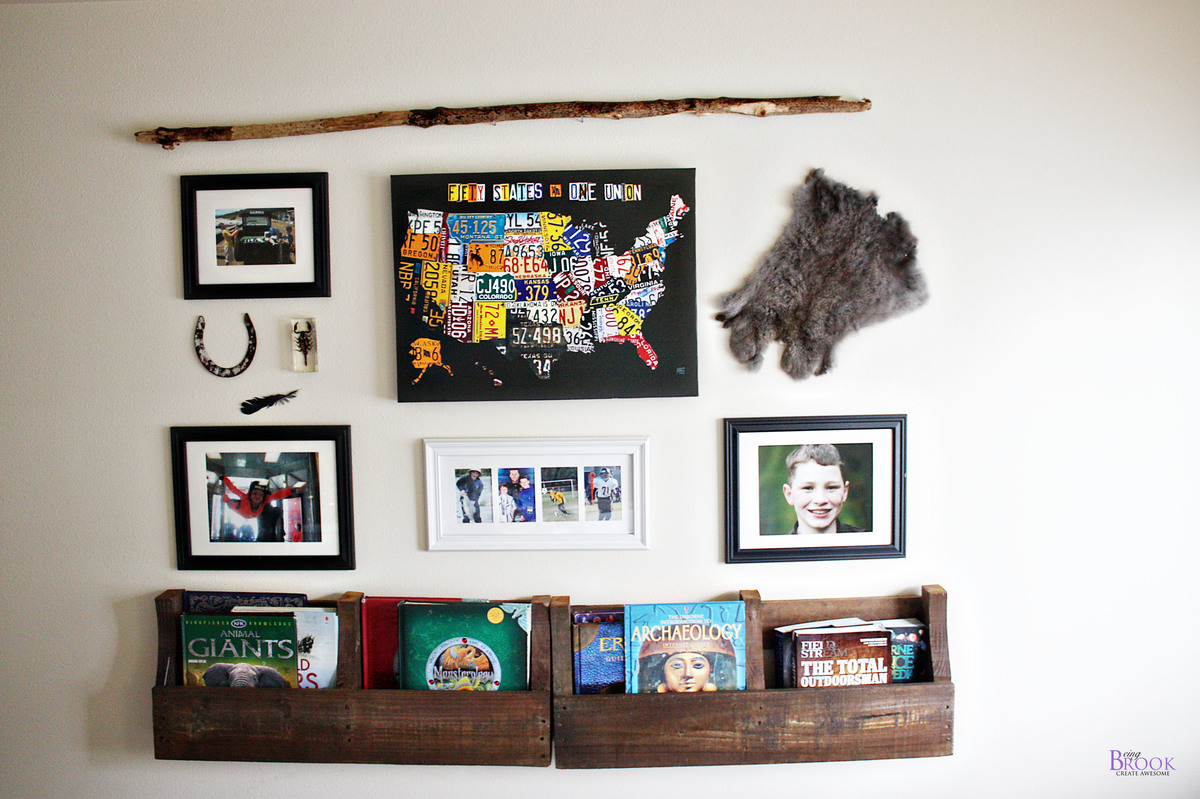
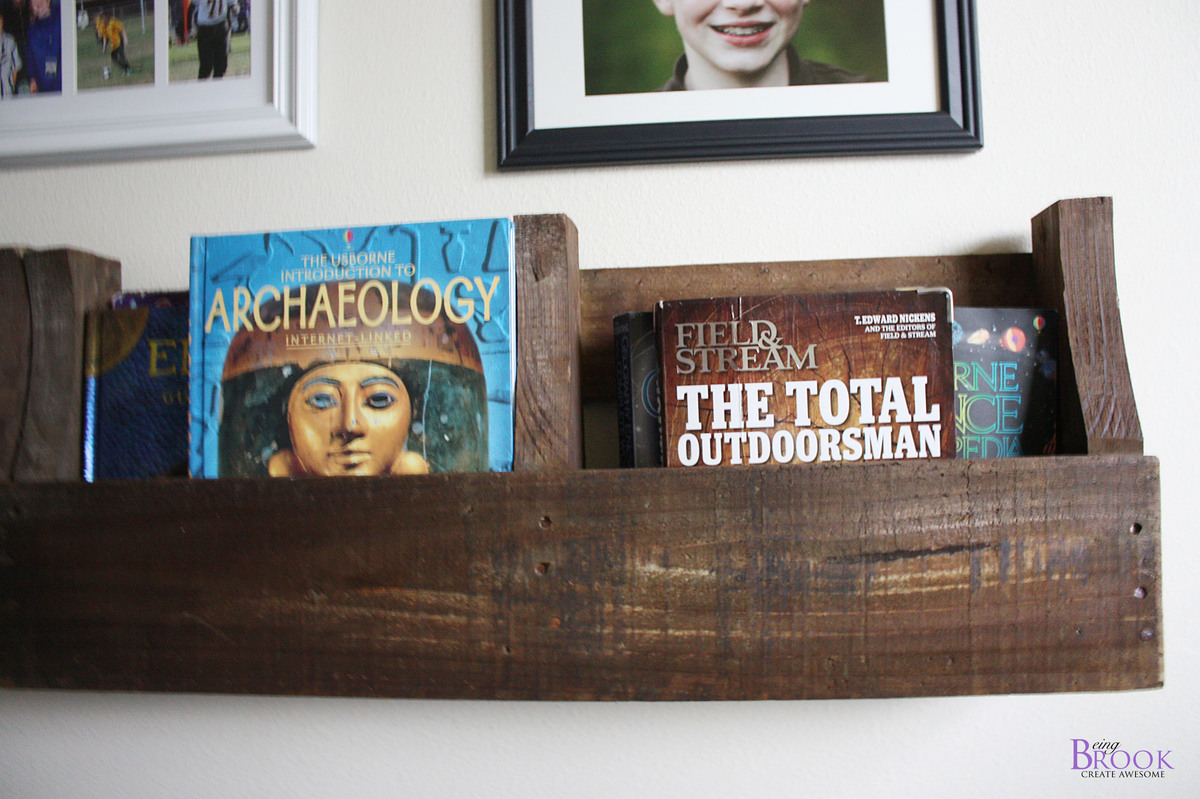
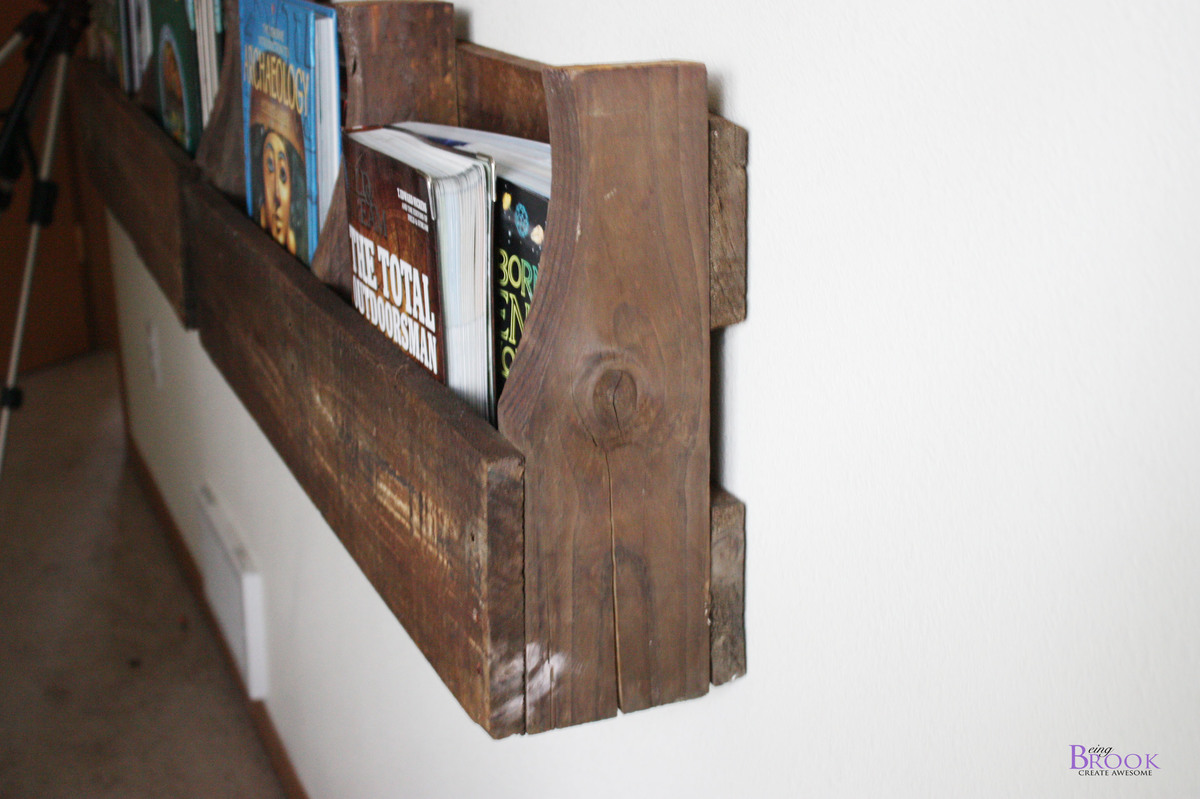
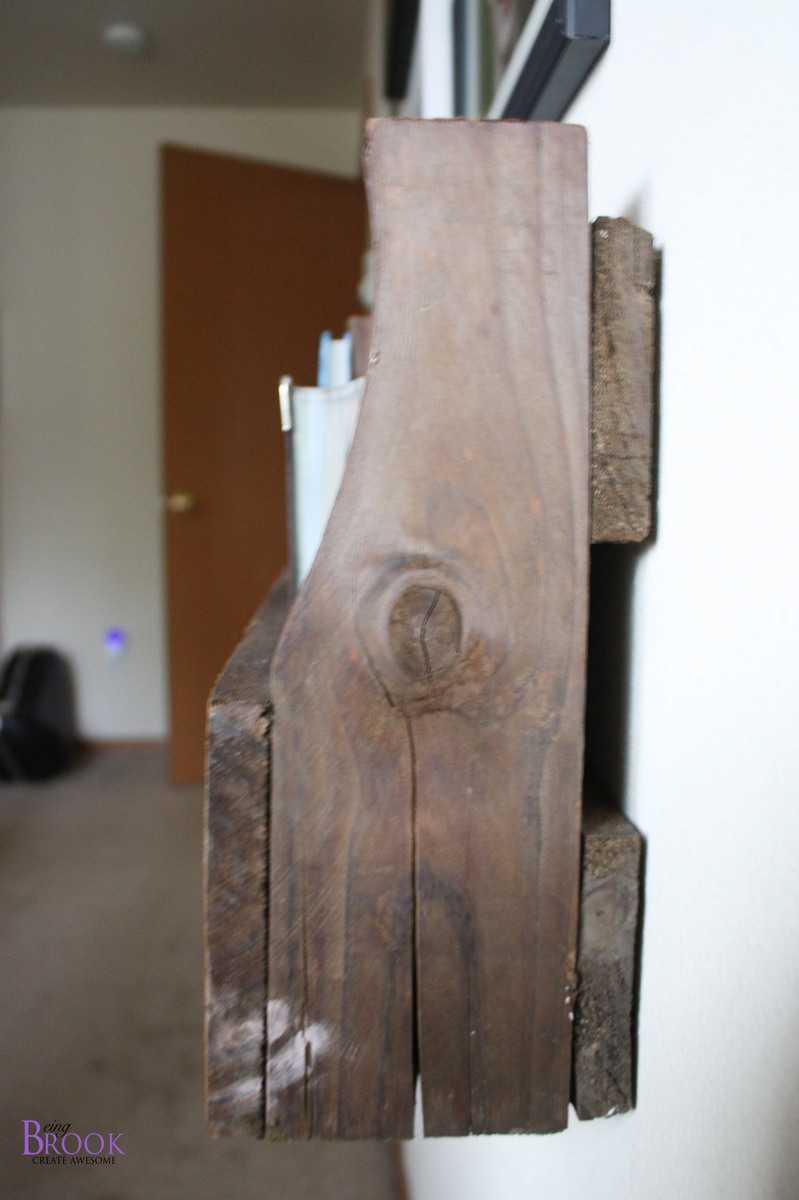
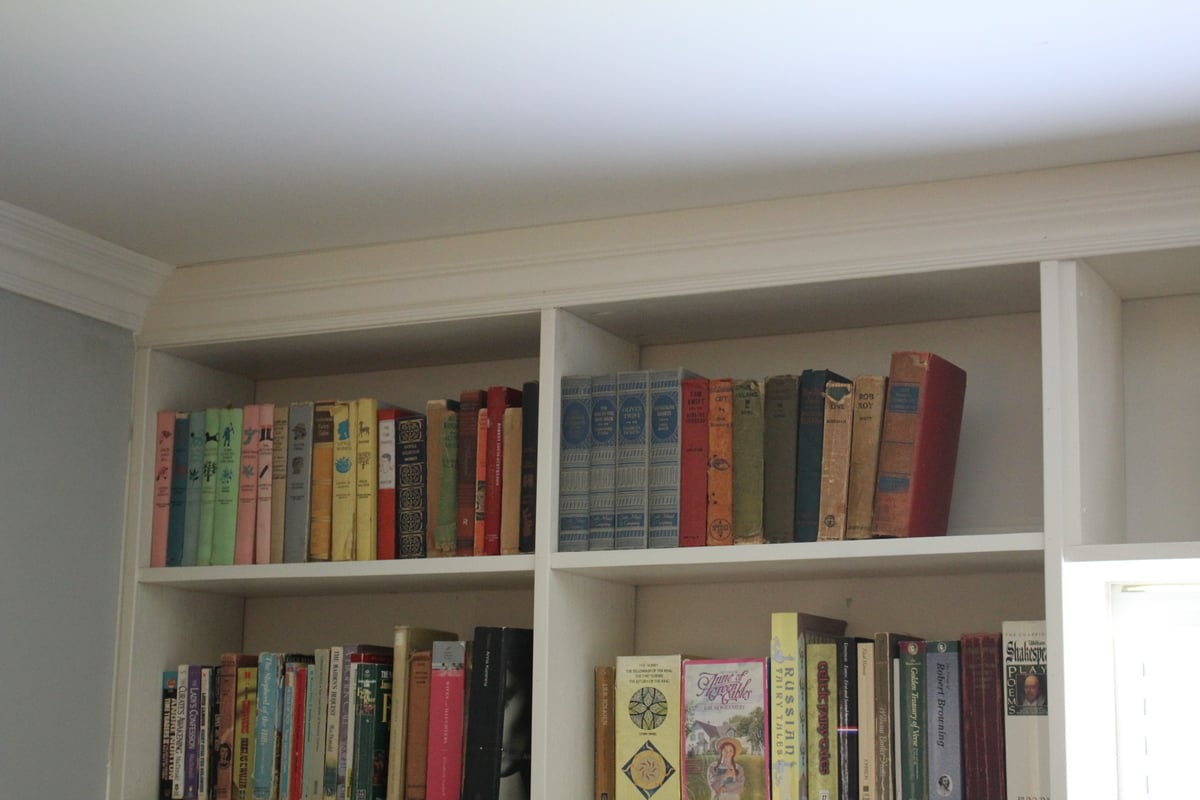
We are going for a rustic look in our teen sons bedroom. He has some large books that will not fit onto his bookshelf so a pallet wall shelf seemed like a perfect solution.
This project literally took five minutes. If you don't have a sawsall it would probably take around 30 but still pretty quick.
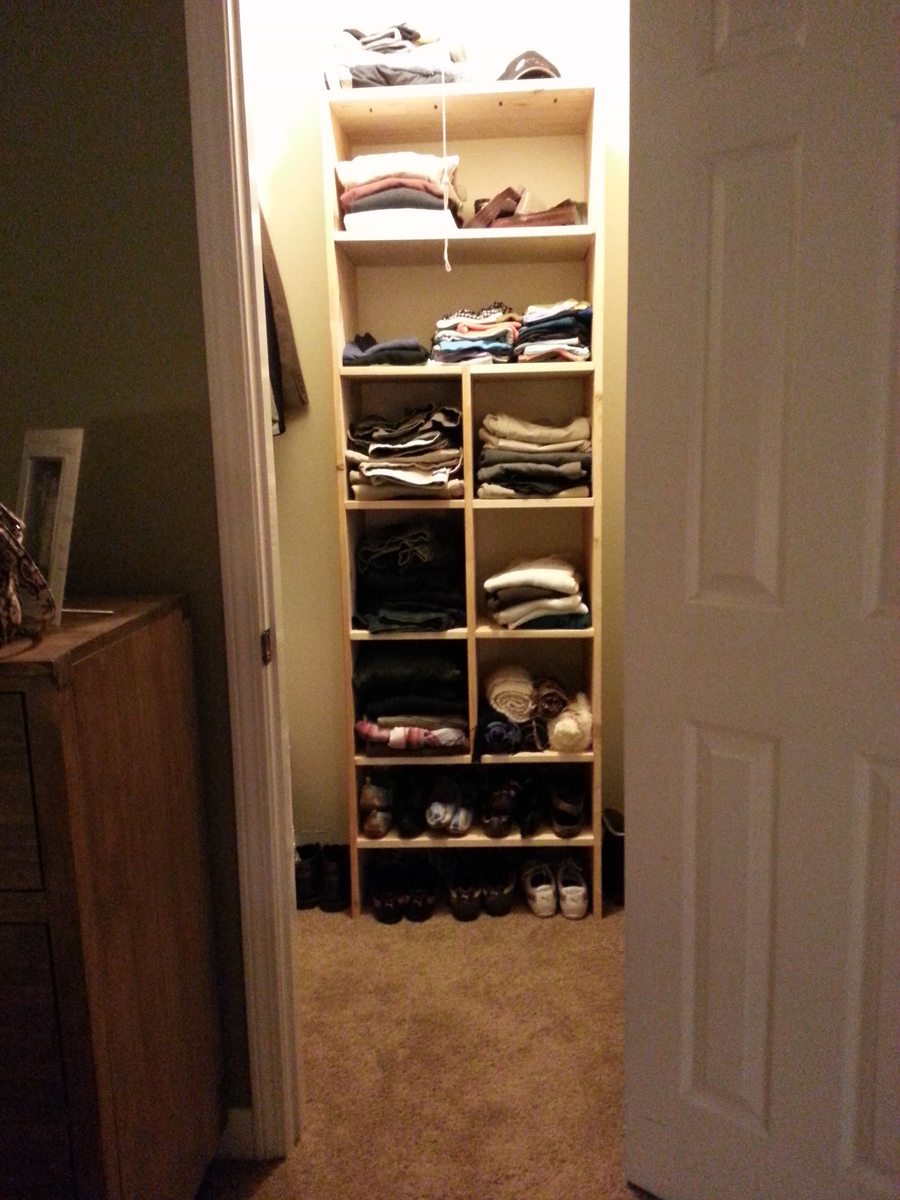
Starting to get colder here in SC. I know the northerners will scoff at me but I'm a wuss when it comes to the cold... and I want my warm garage spot back. That means cleaning up my scrap wood and finishing the big projects that won't fit in my little project/craft room. So the past few weekends I have done a few scrap projects that had been on my mind for a while.
First was shelves for our oddly shaped walk-in-closet. Most of the wood was salvaged from my old dresser/armoir with a splash of scrap whitewood boards to finish it up. I love being able to see everything right when I walk in now.
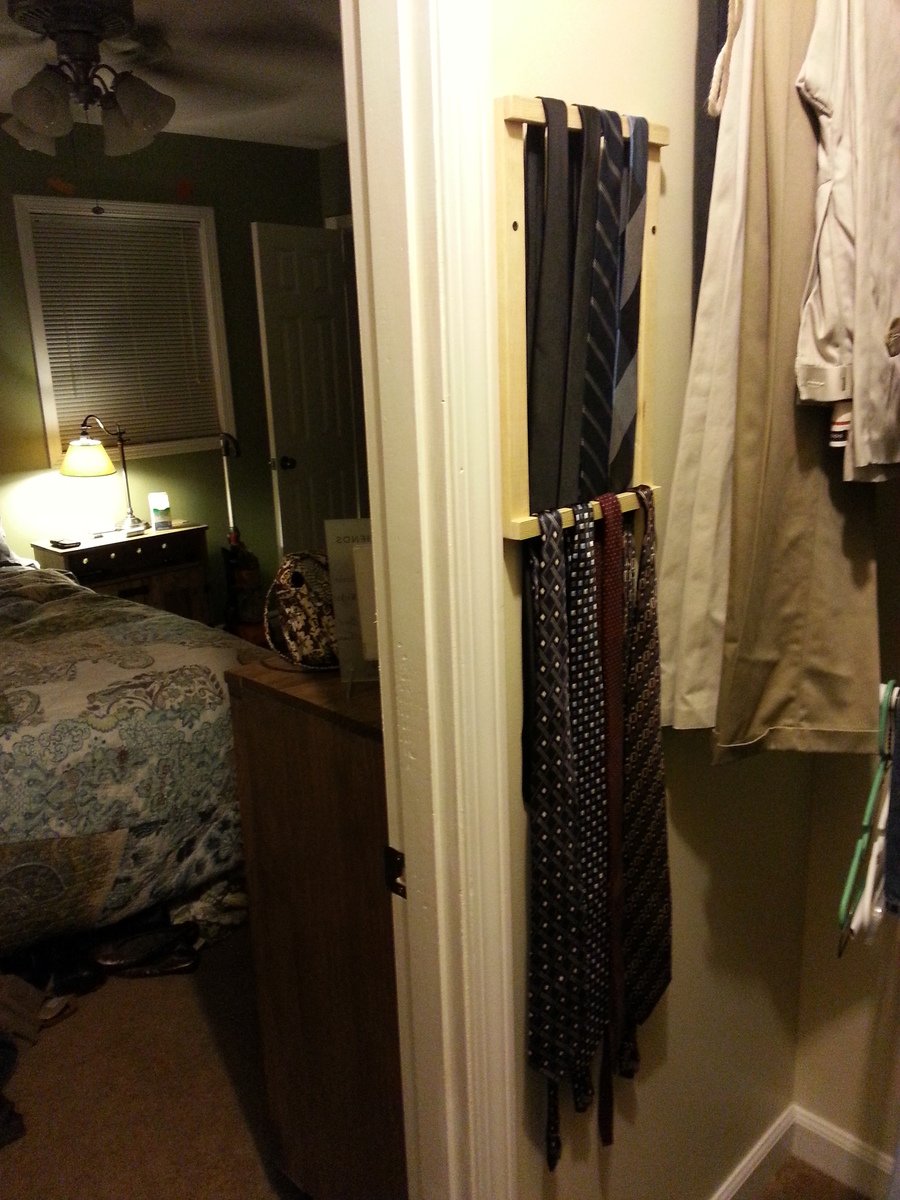
Second is a simple tie rack for Mr. Lodise so he doesn't have to put them on a coat hanger any more. One more step to getting everything in the closet more visible.
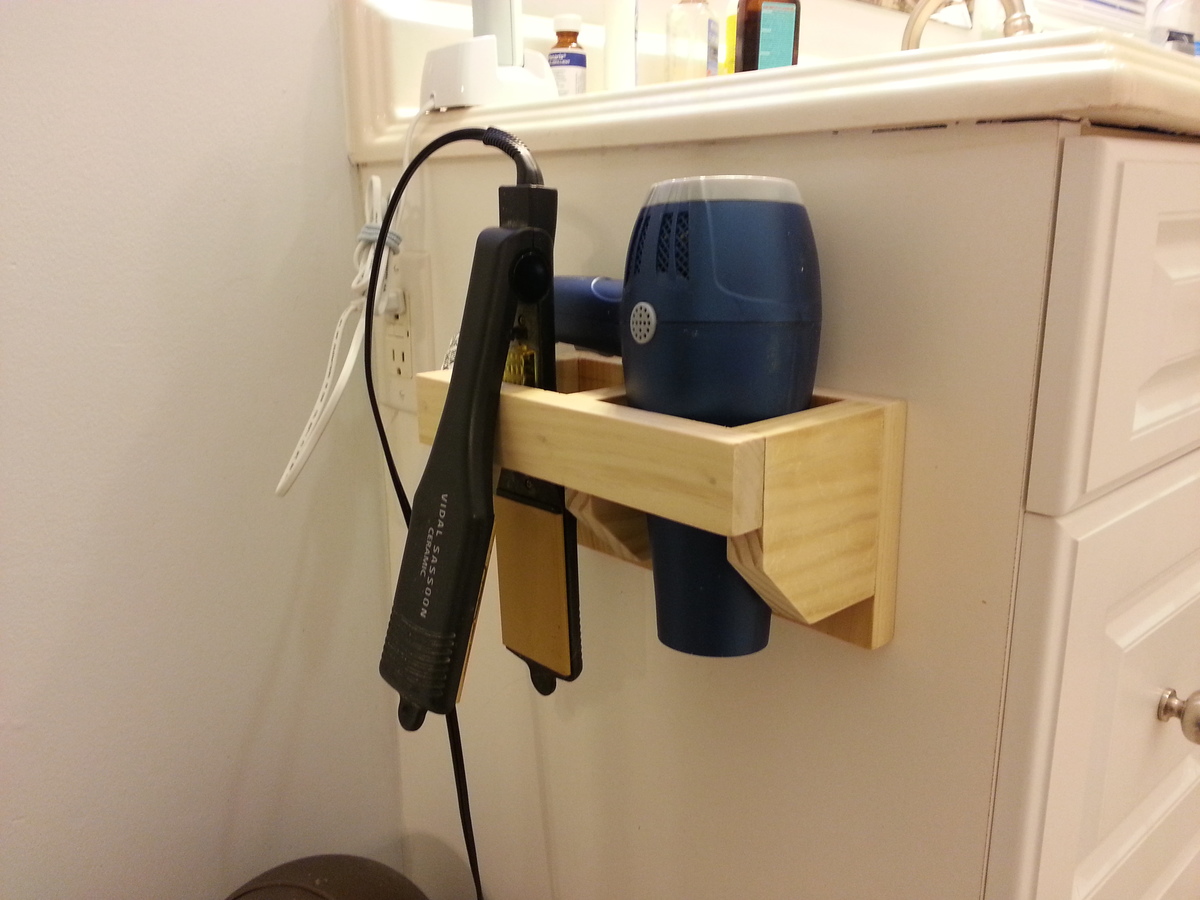
Third is a holder for my hair dryer and straightening iron so they don't have to take up counter space anymore.
Best of all my car now fits in the garage again :)
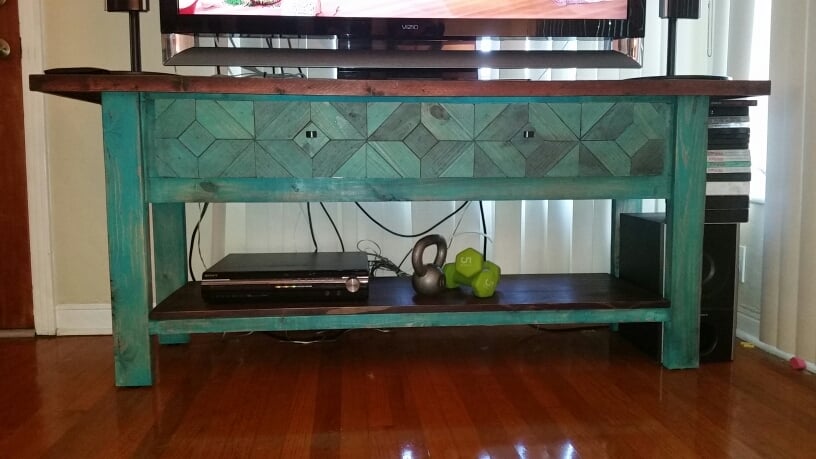
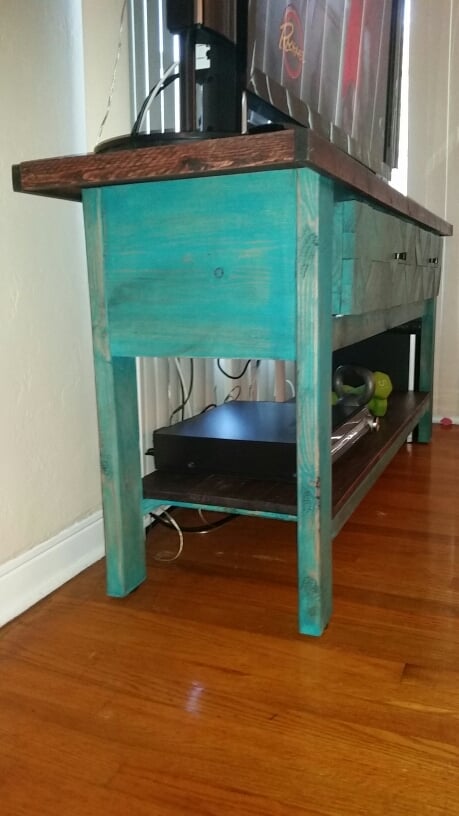
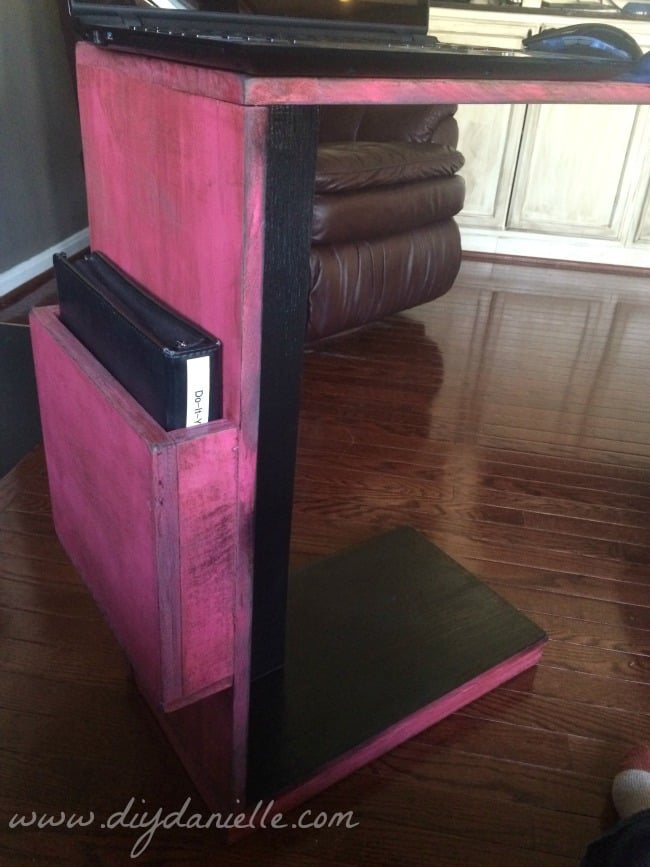
Instructions for the Ridge Media Console Table were easy enough to understand after one read-through.
I changed up the front-drawer face to go along with other decor in room fun, satisfying project.
NOTE -- Measure your electronics. The drawer is supposed to hide all wires and electronics for a clean look, however, the plans give a 13" drawer space. The dvd/tuner I own is approx 14.5", therefore I have to store it on the bottom shelf. I guess it's time to upgrade to blu-ray.
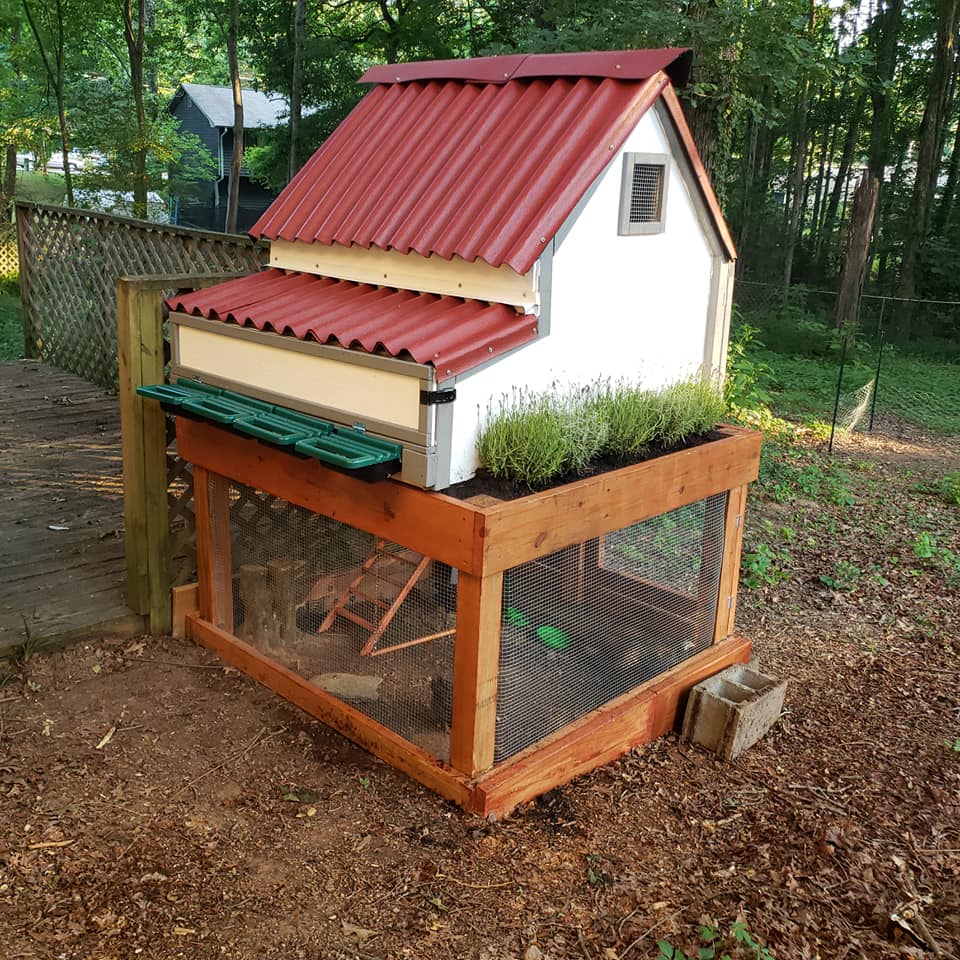
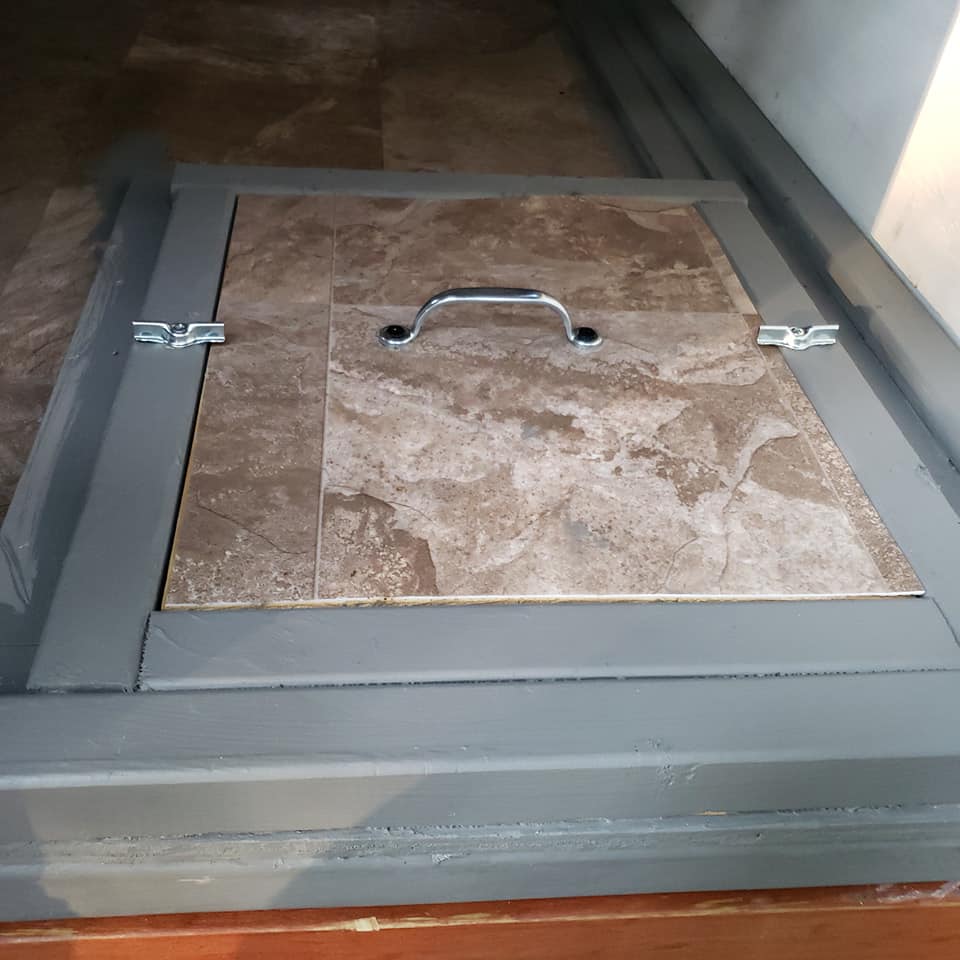
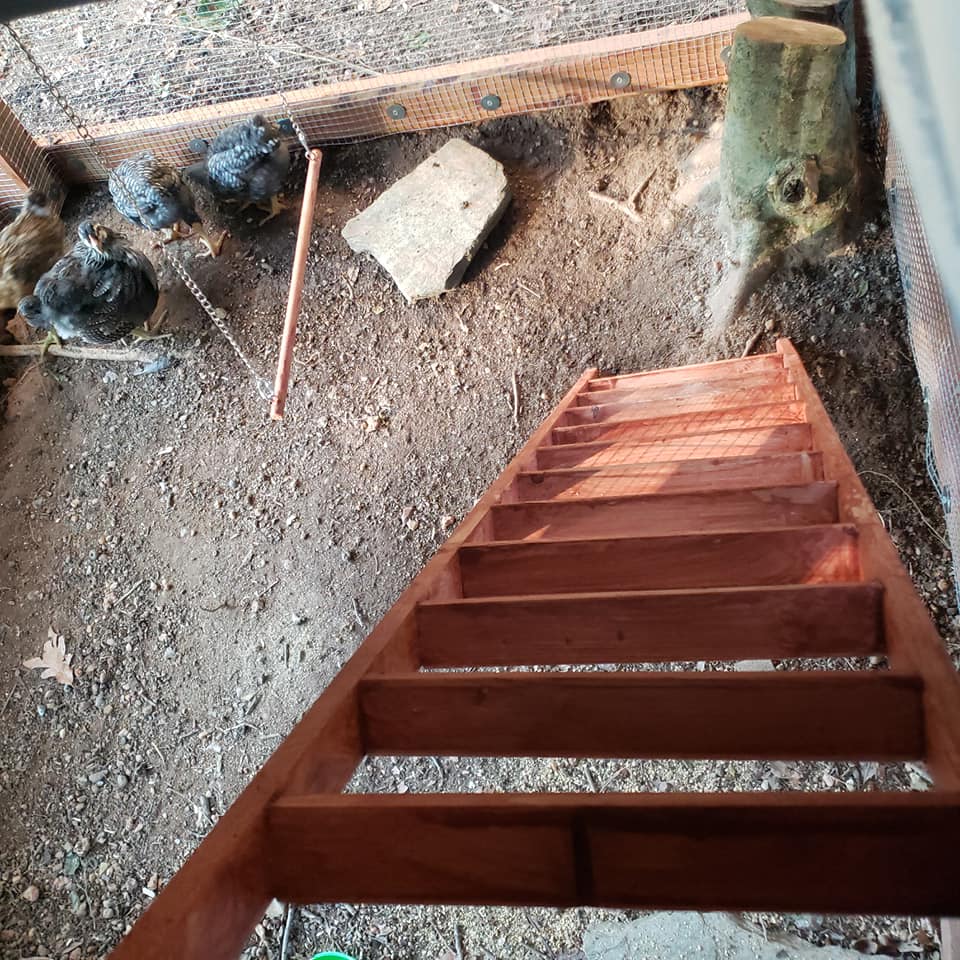
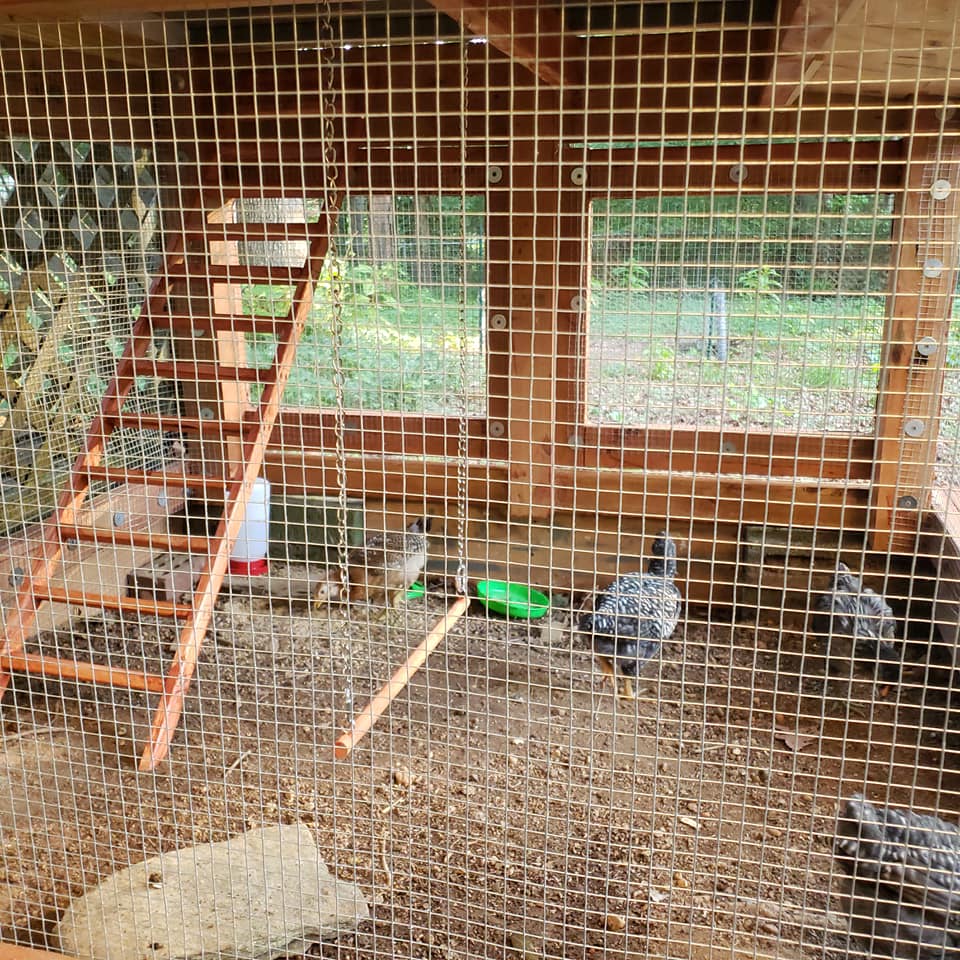
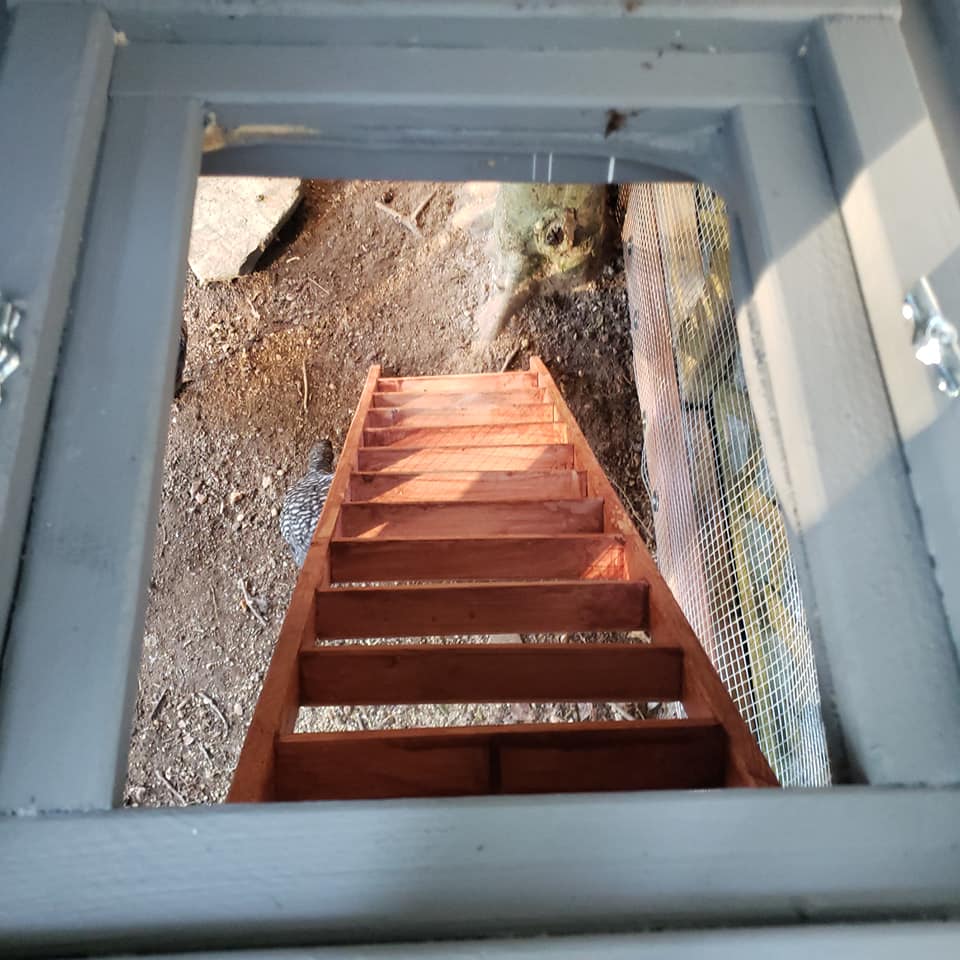
I Modified the plans to make the coop 4Ft wide to accommodate 4 nesting boxes. I Used roll away egg nesting trays in my coop. I keep the base pretty much the same dimension but made the planter smaller. I also replaced the 2"x 4" that framed out the house with 2" X 3". My chicken ladder is made from three 1" x 2". Because my chickens are so young I have the nest box blocked off until they are bigger. I will then use a hole saw to cut holes to each individual nesting box. I also added a Chicken Swing!
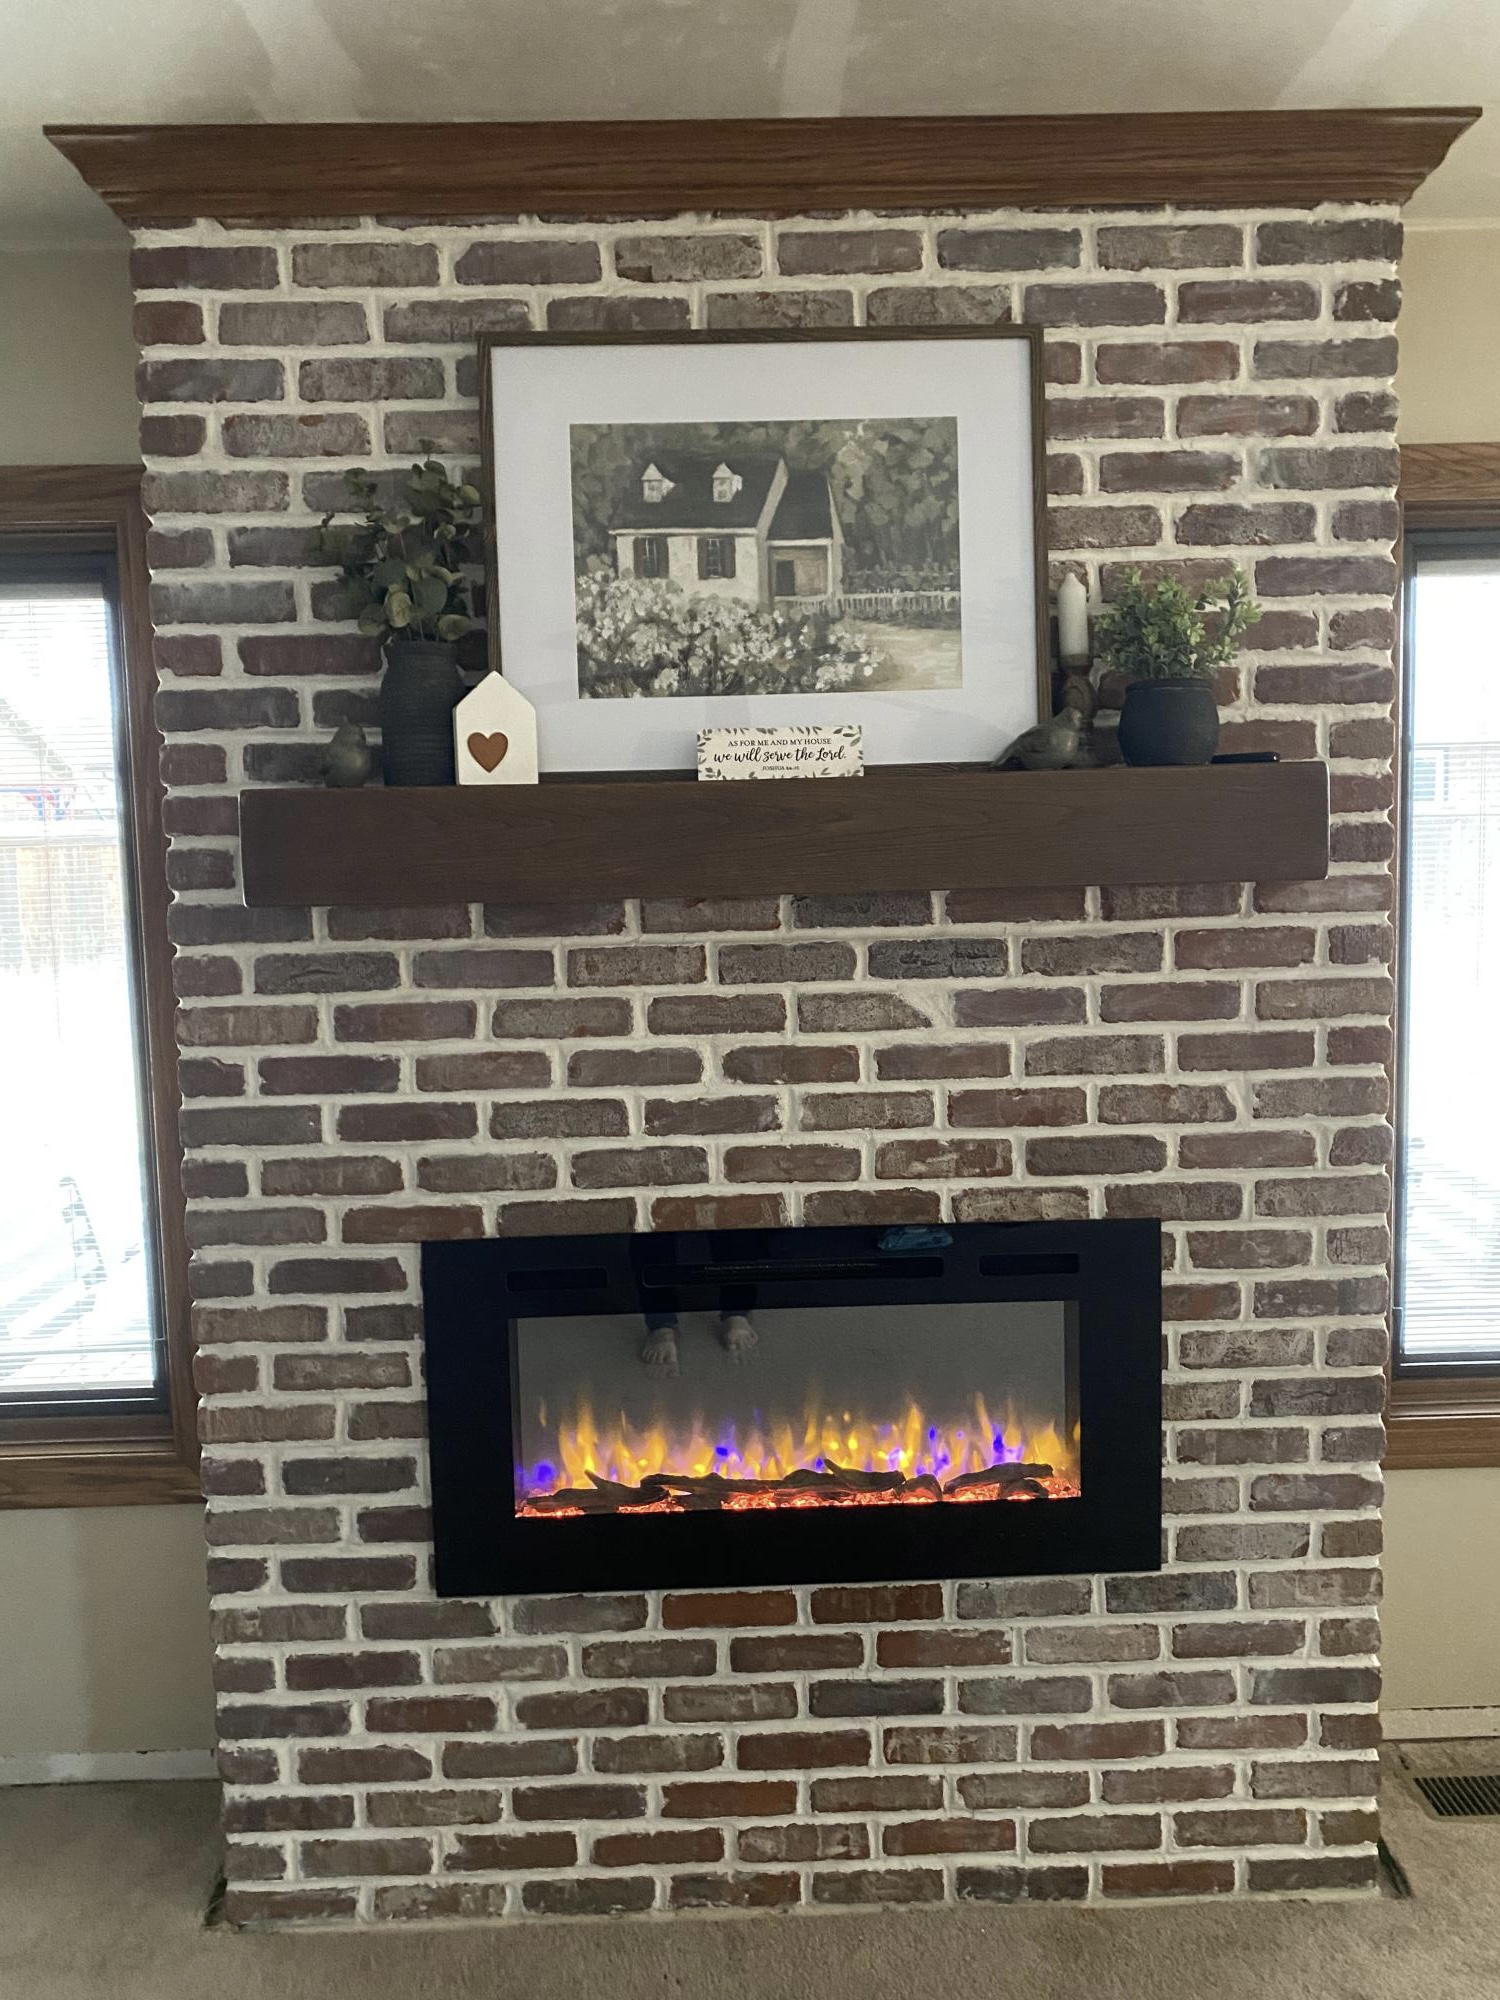
We used Ana White shiplap fireplace tutorial to build the structure and then followed her advice for brick installation instead of shiplap. It all turned out so great. The fireplace has changed the entire feel of our house now. Thank you Ana!
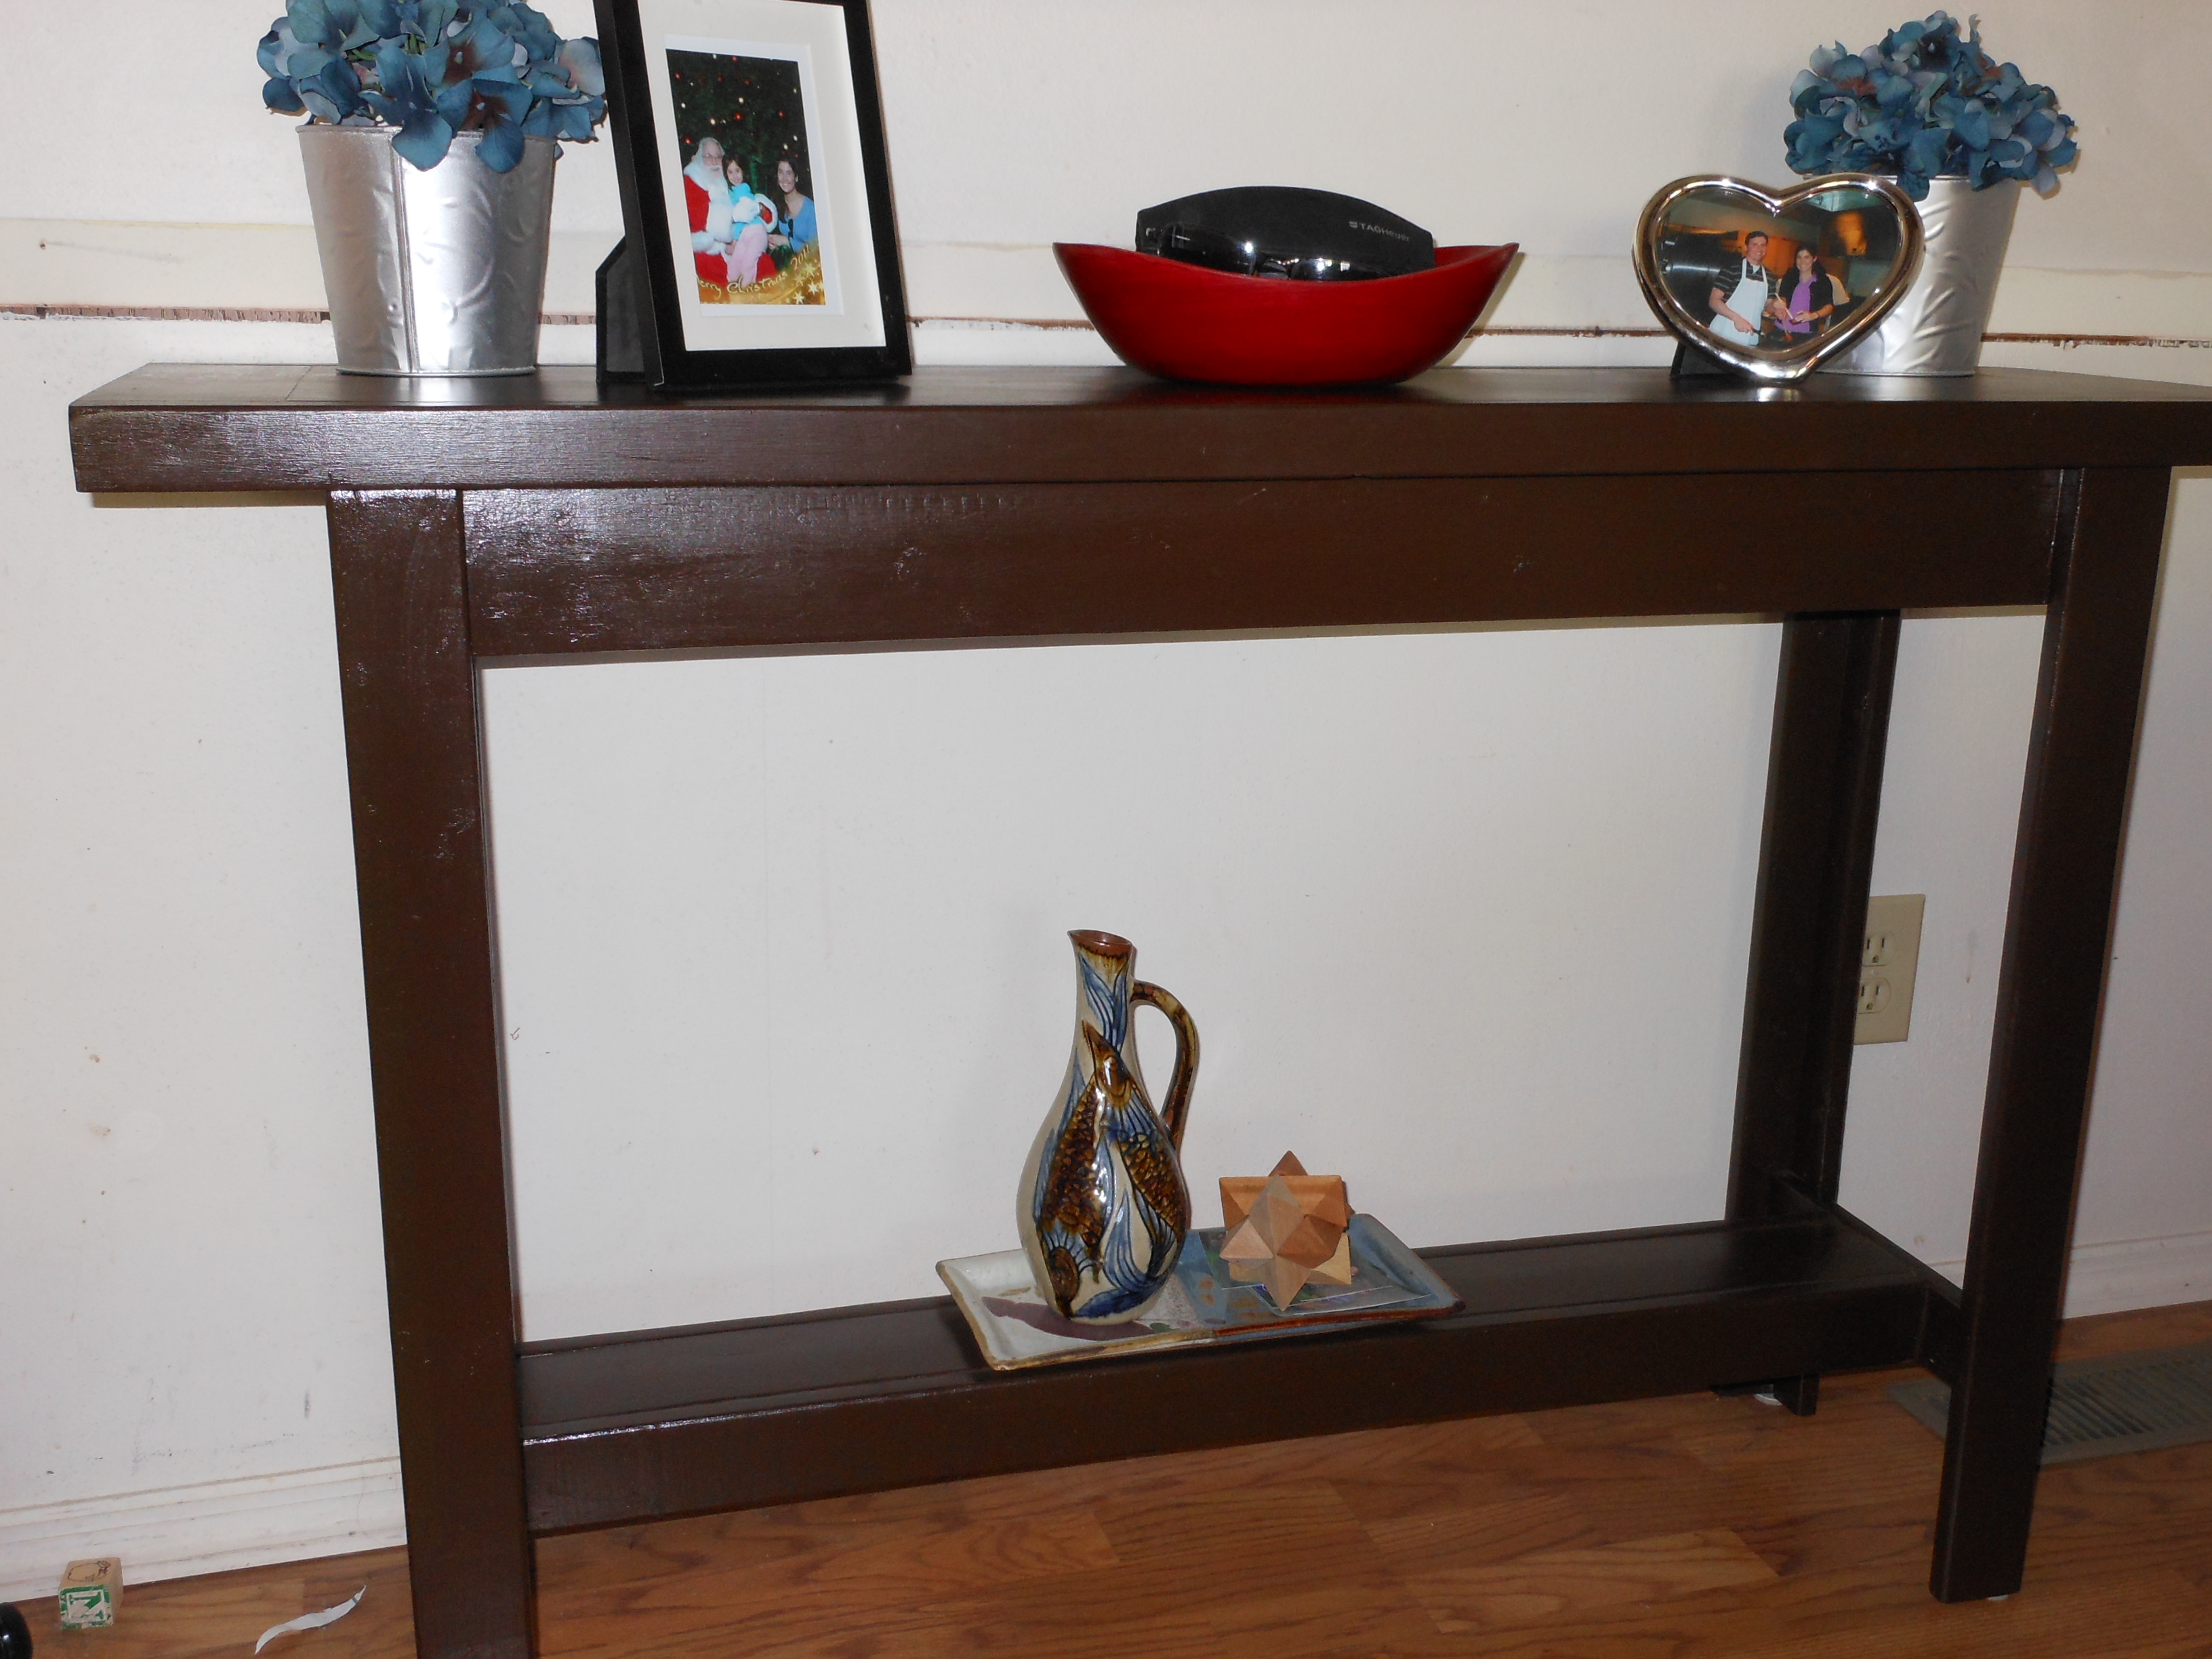
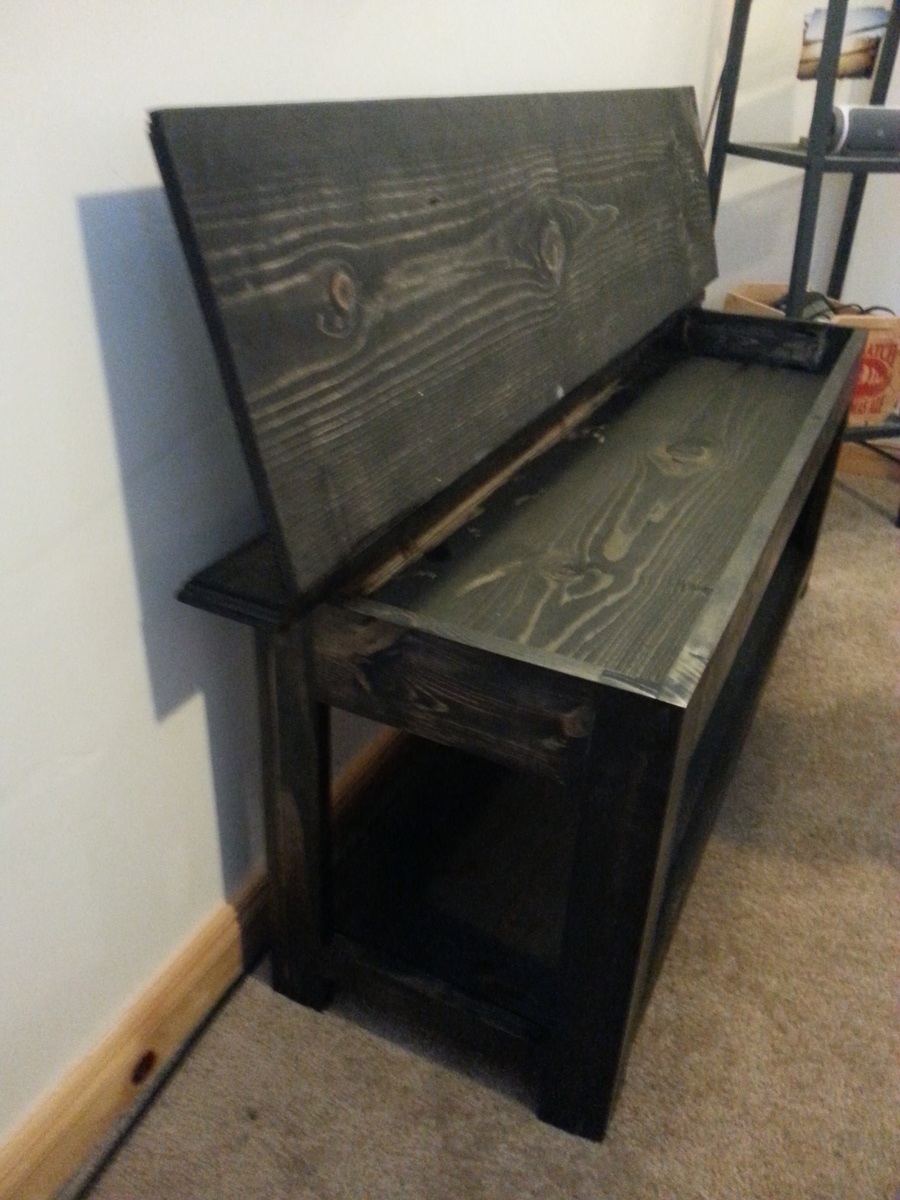
I built this as a place where my husband can store his keys and wallet. This table has nice, clean lines. The simple angles fit with the many pieces of Asian décor that we have.
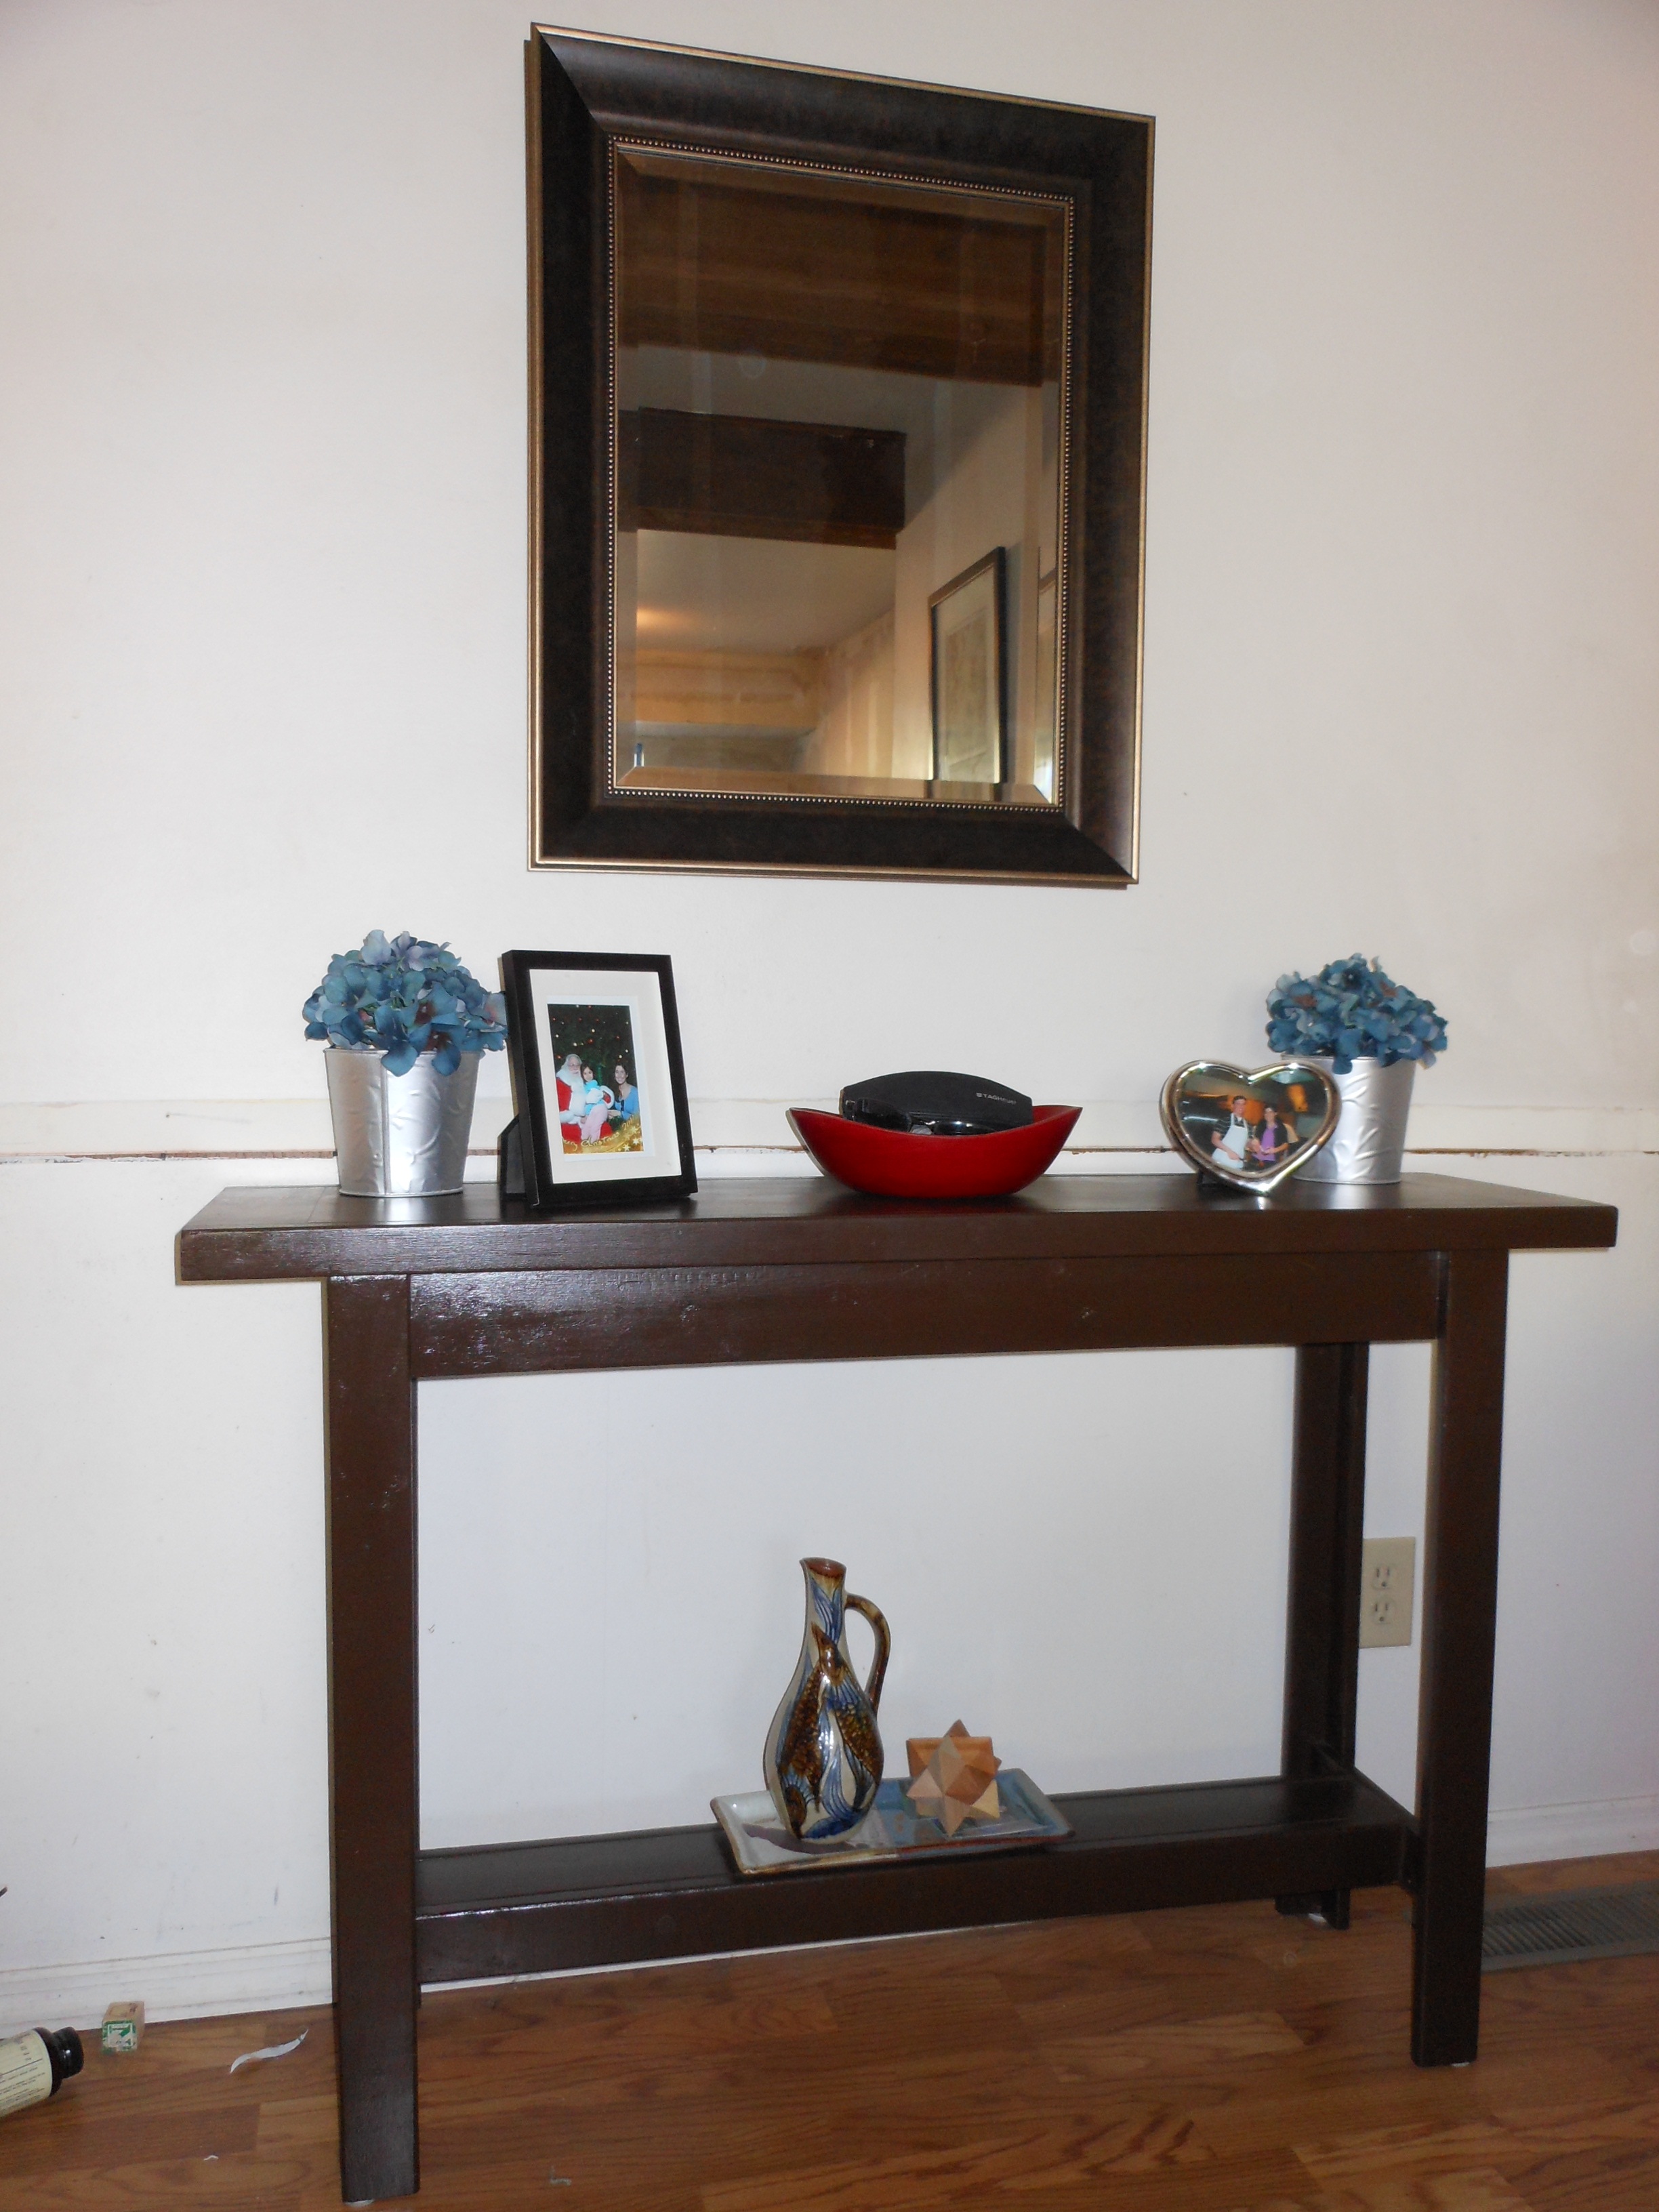
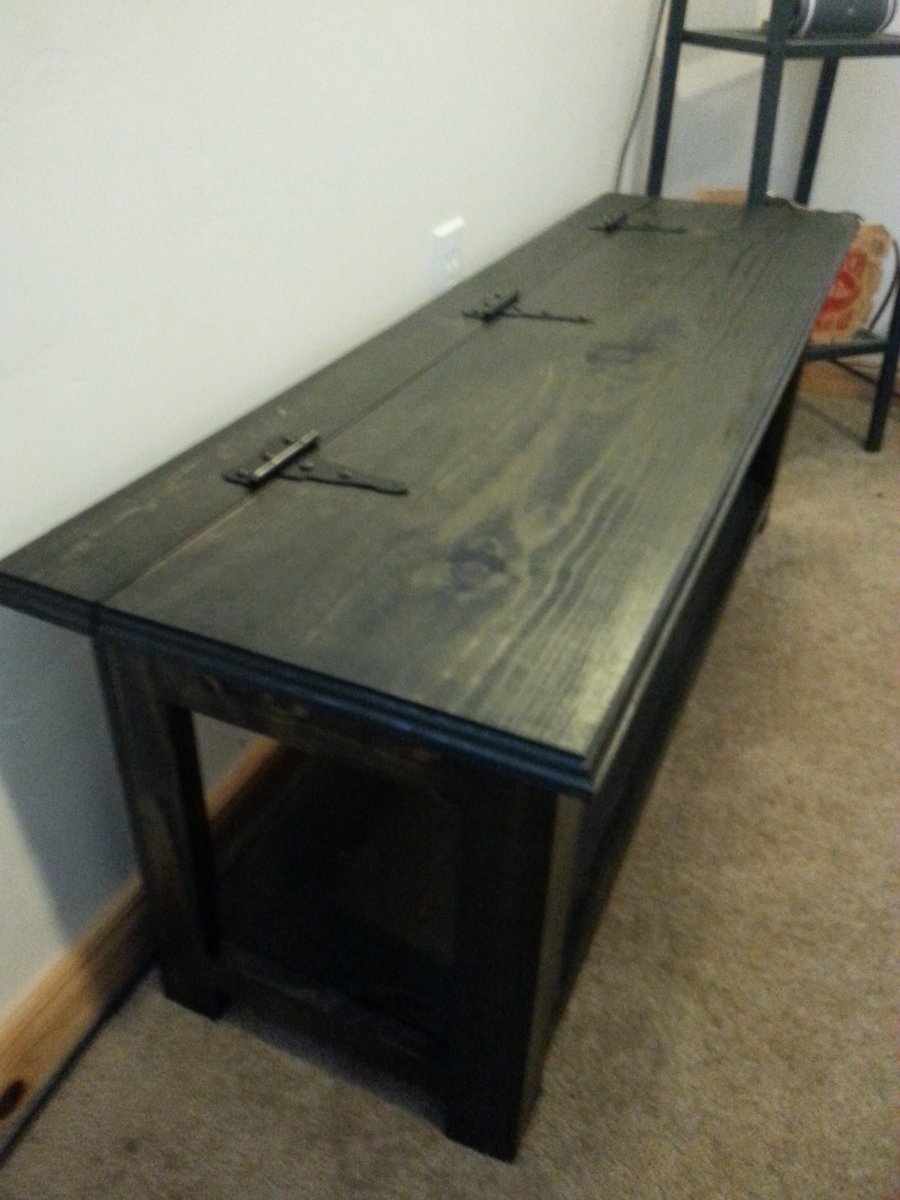
Followed the plans closely. Used a roman ogee bit to add a decorative edge to the top. Used strap style hinges instead as well.

Thu, 10/31/2013 - 18:46
I bought some Minwax Ebony stain a long time ago and have never used it, but I will now! It makes a beautiful finish!
Val
artsybuildinglady.blogspot.ca
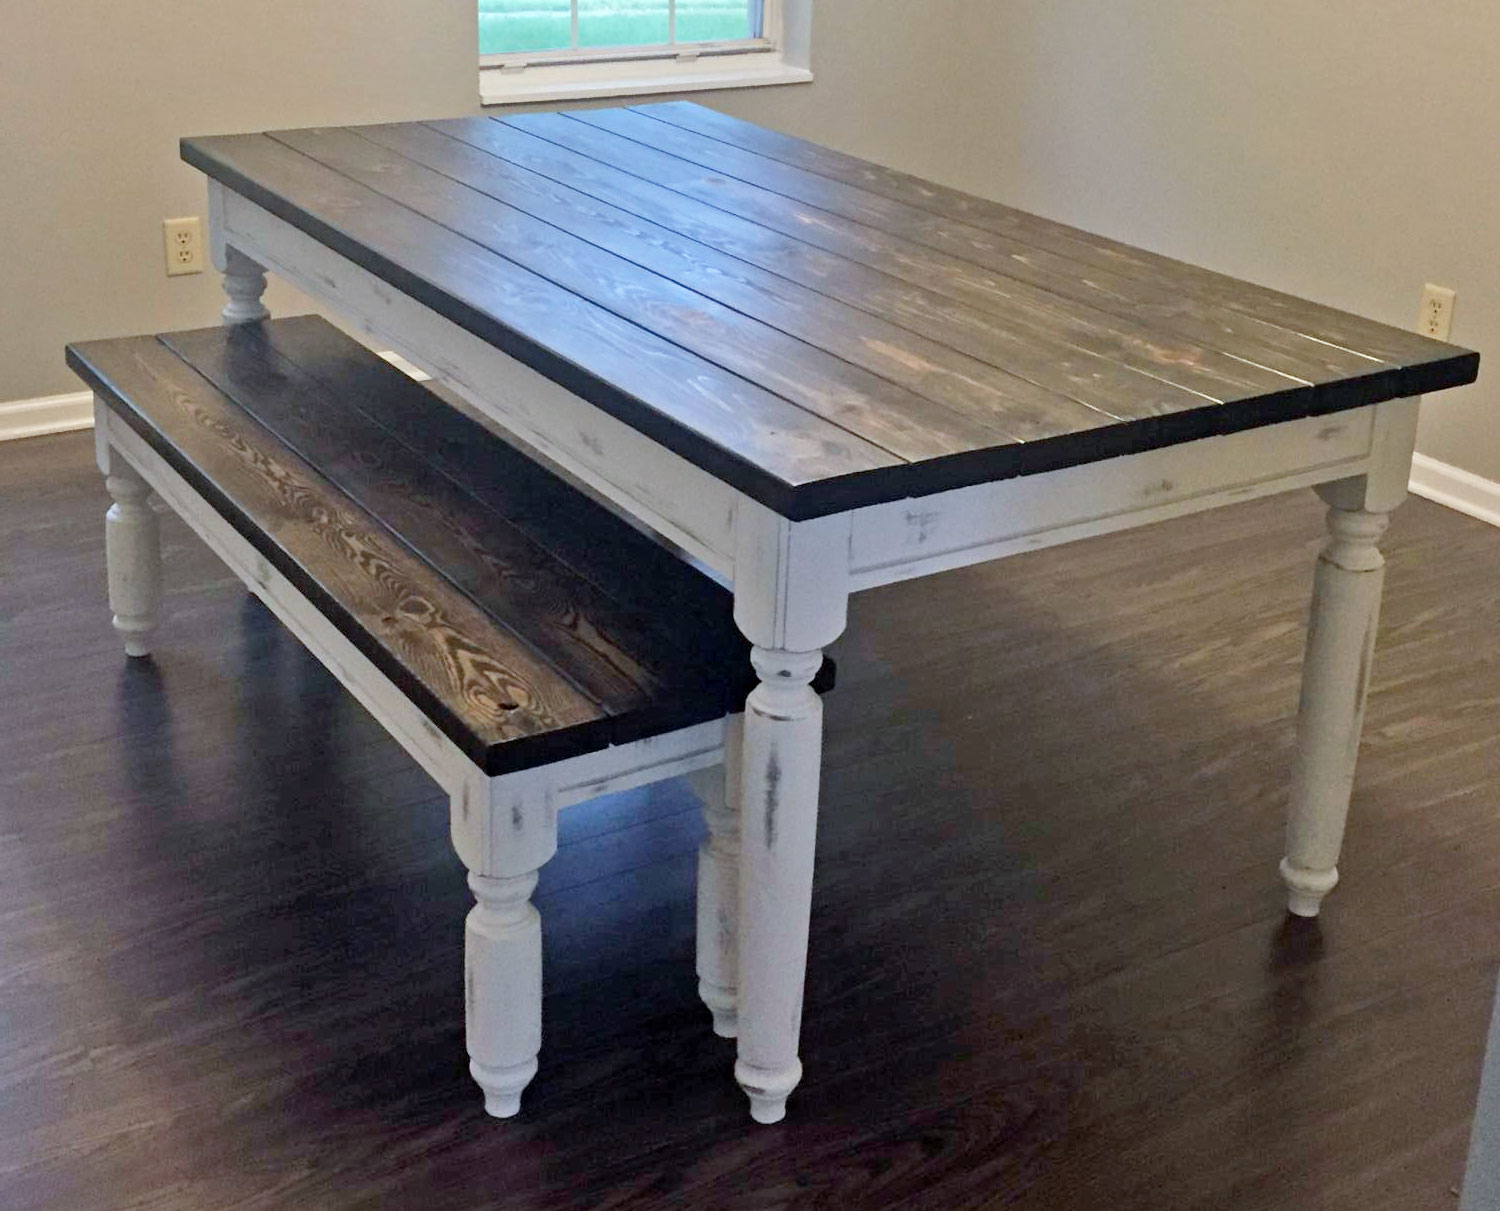
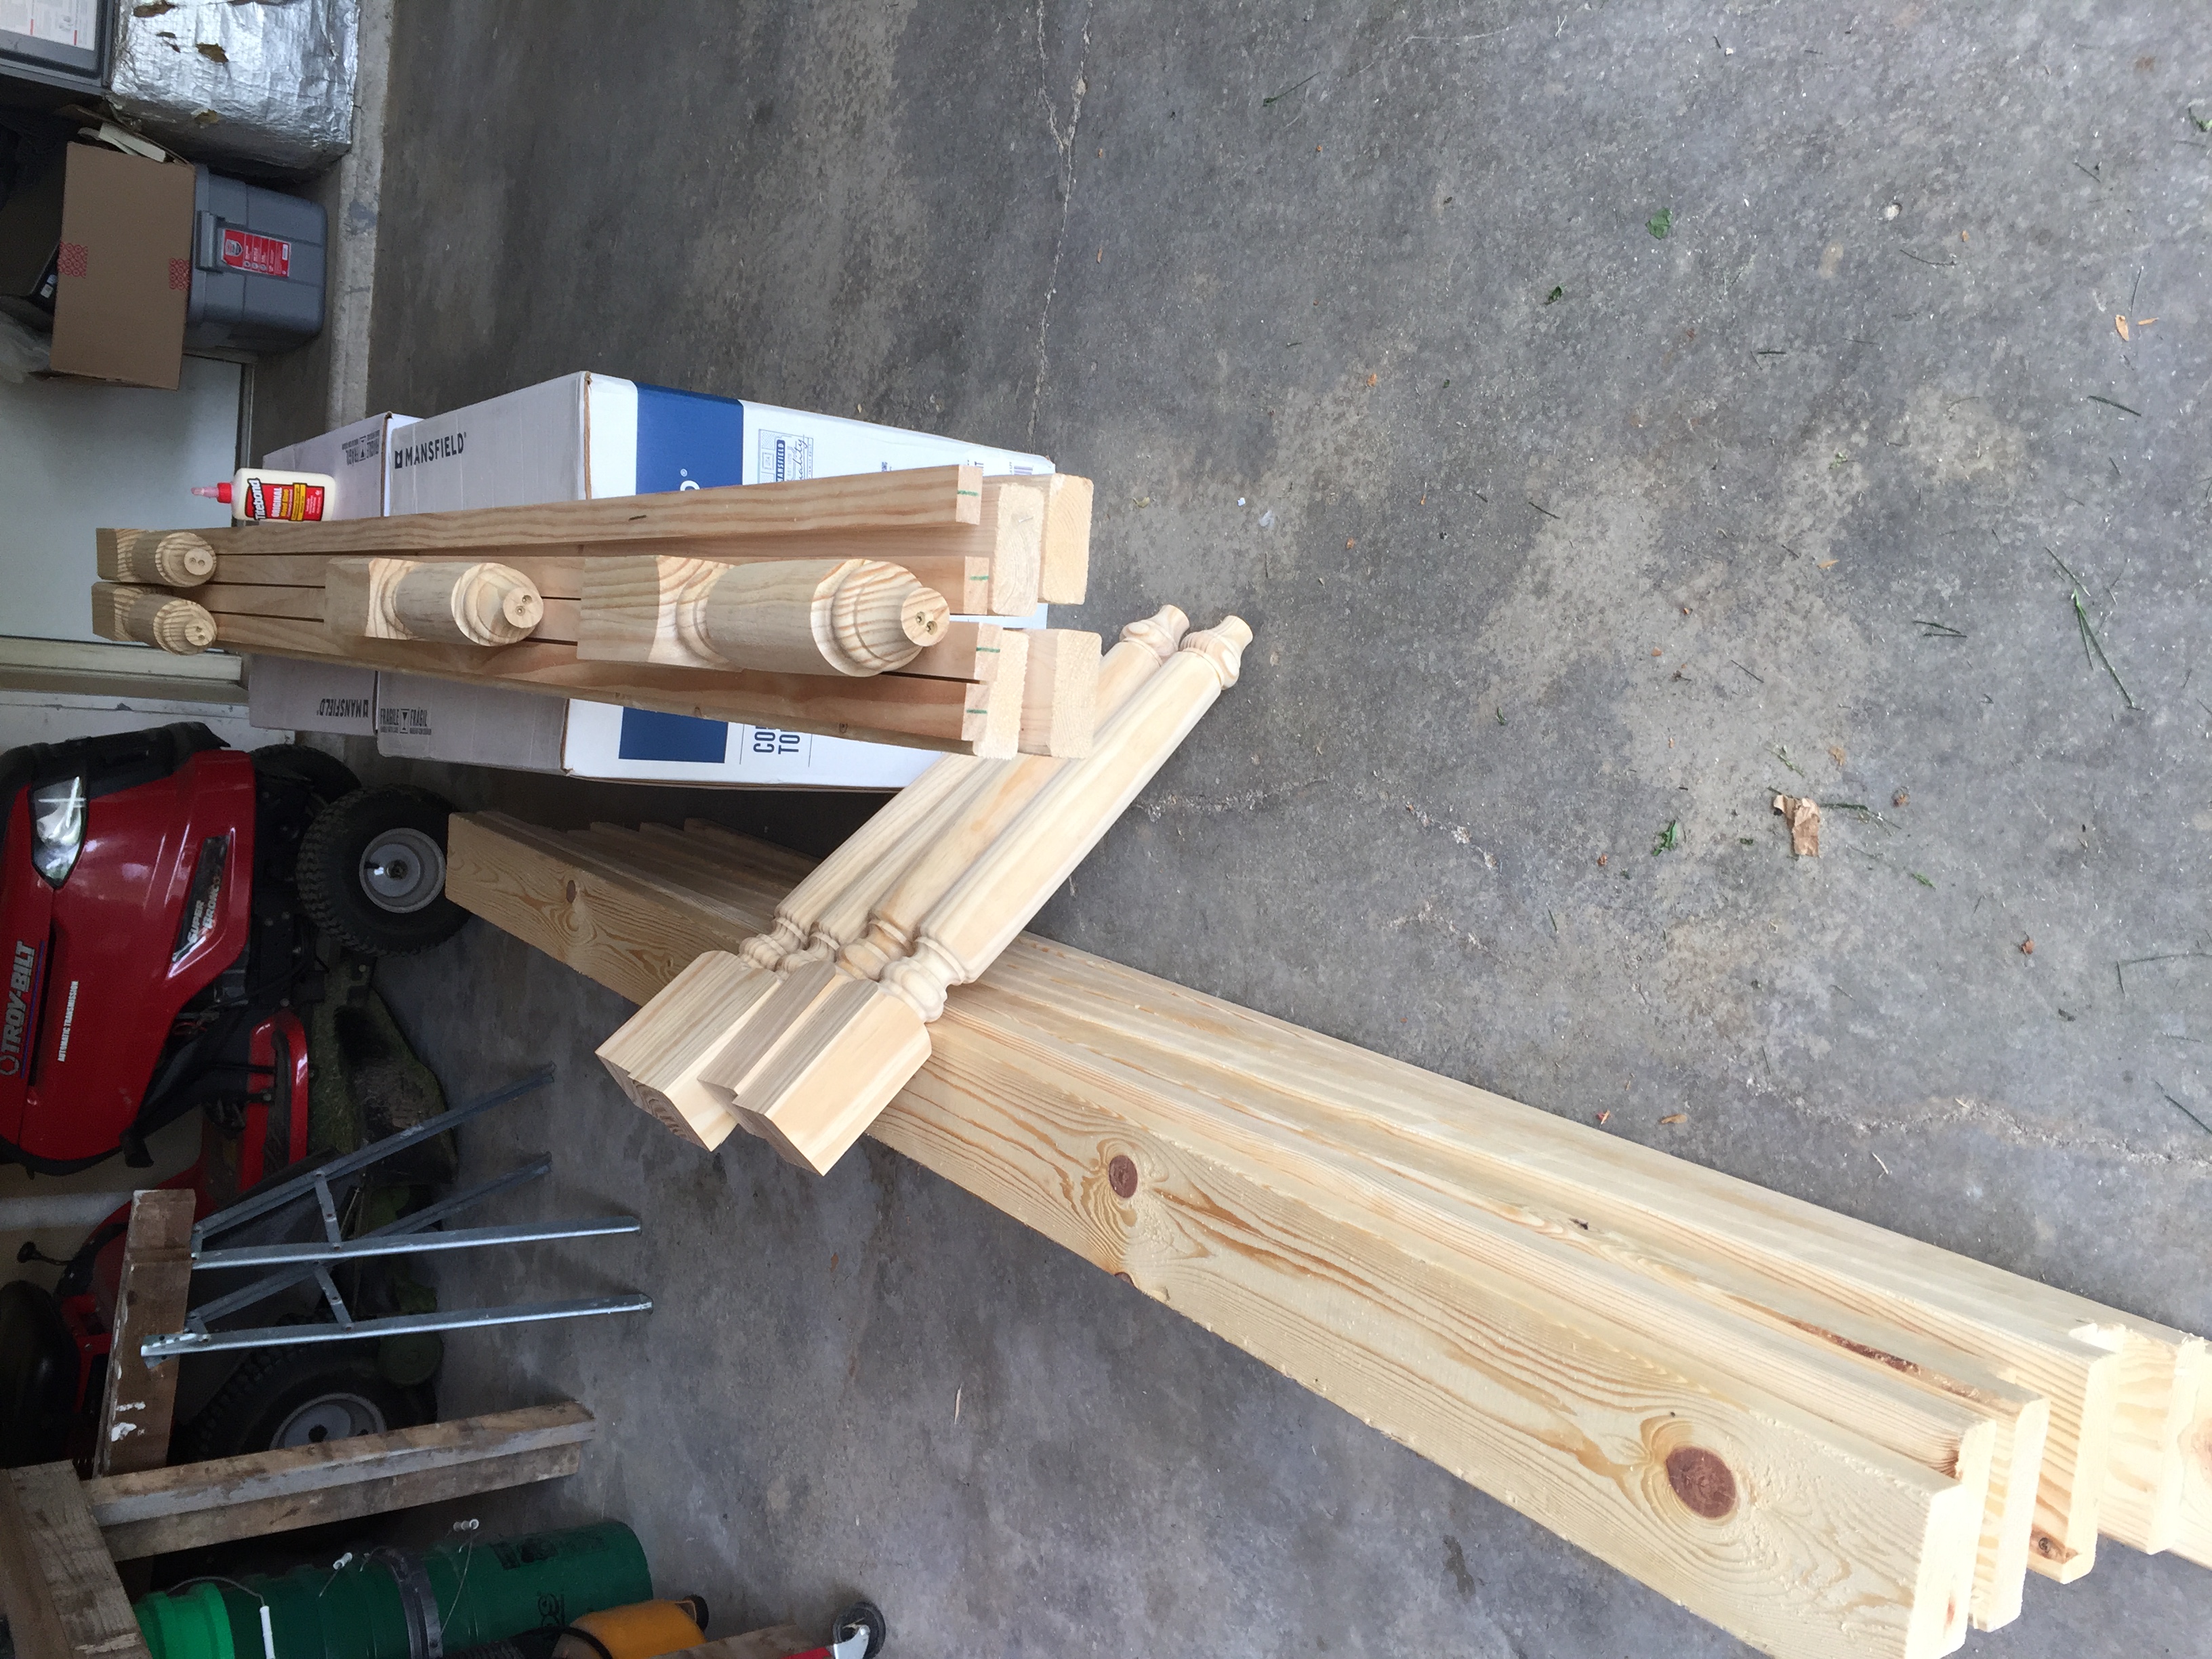
This project took me about 3 weeks of my spare time. Maybe an hour or two a day. I was lucky that I bought the table legs and bench legs together to match. I’m really pleased with the results. Thank you Ana White!
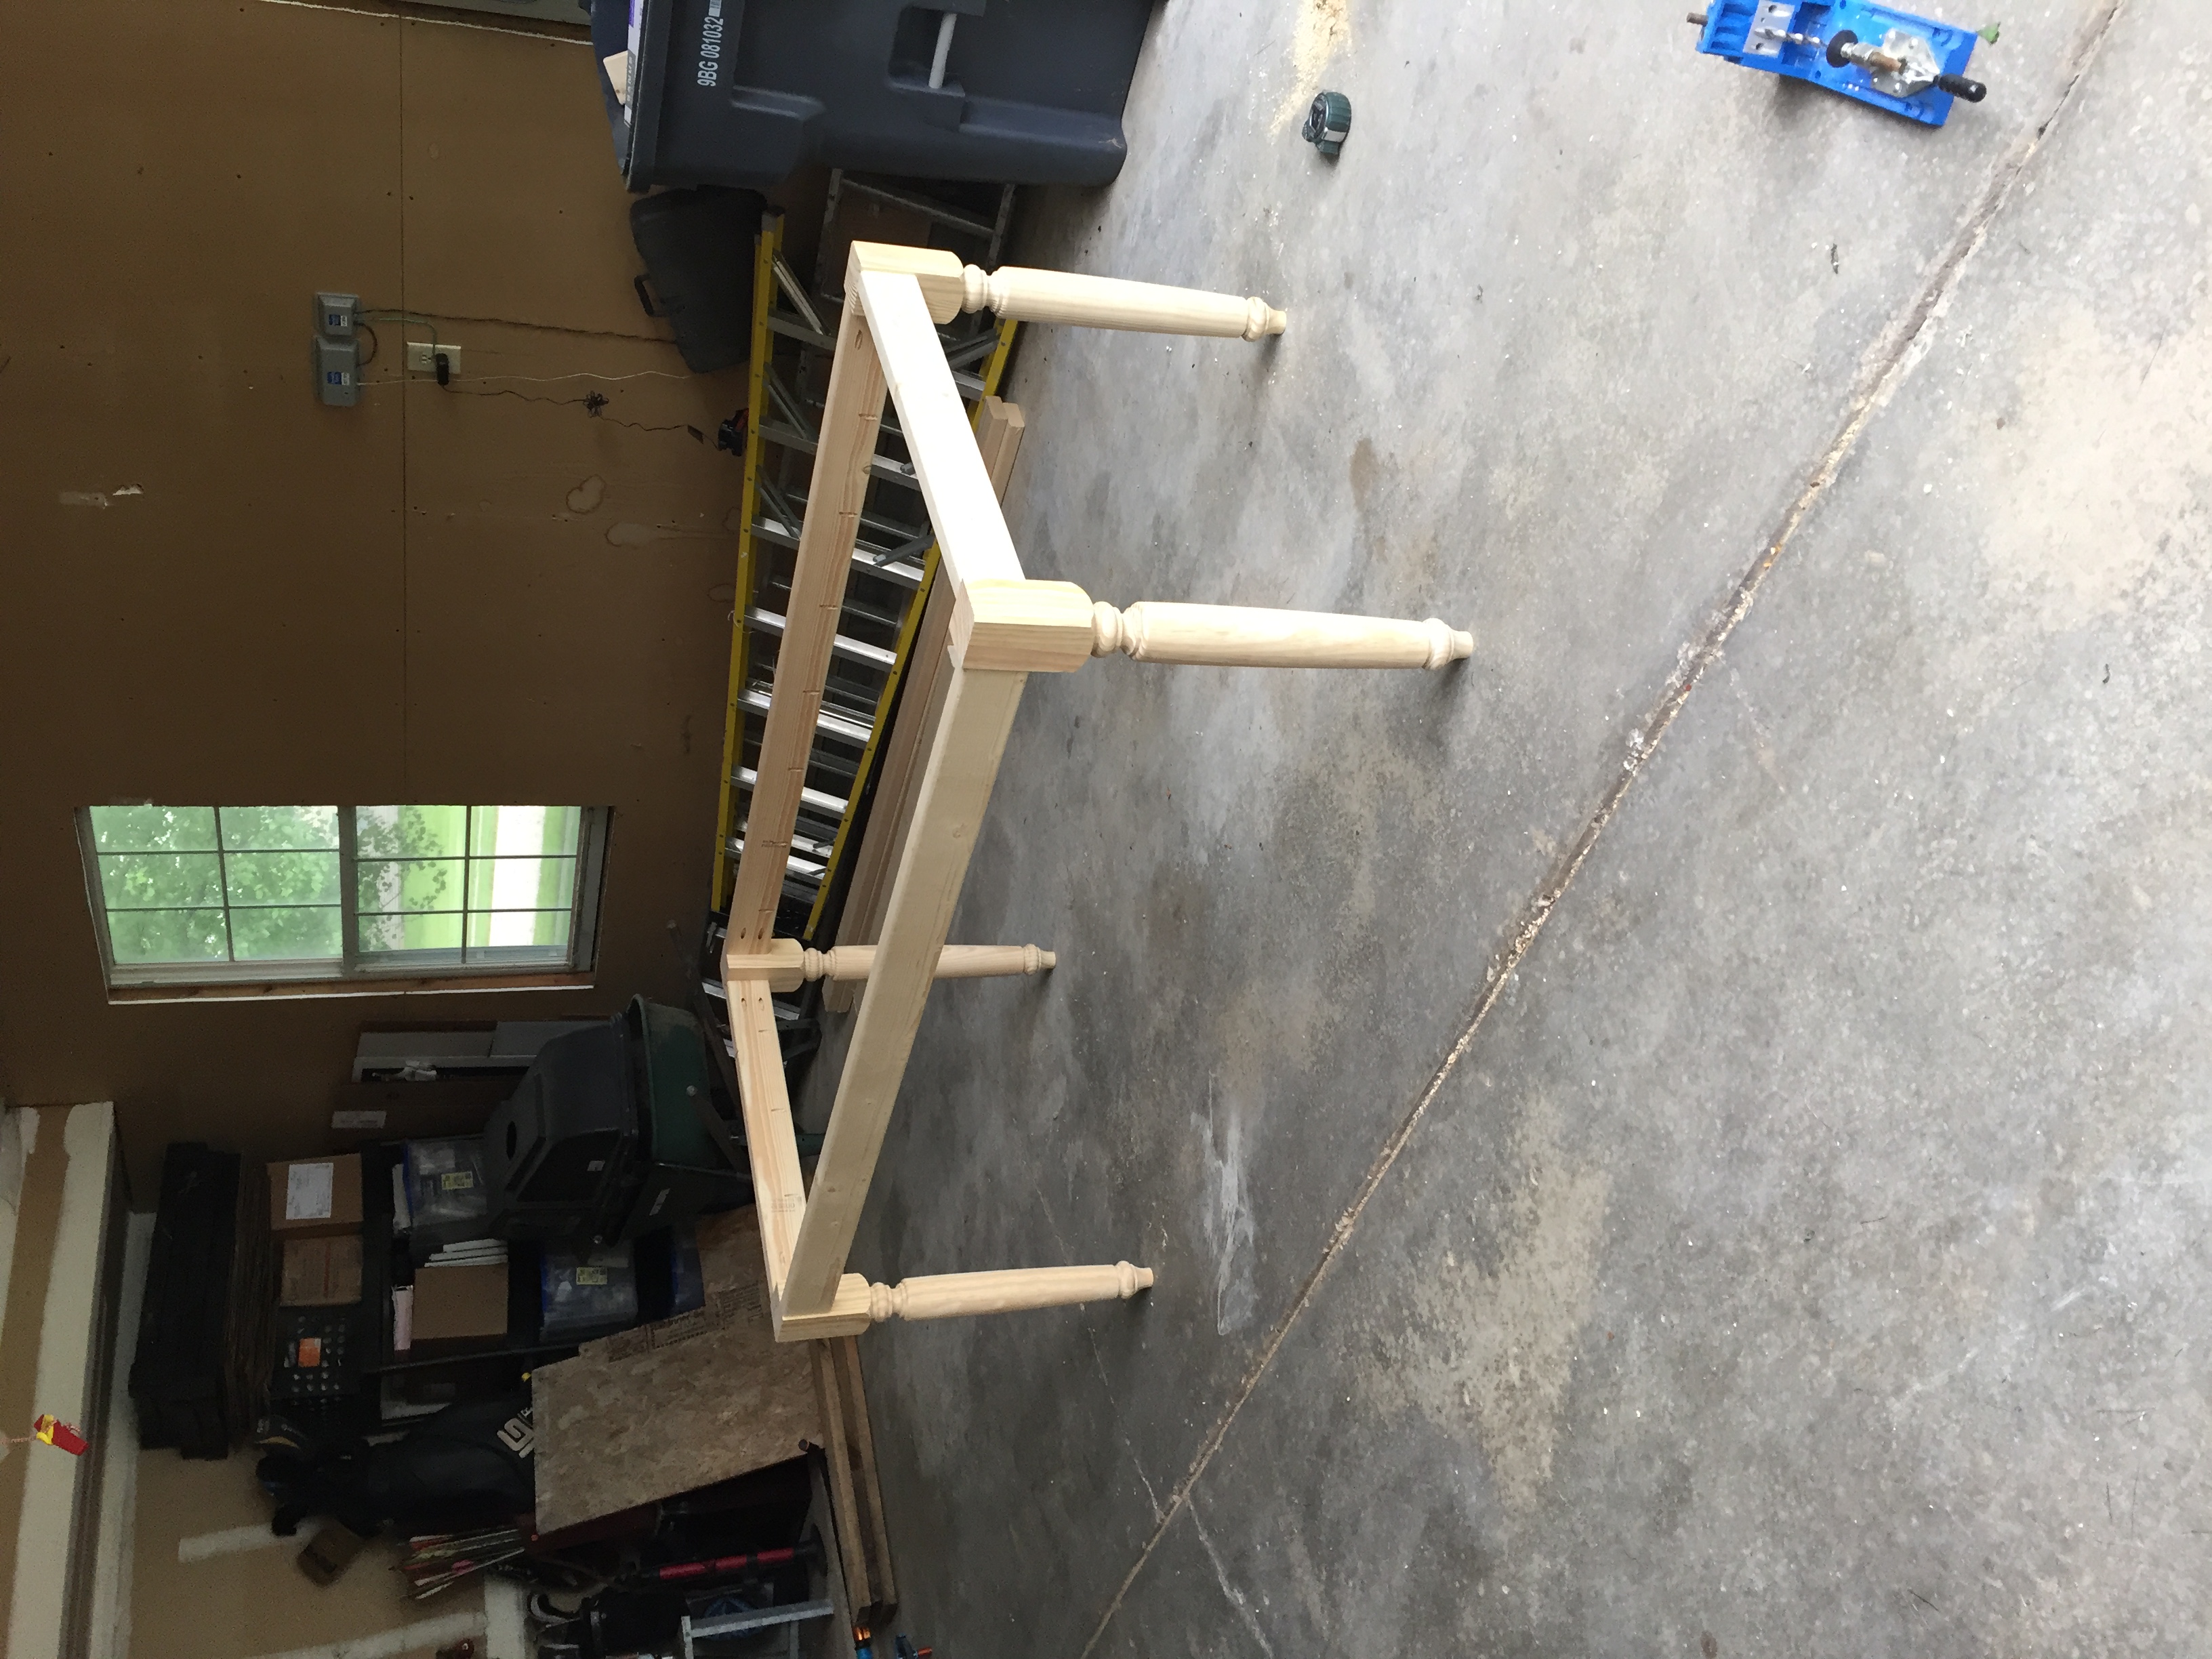
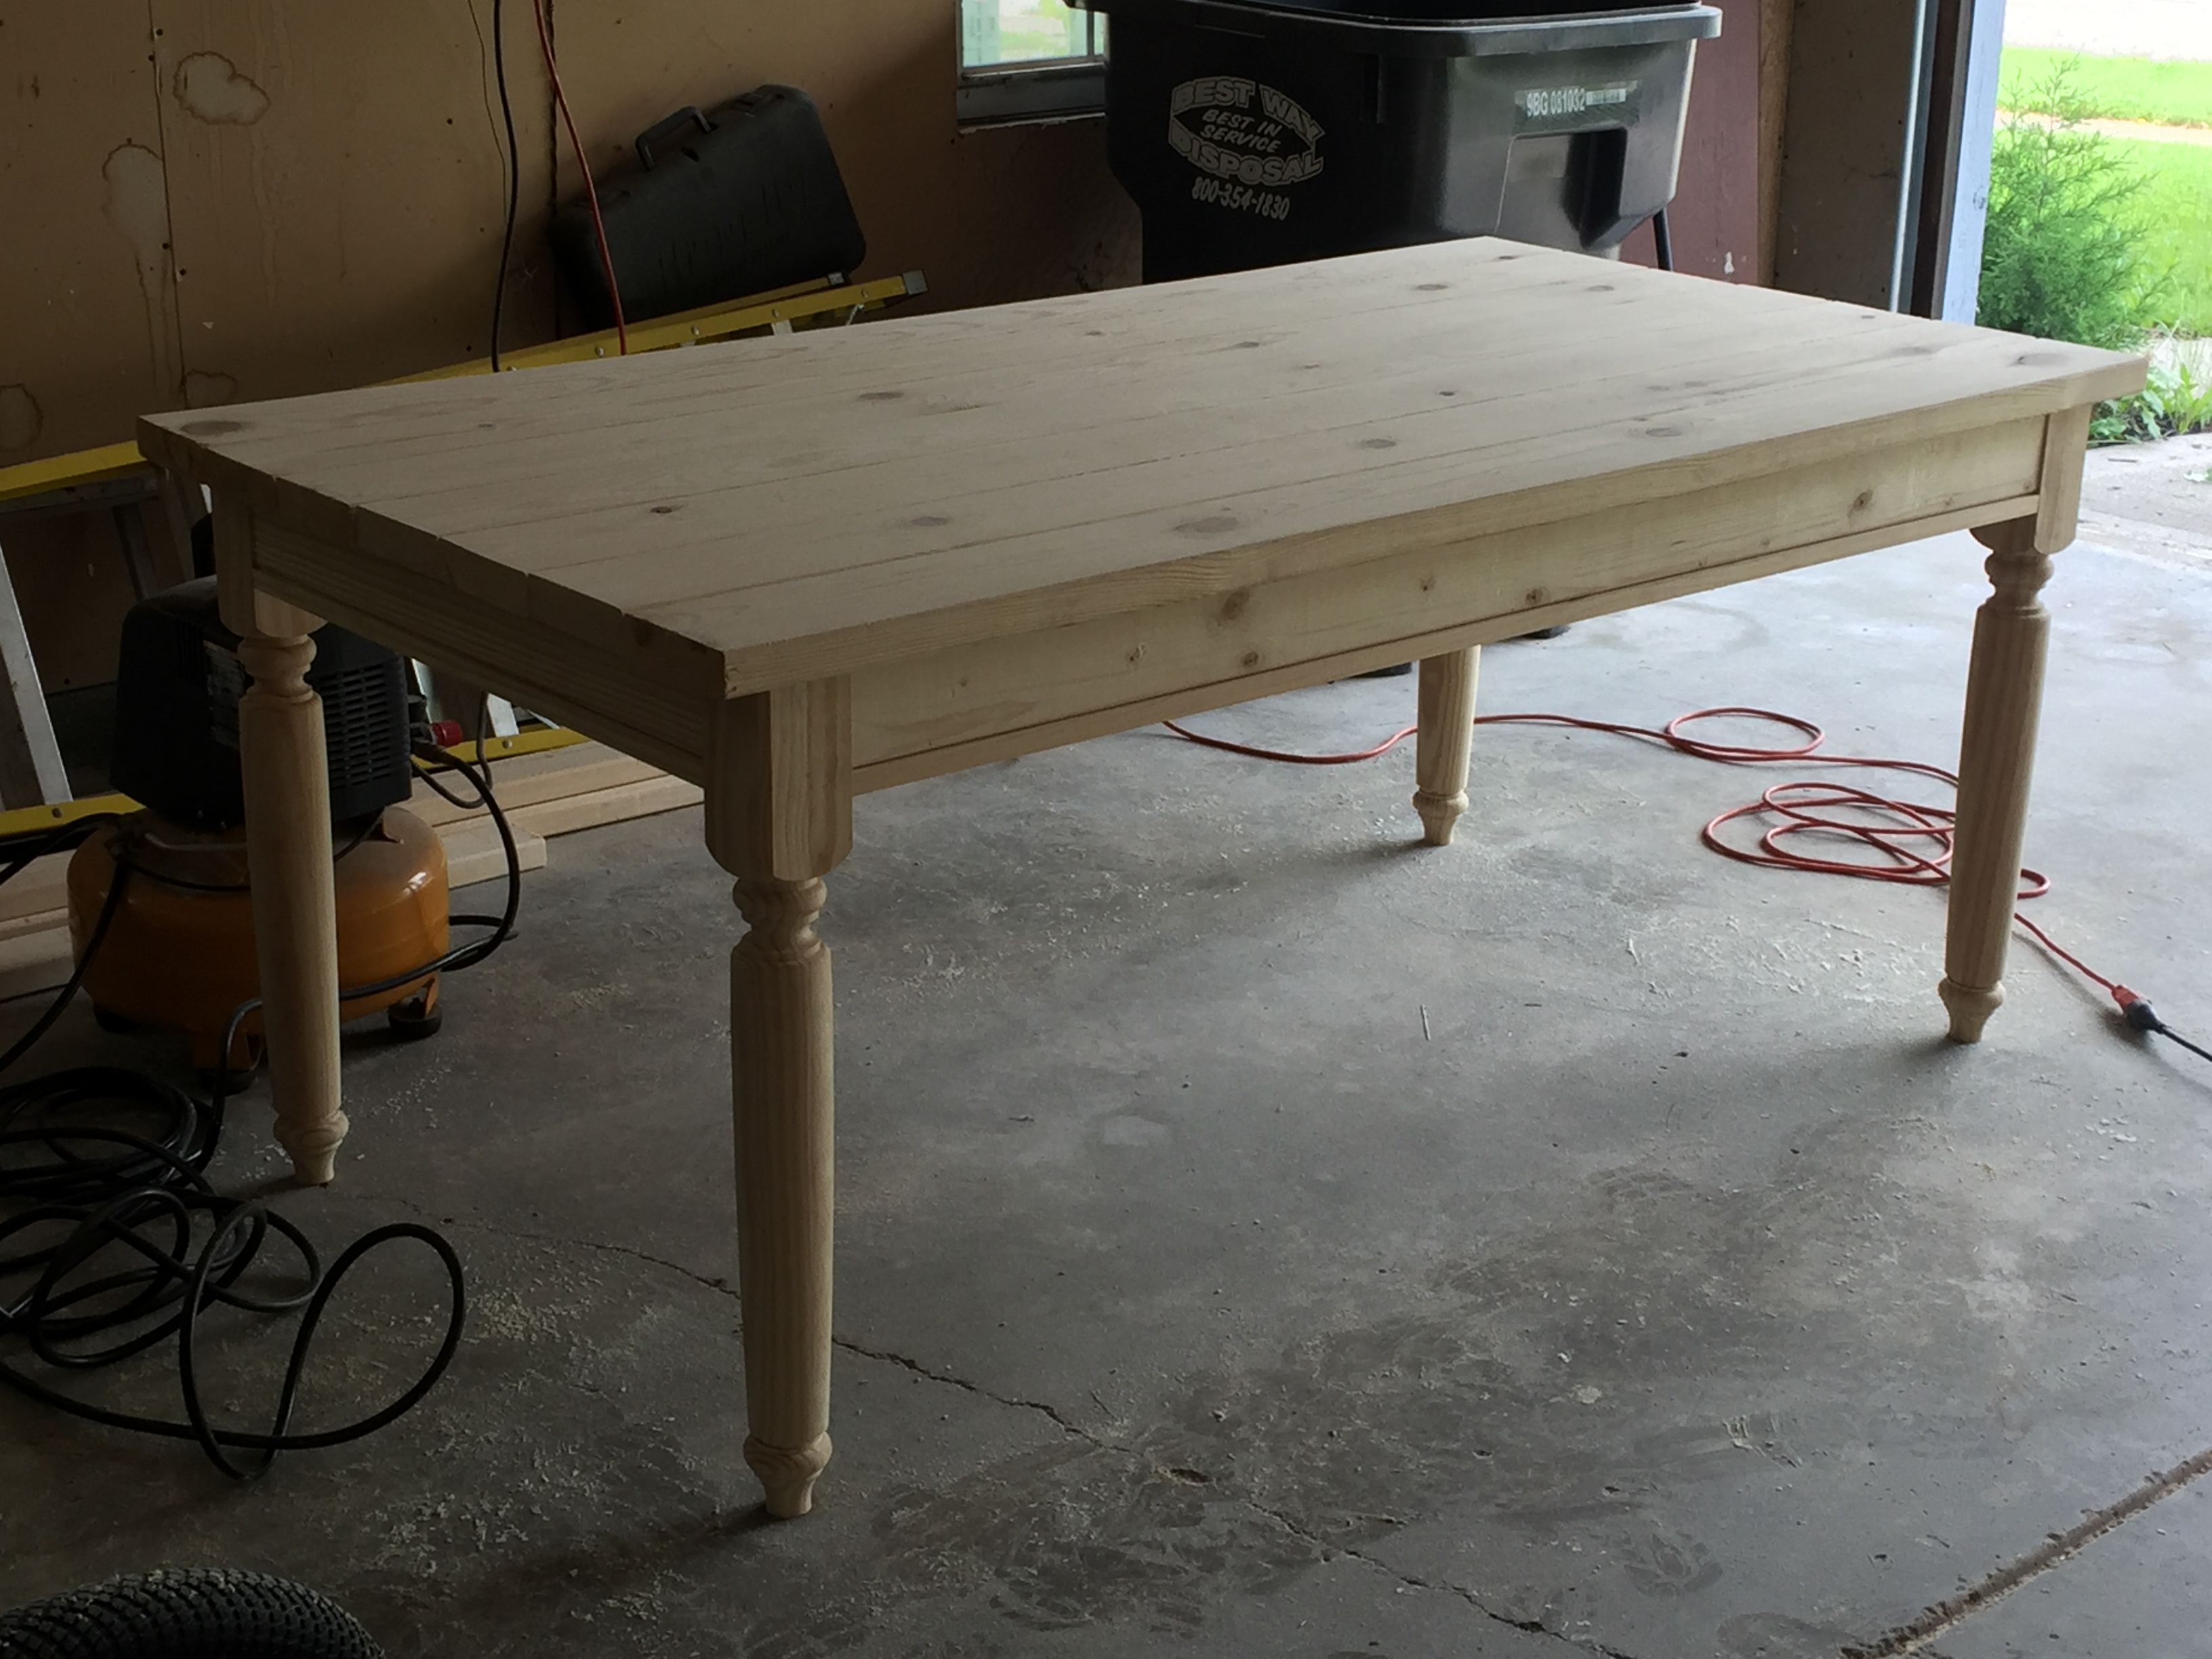
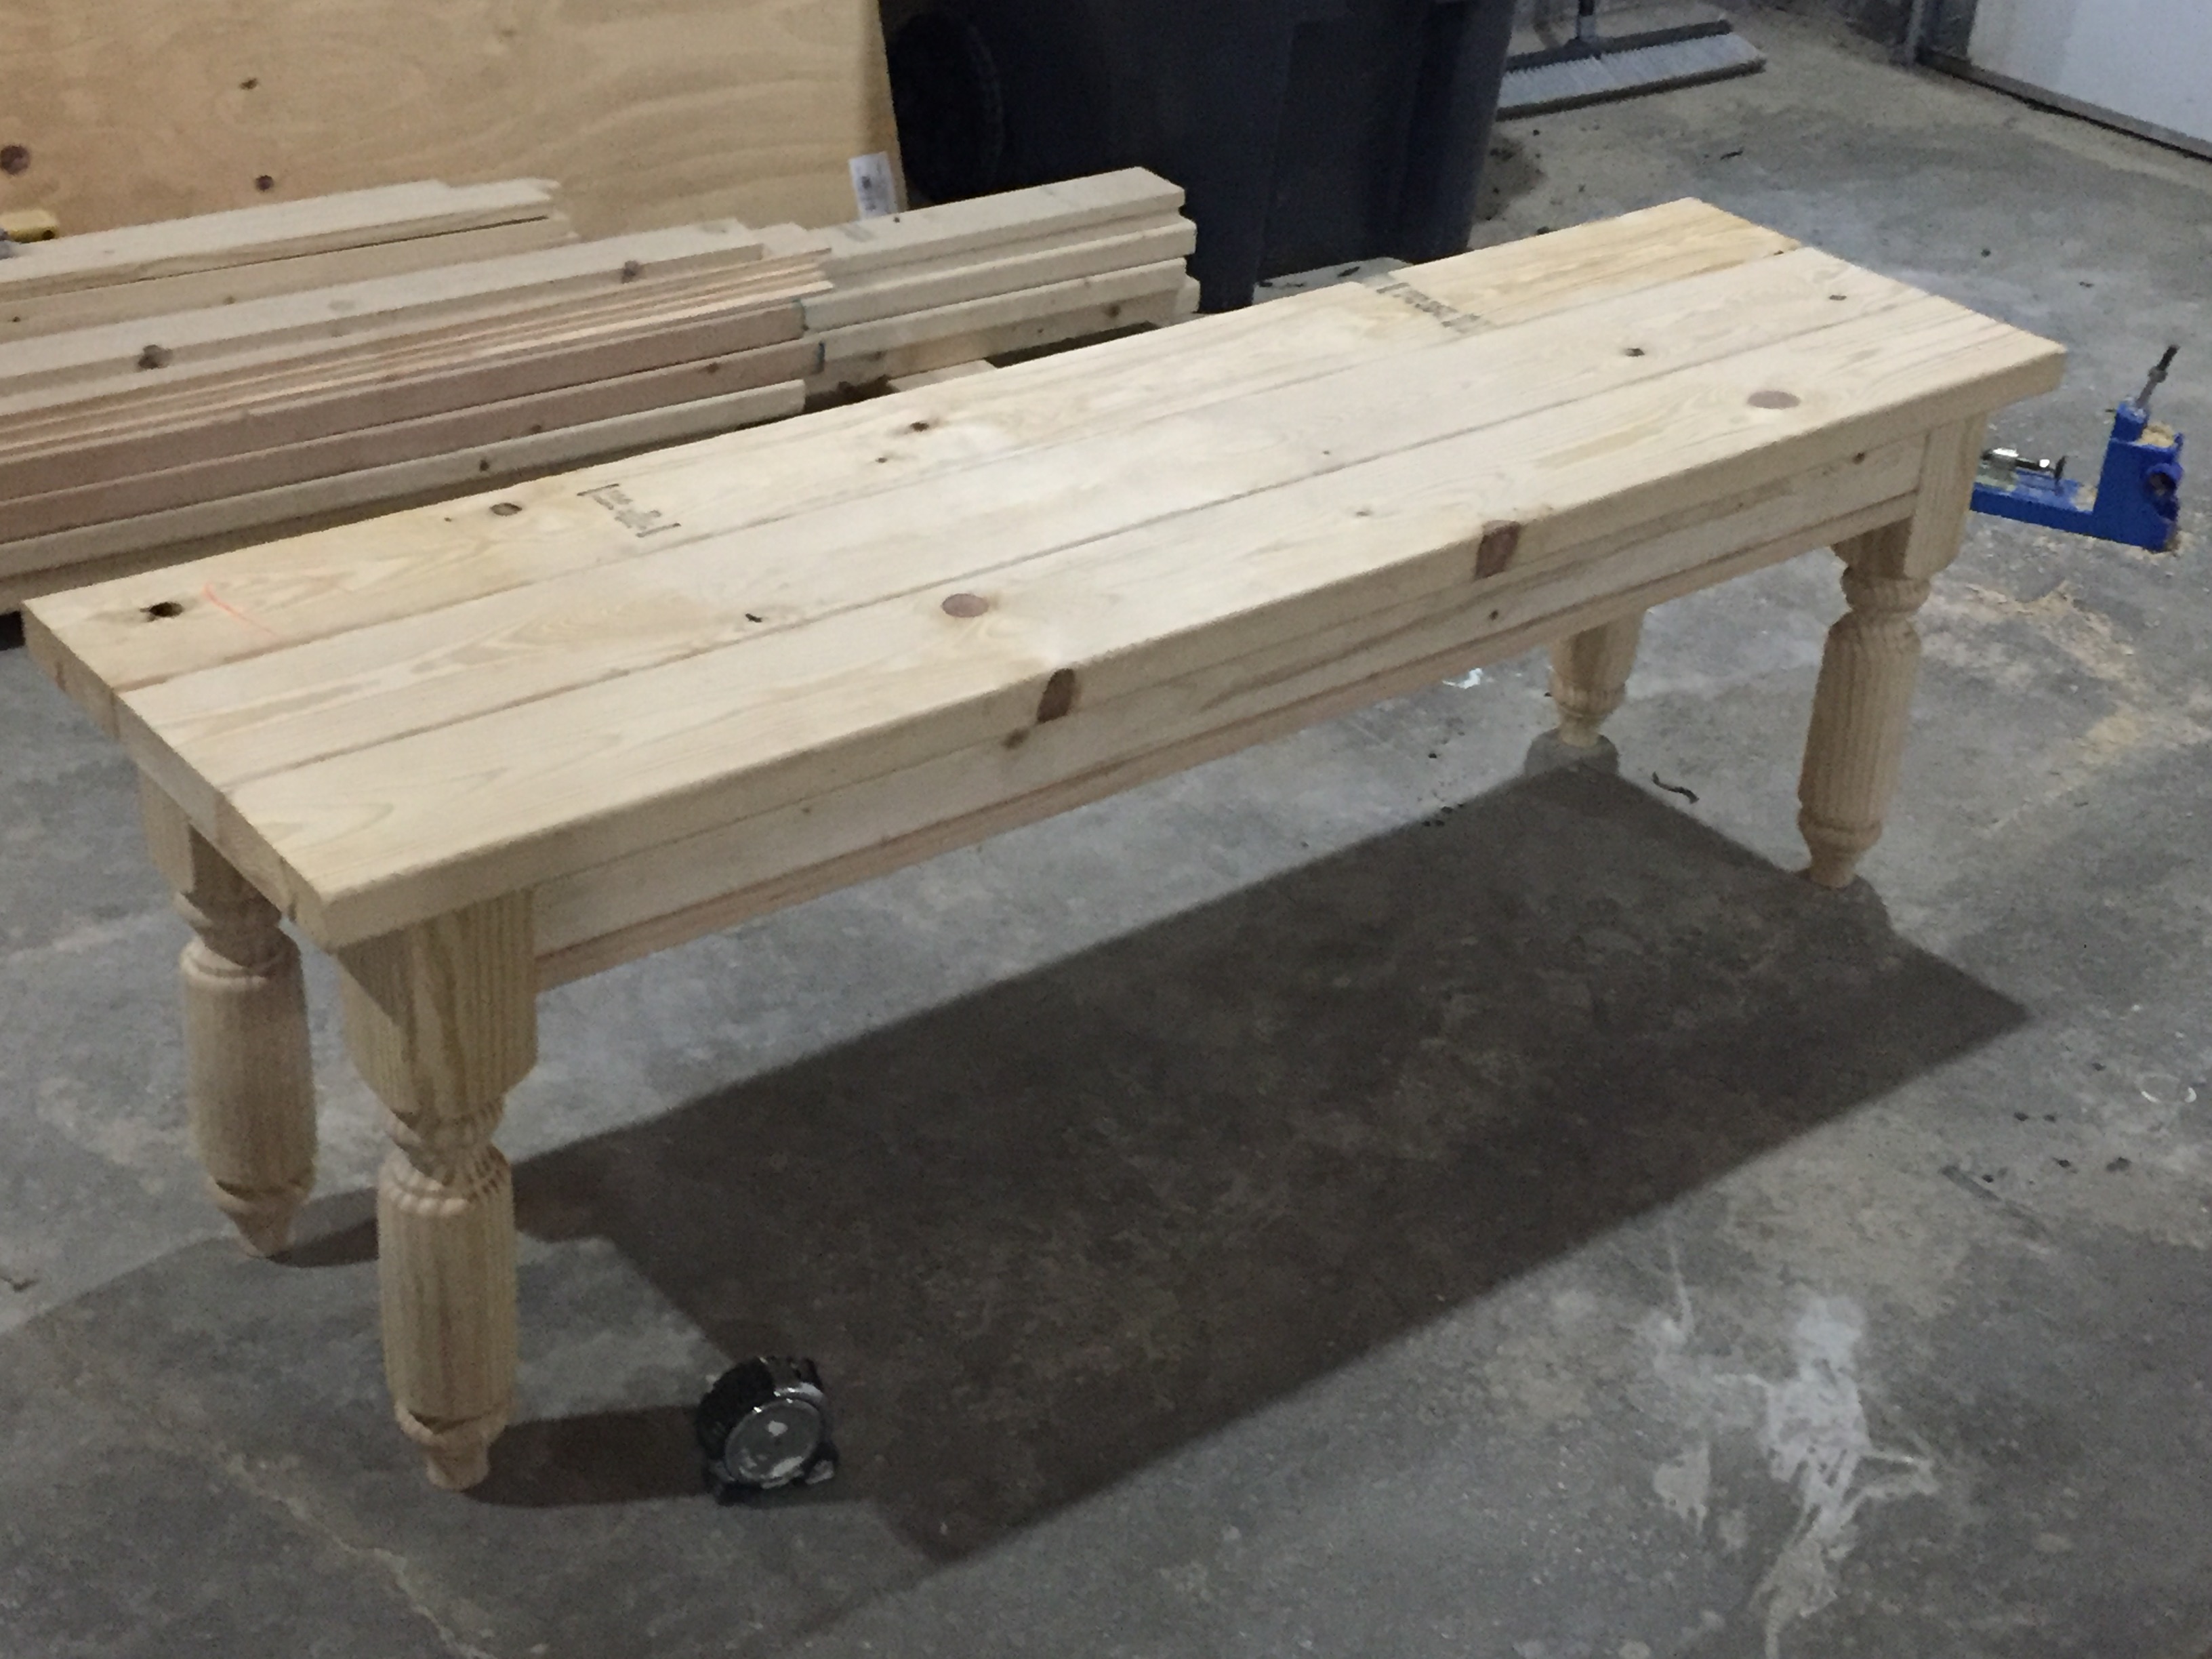
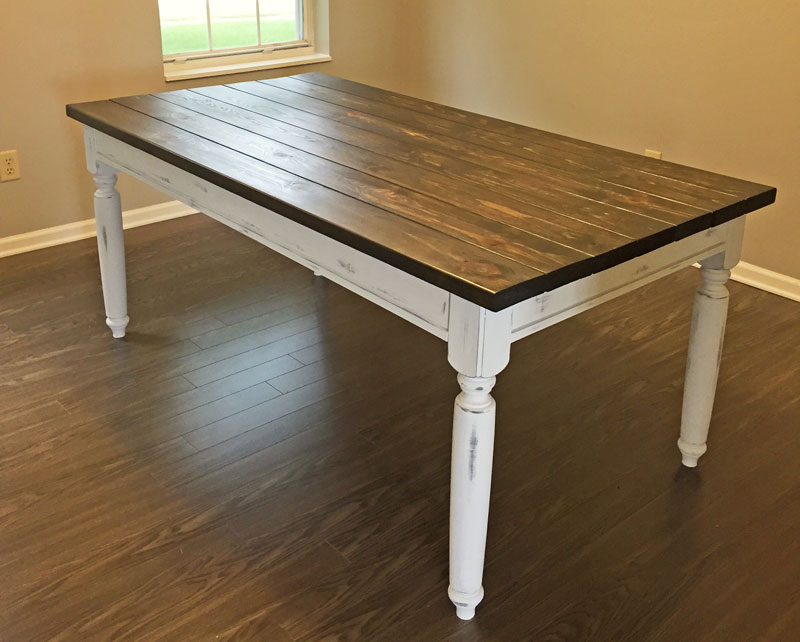
I was retired from my job and needed a new chore.
The plan seemed easy, and not being a real good carpenter, I required easy, and the plan was exactly that.
Thanks Ana.
Sat, 03/25/2023 - 09:19
Thanks for sharing, very pretty finish and the mods looks great!
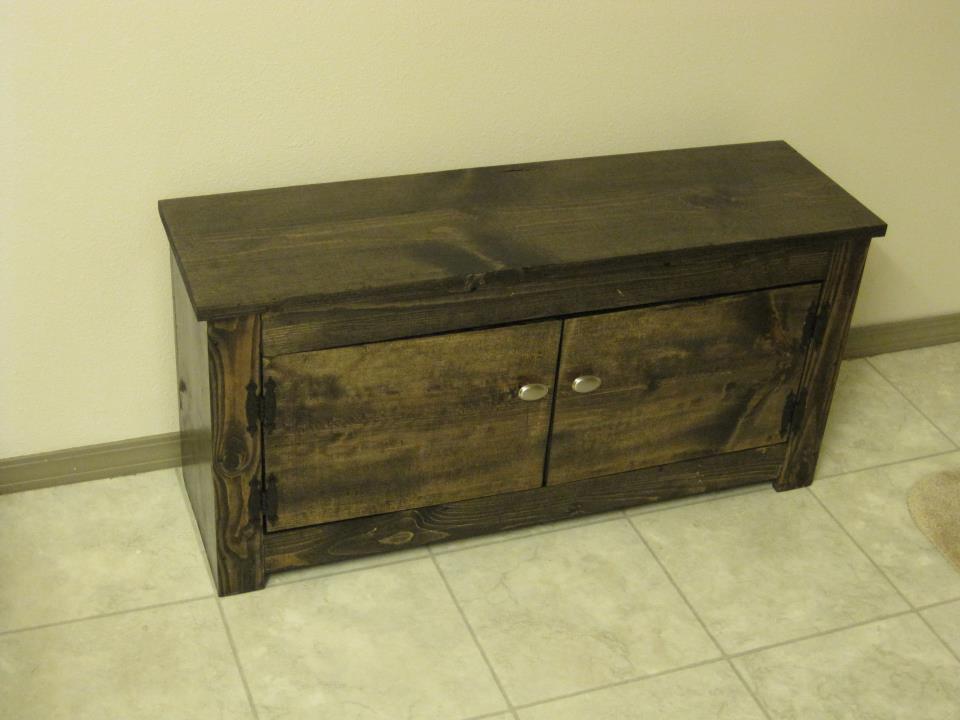
My first Ana project- took the spa bench and added doors. Thanks for the easy-to-use plans, Ana. Still learning, though- I ended up buying three sets of hinges before I was happy!
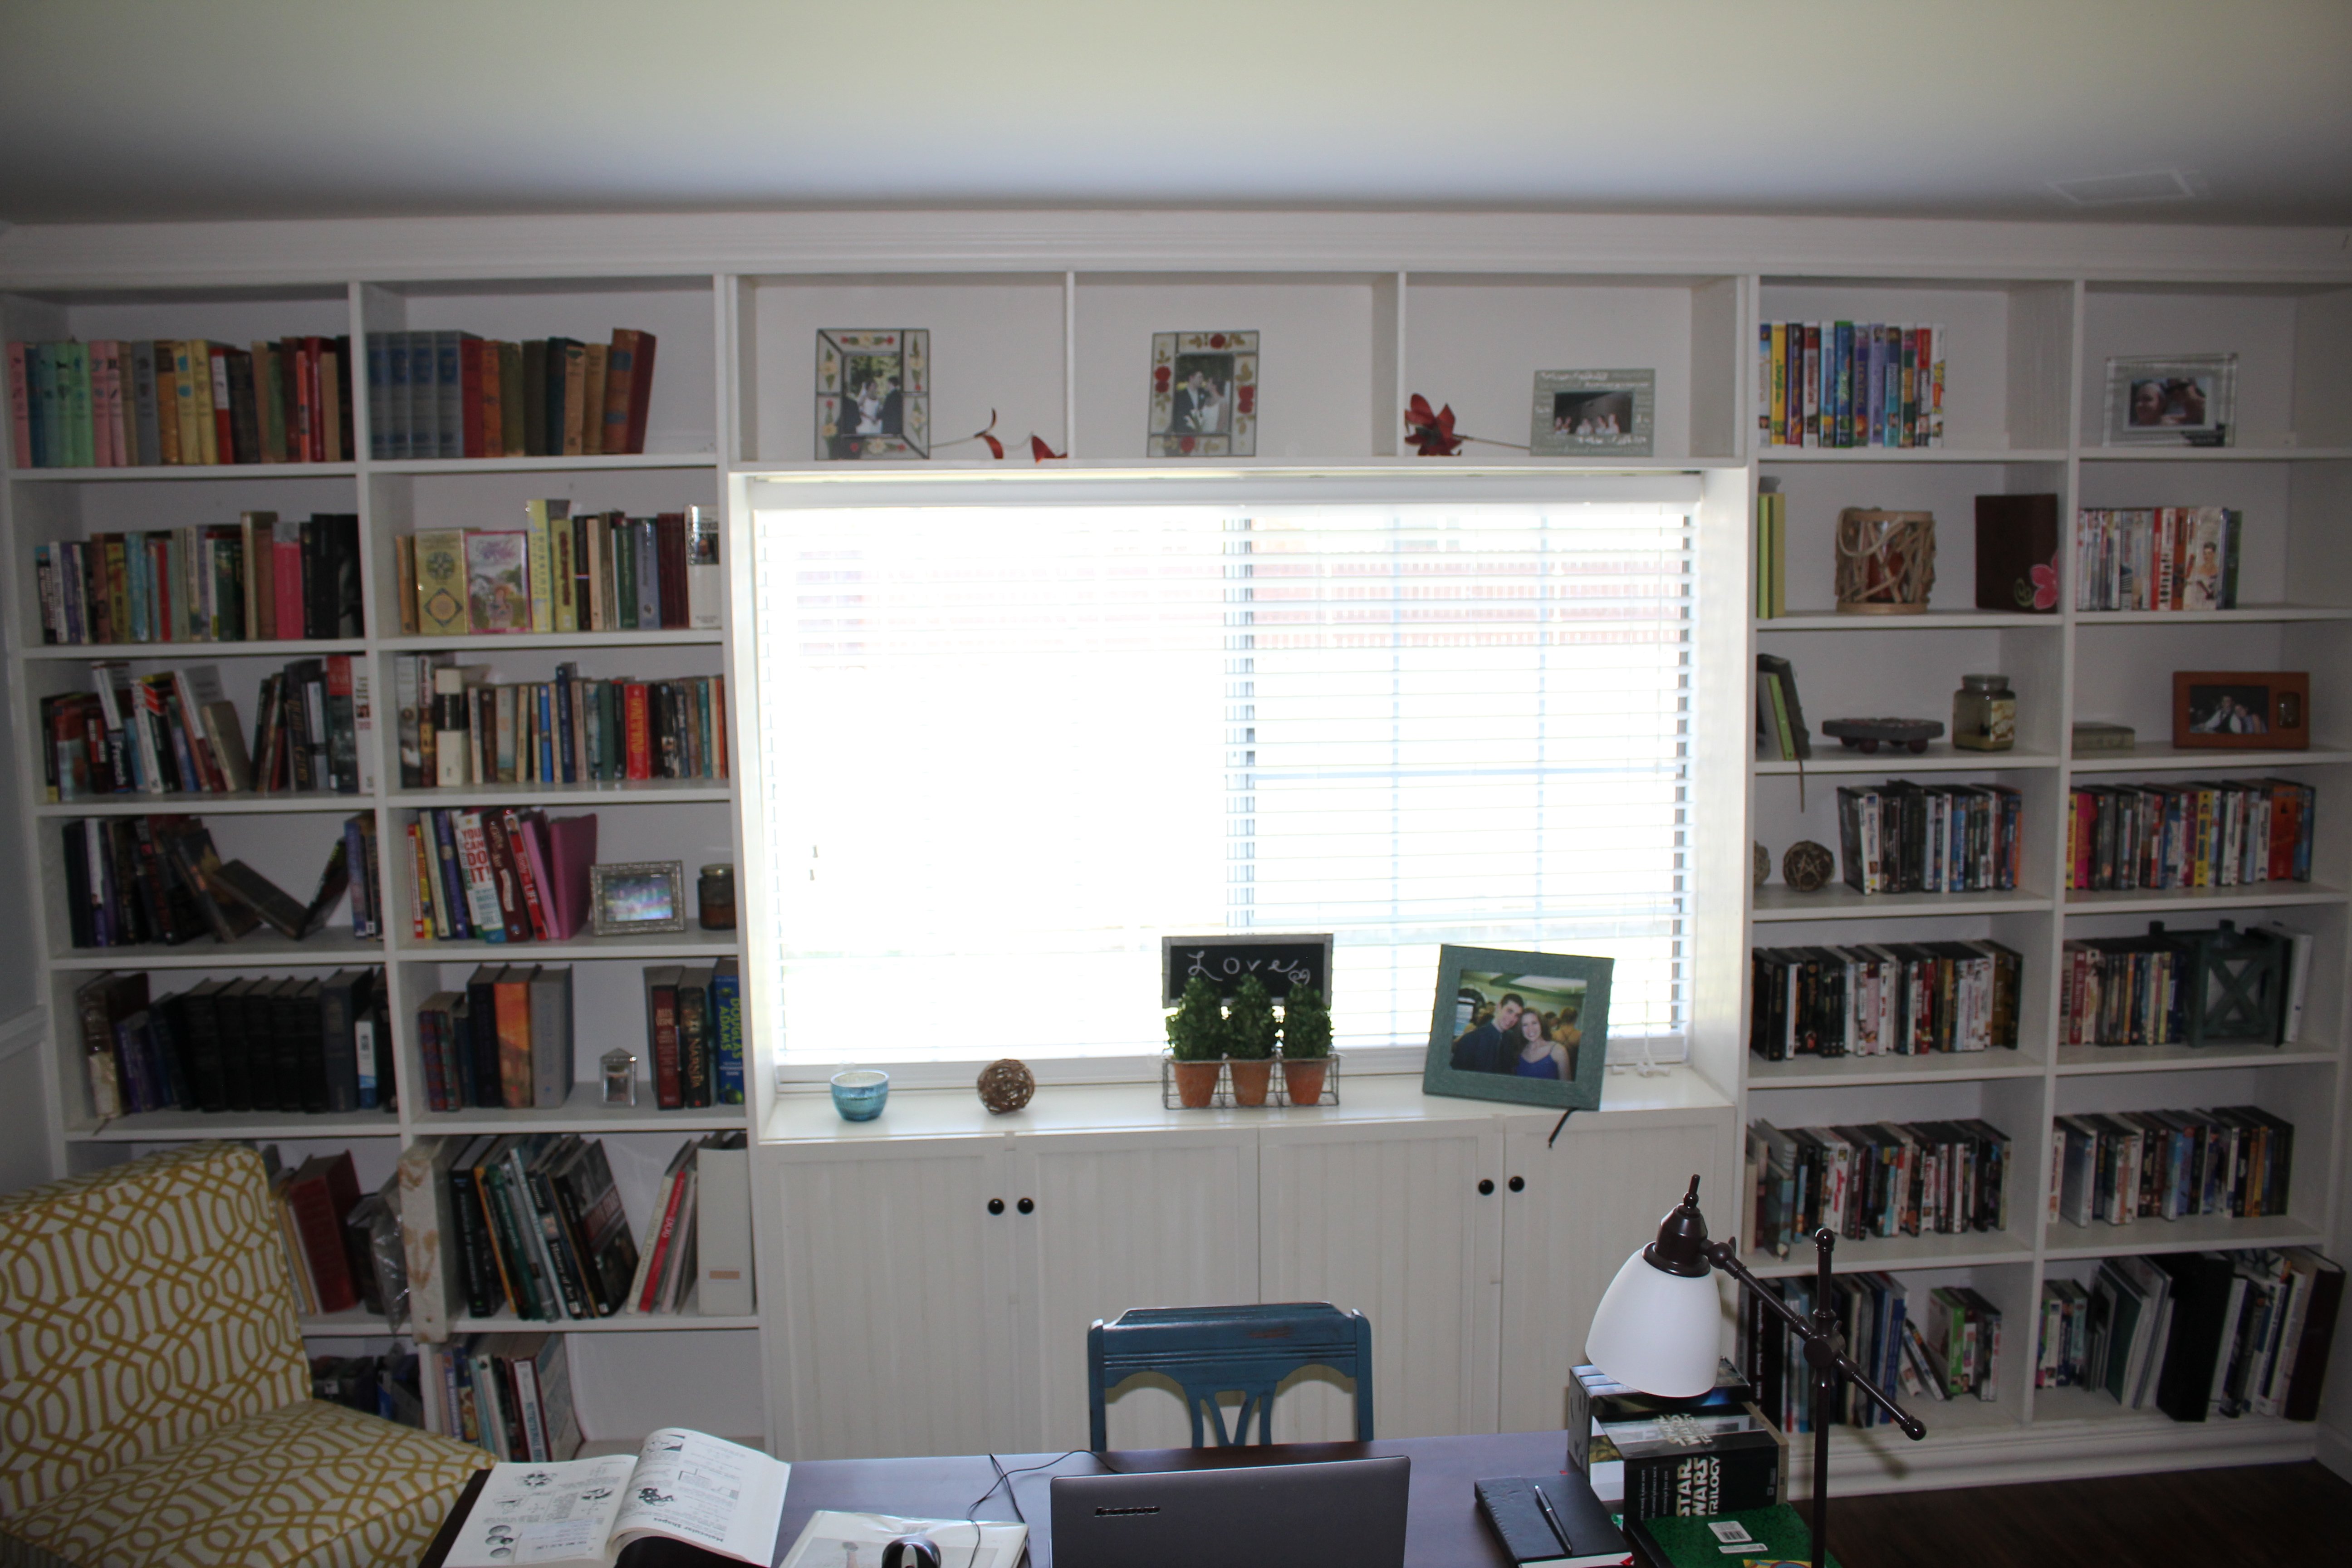
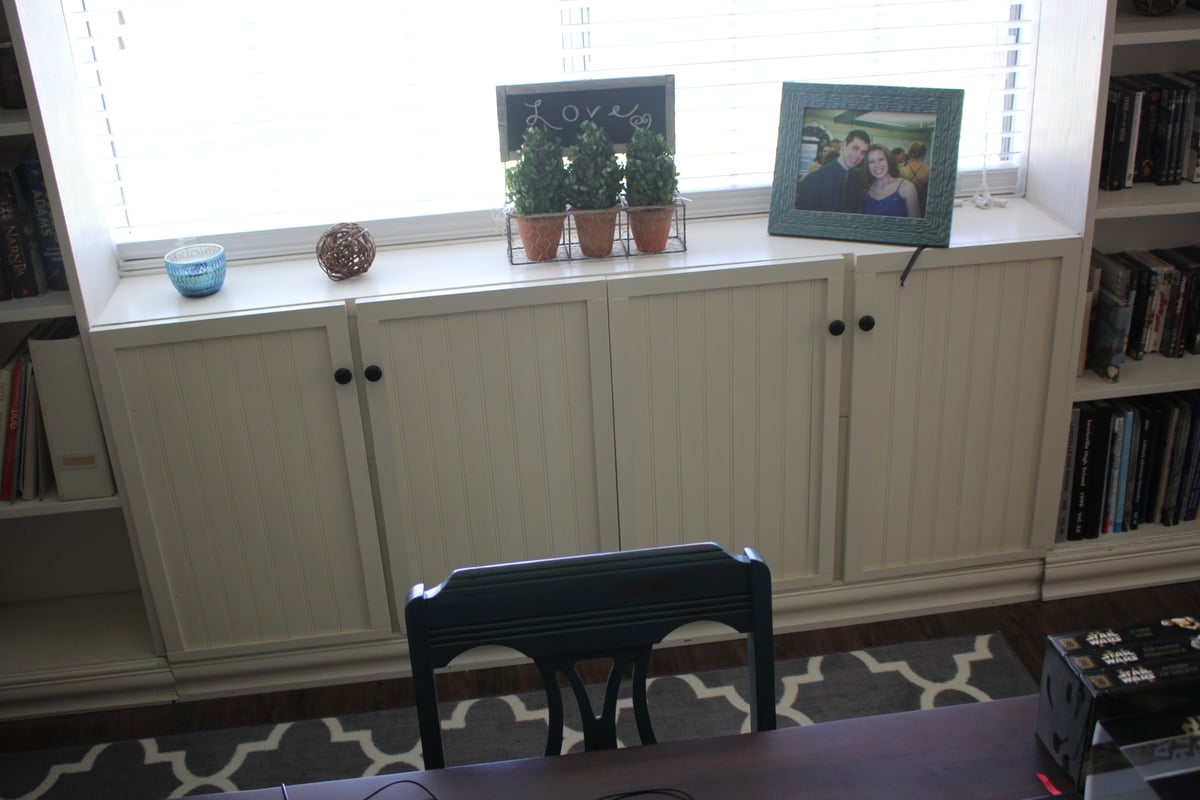
My summer-long project (admittedly, I was lazy about getting it done) was to make built-in bookshelves for our huge family room. For the bookshelves themselves I cobbled together plans from different sites, and modified them all to fit our space/needs, and the cabinets are built after Ana's cabinet plans, modified to be as thin in depth as the bookshelves. Doors on the cabinets were a pain, but they are also my favorite part of the whole shebang with their beadboard inserts. Moulding at top and bottom finishes out the look, and caulking in all the gaps helps give it cohesion.
I could not be happier with my built-ins. I feel like I have a library now, and it got all of our books out of boxes and onto shelves. Yay!
This entire project cost around $80-$100 because I acquired quite a bit of free wood off Craigslist. I also got wood from the scrap bin at Home Depot for great discounts. Since this would've likely cost near 1k to buy, I am quite pleased.
Anytime you are making projects without real plans, it take quite a bit longer and more mistakes are made. But, to have something completely customized to your needs and space is better than any price tag/time you can put on it!
Tools used: drill, kreg mini pocket hole jig, orbital sander, countersink bit, miter saw, jig saw, HPLV paint sprayer, clamps, circular saw
Mon, 11/04/2013 - 16:20
You did a wonderful job! That is beautiful! I think roman shades on the window would look awesome ;)

In reply to You did a wonderful job! That by Mrswhetstone
Mon, 11/04/2013 - 16:23
Thanks, Lindsey! Great idea! We hate the current blinds, so those will definitely get replaced when we get around to it (these were free off Craigslist : ) )
This is our first time building this awesome table. My husband used Ana's plans with the greatest of ease and then I was able to do the fun part, paint it! Did I mention that our table SOLD the very day we finished it? Yes, the same day. We are in the process of building another table as we speak. I am so excited!

I made this bed to house the new standard king mattress that my husband bought. The hardest part is probably picking the straightest lumber possible. Straight lumber would eliminate having to wrestle with the boards to line up/square and minimize power tools used. I had to ask my husband help with the screwing bowed boards together, but other than that I did everything by myself.
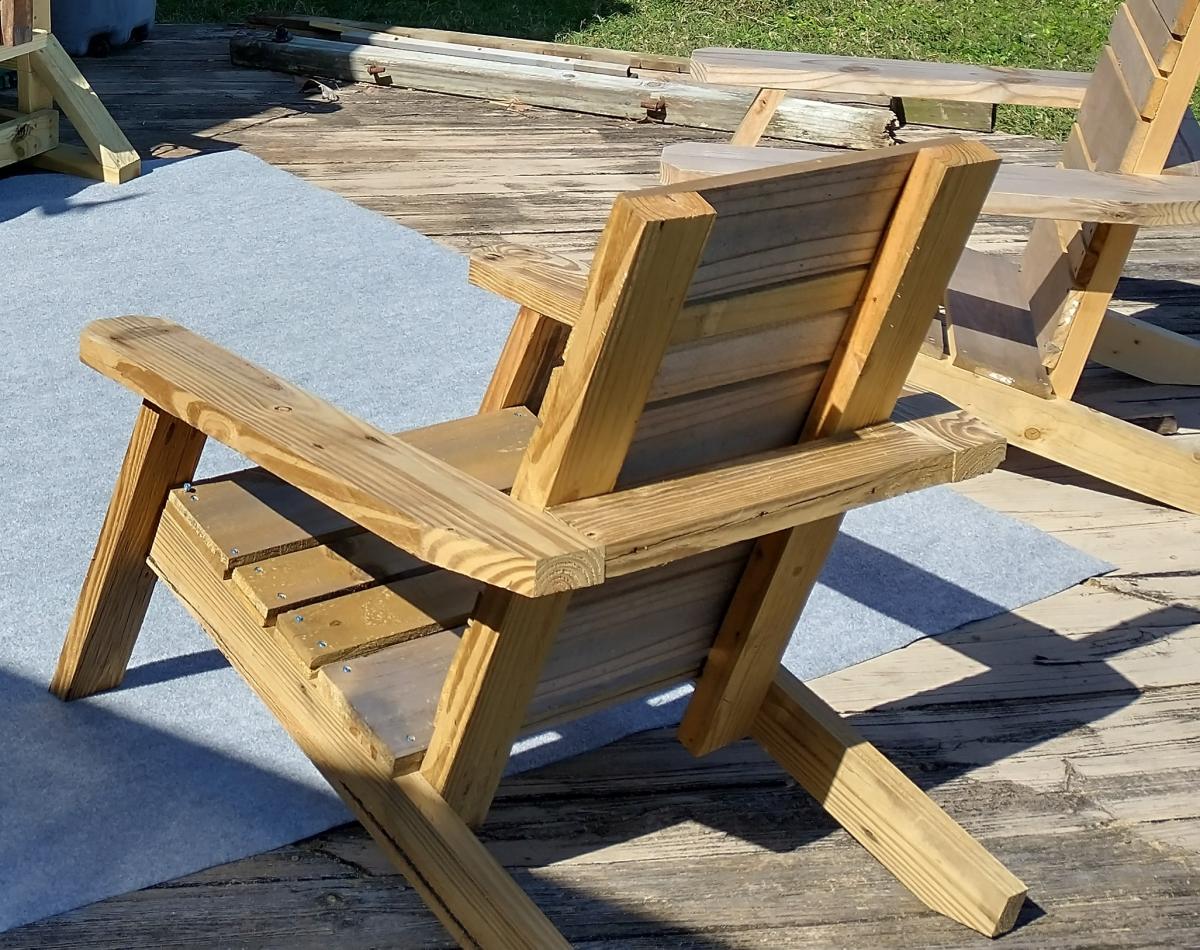
had some fun with the back and seat slat design and did an angle rather than a 90 degree where the arms meet the front support. also used a 2x6 for a larger arm rest. i think it turned out well. thanks Ana

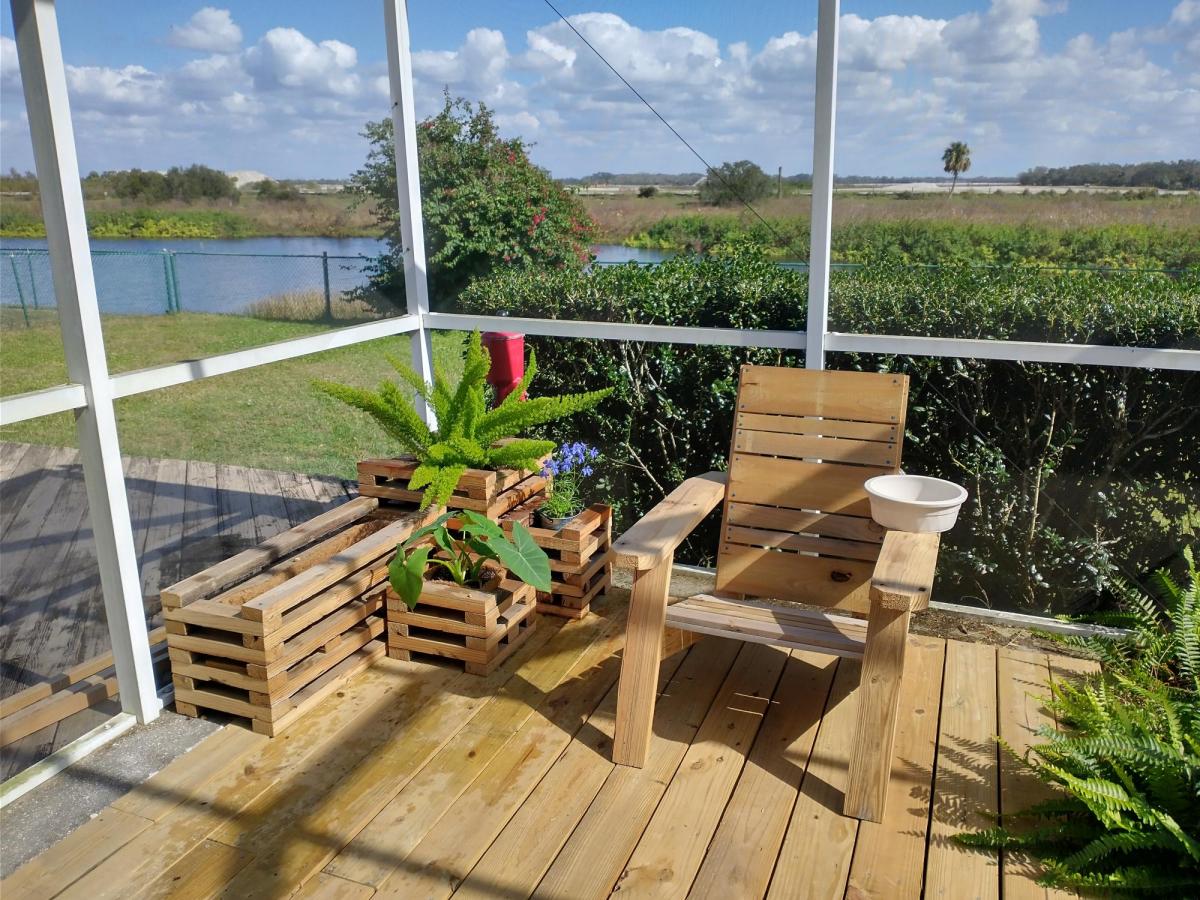
Thu, 03/30/2023 - 10:13
Thanks for sharing, it looks awesome and I love the wider arm!


Comments
Ana White Admin
Fri, 03/03/2023 - 11:54
Great first project!
Way to go, can't wait to see what you build next! Thanks for sharing.