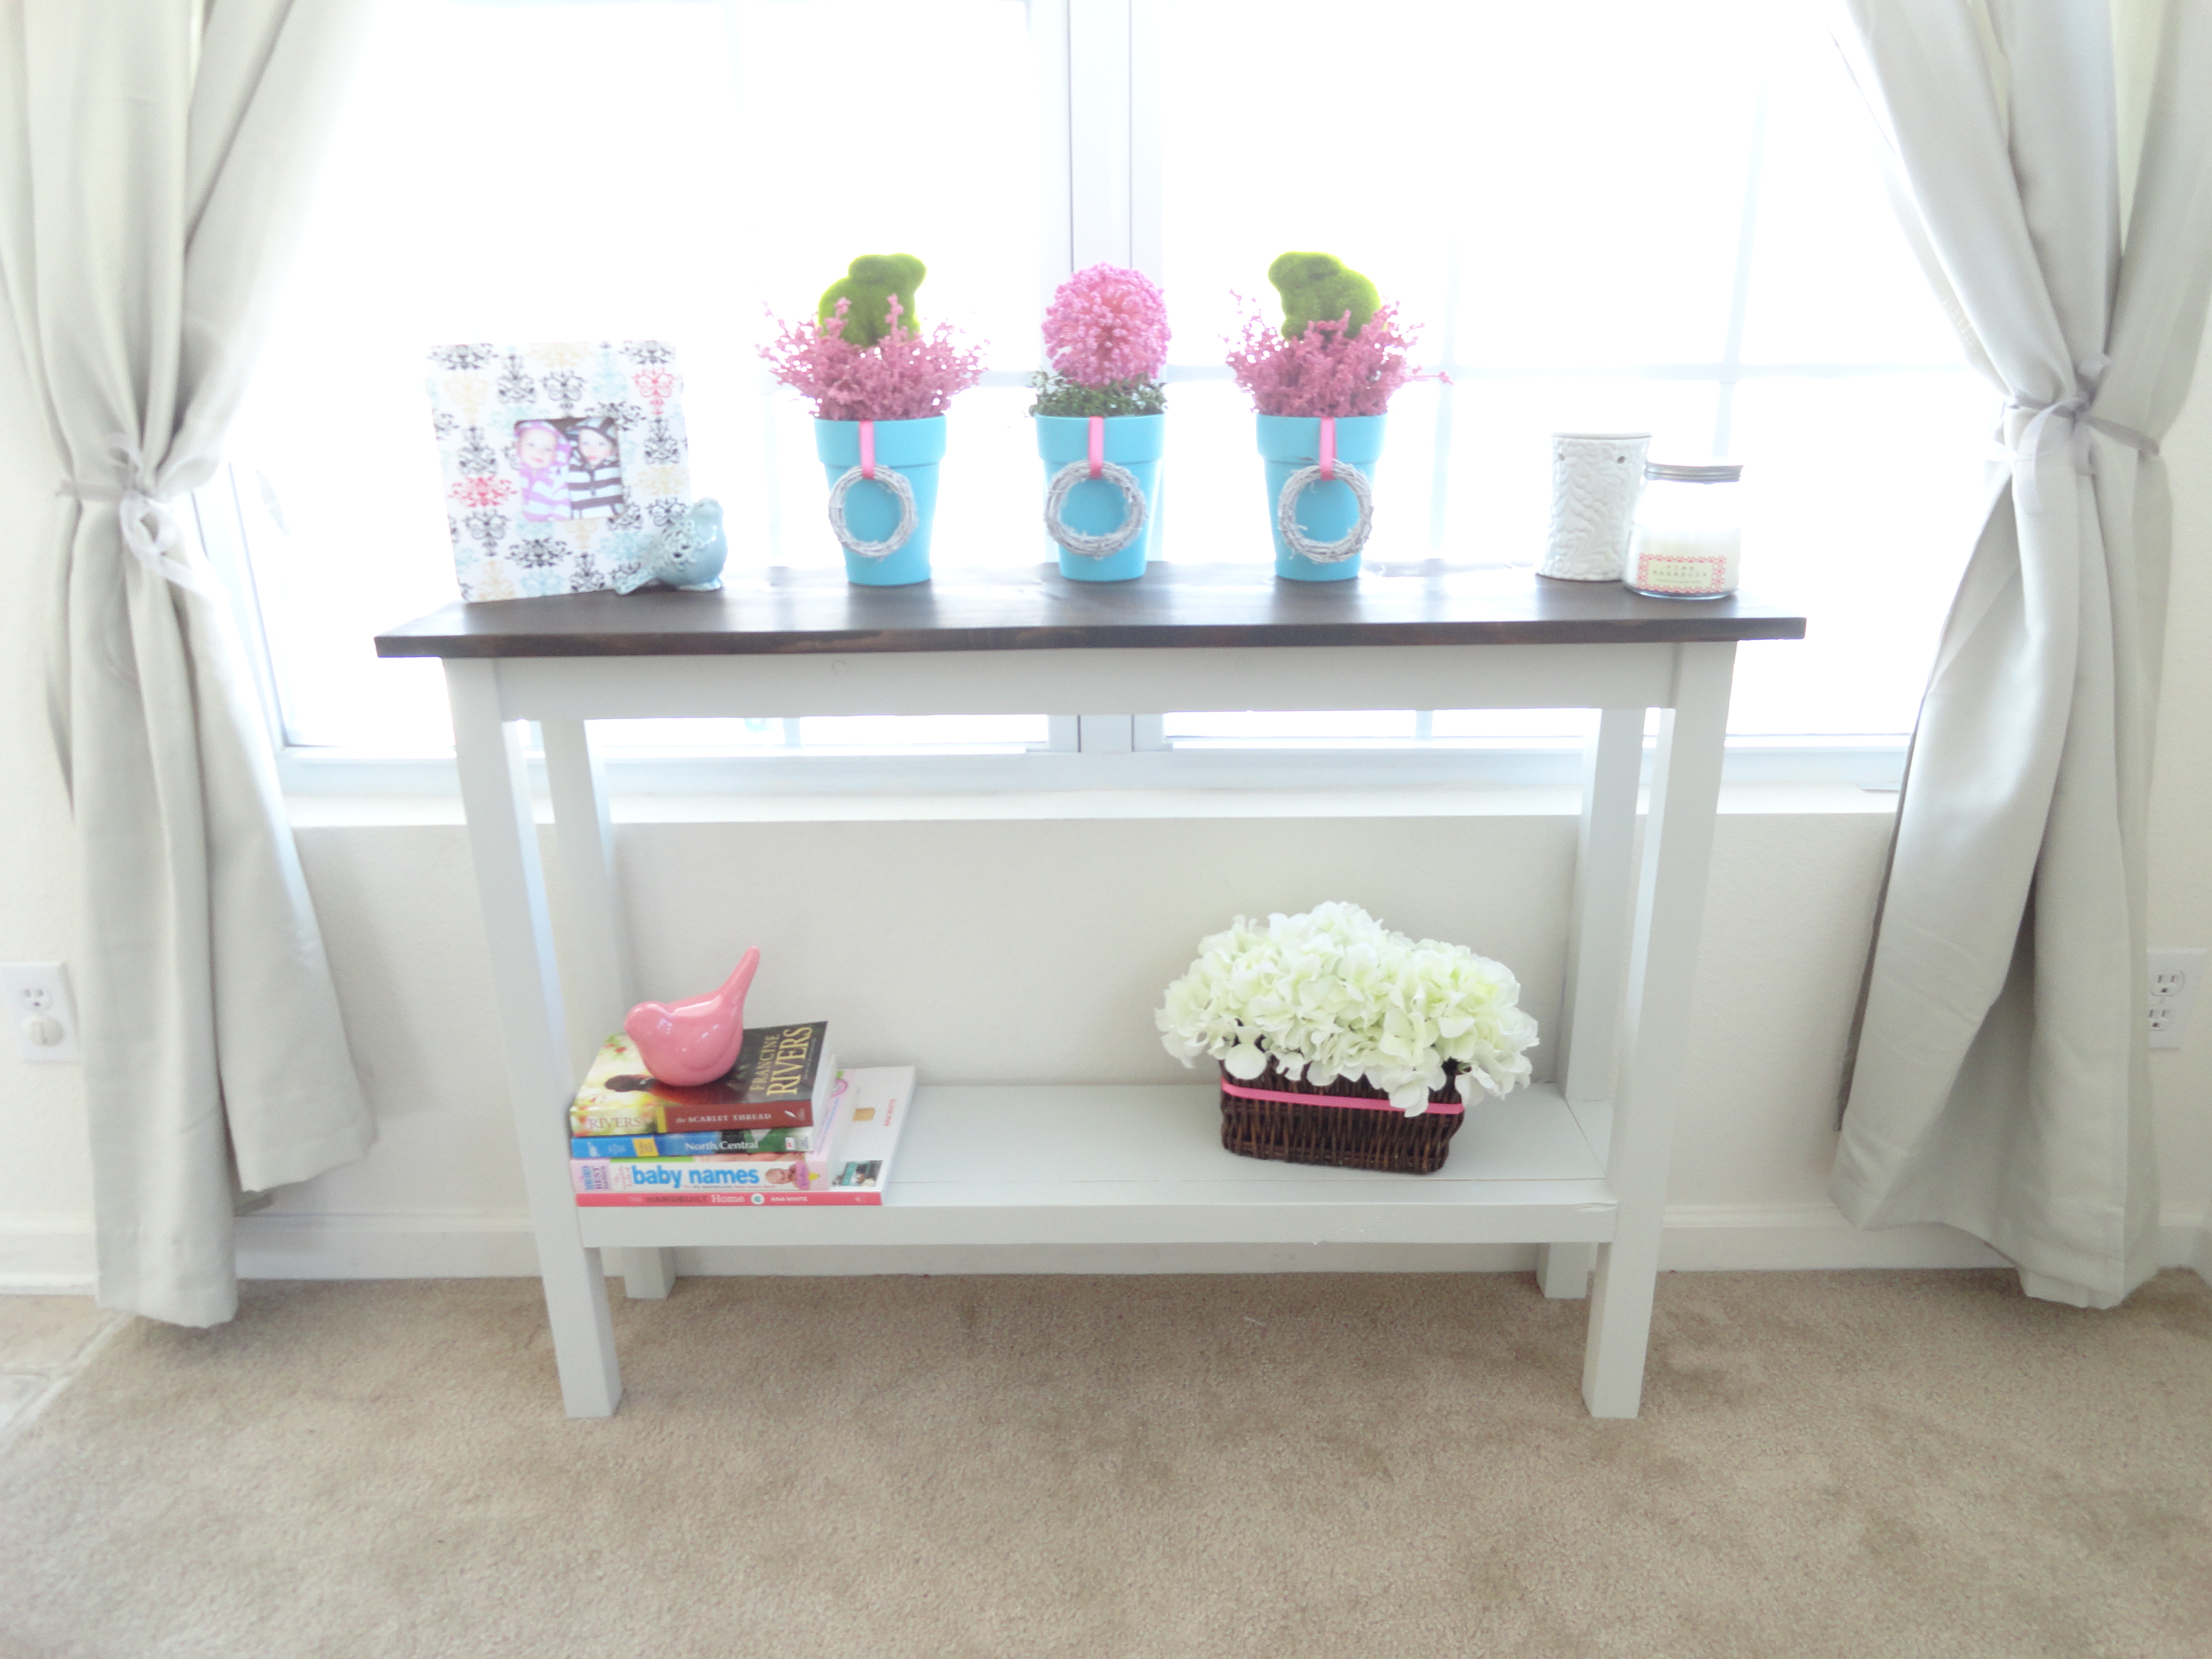
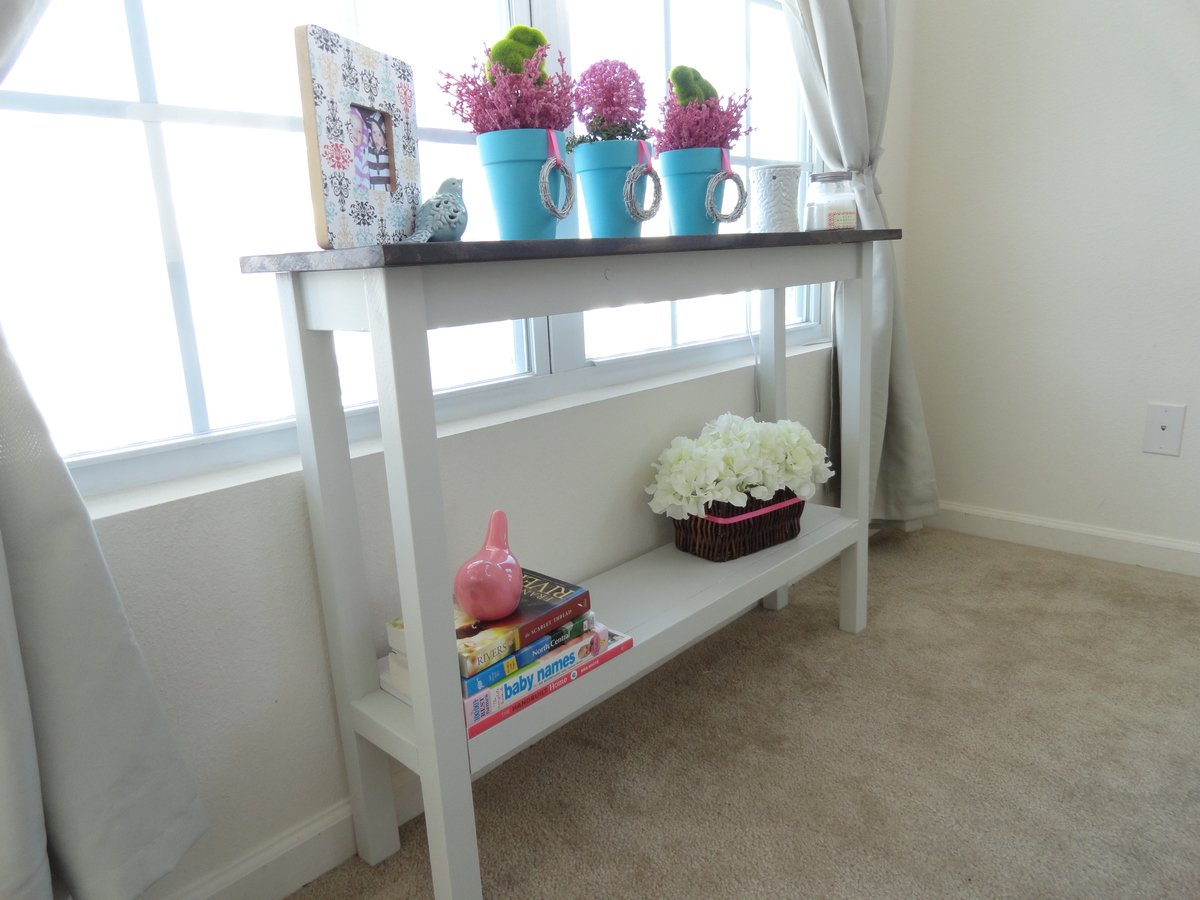
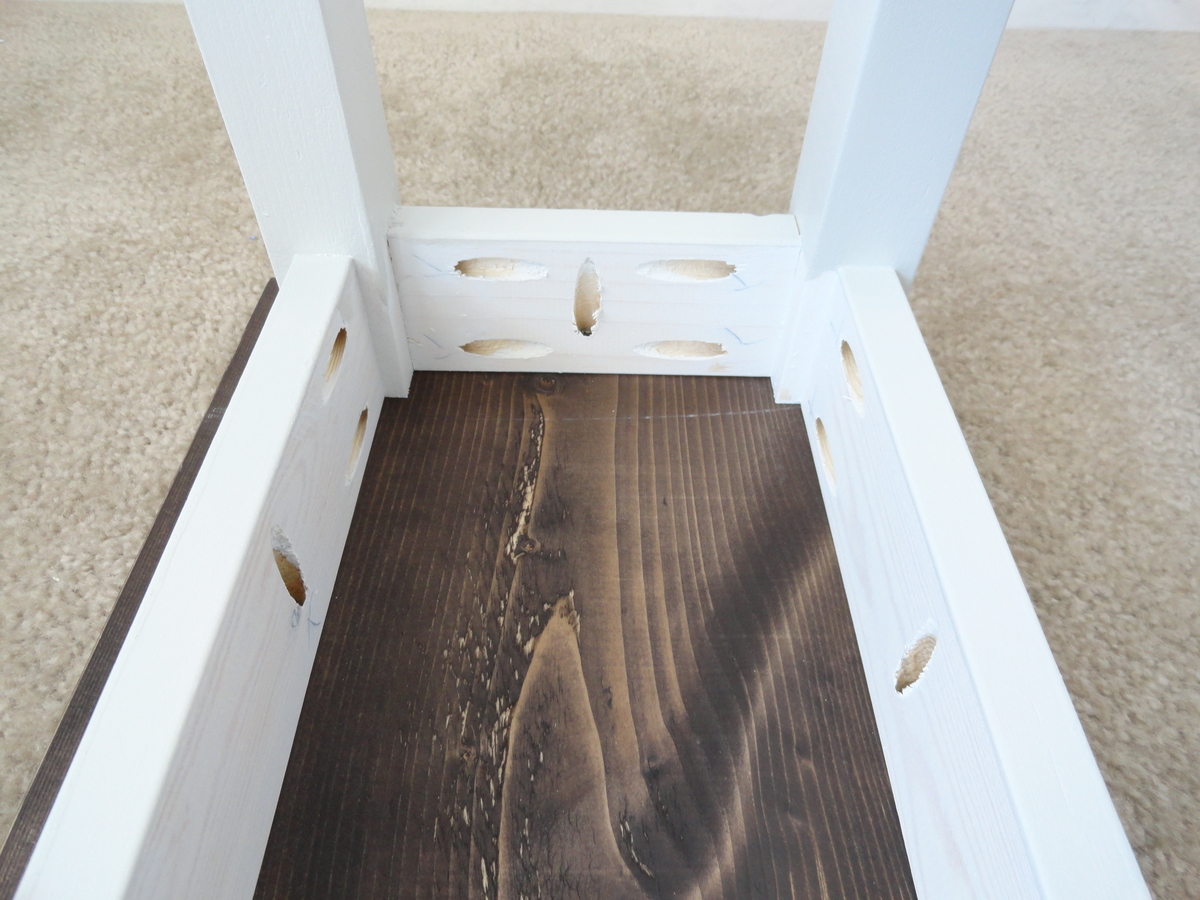
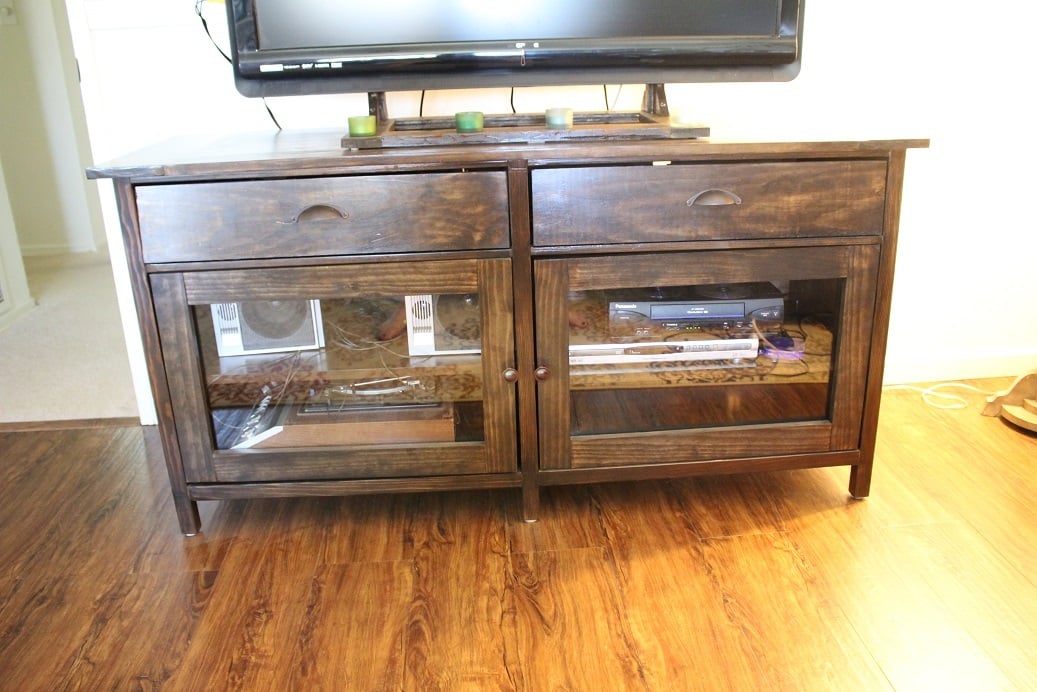
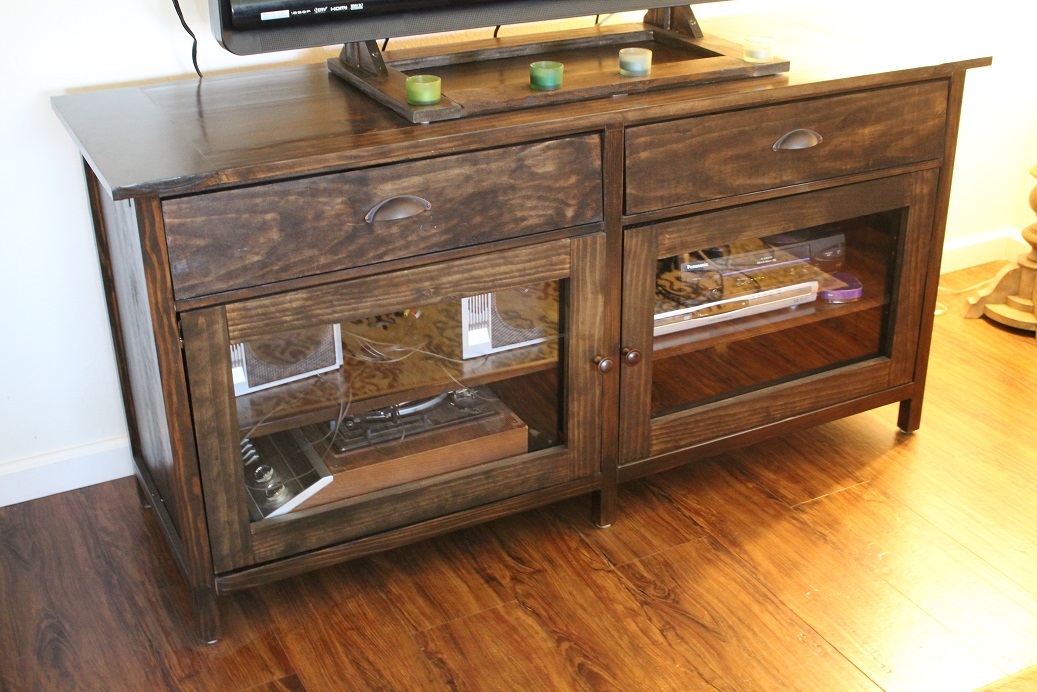
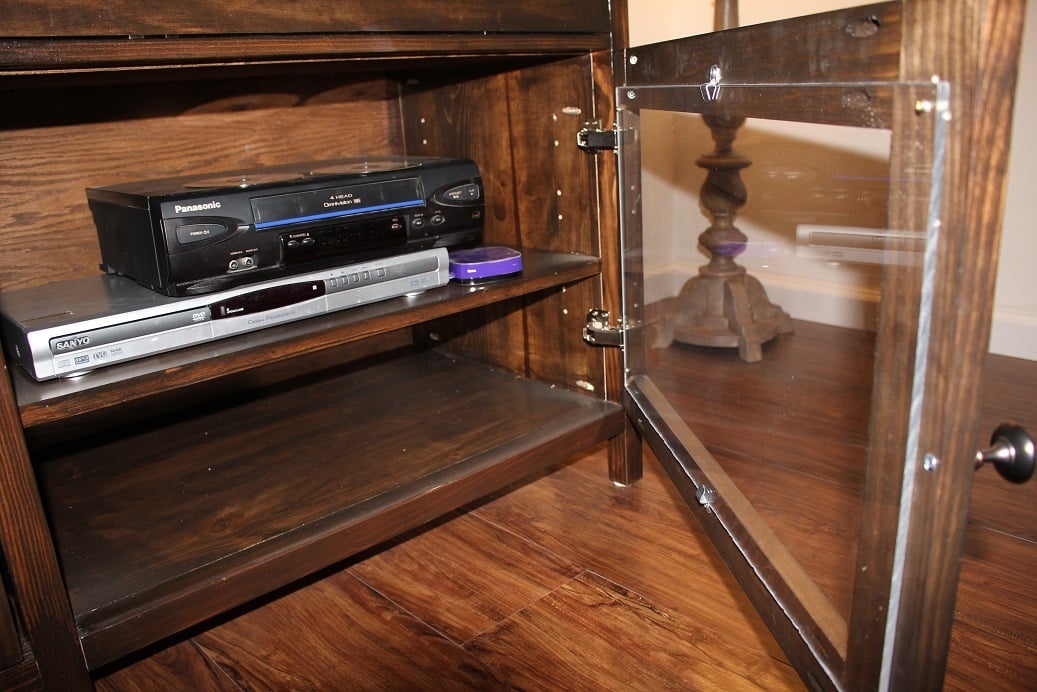
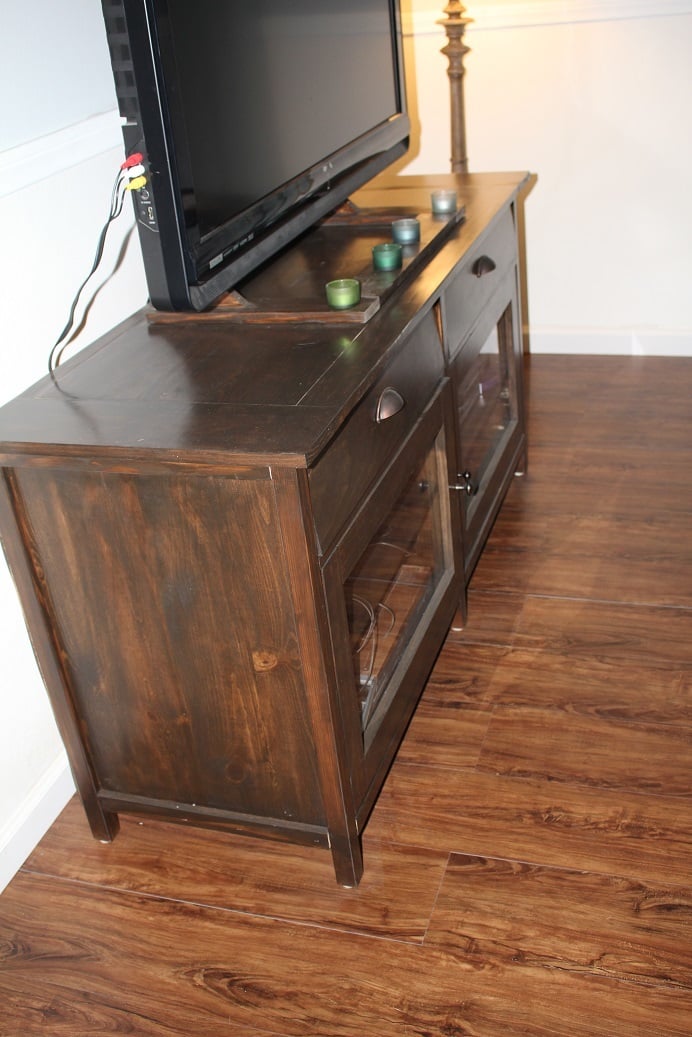
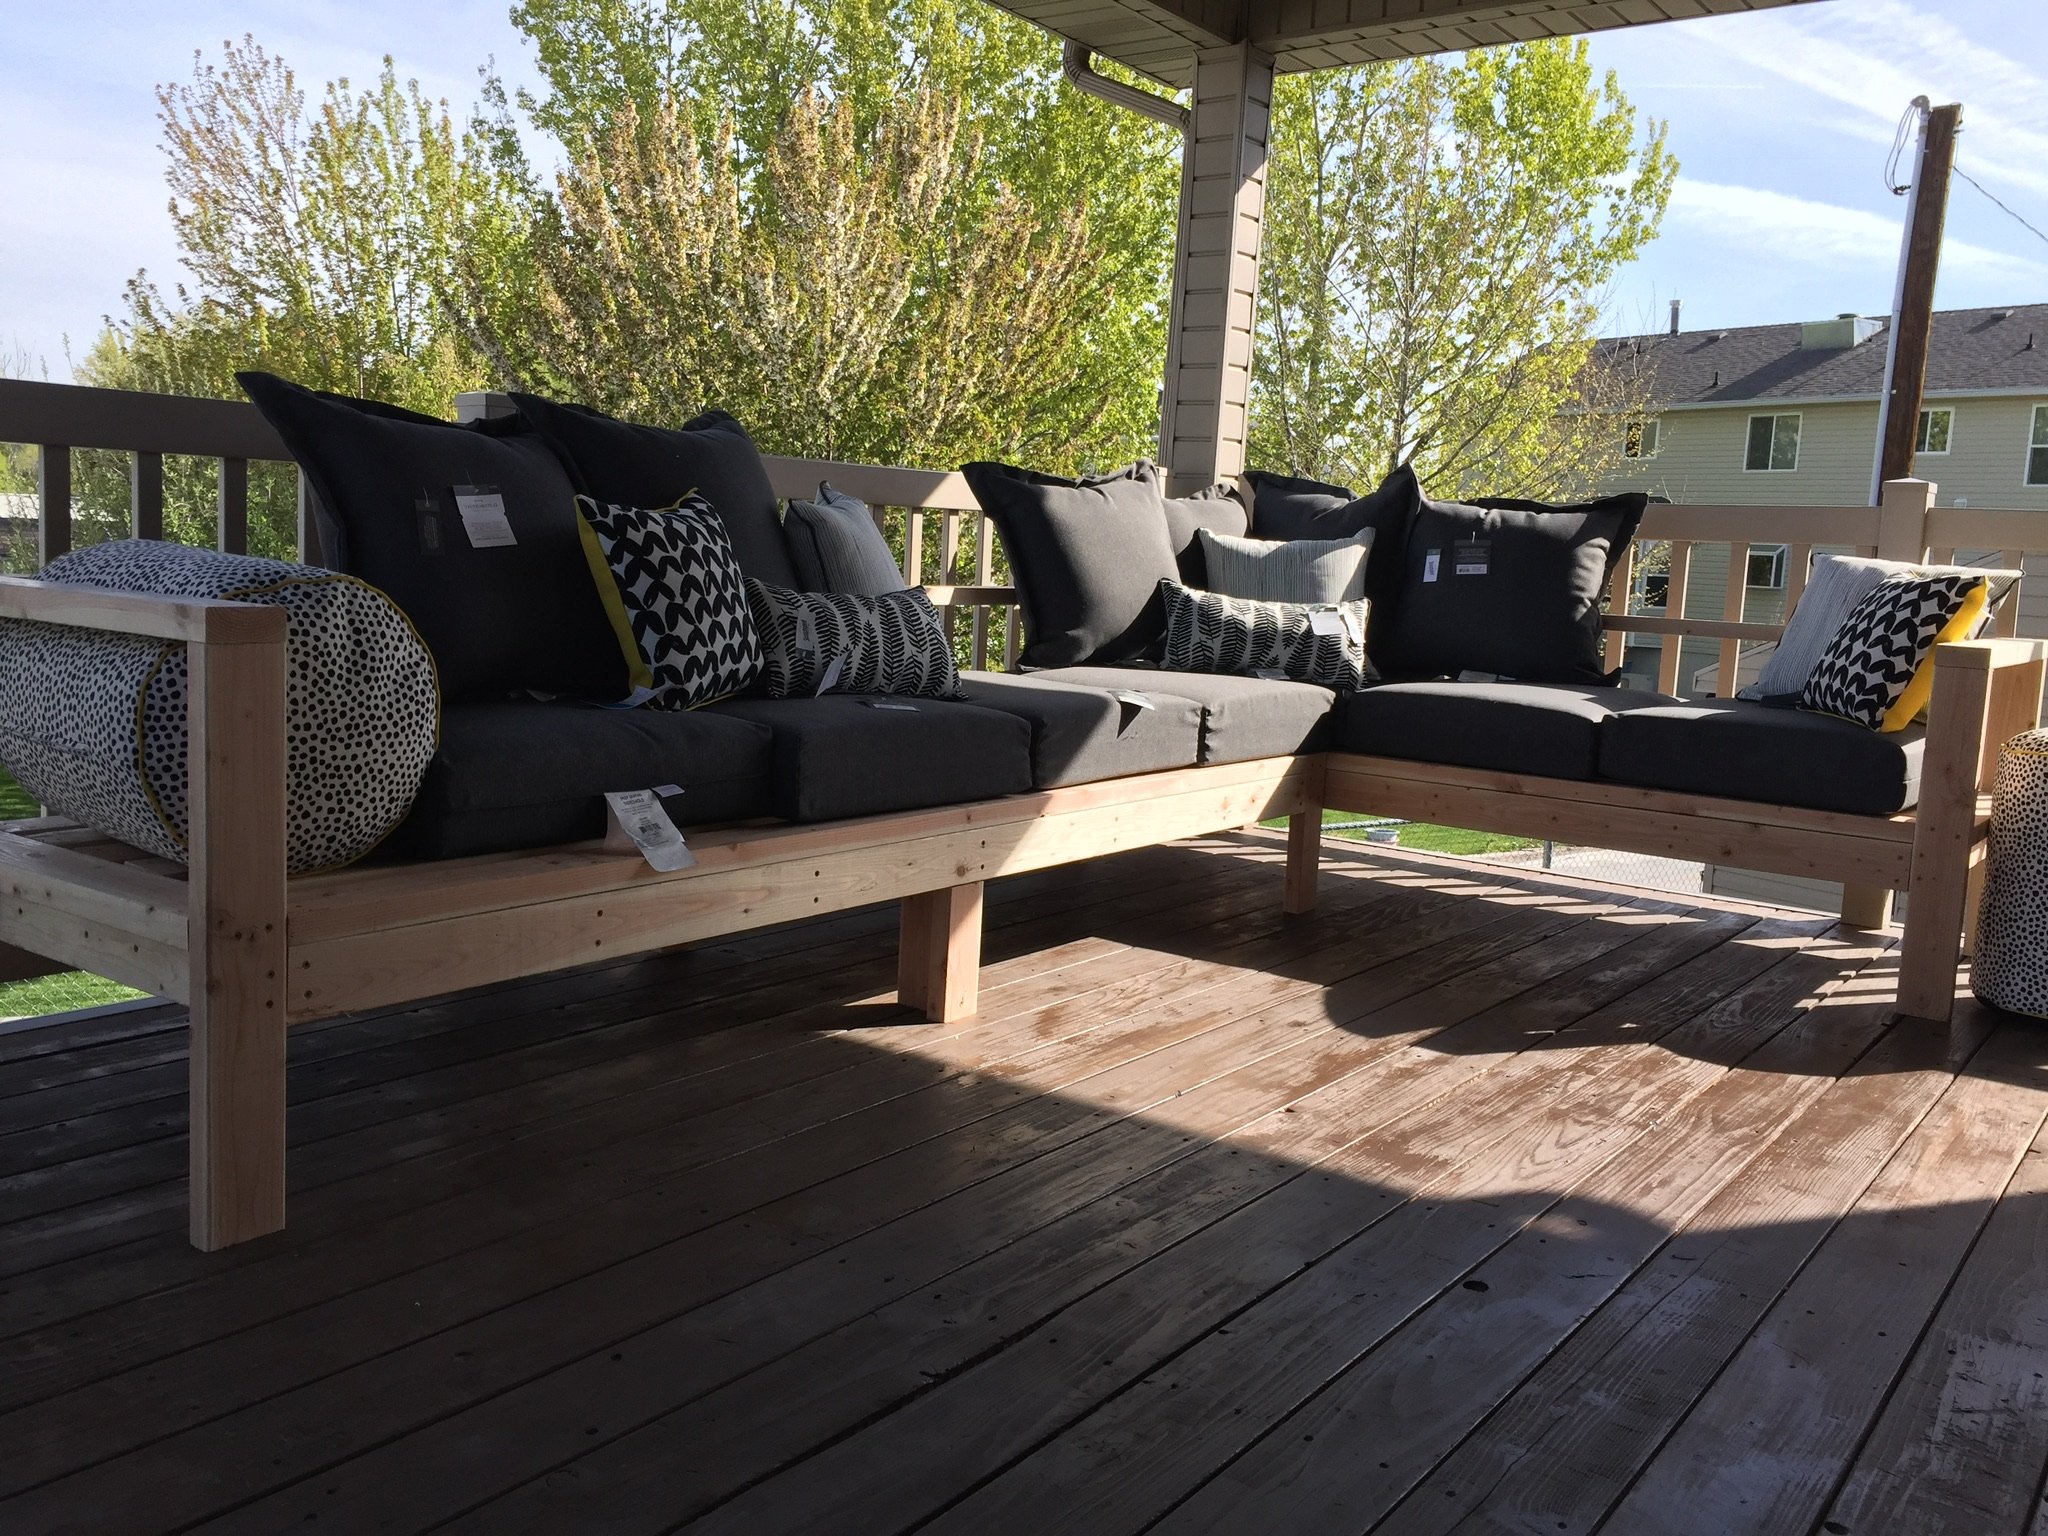
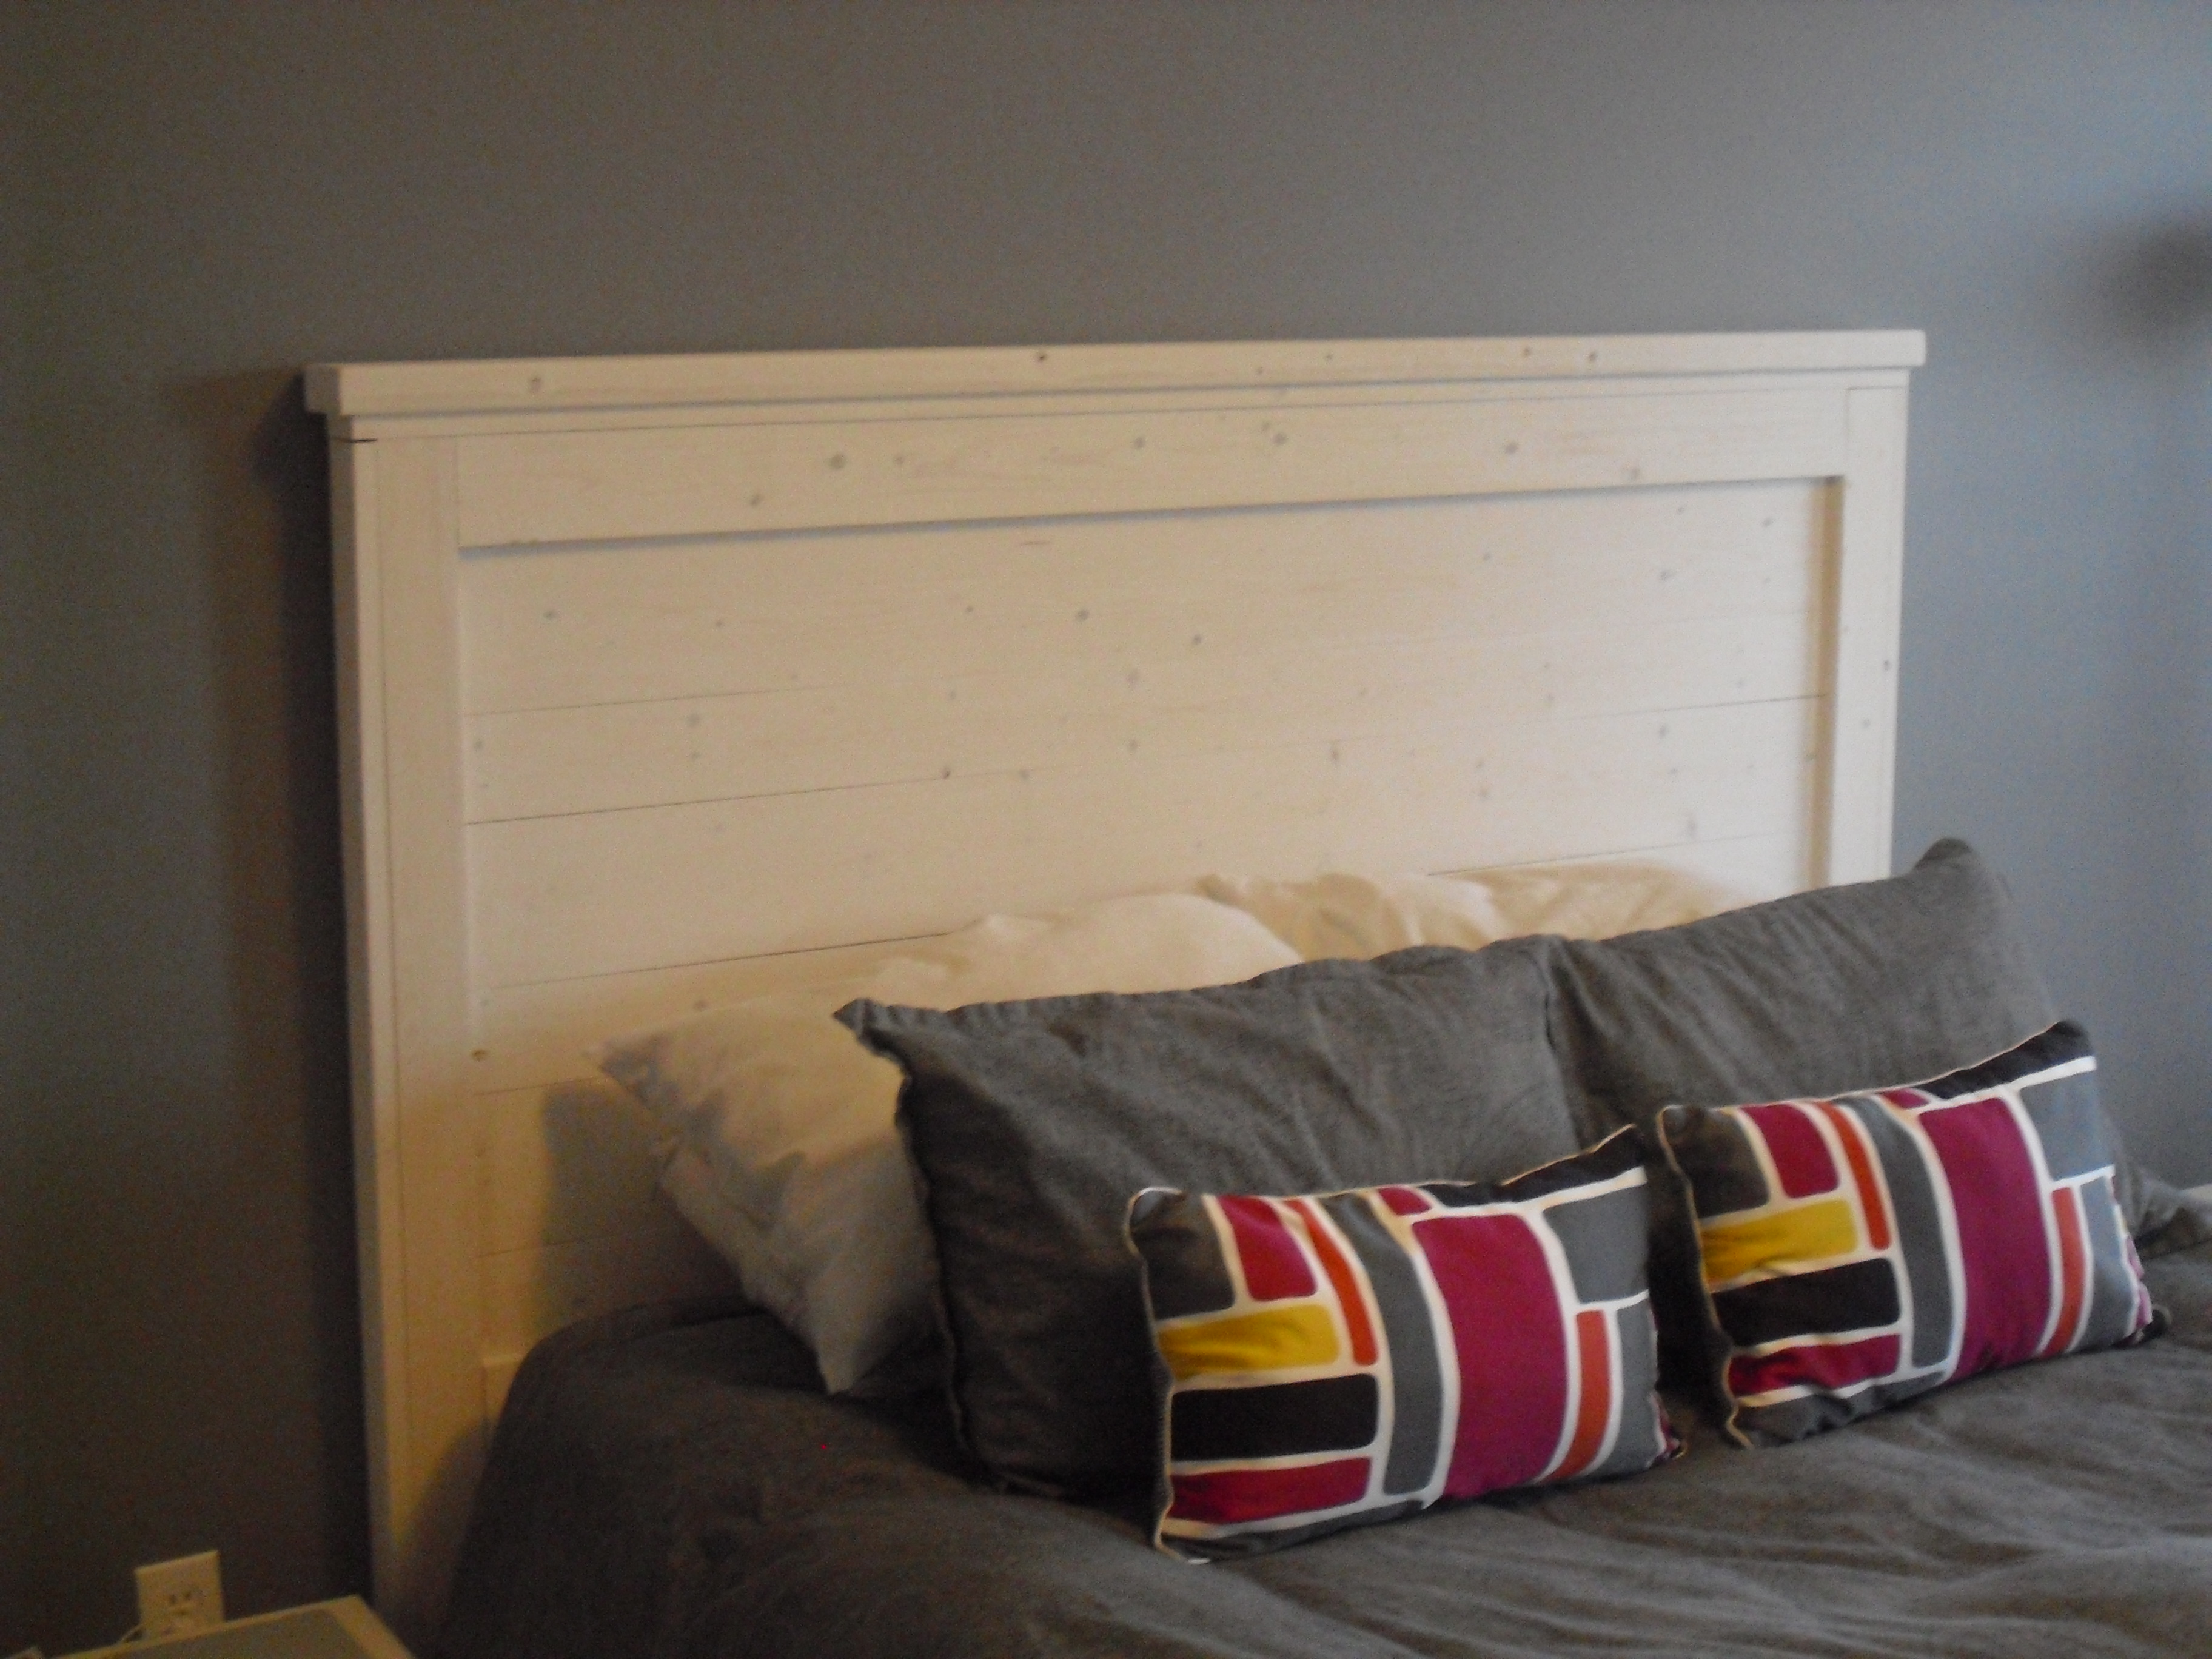
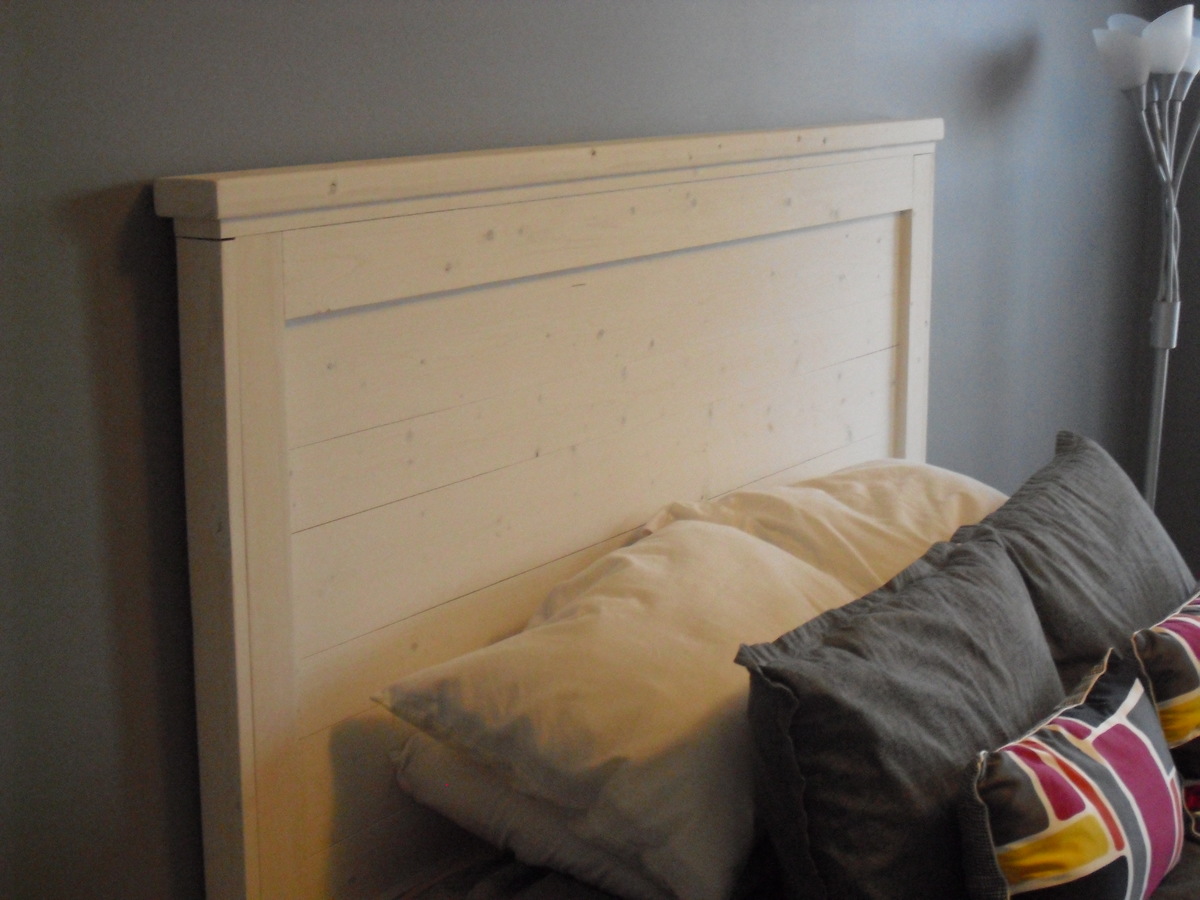
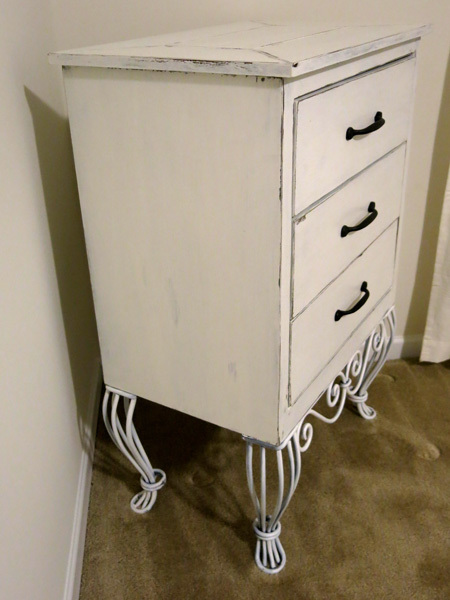
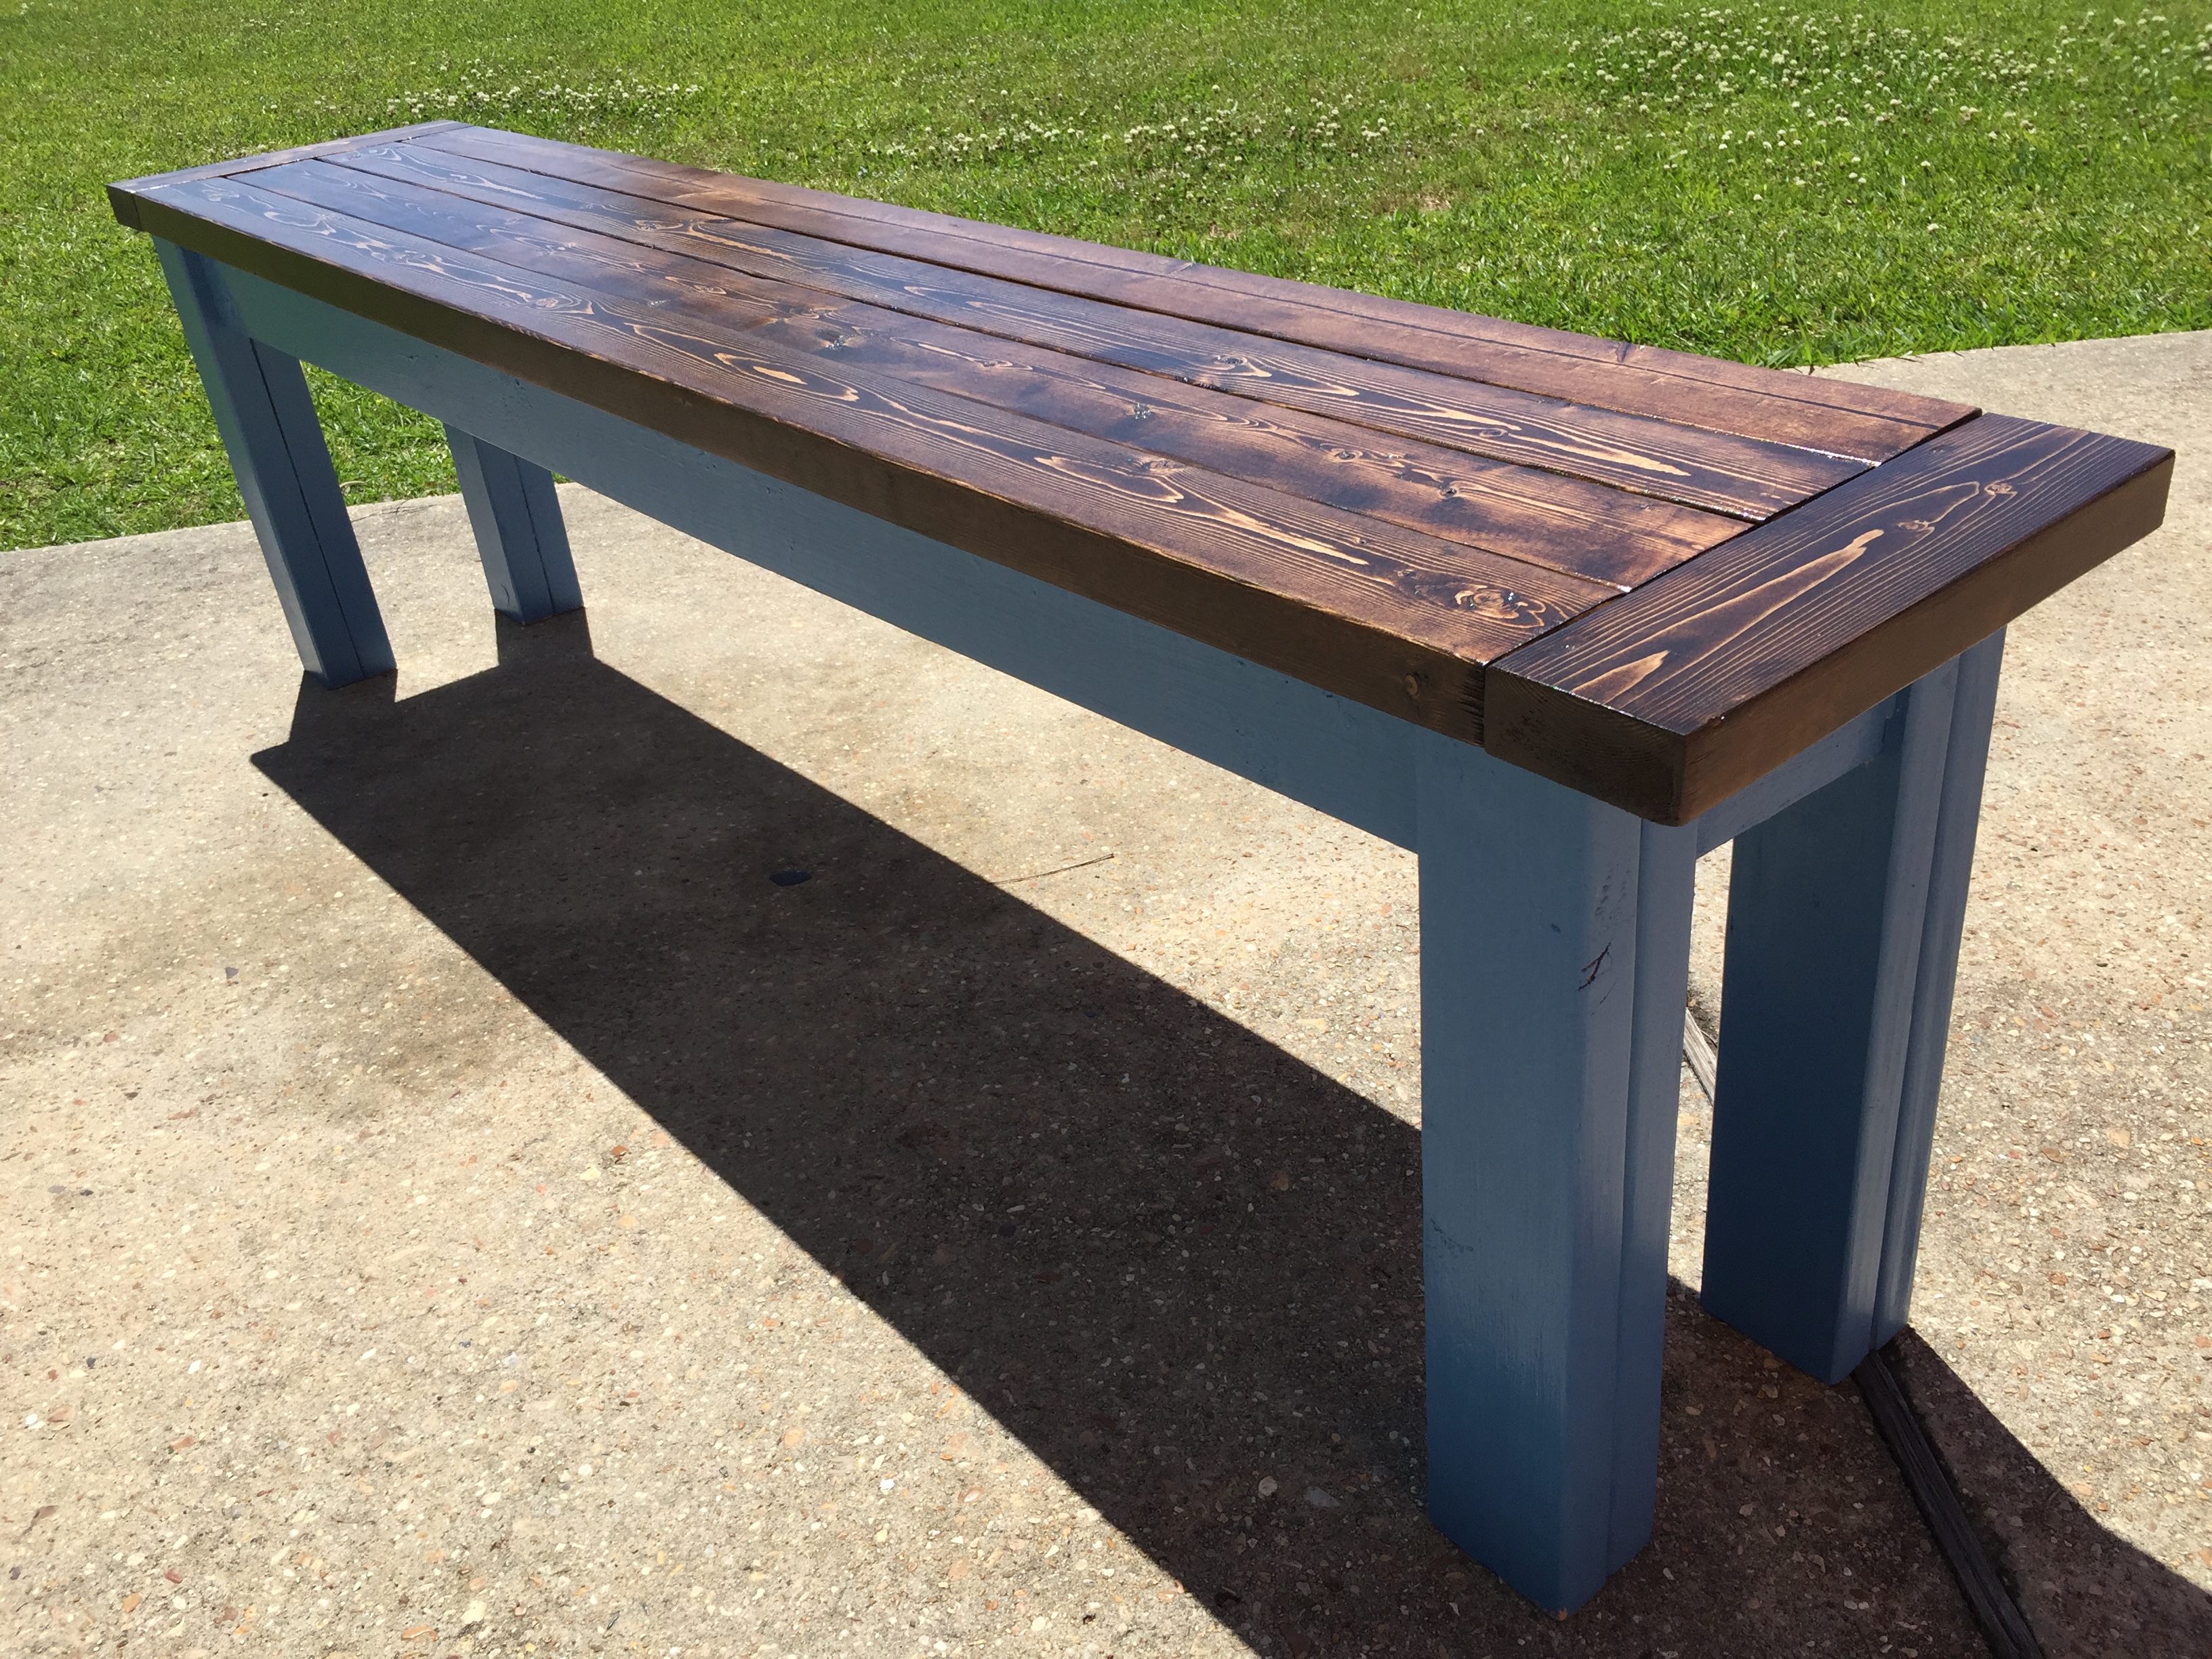
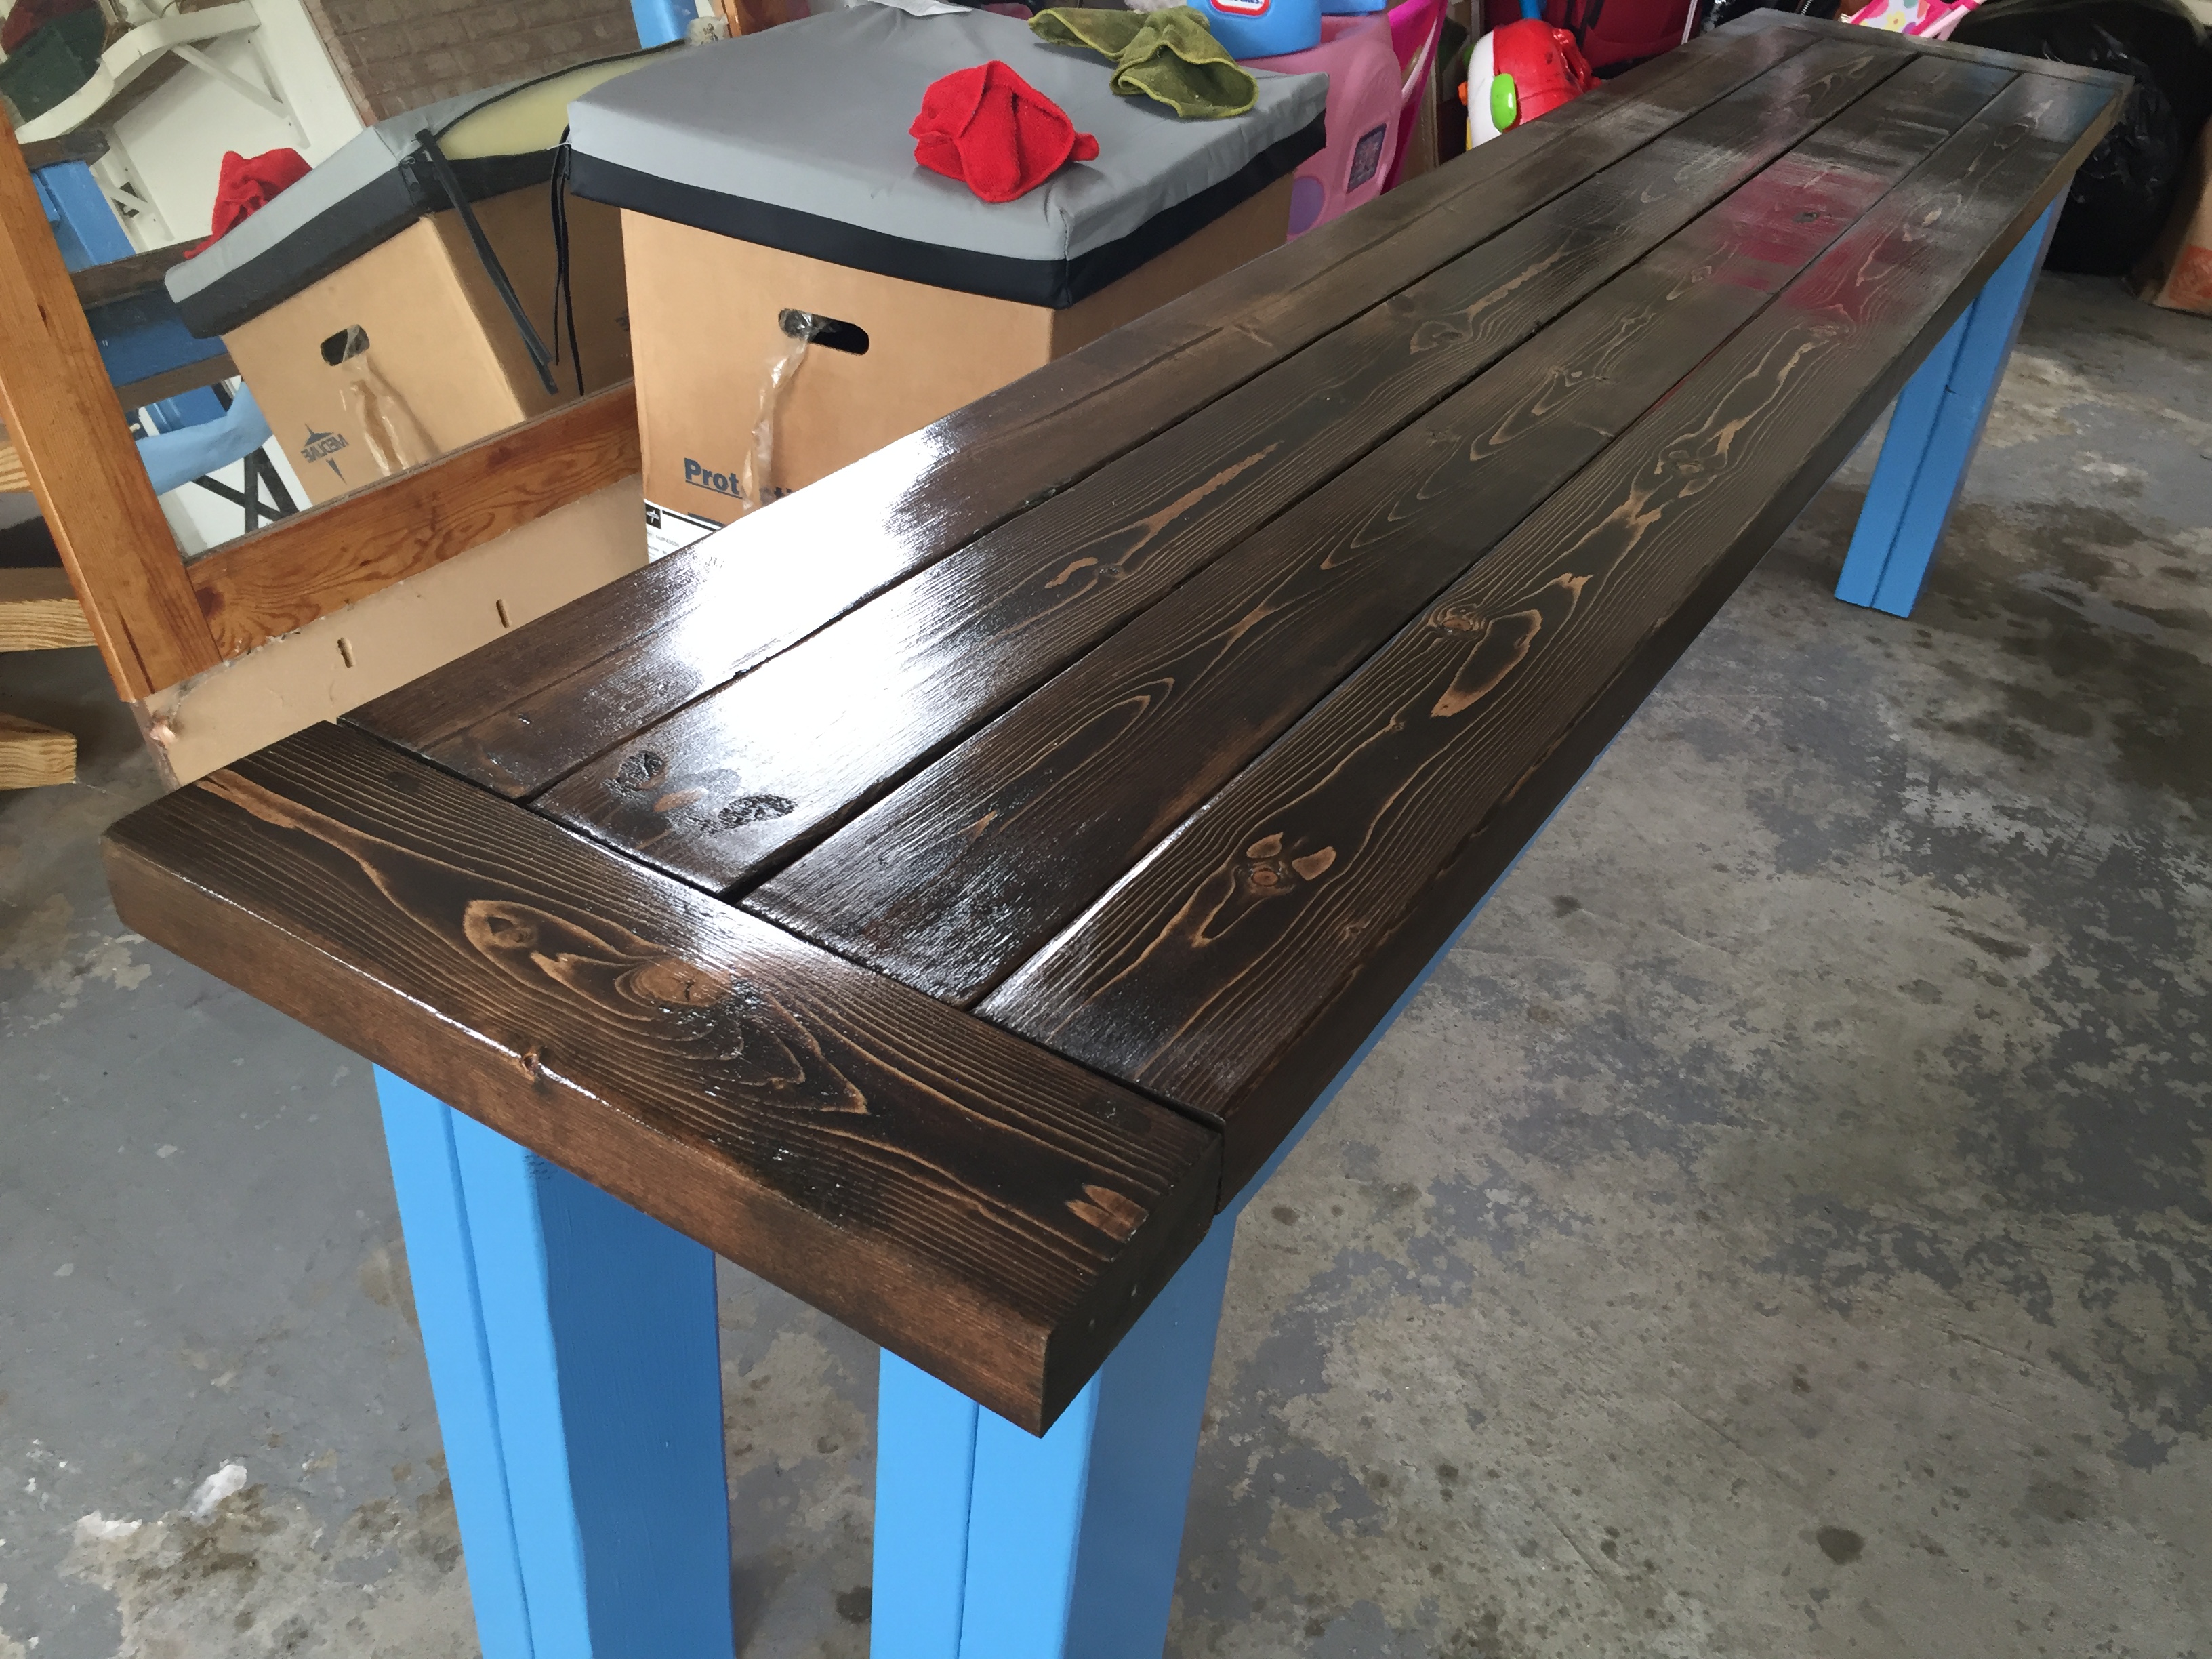
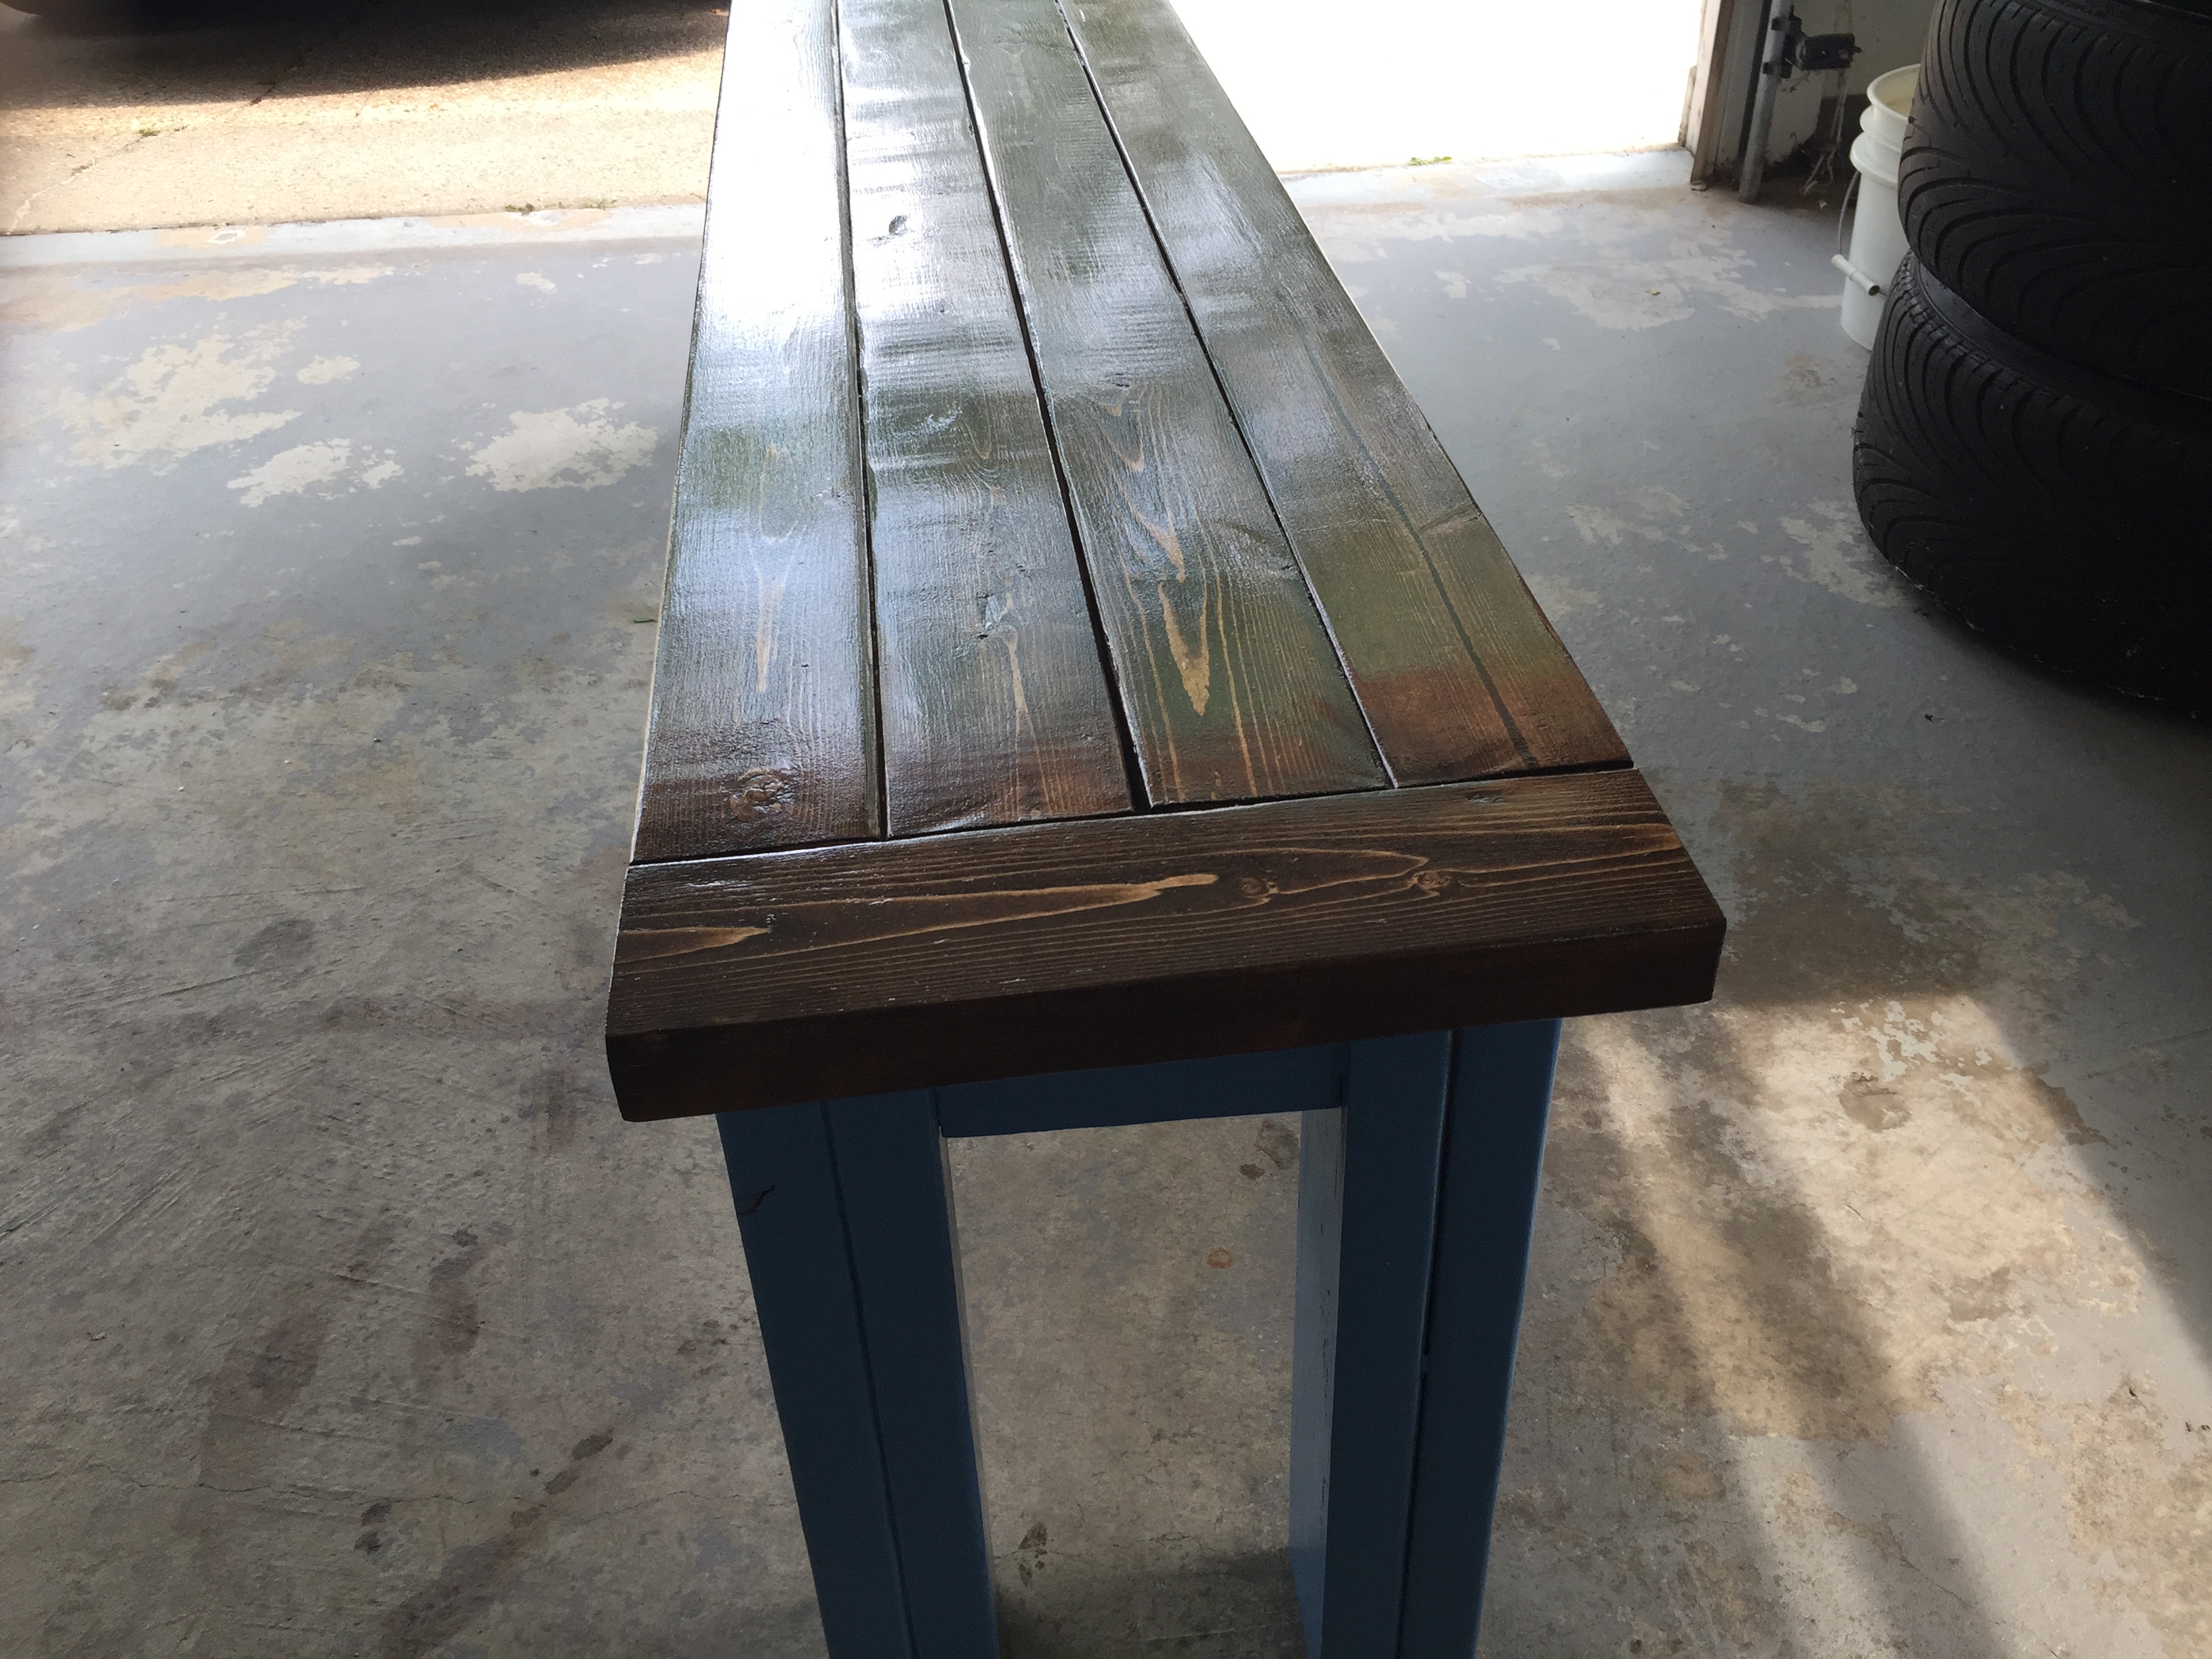
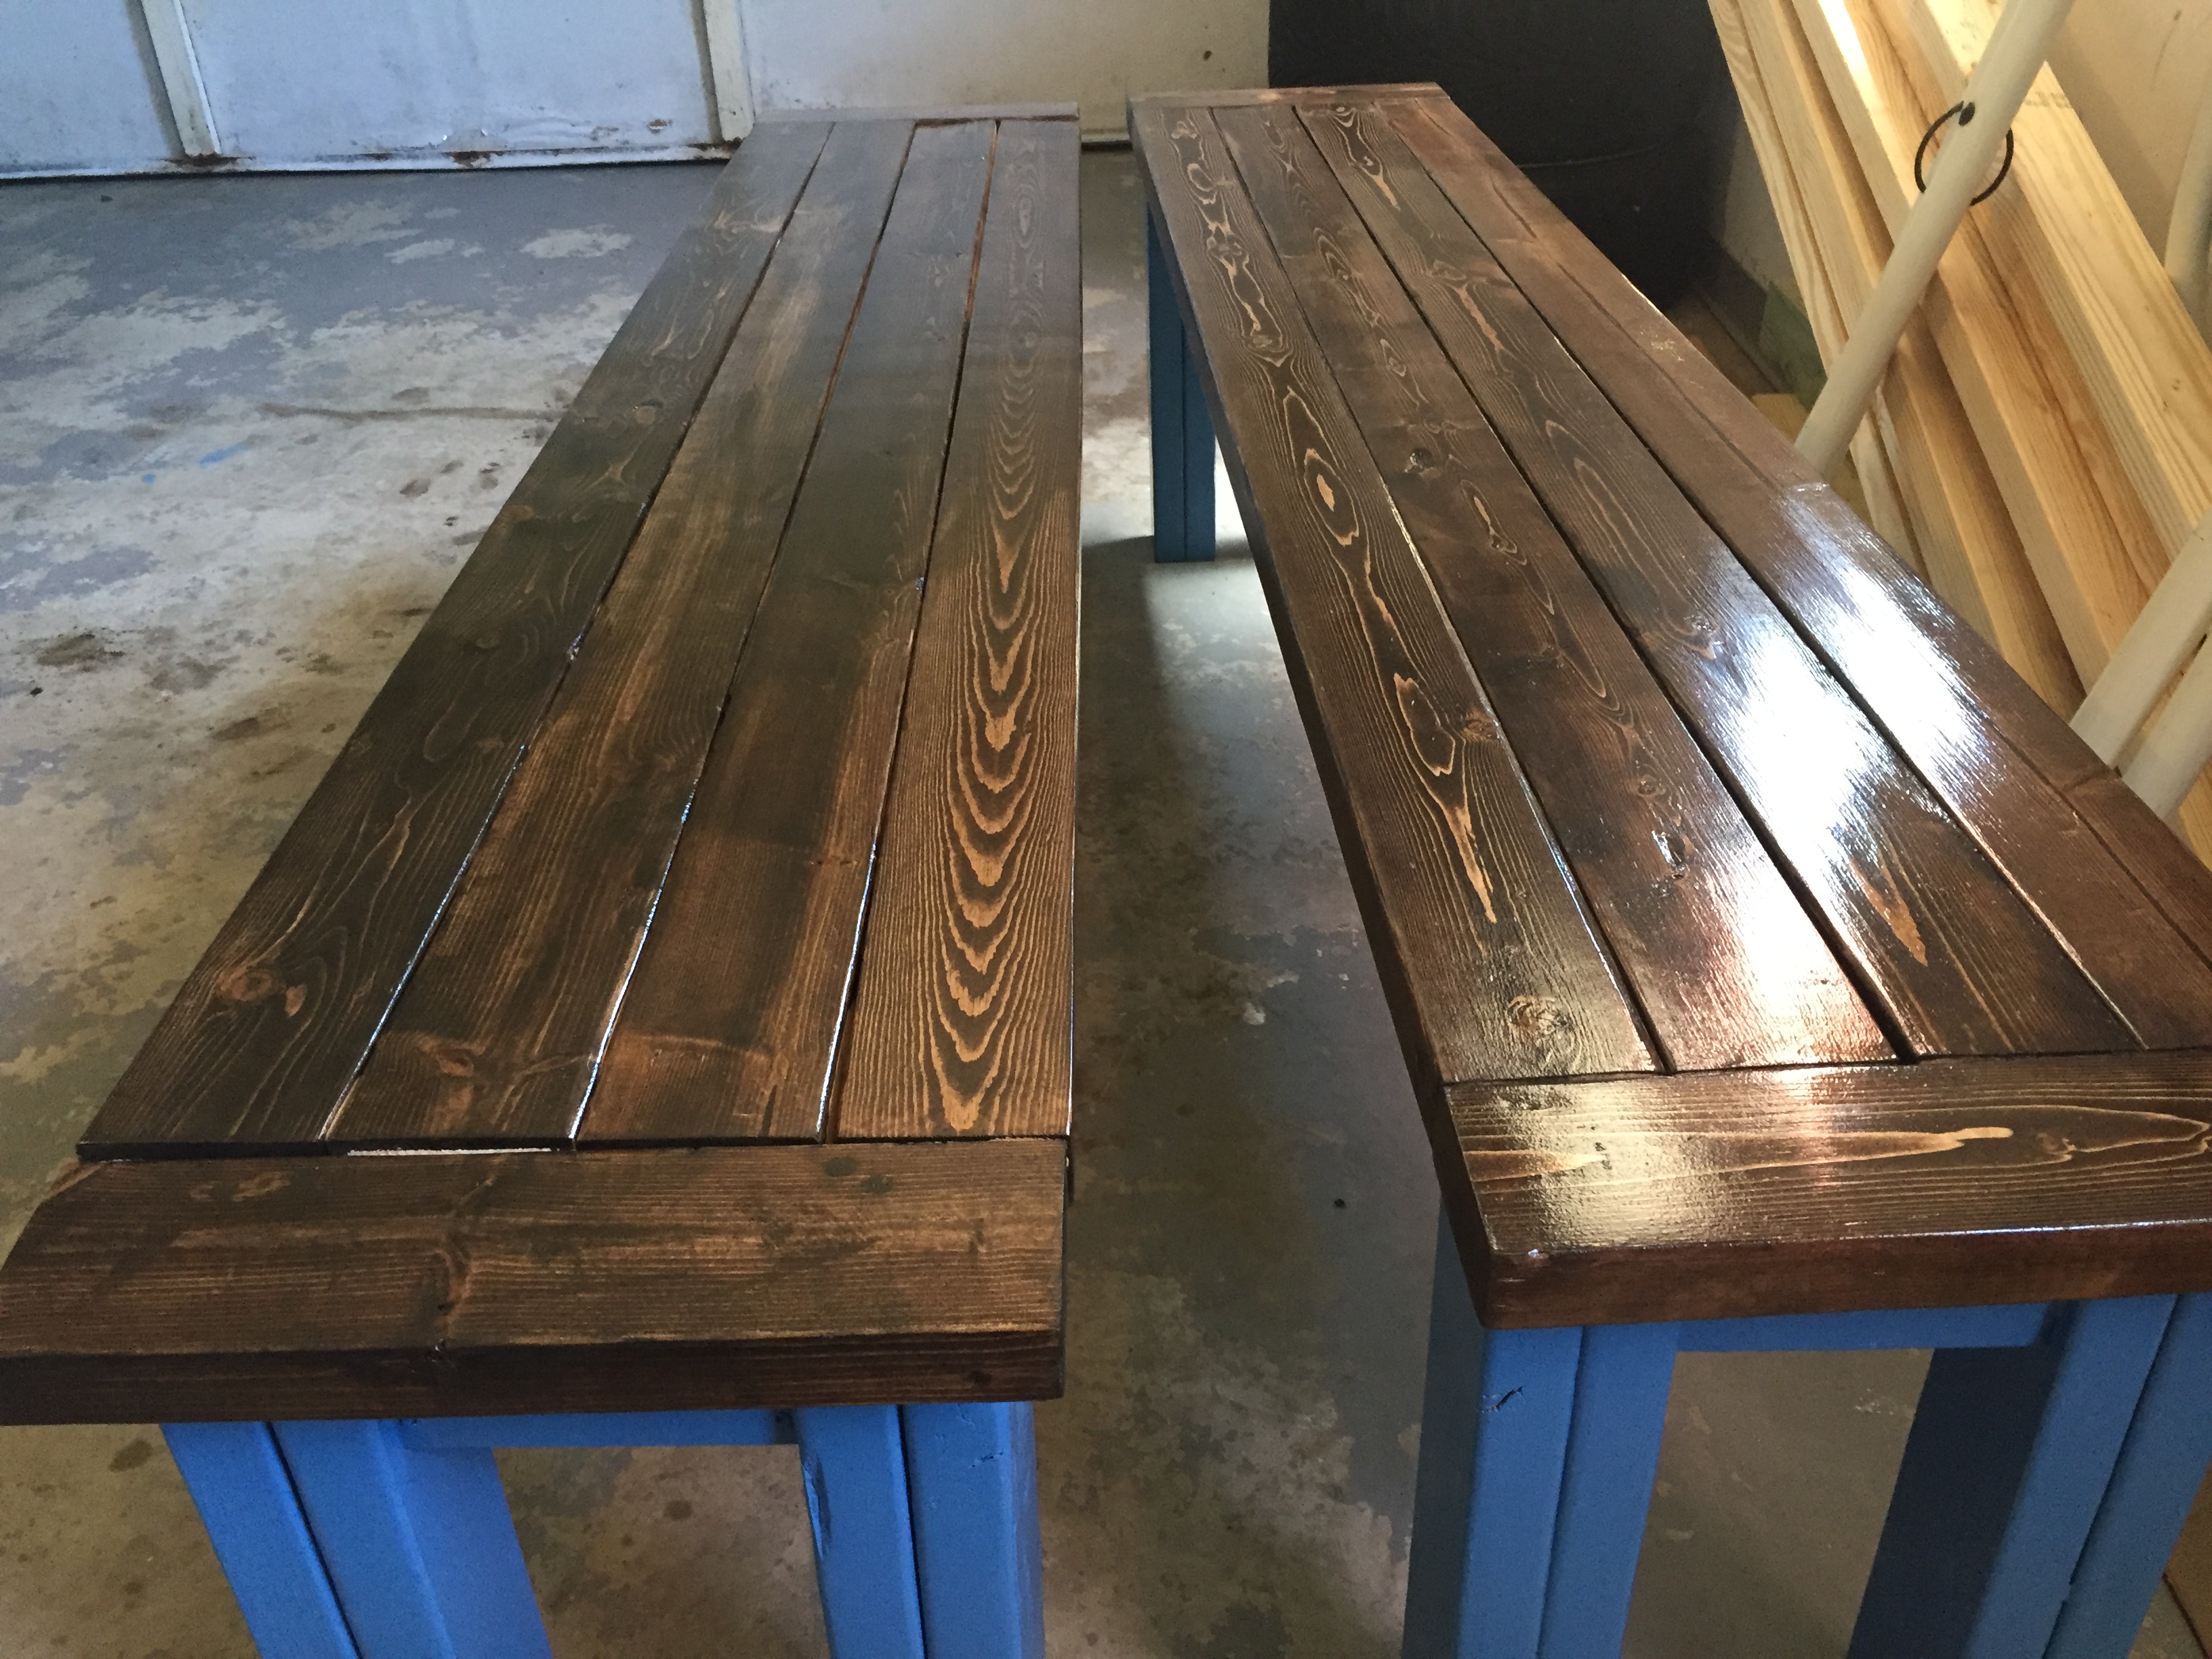
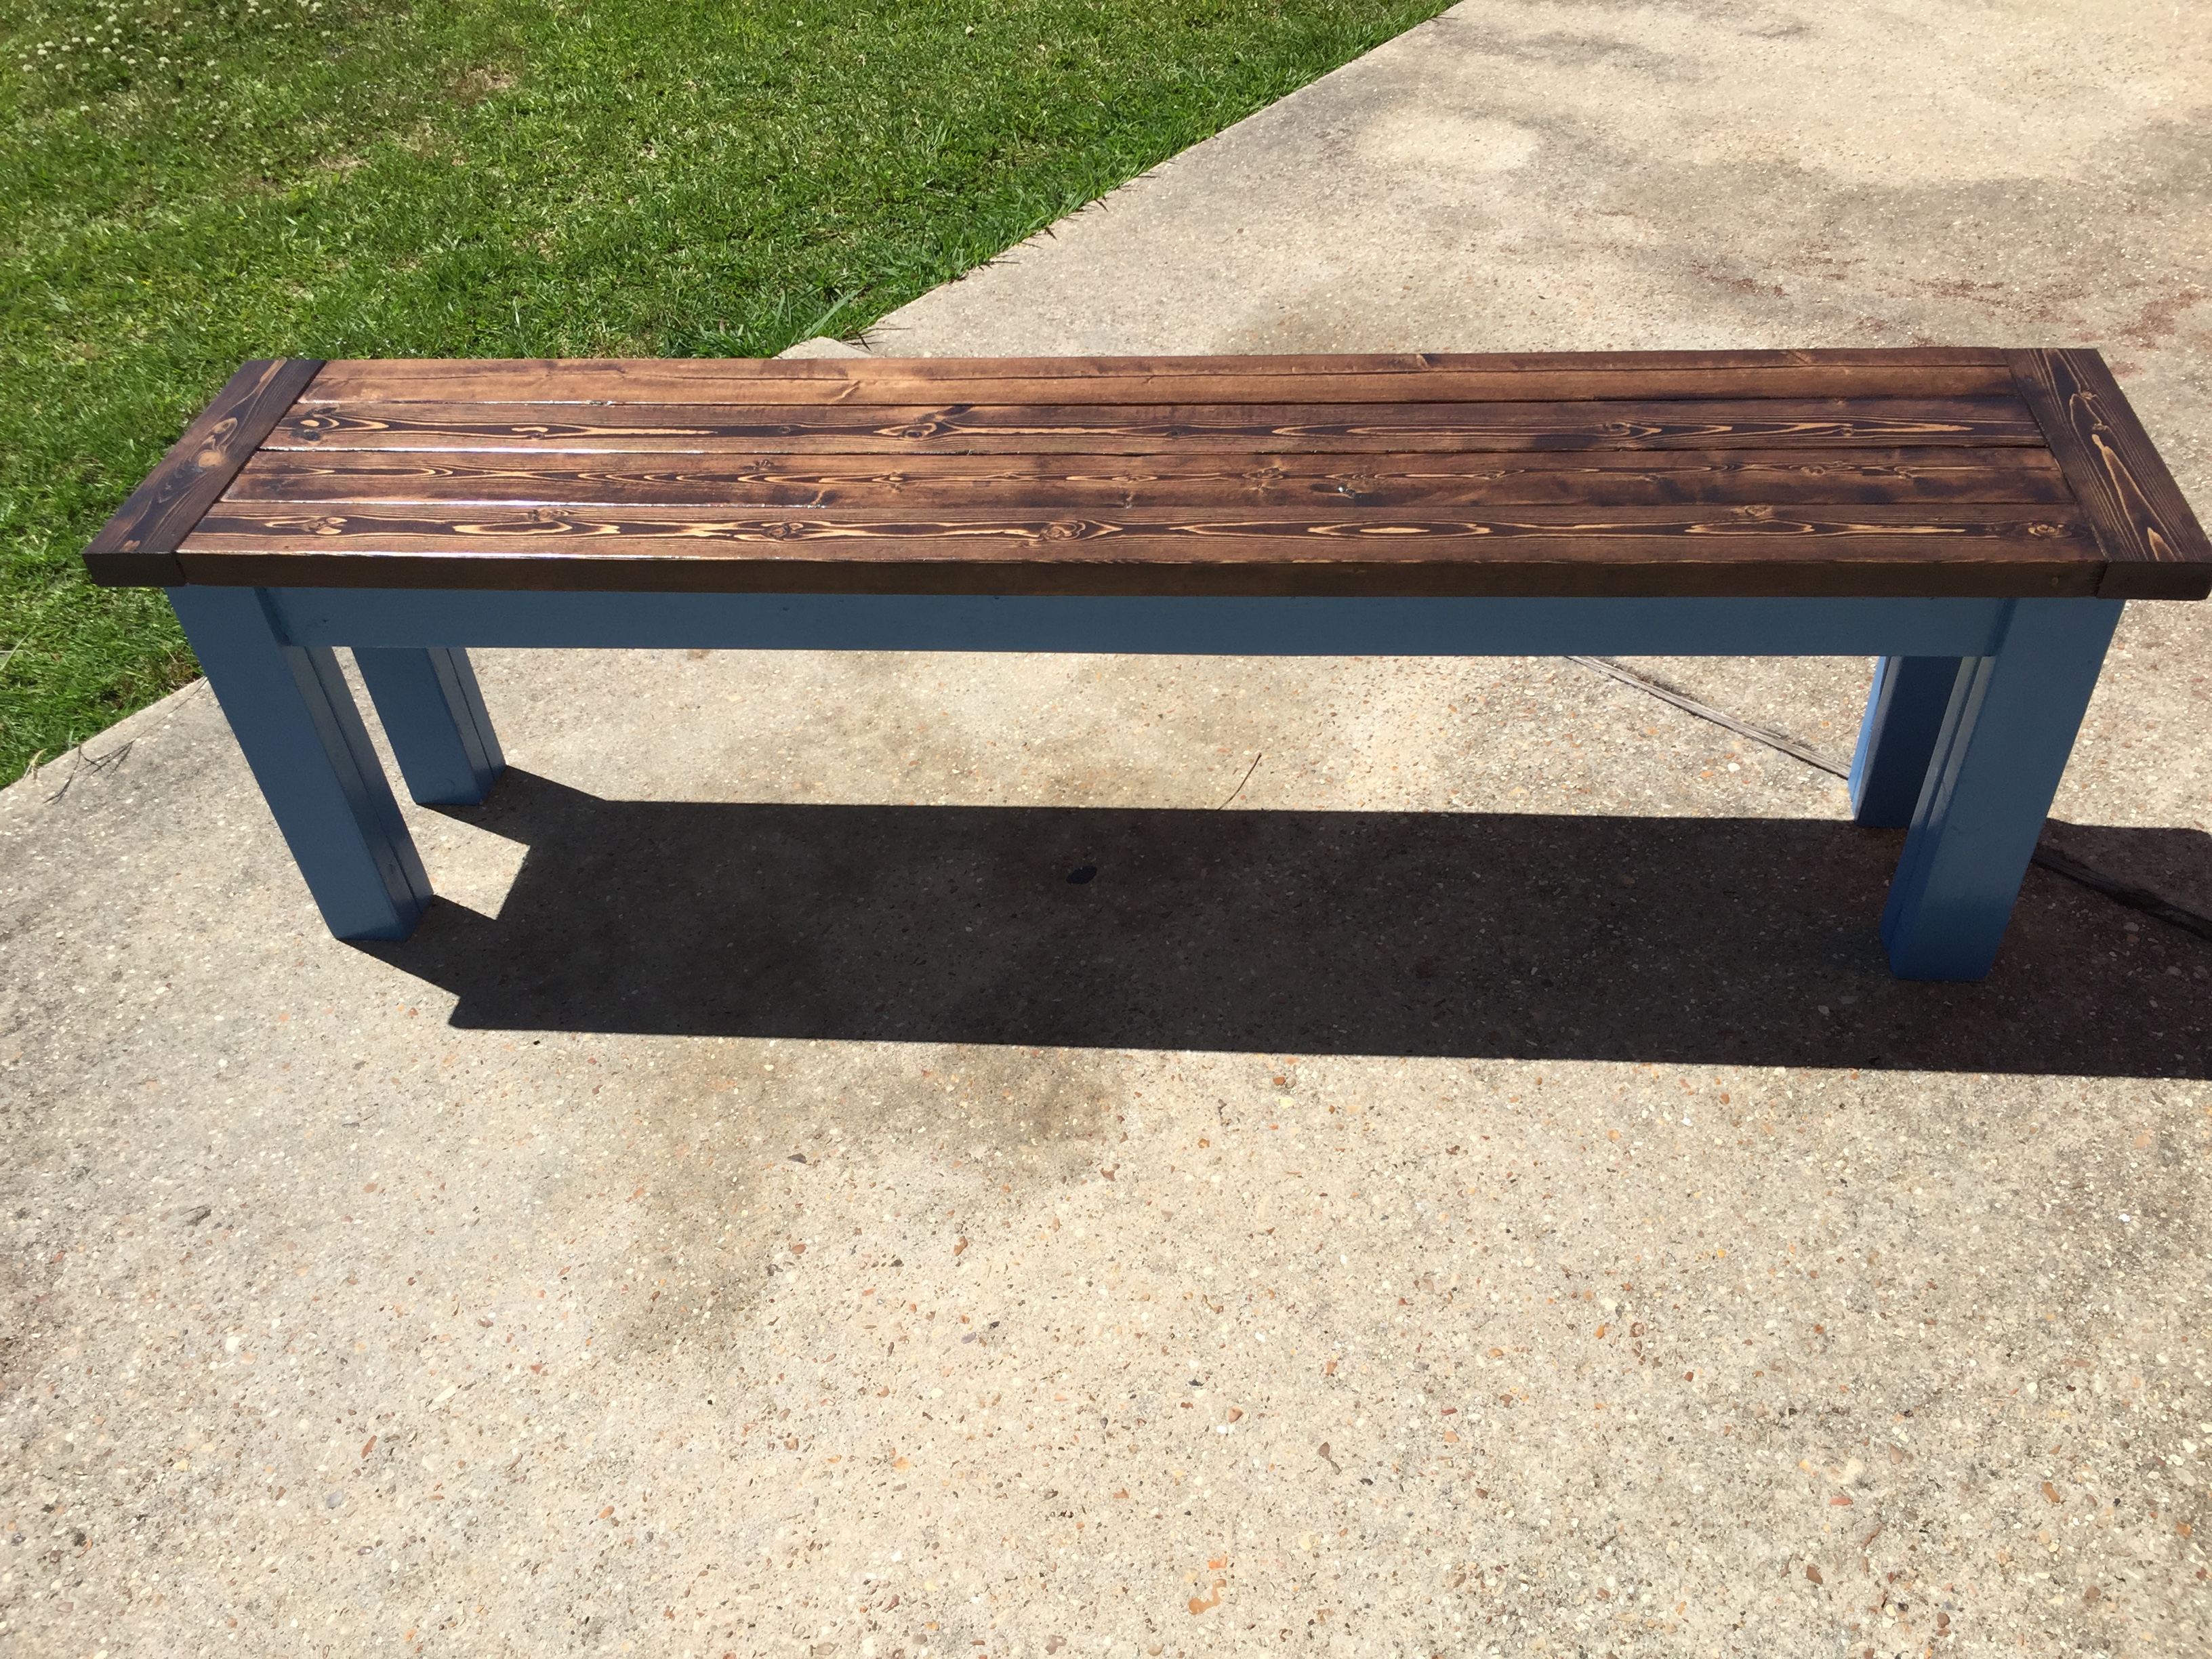
Farmhouse bed King Size
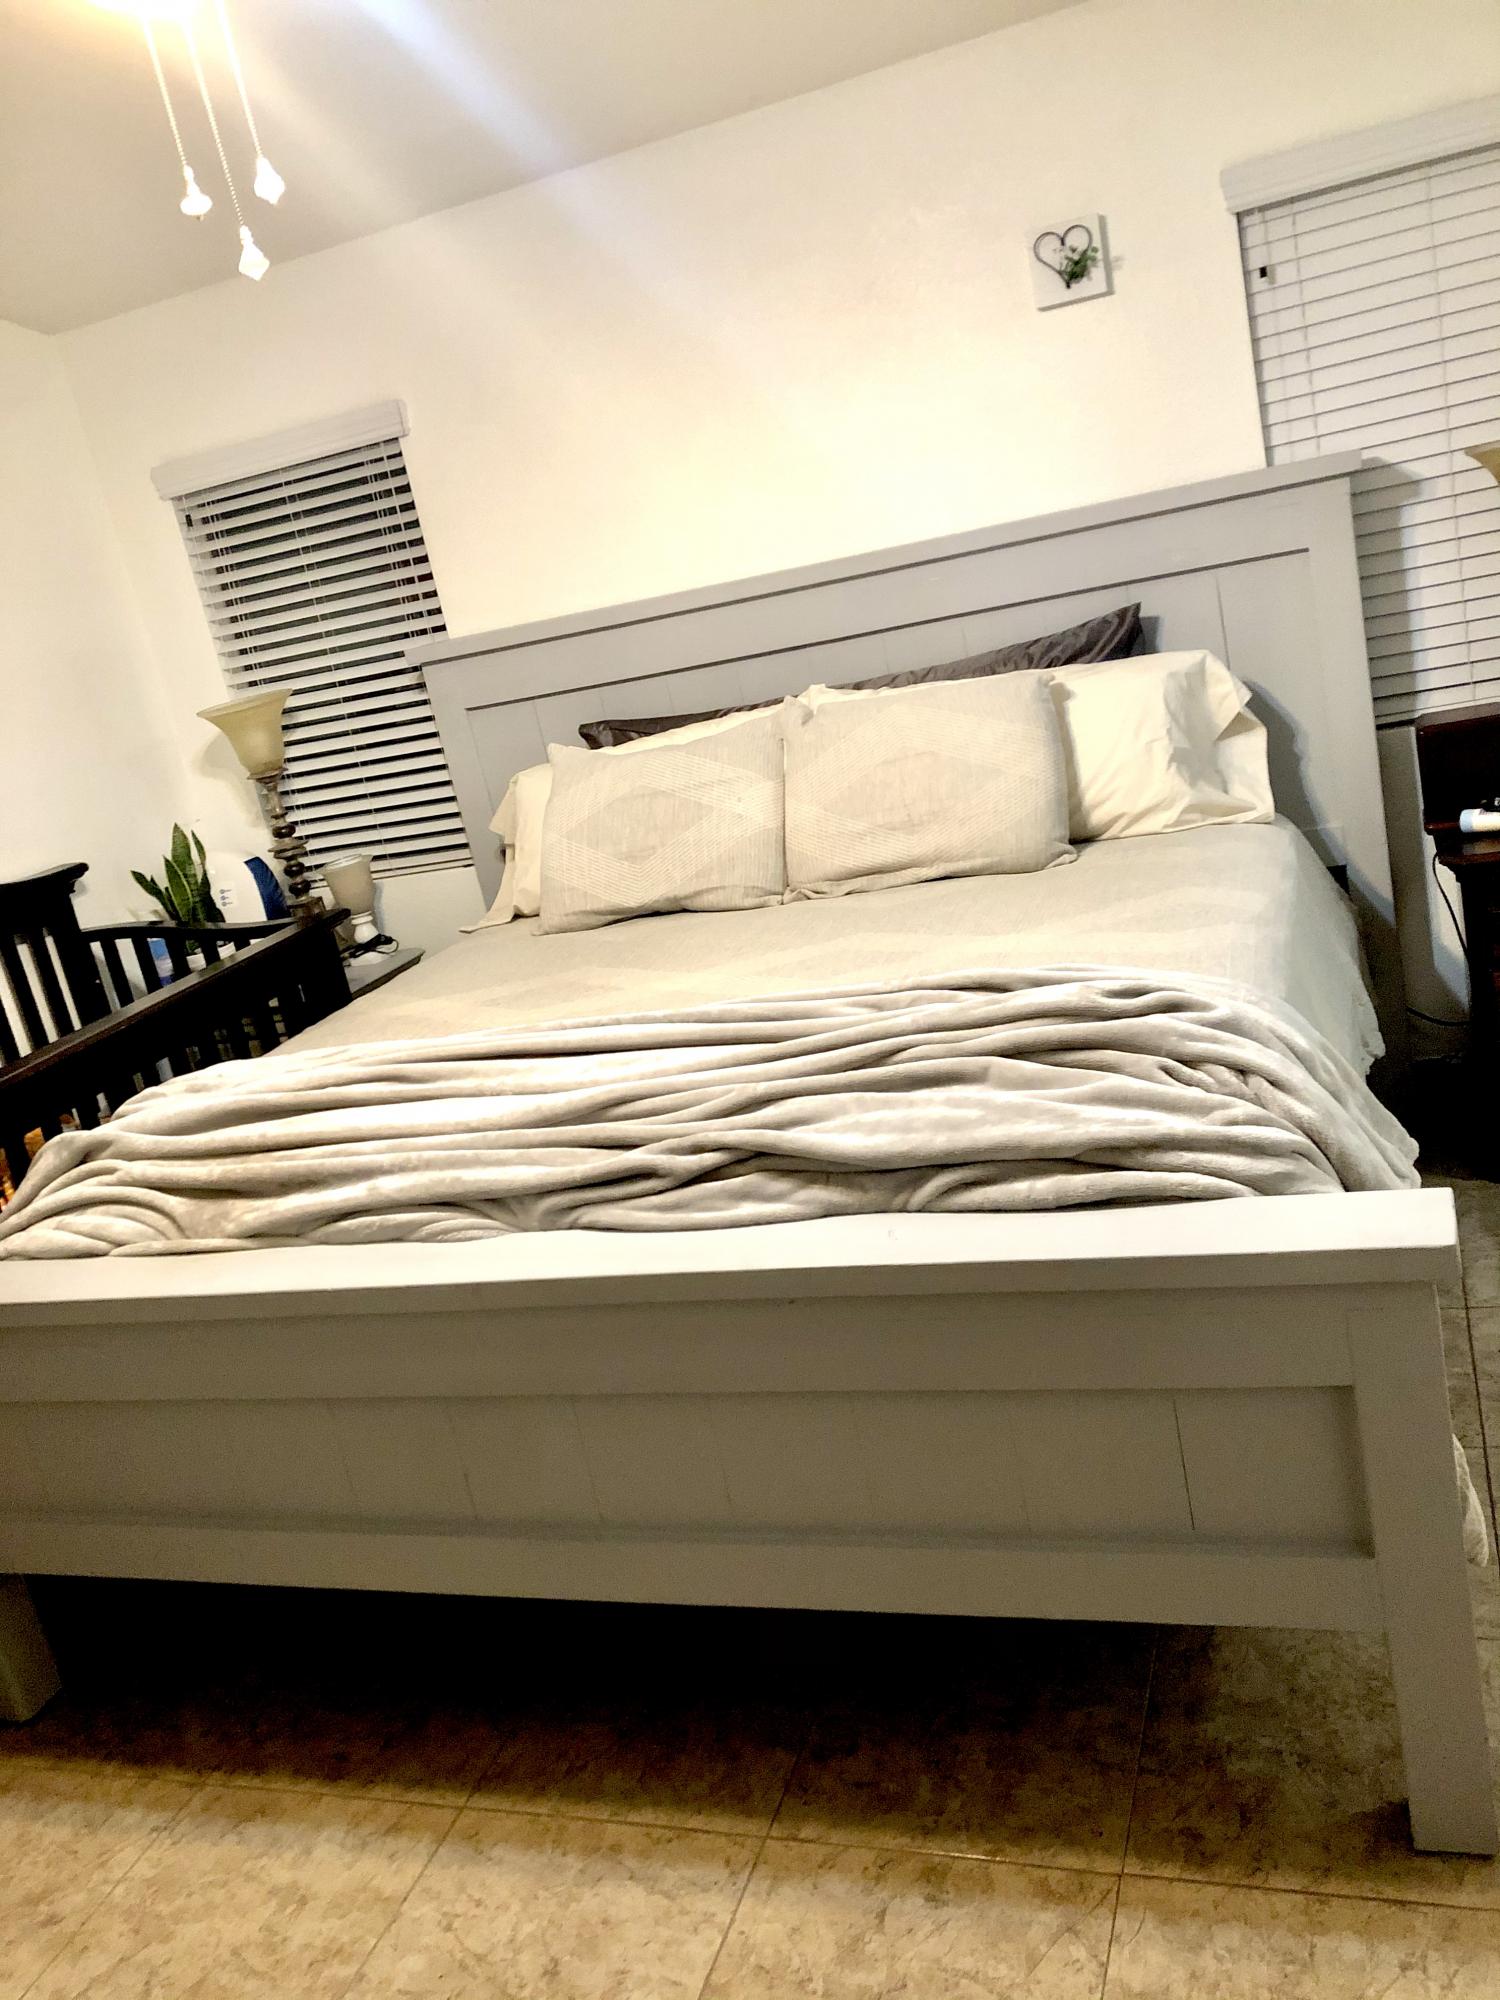
Took me about 16 hours to do his on and off. I think it would of been faster if I had a miter saw and a paint sprayer. My Wife and I are happy on the outcome!
I built this table after seeing a similar one on your site. Mine is built with 2x2 legs, a shelf, and just one piece of 1x12 for the top. I was wanting something for in front of my window but this one is to small so I will eventually build a bigger one for in front of my window and move this one. Thanks for the inspiration!!
Mon, 01/31/2022 - 03:53
Would you have the plans/dimensions you used to build this table? It looks just the right size I need. Thank you!
Made this media center for a DIY TV show at my home and I think I'm proudest of this project! It turned out so beautifully. Shelf pin jig was used for movable shelves inside, ORB handles and knobs, a very smooth poly'd top, and plenty of room for our components. The doors were the hardest part. Being inset, they just didn't want to fit and would scrape the frame. Lots of repositioning of the hinges. The thick acrylic for the doors was a little difficult as well- it cut easily enough in the table saw, but screwing in threatened breakage. It was also hard to fit them where their fasteners didn't compete with the knobs or shelves. I also made the TV stand to match the media center (and because I didn't want to buy one!) Love this project!
Wed, 01/21/2015 - 14:37
This turned out nice. I did notice that you are showing the pocket holes on the inside. In the future you can get the Kreg pocket hole plugs to fill these holes. You glue them in the holes and you can then sand them down even and you will not see any of the holes.
Great job.
In reply to Media Center by DIYER_MD
Thu, 06/04/2015 - 09:49
Thanks! I've used the plugs before, and most of the time, I just don't mind the holes. Call me low maintenance : )
Garden Shed out of douglas wood
i added wooden floor .
Thu, 06/15/2017 - 12:48
Greetings, I like your workmanship - It looks great! I have a couple questions if you would be so kind as to answer them. I like how you turned the studs sideways. How did you attach the studs to the 2x4 plate that you have turned on its 1 1/2" edge both top and bottom. I am thinking of toenailing or driving 3 1/4" GRK screws through the 1 1/2" sides of the 2x4's and into the 1 1/2" edge of the top and bottom plate. I know that Kreg has a jig out that uses oversize screws-it is specifically designed for 1 1/2" and larger (up to 3 1/2").
How did you secure the bottom plate to the wooden floor. I am thinking that you may have used 1/4" or 5/16" lag bolts down through the 2x4 and on into the frame of your wooden floor.
Thanks for your reply,
Cliveous (Reggie) Ogg
Made this from the side table plan. I had to adjust sizes as i'm from Belgium. 2x4's aren't here. First project ever. It came out great with some modifications and such. I made the larger one, way too big so we use it as a storage in our hallway.
It costed me around 40 euros. All materials included, i had to buy everything. It took me a whole day to finish this. If your a total beginner like me, it will take some time.
Would I make it again? Yes, provided i have better equipment and better plan it up front.
I rated it intermediate because that is how it felt for me personally.
This is a wishing well I made for my sister for her wedding. It will be used during the wedding for people to drop "wish you well" cards into and afterward she can use it as a planter in her yard.
I followed ideas from multiple plans here on Ana-White.com, but I didn't follow any specific plan. Mostly I followed tips and instructions for cutting angles, drilling pocket holes and some finishing tips. This is the first "big" project I've done and I"m quite proud of it.
With everything, it measures 44.5 inches high. The well measures 21 inches across and 15 inches high. The roof measures 22.75 inches by 23.75 inches.
I hope y'all like it. I worked hard on this! :)
Thank you, Ana and everyone who contributes to this site. It's been so much fun and I've got lots of ideas for more stuff. If I was any good at all at Google Sketchup I'd put up the plans but I'm not. If anyone could help me with that, that would great. :)
Have a great day!
Mon, 07/21/2014 - 20:04
Anyway you can please tell me the angle for the boards ont the walls. I reallly like your well, and would like to build this for my wife but im not sure on what angles to use thank you
In reply to wishing well by bellows86
Sun, 07/10/2016 - 17:10
The 8 sided wishing well is going to be 22.5 degrees all the way around. hopes this helps
Totally enjoyed making this for my very first brand new step-grandson Luca. Learned a few new tricks along the way and had a blast!
Added a fourth seat to the sectional peice. This way it fills the space on my deck much better. Plans worked great. Both peices
completed in under 3 hours.
Built this headboard for my fiancee as her valentines day gift.
Tue, 03/19/2013 - 21:36
The headboard is nice. But what I want to know is where she got those colorblock pillowcases???
This is my version of the pallet inspired coat rack. I didn't have the room for the 8-foot version in the original plans so I cut it down to 5 feet. Otherwise it follows the plans as listed, just with shorter cuts.
Stain is dark walnut.
We have a very small laundry room that does triple duty as a dog kennel and mud room. This riser is a perfect storage solution! The fact that I can see directly to the back of the Washer, and transfer clothes without bending over, is an added bonus! The building plans are sturdy and easy to follow!
Really enjoyed making this 2x4 sofa. Decided it wasn't long enough so added 12 inches so it's now really nice and big! I needed to add a semi hidden supporting in the middle but that was pretty easy.
Took Ana's advice and got the cushions made first. I found a local person here in the UK. I found waterproof canvas online.
I agree with several other posters, it's unclear at the point the arms are added onto the bench part and there's no way the 6 screws advised would have been enough to hold the weight of 3 people.. I added supporting extra legs at the front and one leg in the centre. This has made it super-stable.
Overall very happy..my wife and I can stretch out at either end! It took a weekend to make then some time in tween coats of varnish.
Slightly altered Rustic X Coffee table to make it 46" long. Cutting the X's was tricky; I had to do it by hand with a table saw! I could wish for a miter saw that cut 30 degrees ;-)
Thu, 03/21/2013 - 09:16
Looks really nice. So does the whole room. Might I ask where you got the table clock sitting on the dresser?
My Brother and I have always wanted to craft furniture and this piece was our first project. We took our time and really payed attention to details. We're pretty proud of how it turned out. It was a challenge but a whole lot of fun.
Mon, 02/02/2015 - 18:18
Congrats on an awesome first project! It's a very professional looking piece, you did a beautiful job. The stain colors you chose are beautiful!
did a few changes to match the decor of our house but really happy with how it turned out. thanks for the awesome and easy to follow plans. hooks are from dollar tree. top row of hooks are metal hooks wrapped in twine for a more farmhouse look.
This was my first project, and although large, probably the easiest I have built since. It was really simple, although I do know some things I will do differently next time.
Had some bronze legs off an old coffee table. Used the two shorter end pieces to try to make an antique looking piece to go with a white metal framed bed in a guest room.
Stained and then painted and sanded back to give a weathered and antique look.
Have said a week long project just because of the time waiting between coats.
Farmhouse table bench
With another total lockdown happening here in Cyrpus, right at the same time as my Daughter will be on Easter holidays, I'm trying to knock up as much outdoor play kit as I can to keep her entertained and off the iPad.
The design of this was very simple, a 2x2 frame clad with T&G; the countertop, shelves, and roof are from marine grade baltic birch (the roof also has additional levels of water prof membranes, root barriers, etc to support the living roof).
Finish-wise, for the pinks and blues, I've used wood aqua by Kraft paints, and for the counter, shelves, and picnic bench, high protection wood stain in walnut by V33.
Comments
Ana White Admin
Wed, 03/24/2021 - 10:07
Love the finish and build!
Fantastic job, thank you for sharing!