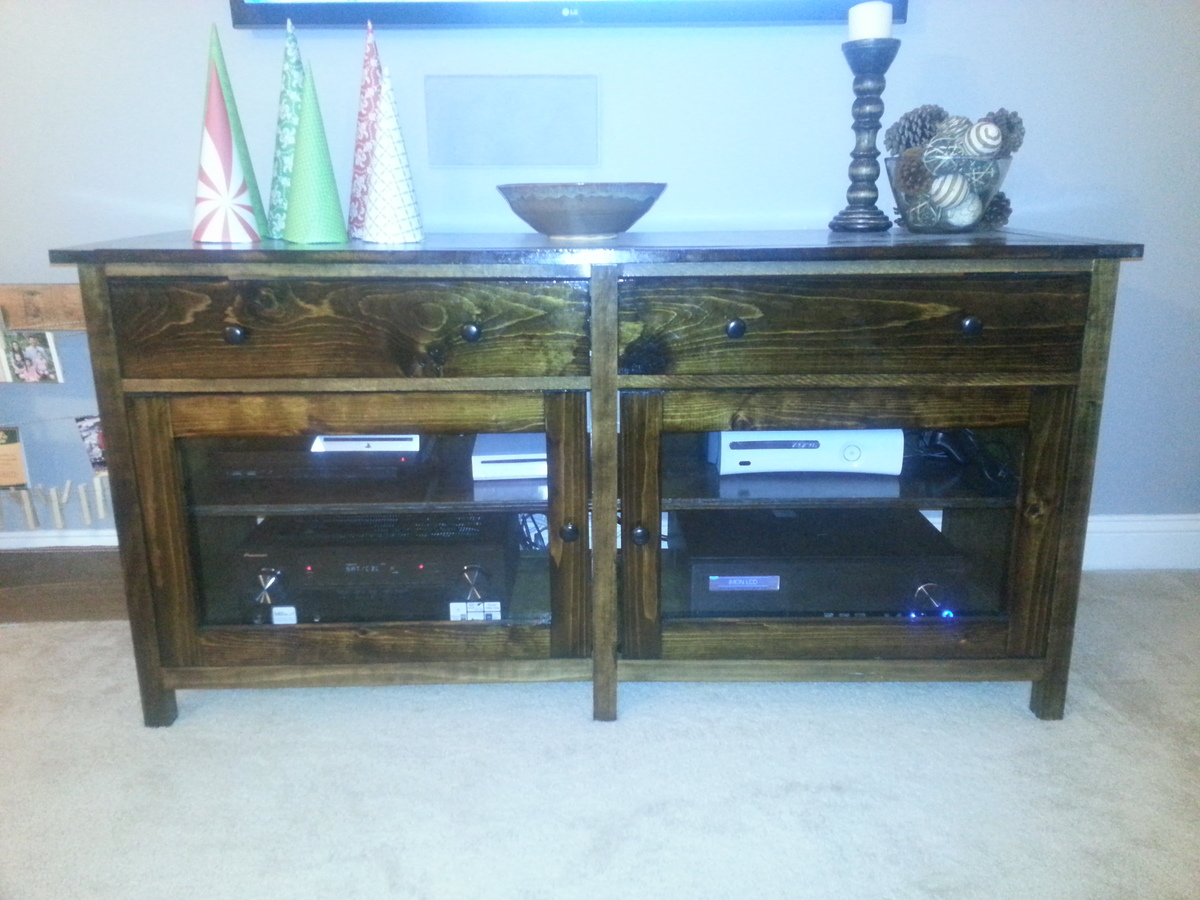
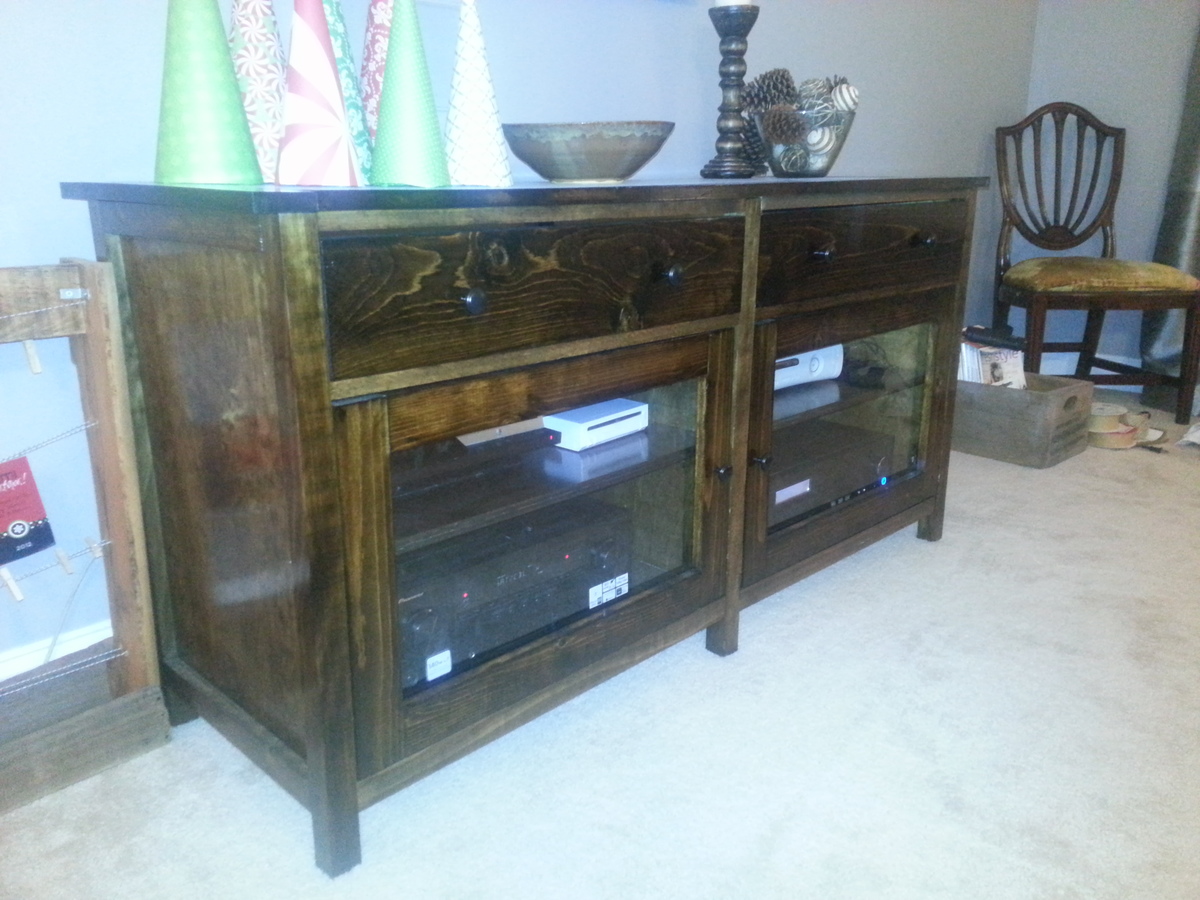
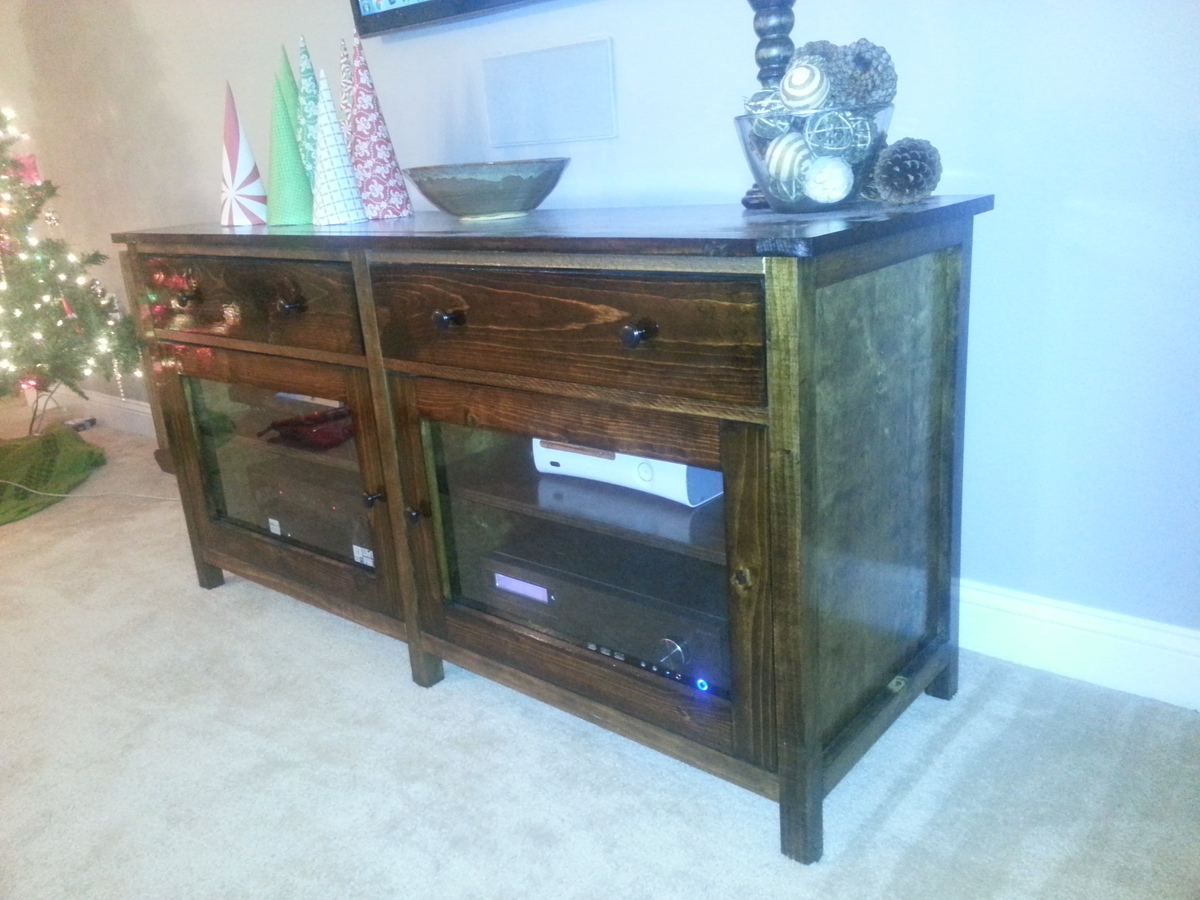
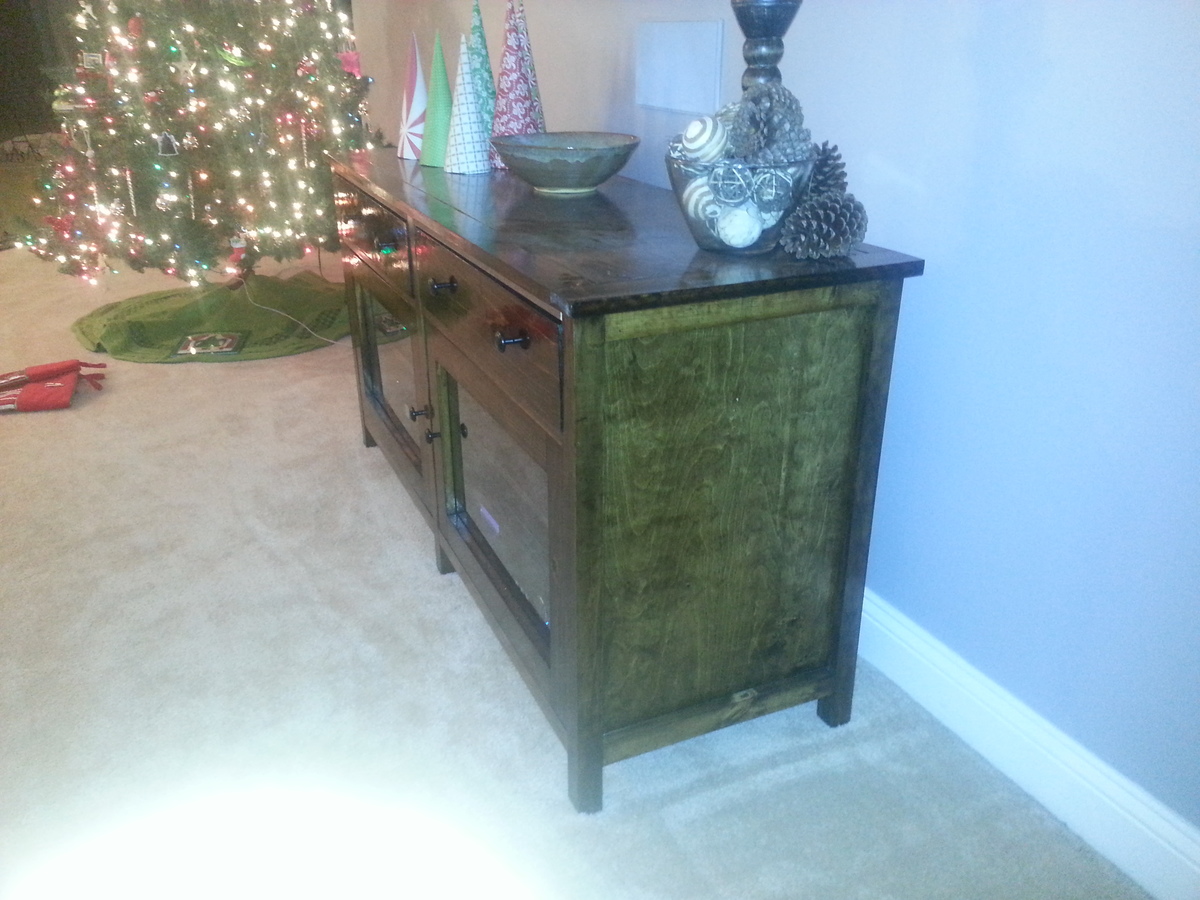
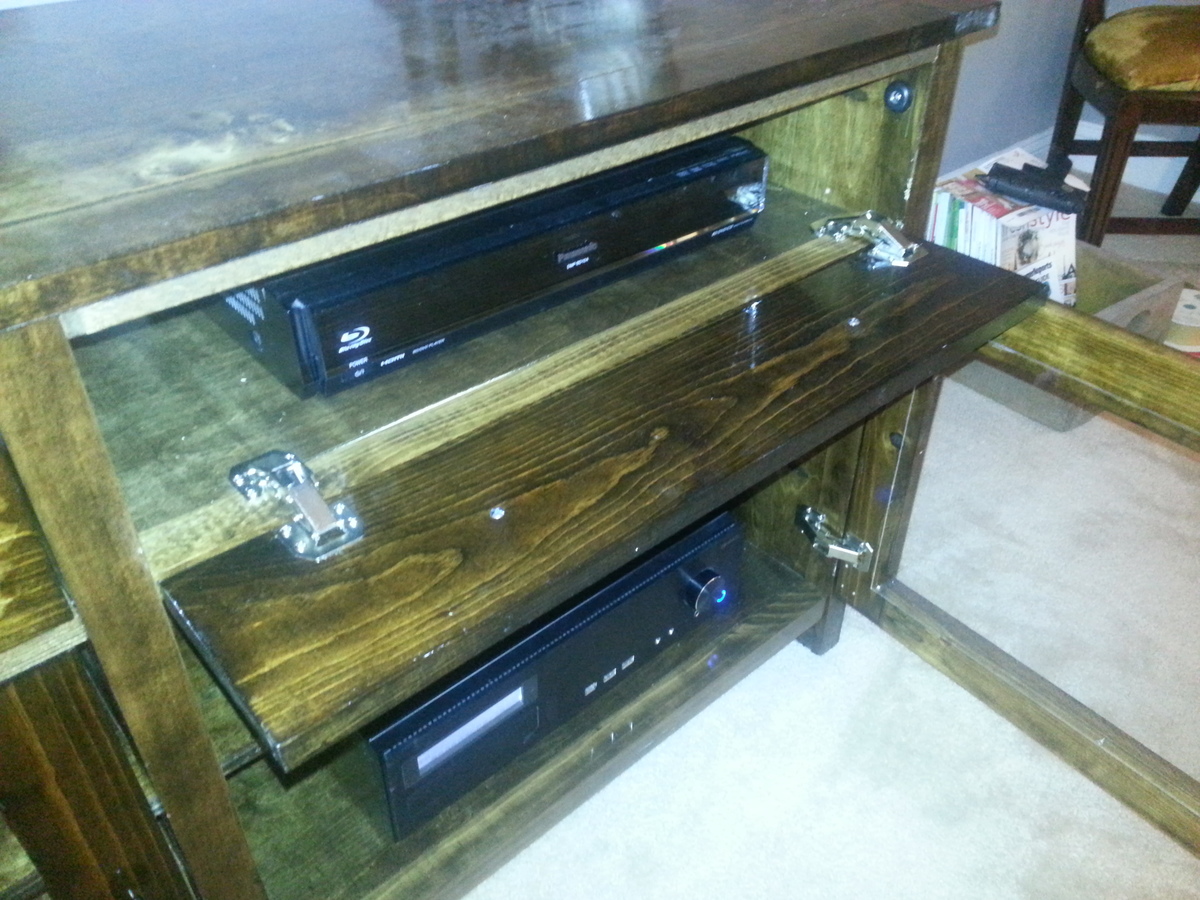
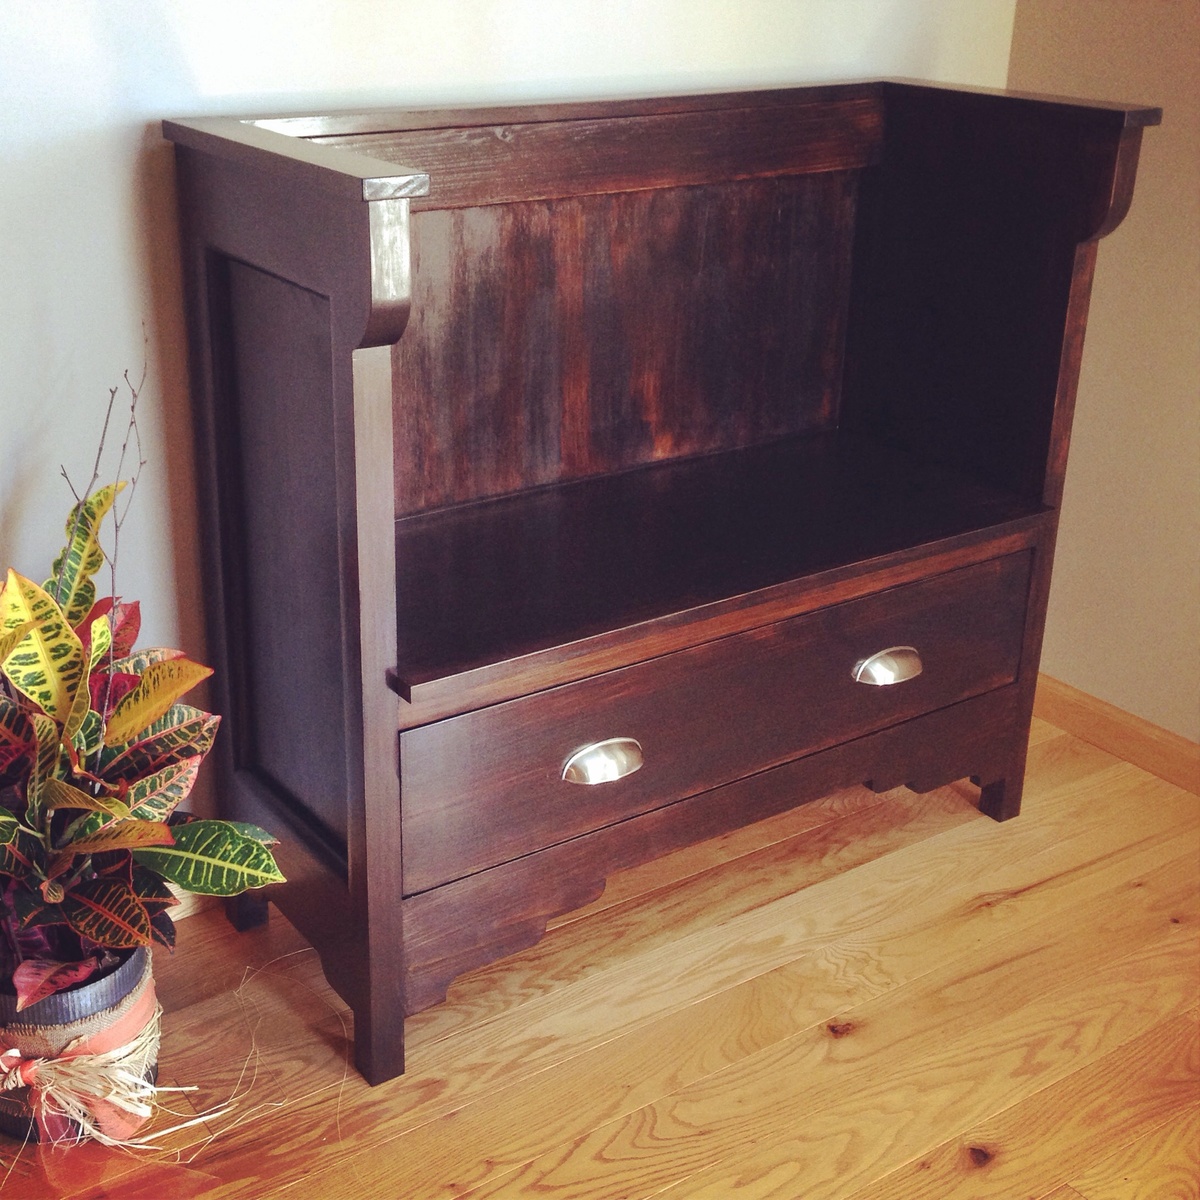
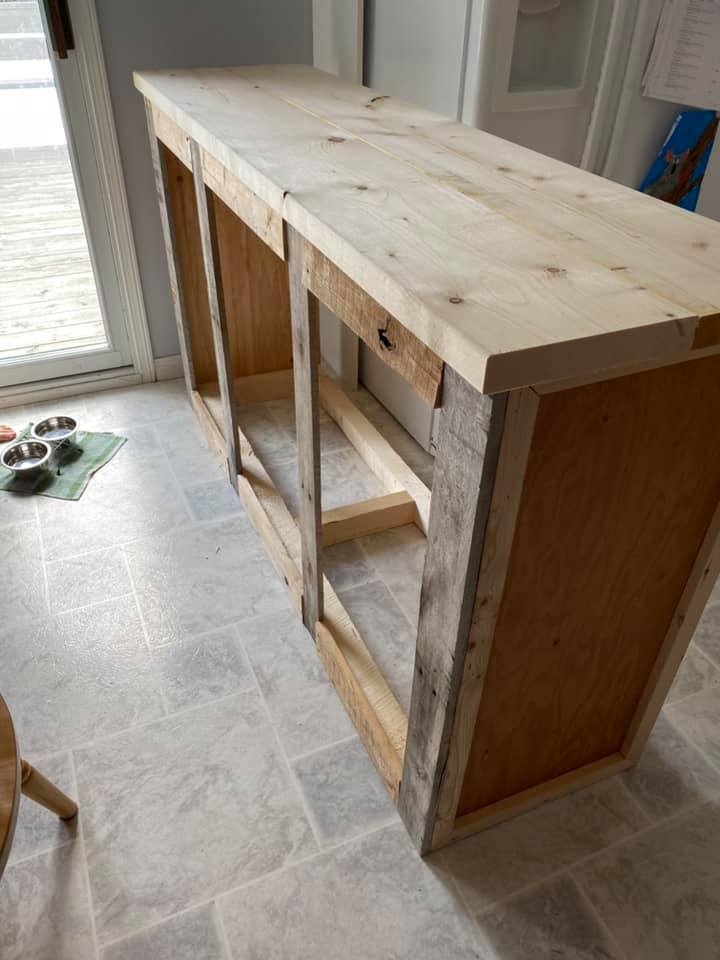
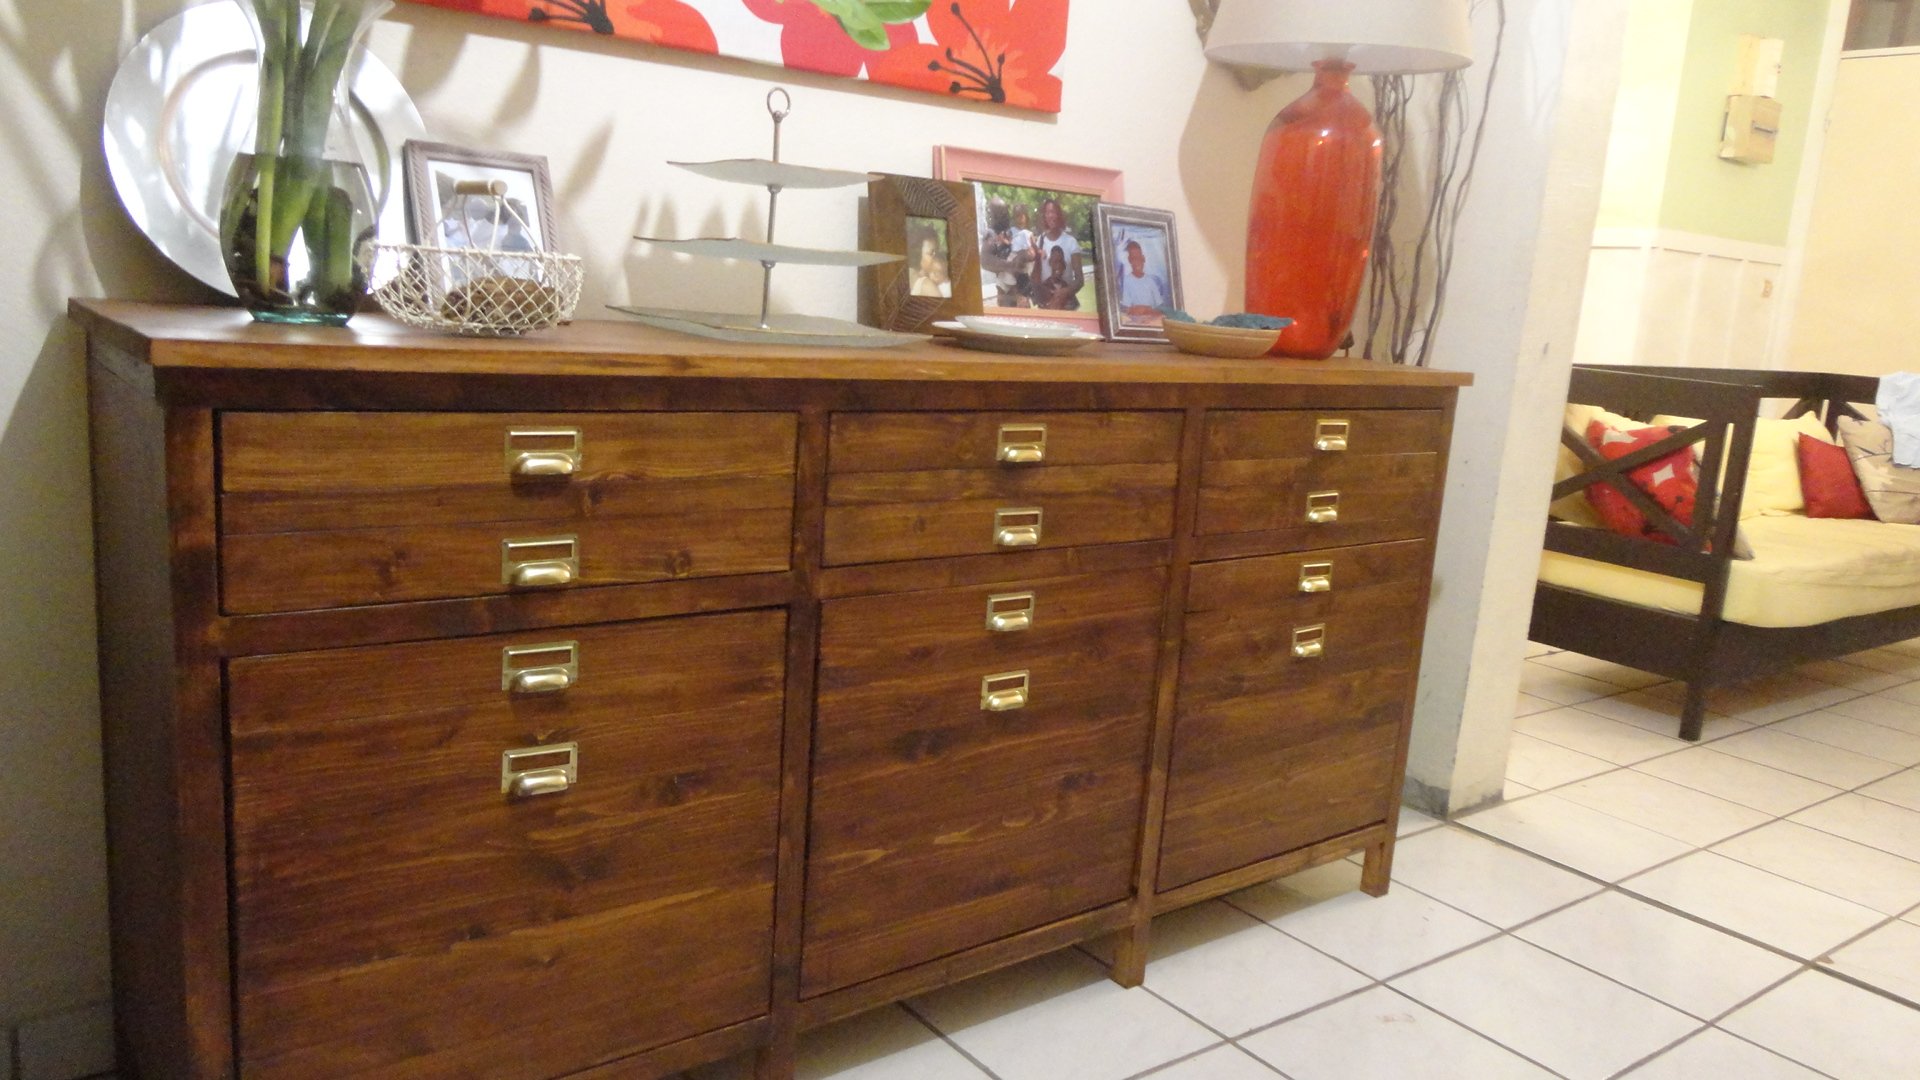
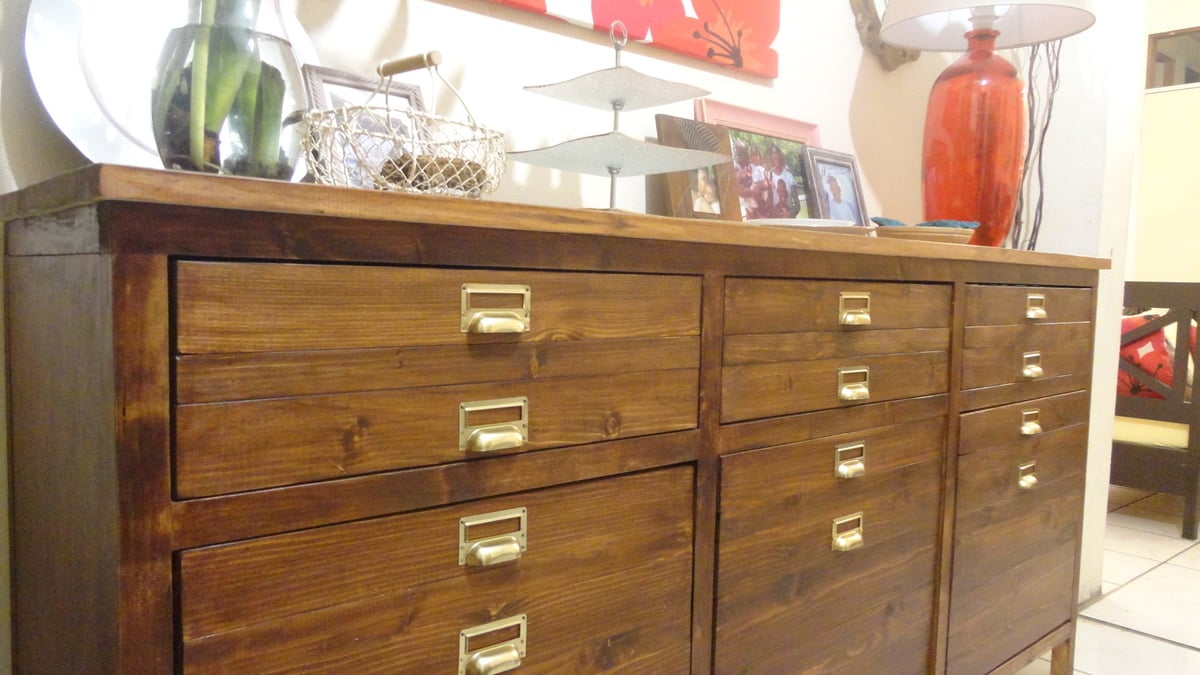
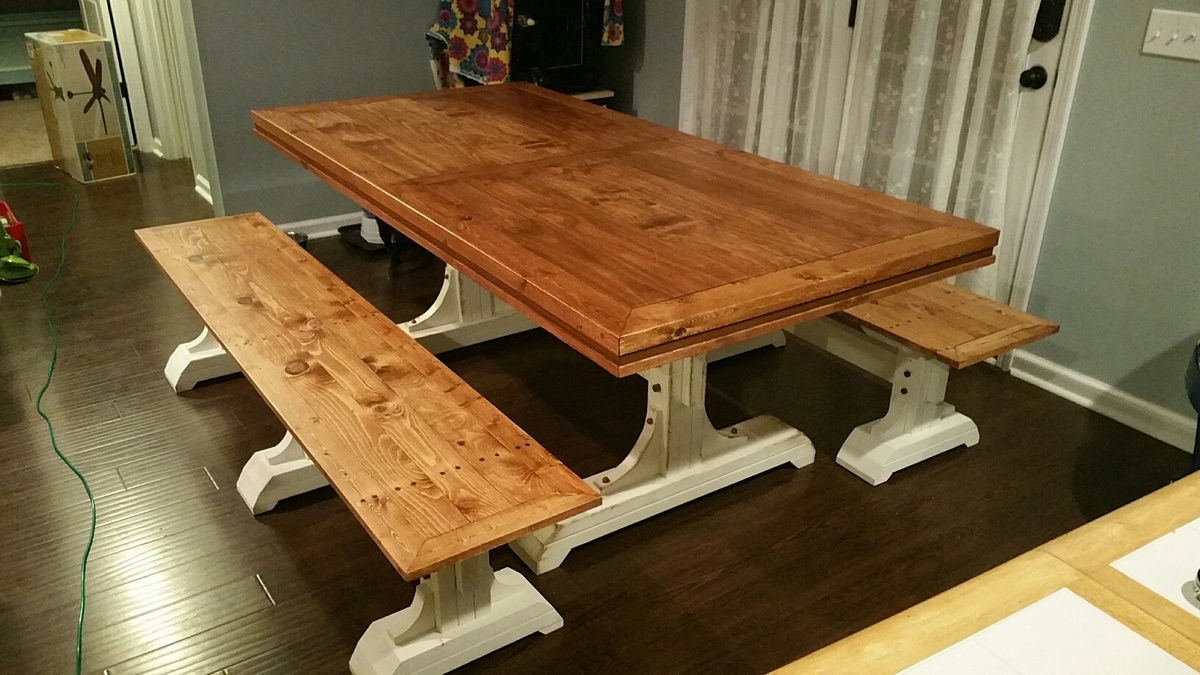
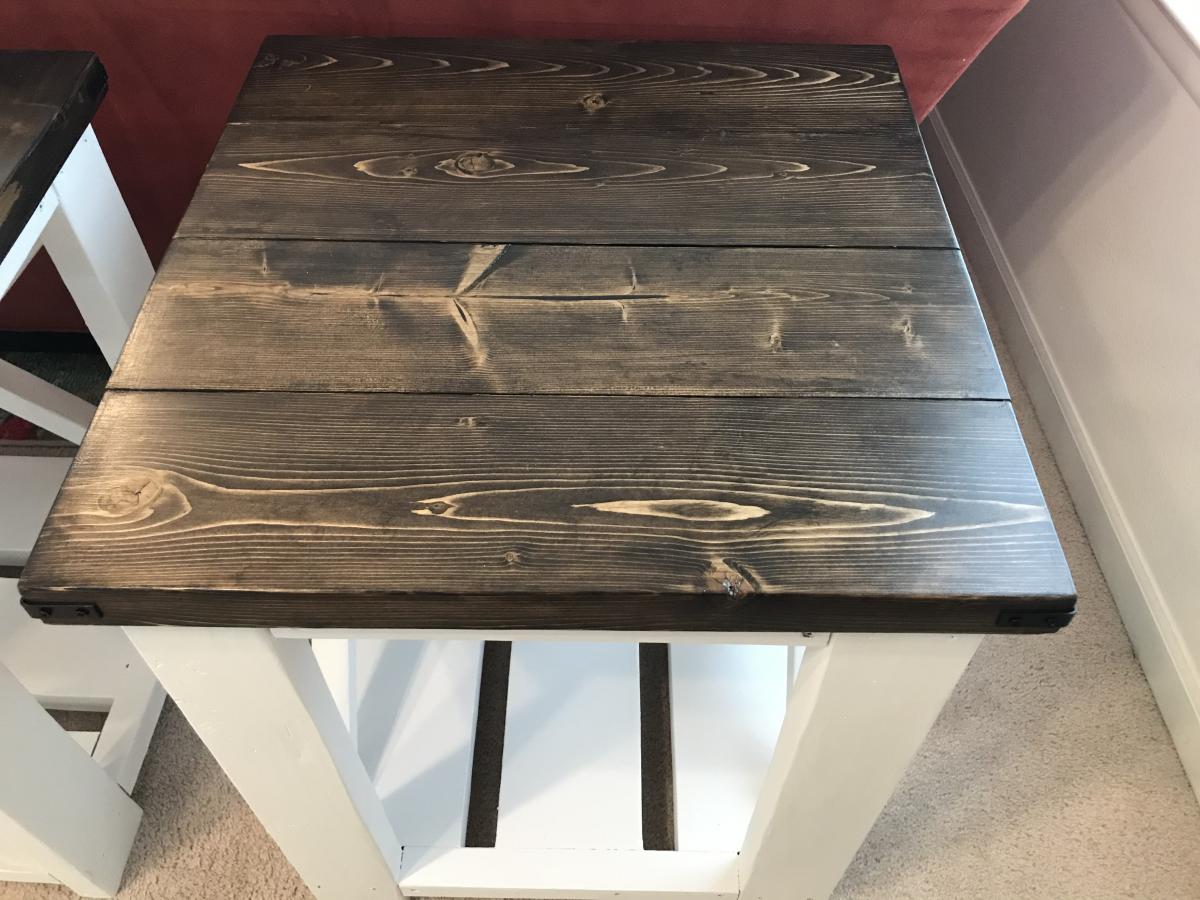
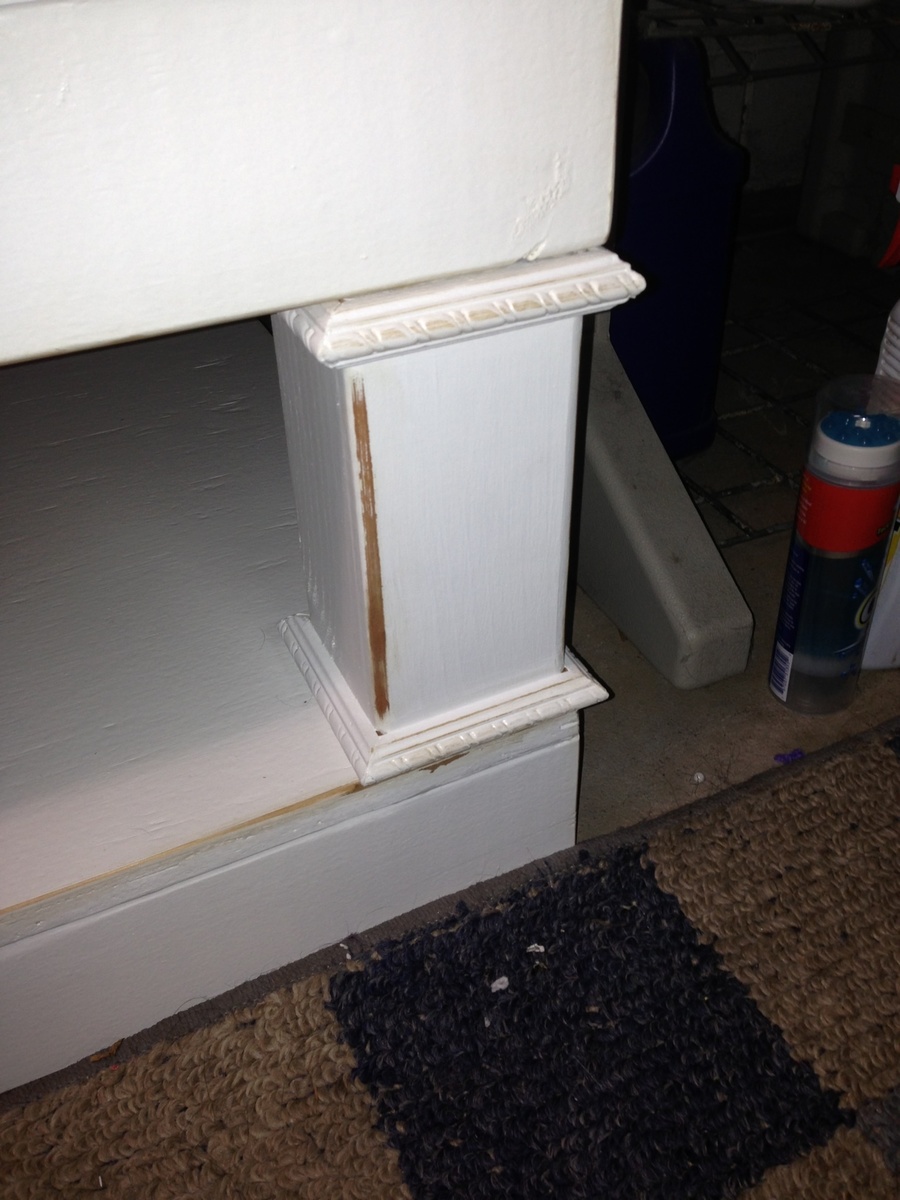
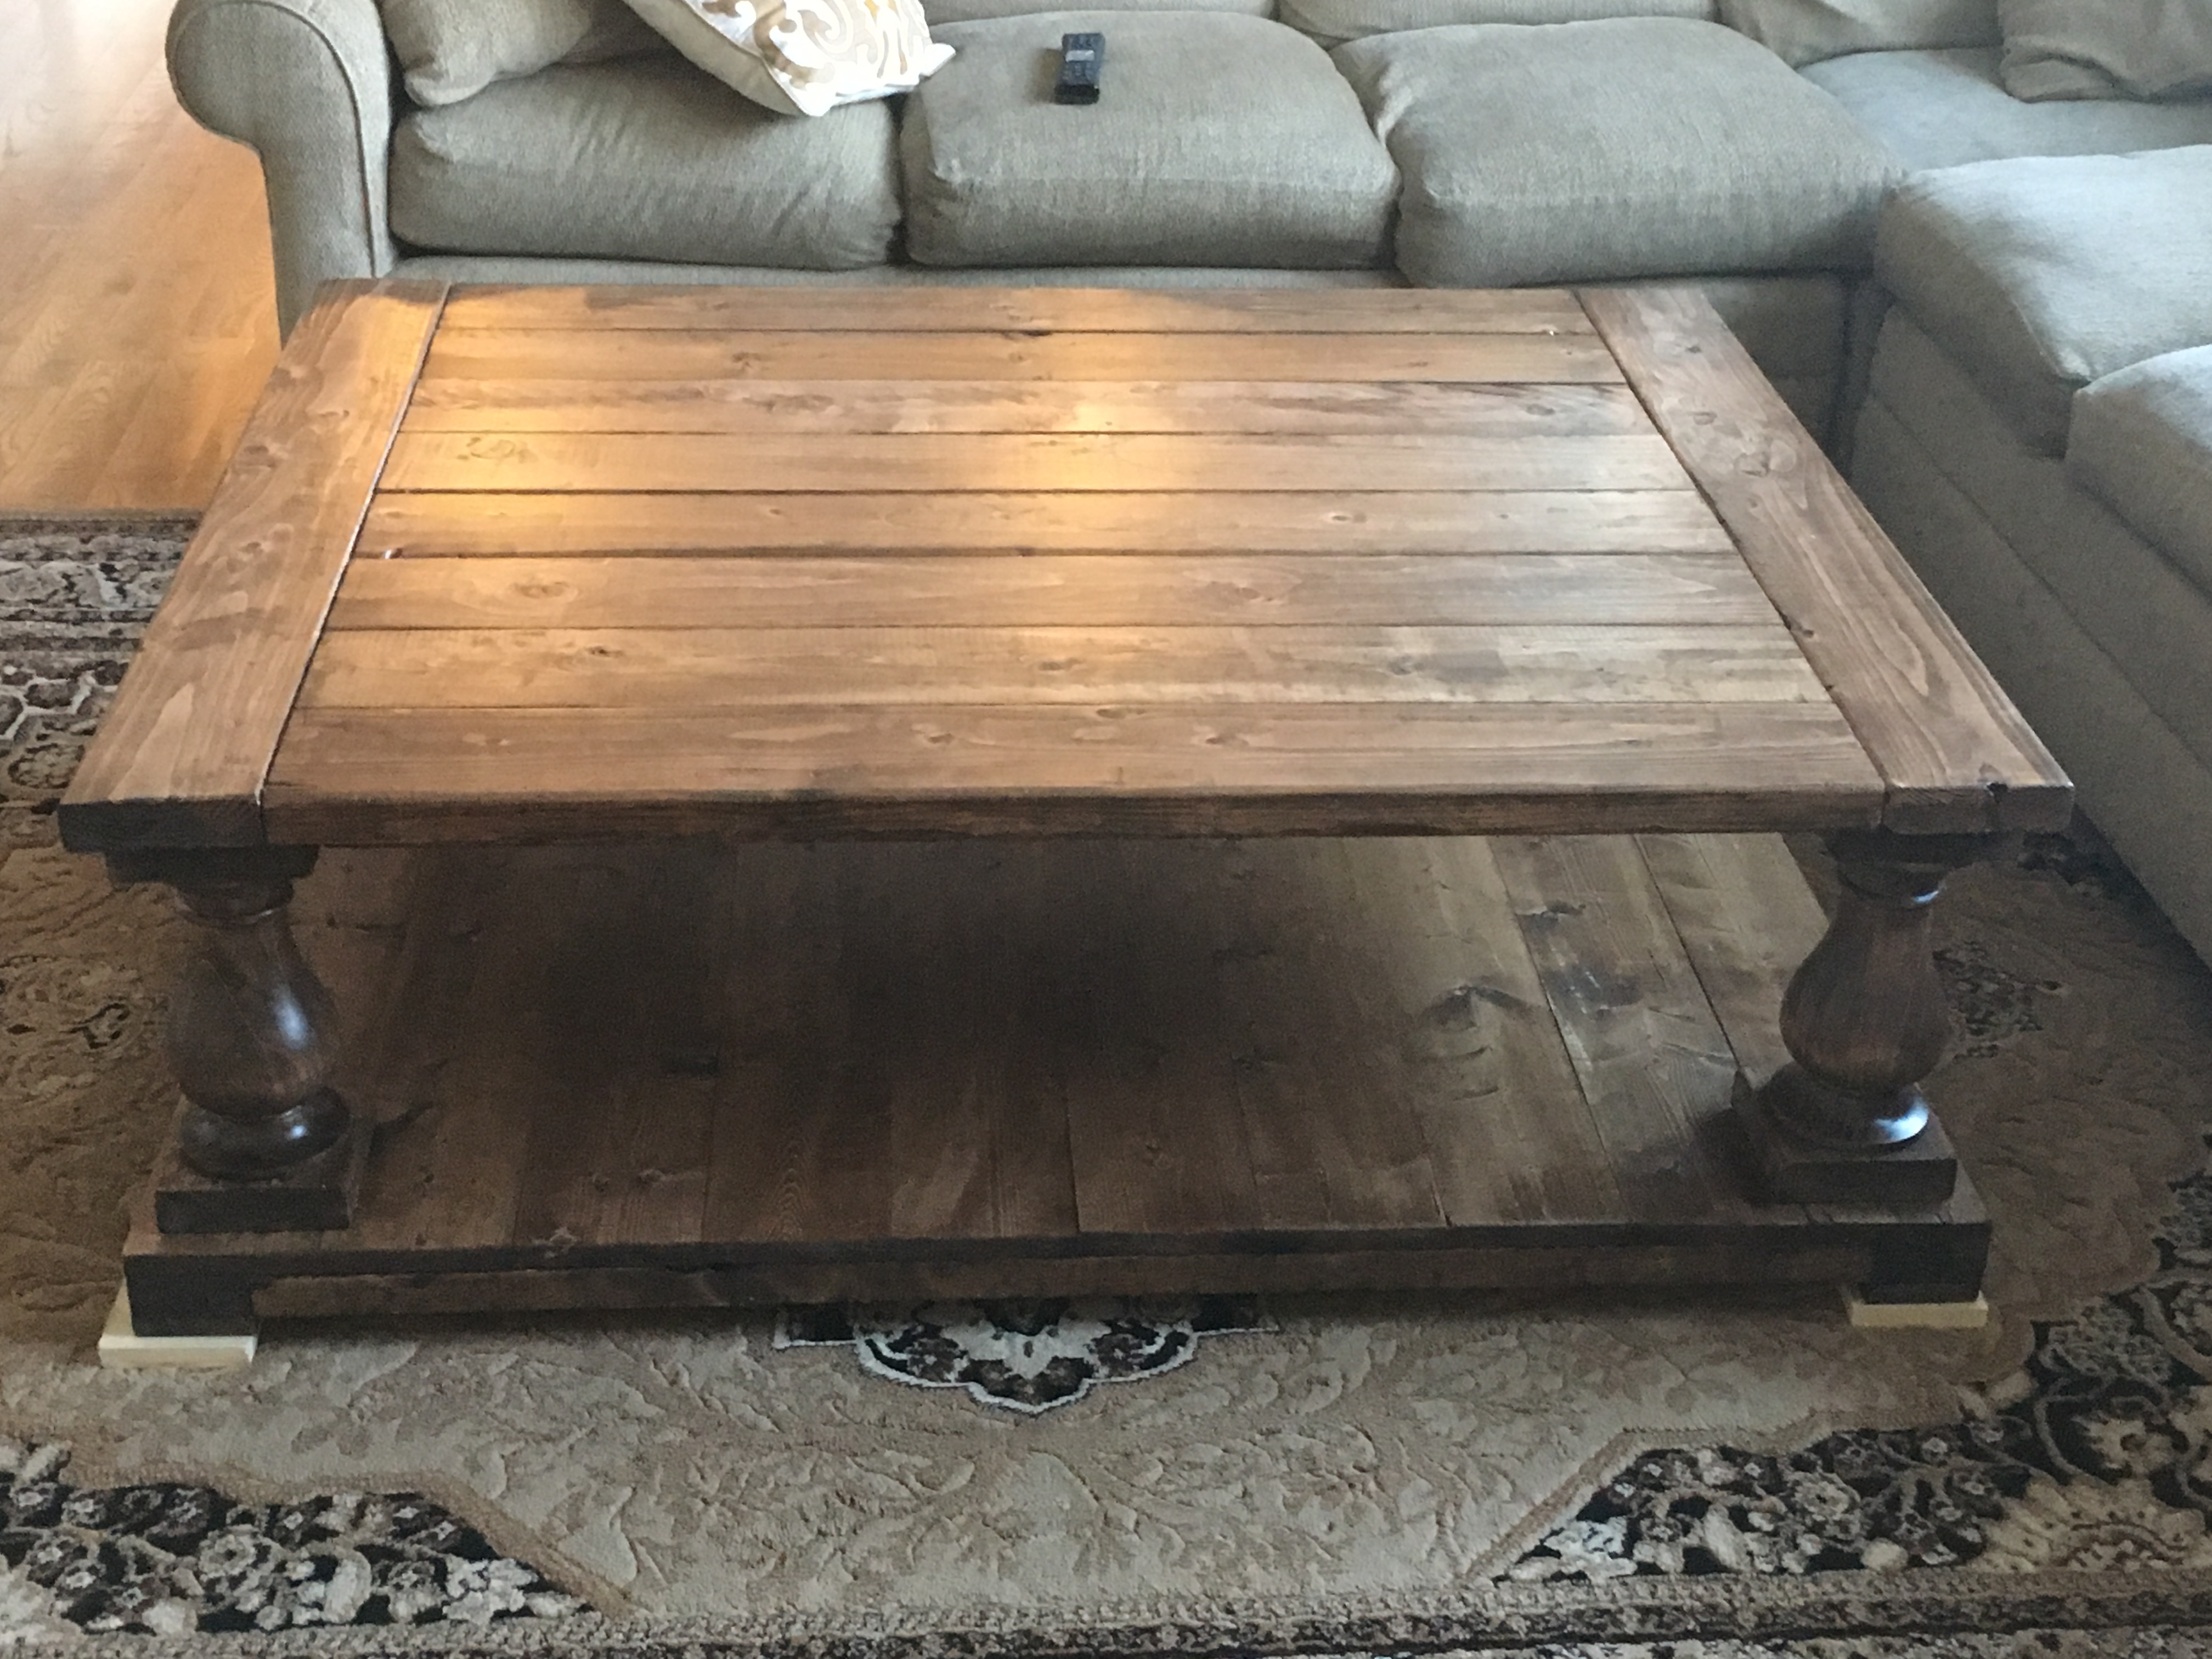
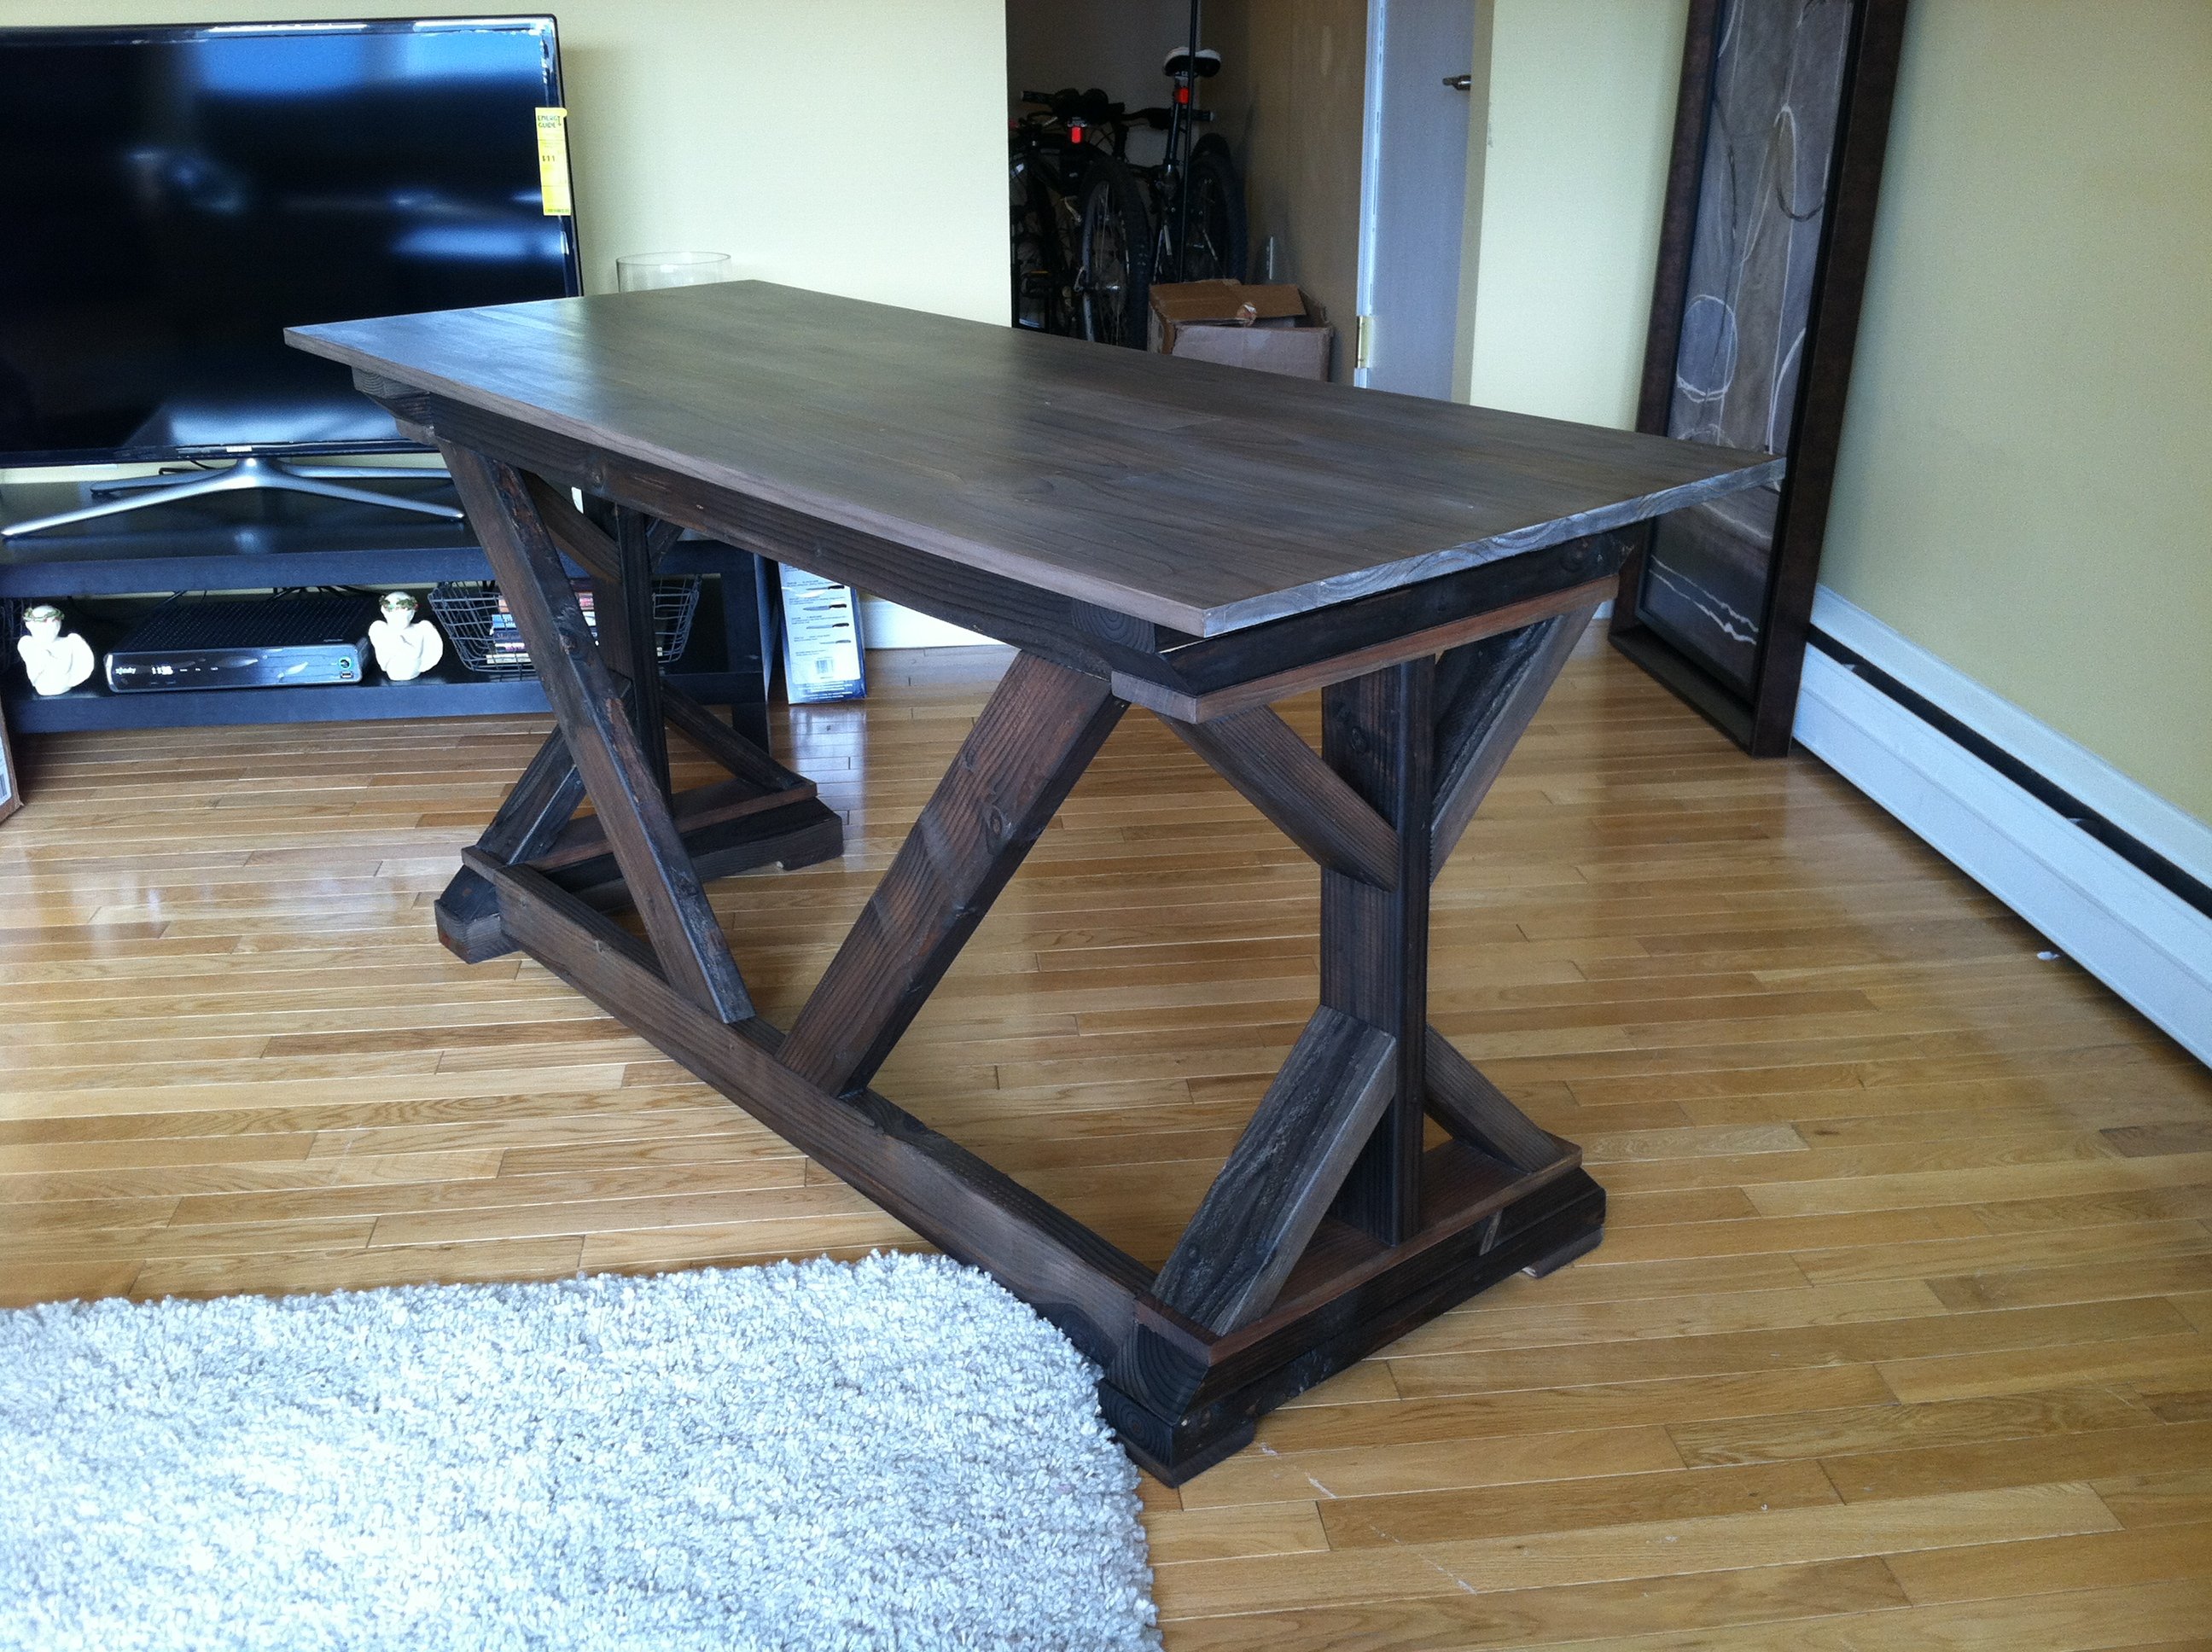
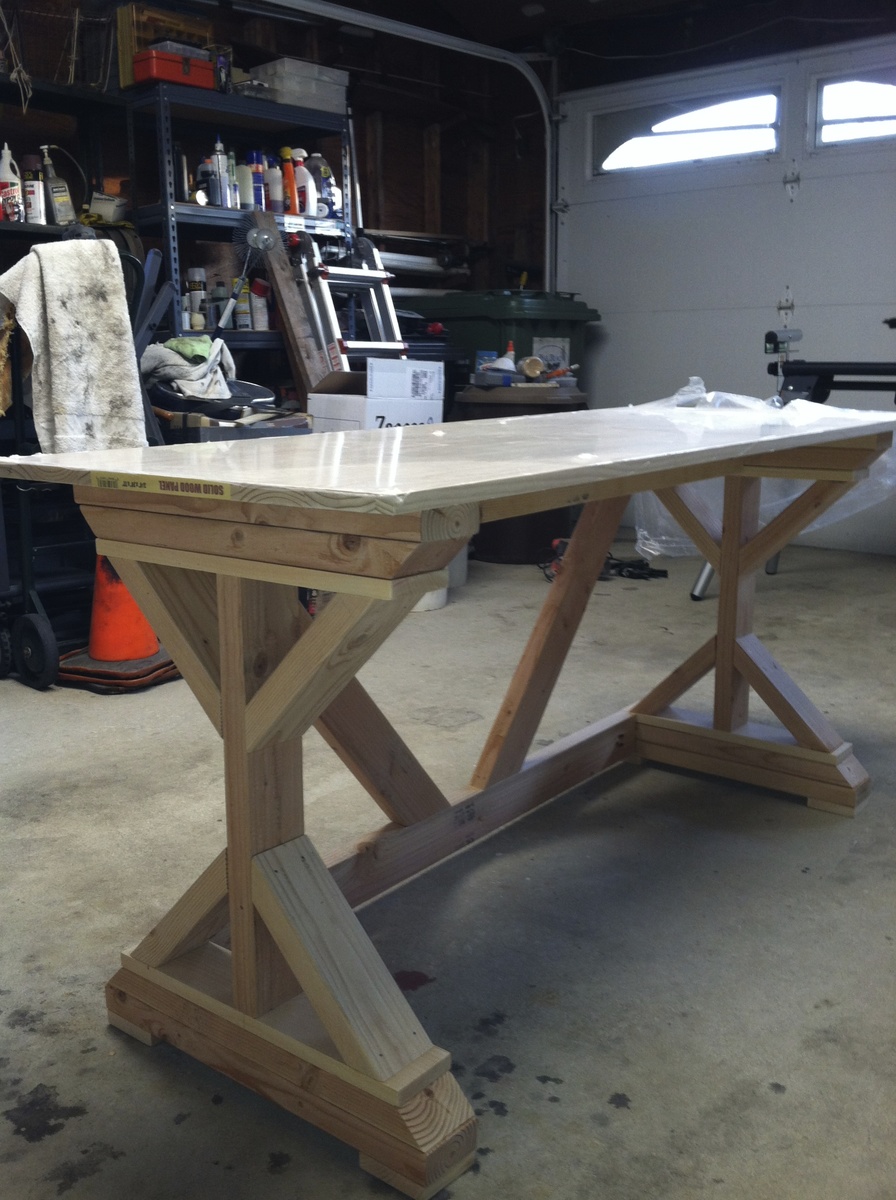
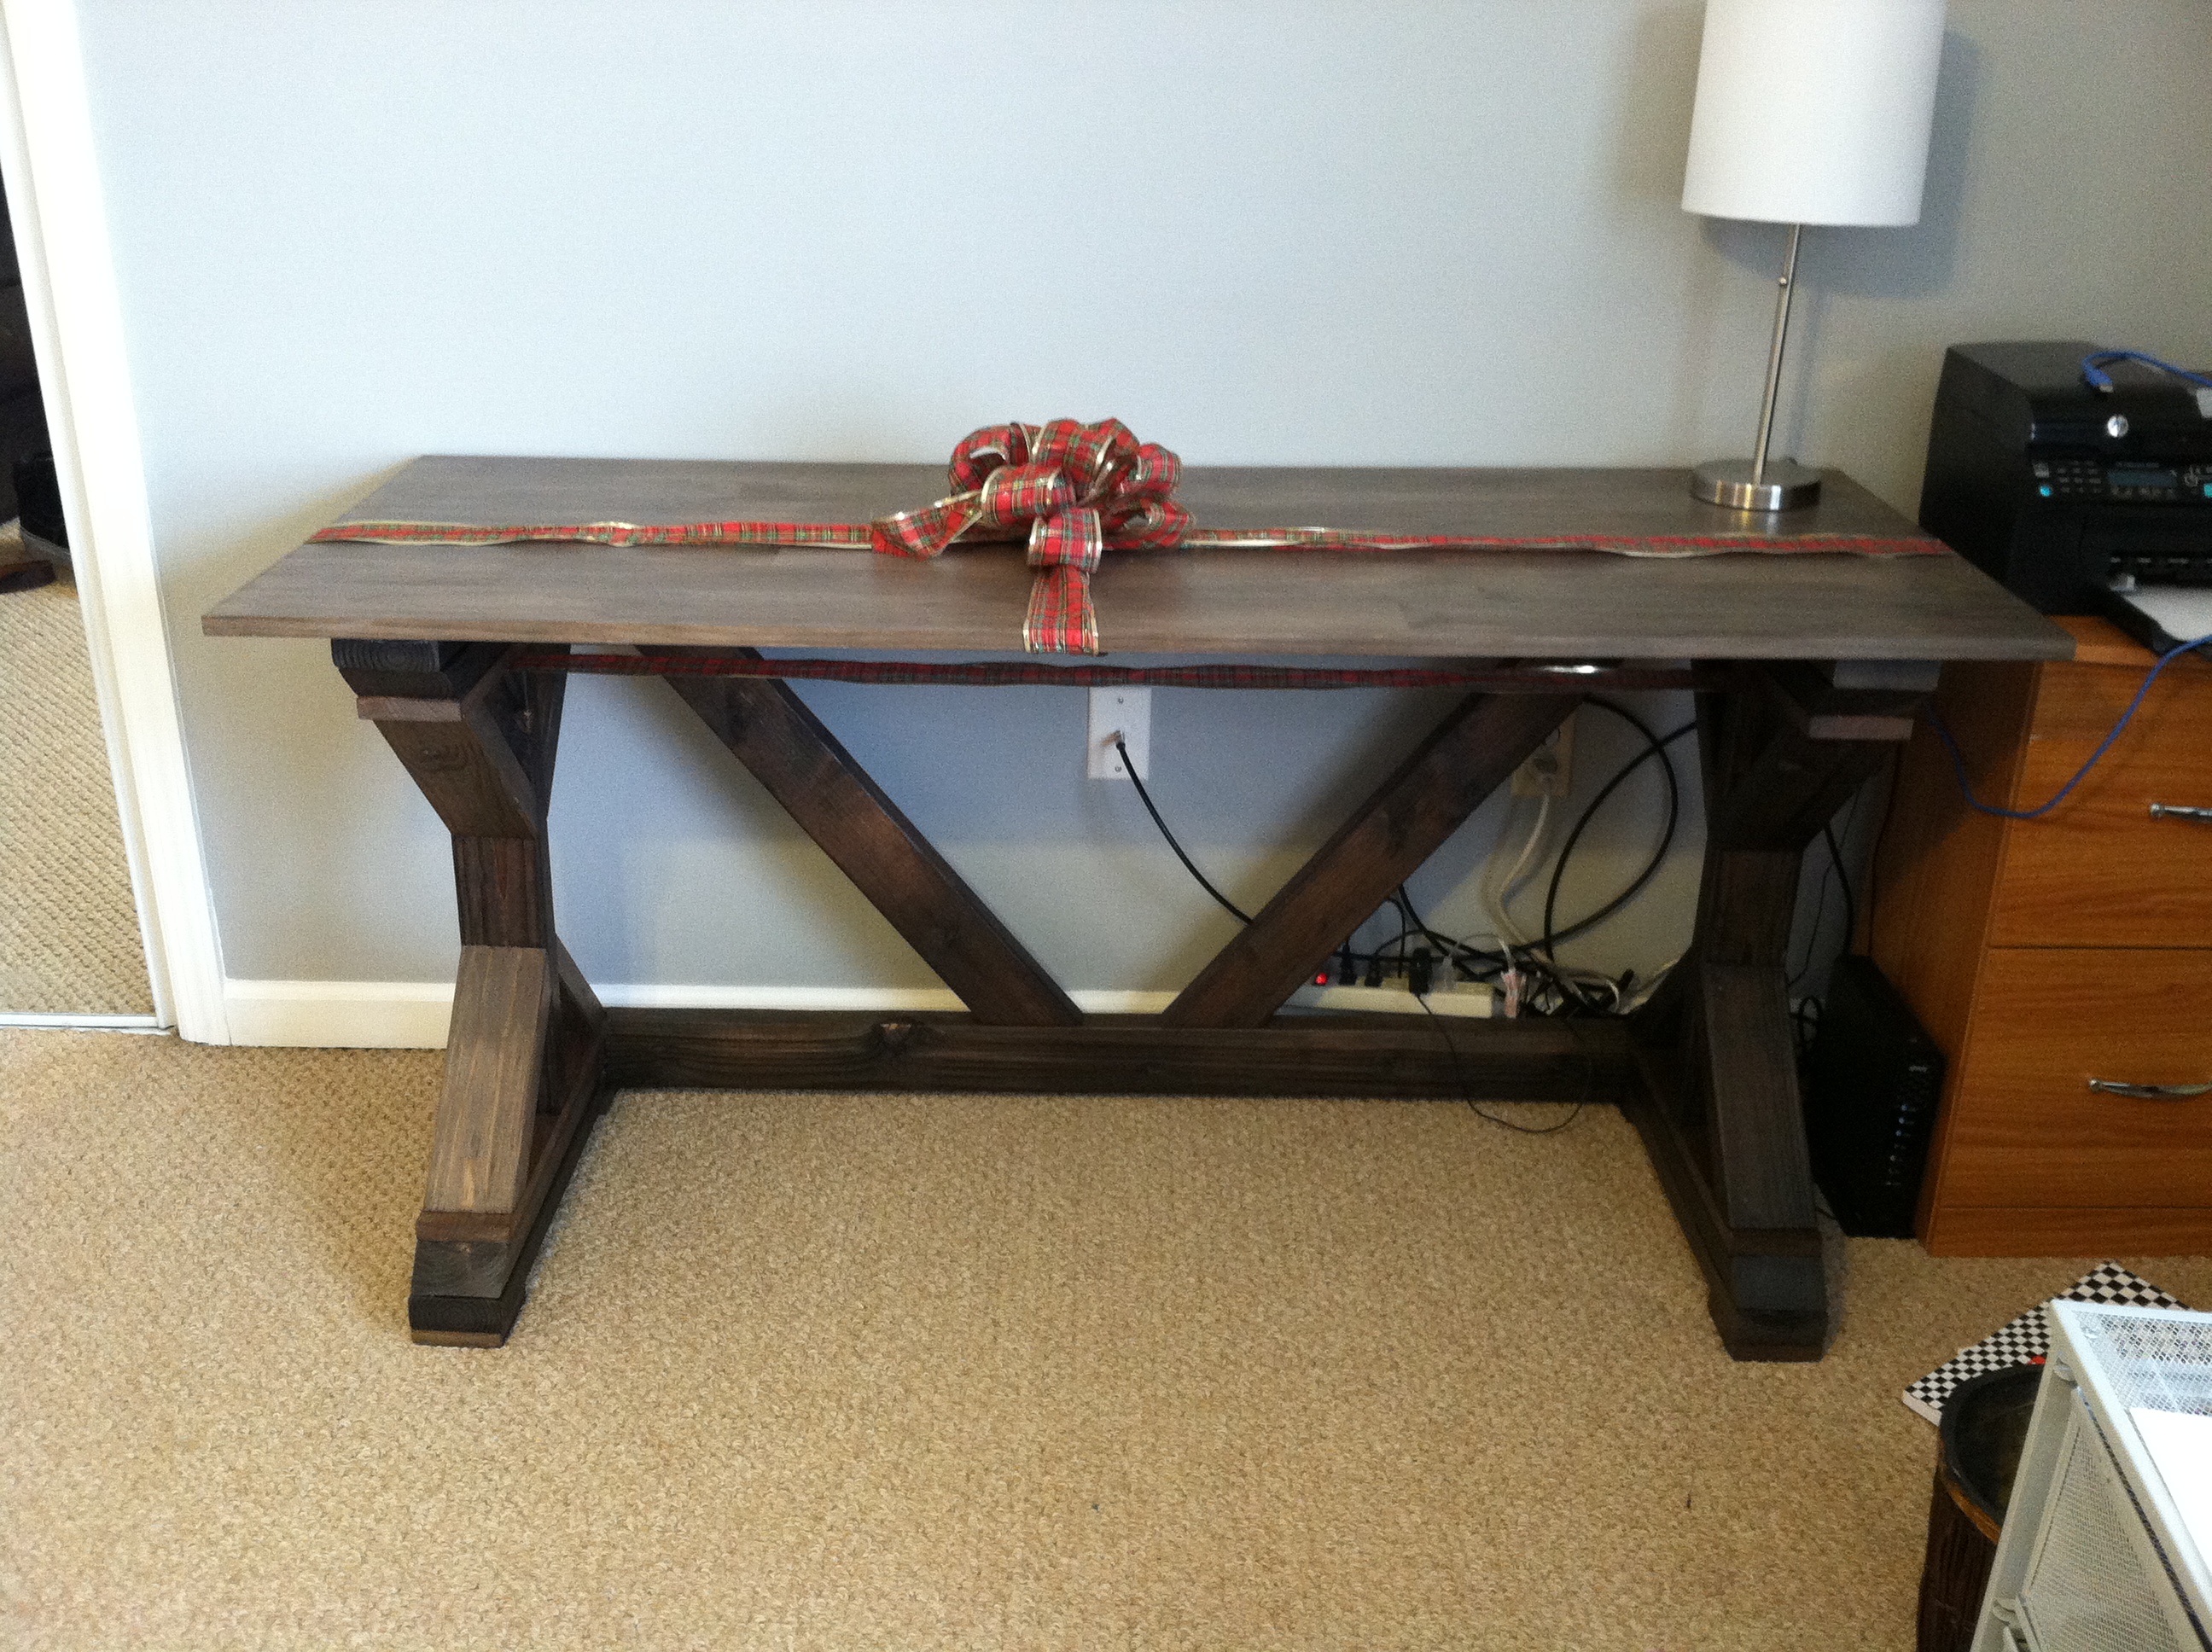
My wife and I wanted a nice TV stand for our new living room. Like always, we did not want to spend tons of money and I thought about building something anyways. My wife found the Benchwright series at Pottery Barn and loved it, but for almost $1,000 that was not in our budget. Of course I came straight here and found these plans! I had a great time building this. The measuring and cutting took only an afternoon, and the staining took a long time as this was my first real staining project. I also wanted to get nice glossy coats of clear coat, which took time.Overall we are thrilled with how it turned out! The biggest headache was the euro hinges. I followed the directions that came with them and they did not turn out right at all. It was trial and error to finally get this placed correctly.
Estimated Time Investment
Weekend Project (10-20 Hours)
Finish Used
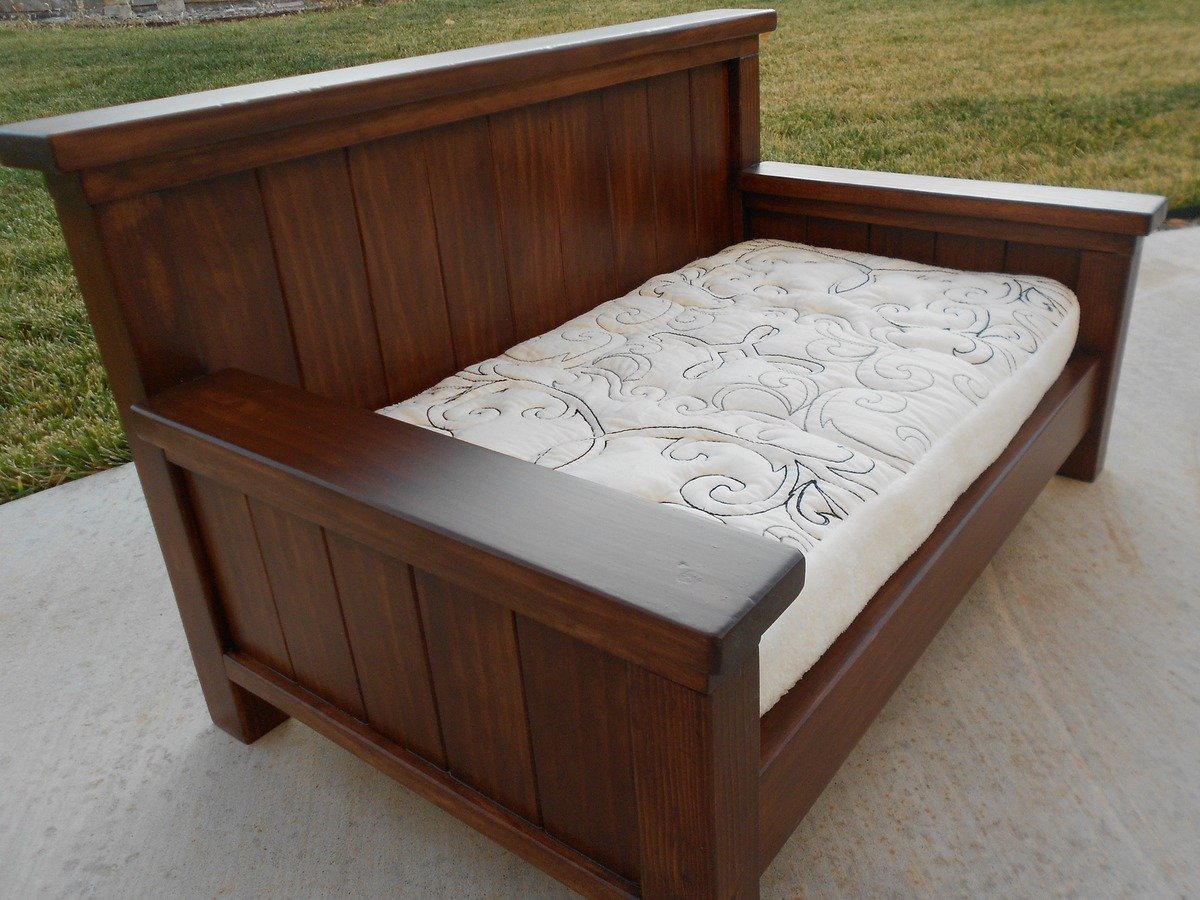
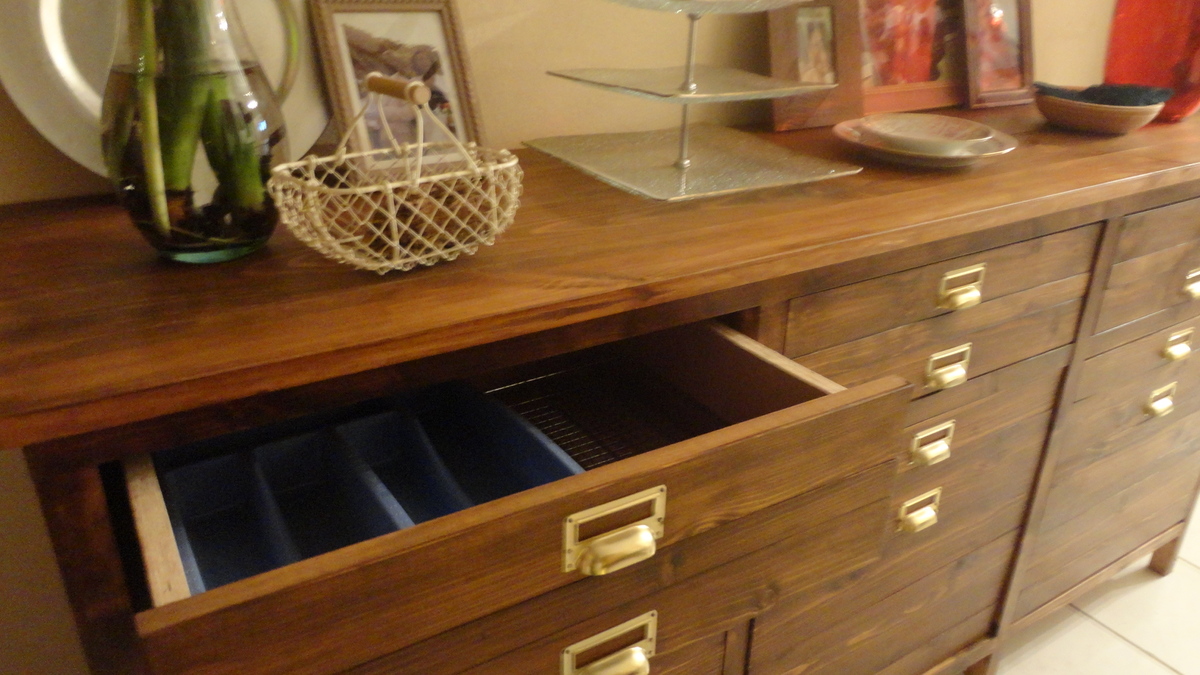
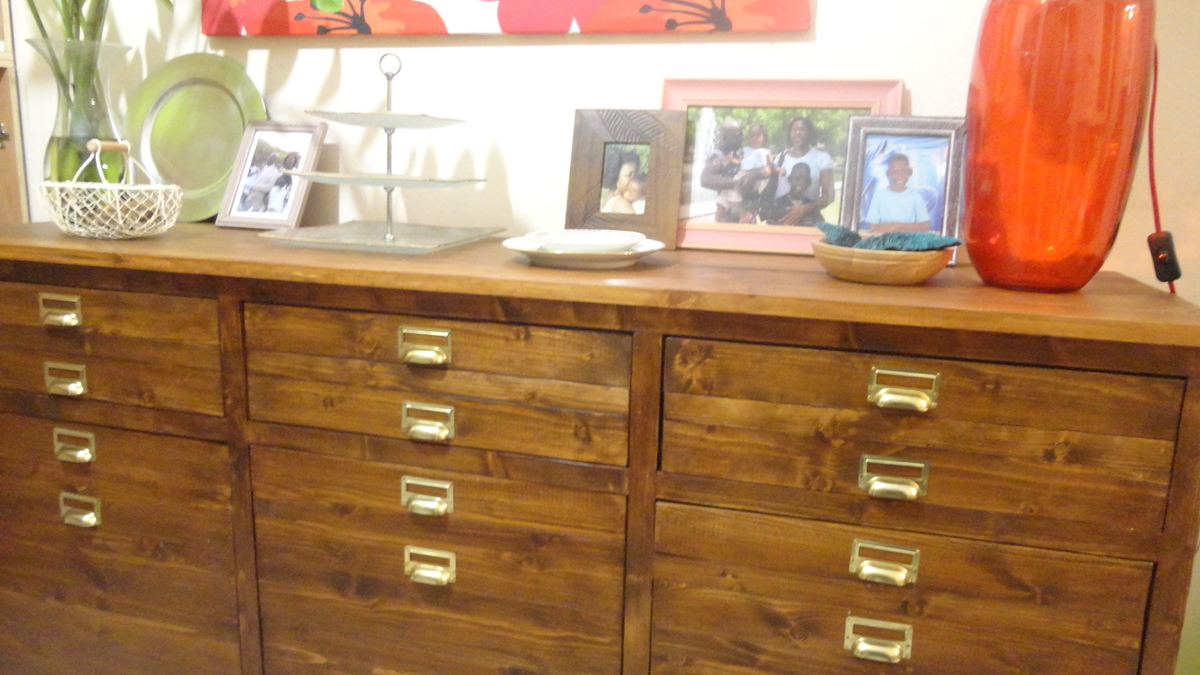
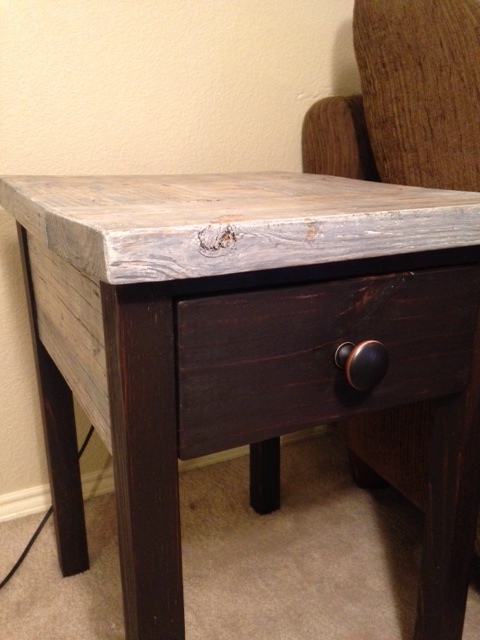
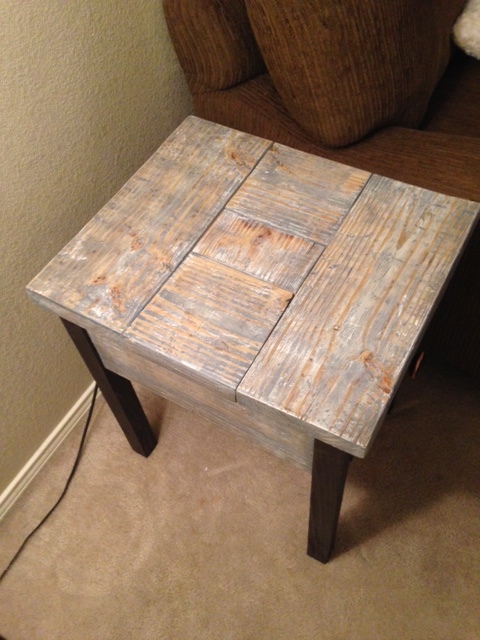
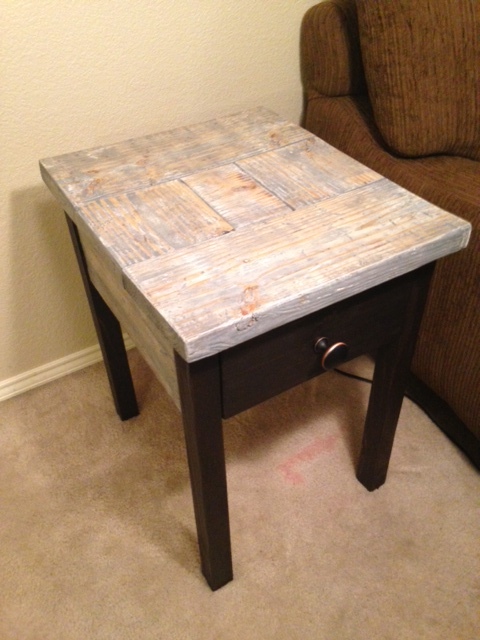
I used miniwax pre-stain for most of the project (although I couldn't tell much of a difference honestly). We used miniwax Dark Walnut for the color. I put on 2 coats of stain followed by water-based clear coat. 5-6 layers of clear coat were put on the gorgeous top and about 2-3 coats were put on everywhere else.
I tried out both oil based and water based polyurethane on this project to try them both out. I highly prefer the water based clear coat over the oil based. The water based is almost twice the cost, but it goes on much thicker so it is easier to apply and took less coats to get a glossy finish.
Recommended Skill Level
Intermediate


Comments
dananryan
Tue, 12/04/2012 - 22:14
Cute!
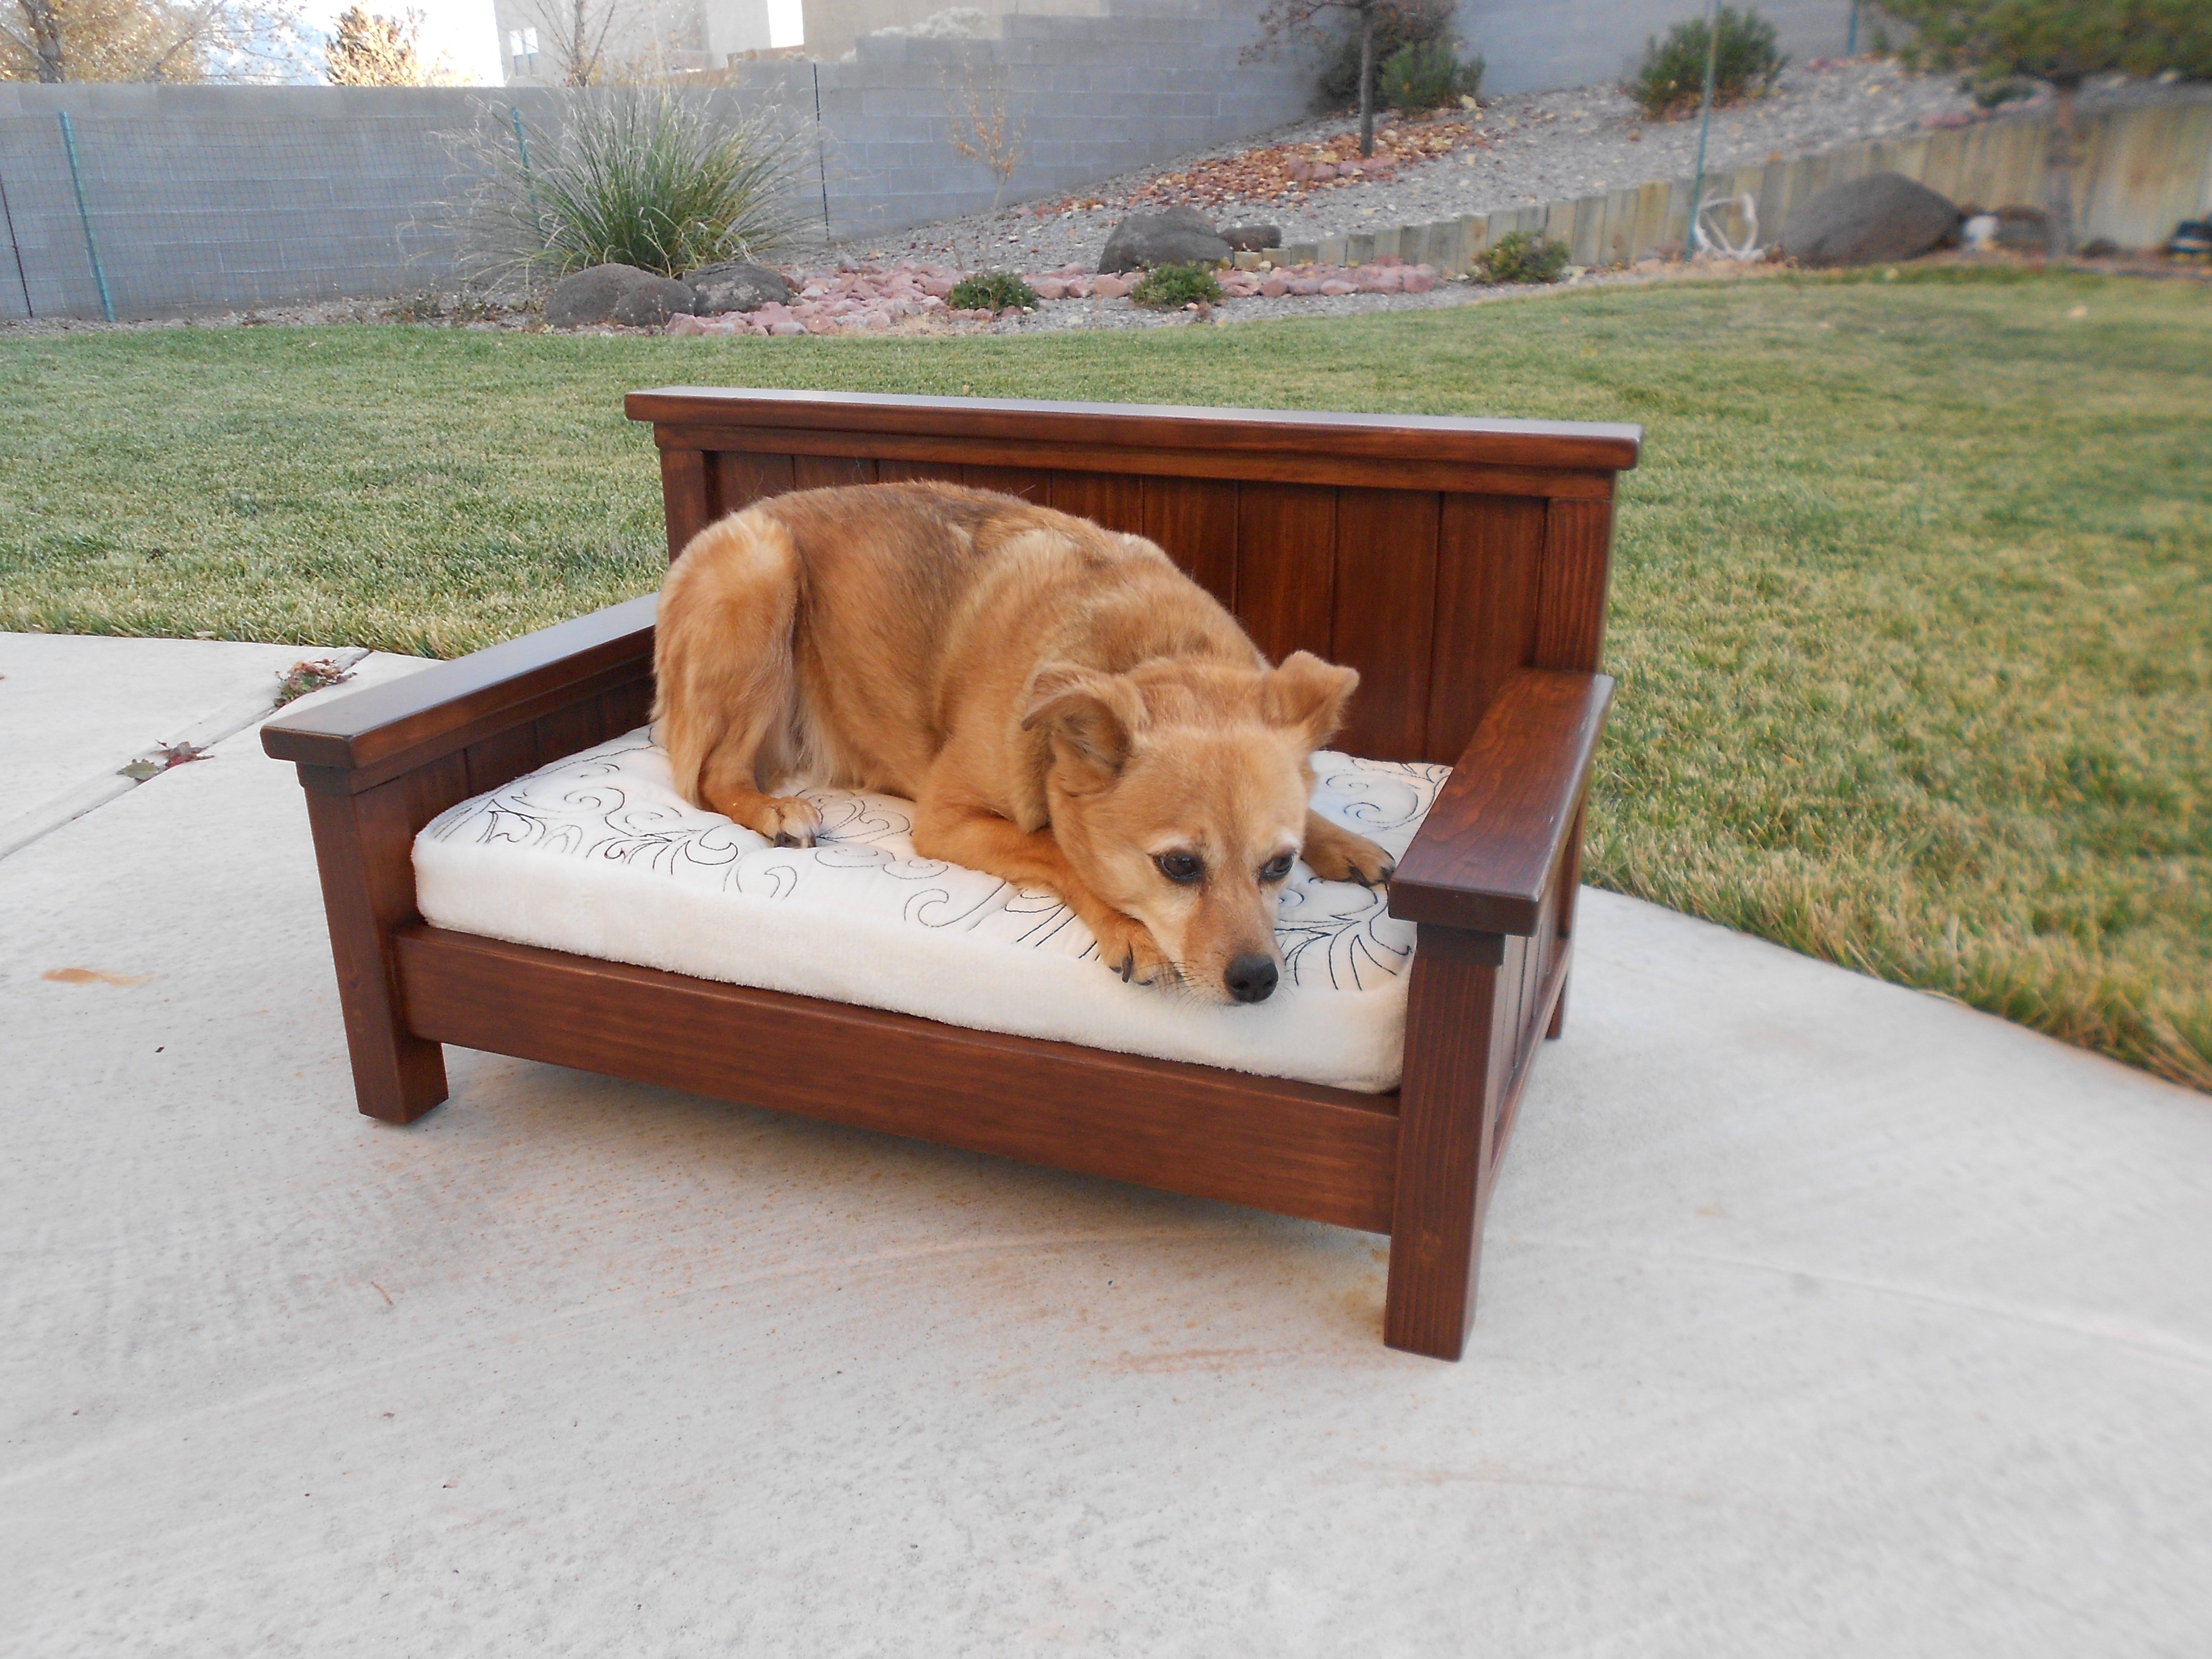
I love the modifications you made. I believe you are ready for a twin size. Lucky doggie...
spiceylg
Wed, 12/05/2012 - 05:40
Awesome!
Oh my gosh, I love it. I have to build one for my dog. You did a great job. You are definitely ready for the twin, go for it! Love the dog cushion, too!
abbpim
Wed, 12/05/2012 - 07:07
Love this!
I built the big farmhouse storage bed and nightstands in my bedroom and my dog needs her own little farmhouse bed now. I've been trying to decide how I want to do it... You've just decided for me. Thanks!
Ashley I. (not verified)
Wed, 12/05/2012 - 09:00
I love this!!! I think I
I love this!!! I think I might steal this idea and make one of these for my nephews as a little couch. About how much did you spend on lumber?
moosmani
Wed, 12/05/2012 - 21:10
Thank you! I believe I spent
Thank you everyone! I believe I spent about $25 to $30 on lumber. I have the lumber receipt and it came to $44 but I had a lot left over.
jaime19861
Wed, 12/05/2012 - 09:48
This is great!
Is there anyway you could give us your approximate plans?
moosmani
Wed, 12/05/2012 - 20:52
I pretty much just followed
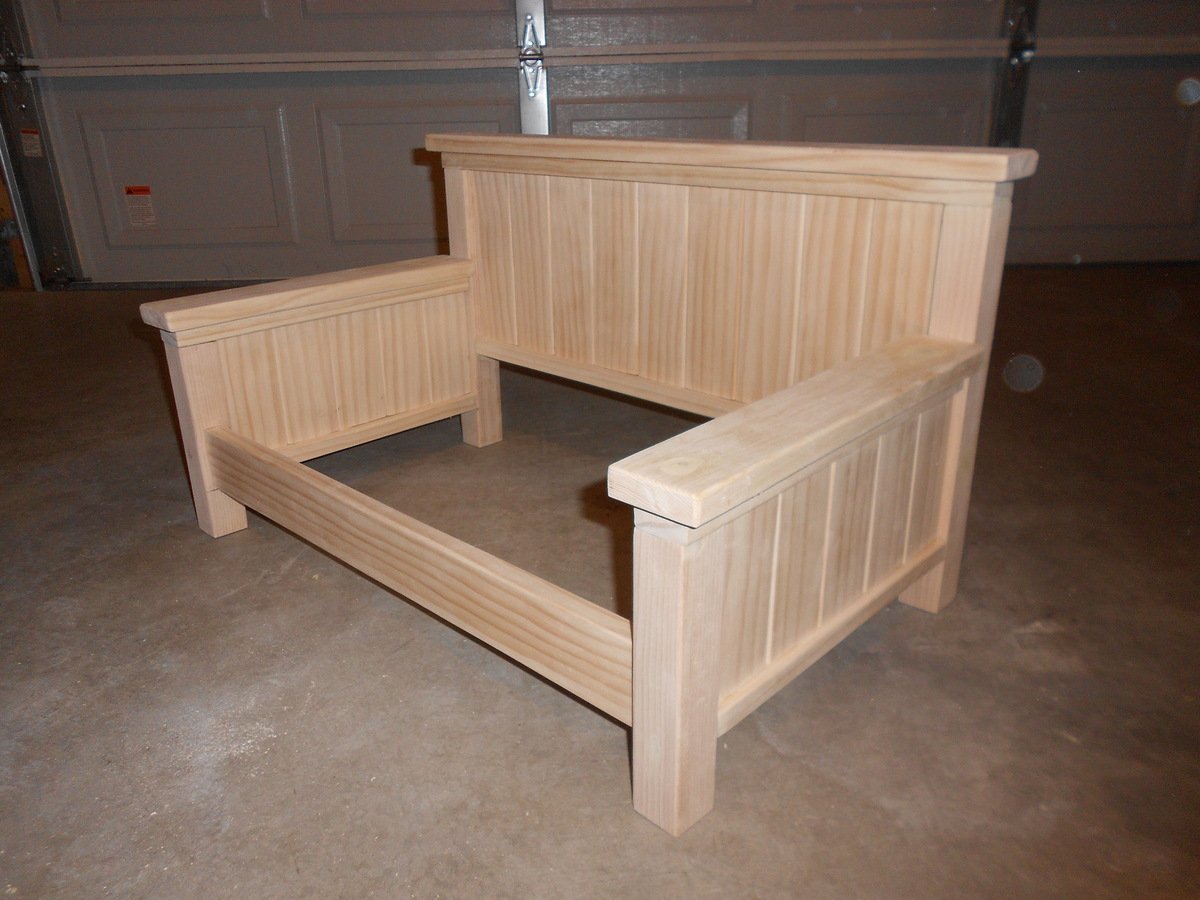
I pretty much just followed the plans, except making it taller and wider by adding more slats and making everything taller. The finished dimensions turned out to be approximately 26 ½” x 16 ½”. I kind of made it up as I went, but I did take some notes. Here is the first part of my altered cut list:
9 ea – 1x3 @ 8” tall (headboard panel slats)
10 ea (5 for each side) – 1x3 @ 5 ¼” tall (side arm panels slats)
2 ea – 2x2 @ 8” tall (side arm legs)
2 ea – 2x2 @ 13 ½” tall (headboard legs)
For the rest of the cut list, I didn’t take notes. I just cut the lengths to fit my new dimensions. I hope this helps. If you’d like more measurements just let me know and I can measure the actual bed.
Maira (not verified)
Wed, 12/05/2012 - 10:07
This looks beautiful. Where
This looks beautiful. Where did you get the cushion from? How big is the cushion?
moosmani
Wed, 12/05/2012 - 20:21
Thank you! I made the
Thank you! I made the cushion with foam and batting. I got the foam piece from the fabric store. It was 2" thick, 22"x22" square. It was on sale, but I don't remember how much I paid. I cut it down to 22" x 12” to fit the inside of the bed. A regular handsaw worked great for cutting the foam. Super easy, but messy. I wrapped it in batting so it finished a little bigger, 23” x 13”. I bought one pillow sham from Walmart because I liked the design and cut it apart to make the cushion top. The rest is from one of those cheap fuzzy blankets.
Kimsims (not verified)
Wed, 12/05/2012 - 10:30
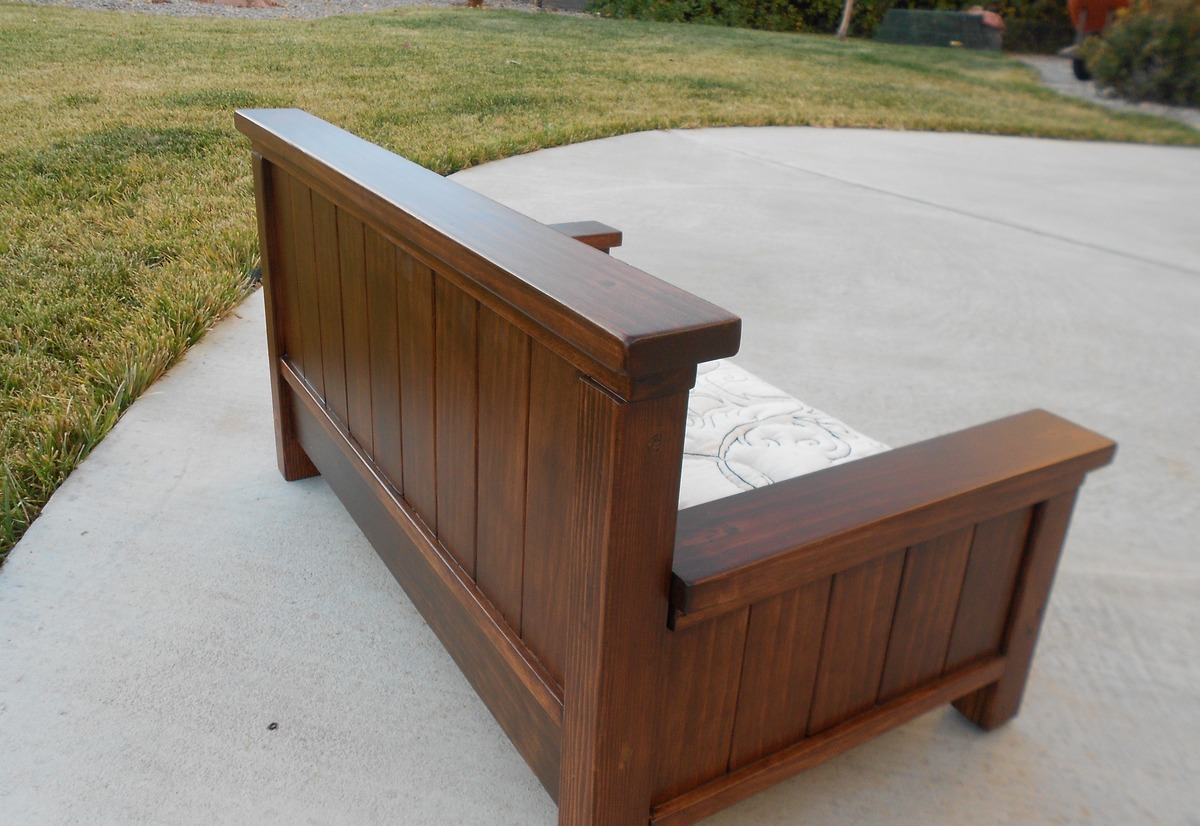
That finish is beautiful!
That finish is beautiful! Can you tell me how you did it?
moosmani
Wed, 12/05/2012 - 21:08
Thank you! I have much to
Thank you! I have much to learn about finishing. I first used regular stain. I think the color was gunstock. It turned out so not what I was going for. It was too orange. So then I stained it again with Minwax Hickory Gel Stain. Better, but the wood putty still showed and looked terrible. So I resorted to Minwax Bombay Mahogany Poly Shades which I found difficult to work with, but it did a fantastic job of covering over the wood putty filled holes. I think I used either 2 or 3 coats of the Poly Shades. I’m sure I could have skipped the first two stains and could have had the same result!
colsen
Mon, 12/17/2012 - 19:30
Fantastic bed!! I've been
Fantastic bed!! I've been shopping for a dog bed. This is 100 times better than anything in the store. I may have to borrow you're idea :)