Community Brag Posts

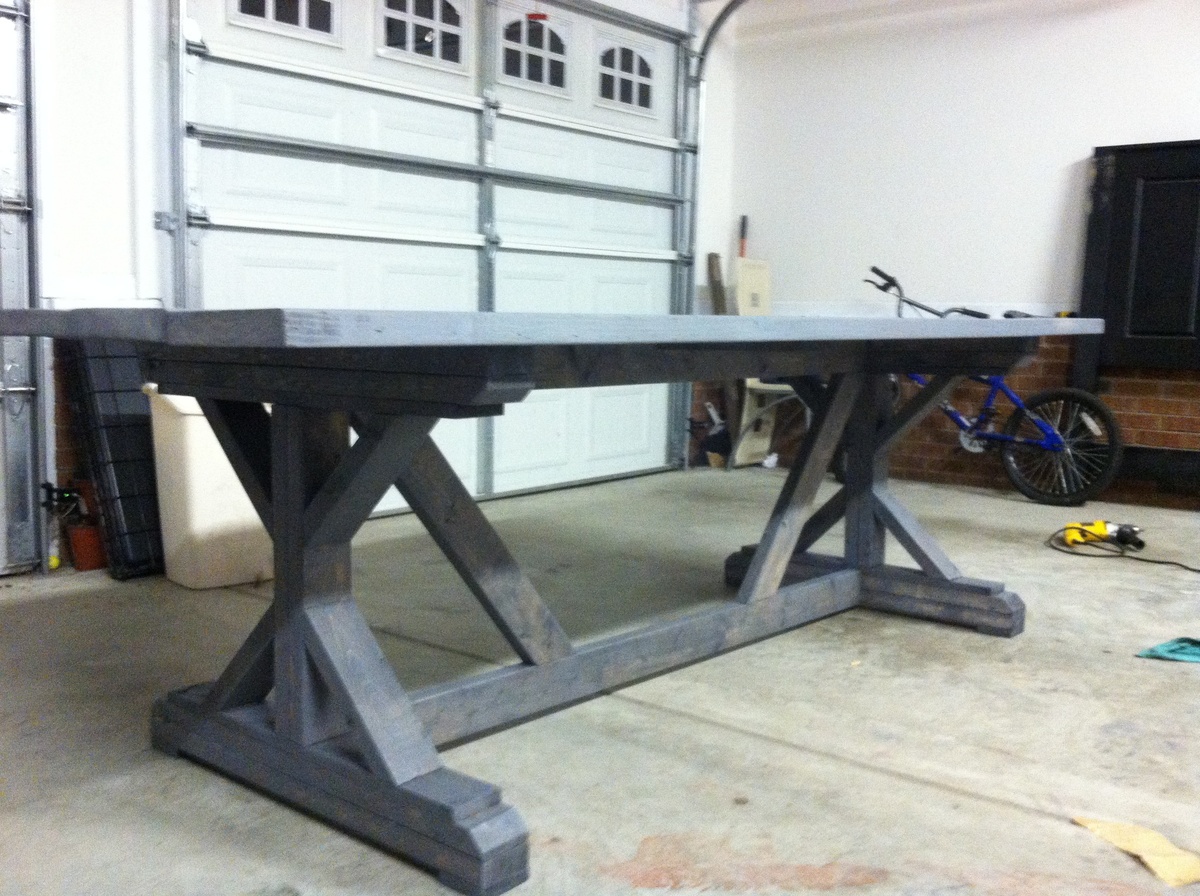
My first build - work bench

Submitted by Anonymous (not verified) on Tue, 12/28/2021 - 17:11

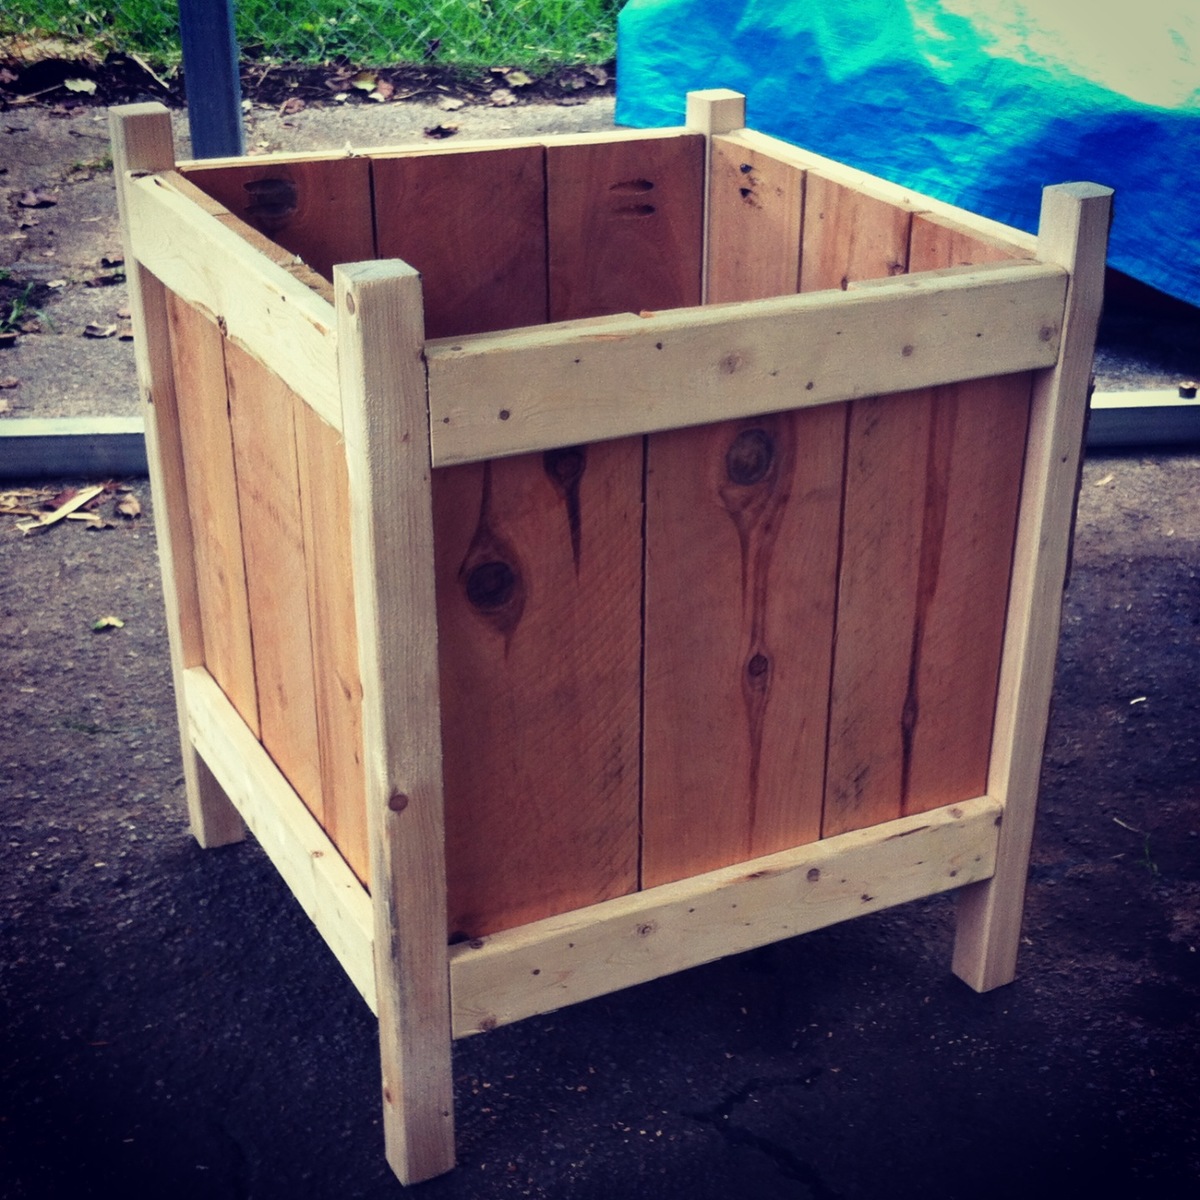
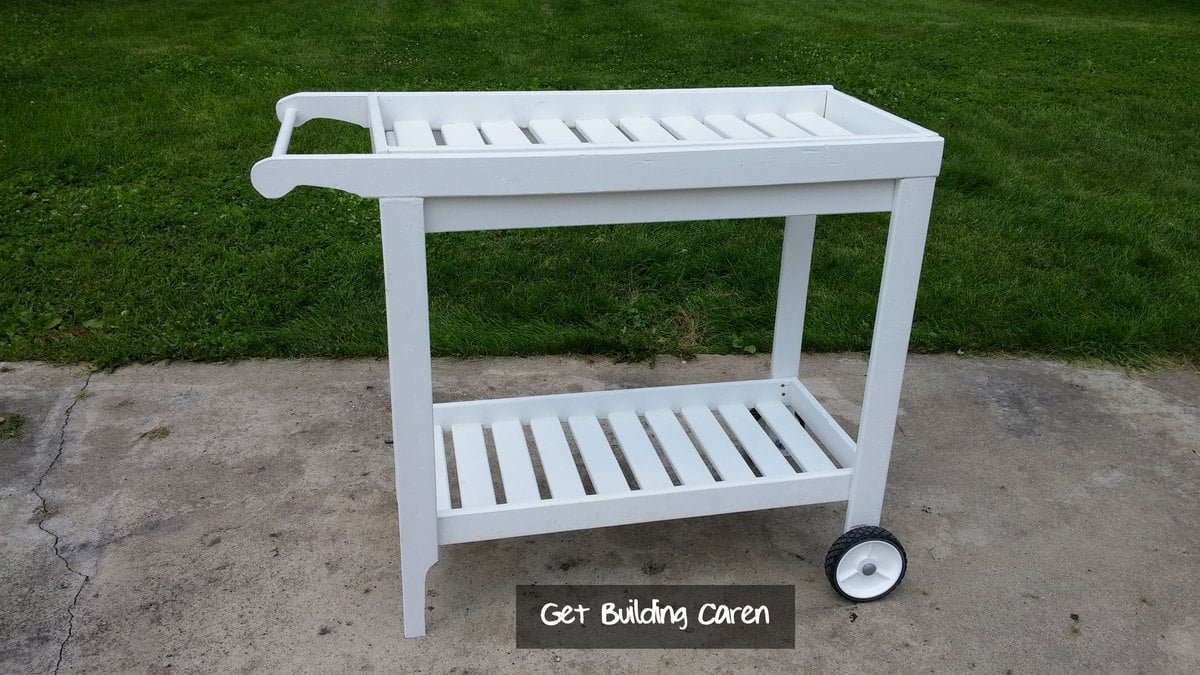
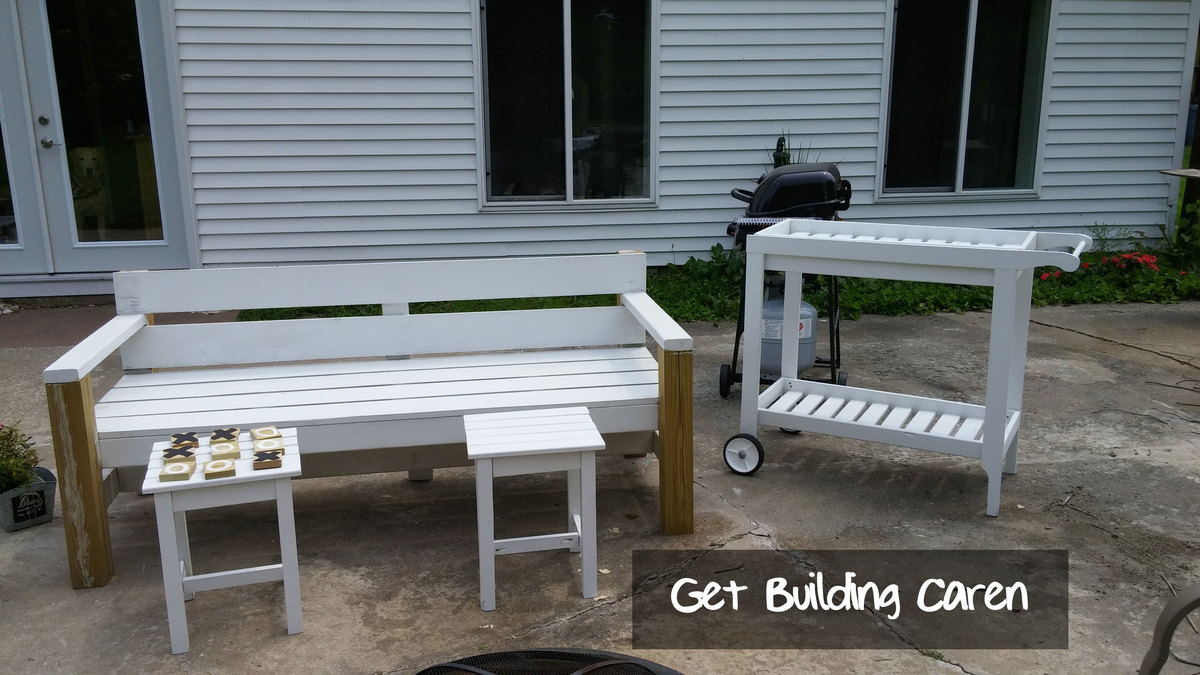
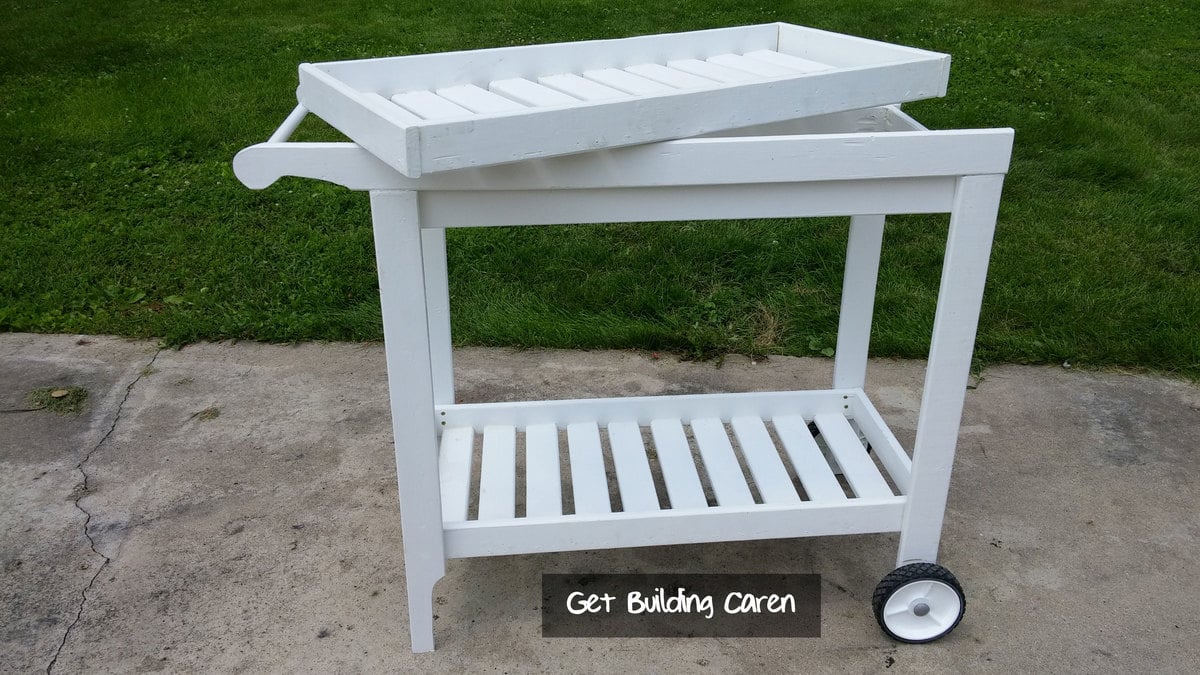
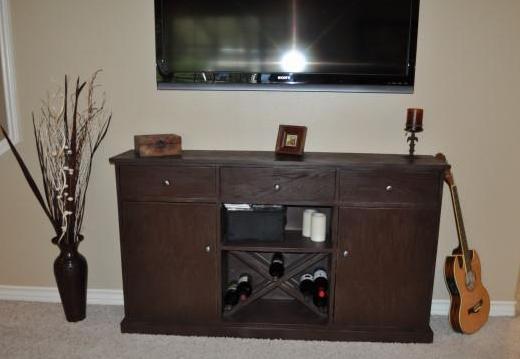
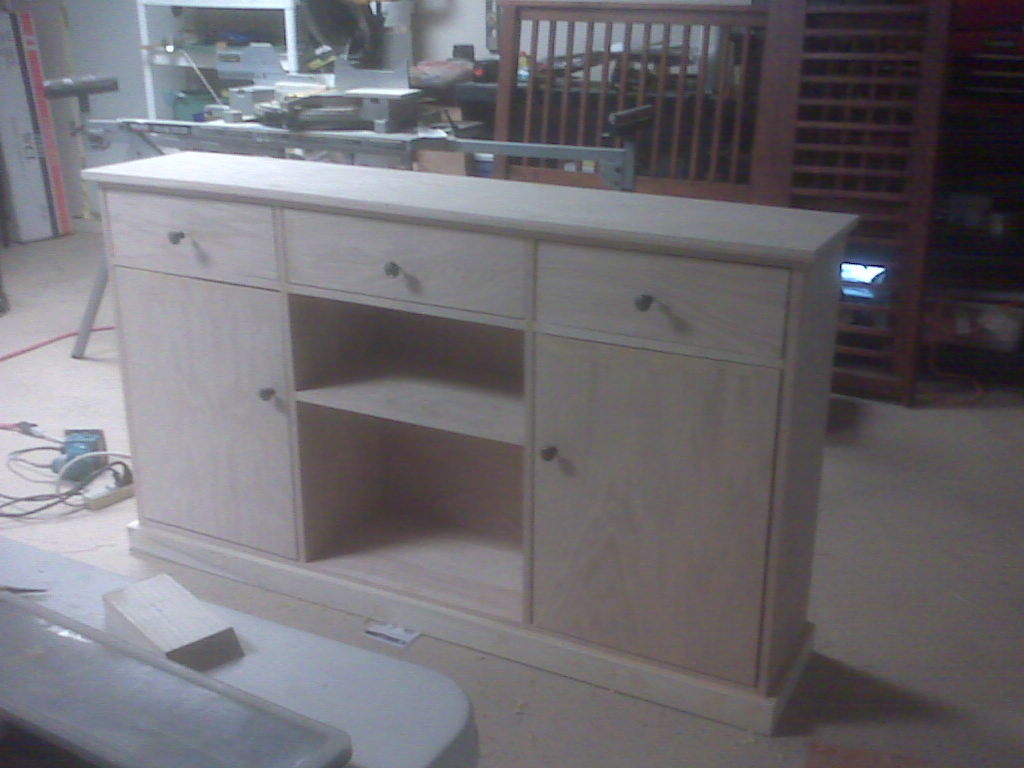
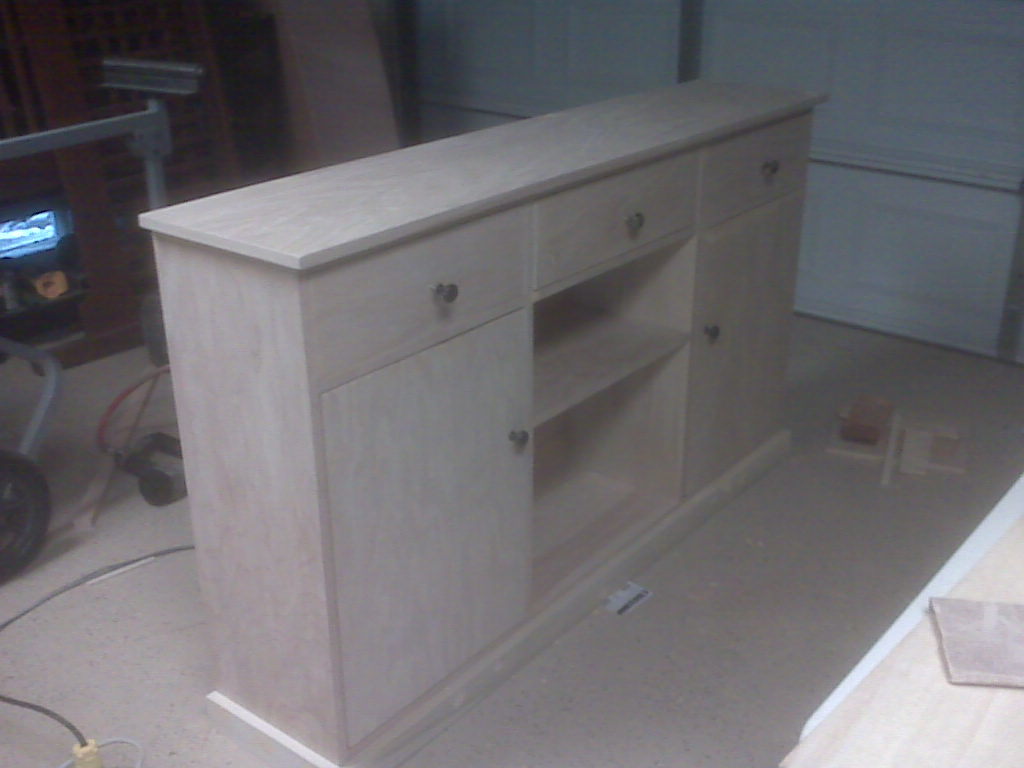
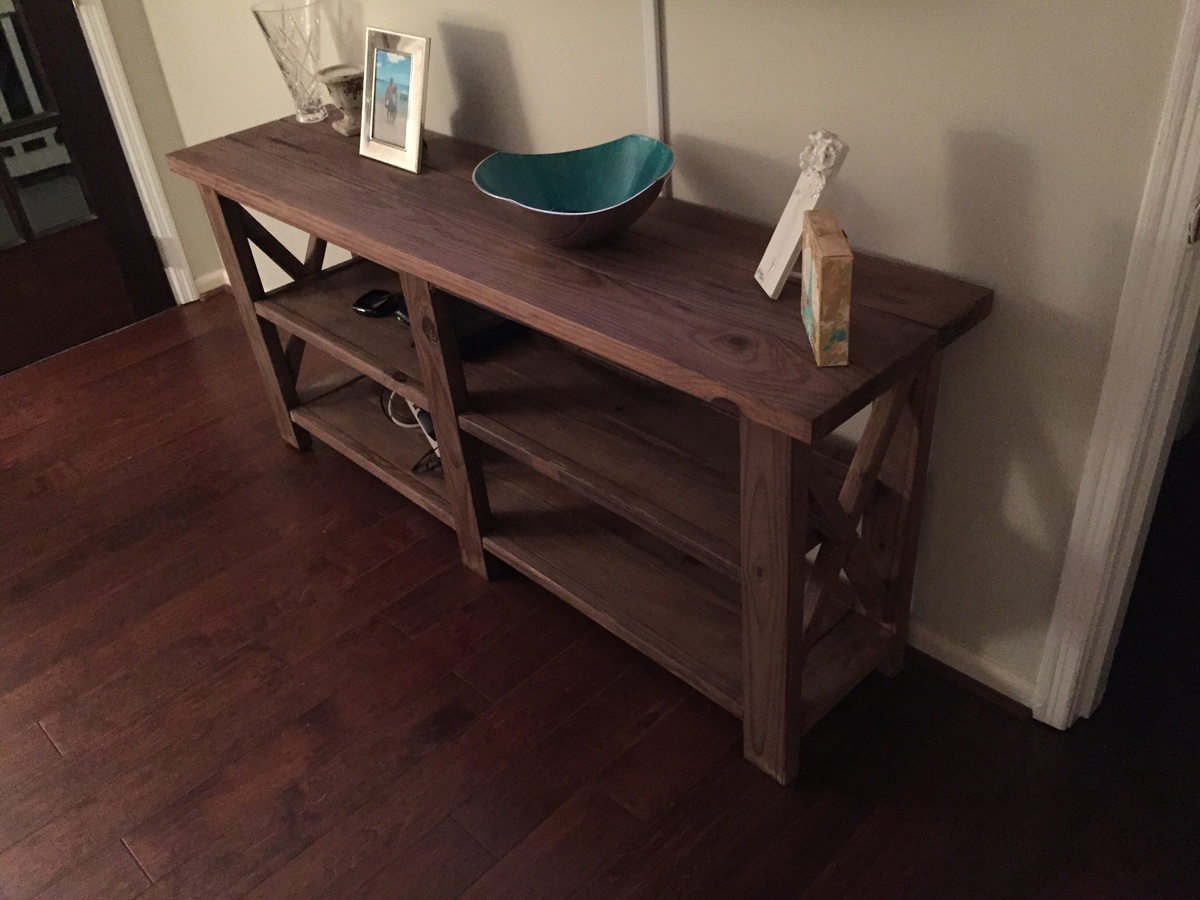
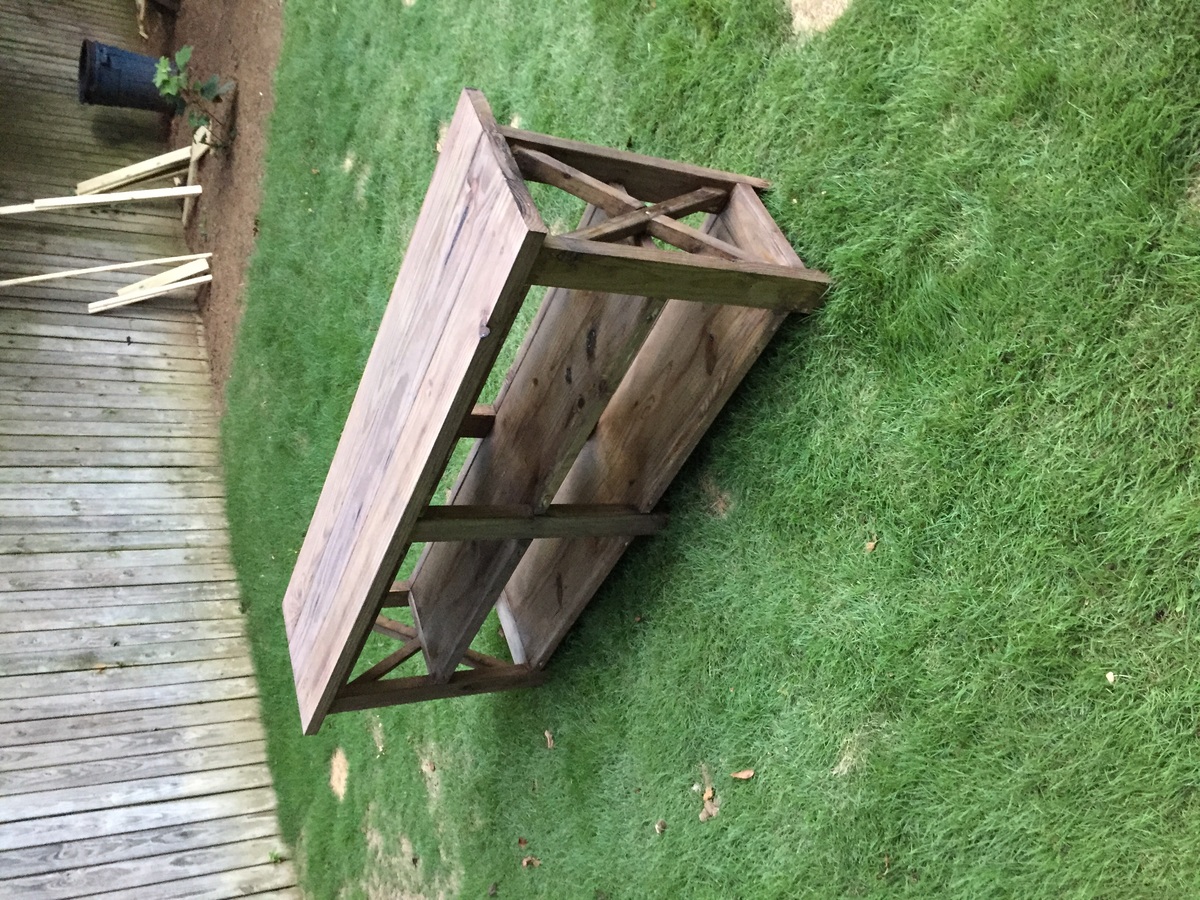
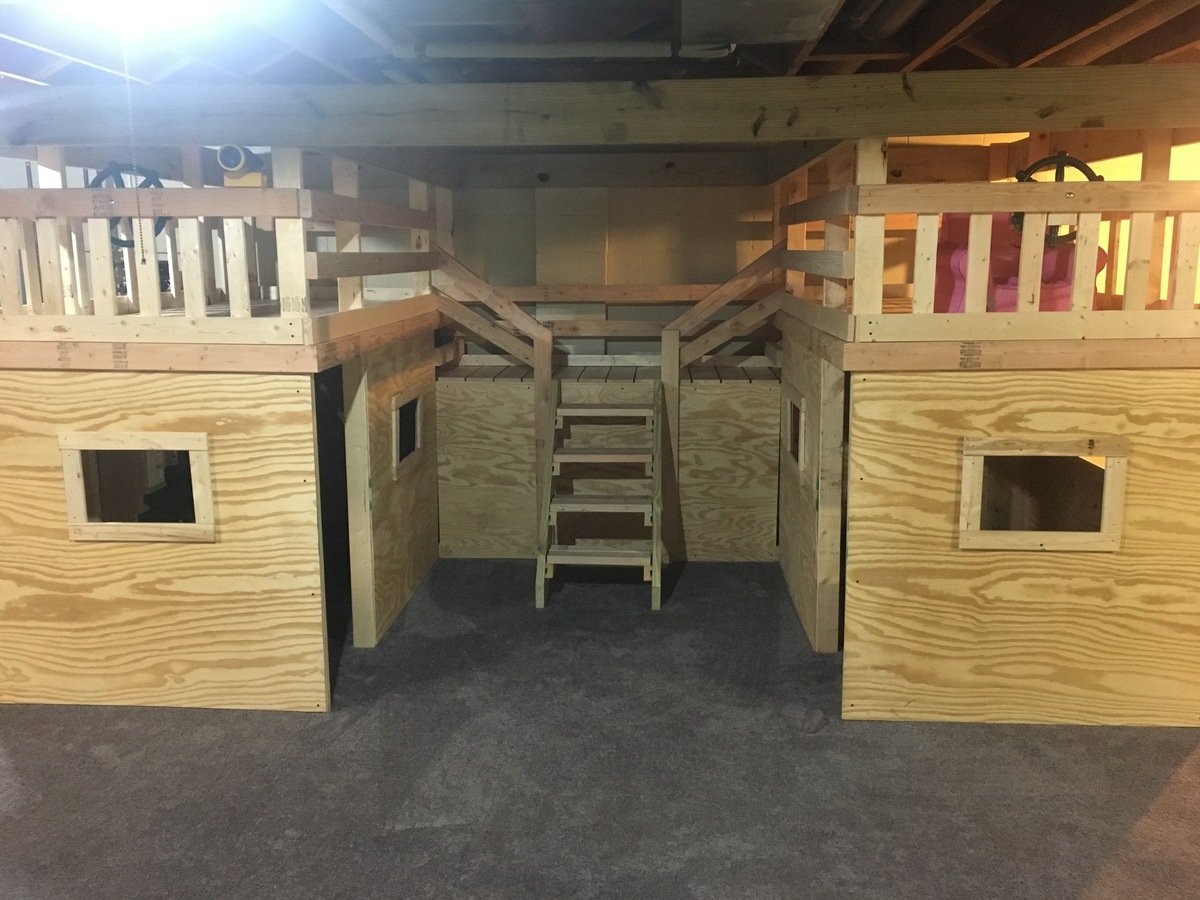
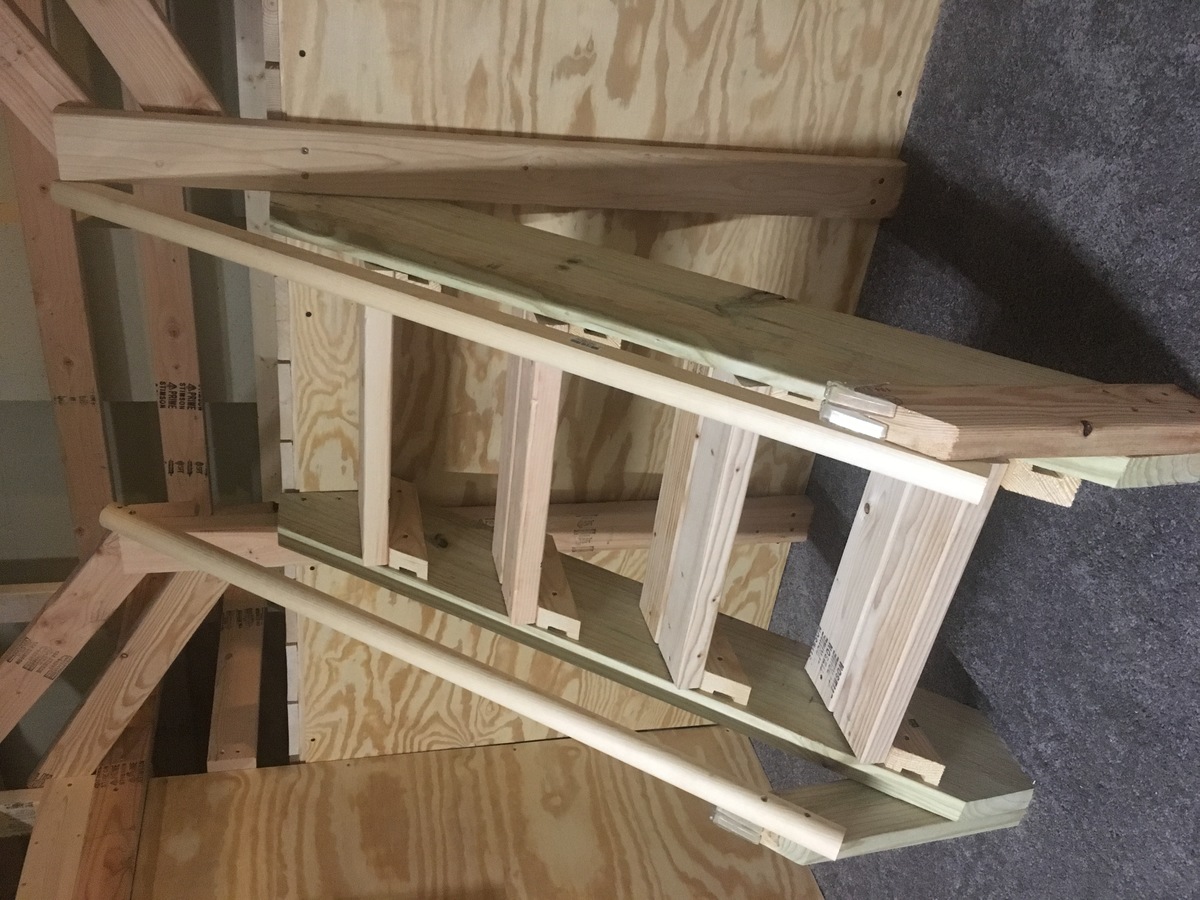
Hi Anna and everyone else that read this. My name is Scott. I got into woodworking to have something to do after I retire retire. No, that's not a typo. I retired the first time from the military, but right now I'm still working. For a couple more years. Anyway. The first photo was my workbench to build my workbench. The second photo is the all the cut wood. The third is the finished product. Mistakes were made, of course, but I learned from them. For example, the plywood is what I believe is termed 'exterior'. I figured, it was going to be hammered on, drilled on, painted on (you get my drift). What I didn't count on was splinters from the very rough surface. I sanded it. And sanded it. And sanded it. Now I just wear gloves, LOL. Since then I've also built a set of "Owens Night Stands" of yours. My wife loves them. Me - I see all the mistakes I made while building them. I'm hoping to learn from them also. BTW, Anna, that video you made for setting up drawers? Wish I'd seen it earlier, would have been a lot of help with those 2 stands, LOL. Last thing - I always remember everyone saying 'measure twice, cut once'. For me, until I get better at this, it's measure 3 times!

Comments

Our First Project!

Submitted by gabbiegal on Tue, 05/10/2011 - 20:02

We have built things before, but this is our first from Ana's Site. We just finished this over a month ago... Was so much fun to do and I just love how it turned out! I decided not to paint just yet, so the buyer can decide. I have just primed it. I learned how to use a kreg jig, and bought a very cheap one... Best tool ever. There are no screws visible at all. I think if I did it again I would do something different with the handle.. not sure what though. It was difficult to make it look right. Thank goodness for the patience of my husband.

Built from Plan(s)
Estimated Cost
$40
Estimated Time Investment
Afternoon Project (3-6 Hours)
Finish Used
Primer Only
Recommended Skill Level
Beginner

barnboard cooler

Submitted by Nickles on Sun, 06/28/2015 - 10:35

I followed a killer bee plan for a rustic cooler that I found on your site. tweaked it a little and I'm still adding to the décor on the outside

Estimated Cost
Around $15 if you have glue and screws already. I also had the barnboard from a barn we tore down last year.
Estimated Time Investment
Afternoon Project (3-6 Hours)
Finish Used
no finish
Recommended Skill Level
Intermediate

Loft Bed Full Size (12 inches shorter than plans)

Submitted by NWhited12 on Mon, 01/15/2018 - 11:10

We made these beds for the kids as their Christmas present. They’re full size and we plan to add shelves later. We had to cut them 12 inches because the kids were hitting their heads on the ceiling. I added white Christmas lights under them. I LOVE how they turned out!

Built from Plan(s)
Finish Used
I used MinWax Stain
Recommended Skill Level
Beginner

Farmhouse Table & Bench

Submitted by CHRISSYK on Sat, 01/01/2022 - 10:47

This was my first big project. Plan was so easy to follow. It took awhile but so worth it. I have had so many compliments on it. Thank you Anna!

Built from Plan(s)

Comments

Reclaimed Wood Headboard

The hubbs helped me build this during a day off from work. We spent an hour after work the following few nights working on the finish. Tons of compliments on this headboard...a few coworkers have even built their own after seeing ours!

Estimated Cost
$80
Estimated Time Investment
Afternoon Project (3-6 Hours)
Finish Used
Dark Oak Polystain - distressed using hammers, nails, screwdrivers, chains, and even a blow torch
Recommended Skill Level
Starter Project
Seasonal And Holiday

Queen Size Farmhouse Bed

Submitted by Koji on Mon, 07/08/2013 - 12:36

I started on the Farmhouse bed and as I got further into it I decided it needed a bit of 'extra' attention, hence the dentil moulding across the top and the panels to cover the 1x6's used for the headboard and the foot board, they are finished off with some cove moulding.

I used Spax bolts on the side supports and used a Forstner bit to drill down far enough to hide the bolts and made some wooden plugs to cover the holes. Minwax Special Walnut in the finish.

Hope you like it

Estimated Cost
$250
Estimated Time Investment
Week Long Project (20 Hours or More)
Finish Used
Minwax Special Walnut
Recommended Skill Level
Intermediate

Gabriel Wall System Hanging Organizer

This was a very fun project to build. I pretty much followed the directions that were posted, but I used 1x6's instead of 1x4's because I wanted more storage space on the shelves. I also used 1/2" iron piping instead of 3/4" and am happy with how it turned out. Since the guest bathroom is gray, we didn't want to stain the wood and chose to do an easy to do "weathered" (directions below) look. Now all we need to do is replace the ugly shower curtain!

Estimated Cost
$40 (paint not included).
Estimated Time Investment
Day Project (6-9 Hours)
Finish Used
"Weathered" look – First, paint a gray undercoat of paint and let dry. Secondly, coat the piece with paraffin wax (especially the edges and corners). Next, paint a top coat of white and let dry. Lastly, scrape off the wax (with a razor blade), to your liking, to give it the "weathered" look.
Recommended Skill Level
Beginner

Comments

tgrott

Wed, 03/30/2016 - 06:41

Love the weathered/distressed look you did.  Can you share your technique for the paint job?

tgrott

Wed, 03/30/2016 - 06:42

I;m sorry!! I just noticed that you did share the paint job!  Thanks! :P

tgrott

Wed, 03/30/2016 - 06:43

I;m sorry!! I just noticed that you did share the paint job!  Thanks! :P

Storage Bench

Submitted by Jdschrag on Fri, 01/19/2018 - 05:28

Inspired by the Vintage Bench plan we created this Little Bench for our Daughters Shoes and other stuff!  Added Trim work and layered Paint to create a Vintage look.


Estimated Cost
$40-50
Estimated Time Investment
Weekend Project (10-20 Hours)
Finish Used
Layered Enamels to distress and finished with a Clear Wax applied with soft rag
Recommended Skill Level
Beginner

Poppy's Bed

Submitted by Anonymous (not verified) on Wed, 01/05/2022 - 13:19

I started with the 'Camp loft bed with stair' plans and added height and a wall with window for my daughter's bed.
It is absolutely the coziest spot to sleep and a great spot to hang out. The landing is a great spot for reading too!
She loves it.

Comments

Upholstered Toy Boxes from Old Kitchen Cabinets

I loved Ana's upholstered toy box benches that she made and really wanted to do some of my own (three girls = muchos toys). We are remodeling our kitchen, so I decided to use our old cabinets for as much of this project as I could! Fun to keep a little bit of our home with us wherever we move (military family). :)

Built from Plan(s)
Estimated Cost
0
Estimated Time Investment
An Hour or Two (0-2 Hours)
Finish Used
Robert Kaufman Pimatex Basics fabric and acrylic latex Oops! paint from local hardware store.
Recommended Skill Level
Beginner

Cedar planters

Submitted by DogDoc25 on Tue, 07/09/2013 - 21:55

This planter was easy to make. The only thing I would have done differently is to have stained and applied the weather coating before I assembled it so that the weather coating got into the cracks better. But overall, I love how it turned out! I think it would've taken only an afternoon to do if it hadn't been so hot outside which slowed me down.

Built from Plan(s)
Estimated Time Investment
Day Project (6-9 Hours)
Finish Used
1 coat of golden oak, still need to apply the weather coat (can't remember what it's called)
Recommended Skill Level
Beginner

Bar Cart or BBQ Cart

The rolling bar cart (or BBQ cart) with removable tray is the latest addition to my suite of DIY patio furniture. This site has become a bit of a building obsession with me. Even with the detailed instructions, I still found ways to make this project my own: I added a 3/4" dowel and plastic wheels, instead of wood rounds. I painted all the pieces with primer and exterior paint before assembling it, because it's hard to get paint between the slats, unless you have a spray painter. The white slat design of the bar cart, park bench and matching side tables goes with the white siding of the house for my own patio picnic.

Estimated Cost
1x3's $20
wheels $10
dowel $4
Estimated Time Investment
Weekend Project (10-20 Hours)
Finish Used
White primer & exterior house paint
Recommended Skill Level
Beginner

X End table

Submitted by smurf1018 on Tue, 01/23/2018 - 19:42

One of my first pieces of furniture I built.

Built from Plan(s)
Estimated Time Investment
Weekend Project (10-20 Hours)
Finish Used
Steel wool and apple cider vinegar mixture and Minwax Polyurethane
Recommended Skill Level
Beginner

Library Cart (Bookshelf)

Submitted by Kassidy_D on Sun, 01/16/2022 - 18:54

Project #3 very pleased with the outcome!

Built from Plan(s)

Comments

First cabinet done! Media/Wine Cabinet

Submitted by sgilly on Wed, 05/18/2011 - 21:35

I needed a project, my daughter and son-in-law wanted a cabinet that had to be custom built to fit in their small space. It was just what I needed. Nothing simple for my 1st time, oh, no! I wanted doors and drawers. Learned a lot, and know I have a lot more to learn. The importance of getting things square is probably #1 on my list. I thought I'd start parking my car in the garage, but this was too much fun - the tools are staying!

Estimated Cost
Probably should cost about $175, but I probably spent $100 more with all my mistakes and changes!
Estimated Time Investment
Week Long Project (20 Hours or More)
Finish Used
Spray paint, 3 coats of espresso, matt finish. Then 3 coats of semi gloss spray on poly.
Recommended Skill Level
Starter Project

X table

Submitted by erodgonz on Fri, 07/12/2013 - 20:57

I did this table in 8 hours and I am ready to do some other projects. The final goal is to do the all house.

Estimated Time Investment
Day Project (6-9 Hours)
Recommended Skill Level
Beginner

Comments

Rustic X Console

Submitted by FrankJr on Wed, 07/08/2015 - 19:12

Needed a table under the TV, and this was perfect. I had to adjust the dimensions to decrease the length 6 inches to make it fit. Used the black tea, vinegar and steel wool combo for stain. Turned out great!

Built from Plan(s)
Estimated Cost
$85
Estimated Time Investment
Weekend Project (10-20 Hours)
Finish Used
Black tea and Vinegar/Steel Wool
Recommended Skill Level
Beginner

Basement Playhouse

Submitted by jimbardo on Sun, 01/28/2018 - 15:32

Built this for my two boys, ages 3 and 1.5. They are in heaven! I found the plans extremely helpful and allowed for simple modifications along the way (ie 7’ ceilings). 

Estimated Cost
$600
Estimated Time Investment
Week Long Project (20 Hours or More)
Recommended Skill Level
Intermediate

DIL's blanket box

I built this for the DIL ( Daughter in Law) for combined Christmas/Birthday present. Made entirely from recycled Rimu (NZ hard wood) that was at least 150 years old when milled, I wanted to preserve some of that history so some original sawmill marks are there in the top. Finished with Briwax (Rimu) wax & 4 coats of enamel satin poly. The main framing was from Rimu 4x4 posts that were very solid when trimming to actual needed size (40mm x 40mm). Used half lap joints, reinforce with screws.

Comments

Small Loft Bed with Dressers

Submitted by JeffHooper on Sun, 07/12/2015 - 19:25

This took about a week to complete.  I modify the original plan to include "built in" dressers and a night stand type of dresser.  The night stand has shelves built on the side.     Two beds were built of different configurations.  

Built from Plan(s)
Estimated Cost
Cost about $400 per bed.
Estimated Time Investment
Week Long Project (20 Hours or More)
Finish Used
Painted with a high gloss white.
Recommended Skill Level
Intermediate

Comments