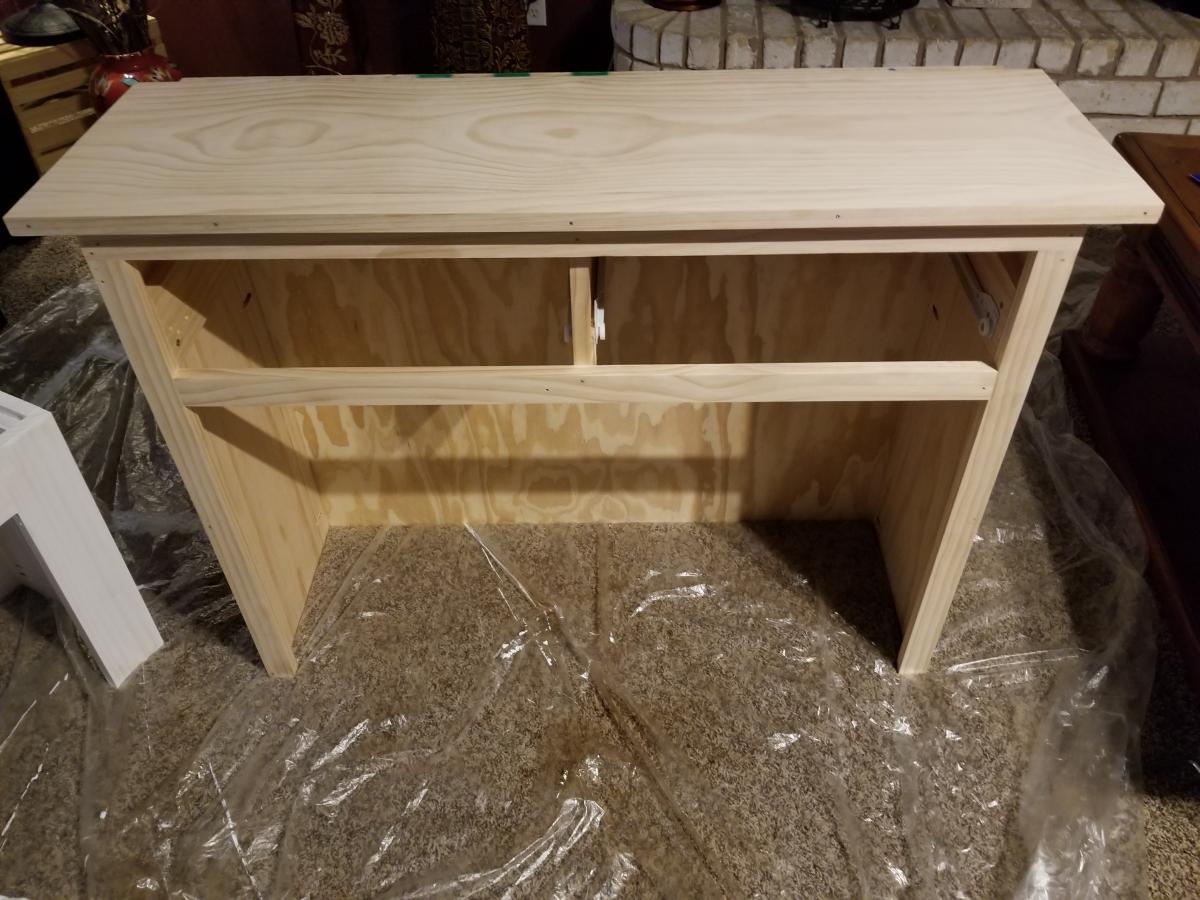
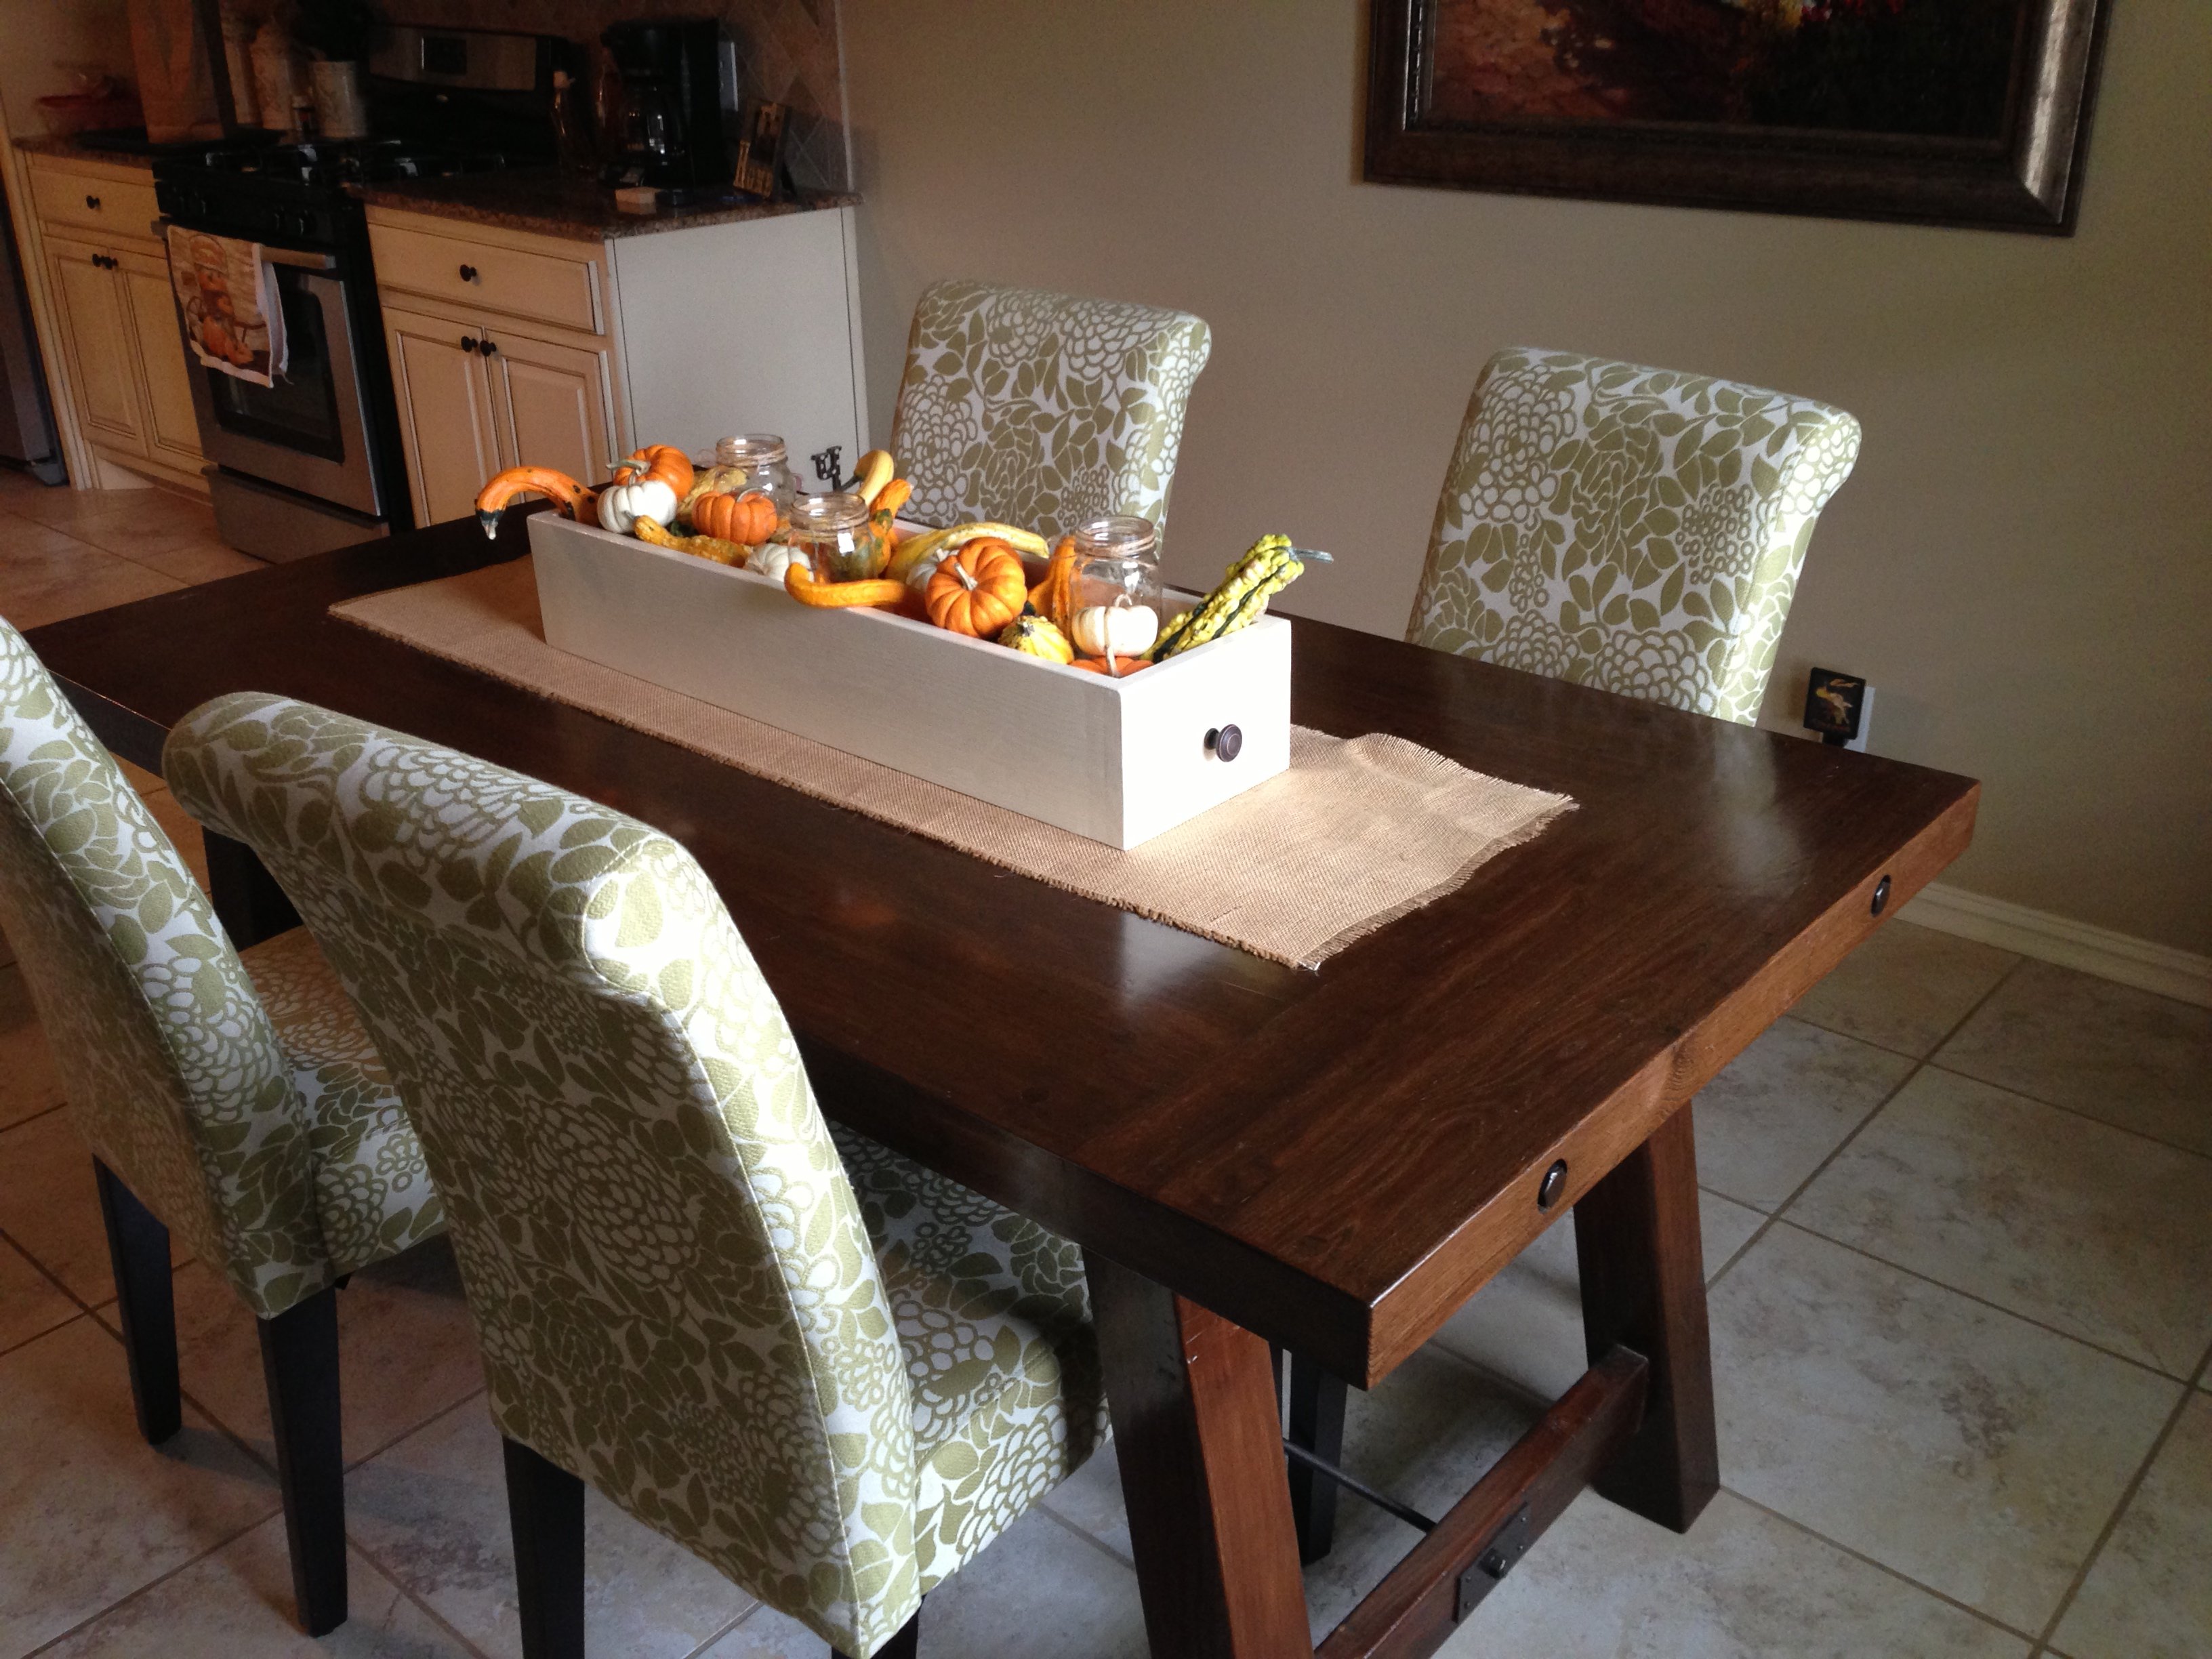
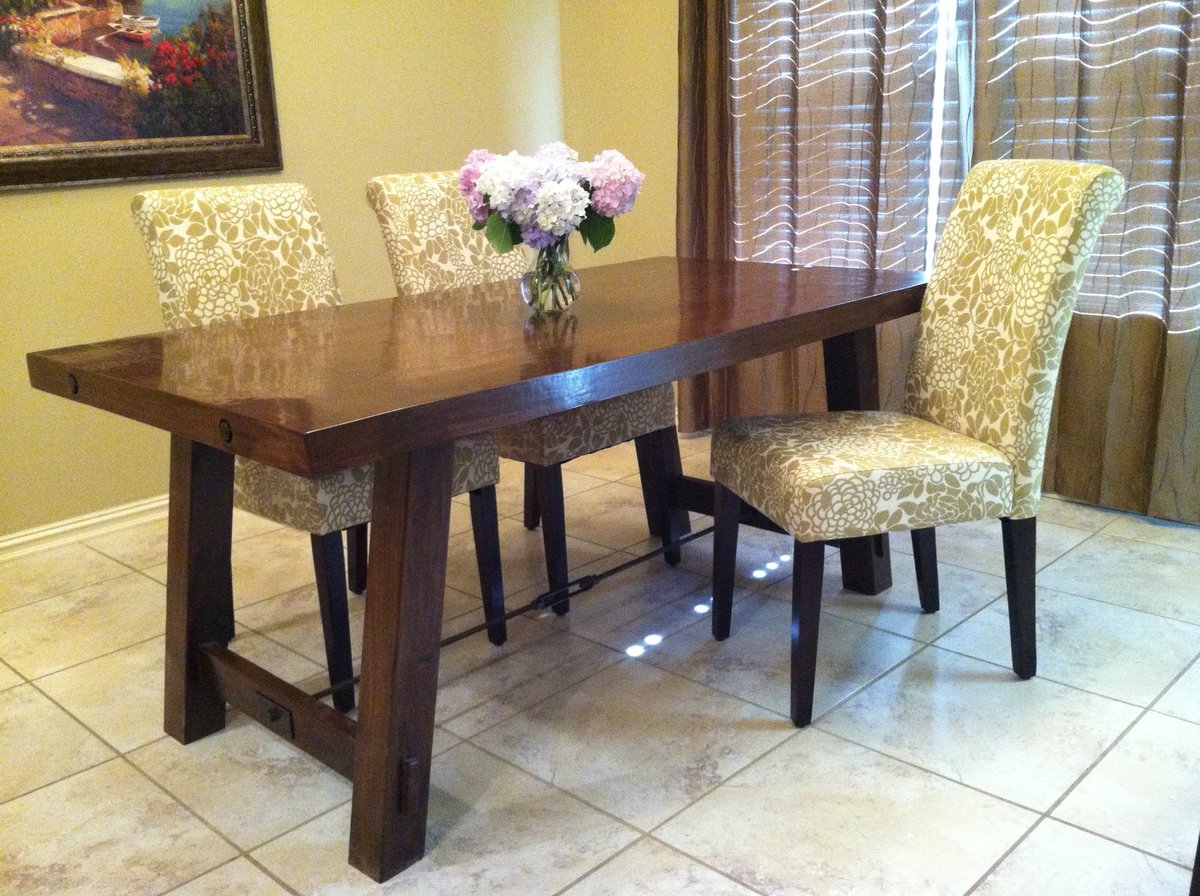
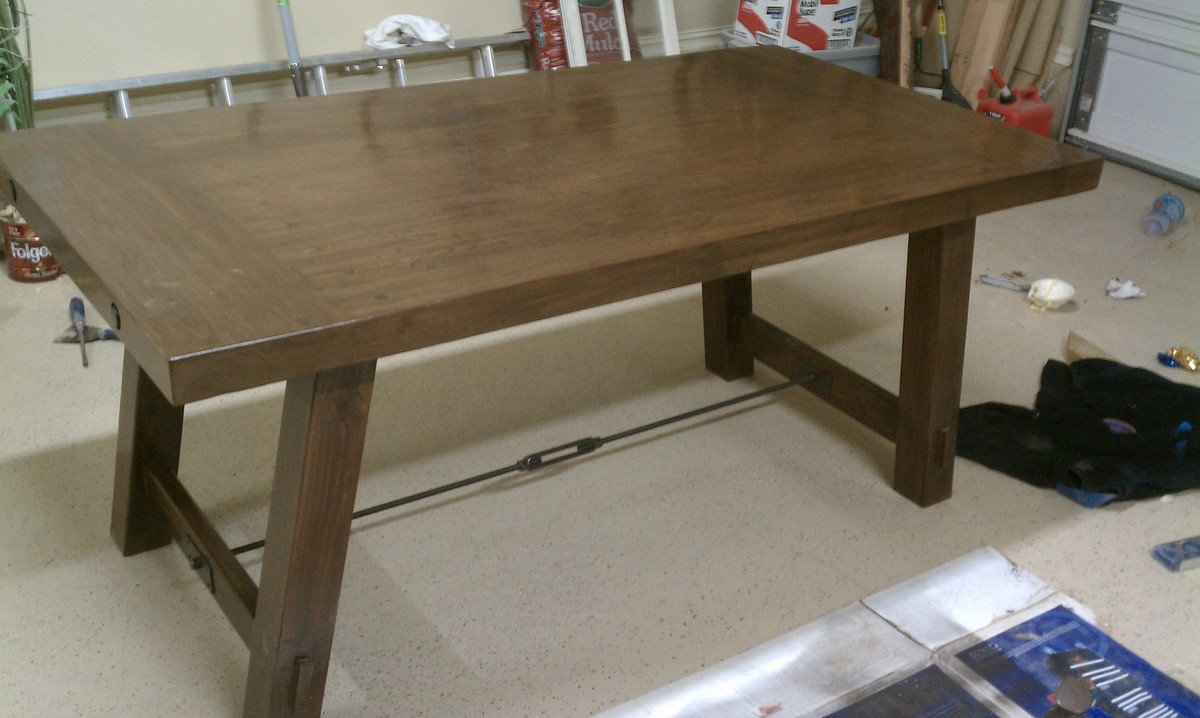
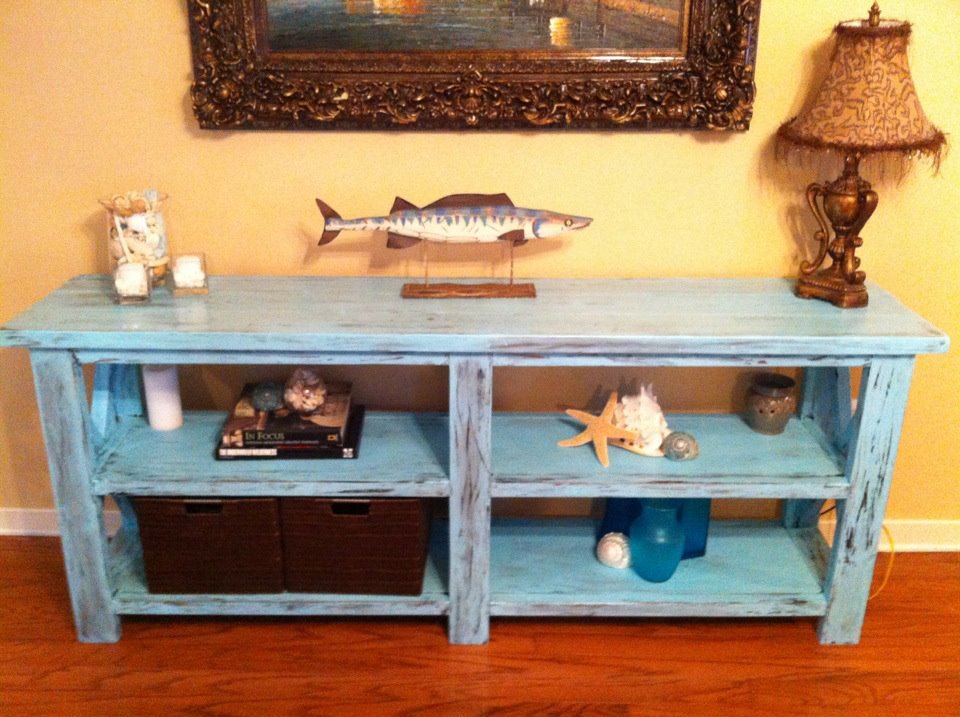
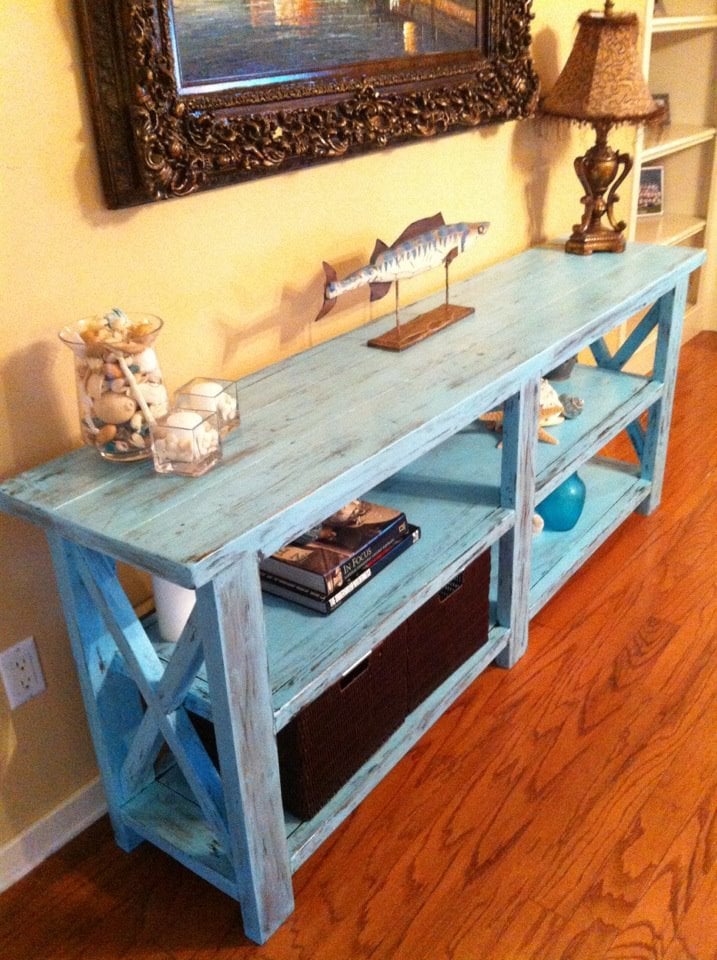
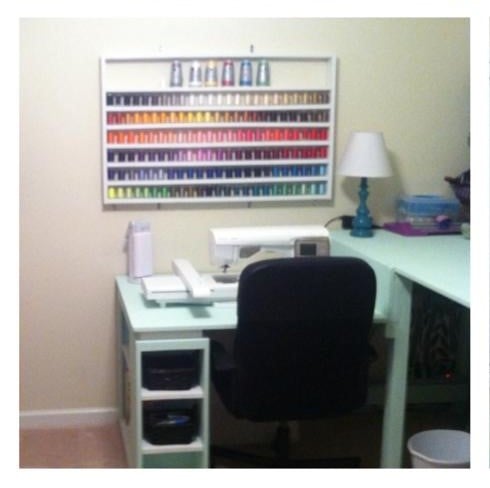
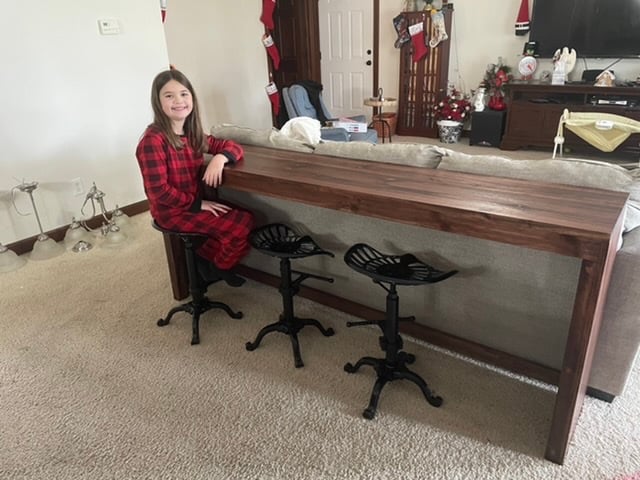
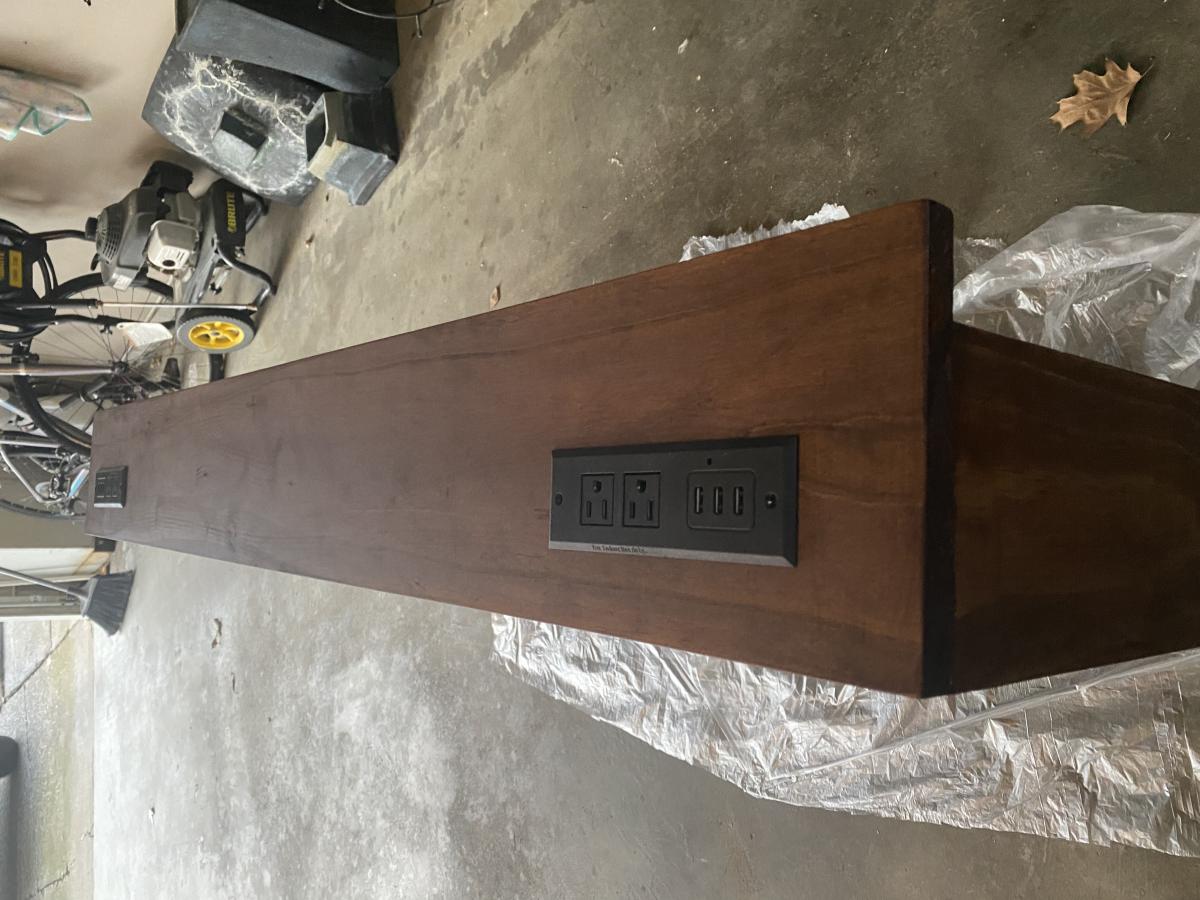
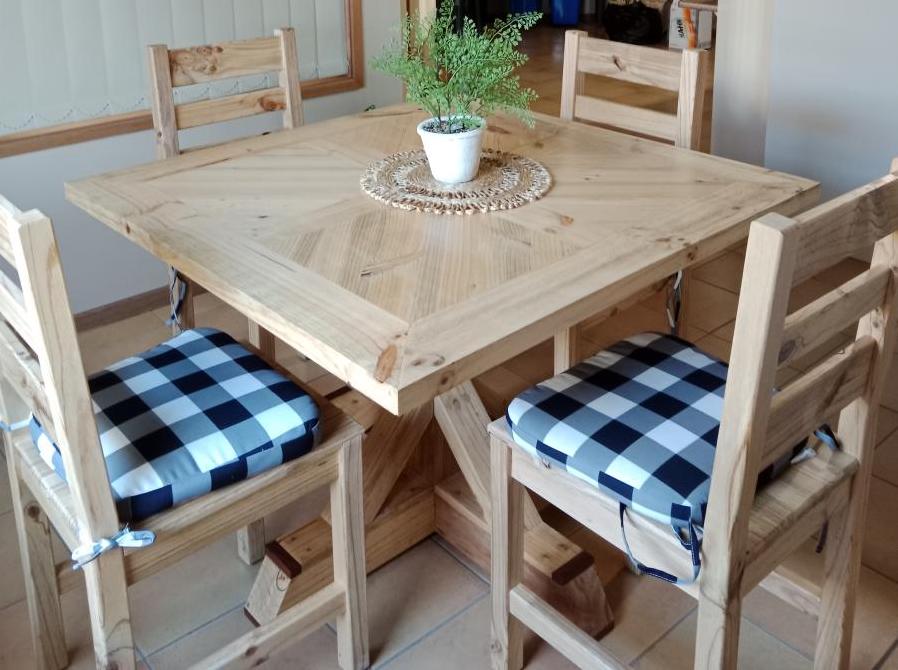
Vanity Table
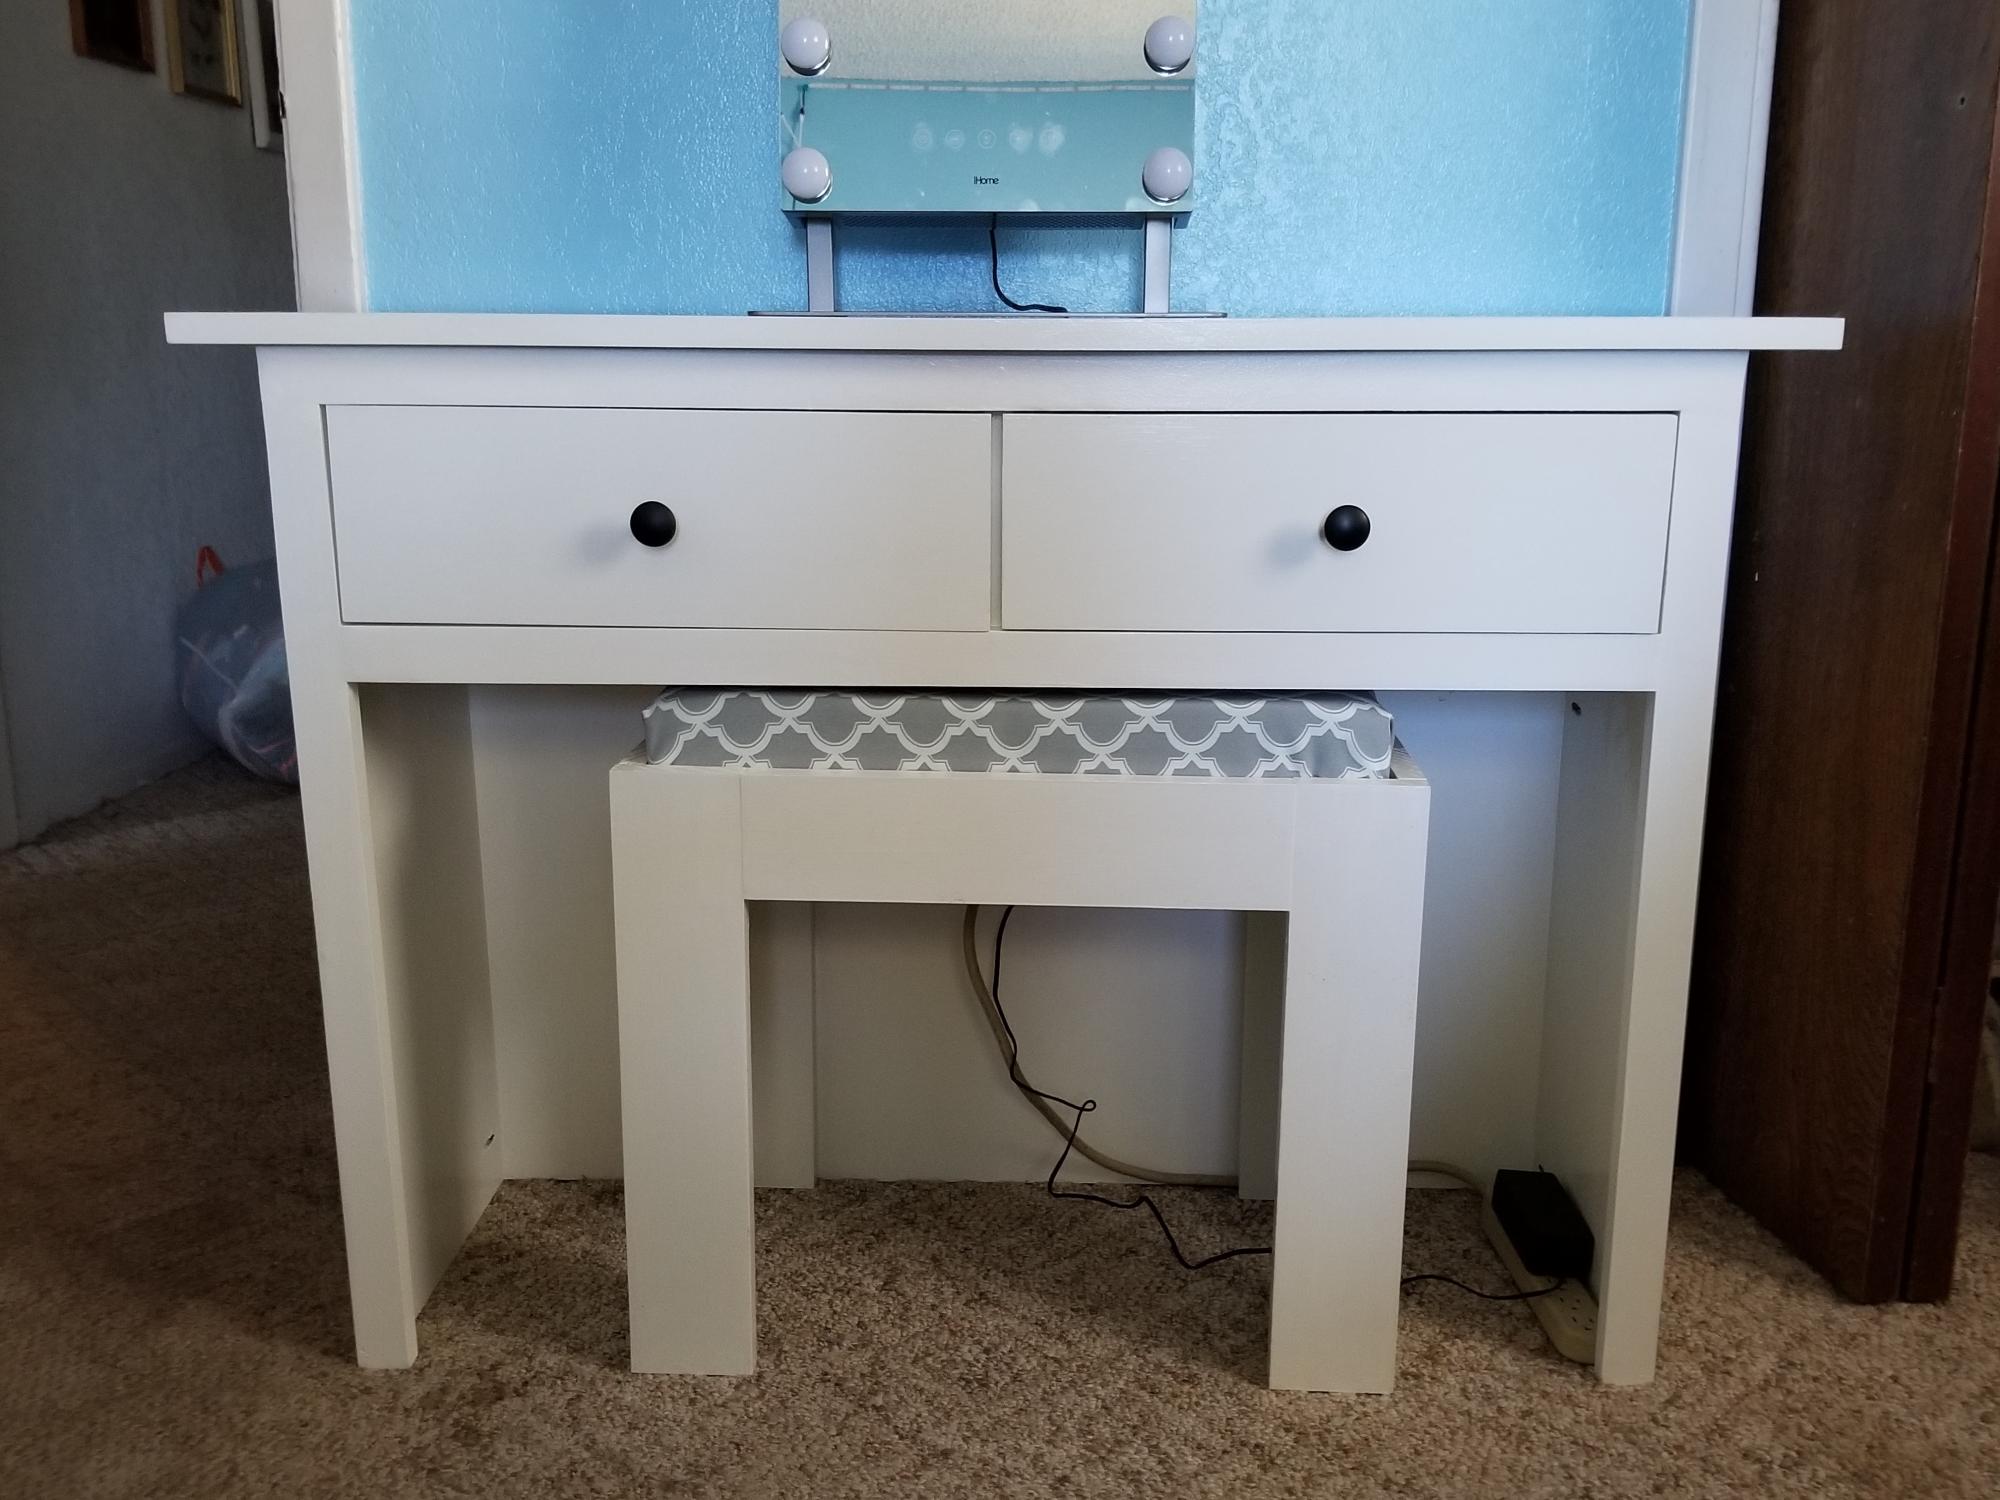
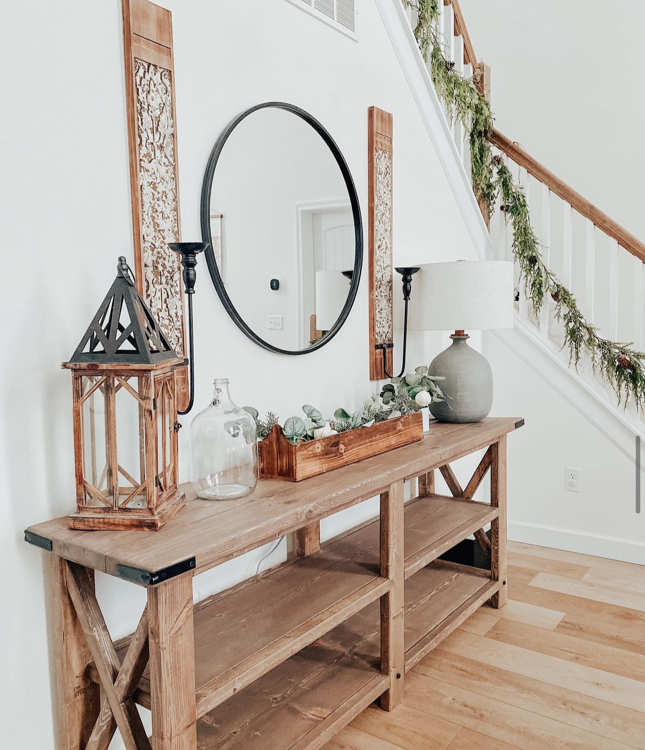
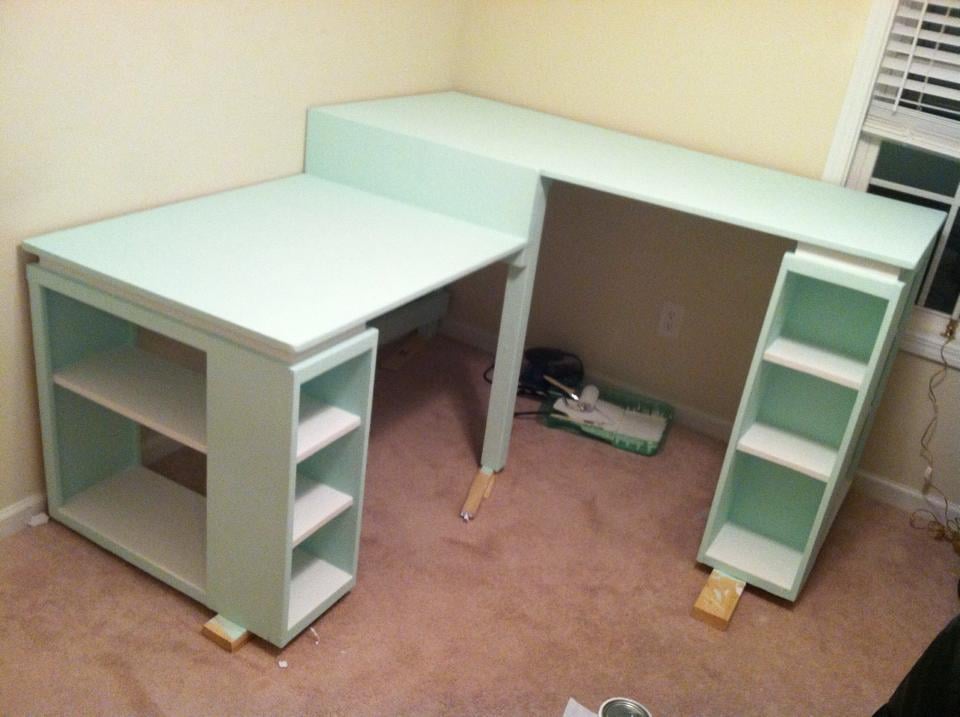
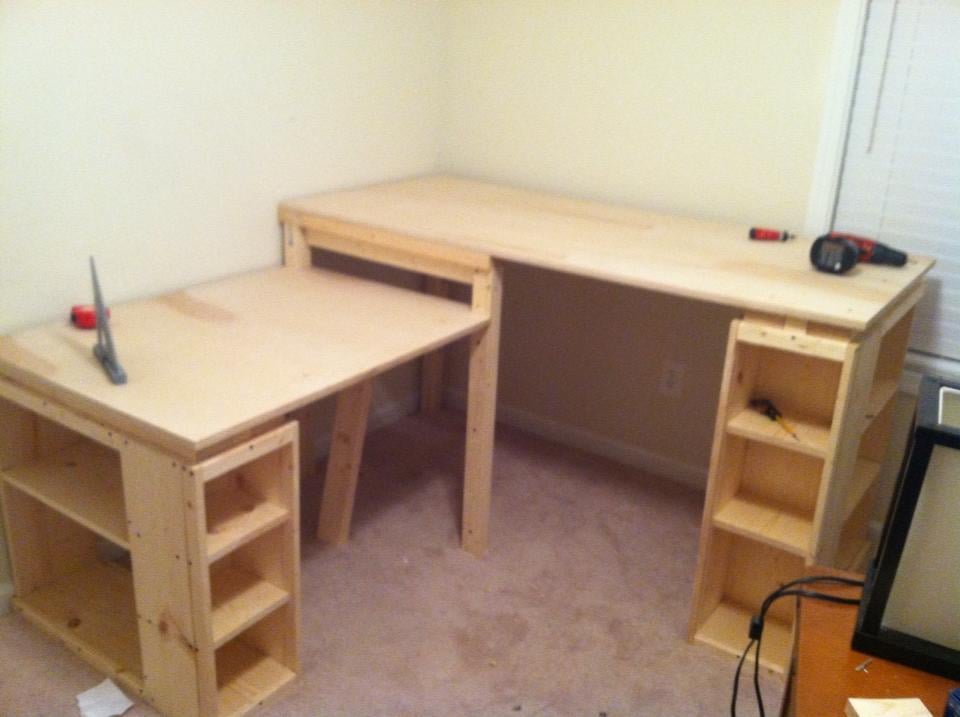
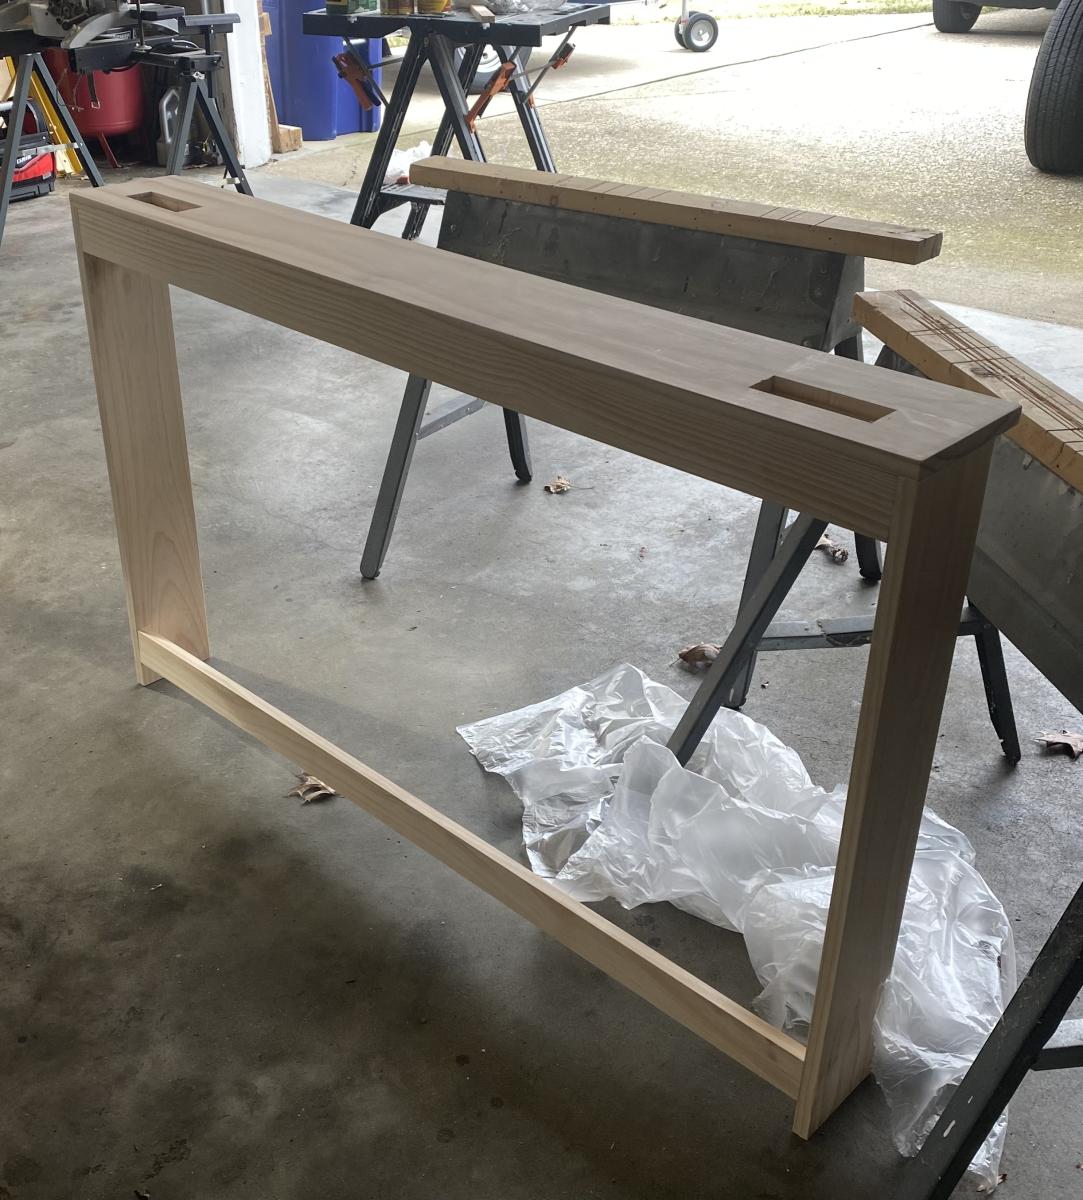
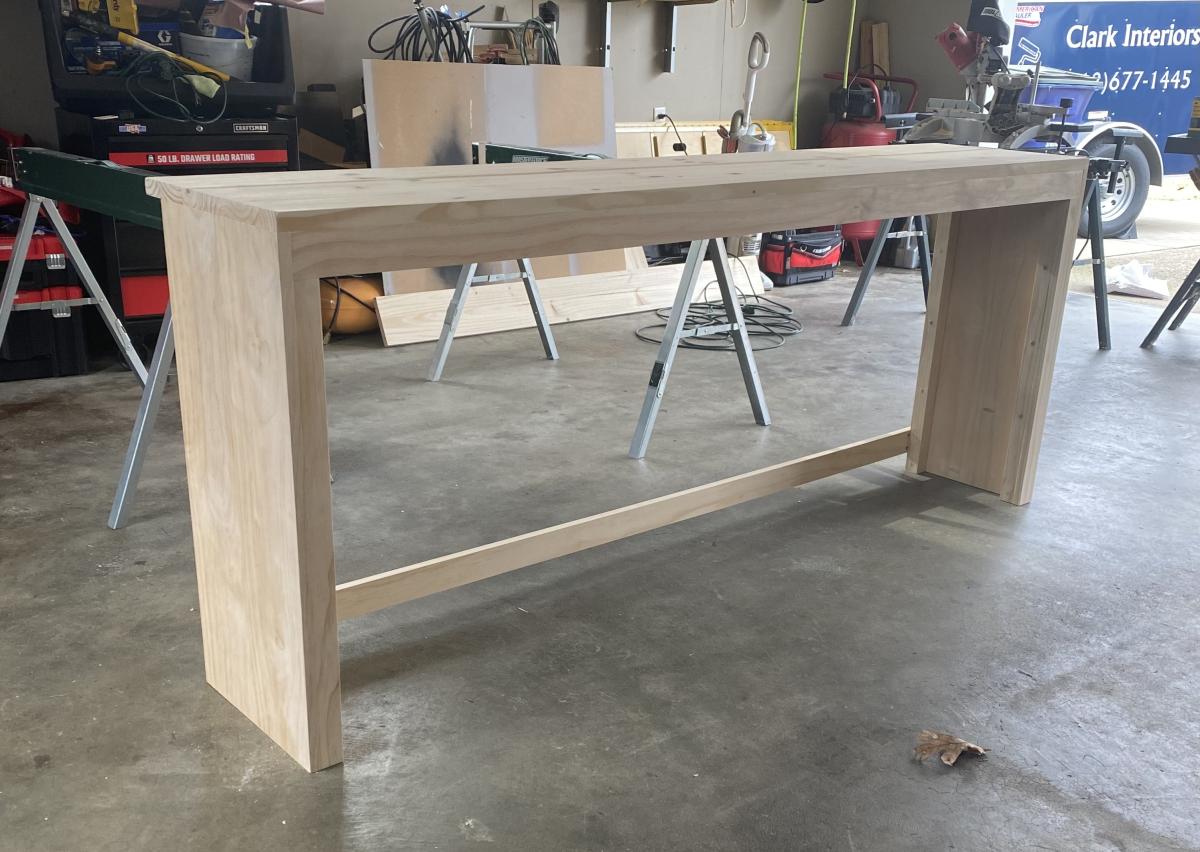
I started with the Cindy Wood Console Table but modified it. I wanted the center to be open so it could be used as a vanity table. I omitted steps 2 and 4 and altered step 3 so that the length of the centerpiece is only 8 3/4 long. I also omitted step 7. In step 8, I made the front-facing go all the way to the bottom, my cut was 27 5/8. All other steps were the same.
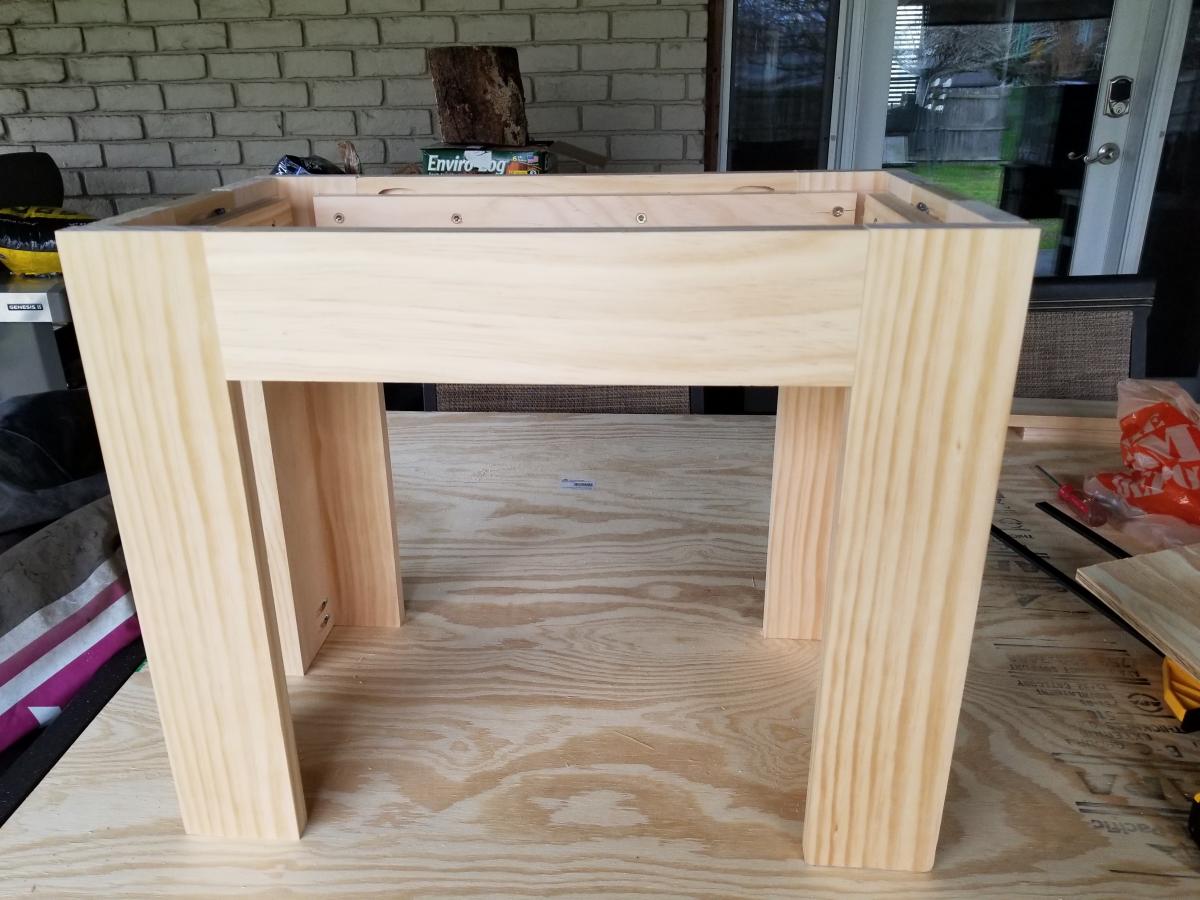
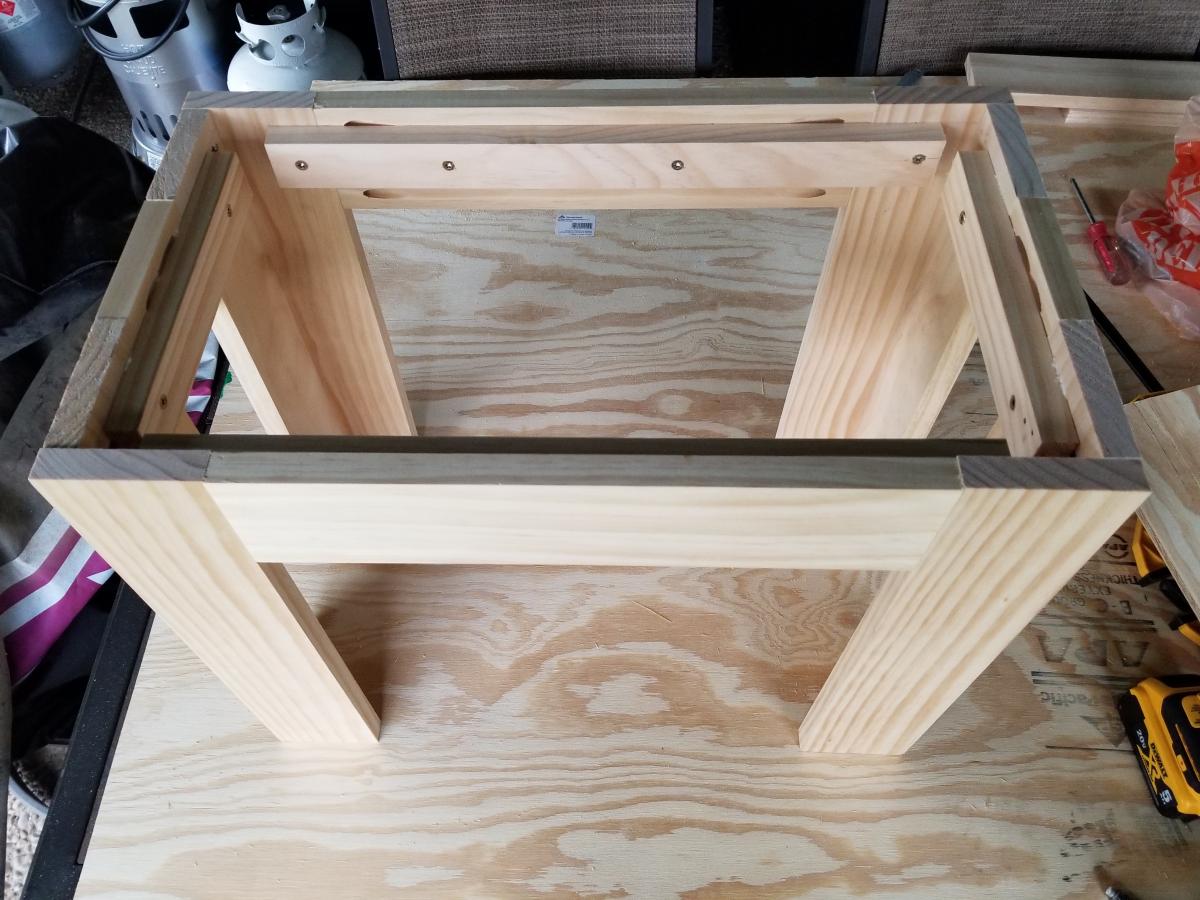
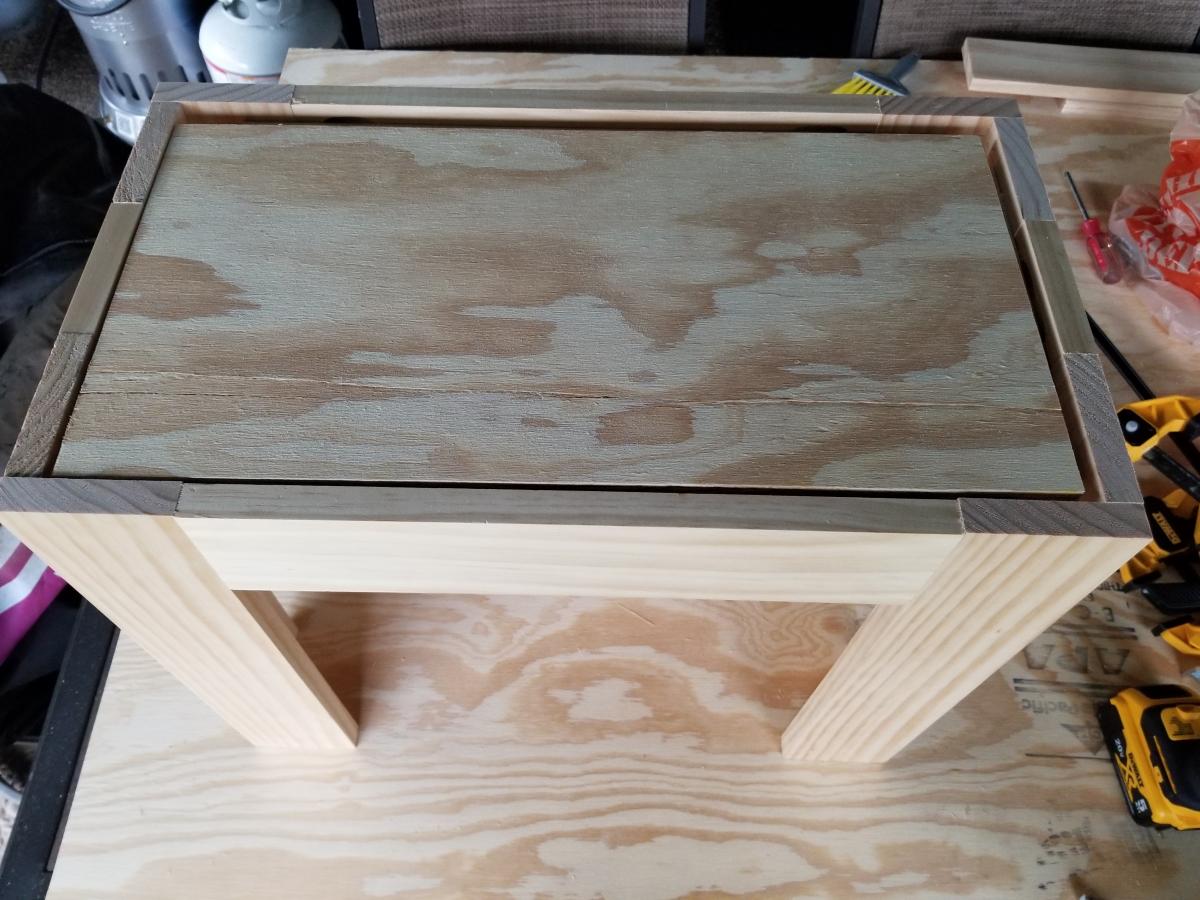
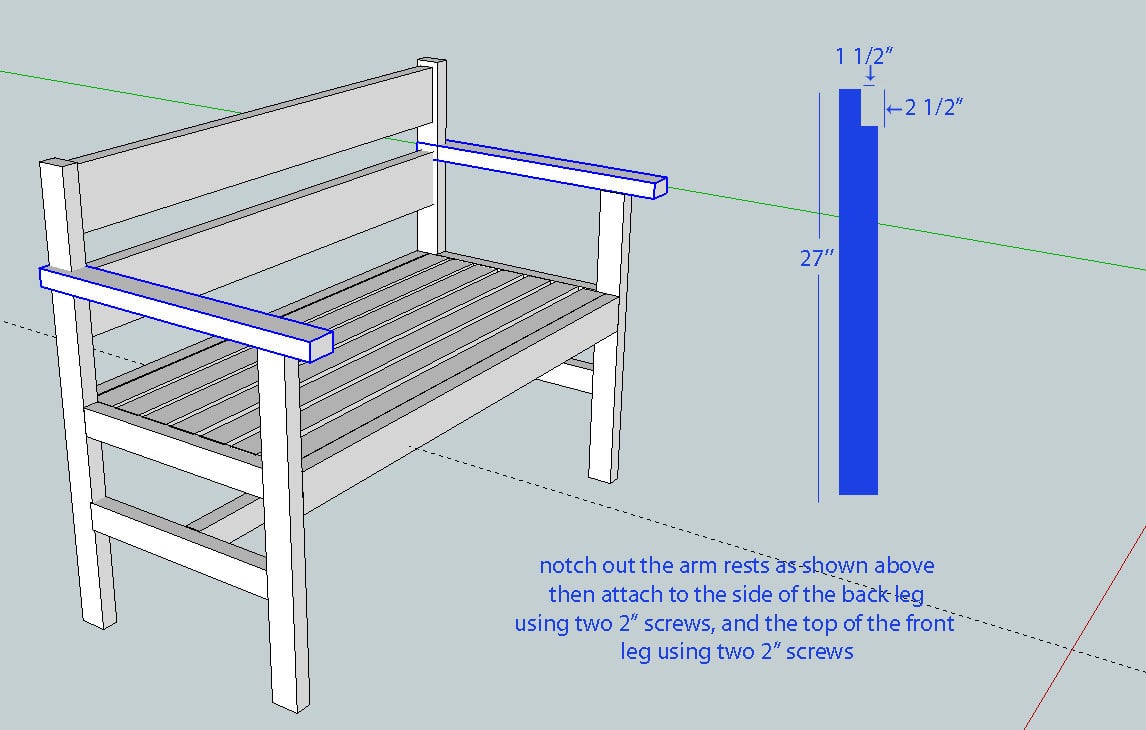
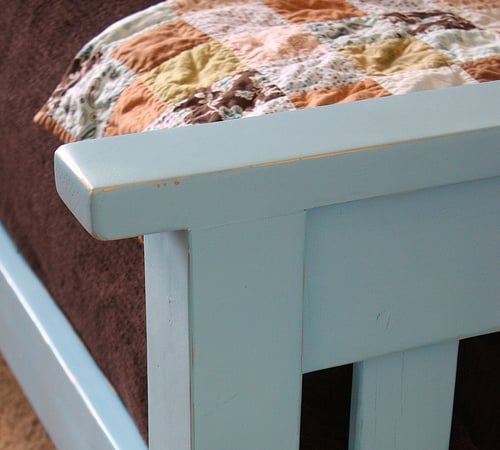
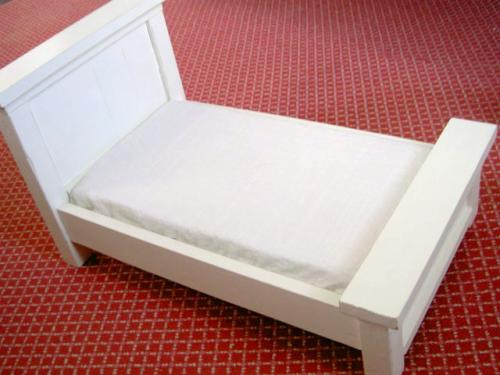
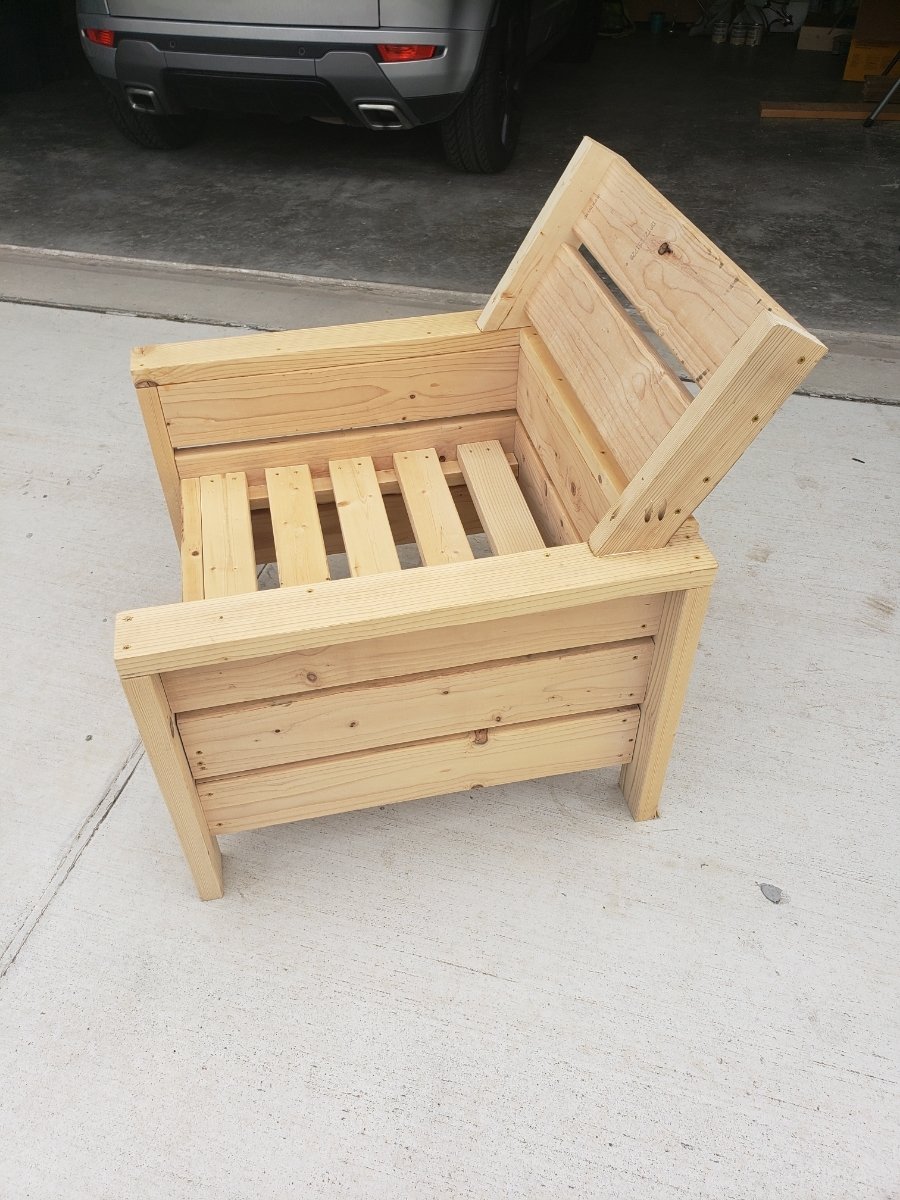
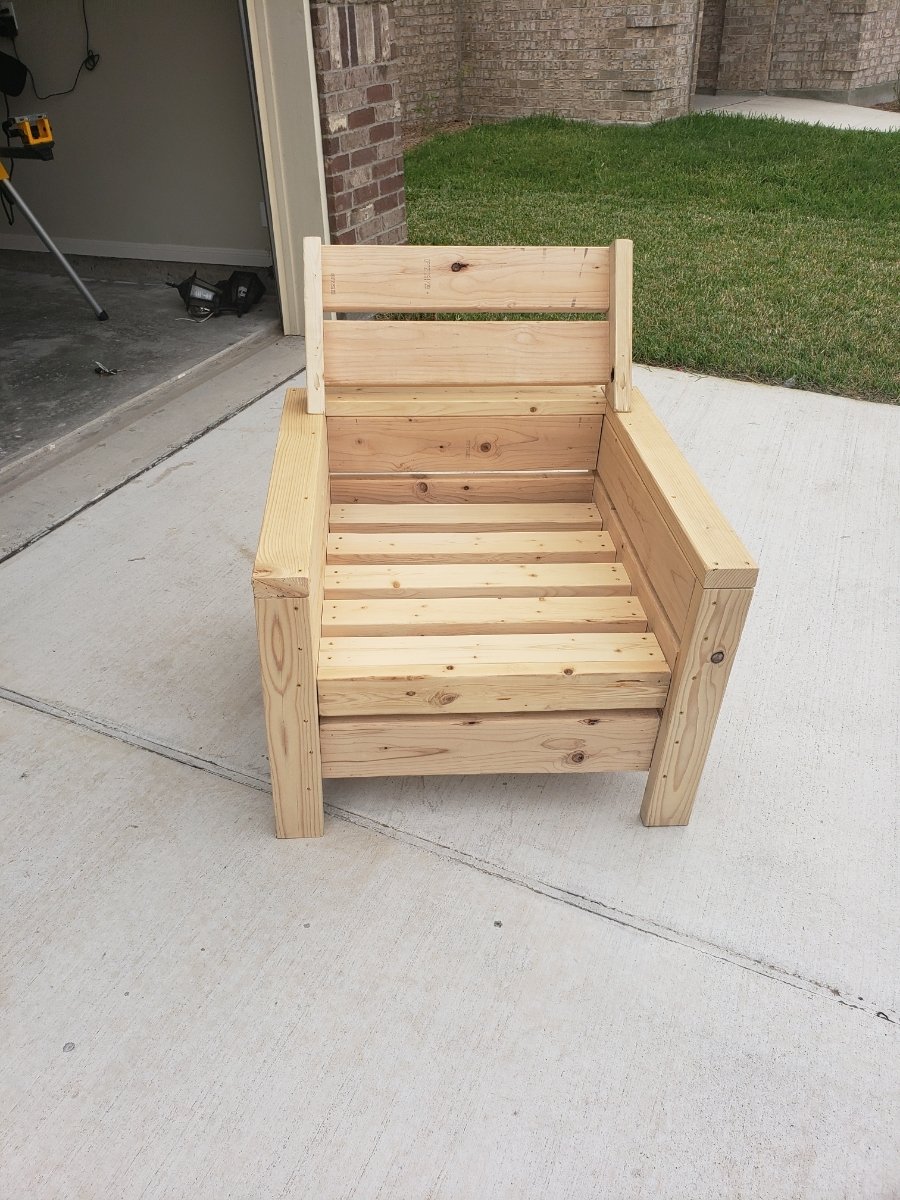
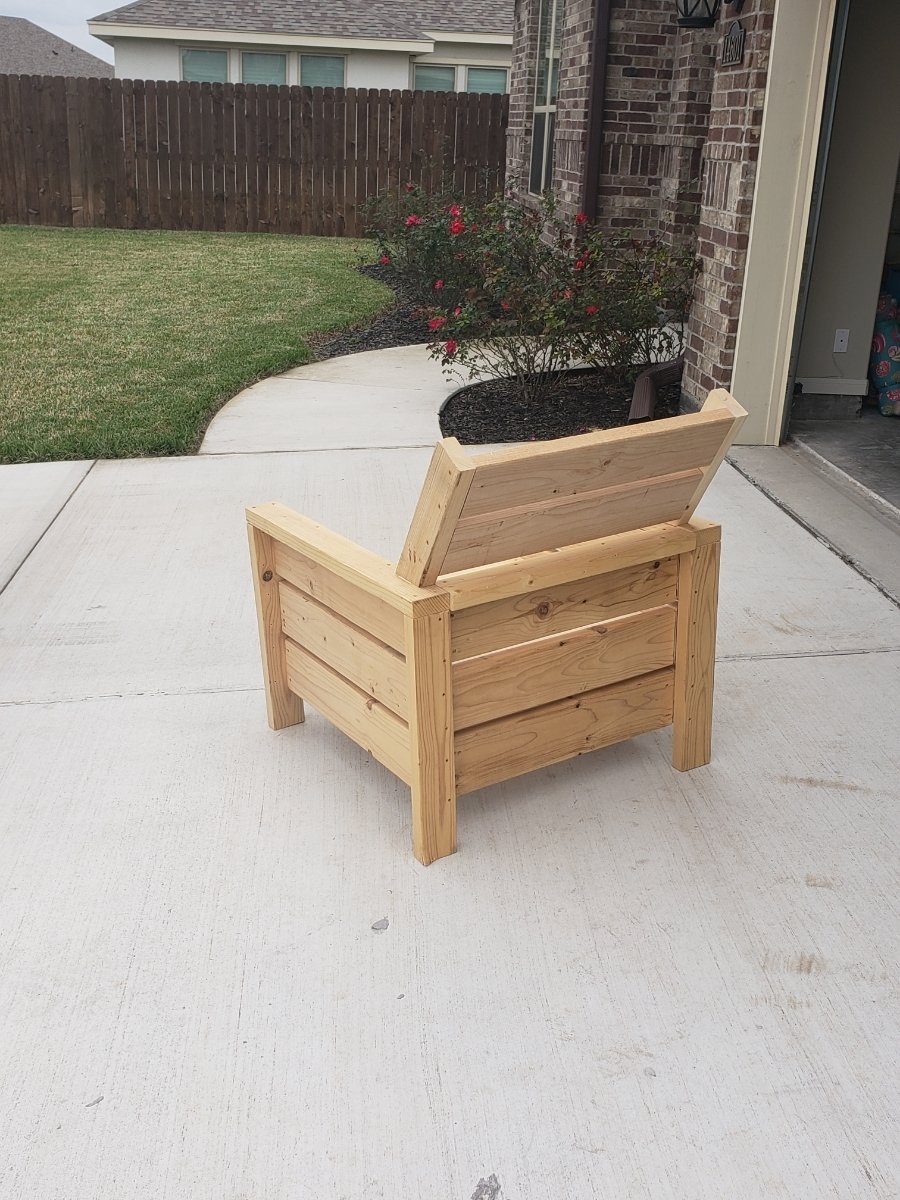
Since it is a vanity table, I also made a bench to go with it. I used 1X4 for the legs and side pieces. The total dimensions of the bench are 22 inches long, 12 1/2 inches wide and 18 inches tall. I had to buy an additional 10 feet of 1X4 to add this to my project. The cuts for the front and back of the bench are 14 7/8, the sides are 3 7/8 of 1X4. I used pocket holes to put the legs, font, back, and sides together. Because of using pocket screws, make sure to put the sides together first, then the front and back. I used leftover 1X2 pieces to create a railing on the inside of the bench for the seat base to rest on. I put the railings 5/8 inch from the top of the bench and secured them using wood glue and 1 1/4 inch screws. I used leftover plywood as the seat base. I cut the plywood to be 10 1/2 by 20 inches.