Mid Century Modern Entertainment Console
Built by Holli Peterson
Built from Plan(s)
Built by Holli Peterson
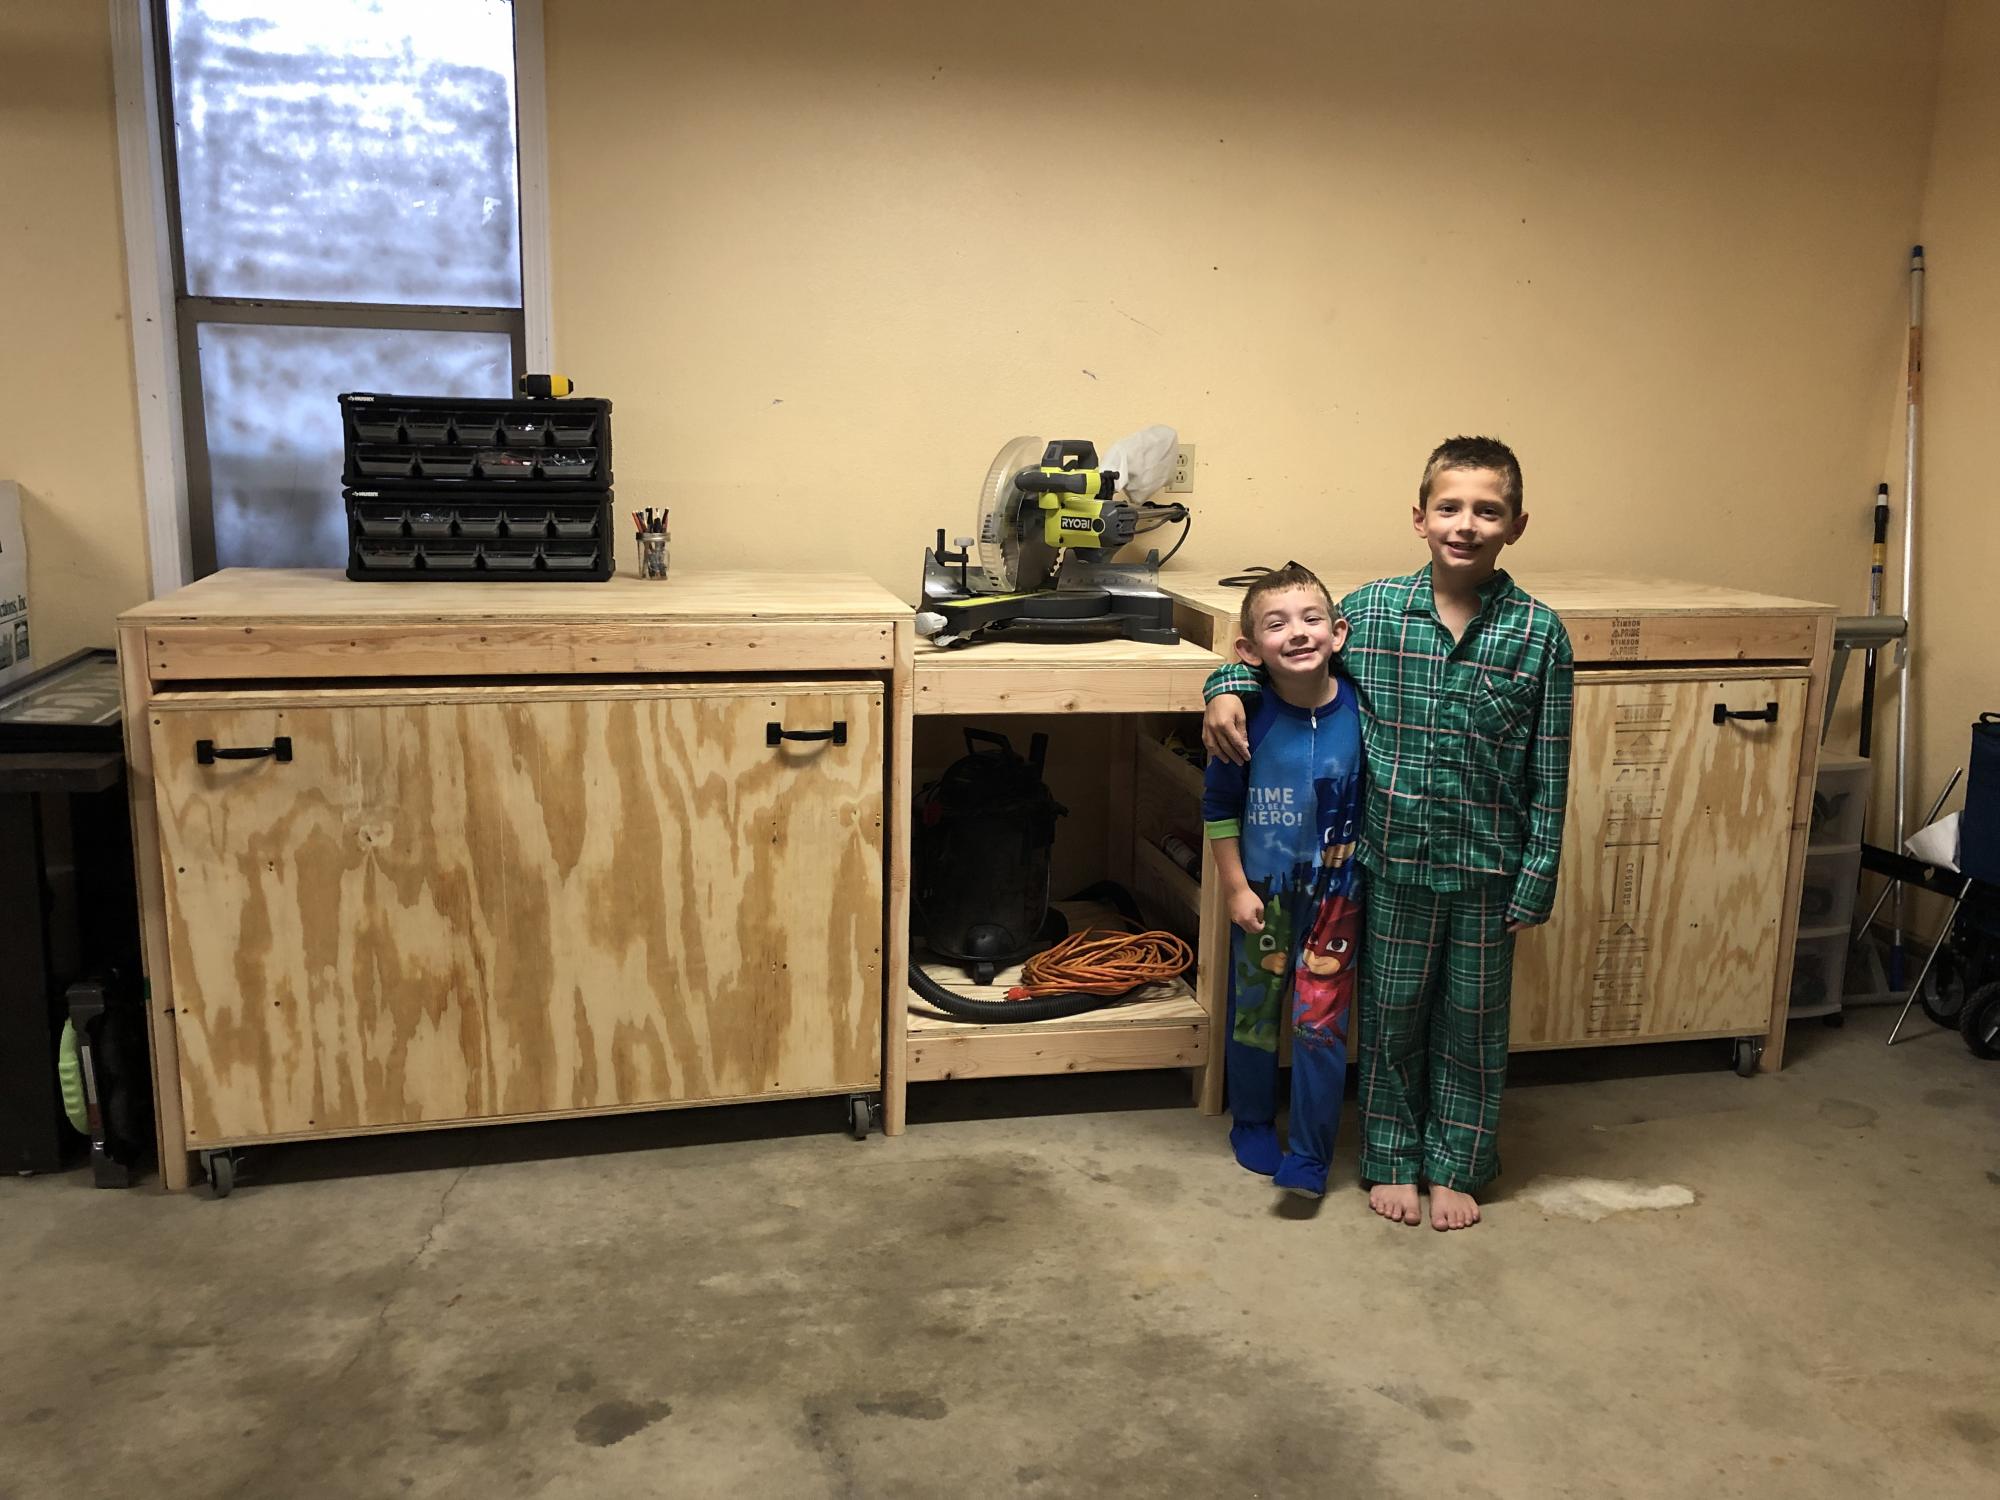
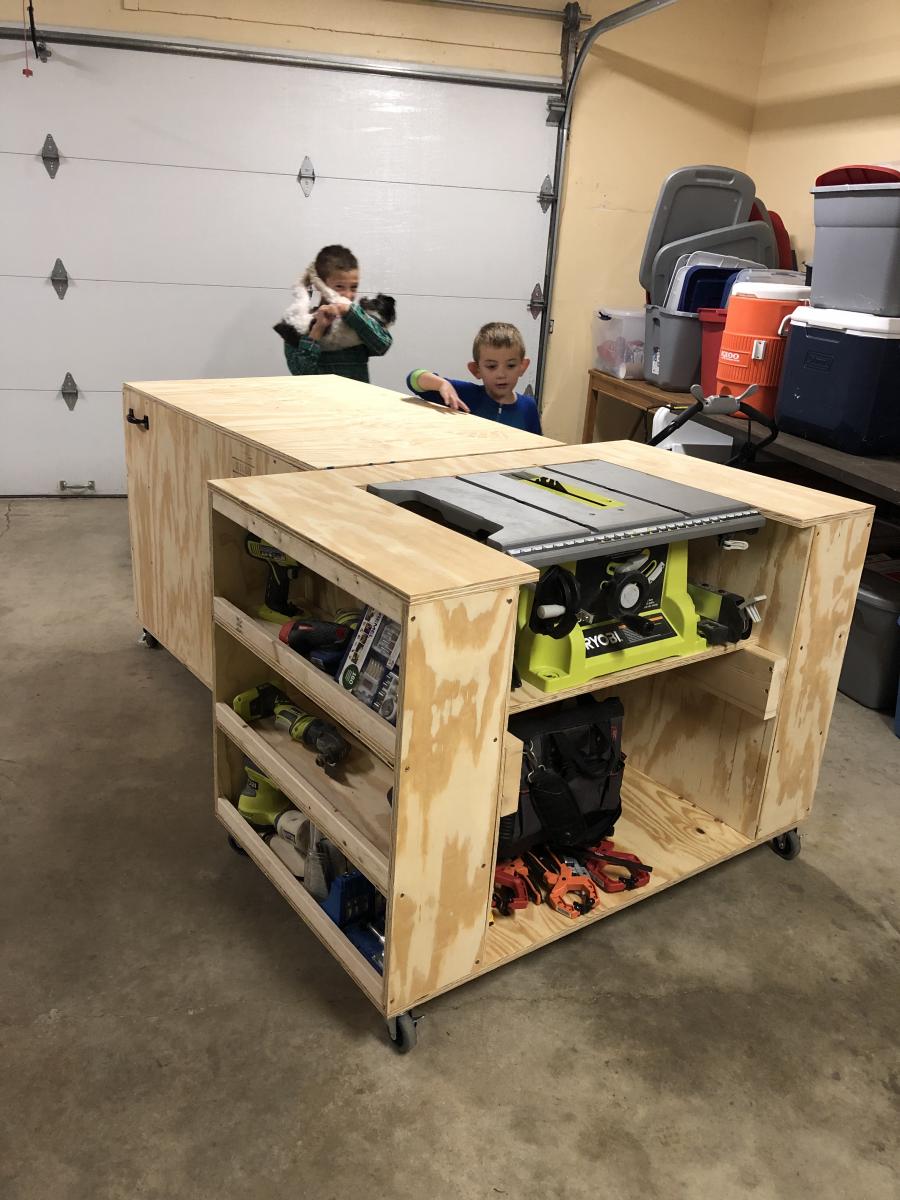
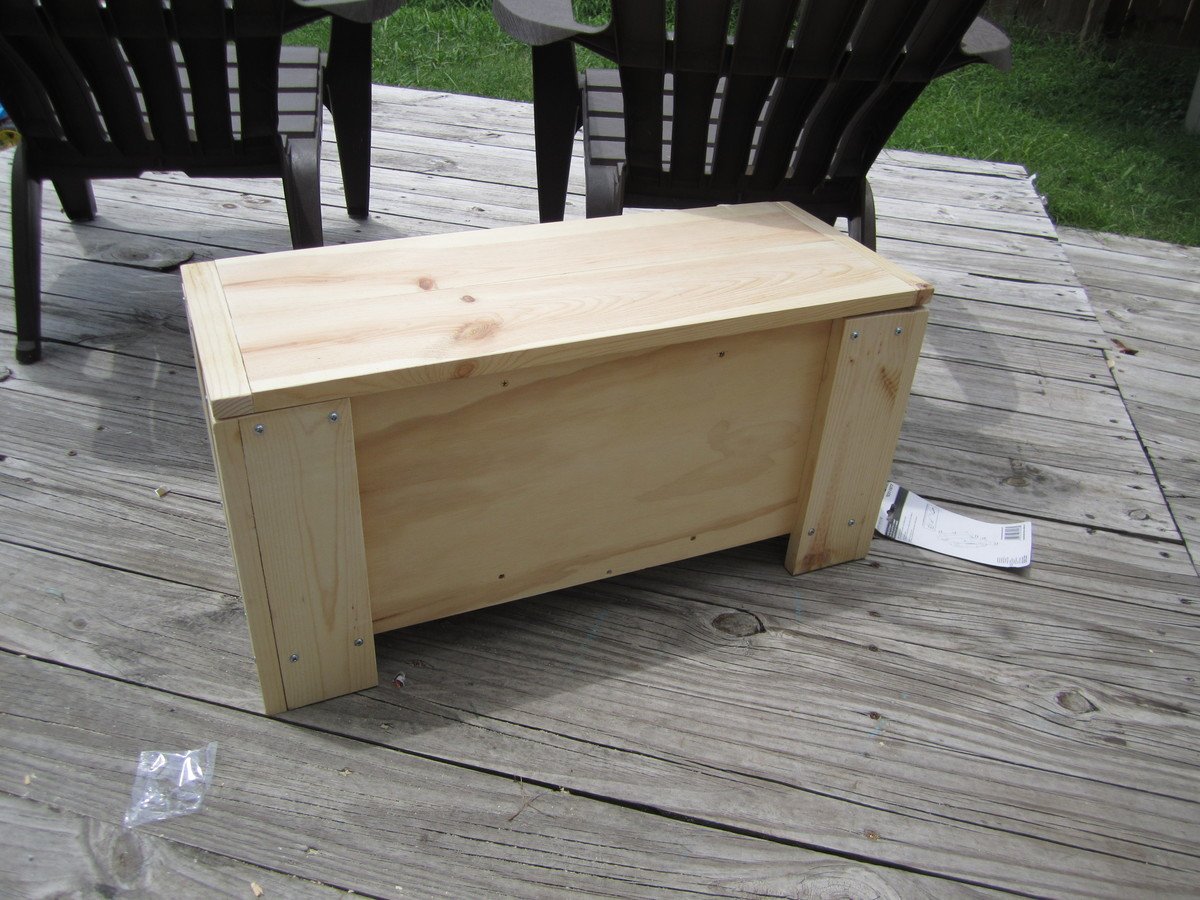
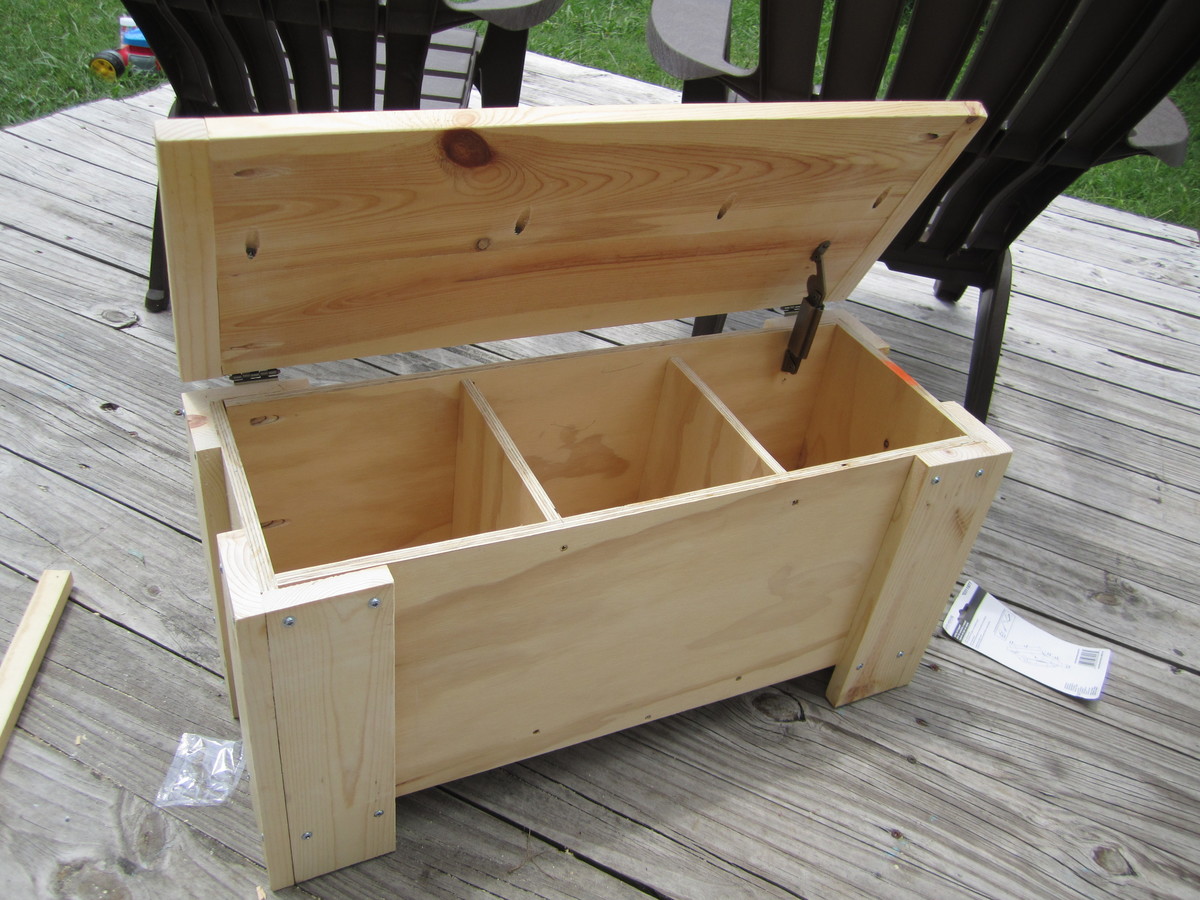
After collecting my tools, I needed a place to store them that would protect them. I had already had two jigsaws break because I was storing them in a rubbermaid tote. When I saw this plan I knew it was going to be perfect for my shop. My husband was supper happy because I would finally have a central spot for my workshop. My boys were happy to help when they could.

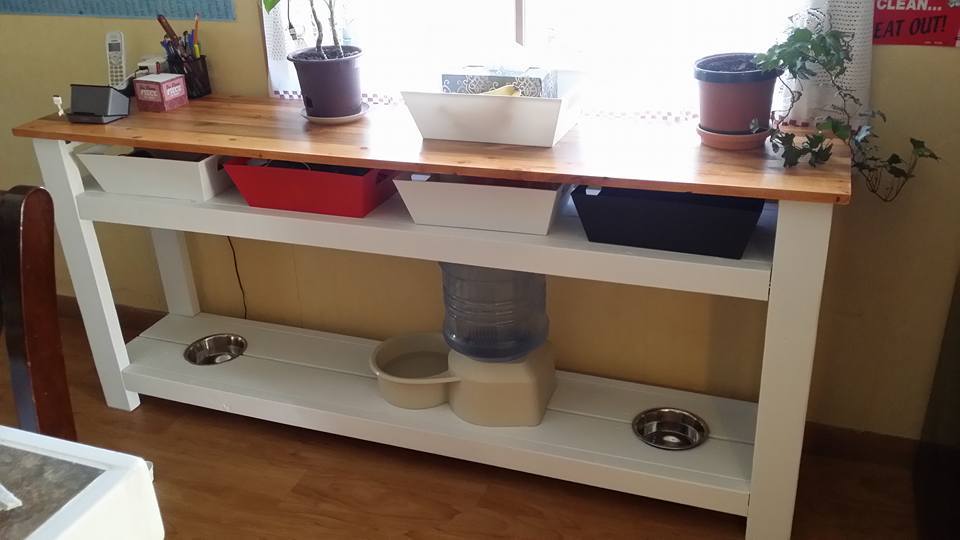
I needed a skinny table for the kitchen. I build this with dog dishes built in to make life easier. It's an all purpose table that looks nice too. Custom plans made from ideas from other plans.
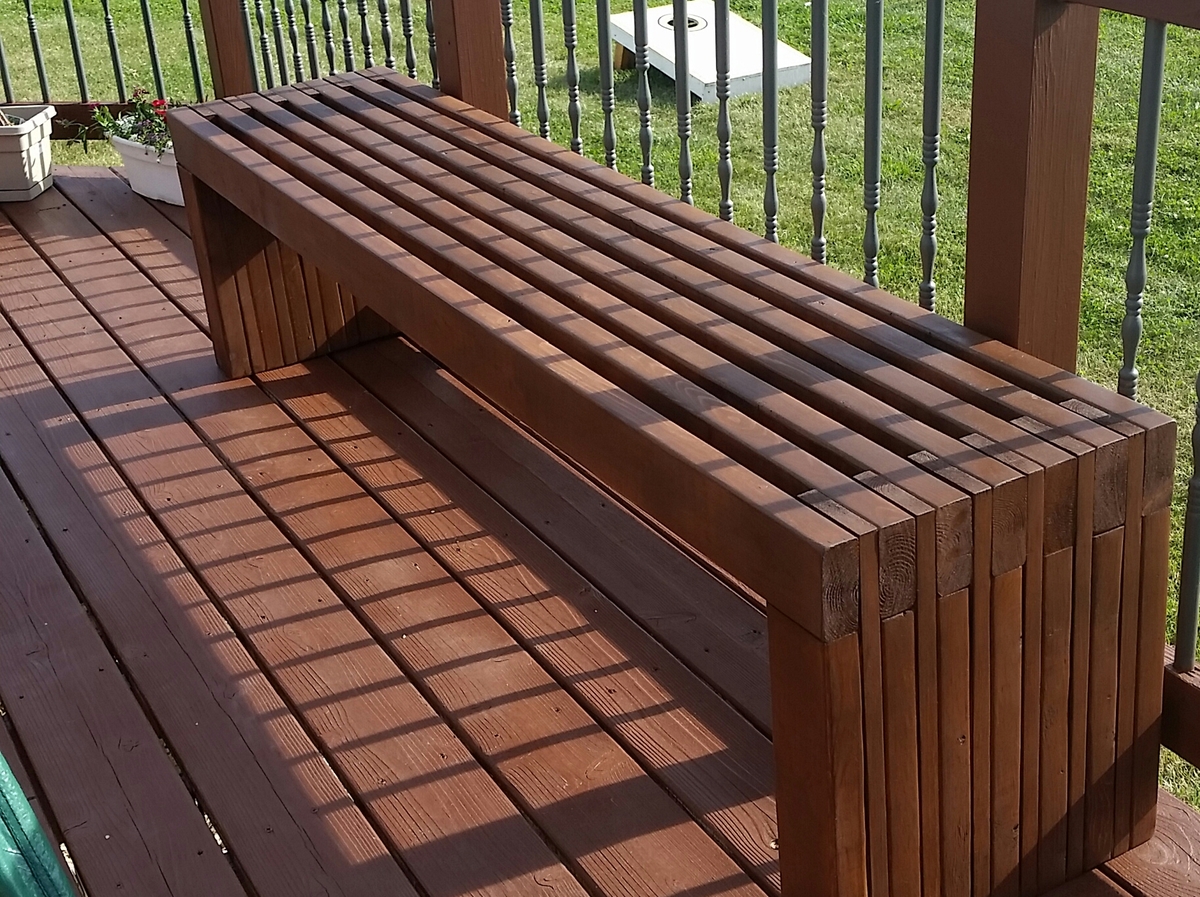
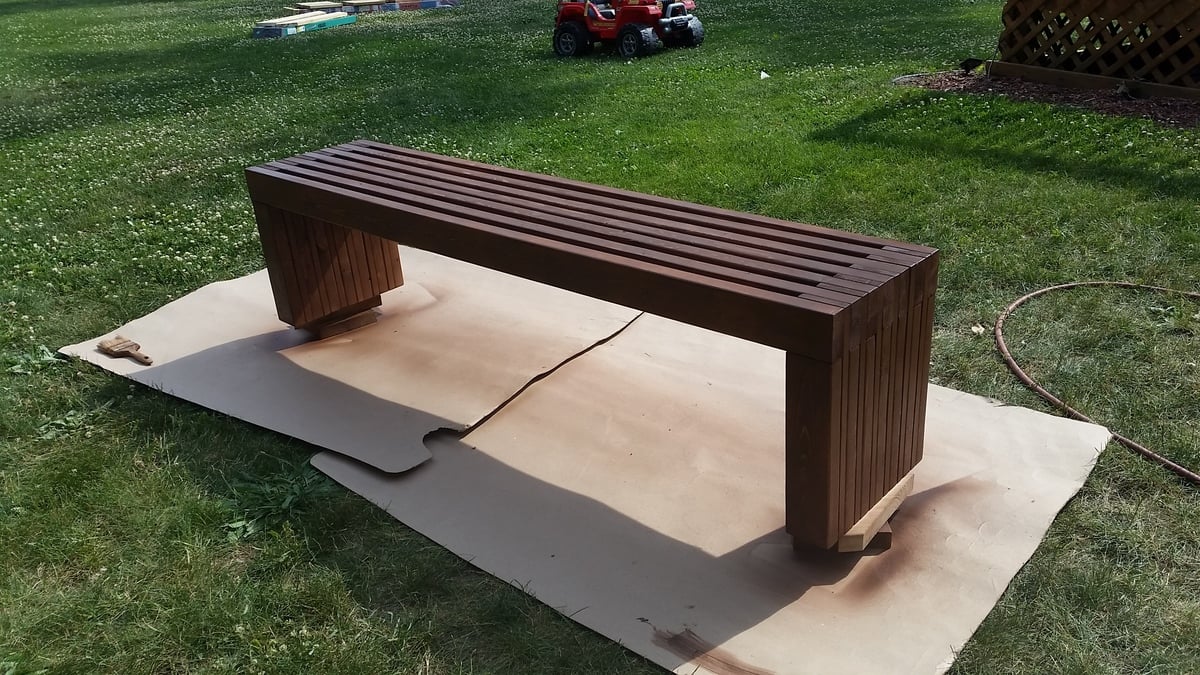
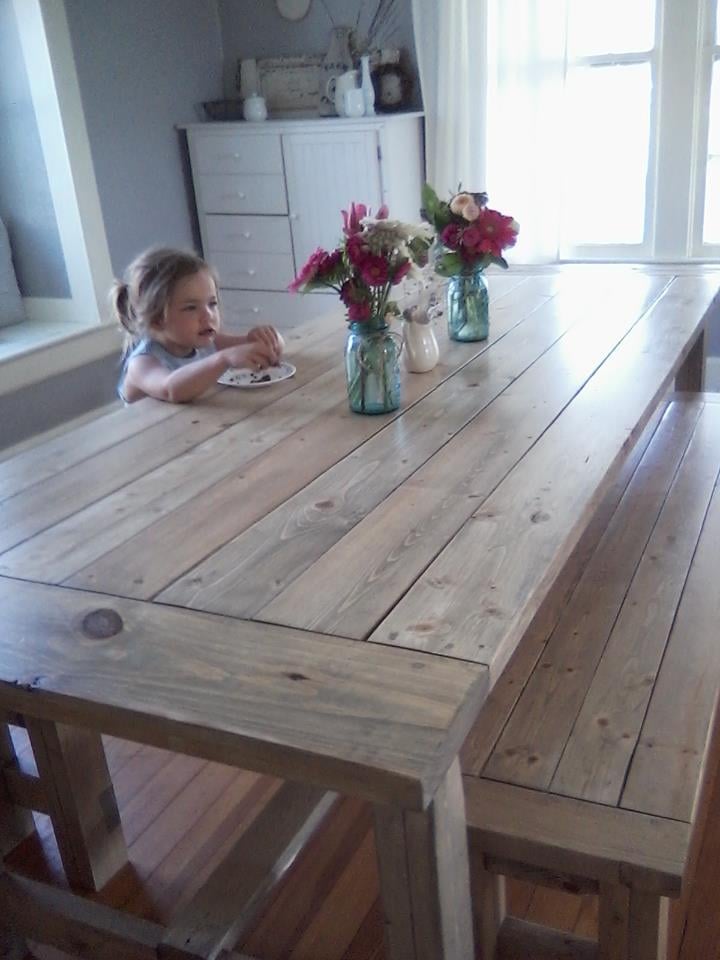
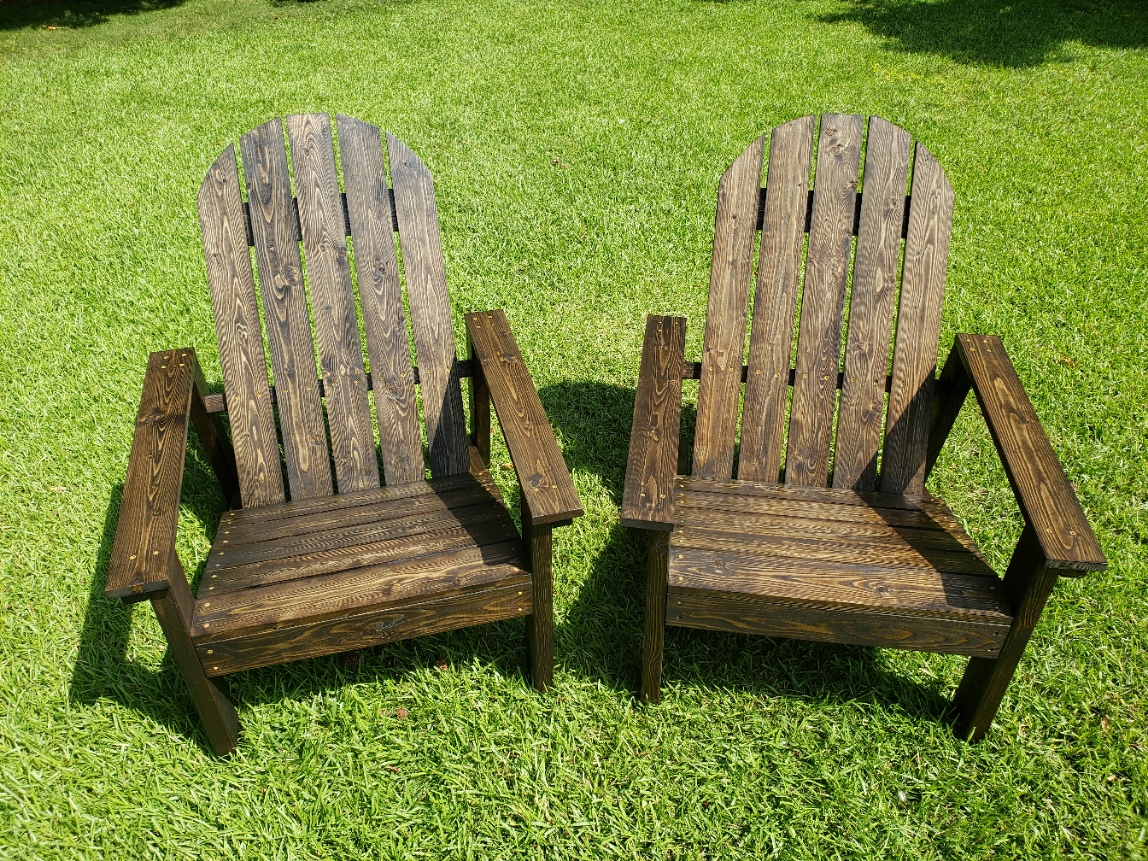
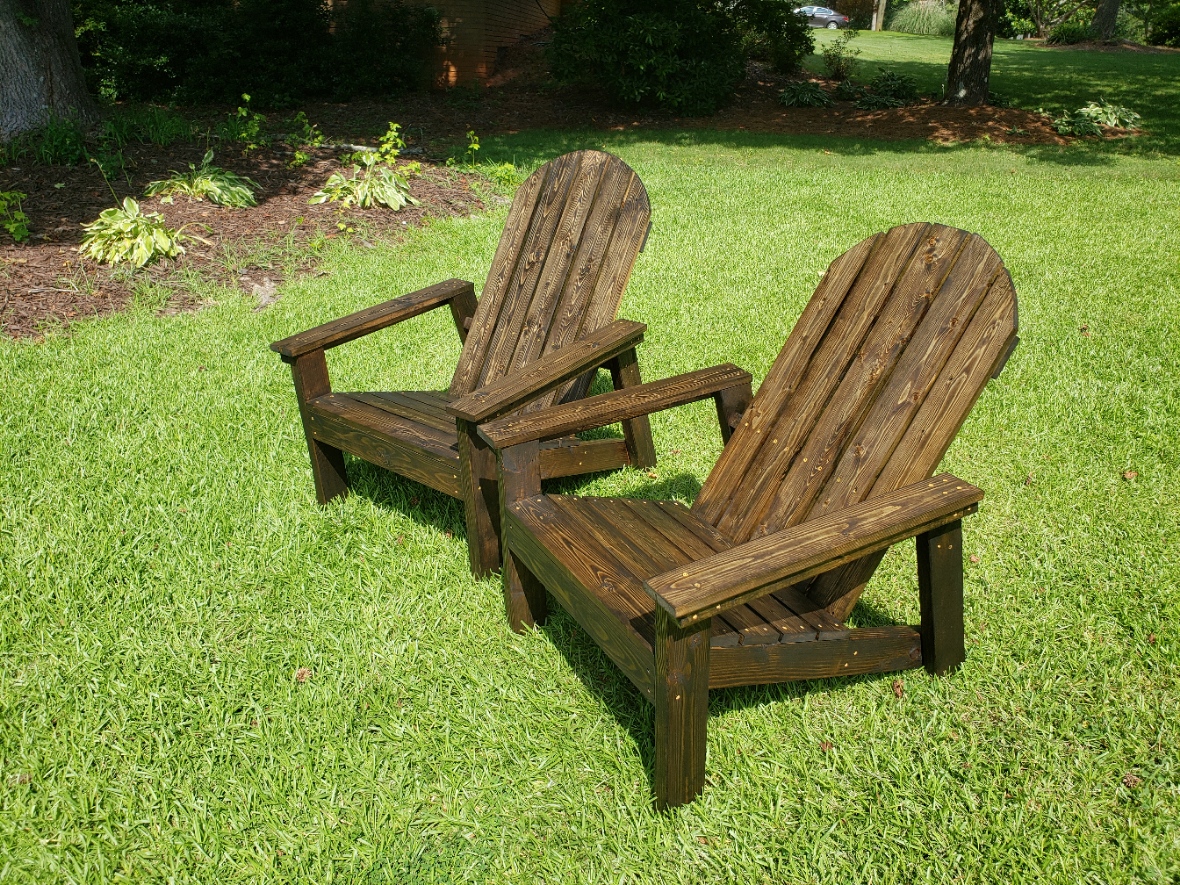
I made this for my sister the day before her house warming party. It was a pretty easy build. I used wood glue and 2" nails. Using a nail gun, this came together pretty quickly. I do wish that I had wide enough clamps to hold everything in place while it dried, because there were a few gaps due to some imperfect boards. I used 104" stud length boards, so I only need to purchase 7 instead of 9. this was enough to make the cuts for the top and both leg pieces from each board. the price was the same and we had limited space in our van for boards, so this was a better option for us. I used a sprayer hooked up to an air compressor to apply the stain and was able to get in between the slats fine with this method, brushing over it as I sprayed. Luckily I chose the same color as her deck not knowing, so it matches great. Now I need to make one for myself! :)
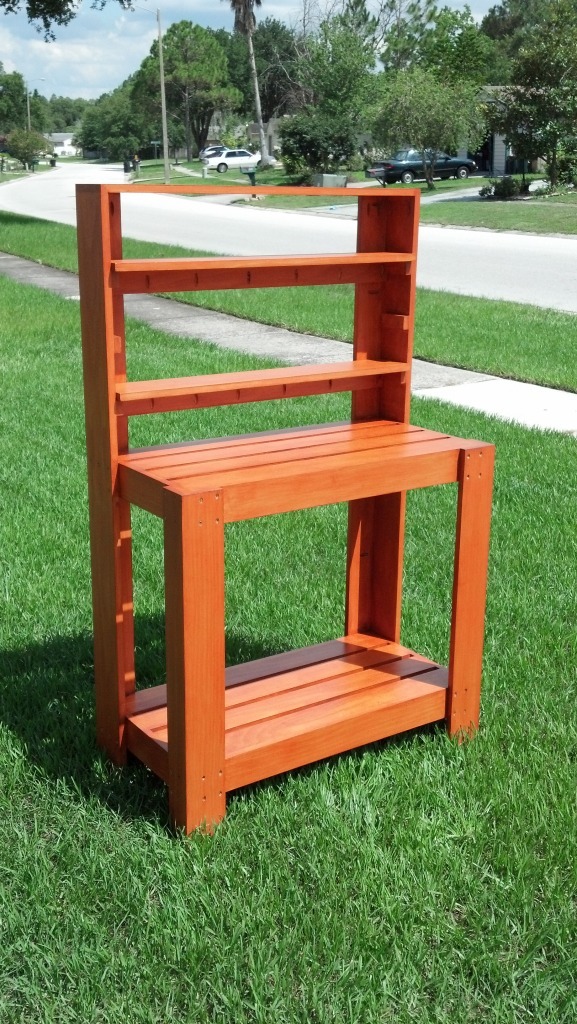
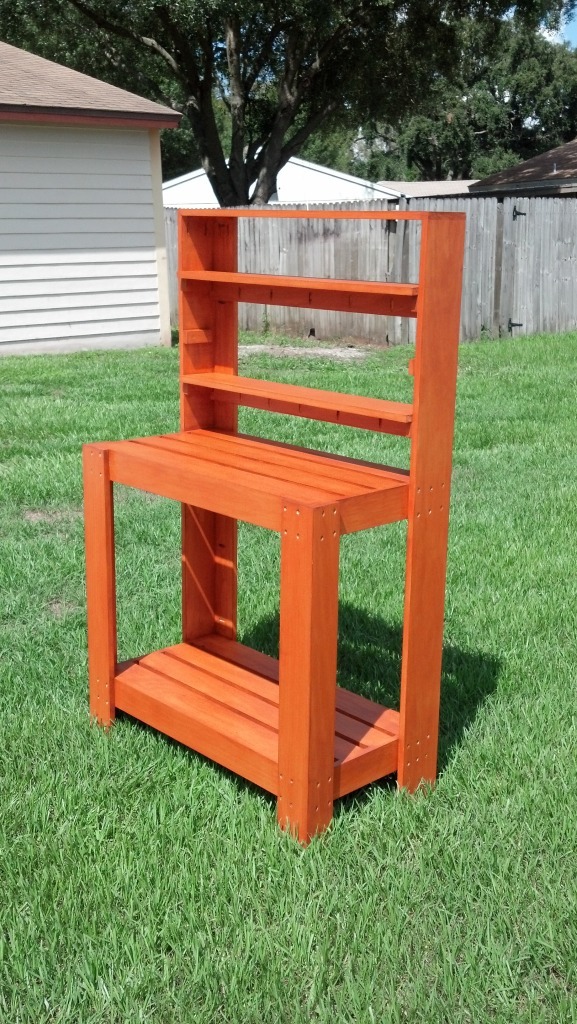
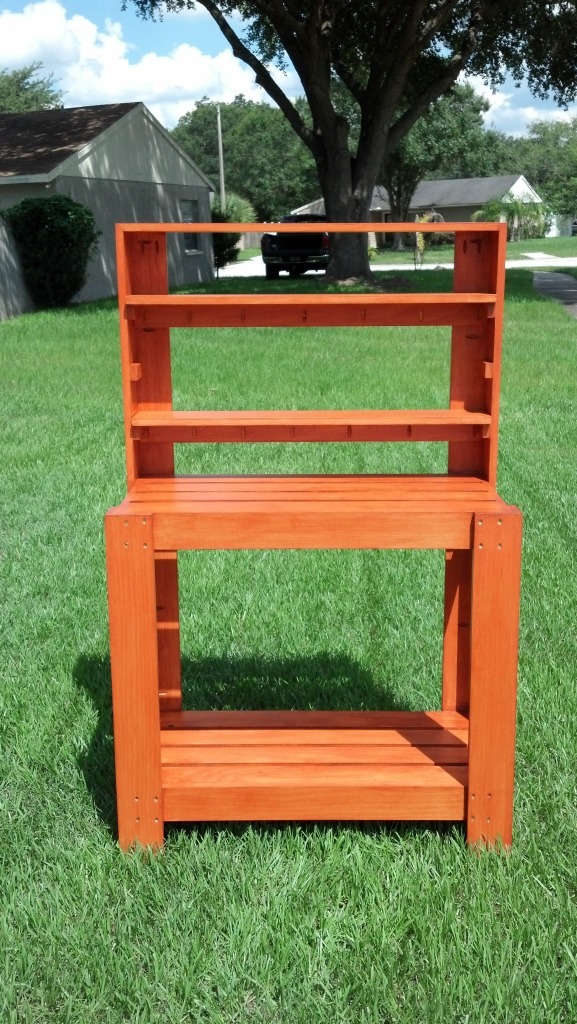
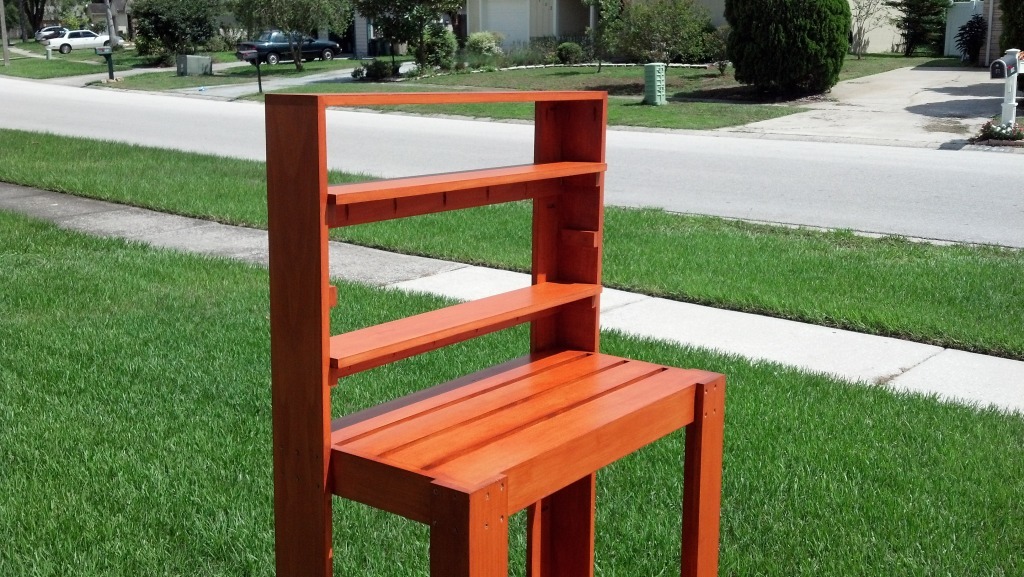
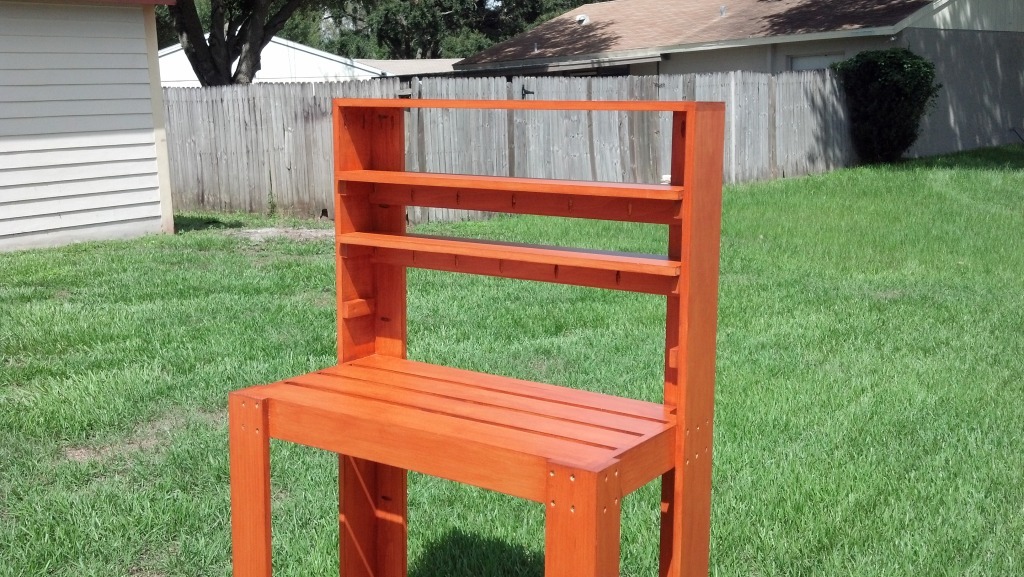
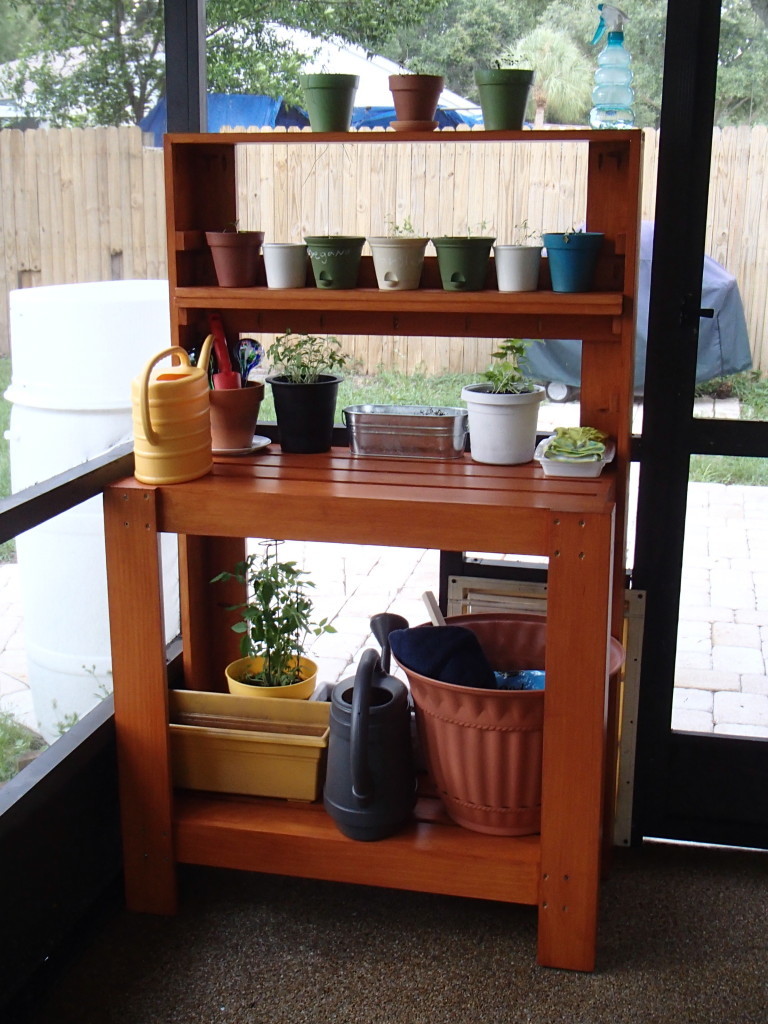
I made this potting bench as a plant rack/stand for my wife for the back porch. She has had the plants on the ground and now this will give her some place to put them on as well as not having to work on the ground. I changed the dimensions to fit our space as well as used 1x4's mostly since it is what I had. I used 1x6 for part of the back legs so as to have a deeper shelf. I also made it to have additional shelves that are a bit adjustable to (3) different levels. I also changed the front a bit so it is closed in. Thankfully you can't tell in the pictures much but this was my first time trying to stain something. Definitely not my forte. Hopefully will get better with time and experience. Thank you for posting the plans for to build from.
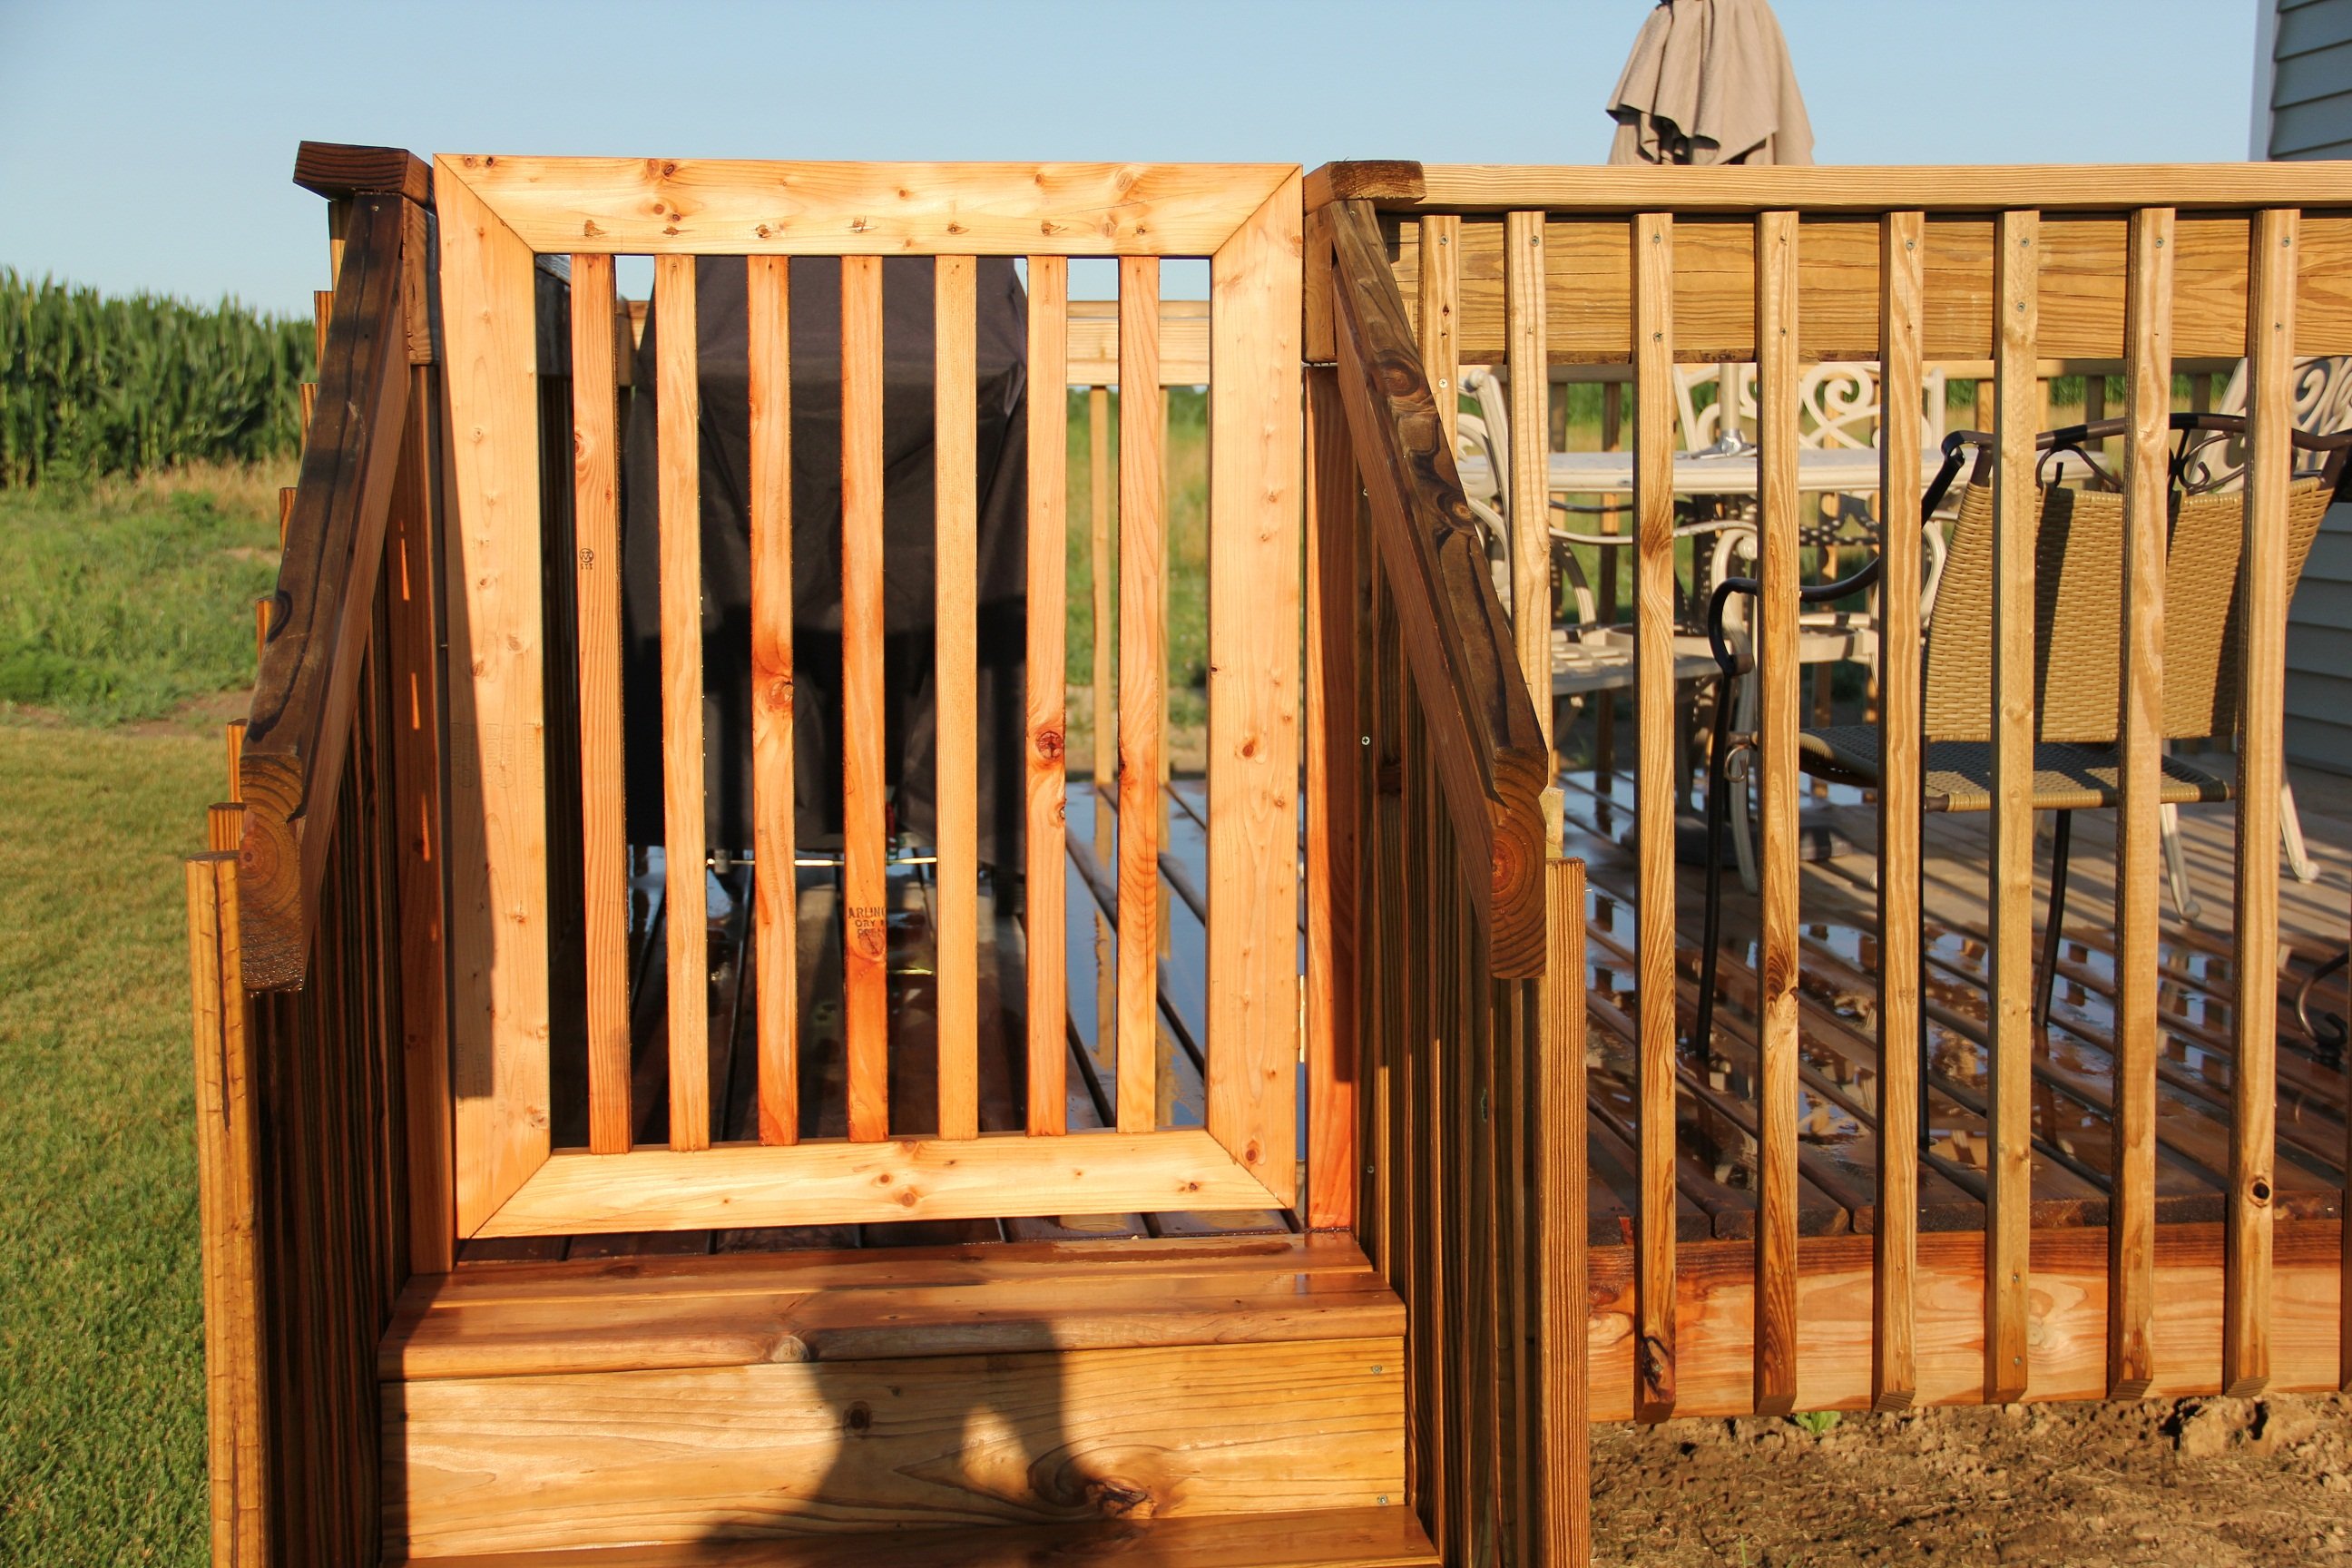
With grandchildren and pets we decided to put a gate on the deck.
The gate is made from 2 X 4's and 2 x 2's. I used brass hinges to prevent rust and smooth operation
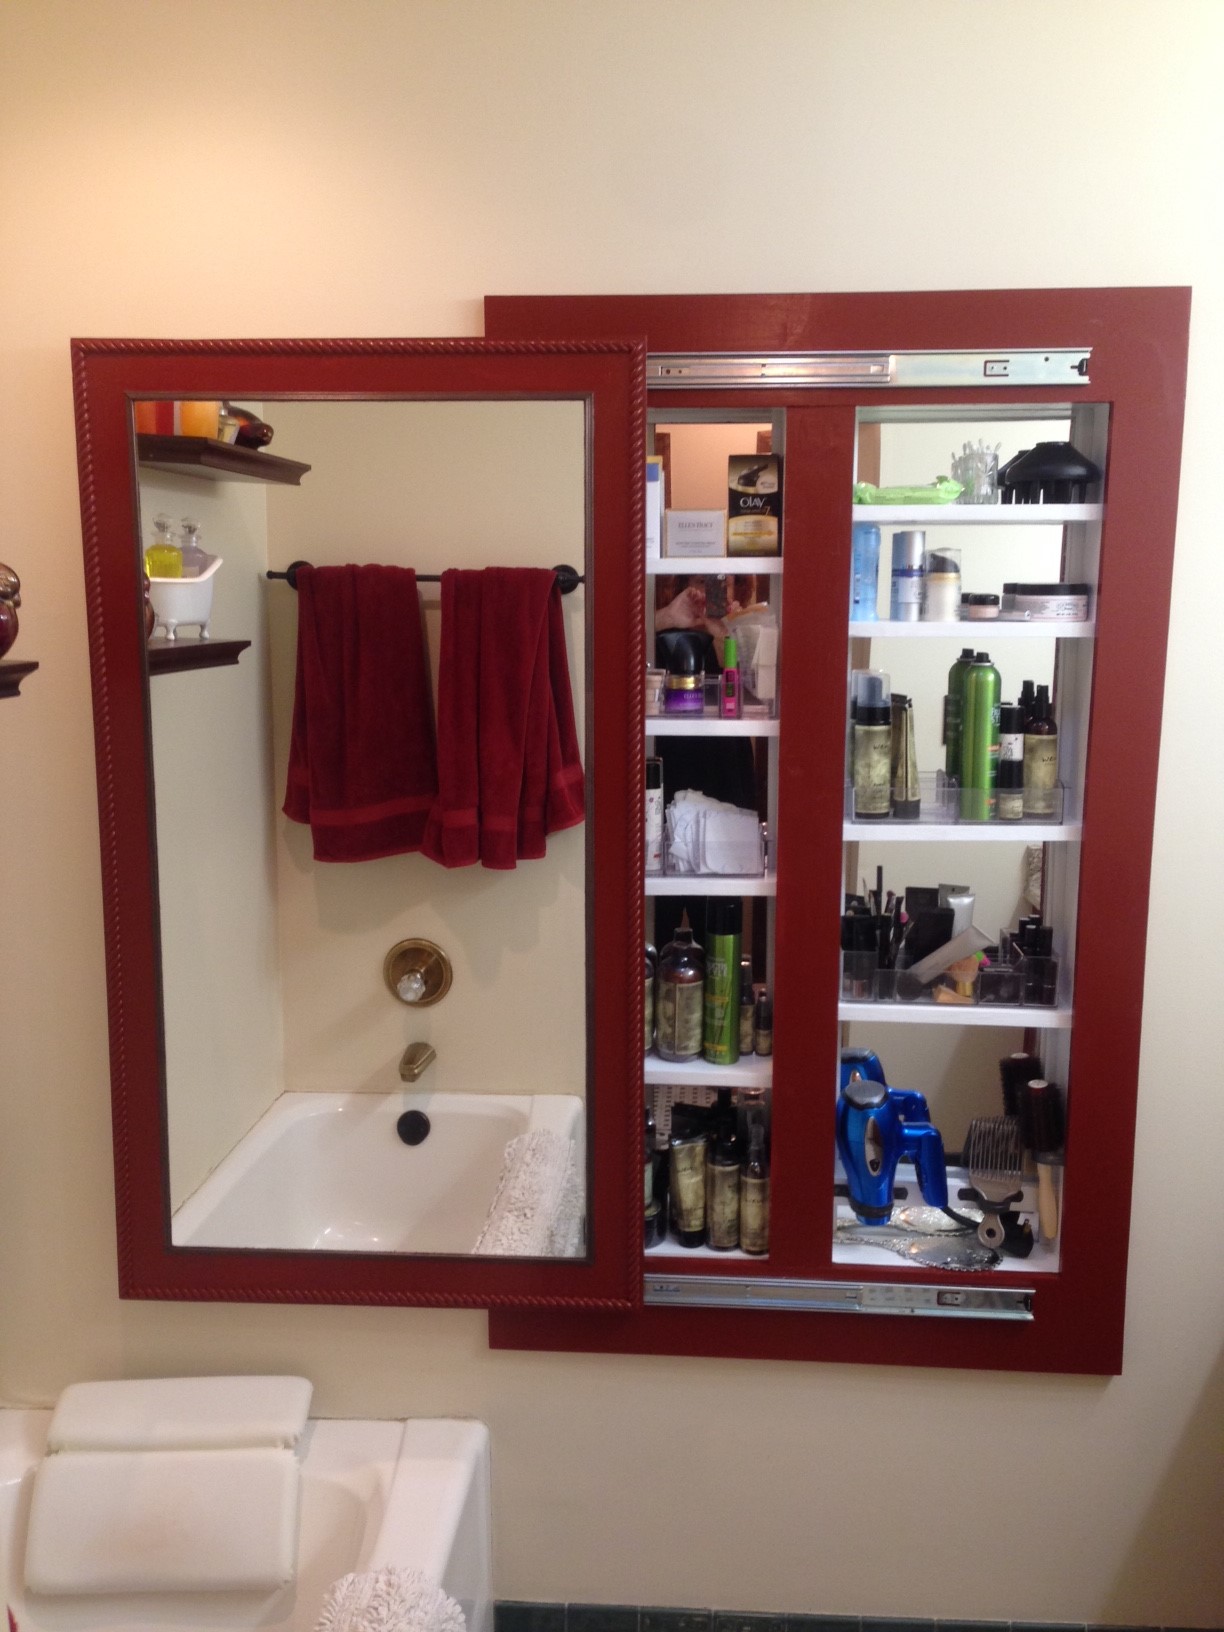
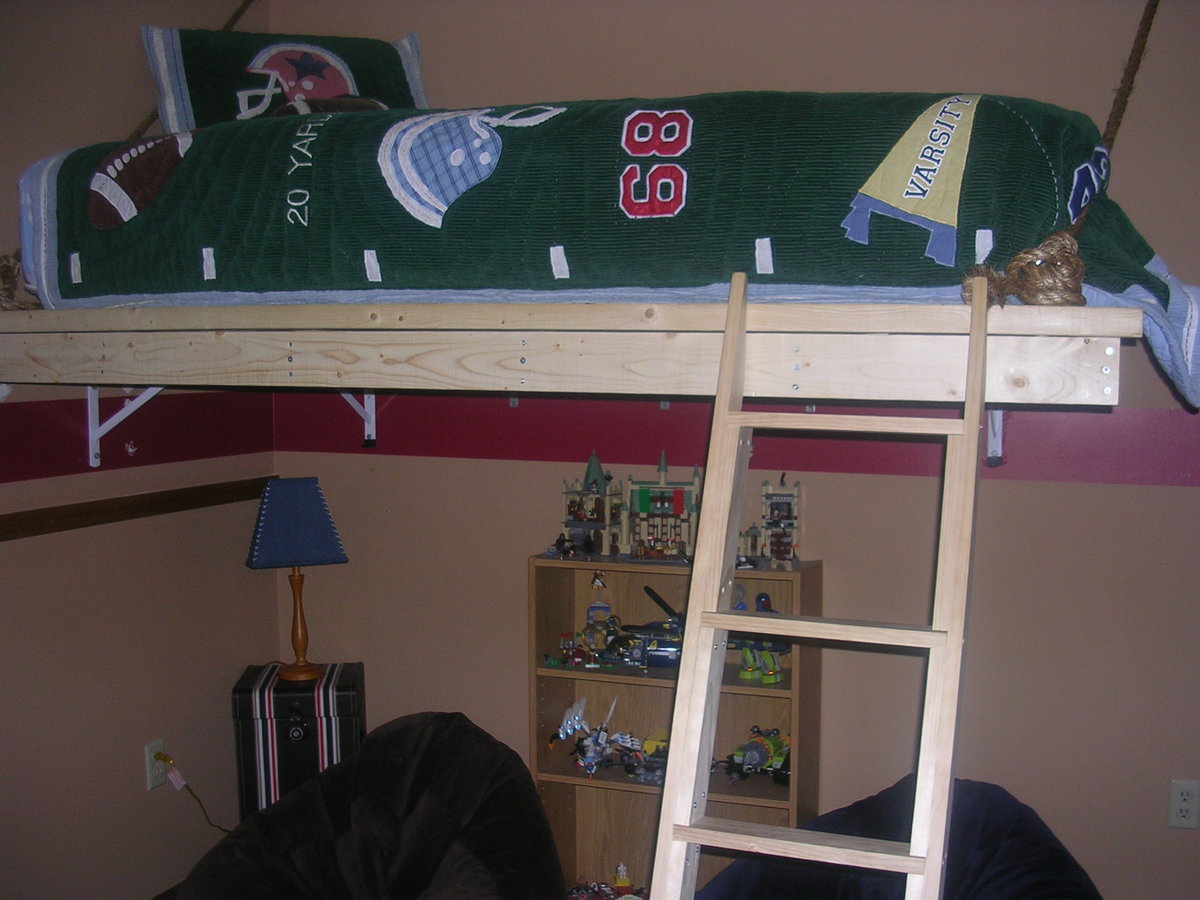
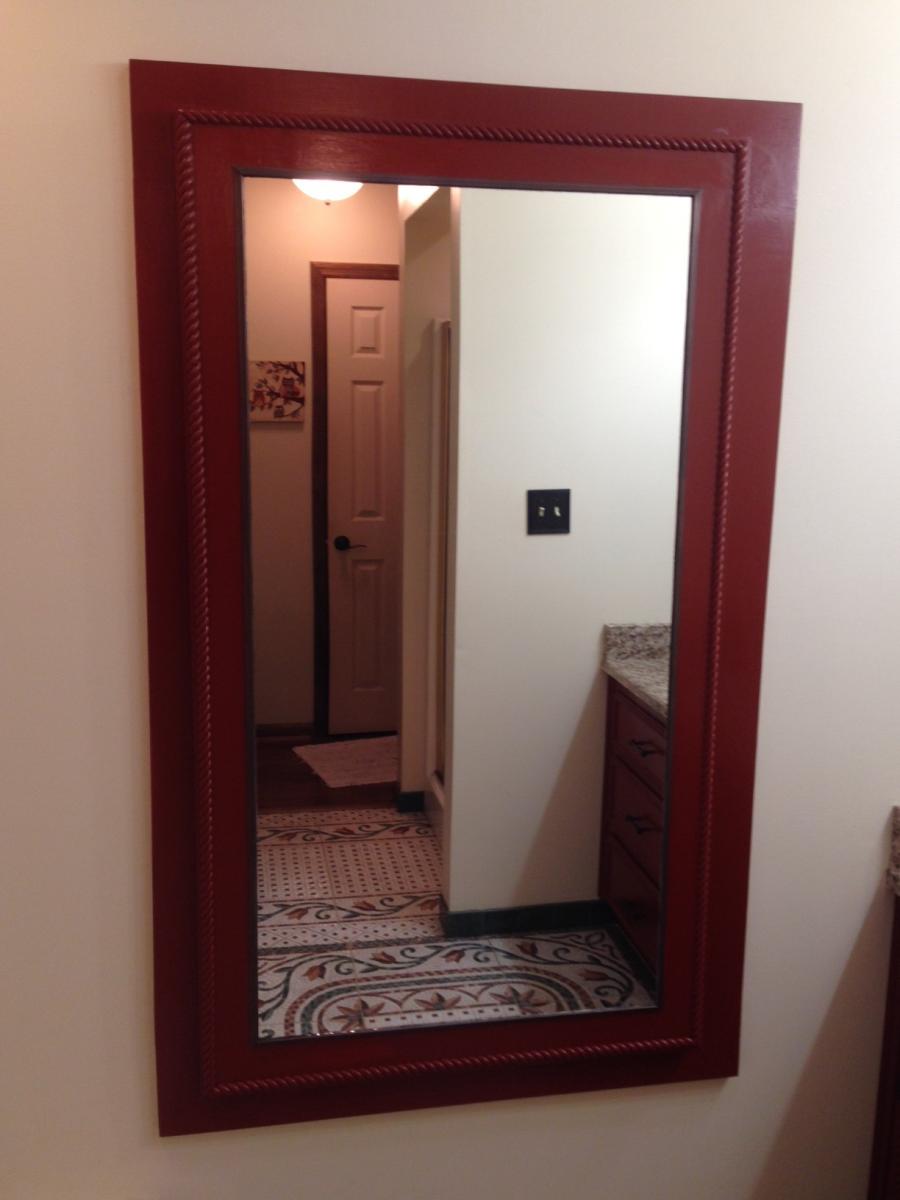
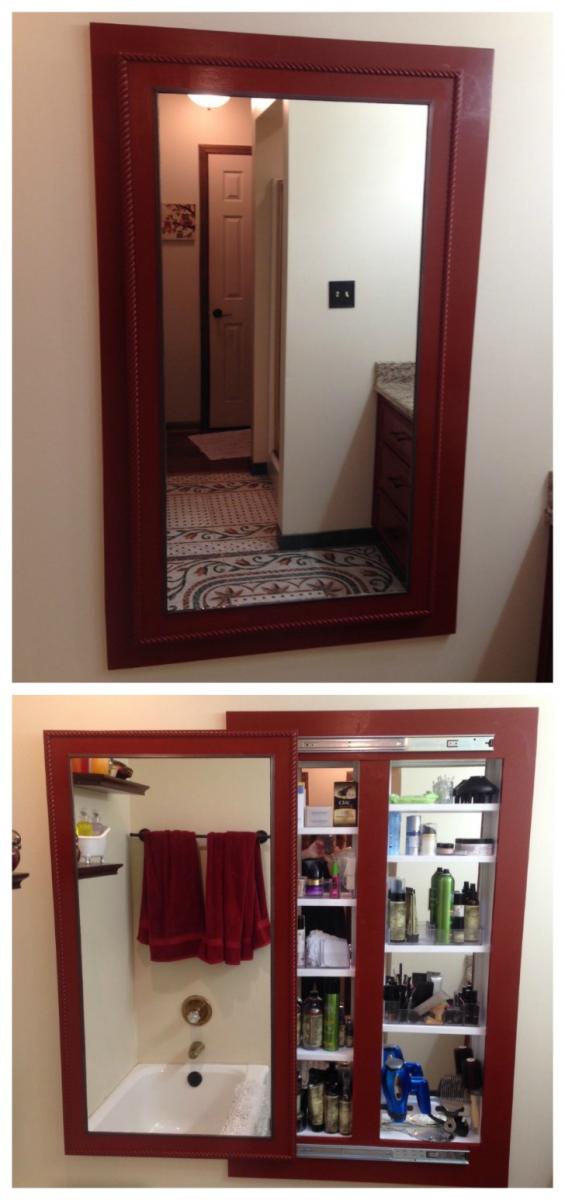
Adapted Ana's full length mirror storage idea. I needed to recess the cabinet into the stud cavity to save needed floor space. Opened two cavities and made the interior the same length as the cheap $6 behind the door mirror. Was able to just sit them on a ledger board and the shelves hold them from falling forward.
The cabinet looks wonderful and holds a TON of things. Thanks Ana for the inspiration!

Thu, 07/25/2019 - 18:20
I love this!! So smart to make it recessed. Thanks so much for sharing the photos!
Sun, 02/27/2022 - 15:58
I am wanting to build a thin or recessed cabinet for an incredibly small area in my bathroom and knew to go right to Ana White! The combination of these two projects is perfect and exactly what I was looking for! Now here’s to praying I can pull it off!! 😬
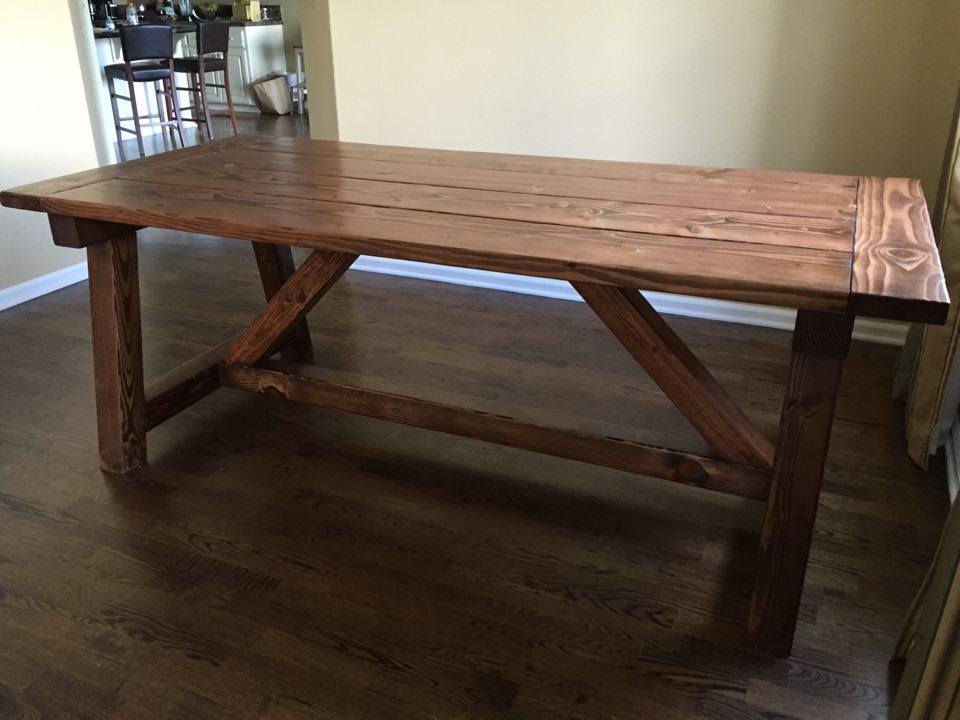
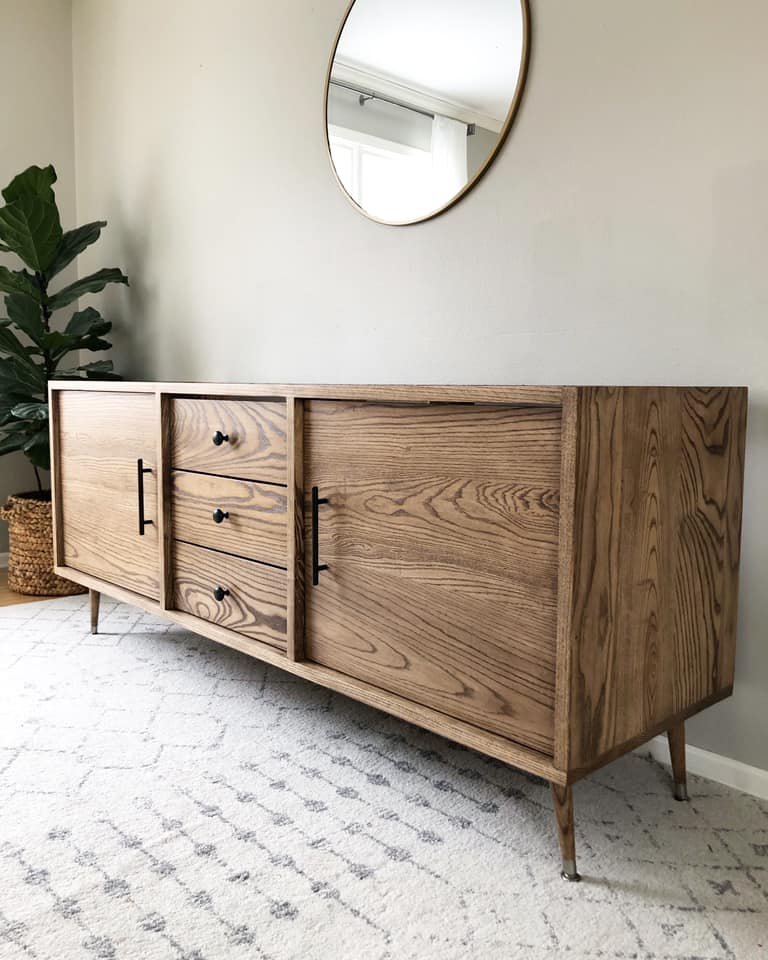
I went pretty much according to the plan on this one. Went with the special walnut stain and gloss poly. Love the look!
We used pine and finished with one coat of Weathered Oak by Minwax and three coats of Minwax Polycrylic.
Mon, 04/11/2016 - 19:11
I like the finish you used on the table. I built my table, but have not stained it yet. This is my first diy wood project ever so could you break down exactly how to stain the table? I have minwax weathered oak and the polycrylic. I brush the stain on? And then how long did you let the weathered oak sit on the wood before you wiped it off?
This was the second project I've ever built. It was an easy project.
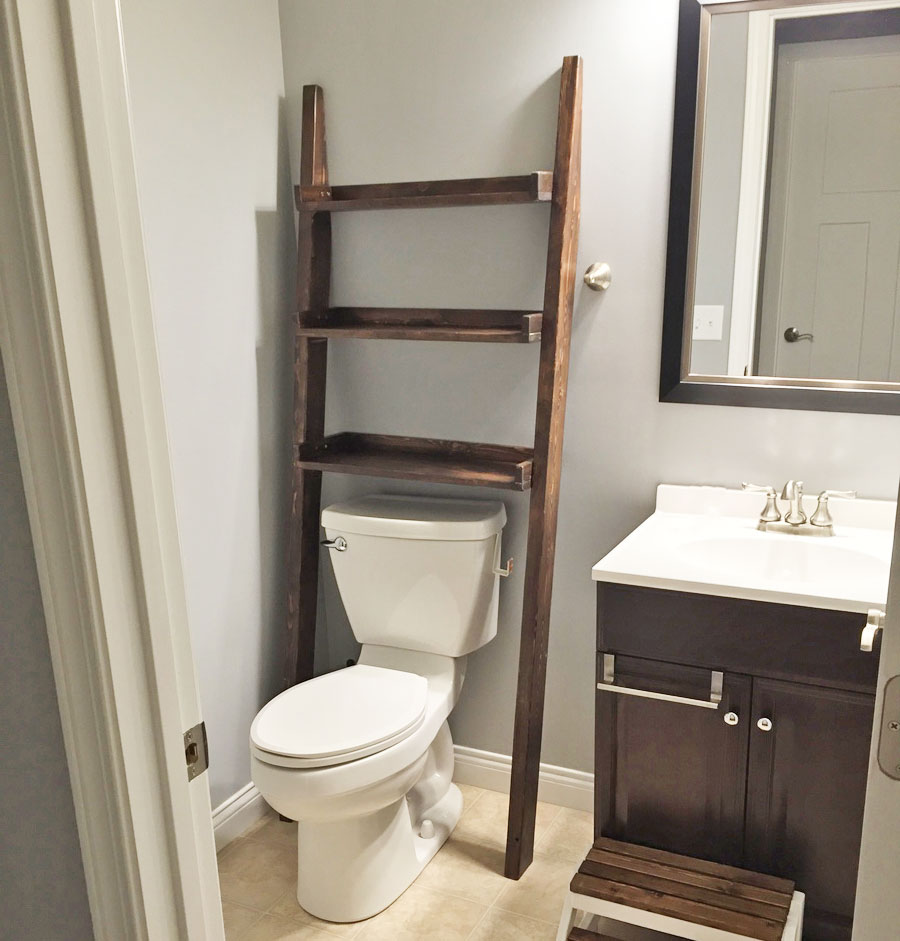
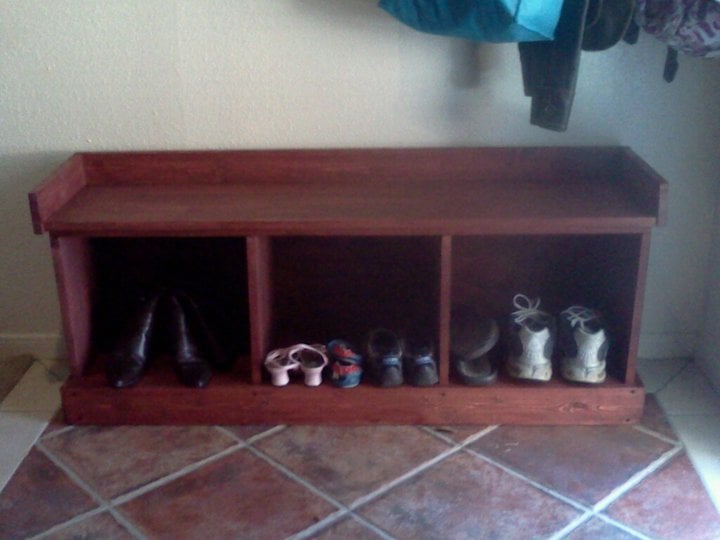
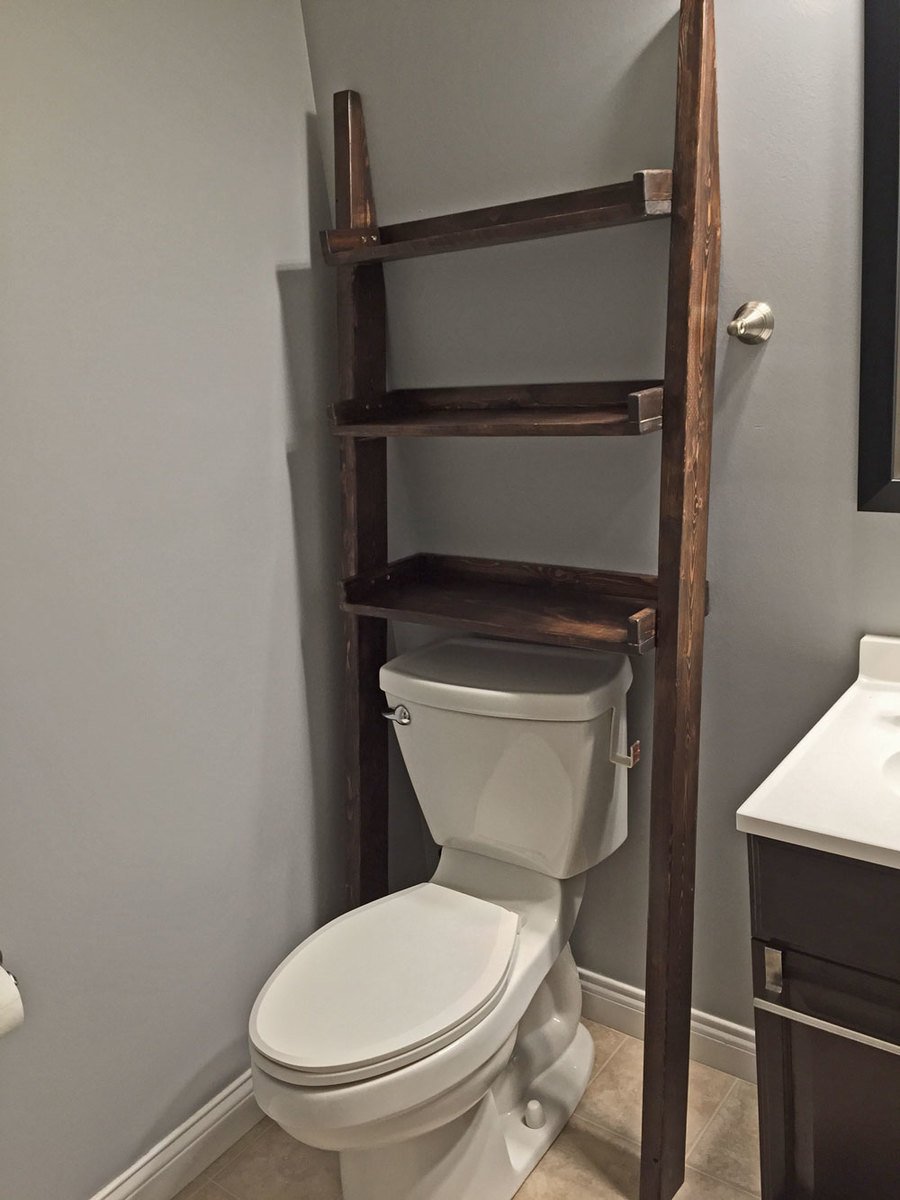
My wife saw your post for this shelf and knew it would be perfect for our half-bathroom. She showed it to me and I agreed. I built it in a few hours one afternoon. Stained and sealed a few days later and it fits perfectly. Now we just need to wait (impatiently) for everything to cure so we can actually begin to use it. We'll try and share another final photo when in full use.
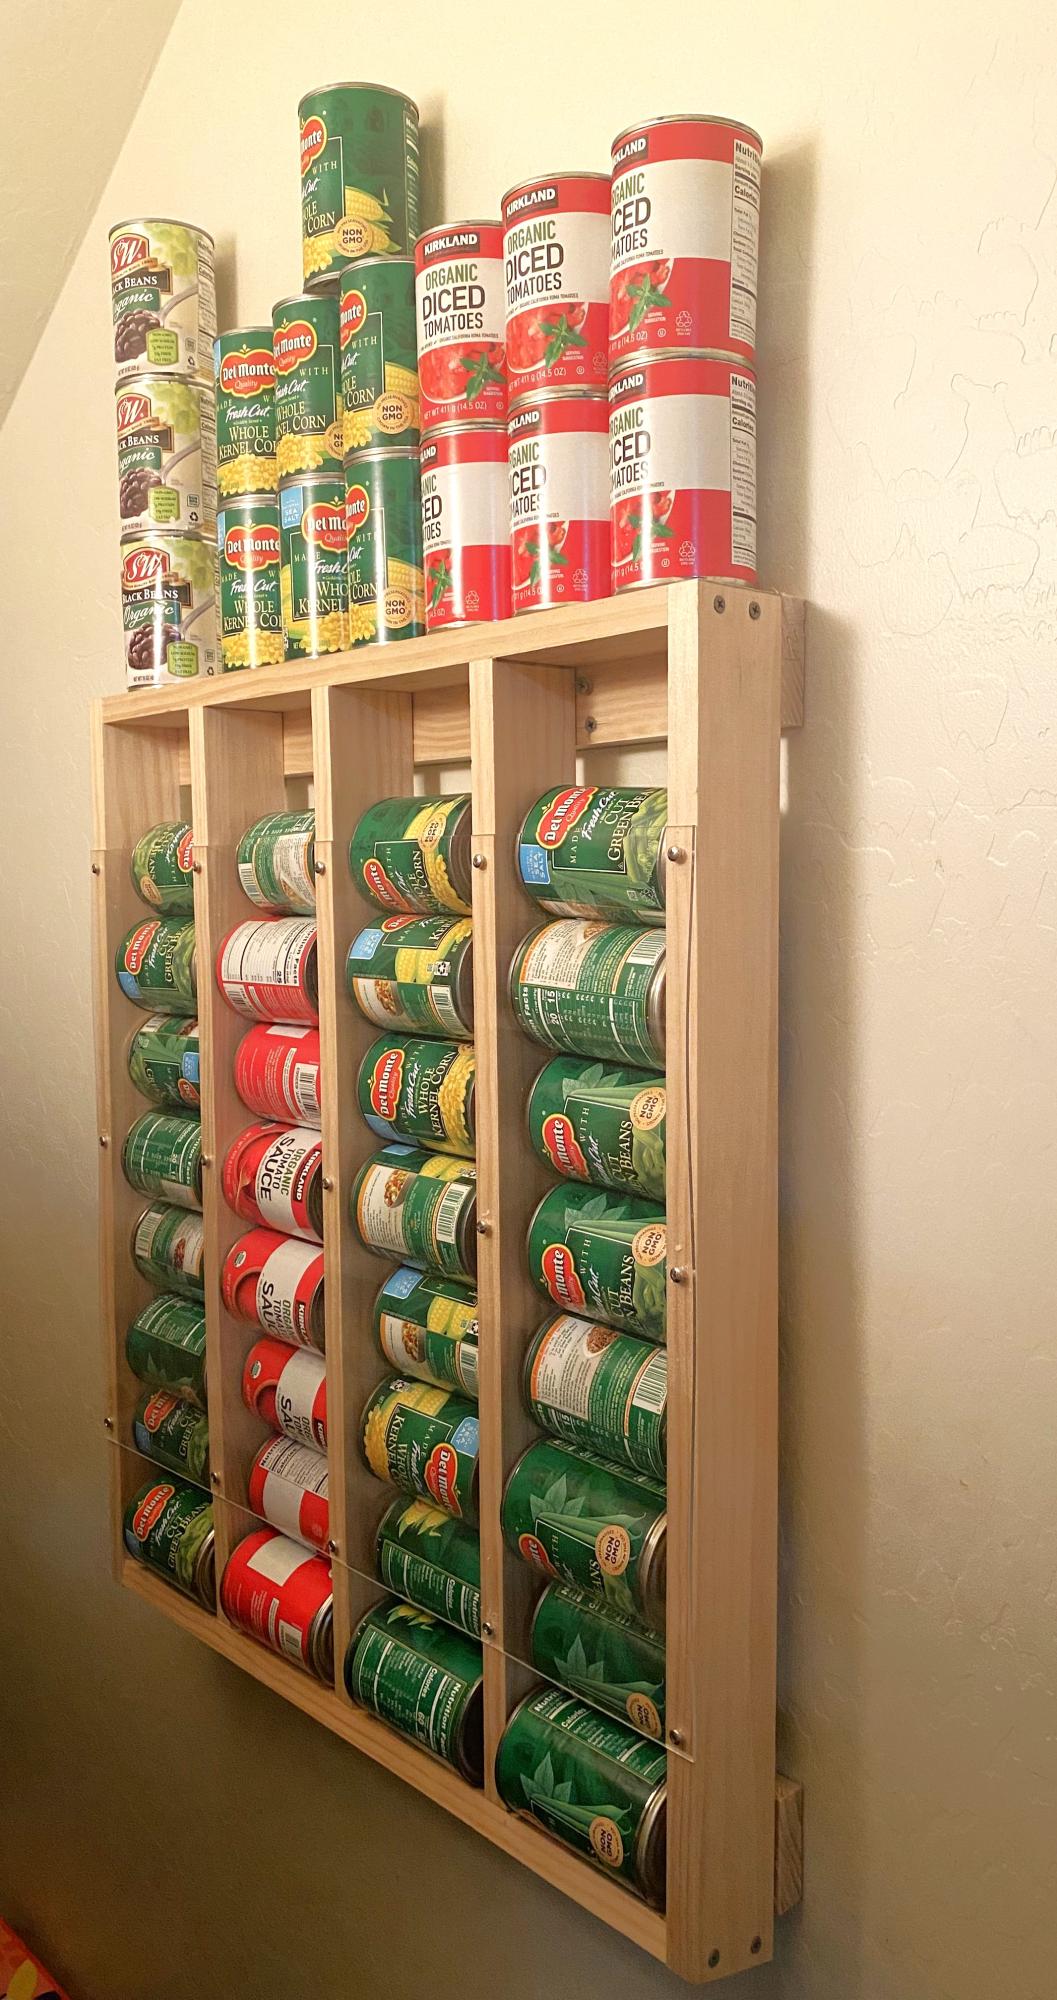
Made this for my dry closet. Super easy to construct and it works perfect. I just wish there was something similar to use for paper towels.
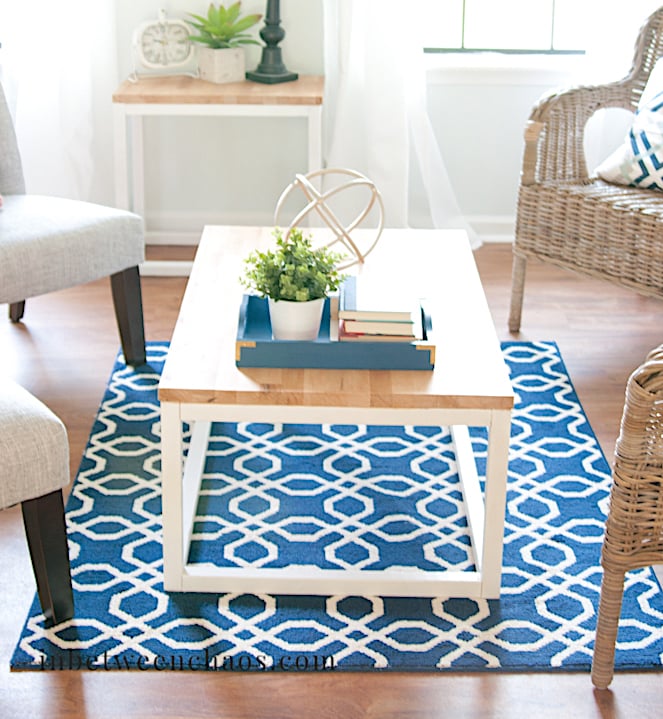
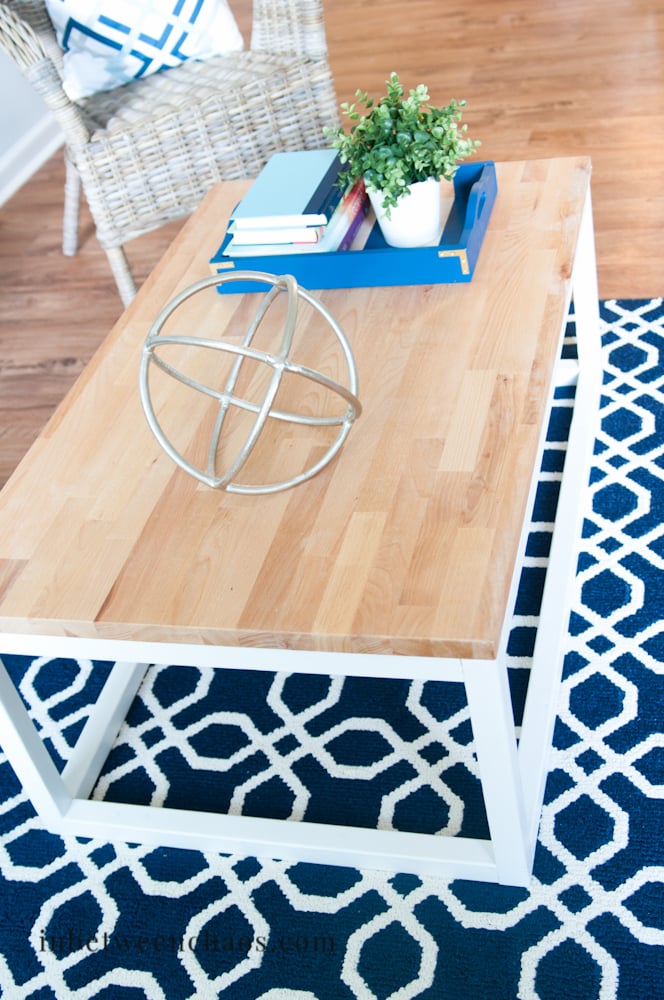
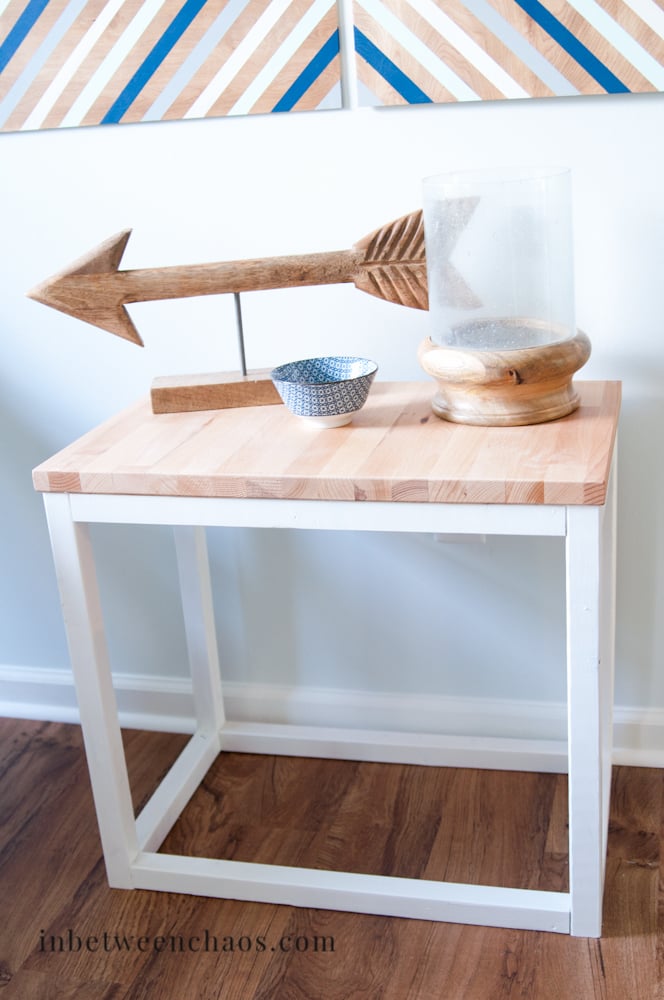
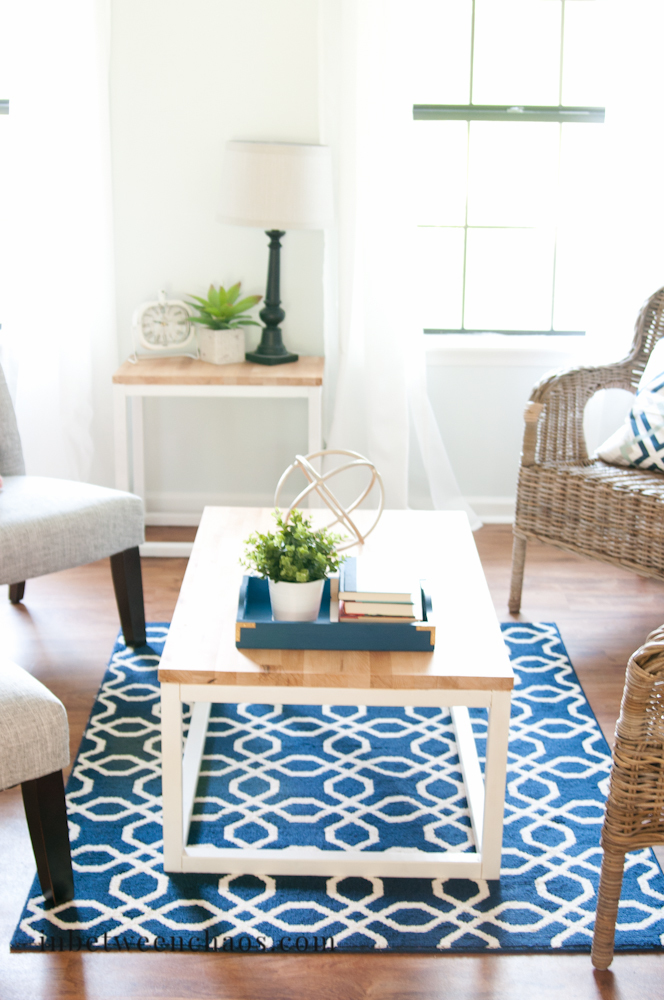
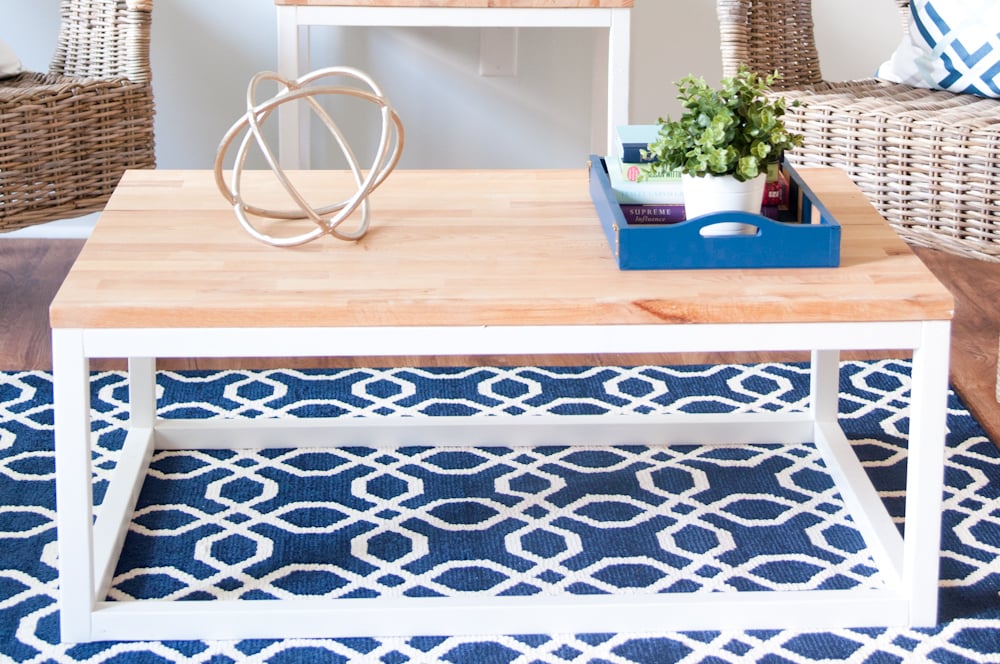
While staging my most recent flip house, I needed some accent tables for the living room. I picked up a butcherblock countertop at IKEA, then created two end tables and 1 coffee table. I loved Ana's simple design, and I thought it was a great balance to the warm butcherblock top. Thank you Ana for a great plan as always!
I've made 6 of these chairs! This was only my third woodworking project and I'm really happy with how they turned out. They are just the right size for me, I'm 5' 5", and my husband, he's 6'1". They are very comfortable and look great around the fire pit.

After building a few things from plans I decided to come up with something on my own, and from scraps I made this bench for my son.

I've been searching for a deck set and I didn't want to spend a lot of money. I altered the plan to include a table instead of another seat (I used a piece of square patio glass from my old patio set). I made this sectional in an afternoon using green-treated lumber and cushion sets from Walmart.
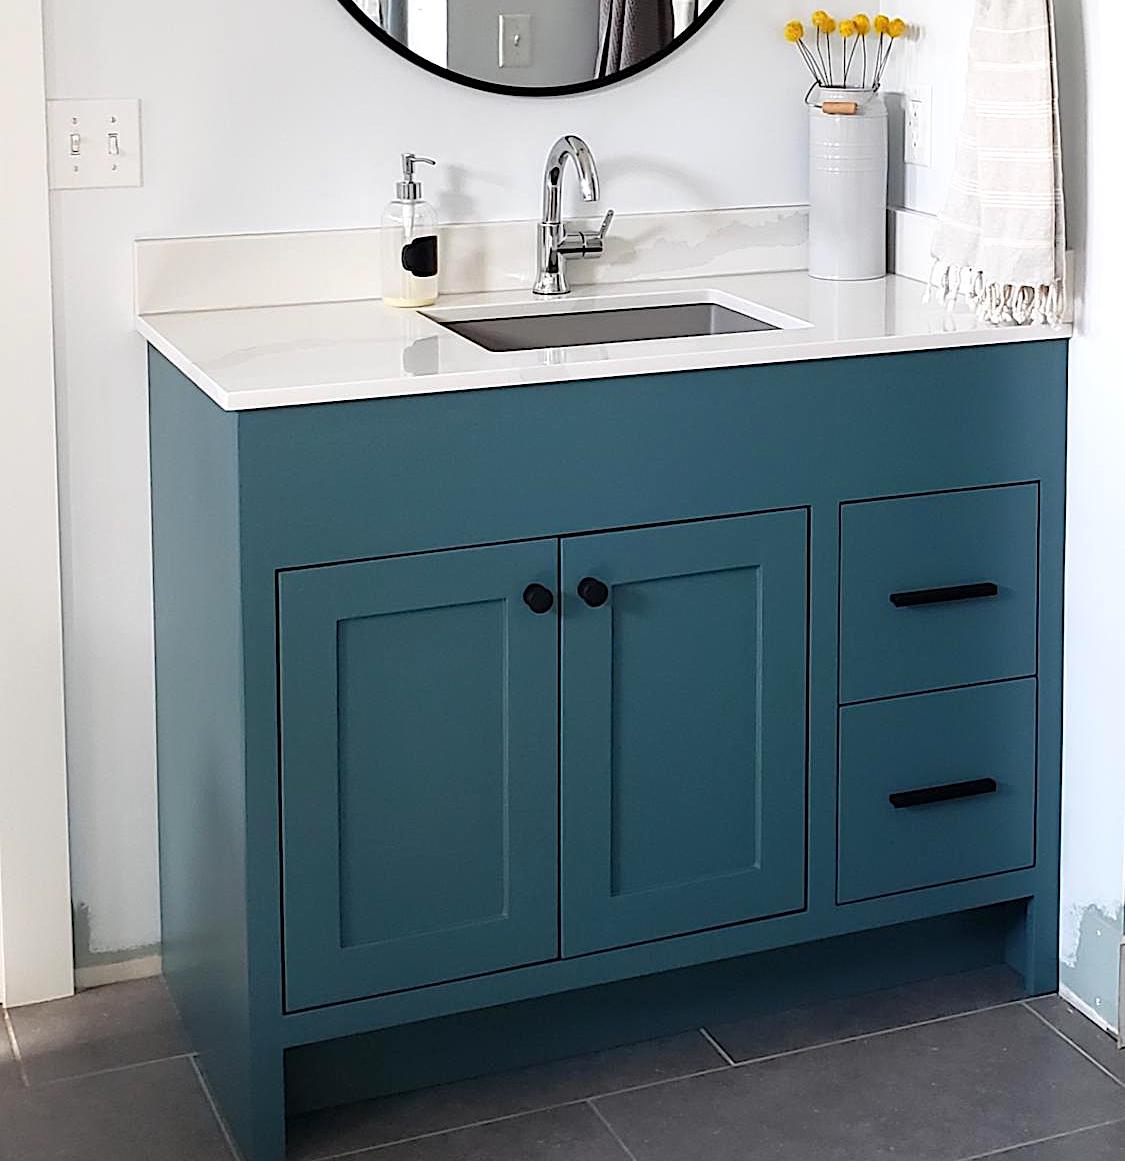
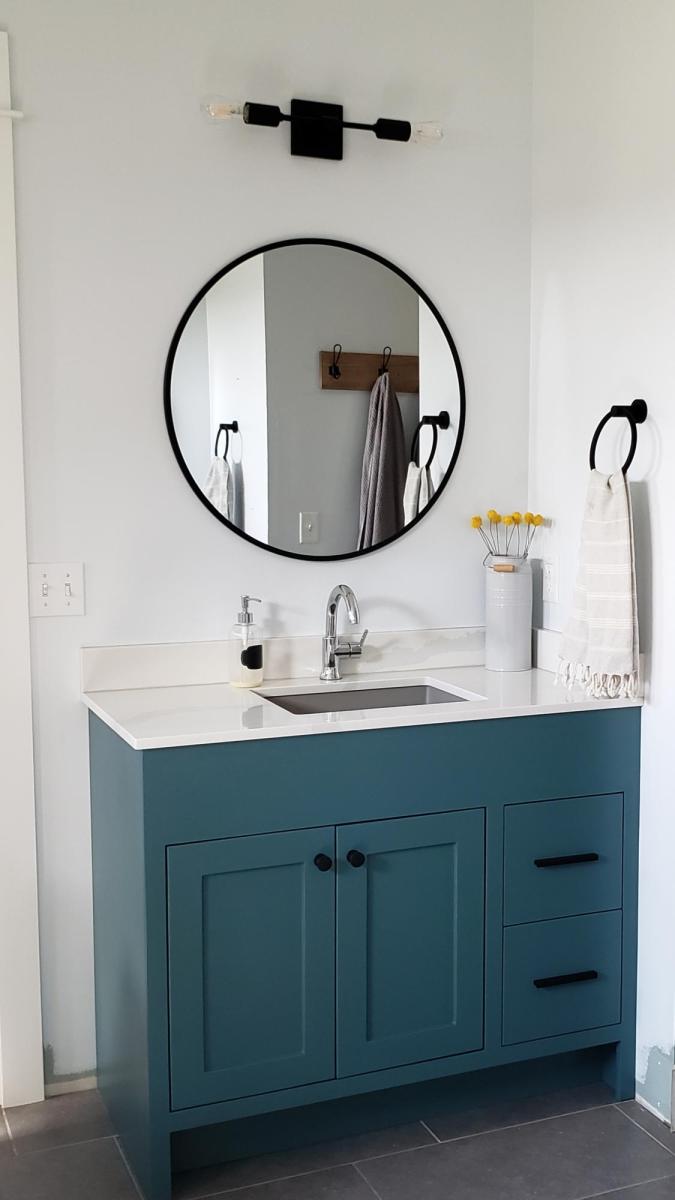
Needed a custom build to fit the plumbing and size requirement for my master bath.
Wed, 04/21/2021 - 10:01
This is exactly the size I need to build, potentially with the same plumbing requirements. Would you mind sharing your plans, please?
Tue, 06/13/2023 - 18:29
This is the exact size and style I am looking for as well. Would you mind sharing the plans with me as well?
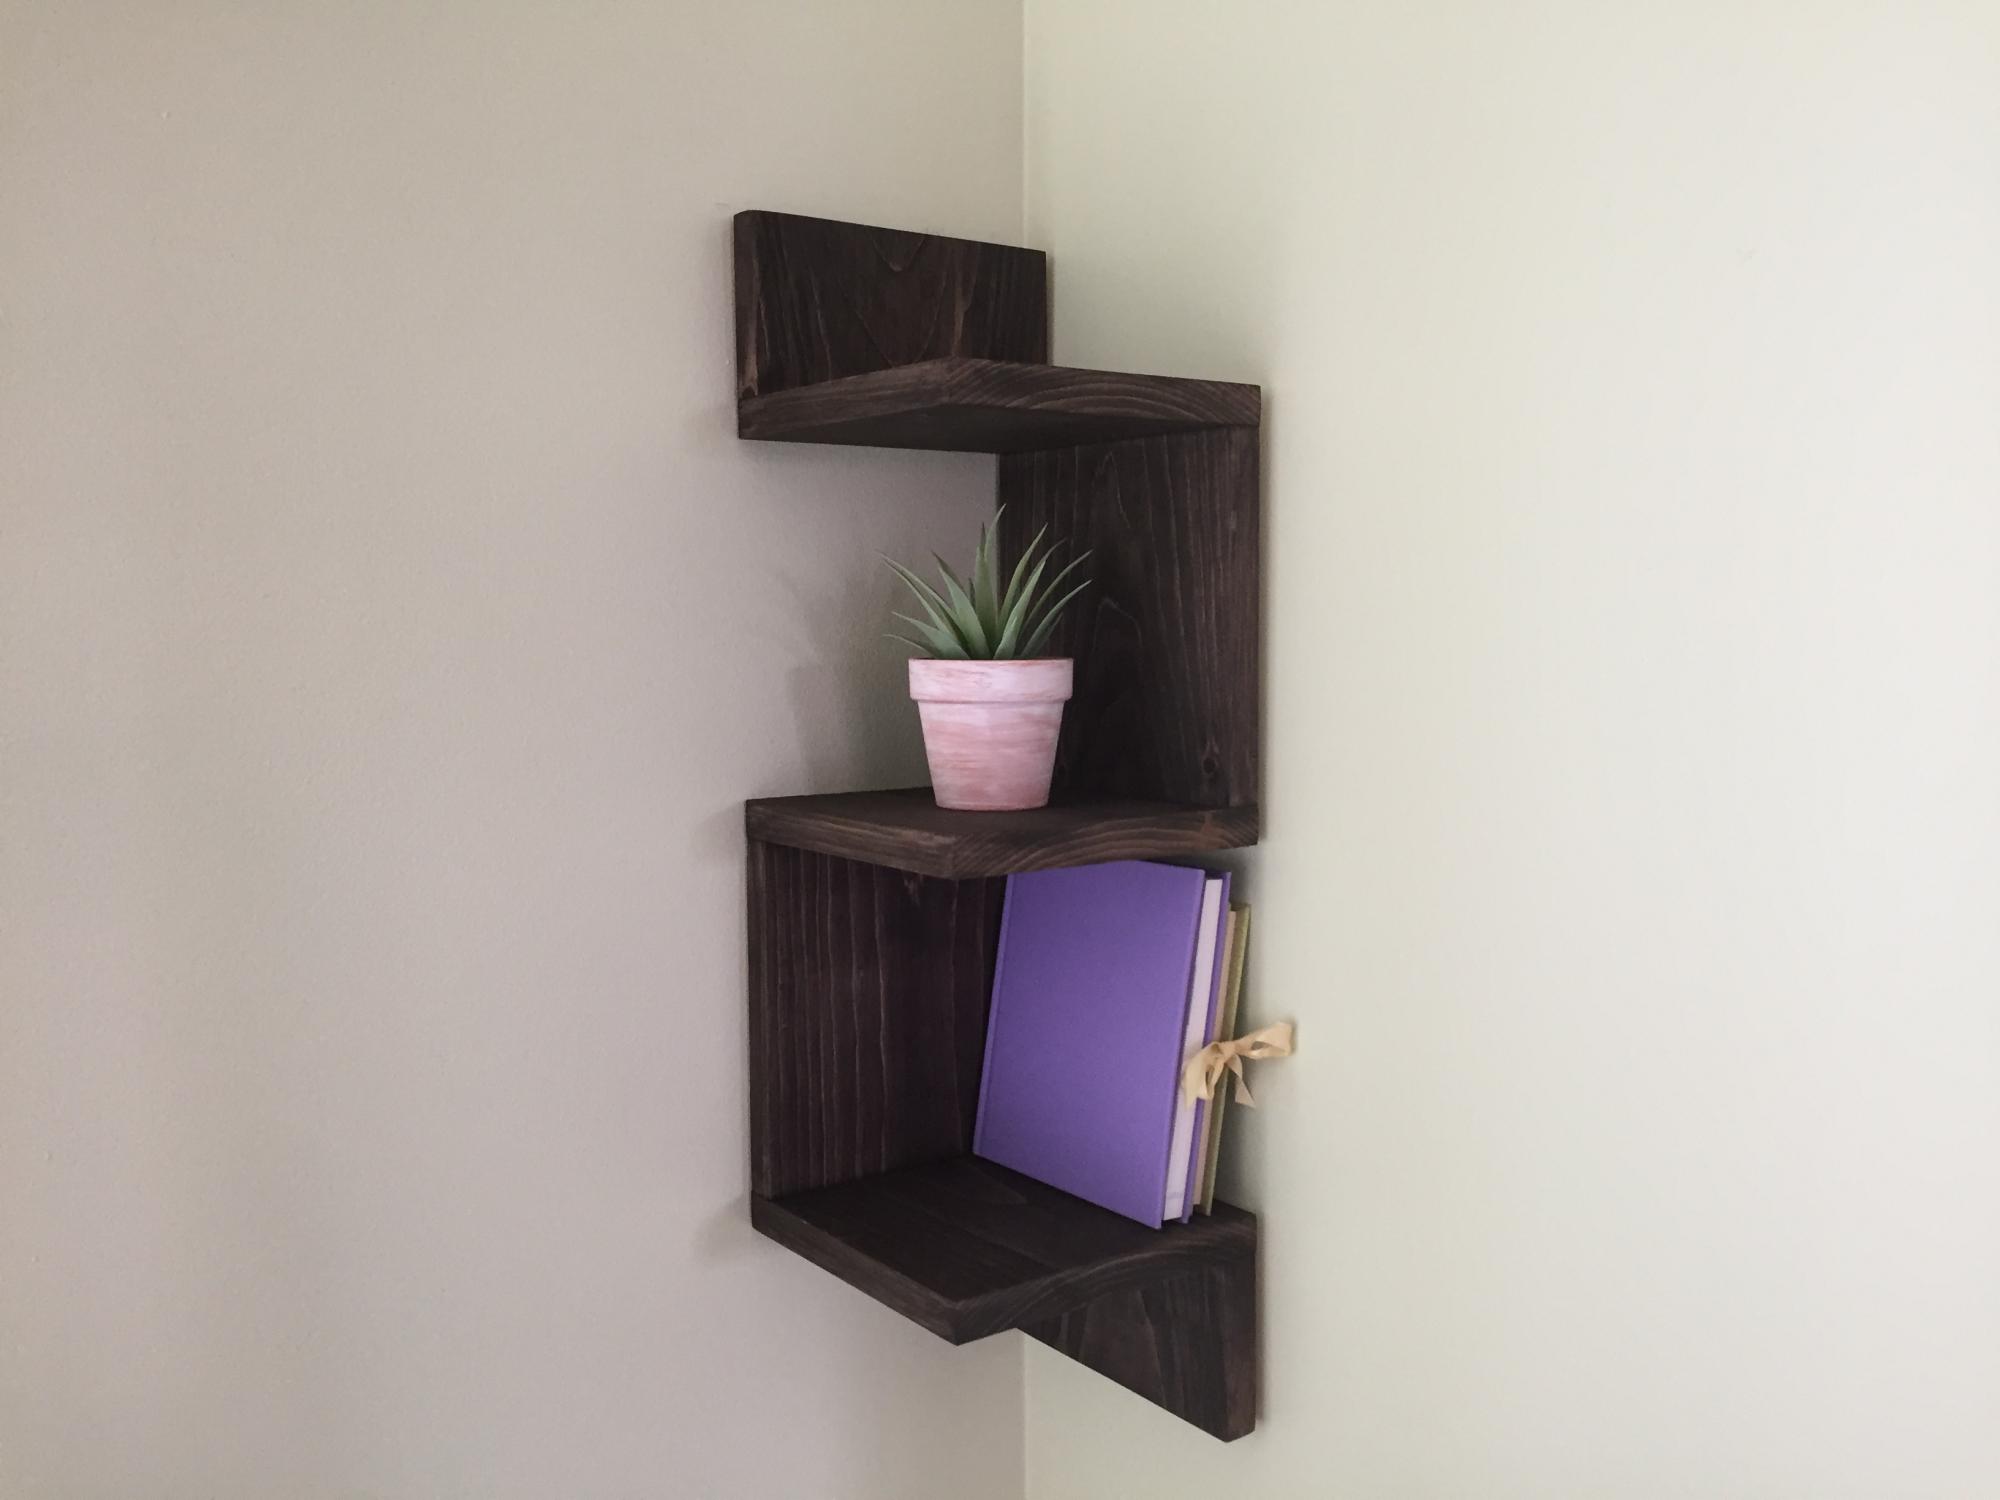
I built these beautiful corner shelves for a friend. It is a great beginner project. I used a 1x8 board but you could also use a 1x10 board. You could also build 5 shelves instead of 3. I used pocket hole joinery.
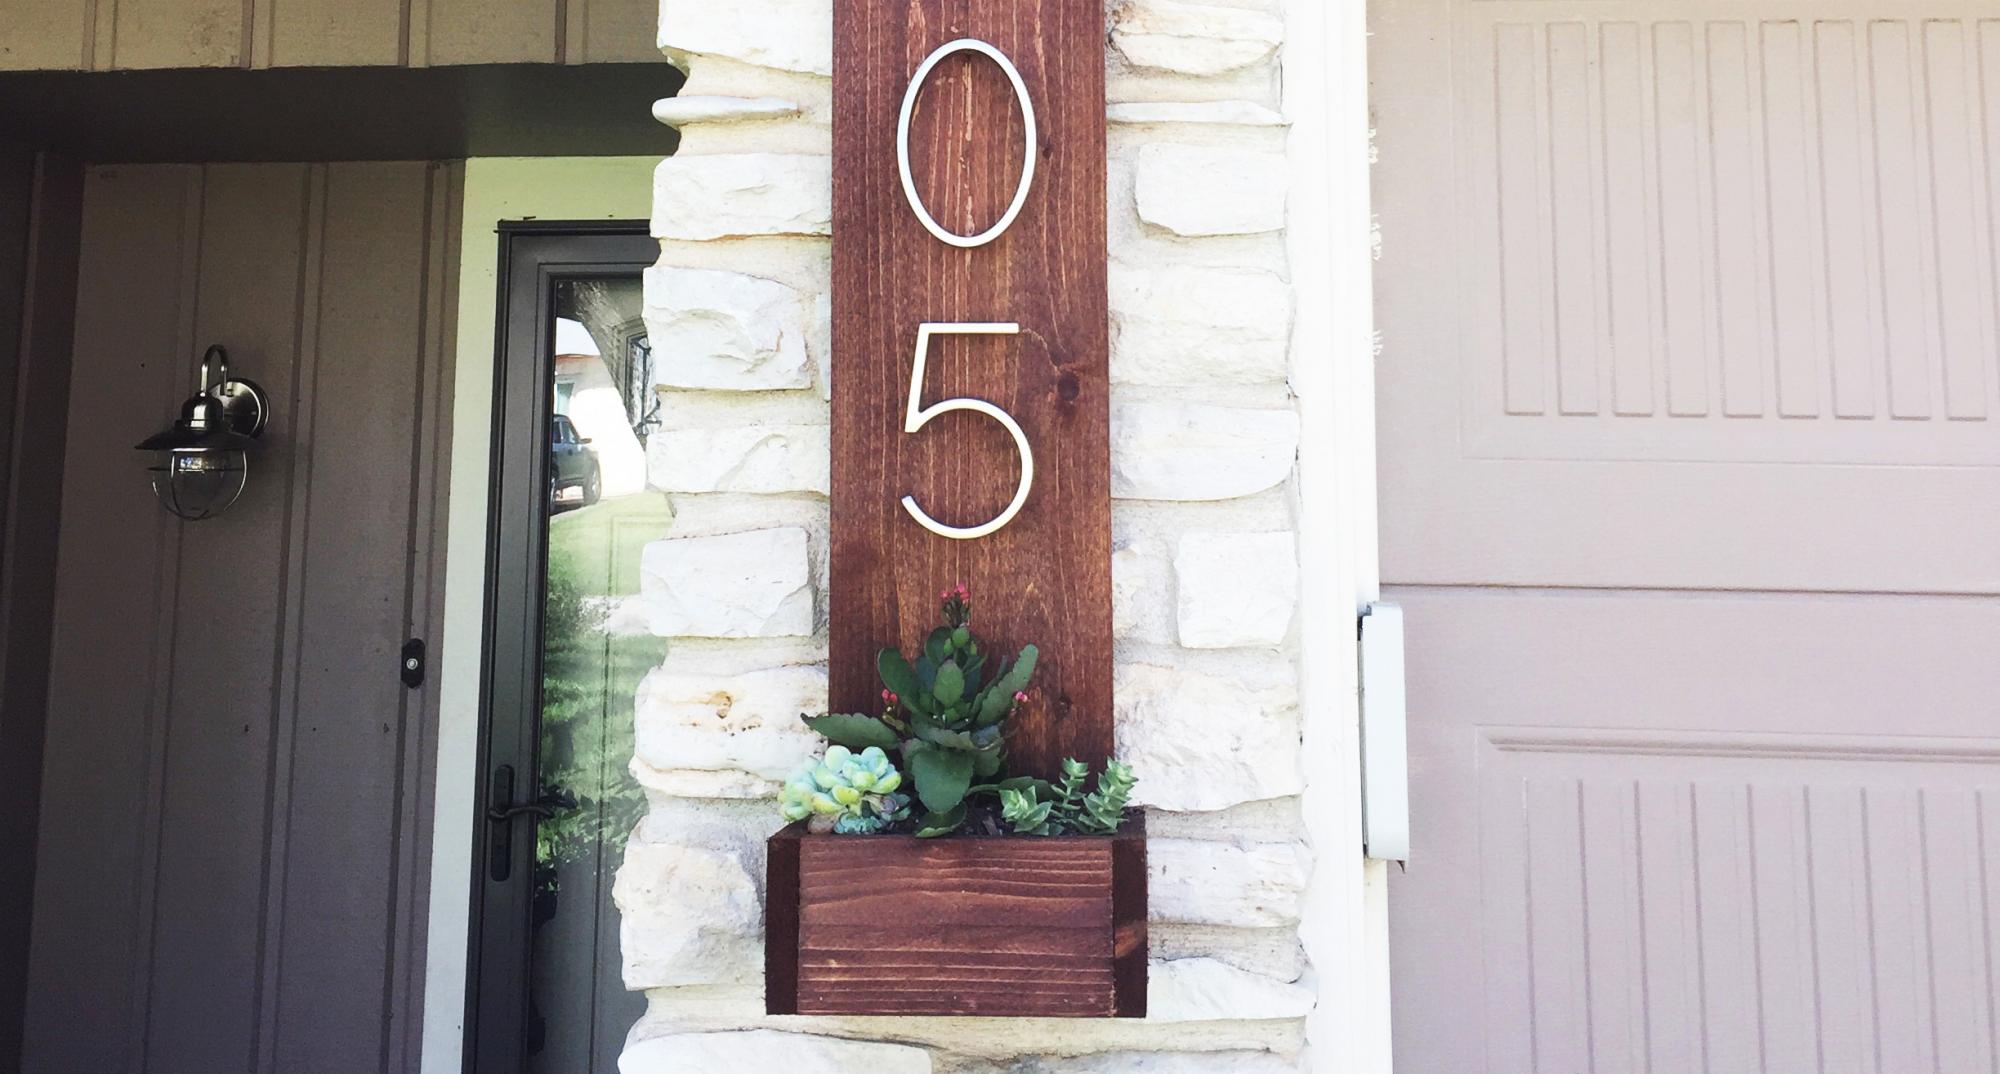
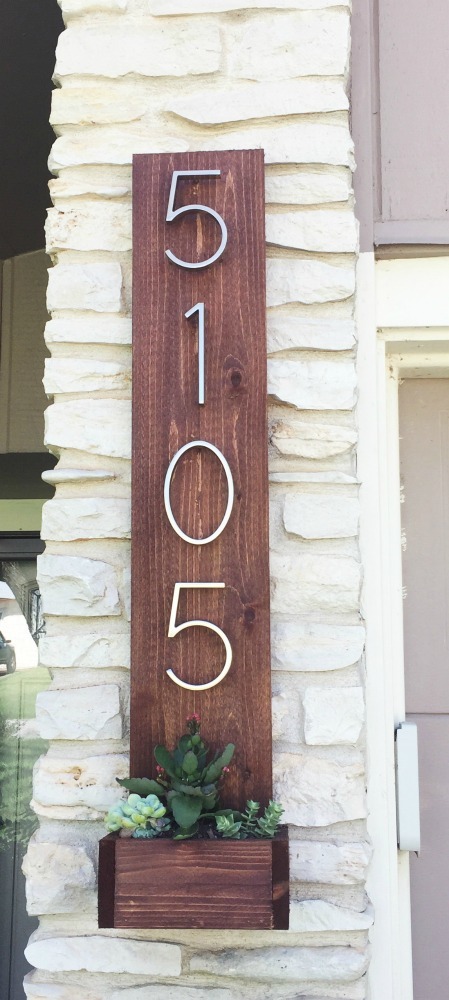
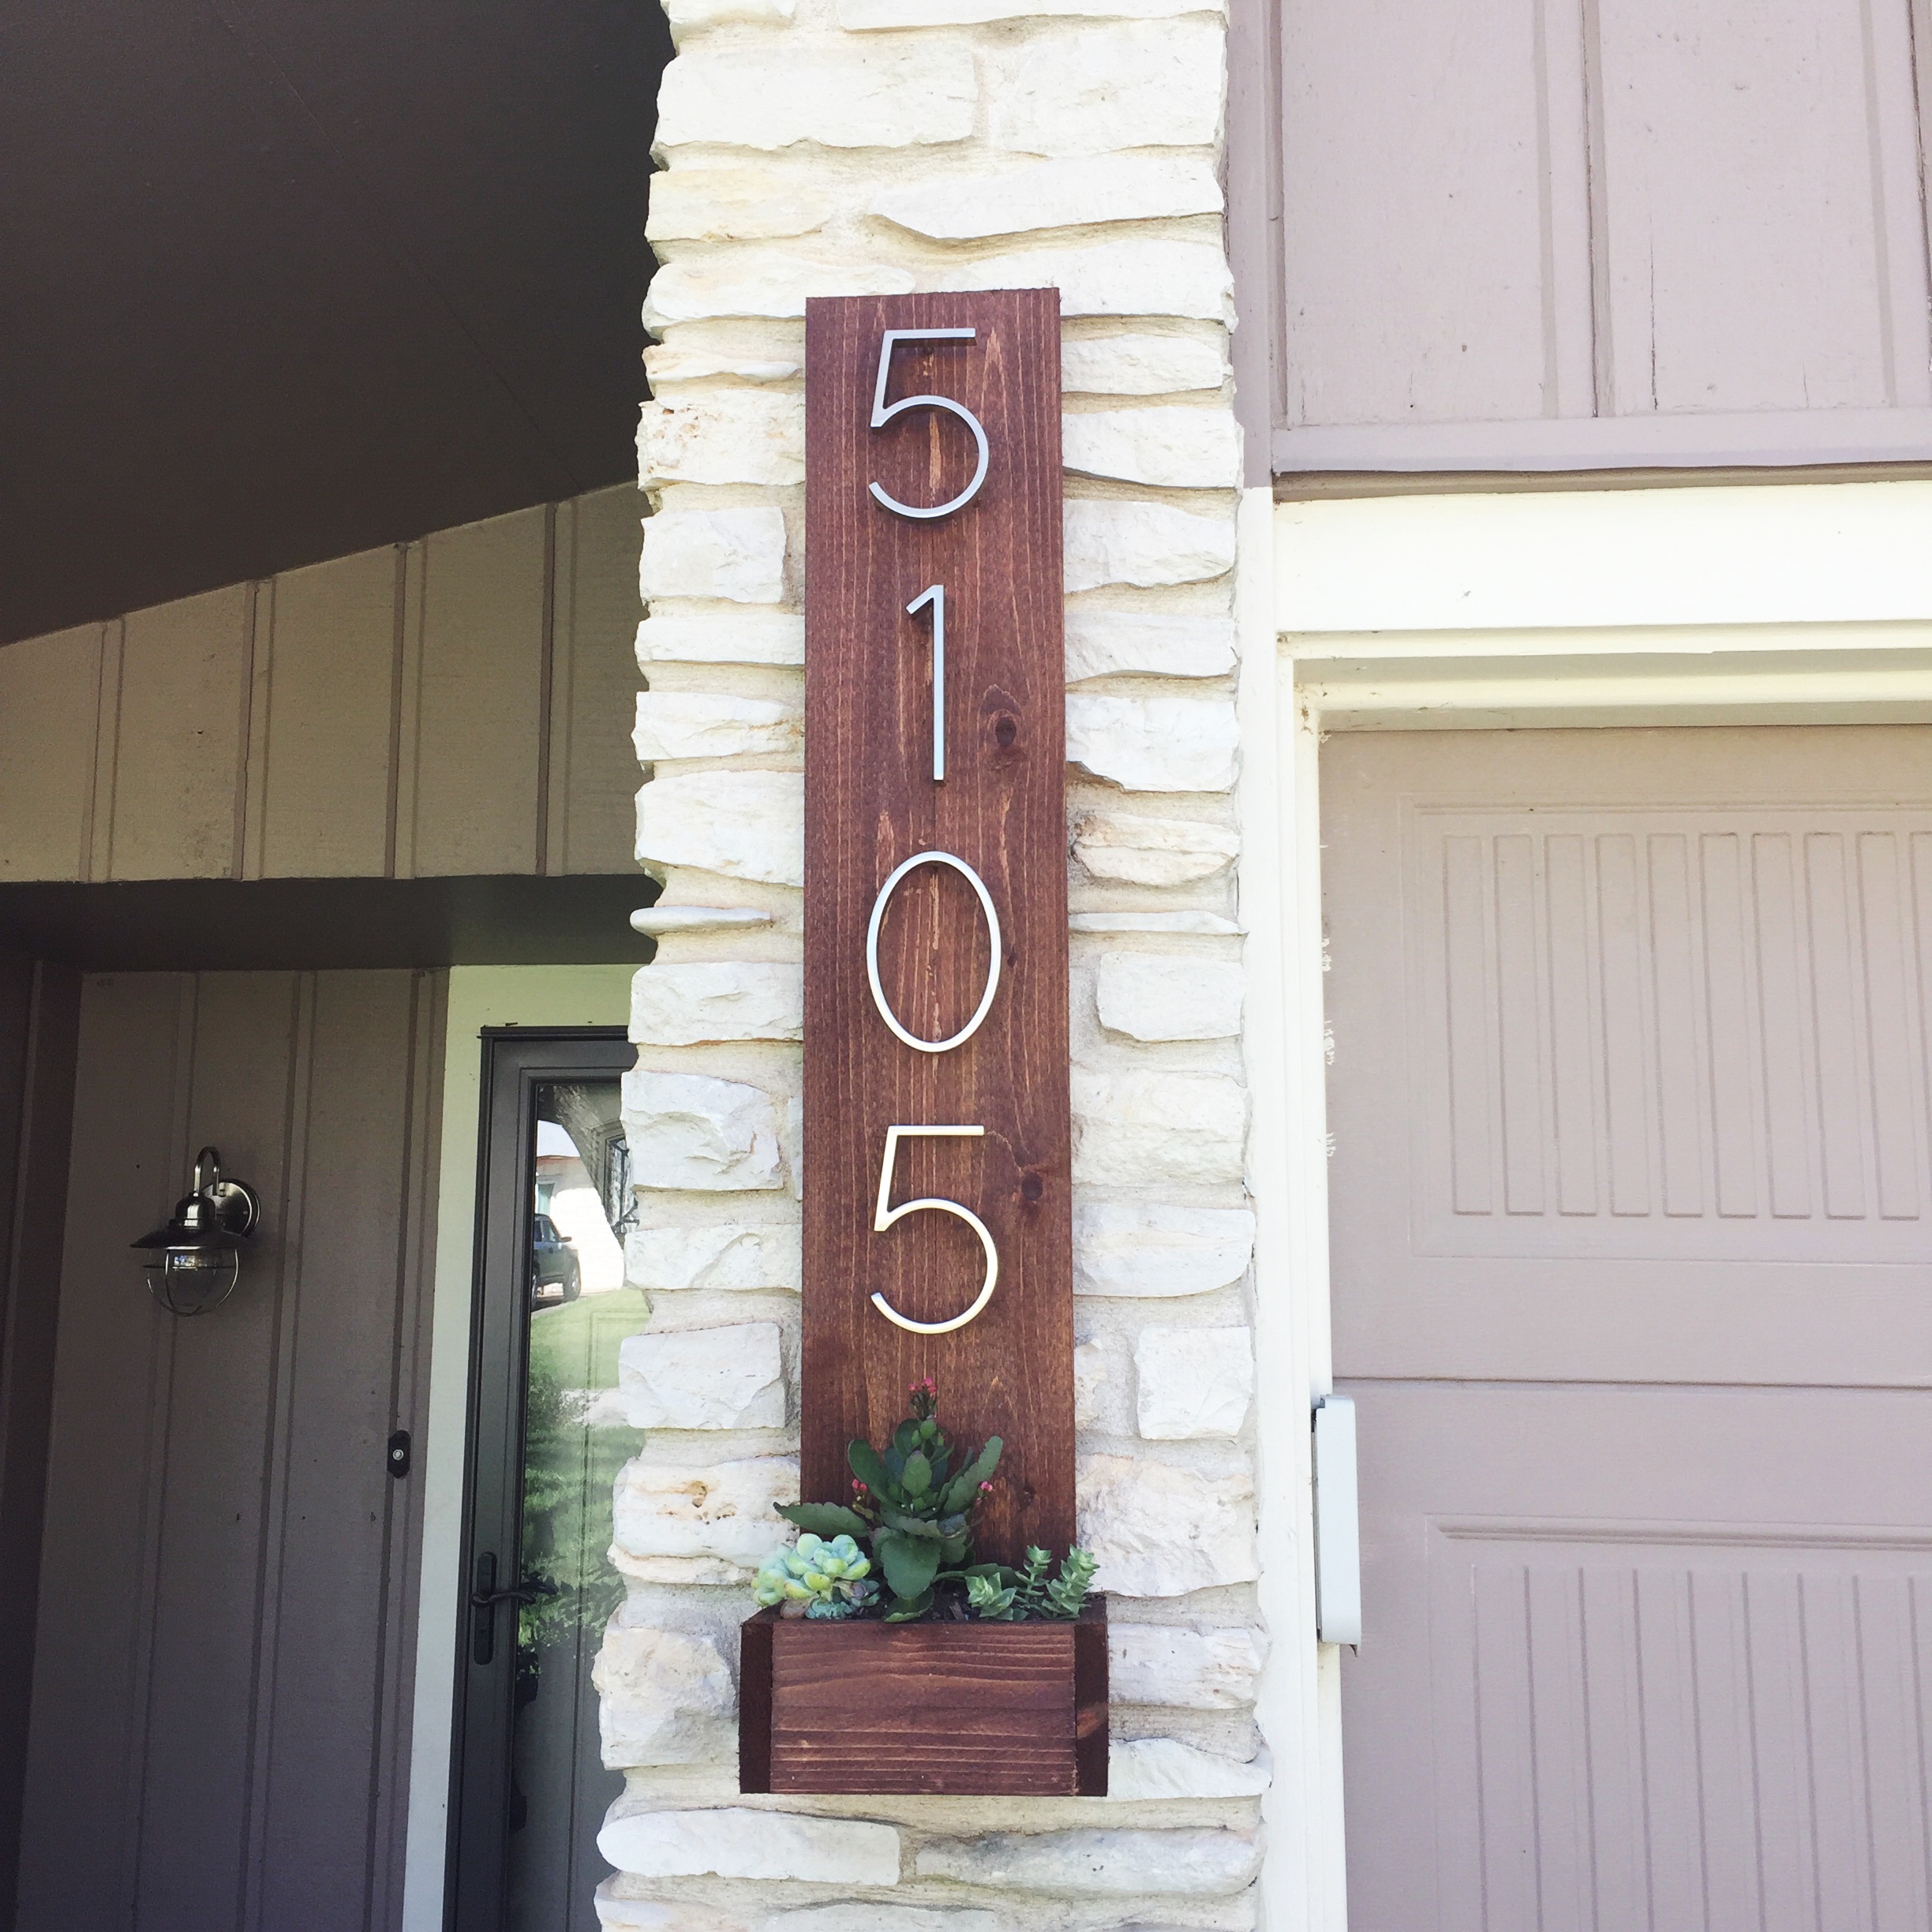
I was looking for a way to give our house some better curb appeal and decided our stree numbers could use a facelift. The majority of money spent on this project was for the numbers since I had enough spare cedar laying around.
In reply to Numbers by jesseamber
Mon, 10/10/2016 - 09:02
I got them from Home Depot. I think you can also probably find them online through Amazon.
In reply to Numbers by jesseamber
Mon, 10/10/2016 - 09:03
I got the numbers at Home Depot. I'm pretty sure you can also find them online through Amazon.
Mon, 10/24/2016 - 15:34
So pretty! What are the measurements. Did you use real plants ?
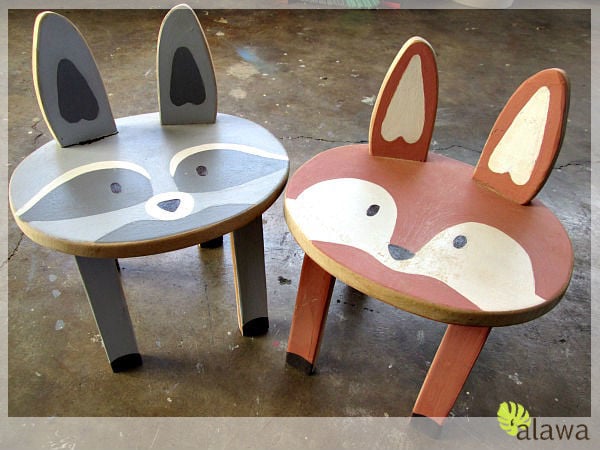
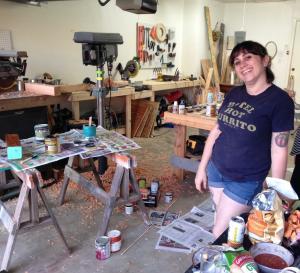
Following Brooke of Killer B Design's How-To blog post, I built and painted some woodland animal stools for my first handmade business collection. Please visit Brooke for her How To here: http://www.killerbdesigns.com/toddler-sized-animal-stools-a-how-to/
See all 4 stool designs I made on my little blog for a few more design ideas: http://sunnysideup-stairs.blogspot.com/2014/07/woodland-animal-stools.h…
Happy and safe building! :)
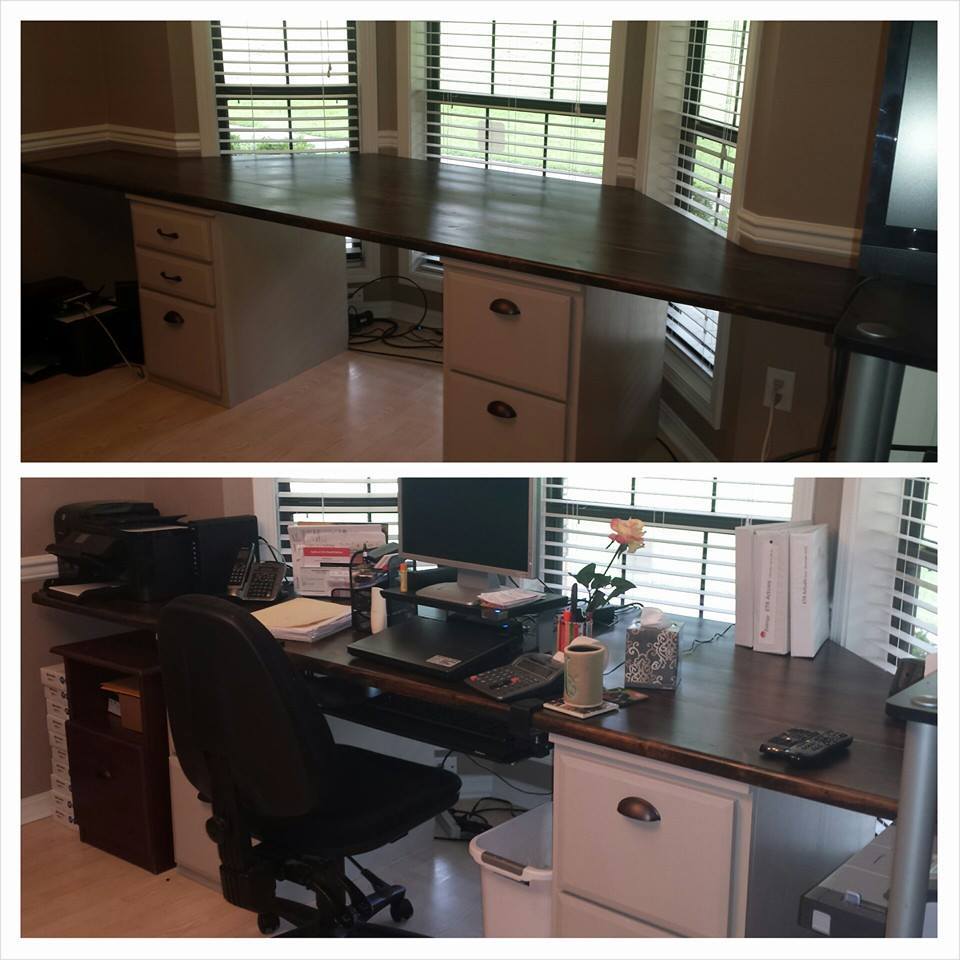
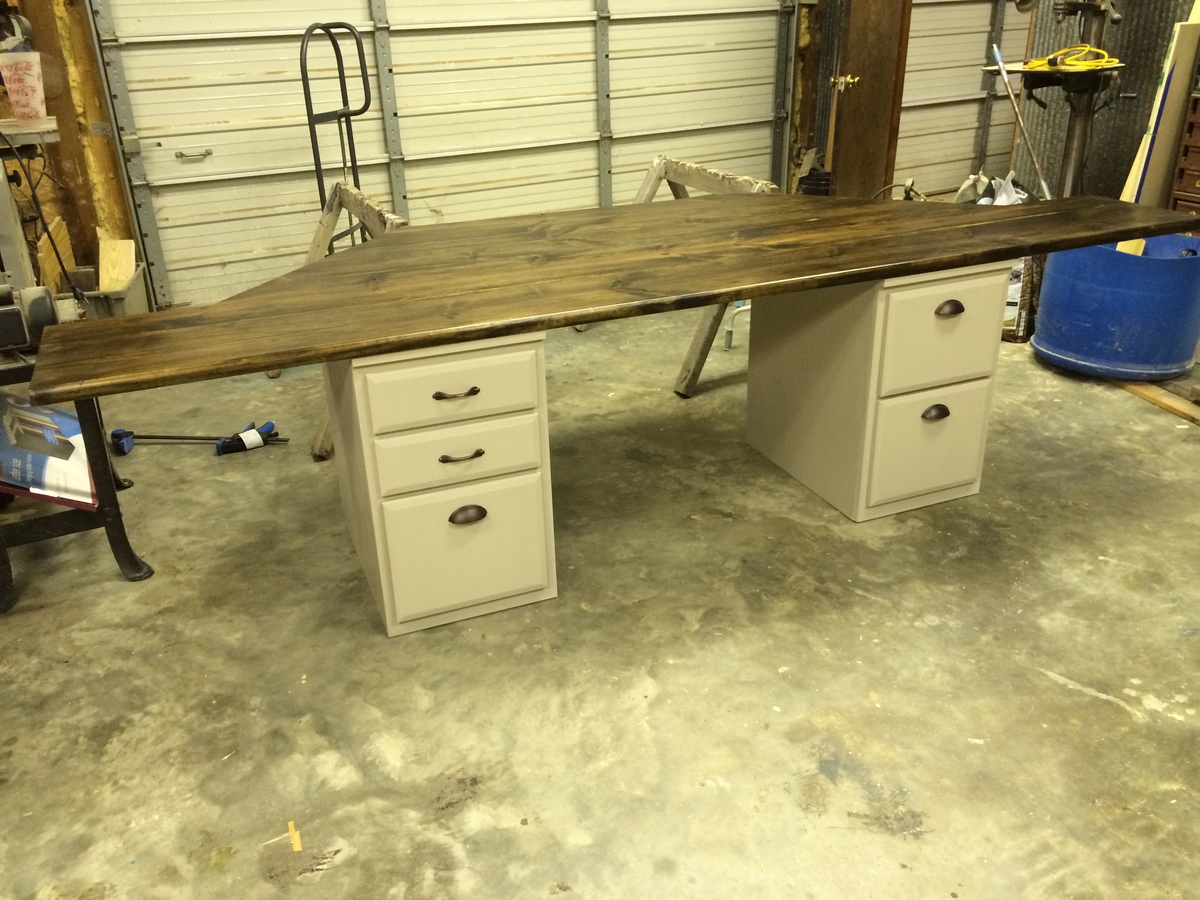
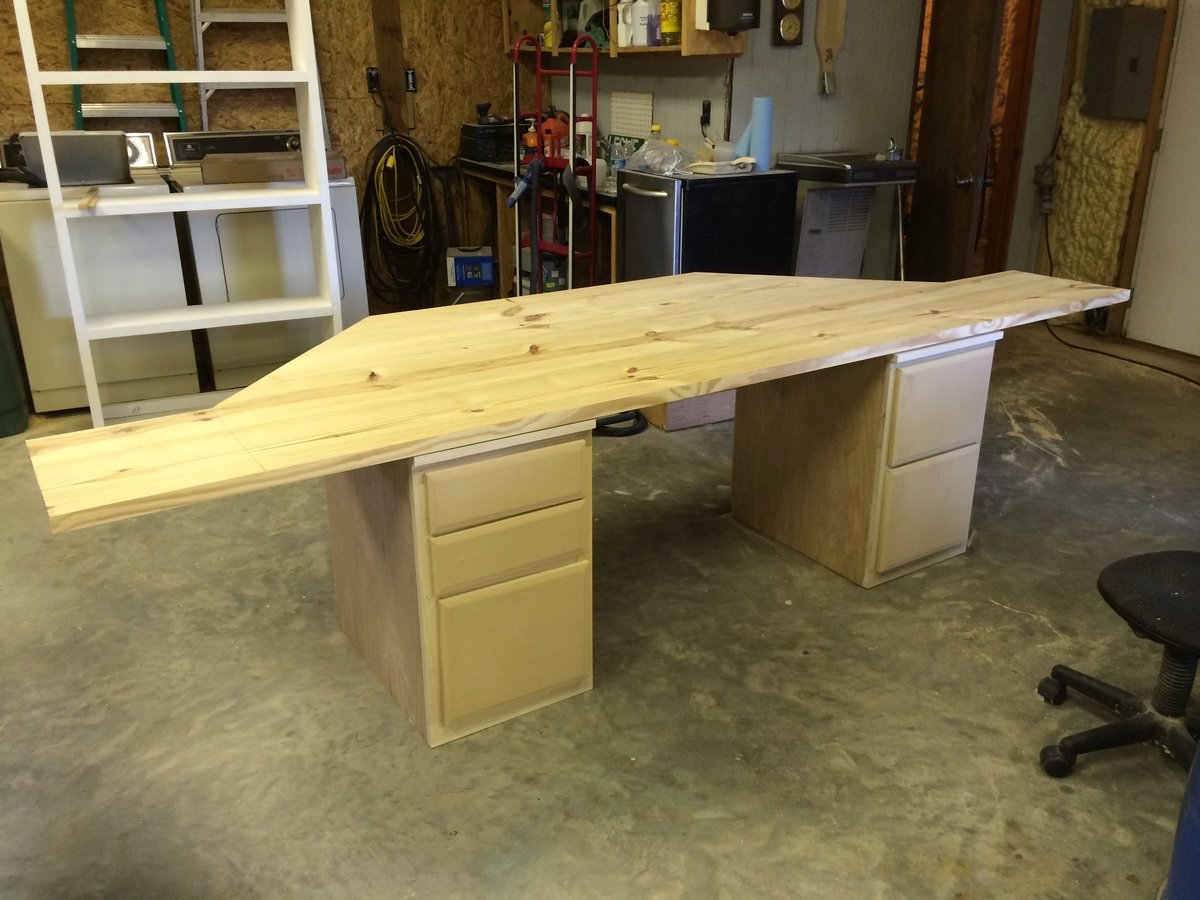
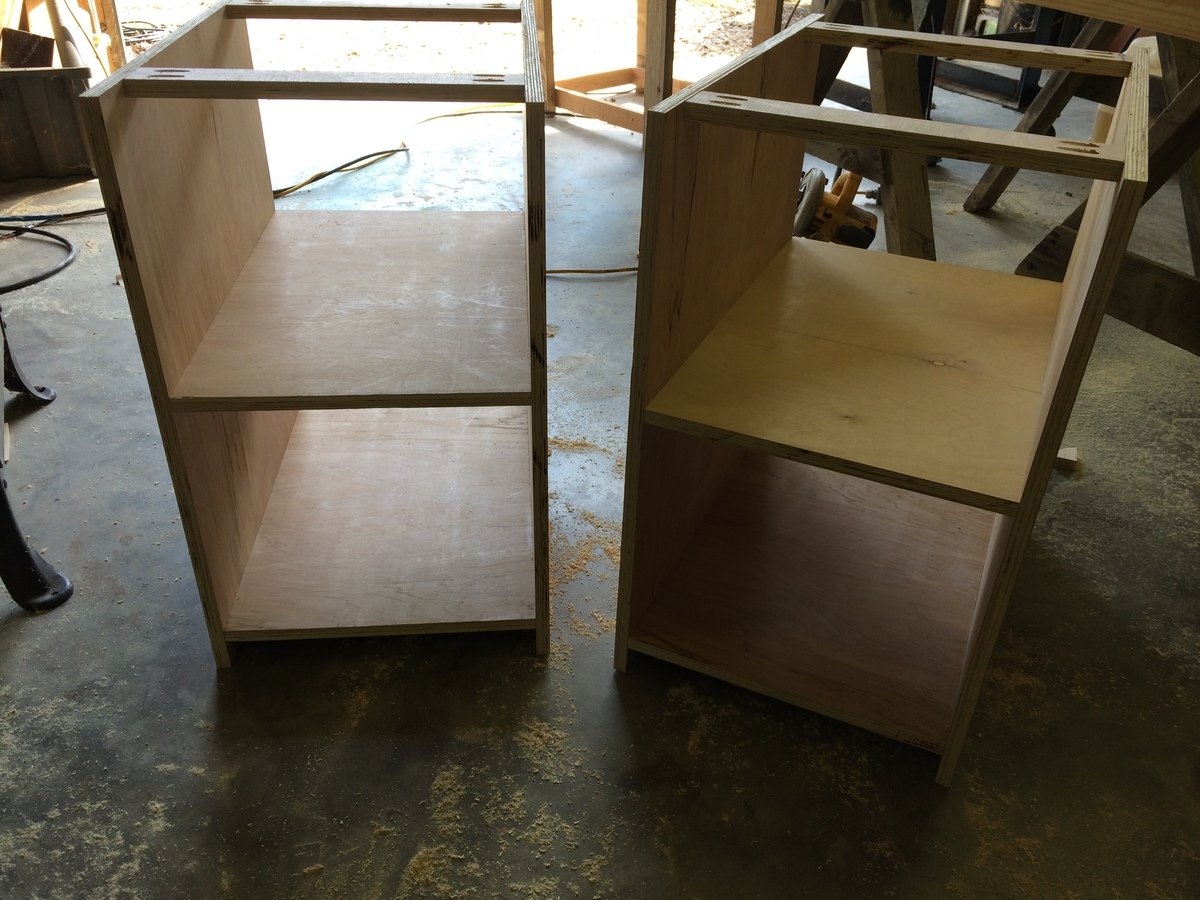
This is a bay window standalone desk. The desk has an enormous top and fits snugly into the bay window. It did not have to be attached to the wall. There are four pieces in total: the top, 2 base units and a support that spaces the desks at 36" and further secures the top.
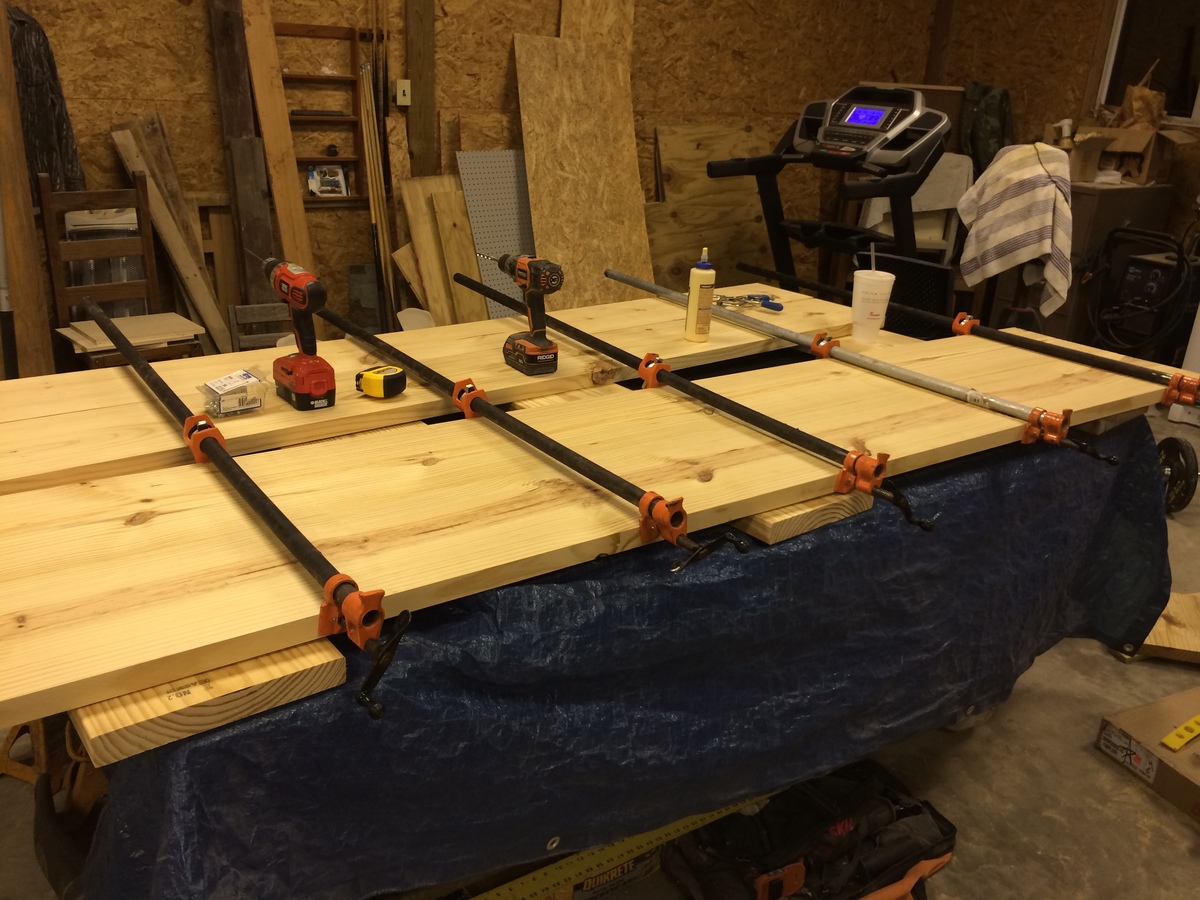
The base unites are built from the File Base Classic Wall Storage System and the top is glued up 2x12s that were planed down and straight edged.