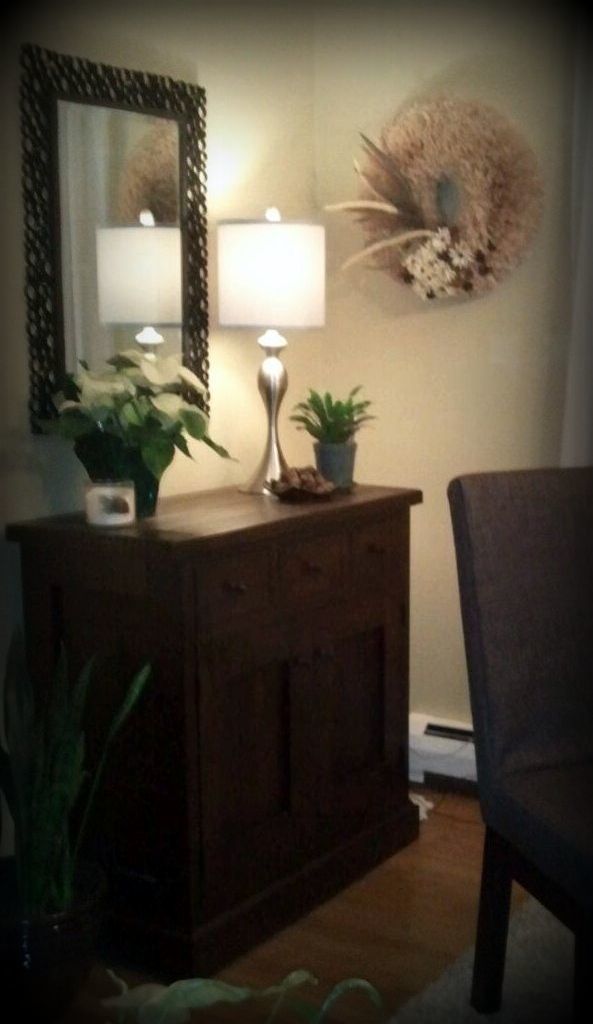
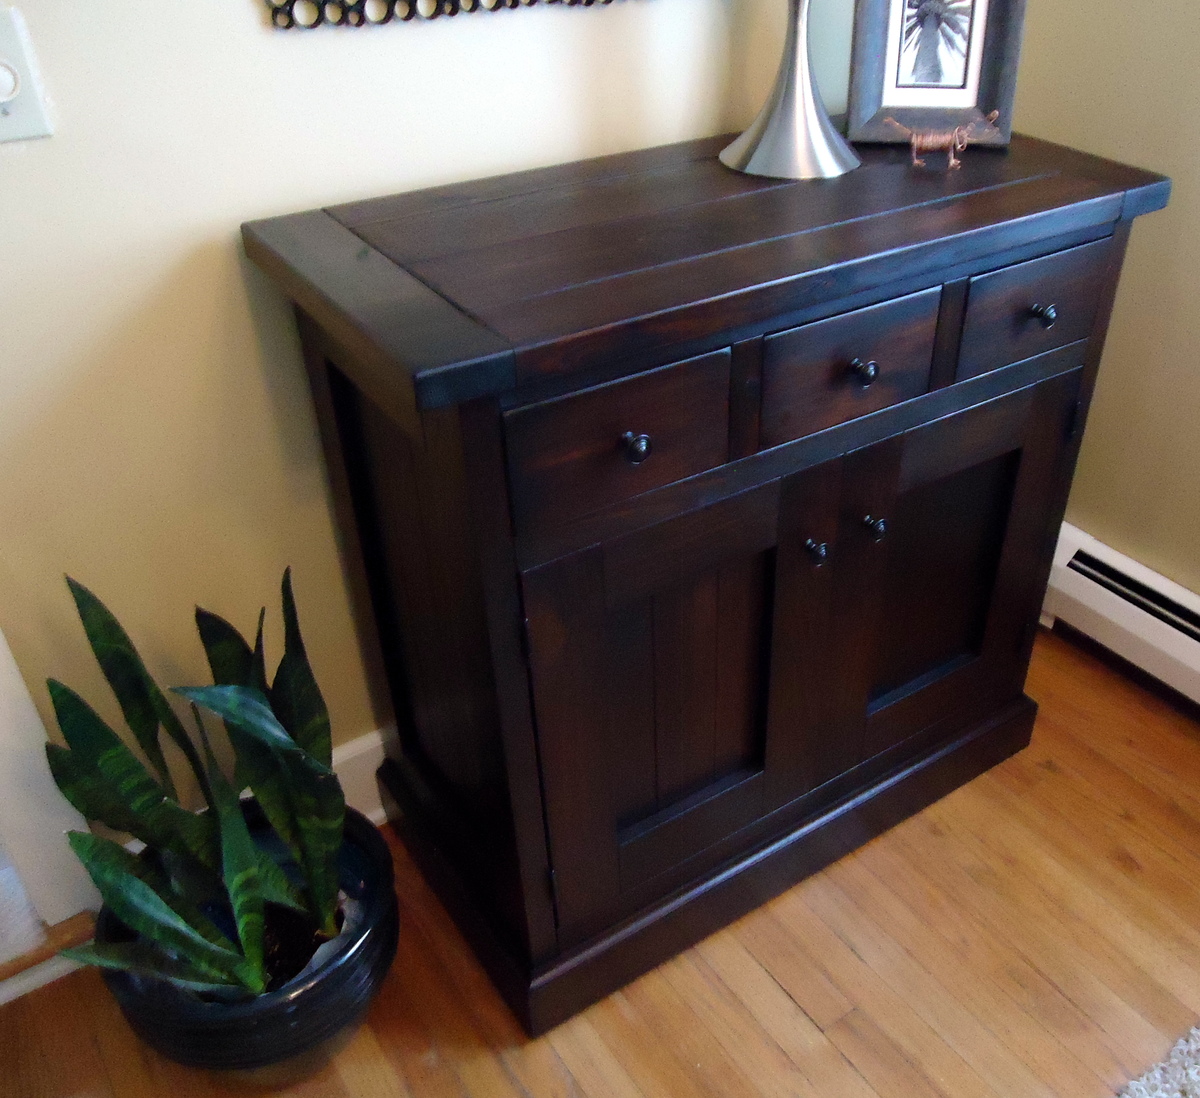
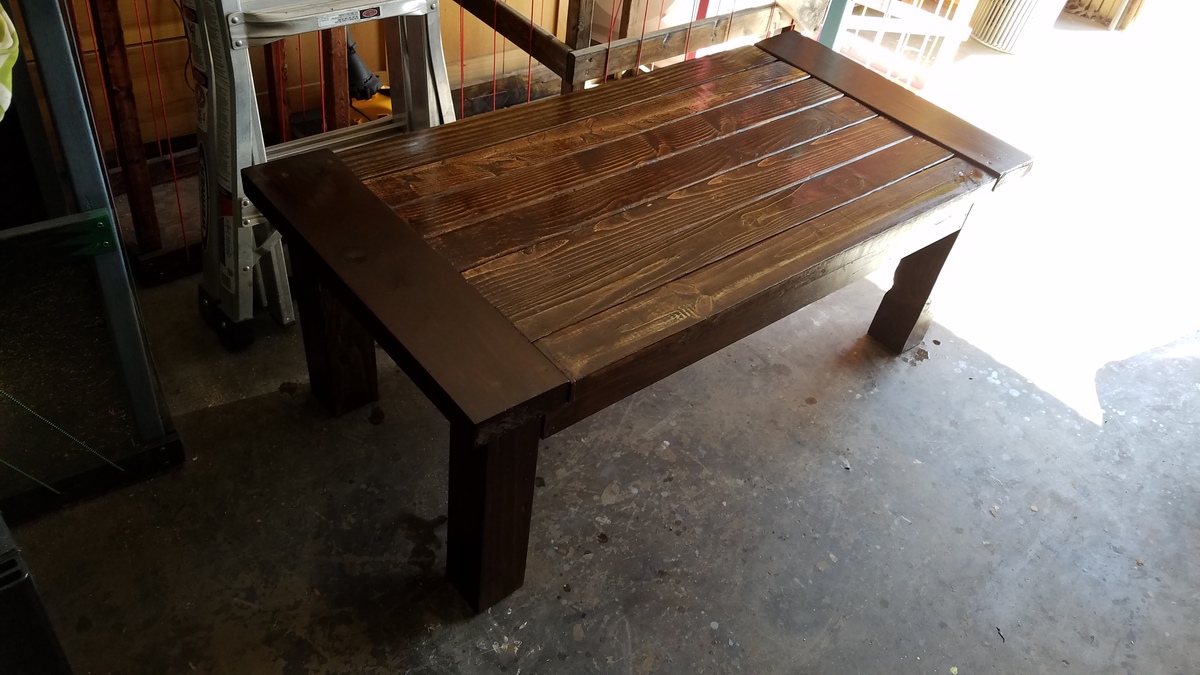
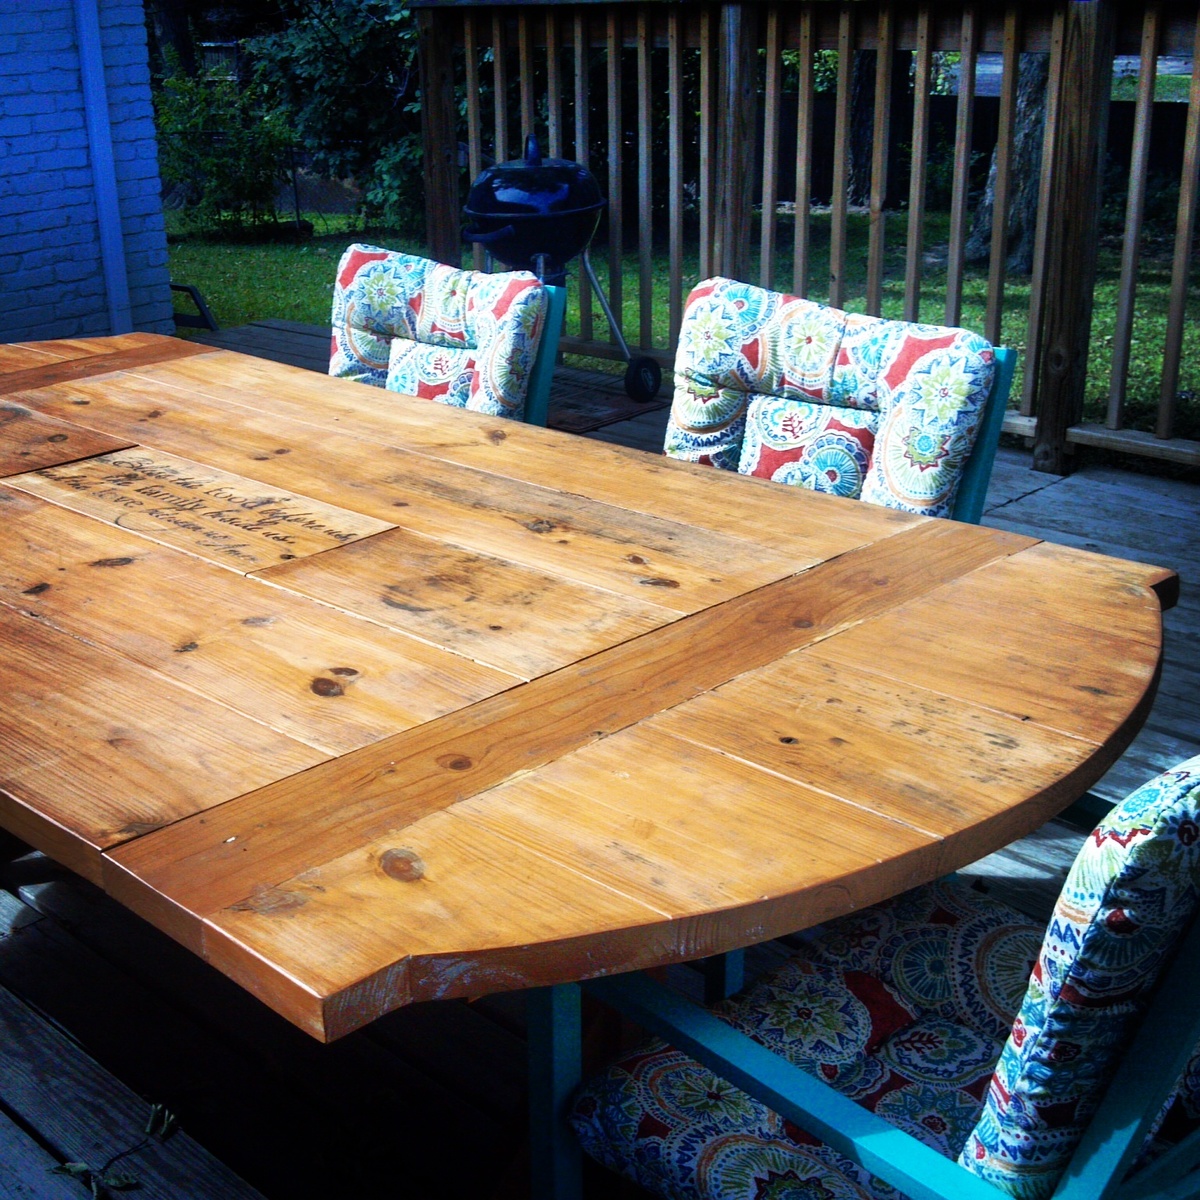
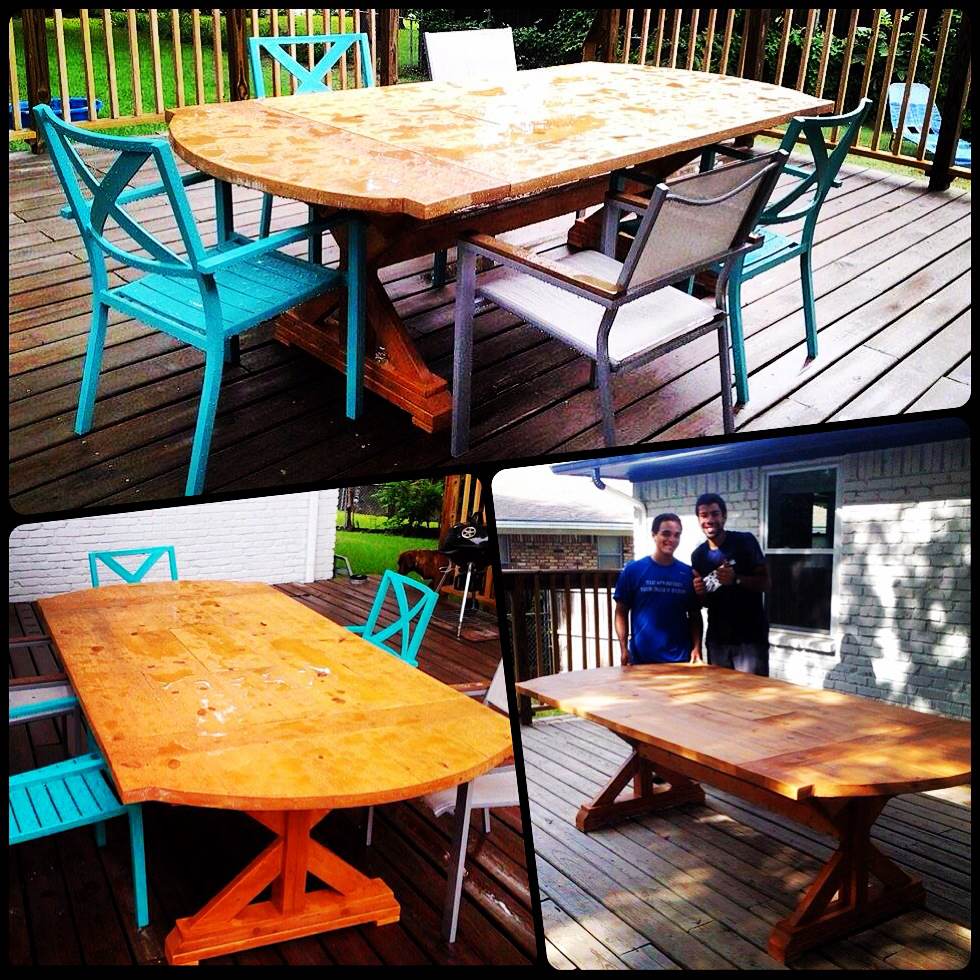
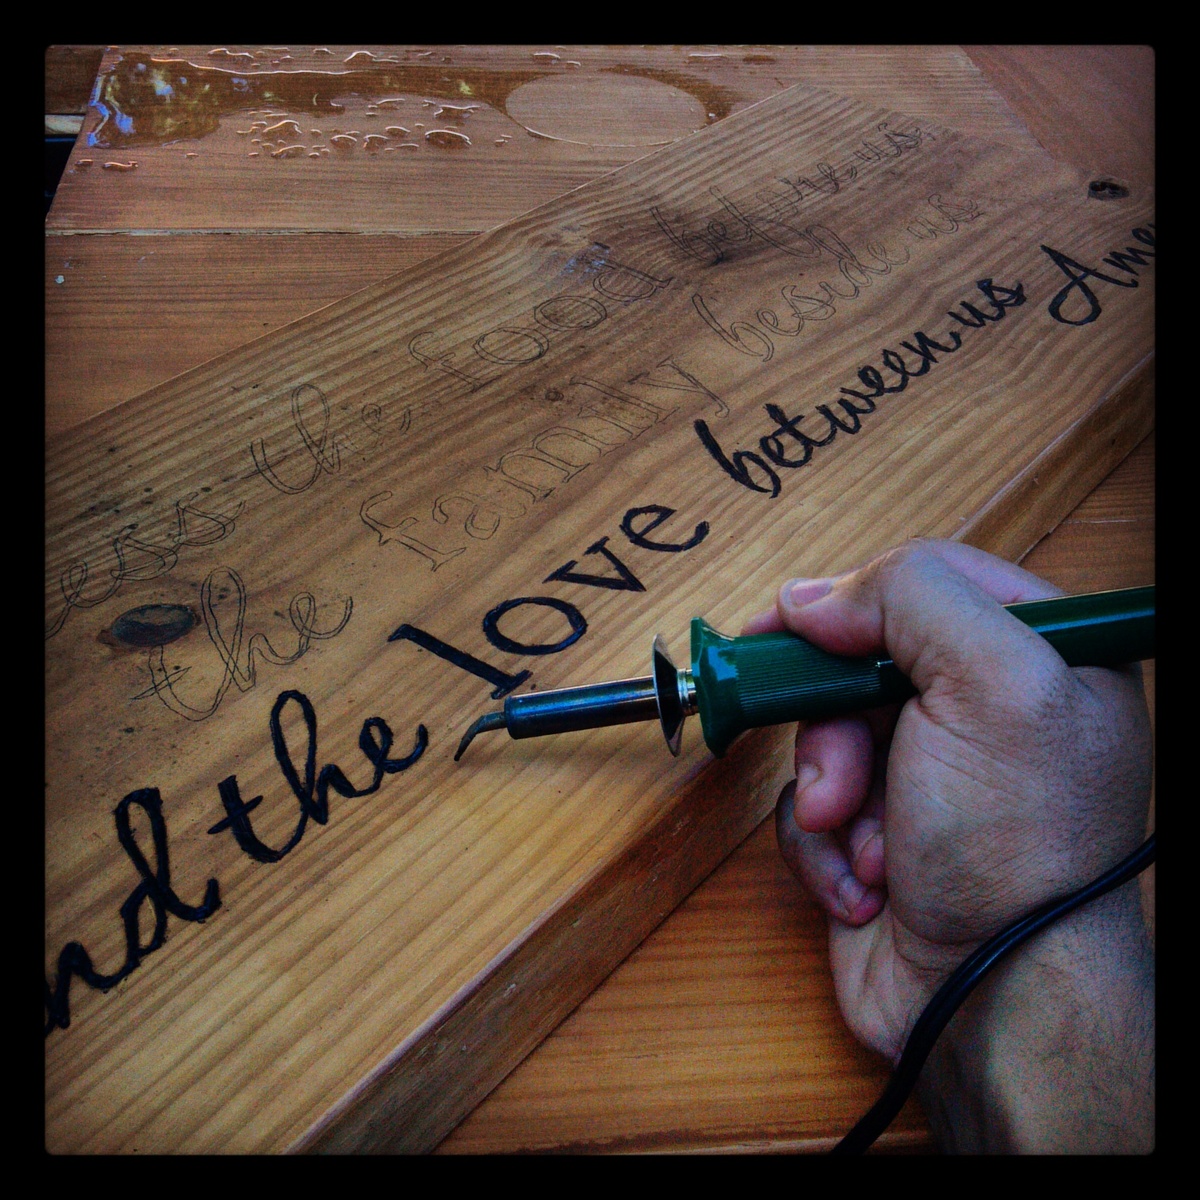
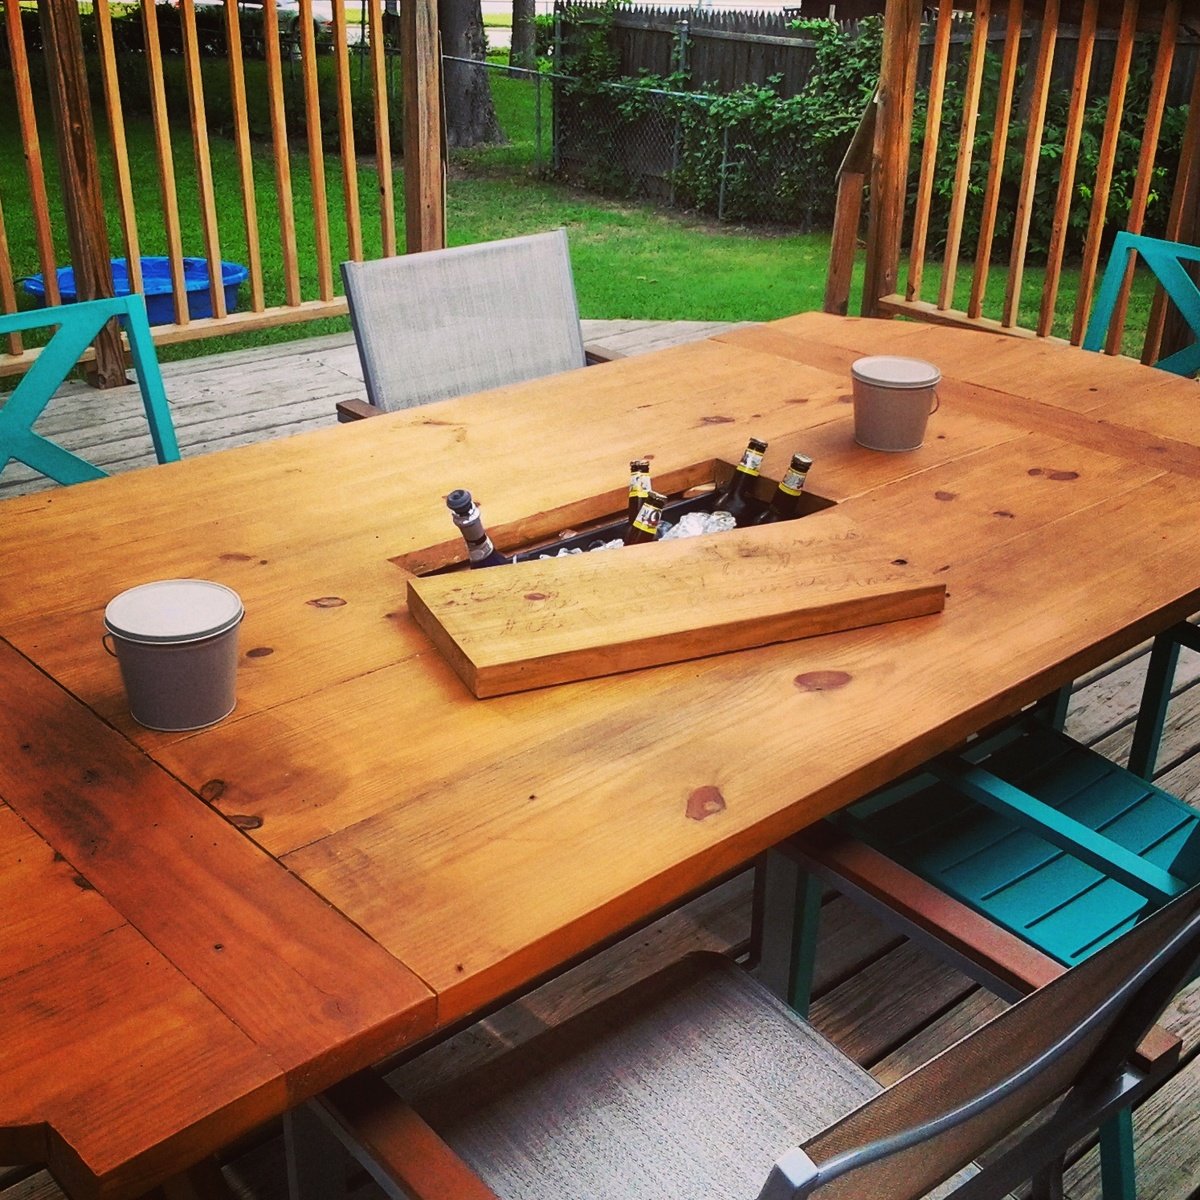
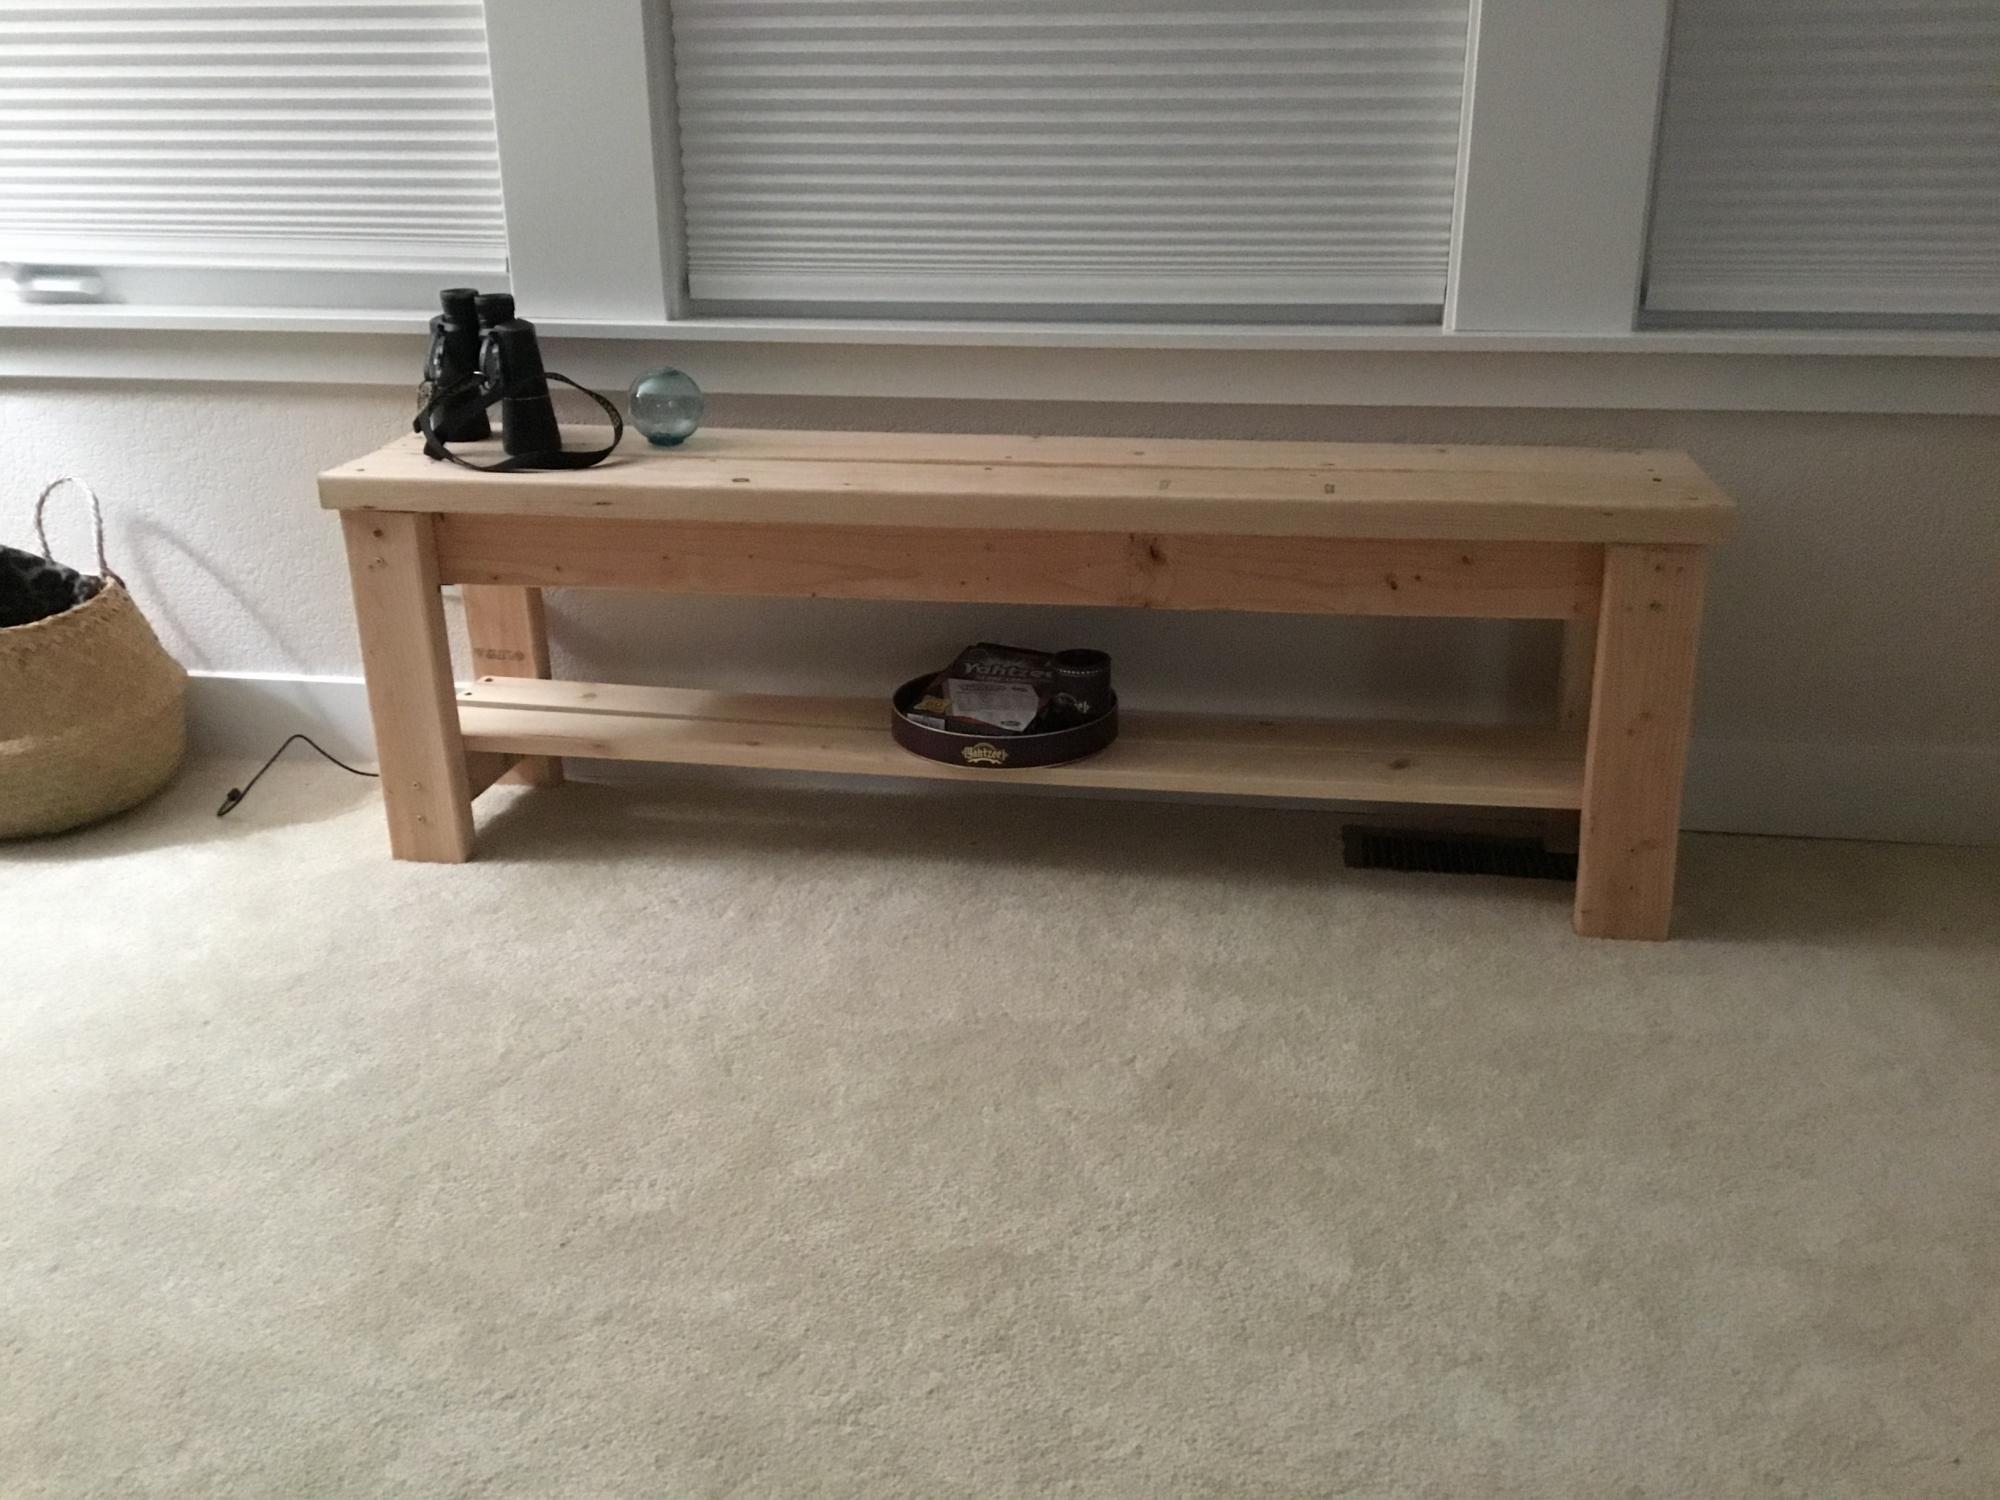
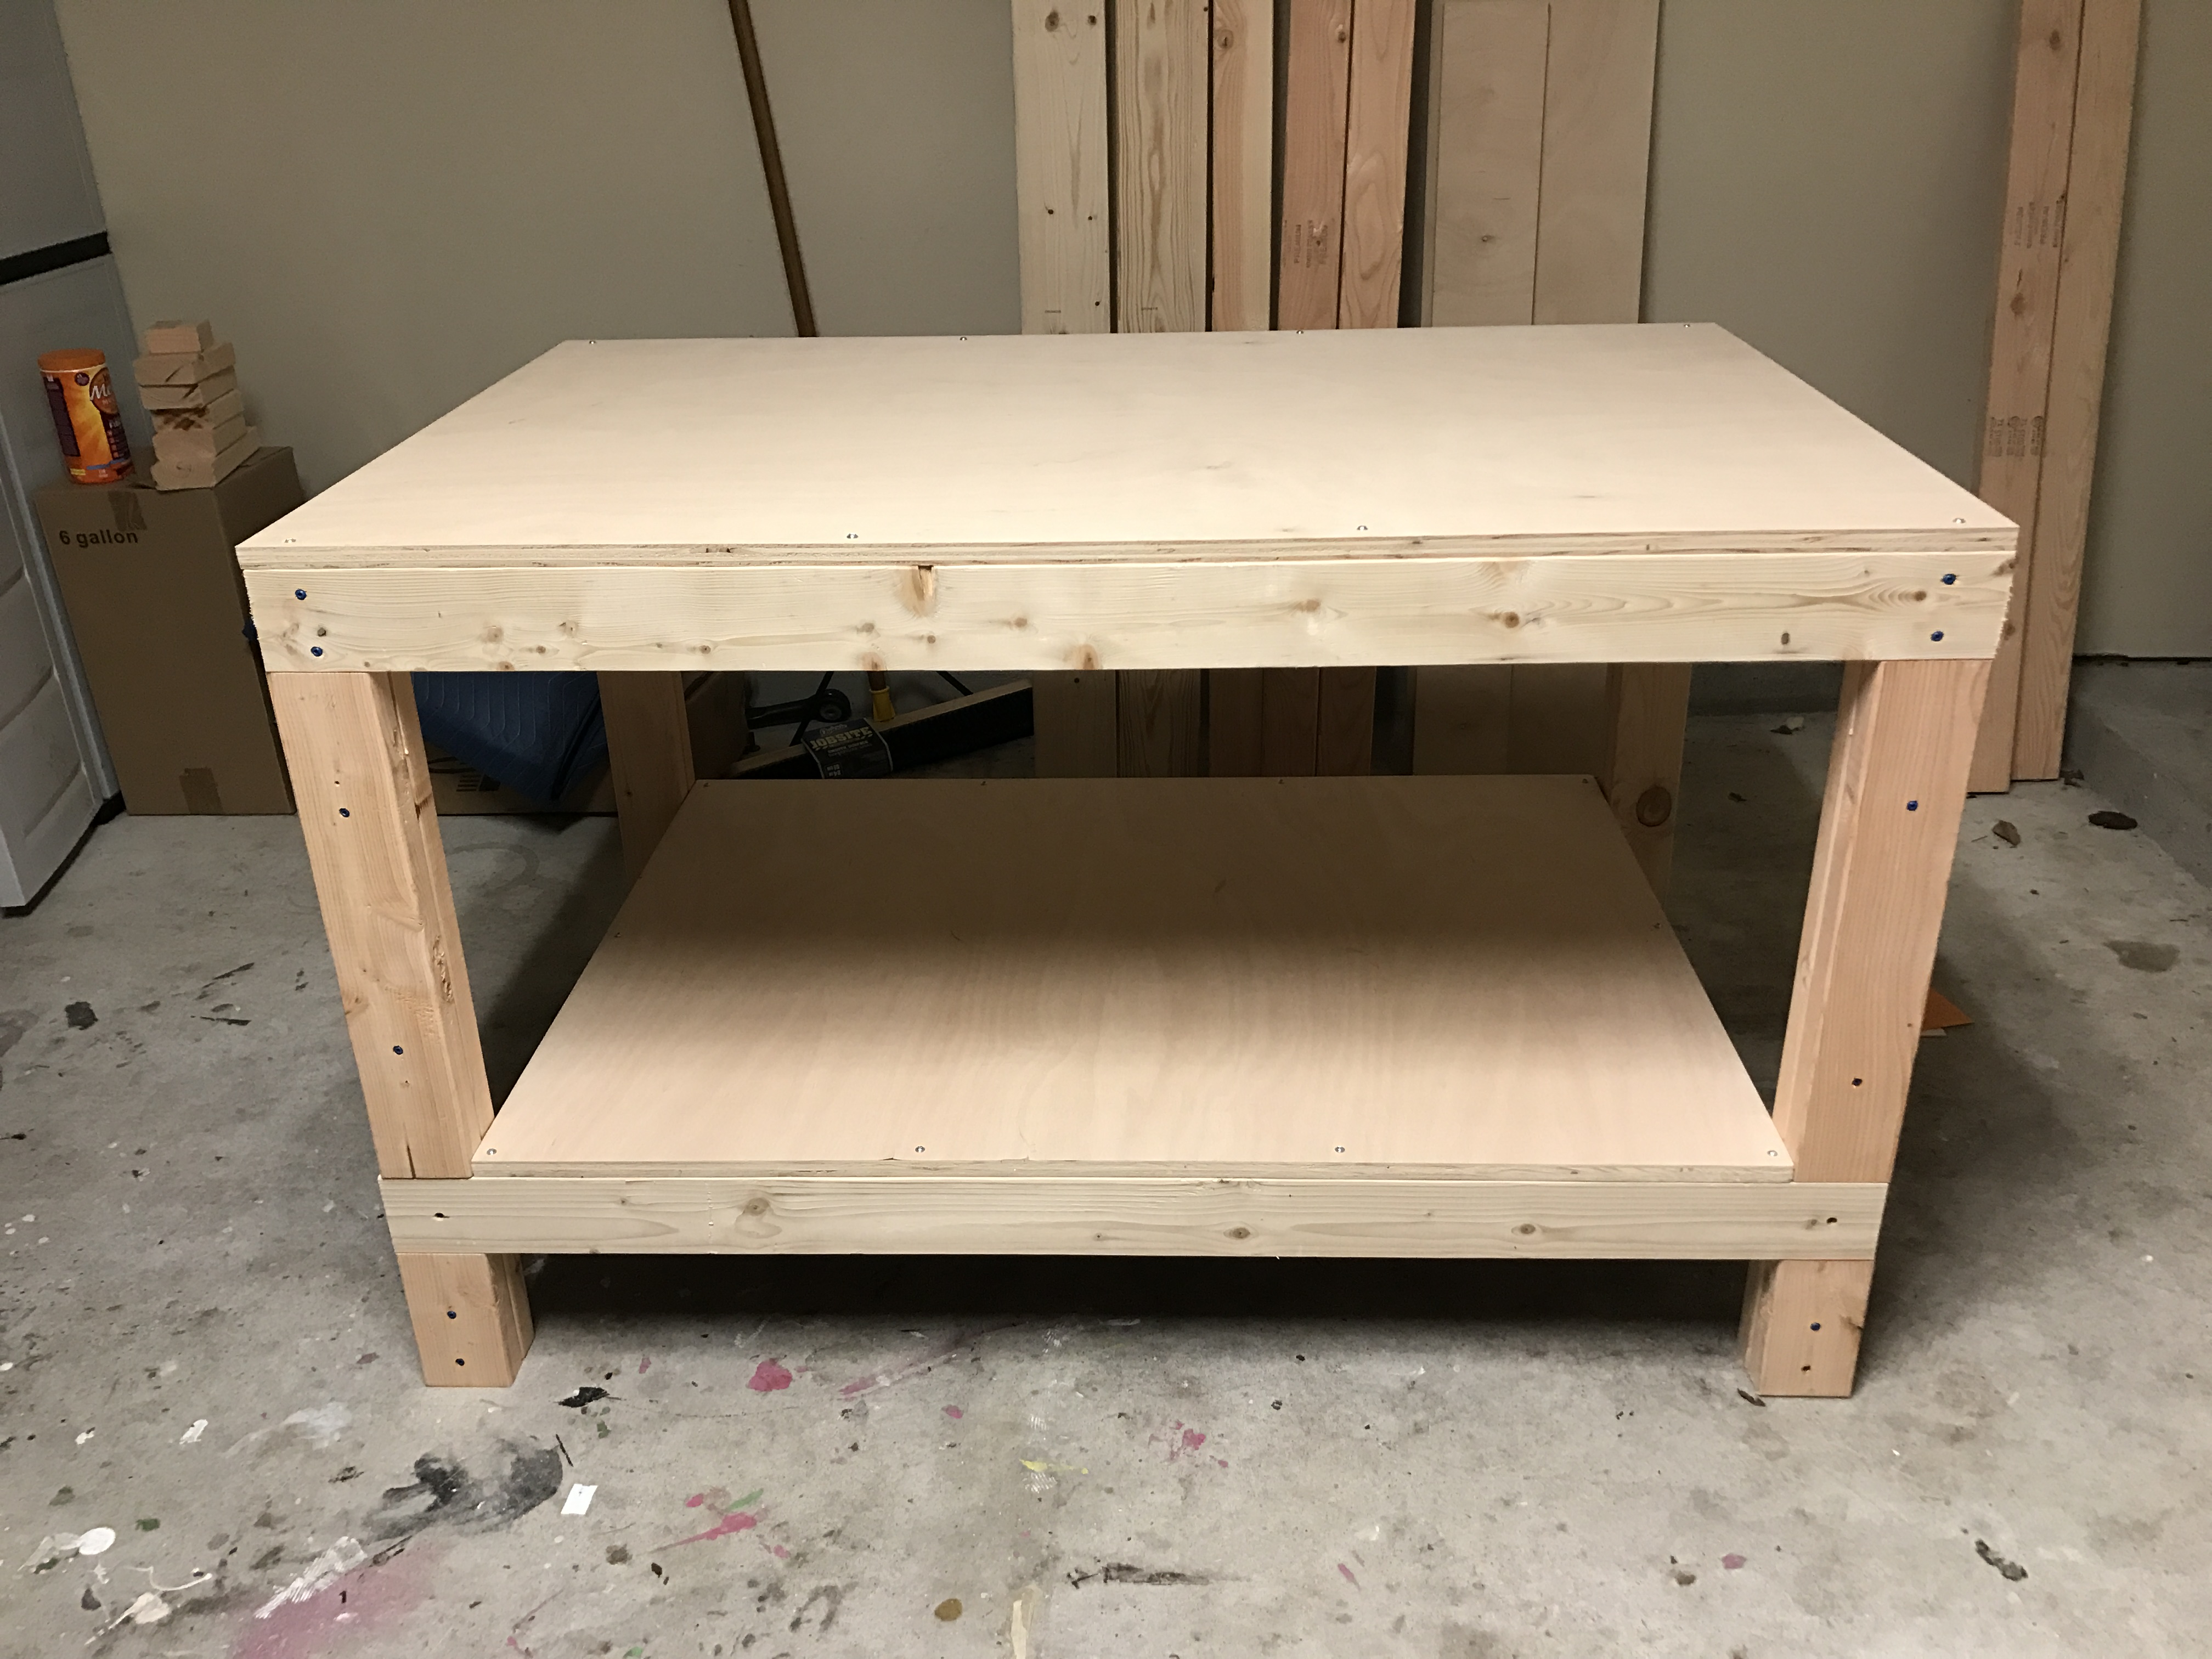
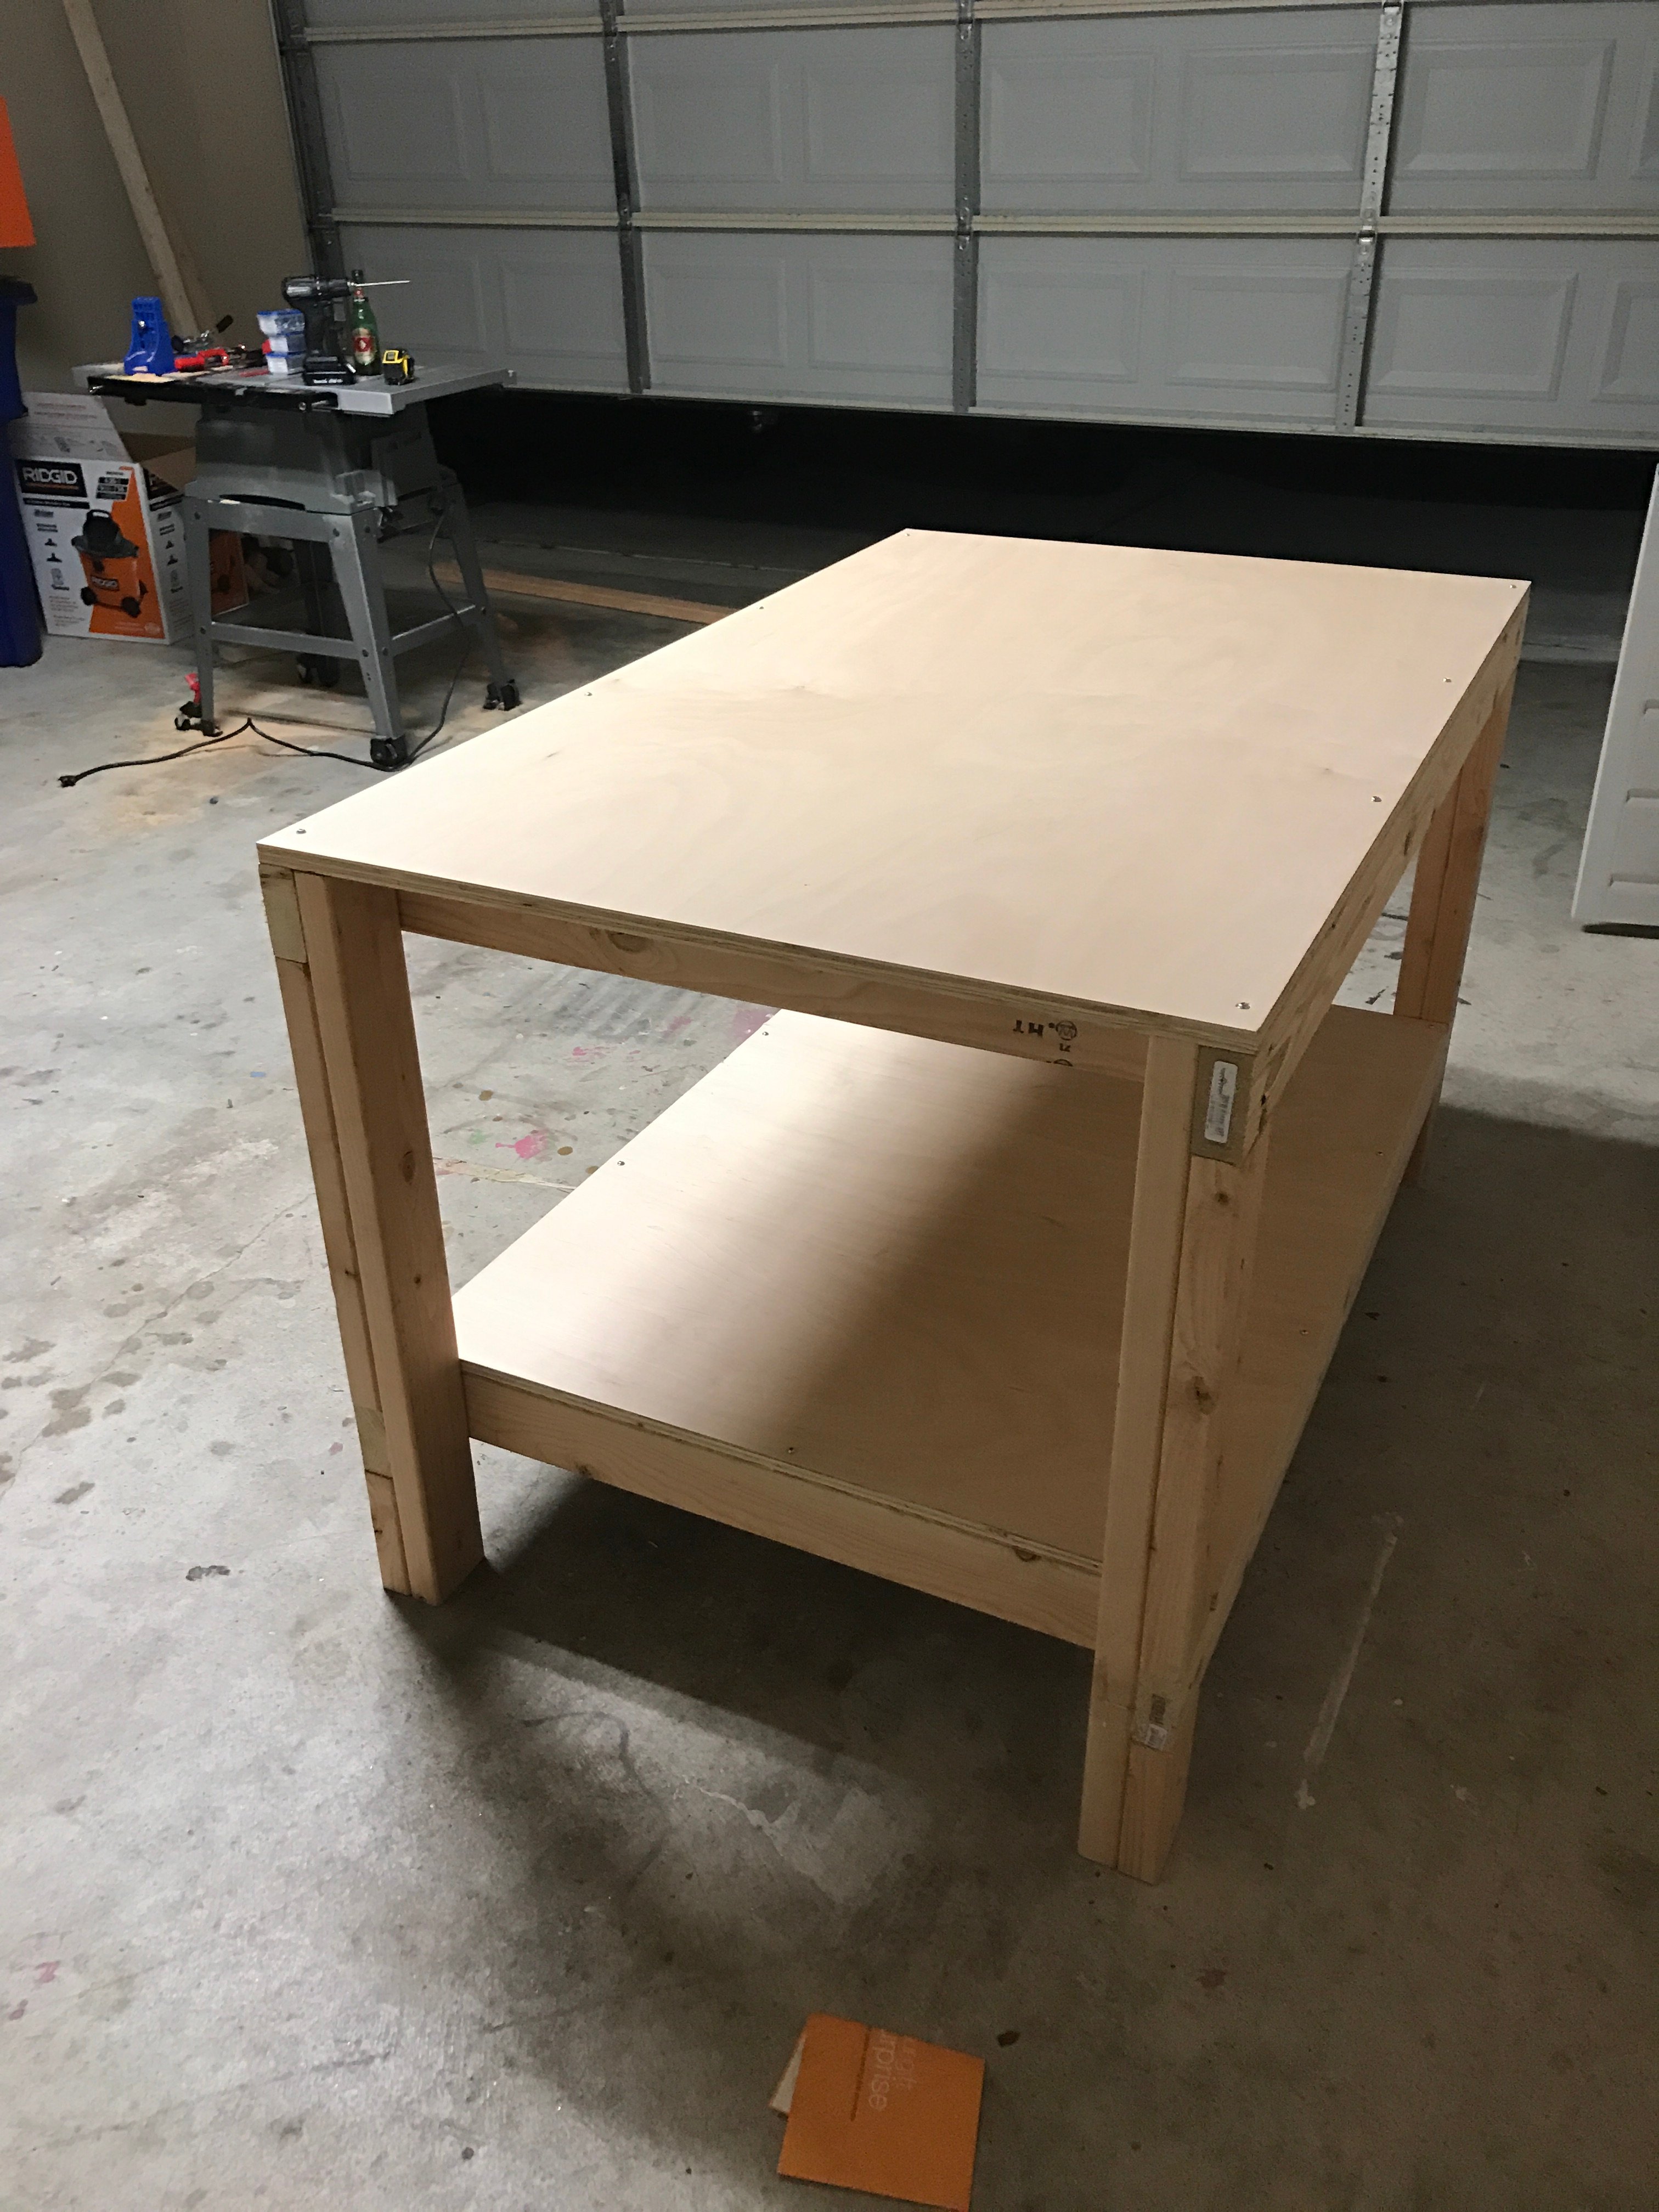
Tryde Bottle Top Table
Modified the plans to incorporate 645 bottle tops instead of the center boards. Sealed the whole thing with a 2 part bar top epoxy.
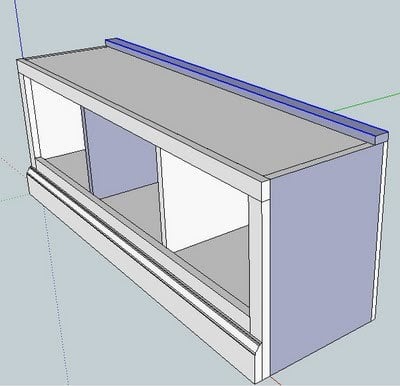
Had to clean out my storage area to make room for my new woodworking shop, so a new shed was in order. Since my neighborhood does not allow large sheds i thought this would be the perfect fit for the small area right outside of the shop. I had to adjust the plan to make it narrow but longer. Used pressure treated fence pickets for the siding..
Followed the original plan except below changes:
- Only one seat to make it more spacious
- Made 2 groups of 3 planks each and connected both using hinges so it can cover the end without seat
- Stapled Hardware Cloth with landscape fabric
Cedar wood was the most expensive thing in this project, since I would want it to last long.
I loved the look of the Planked Wood Sideboard, but it was waaay too big for my small dining room. I scaled the piece down, so it was proportionate to my room. I finished it dark knobs and a dark "IKEA" like finish. No one believes I built this from 2x4s and 2x6s!
Fri, 01/04/2013 - 07:04
I absolutely love this. The finish is stunning. Thank you for listing the details because I'd like to copy it!
Fri, 01/04/2013 - 09:33
Very beautiful work. I will bookmark this for the finish instructions.
I hope I get around to producing something as lovely to furnish my own home.
One of my first projects ... farmhouse bed for our Mount St. Helens cabin. Added a few tree cutouts to the headboard to keep with a similar theme throughout the cabin. Turned out pretty good.
Very fast and easy to complete
Just made these last night! So quick and easy, thank you so much! You are so inspiring!
Mon, 10/26/2020 - 11:29
They really are easy and such a great way to add some curb appeal! Thanks for sharing!
So I had a bunch of wood lying around so I tried the flower storage table and made two stools from Ana's plans with a few modifications. The plans were great though I didn't quite catch at first to miter my stool legs at 10 degrees BOTH ways on my miter saw. After putting them together the tops didn't sit flush or the legs so I had to take them apart and recut them or sand them down to the proper angle. I guess I was able to fix it easily enough though it would have taken me only a day or two to complete the project had I not made this mistake! I finished the table and stools with two coats each of Minwax Dark Mahogany stain and Fast Drying Satin Polyurethane. My little man LOVES it and it'll grow with him for quite a few more years I think. Thanks for such great plans Ana!! The table is a great size and it can handle two more stools so I think I'm going to get busy again! The whole project only cost me $25 for stain, polyurethane and screws. I was able to complete it without buying the expensive kreg jig and used the $15 mini kreg jig kit instead. 2" clamps were a must with the jig though to hold everything securely while drilling.
For this table I combined few designs that I liked to give me a large (8'x4') outdoor dining table with a big cooler in the center.
Really fun and easy to build. Thank you for the inspiration and plans.
I made my bench around 53” and put the bottom leg apron about 1 1/2” from the floor and tha gave me the space to put 2 1x4 boards as a shelf
I searched the web for the perfect play kitchen for my daughter for Christmas, but I could not find one I liked. After reviewing the plans, I thought this one was worth a shot. I could not be happier with the results.
A few notes...
I did change the location of the hinges for the oven door to the side and included a magnetic closure. I was afraid my 18-month old daughter would stand on the plexiglass if the door opened down.
It took me longest to find the "eyes" for the oven. I lucked up on some silver coasters at Target that did the trick.
My husband and I enjoyed working on the project together at night in the two weeks before Christmas, so I got a little plaque engraved for the back of the oven that includes our daughter's name and says "made with love by Mommy & Daddy Christmas 2012"
Thanks Ana-White!
Built in a few hours and cleaned up seams with caulk. Finished it off with standard trim paint.
I created this desk using the Fancy X Desk plans, but I used a project panel for top.
Double upholstered toddler day bed
Tue, 01/08/2013 - 14:44
Say what???? This is awesome!!! I adore the fabric and how you put two beds together! Thank you so much for posting photos! Ana
Wed, 01/09/2013 - 08:55
I love the color combinations going on here! What paint is that on the walls? I want to do this for my sewing/guest room!
I started building built-in bookshelves based loosely on the LACK copy-cat plans Ana posted. I started getting to work on them and realized I needed a way to handle the 8' and 12' boards I have to cut down to make the parts. Back to the home store I went! This was an extremely easy project to put together. I used one sheet of cabinet grade plywood ($30) and had it cut down at the store on their giant saw and three furring strips (as described in the plans, about $1.50 each).
My cuts were:
Assembly at home was really fast. It took me 90 minutes, it would have been probably under an hour if I had the table already! I didn't like the folding brackets at the store, so I went with fixed cheap ones for now. I'll swap them later. You'll notice the saw sits a little lower than the side tables. I'm going to mount the saw to the table and I'll fine tune with that.
Back to the bookshelves!
I had so much fun building this!! It ended up being 80"L x 29"W x 40"H
I added a removeable center seperator to make it available for 2 dogs and a hinged top for easy cleaning. If you would like to know more, mssage me here! https://www.facebook.com/almshousecreations
Sat, 11/21/2020 - 13:10
I was about to ask the same thing. If there is any, I can not find them. Please post
This project was quite easy and did not require many tools. The plan allowed me to adjust the measurements easily so it could fit in that space. I used regular 2x4’s and treated the wood with Mountain Ash colour in a semi-transparent stain from Sherwin Williams, I just love the colour! I build 2 - 2 seaters exactly the same. The one side has no arm, as I wanted it to look like a lounge chair. I love to sit in the corner and stretch my legs 😊. I bought the cushion covers from IKEA, and got good quality foam.
I made this for my nephew for Christmas. I'm new to furniture building and this is only my second project. It was my first time using a jig saw and it turned out much nicer that I thought it would. I also tried out my new router on the stair treads. I just love the preppy colors and whimsical whale. I'm sure it will get lots of use.
Fri, 01/11/2013 - 08:34
Cute! I really like the finished look the routered treads give it.
These planters were really easy to make, and held up well all through the spring and summer. This was my first garden, and I was excited to try raised planters. I added some reinforcement to the middle just to keep everything together, and they were really sturdy! Thanks Ana!