My version of the simple cubby for the wall.
I saw this project on this site and thought it would be a great item to build and to store my kids art supplies. The 8 cubbies are perfect for glue sticks, pens, crayons, and scissors.
This was my first real build and it was a lot of fun. My girlfriend helped me out from time to time even though it was brutally cold in my un-heated, uninsulated, detatched garage.
We used a sagey green for the paint and 2 coats of gloss poly on the top. Added holes in the back with a hole saw for wires and cables. I stacked the false fronts and drilled them for the knobs all at the same time for consistency.
All in for about $210 including $40 in knobs, but I did make the drawers out of some scrap I had laying around.
The pocket hole joinery makes this pretty easy, but I'd highly recommend a table saw for consistent cuts and deminsions. Also, definitely use lay out lines and double check for squareness before driving the screws during assembly. Take your time, and enjoy the process. It starts to look very much "diy" in that not good "ummmmmm..." kind of way before the end where it all comes together.
Added an L section to the Fancy Desk to increase usable space So far it still stands strong for me. Thanks Ana
Well my wife bought 2 x 17” square seat cushions the problem was we didn’t have any stools to put them on so decided to enhance our front seating patio area with 2 solid 2x4 side tables that would double up as stools.
I based the design on Ana’s table design but decided to counter sink all the screws & cut plugs to suit so no screw heads could be seen, they turned out perfect & very robust, perfect for the U.K. weather, my wife finished them in grey outdoor paint to match the furniture, all in all they took only around 6hrs to make & paint.
Built this for my daughter this past Christmas, she was 15mo then and not too enthusiastic about being in the tower. Now at nearly 20mo she demands her "towah" when it's time to "wash a hans" and she doesn't mind being plopped in it while we do things in the kitchen (as long as its not for TOO long...) We're looking forward to many years of use out of the tower, thanks for the plans! This was my first project with the Kreg pocket screw jig, really liked it and wished I'd had it for some of my past projects.
My first brag post!
UPDATED: New photo with bar and stools on covered porch. Very happy with how it worked.
We wanted the Ballard Sutton Console Bar Table and three stools to go with our outdoor furniture. Unfortunately, that little package was going to run about $2,500. Decided instead to see if I could build the things and make up my own stools to match. So basically by studying the picture a little bit figured out my plan. Then the stools are more or less a mini version of the table with a couple modifications.
I haven't itemized the bill, but built 3 stools for about $50, and the table was a little less. Incidentally, I can never find decent common 2x2s, so I have started ripping 2x4s into two 2x2s, and they come out clean, sturdy, smooth, and most important, straight!
Stained them using MinWax Puritan Pine to try and get the new teak look we wanted. Not too dark -- wiped the stain after 5 minutes.
Have the stool plans if anyone is curious!
Best regards!
cstarliper
This was a fairly easy build following the plans. We changed the headboard slightly though.
I made this in an afternoon as a wedding gift for my brother and soon to be sister-in-law. This was my first project using Ana's plans and I can't beleive I got it finished in a day. The hardest part was getting everything filled in and painted since I used paint grade pine. I did add a length of half round to the top just under the ledge for a little more decorative effect. I didn't realize how huge and heavy it would turn out. Guess that's just what happens when you build something entirely out of wood
doll house book case with a Hot Pink Roof, also trimmed/painted the doors and window frames. Marking this as a week long project as I was only able to work on it in the evenings, however I believe this could be tackled in a weekend
Fri, 05/10/2013 - 07:19
Wow, that is one happy little girl! And no wonder, what a beautiful job you did! Looks like a great gift for grandkids, too!
Created with hand chiseled mortise and tenon joints and a whitewash stain.
We love the new chairs on the front patio! My daughter and son in law's FIRST project! They completed both chairs in 1 day. We did add an additional 4x4 on the bottom to raise them as my son in law is tall. They sanded and stained them black to go with the gray brick and black door of their home. We picked up the cushions at "At Home" on clearance. Just need a new carpet and we're all set! On to our next project!
Three cube bench for entryway.
i build this crate a little bigger for my large doberman. She loves it and sleeps in it all the time. I put the gate on wrong though and she has since chewed the bottom slats, so im going to replace it and add one more so there is less room to chew between.
Built this 8' x 3' buffet/serving table from scrap wood gathered from work. I bought (2) 2x4's for the legs and the 1" particle board for stability under the slats on top. Finished with Red Mahogany and Polycrylic. It was built as a gift for my church and will now be used for Easter Service for Communion. One of many projects I've made and very happy with how this turned out.
This my first real project built in my shop! I have long admired the projects that I have seen on this site and I could not wait to post a brag picture!
Thu, 10/06/2022 - 13:59
WOW, way to go, such a beautiful build! Thank you so much for sharing:)
I had some Kebony deck boards left over from another project and thought they would work well. I think they did! Kebony is pine that is soaked in an alcohol and then heated up. It has a 30 year warranty and requires no care. I used a Penofin oil on the 2x4s and Cutek oil on the Kebony
My sister put in request for bigger coffee table and 2 end tables, again, the building part was not that difficult, the time consuming portion was staining. But they turned out great!
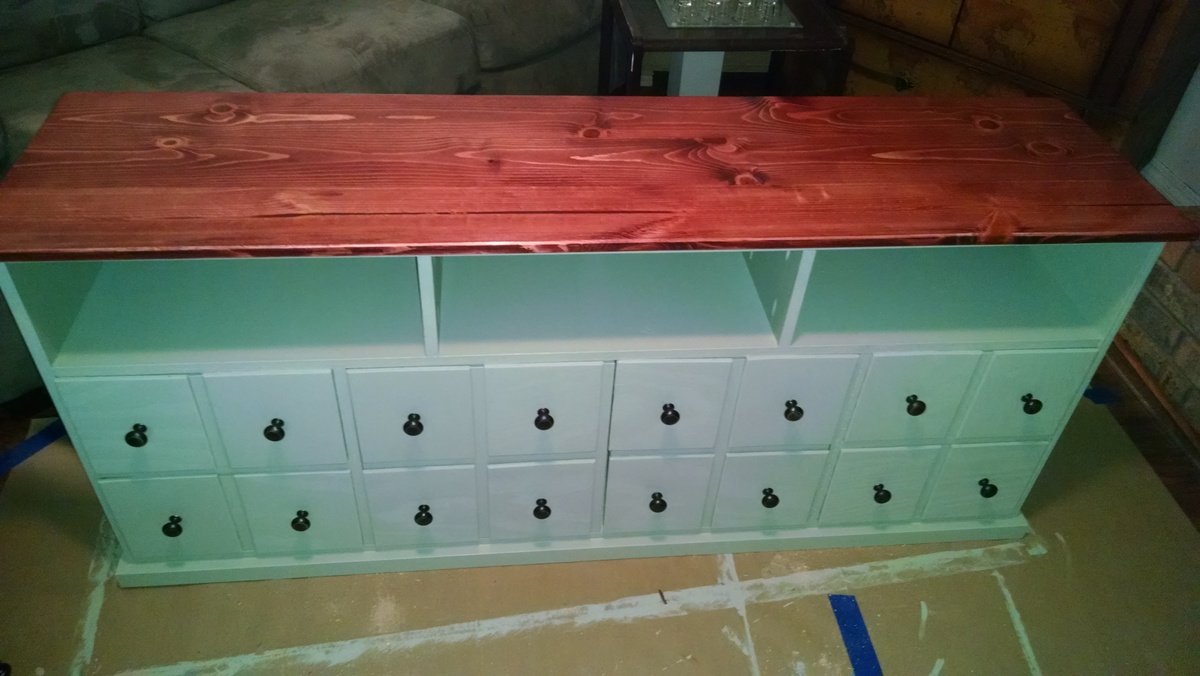
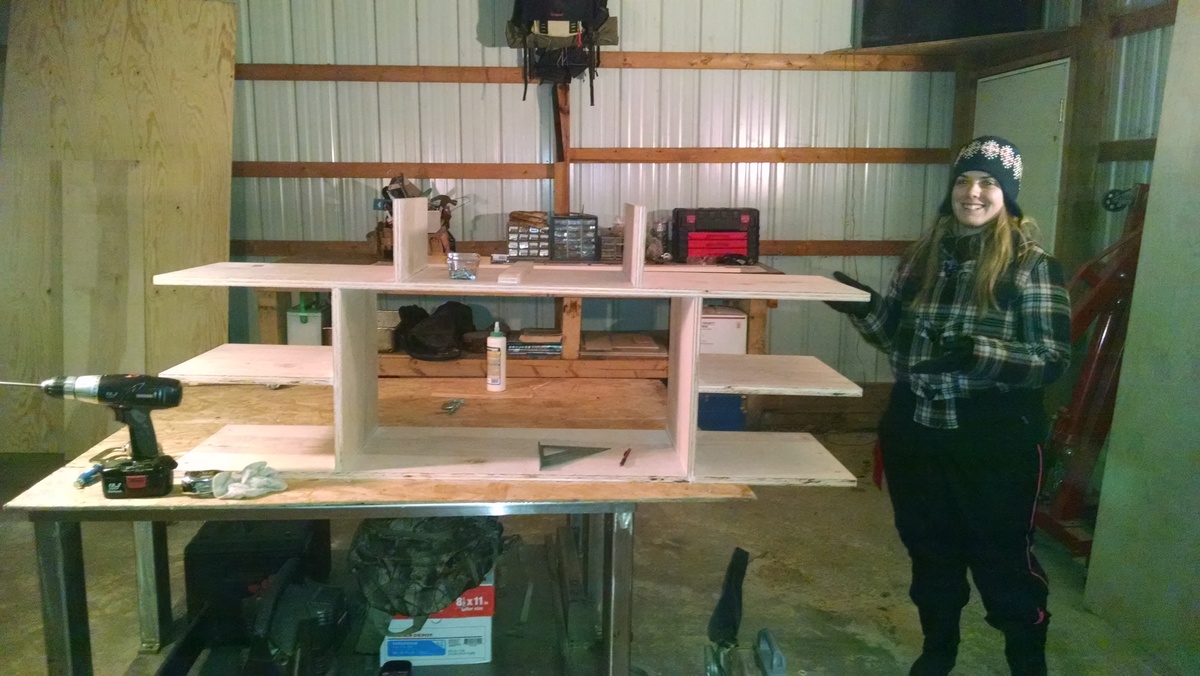
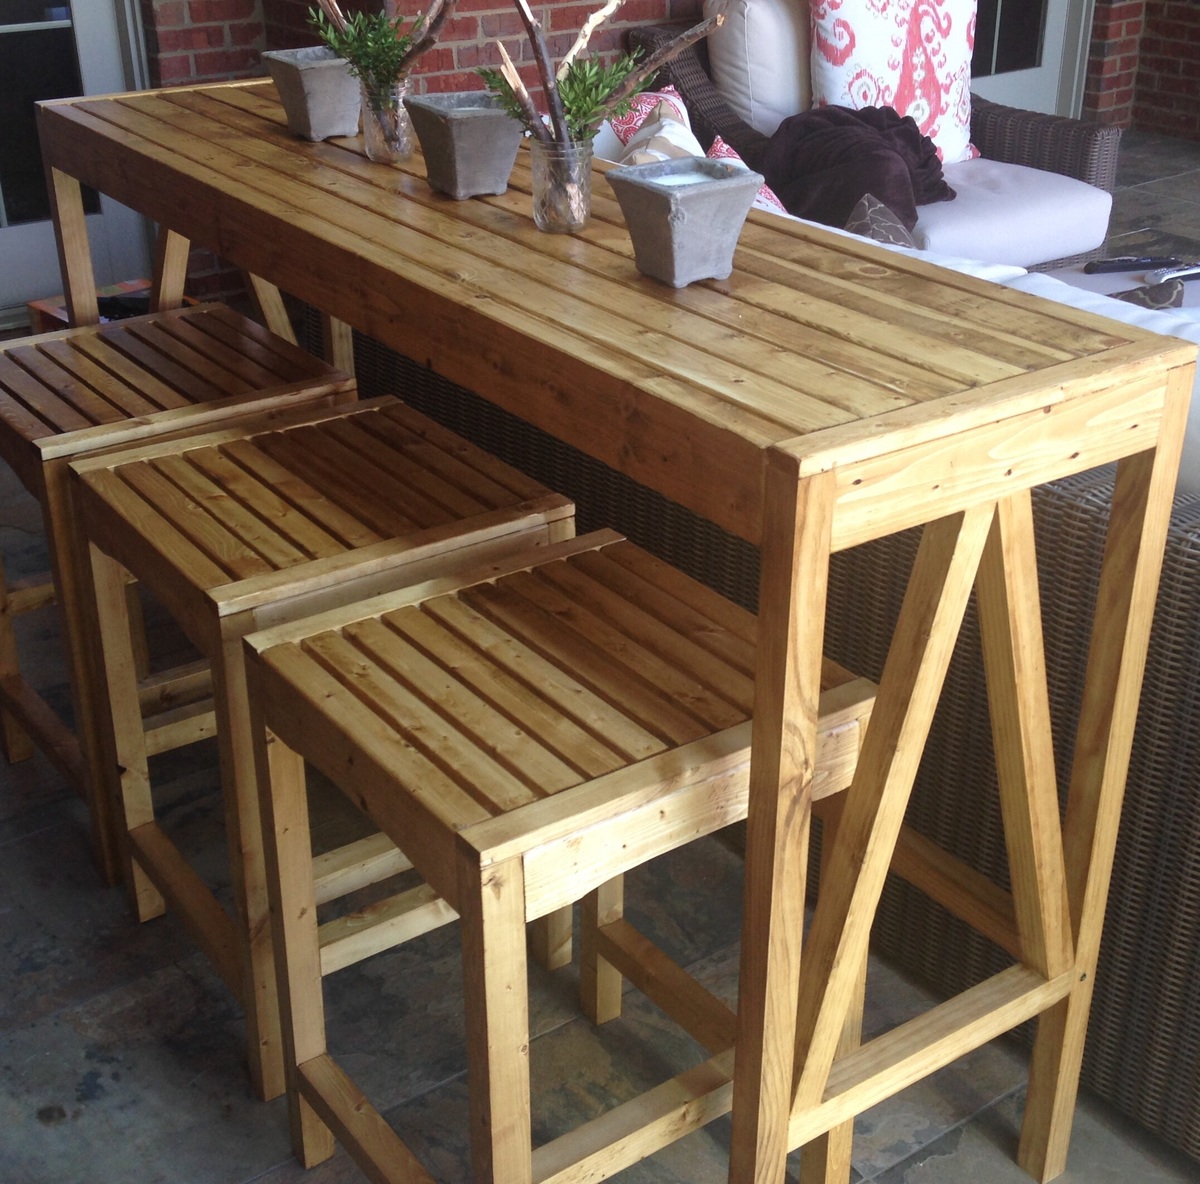
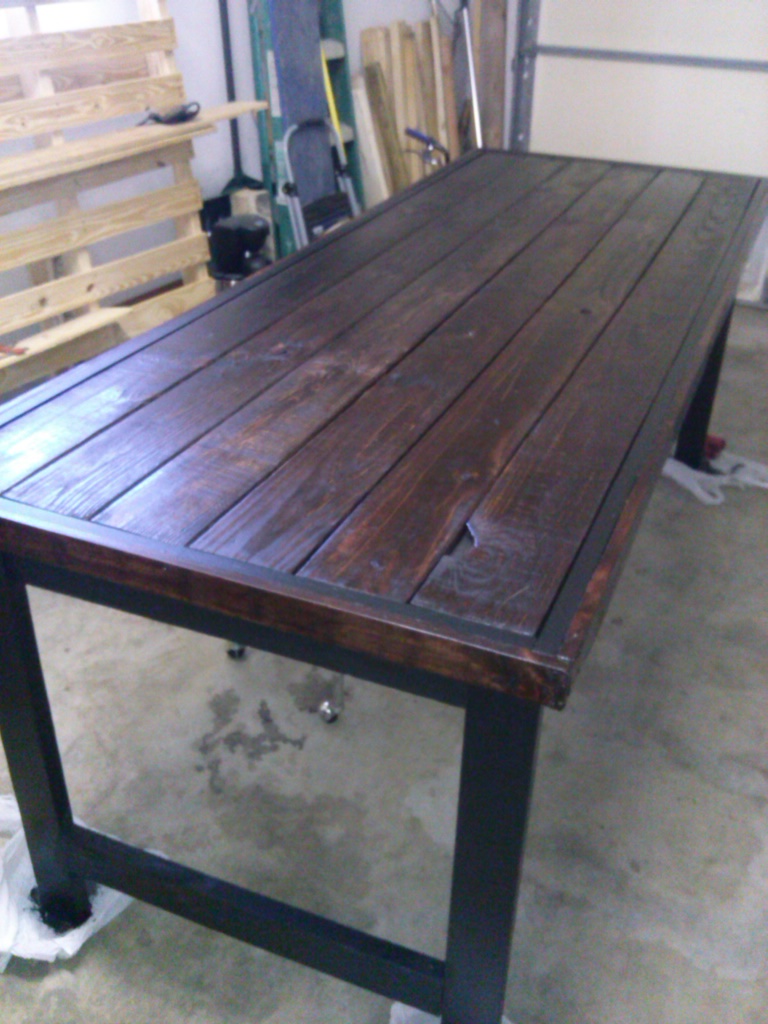
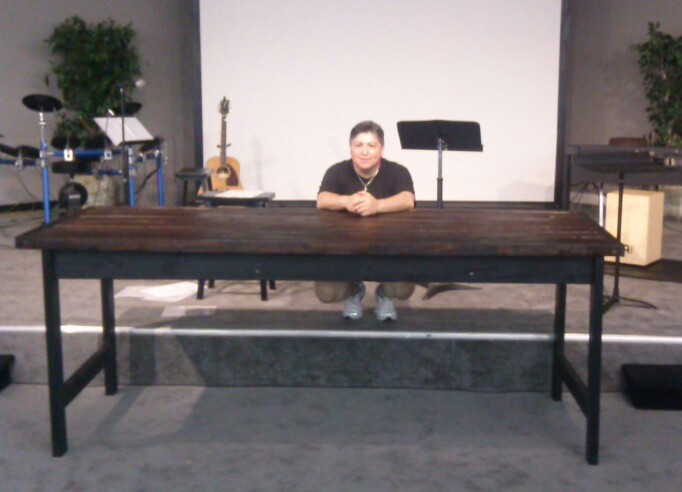
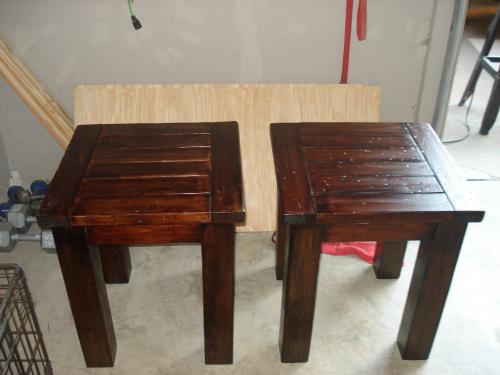
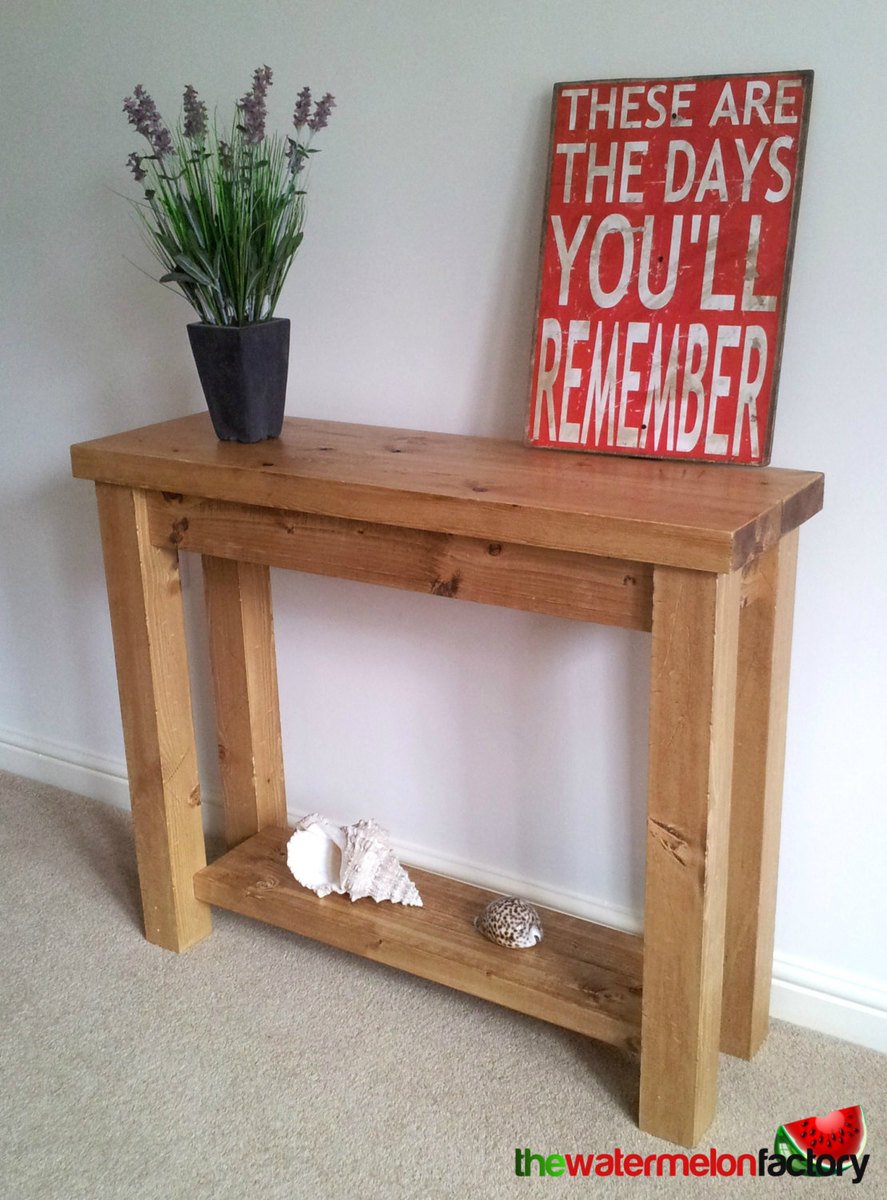
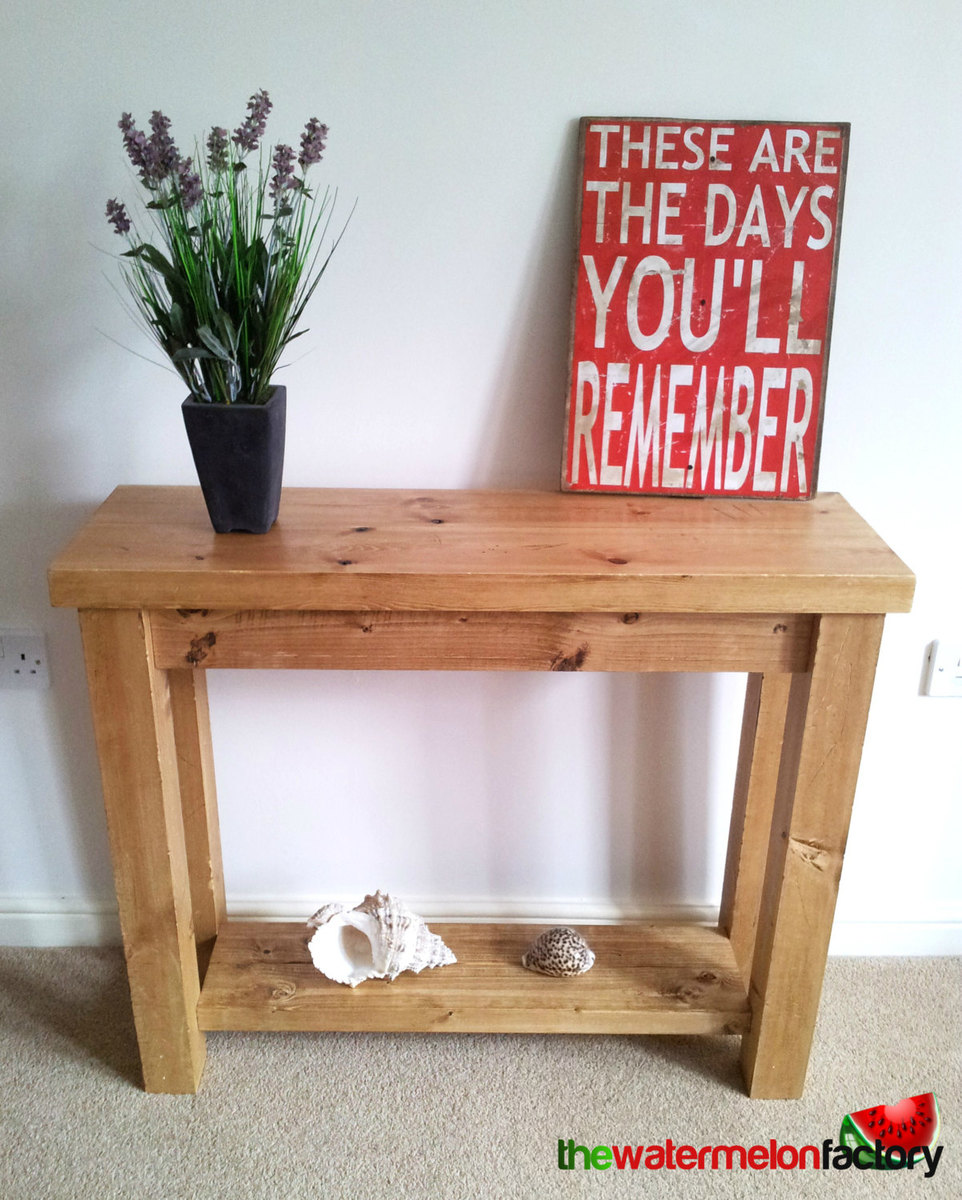
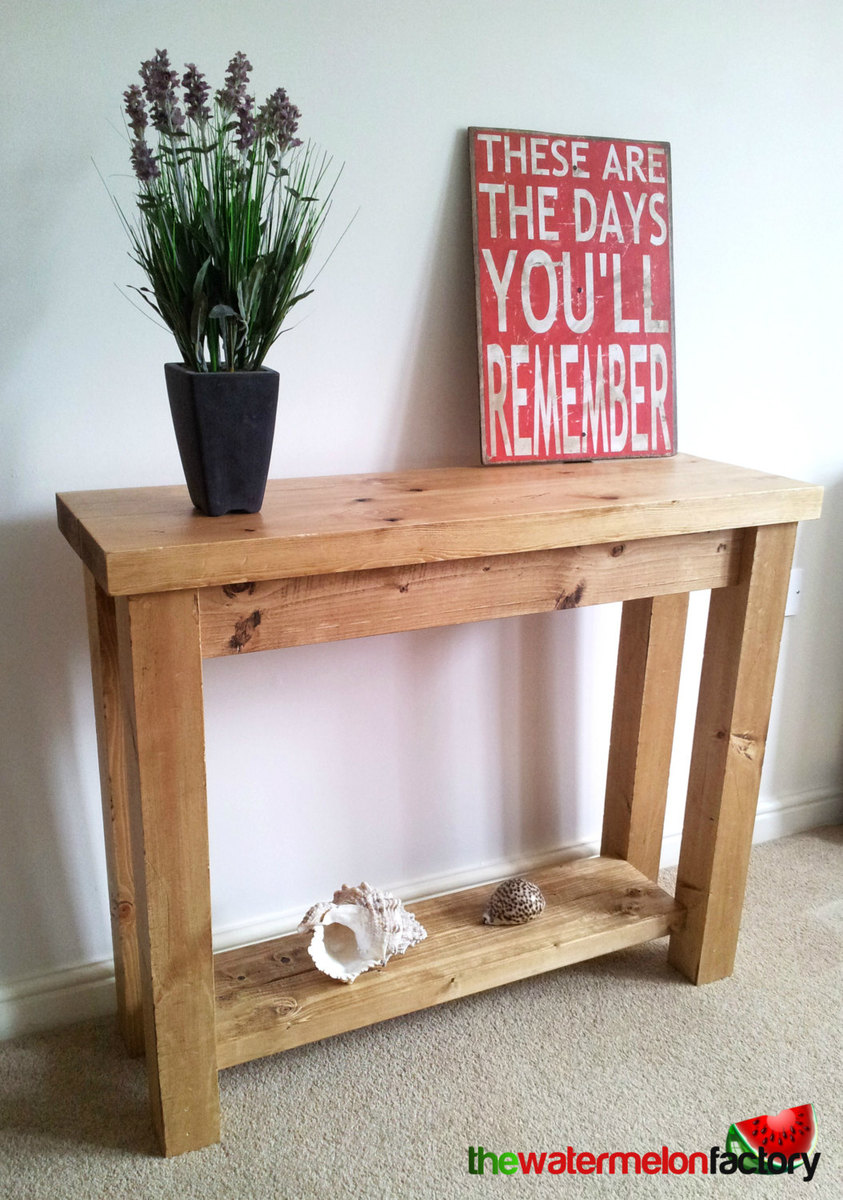
This table is made entirely from Ethically sourced Local Redwood Timber. The wood has been kiln dried which makes it very solid and perfect to make furniture with. This results in a piece which is known for it's sturdiness, it's chunky & rustic look and it's lovely grain and colour.
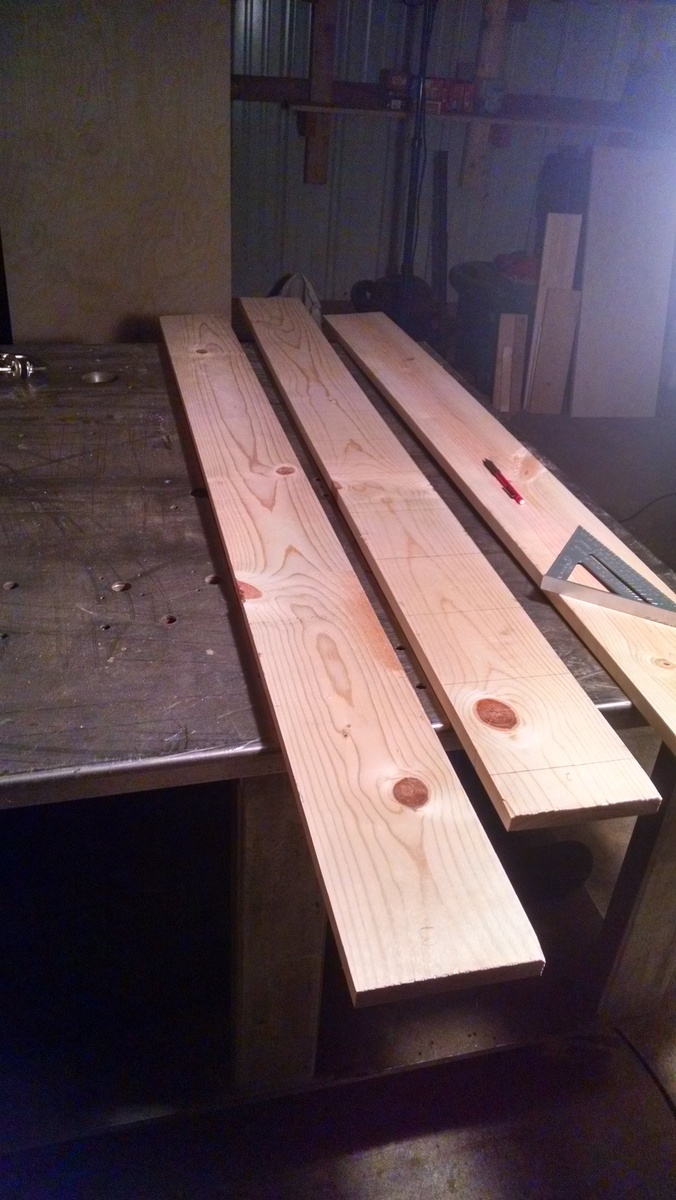
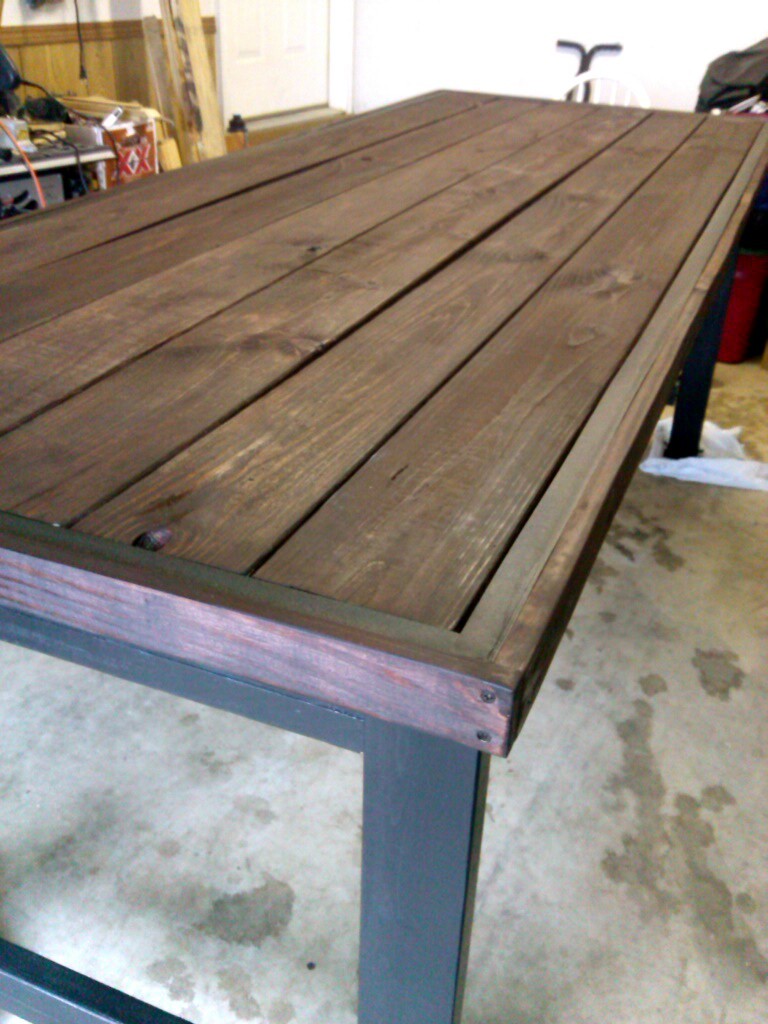
I have used carefully selected Kiln Dried Timber planks of varying sizes here. When the table has been finished, the grain and colour really shine through.
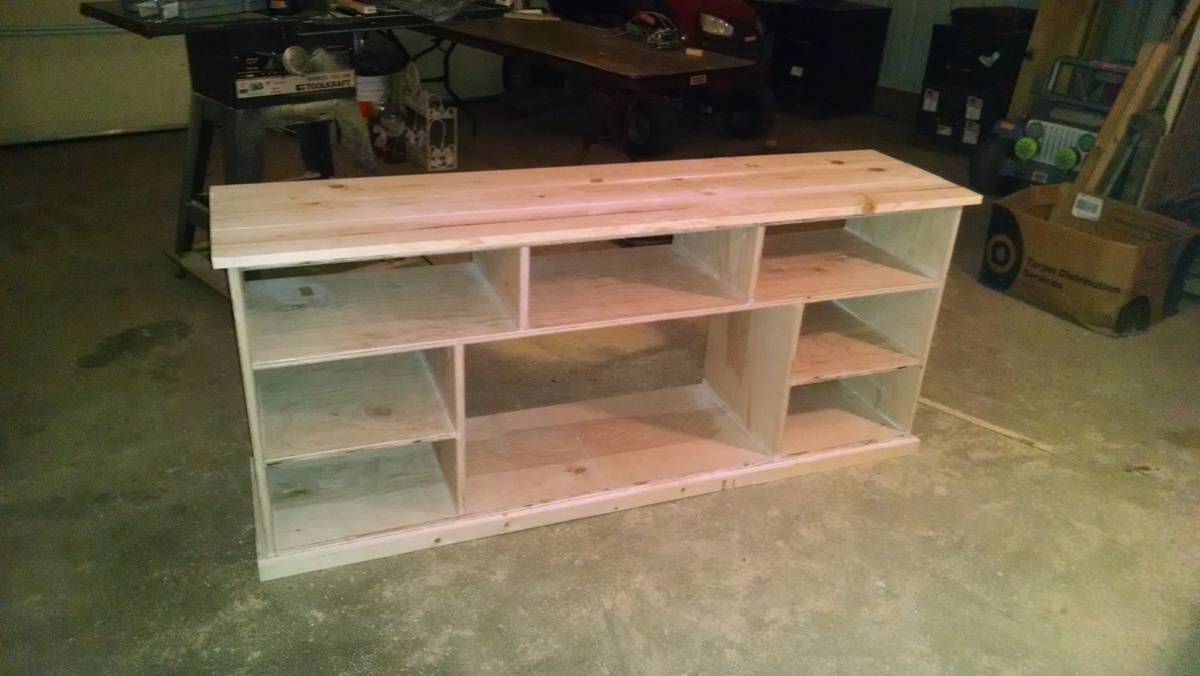
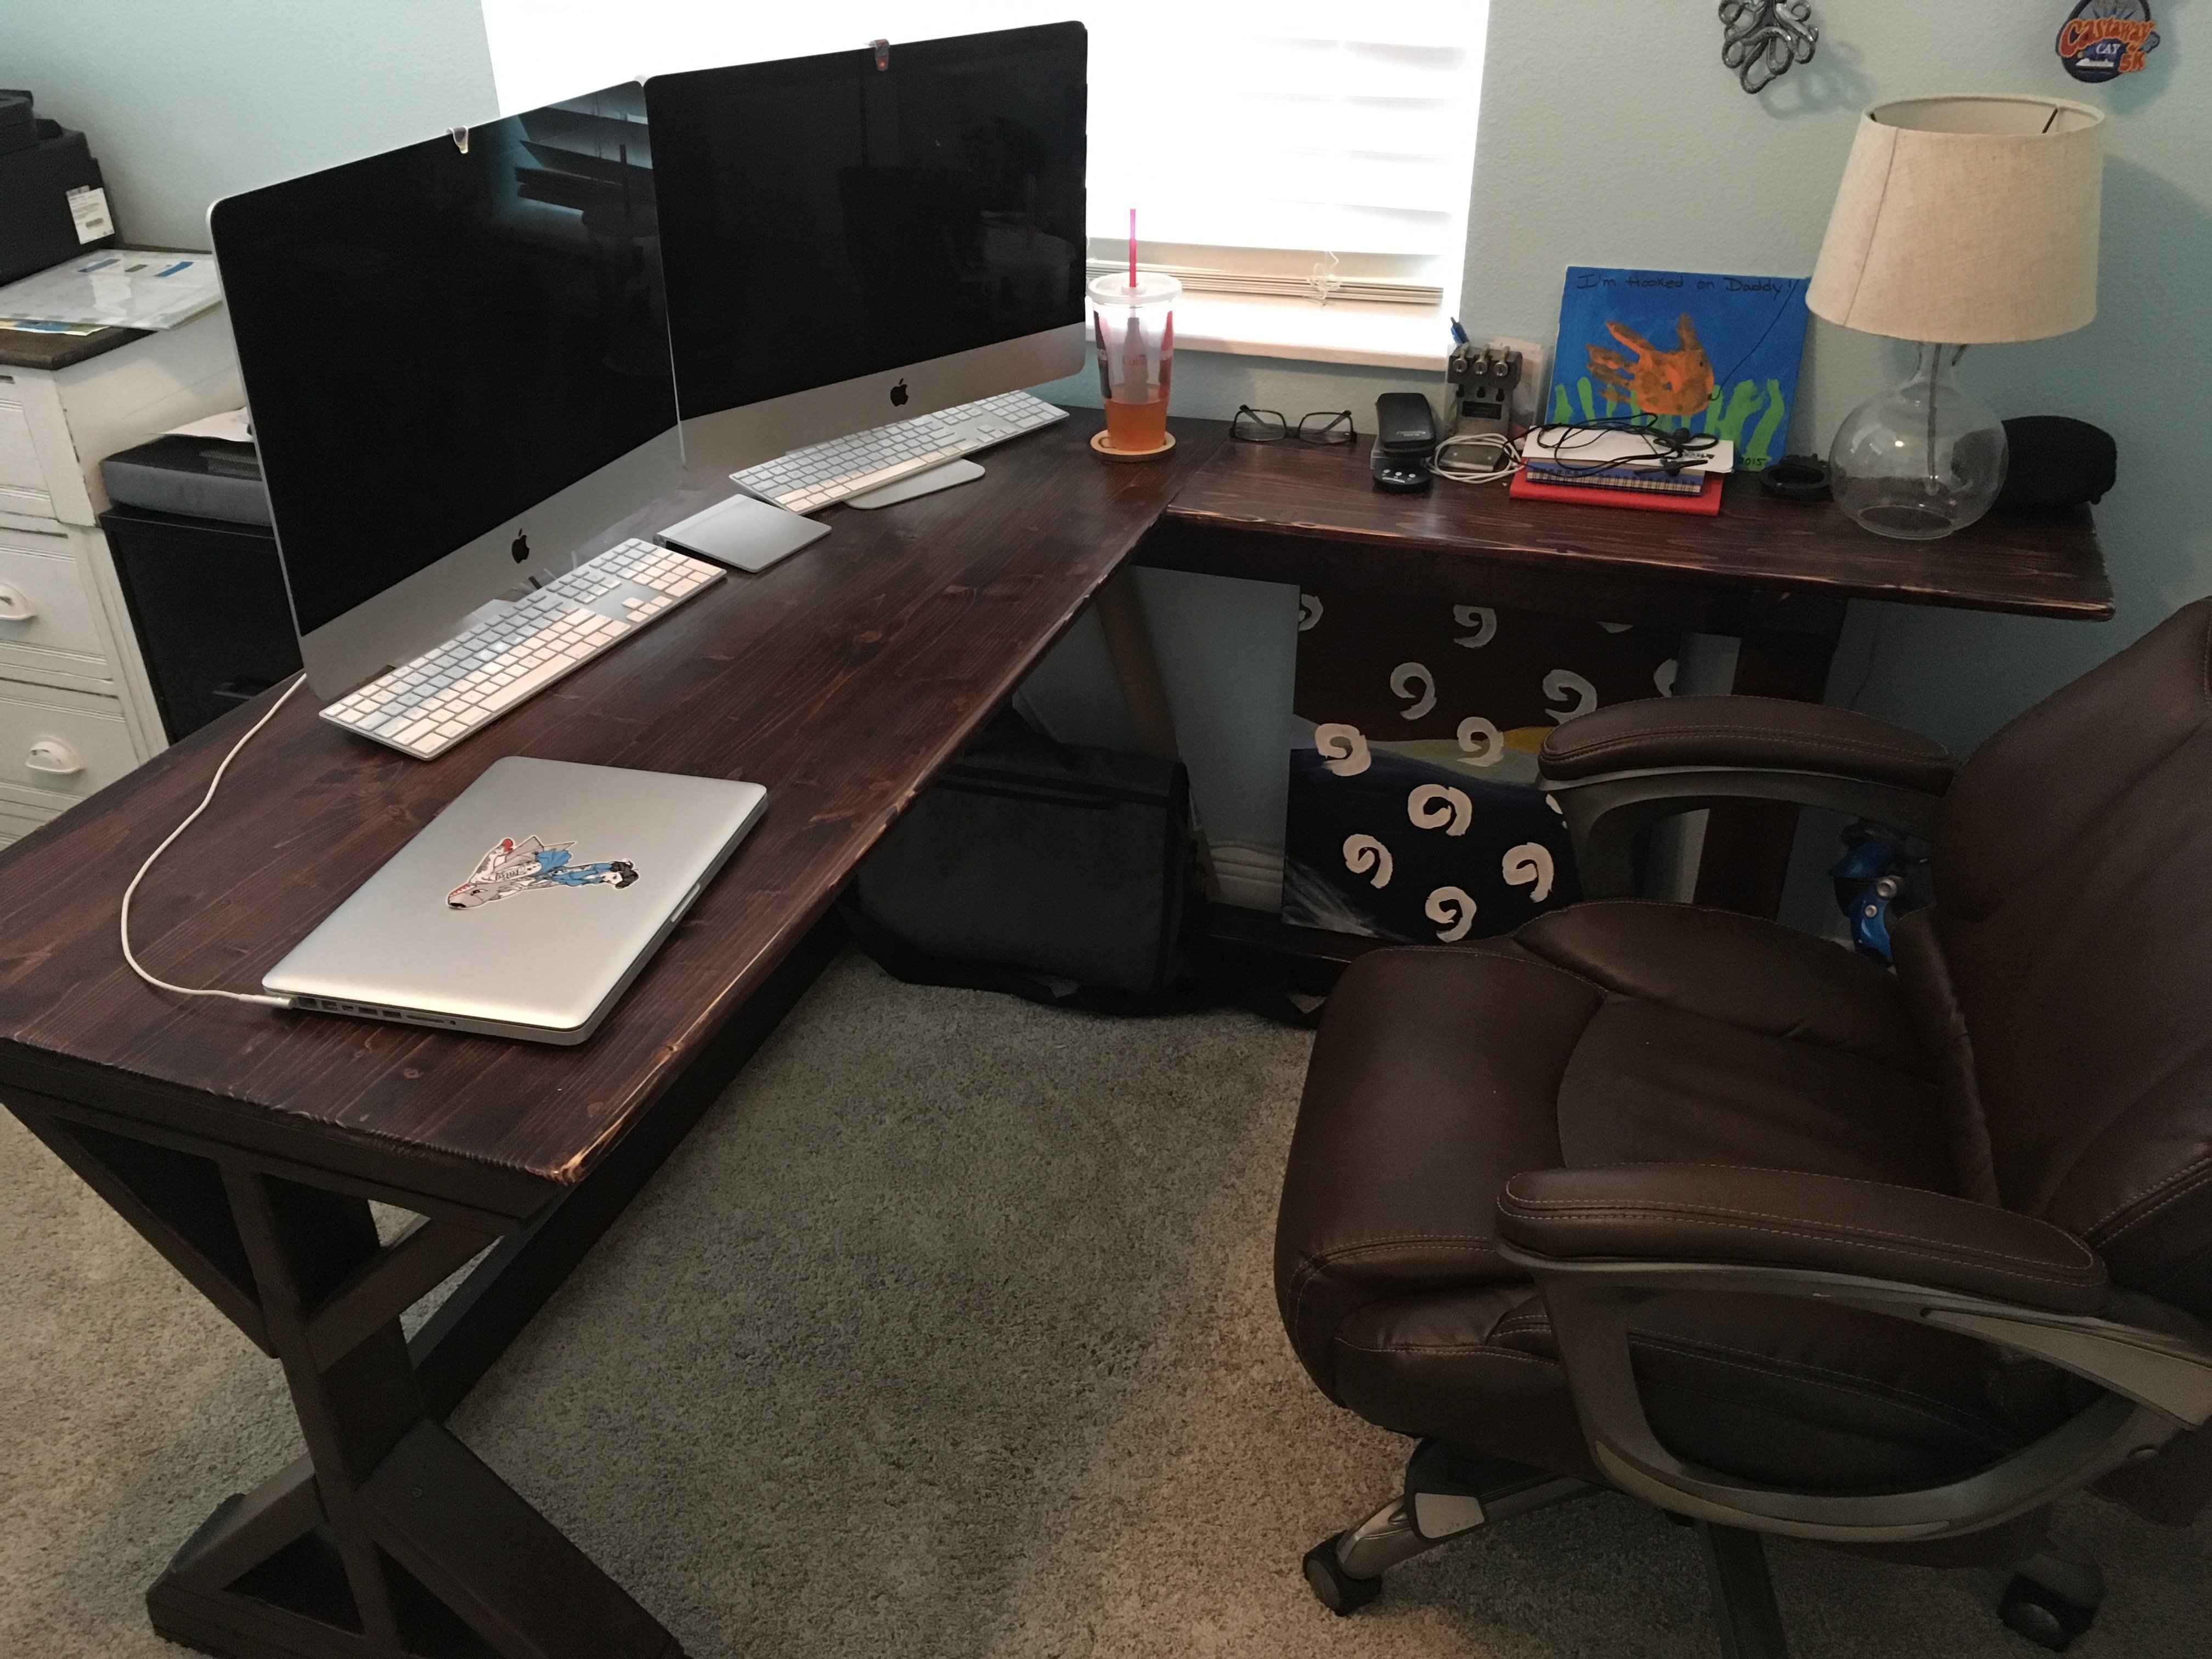
This table is very sturdy and moderately heavy (Approx 15kg's).
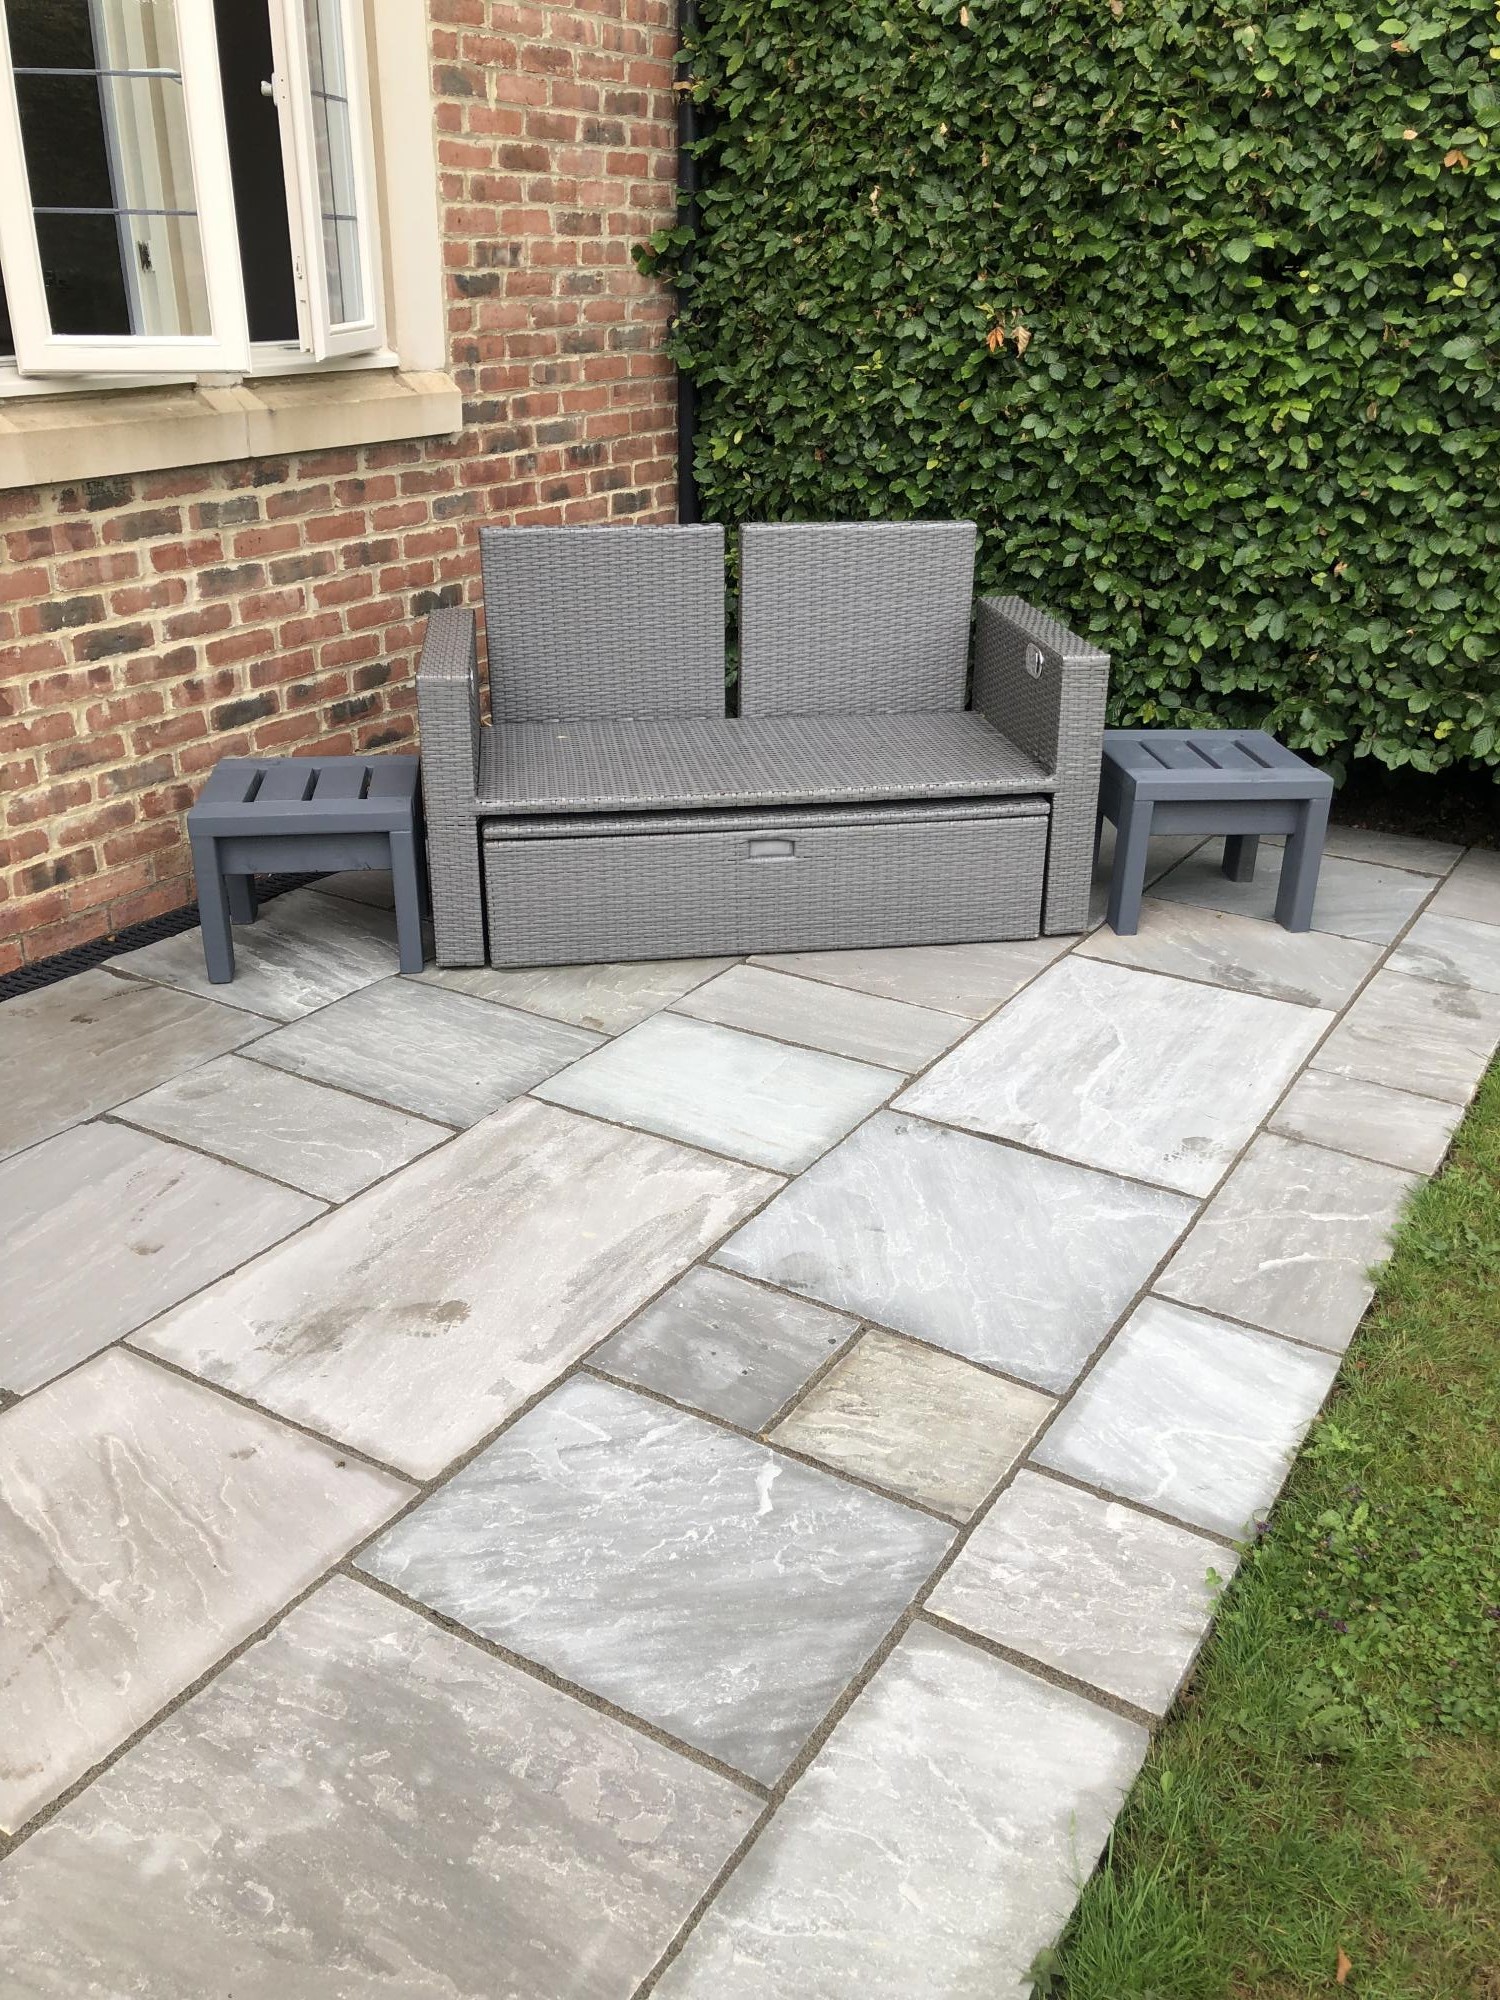
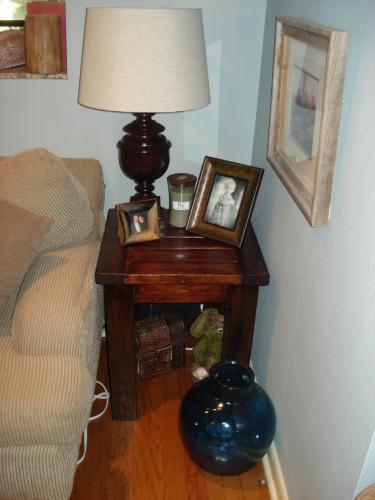
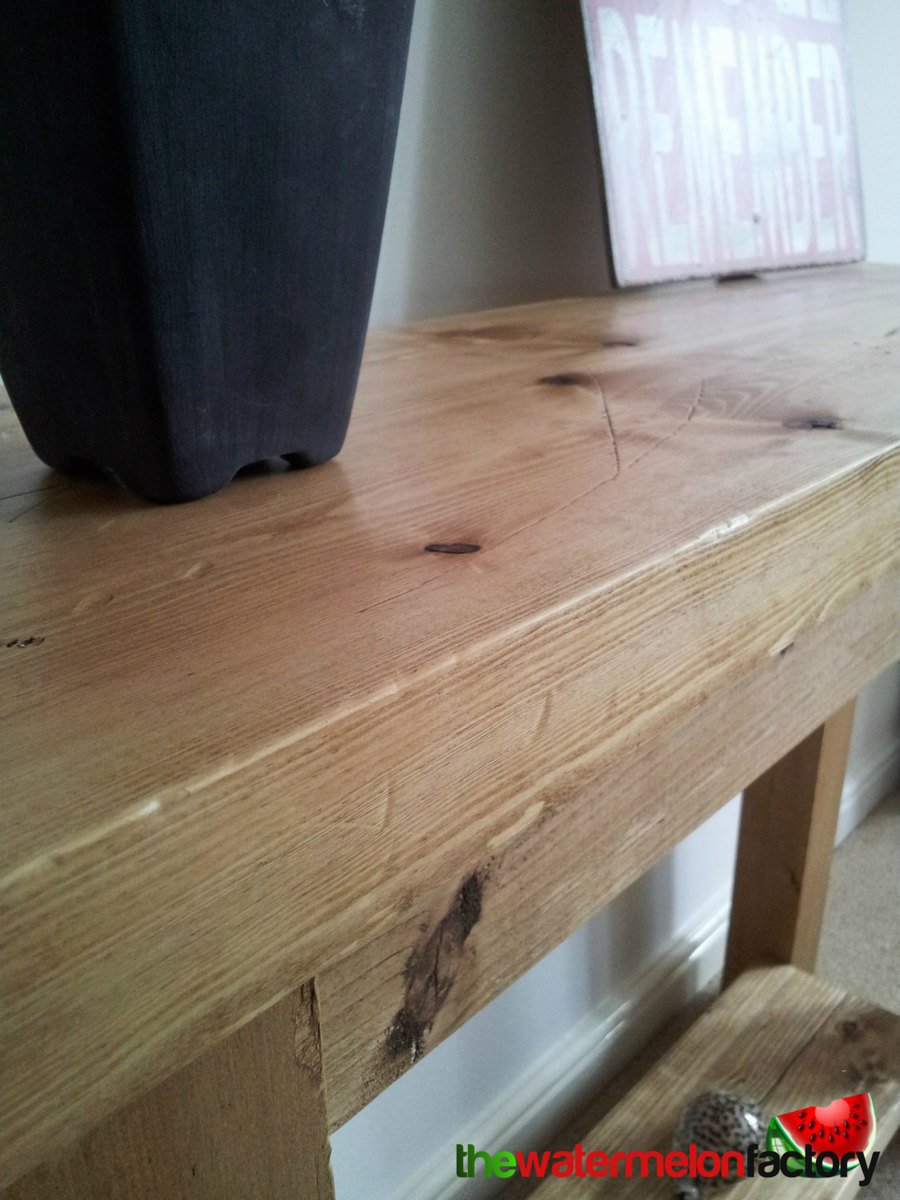
The table may move ever so slightly over it's years too. This is due to the temperature changes in your home and thus it may create very slight cracks and stretches etc. This is perfectly natural and only adds to the rustic charm of this kind of piece. I really like the way wood moves over time and creates a character of it's own. In this regard, each and every table is going to be unique.
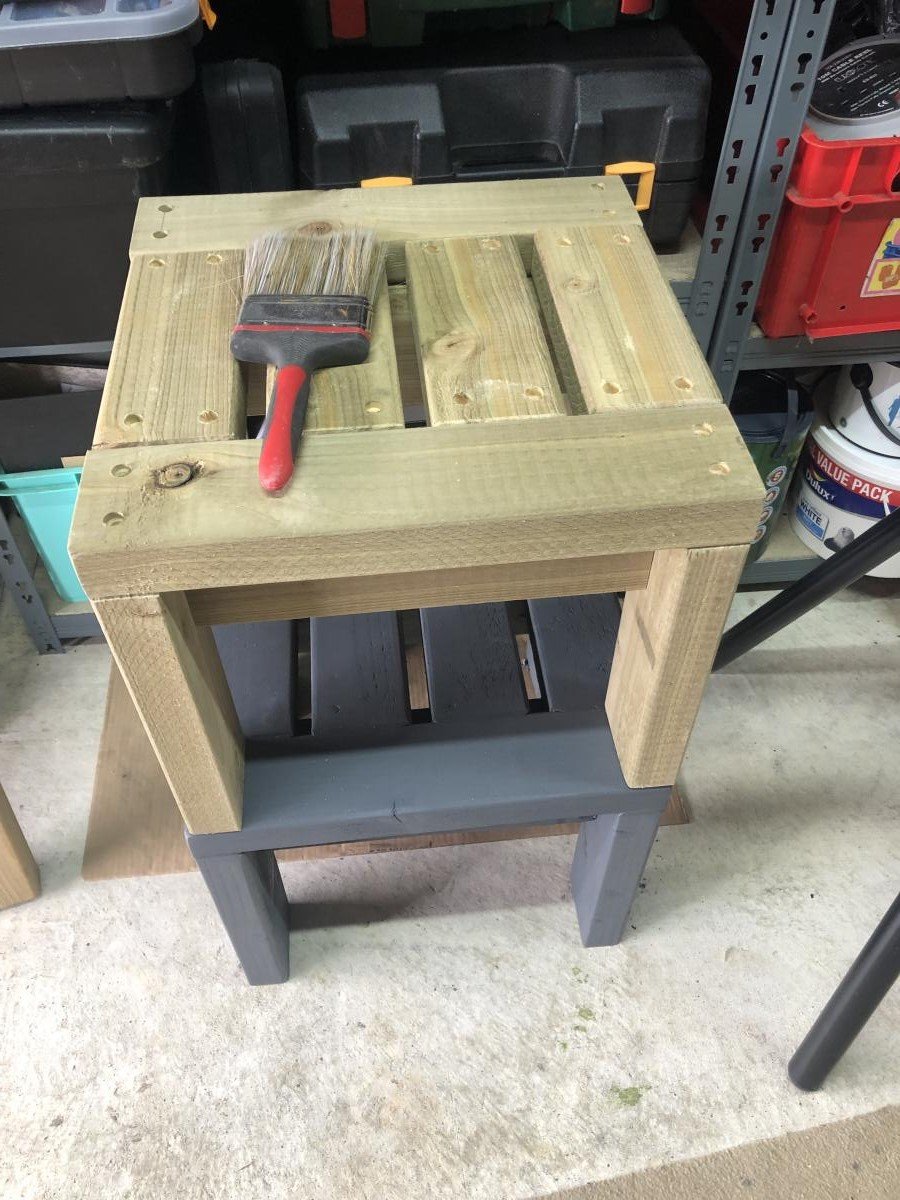
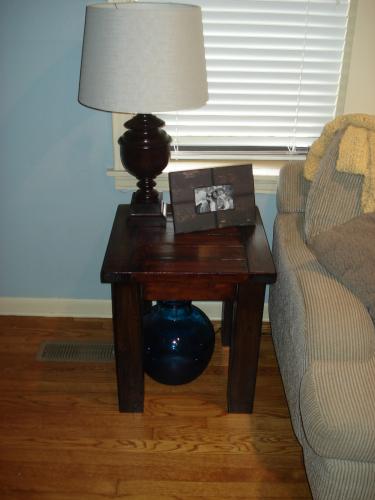
The legs on this table are fixed, as is the shelf.
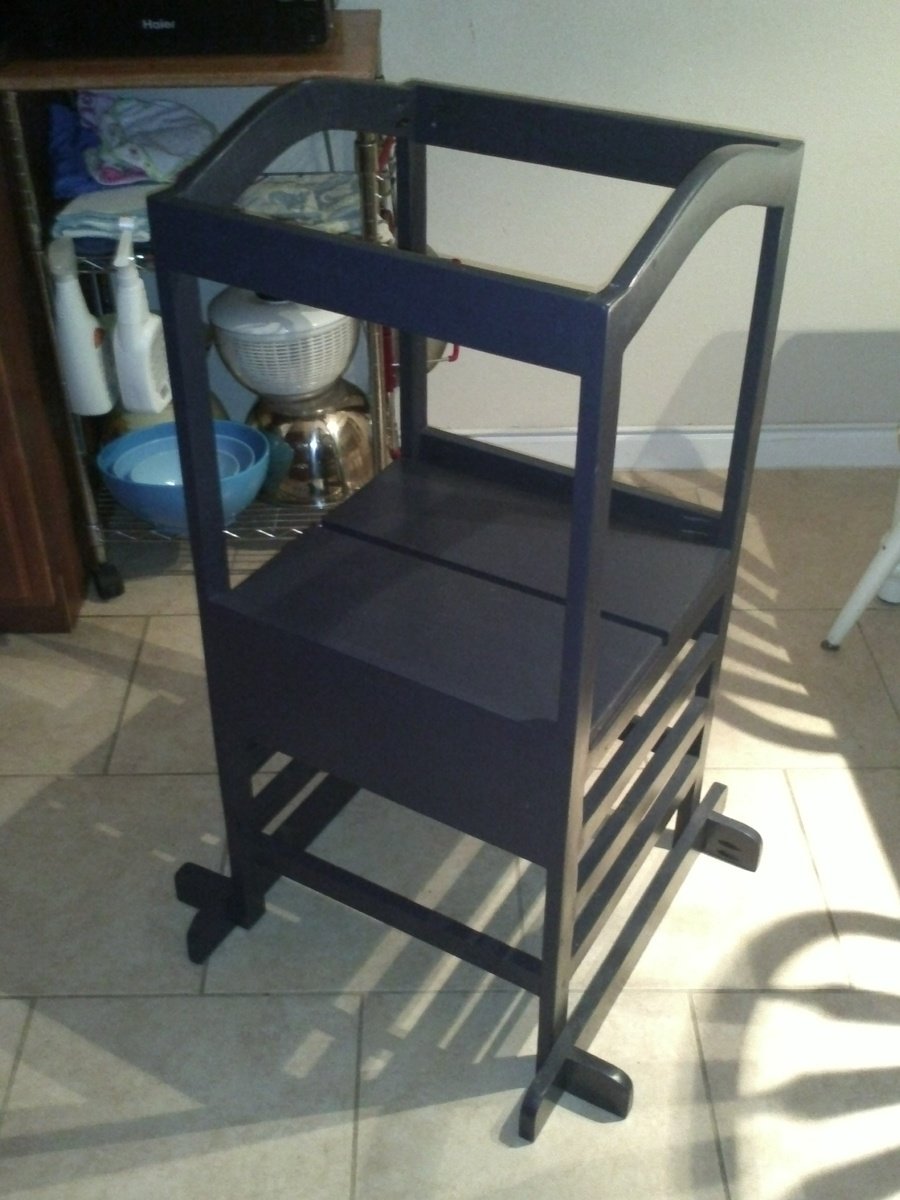
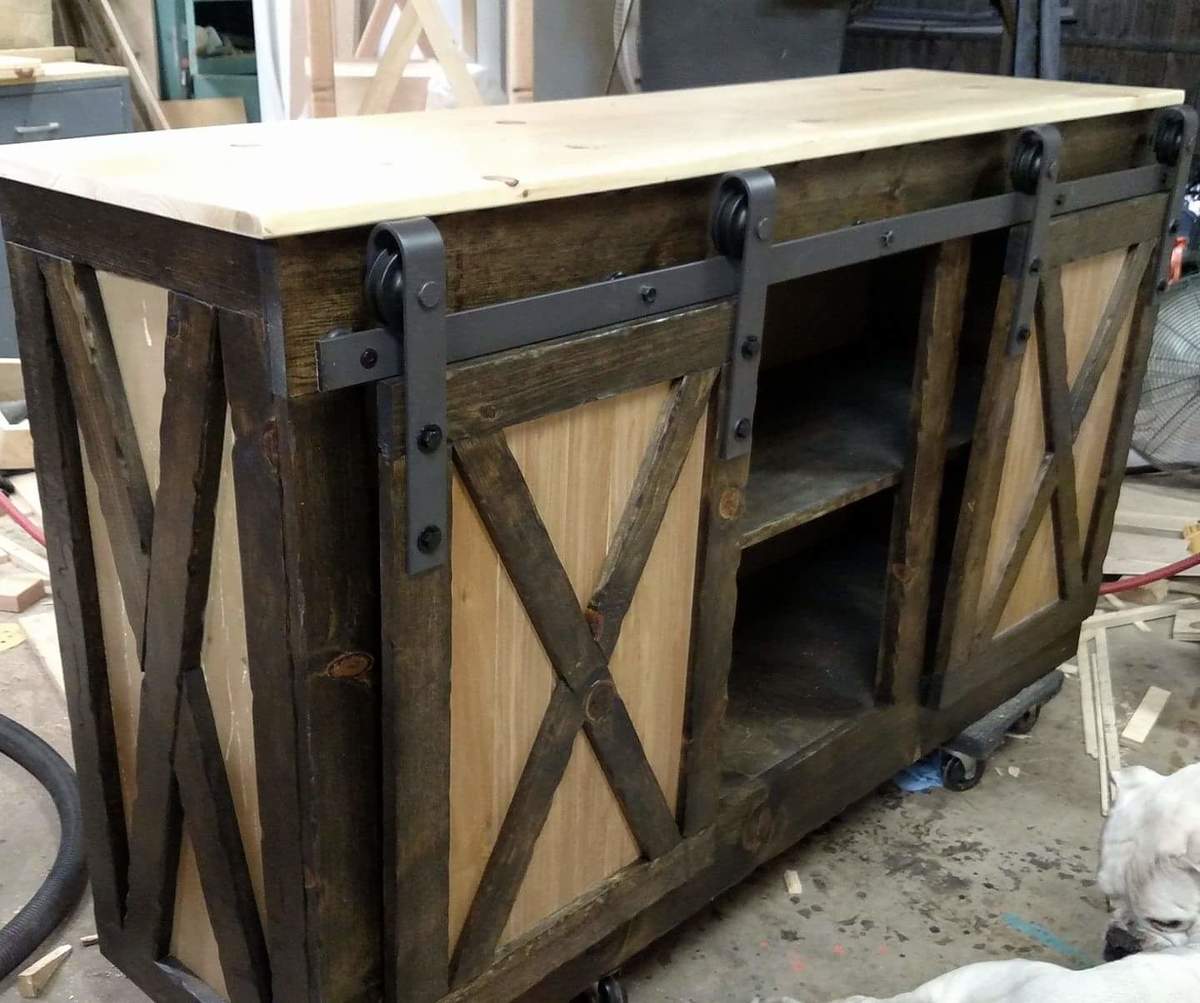
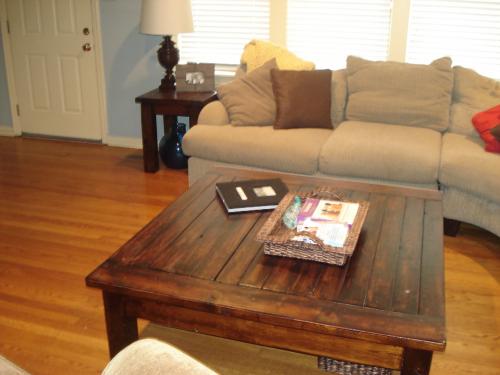
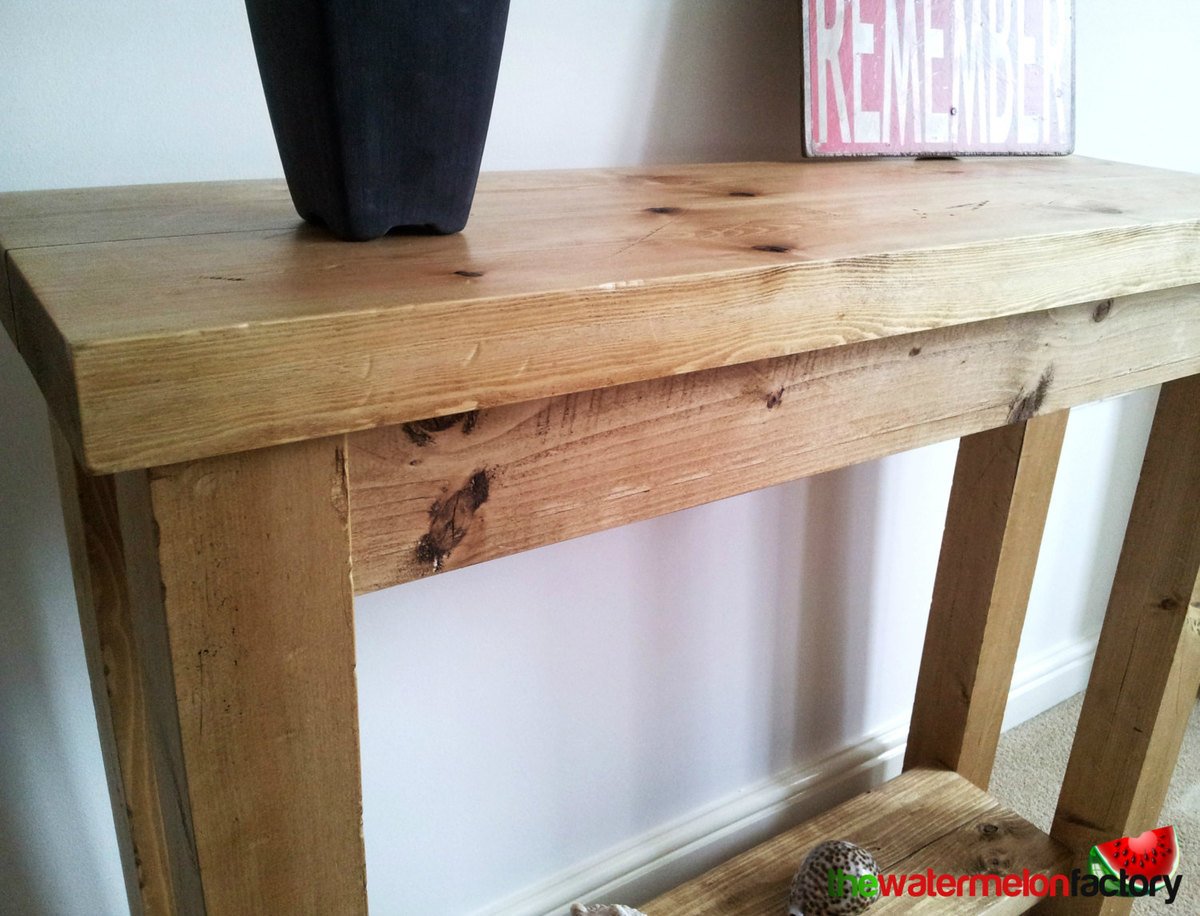
This console table has been distressed and aged and features authentic wear marks such as knocks, dings, scrapes and even nail and screw thread marks!! It looks like it been in this world for generations!
It is then finished off by being waxed all over to treat and protect the wood.
I hope you all like it! It's fun to build.
Mark :)
I'm so thankful for Ana's March scrap work love challenge for encouraging me to make use of scrap lumber. I completed several scrap work projects last month. This is a volcano stacker I made from a scrap piece of 1x12 pine. I got the pattern from the book Natural Wooden Toys. I used my scroll saw to cut out the shape. I painted it with craft acrylic paint and sealed it with Mod Podge. The toy is a hit with the little guy!