DIY Cedar Box Planter with Rope Handles
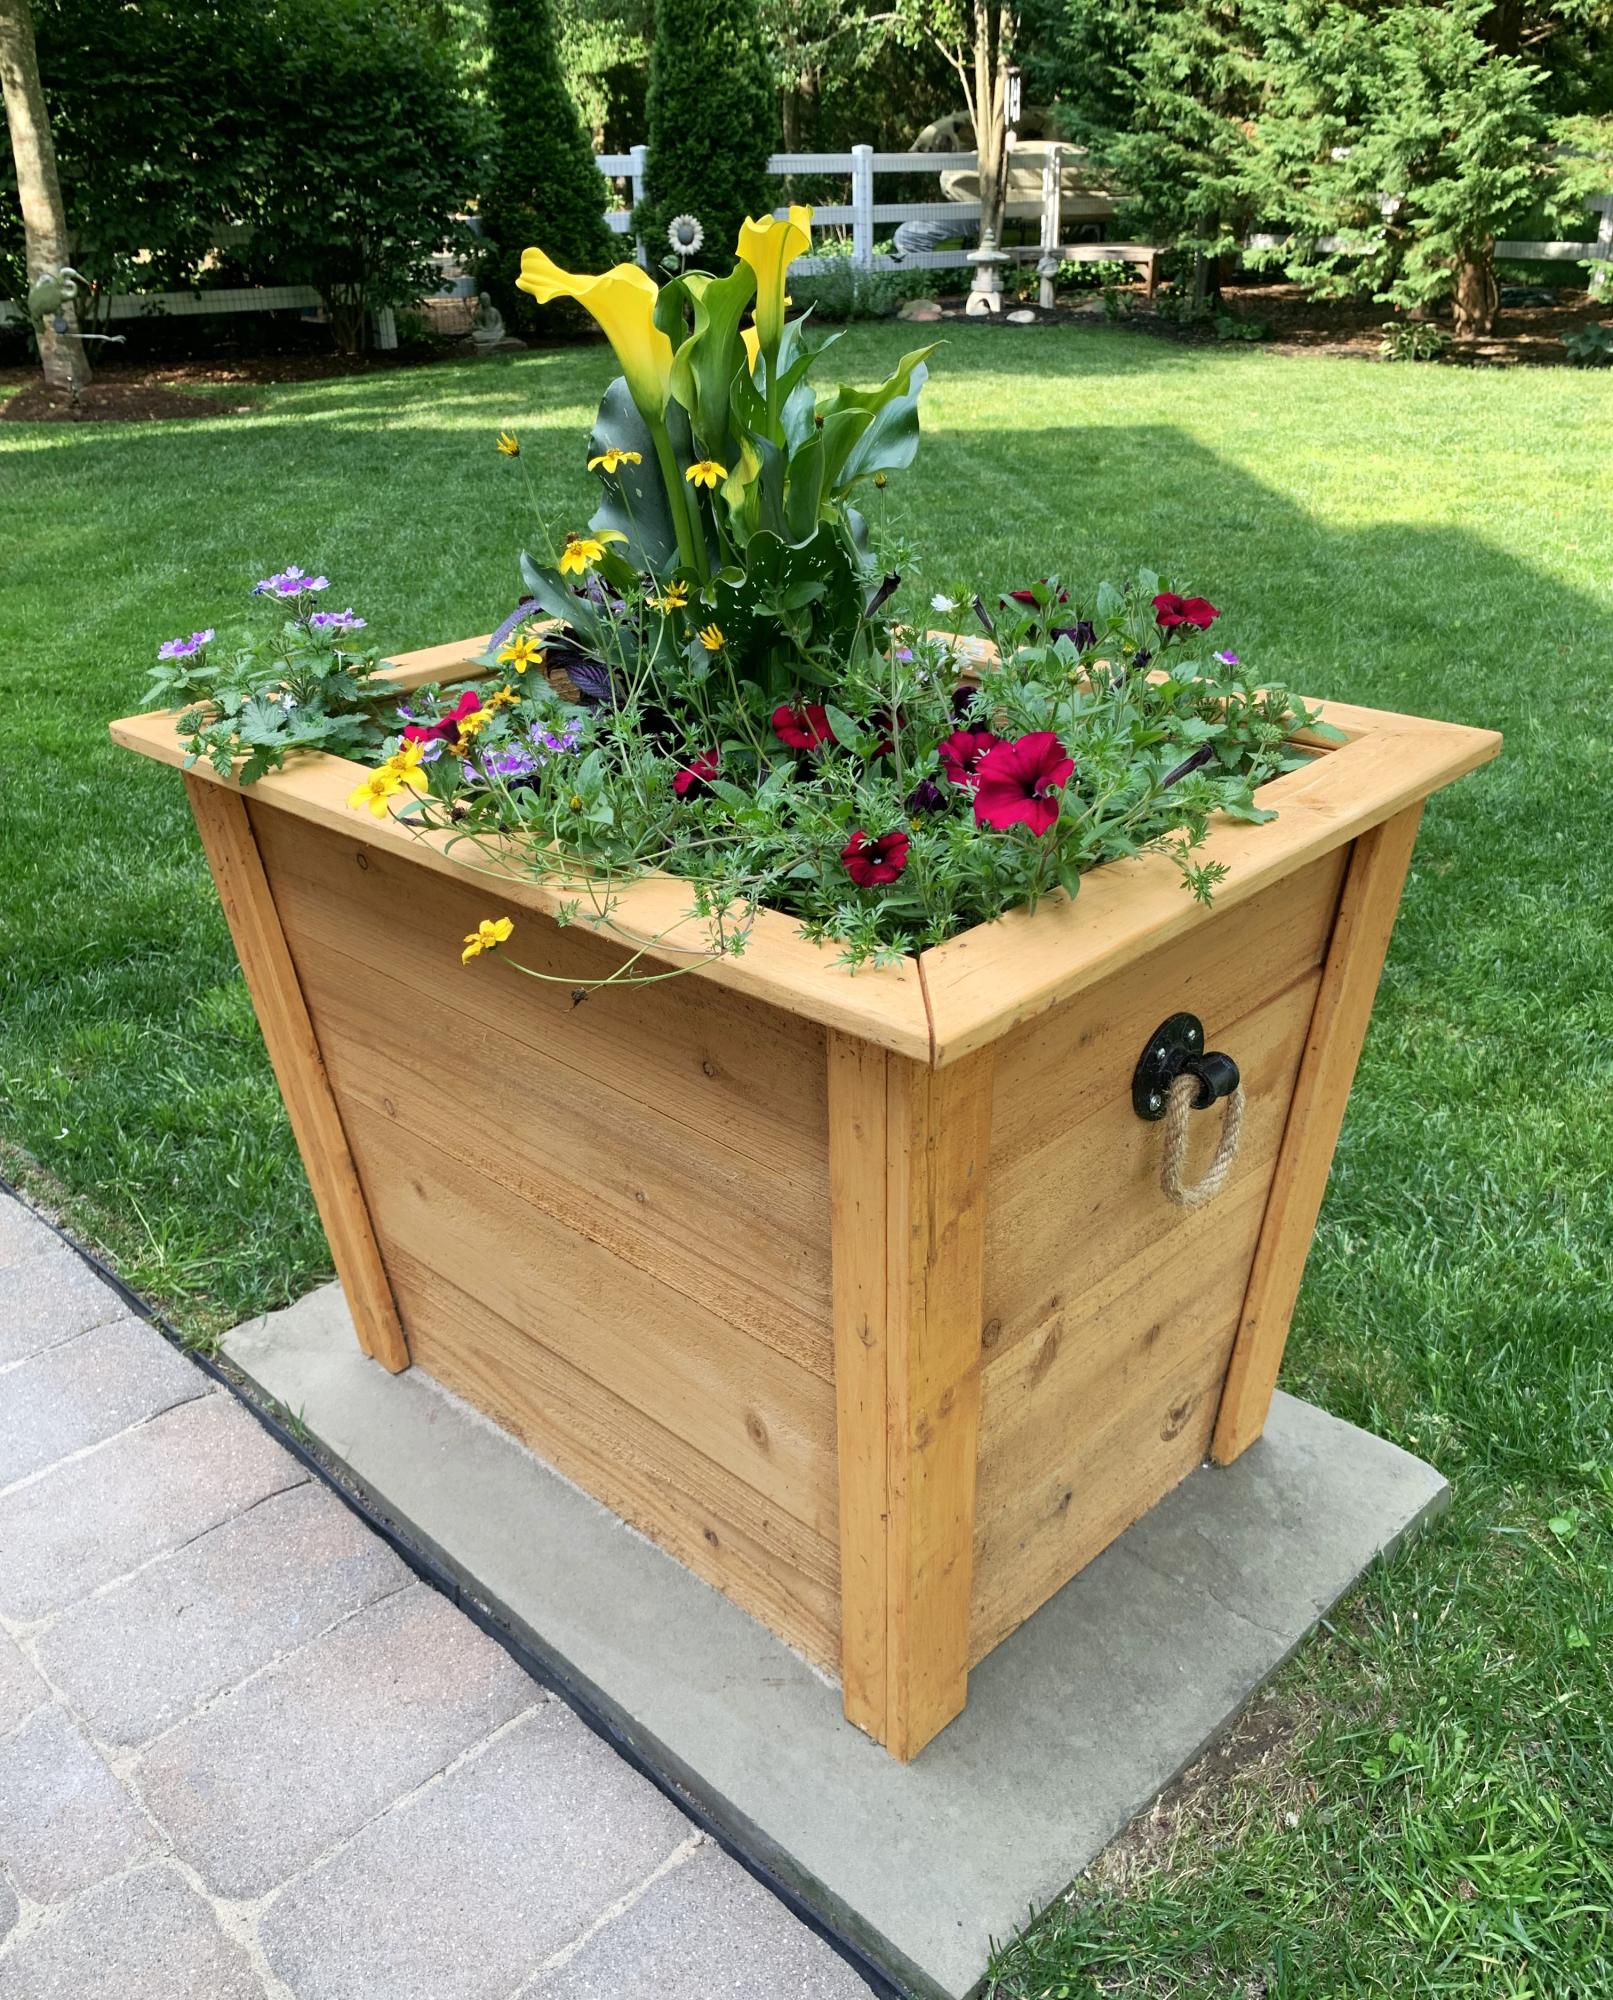
Loved the plan for this planters.
Audrey Noble
Built from Plan(s)
Loved the plan for this planters.
Audrey Noble
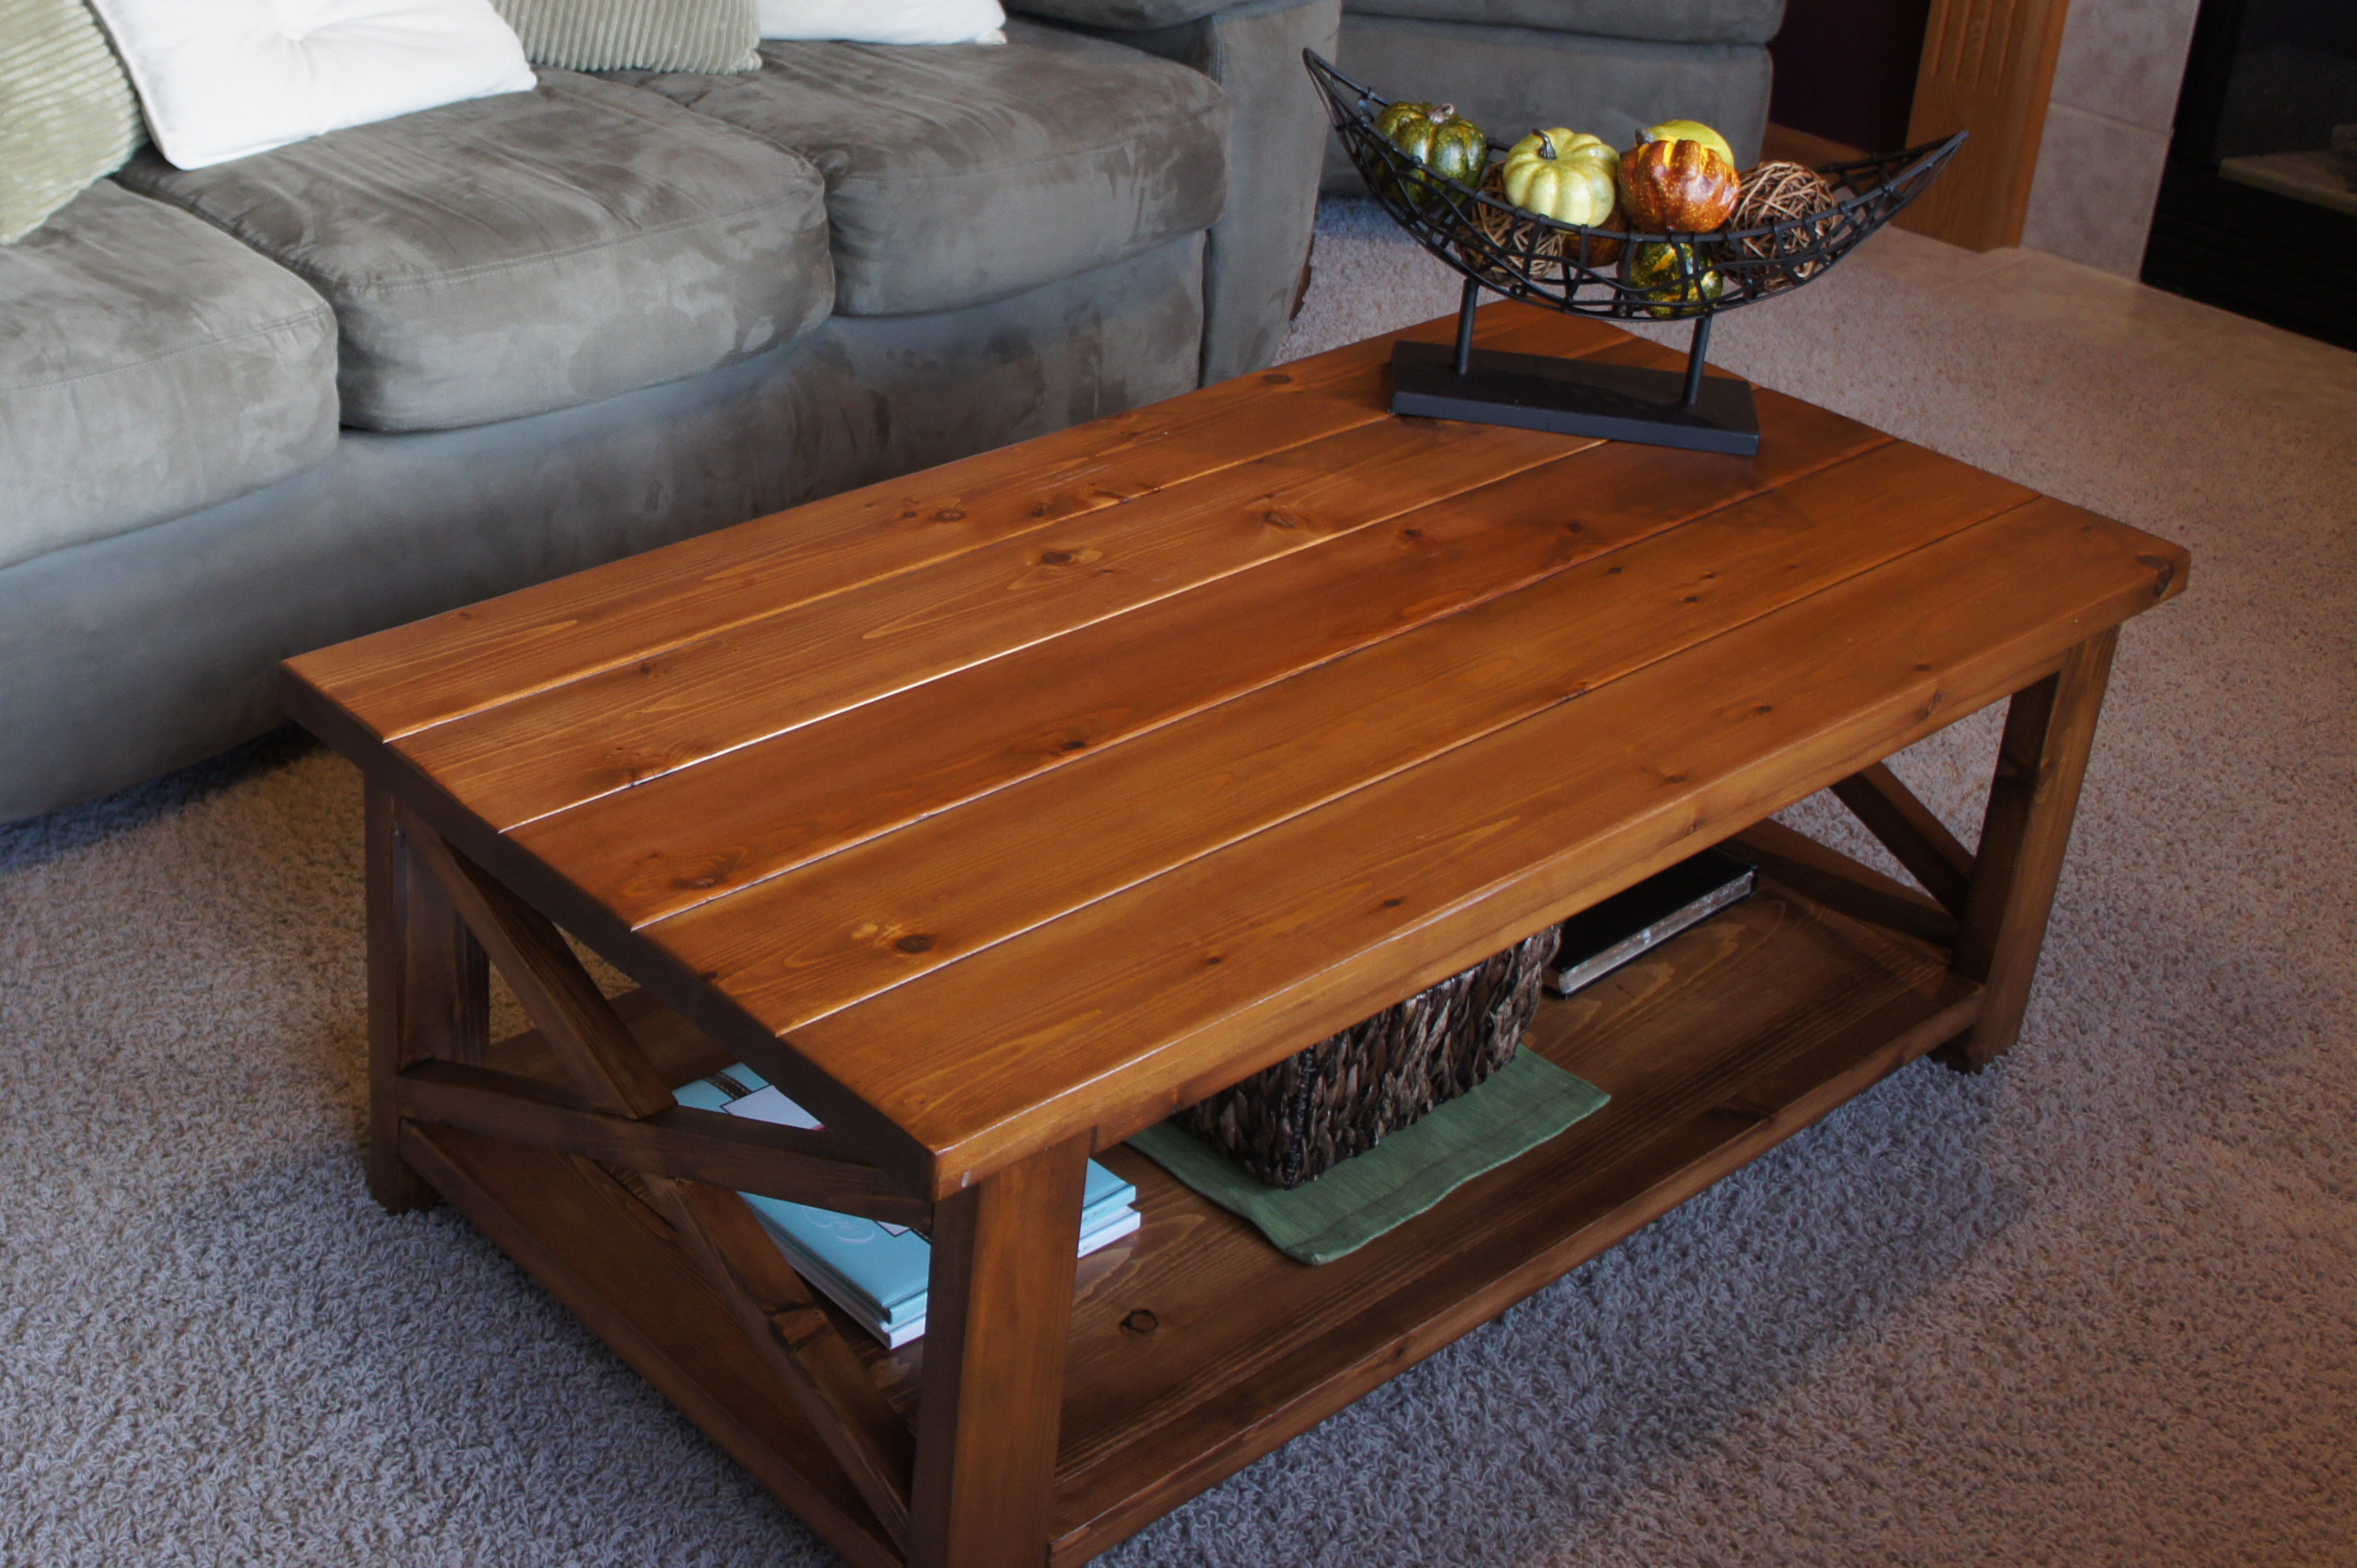
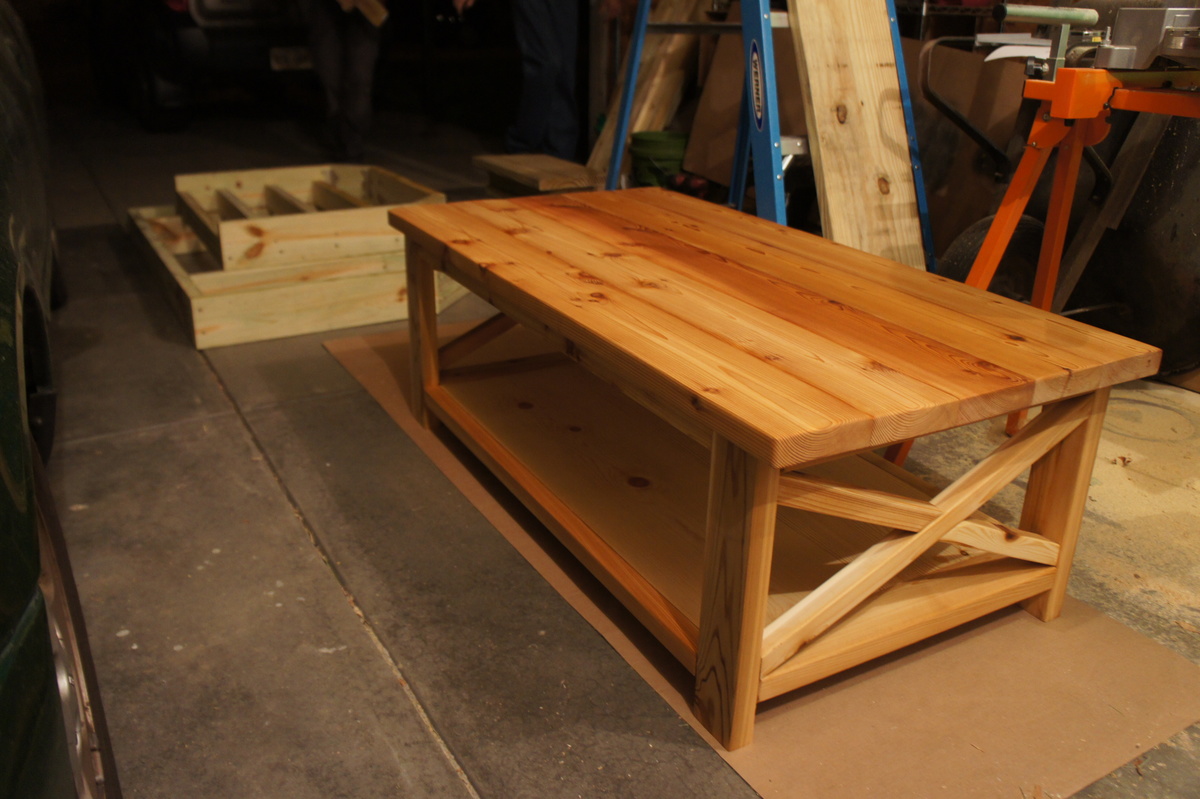
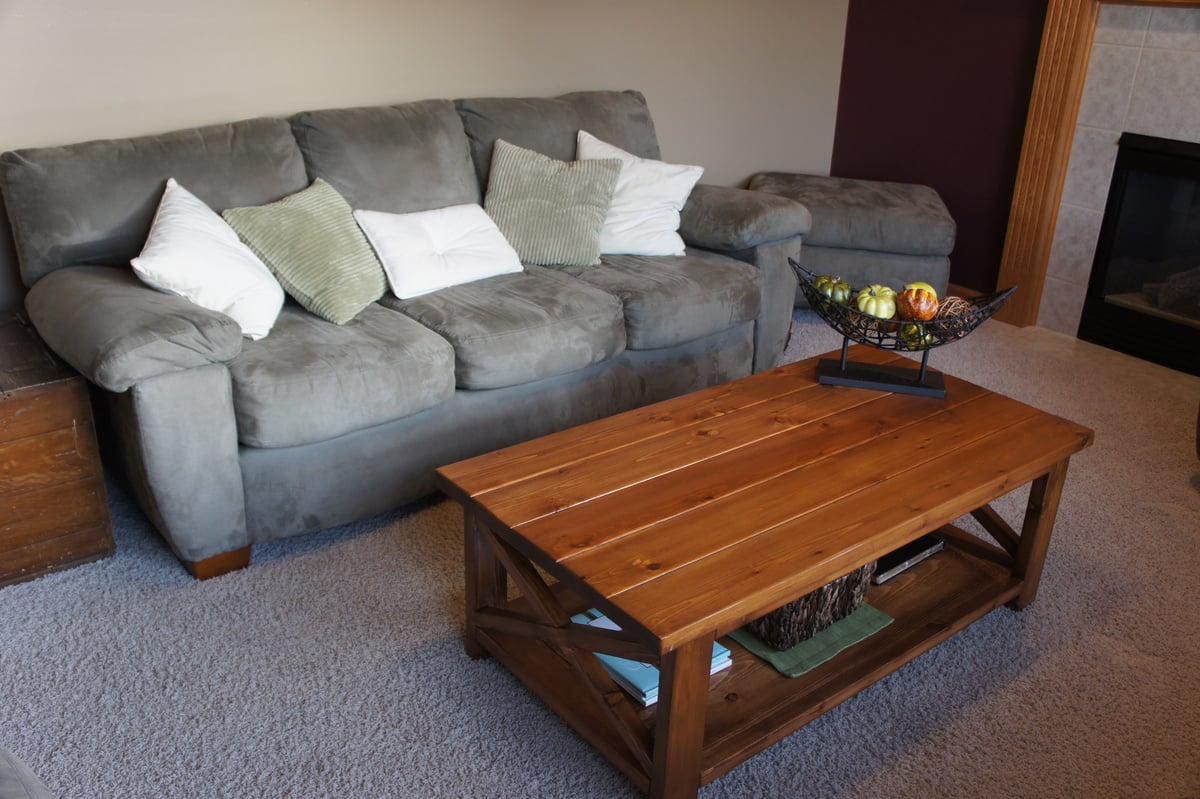
This is the Rustic X Coffee Table without the rustic finish. I used cedar wood with Early American stain. This was my first furniture project and I am so happy I did it. We needed a coffee table badly and I couldn't fathom spending several hundred on a good one. This one saved money and I appreciate it so much more. Because I used cedar the cost of the project was about $100. I used pine on the 1X12s on the bottom shelf and once stained it looks just fine. I did not stain the under side of the table top so as to maintain the smell of cedar.


Fri, 01/05/2018 - 23:10
The table look great! Thinking about building one myself soon? Have you noticed any warping or cracking of the wood since you built this?
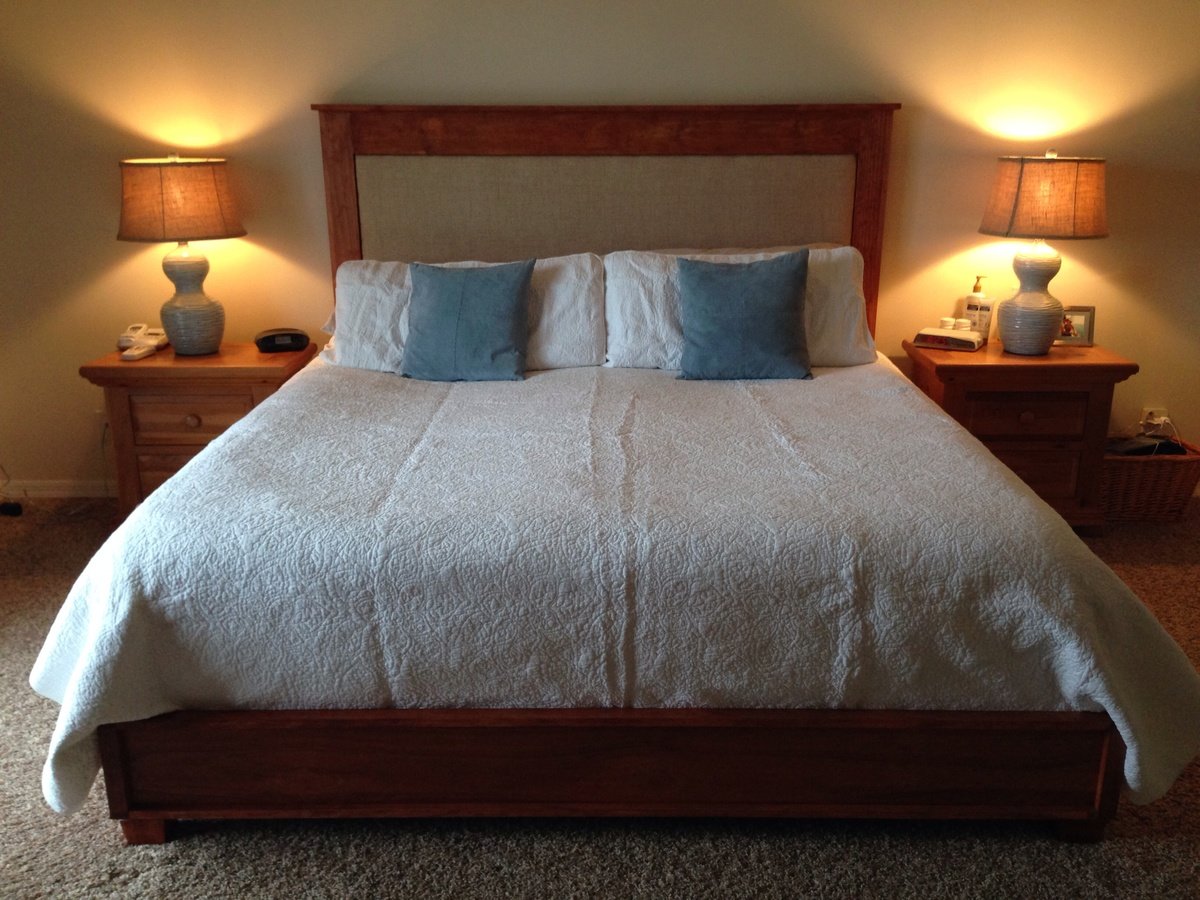
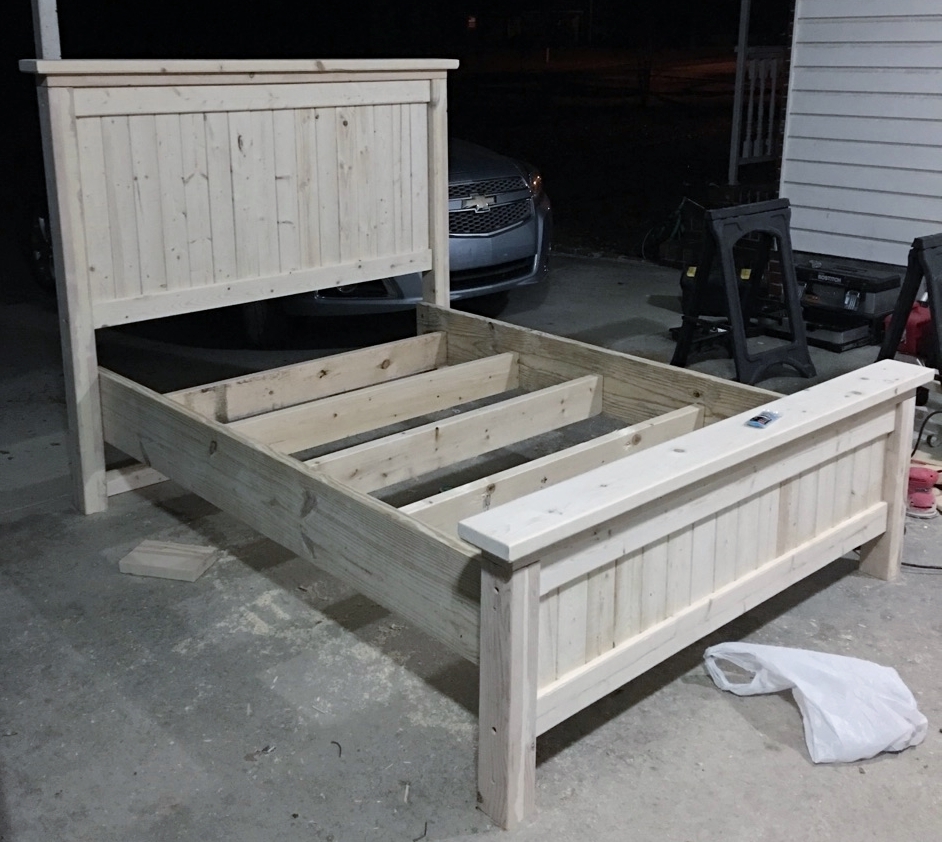
After 16 years of marriage our bed literally fell apart. Rather than agreeing to buy a new bedroom set, my husband said I should just build a new bed. It turned out even better than I ever thought it would. I got the platform bed plans from addicted2decorating's blog. Thanks Ana and Shanty sisters for another great plan! I had to modify for the king size and mounted it to the wall because it was HEAVY. I used metal French cleats from HD.
This was the first building project I have ever done. it was easy and fun. The end product is sturdy and looks stylish. I'm very happy with it.
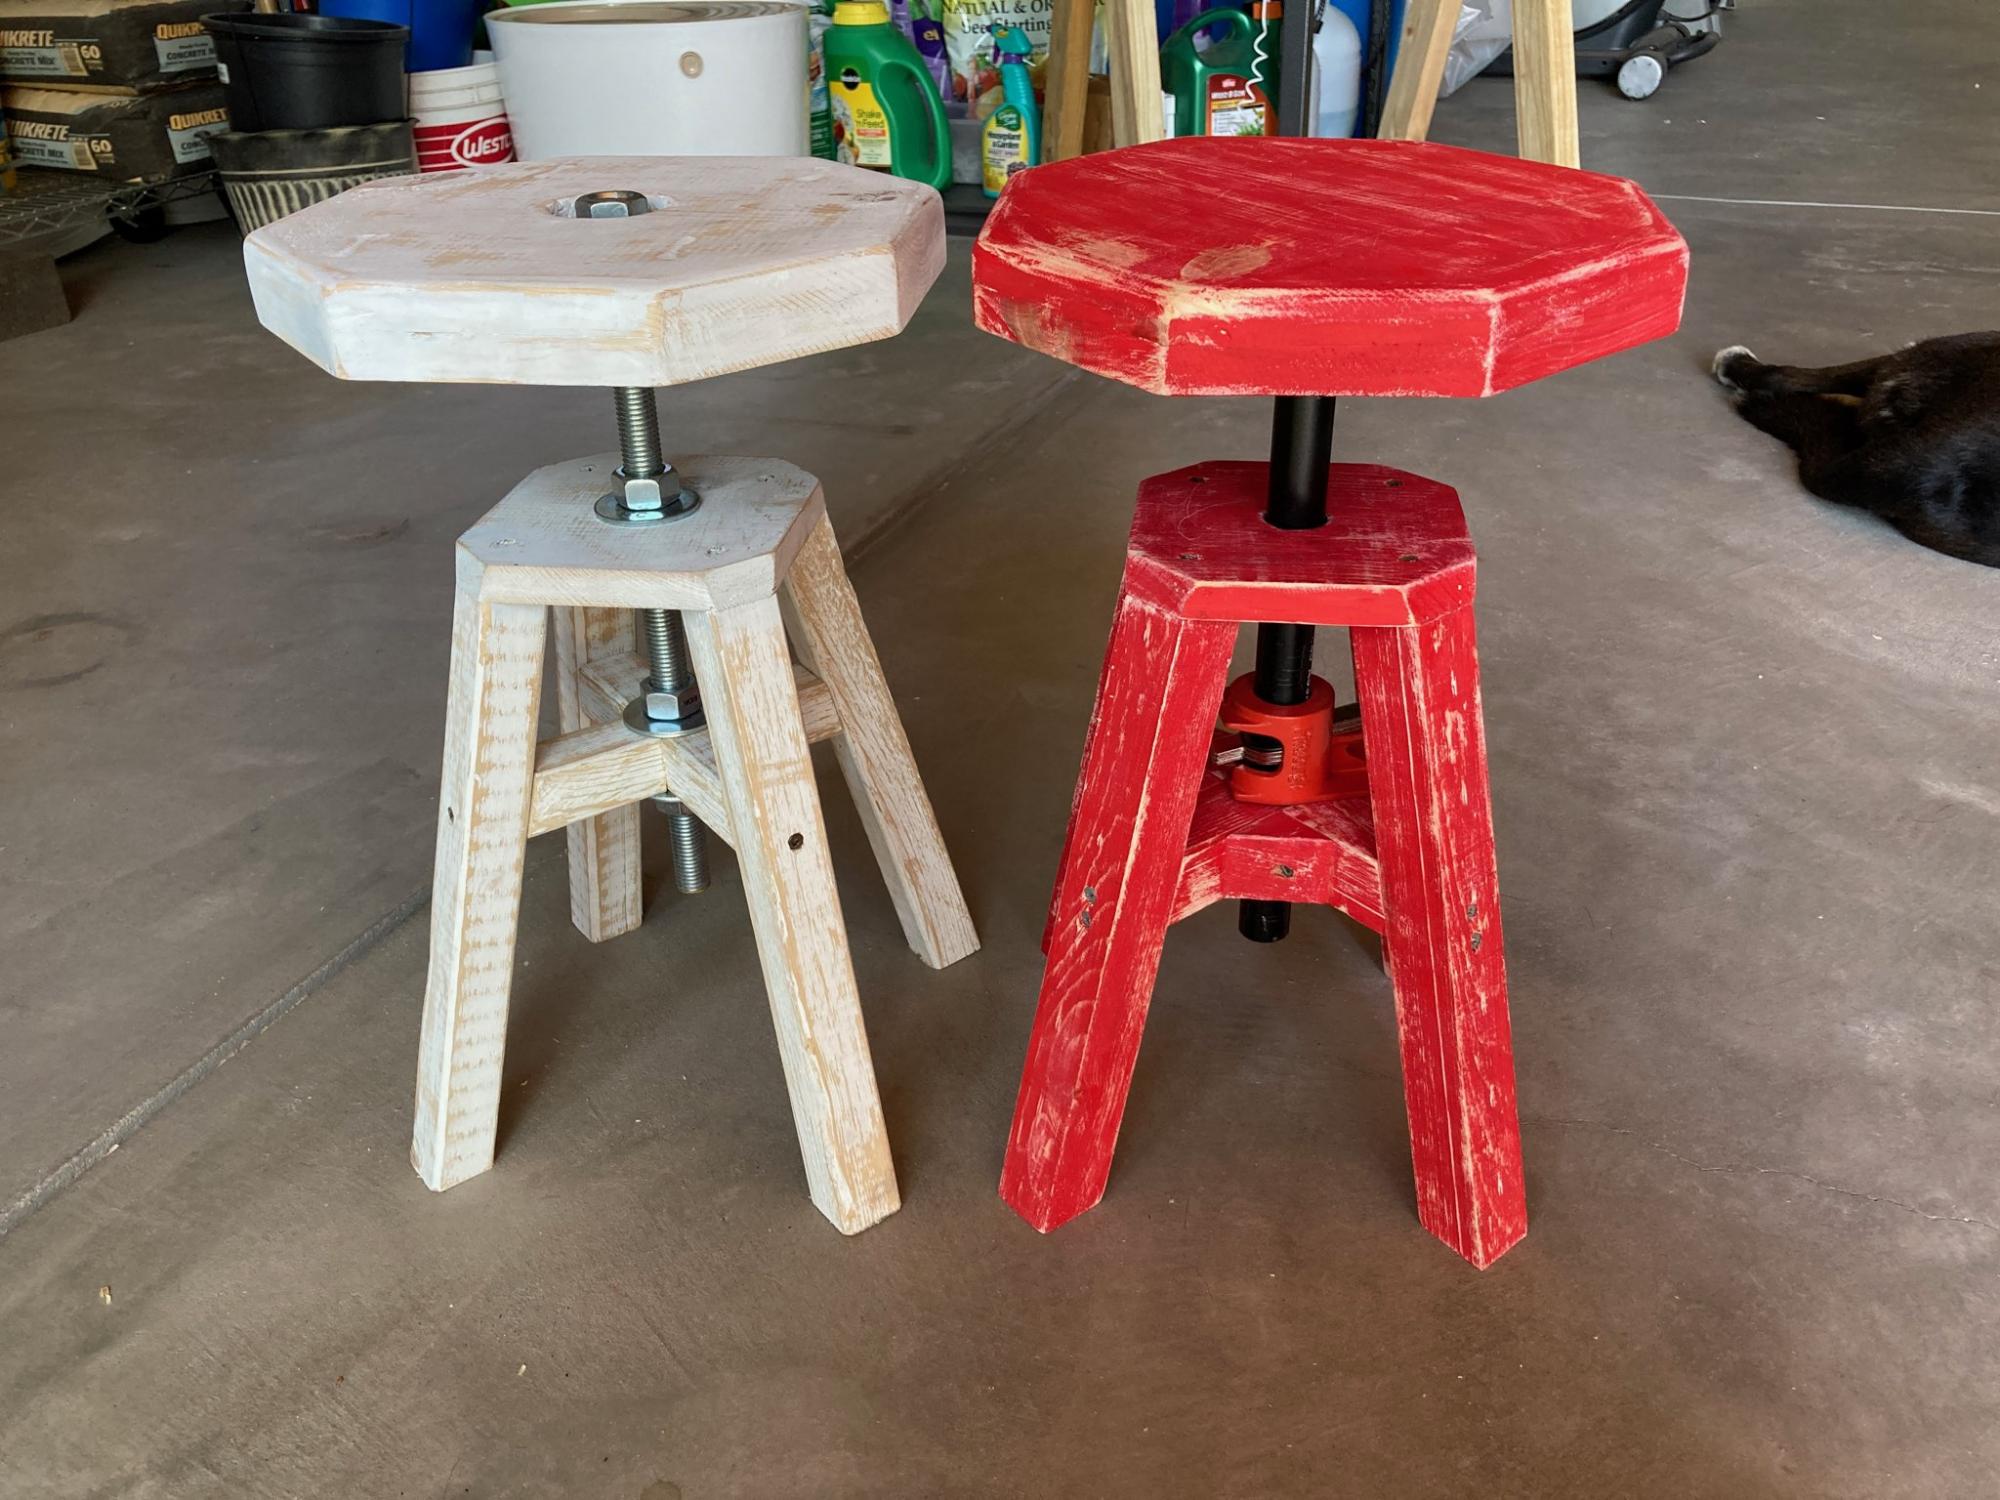
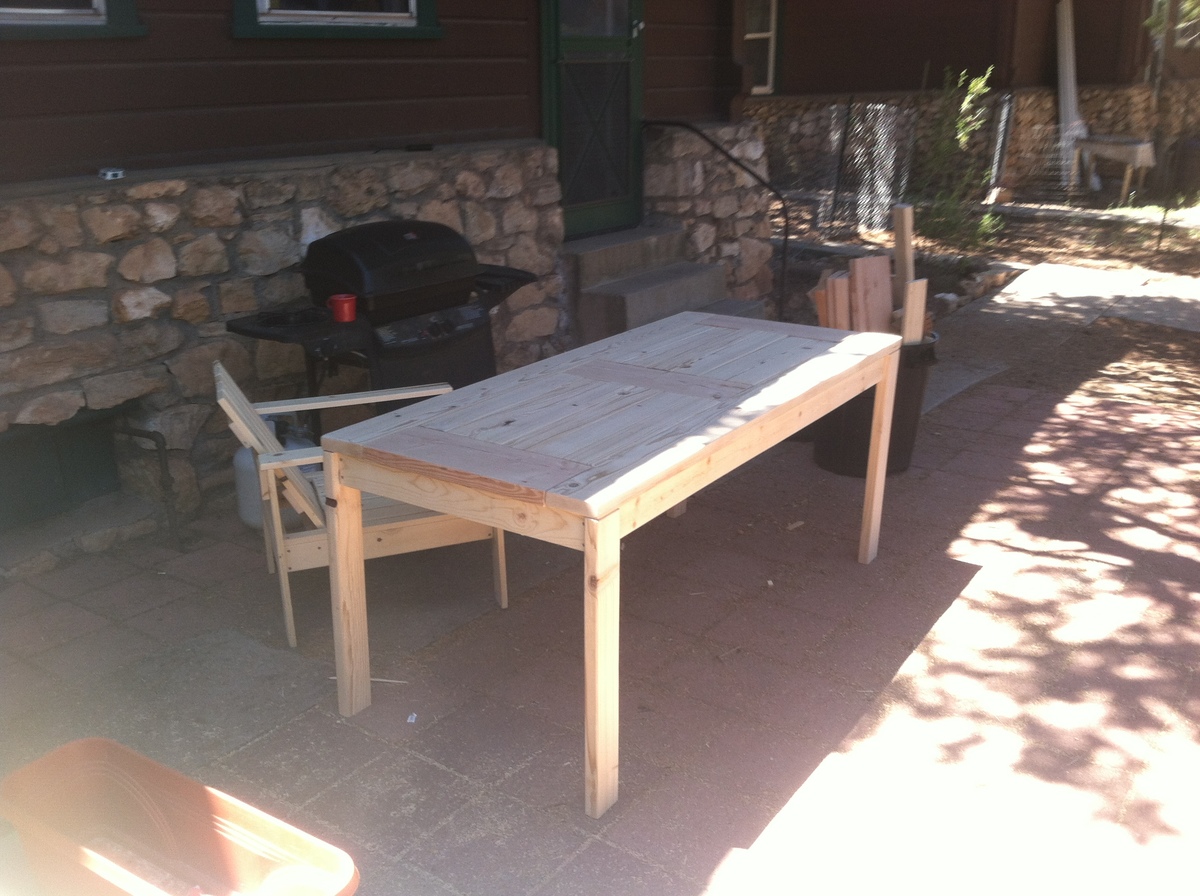
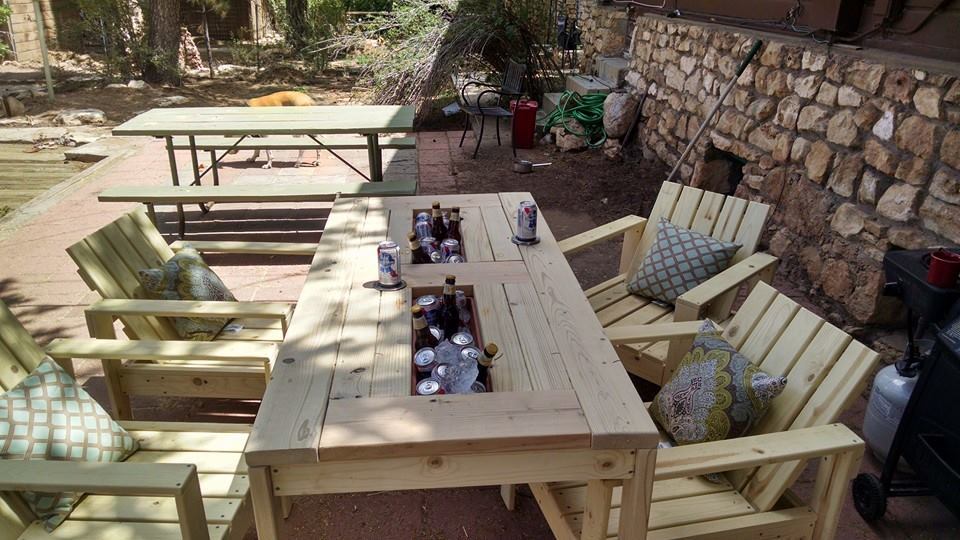
White chair was made first mostly based on the original plans, but my pipe flange broke immediately. So I just bolted the top on and then made red chair with a pipe and harbor freight pipe clamp instead of all-thread and nuts. It allows easy instant adjustment and a better fit with the pipe flange.
The reason I made the change is that pipe threading has a tapered angle, so when used with all-thread which is a strait cylinder, it doesn't make proper thread contact. On top of that, the only all thread I could find had a different threads per in (10 vs 14) than standard pipe and cross threaded my flange, causing it to break on the first use.
I used 3/4ths pipe because I was trying to avoid all possible problems from the first try (which used a 1/2 in pipe flange) and this took too much material out of my cross supports for my comfort. So I added 45 deg right triangle scrap to the corners to beef it up. Probs would be much cheaper and still work fine with 1/2 in pipe.
Finally both chairs have much shorter legs than suggested in the plans because I needed regular chair height stools, not bar stools. And they still get high enough to be usable at counter height (but not ideal).

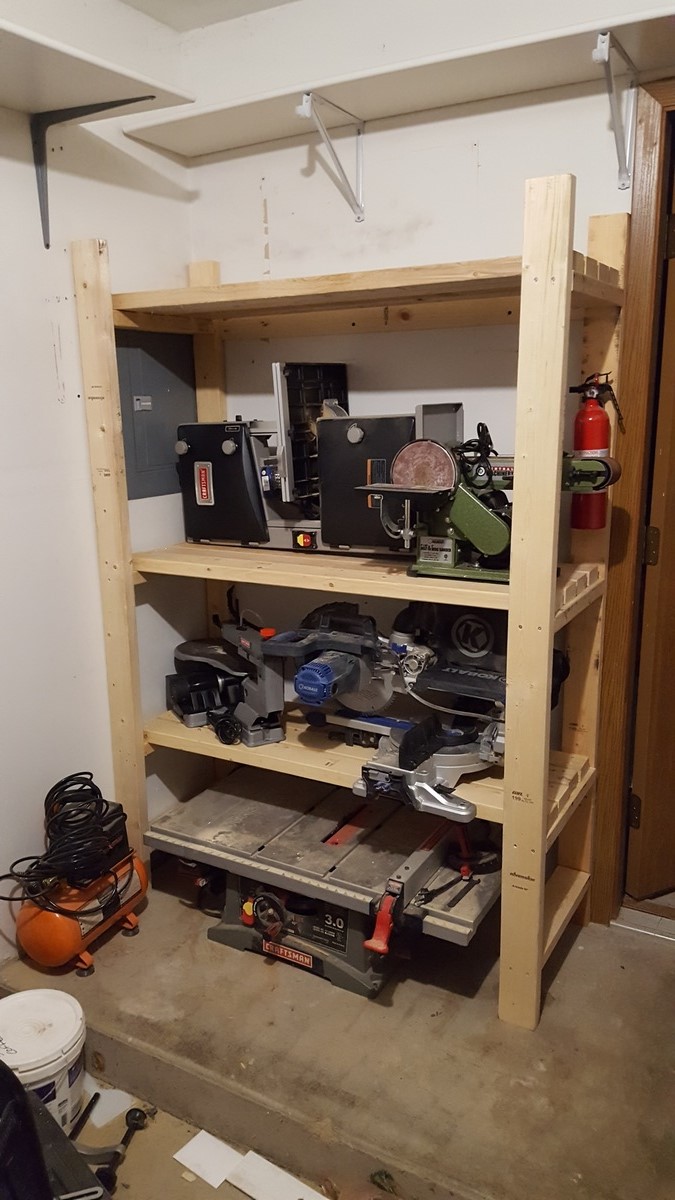
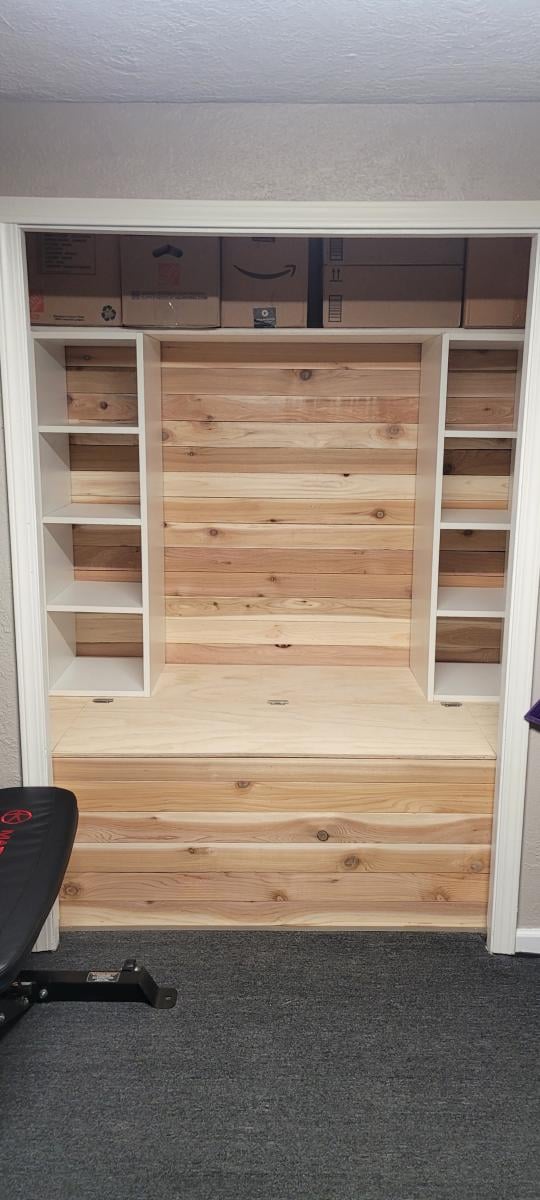
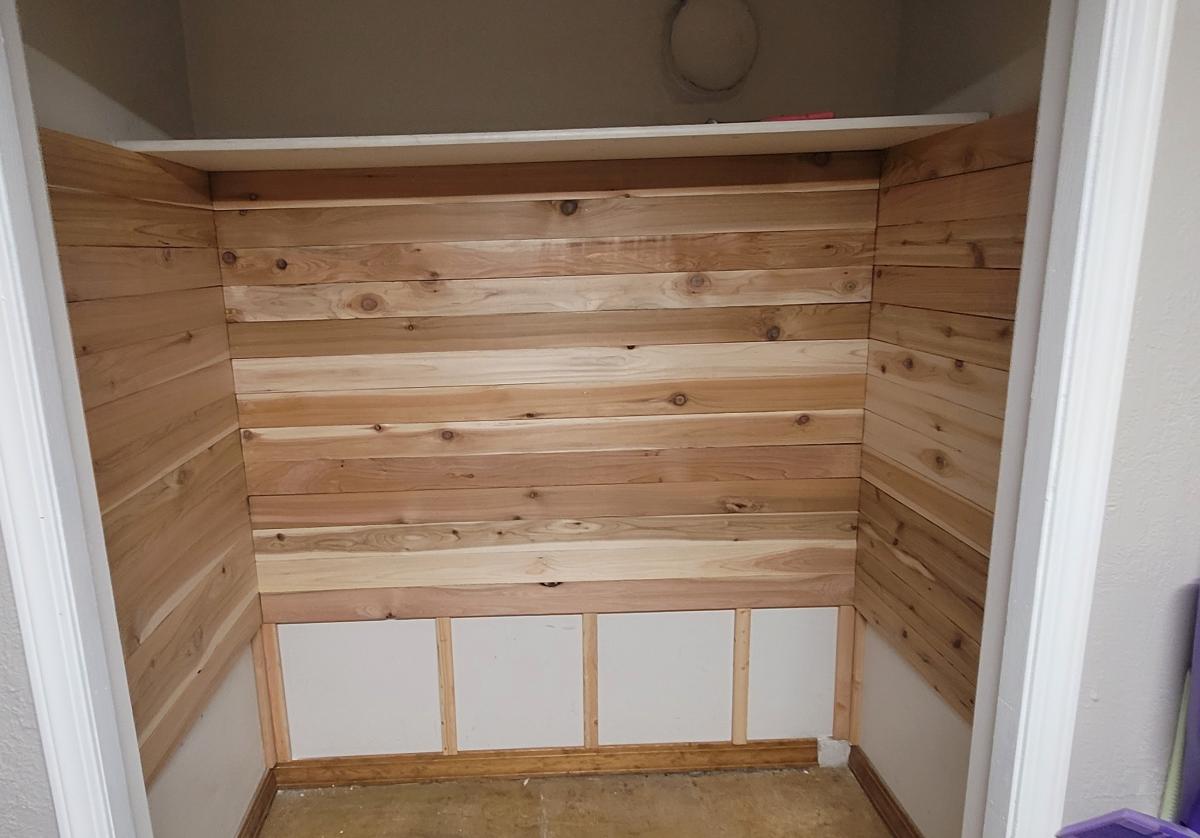
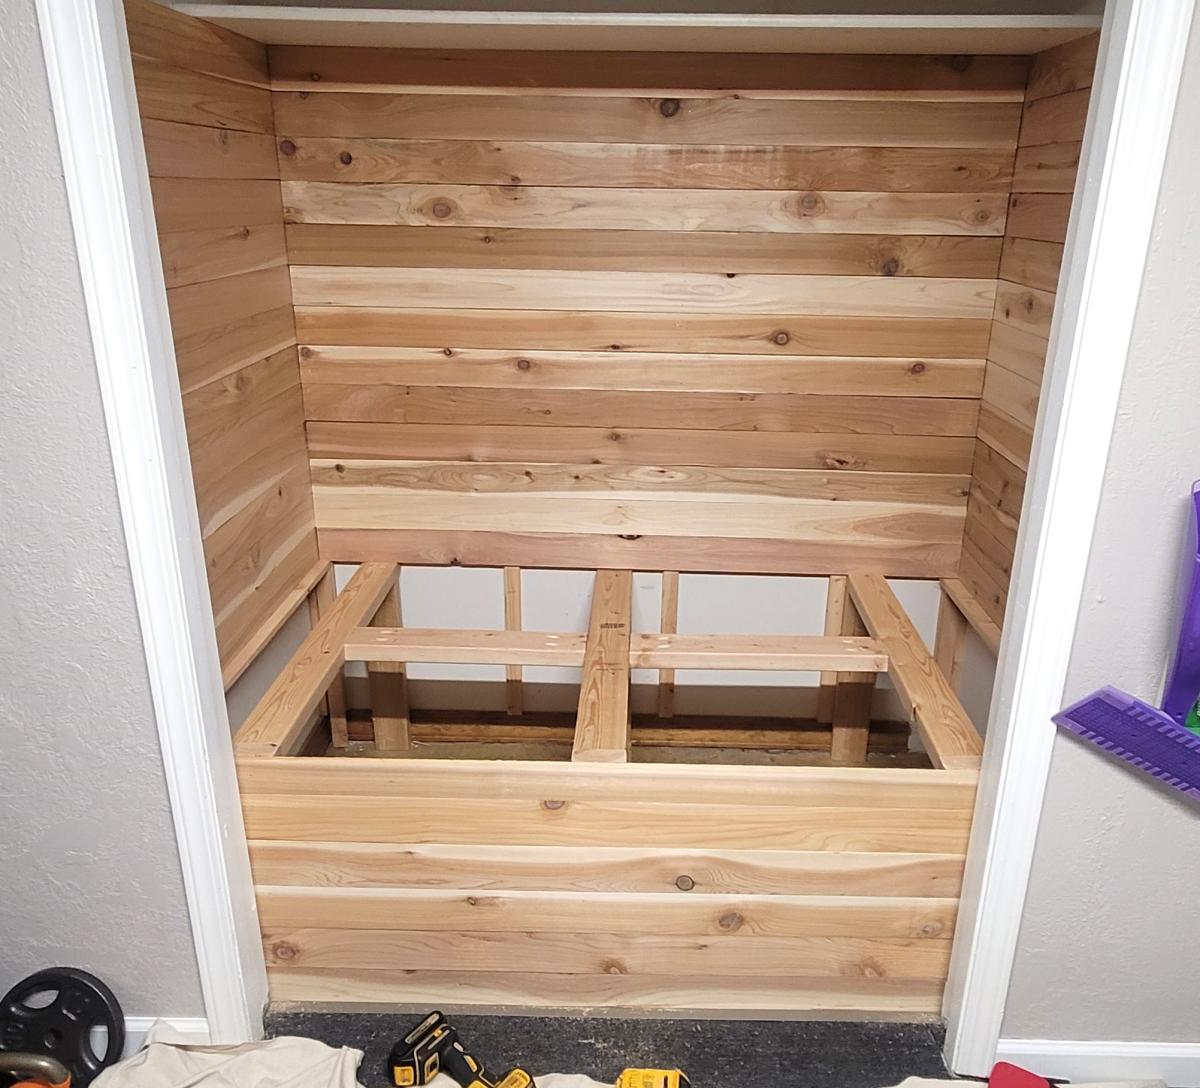
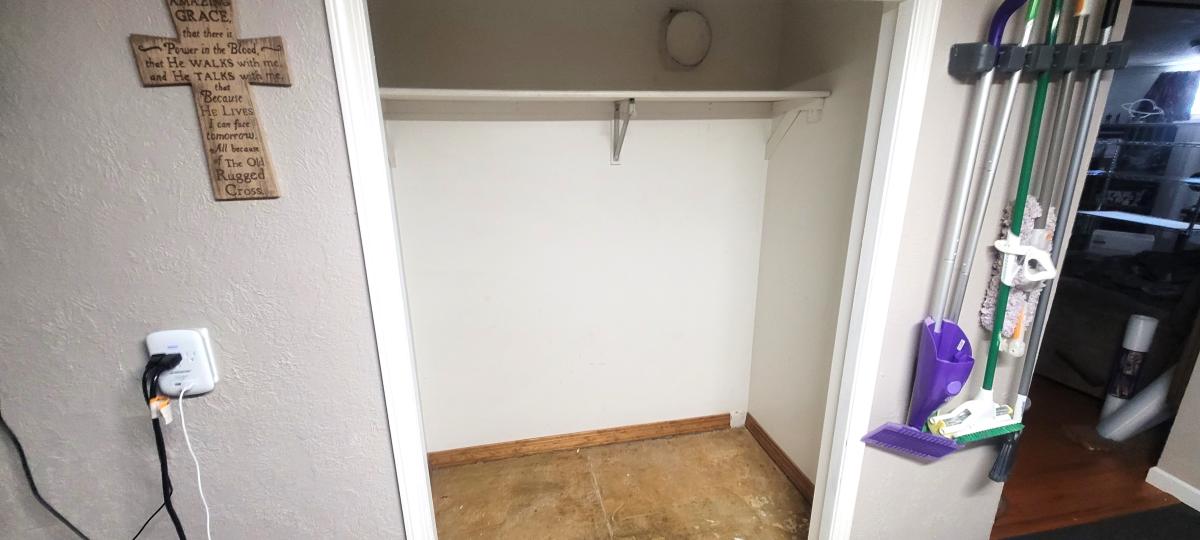
This is our basement closet. We wanted to make it more useful. We were inspired by the plans for the closet makeover.
Crystal L.
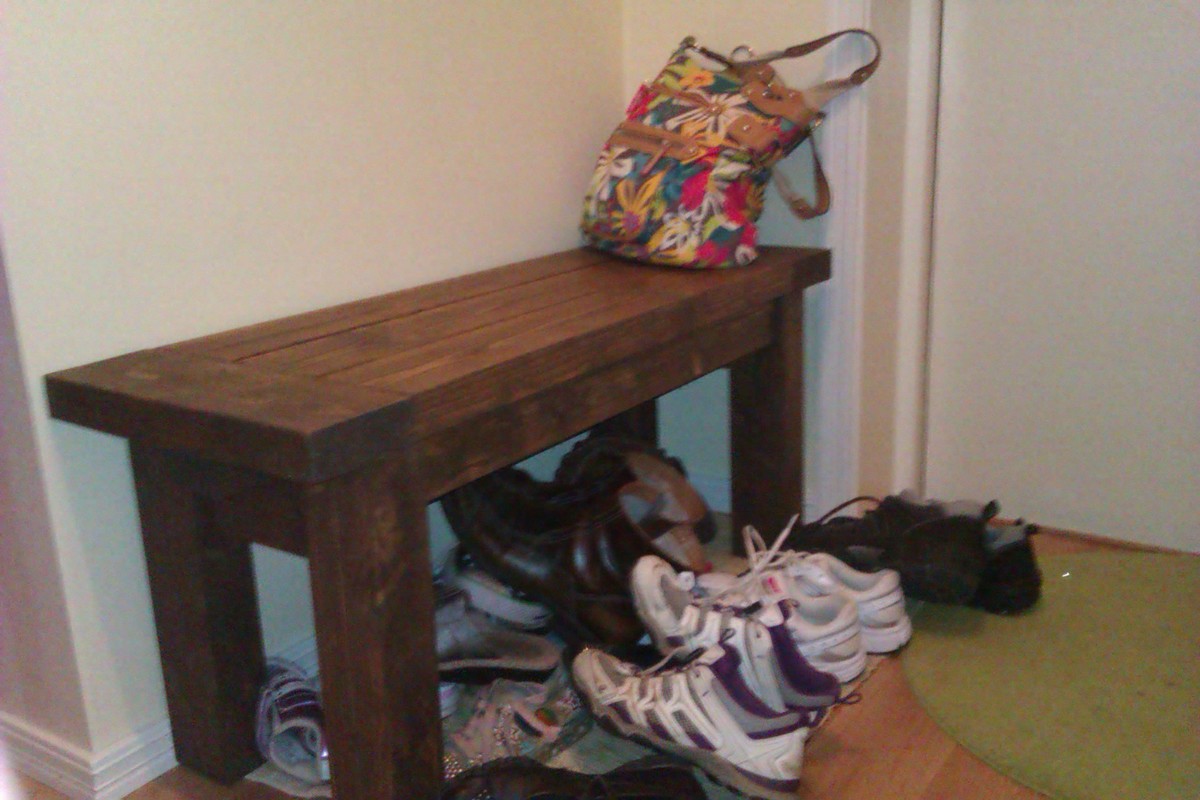
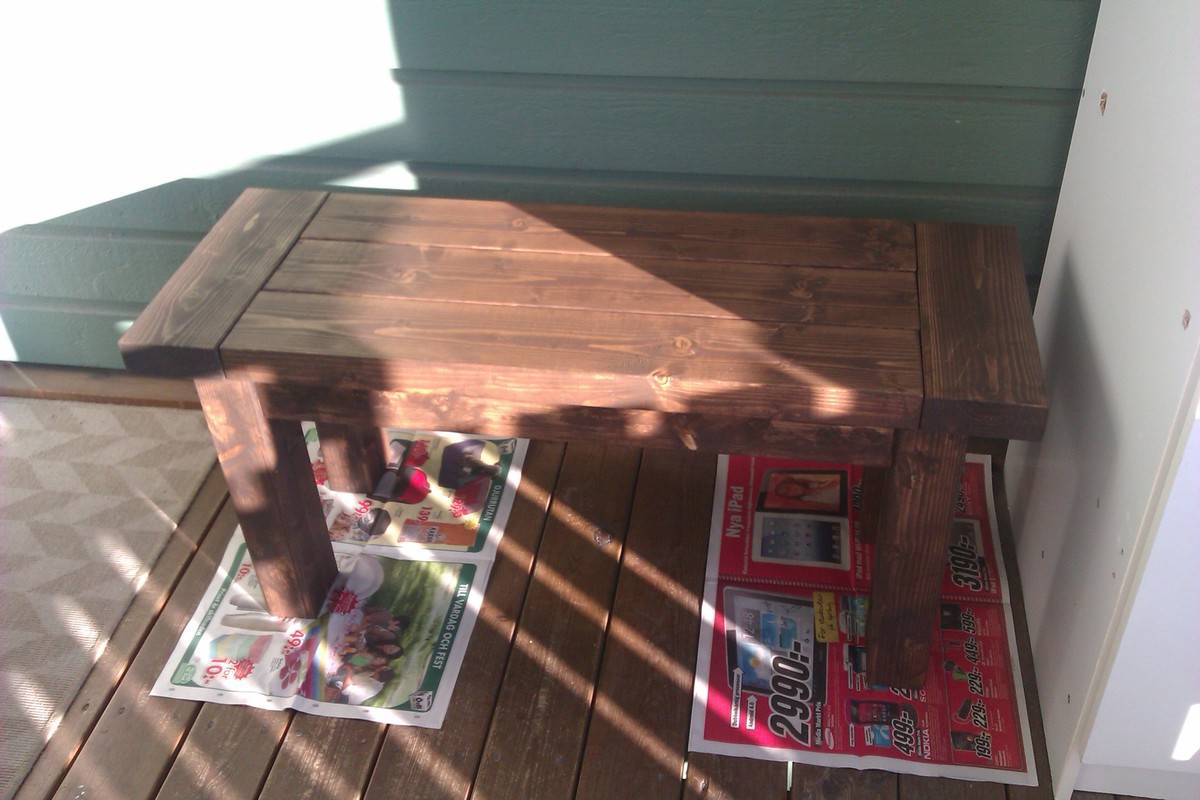
A 1m version of the farmhouse bench. We needed a shorter one for the hallway and realized that the only way would be if we built it ourselves. My bf and I built this together and it's really sturdy. Some adaption to the plan was made since it's shorter. It's very useful and we all love it. It's used each and every day.

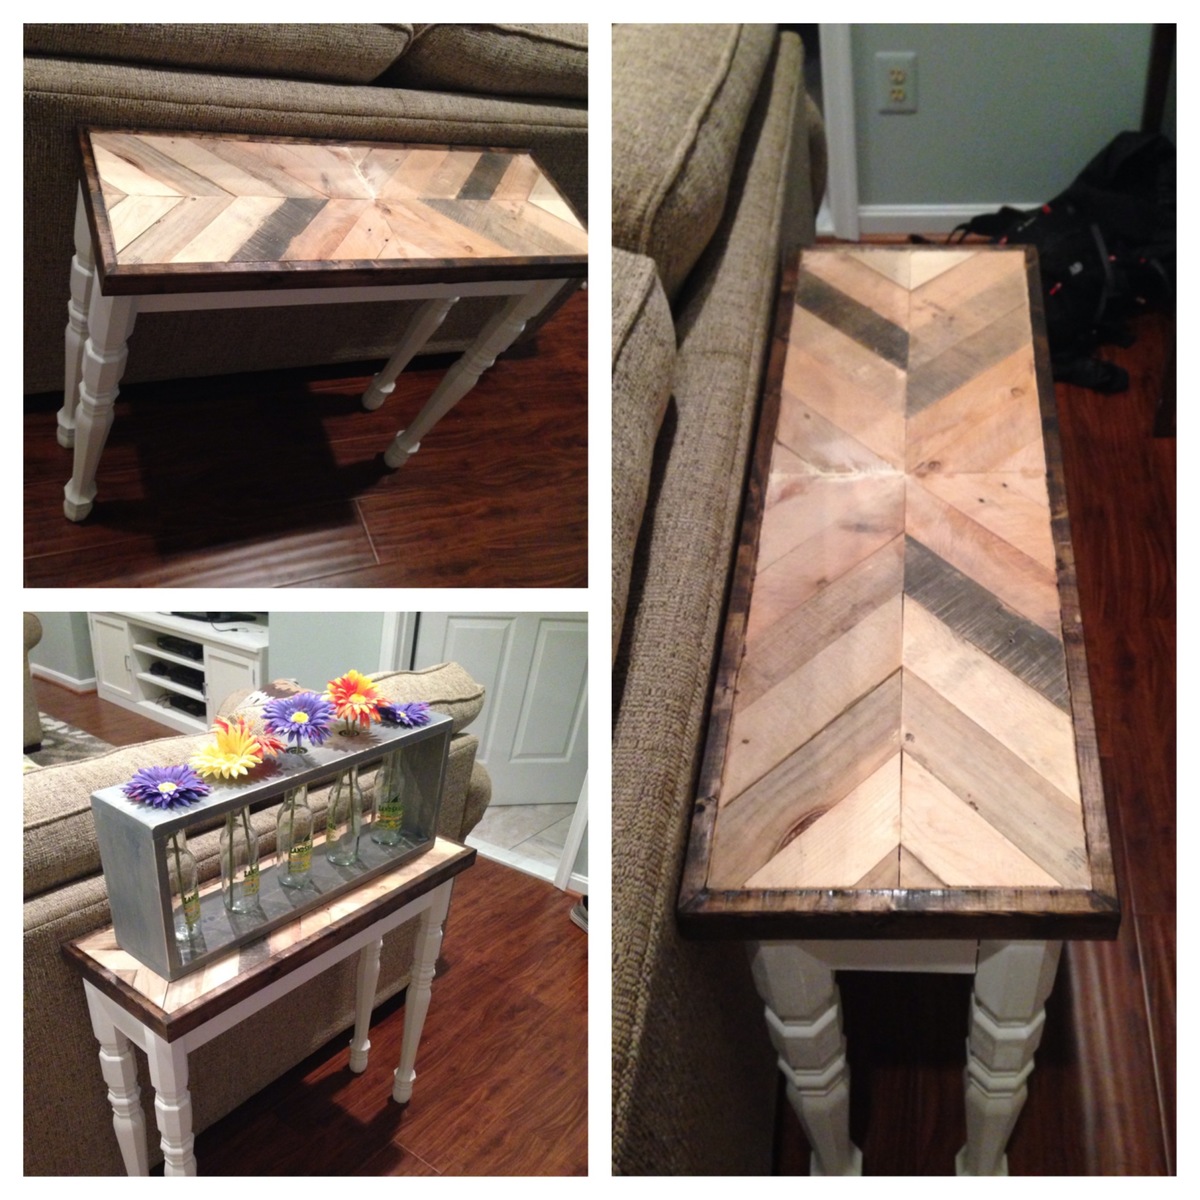
I made this hallway table for my gf's bday. It is really simply apart from taking apart pallets and squaring them off. The project only costs about $40-50, which most of the cost came from the purchasing of the table legs. I angled the pallet boards to be approximately 45 degrees. For this project, I used a table saw to cut, pneumatic brad nailer, tite bond wood glue, kreg jig pocket hole and paint/stain.
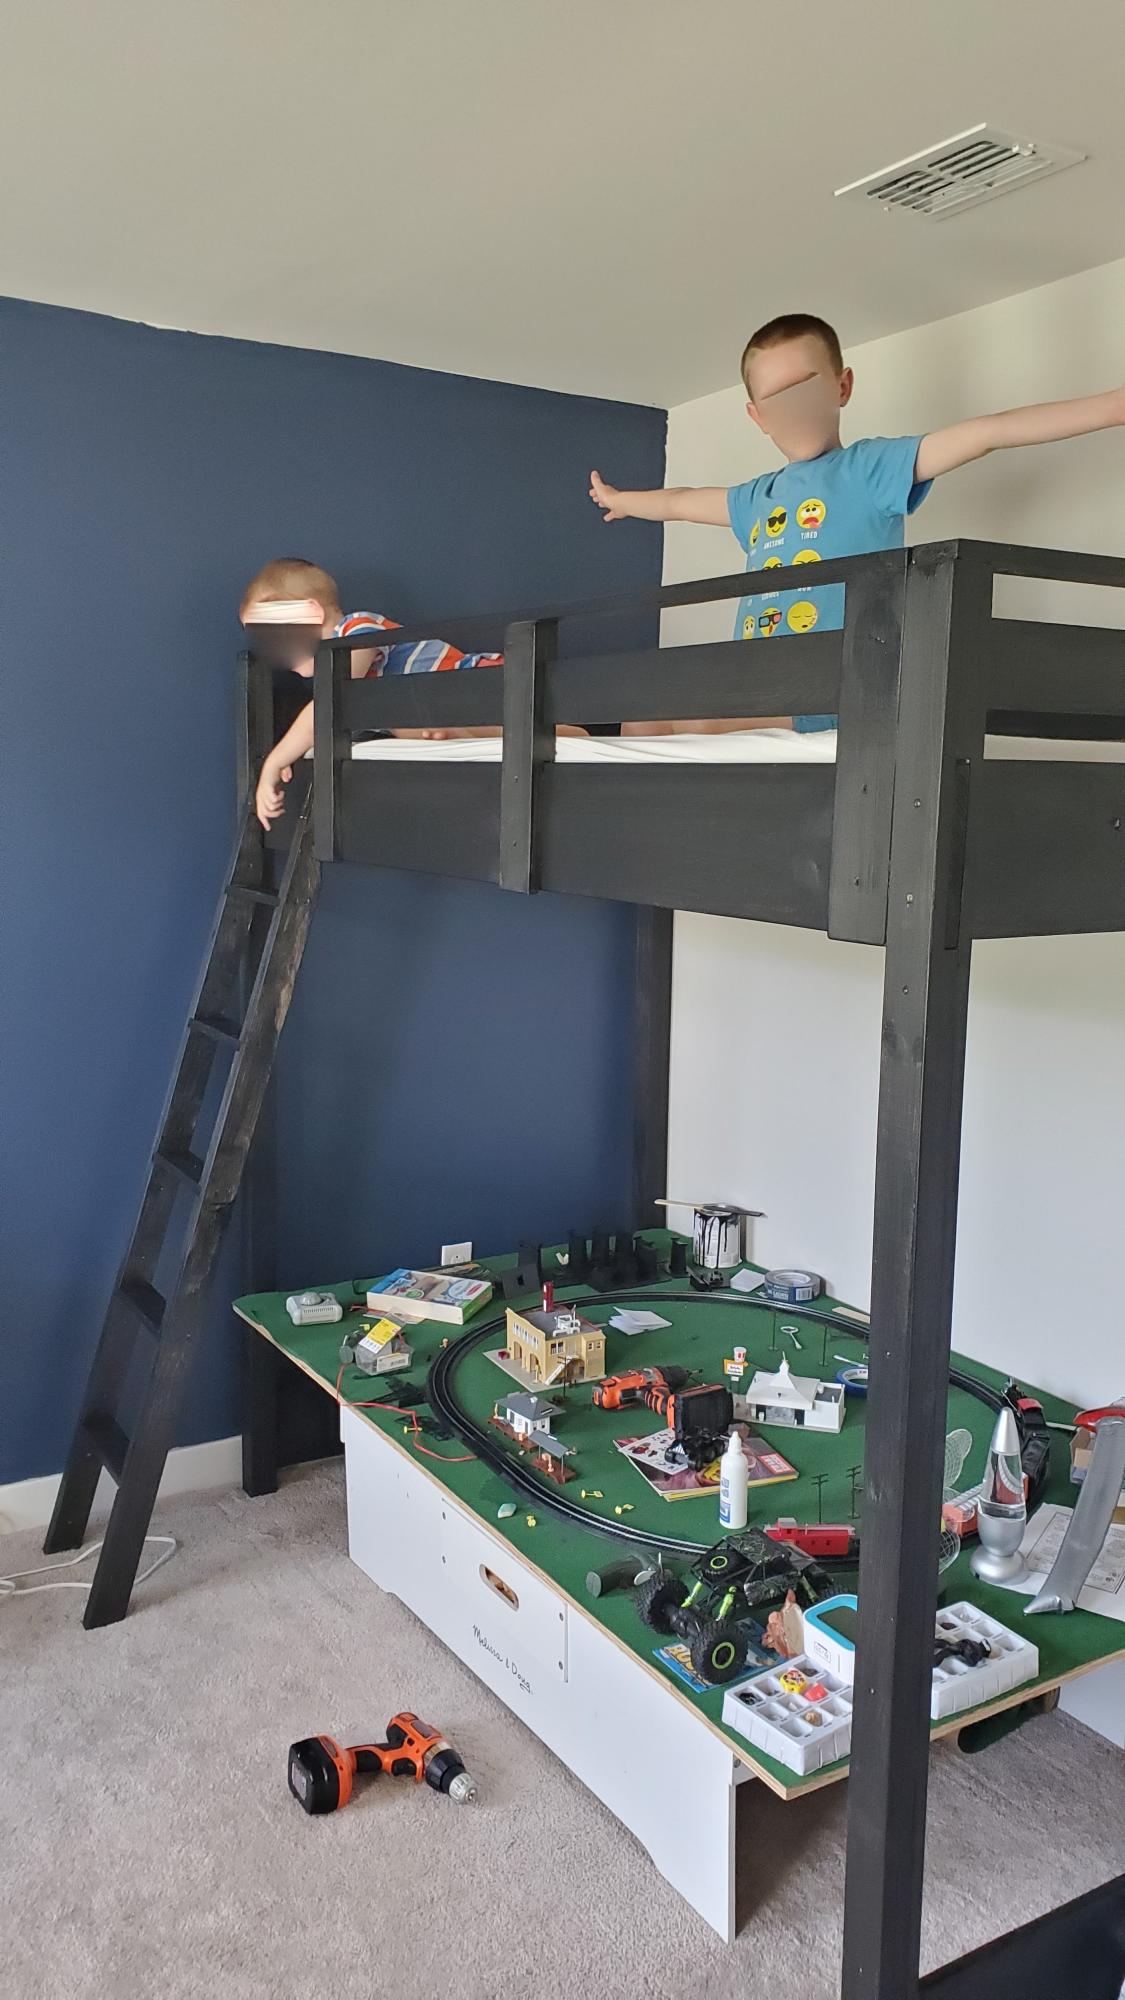
Built my first loft bed using these plans! The plans are comprehensive and easy to follow. Excuse the mess under the bed, but that is why we needed the extra space :-)
We also need to touch-up the paint a bit.
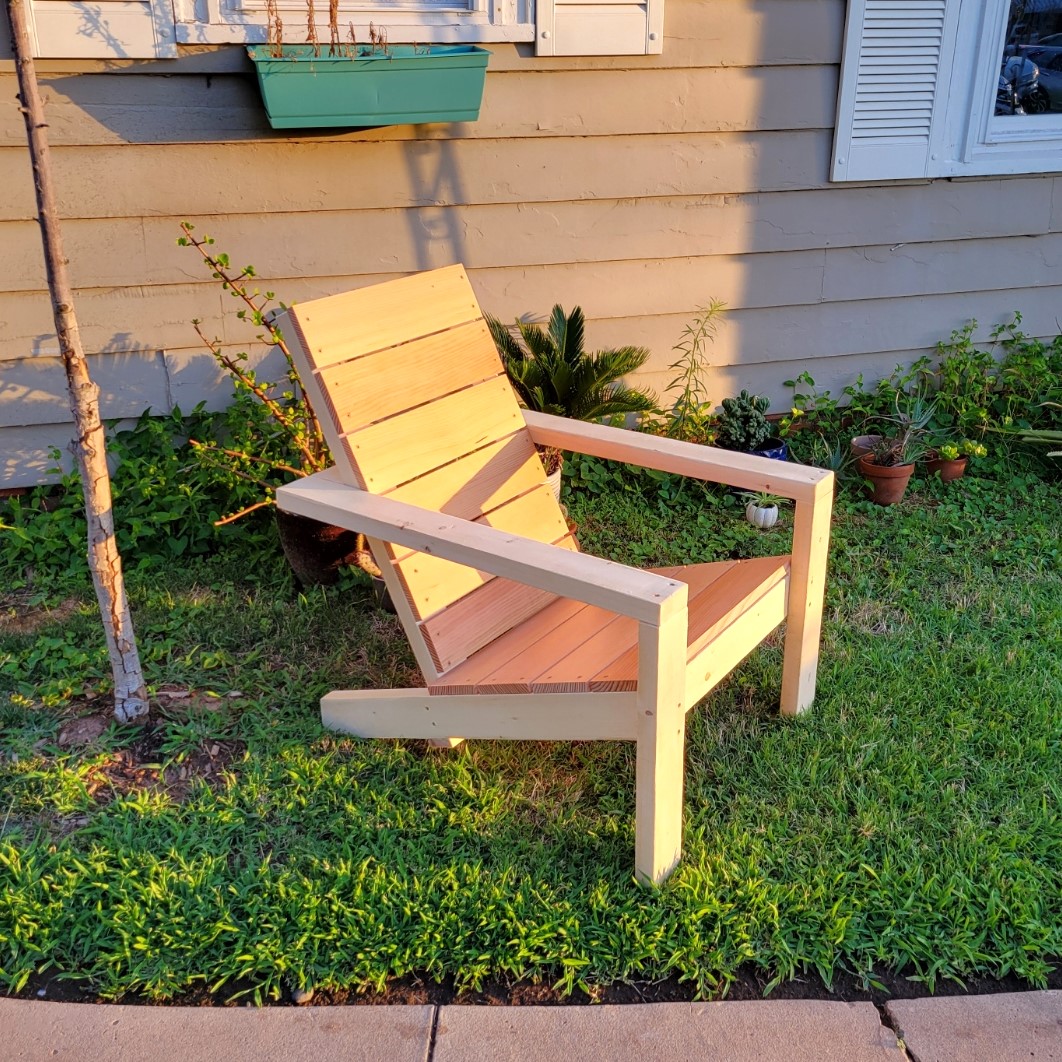
Modern Adirondack Chairs
Joseph Knauf
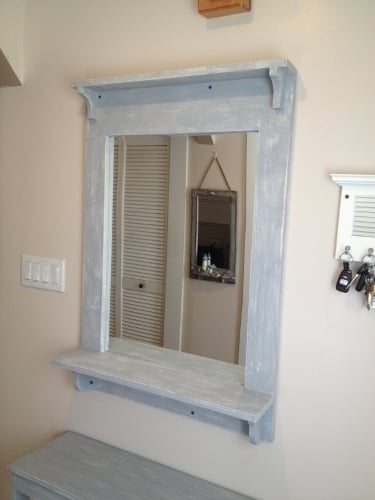
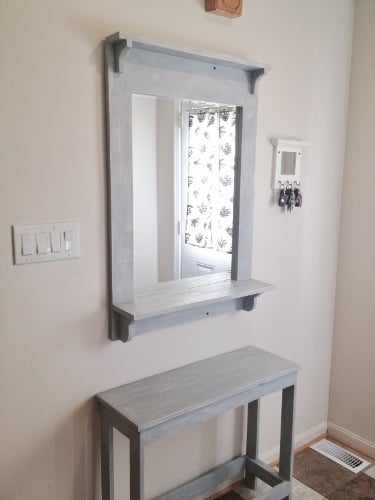
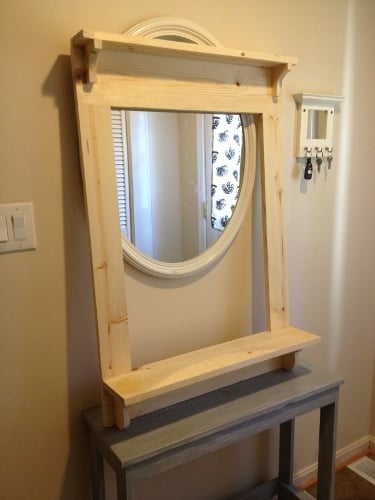
This project is the mirror from page 37 of The Handbuilt Home. I received my copy on Thursday night, built this and painted on Friday, then (impatiently) waited 24 hours for the paint to dry before distressing and hanging it up yesterday afternoon. The mirror was a plain one I found at Lowes for about $20 and attached with mirror clips. I attached to the wall with 2 1/2" screws through the frame into the wall studs. I was going to leave the screw heads exposed for decoration, but now I think I'll add a dab of gray on them to blend them in. This was a super fun project, easy to do. Love the book, and can't wait to build more projects from it! Ana, fab job on the book!!

Sun, 10/14/2012 - 14:25
Thanks Ann! This was a fun project. I've been wanting a mirror to match that table since last year, and this one fits just right. My family said they liked the visible screws too, so I'm going to leave them as they are.
:)
Joanne

Sun, 10/14/2012 - 15:26
Joanne, this is beautiful!!!! I am so glad you like the mirror. We adore ours! Thanks for getting the book! Ana

Sun, 10/14/2012 - 16:03
Great job on the mirror!! I hate waiting for paint to dry also....that's why Ive taken to painting everything with homemade chalk paint...dries in minutes and I can get right to sanding and glazing. Love the gray you used!!
Thu, 08/29/2013 - 13:57
Ana, Thank you so much! I can't wait to get building on more projects from the book and from here too! You are awesome! :)
YankeeBelle, thank you! How do you make chalk paint? That sounds like a great time saver!
:)
Joanne
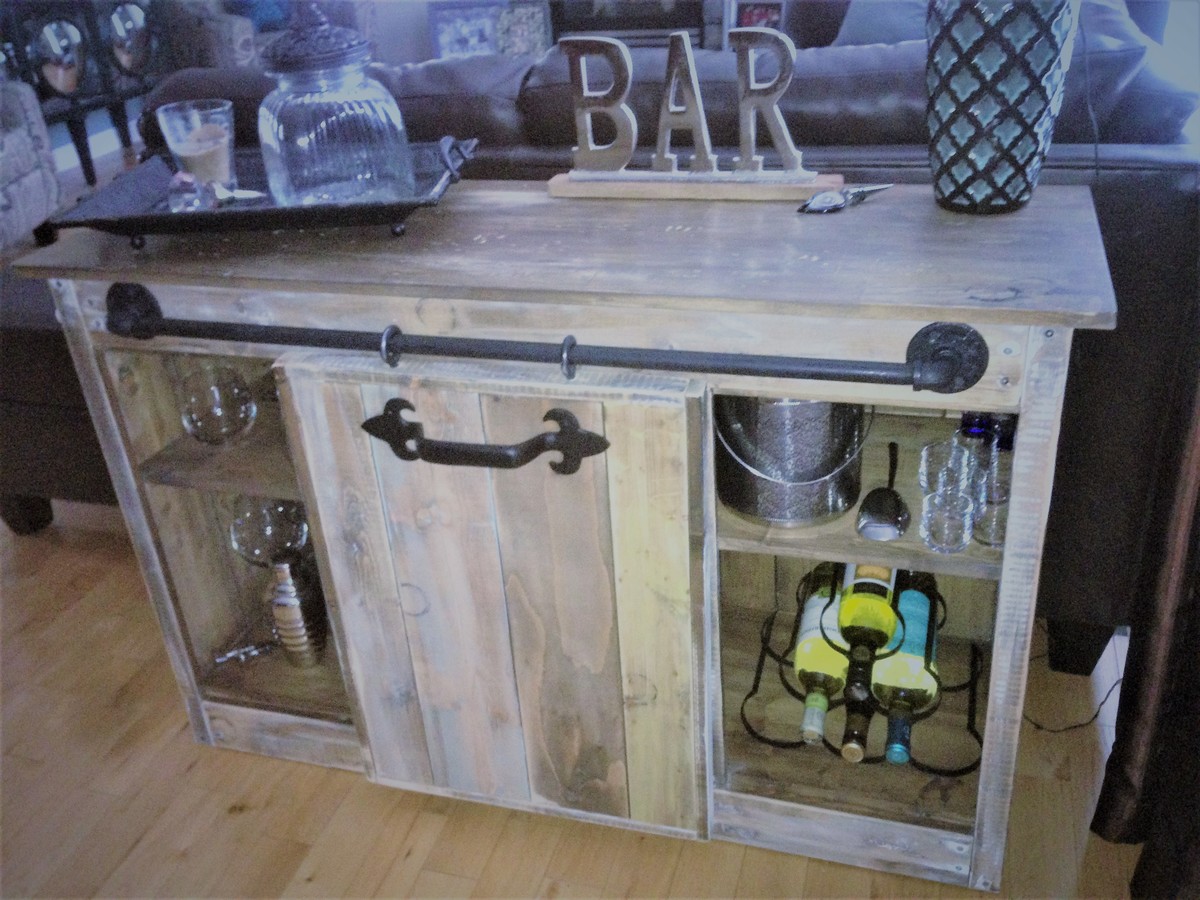
My inspiration for this piece was the Grandy Sliding Door Console - I made this piece to fit behind a sofa so adjusted the plans to customize my piece.
I used plumbers pipe instead of barn door hardware - much more cost effective and still gave me the vintage look I was after. I stained and distressed the wood and added some hardware! Voila!
I am hooked to your site, stay tuned for more projects!
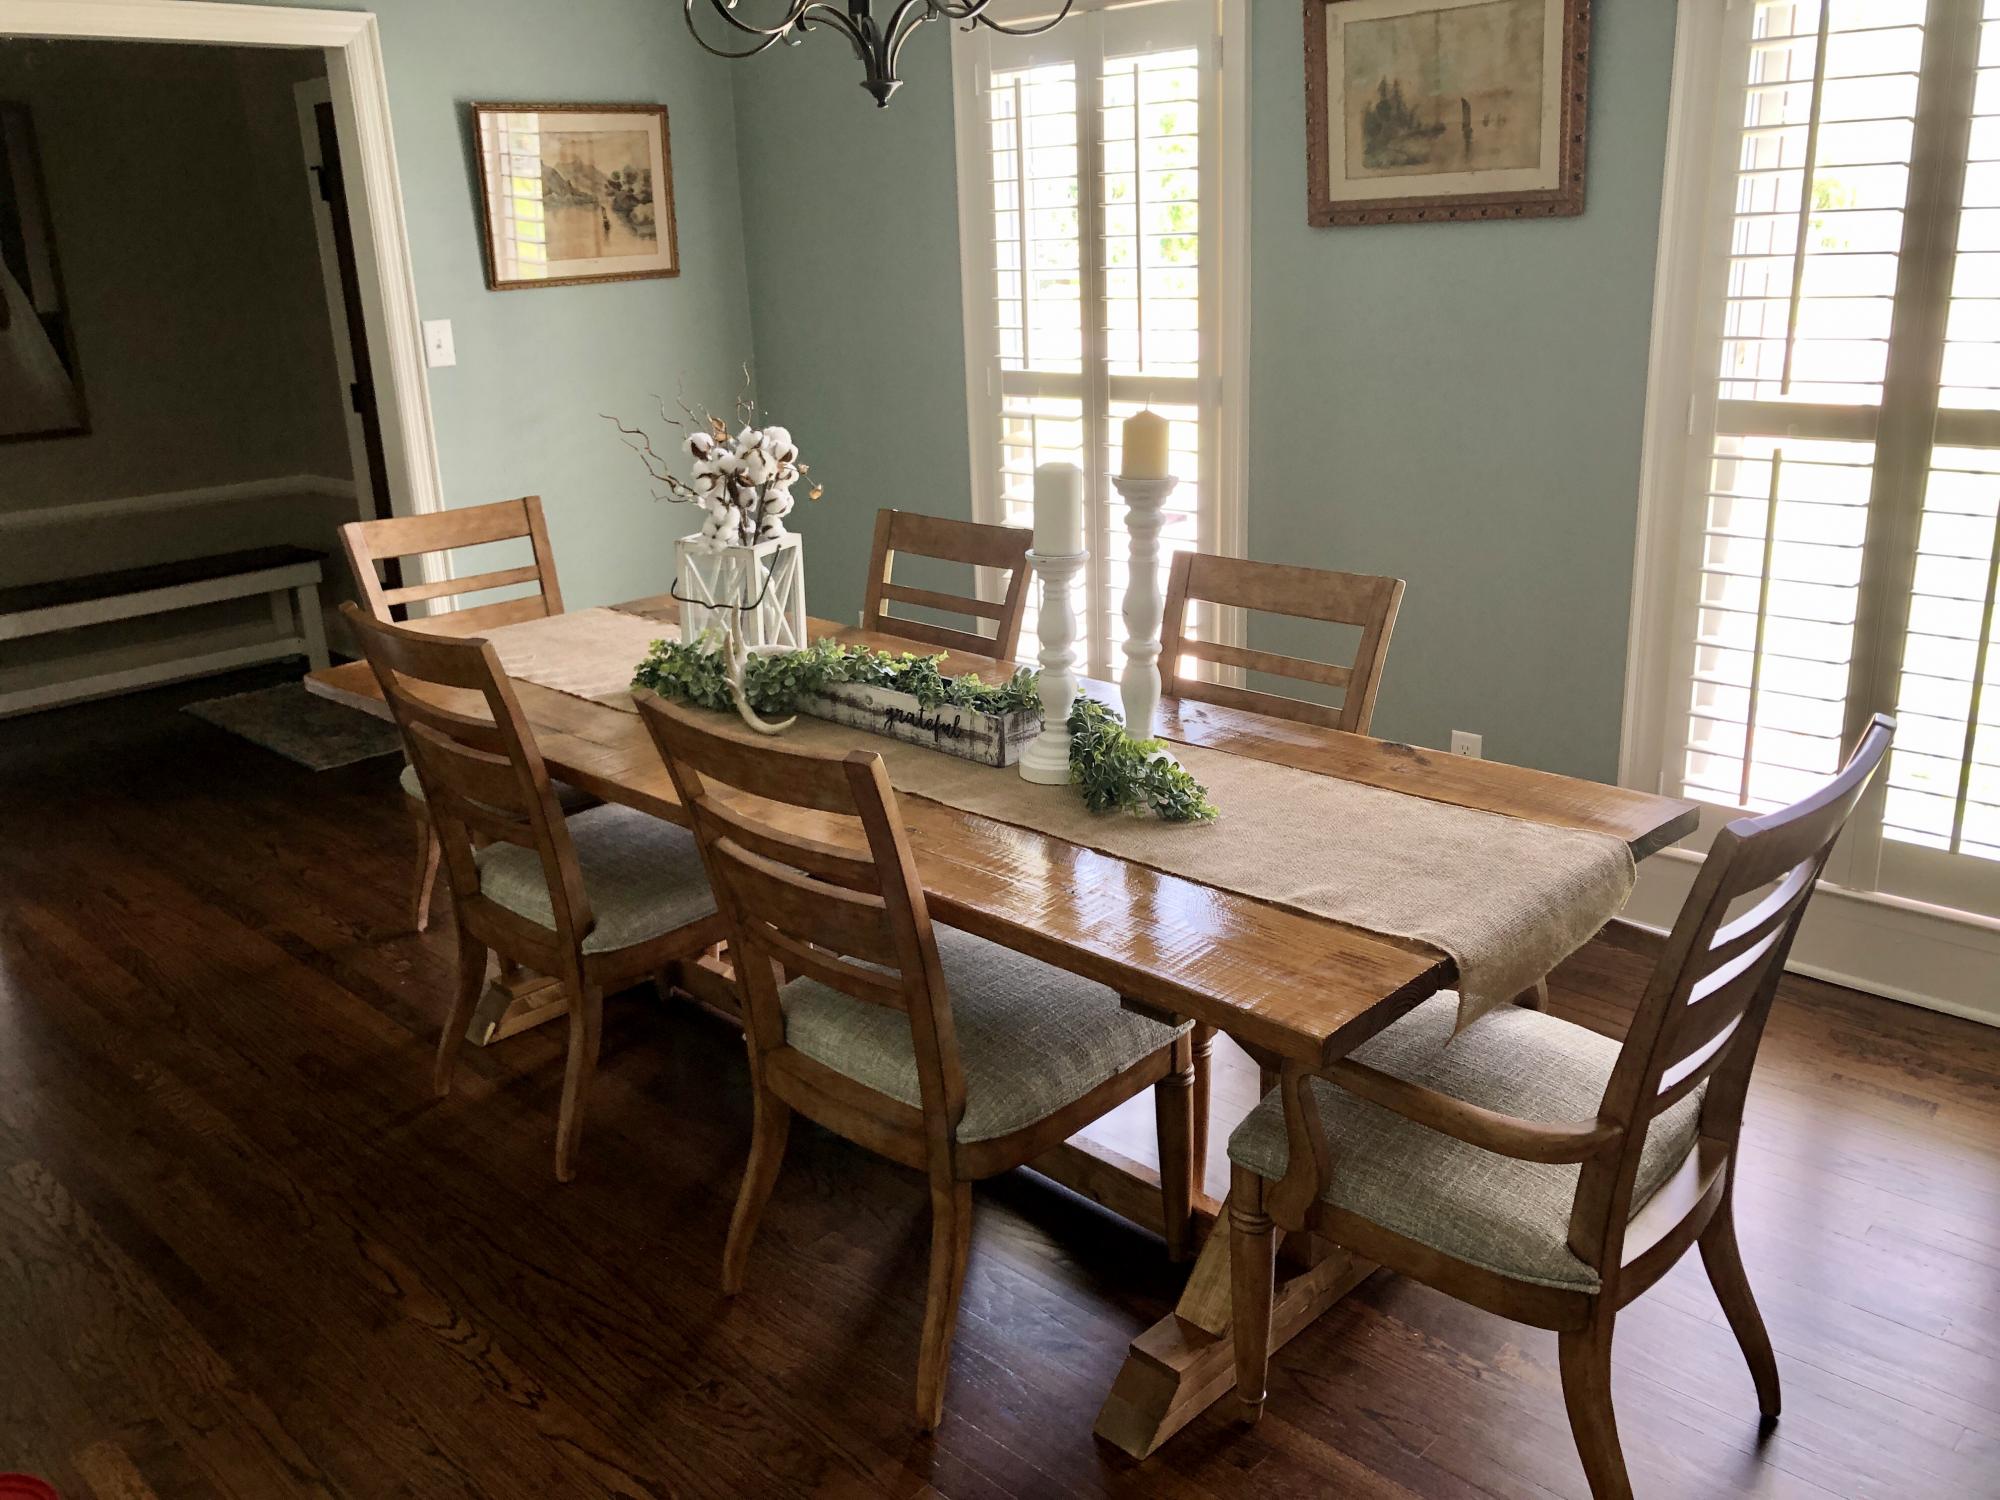
Finished this project about a week ago. Super easy directions and such a great look for our dining room!
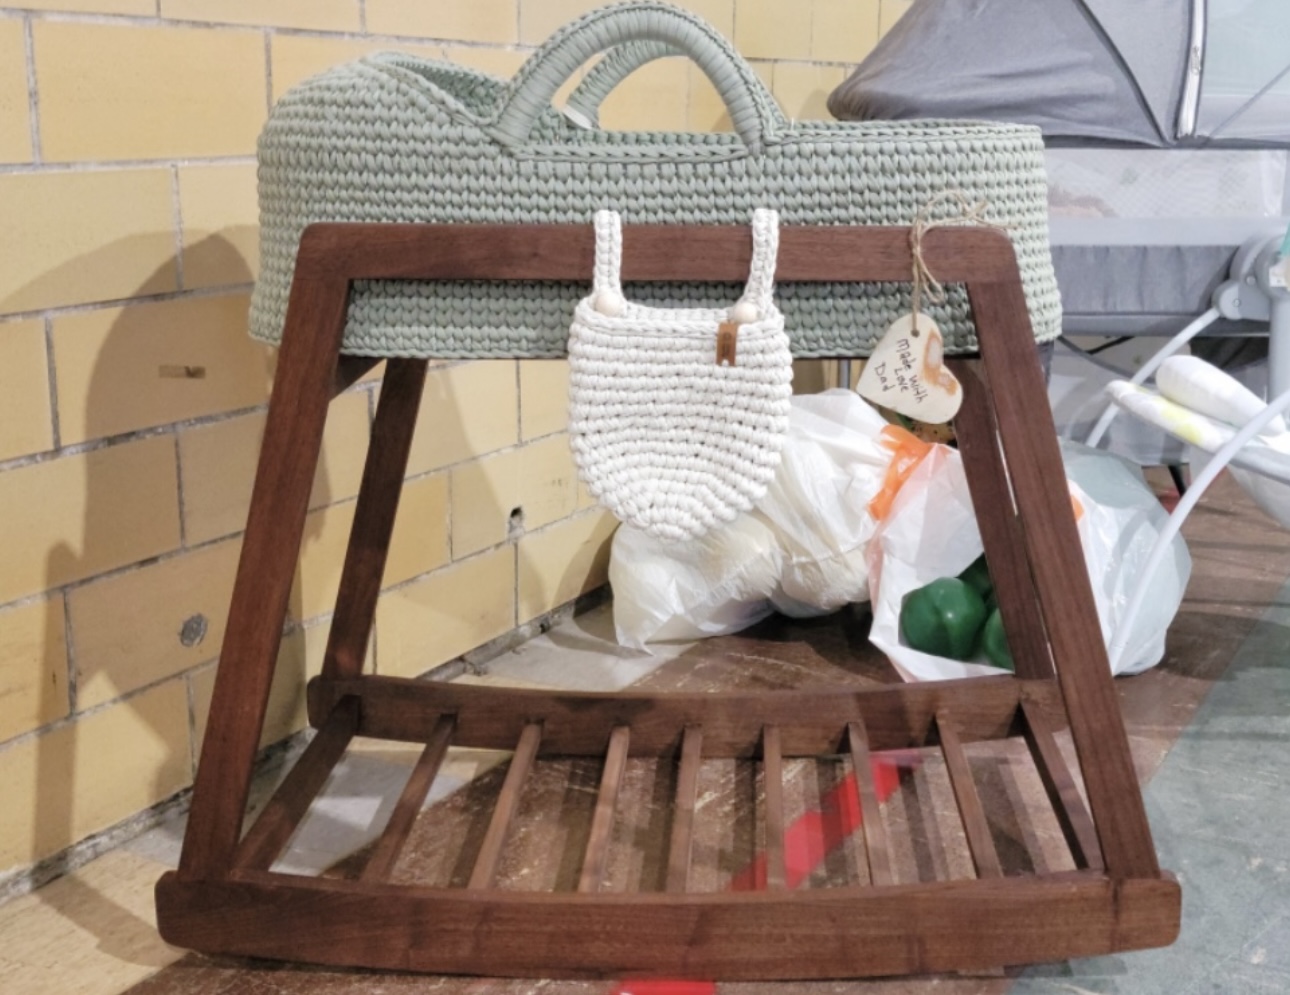
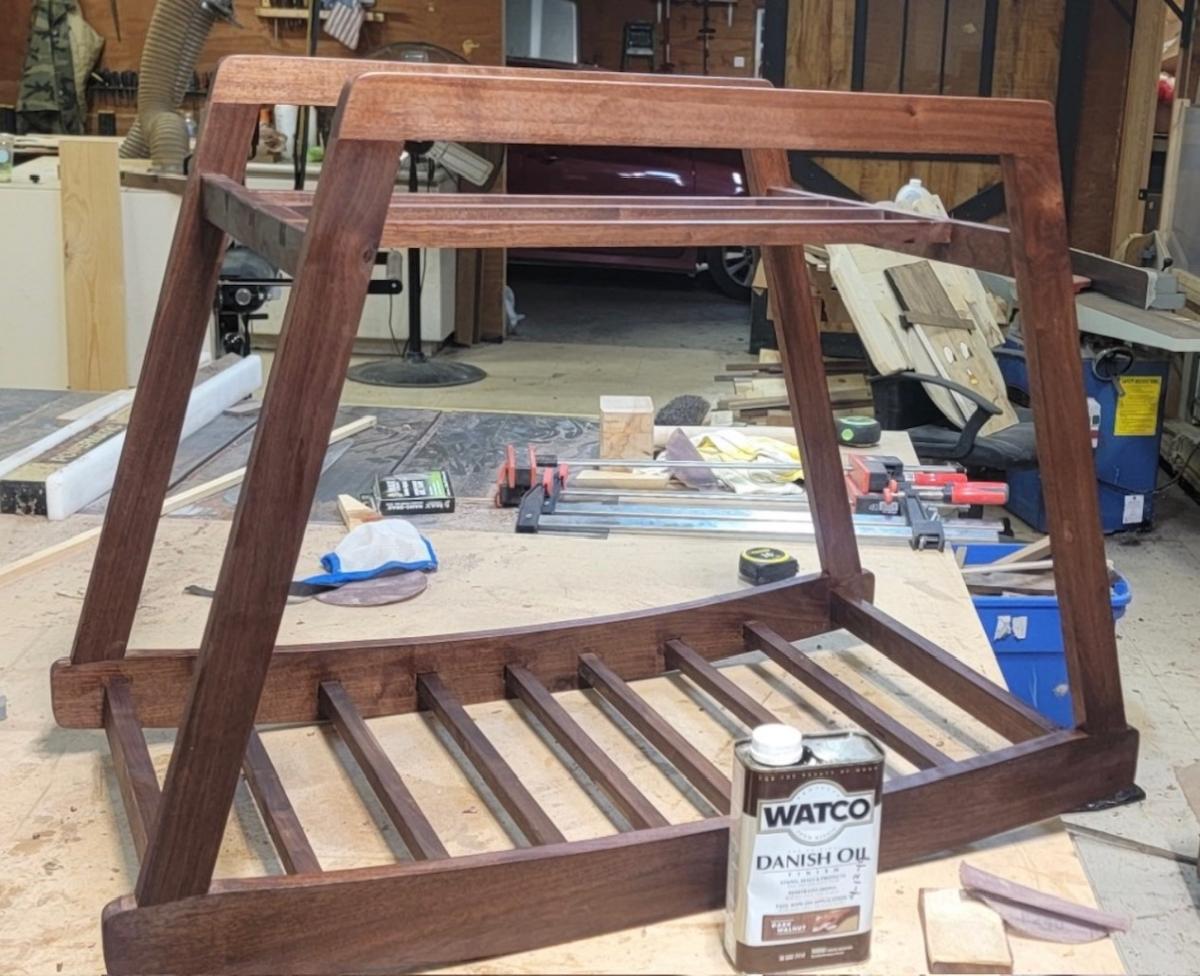
Purchased a moses basket for my 1st grandchild and wanted to build the rocking cradle, there were not alot of plans online that i liked for this project. So after a few mock ups i was ready to go, but the rocking cradle continued to progress during the build , adding the diaperbag shelf between the rockers and then added extra support under where the moses basket sits. Overall was a fun project , and cant wait to see it get some use.
Shawn Helms

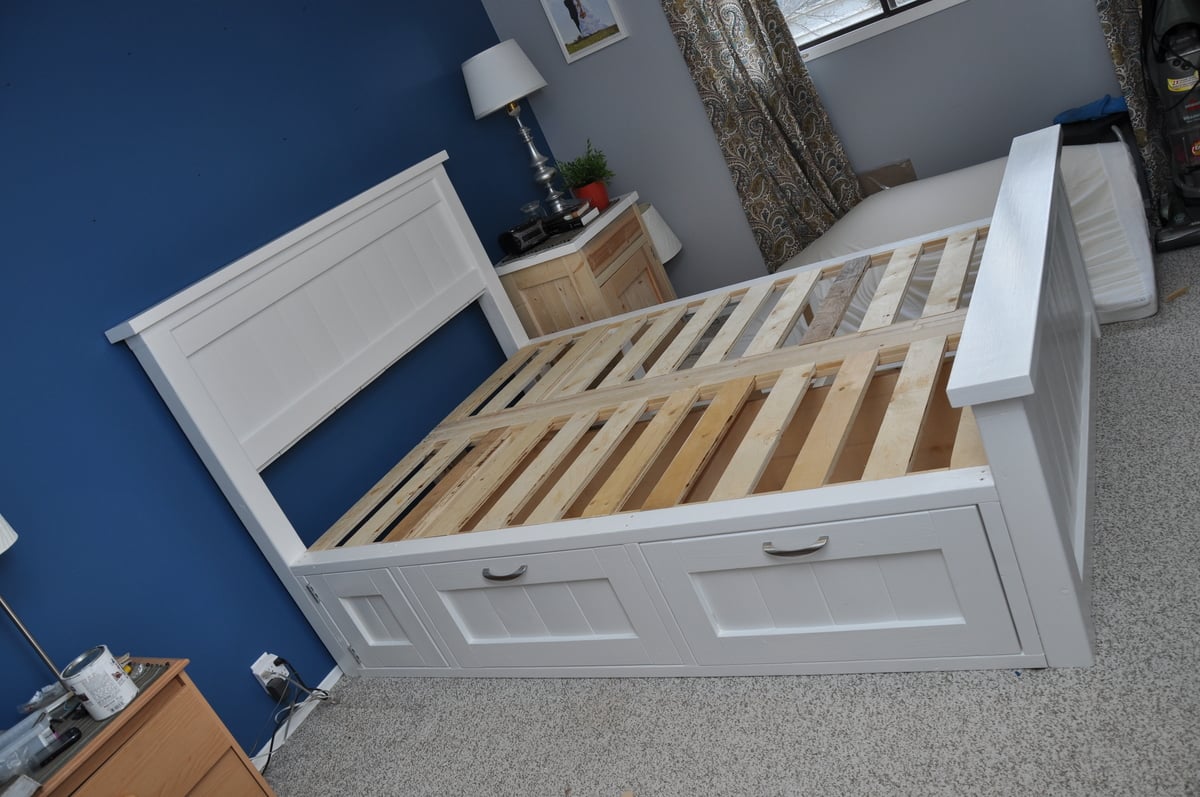
I had to come on here to thank you all for inspiring me to build this bed! The thought of building such a big piece of furniture never really occurred to me until I saw the Farmhouse queen plans, which really got the gears turning.
I wanted to add some storage to the bed, though, and so I kept looking at other projects on this site. I don't know which plans are all combined into this one, but you can see the one side table in some of the pictures which is based on a hutch plan here, and the concepts there are used in the drawer fronts on the bed. I still plan to build a matching side table for this side of the bed and also a dresser unit to complete the bedroom set.
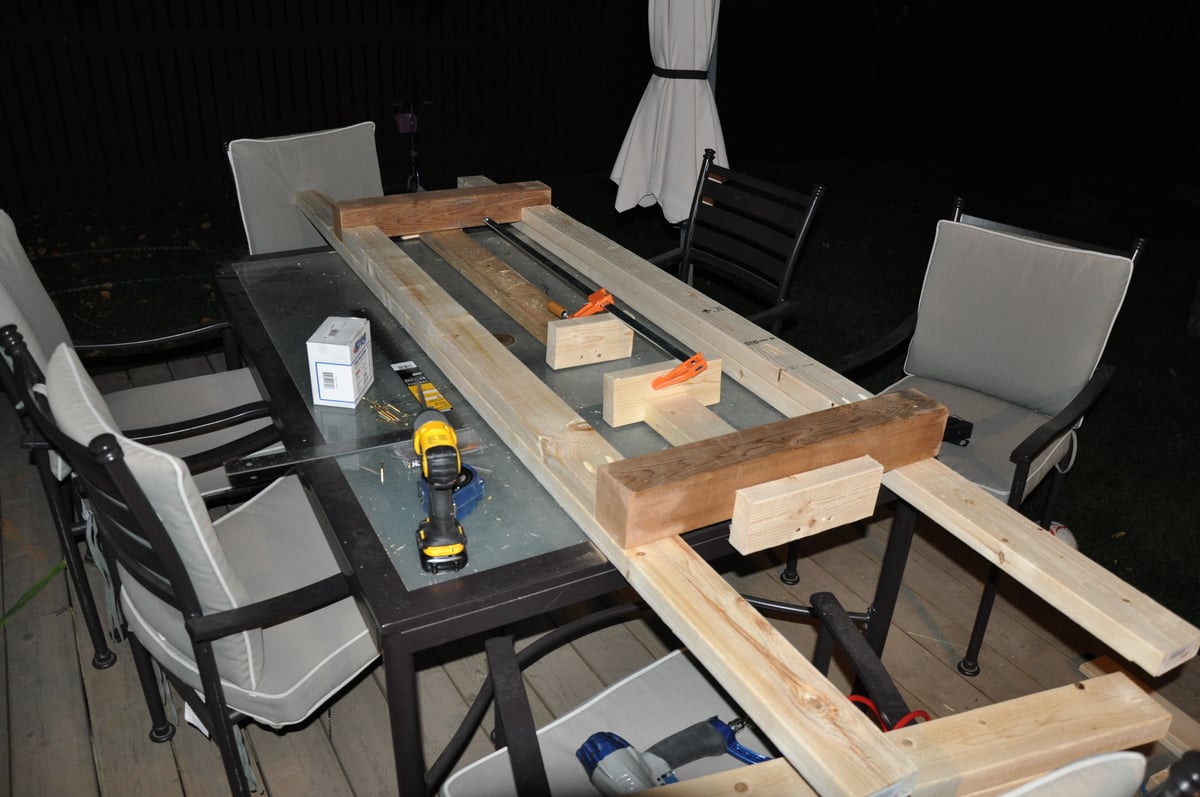
This entire project was built on my deck as I don't have a garage. Started at the end of September and working by flood light on nights where I could find the time. It was finally moved inside to paint. The bed is built into four sections for disassembly - headboard, footboard, and a base section that is split in half with knockdown fasteners. The headboard and footboard are also attached with knockdowns, so the entire bed comes apart with an allen key.
The cost was incredibly low. My biggest cringe costs were for the 4x4 posts, which I had to buy in cedar, and the birch 3/4" plywood for the drawers. All in costs are still under $200, though I did own a Kreg system which got used a fair amount.
I did modify the footboard / headboard construction since I had the Kreg system. Rather than using a 1x4 backing board with 1x verticals and a 1x4 front board, I used a Kreg'ed 2x4 as the backing board, flush to the 4x4 post... no 4 1/2" screws required! The 1x verticals were then glued and nailed onto the 2x4s, and the 1x4 front board was glued and nailed to it.
The drawers are huge! 29" wide x 26" deep x 14" tall (more or less). Also, they are positioned so that when a side table is placed beside the bed the drawers can still open. The panel at the head of the bed is a door with a magnetic catch. I think of that area as 'deep storage' as you would have to move a side table to get in there. The door is there to get there if you want to though.
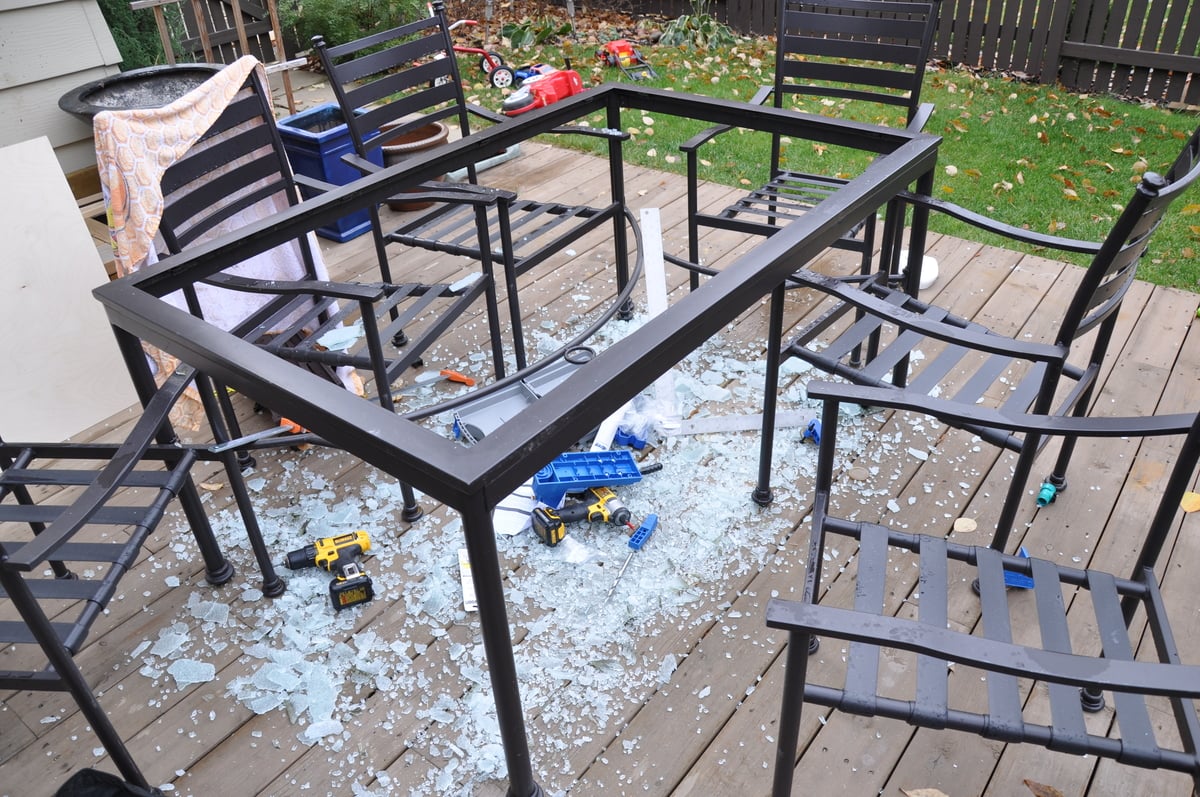
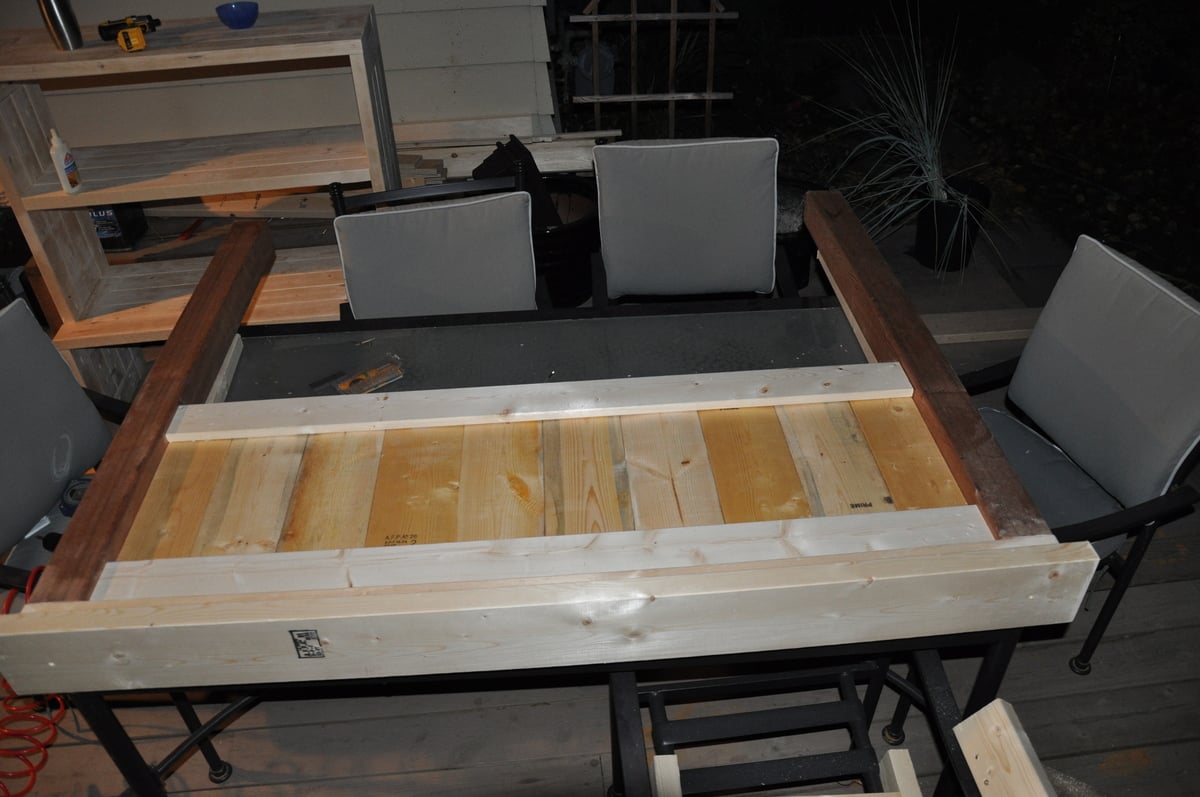
One cost not accounted for... my 'work bench' patio table sustained an injury. I still maintain I did not drop anything onto it. In fact, I was using a tape measure to measure a drawer length when the glass shattered out from under the piece I was measuring. It was cold in the morning, so maybe that had something to do with it. But now I just have to add 'fix patio table' to the project list.
Thanks again!
Mark
Tue, 10/23/2012 - 19:04
I can't wait until we have time to build a farmhouse storage bed. Yours looks great!.

Sun, 01/06/2013 - 19:35
Very smart placement of the drawers - I too am aspiring to build this some day and wondered about a fix on that - do I just store things in that drawer I rarely want to get at? No, I like your idea better. Beautiful job on the bed - it looks nice.
Sun, 11/10/2013 - 17:49
This is exactly what I'm looking for. I love the drawers. Would you be willing to share more on how you did those, vs the plywood boxes in the plans?
Thu, 03/20/2014 - 11:40
Sorry for taking so long to reply to your question! I missed it.
I don't have any pictures / details on how it was done, but I can explain it. The front face is built as a 2x4 surround with 1x6 inset boards. I then put a dado in the bottom side 1/4" up from the bottom.
I then made a drawer box from 5/8" plywood, kreg jigged to the front face. A 1/4" piece of plywood was used as the drawer bottom, and inset into the front face of the drawer.
This all sounds a bit difficult and confusing, but it isn't. Maybe I should take some pictures. Let me know if you'd like to see them.
Wed, 07/30/2014 - 10:55
Great build! I'd love to see some more photos of the drawer surround/frame with the drawers out. Is it all 2x3 stud construction? Any problems with warping or the drawer slides not square/plum?
Thu, 10/16/2014 - 10:22
Racking my brains out trying to figure out how you laid those slats across the top of the drawers... If you wouldn't mind posting a few more pics, I would really appreciate it. My daughter wants this for her birthday.
Thanks!
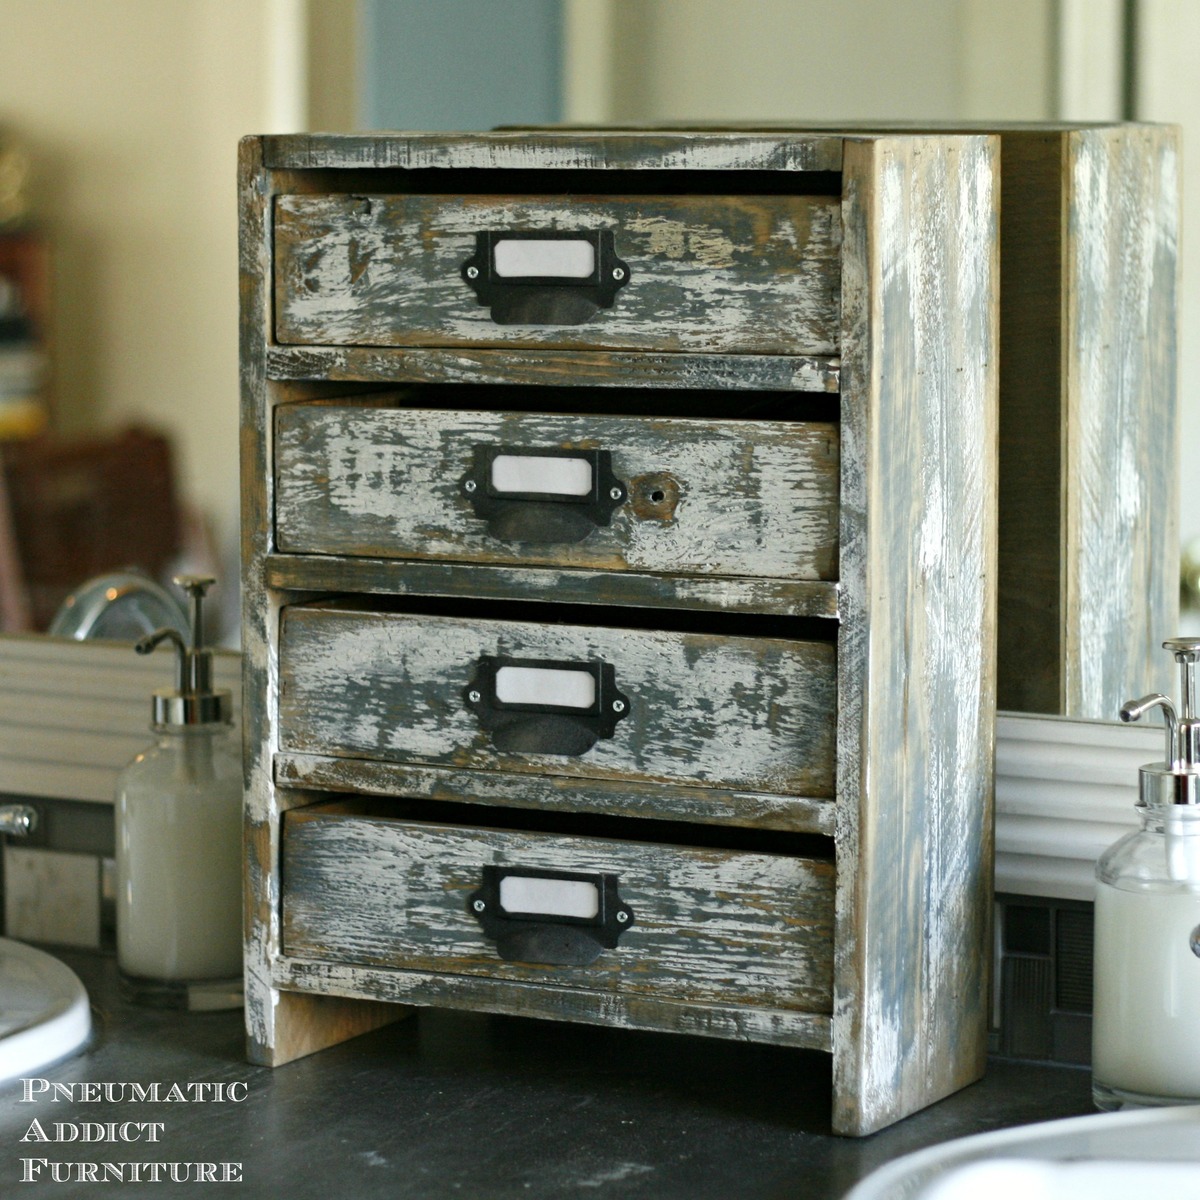
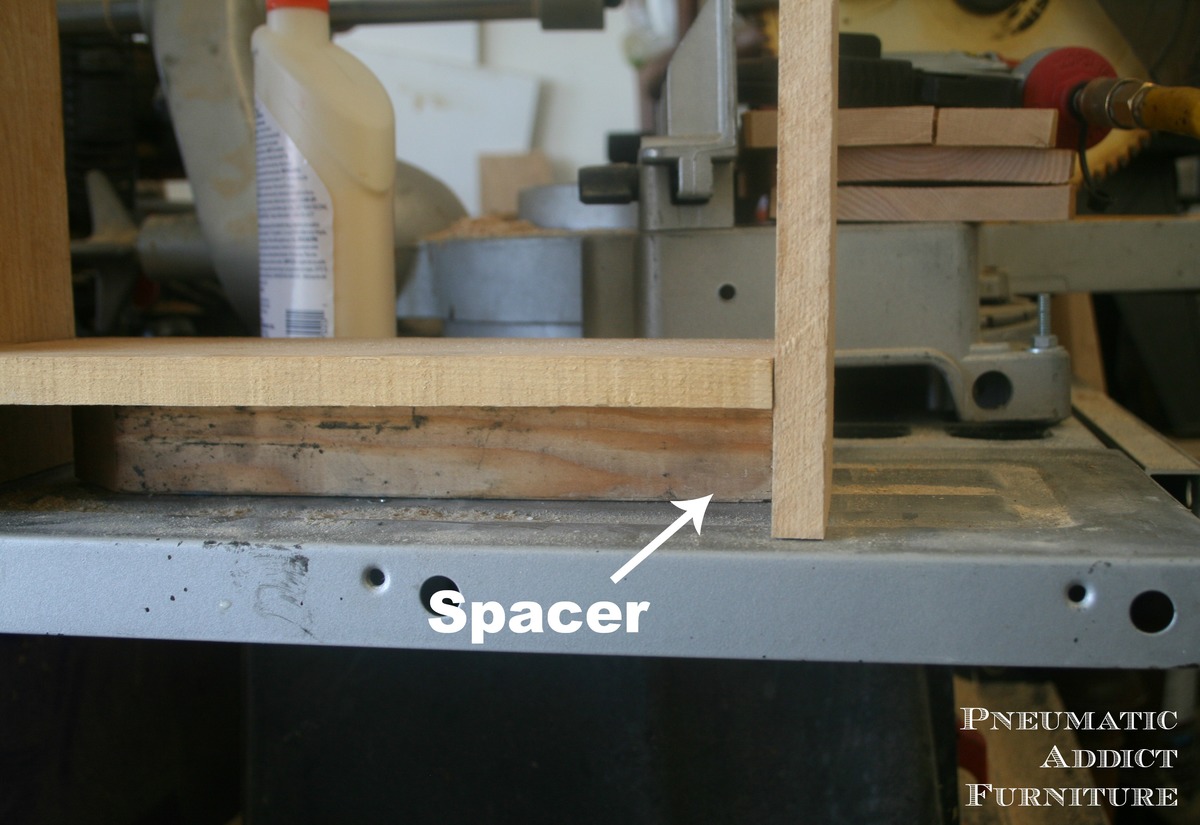
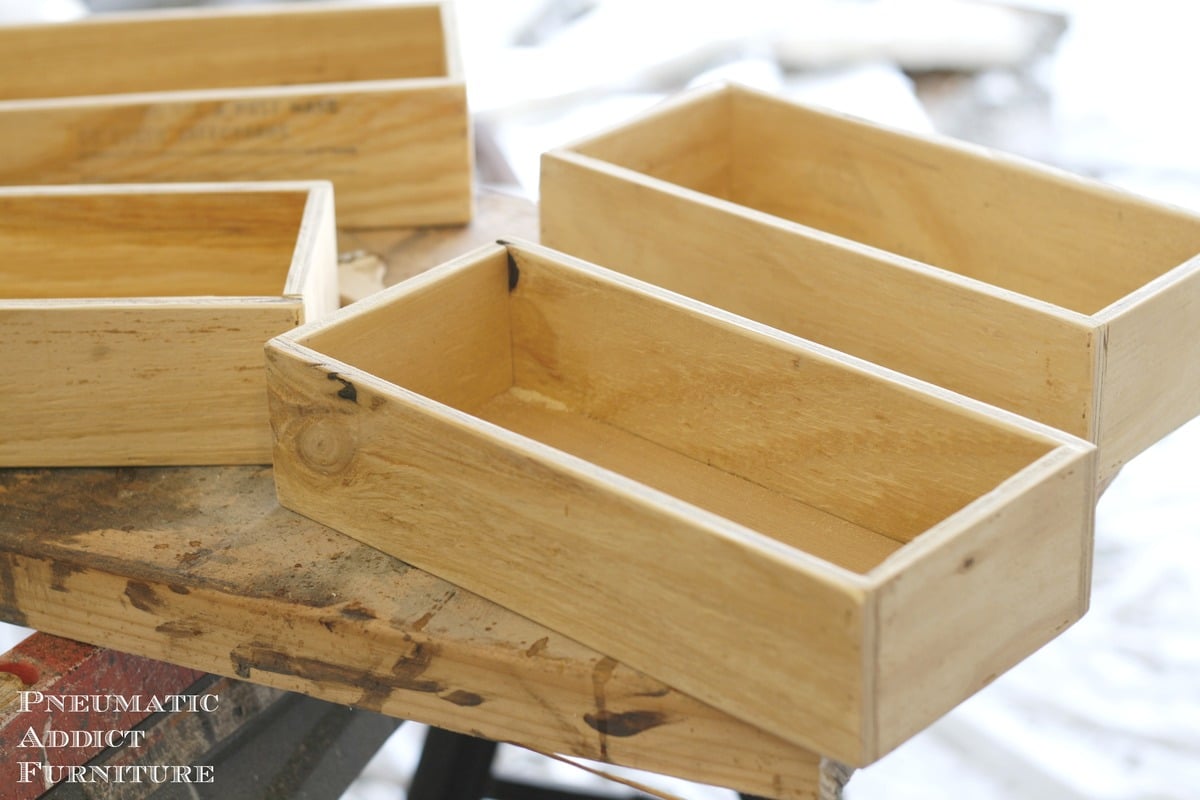
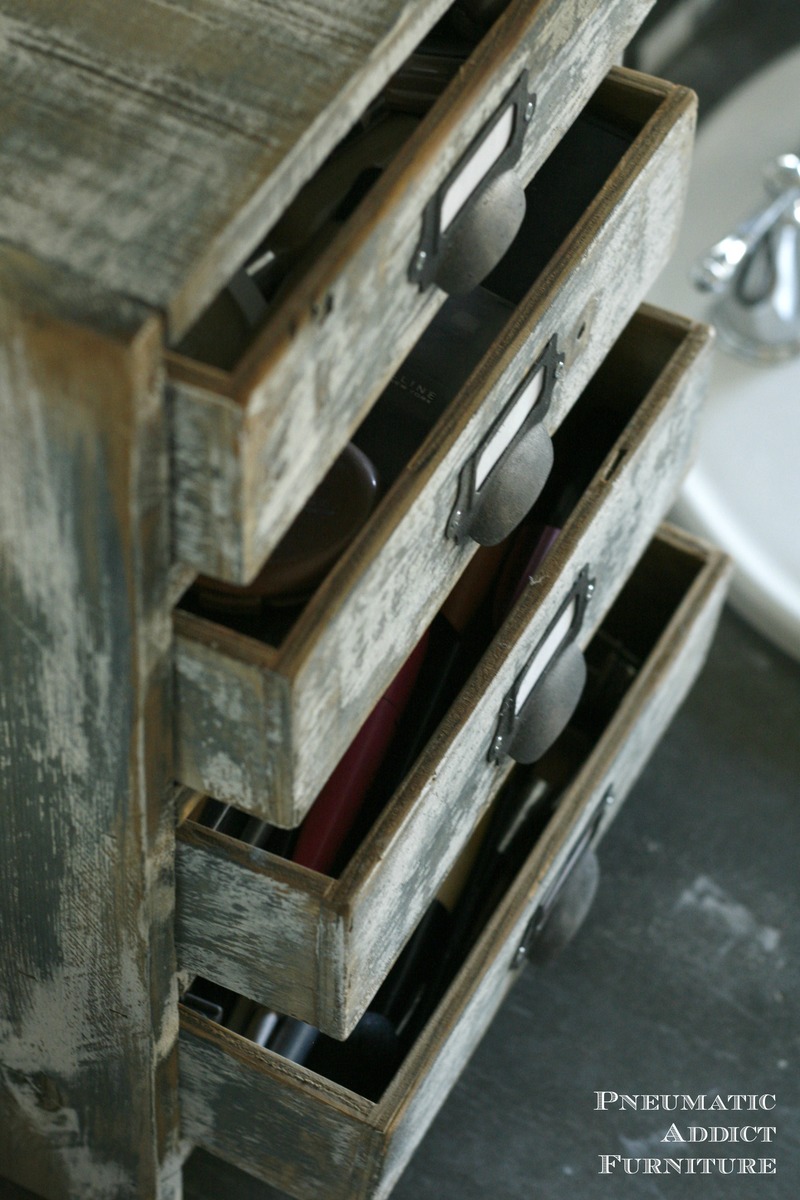
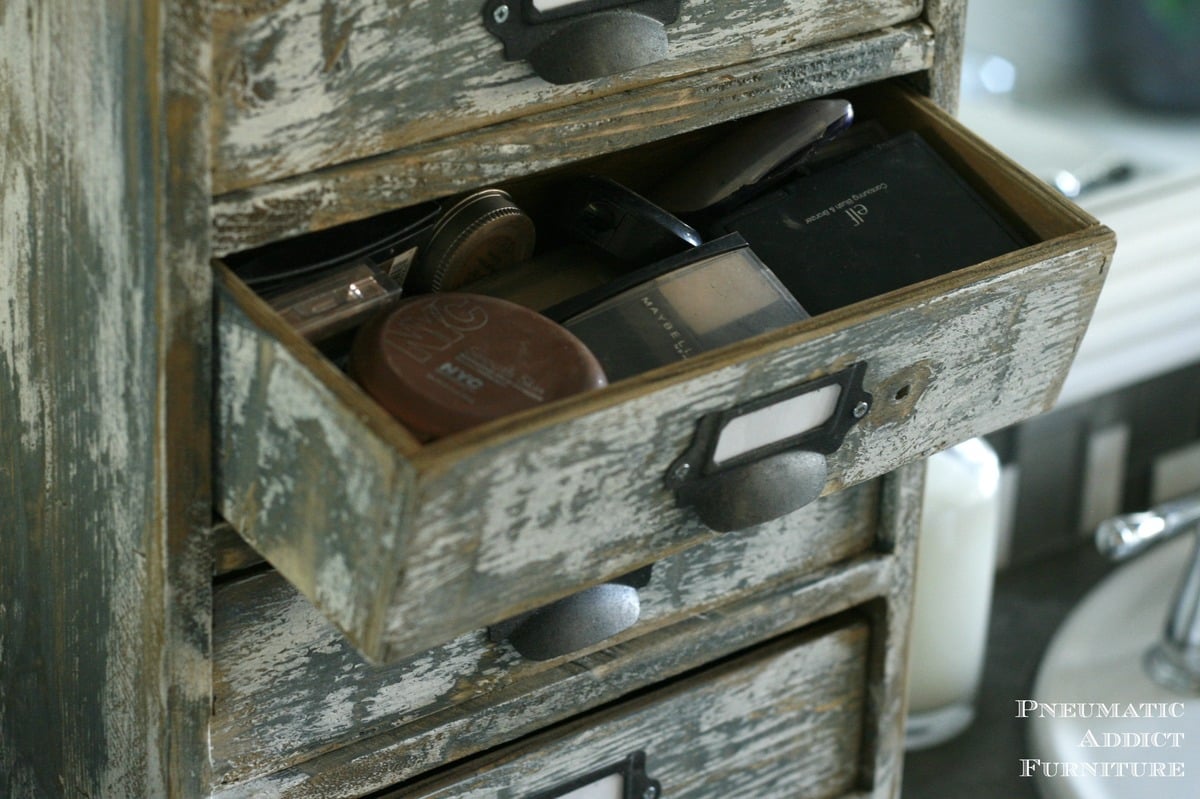
I needed a way to store and organize my make-up without taking up drawer space. It is built very similar to a small dresser, but with no drawer slides.
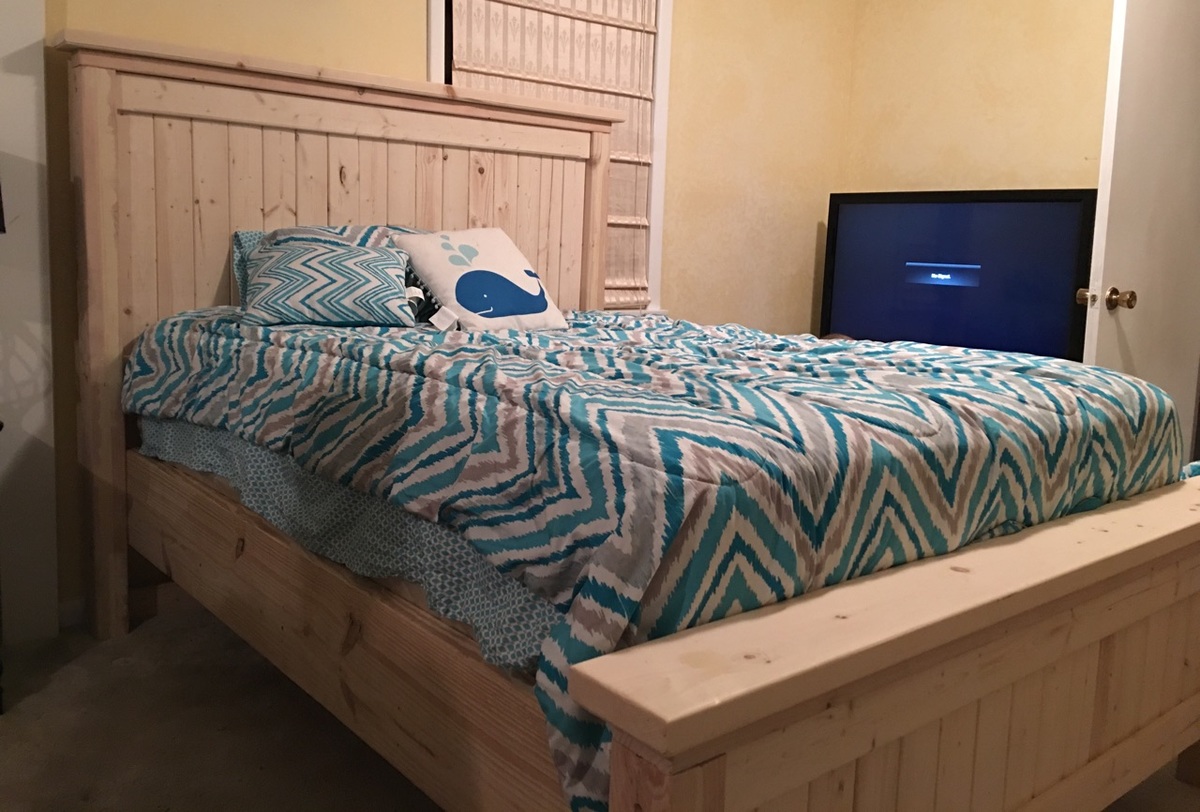
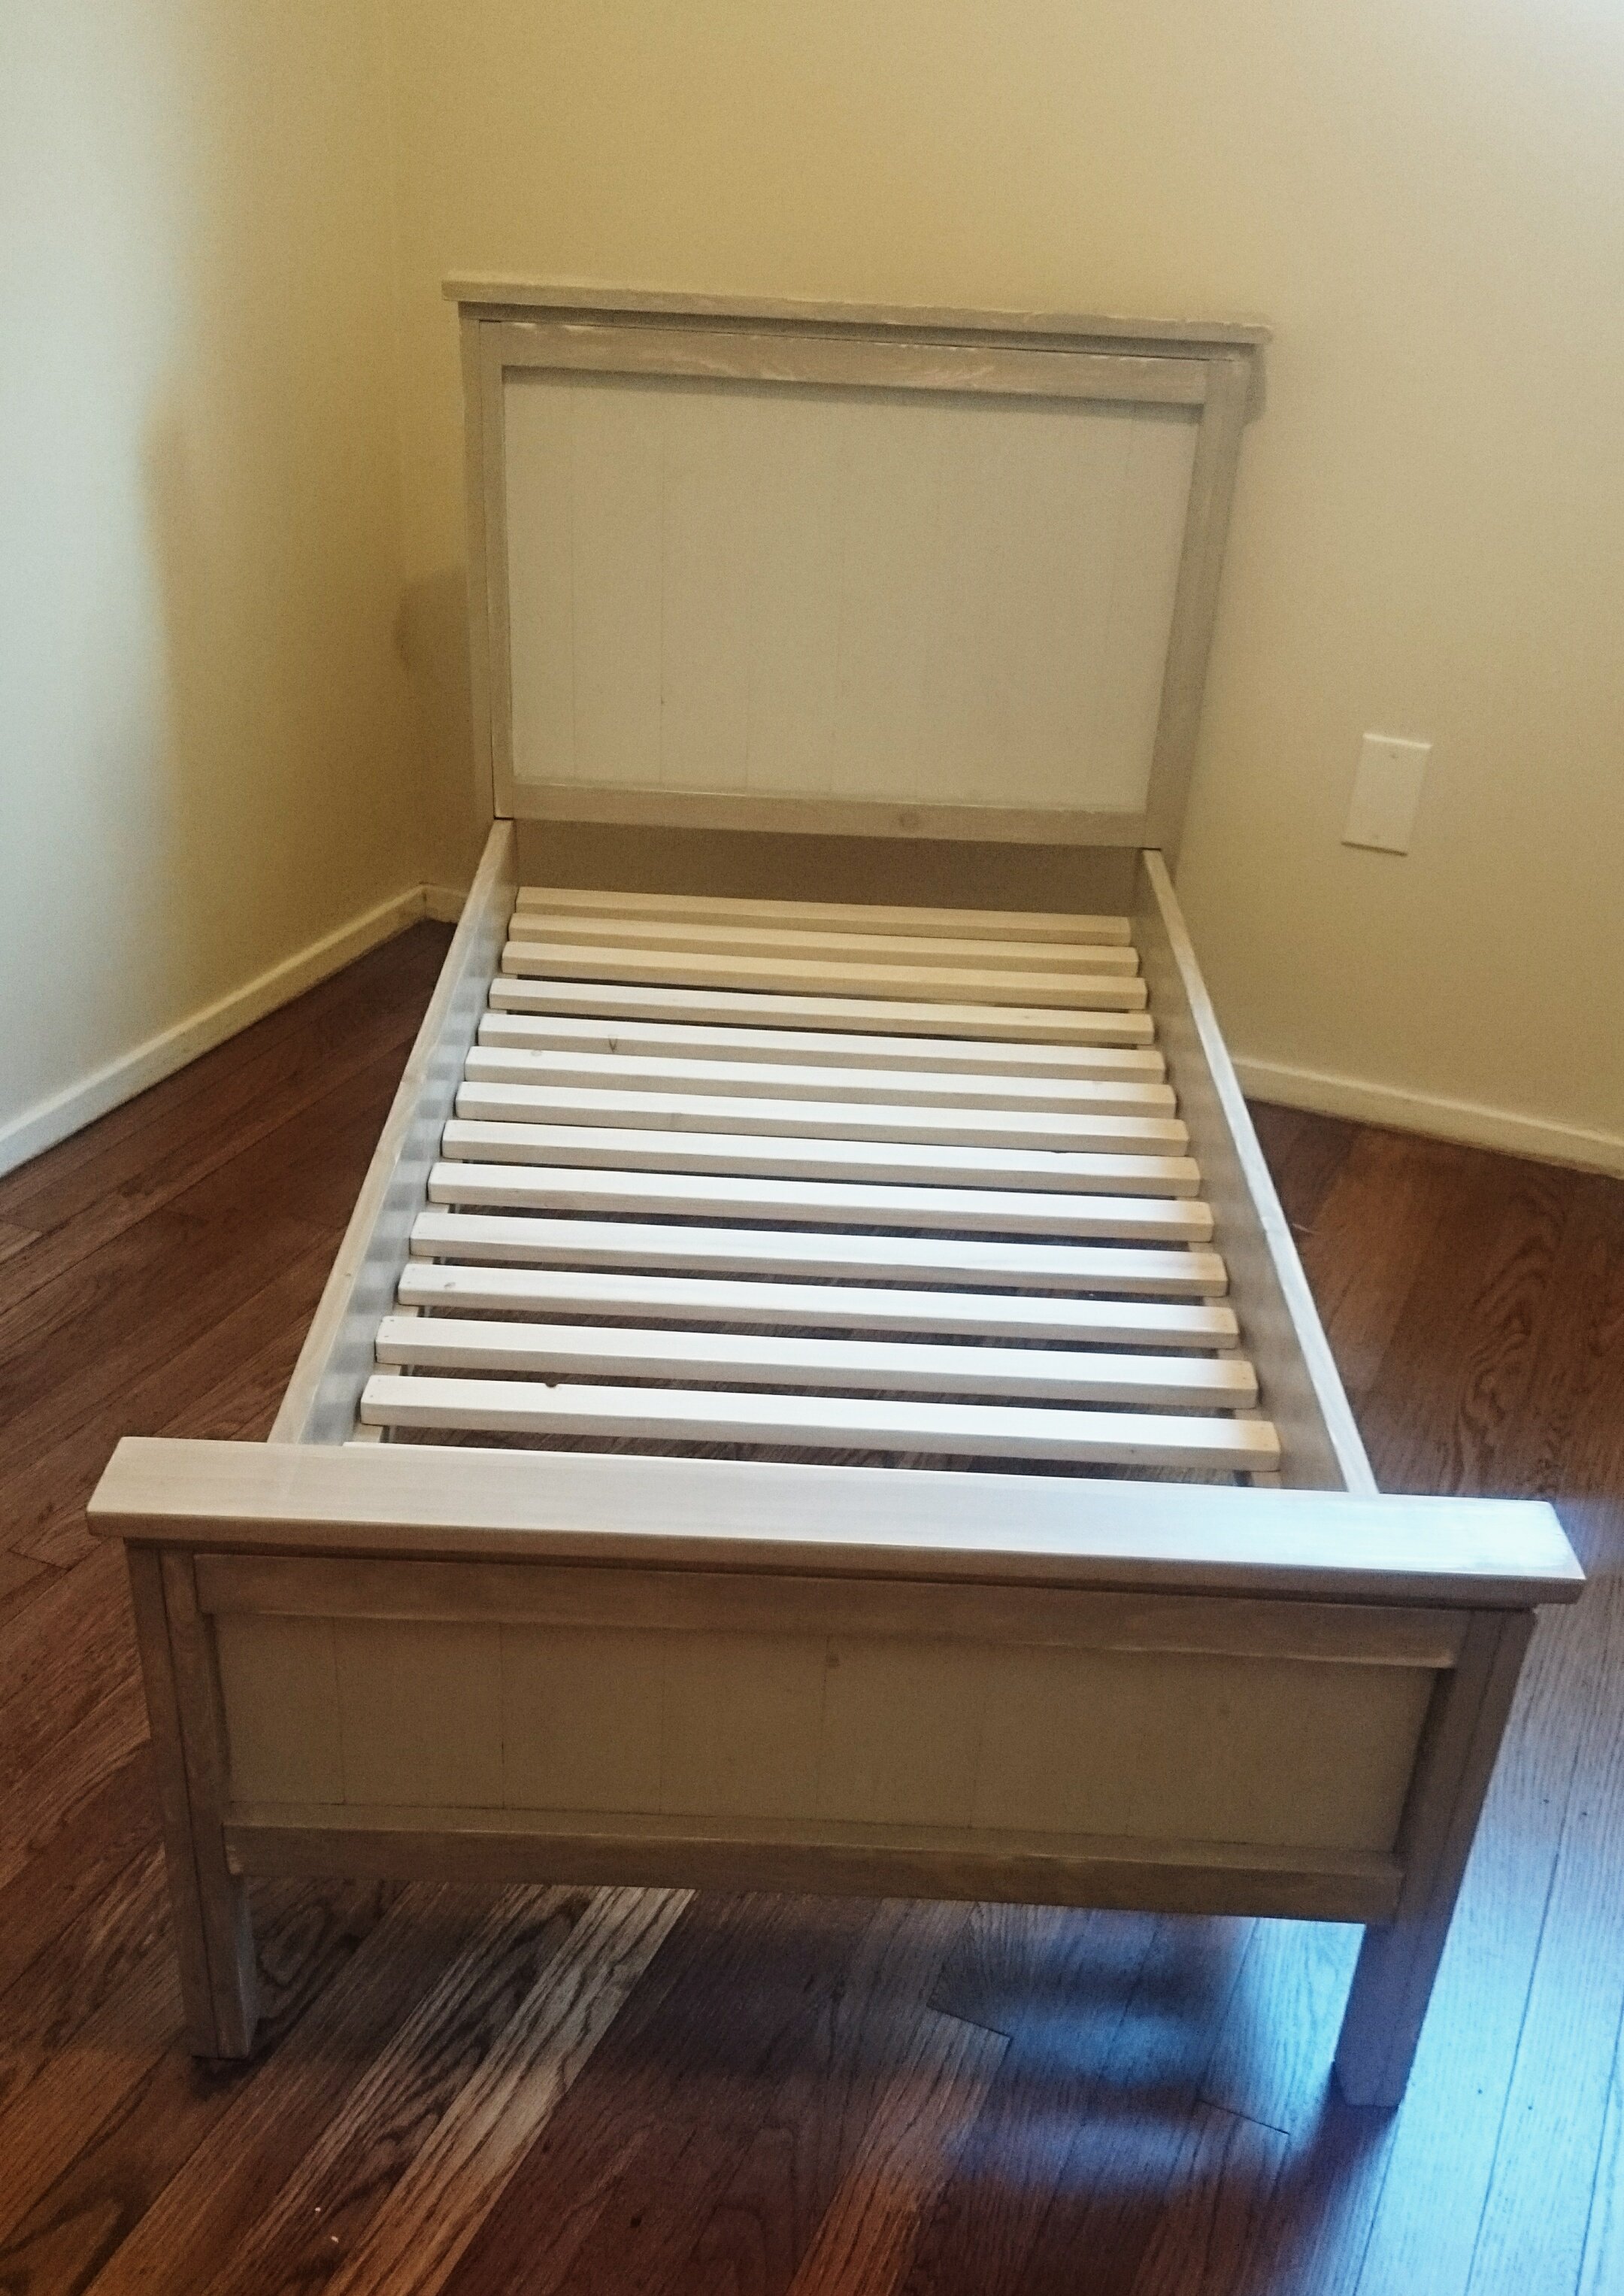
I found that if you use (16) 1x4's in lieu of the (8) 1x8's as for the panels no cutting is necessary for a standard full size bed. Worked out wonderfully!
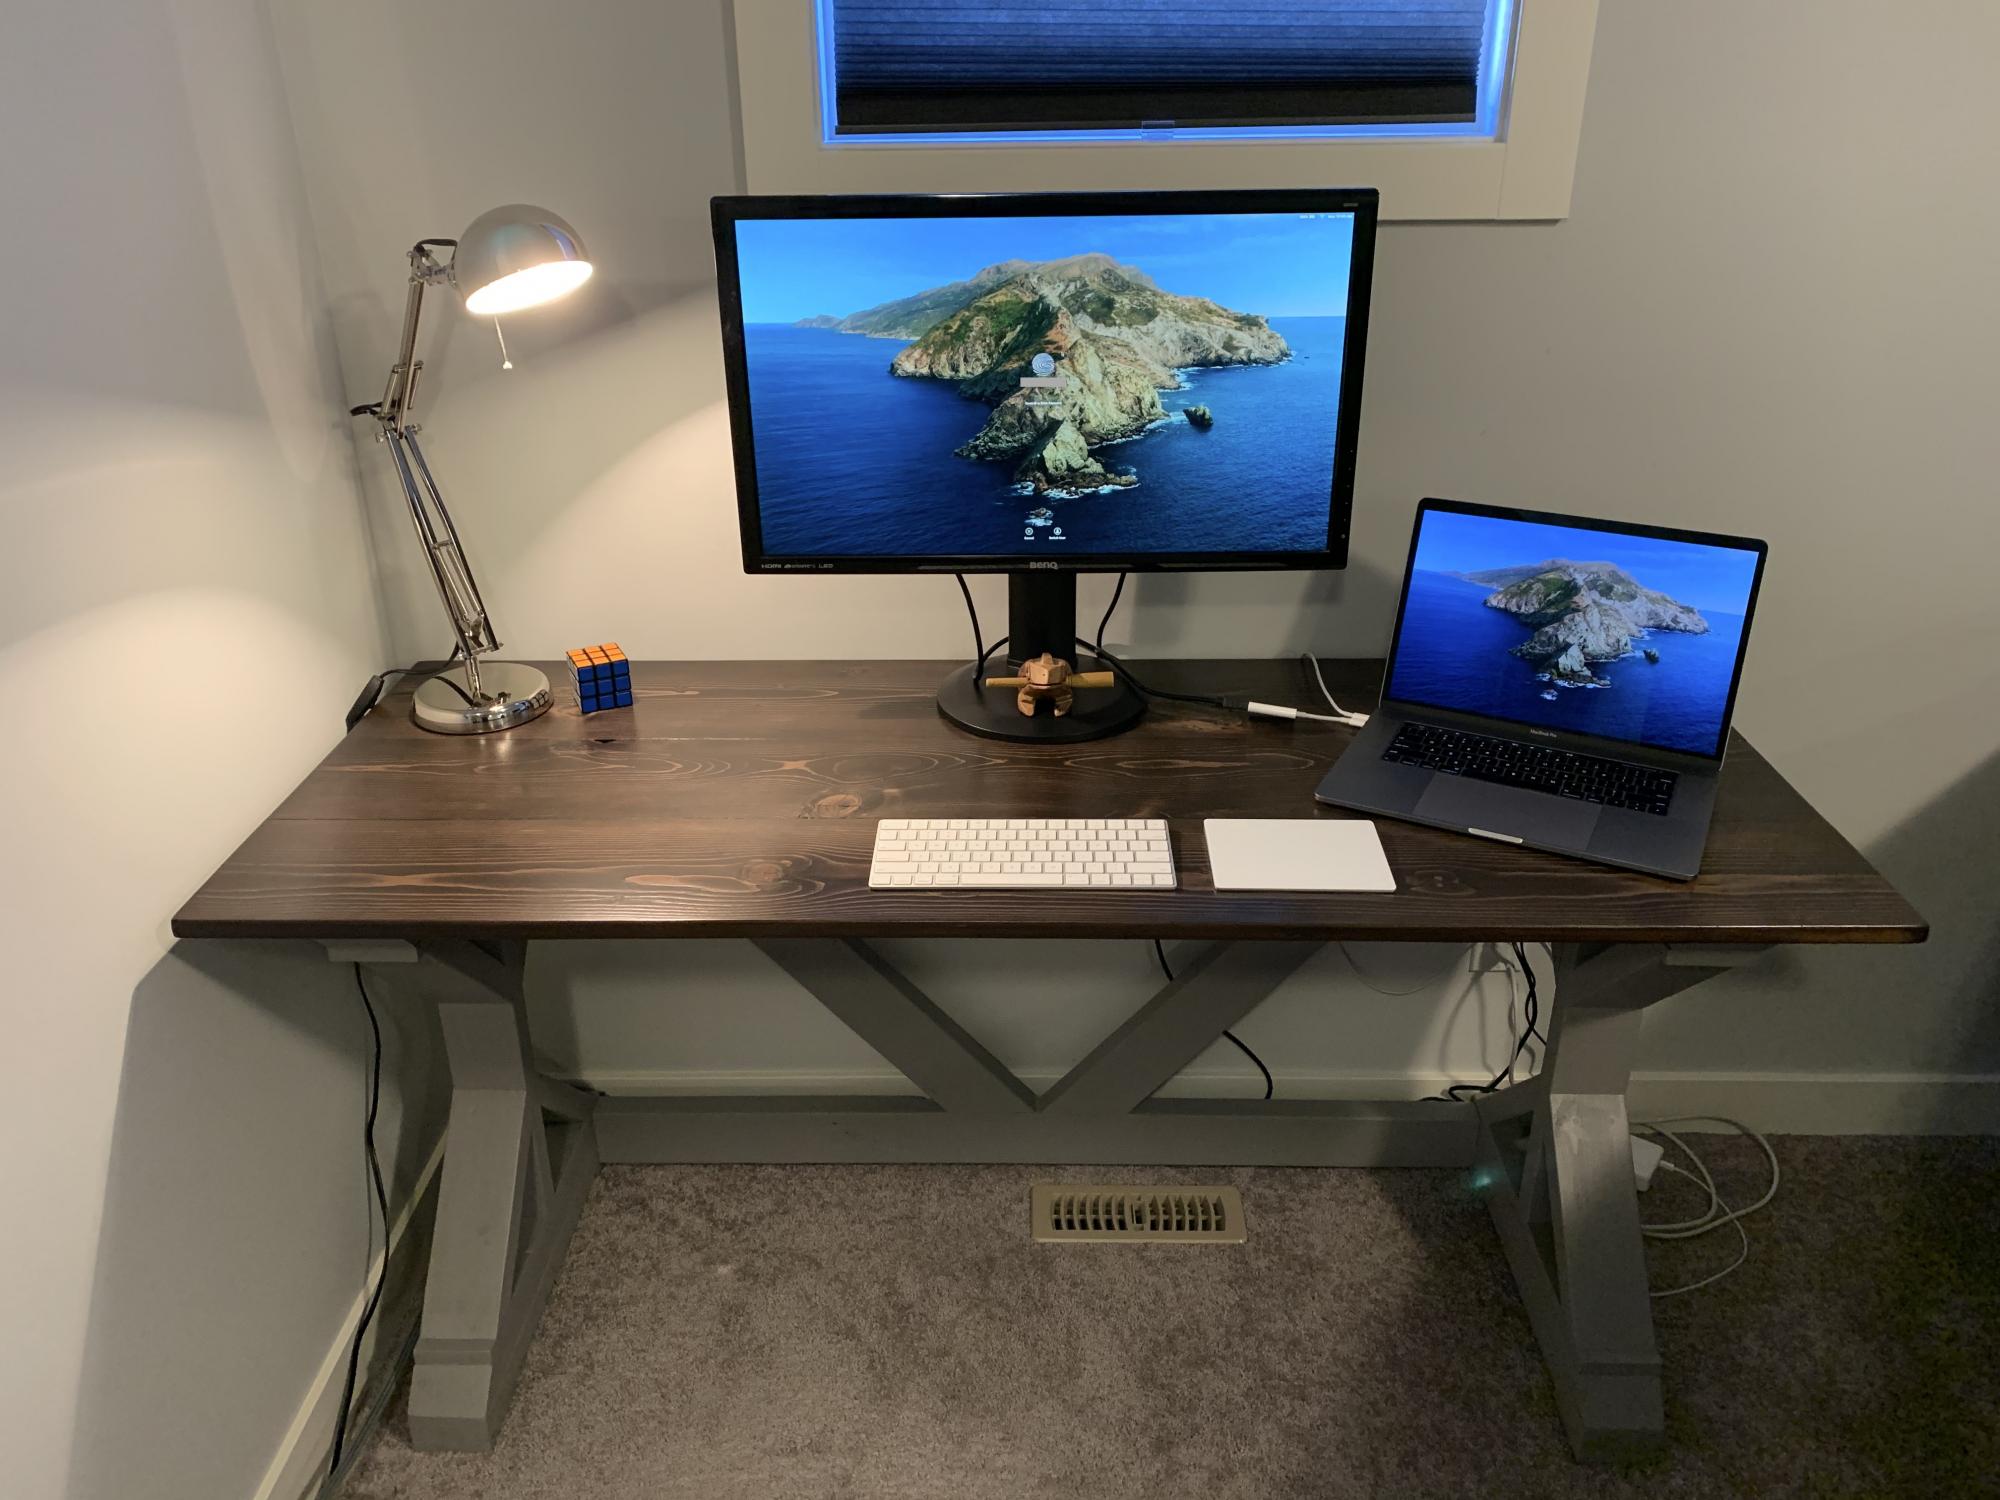
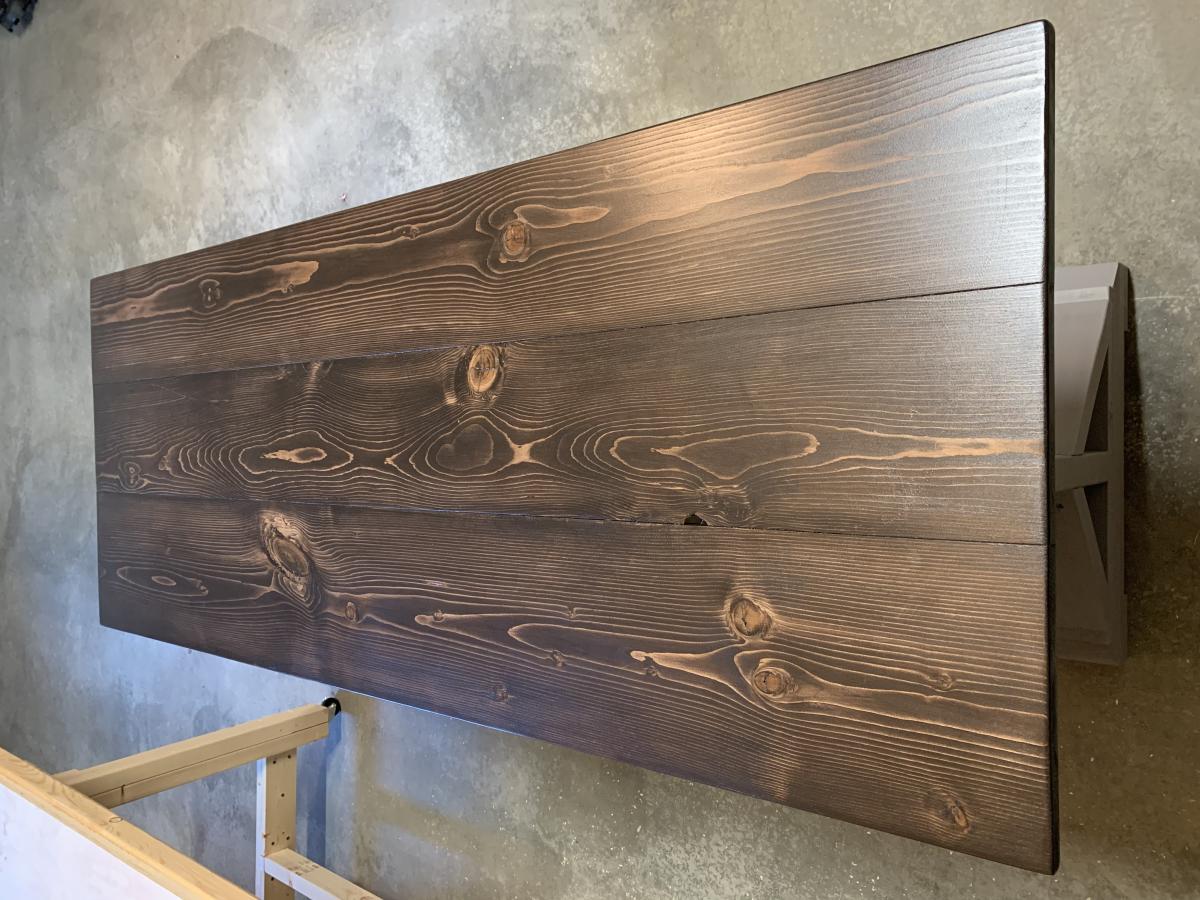
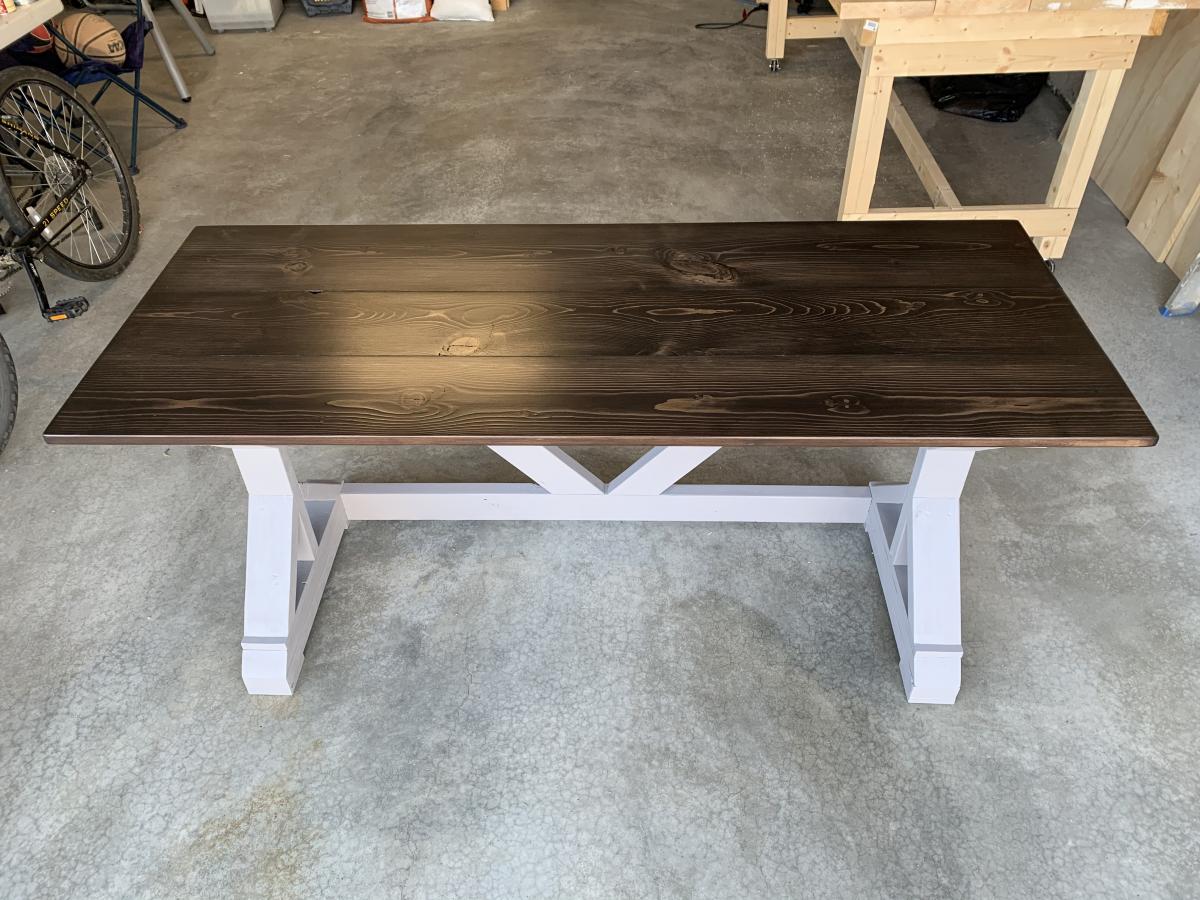
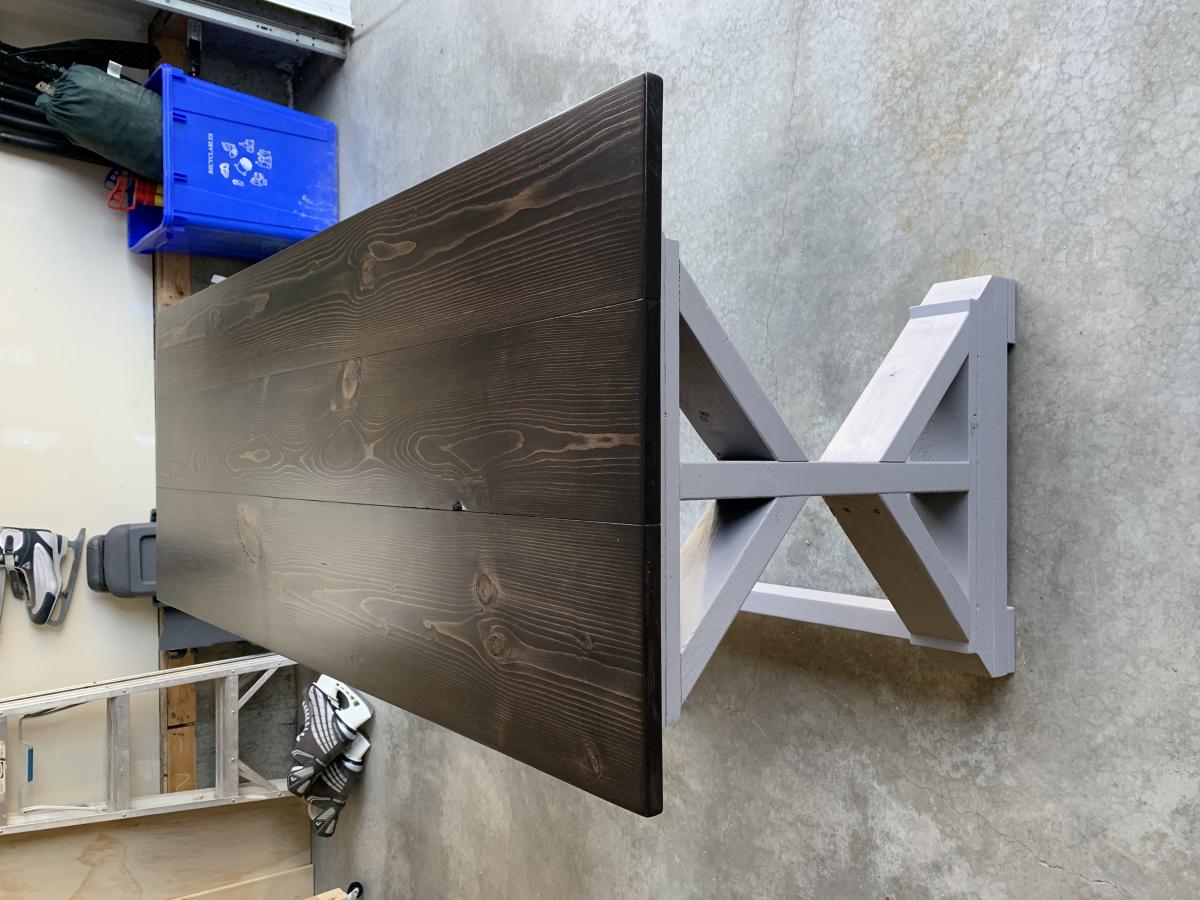
I needed a better desk for working from home. I didn't have room for the 6' desk in the plans, so I modified it slightly to be 5'. The only tricky part with that was getting the angles right on the support braces in the back. I think it ended up being around 42 degrees instead of 45. I used a scrap 1X4 as a template instead of trying to measure and cut. I think that helped a lot.
I wanted some character in the desktop so I used 3/4" knotty pine joined with pocket hole screws and sanded it quite a bit. I love how it turned out after applying gel stain and a varathane finish!
Thank you so much for the inspiration, Ana!!
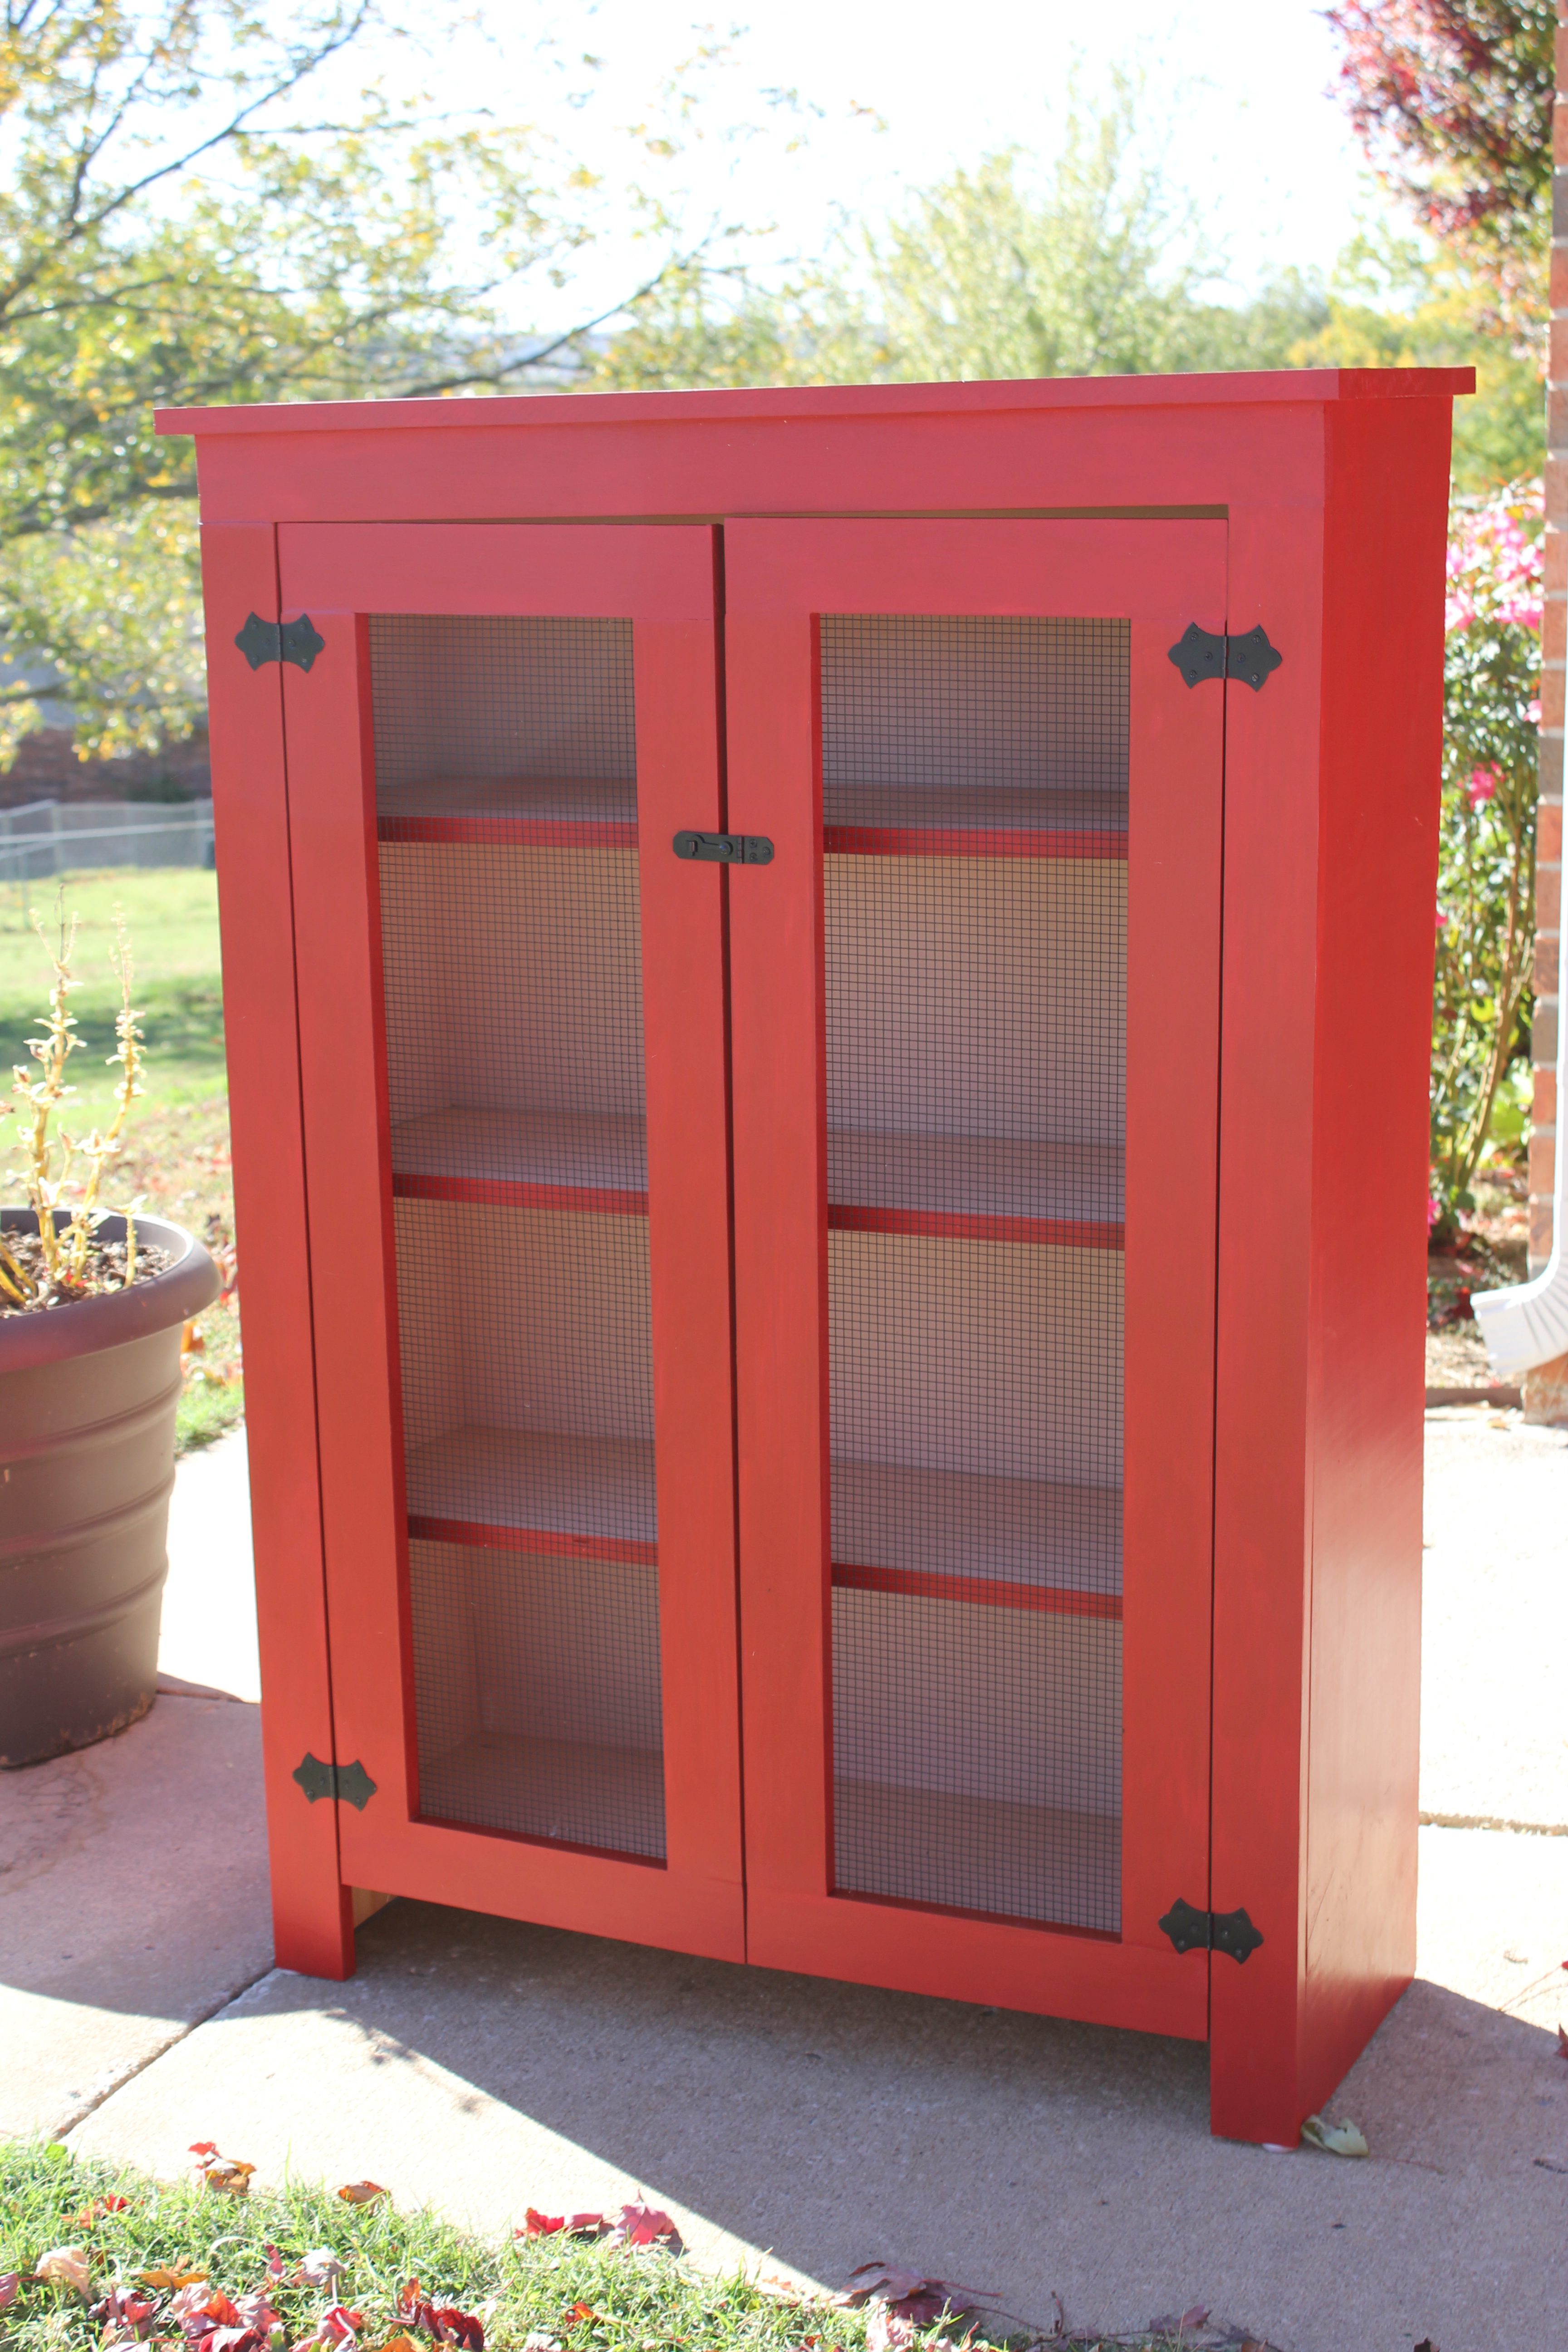
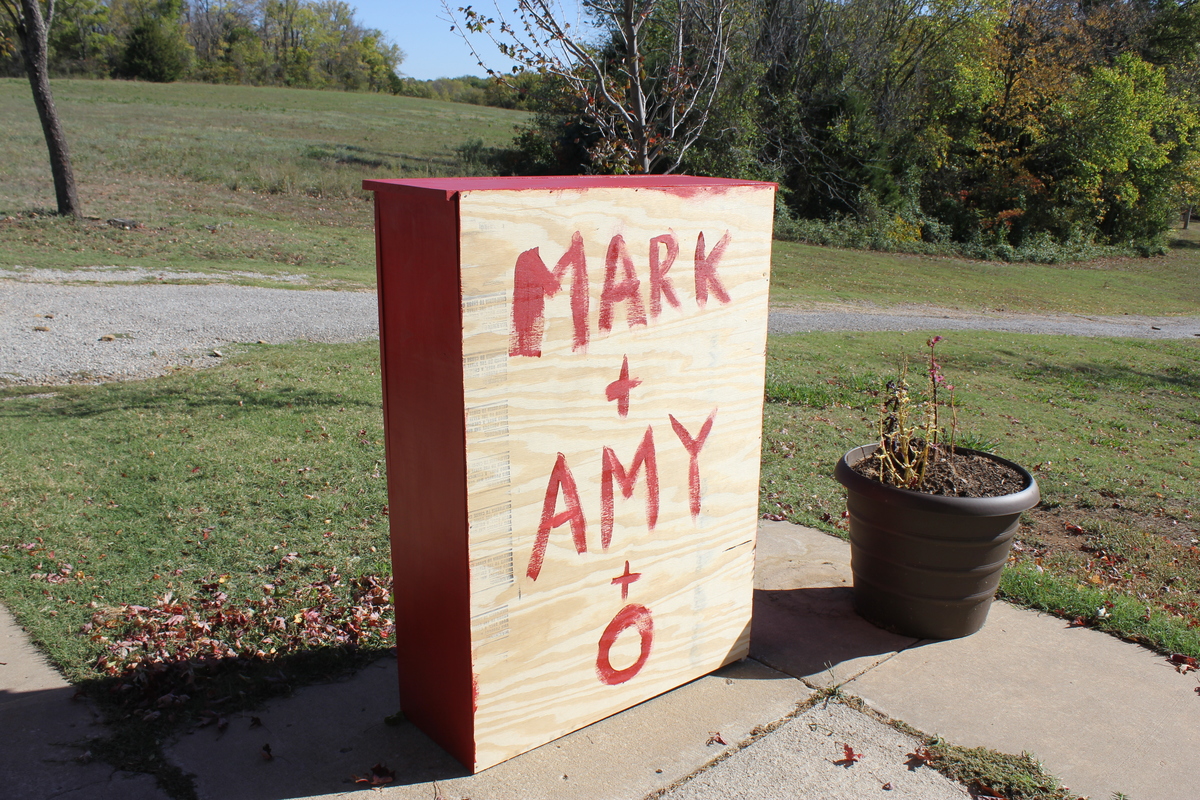
Our first DIY furniture project. We told friends it was an assignment from couples therapy. lol Don't look too close or you will see the many flaws, but I can say it has character and will serve its purpose.
We had problems with the doors. I think they are true and plum, but the cabinet, not so much. They hang a little cockeyed, but they do swing. The plans for the doors didn't quite match the cabinet, but we are newbies so we could have misread the plans.
The hinges and latch are from the blue store - painted matte black from a can from the original nasty brass. The red is Balero and the shelves are a coordinating tan from Sherwin Williams. A coat of Minwax Polycrylic for protection. We used square wire from the blue store for the doors. We didn't router the doors to inset the wire, a stapler worked fine.
It was an absolute great first project that Husband & I enjoyed tremendously. Mom has been looking for a jelly cabinet for 6 months without success. Old functional furniture pieces just aren't manufactured anymore. This cupboard fit the bill perfectly.
Tue, 10/23/2012 - 08:01
This is awesome. Seriously. You two did such a great job and your mom will enjoy it for many years. That red with the black hardware looks so great.
In reply to This is awesome. Seriously. by Maira (not verified)
Tue, 10/23/2012 - 18:14
Thanks Maira :) That was sweet of you to say. Can't wait to start another project.
My very first project, made it for my girlfriends birthday. Did not have time to stain and paint them yet, will add finished pictures.