Fancy arch bed
![](/sites/default/files/BB09D91B-090B-4057-B391-69251C9B1D02.jpeg)
Beautiful bed. Arches were a little difficult to achieve symmetry.
![](/sites/default/files/77FD2260-7317-4803-9019-9E6A3CDC5E40.jpeg)
Beautiful bed. Arches were a little difficult to achieve symmetry.
I took the 25 cubbies plan and changed the dimensions to fit shoes. I made a simpler version for my husband too. This project went together quickly and was so fun to build.
Thanks for the plans, adapted it to new pine standers but was able to obtain beautiful cherry tree panels from a defunct wood worker in the next village over. Planed those and used those to make a slightly more 'posh' version of your basic model. The supports on the wall you see are from the previous formica shelves. I left them in case the cherry starts rounding down.
Really handy for getting more storage space without taking up extra floor space
Tue, 08/25/2015 - 17:39
A plate (biscuit) joiner is really helpful for building the cabinets, especially if you're going to have the drawers.
this project it was nice and easy to do it I had make the farm house bed then I saw this night stand and I had to have it
Mon, 08/12/2013 - 20:31
Oooh, I love the finish you applied to it! It looks so cool. Great job!
It's an awful eye sore builder's always seem to put in the most obvious places even when there's an attached garage, or a basement, or even a large closet somewhere.
Solution: Build a frame out of 2x2's around the panel. Build a smaller frame out of trim (or whatever you like as a picture frame). Attach the smaller frame to the frame on the wall with self closing hinges (ok, maybe paint everything first, lol) and insert a photo or painting of your choice.
Unfortunately you can't do anything about placement, hello 1 inch from my countertop and cabinets (also preventing me from building more upper cabinets on that wall)
But, it's better than staring at that ugly gray box :)
Been a while since I had time to actually build anything worth posting about! My wife wanted some items for her Kindergarten classroom this year, so built several items, most inspired by the Farmhouse family.
Building this project and sewing the cushions was like a love letter to my family. I made them a year ago while on a high dose of Prednisone for my asthma and chronic pain (so helpful!). I finally felt capable of doing something that would bring our family together outside. A year later it continues to serve us well.
The instructions for the sectional were very well done. Super friendly and made me want to keep going! I used black analin dye to stain the wood. Swoon!
For making the cushions:
- I relied heavily on Sailrite's resourceful web site & tutorials for their thorough and detailed instructions on making cushions, cutting foam and sewing piping.
- Home Depot has the best pricing on foam.
- Used the brand 'Cushion Qwik' Silk Film (Amazon) to wrap the foam so they can withstand PNW rain.
Fri, 05/27/2022 - 12:25
Thank you so much for sharing, that is a great description of building, "a love letter to my family"!
I made a couple of additions/modifications
I also made a couple of side tables and foot stools for the chairs. A total of four chairs, two tables and two foot stools for the deck set.
I used Ana's simple freestanding garage shelves plan. I made a couple modifications and left the top open to also store a kayak, it works great!
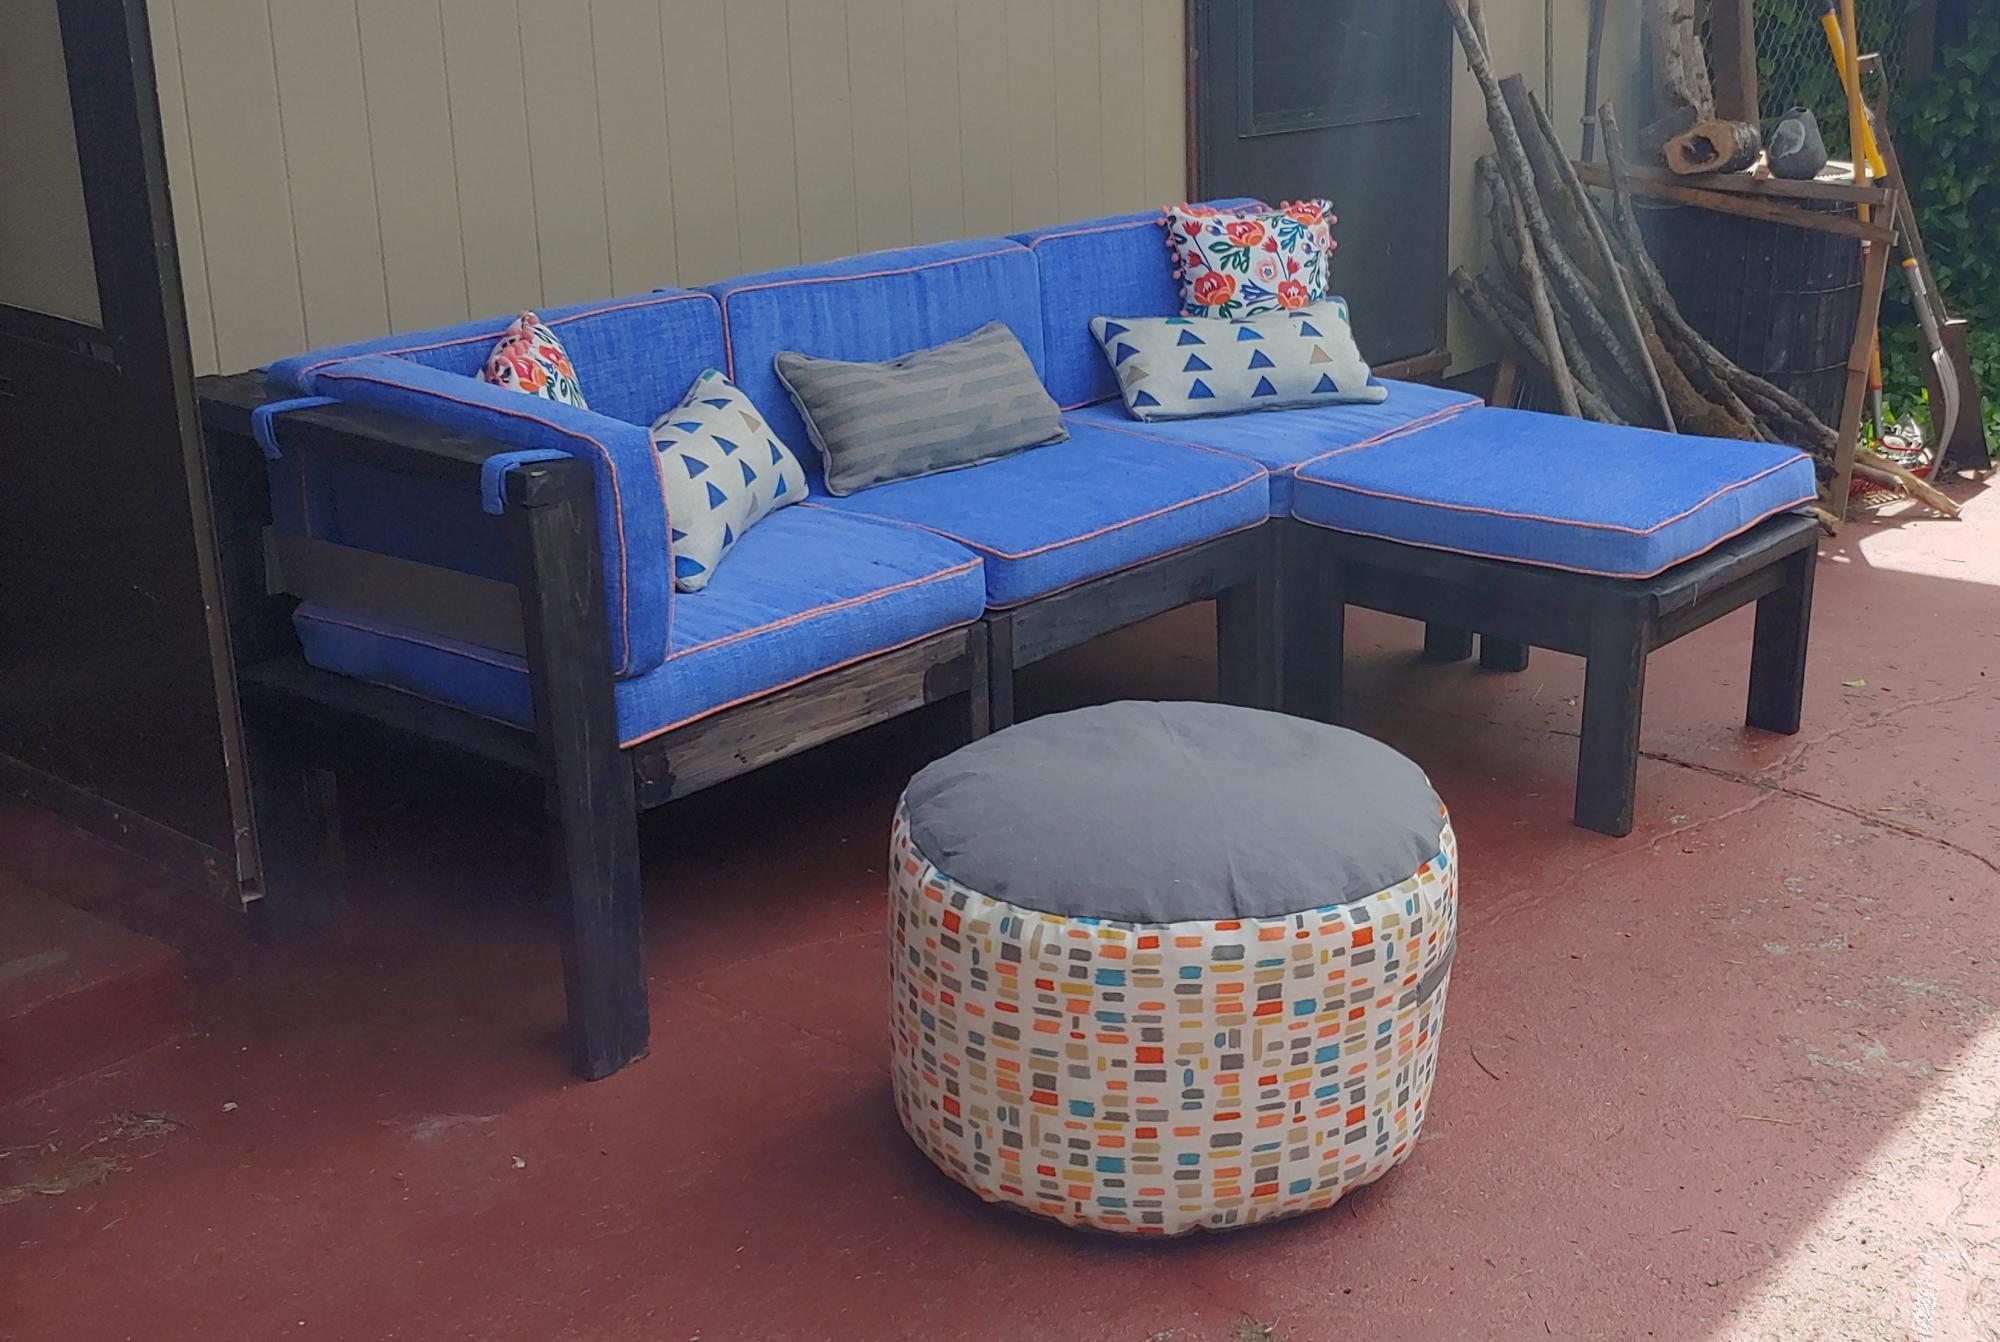
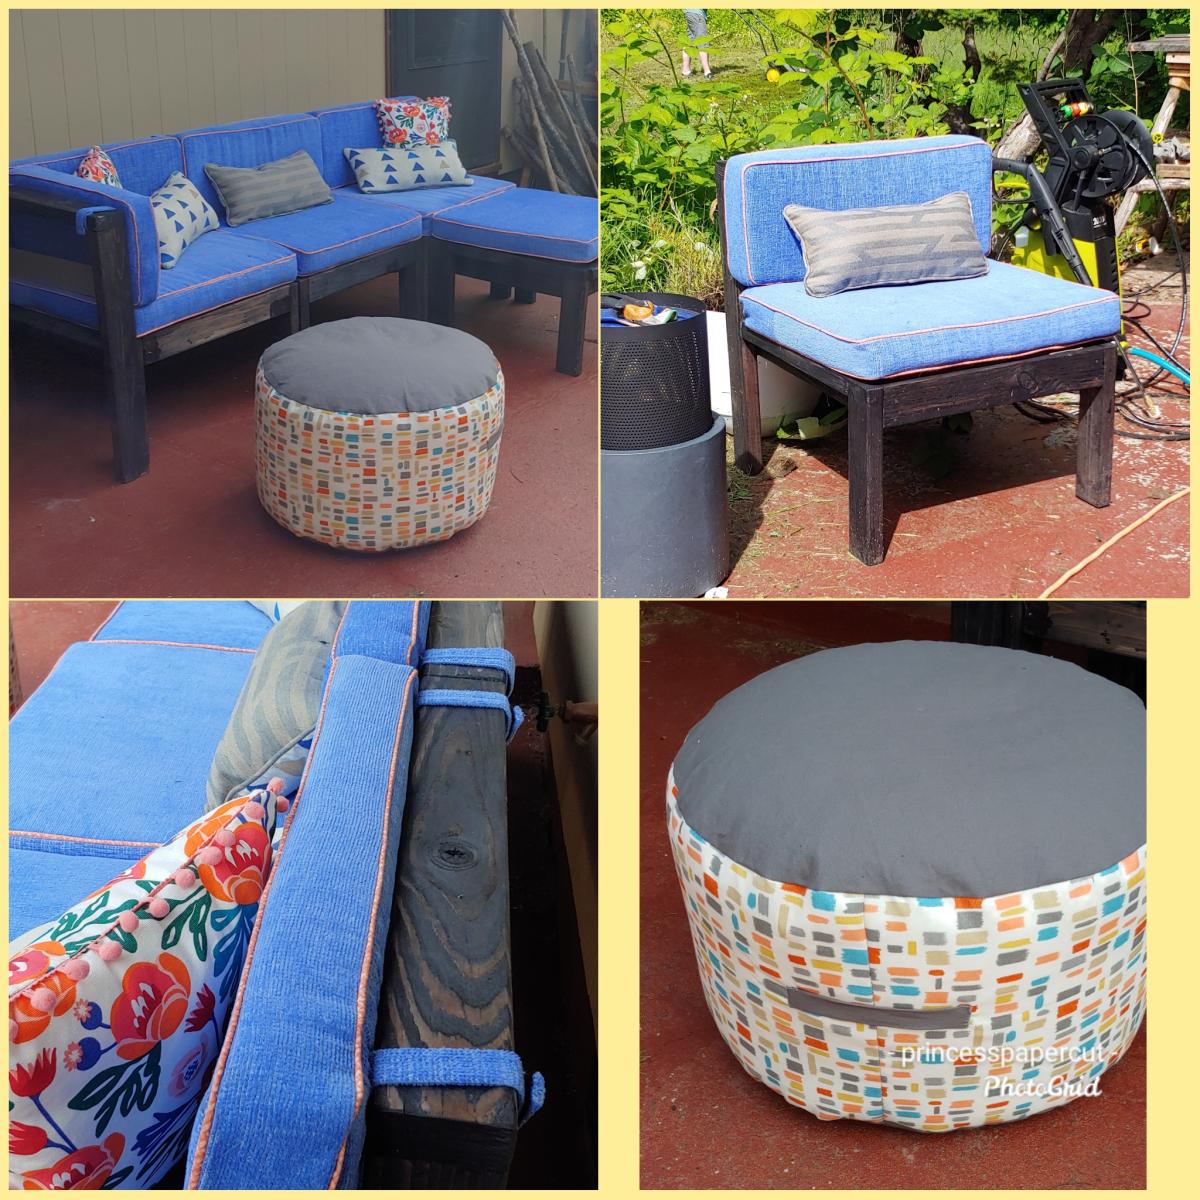
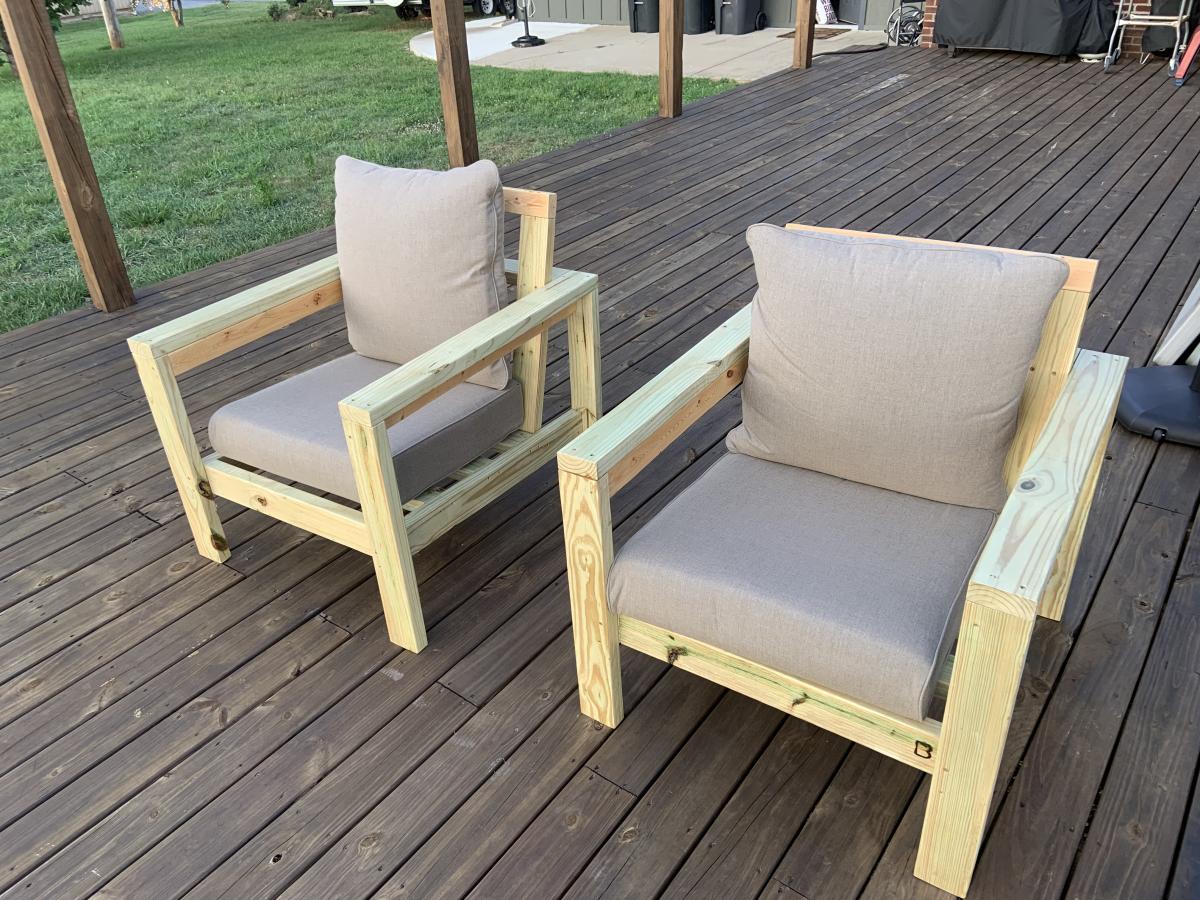
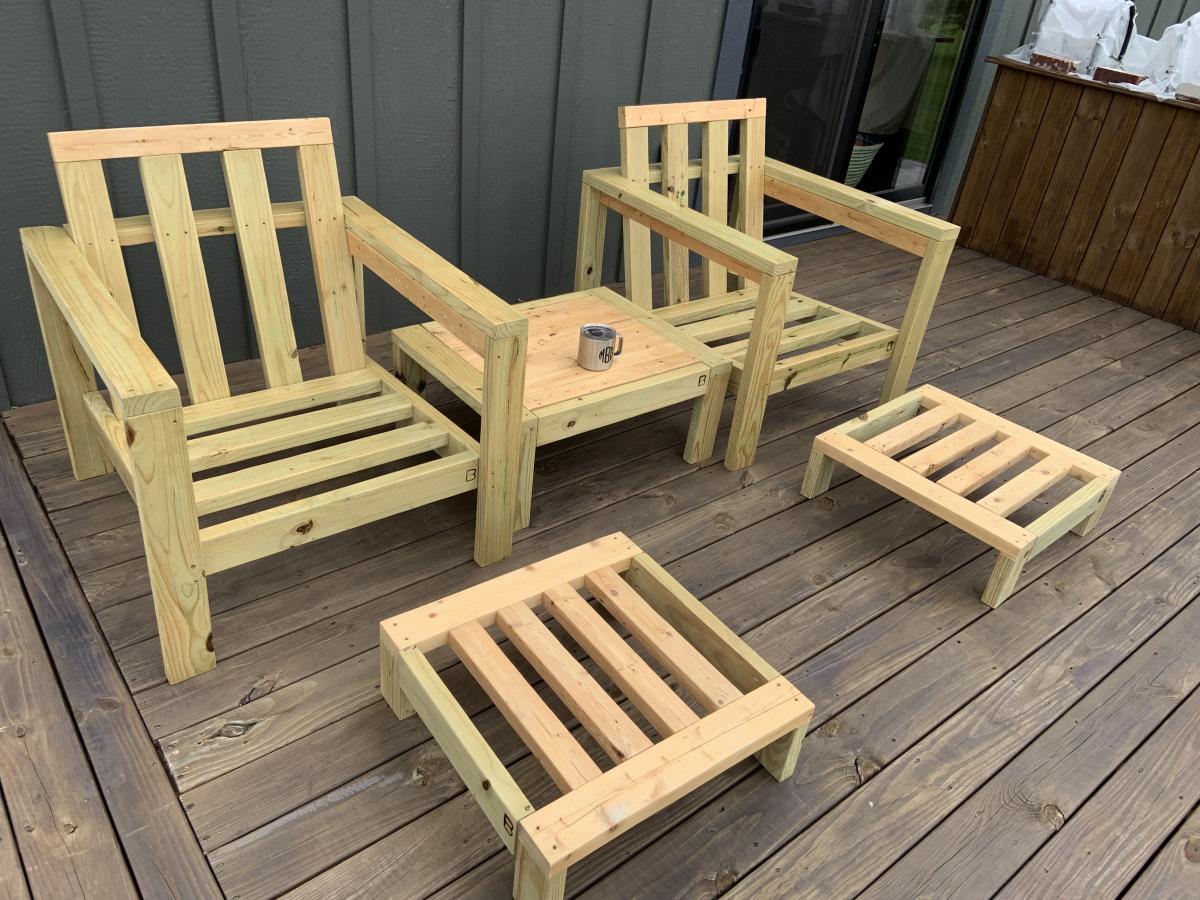
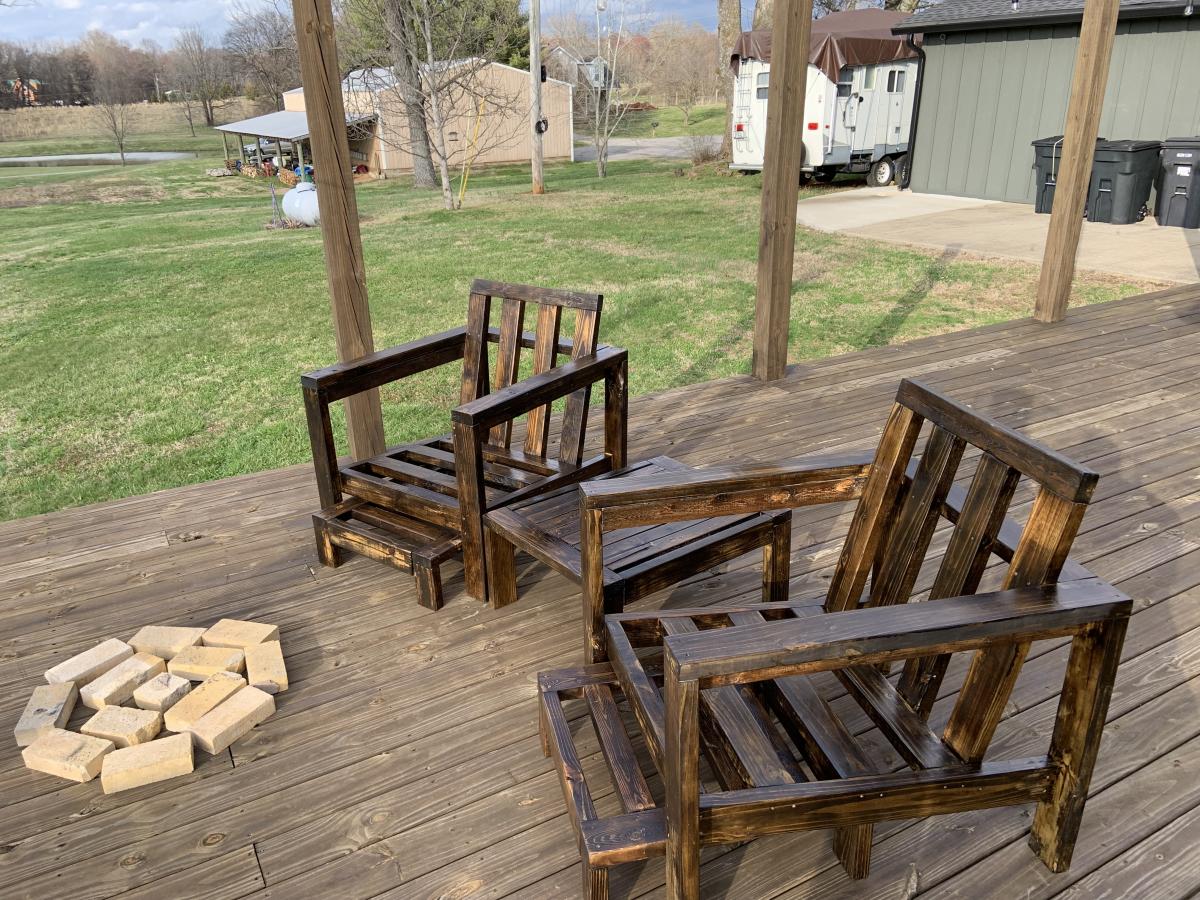
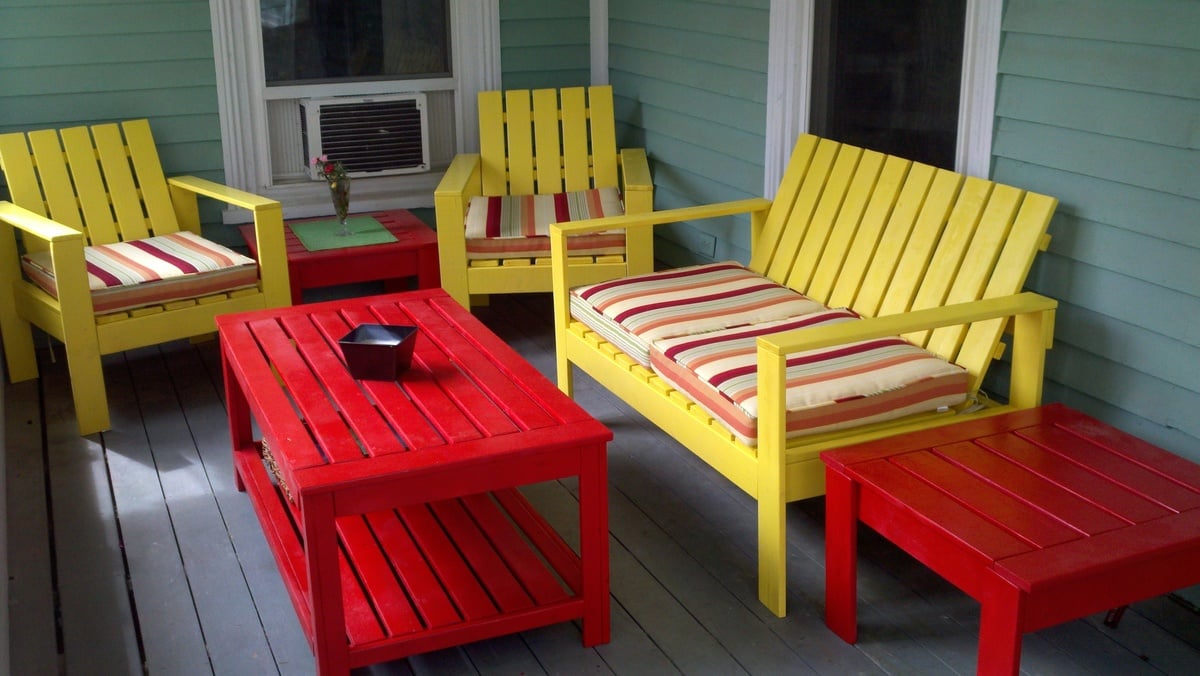
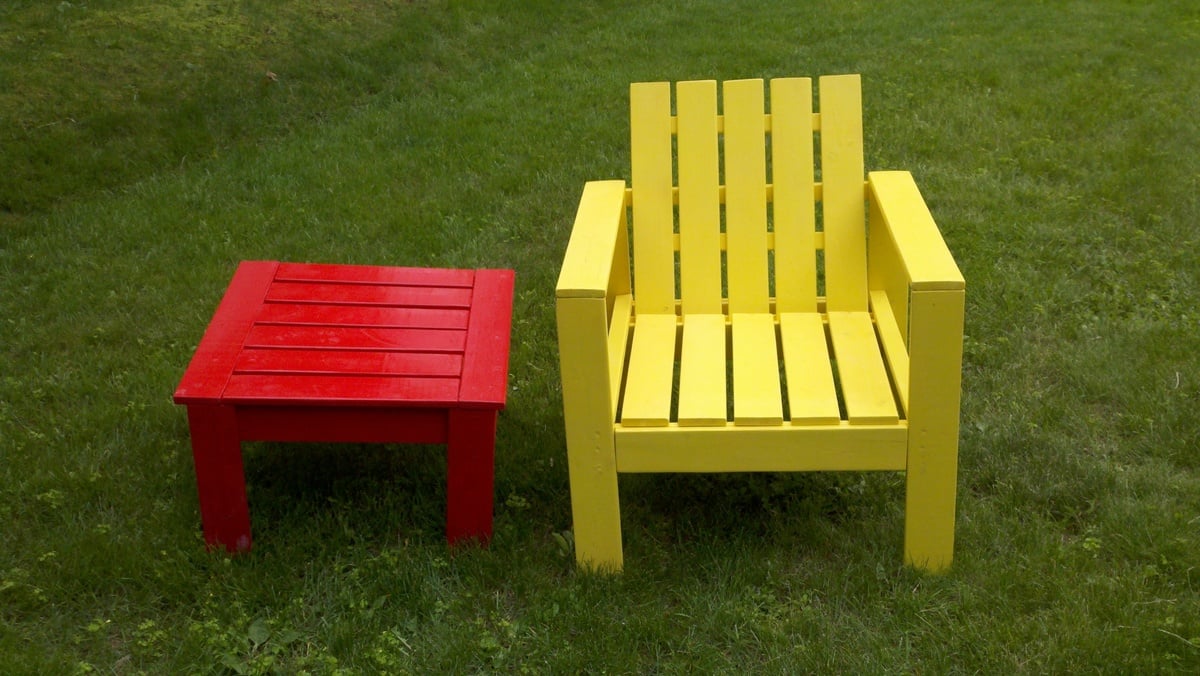
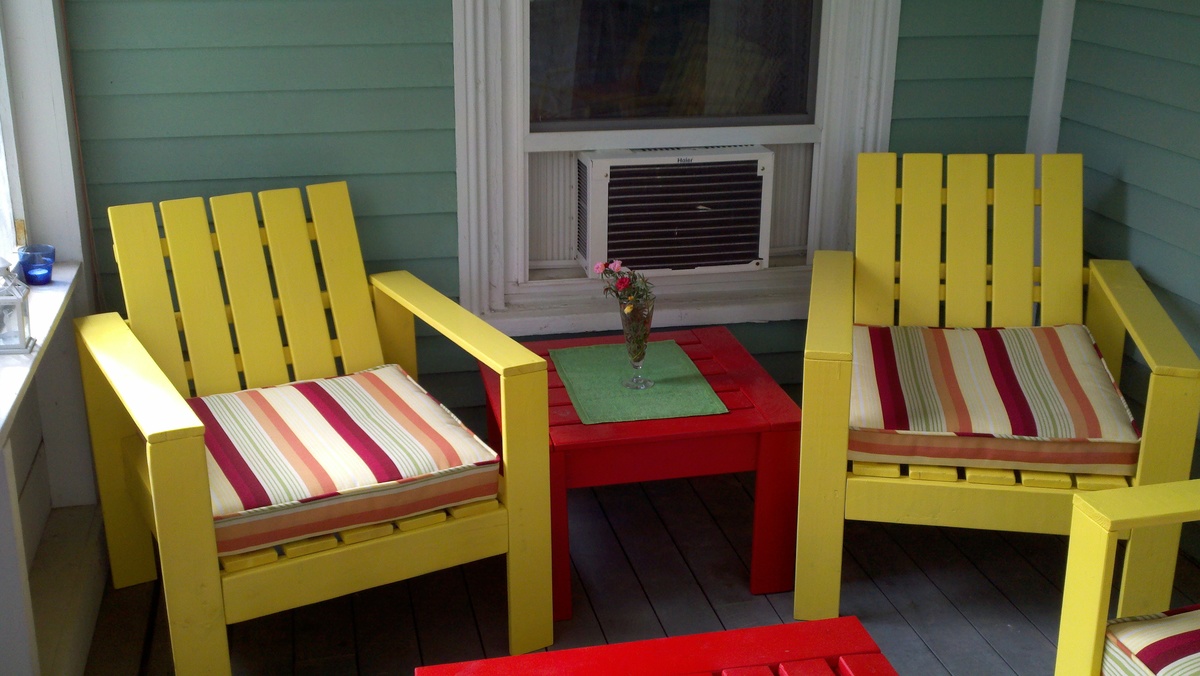
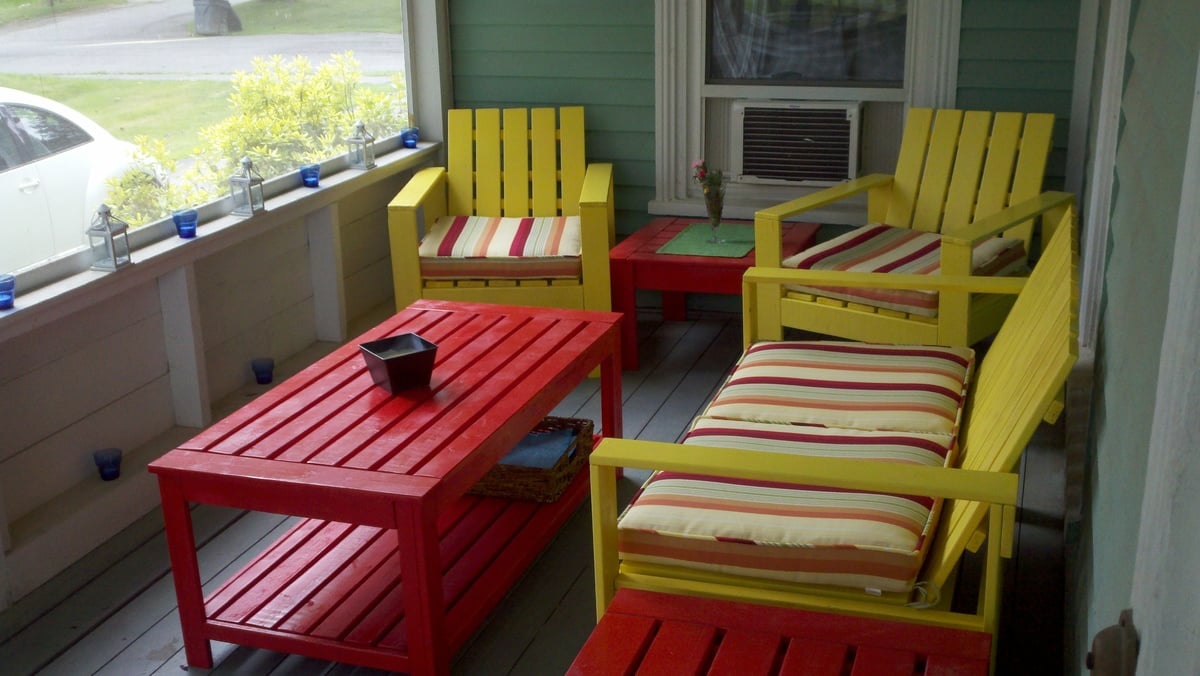
It's summertime and I wanted to be able to sit on my screened in porch with my husband with a cold drink and enjoy the nice weather. But...we had a less than cheery porch and not to mention no porch furniture. So, I started a mission to bring a little excitement to our porch and give us an outdoor area to entertain and enjoy! With some bright-colored paint, my carpenter's square, and a little patience okay..a lot of patience, I think I nailed it! I made 2 accent/ottoman tables, 2 outdoor lounge chairs, an outdoor lounge love seat, and the Hudson Outdoor table. I also bought 4 cushions on sale at Walmart in colors that match my bright patio set perfectly!
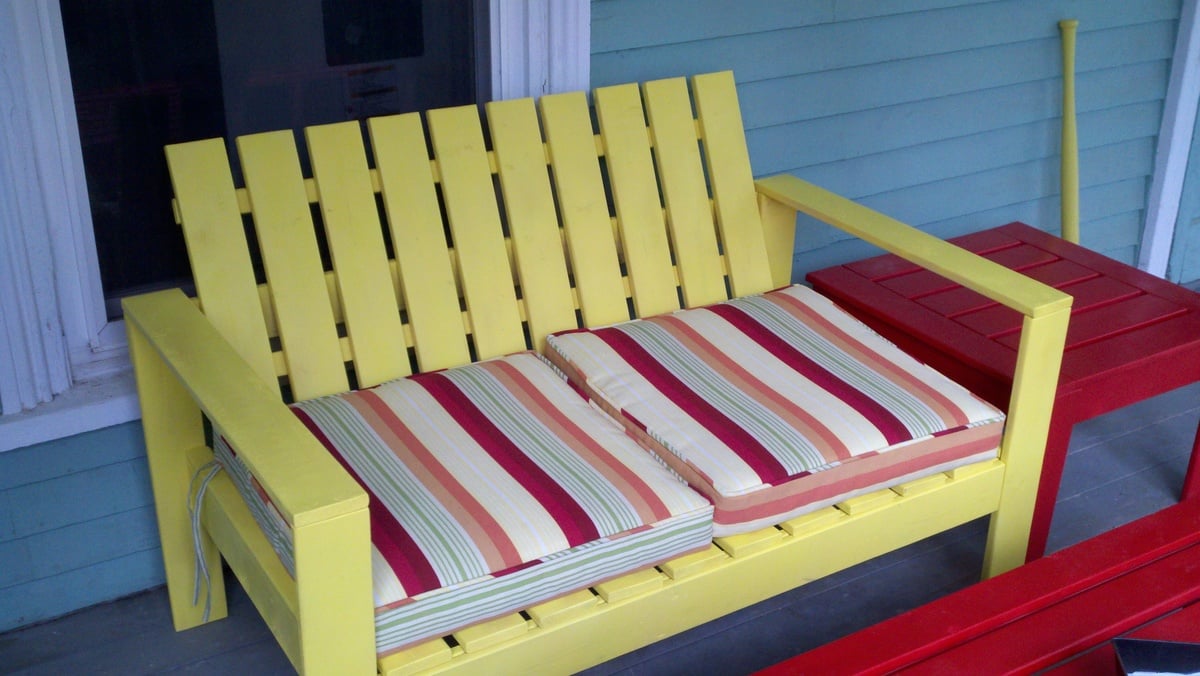
I modified the outdoor lounge chair in to a love seat by doubling the dimensions of the: back tie-in, seat frame supports, front and back aprons, seat back supports and seat back bottom support, using a 1x4 back tie-in instead of the 1x2, adding an extra seat frame support in between the front outside and inner support, and used 10 back boards and seat boards instead of 5.
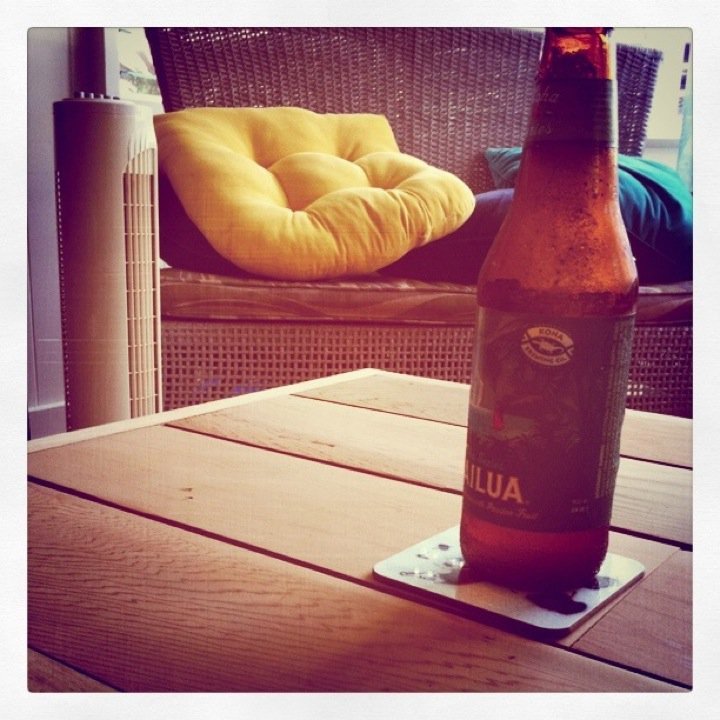
I think now I'll go back to the porch and enjoy the afternoon with a nice cool iced green tea and finally get to relax on a porch with furniture on it!
Tue, 08/09/2011 - 17:29
One more beautiful than the next! So impressed with this whole set! Amazing!
My daughter recently started collecting succulents and Tillandsias (air plants). Honestly, I had never heard of air plants but as the name implies, they grow without the need for soil. They can be purchased at your local nursery or garden center and online.
Anyway, she wanted a way to display them. Online, you will find various options for containers with the most common selection being glass terrariums. I wanted to make something a little different. Also, it's an excuse to use my scrap wood.
More Info/Build Instructions: https://www.instructables.com/id/Air-Plant-Holders/
My bedroom was missing a mirror so I decided to make this jewelry armoire with a mirror front.
I followed the plans very closely, but had to adjust the measurements to accommodate my mirror. I used a piece of screen for the earring holder and rolled up pieces of felt that I covered with fabric on the ring holder. I decided against using a handle since the cabinet is so long.
Built this coffee table as a housewarming present for my buddy who got me hooked on woodworking as a hobby! Made from reclaimed wood.
You want to see more? Check out my blog and follow me.
my twitter is: me_go_eco
Reduce, Reuse, Recycle, RECLAIM! Thanks!
Modified to fit dimensions of some reclaimed lumber. Substituted some threaded steel rods instead of the wooden X.
I have wanted a built-in window seat on this wall for a very long time. My hubby and I finally tackled this project. Definitely not perfect and lotsa challenges and mistakes made but we are happy with outcome.
Sat, 11/26/2022 - 14:47
This looks fantastic, great solution for the space! Thank you so much for sharing.
I changed the plans just slightly. I used 2x4's for framing and enlaged the shed somewhat and added a floor. I also used a different type of roof to handle the amount of rain in my area.
Ana White inspired Rustic X Coffee Table finished with dark walnut stain and Annie Sloan graphite chalk paint.
Built by Kelly Flood Gugliemoni, shared on Facebook.
Sliding barn door hardware is DIY, cabinets are DIY - tutorials linked below.
As soon as I saw the plans for the camp loft bed with stairs, I knew it would be perfect for my daughters room. It was my first furniture build. While it is not perfect, I absolutely love it. The plans were easy to read and customize to fit her room. Don't mind the messy room, she's 13 and this is about as good as it gets lol.
Tue, 02/14/2023 - 16:12
This is so cute, amazing first build, love your mods!