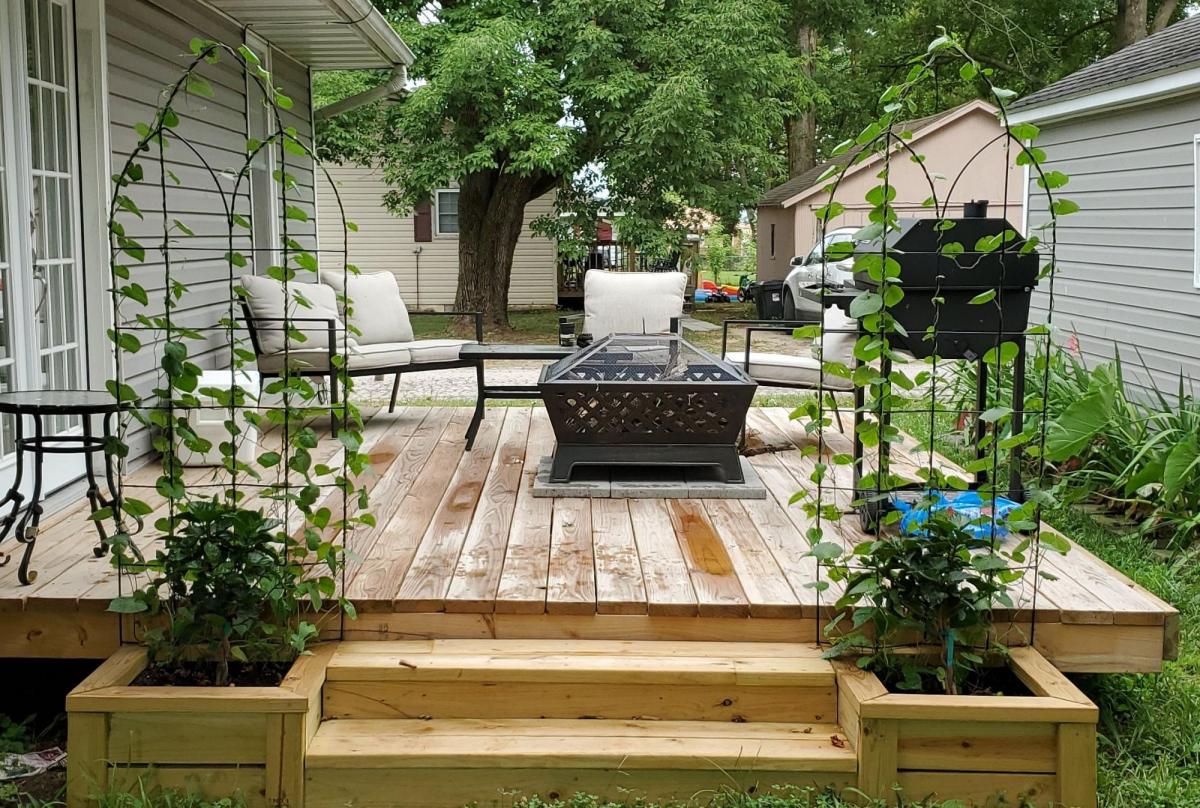
Beautiful steps
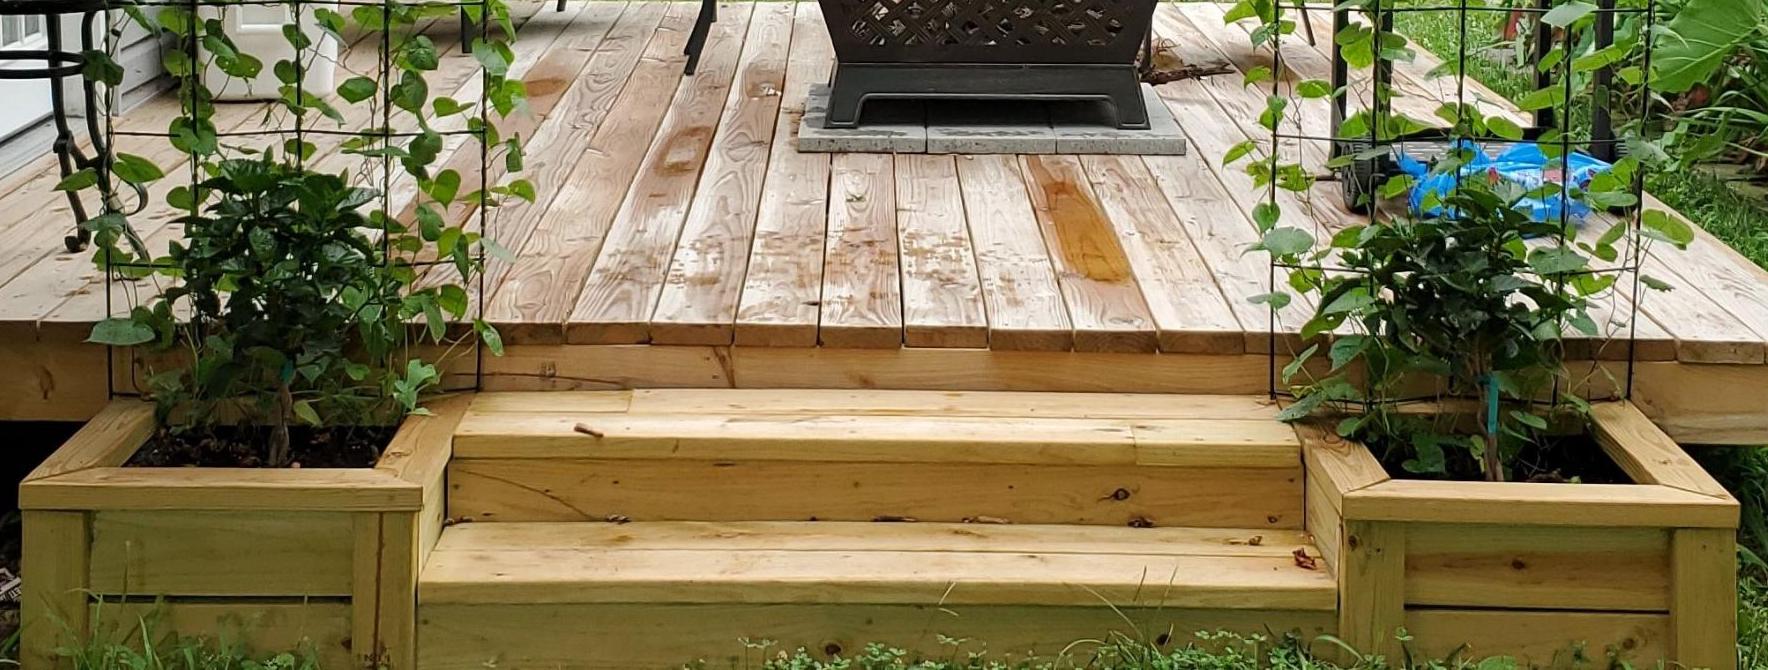
Directions worked like a charm, thank you, Ana for what you do!
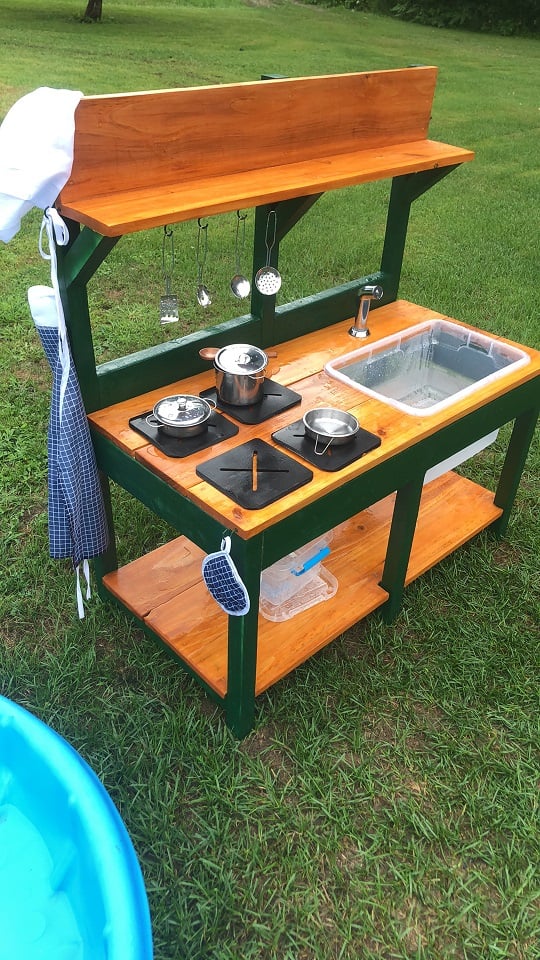
Built from Plan(s)
Directions worked like a charm, thank you, Ana for what you do!
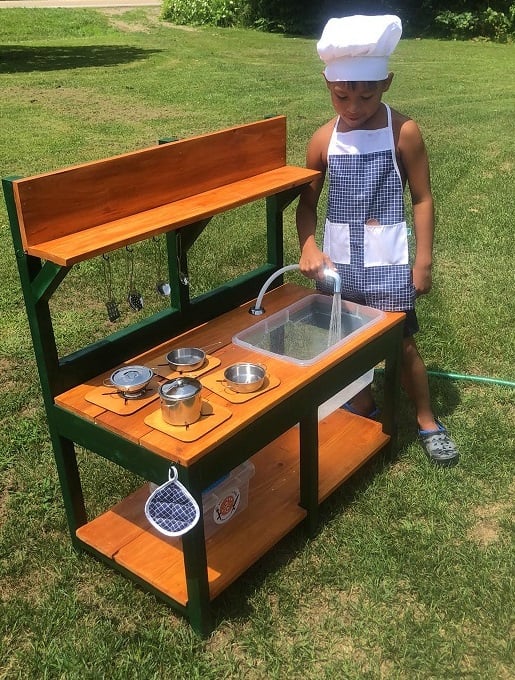
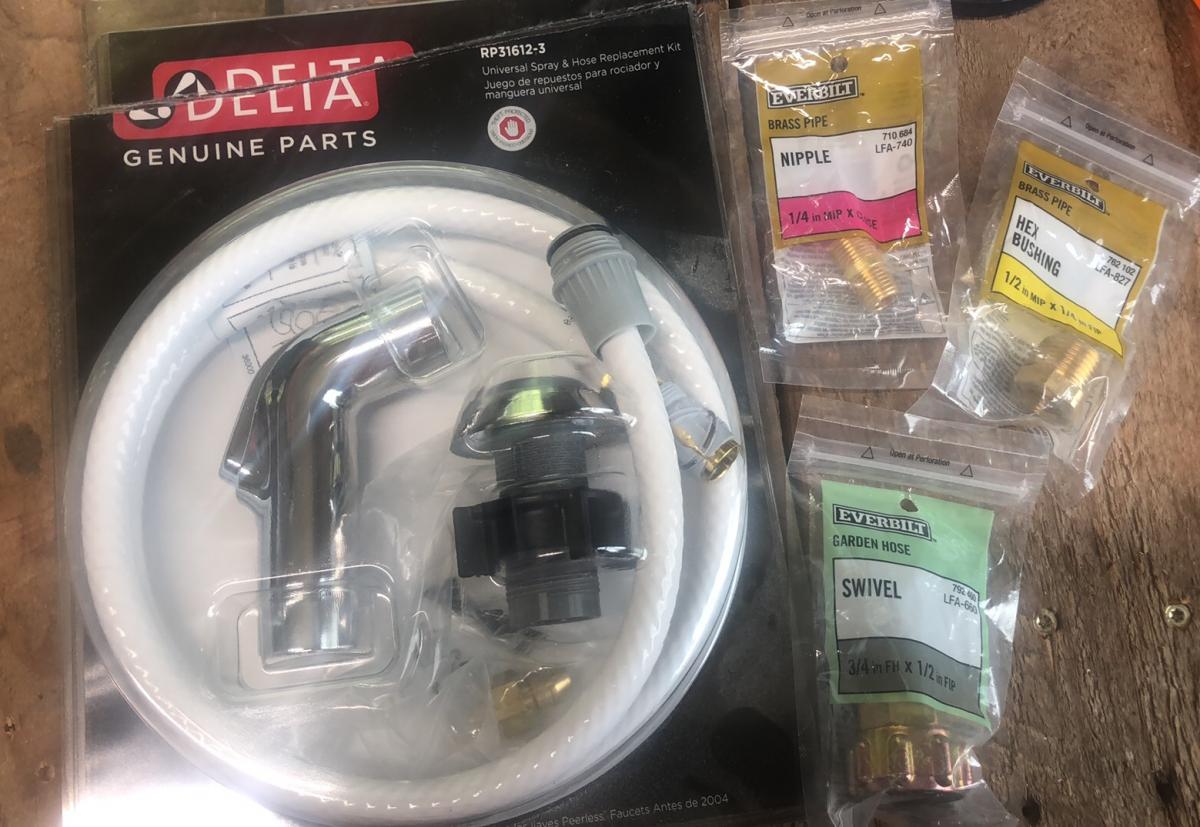
This was my first build, like ever. I am very proud! Props given to my hubby who is a carpenter by trade. I went back and forth on stains and paint colors at home depot. He didn't rush me and was awesome the entire time! He actually picked up the supplies, and is now a fan of the self tap screws! He thought he knew where everything in home depot was, but he had to ask to find those LOL. He wanted to use his new nail gun, but I wanted to follow the plans. The plans are awesome! We decided not to add an oven door just yet. Likely will soon. (Avoiding pinched fingers for now) I also have the knobs for the front, but it was hot and since I had only just stained them, they needed time to dry and second coat yet. (I kind of forgot about them once I finished them with my new dremel) We purchased the hose kit from the kitchen section at home depot. It came with everything, I searched market place and even posted asking if anyone had a used one for sale. No luck. This was $20 and came with everything, the guys at home depot showed me what adapters to get to ensure that it would hook up to our garden hose, and we grabbed those too and they worked perfectly! I messed up cutting one of the angles for the shelf the wrong way, but there was enough scraps for my husband to help me fix it. It was a fun build, and so rewarding to see our kids playing with it! I used my dremel 4300 and it wasn't powerful enough for the thicker wood, so my stove tops are thinner, but he actually enjoys setting them up and spraying them off the table with his hose! I painted the brass hooks green when we were painting the kitchen so they would match. The pots and pans came with the little tote and the apron chef hat and pot holder. It was a perfect finishing touch. *Edit to add photos kitchen hose kit from home depot, reading comments, others had a hard time finding adapters. I suggest taking what you have with you to home depot so they can show you what adapters you need. We needed three because we have a quick attachment on the end of our garden hose, (for our sprayer) now little mans mud kitchen can be connected and disconnected easily!

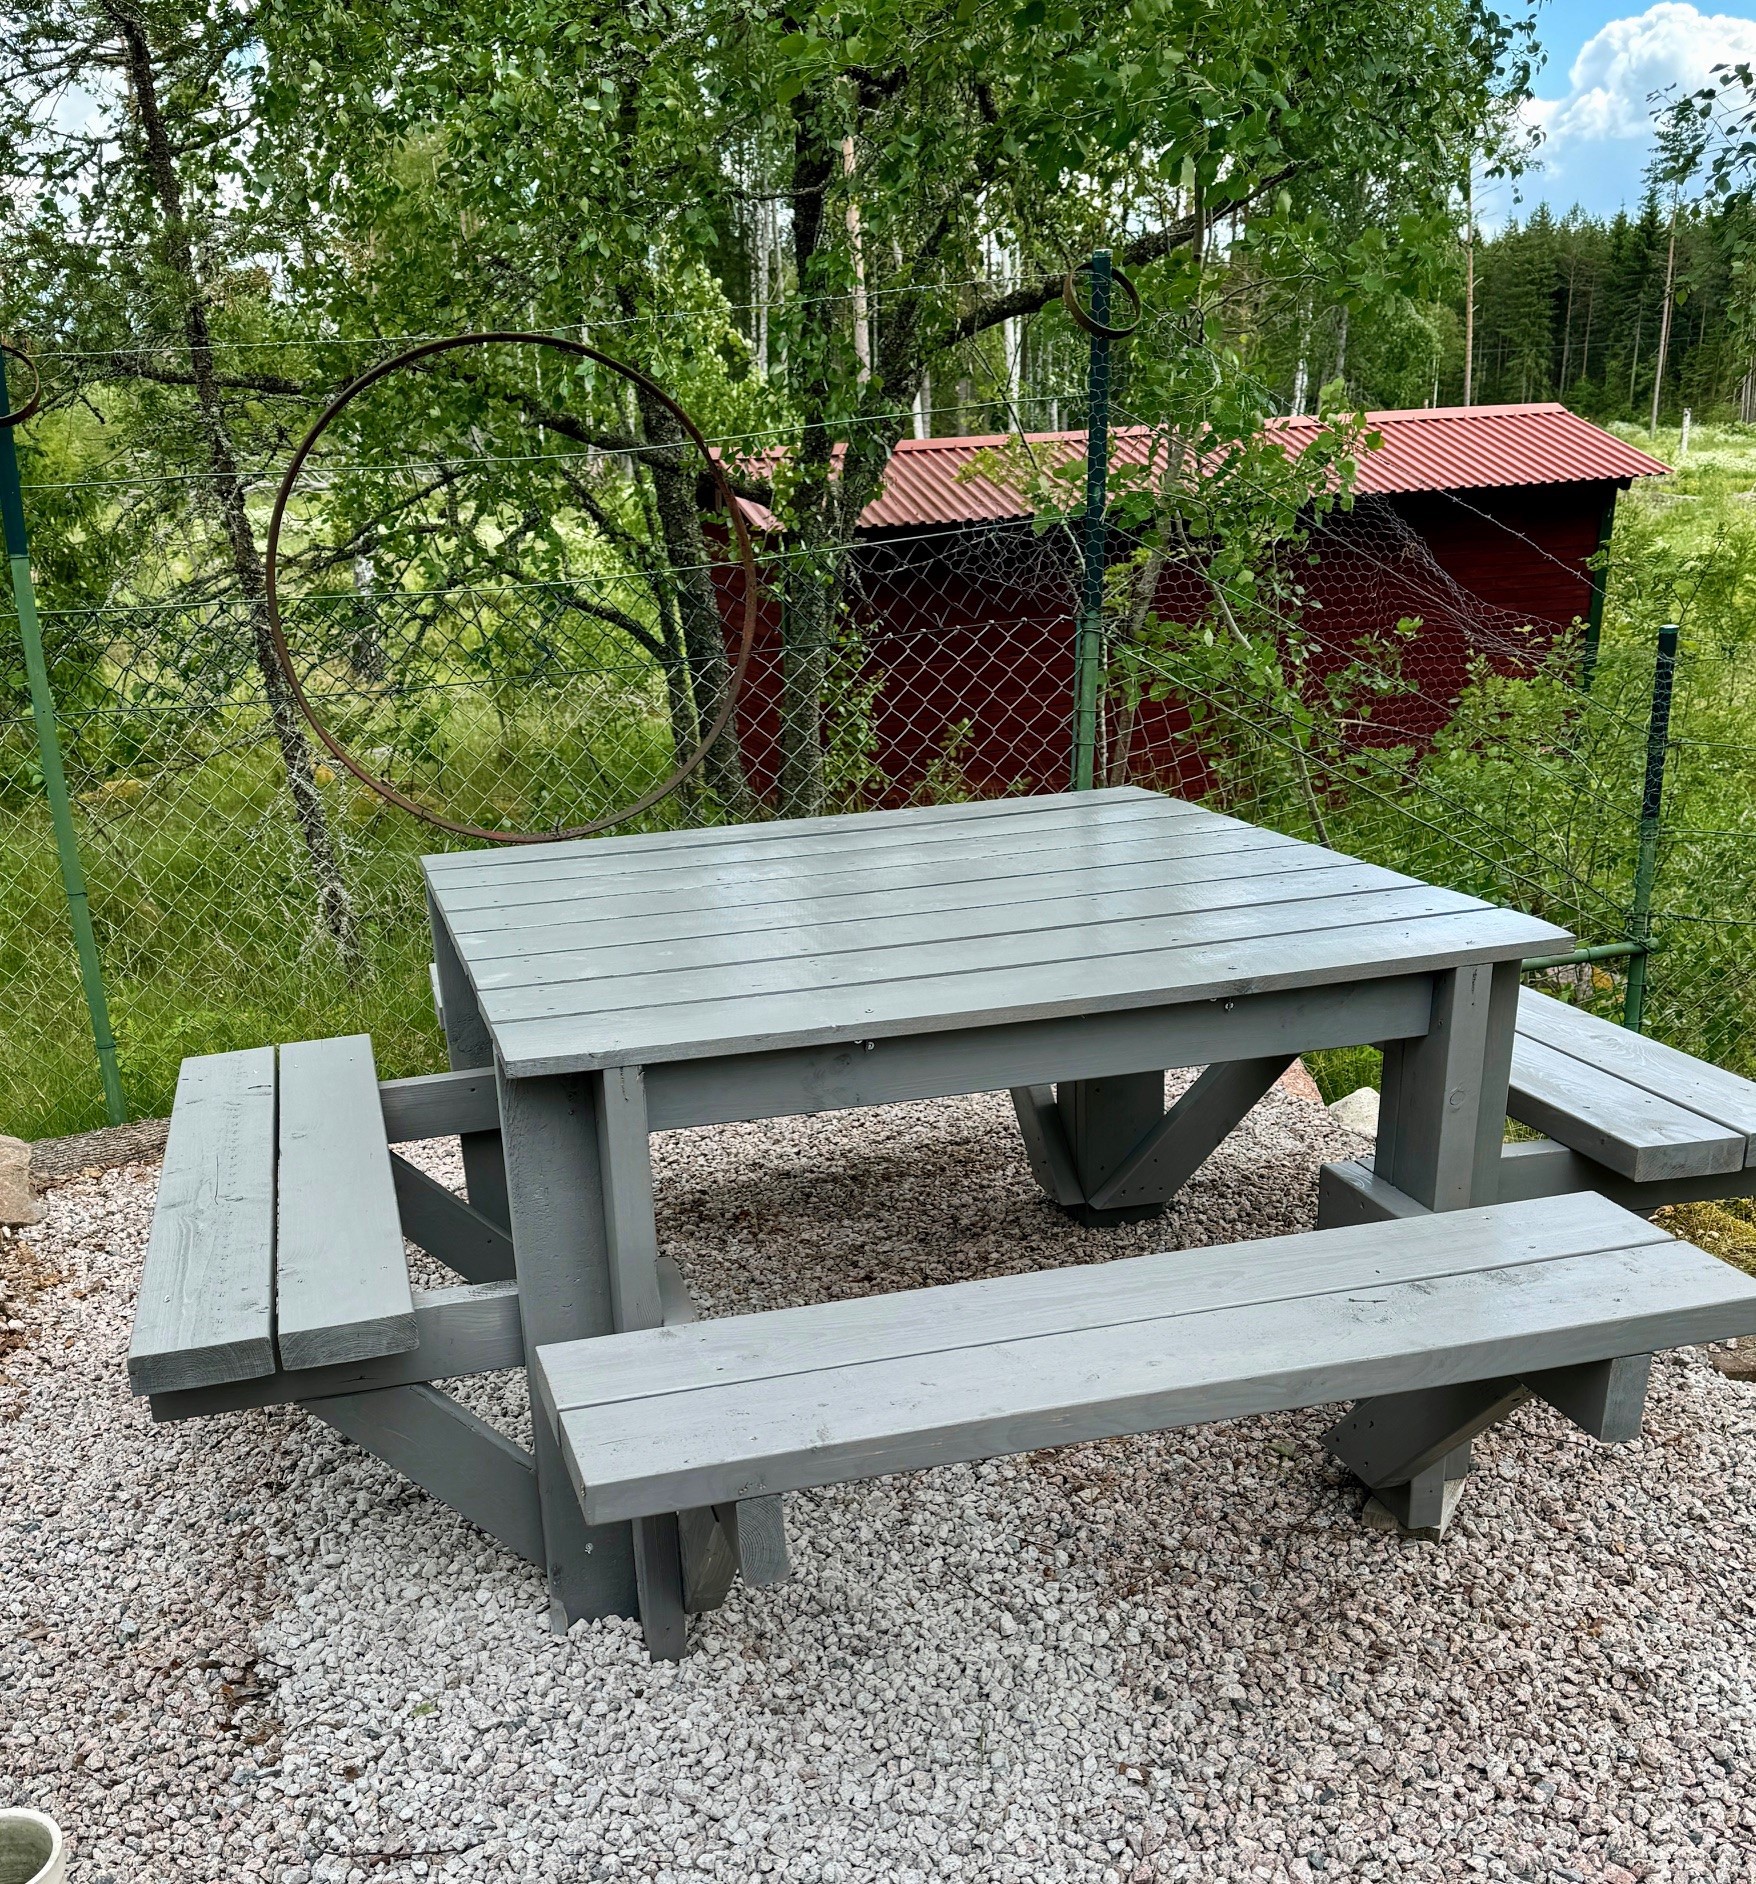
My first Ana White project, so fun to build. Now standing at my summer place in Sweden, ready for a whole summer of picnicking.
Marie Stana
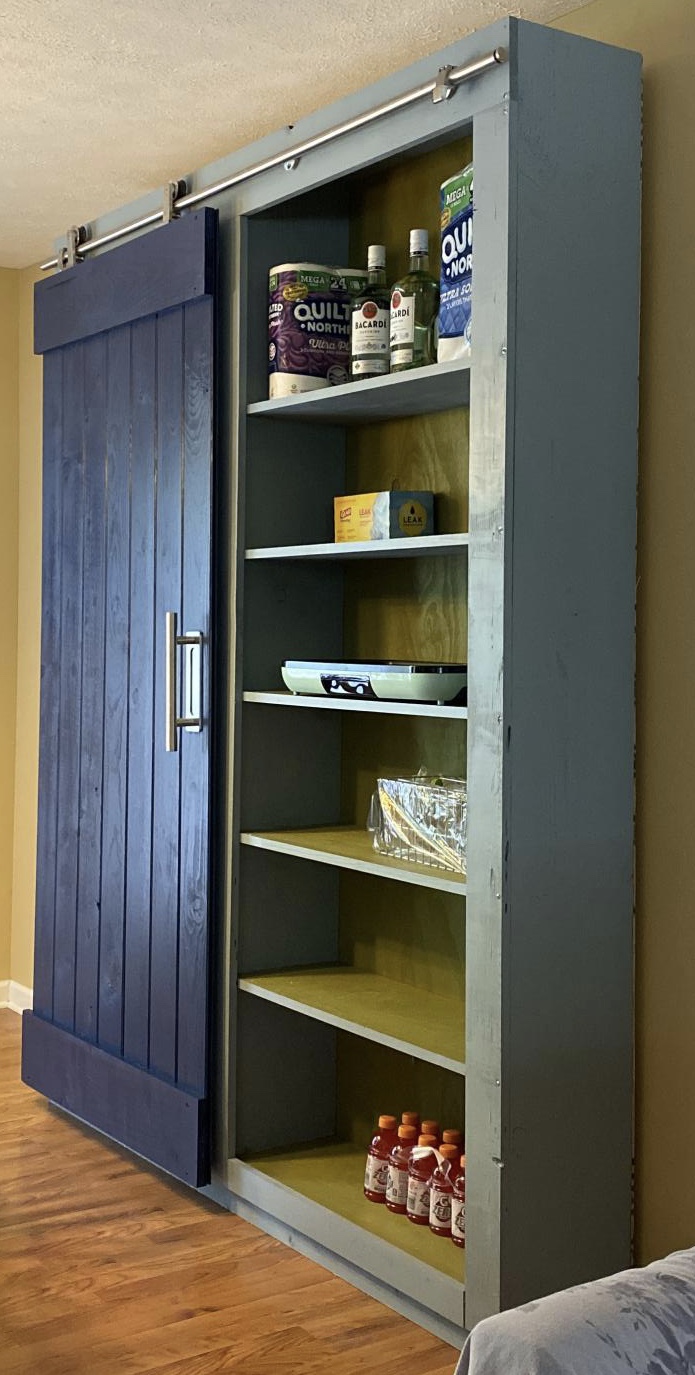
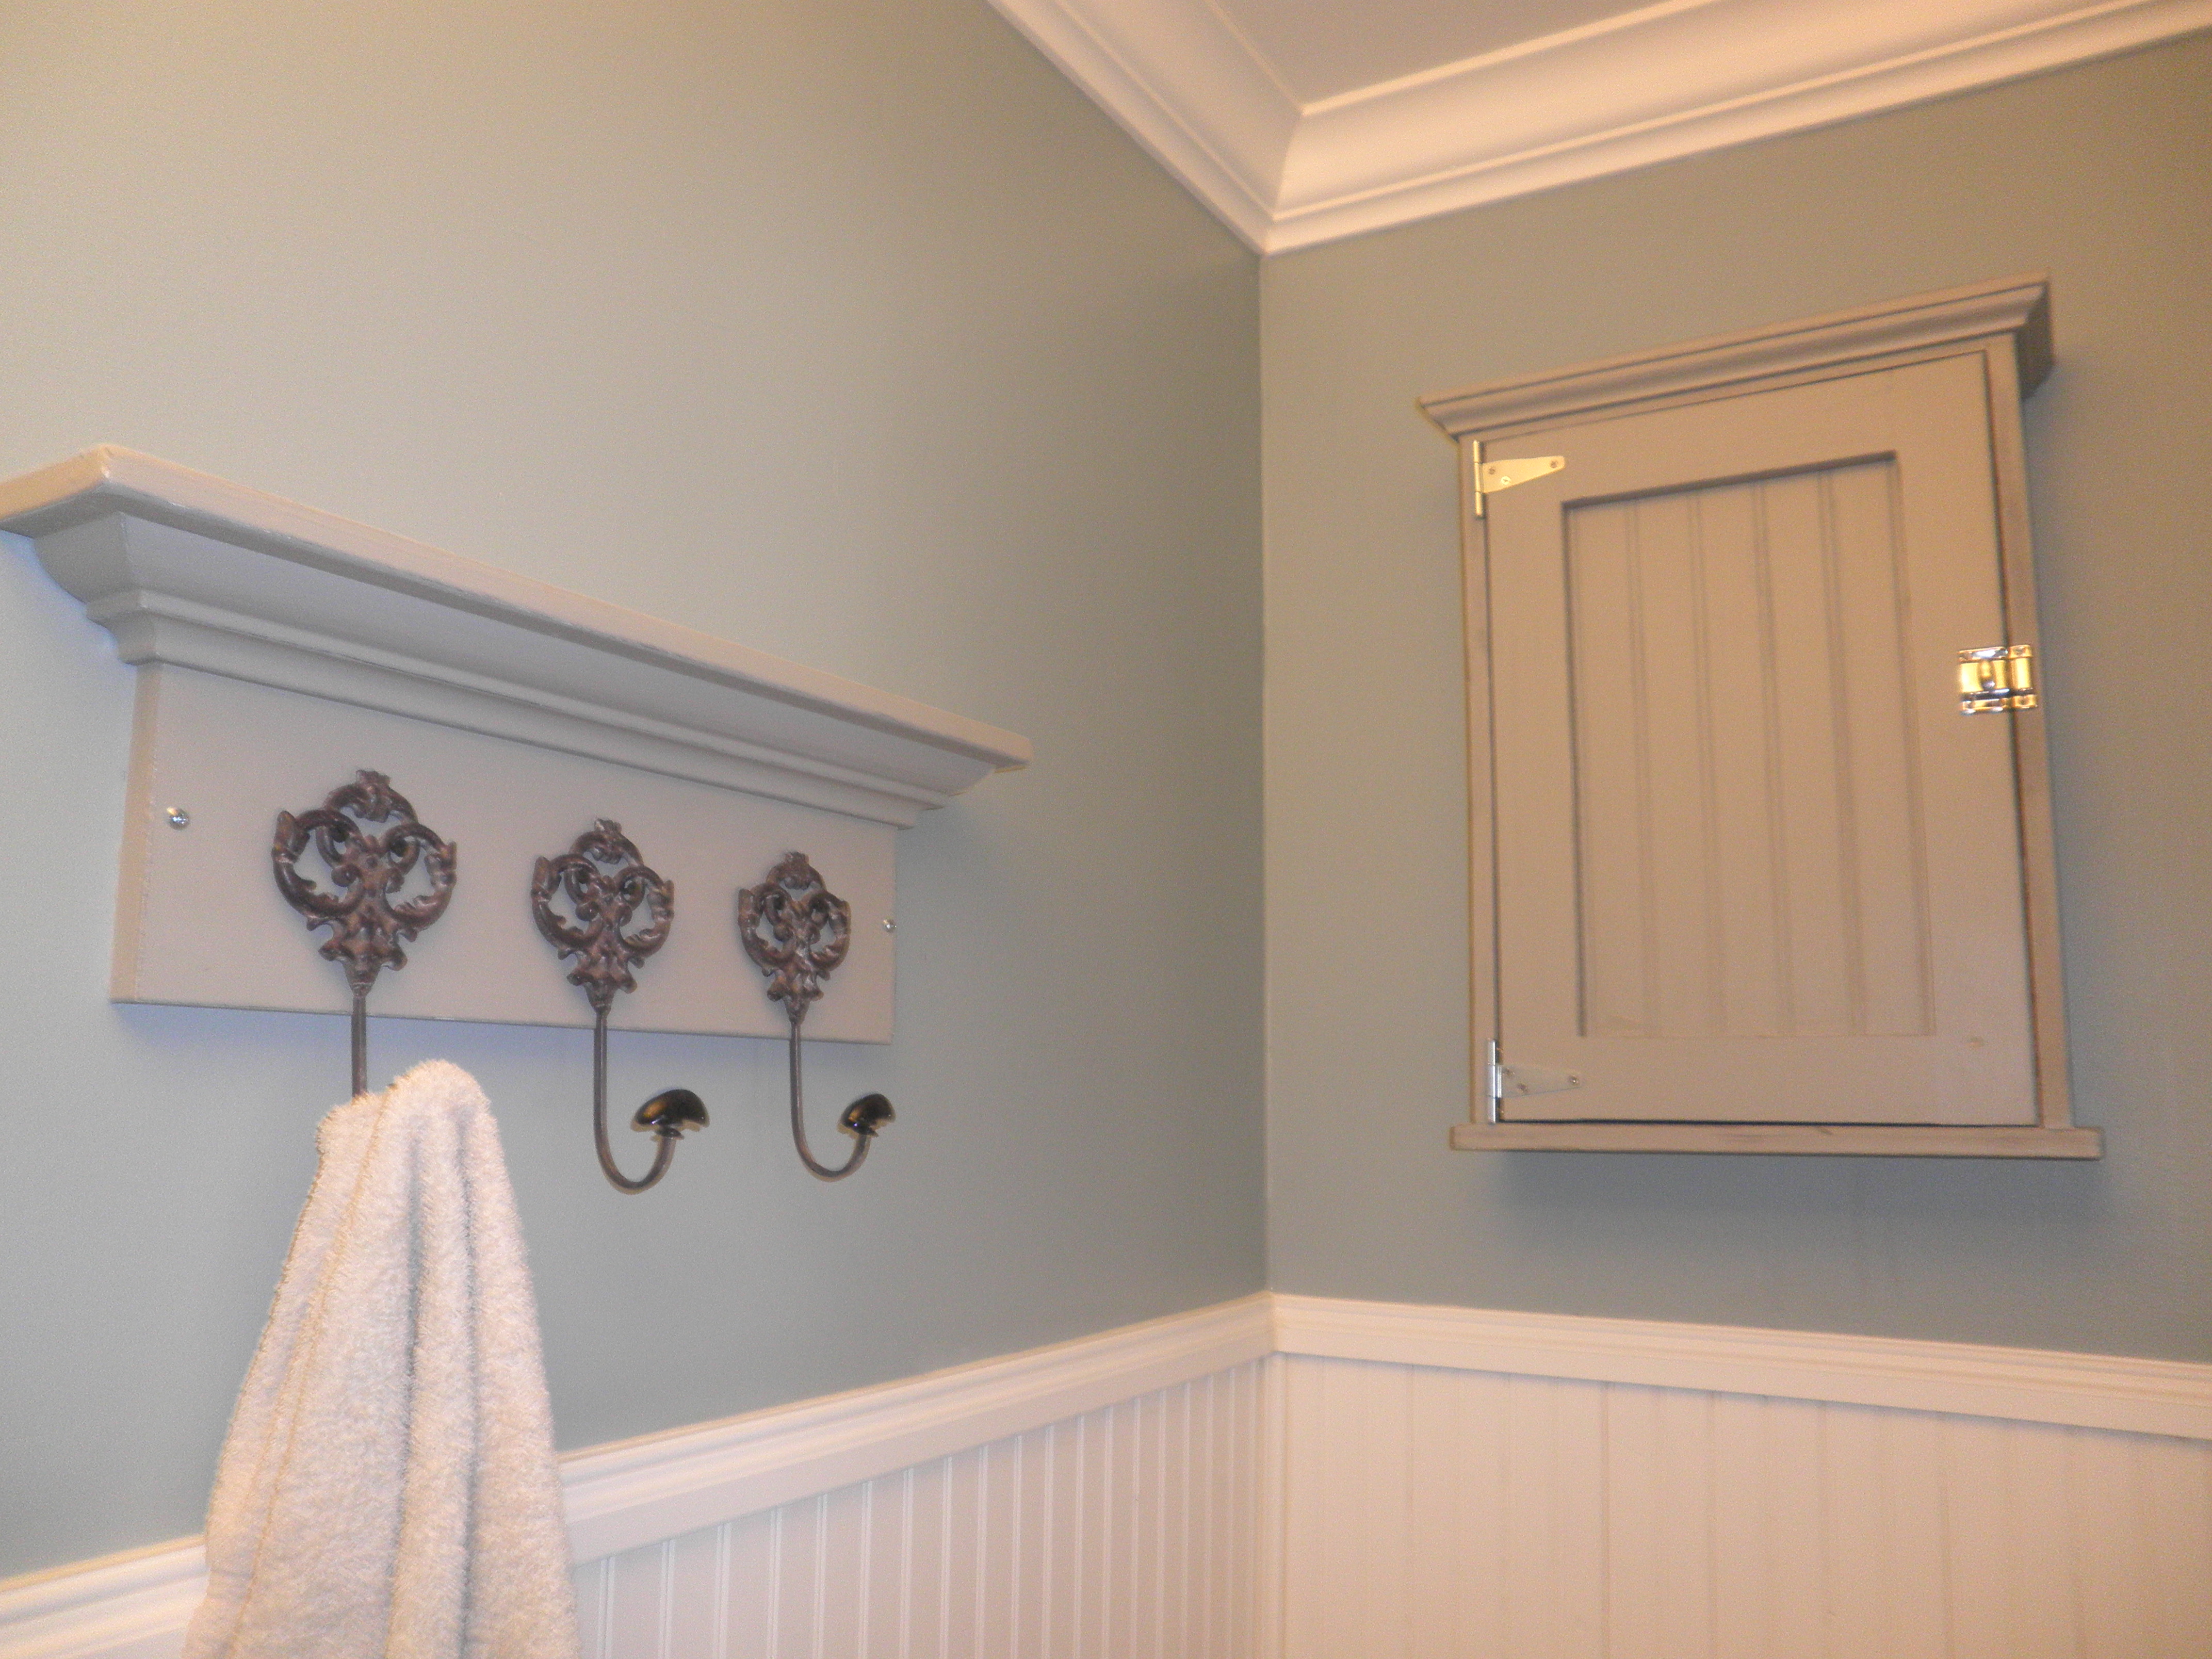
We didn’t have much storage space in our little galley kitchen. Imagine how excited I was to find this plan on my favorite site.
This was my first build using my new circular saw. For previous projects, I’d take both the shopping list and cut list to Lowe’s and have them cut the wood. This time, I made all my cuts. I was nervous but love how it turned out.
I anchored it to the wall because with the barn door and the hardware weight, it felt a little front heavy.
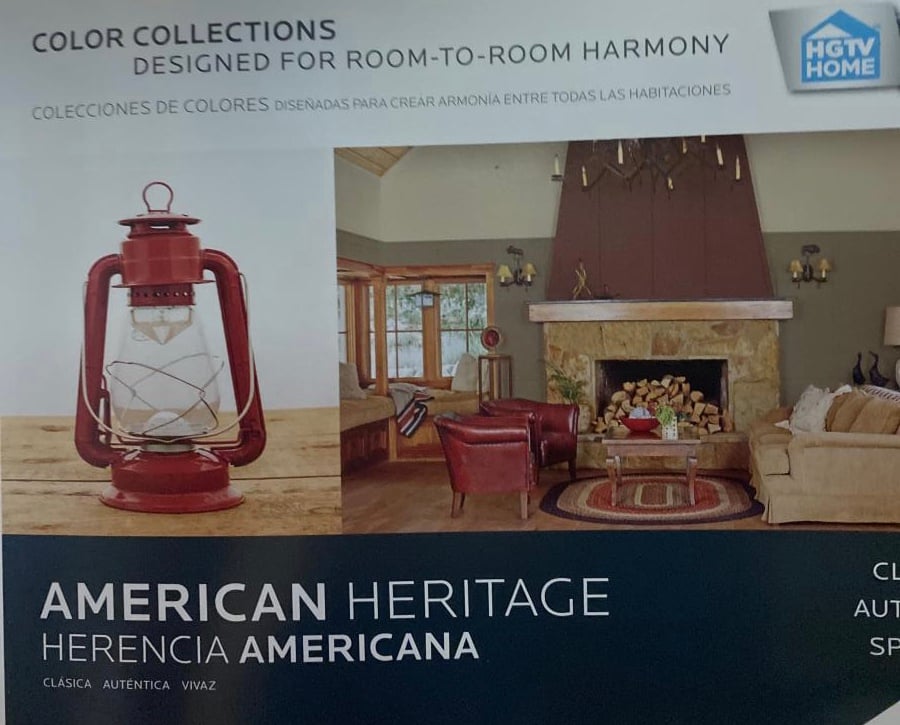
We used the same color as our kitchen cabinets (AH13 Salty Dog) and then selected coordinated colors for the body (AH18 Debonair) and shelves (AH15 Rural Green).
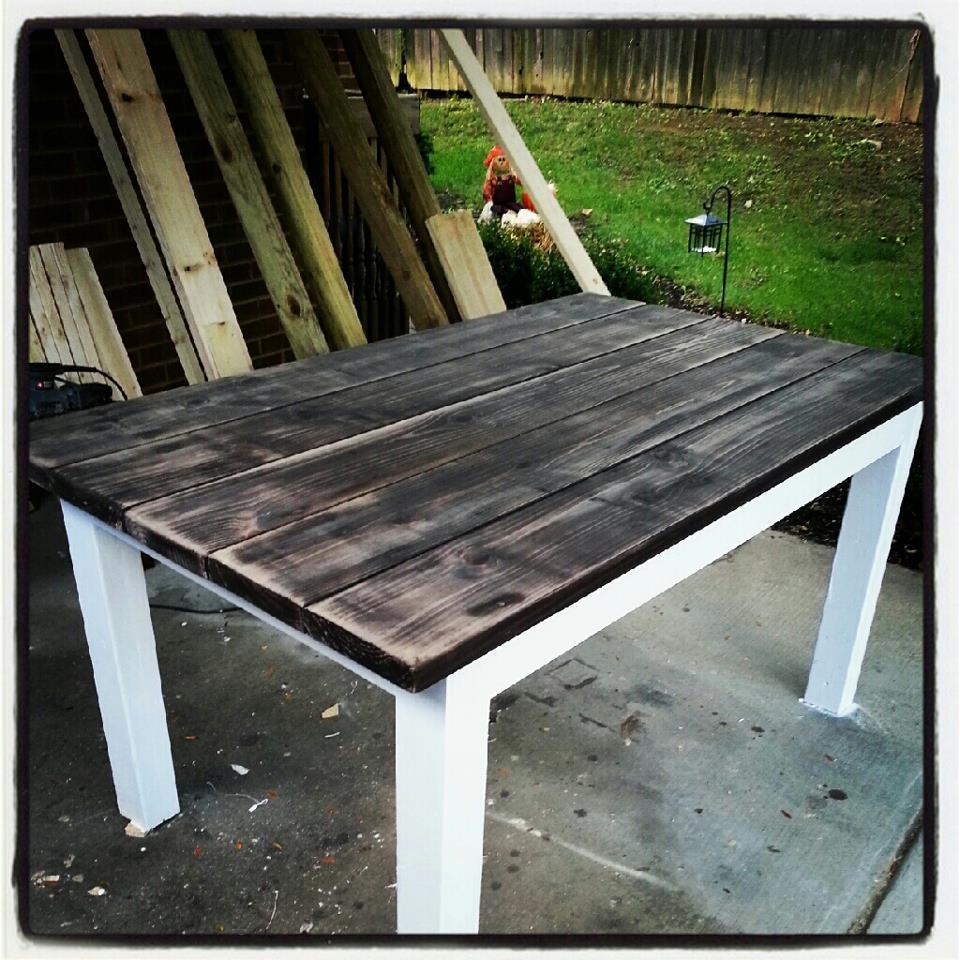
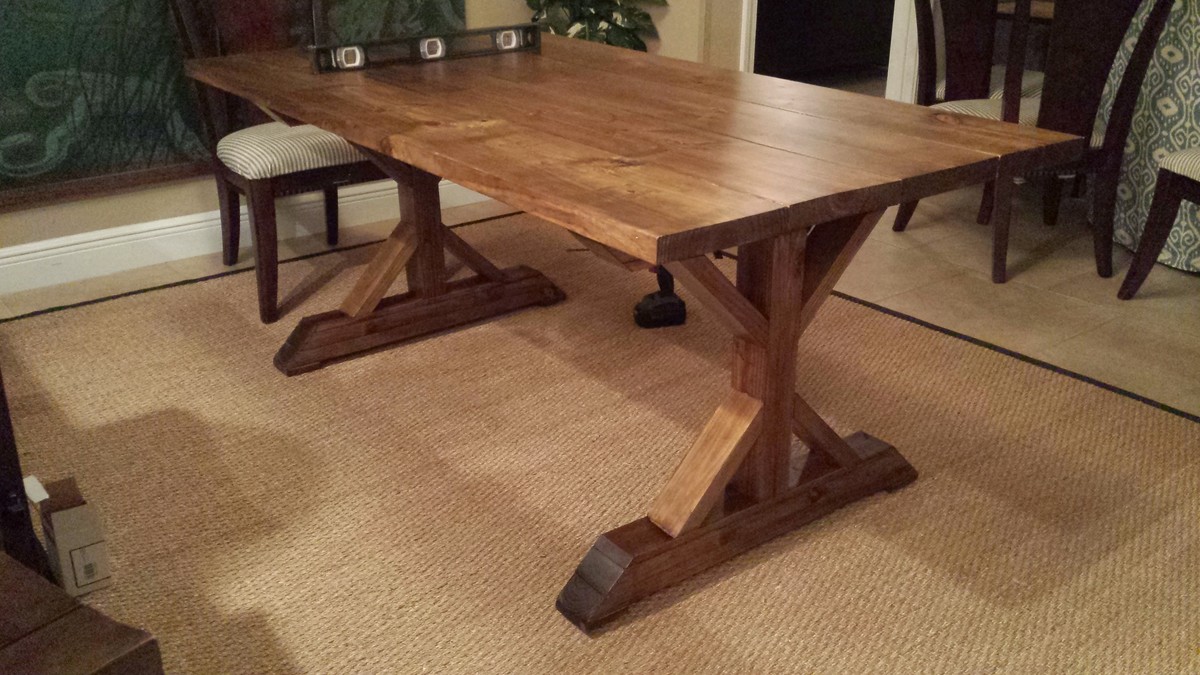
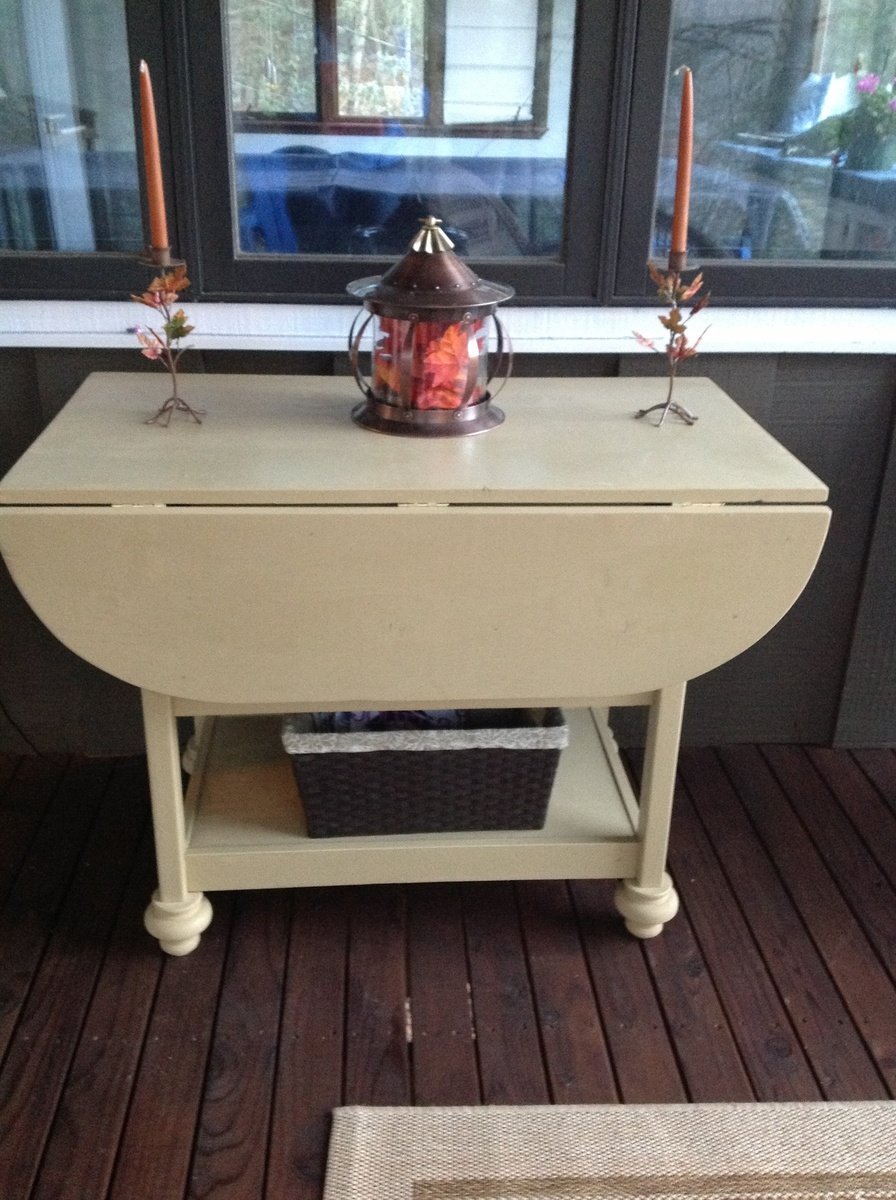
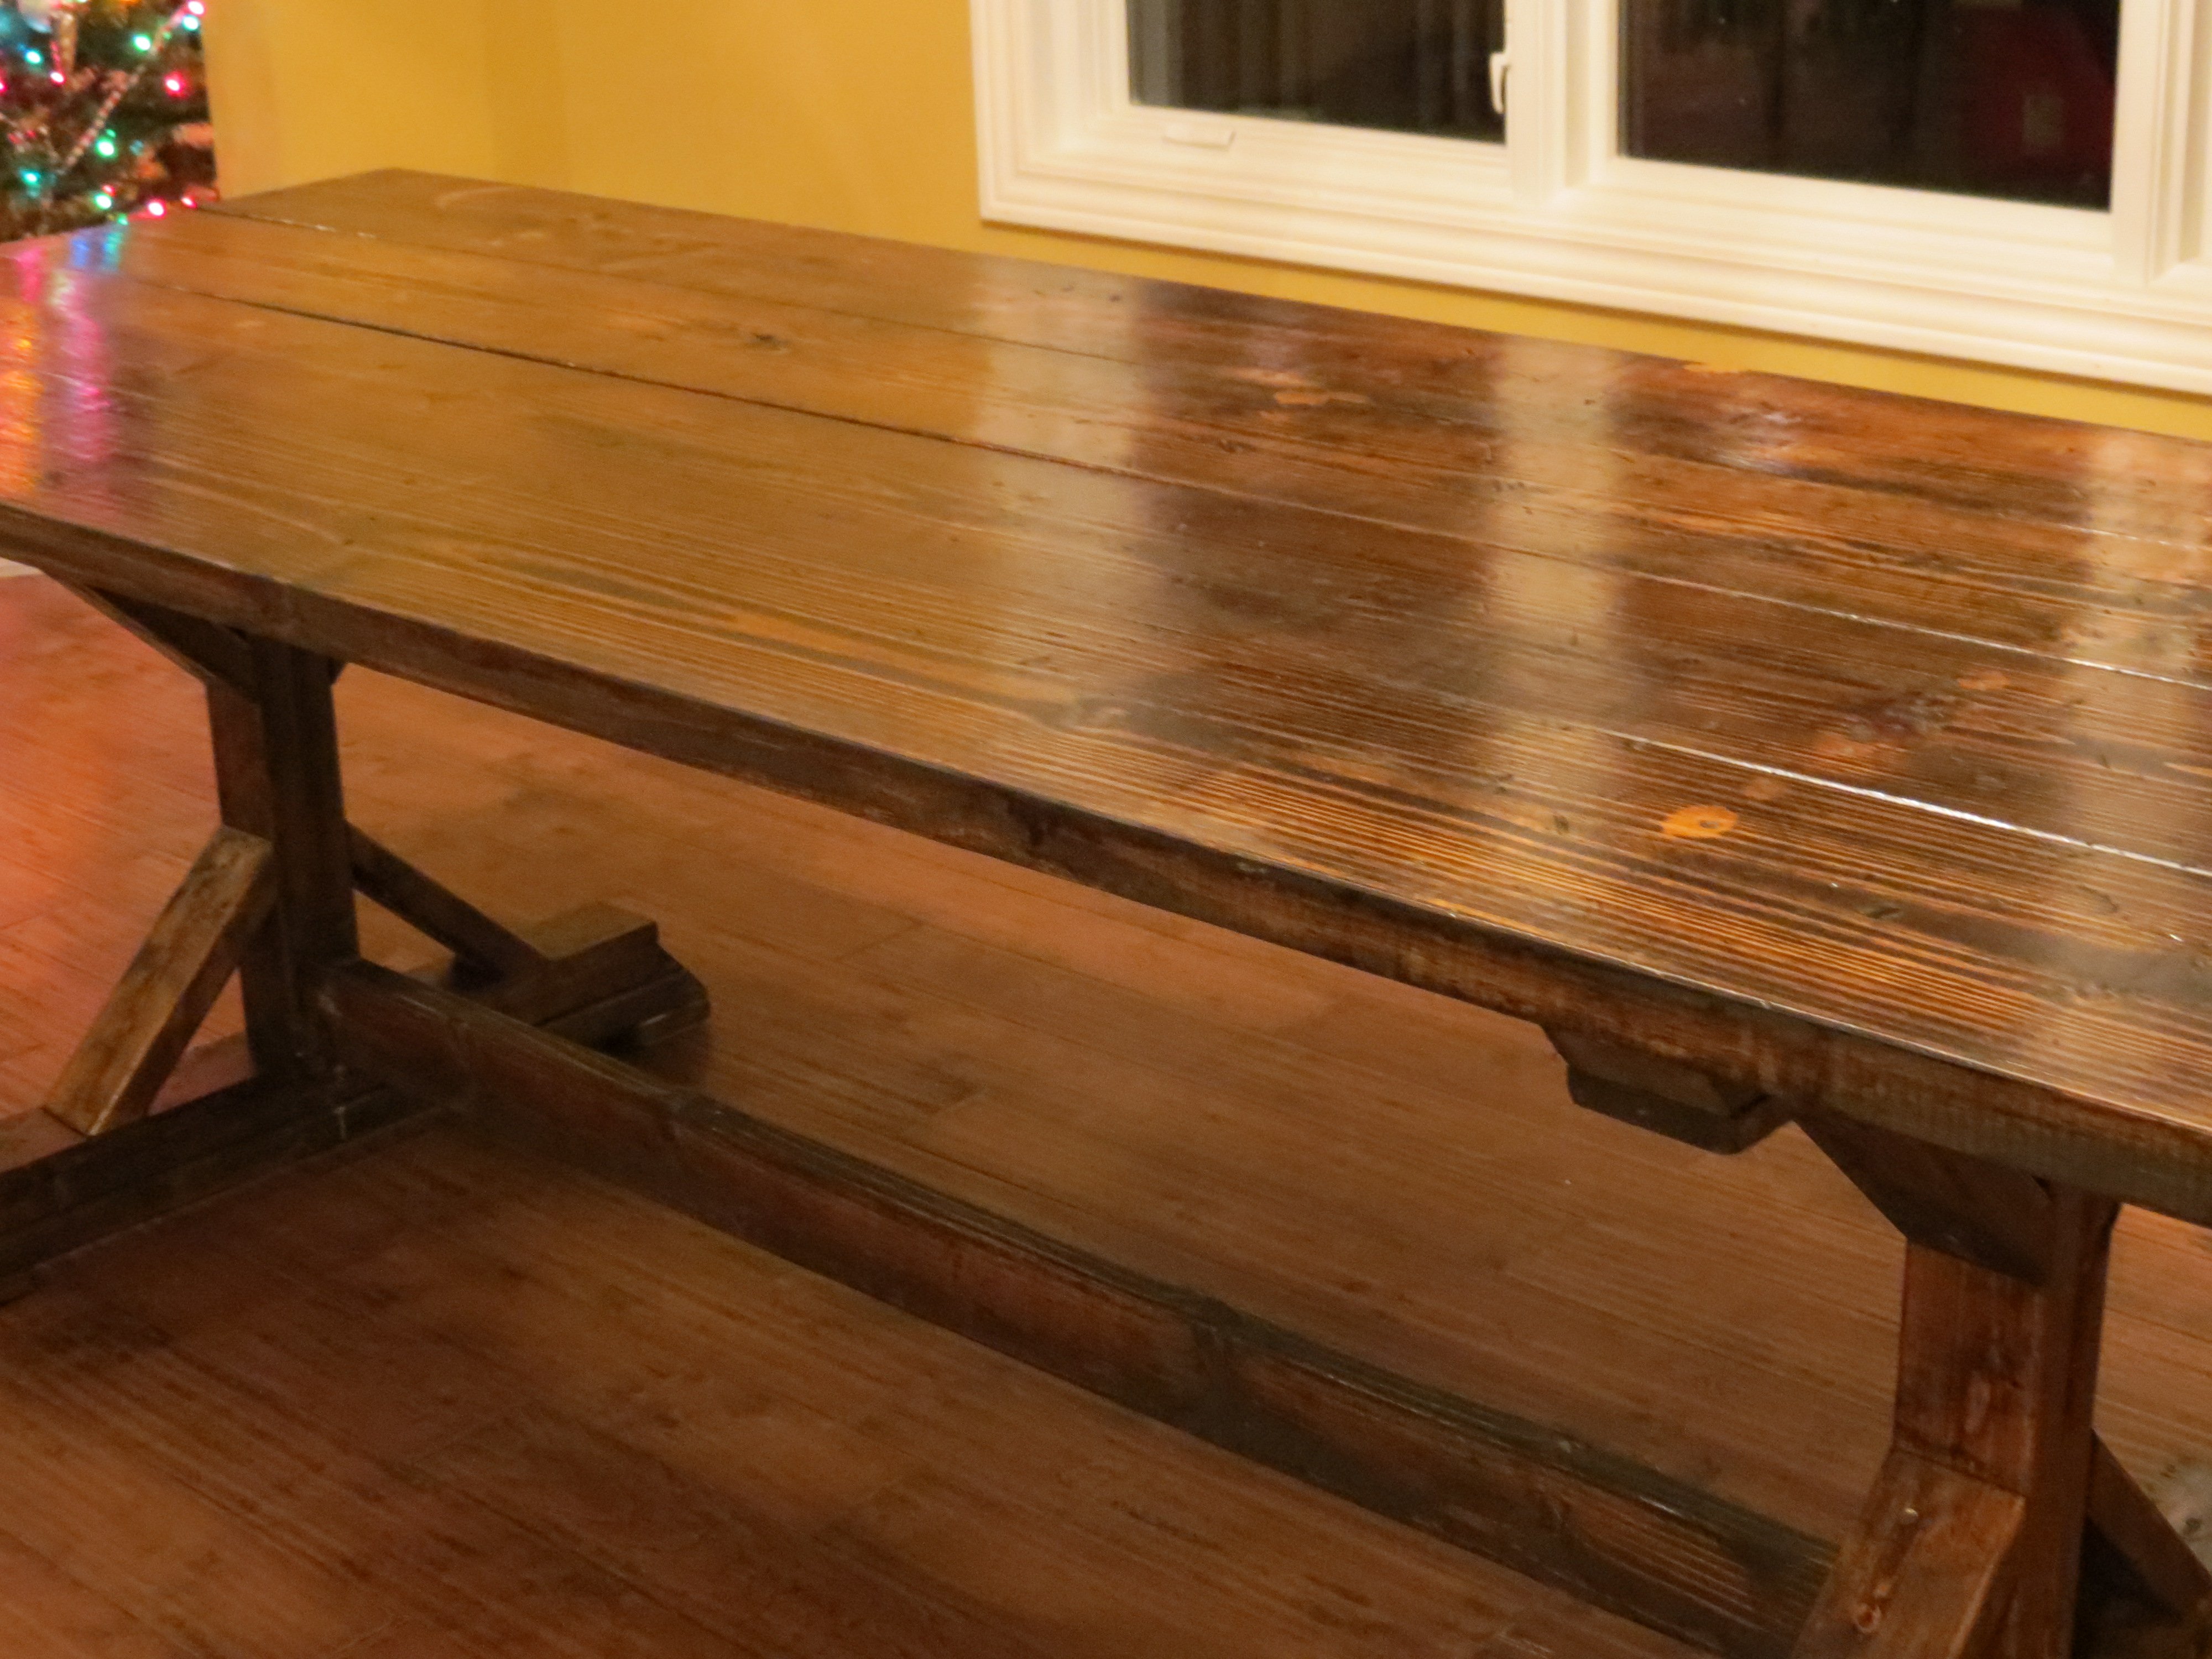
After I built my table (the farmhouse/tryde), my sister wanted a table for her new home. She had looked online and found a table that someone had refurbished from an old table, and put a new top on it..
So once she described it to me, I got started. I again used 2x4s glued/screwed together for the legs. Then I got 2x8 and start putting them down. Since these are such big boards, you have to be extremely careful not to get ones that aren't straight. If they are warped, they will make your table wobbly once you screw them down. After I finally got past that, I began staining.
For the distressed-ish look, I used Rustoleum's water-based Kona stain. I stained each board and then use a wire brush to "scruff" the boards up a bit. From there, I sanded the tops with a combination of 60 grit and 220 grit. I used Rustoleum's matte-finish poly to give it a very soft feel and look.
This table compares best with the farmhouse.
Mon, 10/15/2012 - 14:48
I'm sure you can build it to come apart. This particular one, no. I made another where the top will come off as a one solid piece, but this top is screwed in each individual piece.
Now you could unscrew everything and screw it all back together, but then you would have to make touchups to the paint and stuff. I use white caulk to fill the seams from the base of the table to the table top, and to the legs to the base.
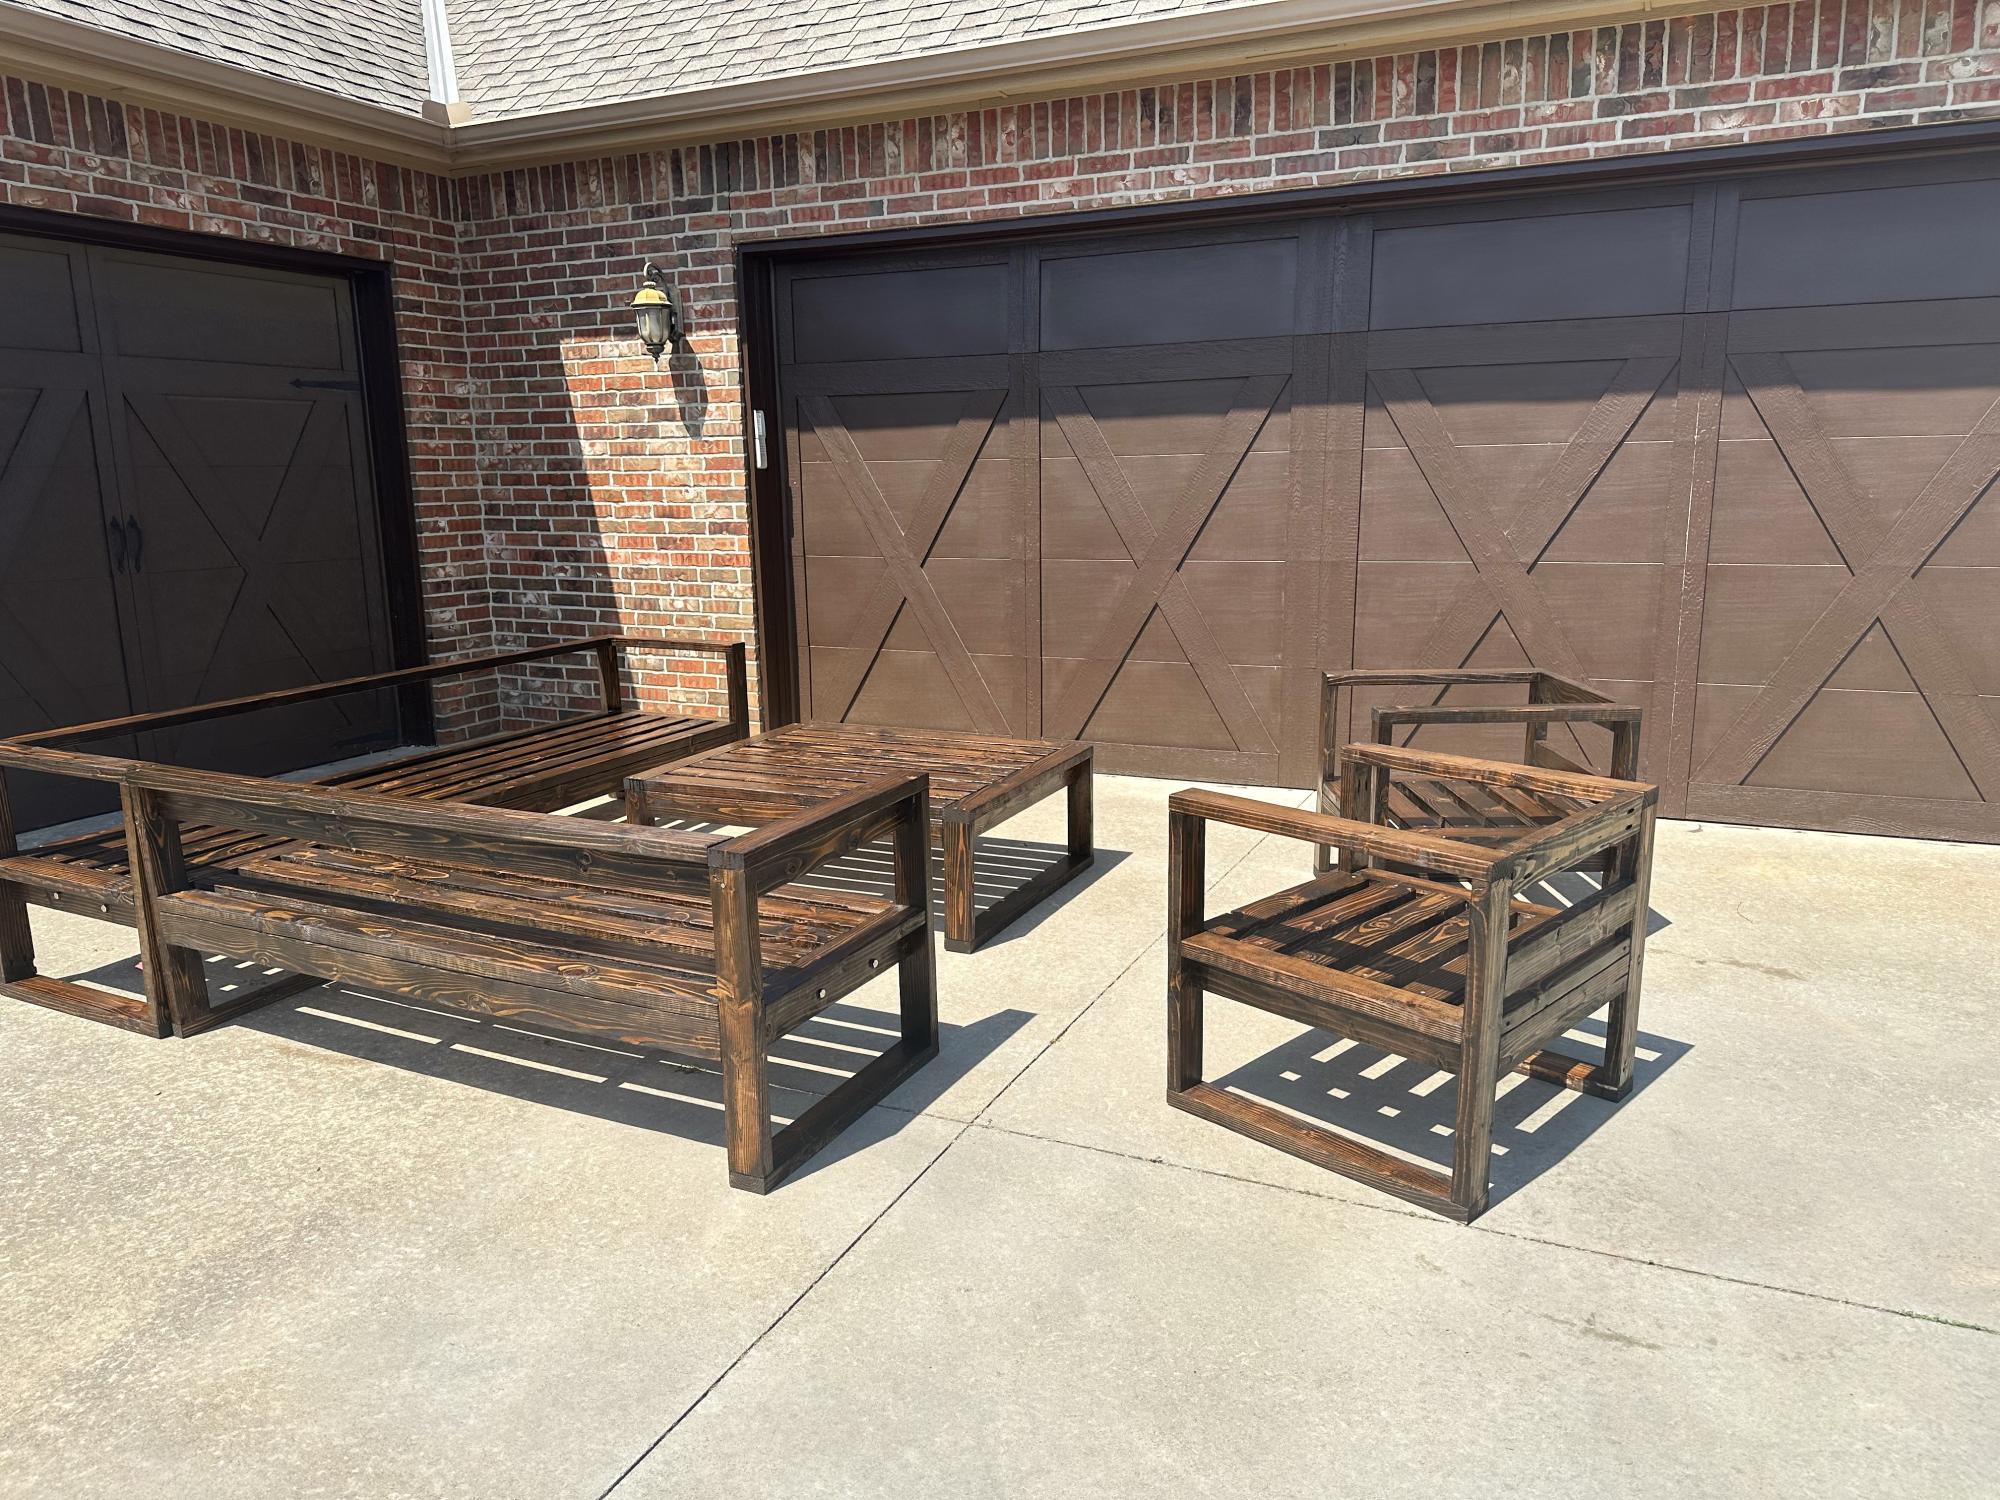
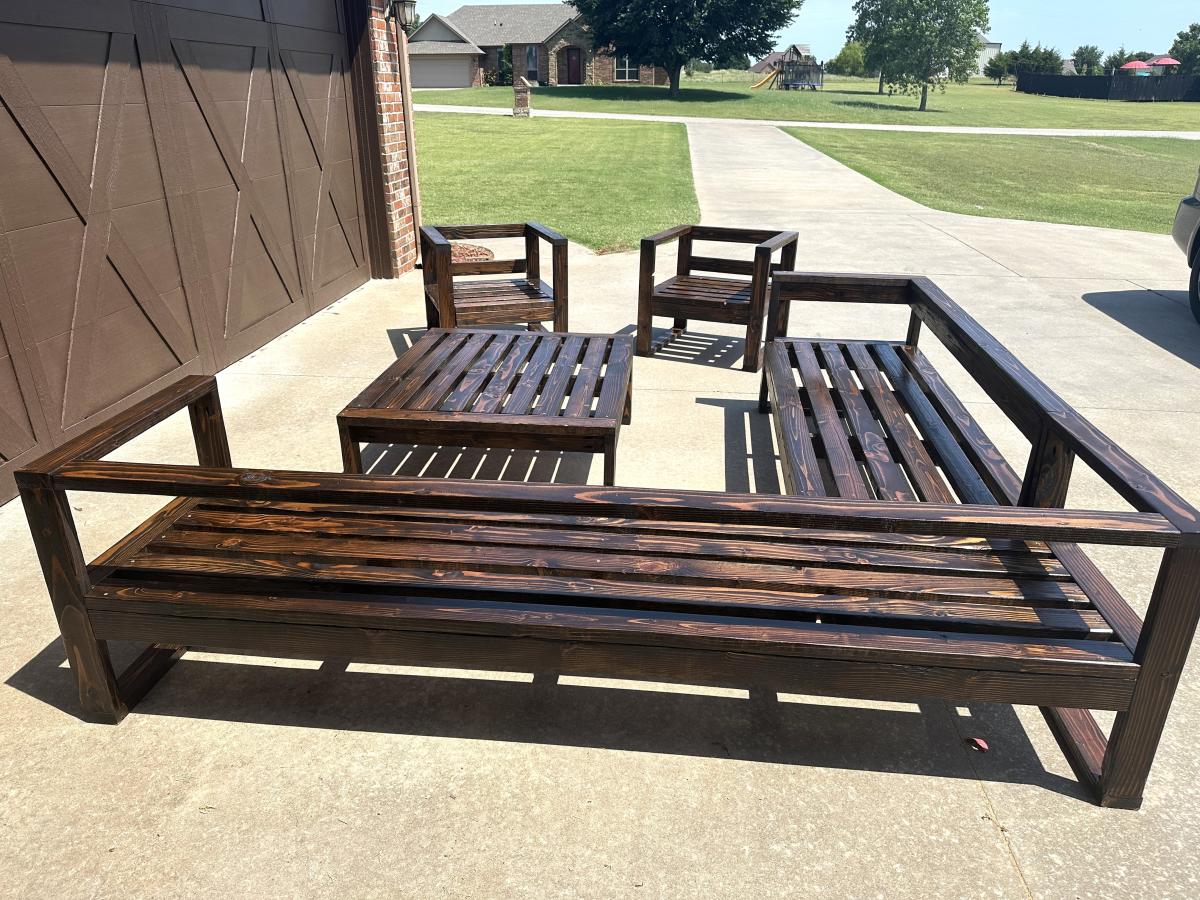
Built this 2x4 deck furniture set. Stained in espresso color.
Kelly Kesler
Made the table 6 feet long to better fit the space. Made it 2 years ago, just now getting around to post it, but it has held up well in our vacation rental.
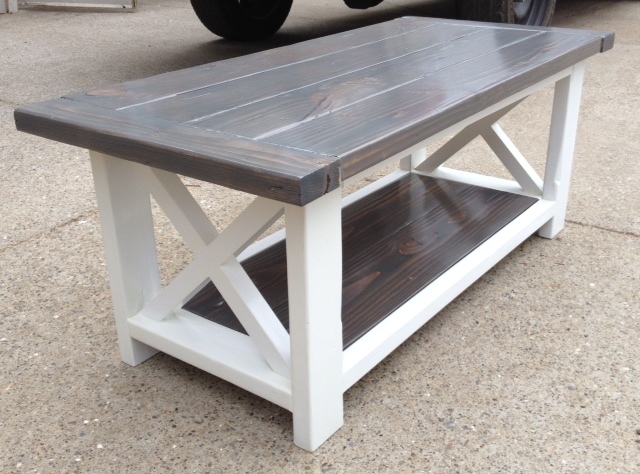
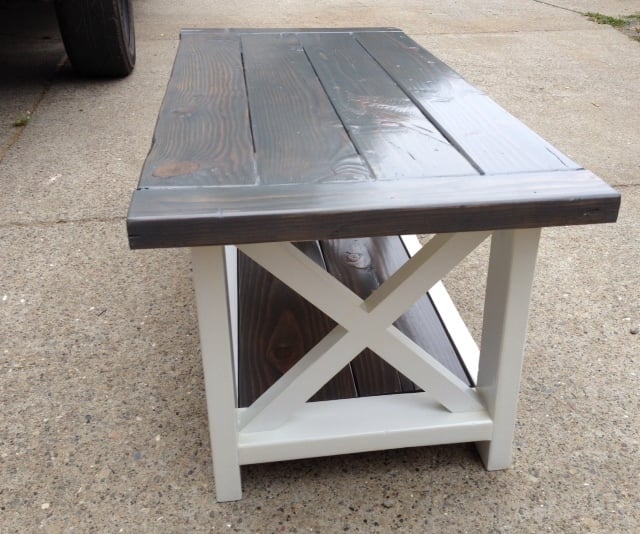
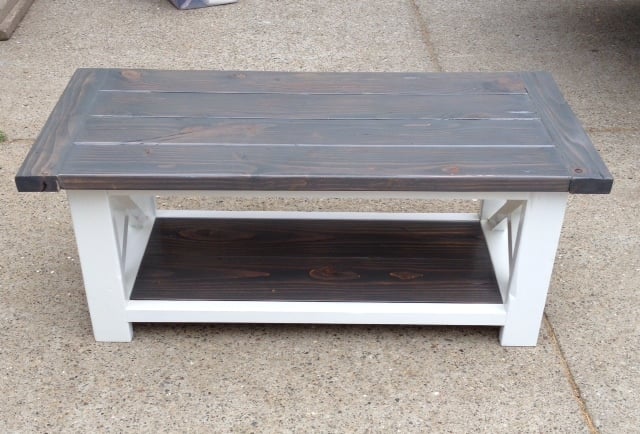
New to woodworking, first Ana-White plan. Changed the dimensions a little to fit our living room decor. Bottom shelf is 2x8's. Ground through the learning curve but pretty happy with the end result. Hand distressed the project. Kreg jig made it much easier. Love this site and looking forward to building new projects!
Tue, 09/09/2014 - 07:32
Hello!
I'm looking to scale this project down for my living room as well - do you mind sharing your final dimensions?
Thanks!
Tue, 09/09/2014 - 08:37
Top surface: (4) 2x6's cut 42" long - which will be 22" wide;
Breadboards: (2) 2x4's cut 22" long - Top surface becomes just shy of 49" in overall length;
Bottom surface: (2) 2x8's cut 36" long;
White frame: 18" wide to the very outside edges,
43" long to the very outside edges,
Hope that helps.
This table is perfect for our screened in porch at the lake house. Everyone seems to gather there so we have rockers and casual seating. When we want to eat out there we just open the table and move it to the center.
Thu, 11/29/2012 - 04:22
NCLimo...you do really excellent work. I shy away from curves because my jig saw has a mind and GPS of its own. And to build this table in an afternoon is amazing. I would probably take several days. Keep the projects coming and offer any advice you can throw my way.
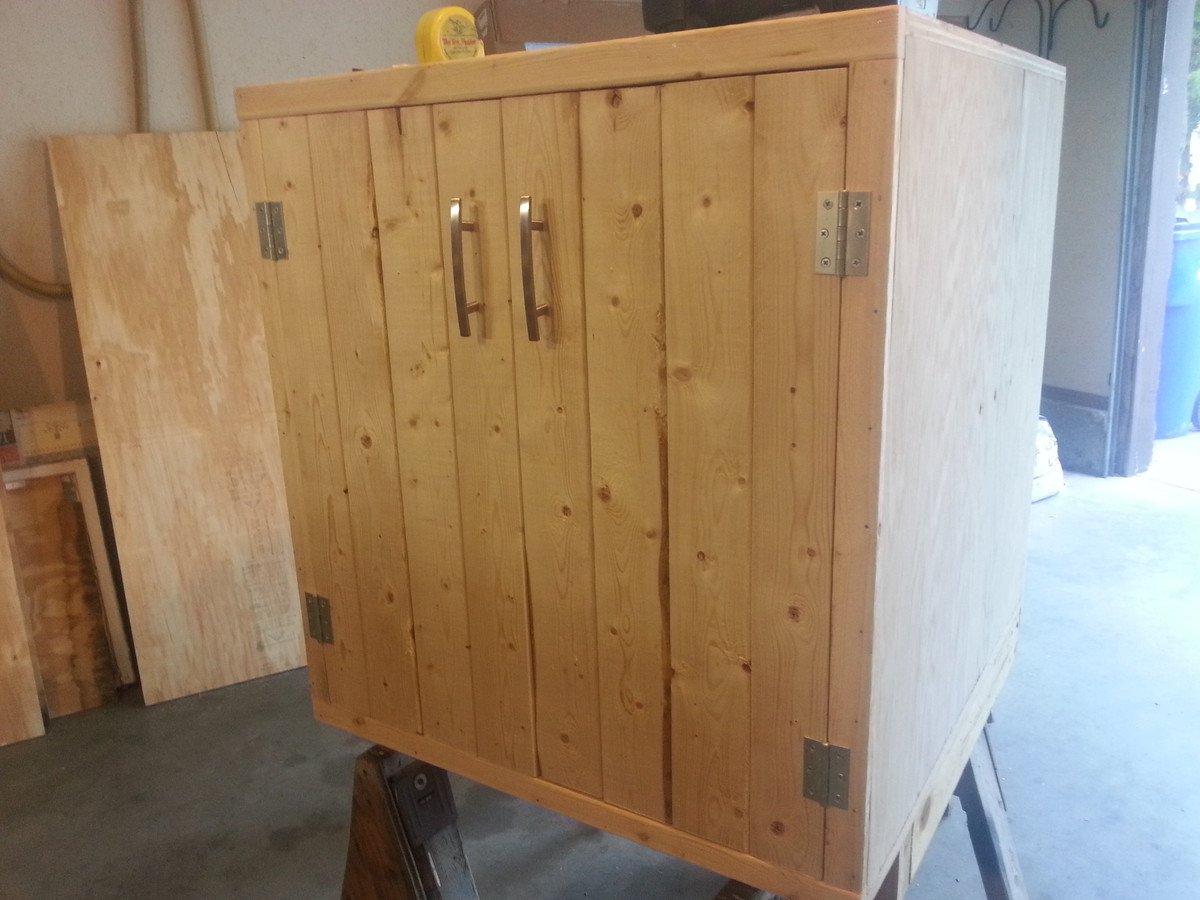
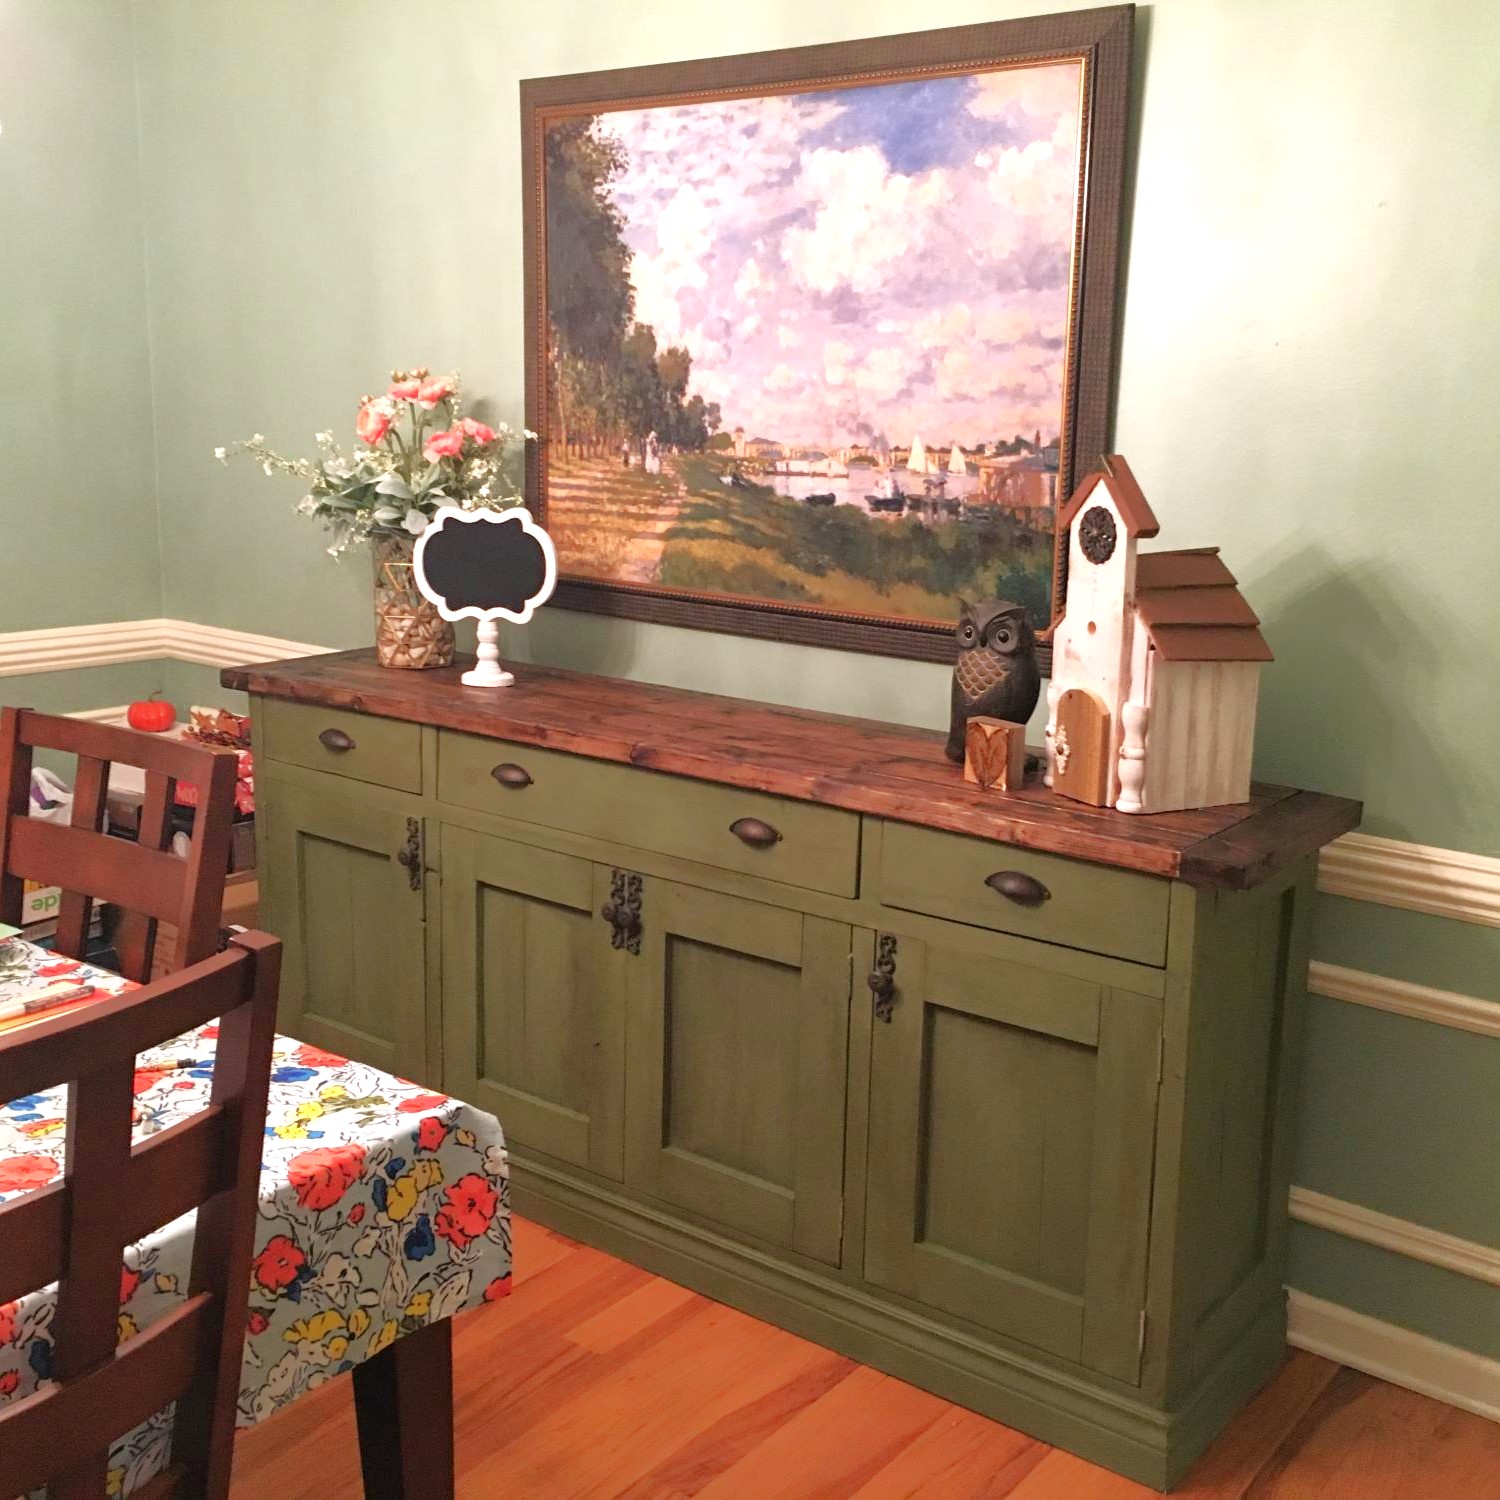
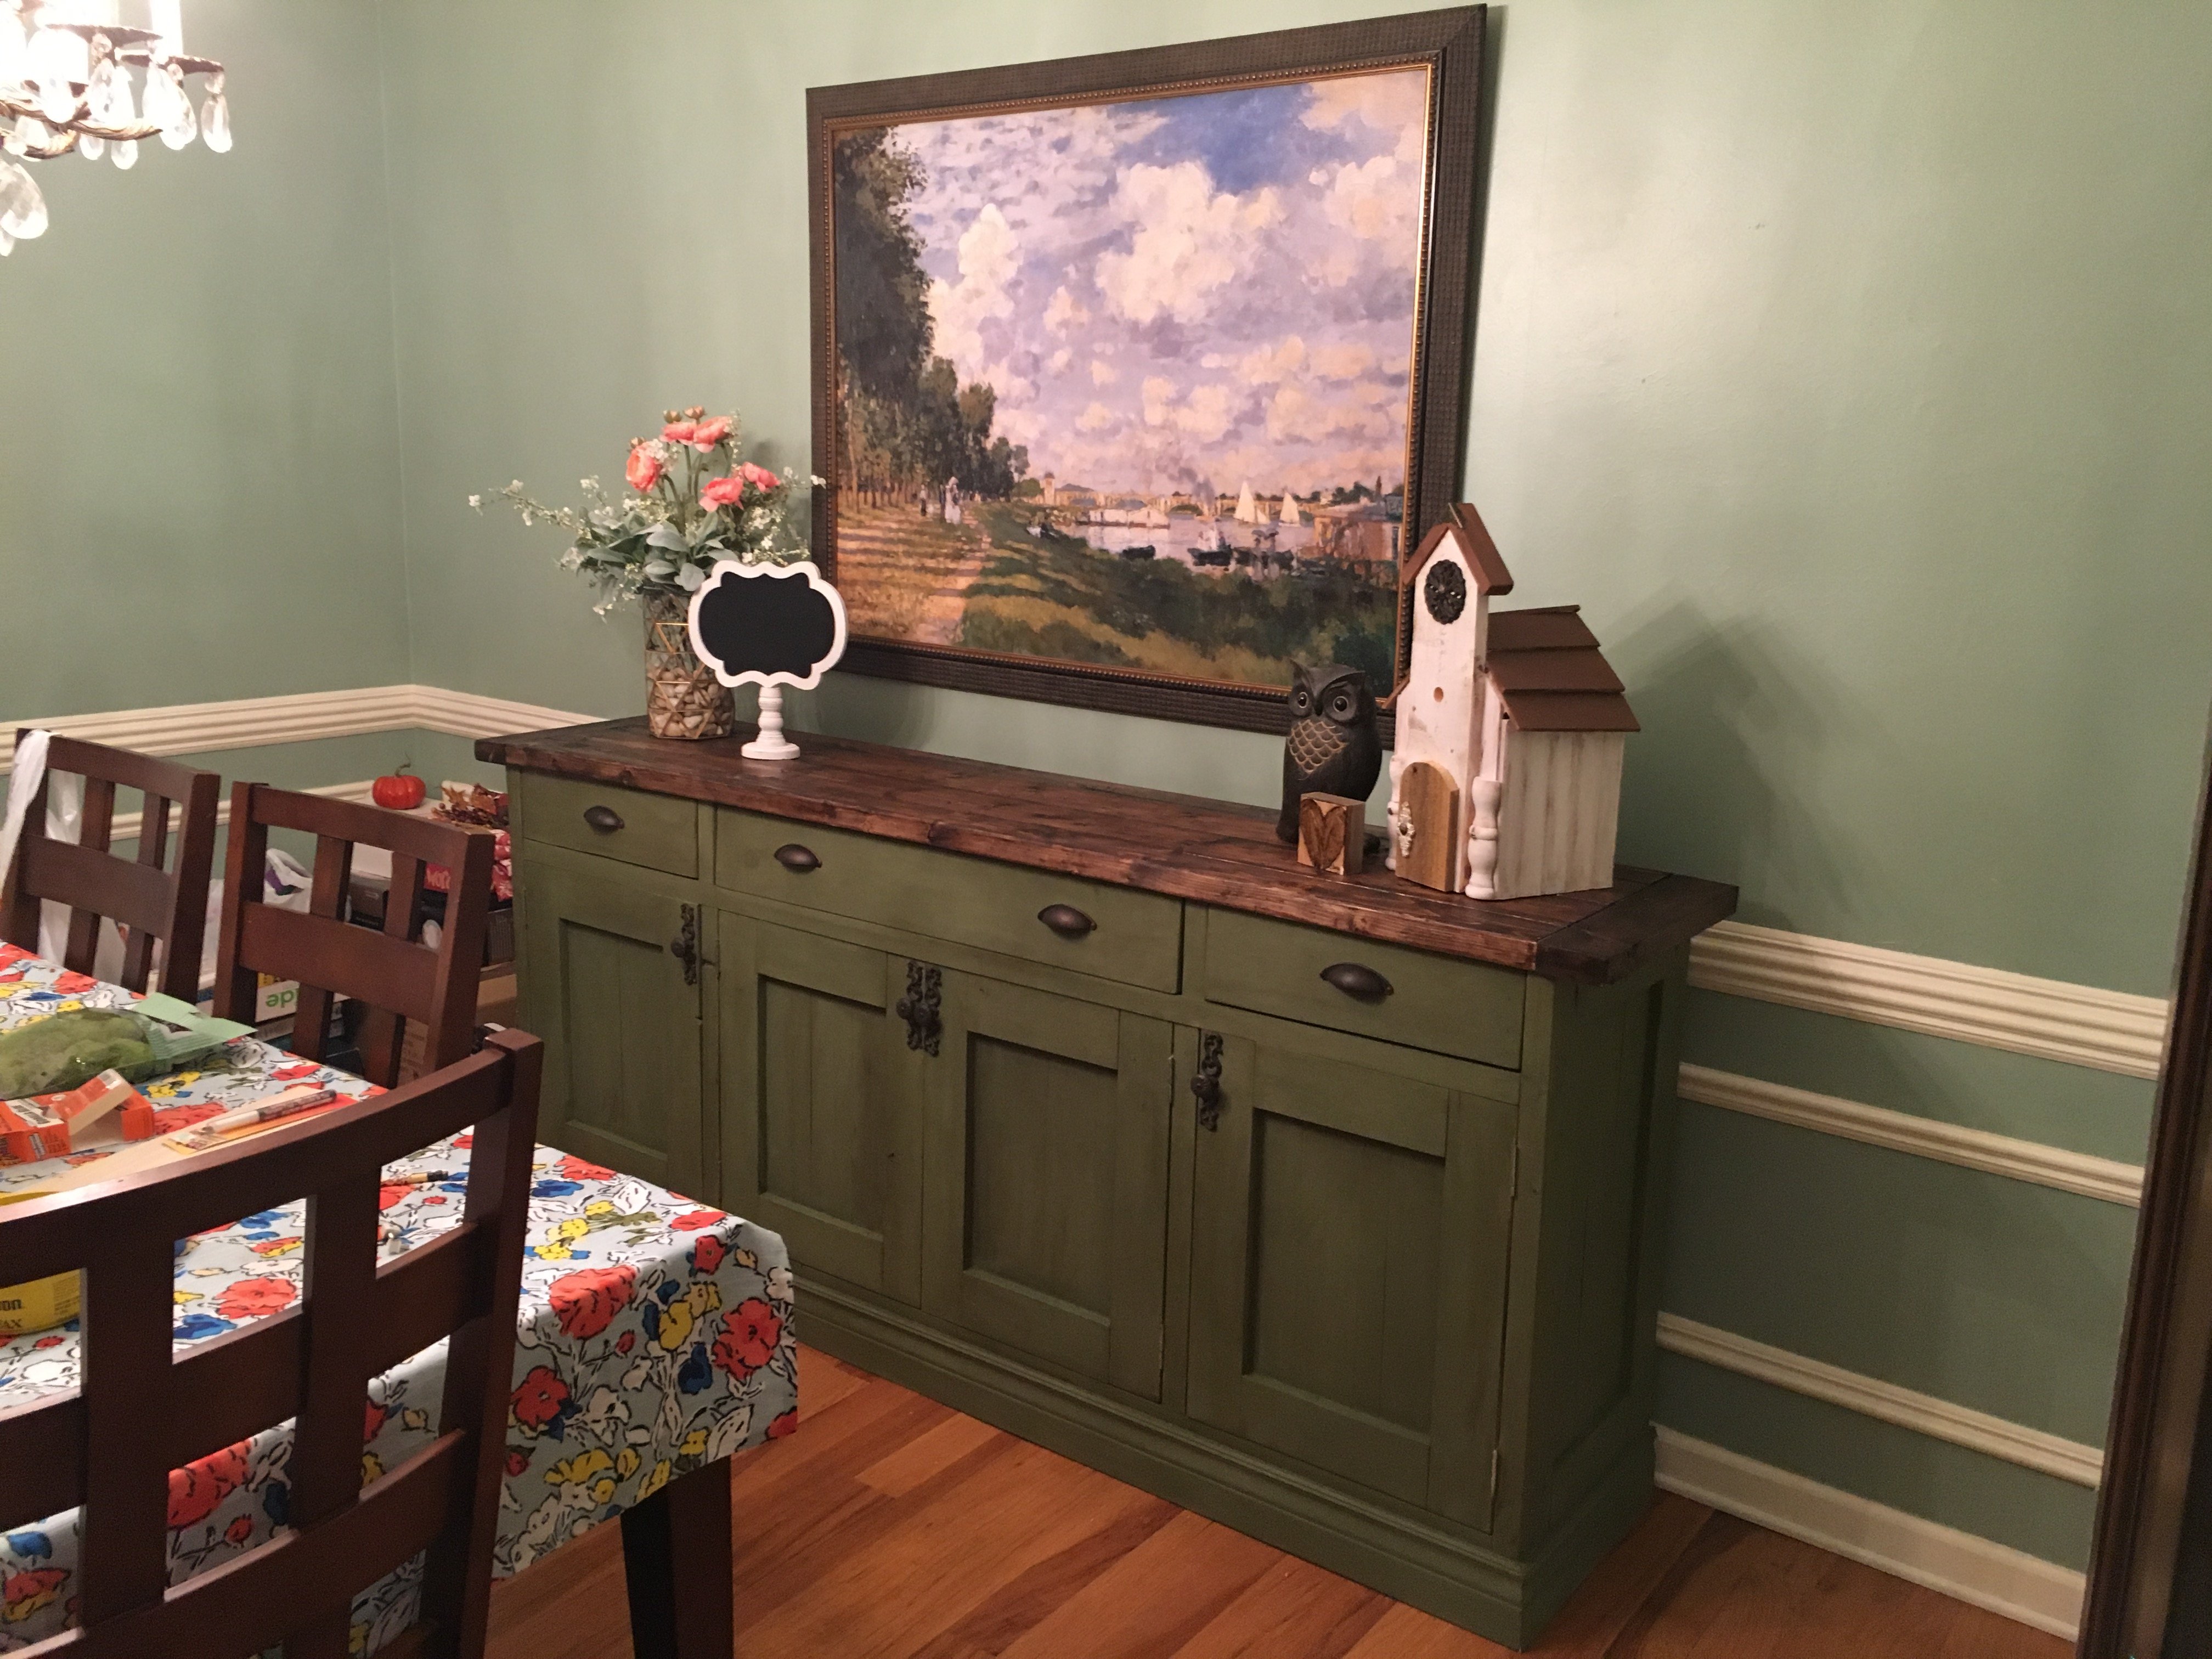
Made this cabinet to go between the fridge and stove in my kitchen. I based it on the Emerson plans (although heavily modified) because I love the looks of that buffet. Came out huge and quite square (its about the size of a washing machine), and it holds soooo much. Great to have that much extra storage in the kitchen.
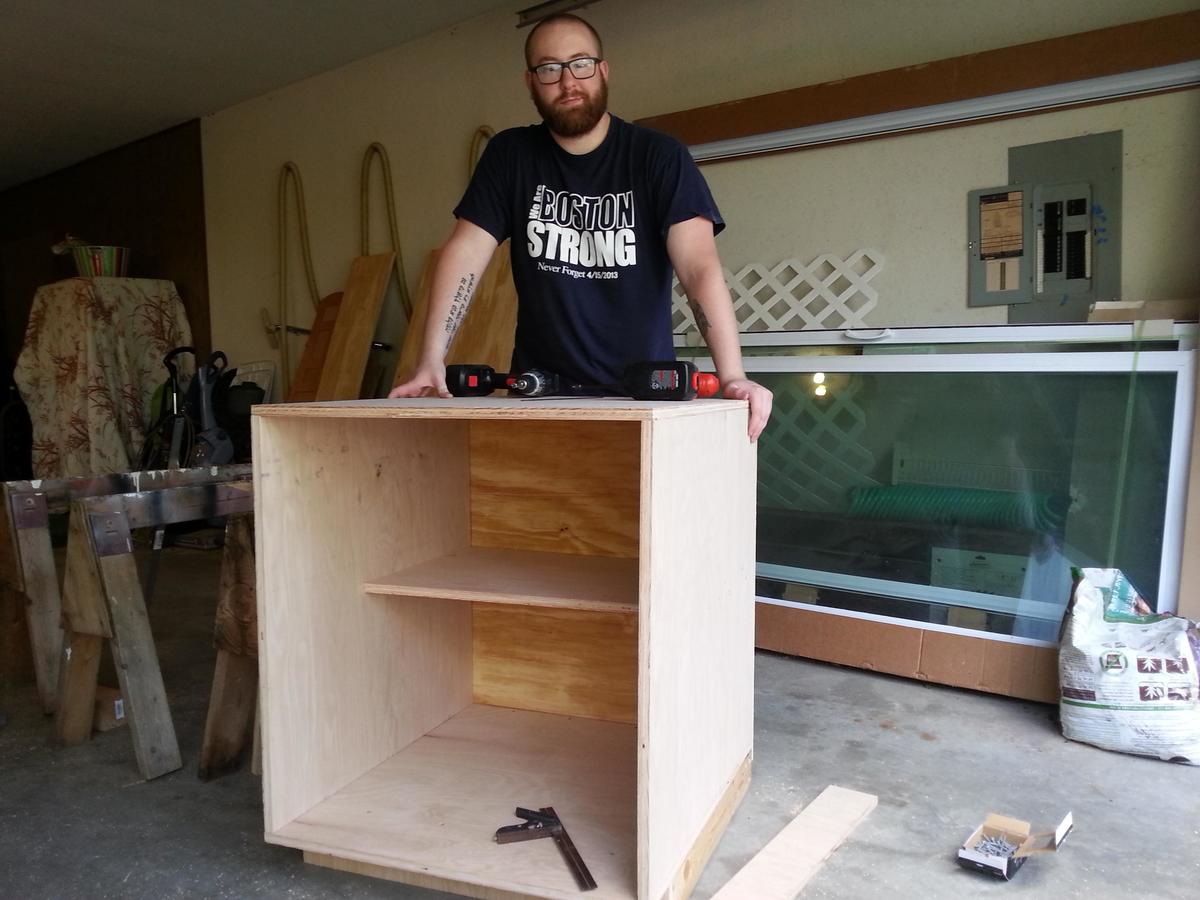
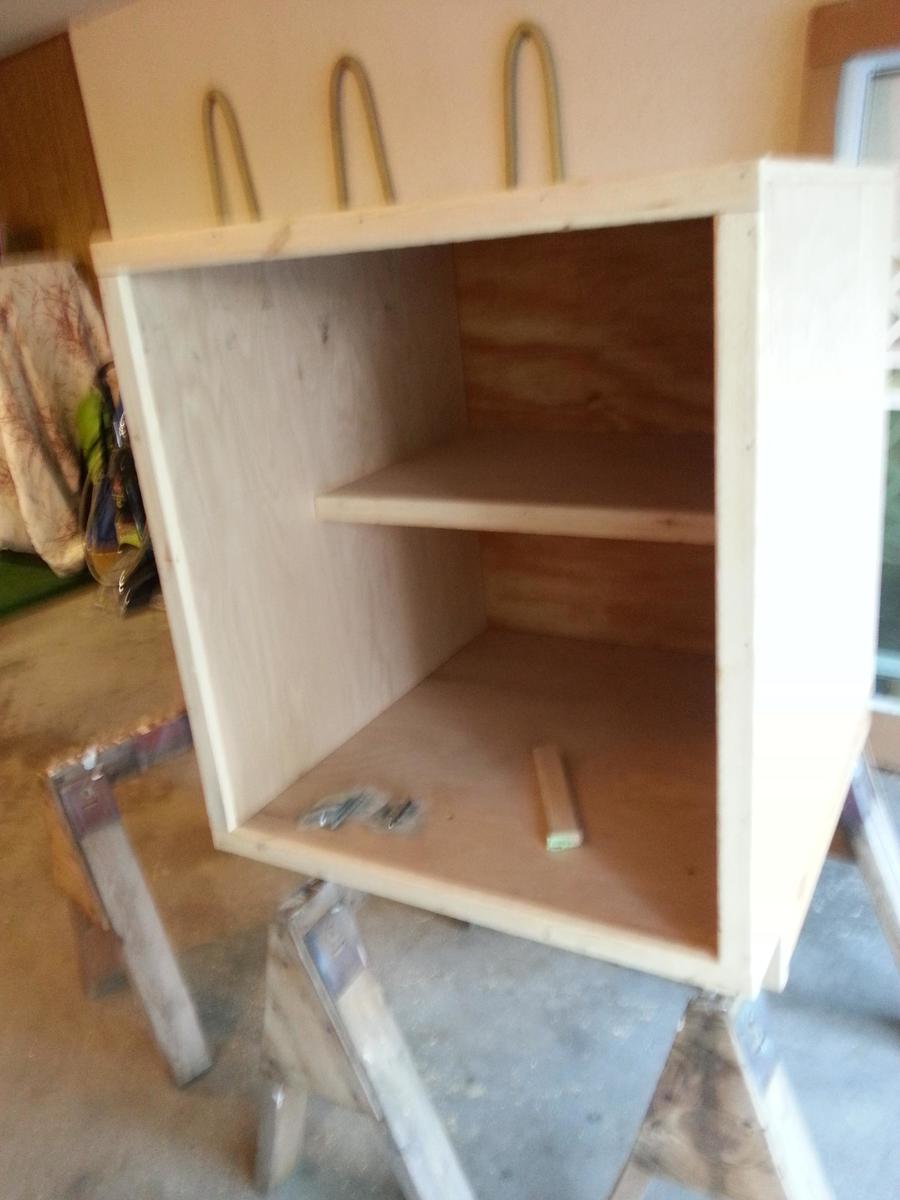
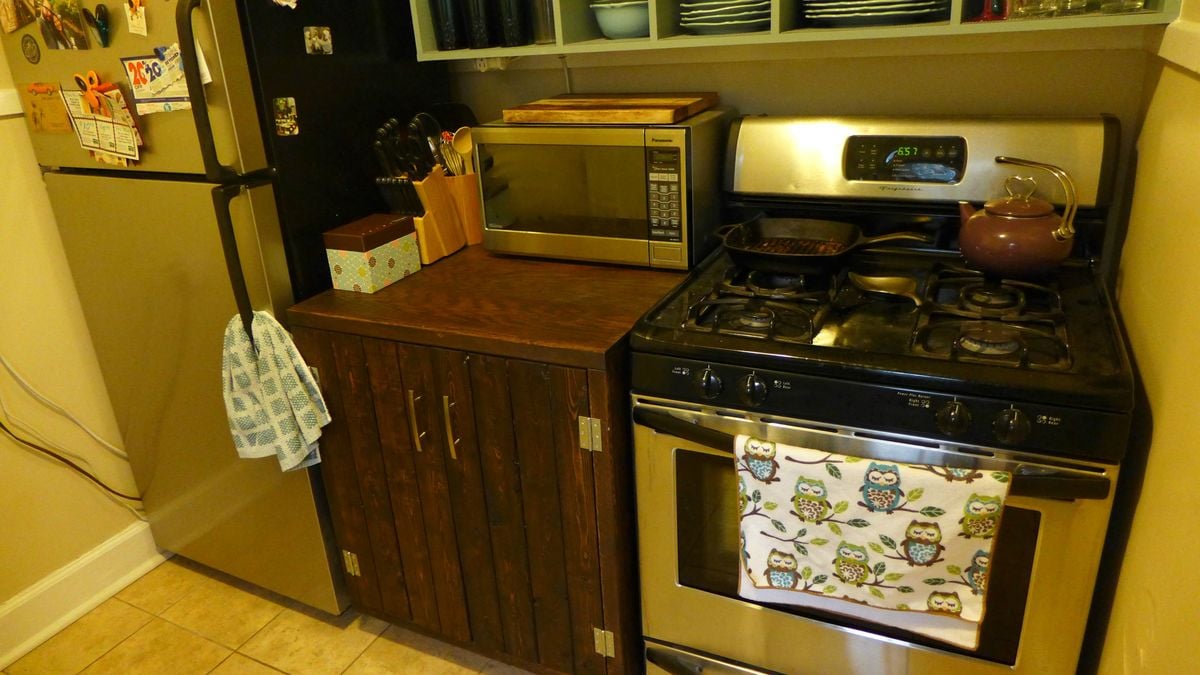
I used the jewelry cabinet as inspiration by adding crown moulding to the top and b-board to the door and changing the measurements.
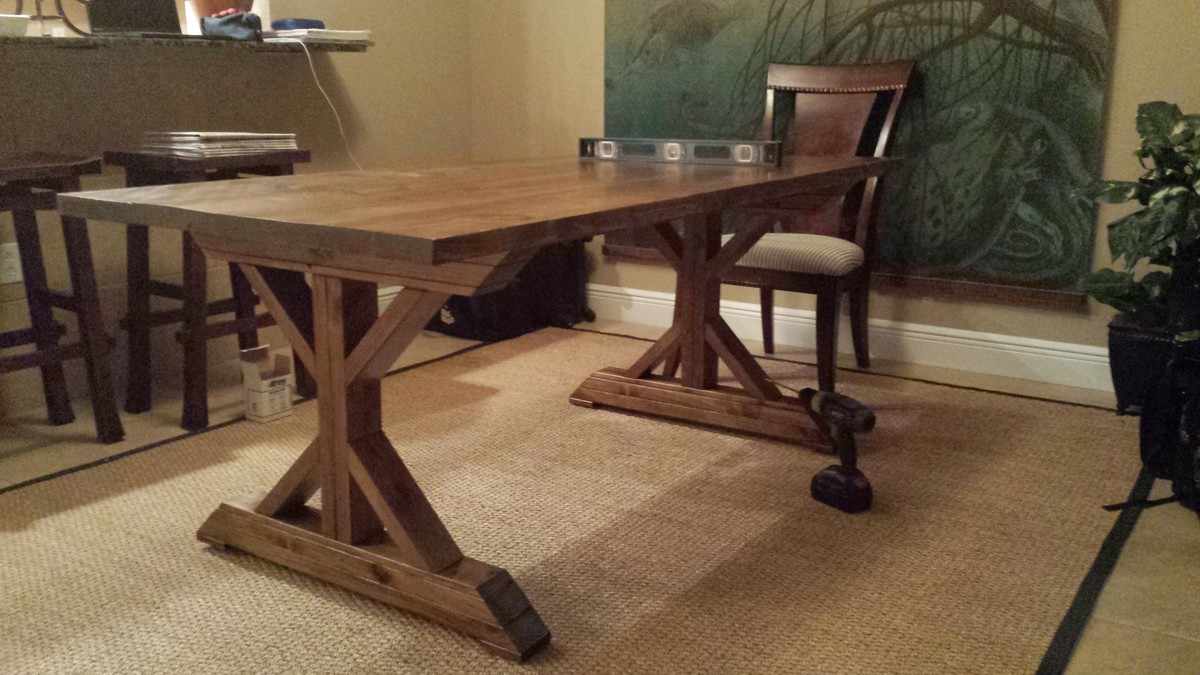
We built this table over one weekend and did the finish work another weekend. We are in the middle of building our home so the table project took a back seat for awhile but we are happy with the result in the end! Could be done all in one weekend without an issue.
You can read about it and see lot's more photos here:
http://letsjustbuildahouse.blogspot.com/2012/12/diy-rustic-farmhouse-ta…
and I'm sure I will be posting more photos with hopefully a bench soon too on:
http://letsjustbuildahouse.blogspot.com/
thanks for the plans can't wait to see what I can talk my husband into next from Ana's site!
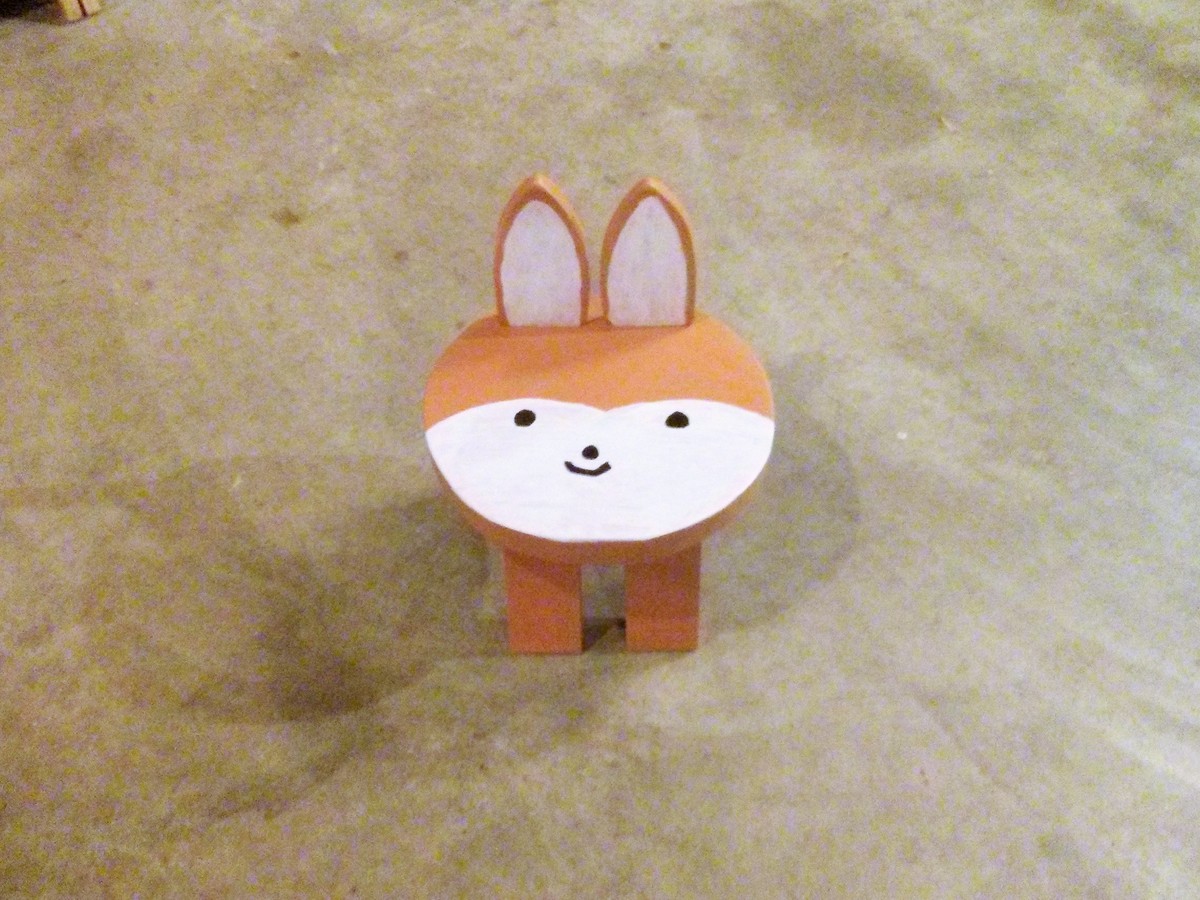
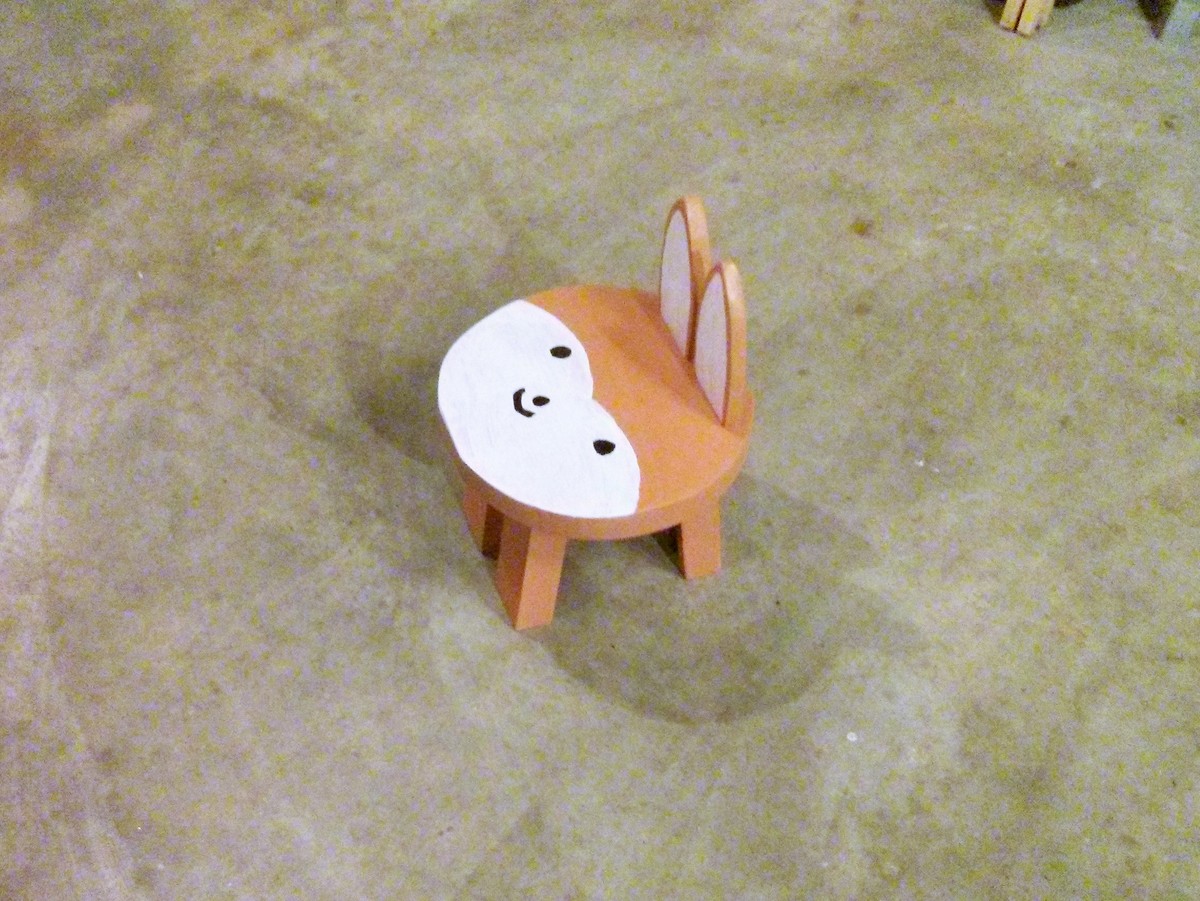
I just used up some pallet wood and scrap wood for this. My painting skills obviously need to be tuned but it came out adorable anyway! Thanks Ana and Killer B!
Sat, 10/04/2014 - 12:16
Soo adorable! And your painting skills look great to me!
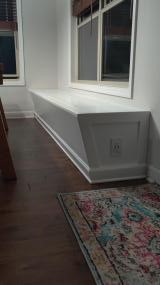
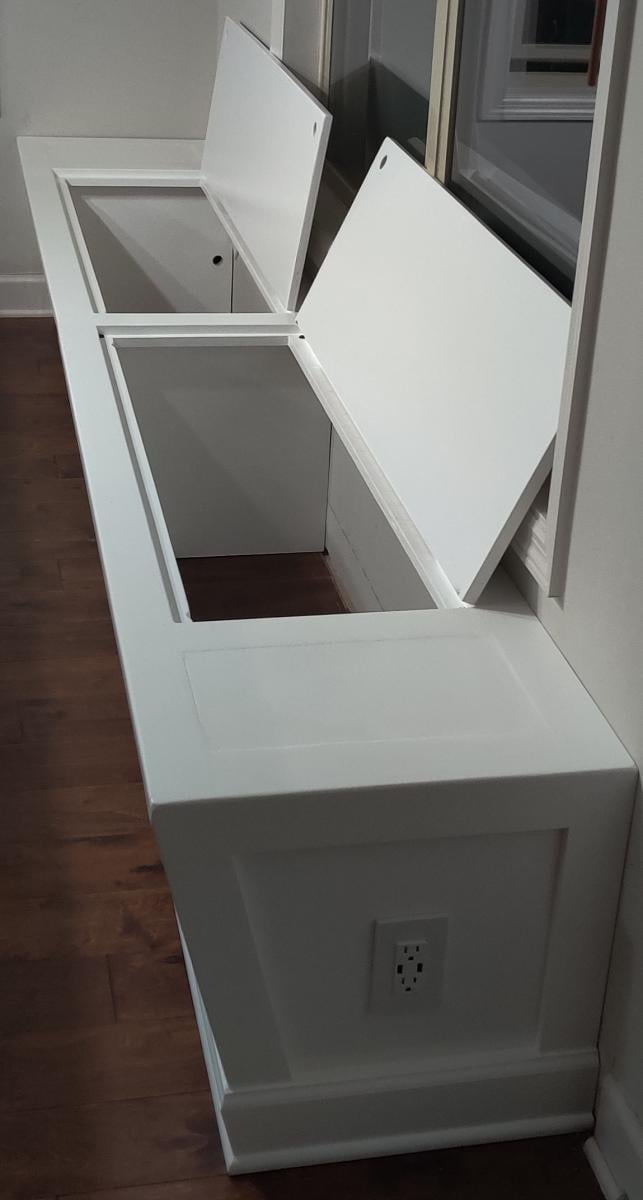
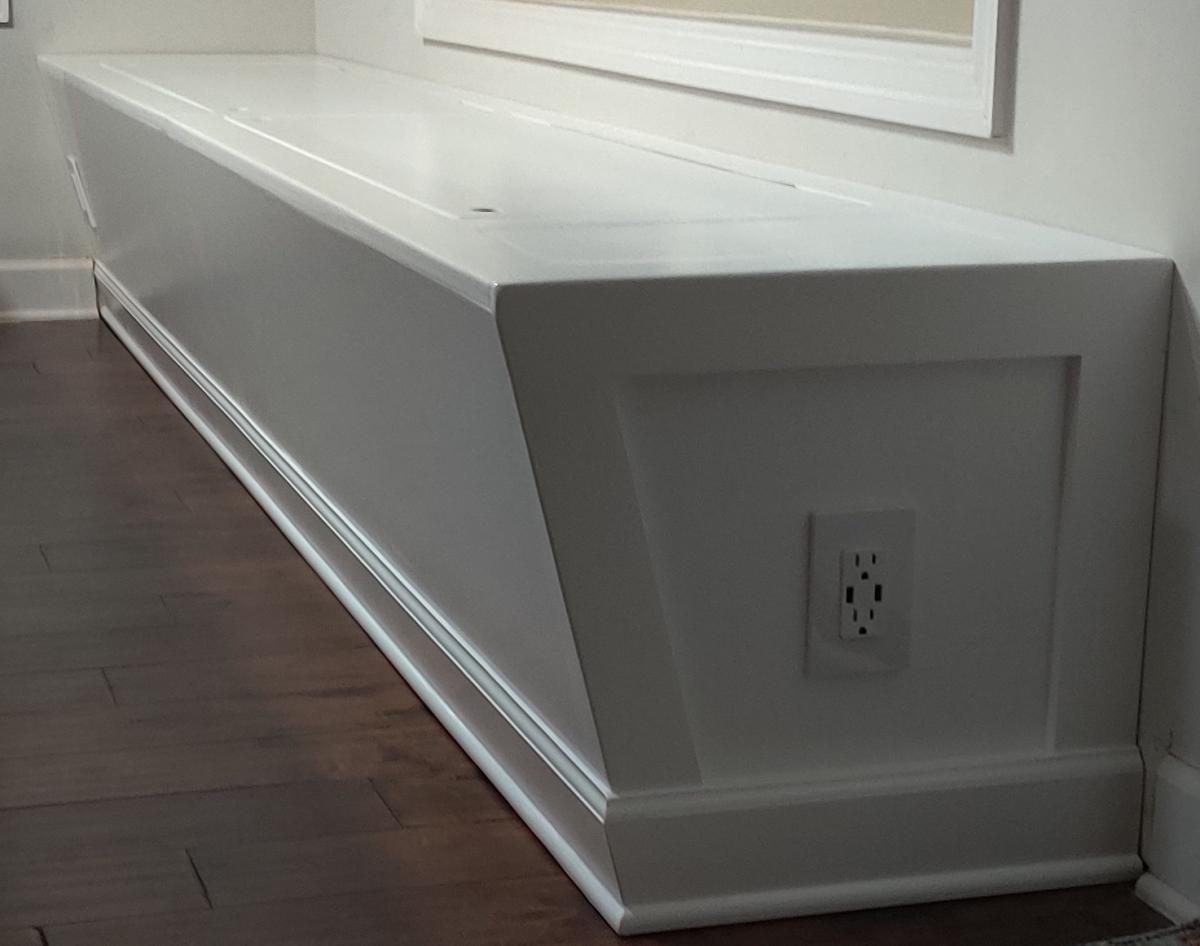
I took part of your built in dining bench idea and made my own custom bench. I made a farm house dining table for a family and once it was built and delivered she asked if I could build her a banquet. I had never done anything like it before, let alone install it permanently in some ones house. Because of the way I made the table I couldn't use a straight front face bench, I had to put an angle on it to allow for the table to be up close to the bench. This bench is 10' long, has two USB electrical outlets built in, and two 43" storage compartments. I enclosed the two ends of the bench for the wiring of the outlets so that no wires were exposed.
Fri, 10/23/2020 - 13:30
Love the look, added storage and electrical possibilities, thanks for sharing!
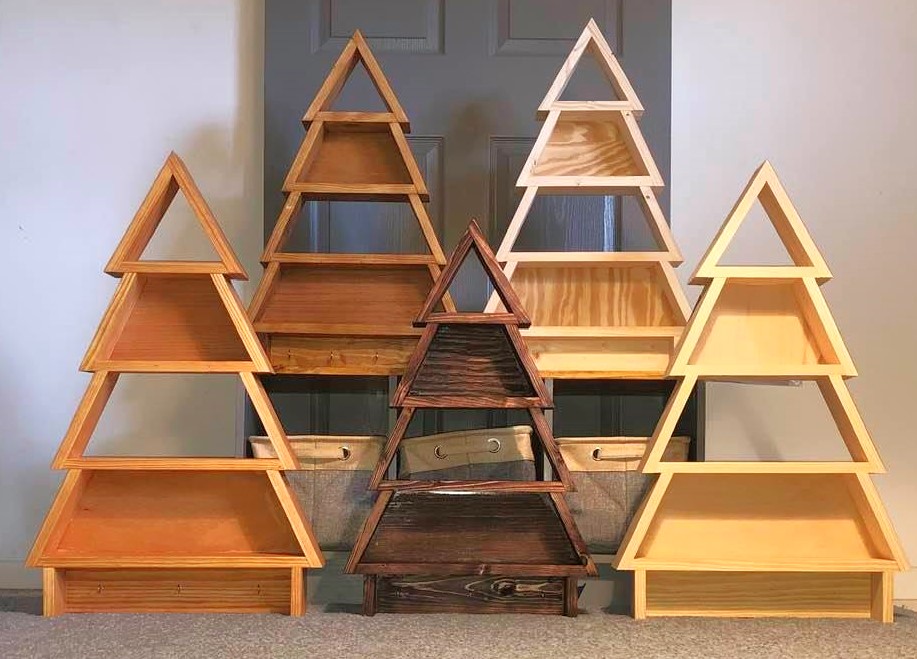
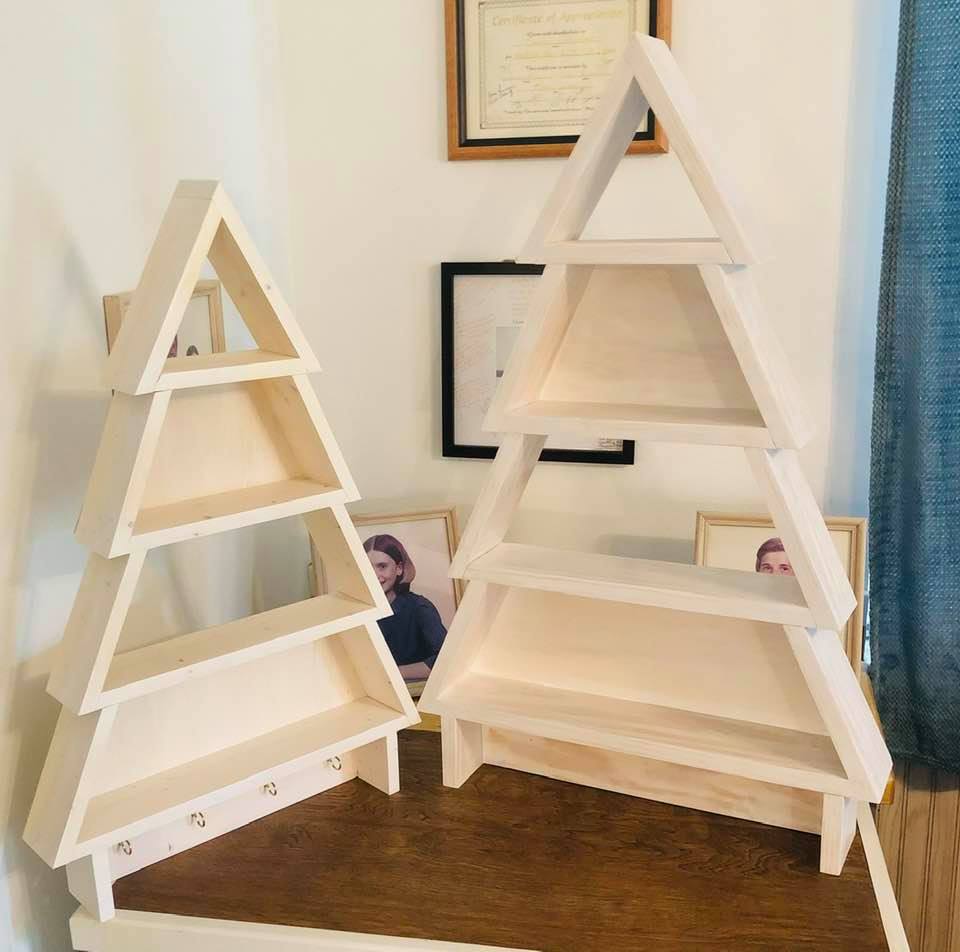
After building myself a Christmas Tree shelf for 2019, friends and family wanted me to build them one for 2020. Three people wanted a smaller tree so I scaled down the plans and used 1x4's ripped to 3 inches. I also included cup hooks (3 or 4) and an aluminum french cleat hanger I found on Amazon for about $5 each when you buy three.
Mon, 11/09/2020 - 10:16
Love all the varieties of sizes and finishes!
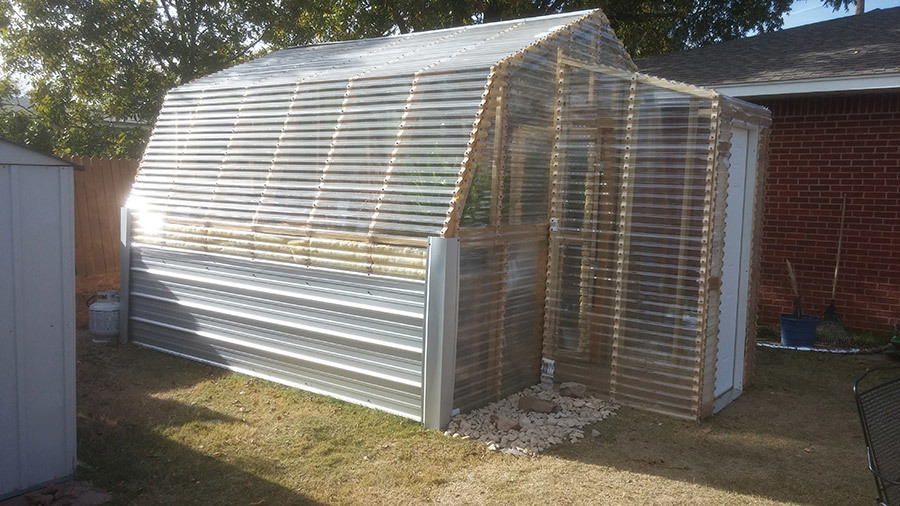
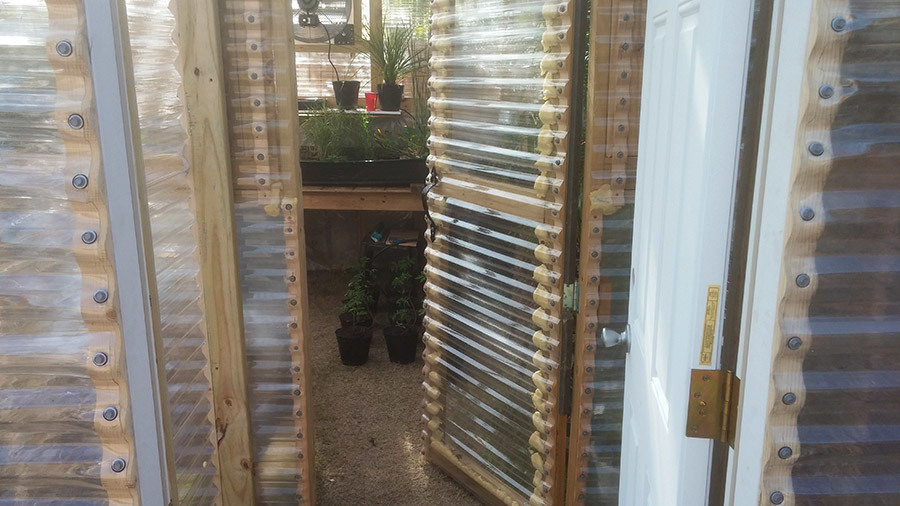
This was built mainly as a place to bring our pond plants in for the winter. After looking at various kits we decided this was the best option for us and much cheaper.
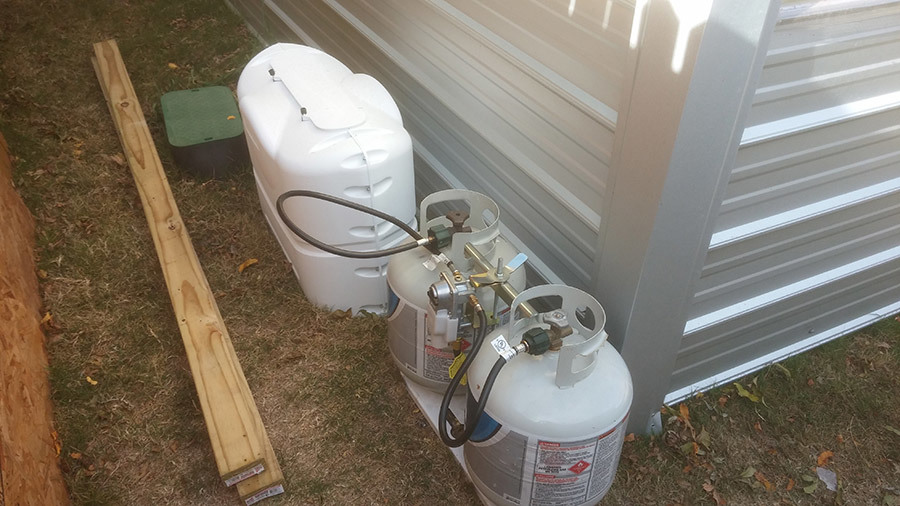
The size was increased to 12 X 12 and the walls/ceiling were increased another 15" in height over the original plans. An entryway was added to block the cold wind as our original barnstyle door wasn't tight enough and ended up being too drafty. Also added an RV type autoswitching propane system and blue flame heater for backup. For the winter months we insulated the lower portion of the interior walls with spun fiberglass and 6 mil film stapled over it.
This is a very utilitarian version that serves our needs well. Great original plans and easy to build.
Tue, 11/11/2014 - 14:34
We didn't change the angle from the plans. 22 degrees I believe was the cut.

Tue, 11/11/2014 - 16:04
Wow, this looks awesome! I love the arctic entryway (thats what we call them up here in Alaska) and all the mods! Thanks so much for sharing!
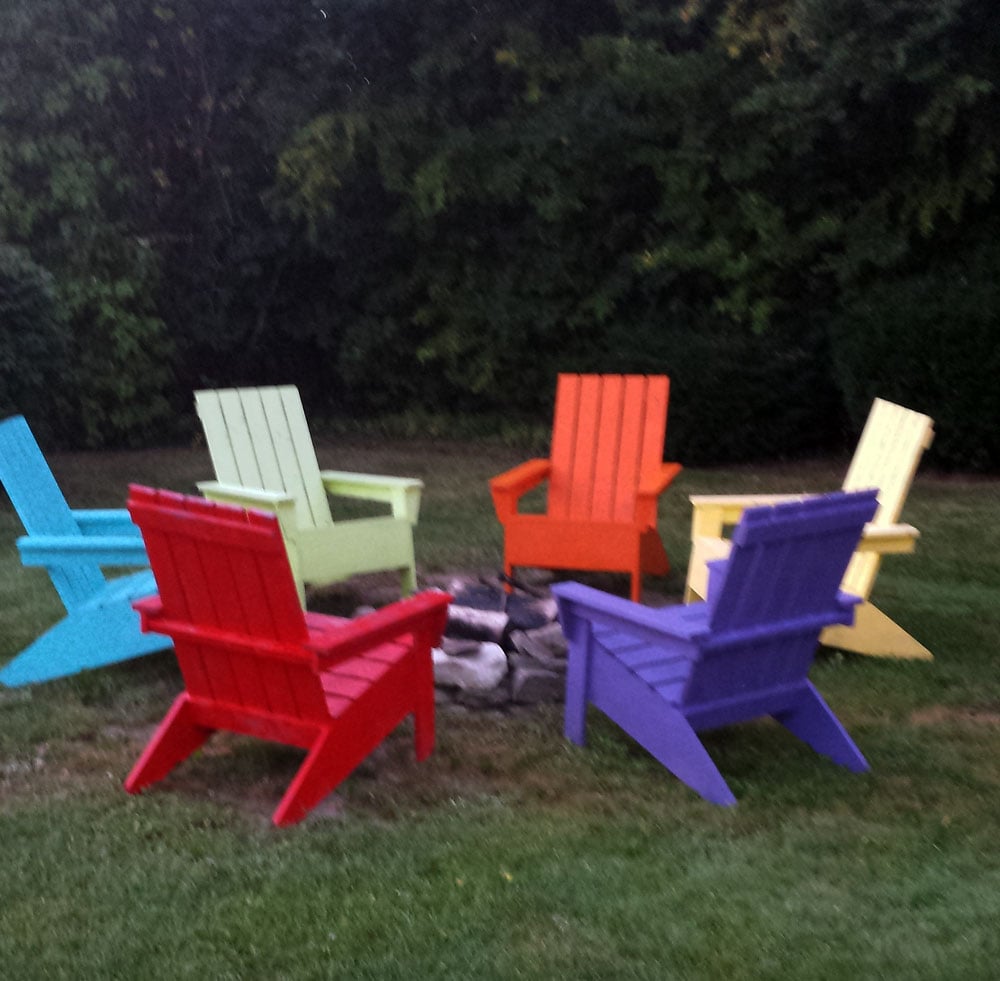
I completed these chairs about 3yrs ago. It was a great project and I learned a lot. I really appreciate this site and have made a sofa and 2 benches as well. Thank you Ana for the site and I wish HGTV or another station would pick up your DIY show!
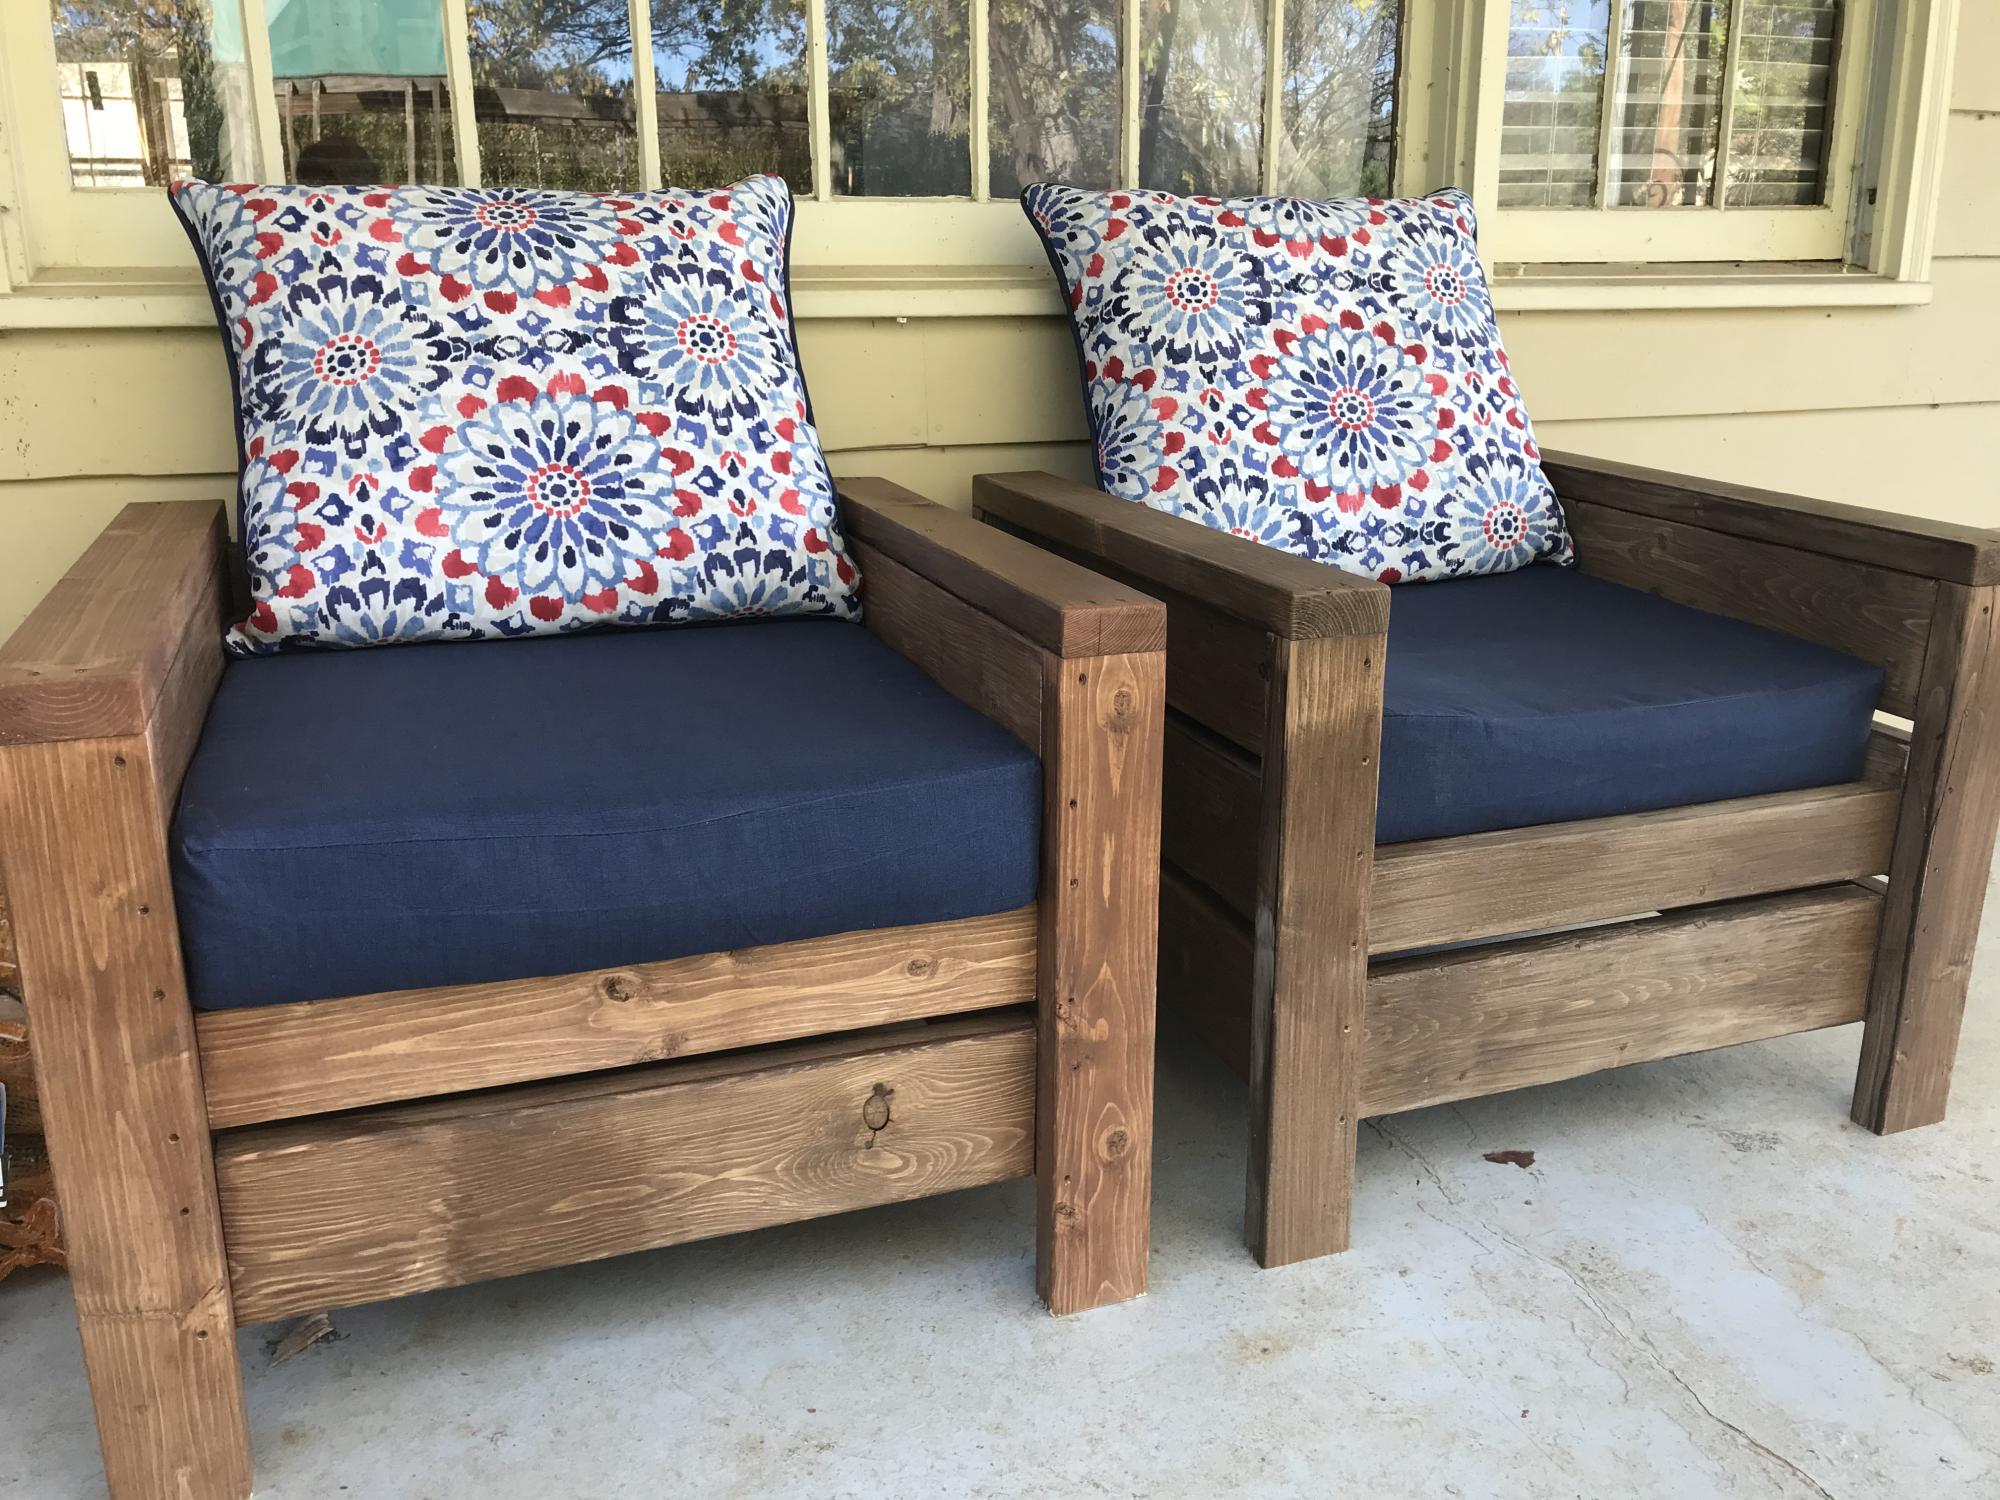
I built two of Ana's "Modern Outdoor Chairs" and adjusted the plans to accommodate 24" in cushions. We're pleased with how they turned out and have gotten great use out of them. Thanks for the plans, Ana!
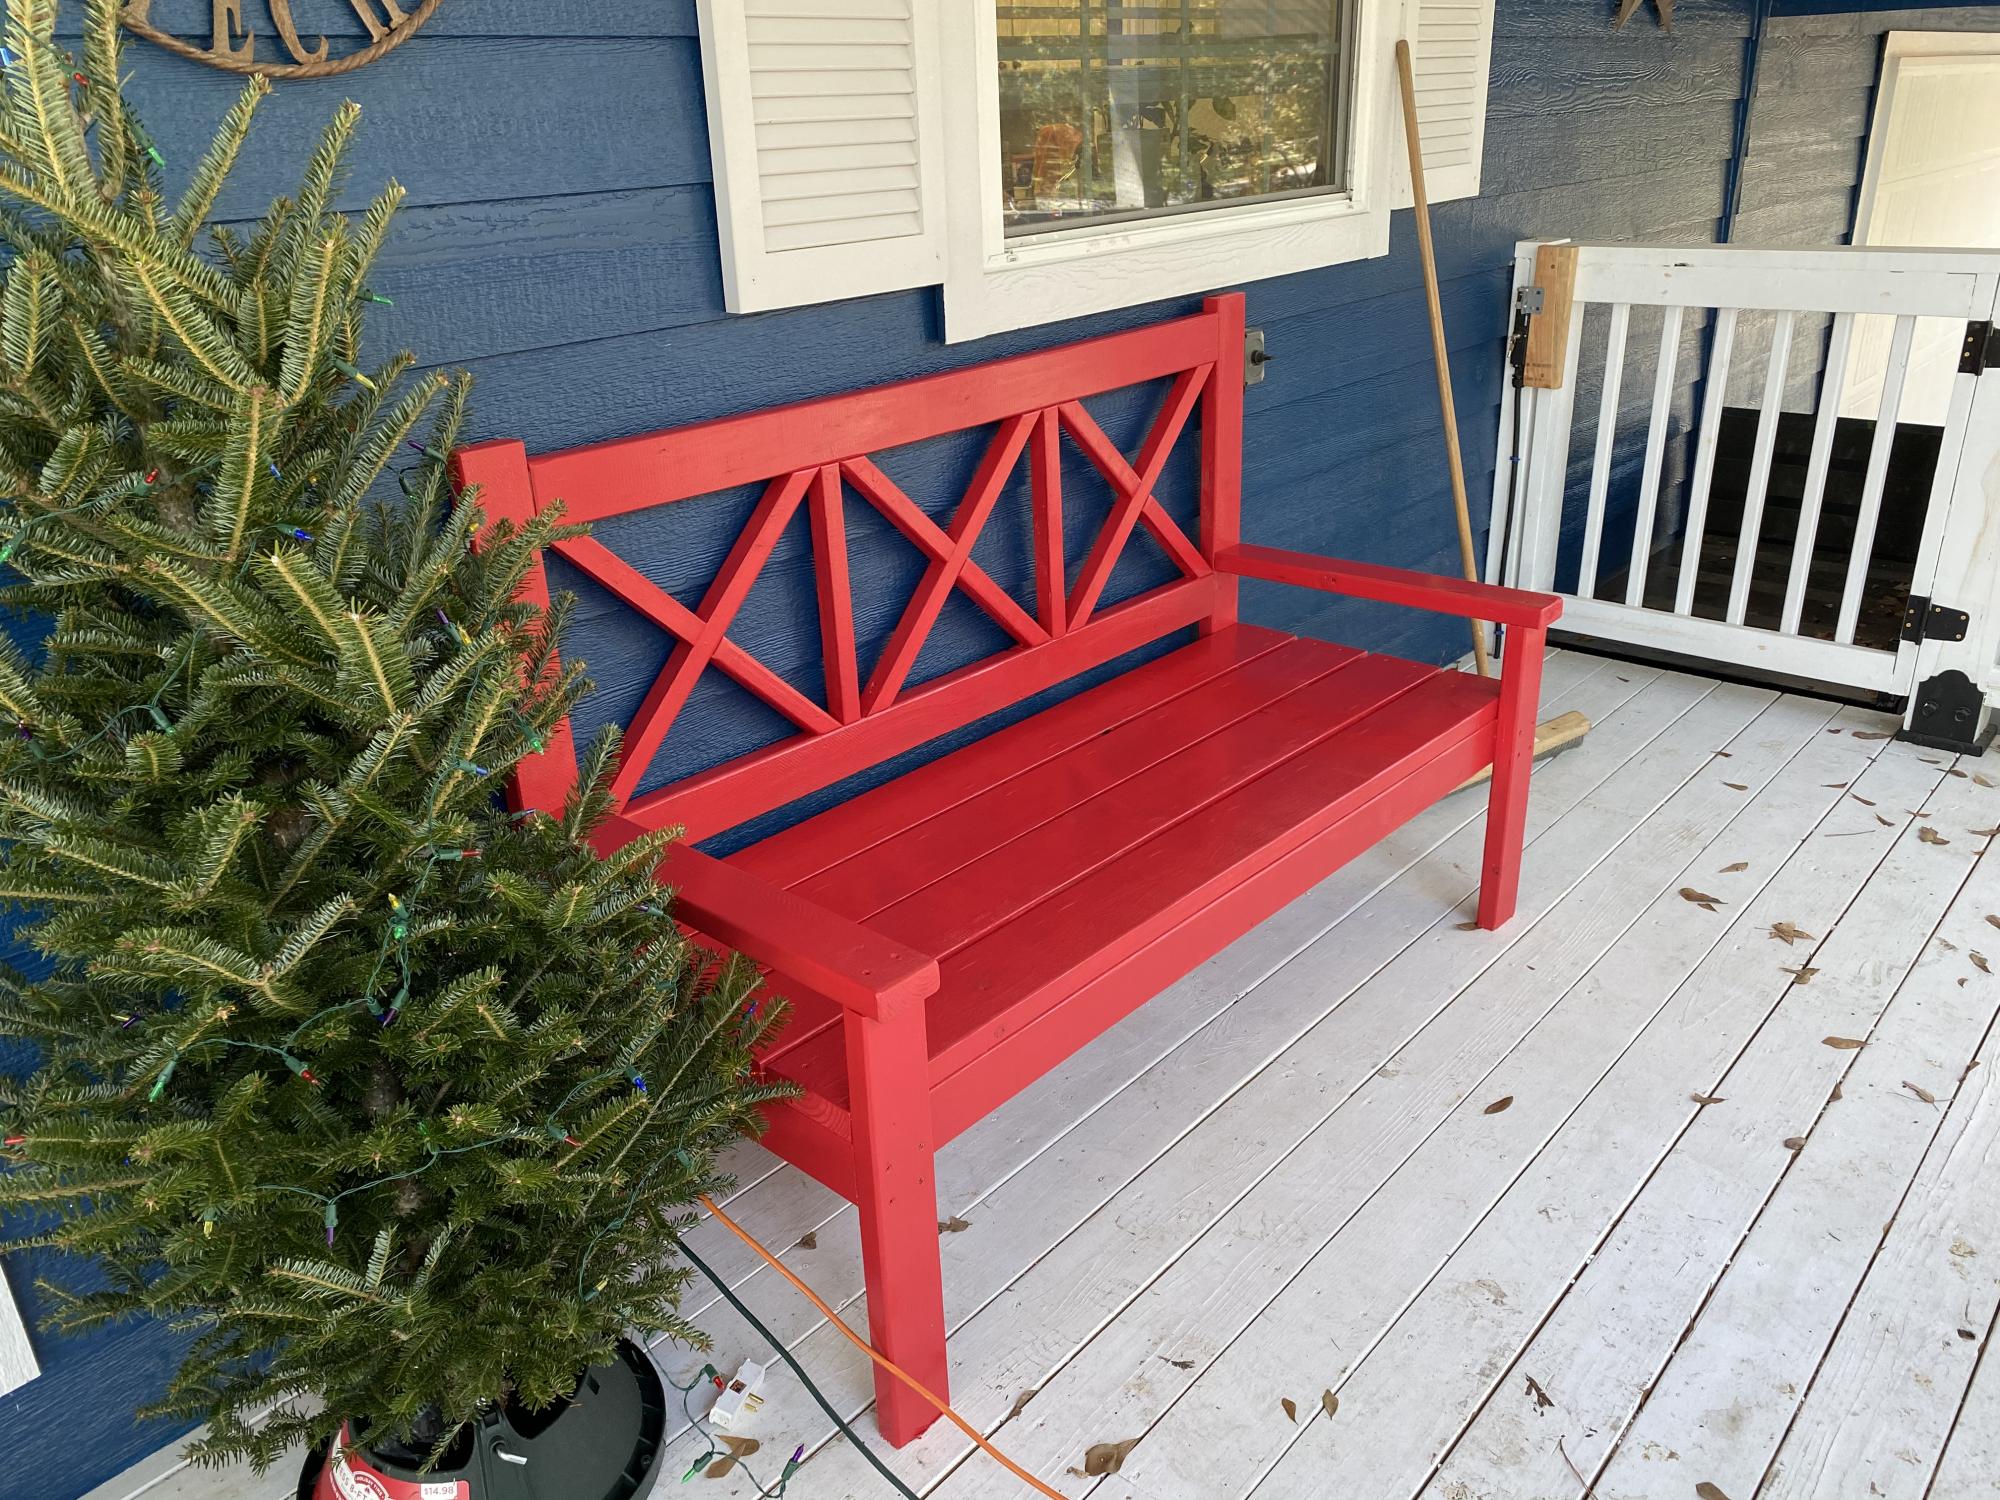
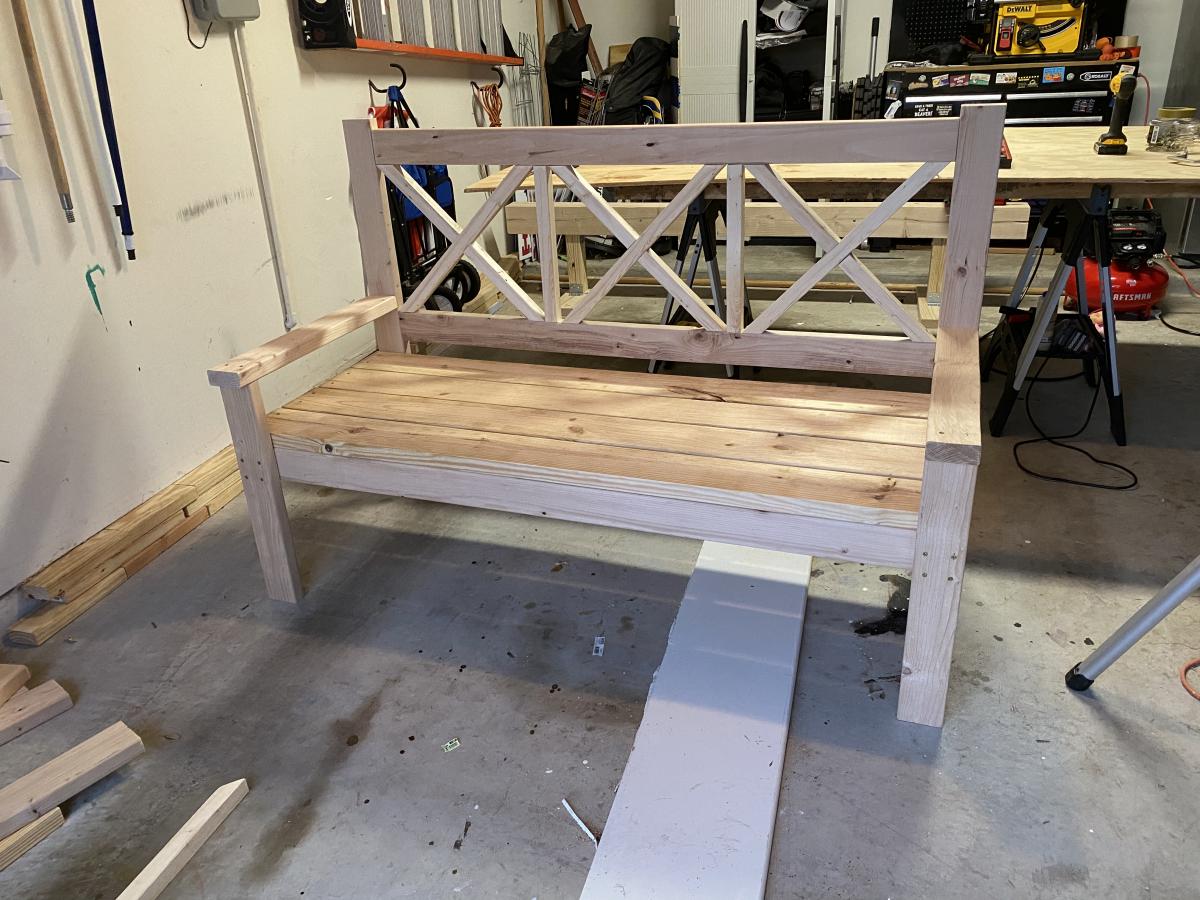
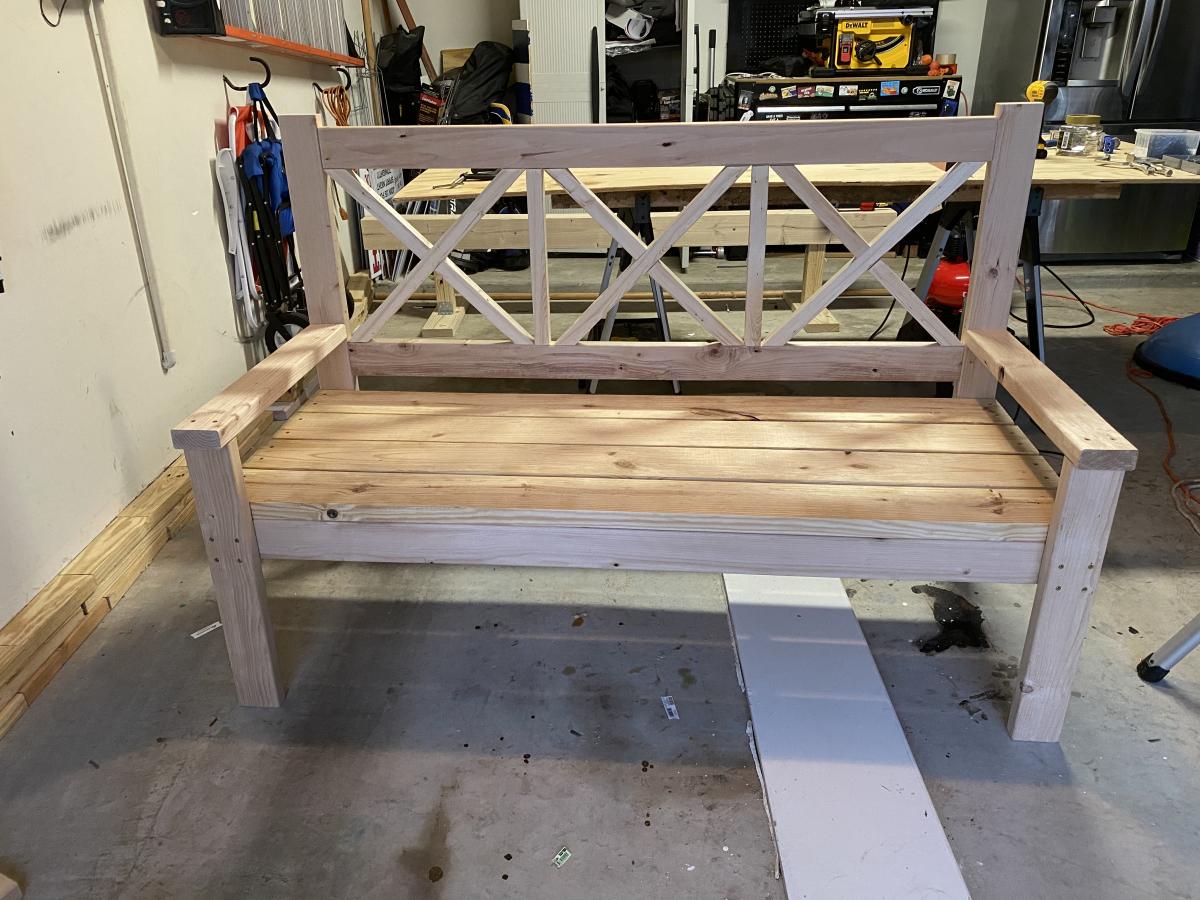
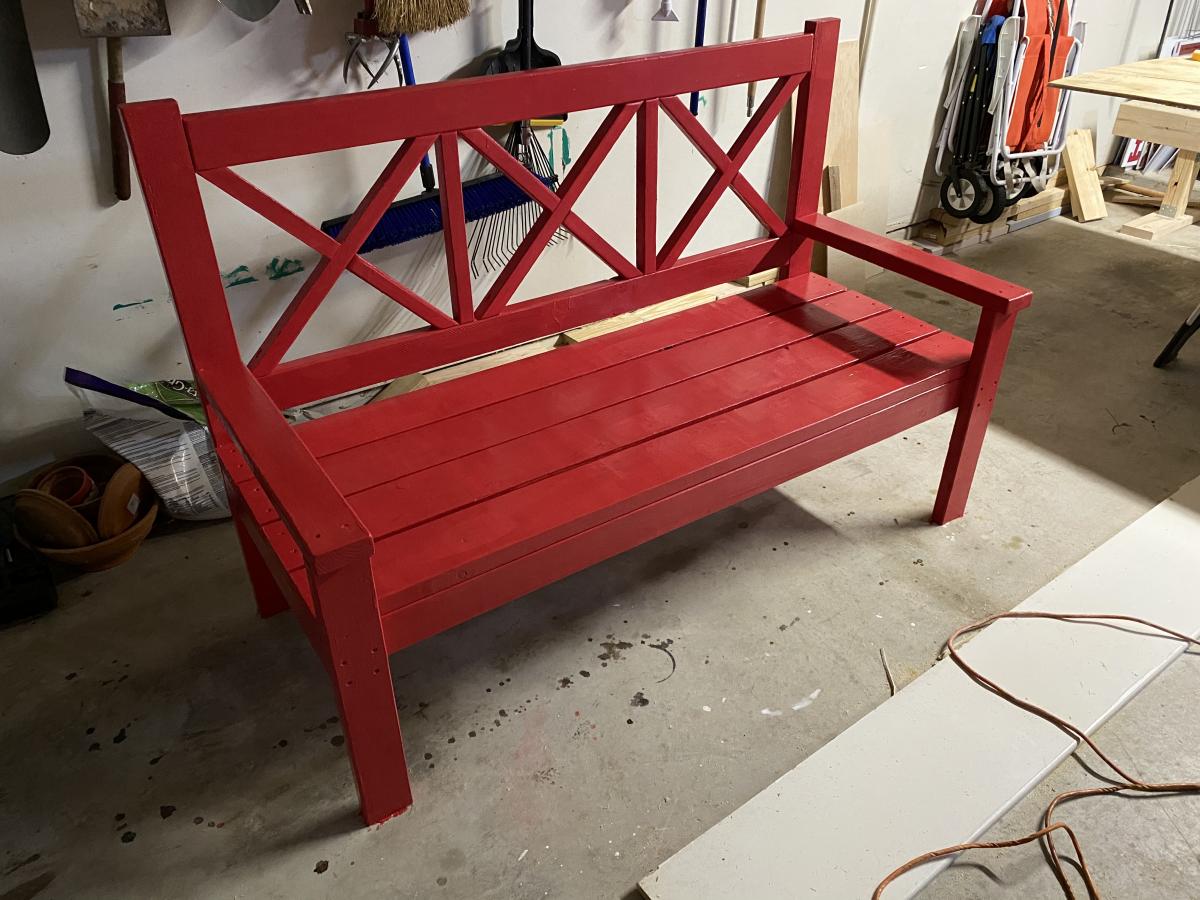
Porch bench for my parents’ new house.

Intermediate project. It is not specified how to attach the top but I would recommend using the Kreg Jigg on the outside ends. Beautiful and spacious amount of storage.
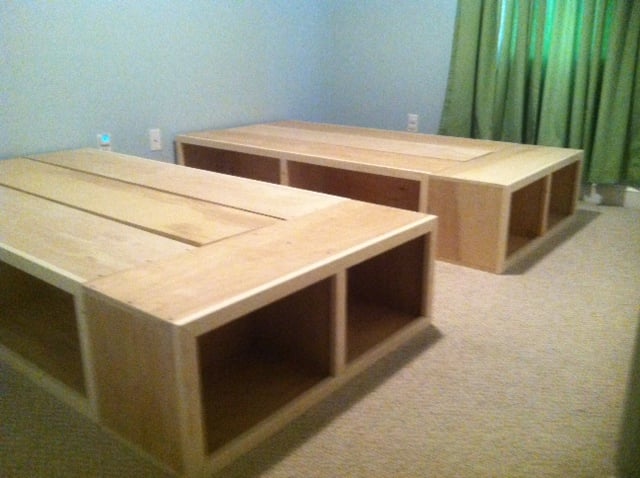
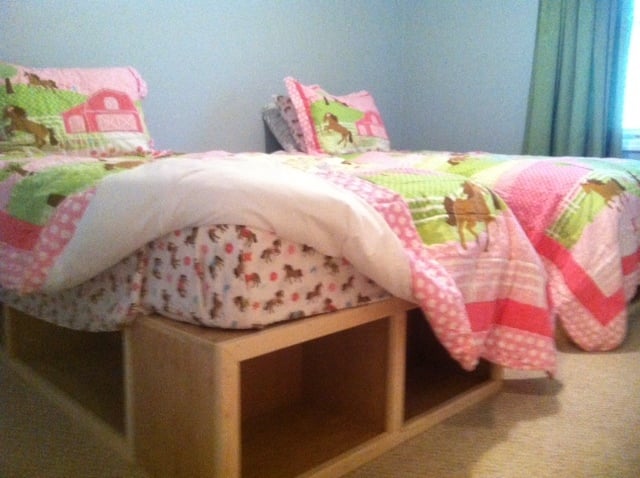
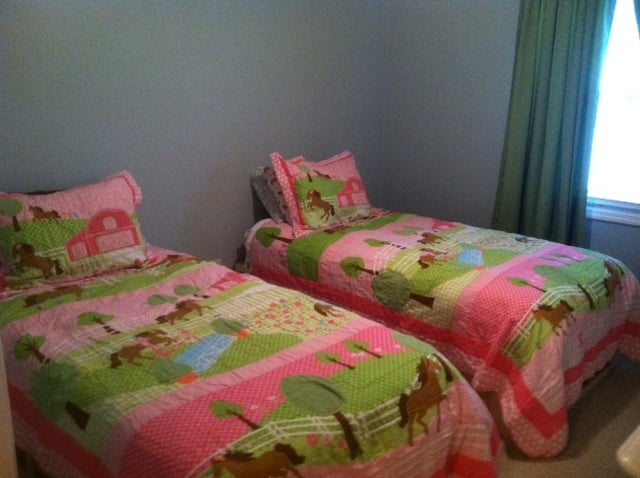
Rather than buying beds for two of our daughters, I wanted to take the opportunity to build them. I really had a great time doing. I used the plans from the Captains Storage beds, but modified it a little.
We ripped two 3/4 inch finished ply into 12in pieces.
That gave us all the sides, ends, and dividers.
The platforms are 12x12 3/4x
The ends are the same only sorter.
Rather than using slats for the middle support I just used the remain ply.
We finished the front with 6ft sections of 1x2 inch furring strips. A good sanding and clean up, and we are good to go!
Thanks for posting the plans! We really enjoyed building the beds and our girls love them!
Fri, 09/20/2013 - 13:14
LOVE this! was looking for something other than the slats that would TRULY hold my polynesian kids, thank you for sharing! :-)

Comments
mickeymonkey2017
Sun, 07/19/2020 - 18:43
These step turned out amazing
These step turned out amazing
Ana White Admin
Fri, 02/26/2021 - 11:18
Wonderful job!
Looks great, beautiful and functional!