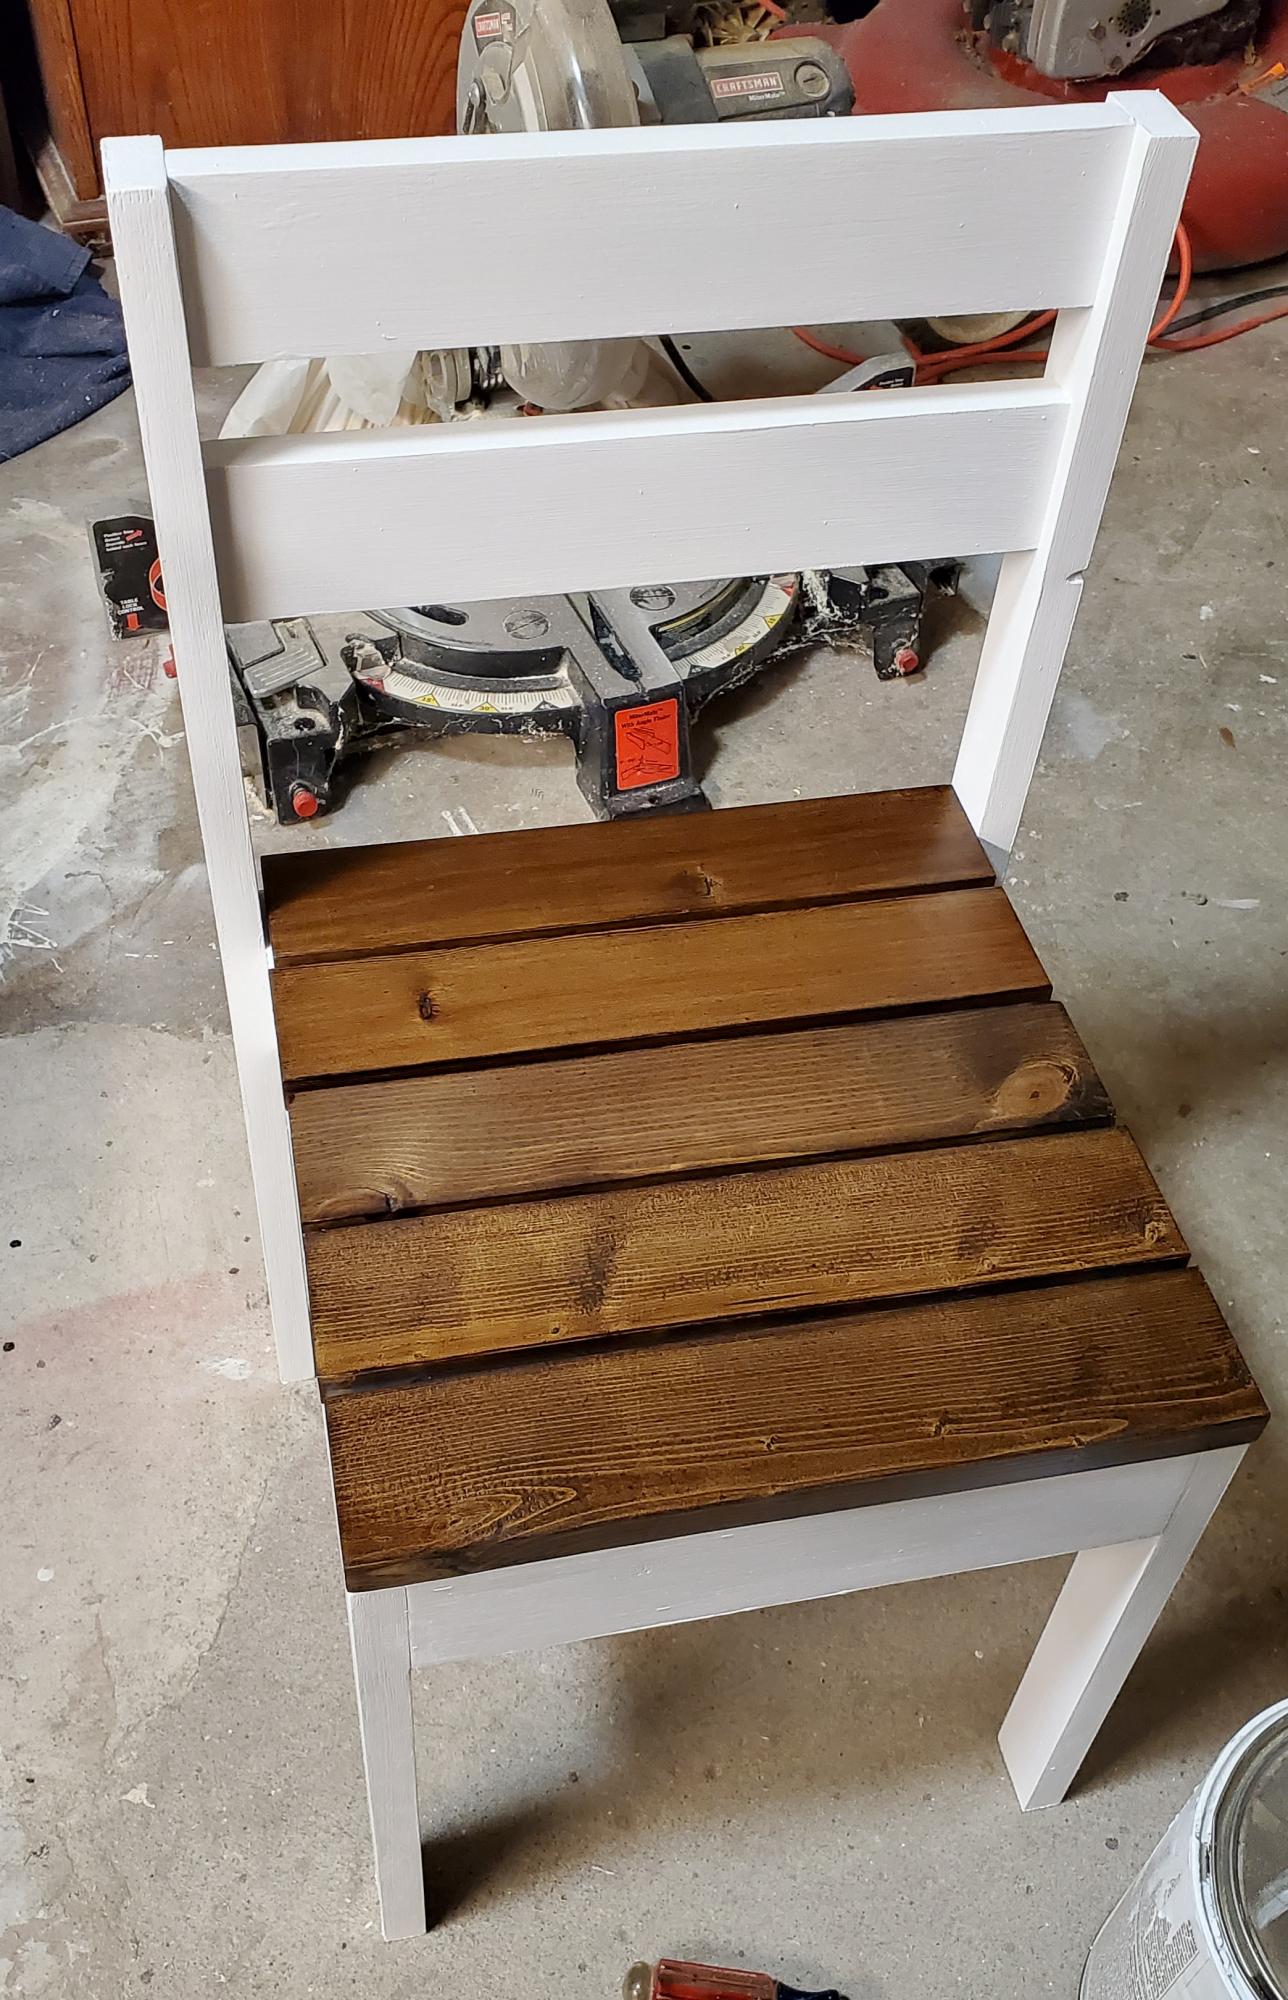
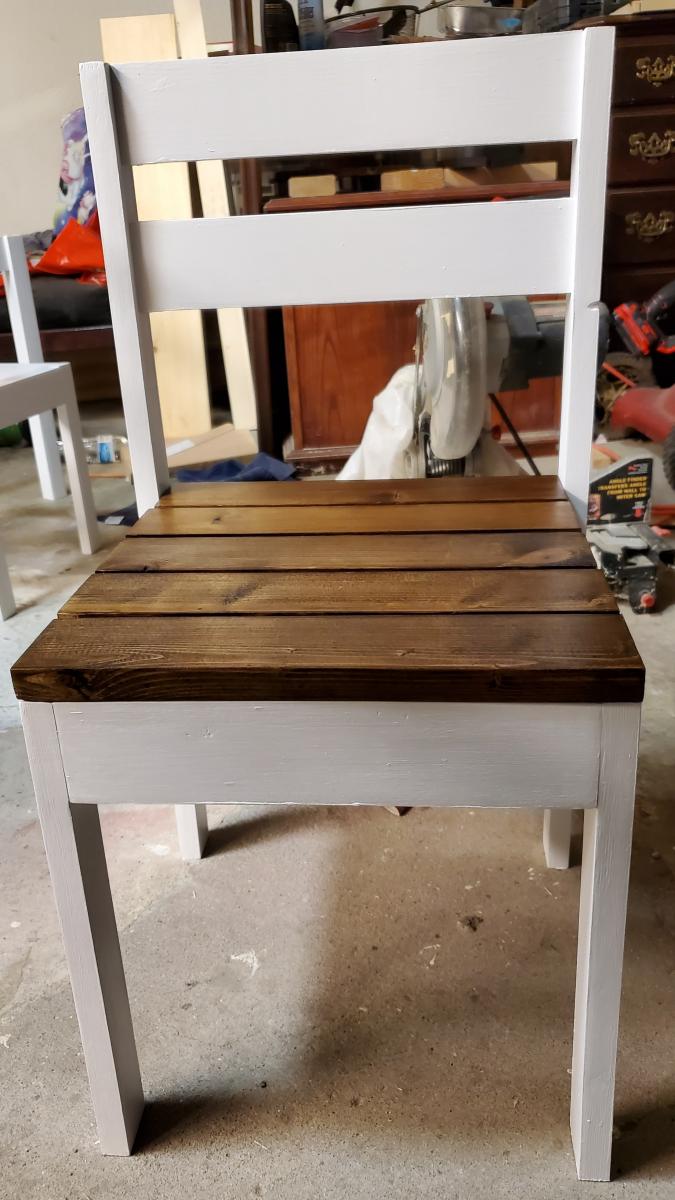
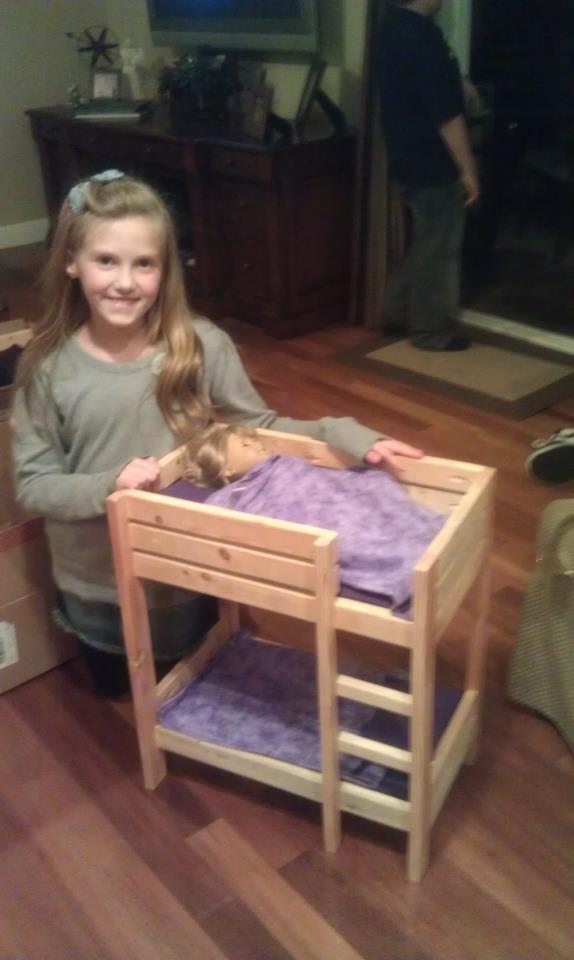
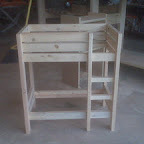
Modified Fiona Chair, we call it a Nintendo Chair
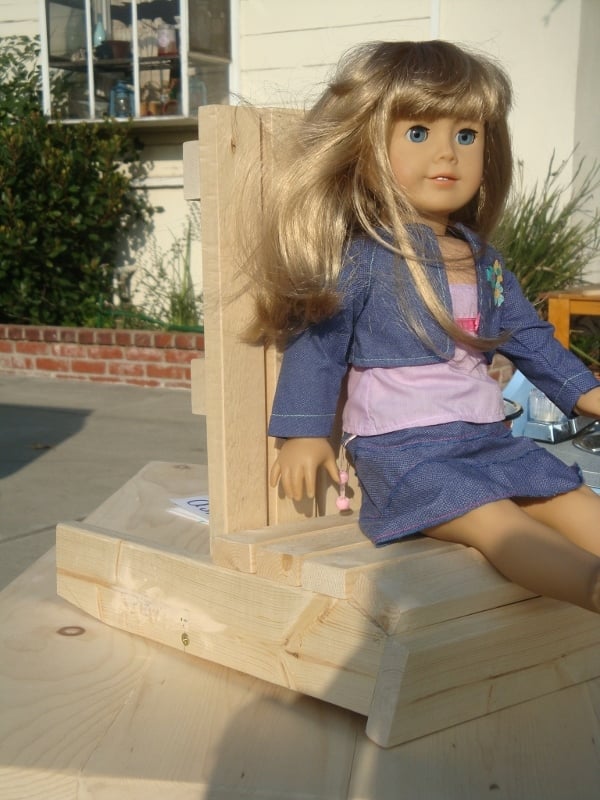
Started out making the Fiona Adironback doll chair, and when my niece saw it in this state, she dramatically screamed, STOP! she's 8, lol. She brought it in to the house, sat her doll in it next to her game chair, gave her dolly the game controller, and began to play 2 player Nintendo, Wii, and xbox.
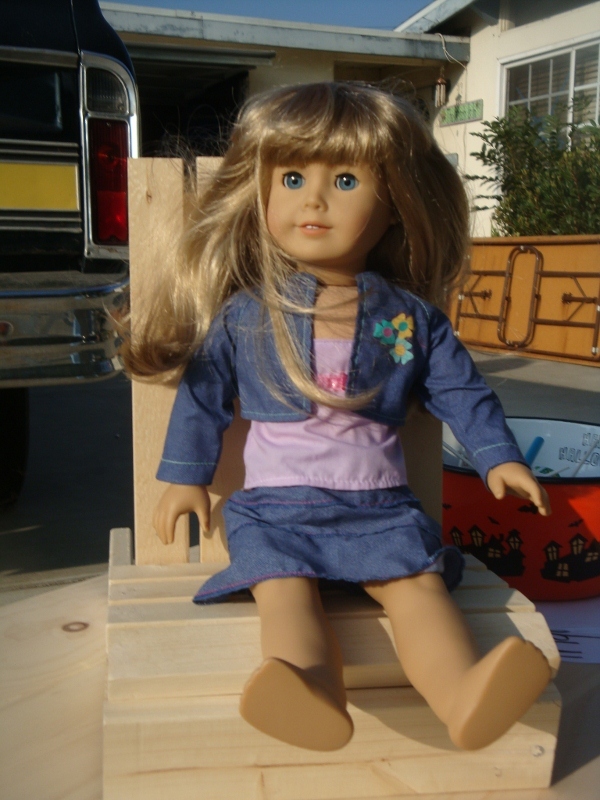
I've built 5 of these, all for friends of hers, who see her and Sarina (her Doll) playing video games together.
Built from Plan(s)
Estimated Cost
20
Estimated Time Investment
Afternoon Project (3-6 Hours)
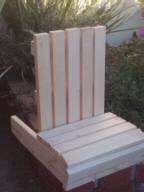
Finish Used
sanded and sprayed with clear polyurethane to protect it in case dolly spills her drink
Recommended Skill Level
Beginner