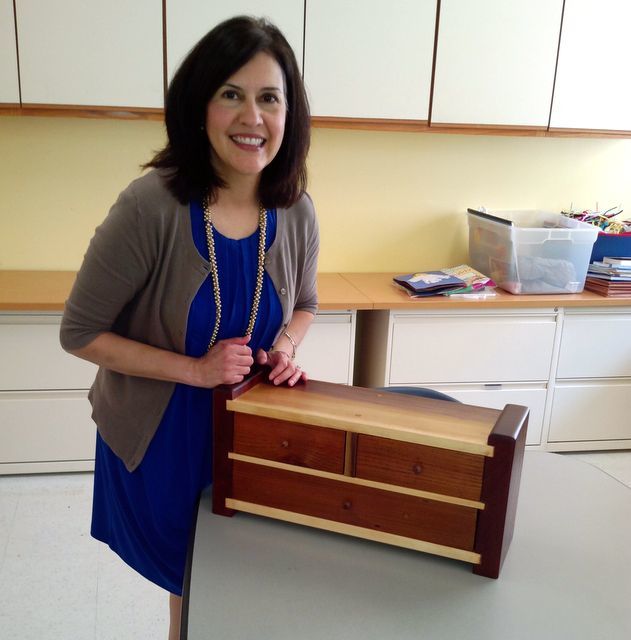
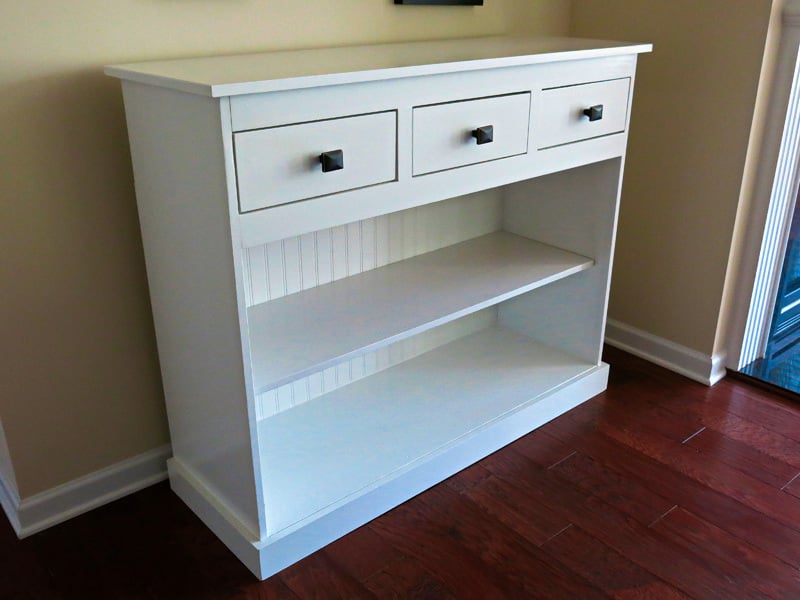
From Scrap to Sweet!
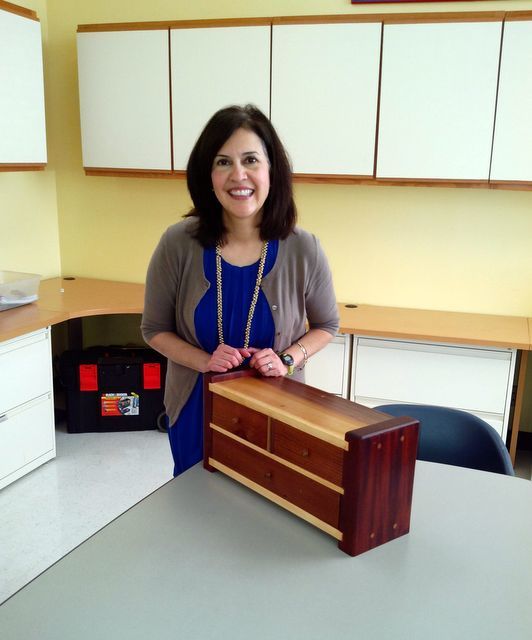
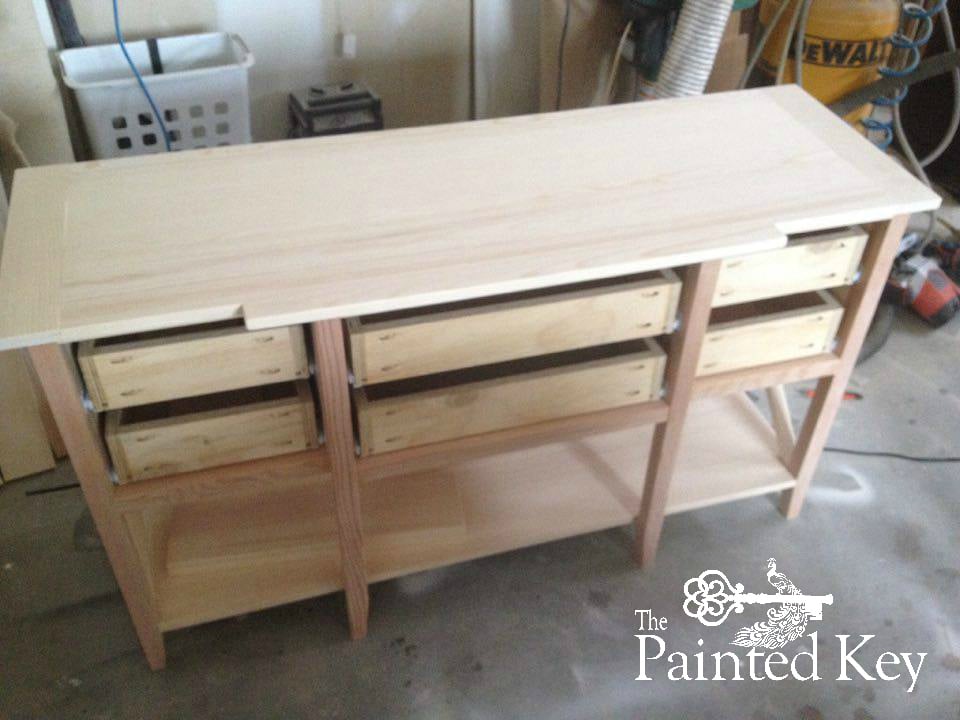
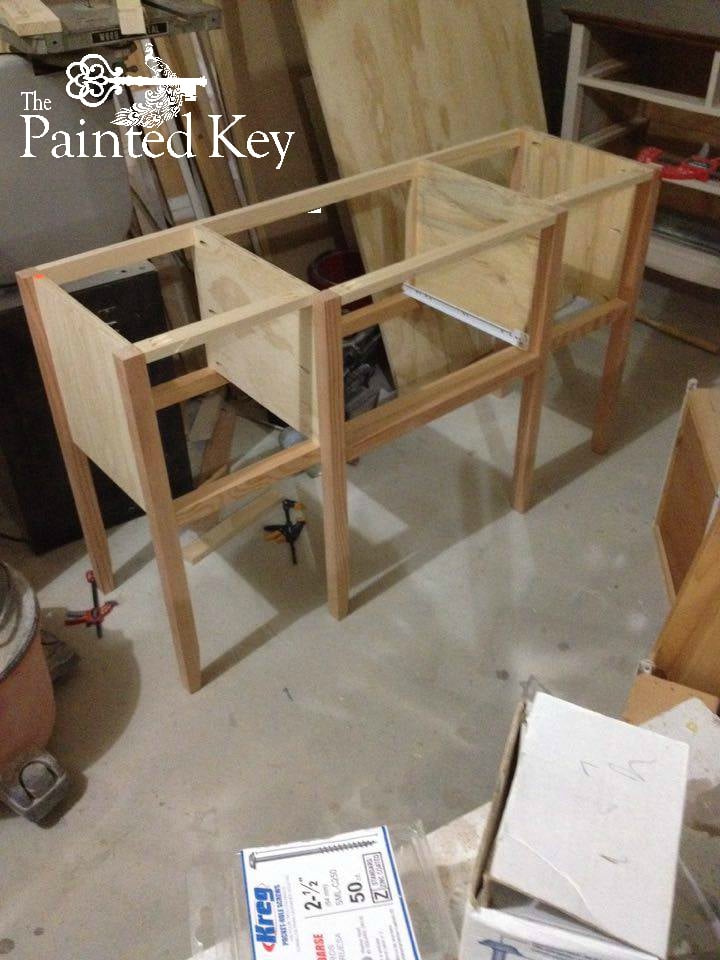
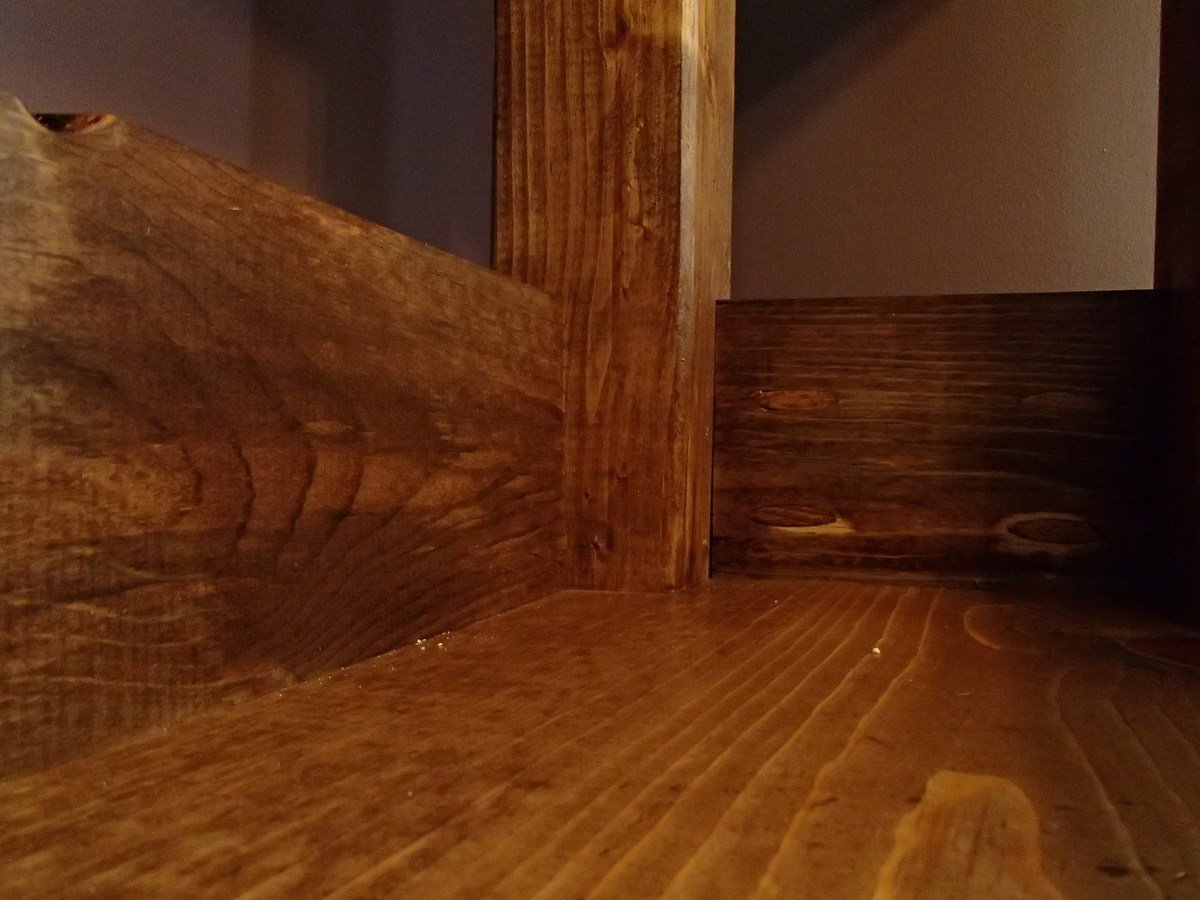
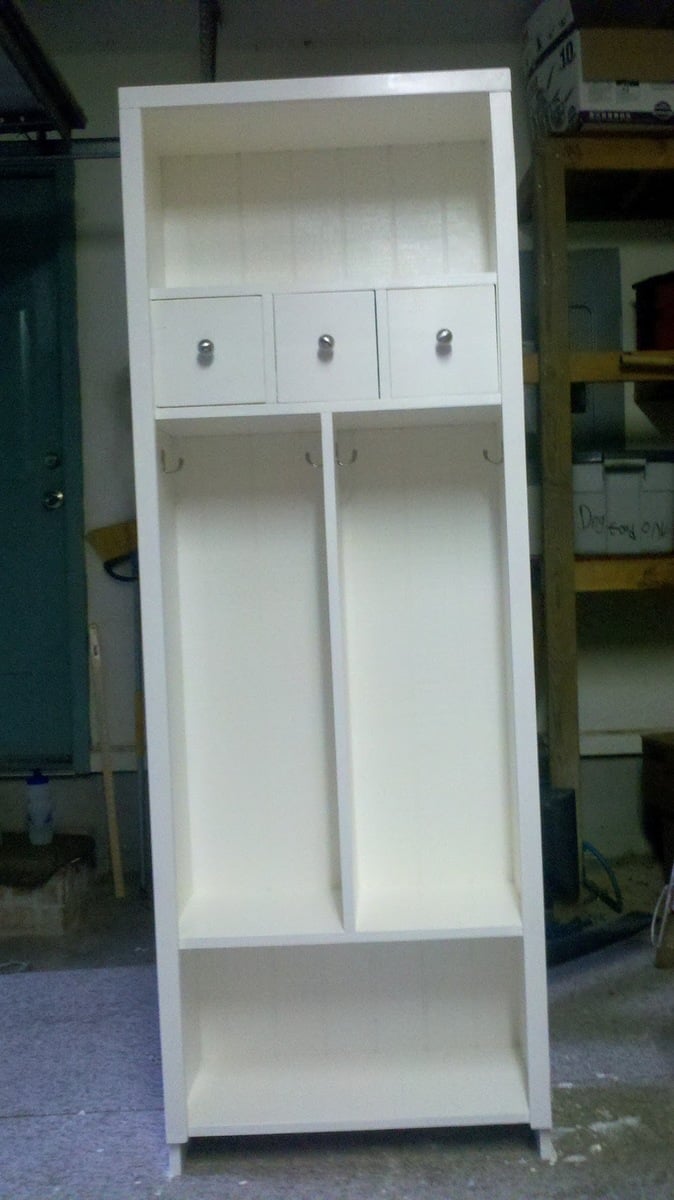
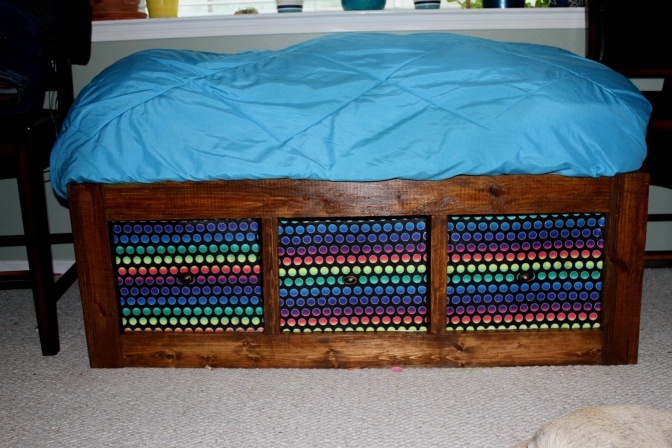
A friend wanted a small box for her cosmetics. She gave me the dimensions of her present container but my mind and my saws envisioned a different end. My only promise was that she would get three drawers. To keep cost low I used only scrap lumber I found around the garage. I added oak dowels for strength and decoration.
Estimated Time Investment
Weekend Project (10-20 Hours)
Finish Used
Finished only with a lot of sanding, two coats of Danish oil, and two coats of poly. Also once it was completely dry a coating of Johnson's paste wax.
Recommended Skill Level
Intermediate


Comments
booksnotbombs
Tue, 08/12/2014 - 11:51
I happened across your
I happened across your profile this morning, and I've spent a good part of the afternoon looking through your projects, as you've posted more brag posts than most people I've seen on Ana's website. I loved seeing all your projects and experimentation! Your sense of humor doesn't hurt, either. :) Keep it up, and I look forward to seeing more of your work in the future.
In reply to I happened across your by booksnotbombs
Jake
Tue, 08/12/2014 - 14:32
Thanks for the Nice Comments
Over the past four years I have learned a lot. The most important lessons are experiment and don't let the frequent screw ups get you down. Lately I have been concentrating on learning to weave seats (reed and rush), build small boxes, and turning wood. Today was terrible. Nice bowl blank I cut from a Hackberry log turned out to have cracks and a really nice scoop built up of poplar and walnut broke into two flying pieces when my gouge caught at 1200 RPM. Only thing to do is start over and hope you learned something.
If you are new to woodworking check for square at every opportunity and be safe. Accidents happen in milliseconds.