Slat Closet for Soldier
Slat closet.
Slat closet.
After buying our first home we decided we wanted to build our own kitchen table so we stumbled across Ana's plans and I'm so glad that we did!
All created from her designs. Thanks for all your tips!
We have a room in our basement that has very dark paint on the walls and NO windows, so we were looking for options to add lamps, as well as brighter colors to offset the darkness. I built two modified cabin collection end tables (no doors and the tops overhang by about an inch) for the lamps we already had. Once the tables were done, I saw the plan for the squared headboard and decided it would make an awesome large scale wall decor for cheaper than anything I could buy at the store. I modified the plan but cutting the "legs" down to 34.5 inches, but otherwise followed the plan pretty closely, laying out the pattern completely before I began assembling. It was a tedious process, but well worth it! (I used my kreg jig on both.)
As a side note, our 2x2's are NEVER straight, so I usually glue 2 1x2's together and sand the seam so it appears as one piece of wood.
Fri, 06/10/2011 - 12:09
This my dear is the basement that Ana White wishes she had! Love the wall decor! Adds just the right touch! And cute little end tables! The wall color is perfect too!
I was asked by a friend if I could build a reading bench for his daycare and this is what I created.
Wed, 07/31/2013 - 13:17
I really like this. I know a new teacher that might like something like this for her 1st grade room. Which plan did you use? Thank you.
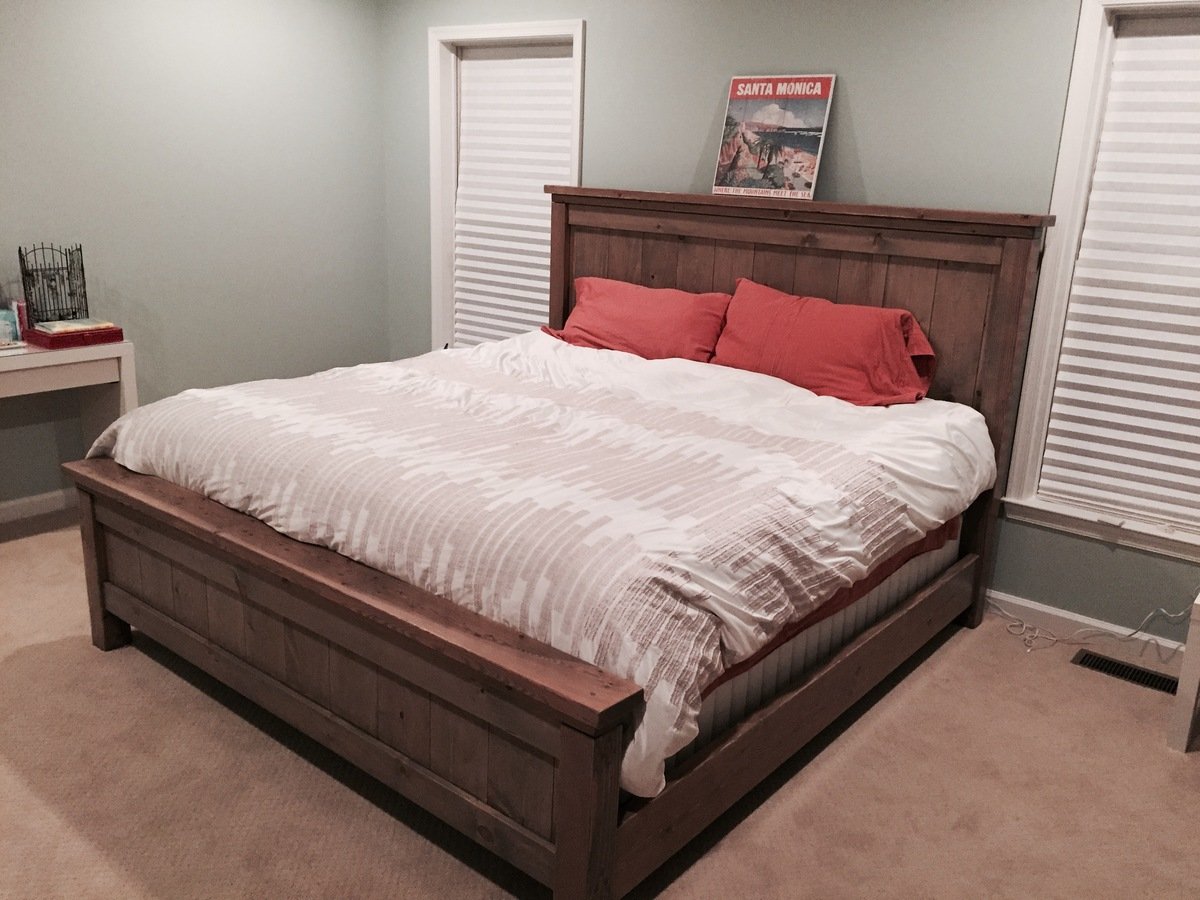
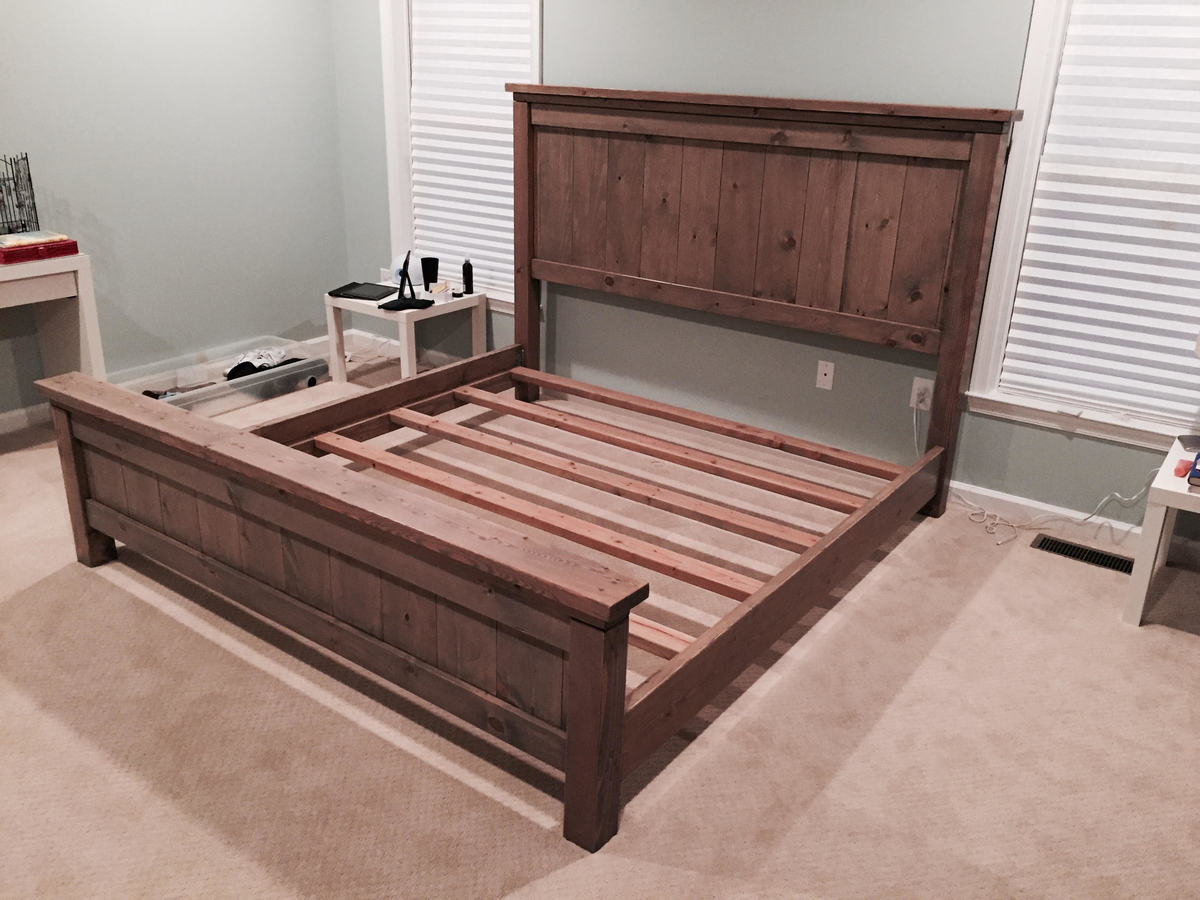
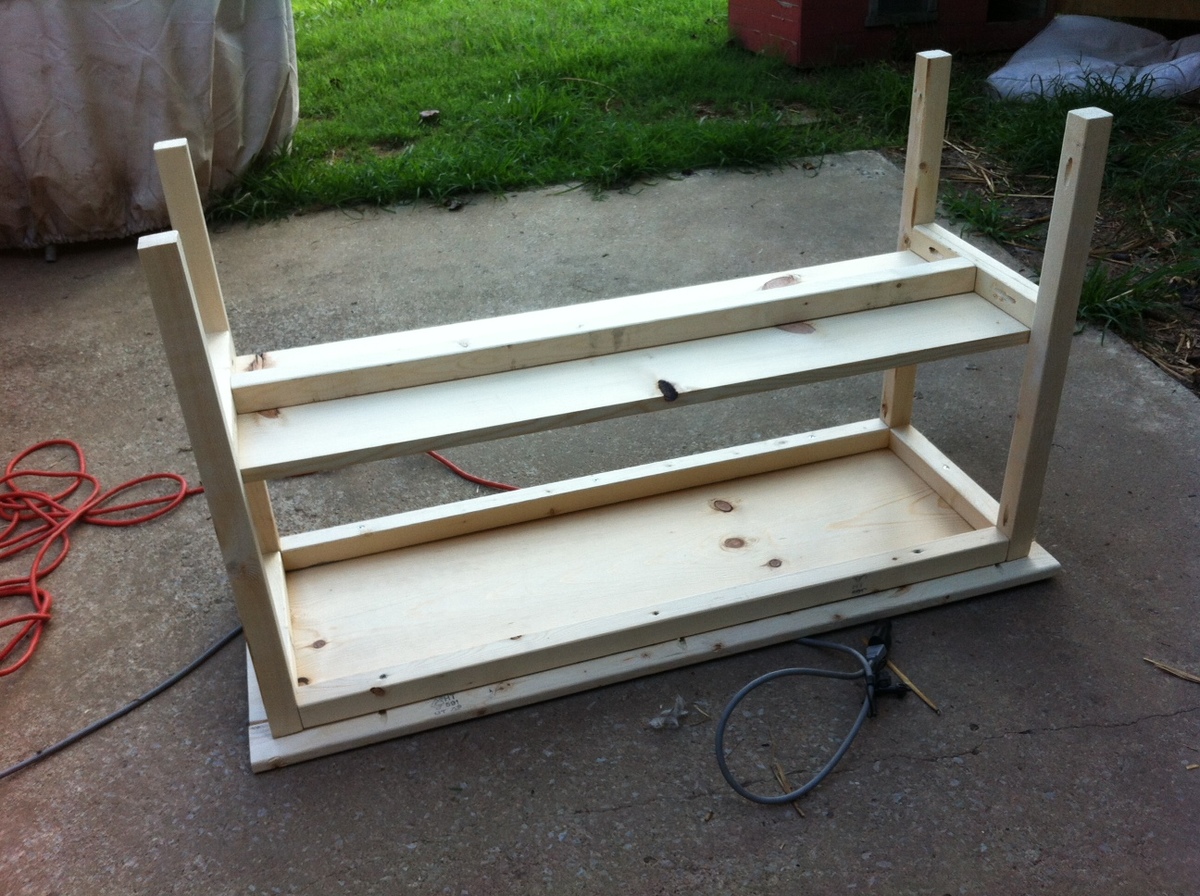
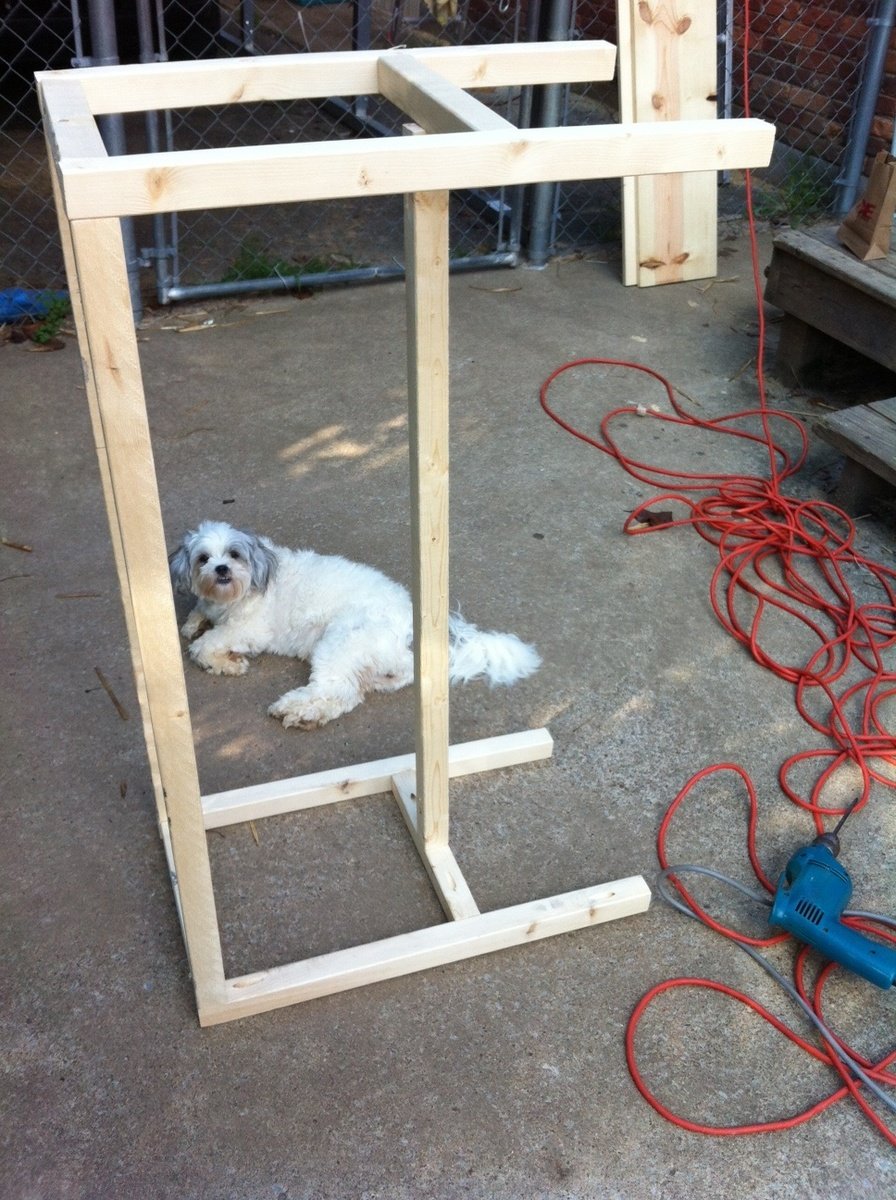
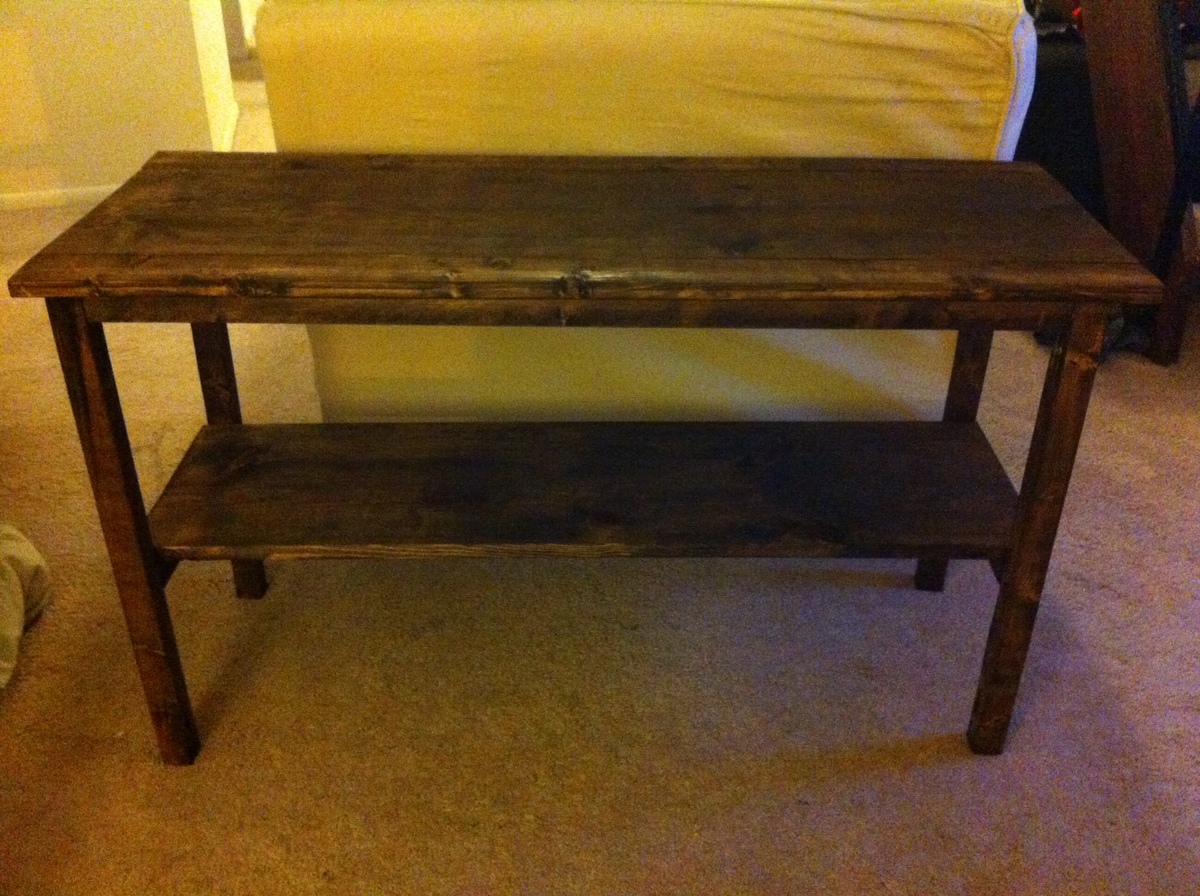
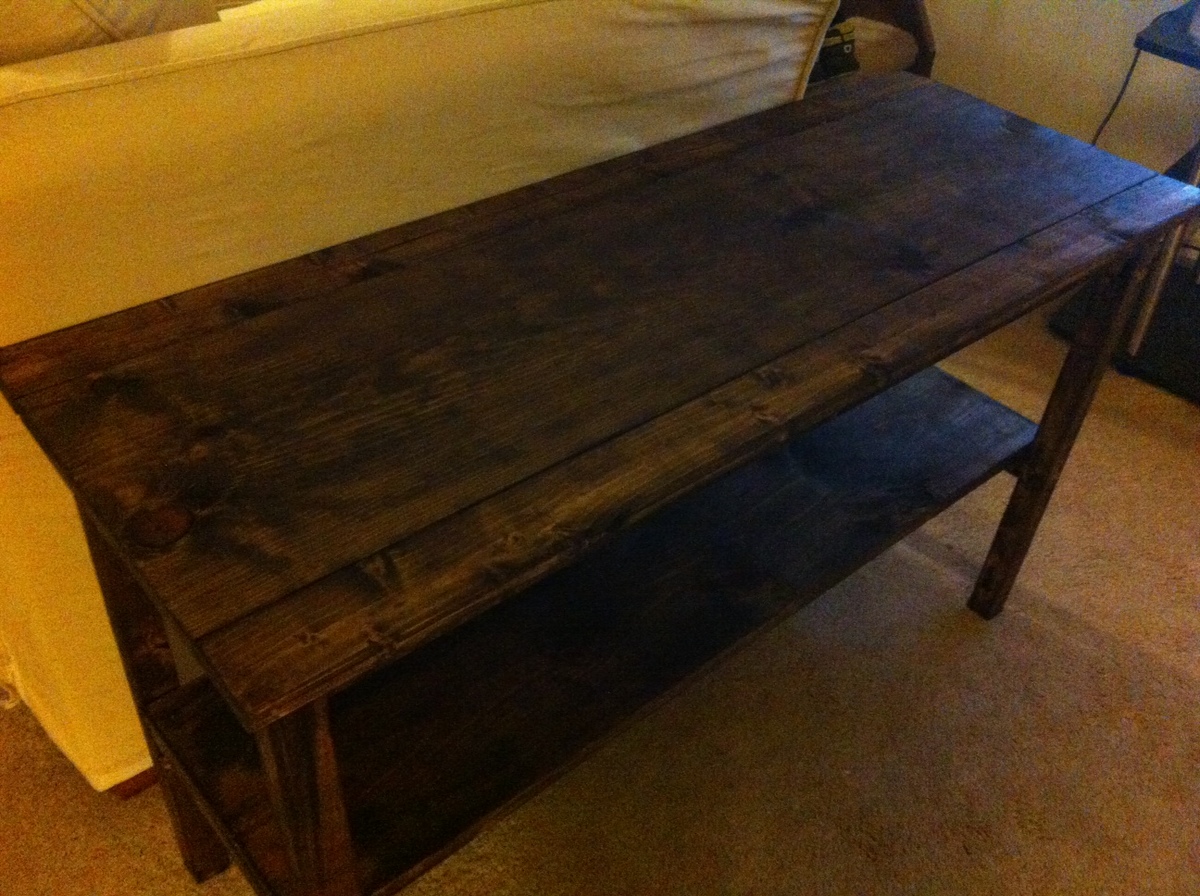
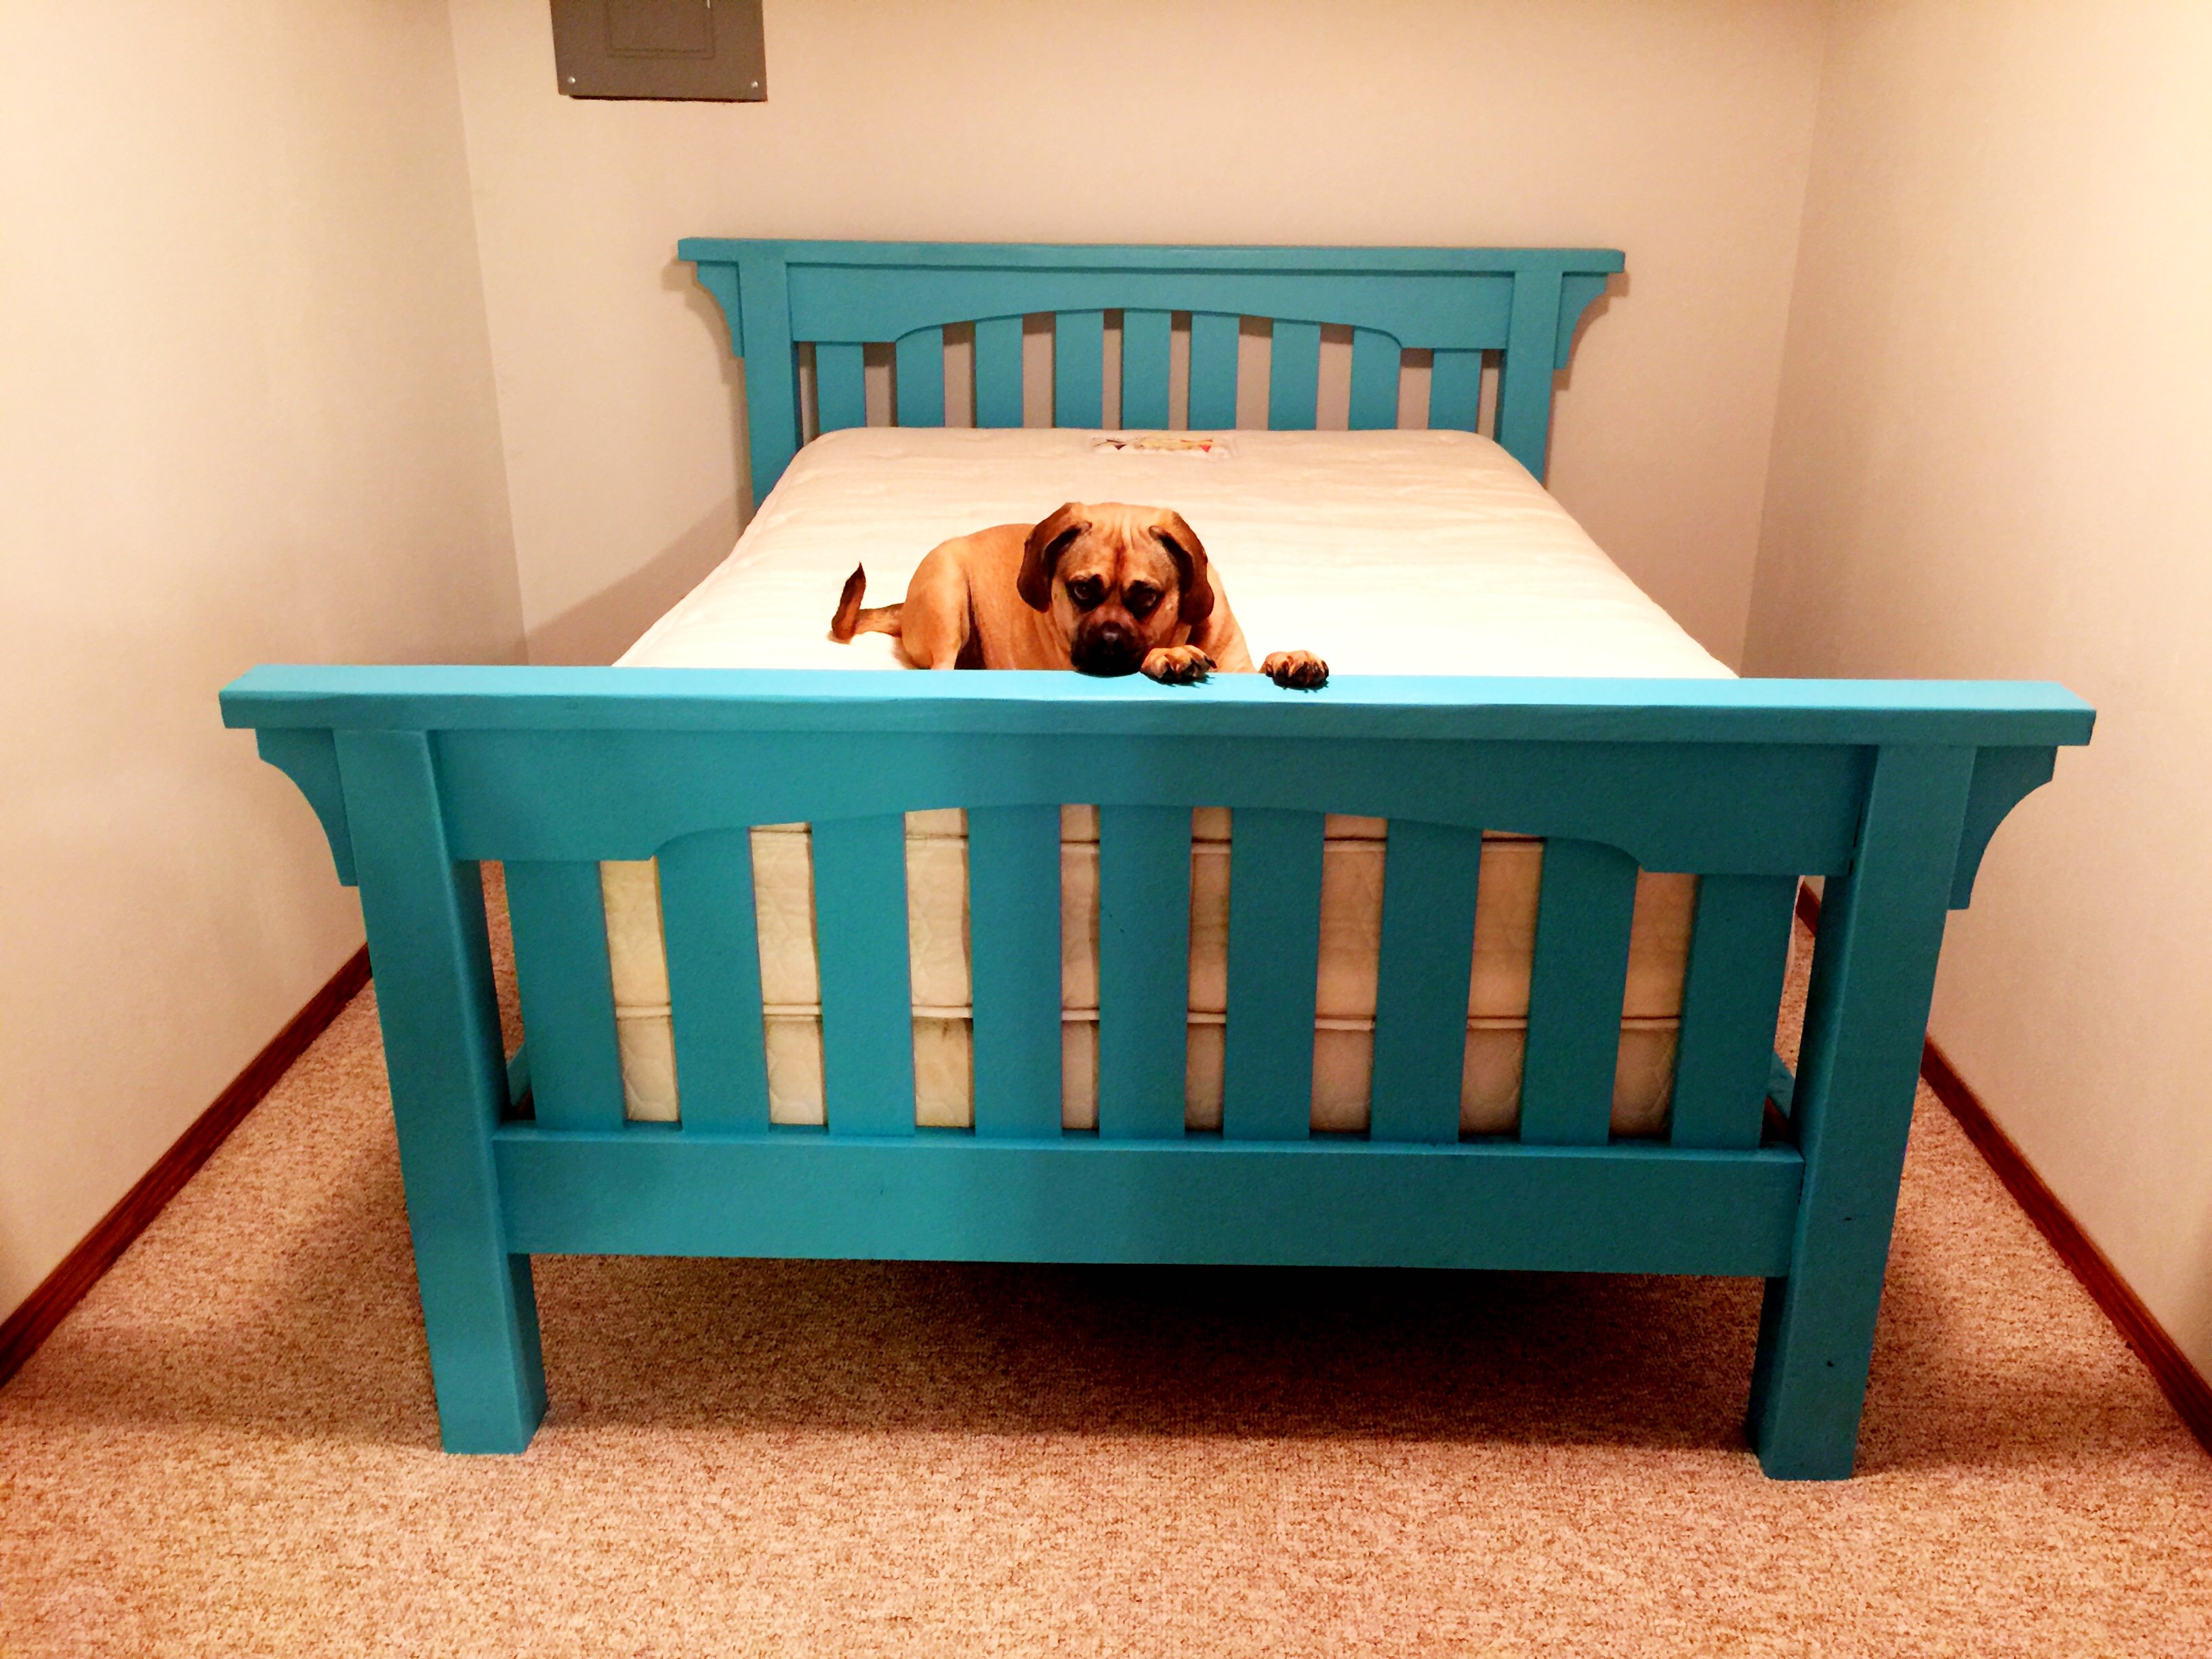
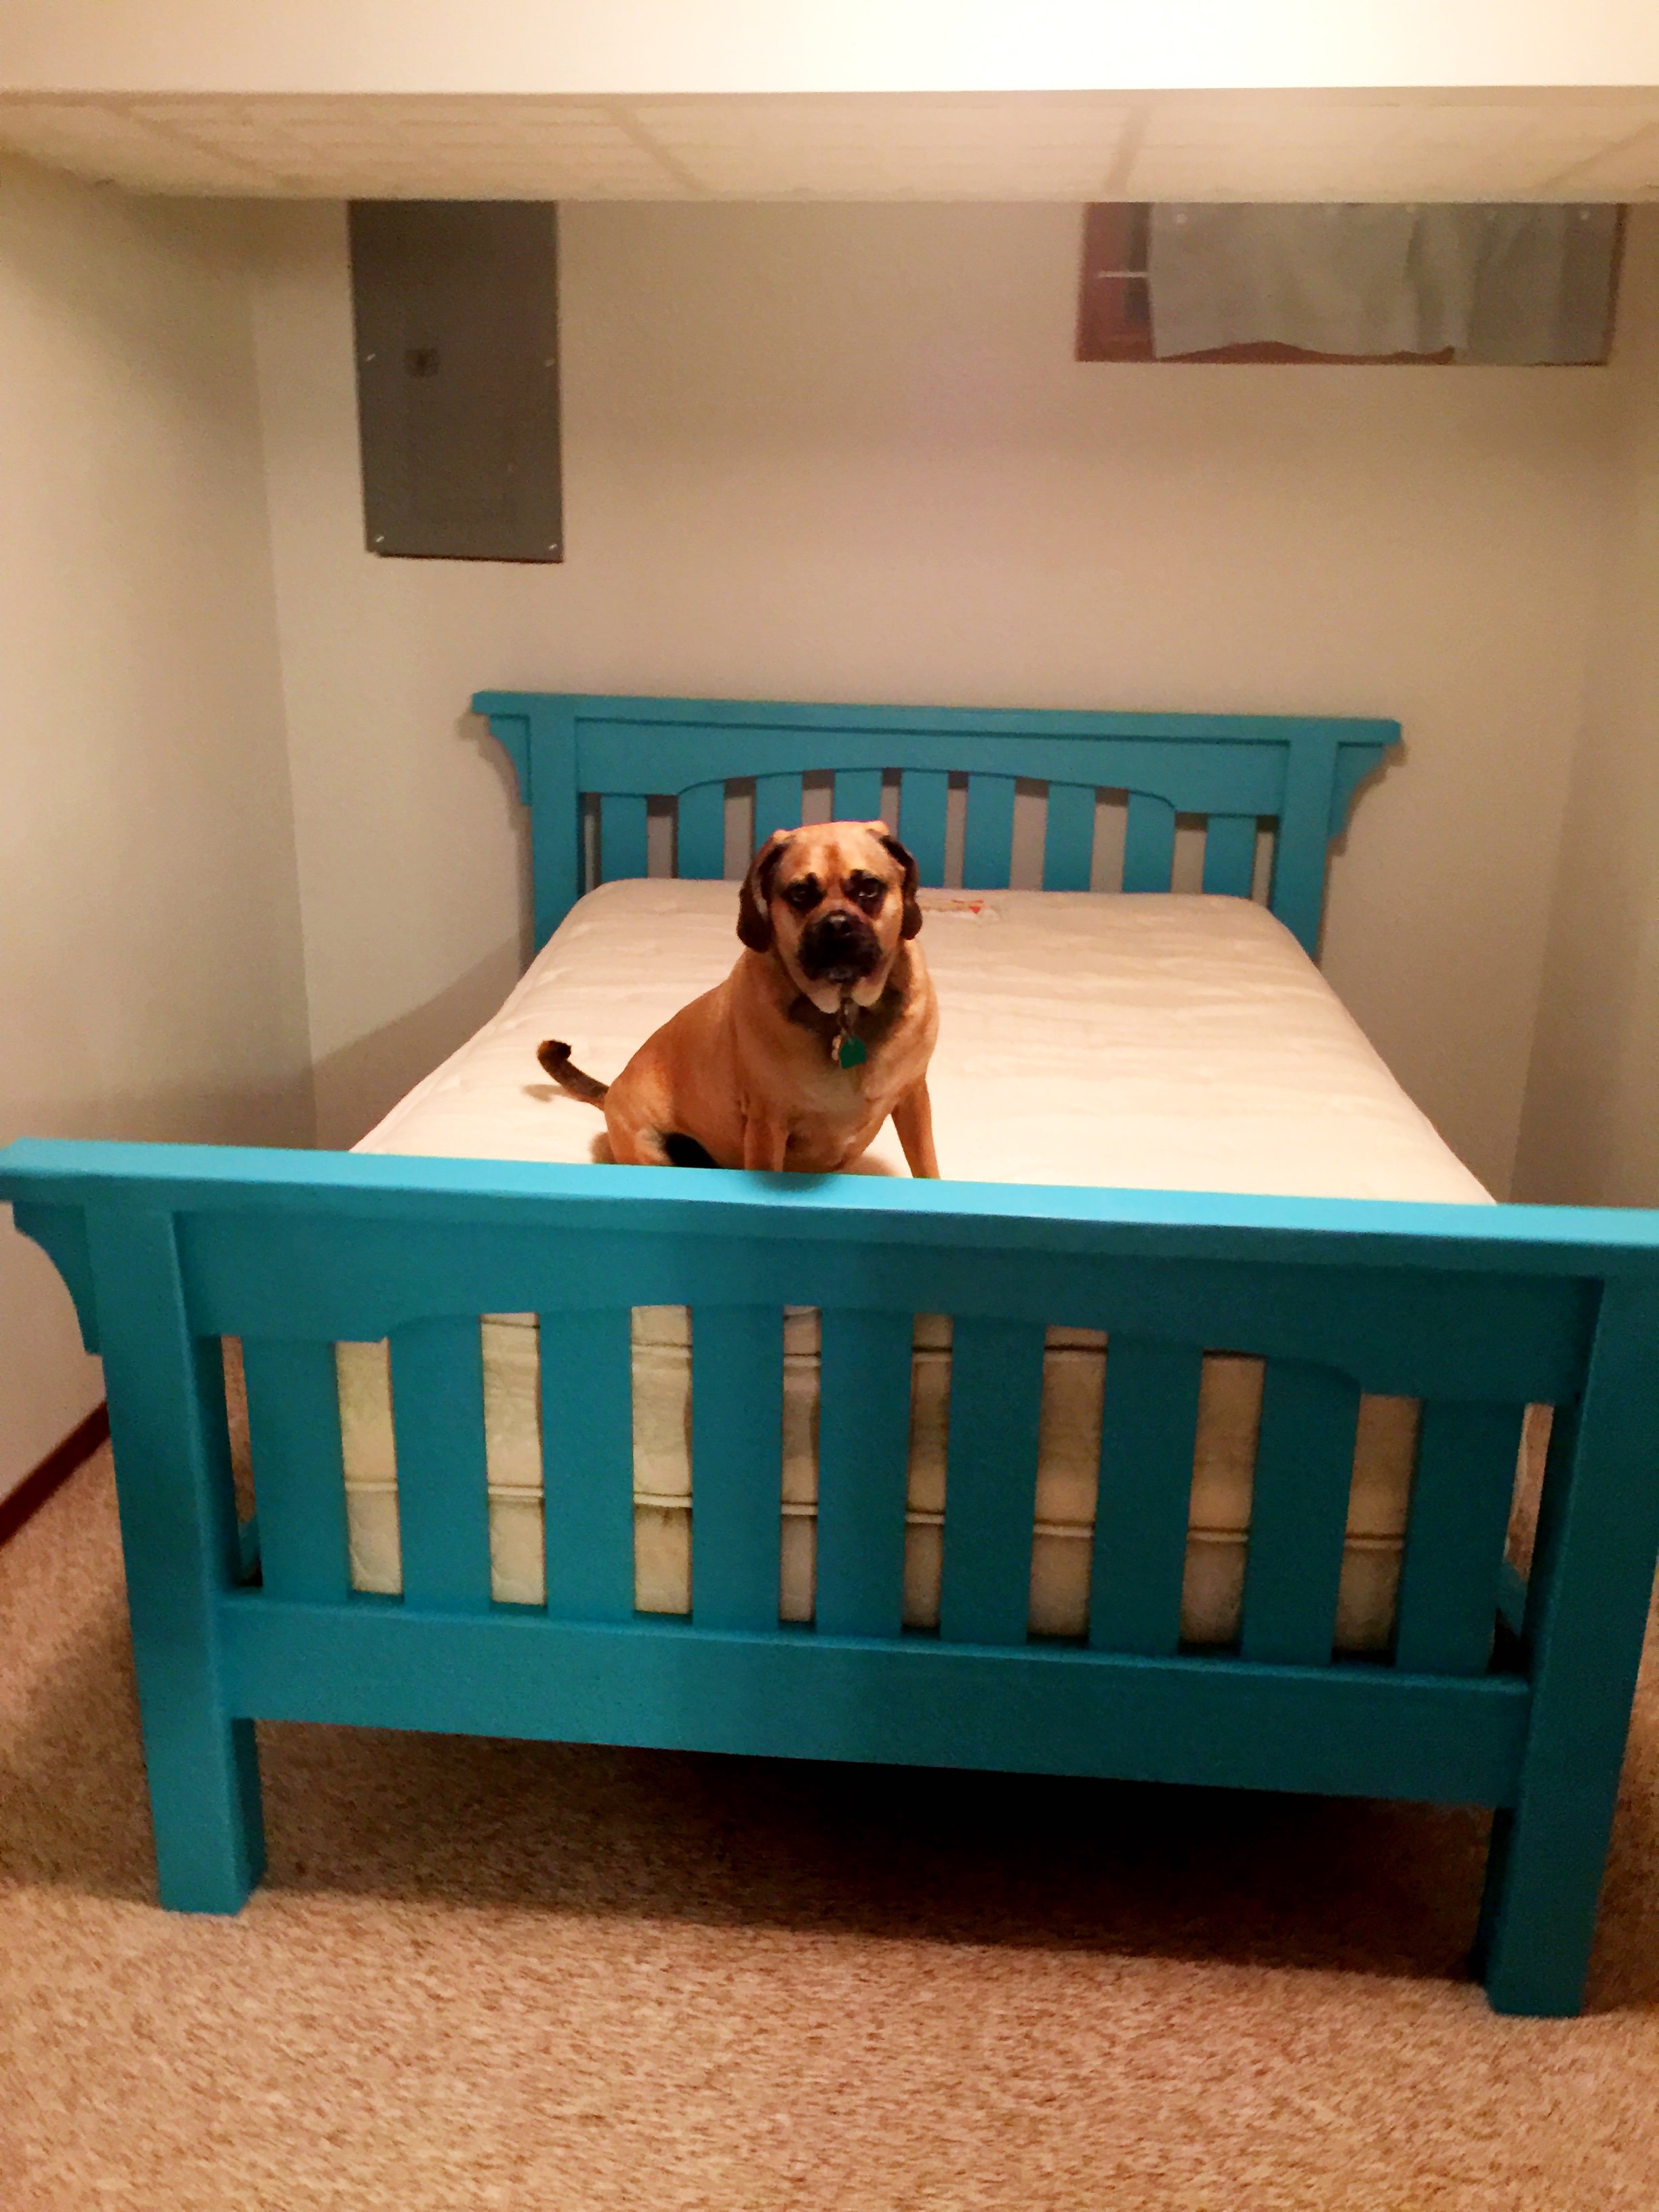
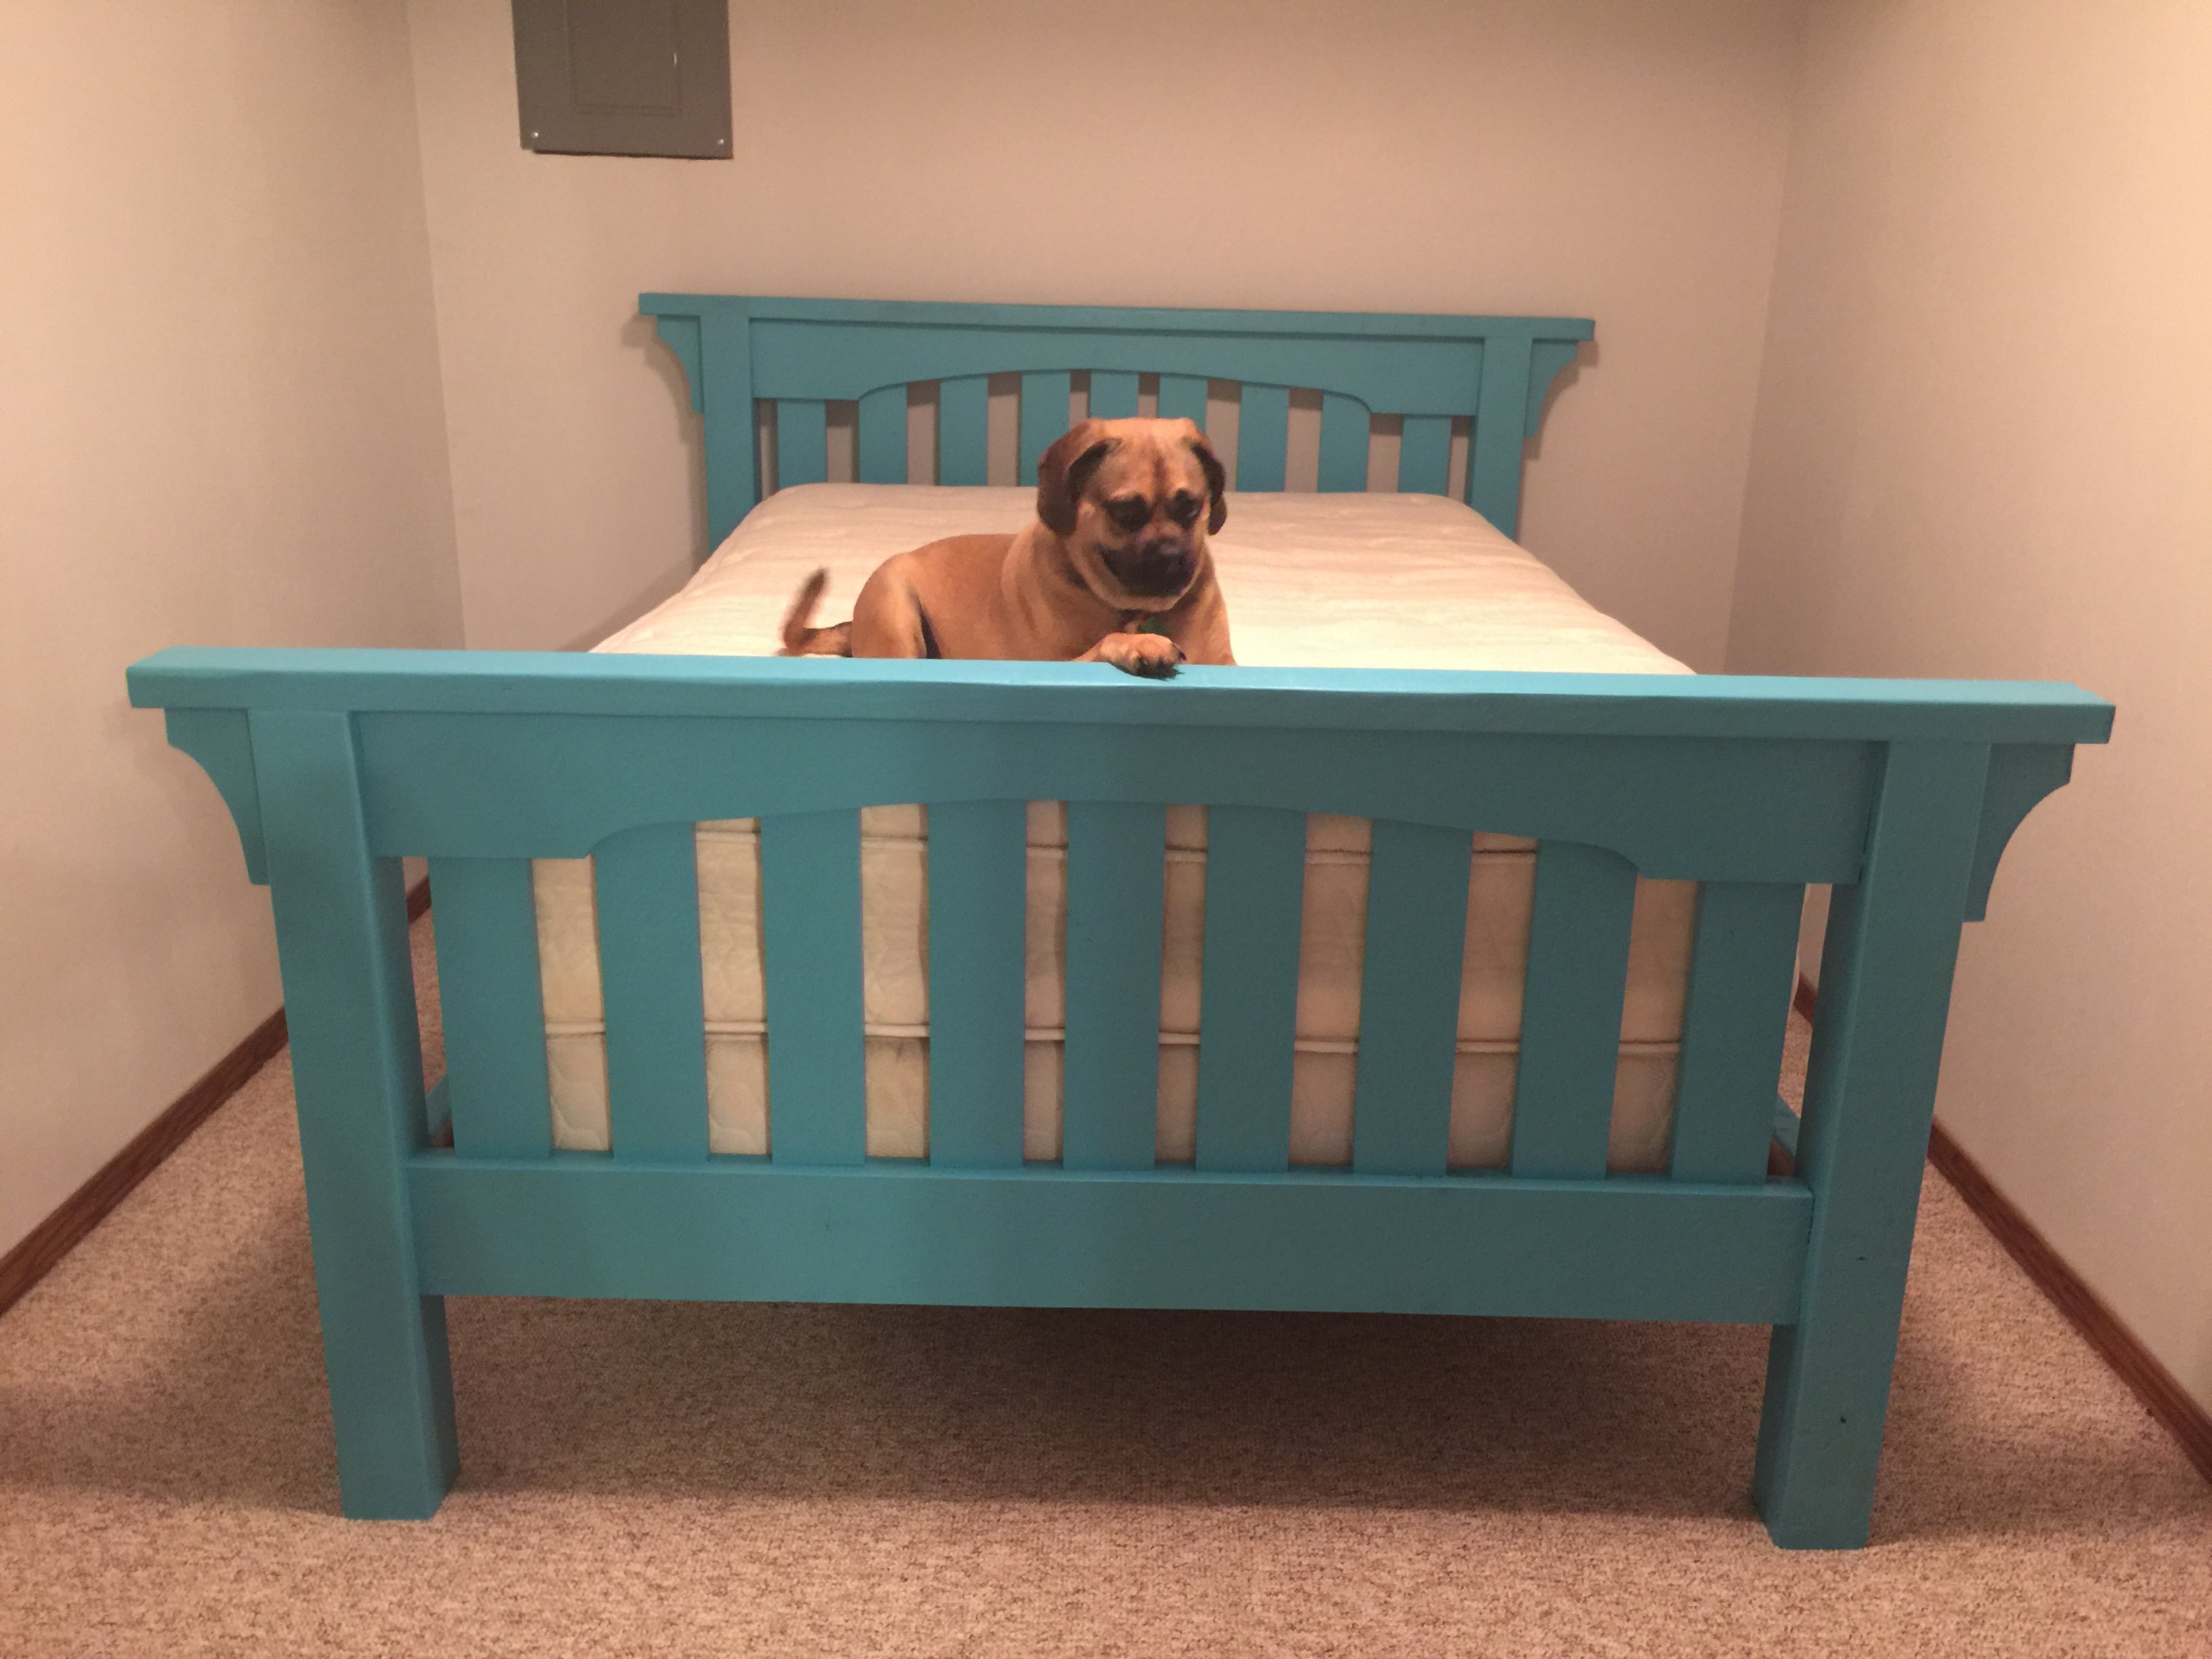
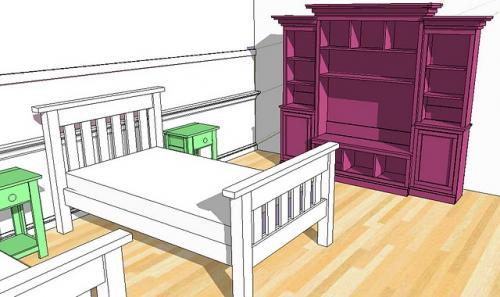
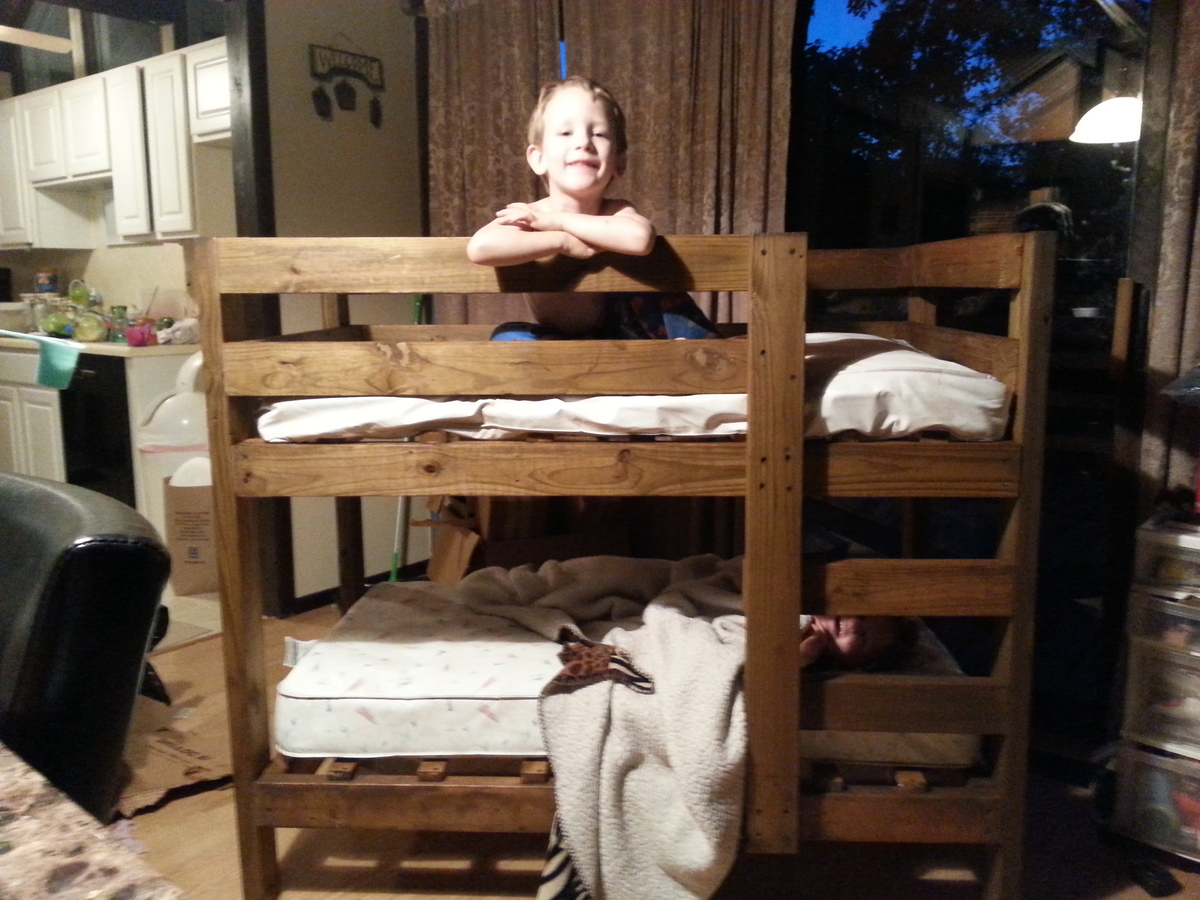
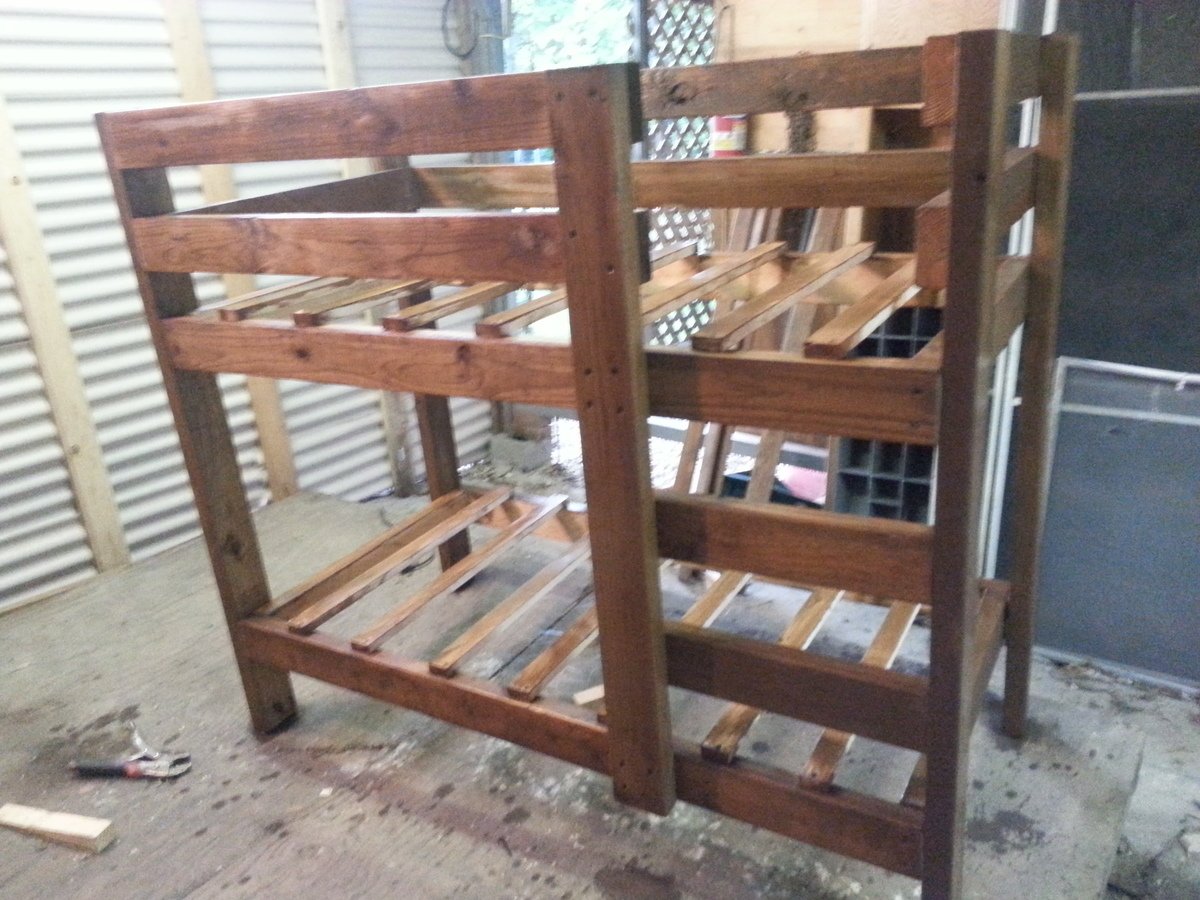
This was my 2nd woodworking project. My wife had been asking for a farmhouse bed for some time, so I figured I'd go for it. The end result was even better than I was hoping. It came together really well and the bed is just perfect. Thank you Ana for the plans!
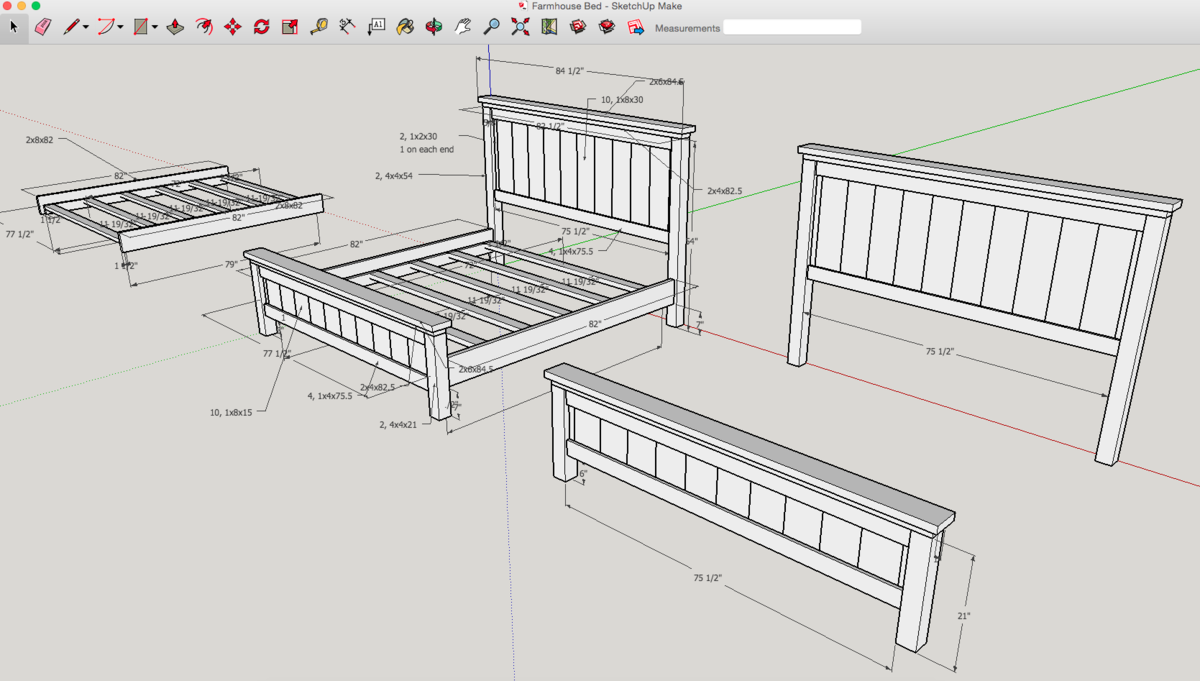
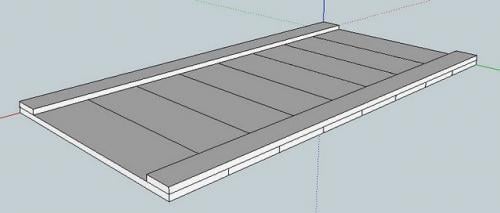
I used the Ana White Queen Bed and King Bed plans as guides, as well as another blog called A Lesson Learned. I modified the dimensions to fit our specific bed, then I drew up the plans using Sketchup and got to work. All the wood is pine from Home Depot. The total project took a couple months because I could only work on it on weekends and didn't have full days to commit to it. In the end though, totally worth it and we love the bed!
I really love this table, even though it didn't turn out perfectly. I'm not sure what happened, but the shelf on the bottom ended up not fitting well and is sticking out some on one end at a weird angle. But you really can't tell unless you're looking and I plan on just putting that side on the wall. It was REALLY easy to make and took barely any time. I love how the stain turned out (it looks a little darker in the pictures that it really is). I think this table could be used for a lot of different things too and could be modified in height for different uses. Thanks Ana!
Fun easy project. I built it for my wifes classroom. We used 4 2 x 10 instead of 3 and I used a kreg Pocket Jig instead of biscuit joiner and l brackets. Very easy fun project.
Decided to build a bedroom set and like the Rhyan end table, but fell in love with tiled version. So we used porcelain tile on top.
We have a small extra bedroom in our basement for out-of-town guests that needed furniture. This plan was perfect. For the time being, Clarence the Dog will keep the bed warm.
Chicken coop with run!
by Vicki
This is the first building project that I've tackled and it's all thanks to Ana-White. I did lots of things different than the building plan but it was definitely my inspiration and extremely useful. I loved the Restoration Hardware table and so I went to the local store to put my eyes on it for myself. Some of the things that I noticed, liked, and included in my design are; I used 4-2x12"s for the tabletop, I used 2x8"s as the breadboards, I used 4x4"s for the legs as well as the side stretcher, I used 2x4"s as the undertable supports, I built two 15" extensions using 2x8"s and 2x2"s, and I attempted to distress the wood yet stain it to match our dining room as best as I could.
I've documented the build and you can check it out yourself at: http://tommyandellie.com/?p=14
I've revised the plans with even more details here; http://tommyandellie.com/index.php/2012/01/13/new-and-improved-farmhous…
Hope it helps.
Mon, 06/20/2011 - 15:06
This is stunning! I'm working on this table right now, but it's no where near as good as yours. I'm jealous. I love your extensions. I'd love to see a tutorial on adding extensions..
Tue, 06/21/2011 - 05:16
It looks beautiful. Did you attatch the 2x2 to the underside of the extensions and then notch out a place on the support for them to slide into? Can you please take a photo of the underside with the extensions on?
Tue, 06/21/2011 - 14:42
That's exactly right. Here's a link to the picture you asked for; http://www.tommyandellie.com/Site/Home/Entries/2011/6/10_Farmhouse_Tabl…
There's some more details and info specifically about the extensions on my blog at; http://www.tommyandellie.com/Site/Home/Entries/2011/6/10_Farmhouse_Tabl…
It's a super simple addition to the design and can take my table from 96" to 126"!!! Or take it from a 8-10 seat table to potentially 16 seats available for those Big thanksgiving meals.
Wed, 06/29/2011 - 15:41
Hello,
I was just wondering that since your table is a bit wider than Ana's table, did you make the support for the stretcher wider? As in, did you increase the length at all (in addition to making it stick out a bit at the ends? If so, what did you extend it to? Thanks and gorgeous job!
Wed, 06/29/2011 - 18:49
Hello,
I followed Ana's example and allowed for a 1" overhang on both sides. So the tabletop is actually 44" wide and the stretchers are approximately 42". The long 2x4" stretcher is approximately 88".
Hope that helps. Thanks for the positive comments.
Thu, 06/30/2011 - 04:43
For the table legs, I set my table saw blade to a height of approximately 1.5". I then made a first cut at 3.5" from the bottom, then made a cut at 7", and then made several subsequent cuts in between those two cuts. After it was all slivered, I used a hammer to knock it all out, and then swirled the opening all around on the table saw (blade still at 1.5" tall) to smooth out all the cuts. I used the same technique for the stretcher as well.
Sat, 08/06/2011 - 21:36
Hi Tommy, I tried clicking on your site and was told the site could not be found. Last week, I saw it fine and showed my hubby our next project, but now it's gone. Help!
Mon, 08/08/2011 - 13:25
It may have been bad timing when was updating the site or I may have changed something.
Try this out and let me know if it works;
http://www.tommyandellie.com/Site/Home/Entries/2011/8/4_Farmhouse_Table…
Or go to our main site www.tommyandellie.com
Mon, 11/14/2011 - 12:31
We've switched over our entire website and have had some issues.
Here's the new updated version; http://tommyandellie.com/?p=14
Here's the old one in case that doesn't work; http://web.me.com/tomsibiga/Site/Home/Entries/2011/8/4_Farmhouse_Table_…
Tue, 01/24/2012 - 03:37
Good job publishing this post. I would like to learn more about this subject.
Thu, 03/01/2012 - 07:17
What inspiring pictures! Apparently everyone agrees, because I just "pinned" one of these pictures to Pinterest and it was immediately repinned 27 times and counting. So nice work! I hope to make mine this weekend.
Sun, 04/29/2012 - 06:29
She and her boyfriend would like to build it using lumber i cut from my mill. They are thinking walnut, hickory or maybe ash but im not sure how that will work out with being distressed. And your extentions, do you have a 2x4 or two that slides out from under the table to help support them on each end ? Are there pics of the under side of the table as well? This is a great table and i think they will have fun as a family assemblimng and finishing it.
Thank you. DesII
Sun, 04/29/2012 - 07:38
Here's a link to how I make the extensions; http://tommyandellie.com/index.php/2012/01/17/farmhouse-table-extension…
And this post has a ton of pictures to see how it all works.
With the harder wood like walnut, hickory, or ash......it'll definitely be harder to distress but I think it makes for a really neat/unique piece.
Hope that helps!
Thu, 10/11/2012 - 12:52
Bench Plans can be found here; http://tommyandellie.com/index.php/2012/03/17/farmhouse-bench-plans/
A spreadsheet for the bench plans can be found here; http://tommyandellie.com/index.php/2012/06/28/cut-list-and-shopping-lis…
Tue, 04/14/2015 - 13:31
Hey Tommy, I saw the Farmhouse table design with extensions, I don't have Excel to open the cut list and need the buy list and cut list to complete the project, I am really short on time and need to start this project tomorrow. Please if you can, do you have a word document or a PDF that shows the page for those?
In reply to No Excel Please help by James Groover
Tue, 04/14/2015 - 16:47
Oh my God! I found the cut list I had misplaced it in my folders, dude, sorry about that. Never mind.
Original plan modified slightly: Length reduced from 42" to 25"... select pine used and seamless table tops used instead of separate boards.
Side tables made from leftover pine and spruce, using Ana White's Mini farmhouse bedside table plans to match the headboard. Took about a day to do two.
Inspired by Ana's Farmhouse Bed plans, I built this dog bed for my Jack Russell. I measured and planned for it to comfortably fit two standard bed pillows (in waterproof covers of course!). She loves it!
In reply to This is so cute!! You did a by benfoldsfivealive
Thu, 06/23/2011 - 14:20
Thanks! I figured after 14 years she deserved a comfy bed. :-)
well after I made my daughters bunk beds my toddlers were begging and begging me to make them a bunk bed so this weekend I decided to make a toddler bunk bed. So here it is and I'm here to share with you all.
Tue, 01/07/2020 - 12:23
We will be making this for our toddlers. I love this.
Sun, 10/13/2013 - 18:07
http://ana-white.com/2010/09/classic-bunk-beds-cleverly-designed.html
Use these plans but scale ut down to size for a toddler matress or crib mattress
plans arent available for the toddler size because its not standard compliance. Retarded I know ...I used the classic bunk. Bed plans and modified them....they are perfect for a beginner
Hi Ana,
Just wanted to take a minute to show off a few of my finished projects. I started doing this about a year ago when I found your site and downloaded the $55 fancy x desk plans. Well I've since put those plans away and am making my own! I use all new lumber from the big box stores and have discovered a few techniques to achieve the finishes on these. Thanks for looking and I'm about to post some more!
Johnnie
I made this one three inches taller and two feet longer and decided to miter the top. I also used a LOT of glue and blue Craig screws.
Comments
Ana White Admin
Mon, 08/03/2015 - 10:10
Super!
This looks great, thanks for sharing!