A Wagon for grandson #2
Super easy and done in 1/2 a day
This started with me just slapping some wood together to see what I could do, then ended up with a beautiful (in my opinion) kitchen table. The table frame, legs, and base are all 2x4’s. The table top itself are all 1x4’s. I sanded down all the way to a 3,000 grit (yes, I said 3,000) and got the table top incredibly smooth. Plus, using the 3,000 grit paper really seemed to bring out the natural grain in the wood. I had a lot of fun with this build as it was my first real project. I also had a helper in this build. His name is Dr. Spencer Reid. He’s lazy and doesn’t do much but he is there for moral support. And lovins. 🐈
Nothing fancy but my daughter loves it for the house.
Jeff May
The hardware store didn't have untreated 4x4's so I used pressure treated wood since I was going to paint it. I adjusted on the plan and picked up bed rail hooks so I can remove the bed rails to move the bed easier. I used a chisel to inset the bed rail hooks. It worked out perfectly.
My husband created this table as an anniversary present to me! I painted my present with a creamy white for the base and he stained the top with ebony.
This the is first time I have ever built a peice of furniture. My best friend made all of her furniture in her house using her kreg jig and visiting Ana's website. I ended up building this in her garage since I was still in an apartment at the time. It was a total labor of coldy freezing love. :D Now I want to build EVERYTHING! We had to adjust some of the numbers on the plan and it cost a little more than $75 but totally worth it!
I made this one from 90 x 45mm pine with 70 x 19 slats for the shelves. The top I made from 4 pieces 35mm thick Tasmanian Oak glued together using biscuit joints.
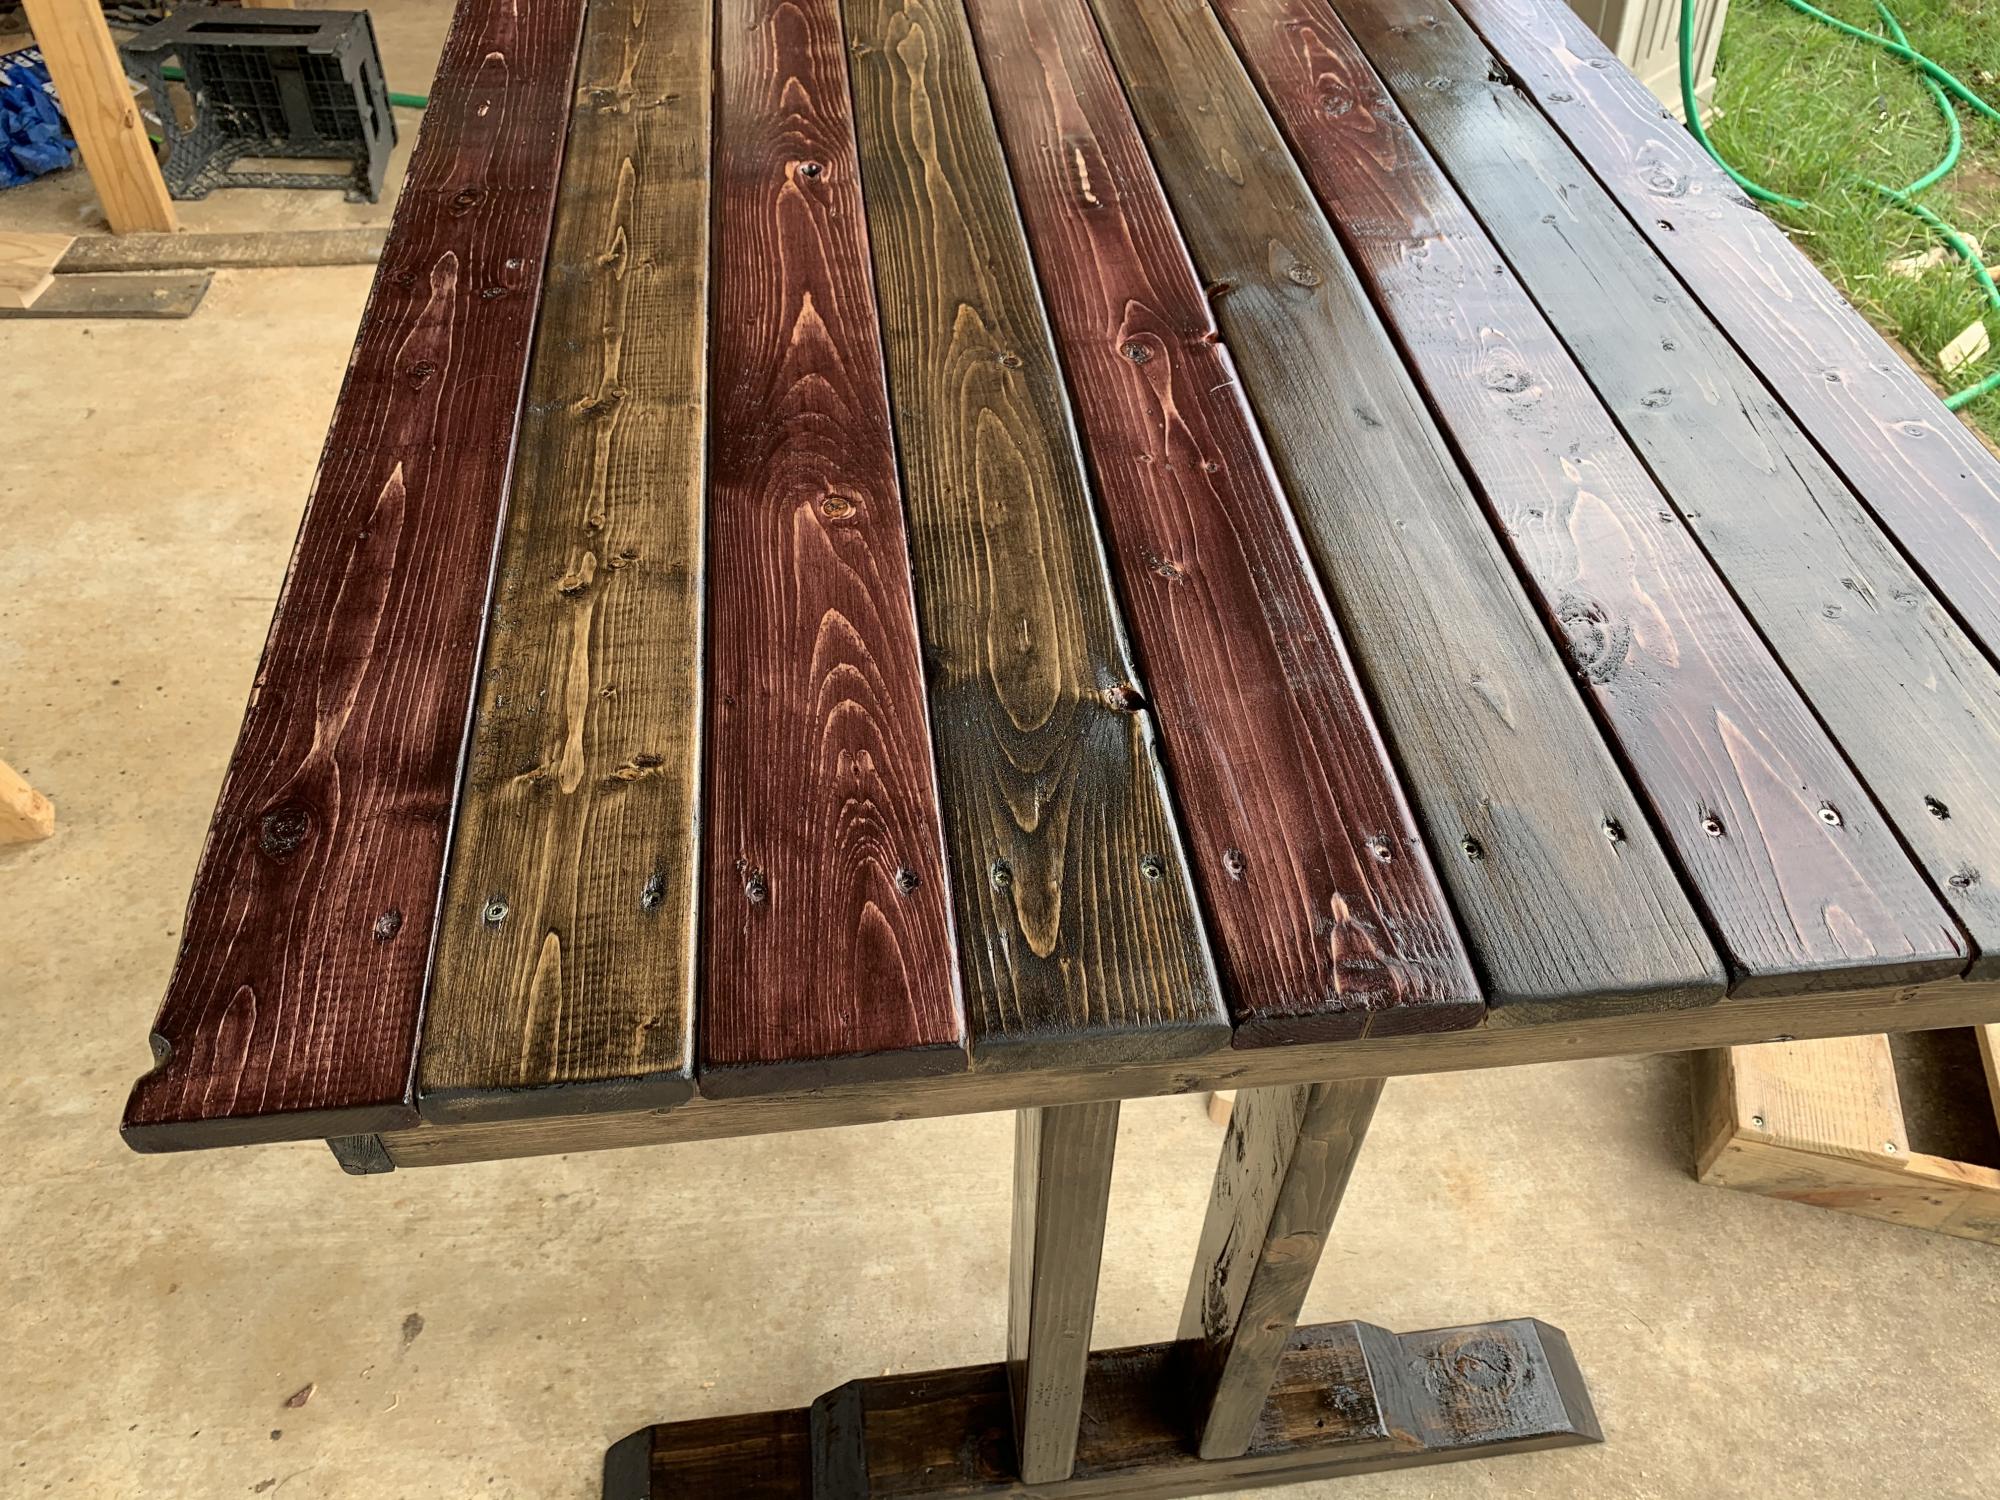
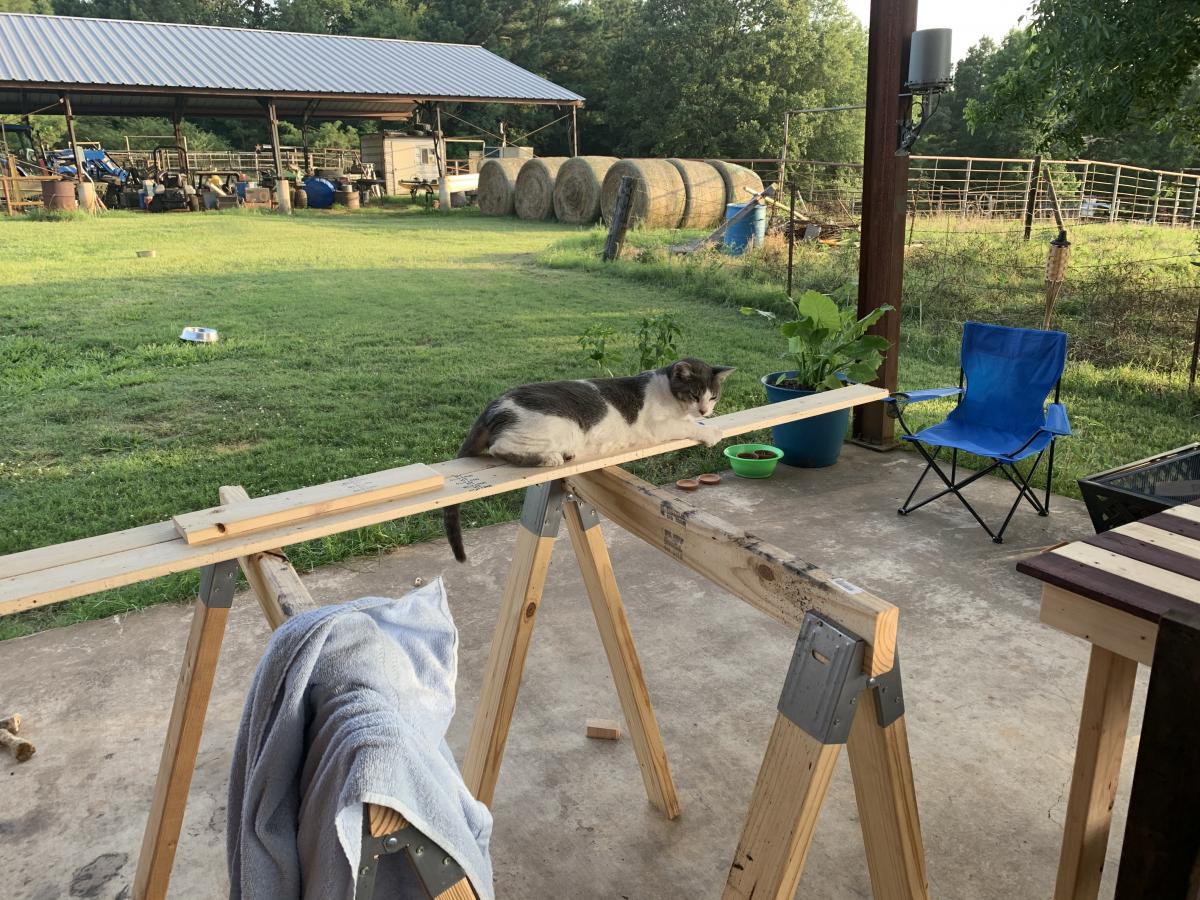
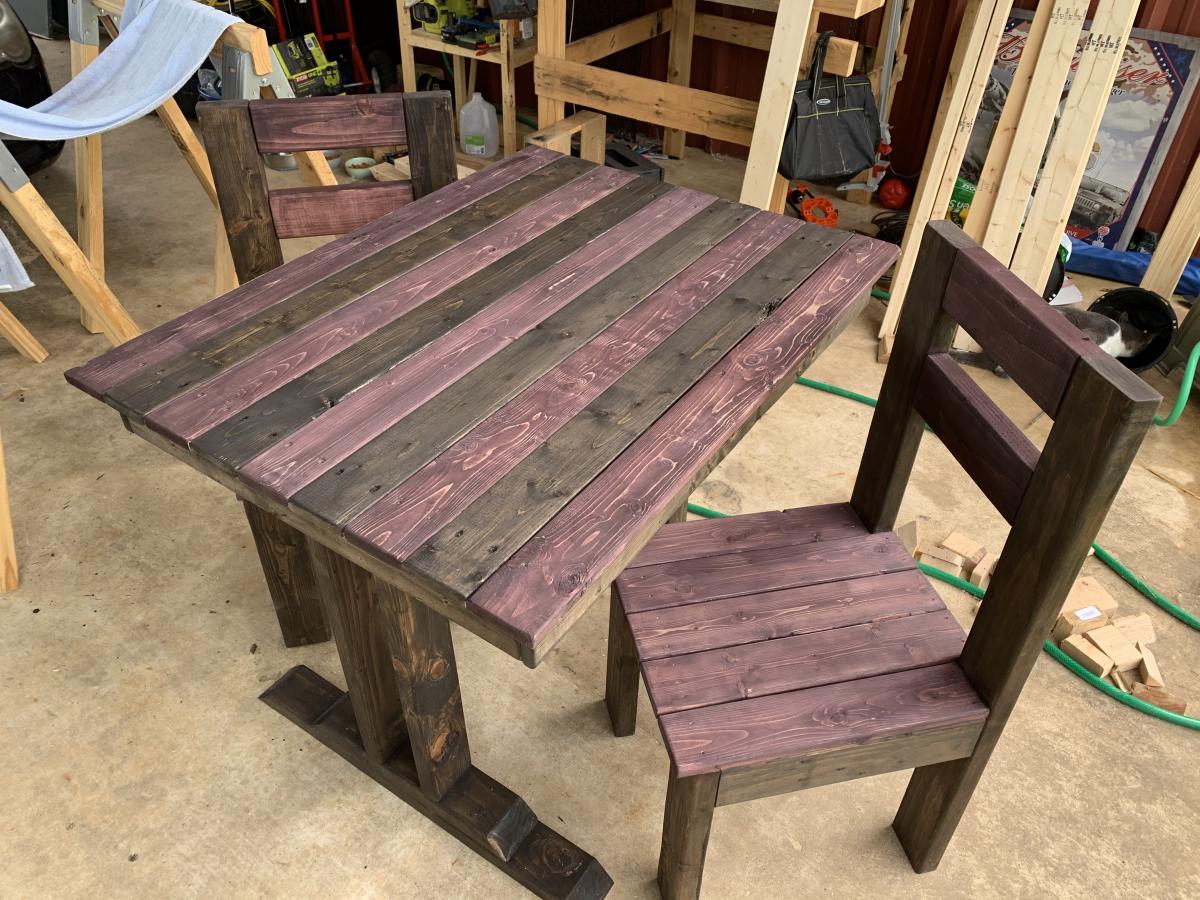
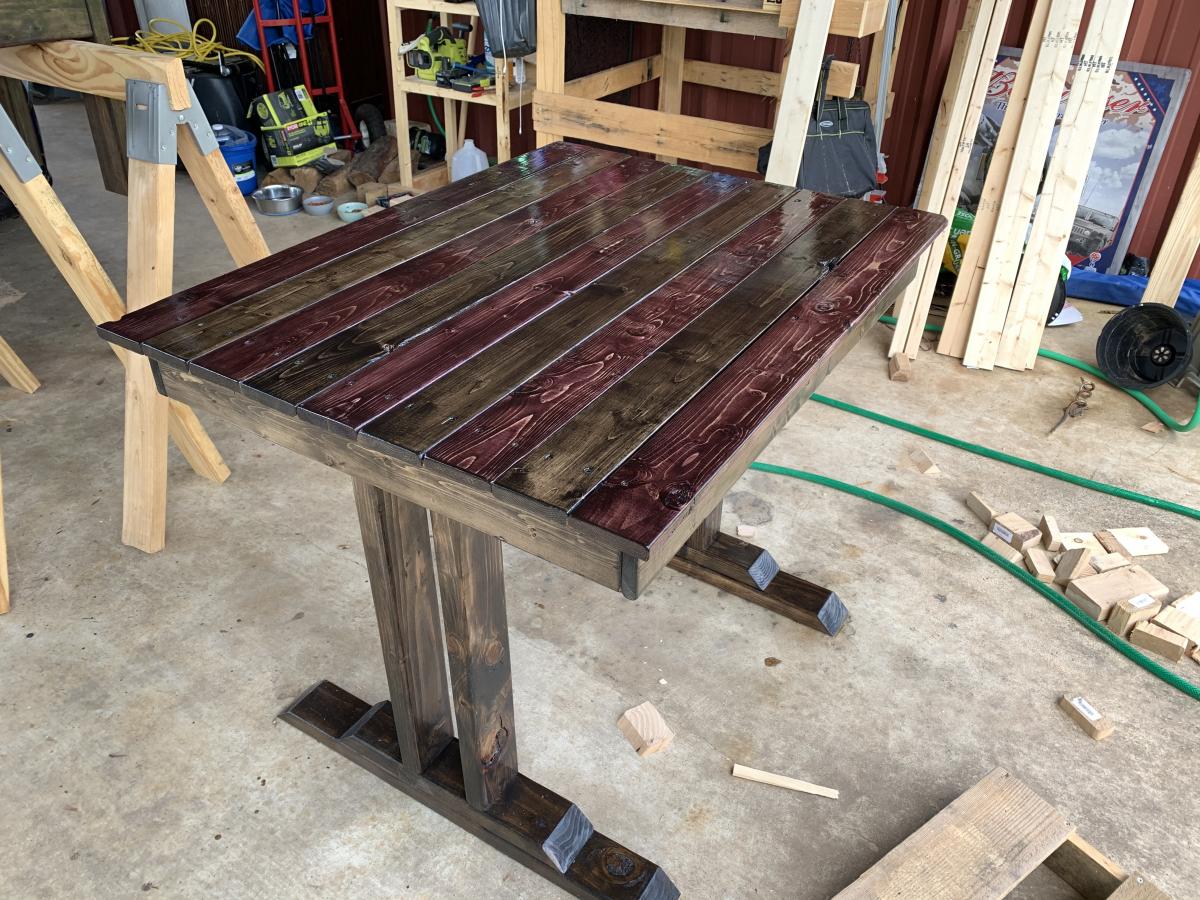
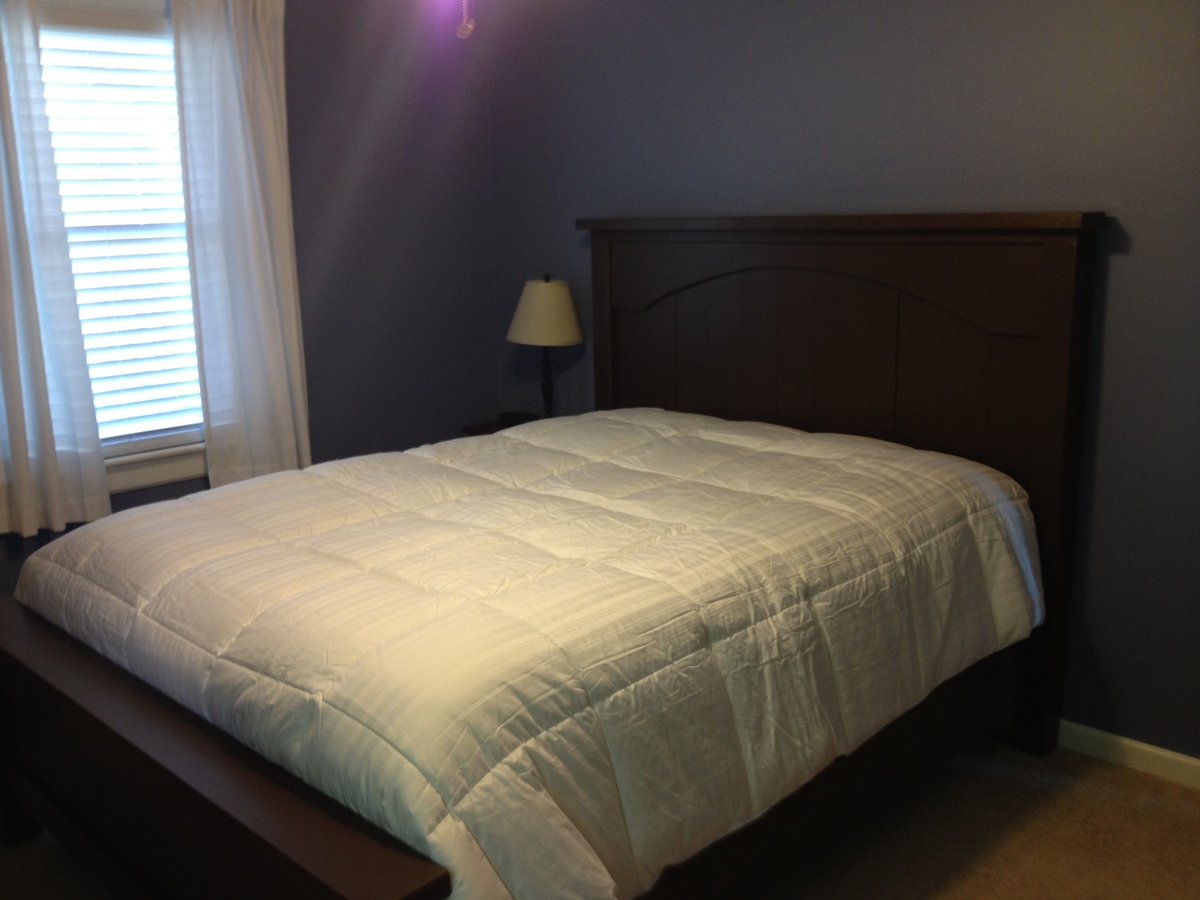
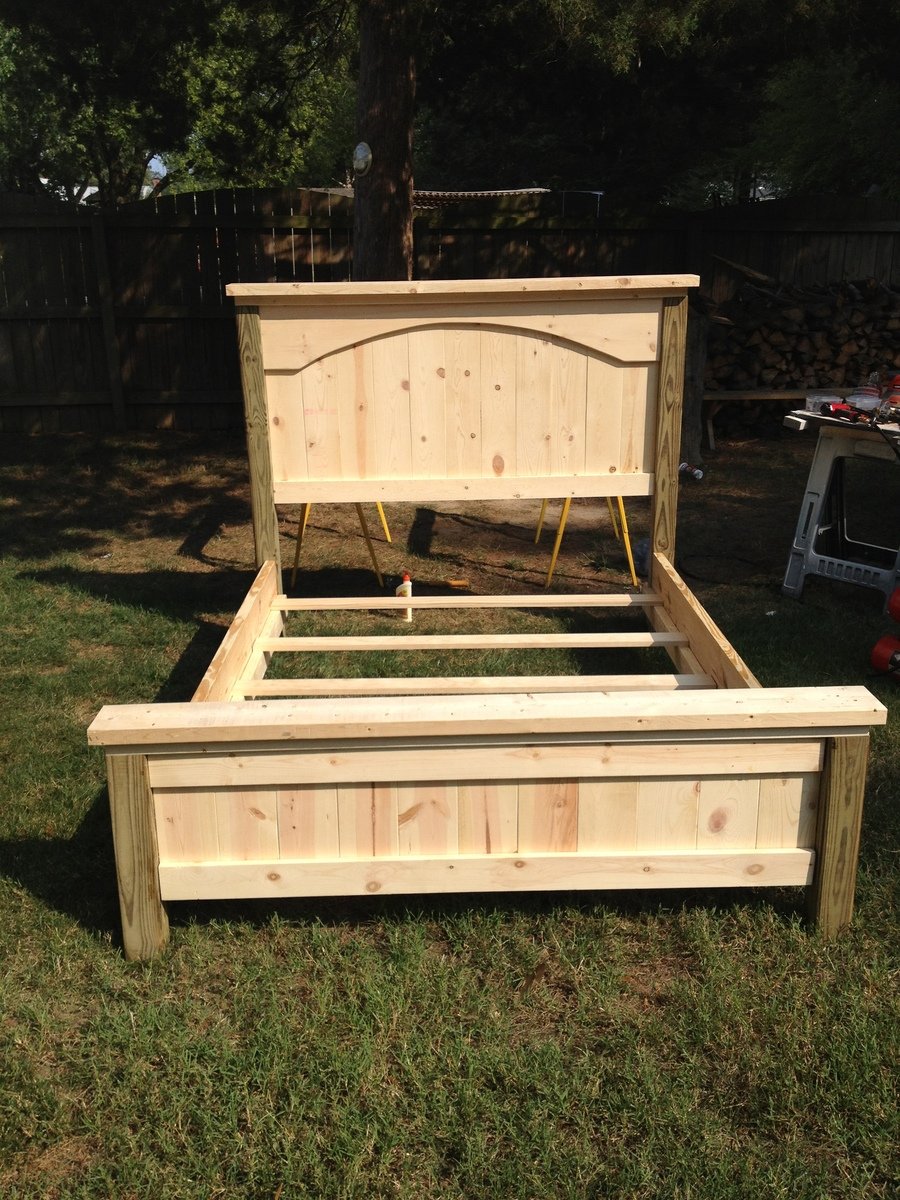
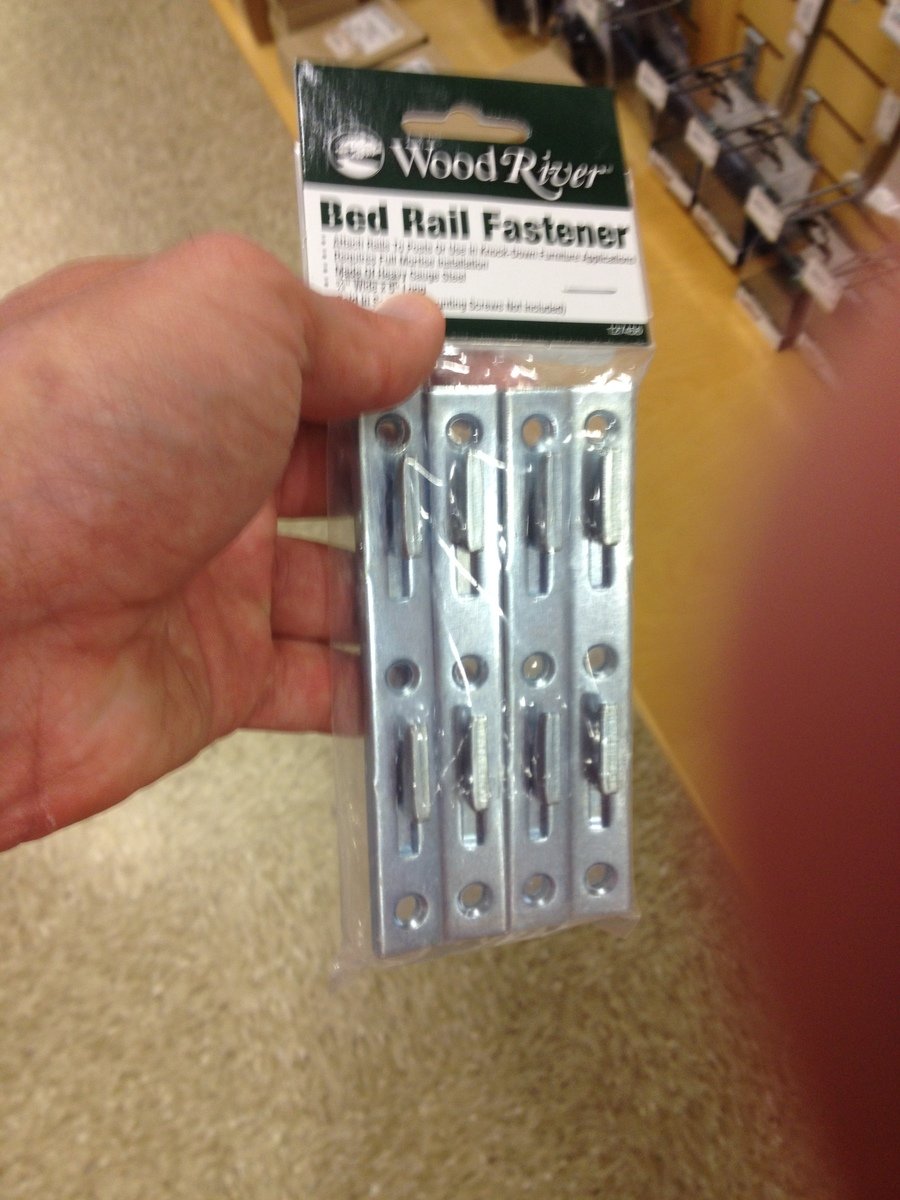
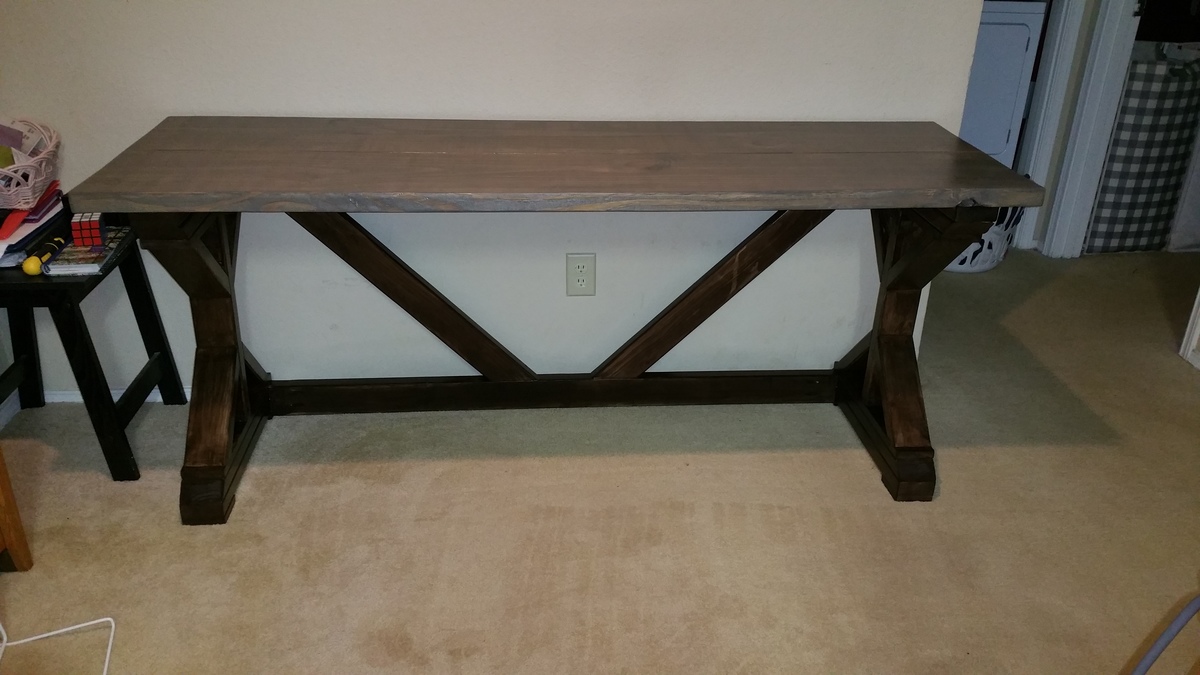
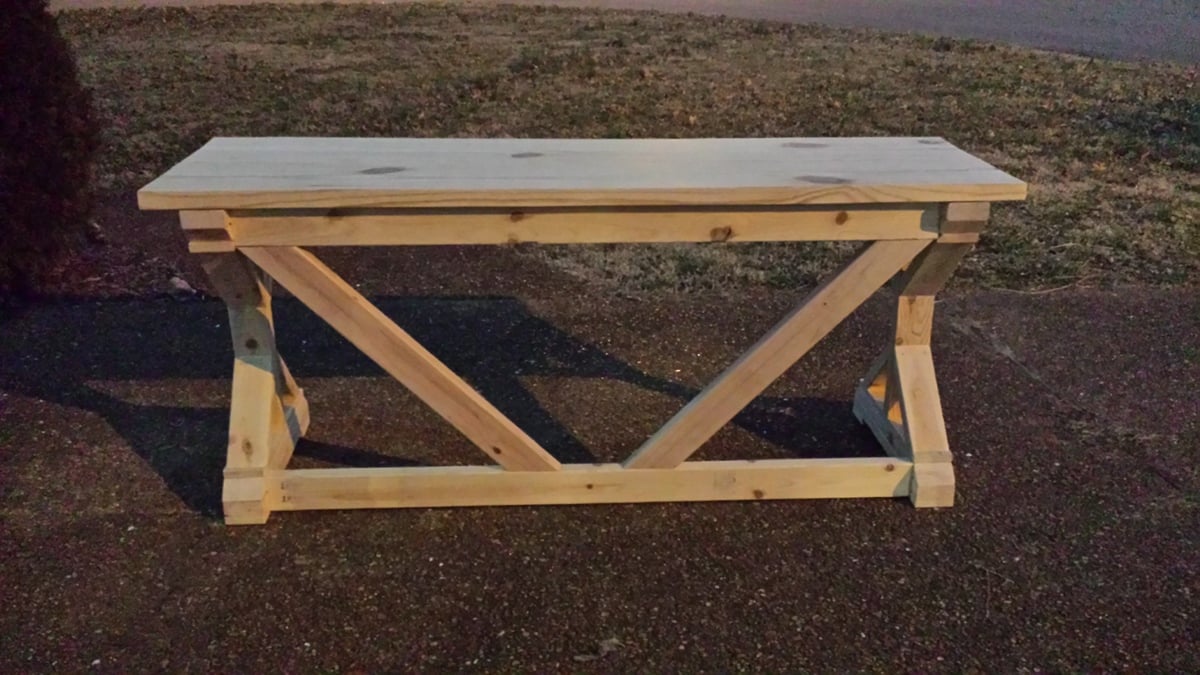
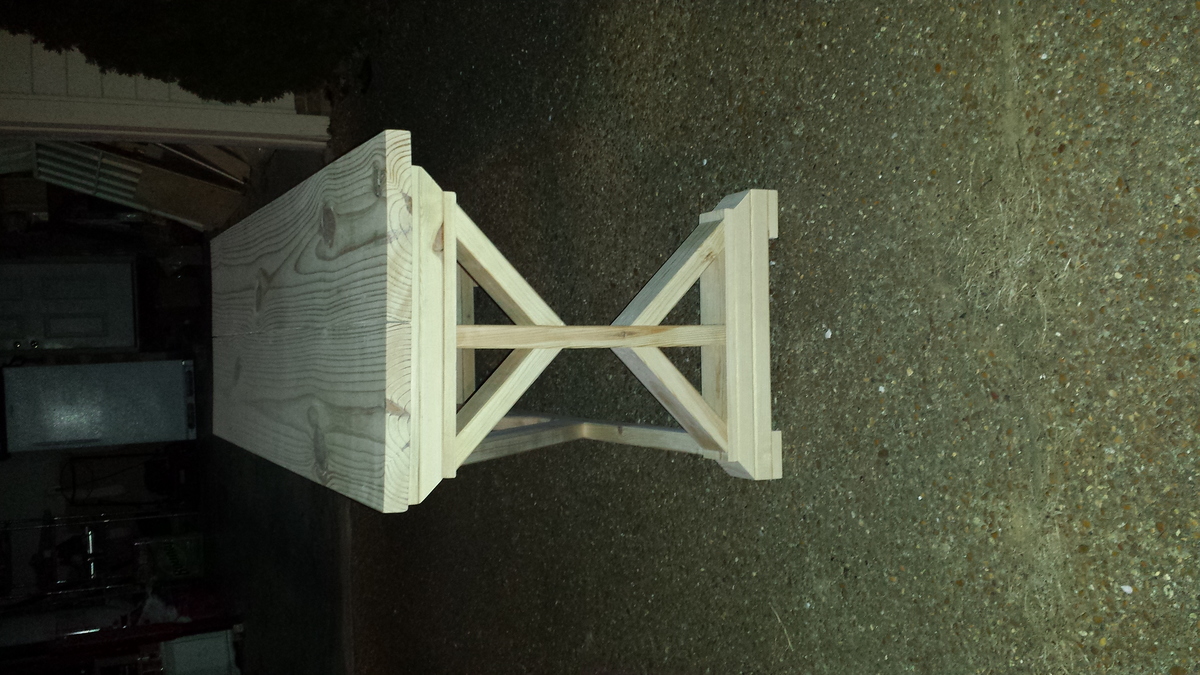
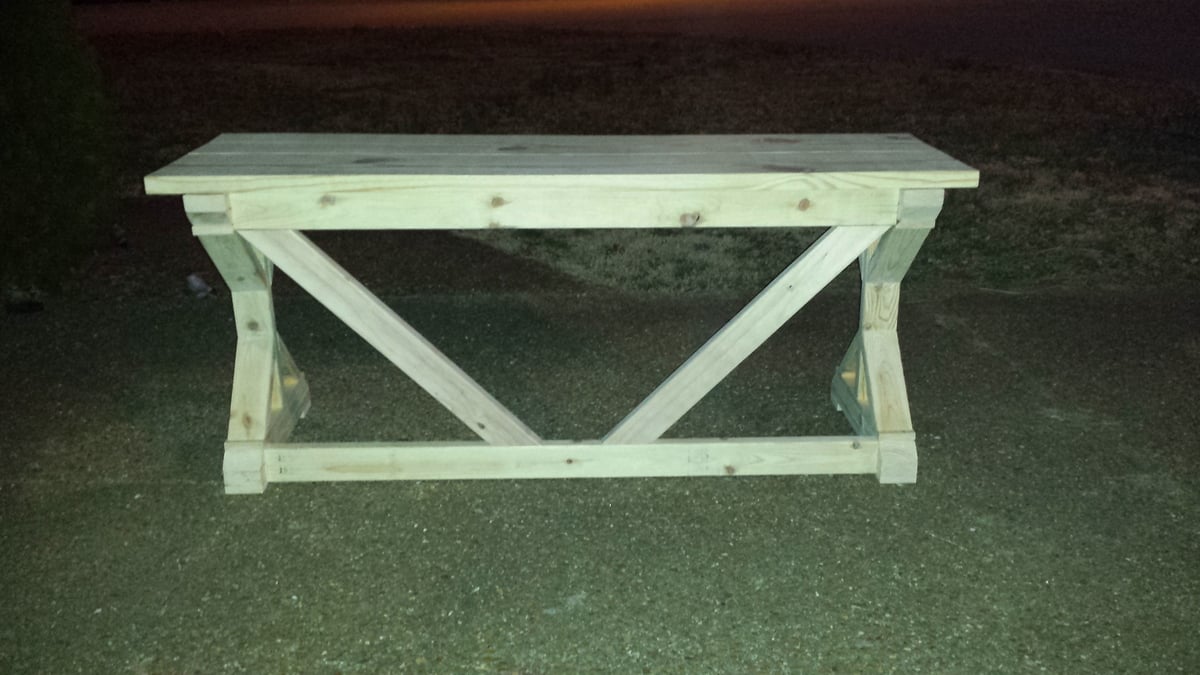
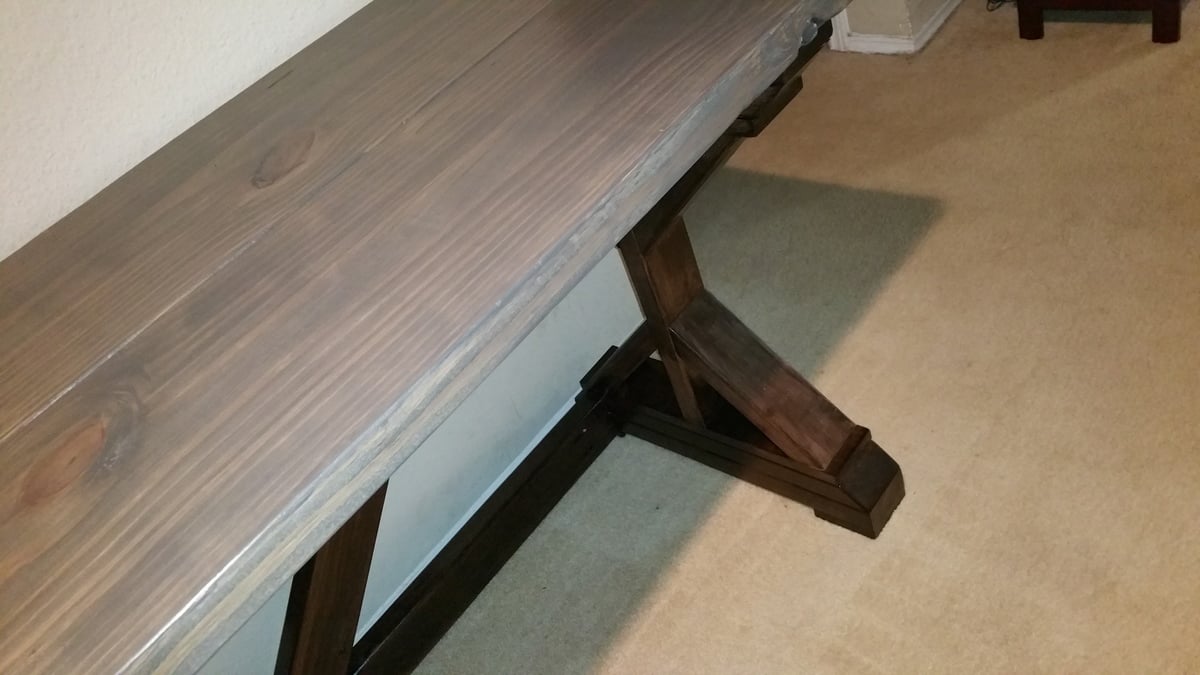
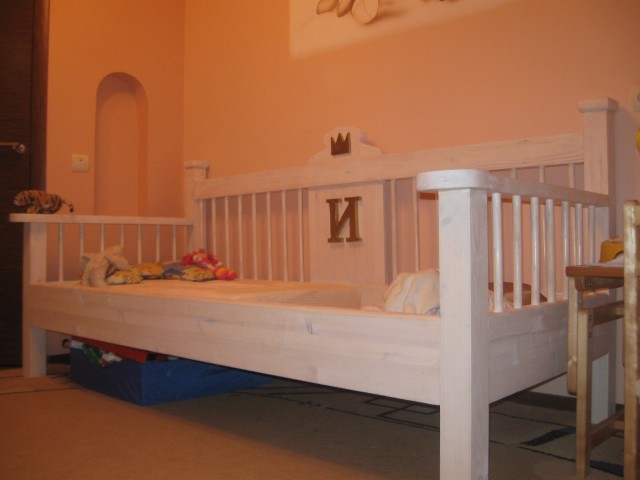
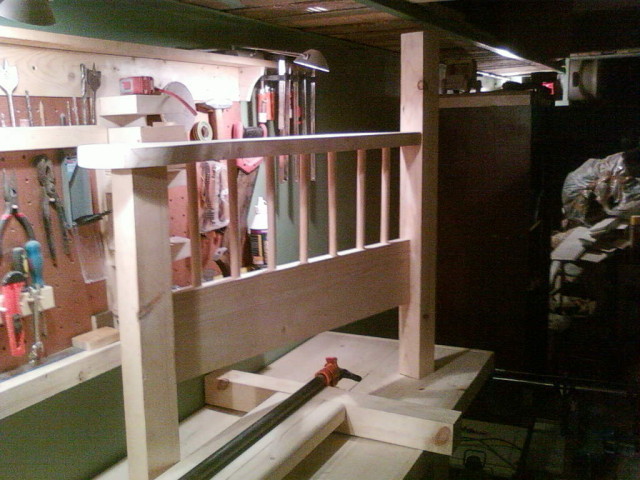
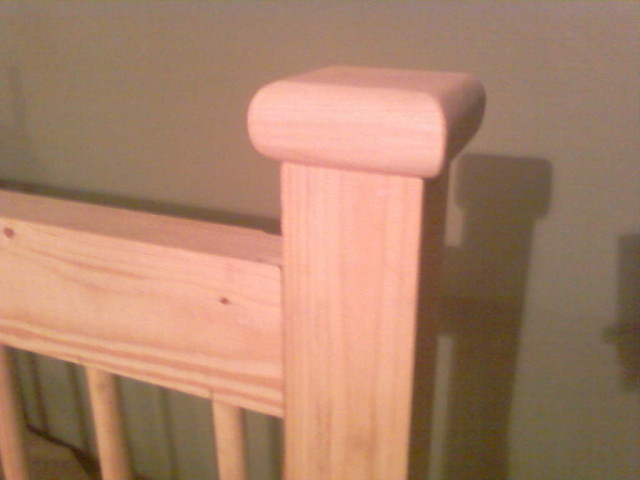
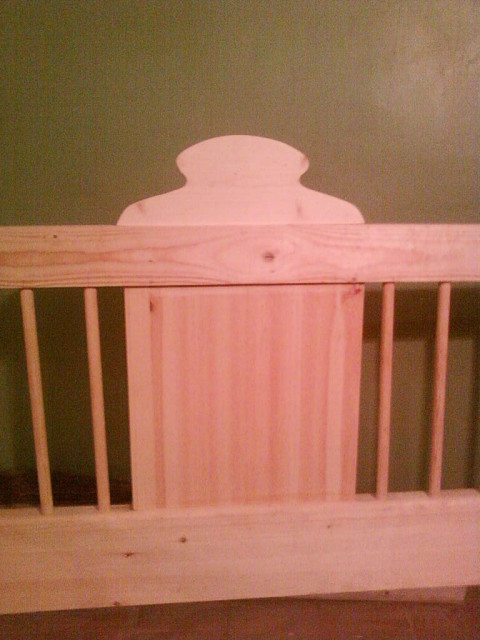
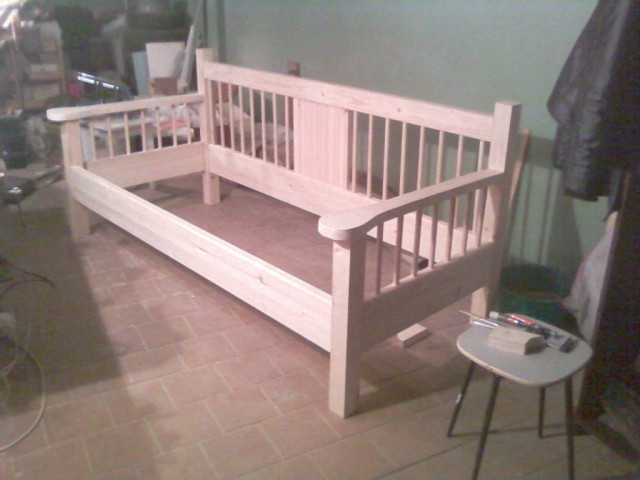
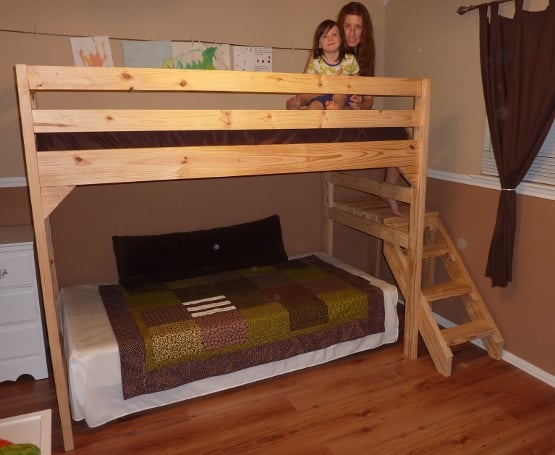
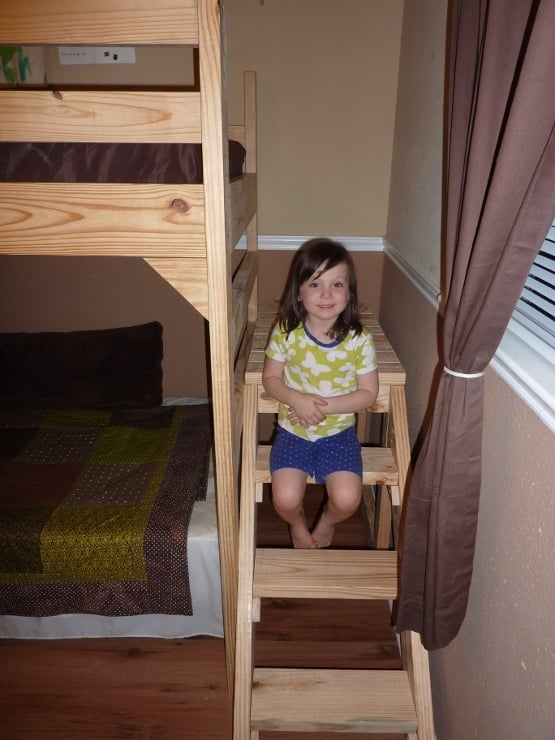
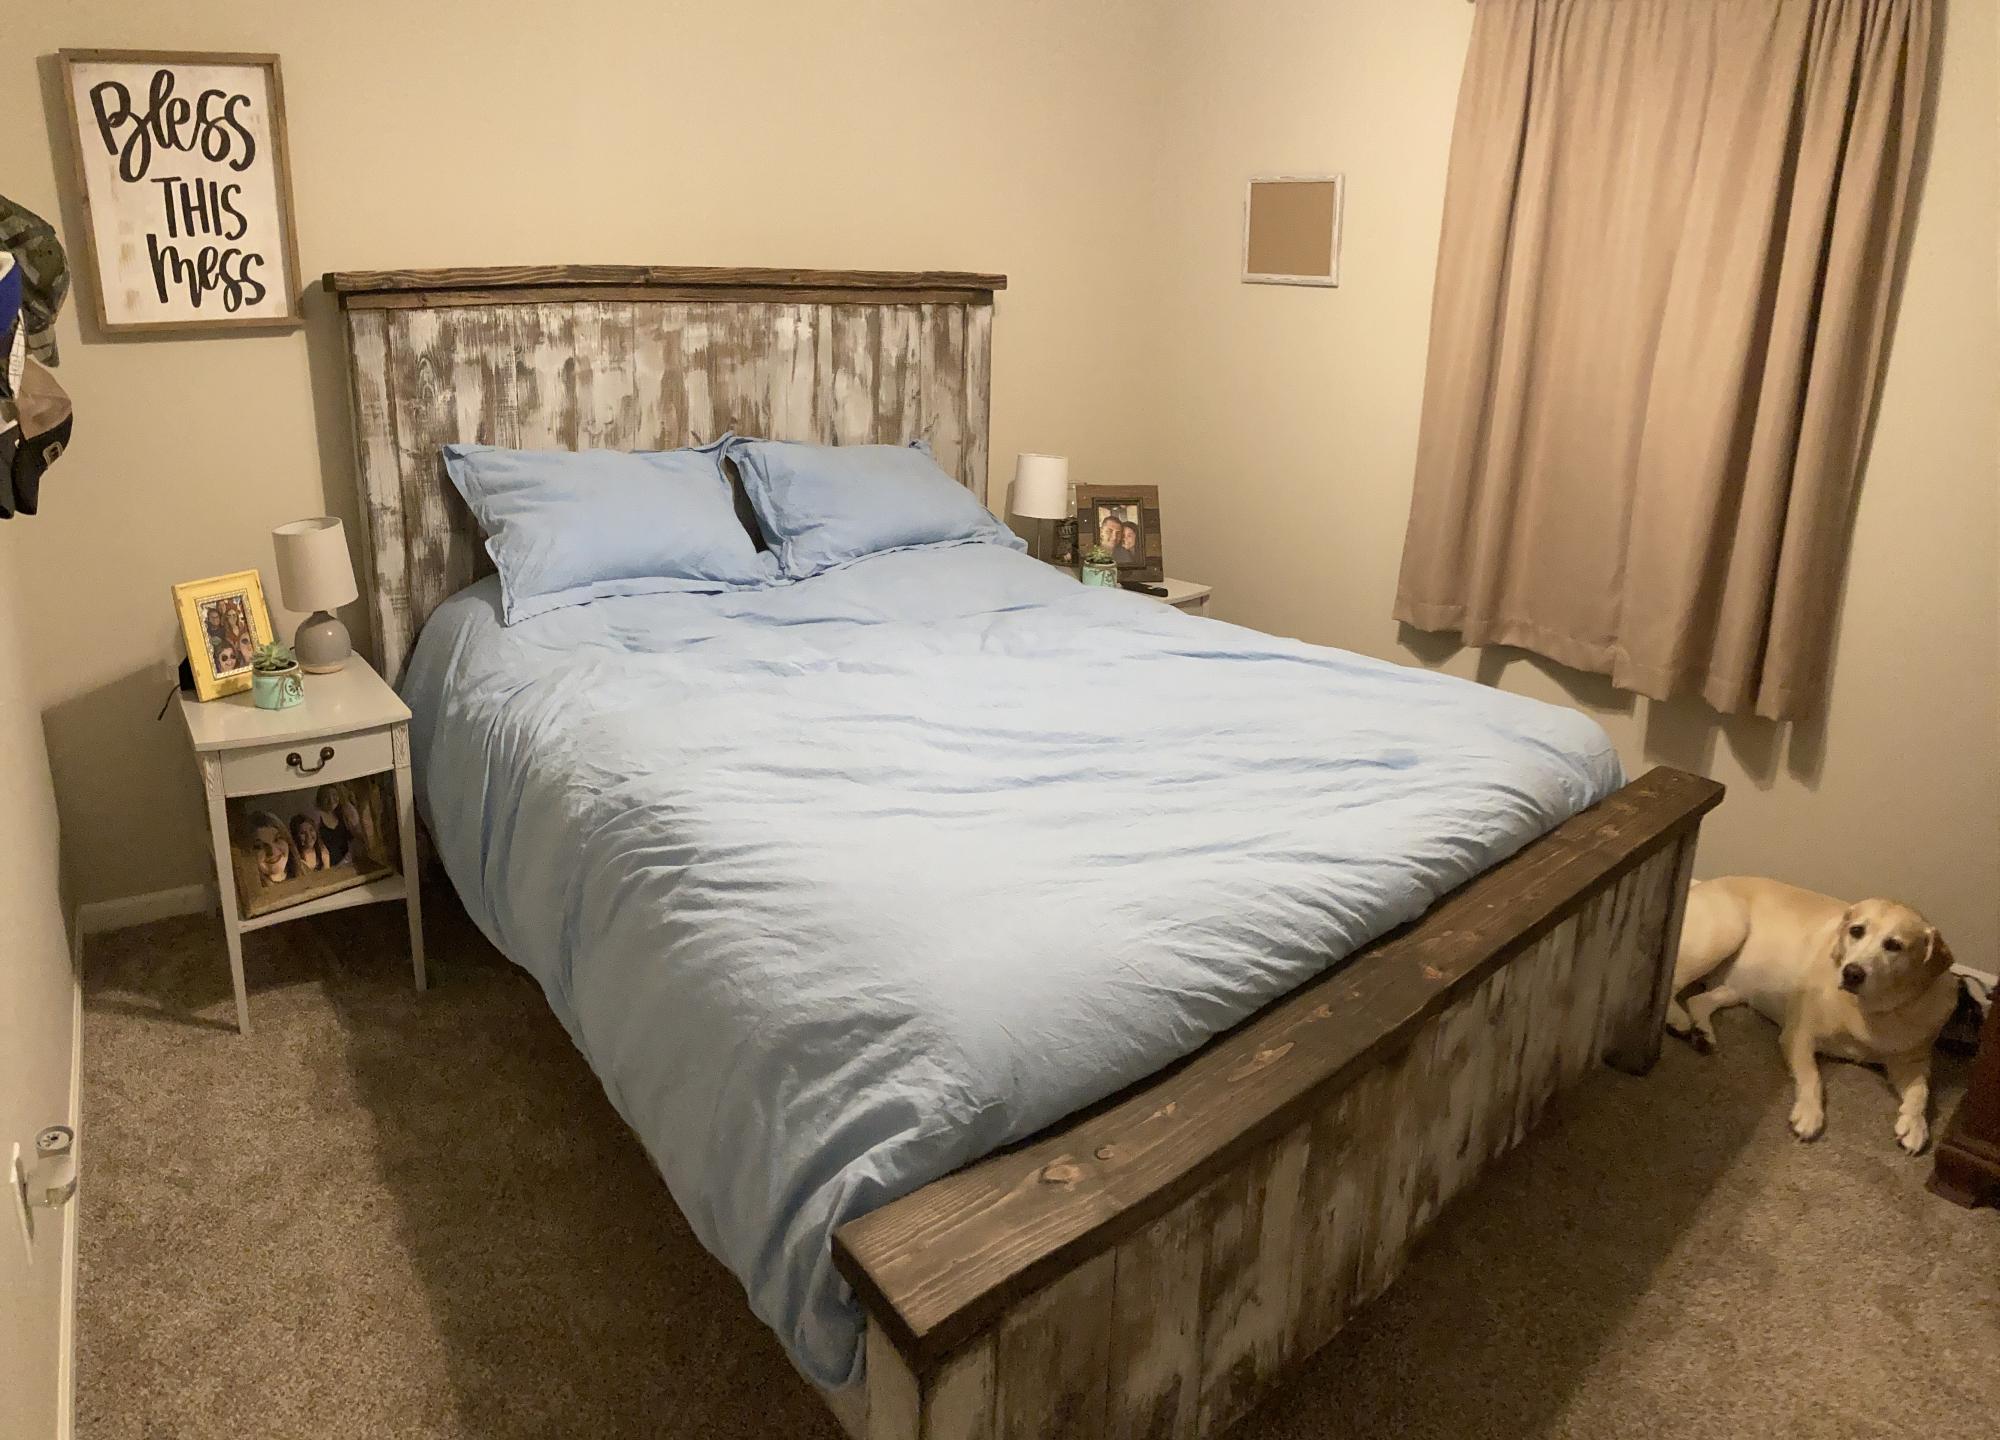
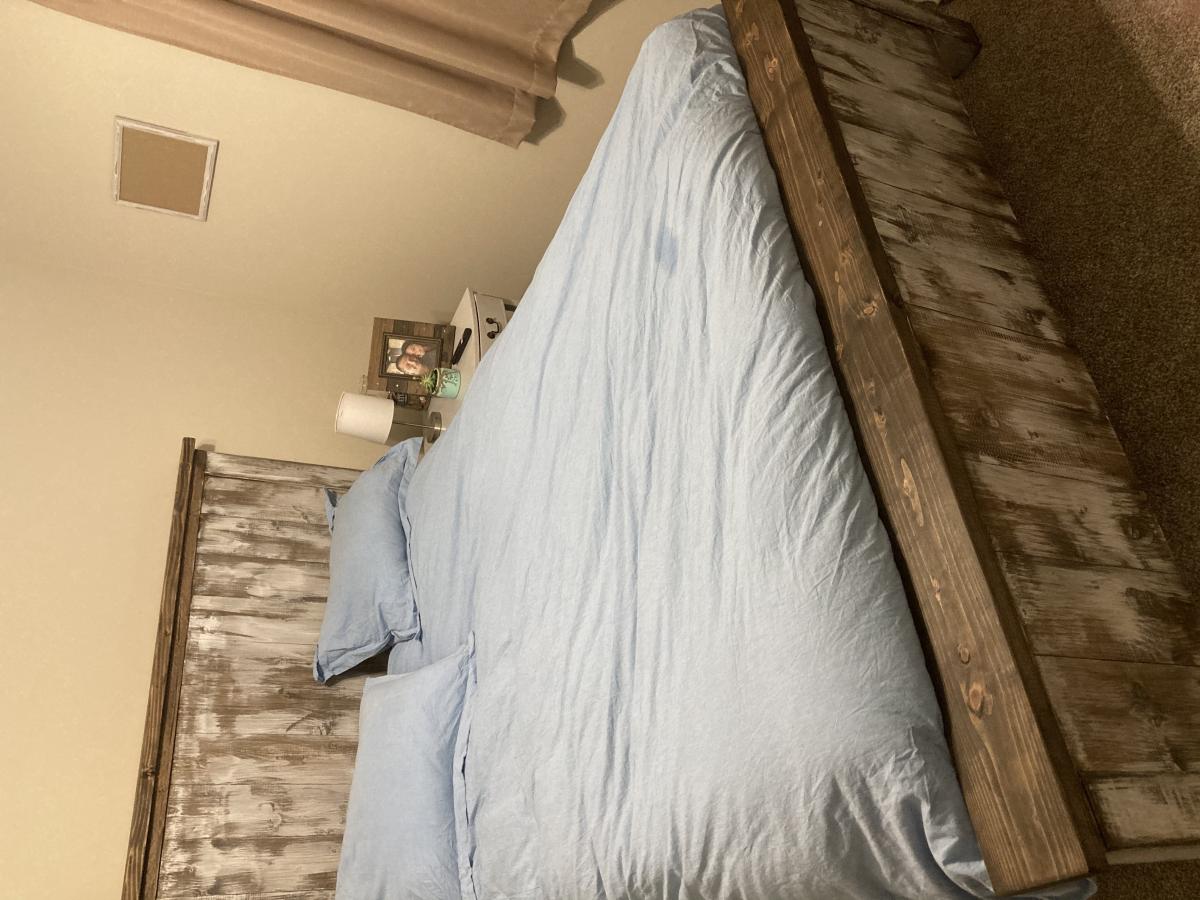
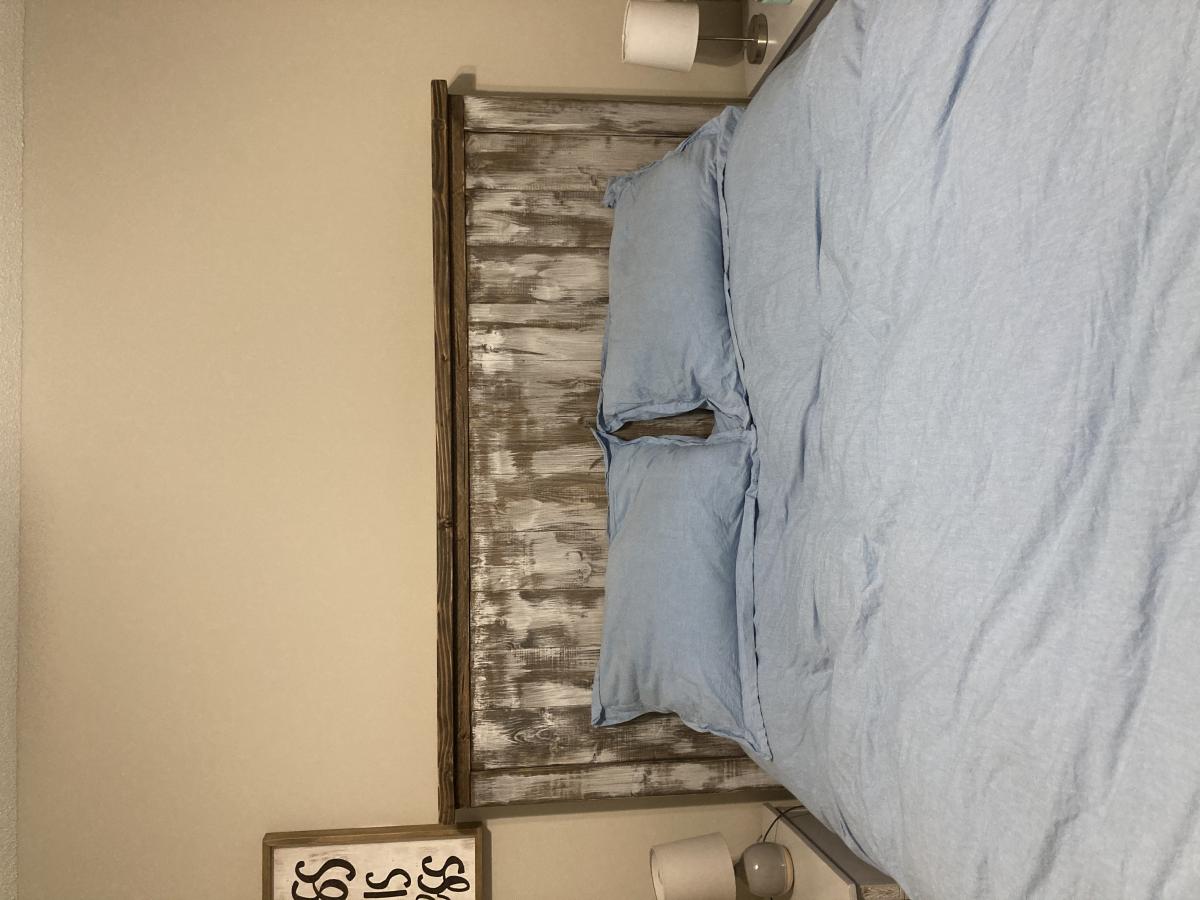
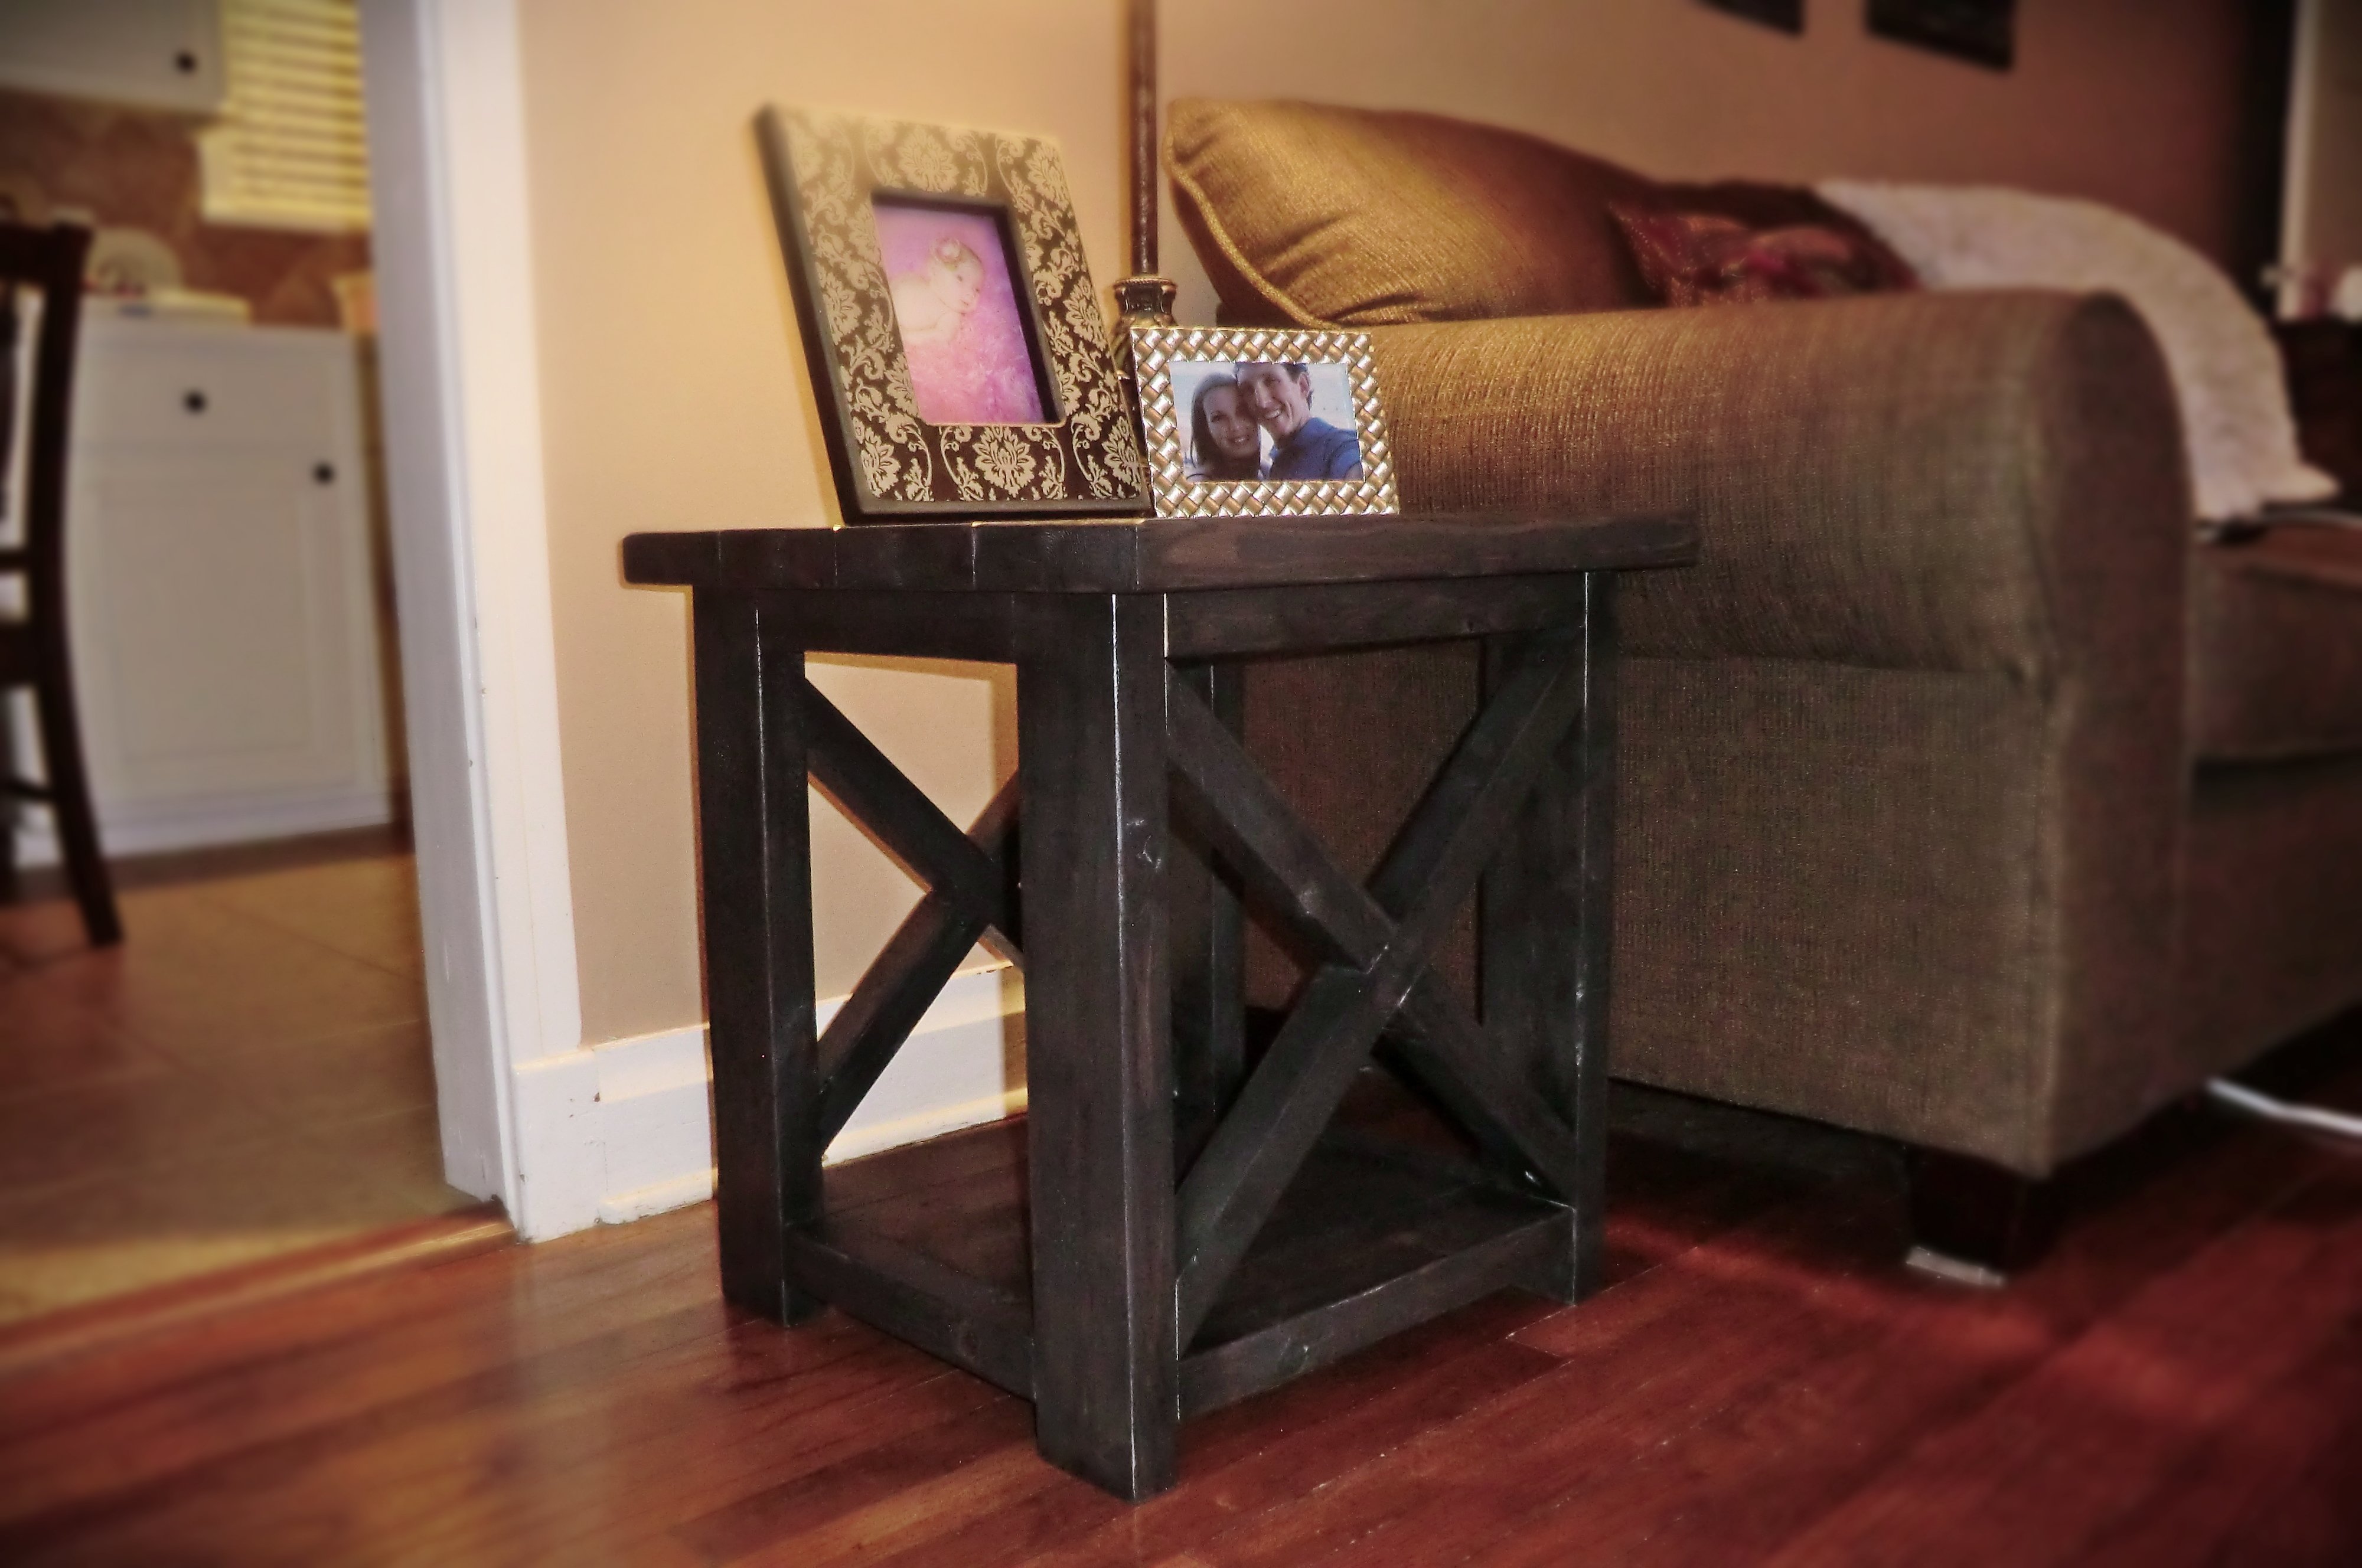
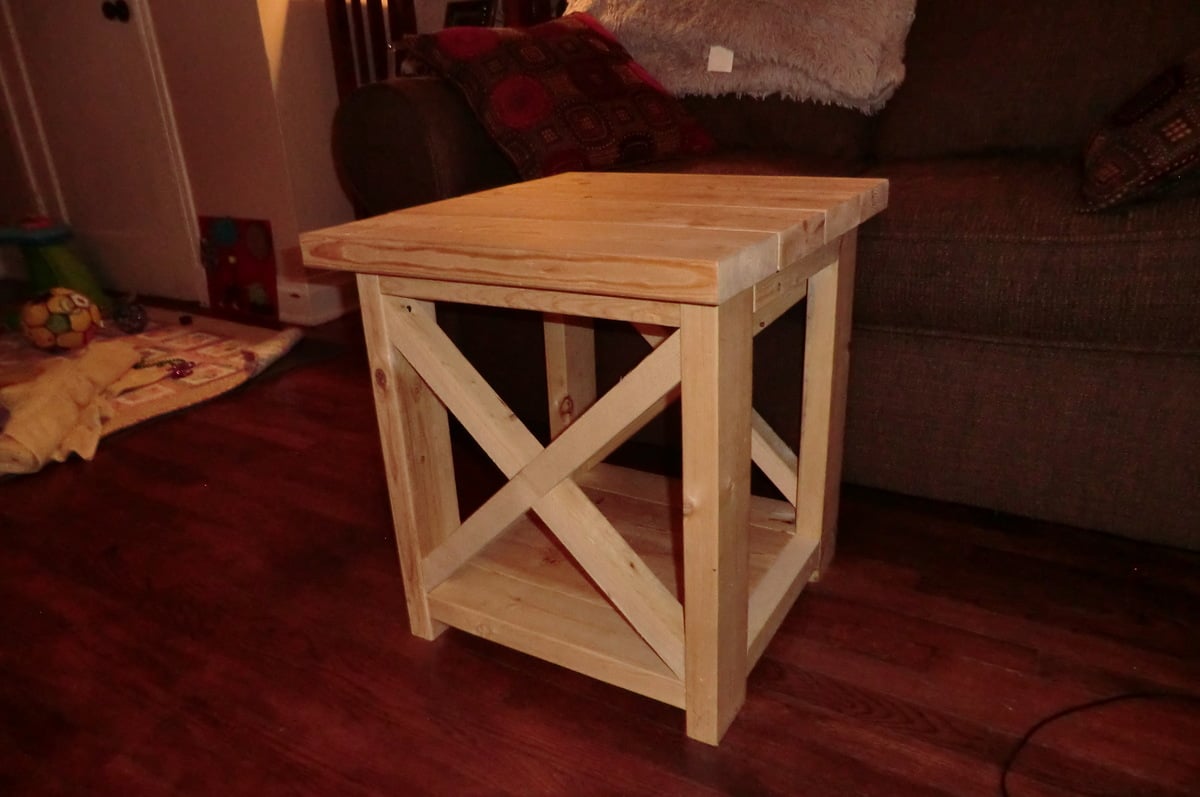
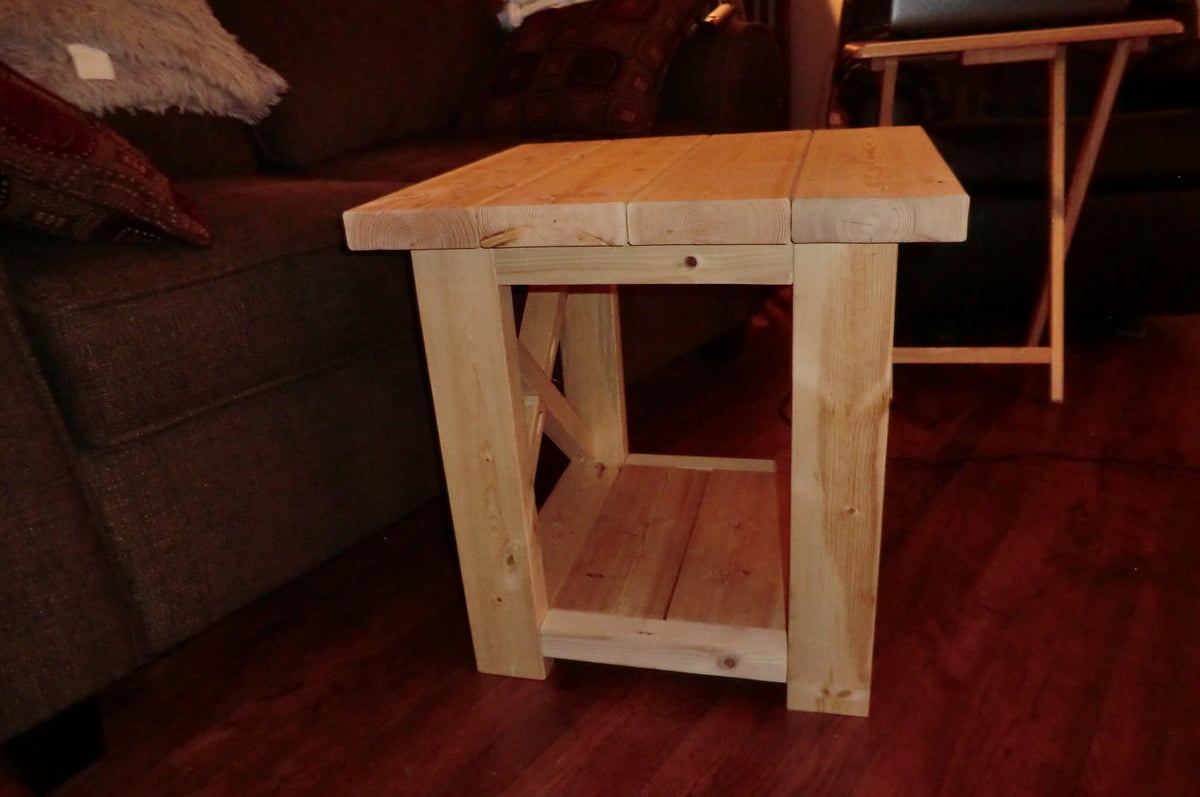
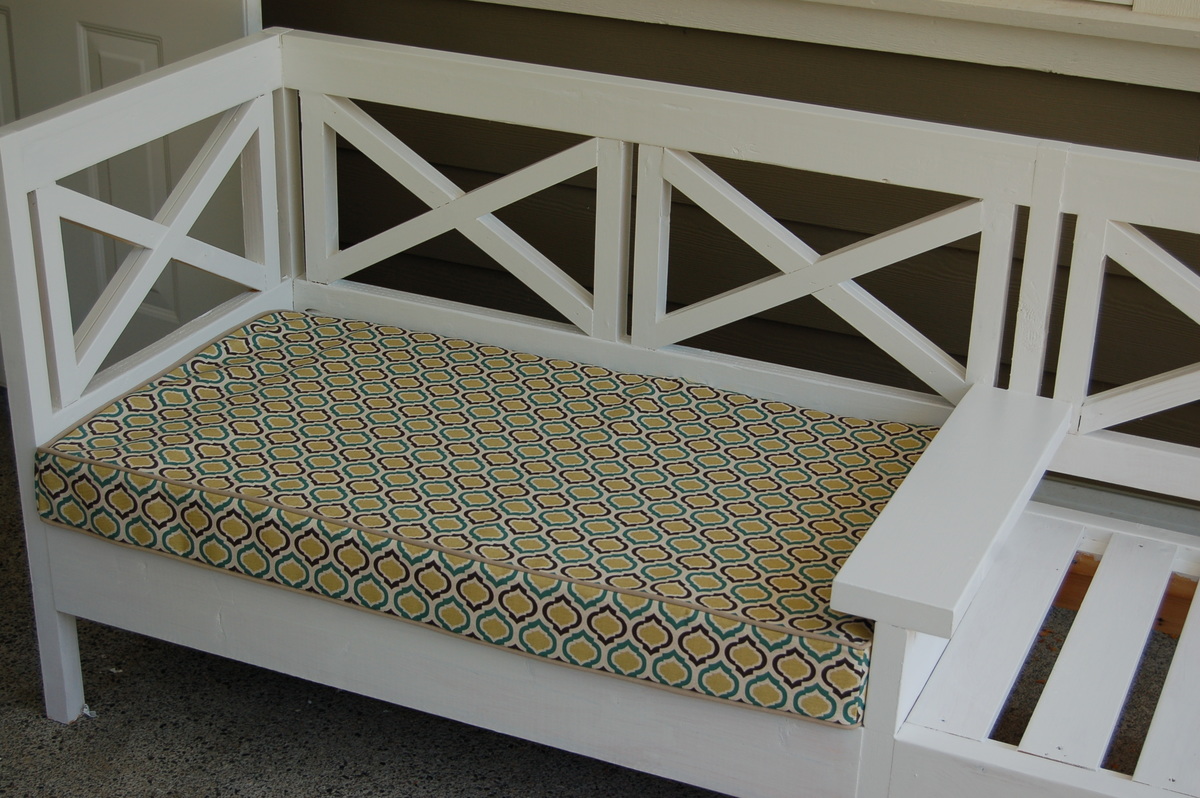
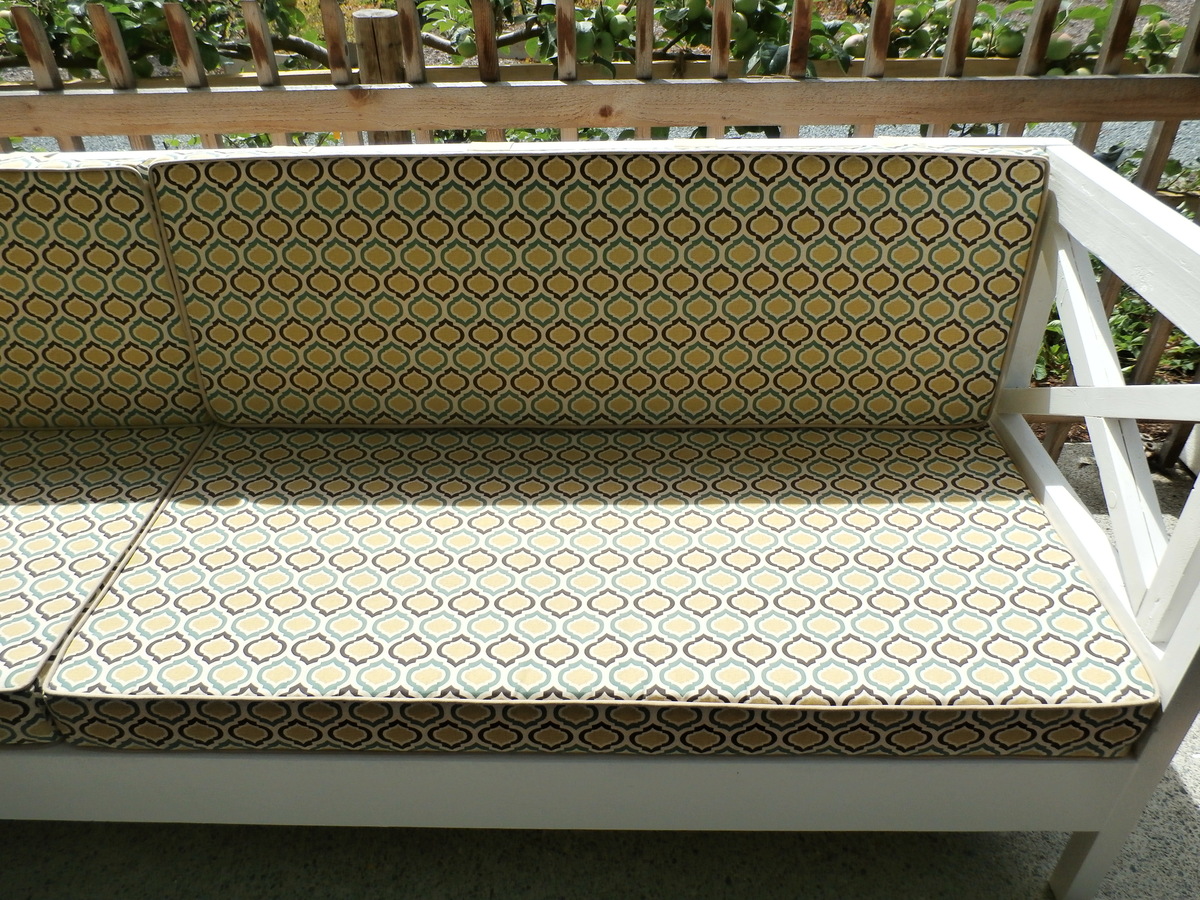
Well, I could say that this is my biggest project for now... I spent about 4 full days to make it. Nothing difficult it seams, but having near zero carpenter skills, it's rather difficult, you know.
Not much place for posting photos here. If you're intrested in making somthing like this, you can visit my blog link. Although my blog's language is russian, there are many step-by-step photos and all the dimentions too (sorry, in metric).
At last, there is ready SketchUp skp-file there, so if there is any interest to this bed, I belive that photos and skp-project will help you to modify my project to your needs.
We really loved the plans that were given. The space that we had to utilize was smaller than the pallet so we had to take ours apart and cut each board and rebuild. We LOVE it and were so glad we found these plans. They helped tremendously and transformed our little corner from somewhere the kids just stacked book to a nice family library.
We needed some more storage in our basement so I made these shelves. They are 10 feet long. I couldn't get the 10 foot long 2x4s into the basement through the house, so my husband helped me slide each board through a tiny window one at a time. I also decided to paint the shelves to make them look nicer since they are in the finished part of our basement. Overall, I think they turned out great and they can hold a lot more than I expected.
Sat, 10/22/2016 - 09:43
Great job, that's amazing you figured out how to get the materials through the tiny window! Thanks for sharing!
This plan was perfect for our second bedroom. We are adopting soon and are not sure what ages, genders, or sibling combinations we will be accomidating. We wanted to make the most of the space we had with the option for an additional bed if needed. This loft bed is the perfect solution. I like the stairs (instead of the usual ladder rungs) and it was pretty easy to build. Now the kids can play under it...or we can add a bed (in the photo we have a box spring set up on a bed frame, but no mattress yet) if we need to. THANK YOU, ANA!
We made a few alterations to Ana's plan:
1. We moved the staircase to the right side to better fit our bedroom set up
2. We narrowed down the platform and staircase by 4 inches....still plenty wide!
3. We brought the staircase platform in about 7 inches, so the stairs don't stick out so far.
4. We added an additional 2x4 at the base for stability (attached to the back two vertical legs).
5. We added 4 corner braces (just left over 2x6's cut at 45 degree angles to make little triangle brackets.
It's very sturdy. My husband even got up there to test it out. We haven't finished it yet, but we plan to stain and seal it.
Mon, 09/24/2012 - 11:16
I love that you brought the stairs in! Hope you post pics when you finally get it stained can't wait to see it!
Sun, 03/09/2014 - 16:10
We have a smaller space and this version would work better for us too. Do you have more details on how you did it, what cuts you used, etc?
Built using the Simple, Cheap znd Easy Console Table Plan. I utilized a scrap piece of granite for the top that I cut to size and polished and poplar wood that I had laying around the shop.
Queen bed with headboard and footboard.
I built these two end tables from the rustic x end table plans. I tweaked the original plan to make them smaller. I only used 4 - 2x6's for the top instead of using 5, and I used 2 - 2x6's for the bottom shelf instead of using the 2 - 1x12's. My top is 20x22.5 and the base is 18x18.
Fri, 09/28/2012 - 10:36
Great job ! these Rustic table are good for interior design and make a good look .I read this , have good price ,timing ,wood and also your hard work .
Wed, 04/20/2016 - 05:43
i love this! we just built the bigger one to find out it was a bit too big but we were still able to find a place for it. my husband and I are going to build your smaller version cant wait!
Mon, 06/13/2016 - 12:46
I made the original and found it larger than I wanted. I was going to do a smaller version like you did. How tal is yours?
I made this for our first new family addition. My wife is 20 weeks pregnant and we find out if it's a boy or girl tomorrow at 0800! So excited, and thanks to Ana for the great plans.
Nate
This was the biggest project I had ever built at the time. I was so happy with how it turned out!!
Made from the Ana White. Deep seat cushions lounge chair plans with a few modifications. I used 2x6's for the legs and arms so I add cup holders and I added three horizontal back slats using pocket holes. Love the way they look!
Cortney Hall
This project was quick and simple. Just keep in mind and pay attention to the plans where they state "bevel" or "miter". There is a difference!
This project was free to me as we have a huge amount of 2x4 studs left over in our garage from a previous project so I should be able to do the table and another bench for free as well.
It went together within a few hours as the cuts are easy.
Working on the camp loft bed now with some mods to add a stationary bed beneath and more height for my girls room.
Overall great build.
I stained it with one coat of Kona. I did let the stain sit and barely wiped it off that is why it ended up being very dark which is the look I was going for. I then finished it off with 4 coats of polycrylic clear in high gloss which dries very fast and does not yellow.
Sat, 10/13/2012 - 17:03
I'm hoping for this to be my first project!! How do i get the plans ??
Sat, 12/08/2012 - 20:05
I just found the plans for the Providence Bench on this site good luck...http://ana-white.com/2012/04/plans/providence-bench
Wed, 11/14/2012 - 21:56
I'D LOVE TO MAKE THIS PROJECT FOR MY ENTRANCE HALL...! THANK YOU FOR SHARING!!
H. C.
Fri, 11/23/2012 - 10:49
There is a clickable link above where it says "Blog Link: Build a Providence Bench"
Sat, 12/08/2012 - 20:07
Here are the plans for the Providence Bench on this site good luck...http://ana-white.com/2012/04/plans/providence-bench
We used the Weatherly plans for this project amending in a couple of places. The two seat version was attached to the three with using just one set of legs and then we added a 2 x 6" upright at the join and put another 2 x 6" on top for a drinks tray! Rather than 8 individual 24" cushions we went with 48 x 24" seats and did the same for the backs.
The cost for materials was only about $70 and the outdoor fabric was twice that amount. As it is under a covered deck we just used 4" foam for the seats and 2" foam for the backrests, costing about $100. All Canadian Dollars.
I modified this plan to fit a 27"x 25" chunk of butcher block that my mother-in-law gave me. The finished height is 36 & 1/2". I didn't have any special tools to make the notches for the shelves. I simply lowered the blade-stop on my 7&1/4" miter saw and fastened the screw with hair ties (or in other words, I jimmy-rigged it ;)). I practiced on scrap wood until I reached the depth I needed. There is a 9&1/4" clearance between both shelves, and the shelves have a 1" overhang off the sides. I mainly used pocket holes to connect the pieces. The shelves (3-2x6s each) were fastened together with wood glue and pocket holes, then I slid them into place and screwed them into the side aprons/supports from the top, then filled with wood filler. For the top, I added support from underneathe (2x2s that I had on-hand), then used 2&1/2" screws from underneathe through the 2x2s into the butcher block. At first I used zinc wood screws, but learned quickly that they strip extremely easily, so I switched to sheet rock screws. Fun project!!