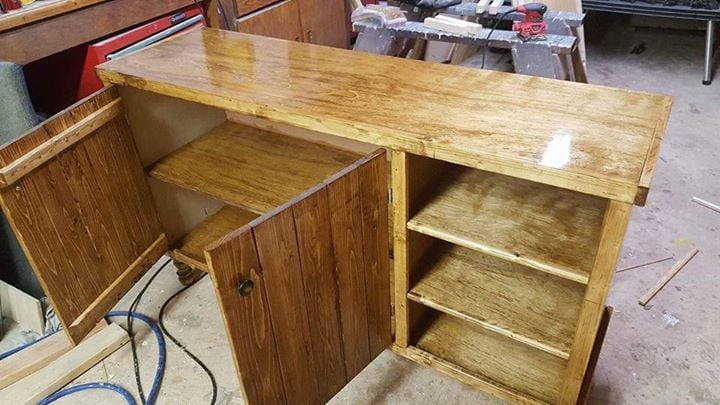
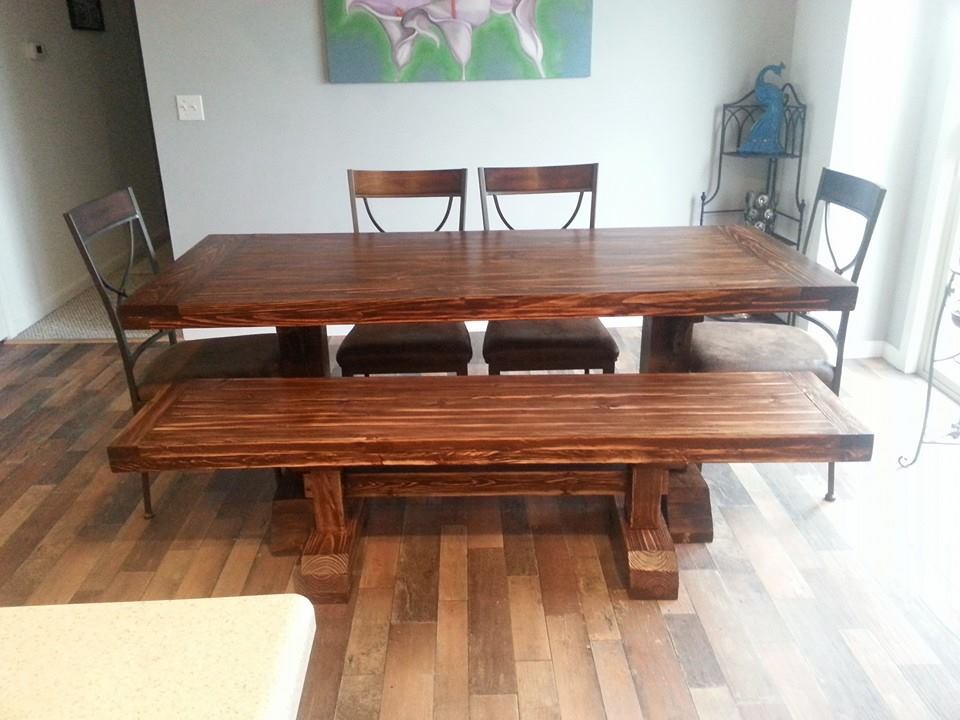
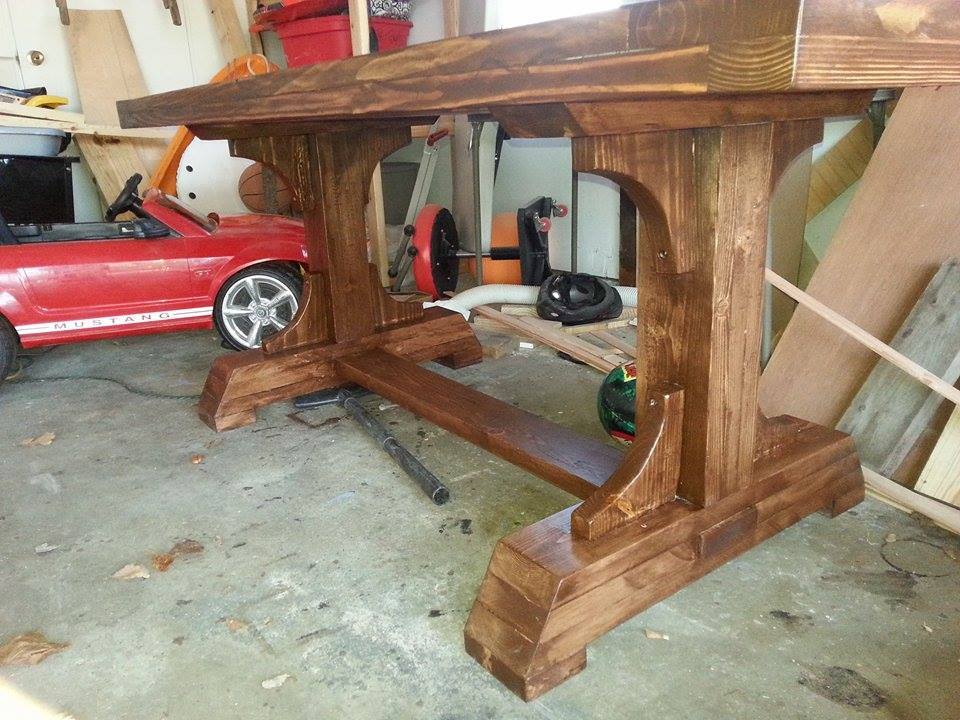
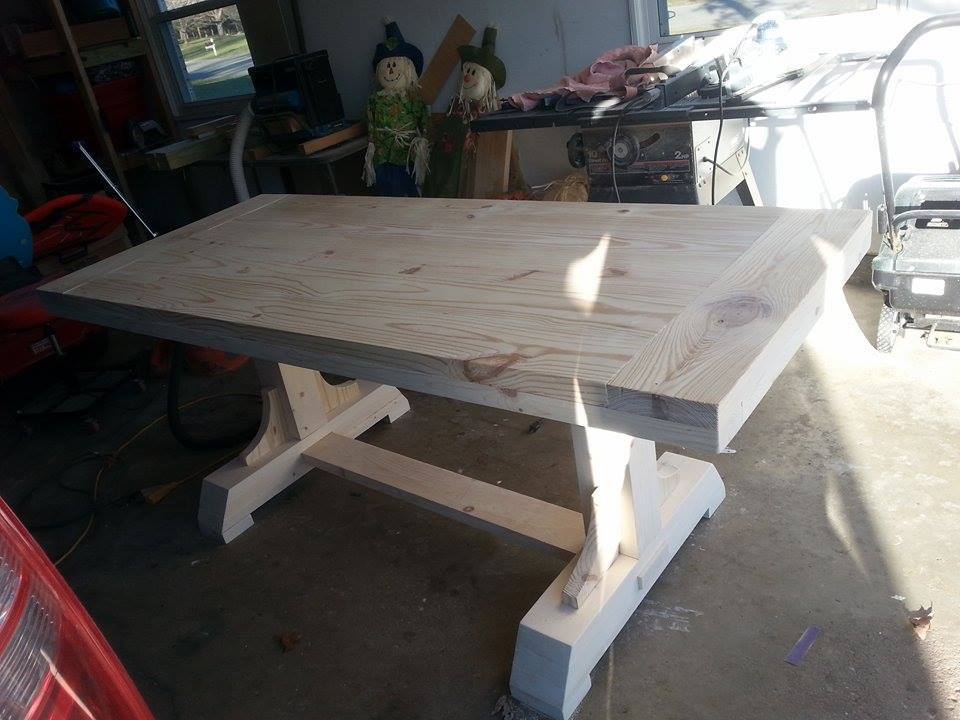
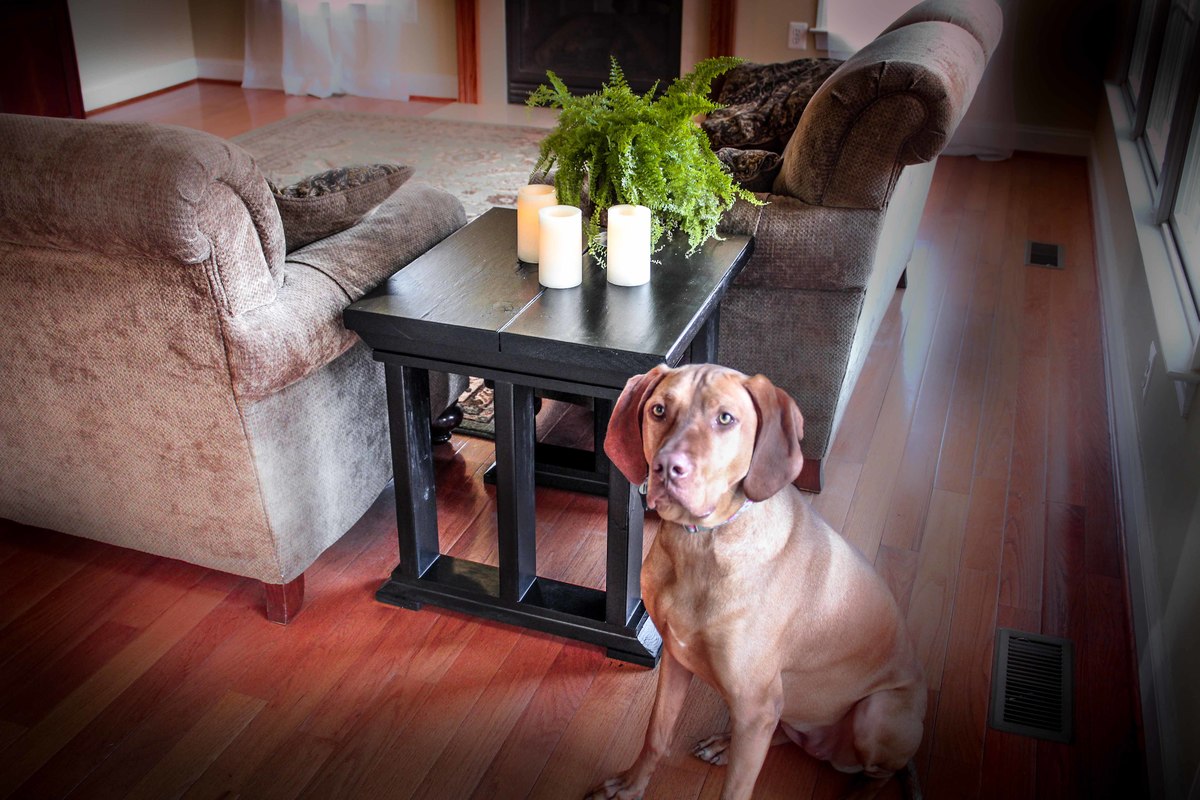
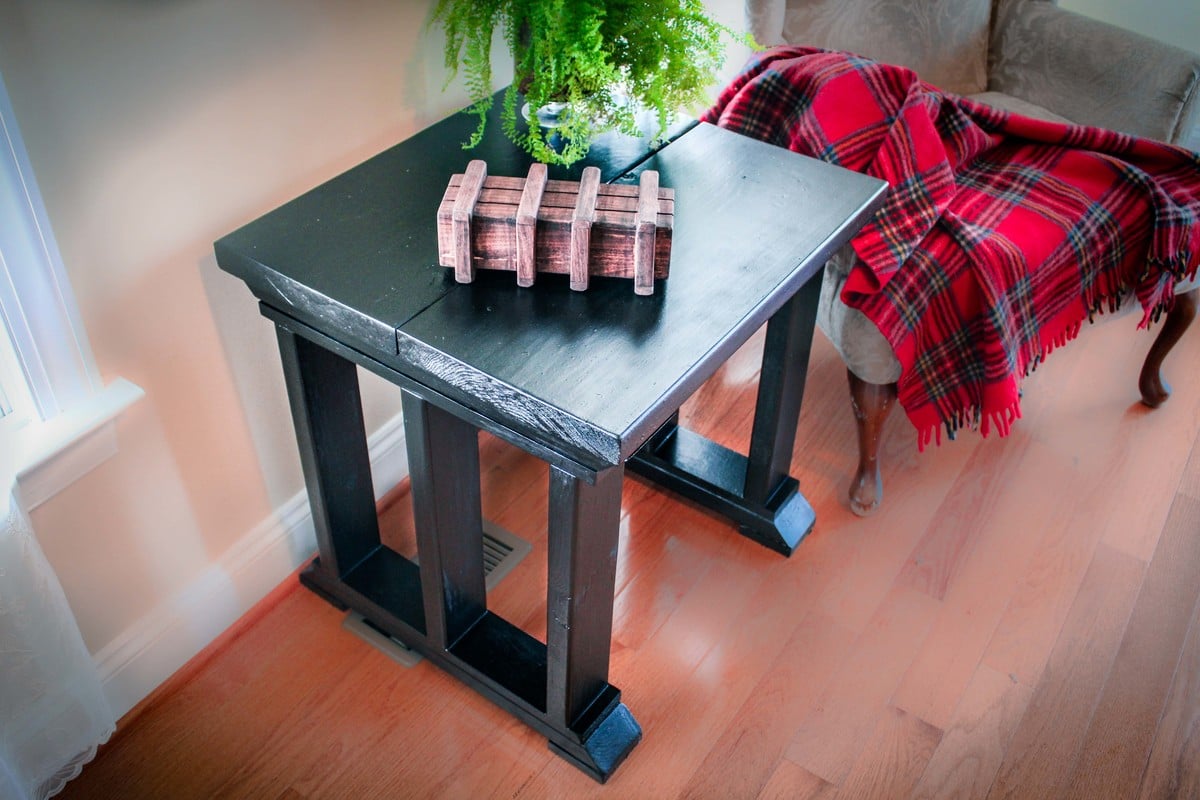
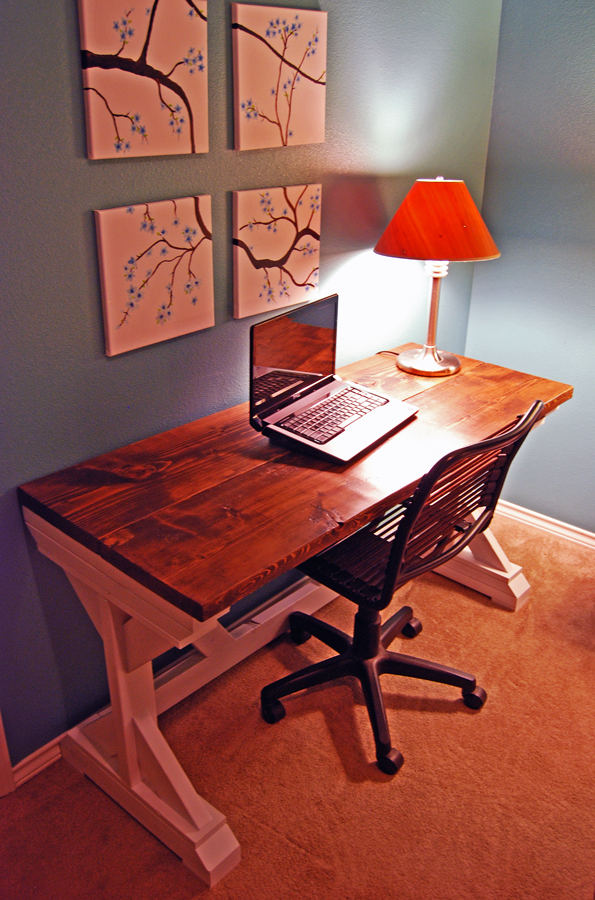
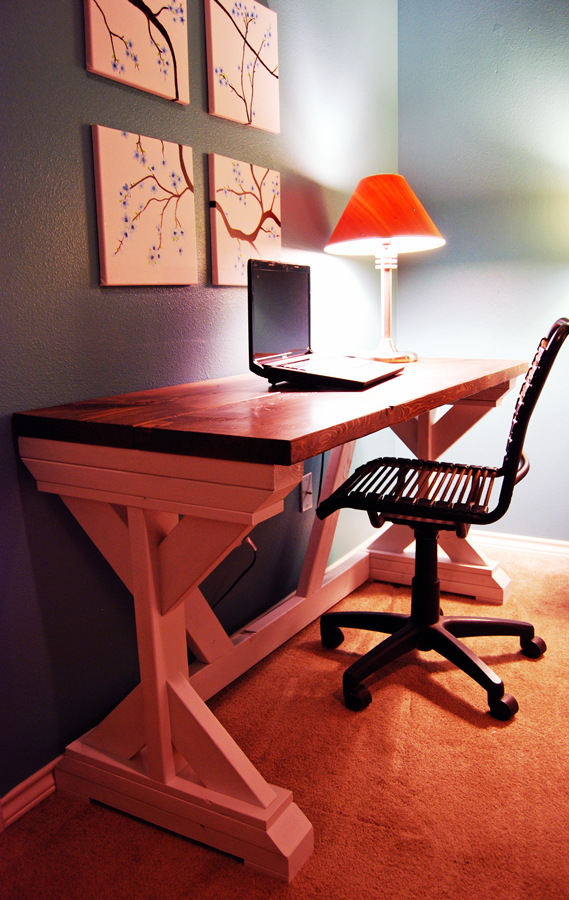
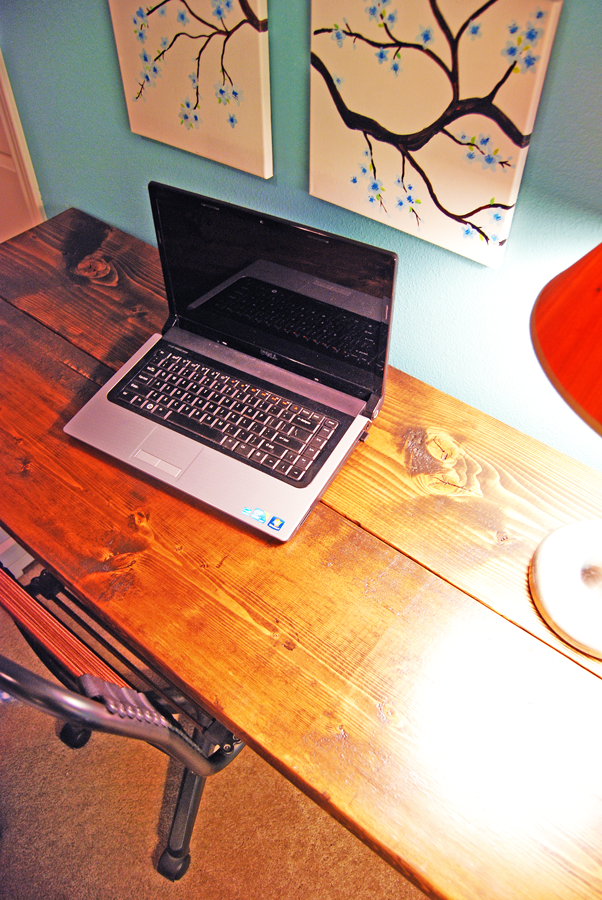
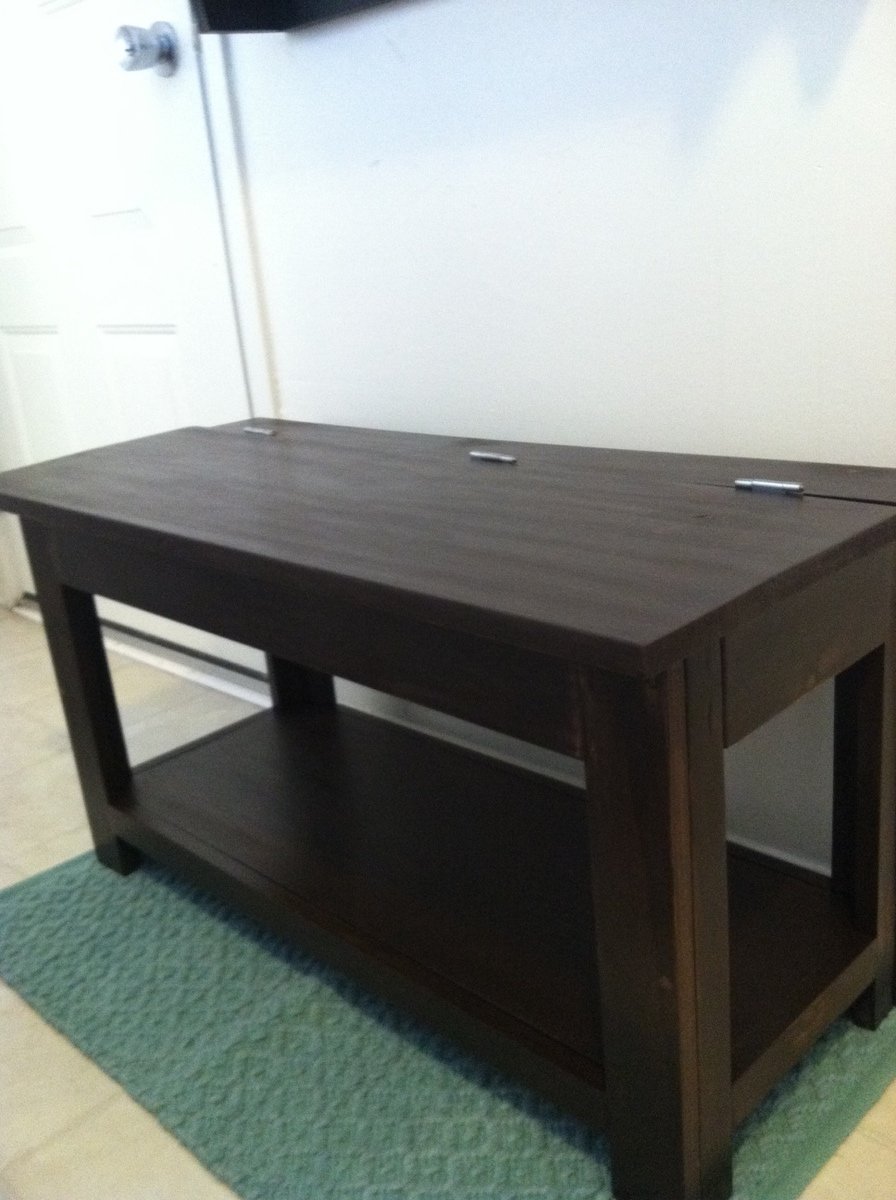
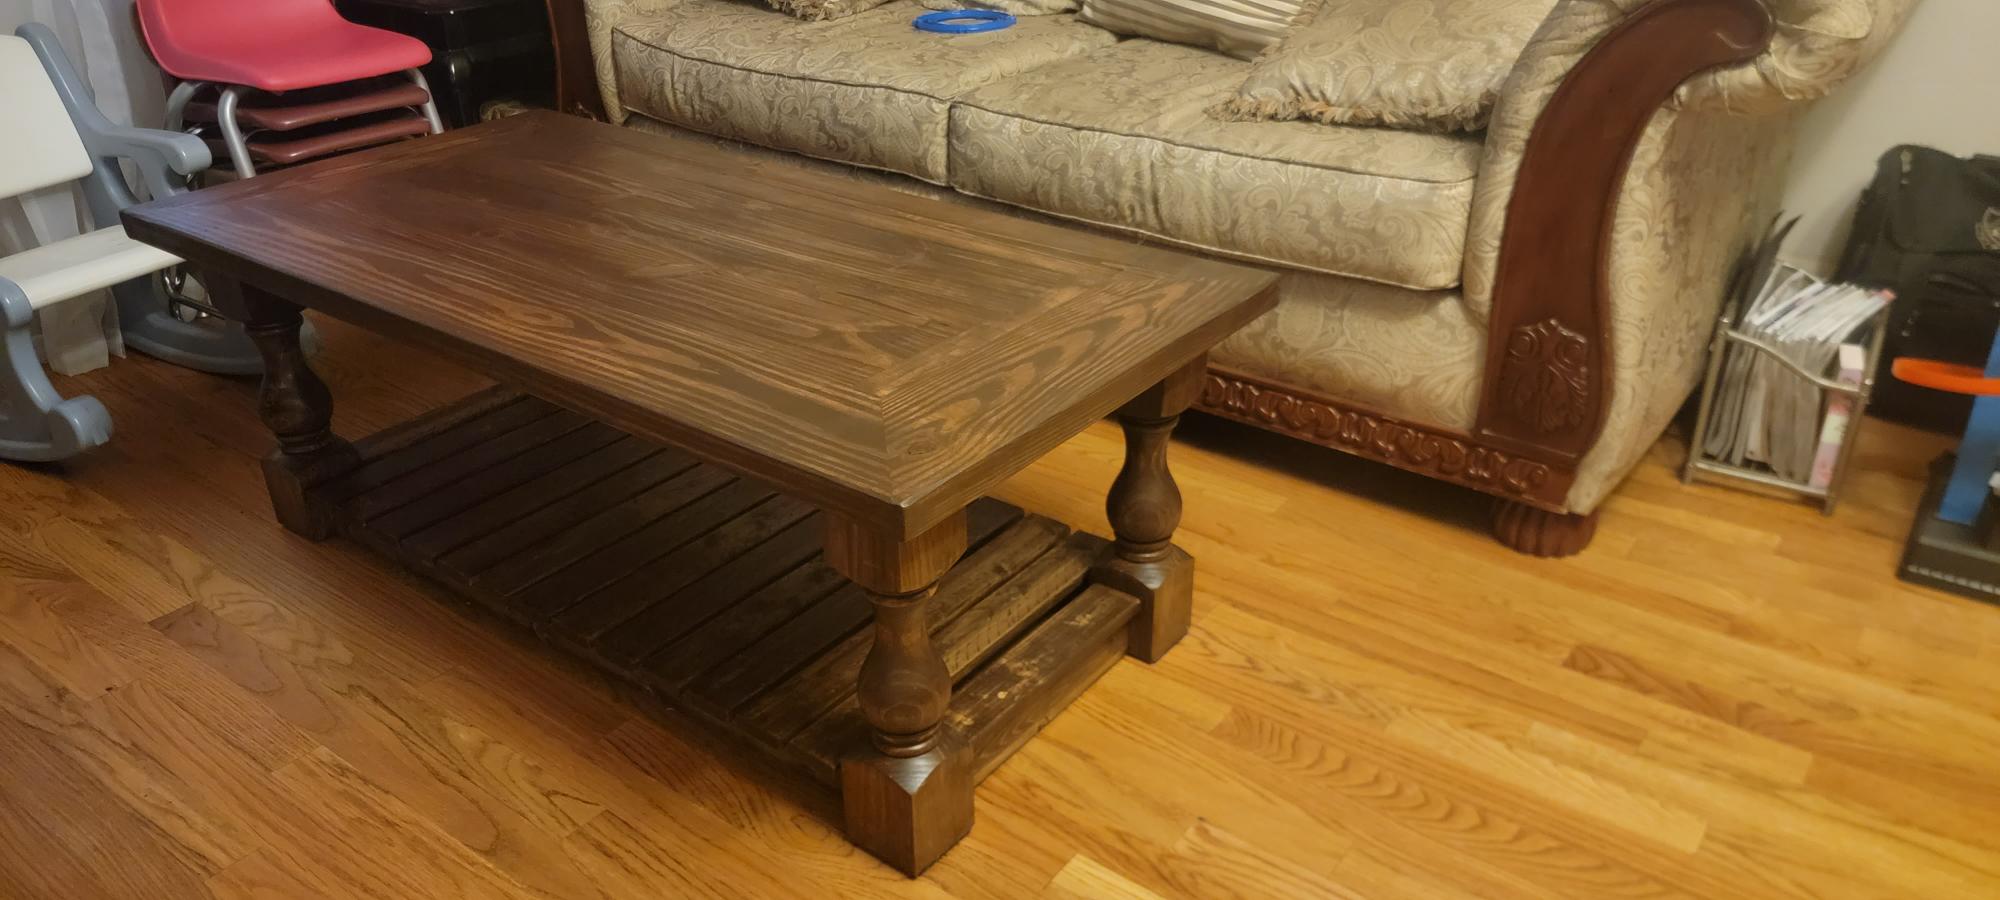
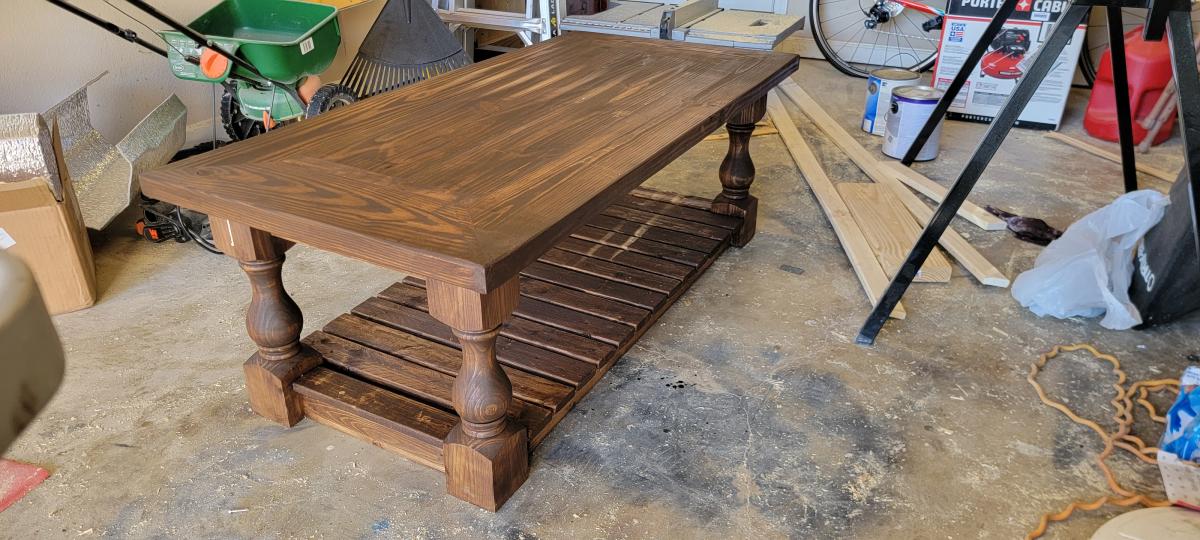
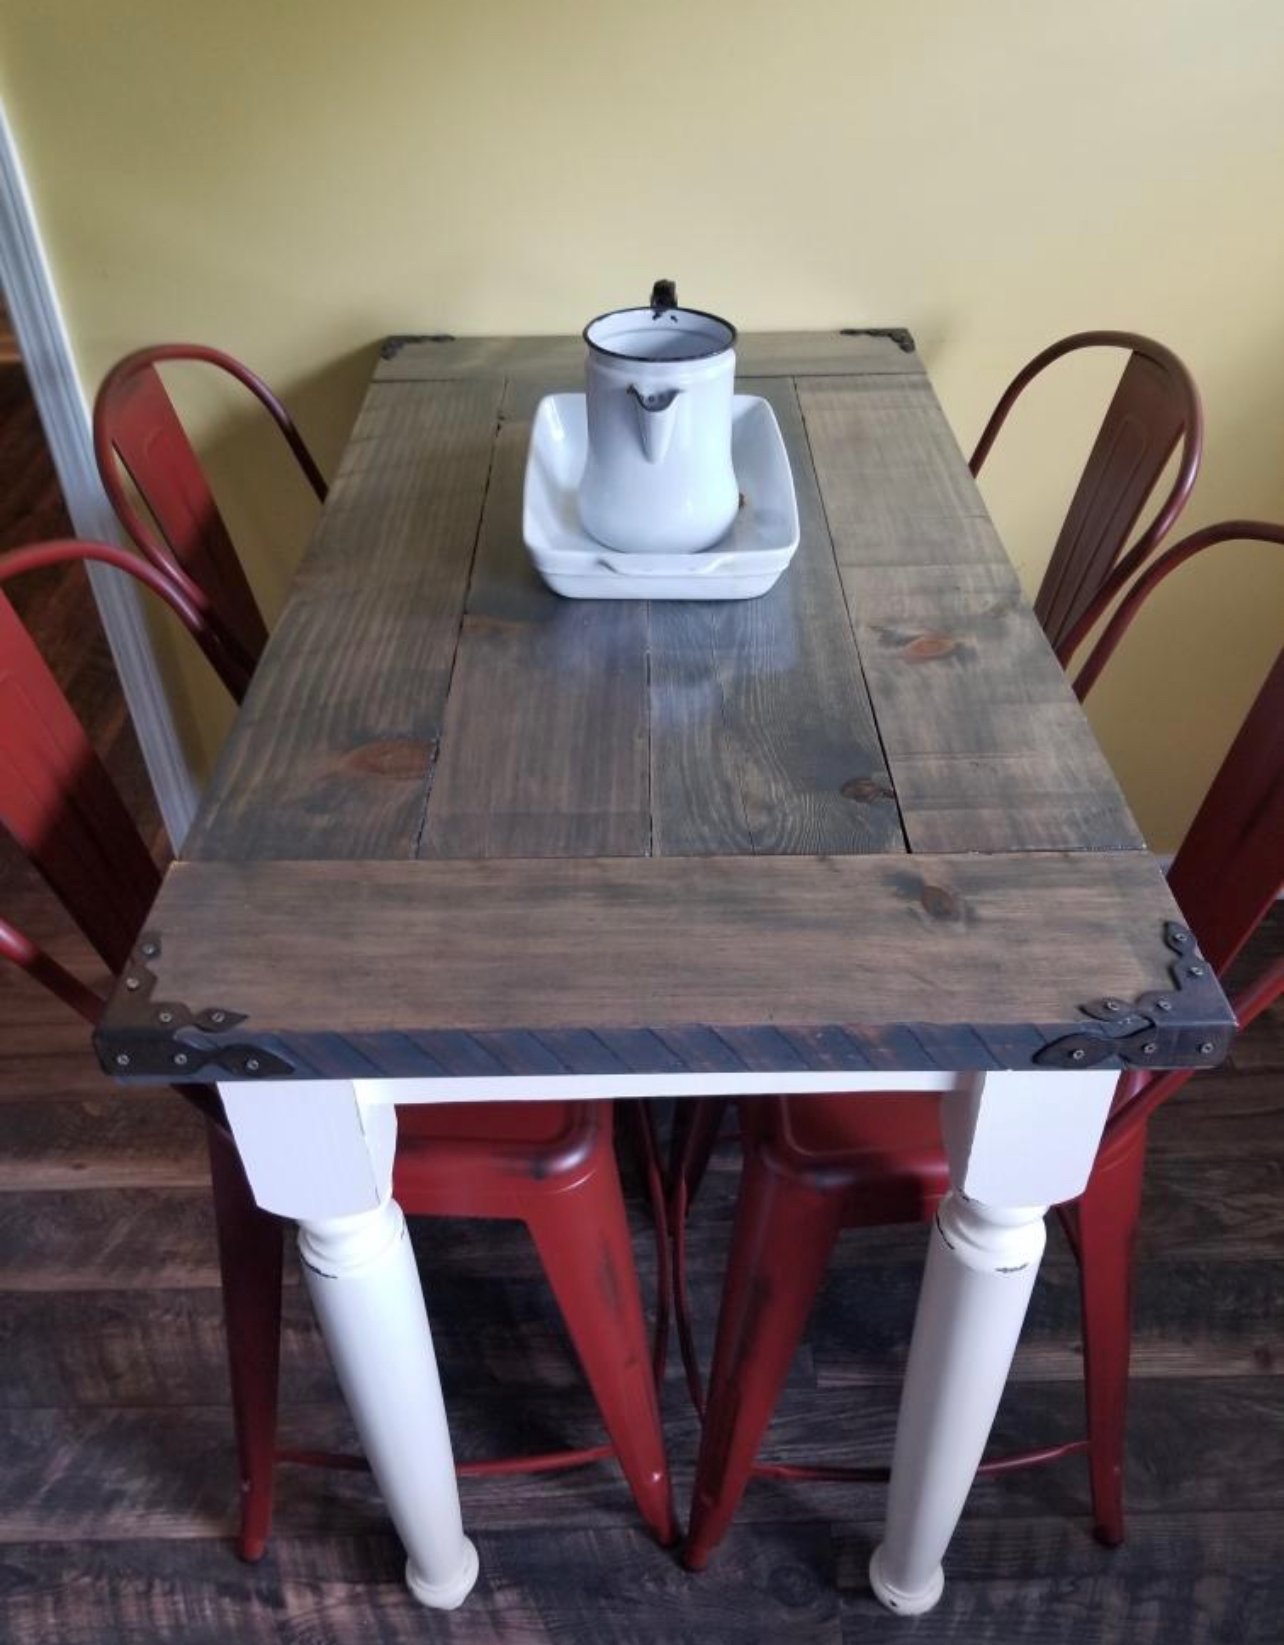
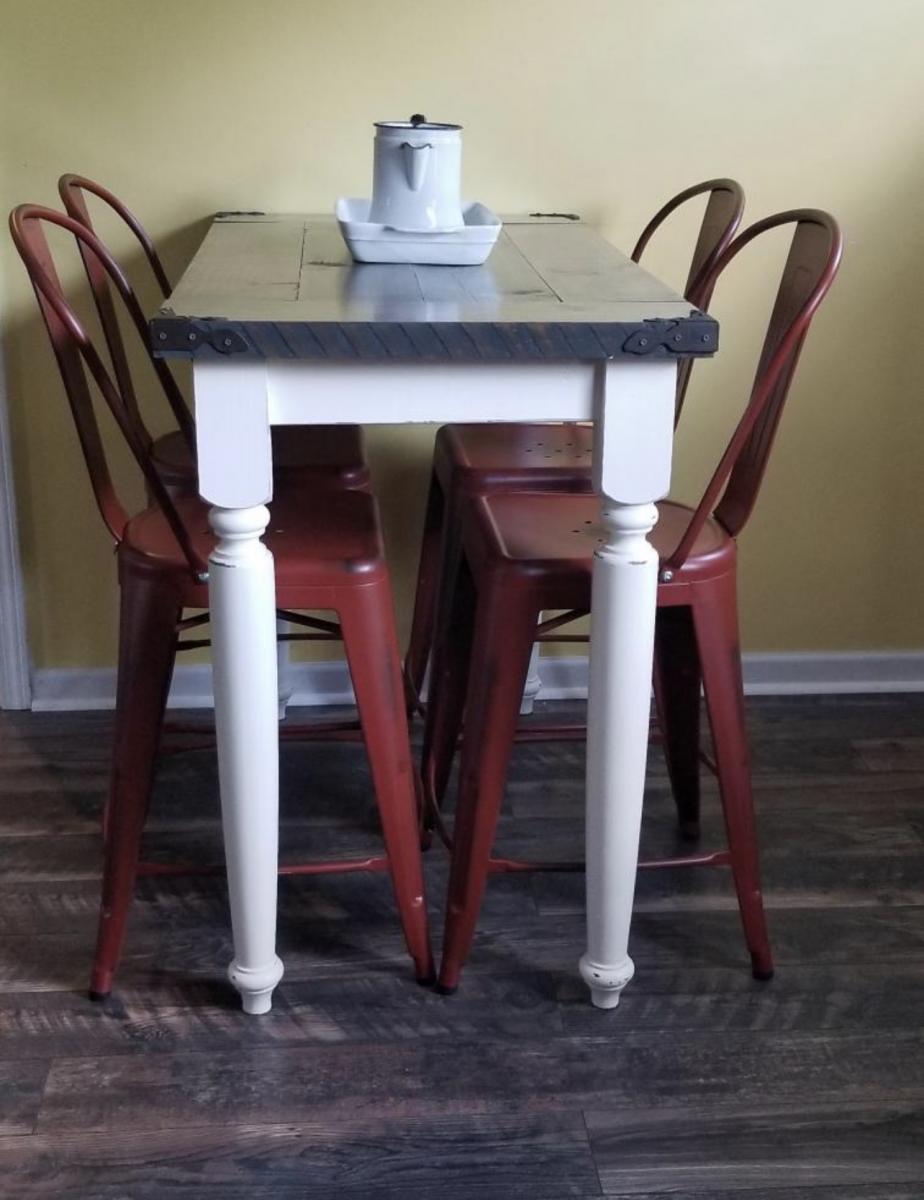
Coffee table
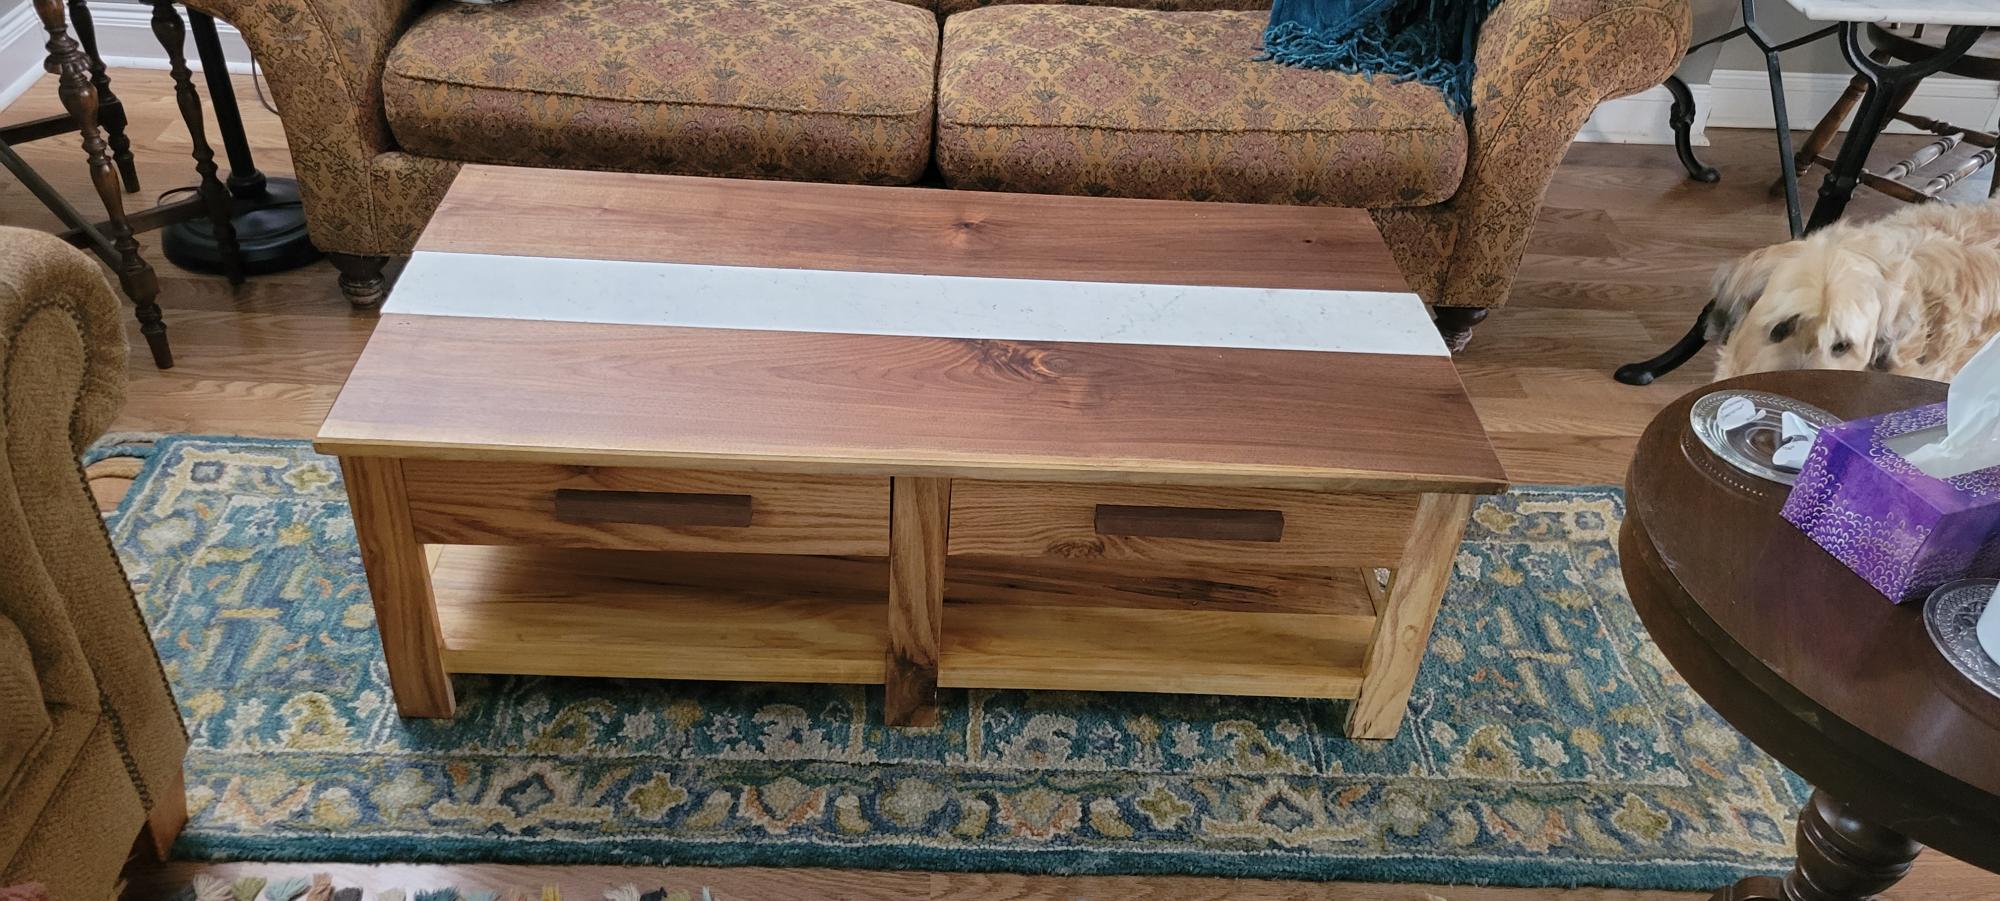
I modified the plans and used oak instead of pine. I used black walnut on top is guangzhou on top with white granite strip in the middle
I fell in love with this table as soon as I saw it! I made another farhouse table last year (first table I'd ever built) and liked it okay but I had made a lot of mistakes. The old table is now my work table in the garage- which is great because I needed a bigger work surface anyway! I tried to make my table just like Ana's version but I used regular latex flat paint over the stain instead of milk paint (couldn't find the type she used). I was impatient and didn't want to order it and wait for it to be shipped. I was kinda hoping it would flake/crack a little but it didn't. Oh well, I still really like how the legs turned out. I stained them (and the top) with a 50/50 mixture of Minwax stain in dark walnut and classic gray. I used three coats of Minwax fast drying poly on the table top and just rubbed the legs/base with a furniture wax to give them a little bit of a smooth sheen. I also distressed them a little bit. I like how the dark stain kinda bled through the paint. It really helped to add to the antique effect. I wish I had taken more pictures throughout the building process but I was so focused on the job that I just didn't think about it! Anyway, I just love this table! It was really fun to build and the turned legs take it to the next level!
Thu, 02/01/2018 - 10:37
Love this table!!!! Can you tell me the wood species that you used?Love the stain color!!!
Thu, 02/01/2018 - 10:38
Love this table!!!! Can you tell me the wood species that you used?Love the stain color!!!
I've built several things from the page but this is the first that I have posted about. I love this site. Everything I have built has been so easy because of the way the plans are laid out. I added my own little touches to the buffet but for the most part I followed the plans as they were.
plan was easy to follow! super cost effective because I just used scrap wood found in local stores and nails. It took me longer than expected since scrap woods are not as long so need to do time in sections at a time, but all worth it.
Tried to replicate the Double Pedestal table that has no plans provided. I had to modify a bit to the specifications i wanted. Table top bowed up a bit at the ends after i glued it up and when i tried to attach it to the base, it pulled one side of the base up. To fix this, i added a couple of cross beams at the top of the base, to stablilize the base a bit.
I finished with a minwax gel stain, i forget the color. It was a bit too dark for my liking, so when it dried, i took a cabinet scraper (or card scraper) and scraped off some of the finish. Pretty pleased with how it turned out. then i added 3 coats of lacquer.
Fri, 03/20/2015 - 15:06
We will be beginning building our 2 pedestal table in the next month or so and anticipate that outs will be similar in size / style and weight. OUTCH! We know it is going to be heavy. Pleased to see how well yours turned out.
My 2 grand girls wanted a cottage bunk bed. Not wanting to disappoint, I took the plans from the cottage loft bed and modified them, adding a lower bunk. I also added the steps, with storage on the side instead of the ladder, and made a drawer for the front step for the little one.
I made the wreath from Pom-Poms purchased from Jo-Ann's and battery operated string lights.
I opted for a cedar shake roof, which was purchased from Home Depot, then painted.
Needless to say, they love it!
Tue, 06/20/2017 - 20:13
this looks super awesome! :) I love the cute little shutters and all the nice attention to details :)
I have a small booth at a local Outdoor Market & a client asked if I had any outdoor tables - she needed some for an upcoming party. I tried convincing her that a potting bench would be perfect (since Ana already had plans for that), but she wanted something a little different. She shared a picture of a "Faraday" console table by Pottery Barn, so I used that as my inspiration. I opted for a counter-height table vs. a table height, but both can be easily achieved using the same size balusters, just cut accordingly. I did have a hard time finding "chunky" balusters with a "flat" section on both the top and bottom. I didn't want to use pre-made legs because they are too pricey. At both Orange and Blue they had "skinny" balusters, but at the Orange near my home I found 1 thicker baluster. I had to go to another store to find more in stock, so supplies may vary in your area. The balusters were less than $3 each. Ana was so kind to create plans and I hope you enjoy your table as much as my client enjoyed hers!
This End Table matches the shelf from a few weeks ago which is my attempt of matching the $55 Fancy Desk from Ana White. As with the shelf, the design is simple, easy to make and is relatively low cost (under $25).
Sun, 03/22/2015 - 10:24
Video:
https://www.youtube.com/watch?v=4wwlcqBMEa4
Build Instructions:
http://www.instructables.com/id/Rustic-End-Table/
Built by my son and I. Followed the awesome plans for that most part.
We were looking for outdoor furniture big enough for our whole family and friends but everything we looked at was over $5000 and really not well made. Ana to the rescue.
We built 2 loveseats and created a couch by doubling the dimensions.
We built the whole thing out of redwood so total wood was about $1000
The cushions were from Overstock and Lowes, approx $300.
There was a too much wiggle room with the cushions so we made a built-in frame to hold them in place. If we built another I would have cut the width down slightly.
We placed a 4X4 and another 2X4 on top of the back to provide more support.
All in all, love the way it turned out.
Pretty straightforward build, fun to use and build!
Was a little challenging at first but I was able to pull it off and it came out to be perfect
I made the entryway cubby from the book and finally couldn't stand the pile of shoes (3 year old) in the front entryway any longer! So I made the bench and my son is thrilled that he can open and close it and put things in it. I have a few touch-ups to do yet from the pocketholes and countersink holes, but I love it! It was really easy to do. I did modify the plans to fit my entryway, so it's about 36 inches long.
I love it!
I made this a little bit taller and left off the doors since what we really needed was more bookshelf space. I'm very happy with the way it turned out!
Built this for my mother in law. Was so excited how it turned out.
We made this for my husband's Granny who has a bright green thumb, campared to my slightly black one. It turned out great.
This is also the project I learned how to use a Kreg Jig. Amazing. My husband is hooked.
I built this Benchmark Storage or Media Tower as I was looking for some thing to put beside our fire place. I wanted to build some thing that would be about the same height as our fire place so it stands 40 1/4" tall. Also, this month was a the contest to build things from scrap lumber so I took 2 x's that I had laying aorund and cut them down to 1 1/4", then glued together and planed down to make butcher block for the door and top. The sides were actually built from 1 x 6. I also ended up purchasing a Kreg shelving jig so that I could change the shelving. A tool that I highly recommend if you are going to build alot of these projects with shelving. One down and one to go!
Mon, 03/30/2015 - 20:45
Thanks Ana....fun looking at your website and have built many things the last two years from this...and finally signed up w a profile! Thanks again!
This table was built using wooden counter height legs purchased from Home Depot. The top was 3x6 natural pine cut from Stinking Creek Tennessee. The boards were rough cut lumber from a saw mill. I ran the boards thru a plainer. We left the saw marks on the edge, but sanded the rough part off. The apron is 2x4 wall studs purchased from Lowe’s. I screwed it all together with pocket hole screws and wood glue. The corner decorative metal pieces are from Hobby Lobby. The metal bar stools were ordered from amazon.
Comments
Ana White Admin
Sat, 08/21/2021 - 11:20
WOW!
Stunning table, thank you for sharing!