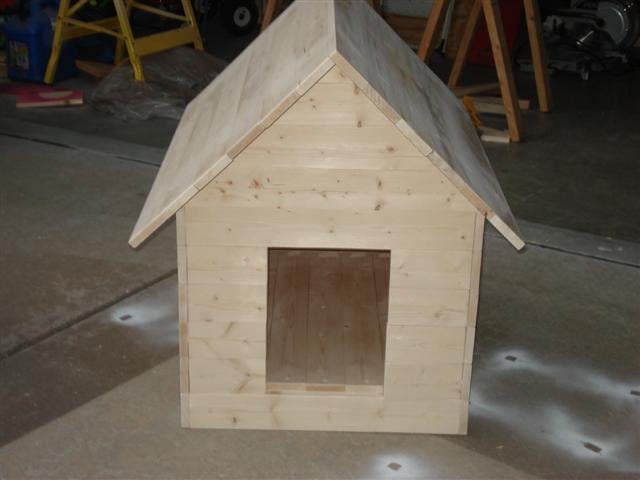
Dog Houses
Our local Habitat for Humanity puts on an annual event where they get folks to restore discarded or worn down furniture and sell them at auction. My wife and I participated last year and this year I was asked to build 4 dog houses and then they were going to let local designers/decorators finish them out.
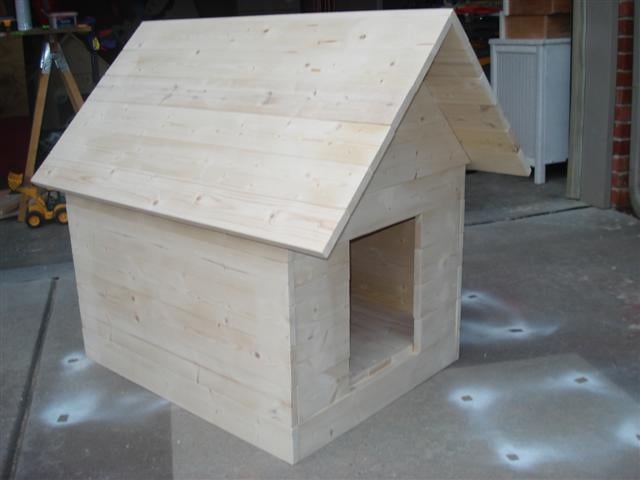
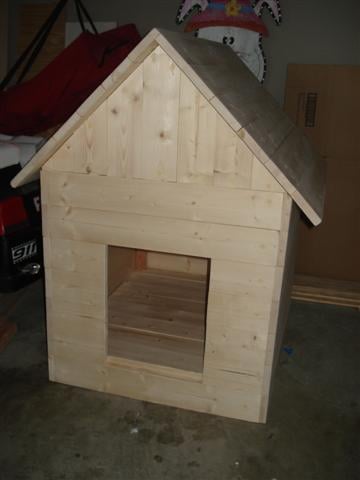
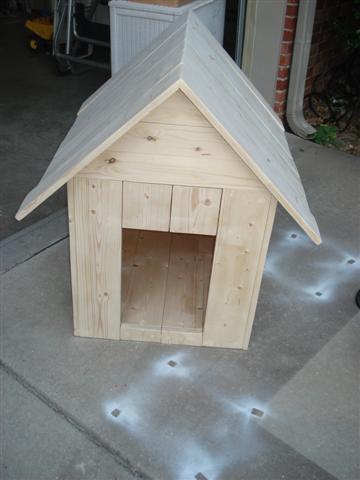
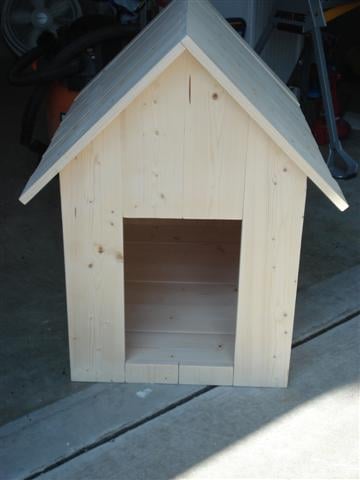
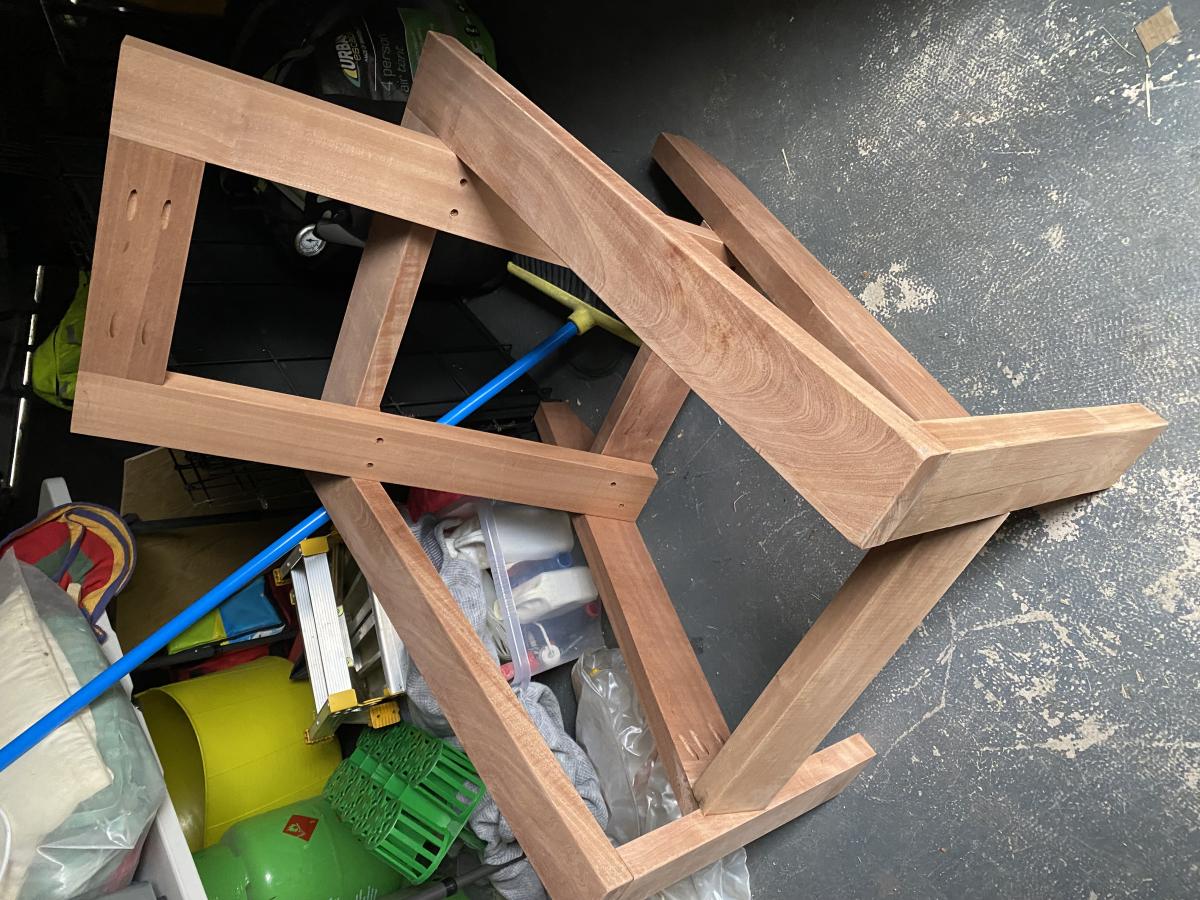
I figured it would be easy to find a good dog house plan, but I was wrong so I had to come up with my own designs. I did not want to use plywood becauase I wanted them to look good. So I used 1x4's and 1x6's. I built them all just a little bit different, but the same basic design on all 3. Since I am not very good with circular cuts, did not do any fancy 1/2 circle doorways!
There are "after" pictures on the Blog. Thanks for looking!


Comments
loniwolfe
Sun, 10/02/2011 - 22:09
very nice!
very nice!
Christa
Wed, 10/05/2011 - 16:54
Looks beautiful, thanks for
Looks beautiful, thanks for sharing!
Cindy from Indiana (not verified)
Sun, 11/06/2011 - 16:10
Great job!
Great job for a great cause!