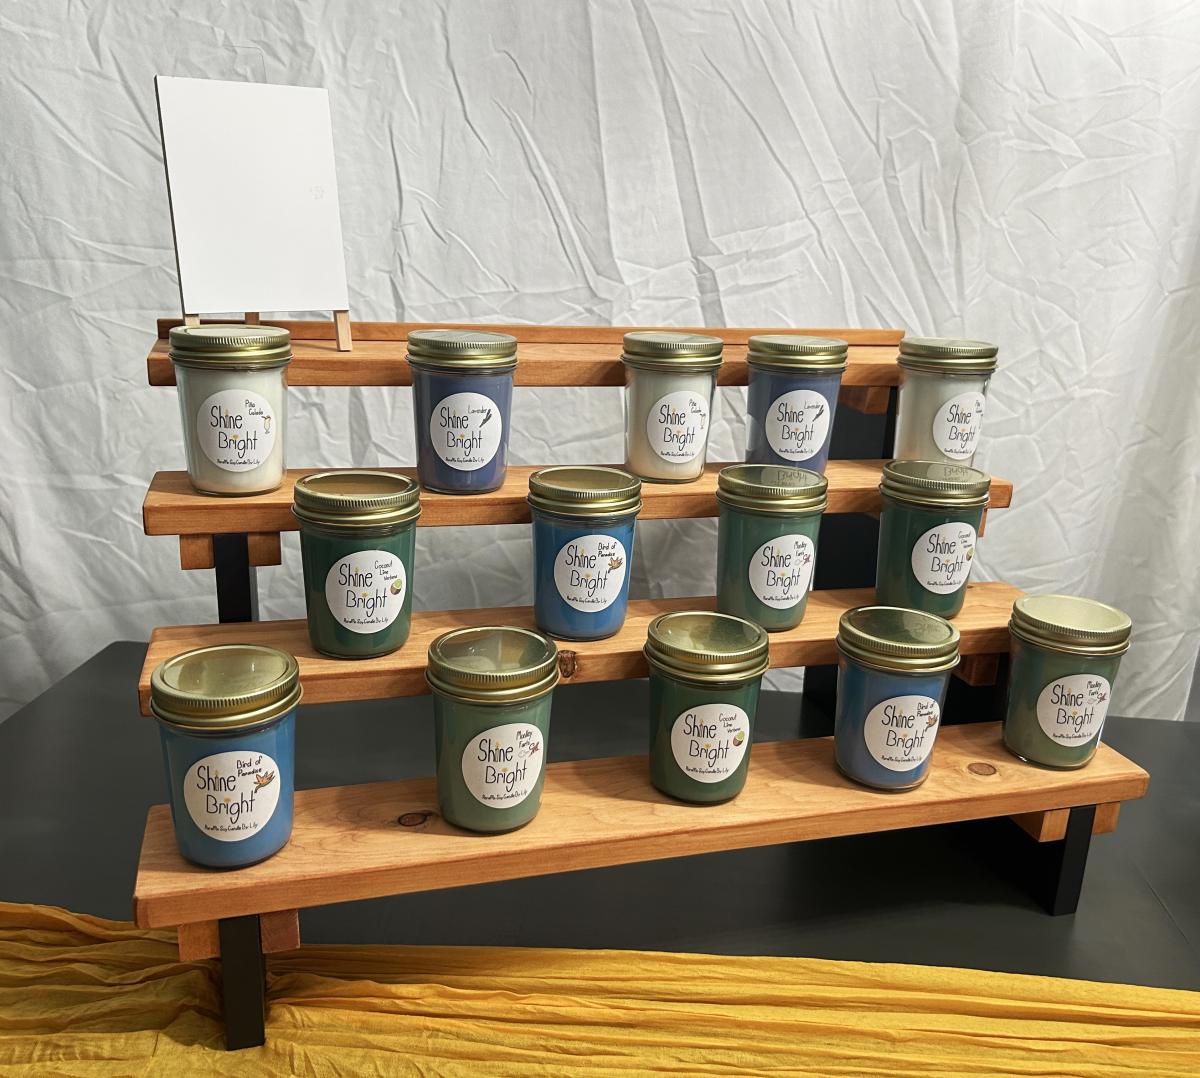
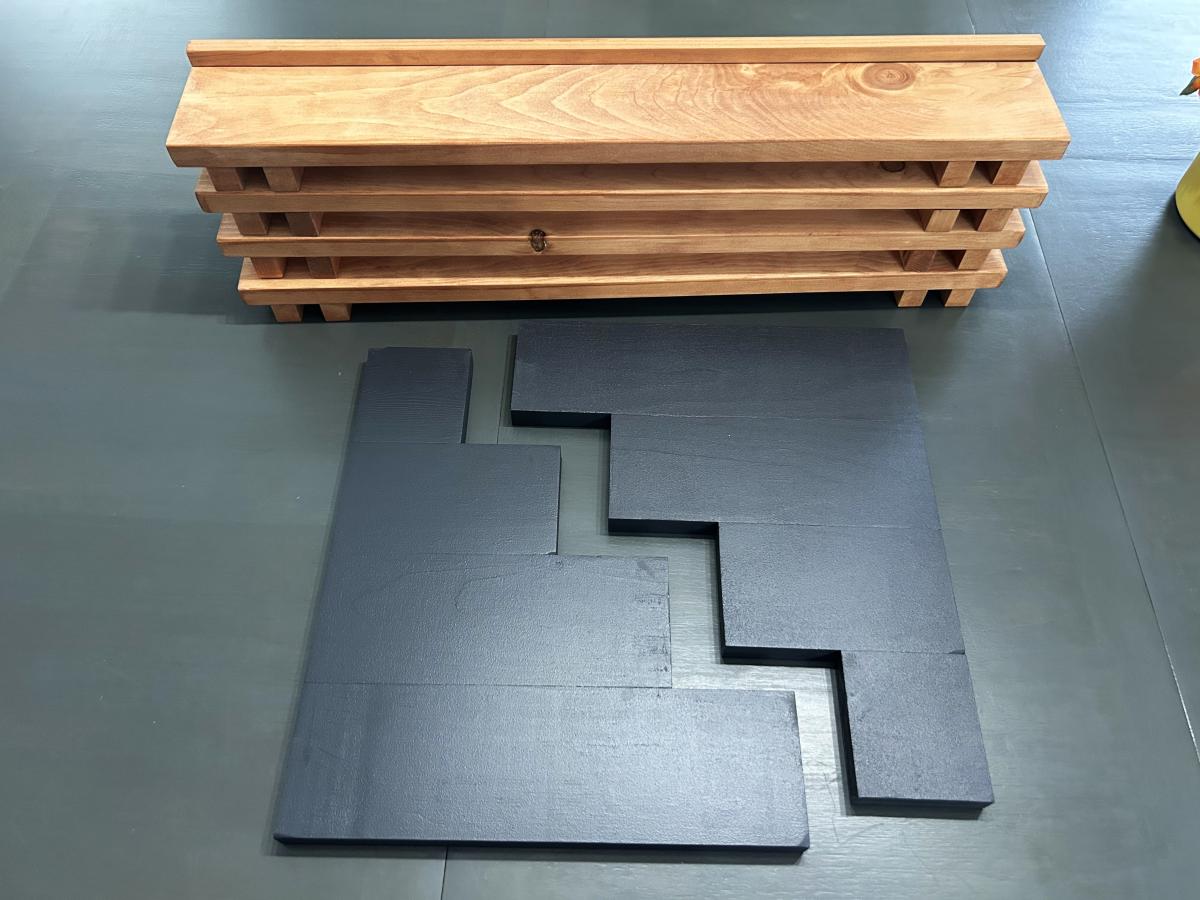
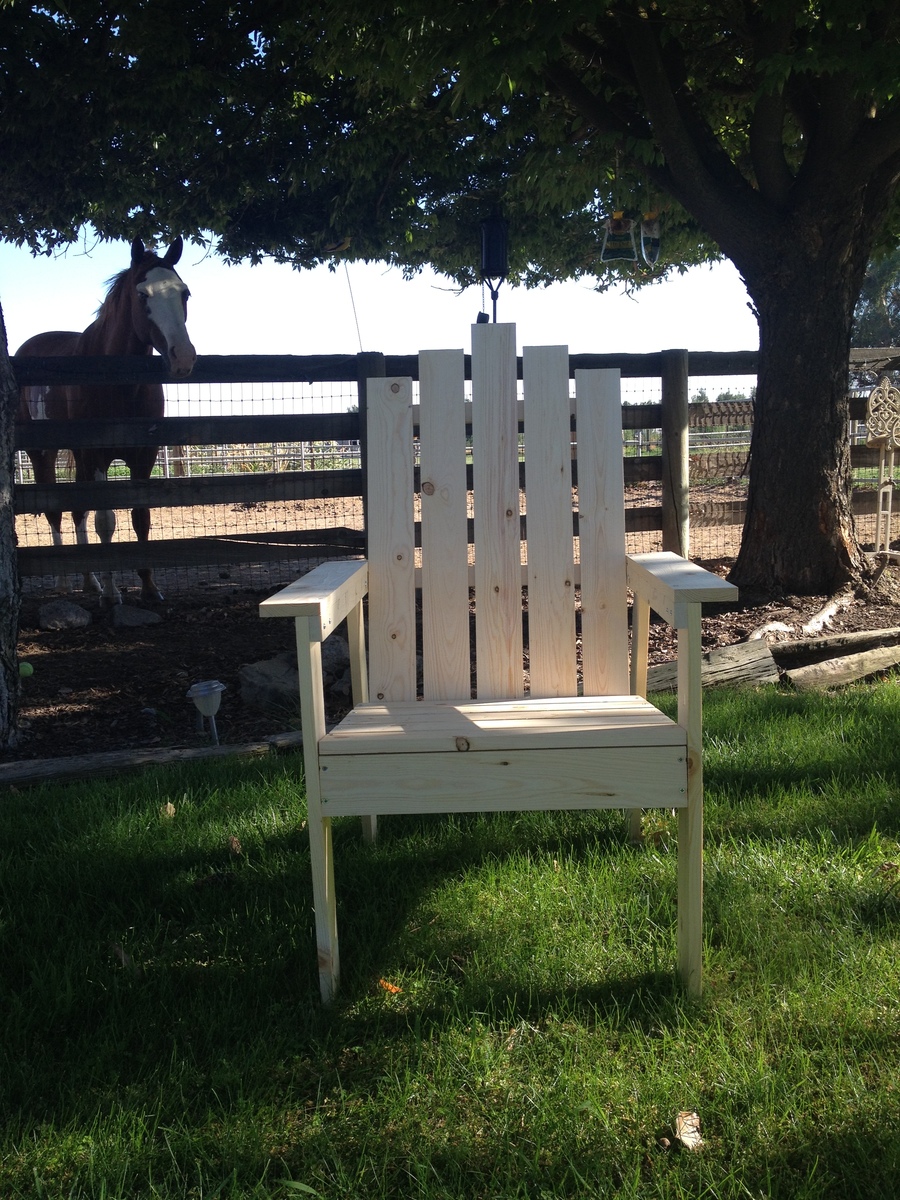
Folding Work Bench

First build.
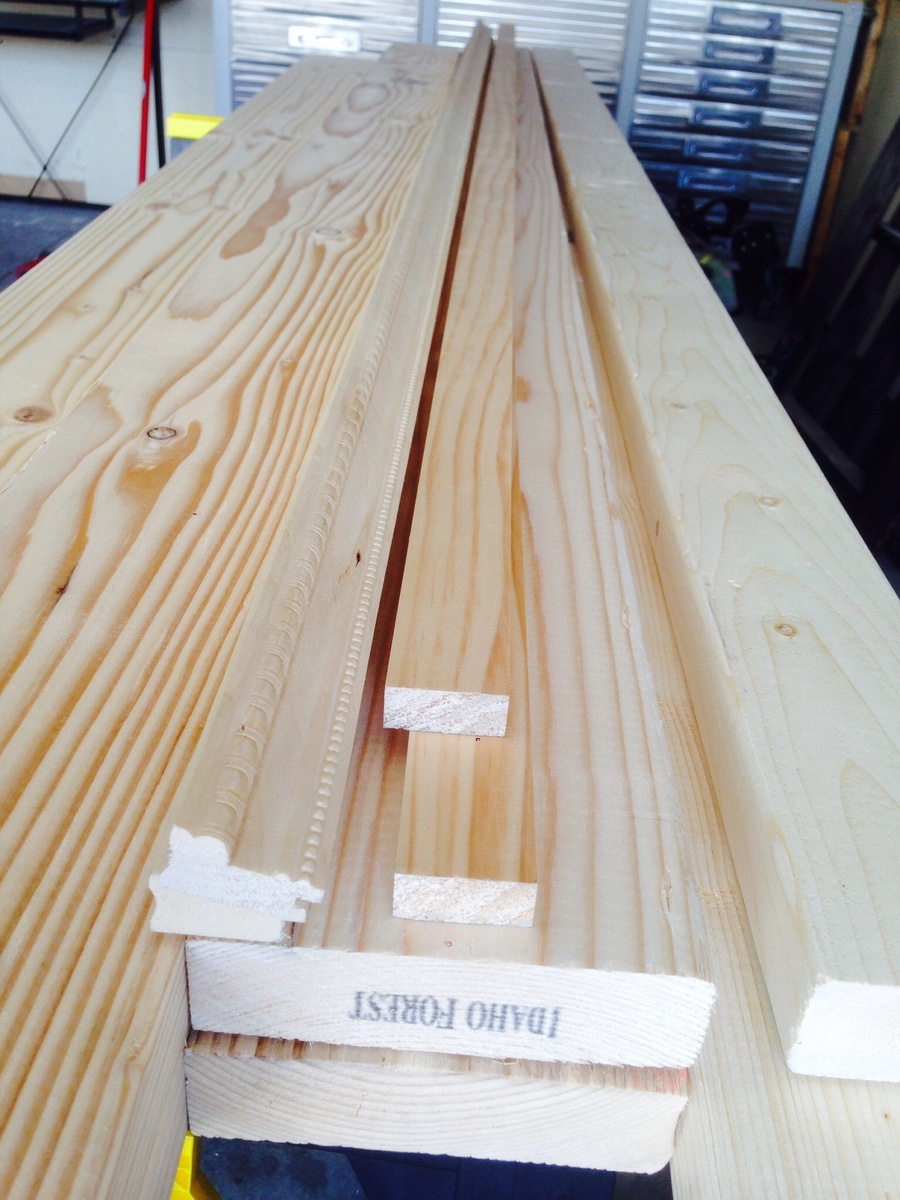
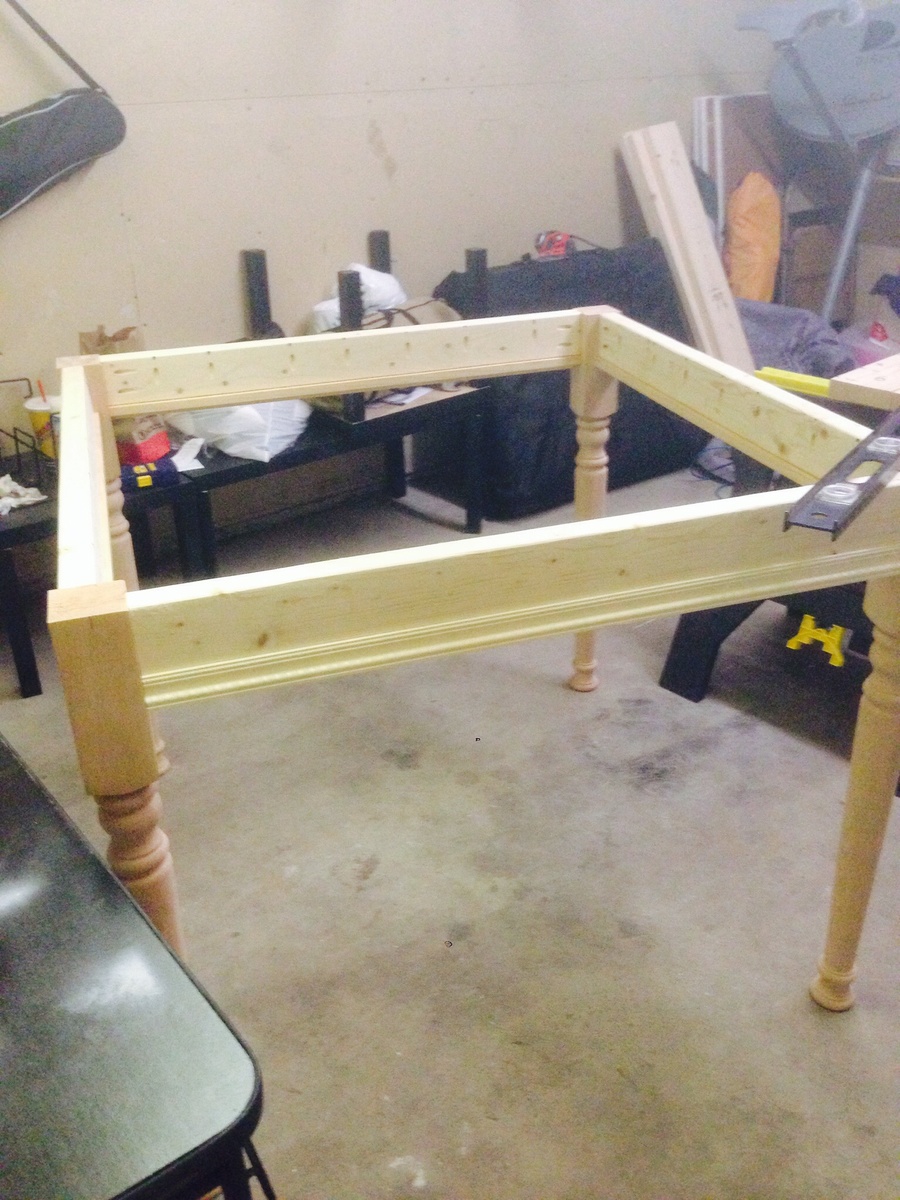
The plans and cut list were a tad off but I made a saw guide a cut it down from 36 to 24 after assembled.
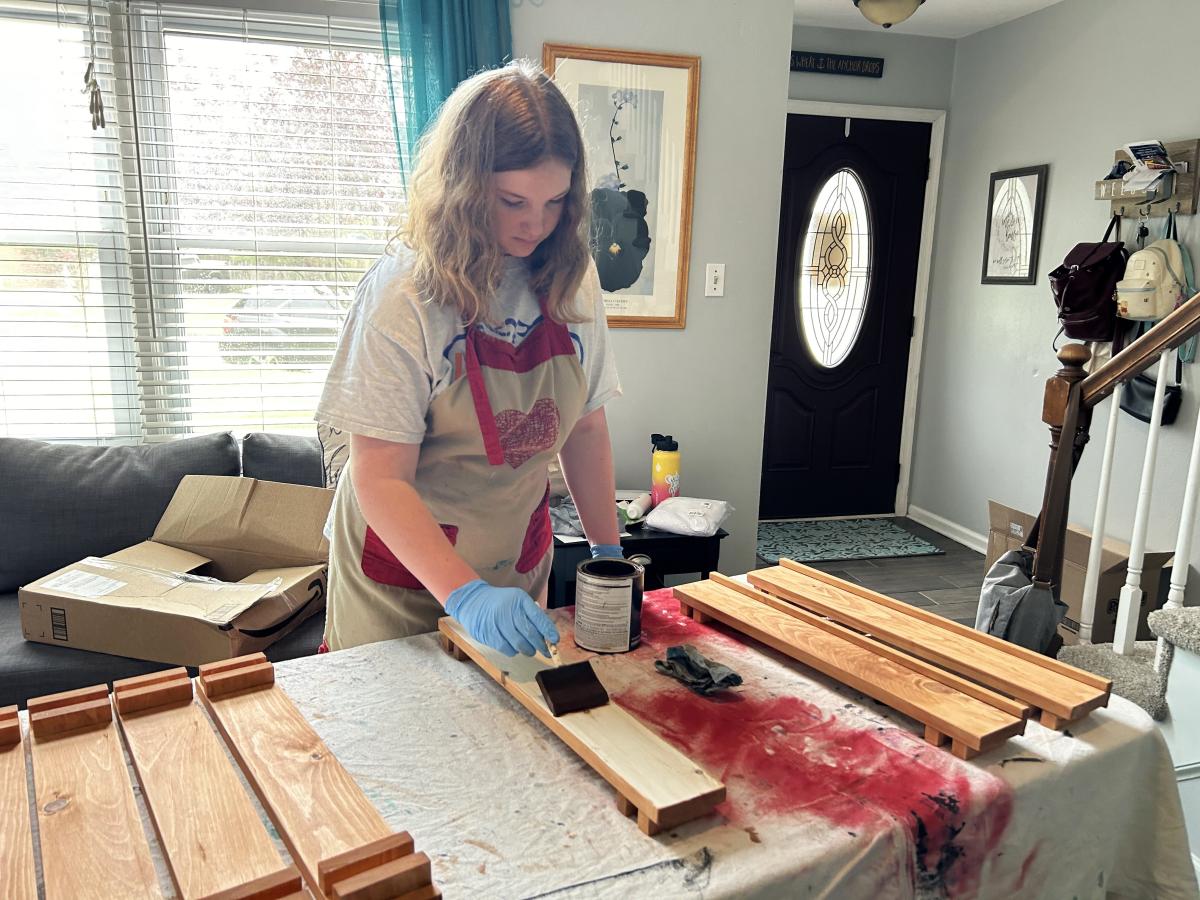
I had HD do all my cuts but have since done my own!


Built from Plan(s)
Estimated Cost
Not sure bought tools, wood and hardware at same time ($160)
Estimated Time Investment
Afternoon Project (3-6 Hours)
Finish Used
None
Recommended Skill Level
Beginner