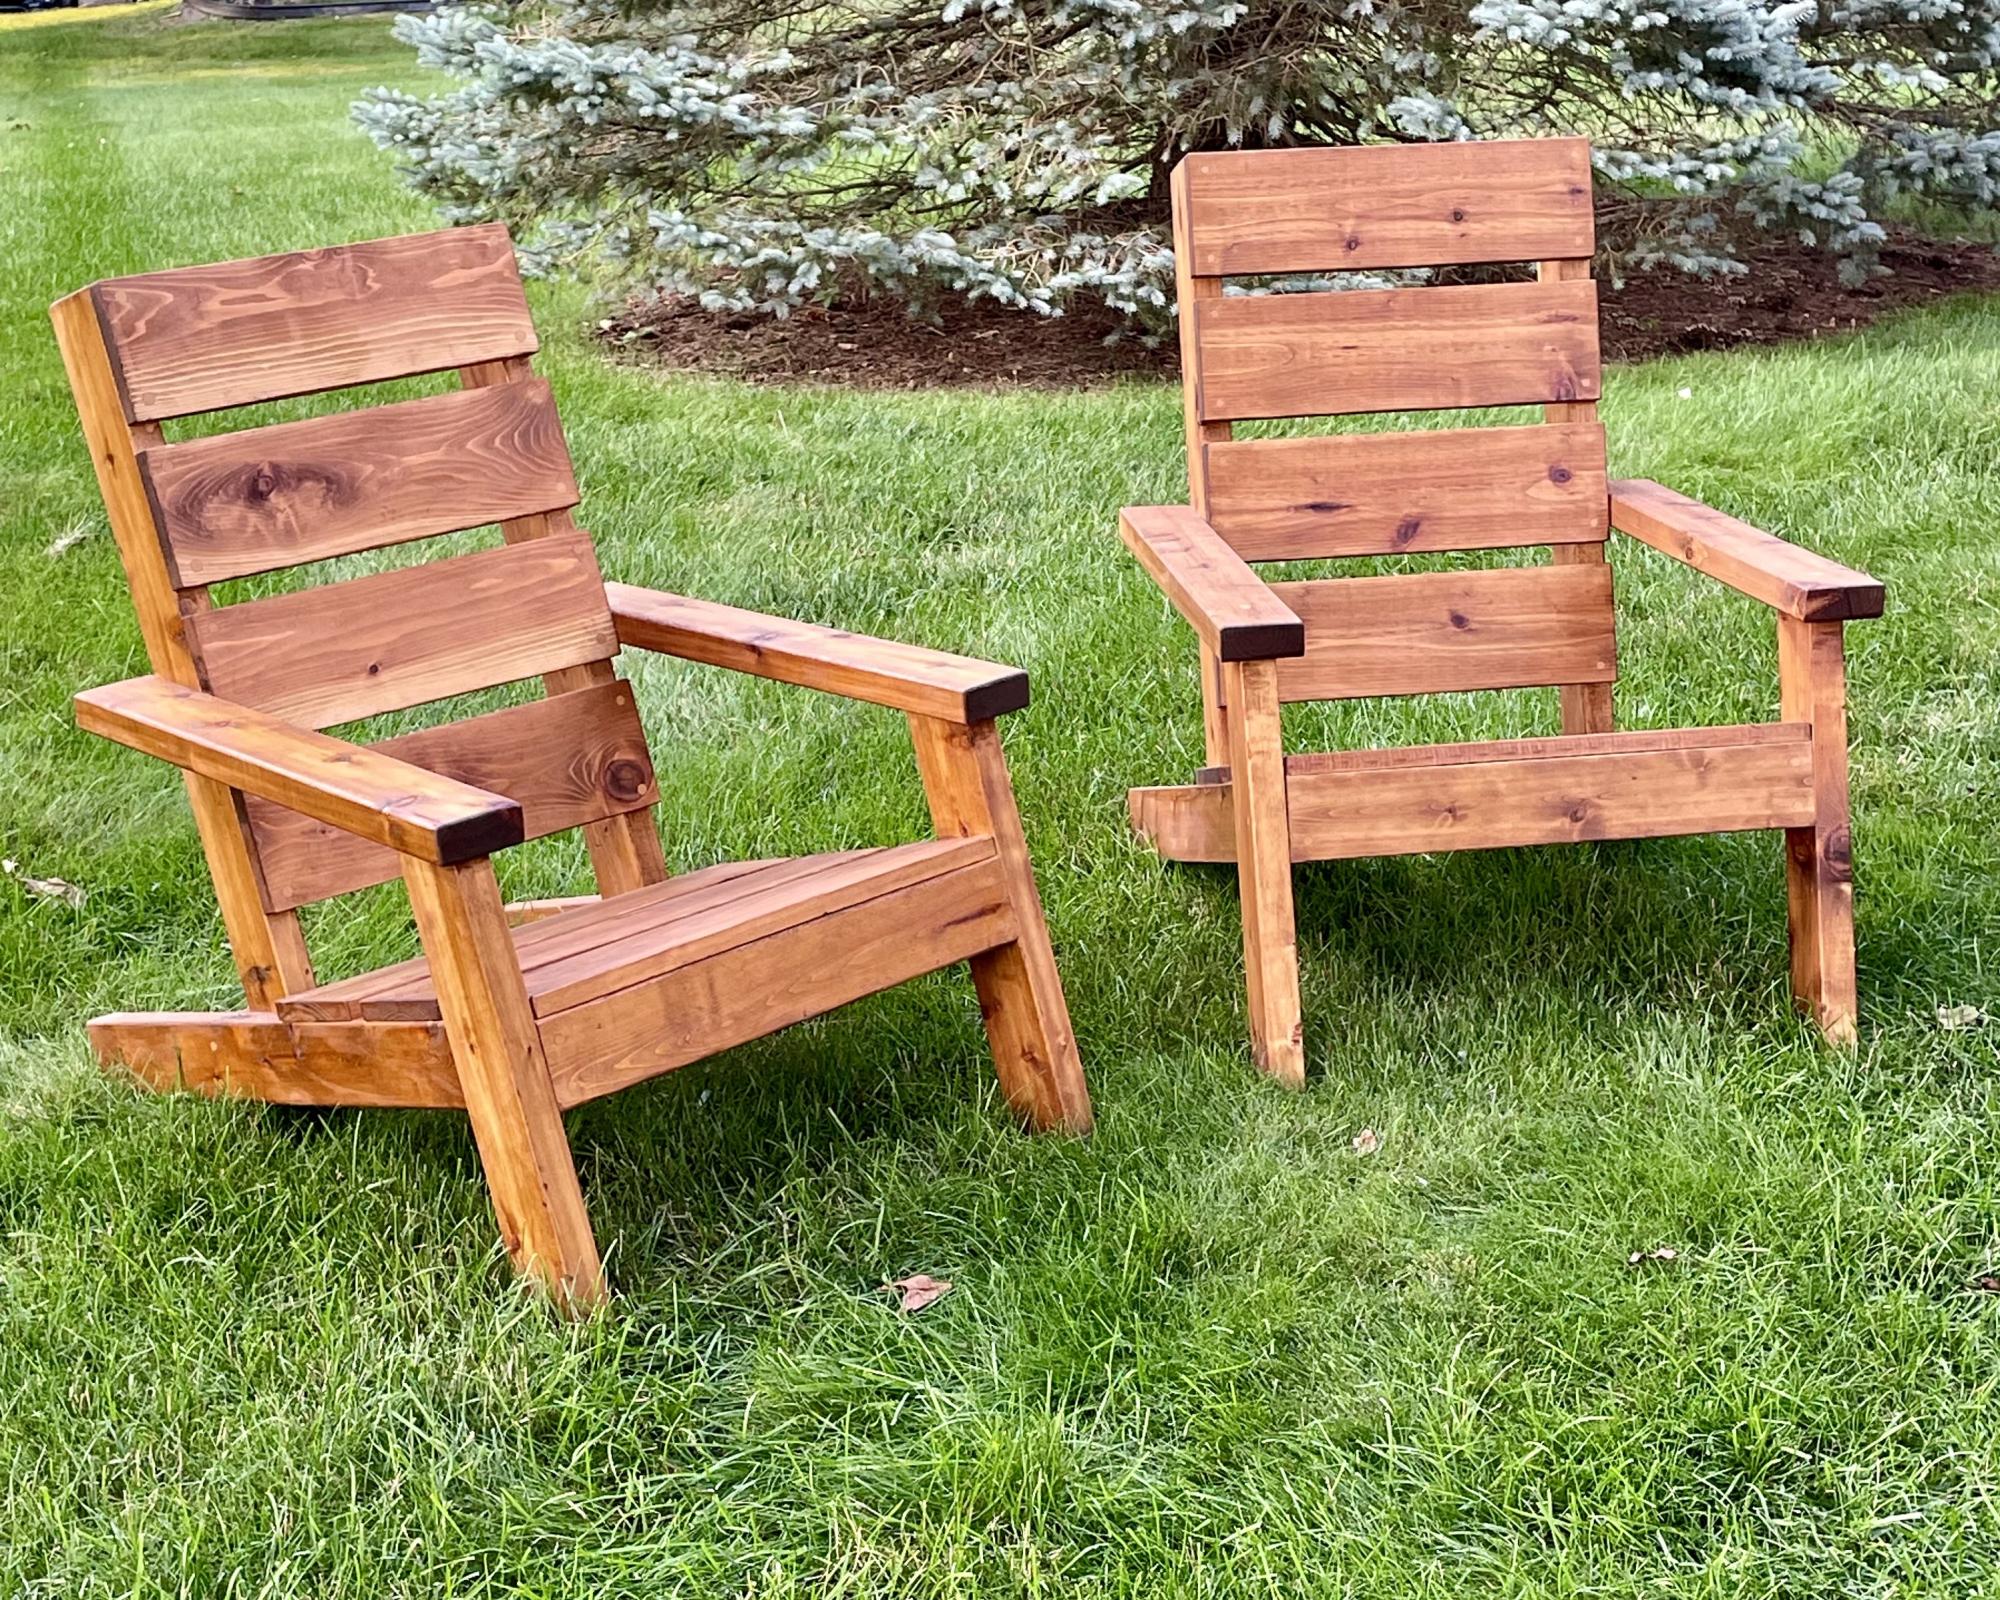
Great Backyard Adirondack Chairs
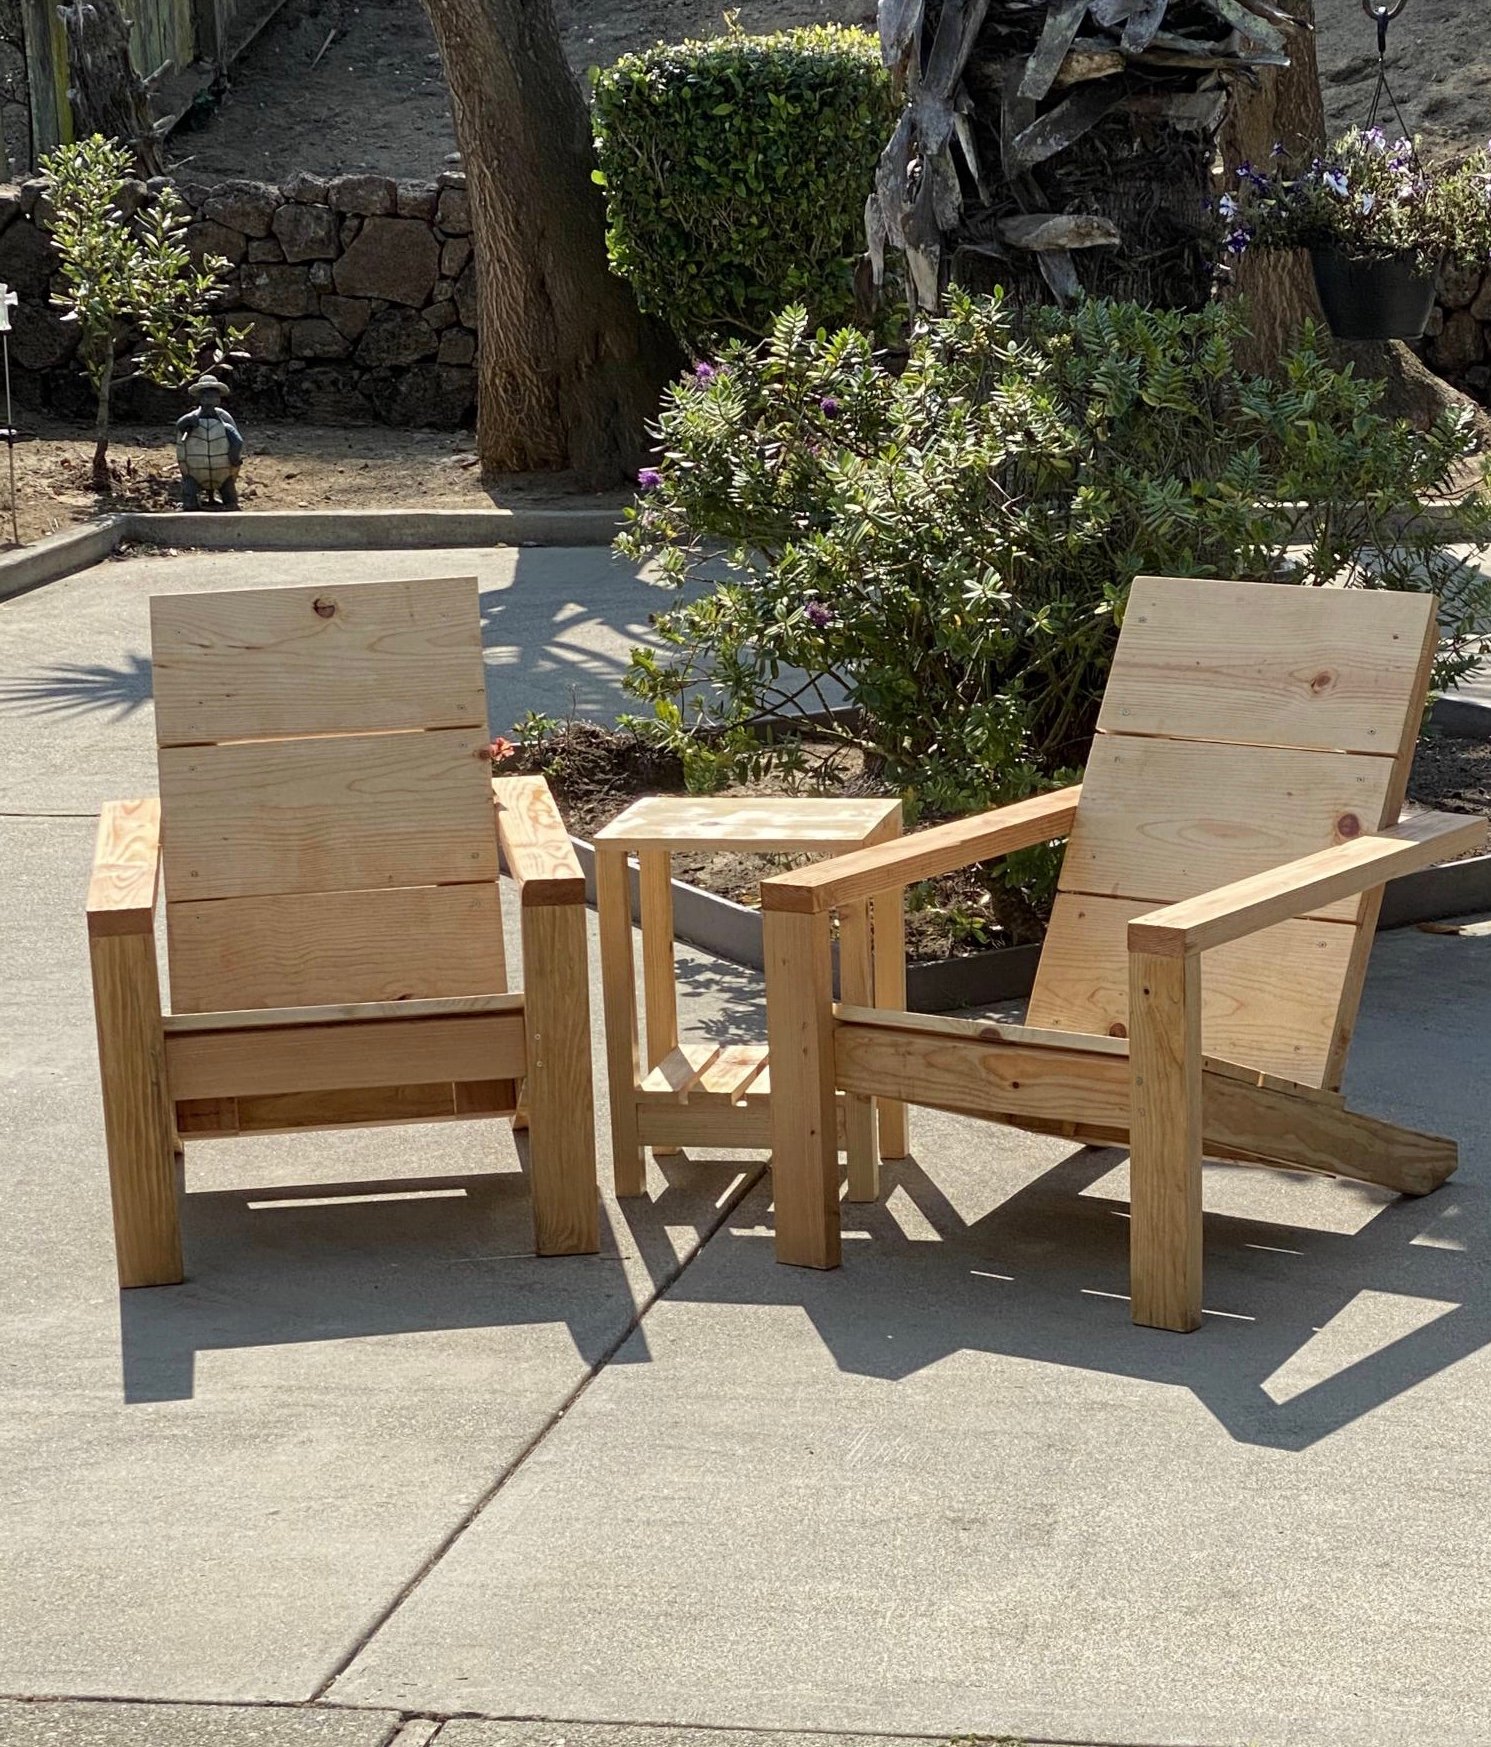
Easy to build! Finally finished them with spar varnish. Made the side table out of scrap wood. Love the chairs!
Built from Plan(s)
Easy to build! Finally finished them with spar varnish. Made the side table out of scrap wood. Love the chairs!
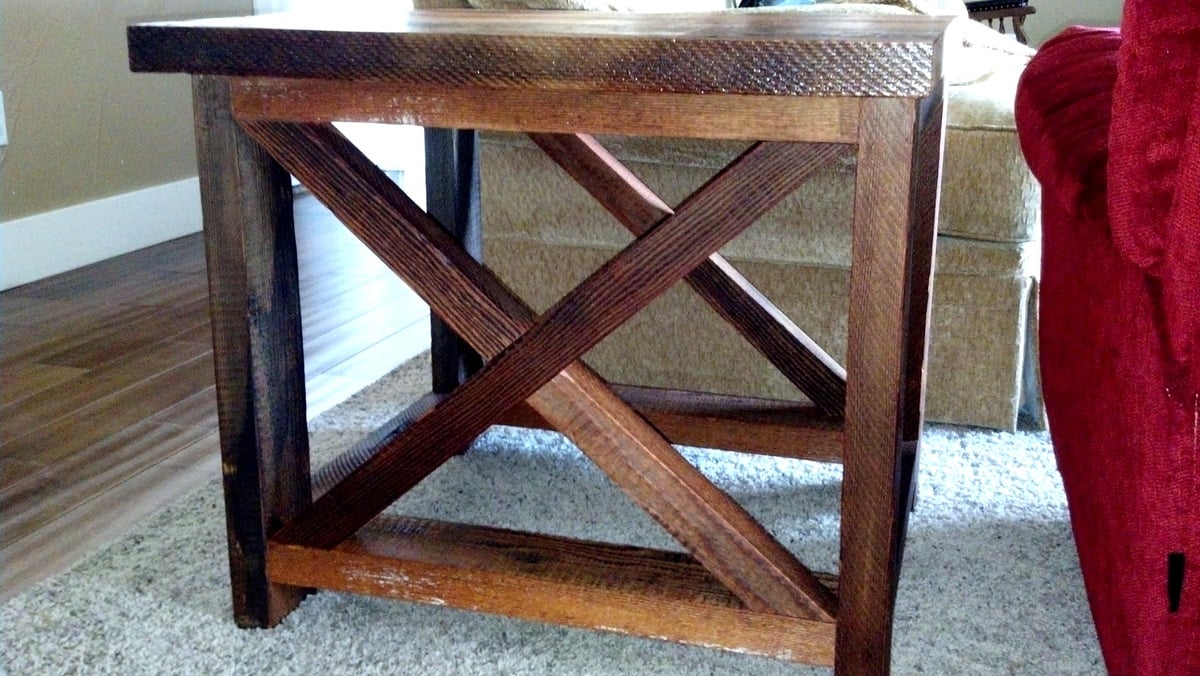
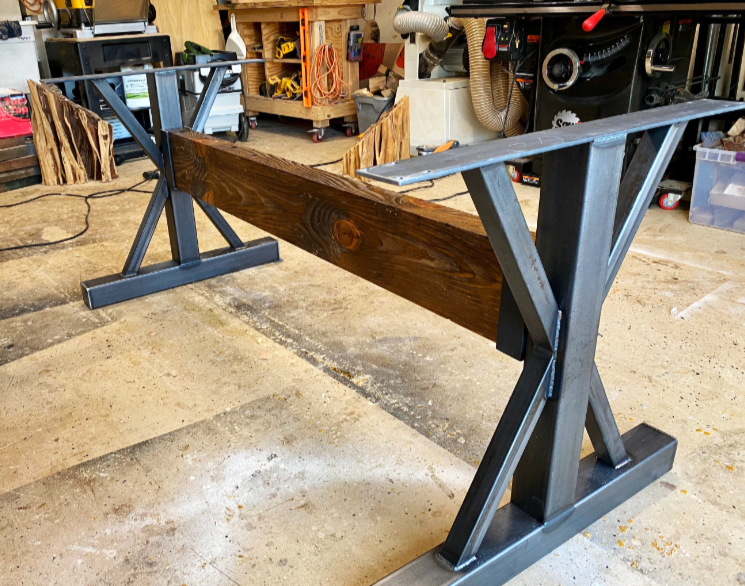
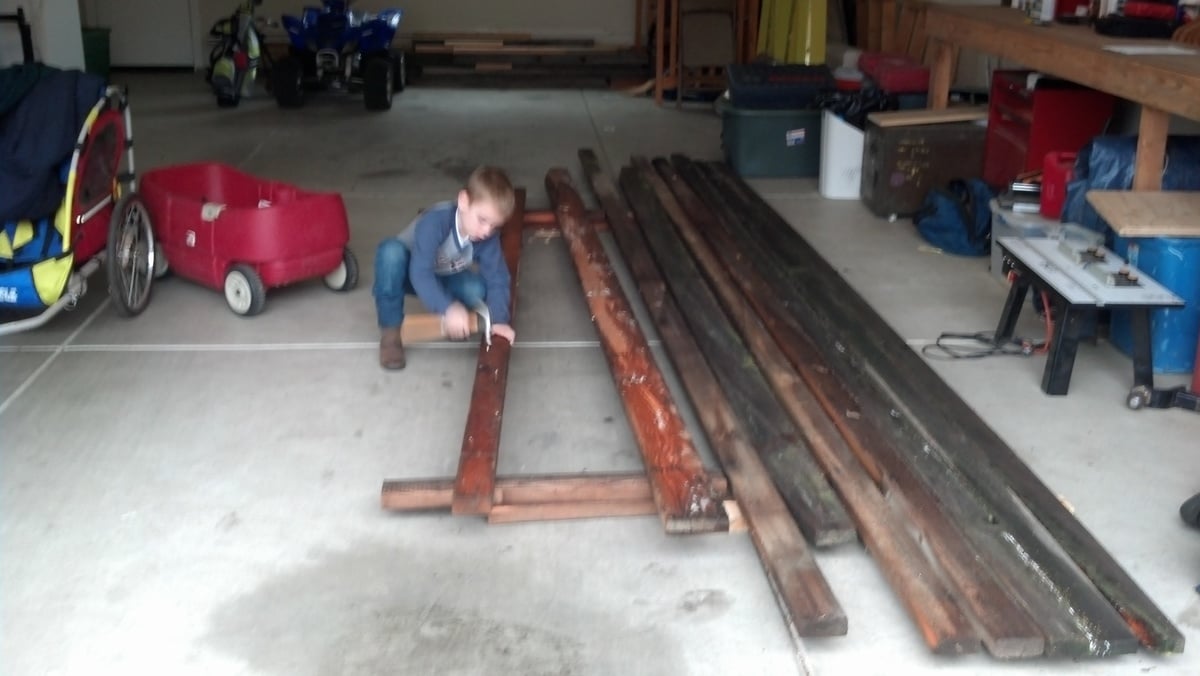
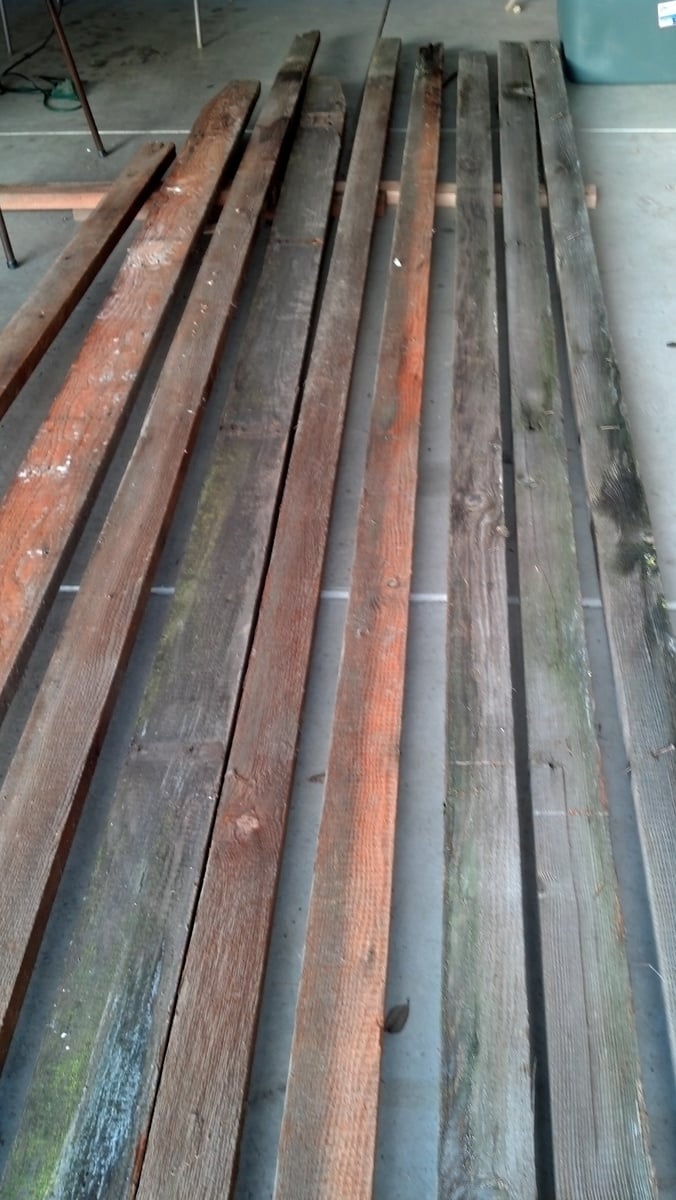
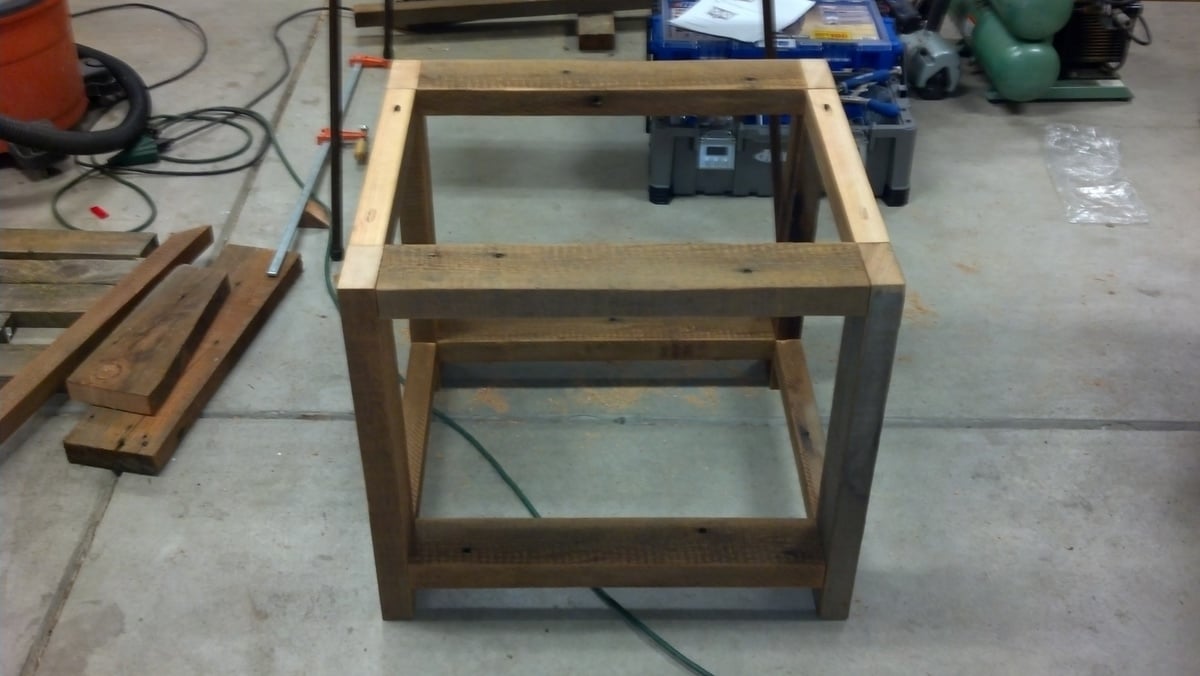
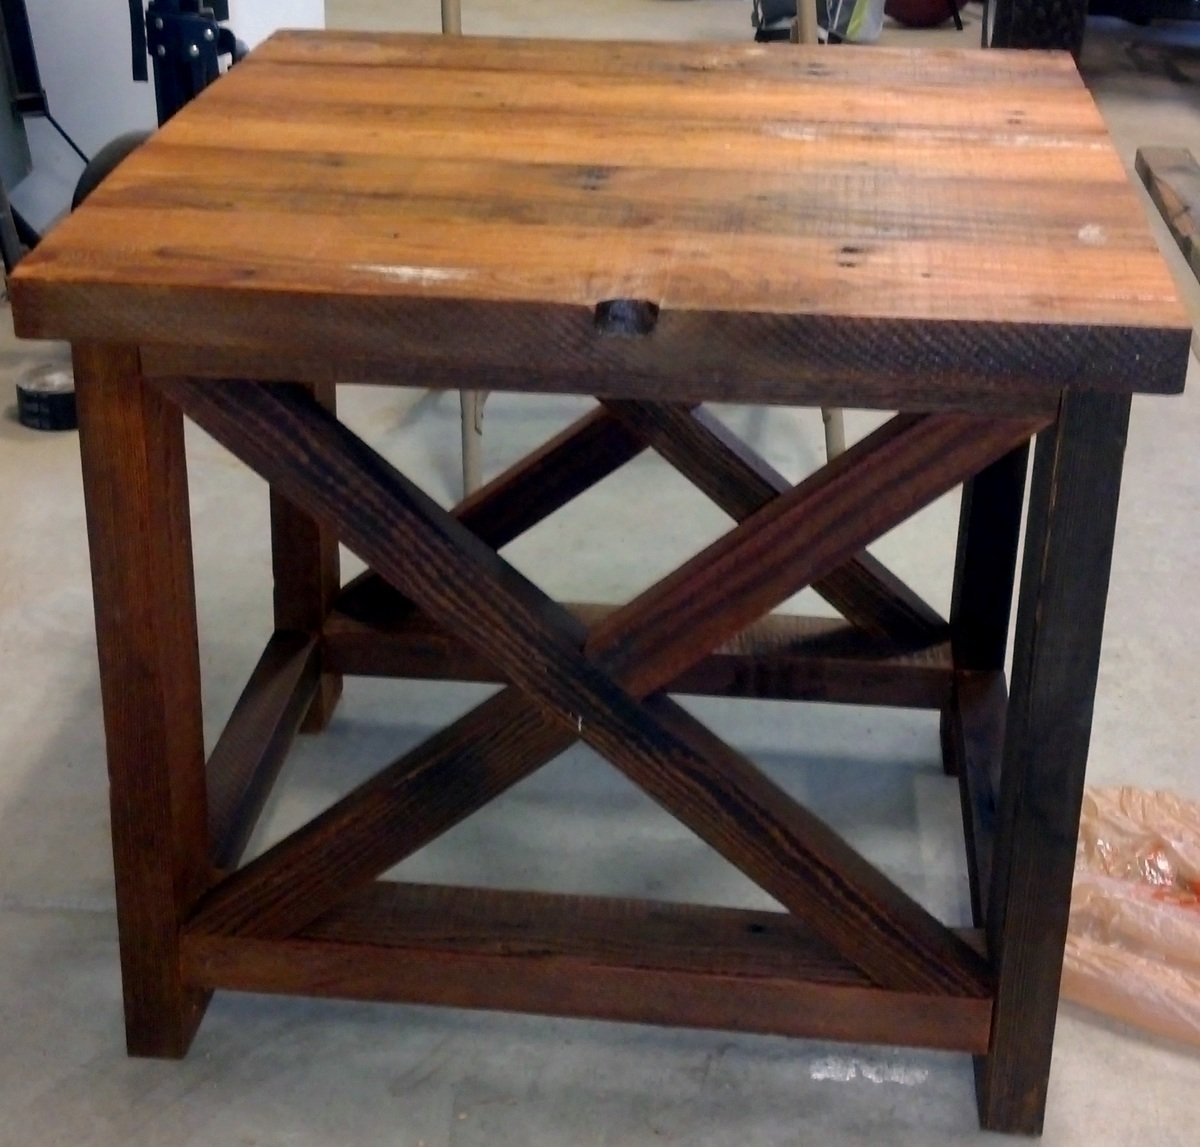
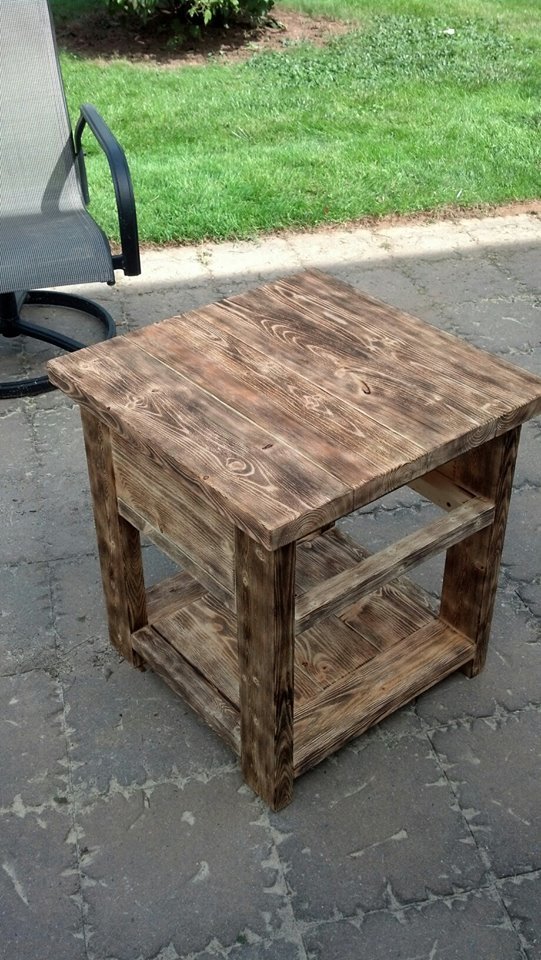
Thank you for the idea for the rustic x end table. My wife is extremely happy with her new end table. Happy wife = happy life!!! I constructed the end table of 2x4 douglas fir rough sawn material I salvaged from a project where we removed a trellis from the house. My son helped me remove all of the nails and we let the wood dry out from the rain. I cut the 2x4 to the lengths described in the directions (I had to modify the x braces in length), sanded the wood and applied natural finish stain. We also added 3 coats of polyurethane to the table top to give it a nice finish and hopefully help with wear and tear over the years.

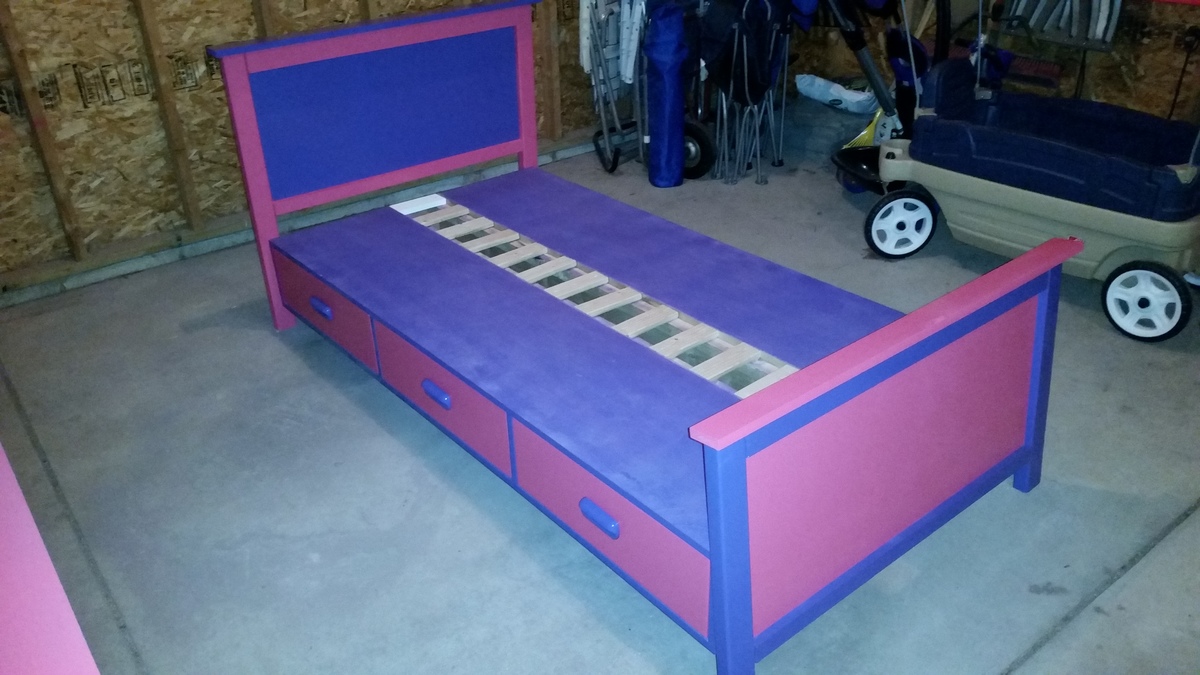
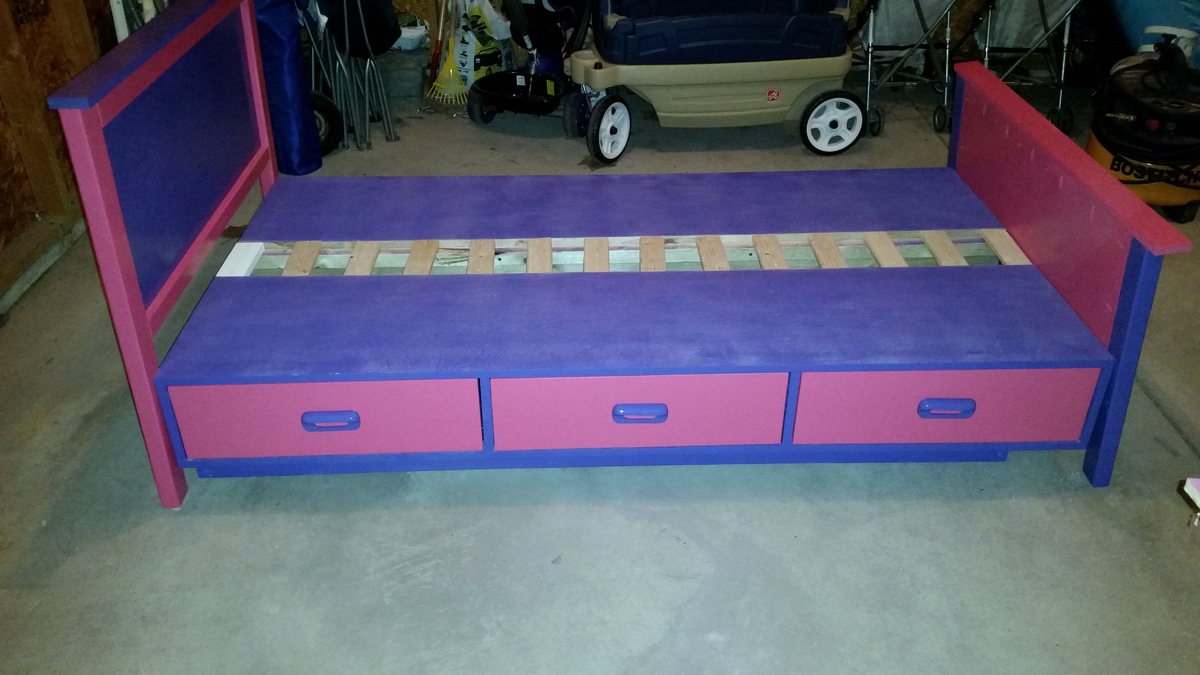
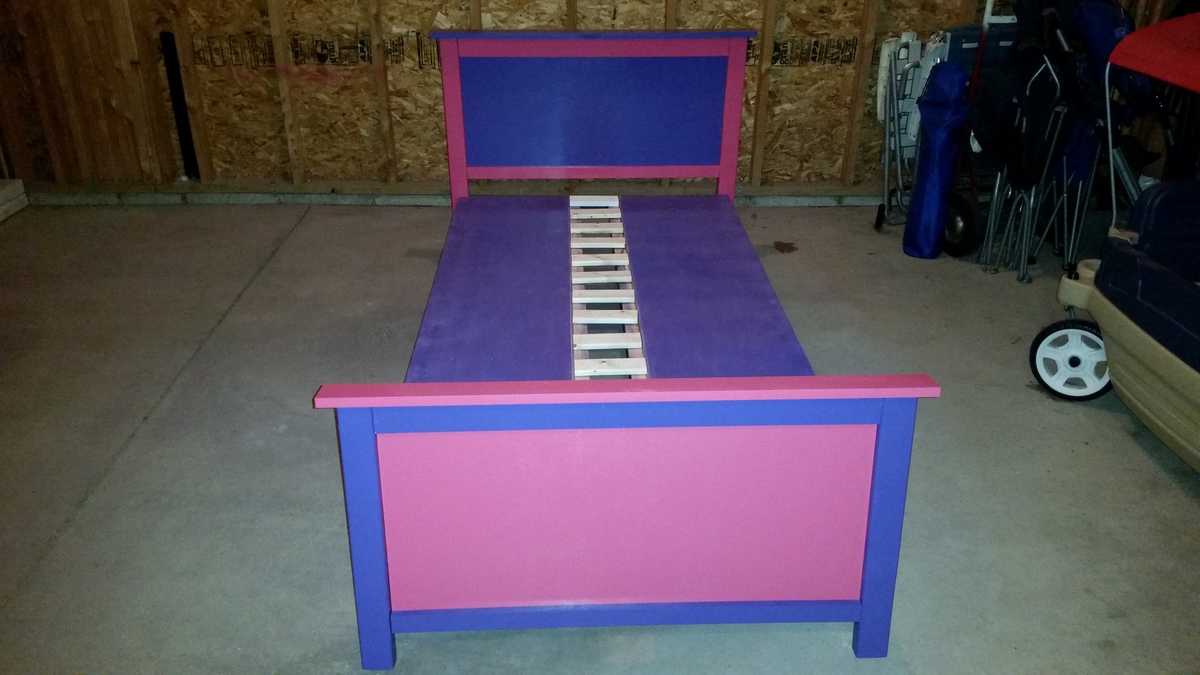
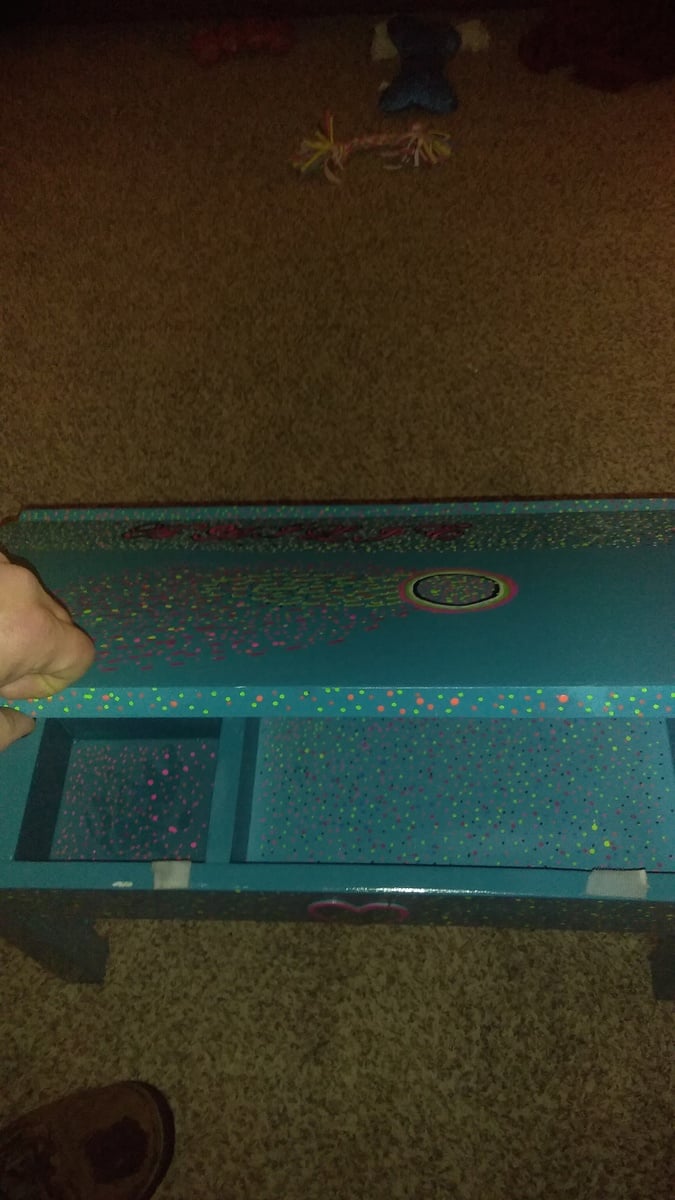
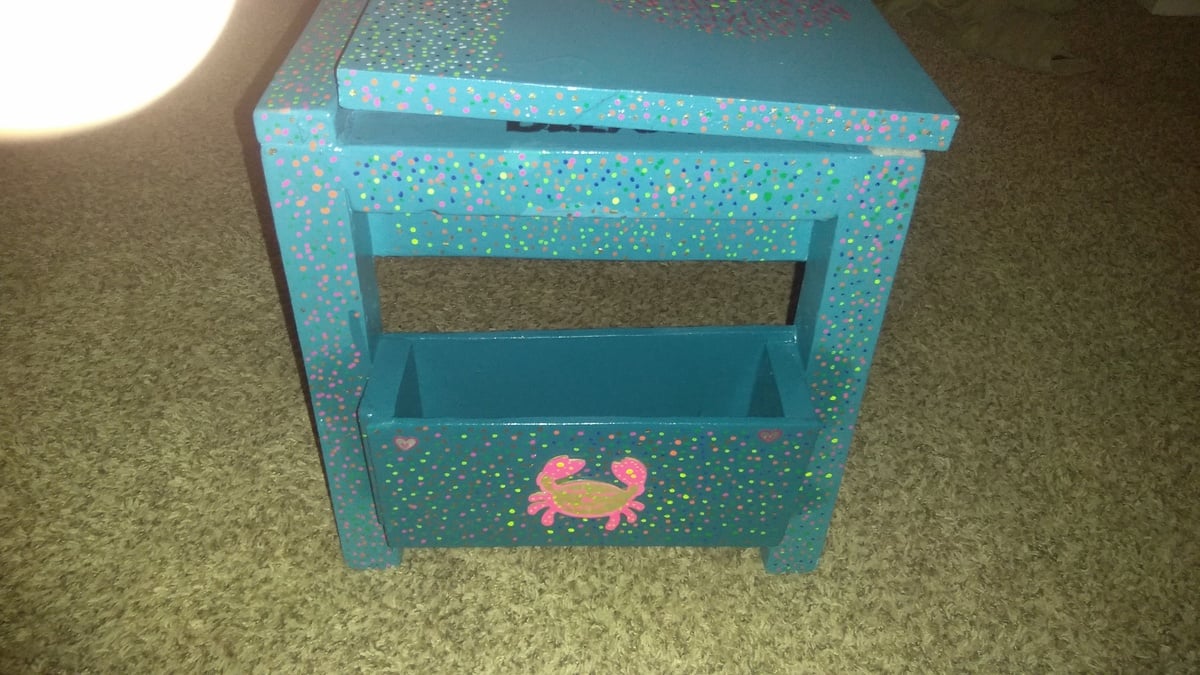
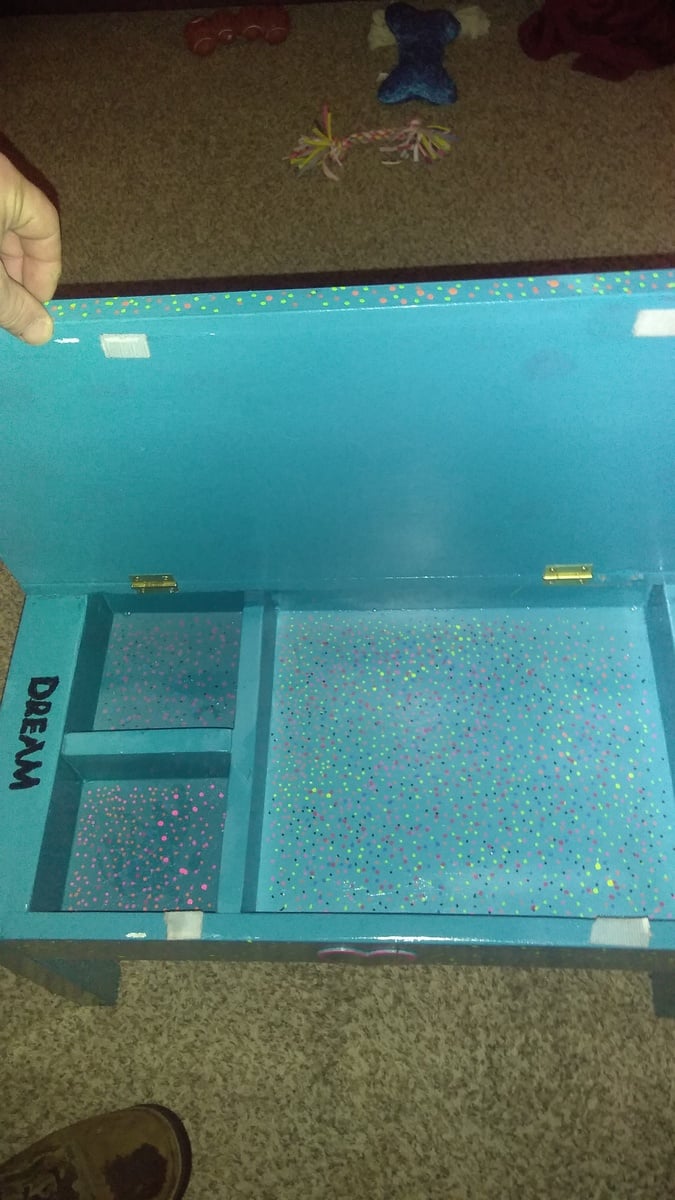
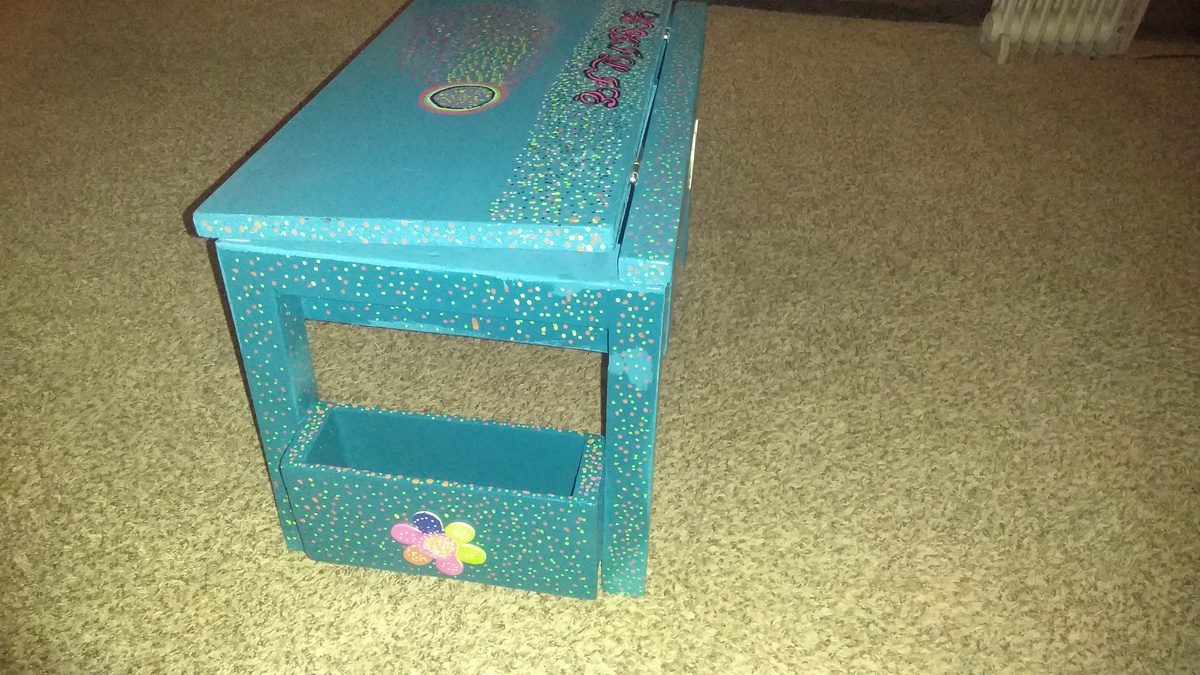
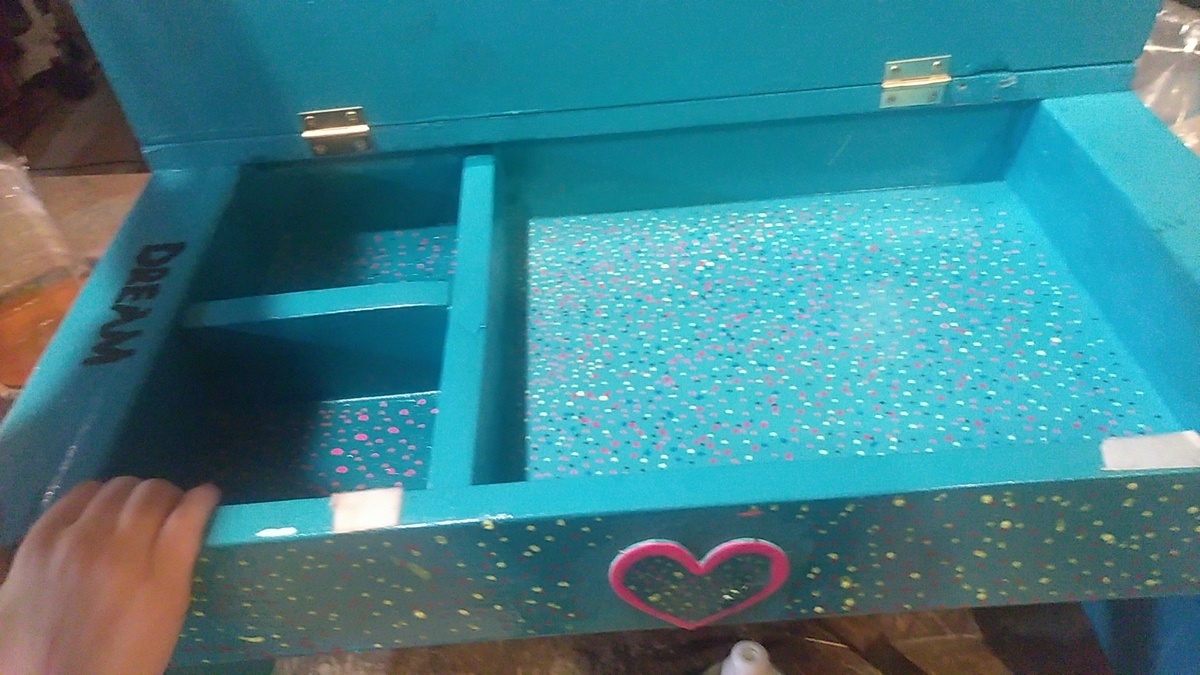
I modified the plans (took out the top set of drawers) to make it a little shorter so my daughter can climb on it easier.

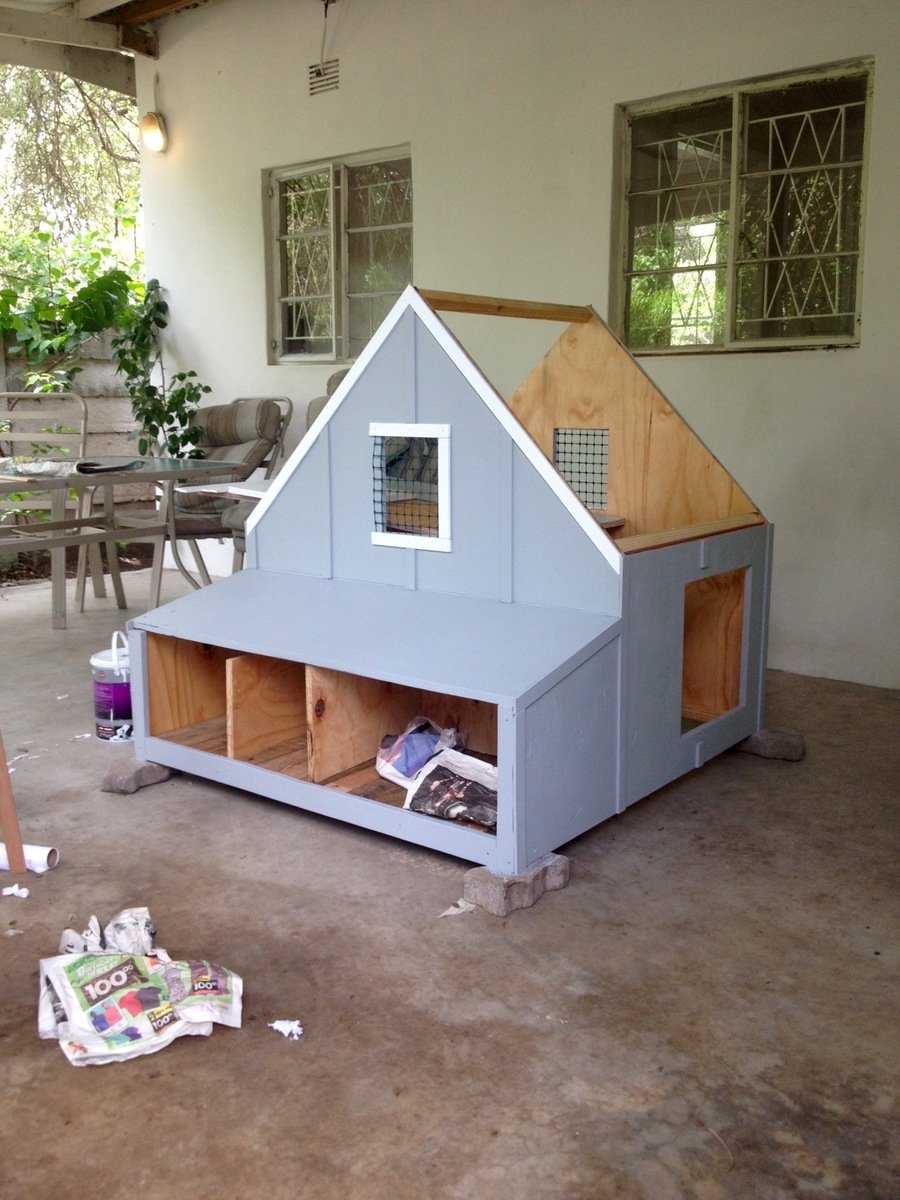
We live in a termite infested area and as such were nervous about putting wood in contact with the ground. We modified these plans to sit on top of a welded bar frame that is moveable and stands a meter high. The measurements are custom to our welded frame but the shape was based on these plans as was the construction process followed. We dont have a worry about predators so have used a design that doen not have a closed floor - our girls can simply fly or walk up the ladder to the roost and are able to leave the coop when ready in the morning without us opening doors. We are also in a warm environment thus an enclosed coop is not needed.
So far they are happy and are happily laying in the two egg boxes (We left the remaining space closed internally so that we can use it for storage) and as there is no bottom to the coop they poop straight into the run and onto the sand floor.
They are not free ranging yet as we are nervous of our dogs chasing them but once we are happy to let them free range we will use the gate built into the welded run.
Thank you Ana and lady goats for this design - I spent hours (and hours) researching and reading and looking at coop designs before deciding that this cute number was the one we wanted.
From me and my happy hens, thanks again!
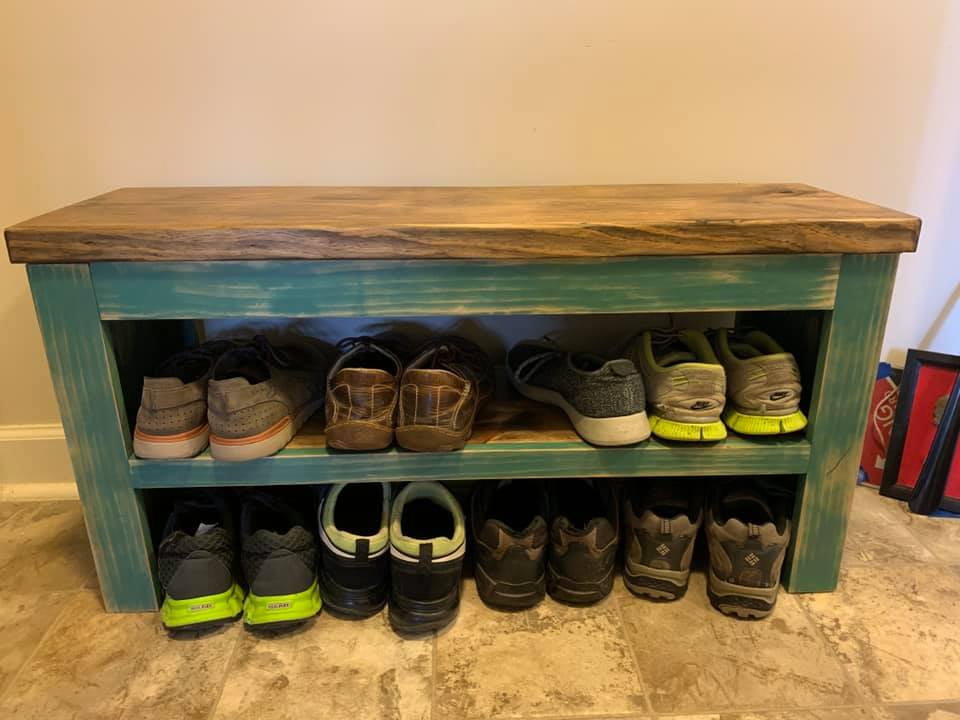
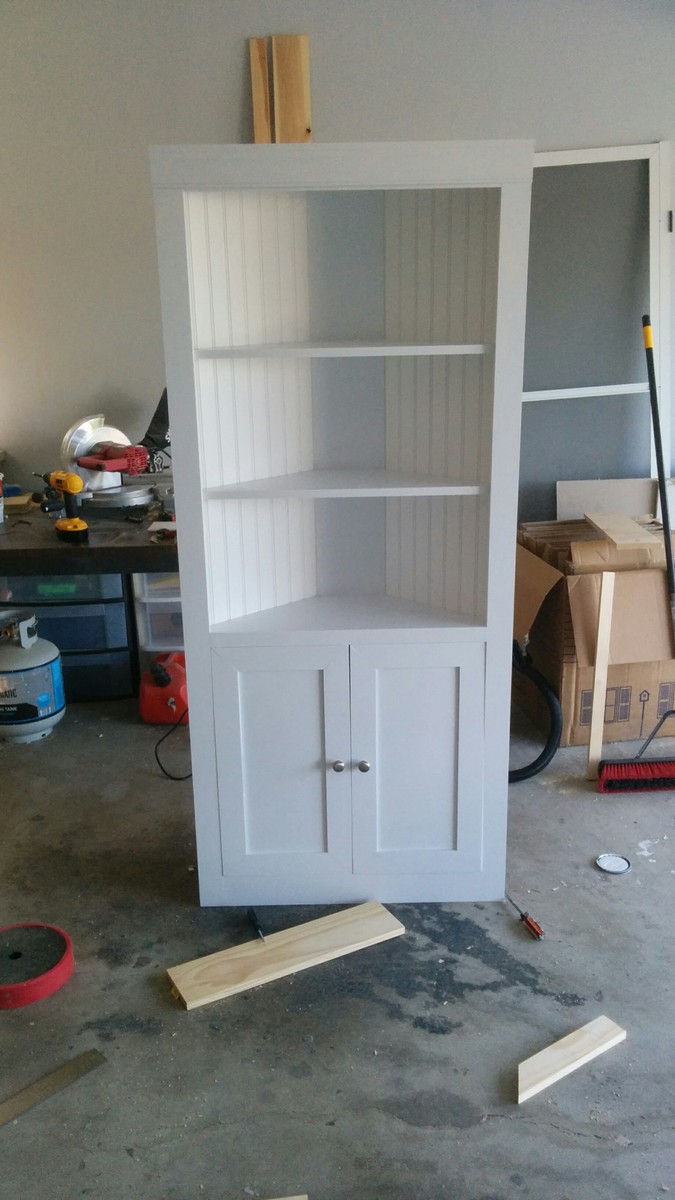
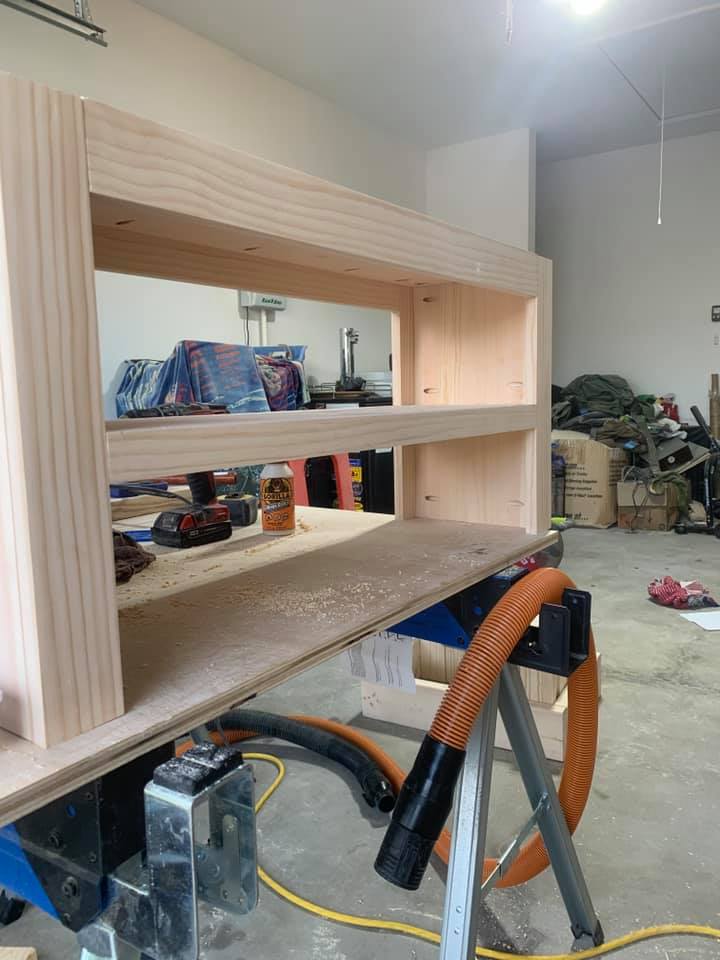
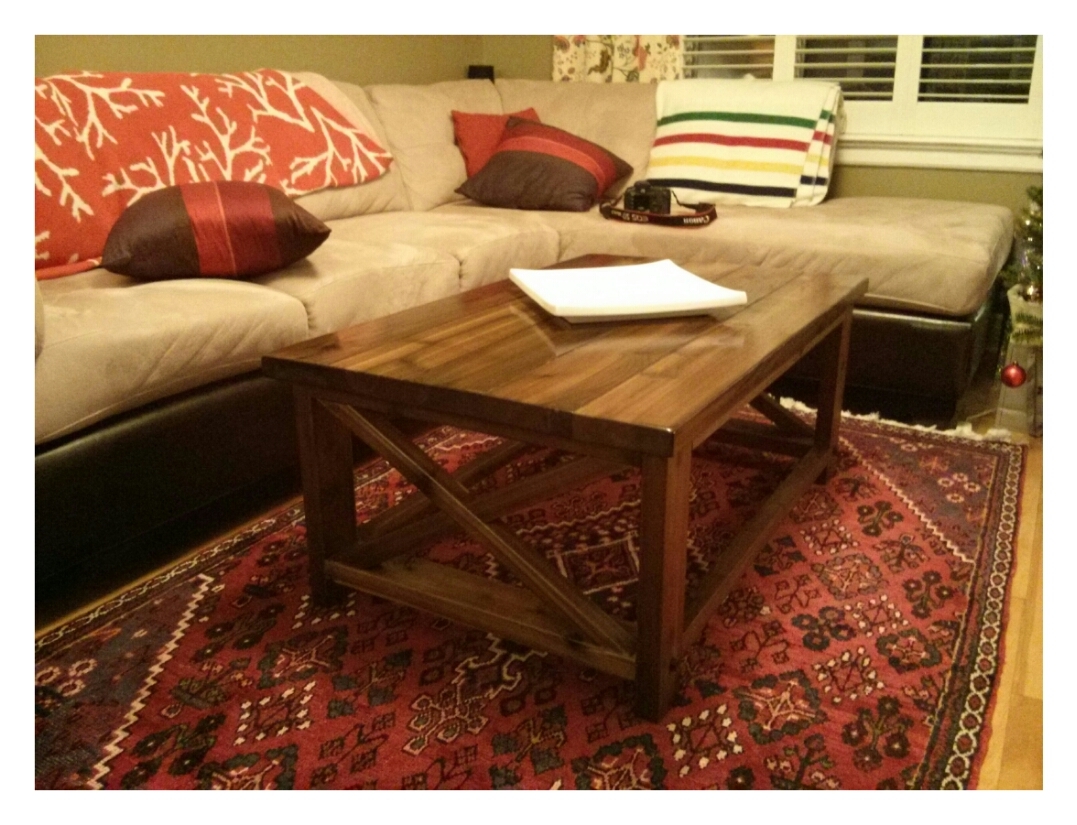
Easy project no crazy cuts or tools needed. I did change a few things on the build. I changed the top from a 1x12 to a 2x12 to match the rest of my builds. And honestly it just looks and feels better! The trim is 1×3’s but I changed the middle shelf trim to a 1×2. Add the shelf 7.5 inches up from the bottom.

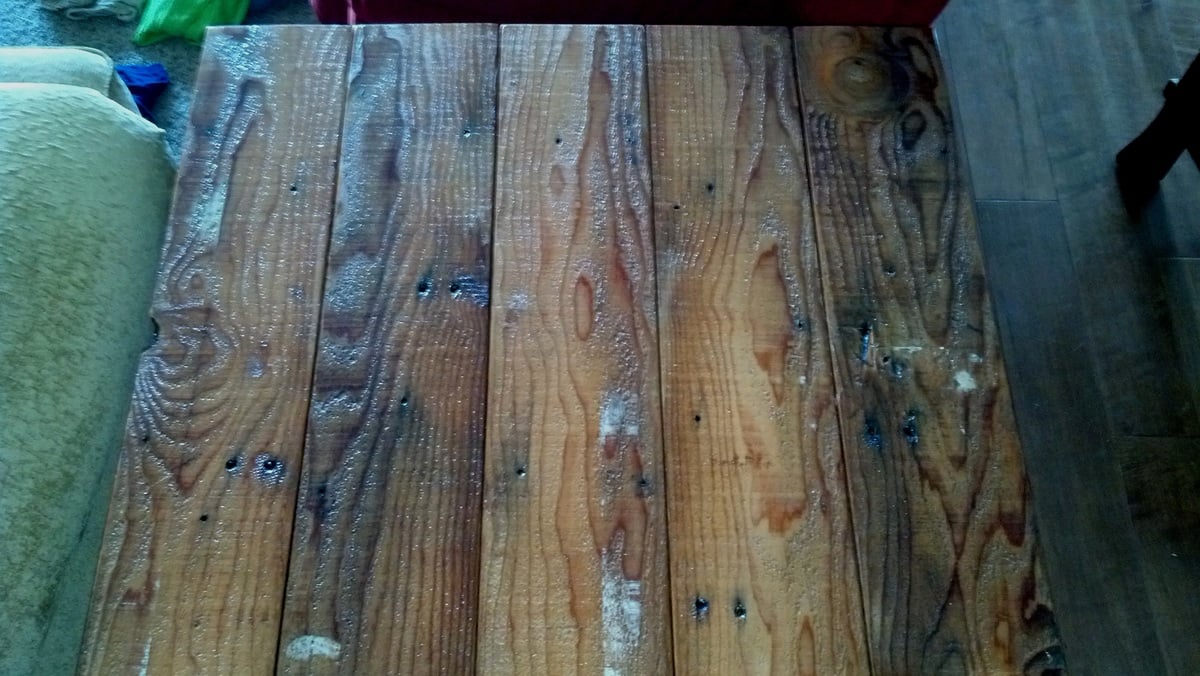
Rustic X Coffee Table. Stain is wet in the photo, so a bit glossier than I'm anticipating. Kept diagonal "X" cross-beams whole and staggered to create more depth in the look of the structure. One coat Minwax "Ipswitch Pine." Changed mind and went with 2-3 more of Minwax "Driftwood." Would have been more grey, less red had I gone with "Driftwood" from the start.
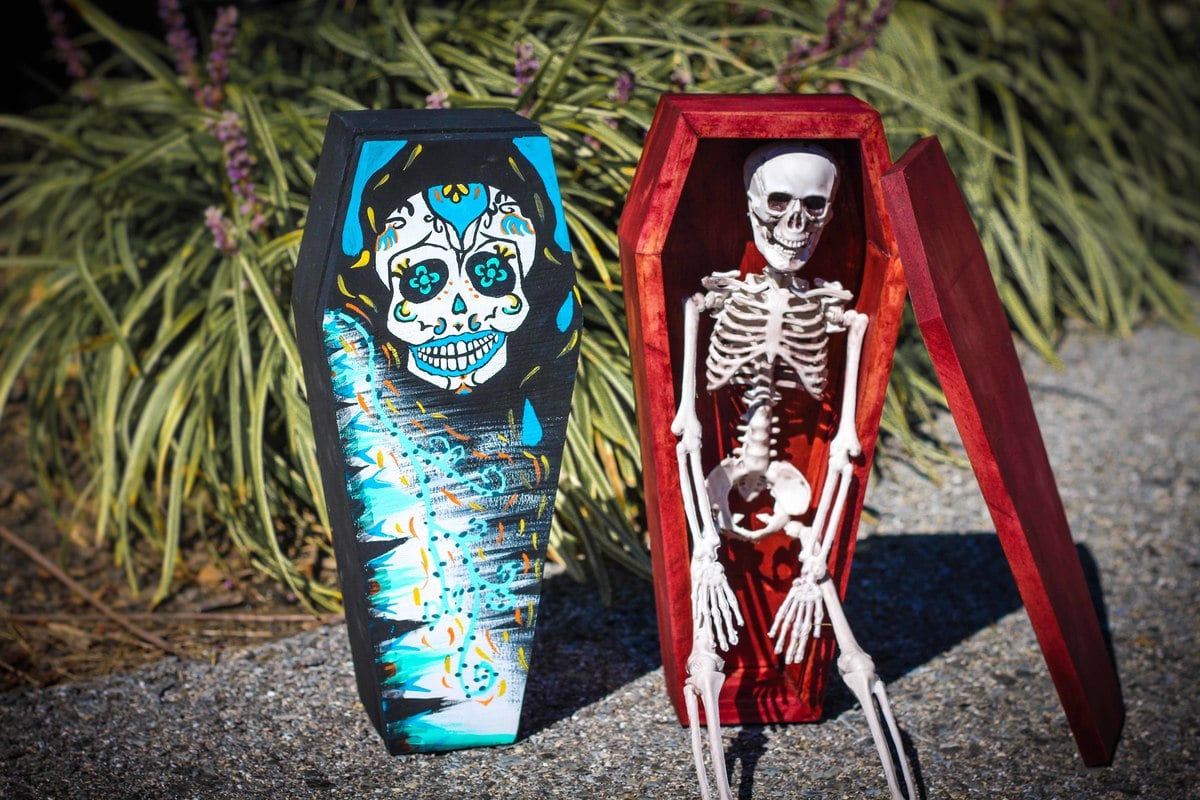
I scaled this 1 foot long coffin from a full size version I saw online. I built two versions – see drawing links. The first one (documented below) is from purchased craft wood which was clean and straight. The second version was built from scrap pallets. I’ve also included a quick video of the build along with PDF versions of the plans.
Build Instructions:
http://www.instructables.com/id/Mini-Coffin/
Video:
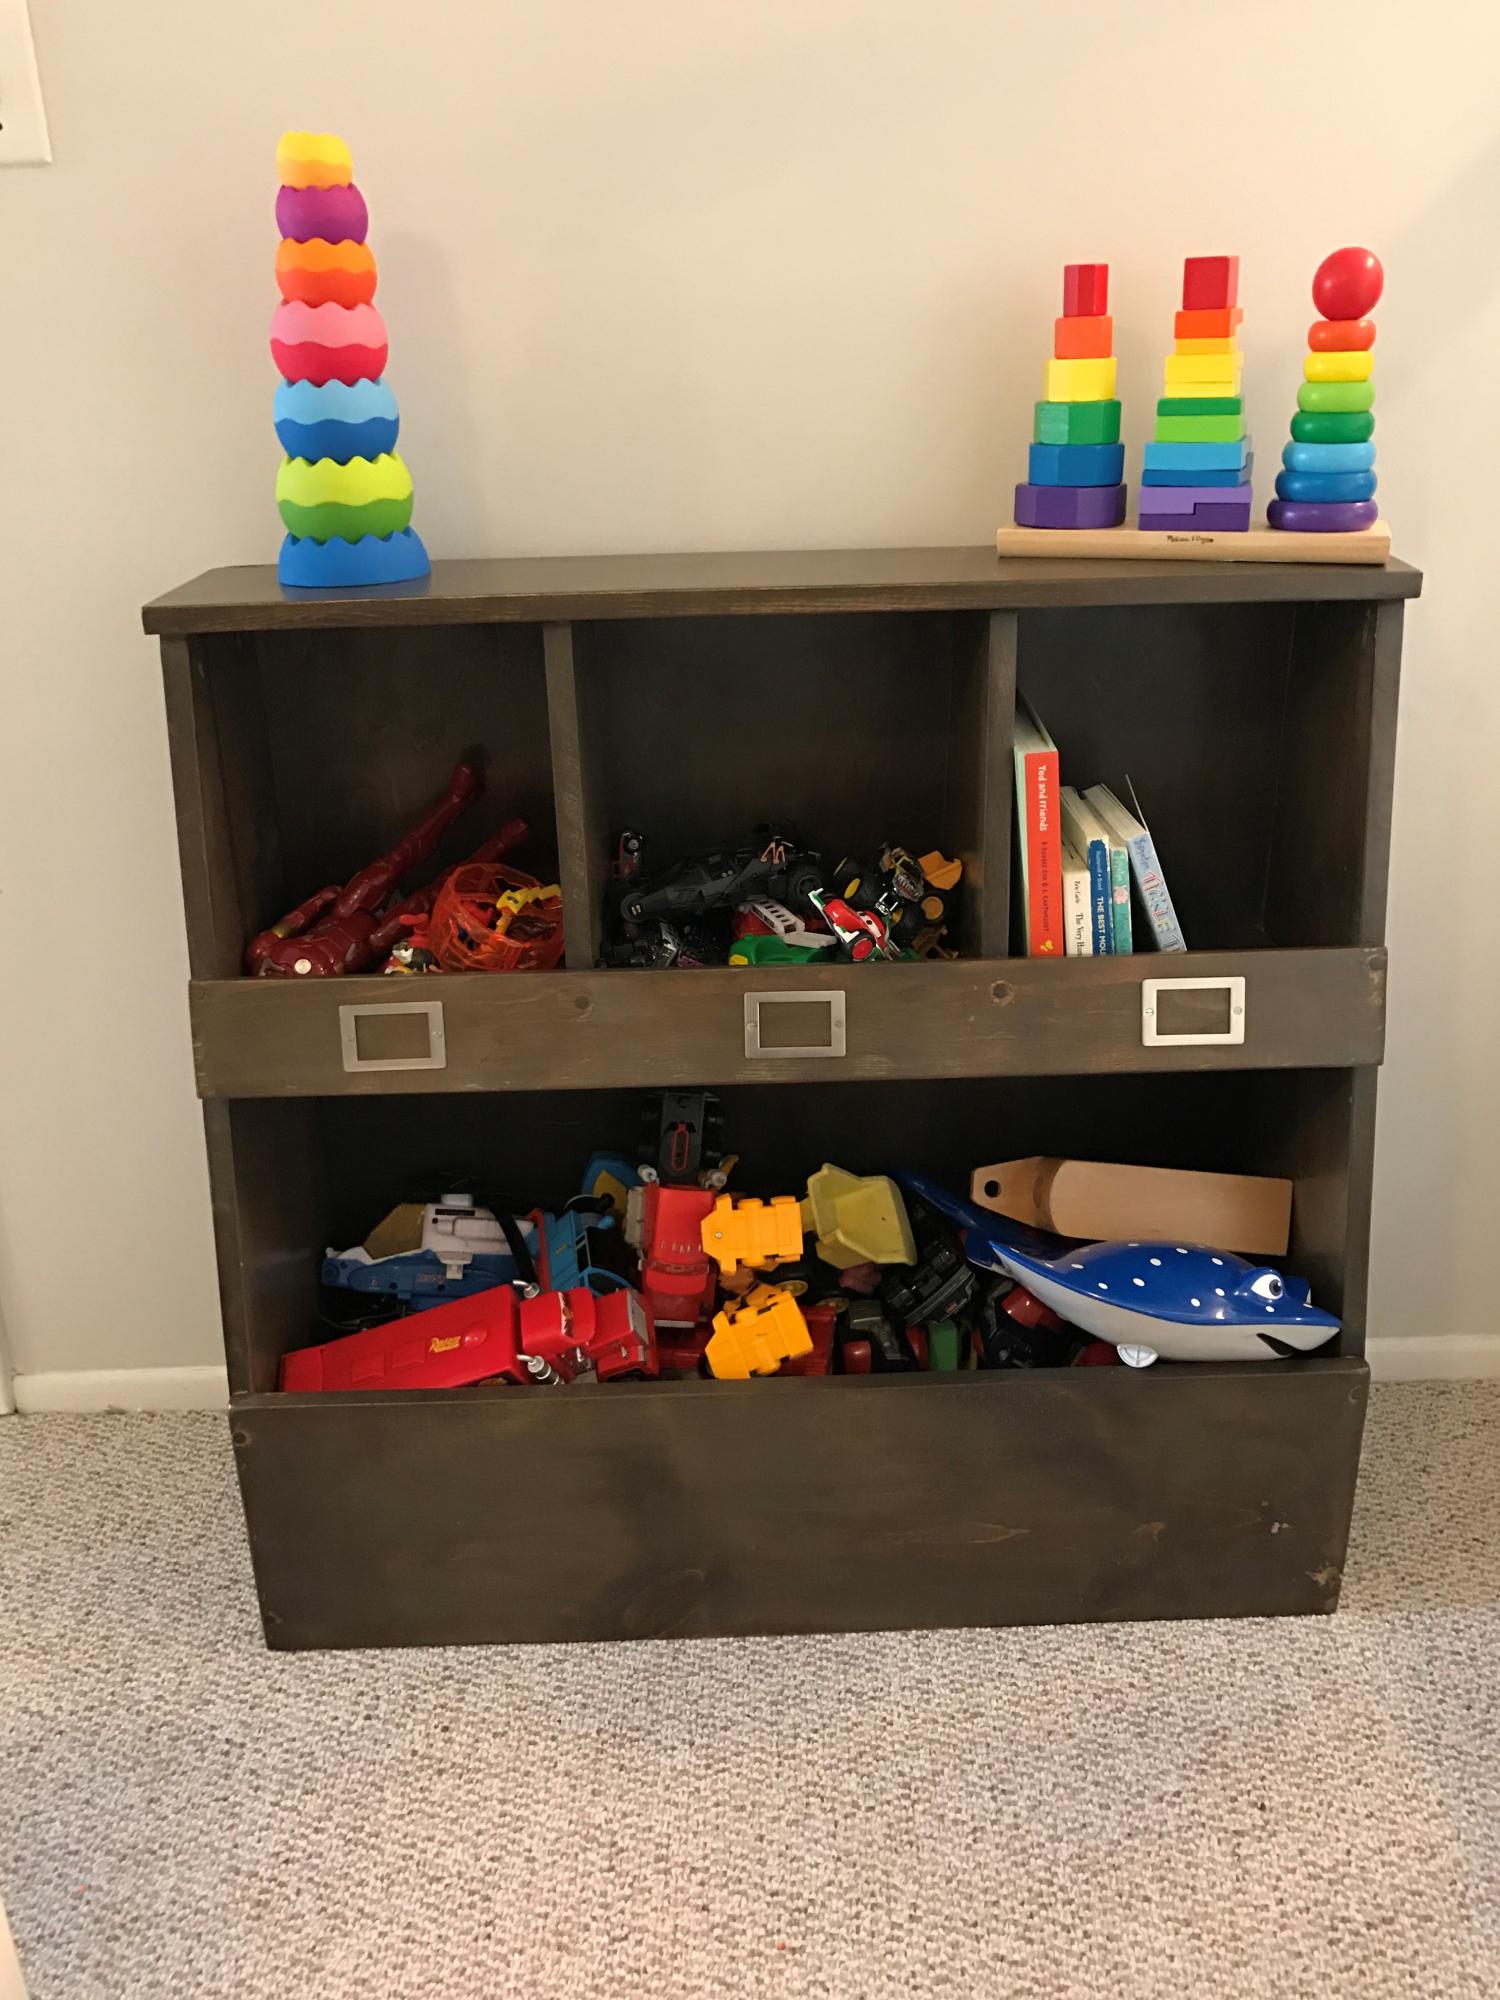
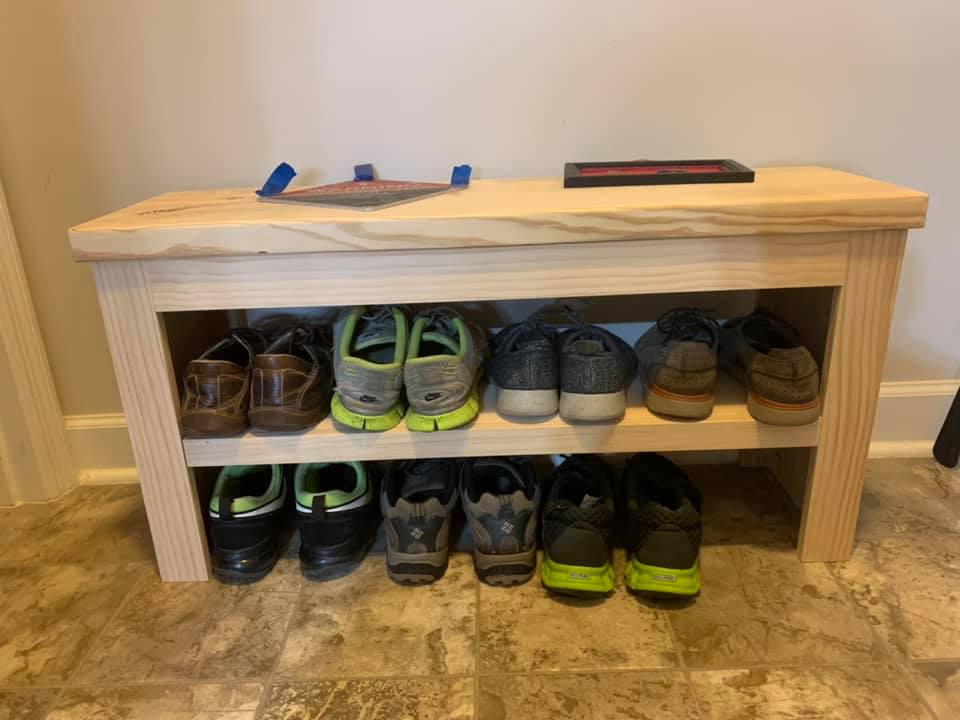
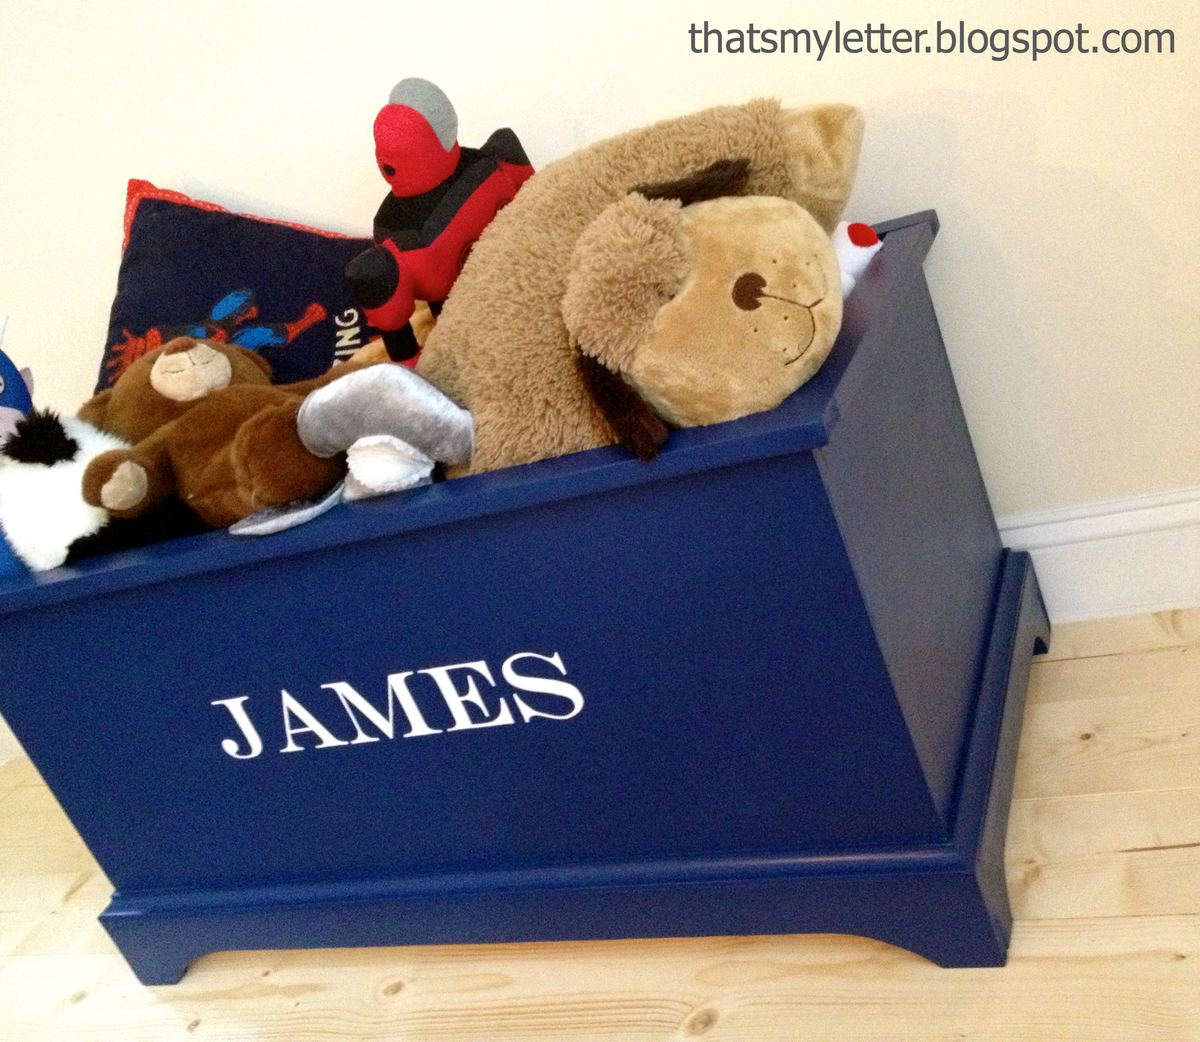
We LOVE how functional this toy bin is!! My husband built it in 3 hours, and then the stain took me 2 days (typical the finishing stain takes the most time! Ha ha) I did a 4 step process after looking at dozens of websites of how to stain- since we used pine board I didn't want the grain to stand out as much. 1: homemade vinegar solution stain 2: rustoleum weathered grain stain 3: minwax special walnut 4: 3 coats of poly
I found the label holders at houseofantiquehardware.com
This was challenging, but that made finishing it, so much greater. Ana's plans are so easy to follow.
Used cedar wood so I applied a few costs of oil based polyurethane to compensate for the softness of the wood.
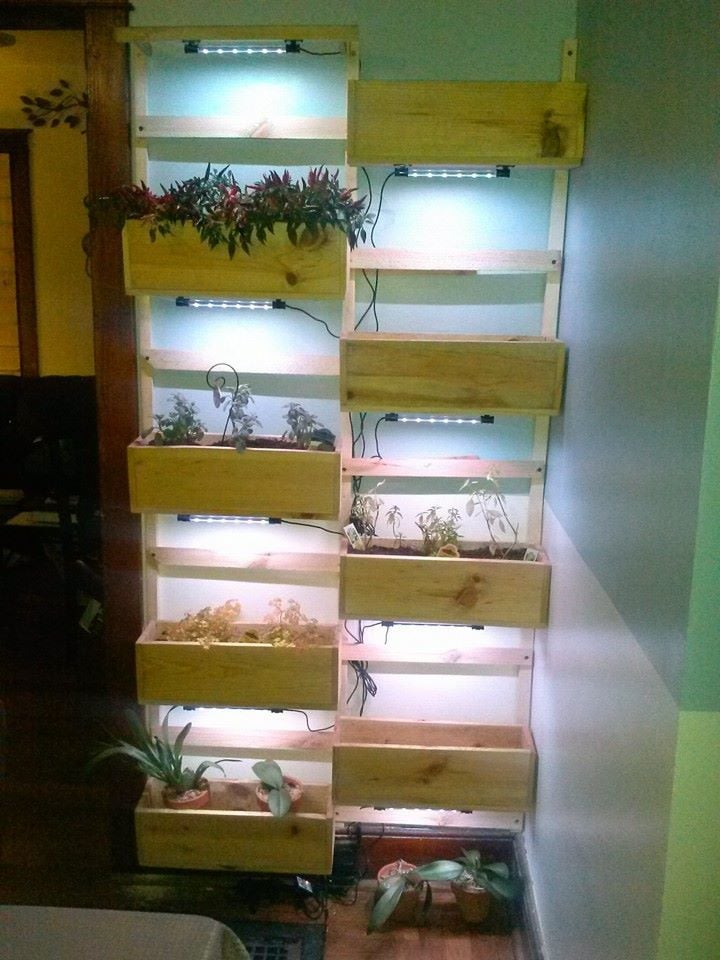
Found the plans for the little 3 tiered planter really interesting. I built a few of the boxes when my wife says "You know...." She has wanted a "living wall" for years, so I modified some of the sizes to make the boxes 18 inches long to accommodate my 37" inch wall. I added a french cleat to the back of each box, cut down a couple furring strips that I anchored to the wall and added the other half of the french cleat to the frame. Woot! Together in moments. The individual planters can be easily removed and rearranged. I added LED's to the bottoms of the planters for additional lighting and it's really a cool affect.
Mon, 04/20/2020 - 15:30
This is so cool! I love that you put lights on it. I will have to ask my brother if he could make me one, he's the one with the talent and the tools!
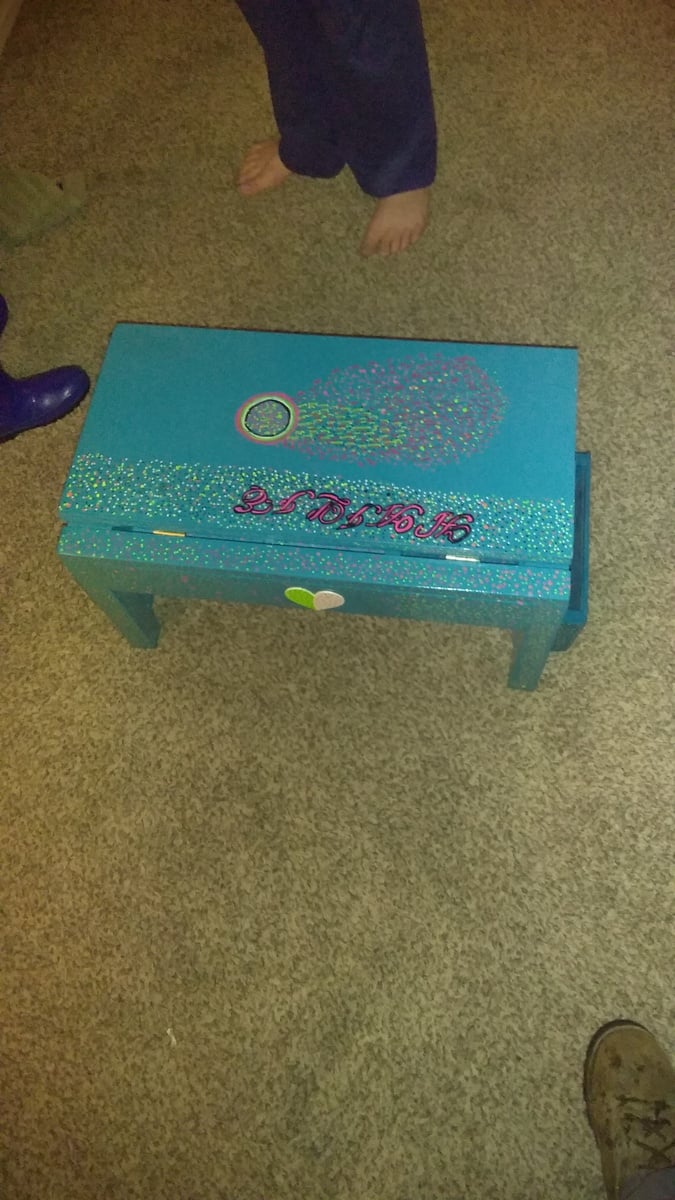
It came out really good my daughter loves pokadots so I filled the thing with hundreds and hundreds of pokadots. This was a lot of fun and very rewarding.

We built a bunkie-style shabin for our off-grid vacation home. We wanted to keep it under 100 sq ft so we wouldn't have to worry about planning permission. This tiny shabin is 8ft x 12 ft with an 8ft x 7ft loft. It's perfect for our family of 4!
The whole thing (roof and all) cost around $6000 to build and we finished it in about 2 weeks. Phew! It was the perfect project for the summer.

In reply to Tiny House by michellewg76
Thu, 11/05/2020 - 11:40
Thanks! I'm pretty darn proud of it. :-)
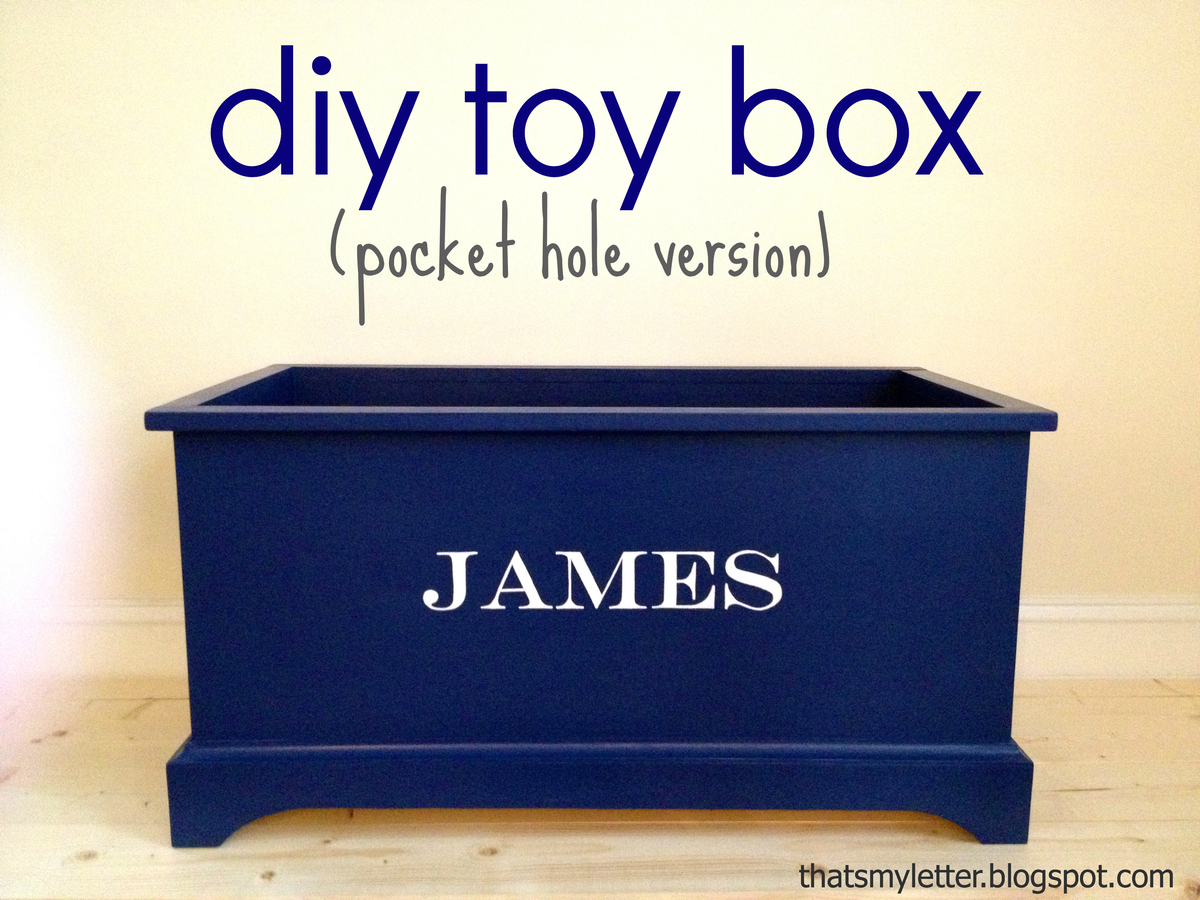
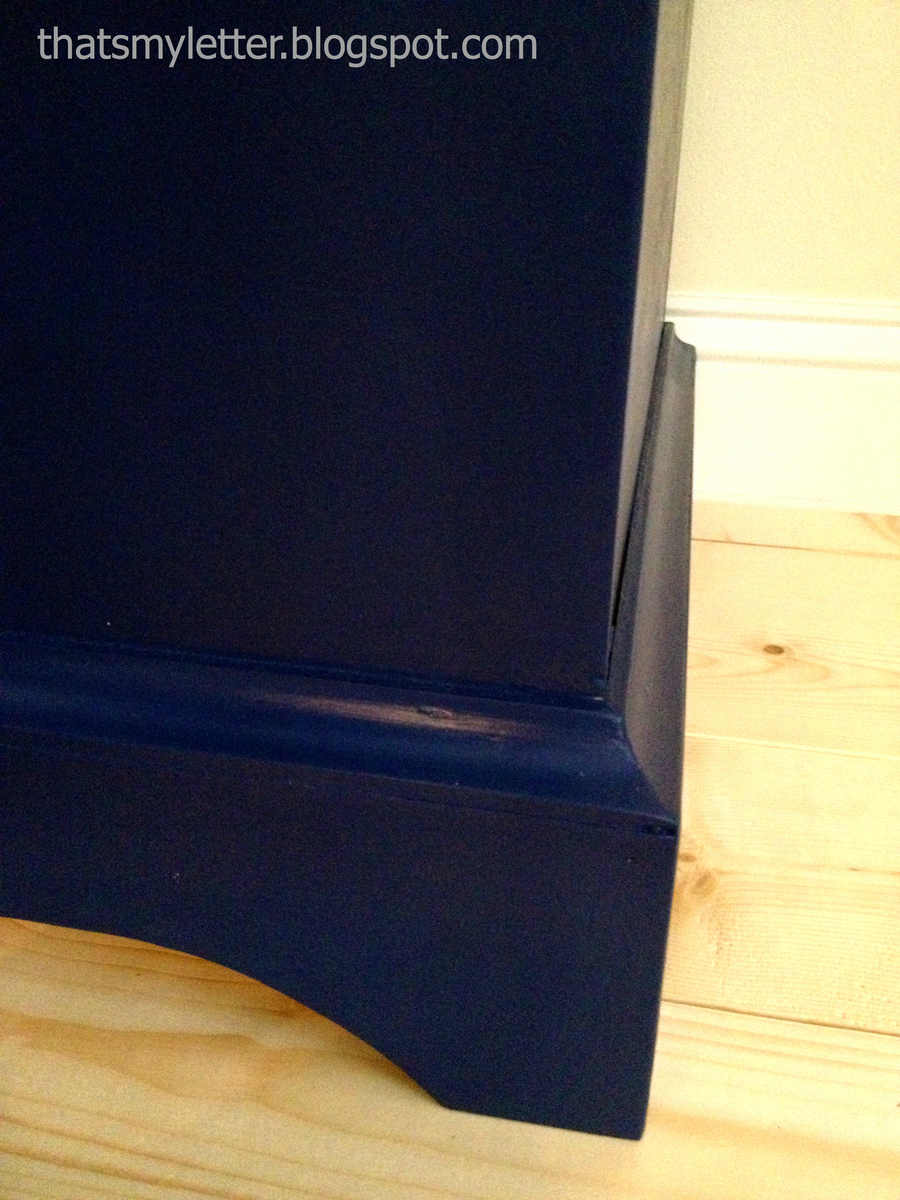
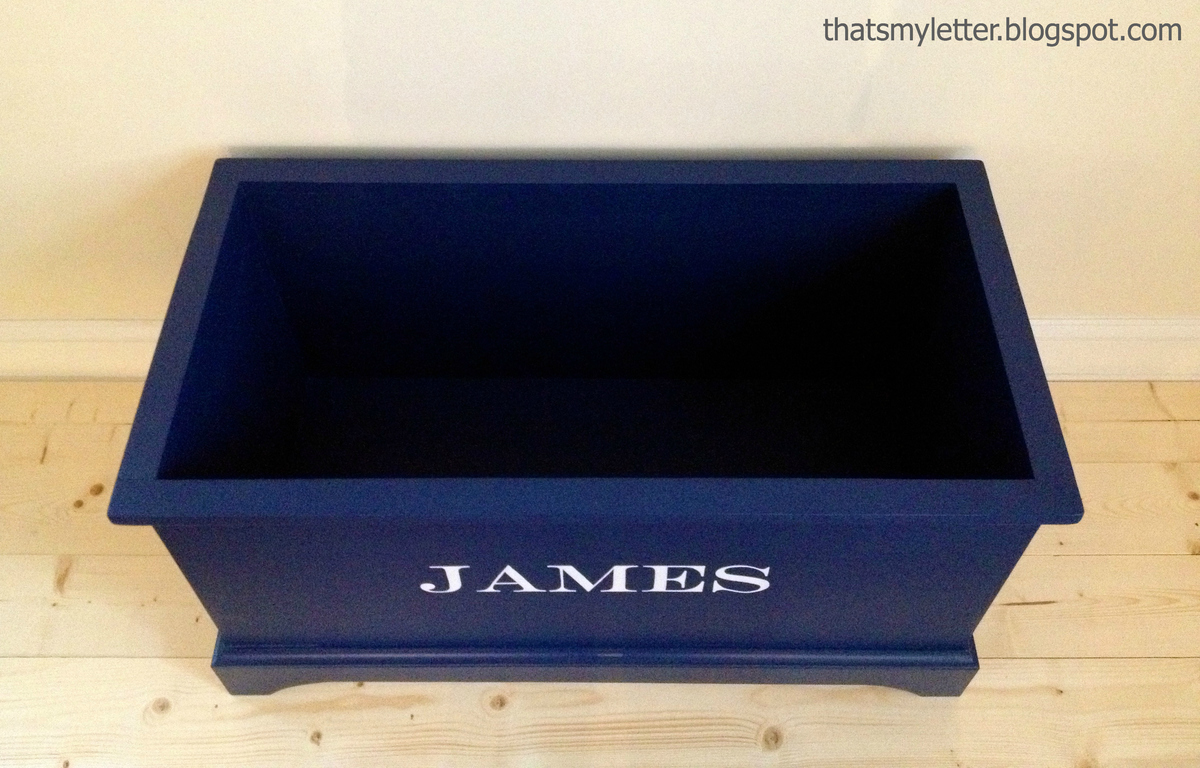
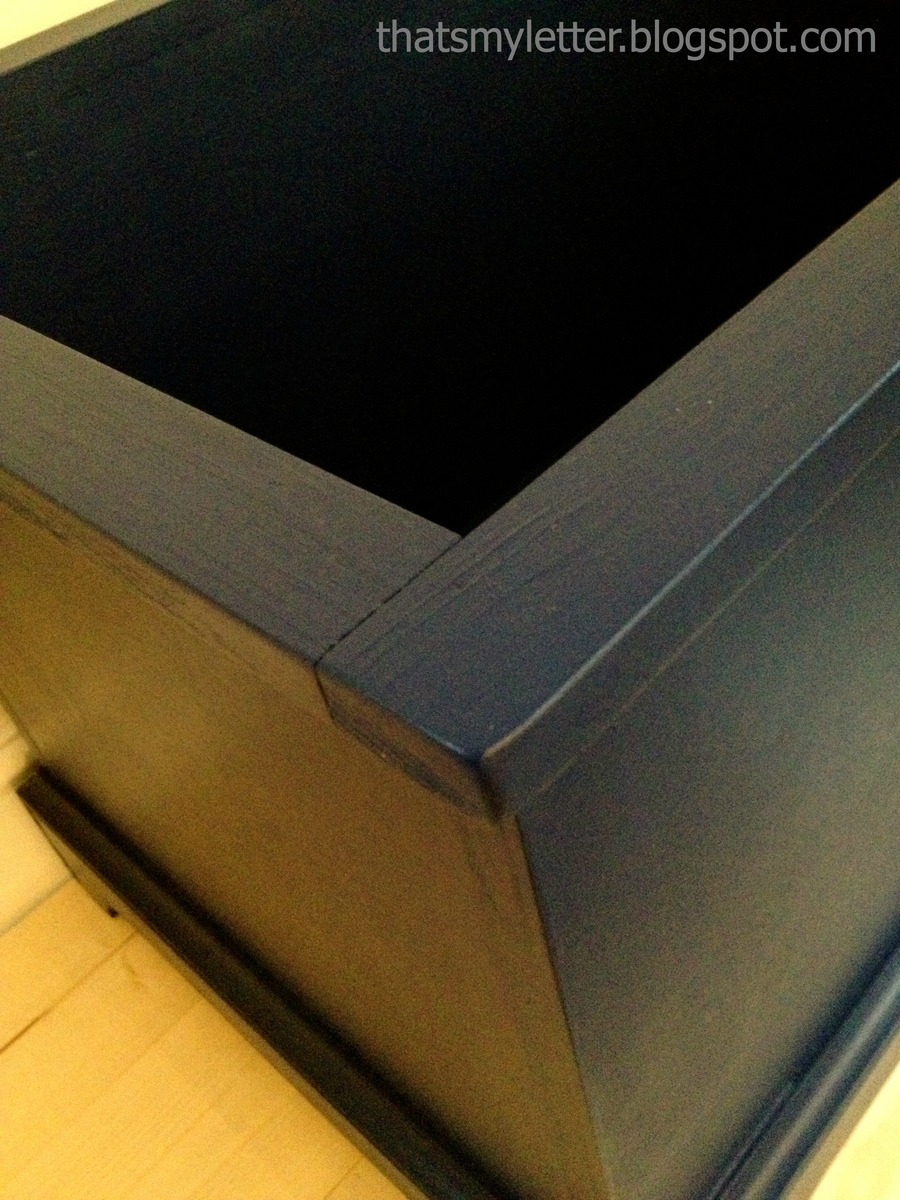
Build the open toy box using pocket holes for a smooth, secure and easy build.

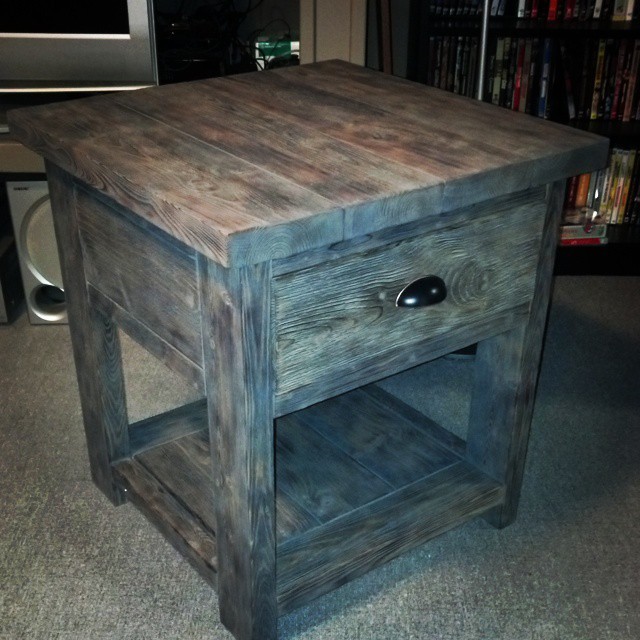
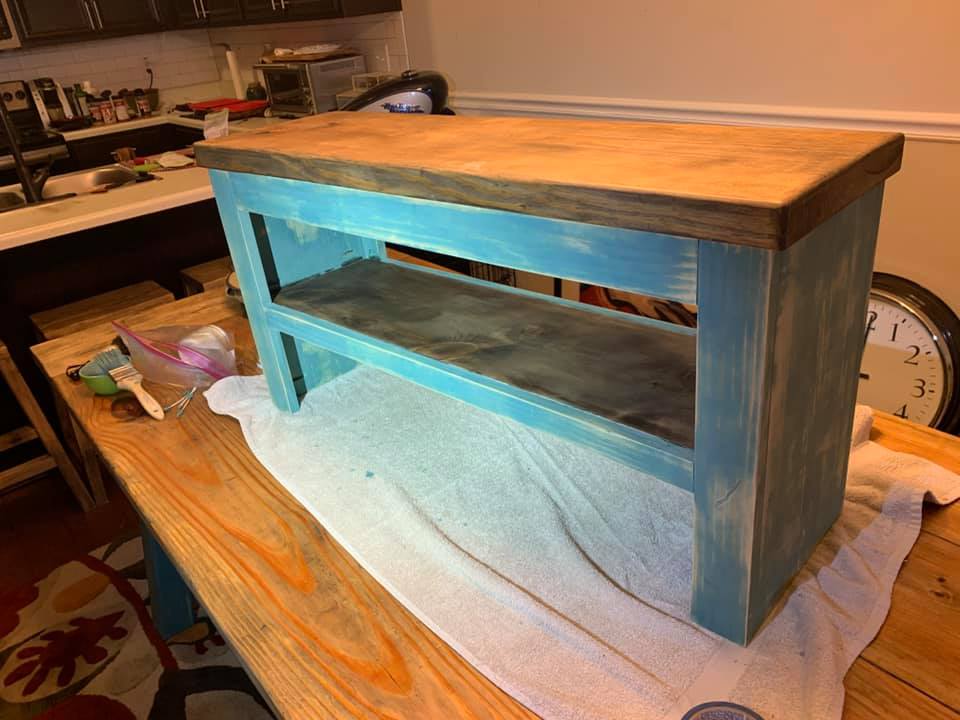
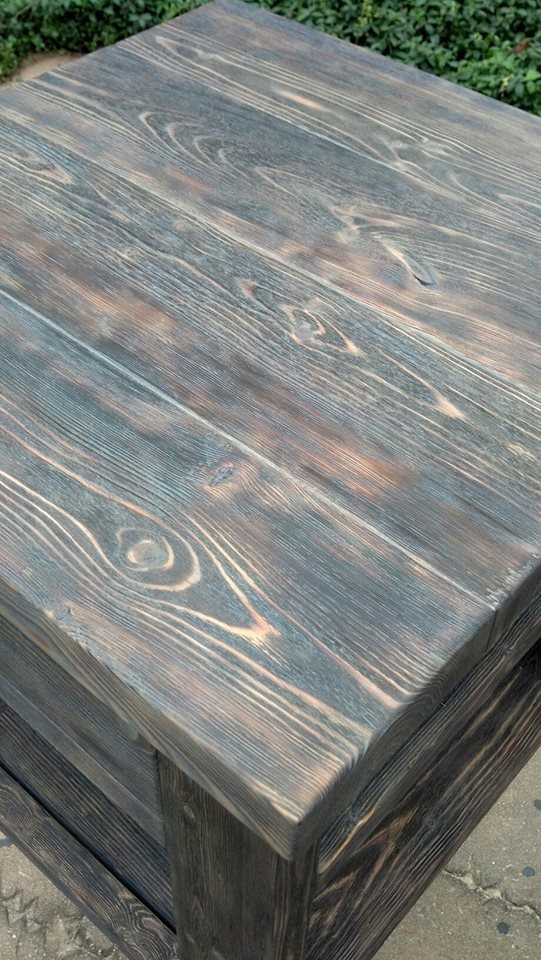
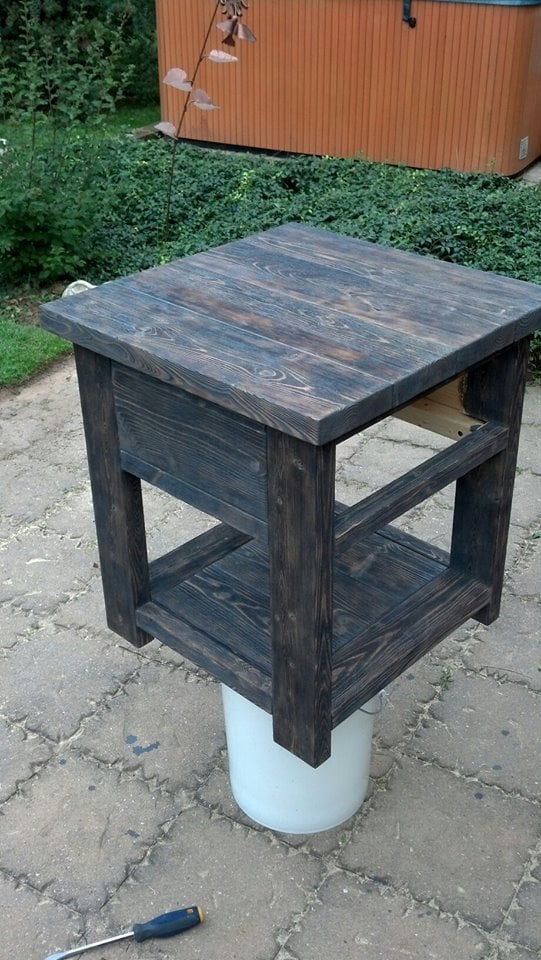
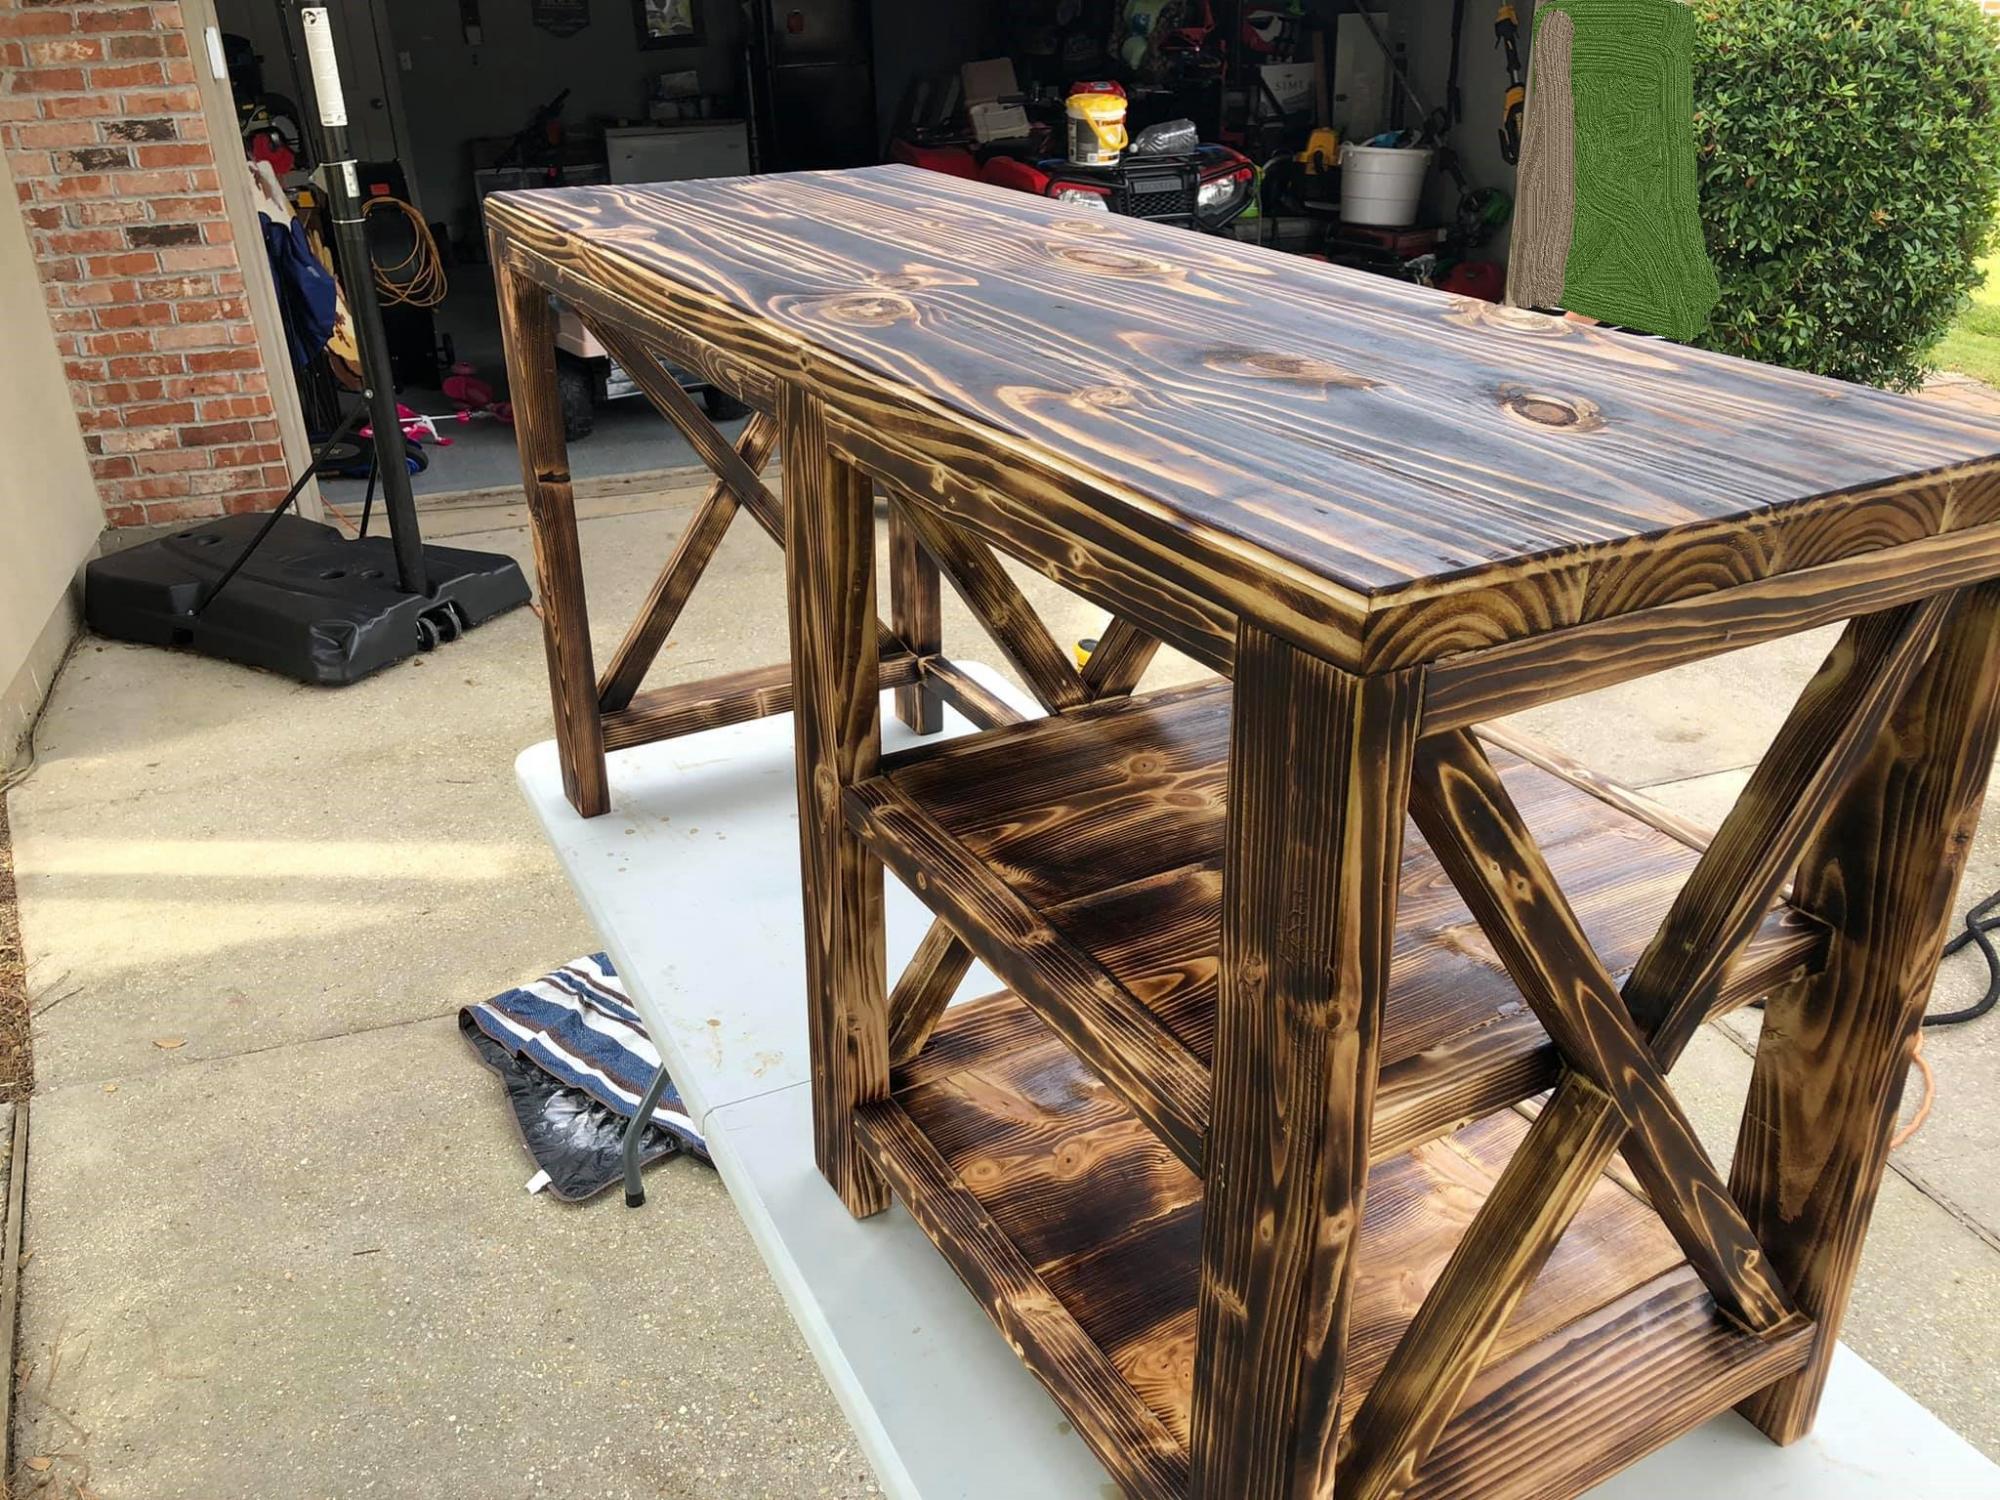
Used the plans for the Rustic X End Table on this site, modified them a bit to fit the space I wanted to fill. Also changed the design a bit to incorporate a drawer. I wire brushed each piece with a wire wheel brush drill bit to give it texture and make the grain come to life, then after assembly I went over the whole thing with a blow torch to add some nice colour and make the grain further stand out. Finally finished it off with minwax classic grey stain. I'm very pleased with how it turned out.
Tue, 12/09/2014 - 14:54
Just built a simple drawer box and attached some supports on the inside of the table for it to slide on, nothing fancy.
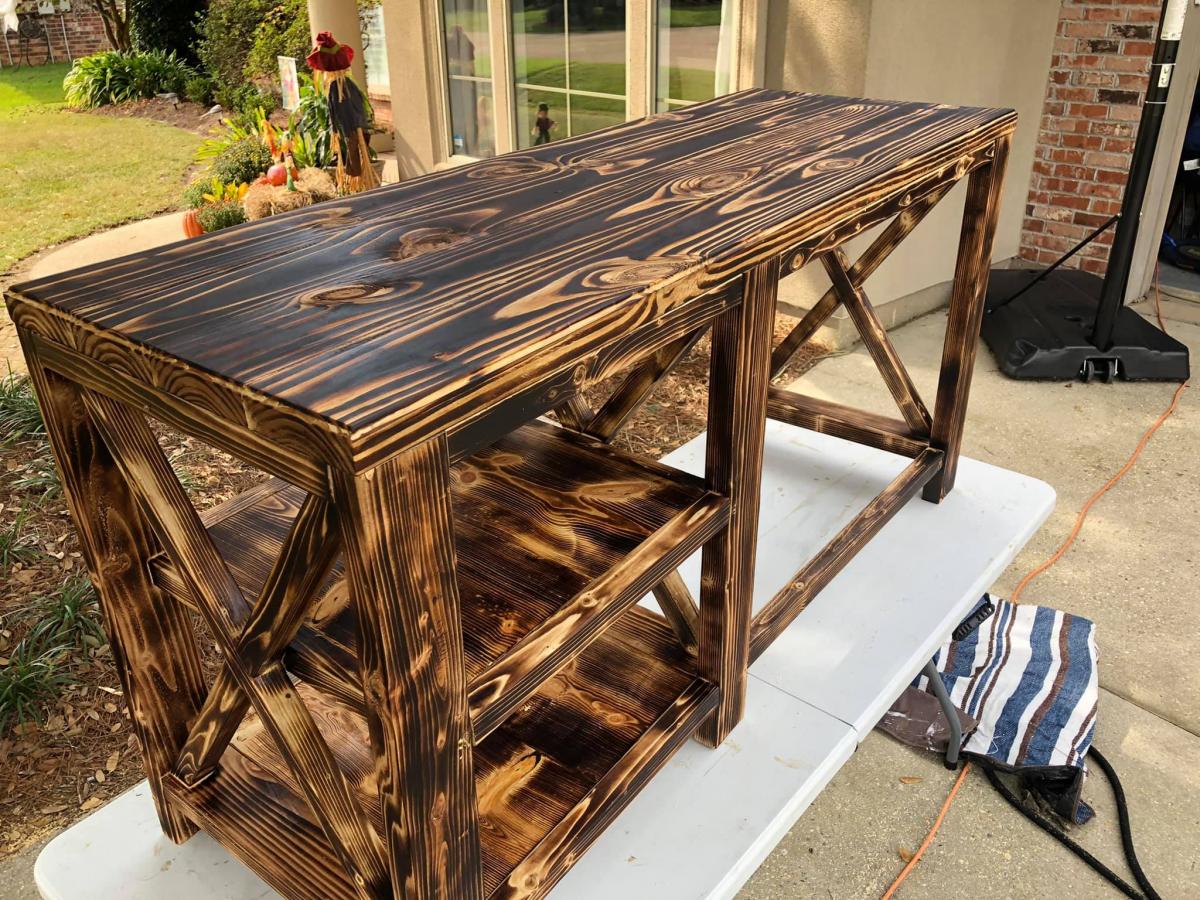
Rustic X desk but finished with a propane torch and wipe-on poly.

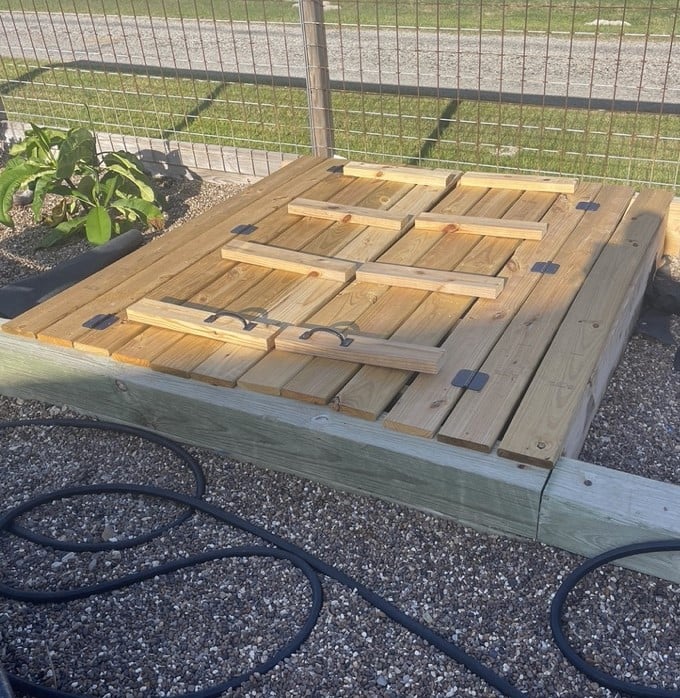
Followed the plans for the sandbox for my granddaughter. She absolutely loves it and so do I since I have a seat I can sit at! I did enlarge it a little so added some supports. It works so great. - Sandy
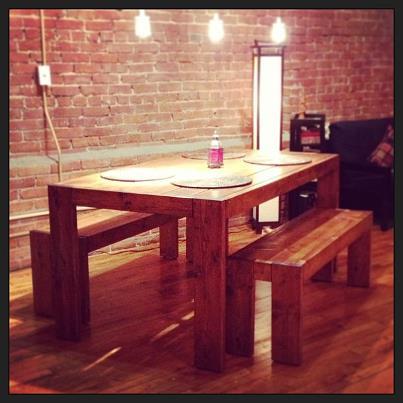
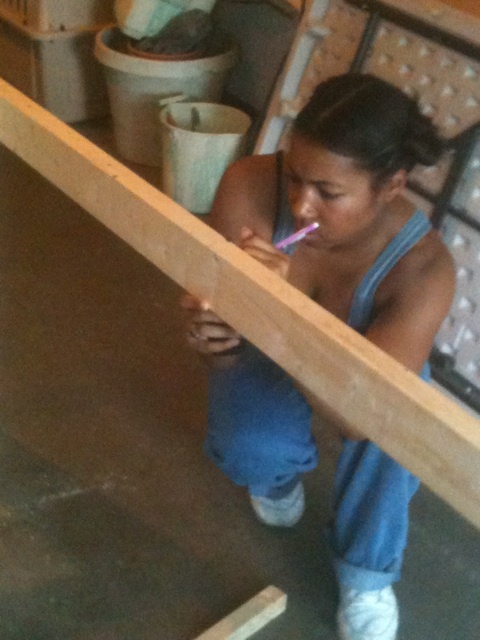
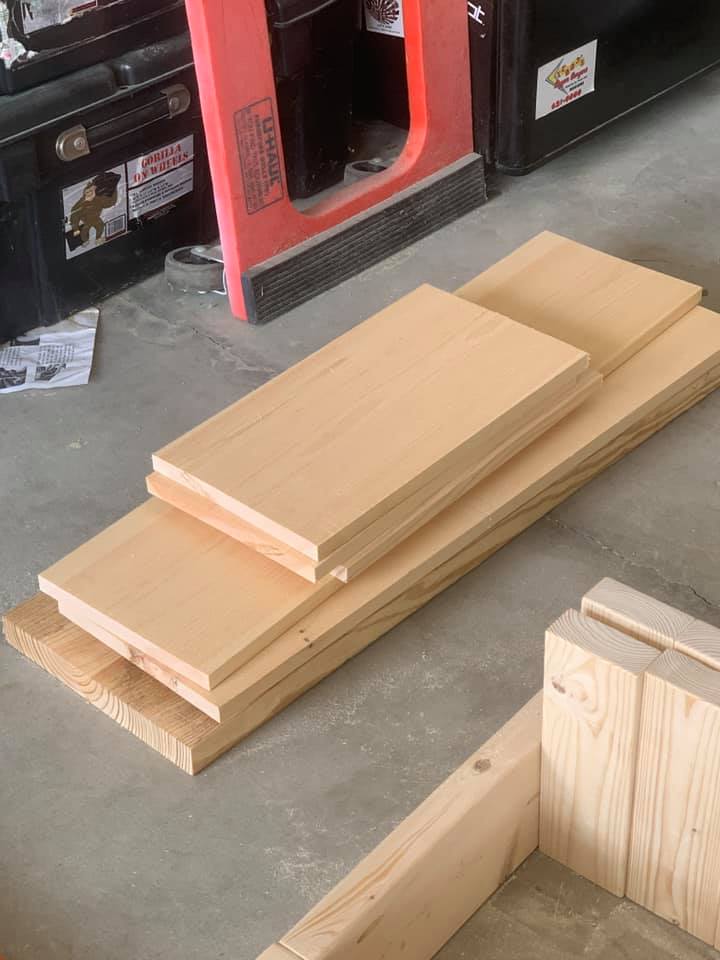
My ex-marine uncle helped me build the modern farm table and benches. We bought pine from Lowe's. Not all of the pre-cut pine slabs fit the exact dimensions from the modern farm table and benches plans. We knew some of the wood would have to be cut again. A Lowe's worker was kind enough to use the store saw to cut some of the wood into the dimensions needed for the table and benches. He measured and remeasured.
Once in my uncle's garage, we first dry fit the furniture. My uncle started with the table. We dry fit the table on its back (in other words - we assembled the table upside down without drilling the table together). He then remeasured all of the wood for the table (while on its back). He wanted to be sure that all pieces would fit, once we started to actually assemble the table with drills. We did the same for each of the two benches.
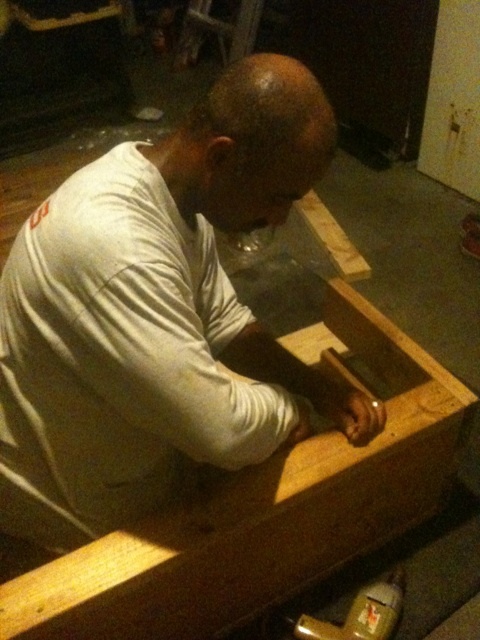
Then we buffed out any dark marks or stamps on the individual pieces of wood. We did this by hand and not with an automatic tool. That part was BRUTAL.
Next we conditioned the wood. Wood conditioning is necessary, because pine stains unevenly. We waited 3 hours before applying the first coat of stain.
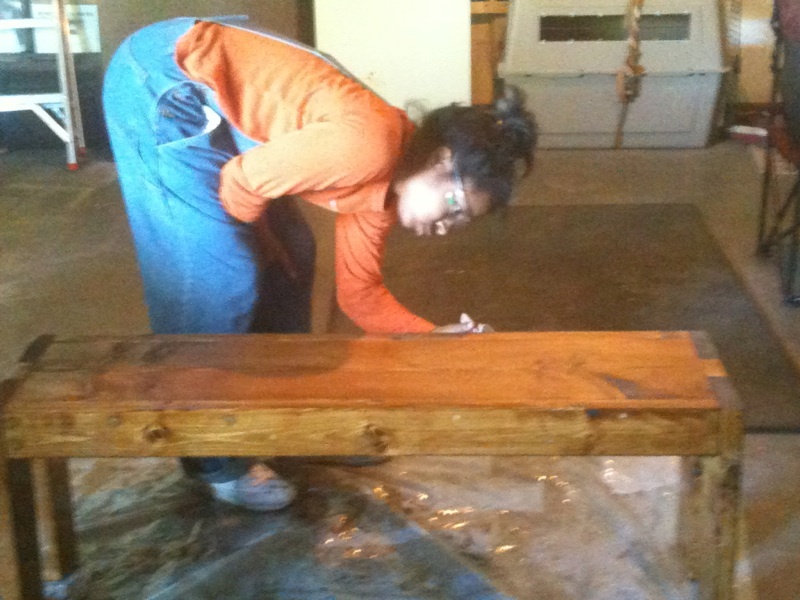
We applied the first coat of stain. Our stain was a mix of early american and golden oak. I did not intend for the table to come out as dark as it did. We mixed more of the early American stain than I had intended, because the table came out darker than I expected.
We waited in beween coats and we assembled the table and benches in between the first and second coat of stain.
We applied a second coat of stain to the assembled table and benches.
Then we applied polyurethane to seal and protect the stain.
After the polyurethane, we used wool to sand out any bubbles.
After the table and benches were assembled and everything drilled in place, we put wood putty in the places where holes were drilled.
Then, we stained the wood putty. The wood putty accepted the stain very well.
Duration
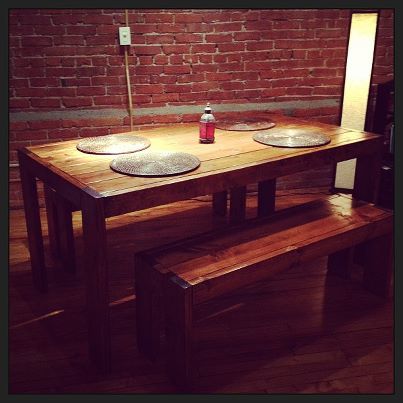
We built this table during the second week of August 2011. The project lasted between 28-30 hours over 5 days.
Make sure your boards of wood are fairly free from cracks. After inspecting them we put several boards back.
I love my table! I'm always complimented on its beauty. My materials cost around $230.00. I built this table, because the farm table and matching benches I wished to purchase totaled $2,000.00. Thanks to my ex-marine uncle, I have a fabulous table to last a lifetime. I mention his ex-marine status, because the military taught him perfectionism. Building a table with in 100 degree heat with a perfectionist was tedious and hard work. However, it clearly paid off in the end! Thank you Uncle!