Changing table
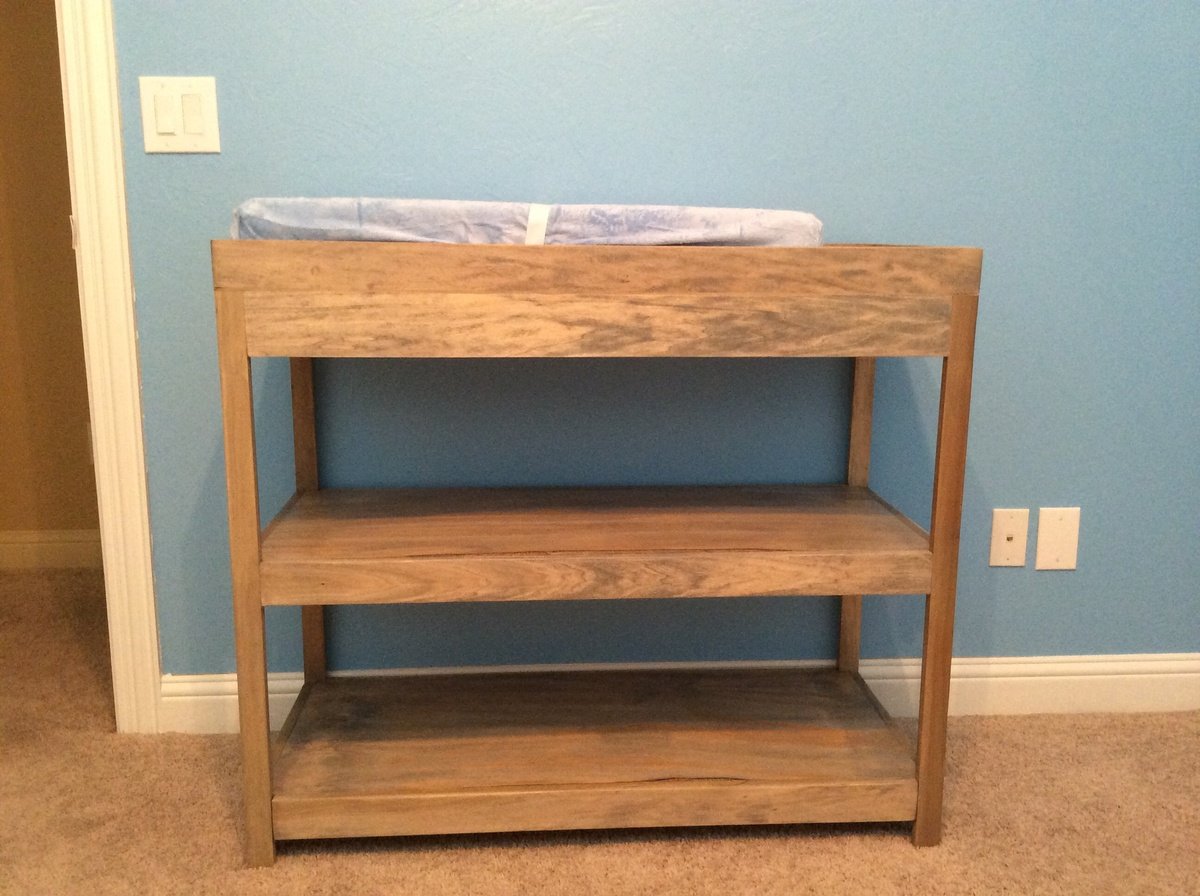
This was my first project so I stuck mostly to the original plan. The only change I made was to make the width 16 1/2 instead of 15 1/2 to fit the pad. I was going for a driftwood finish to match the crib we got.
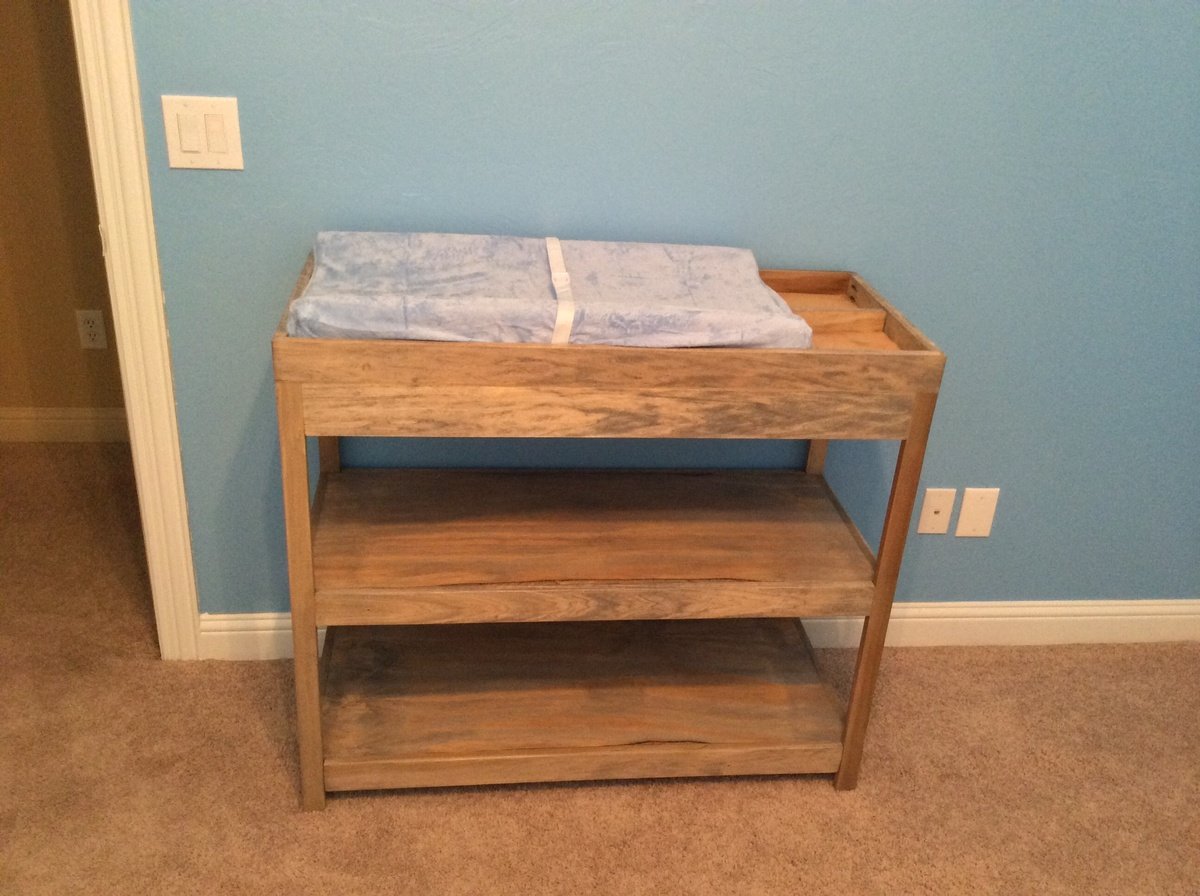

This was my first project so I stuck mostly to the original plan. The only change I made was to make the width 16 1/2 instead of 15 1/2 to fit the pad. I was going for a driftwood finish to match the crib we got.

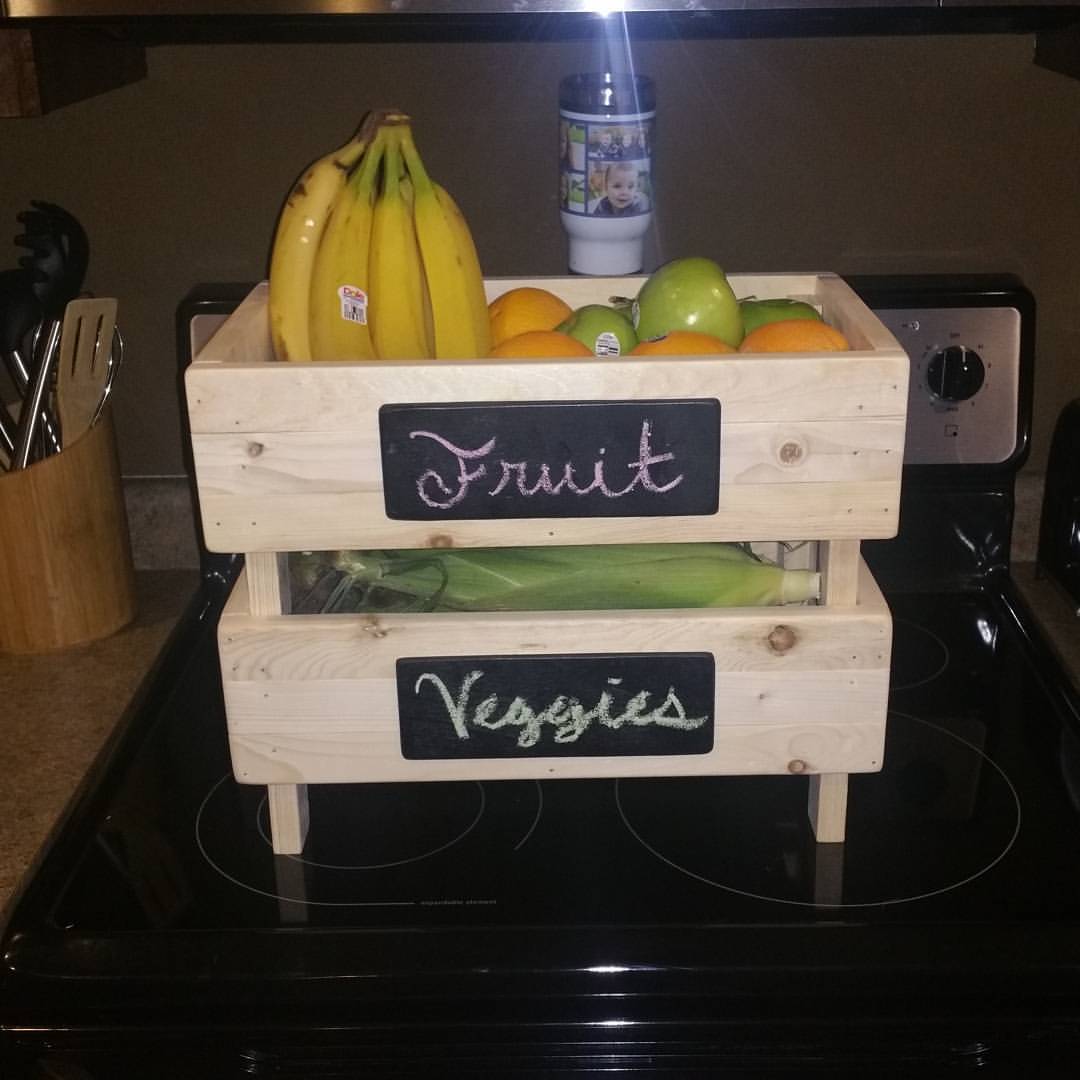
Love all of the projects on this website. I am just getting in to woodworking but am loving learning all of things that I can do with these wonderful plans. I used all 1x2s for my fruit and veggie crates since they didn't have what I was looking for here at my lowes. Kind of limited on lumber around these parts unless I drive an hour away. A good sanding and these crates came out great. Smooth and stylish!
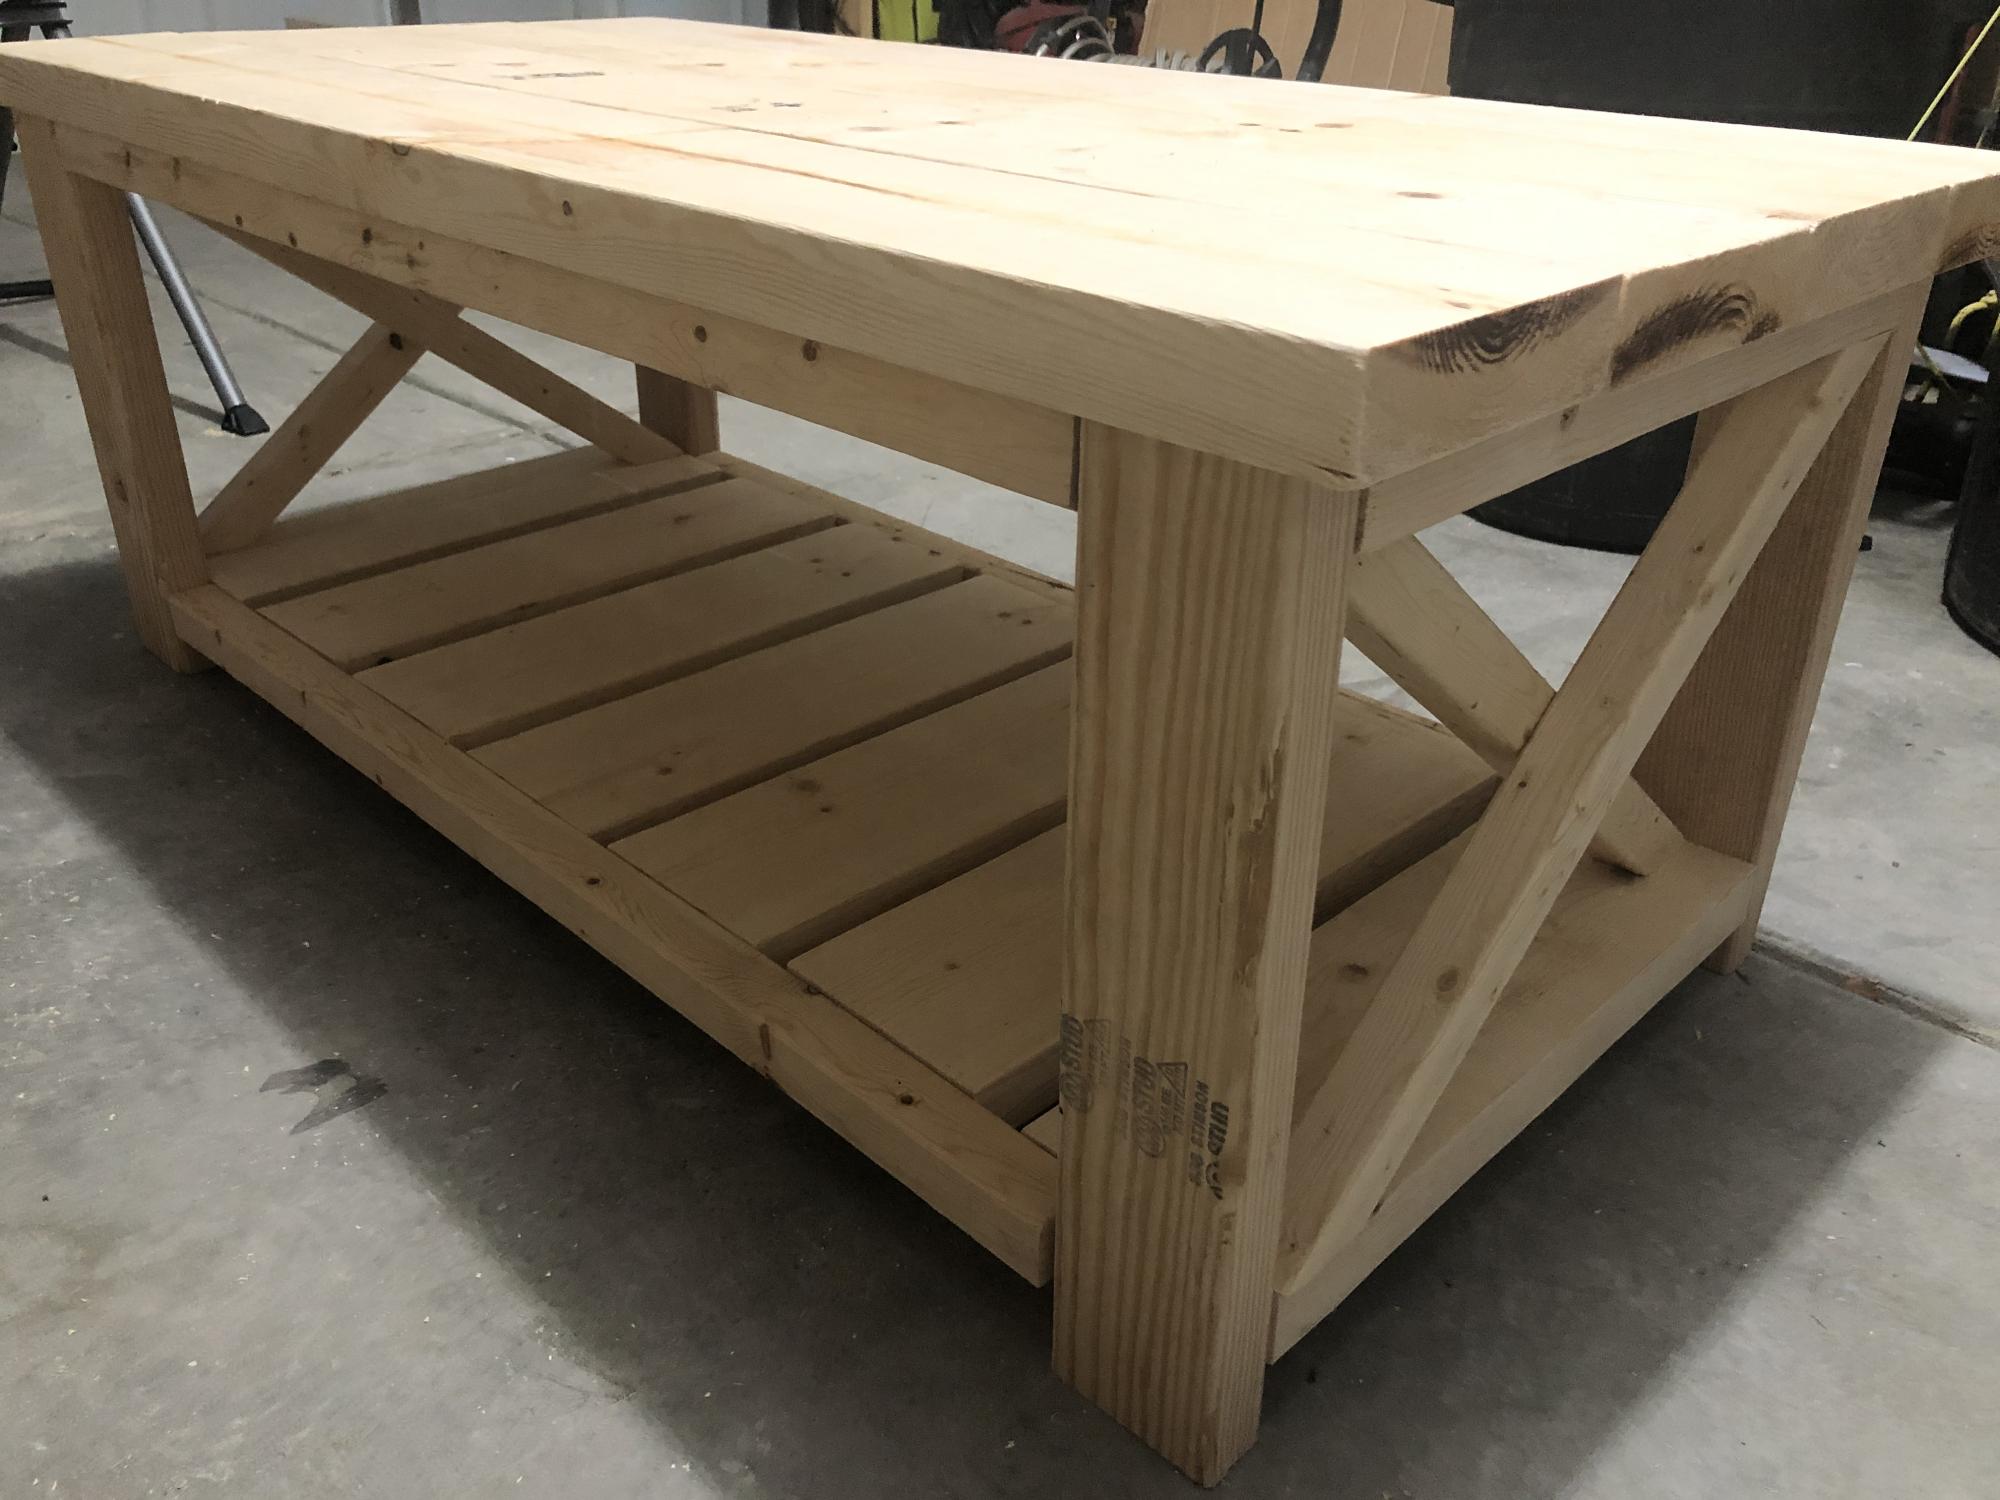
The plans were easy to follow.
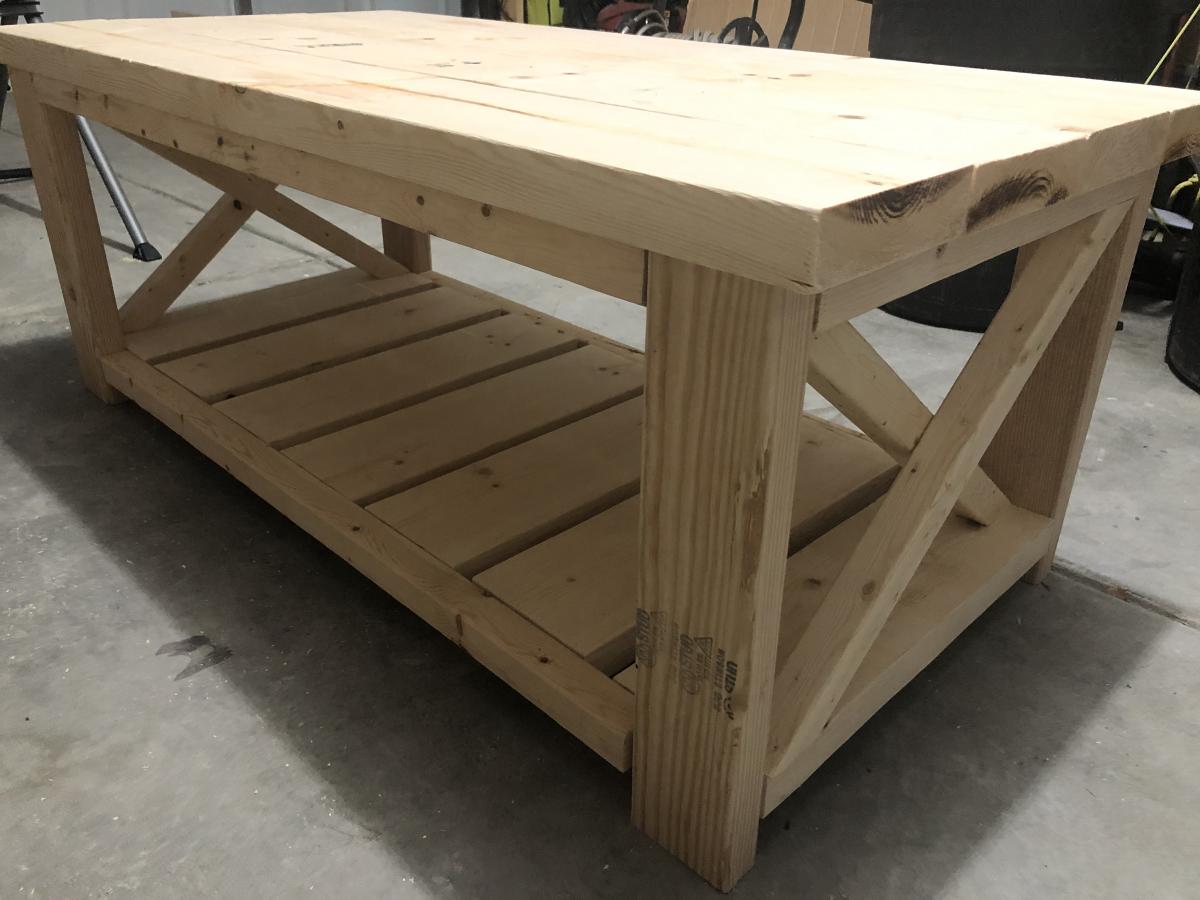
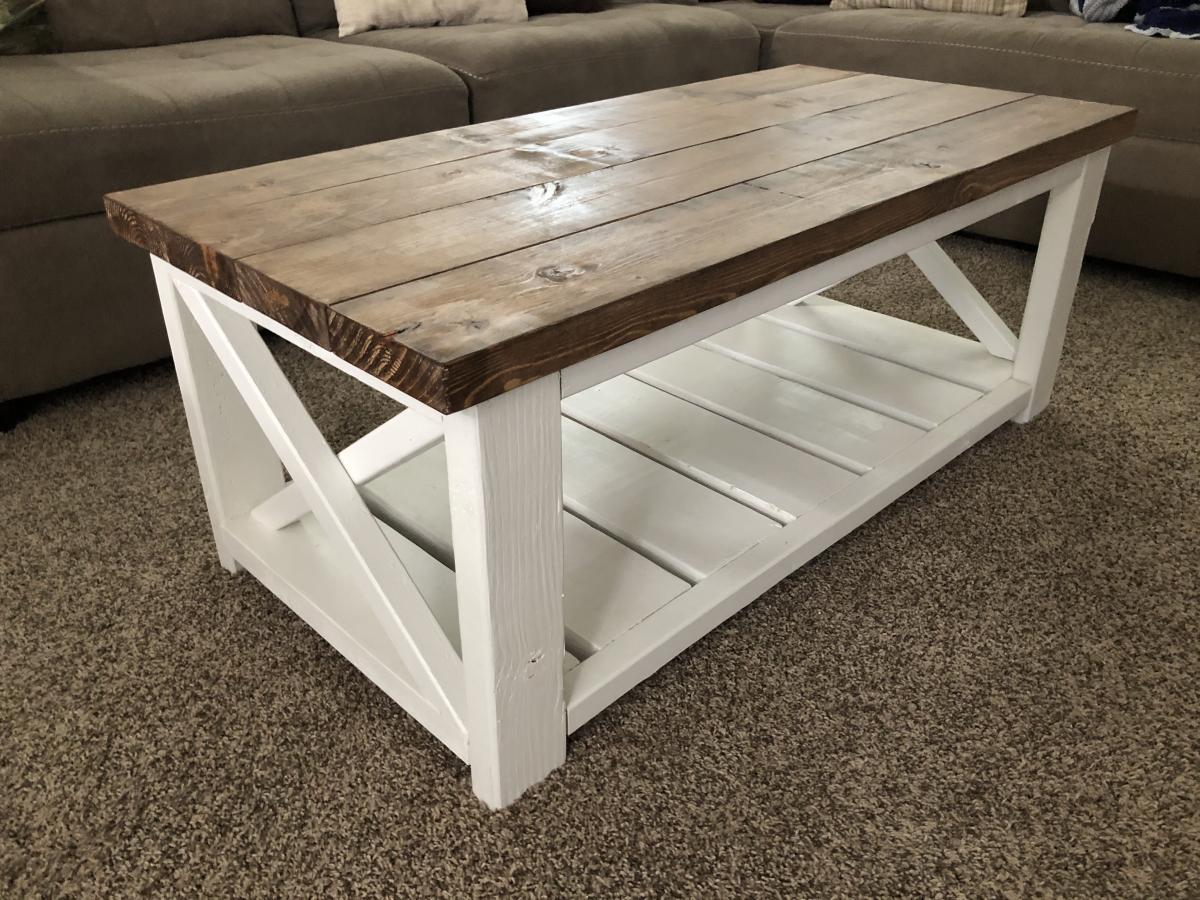
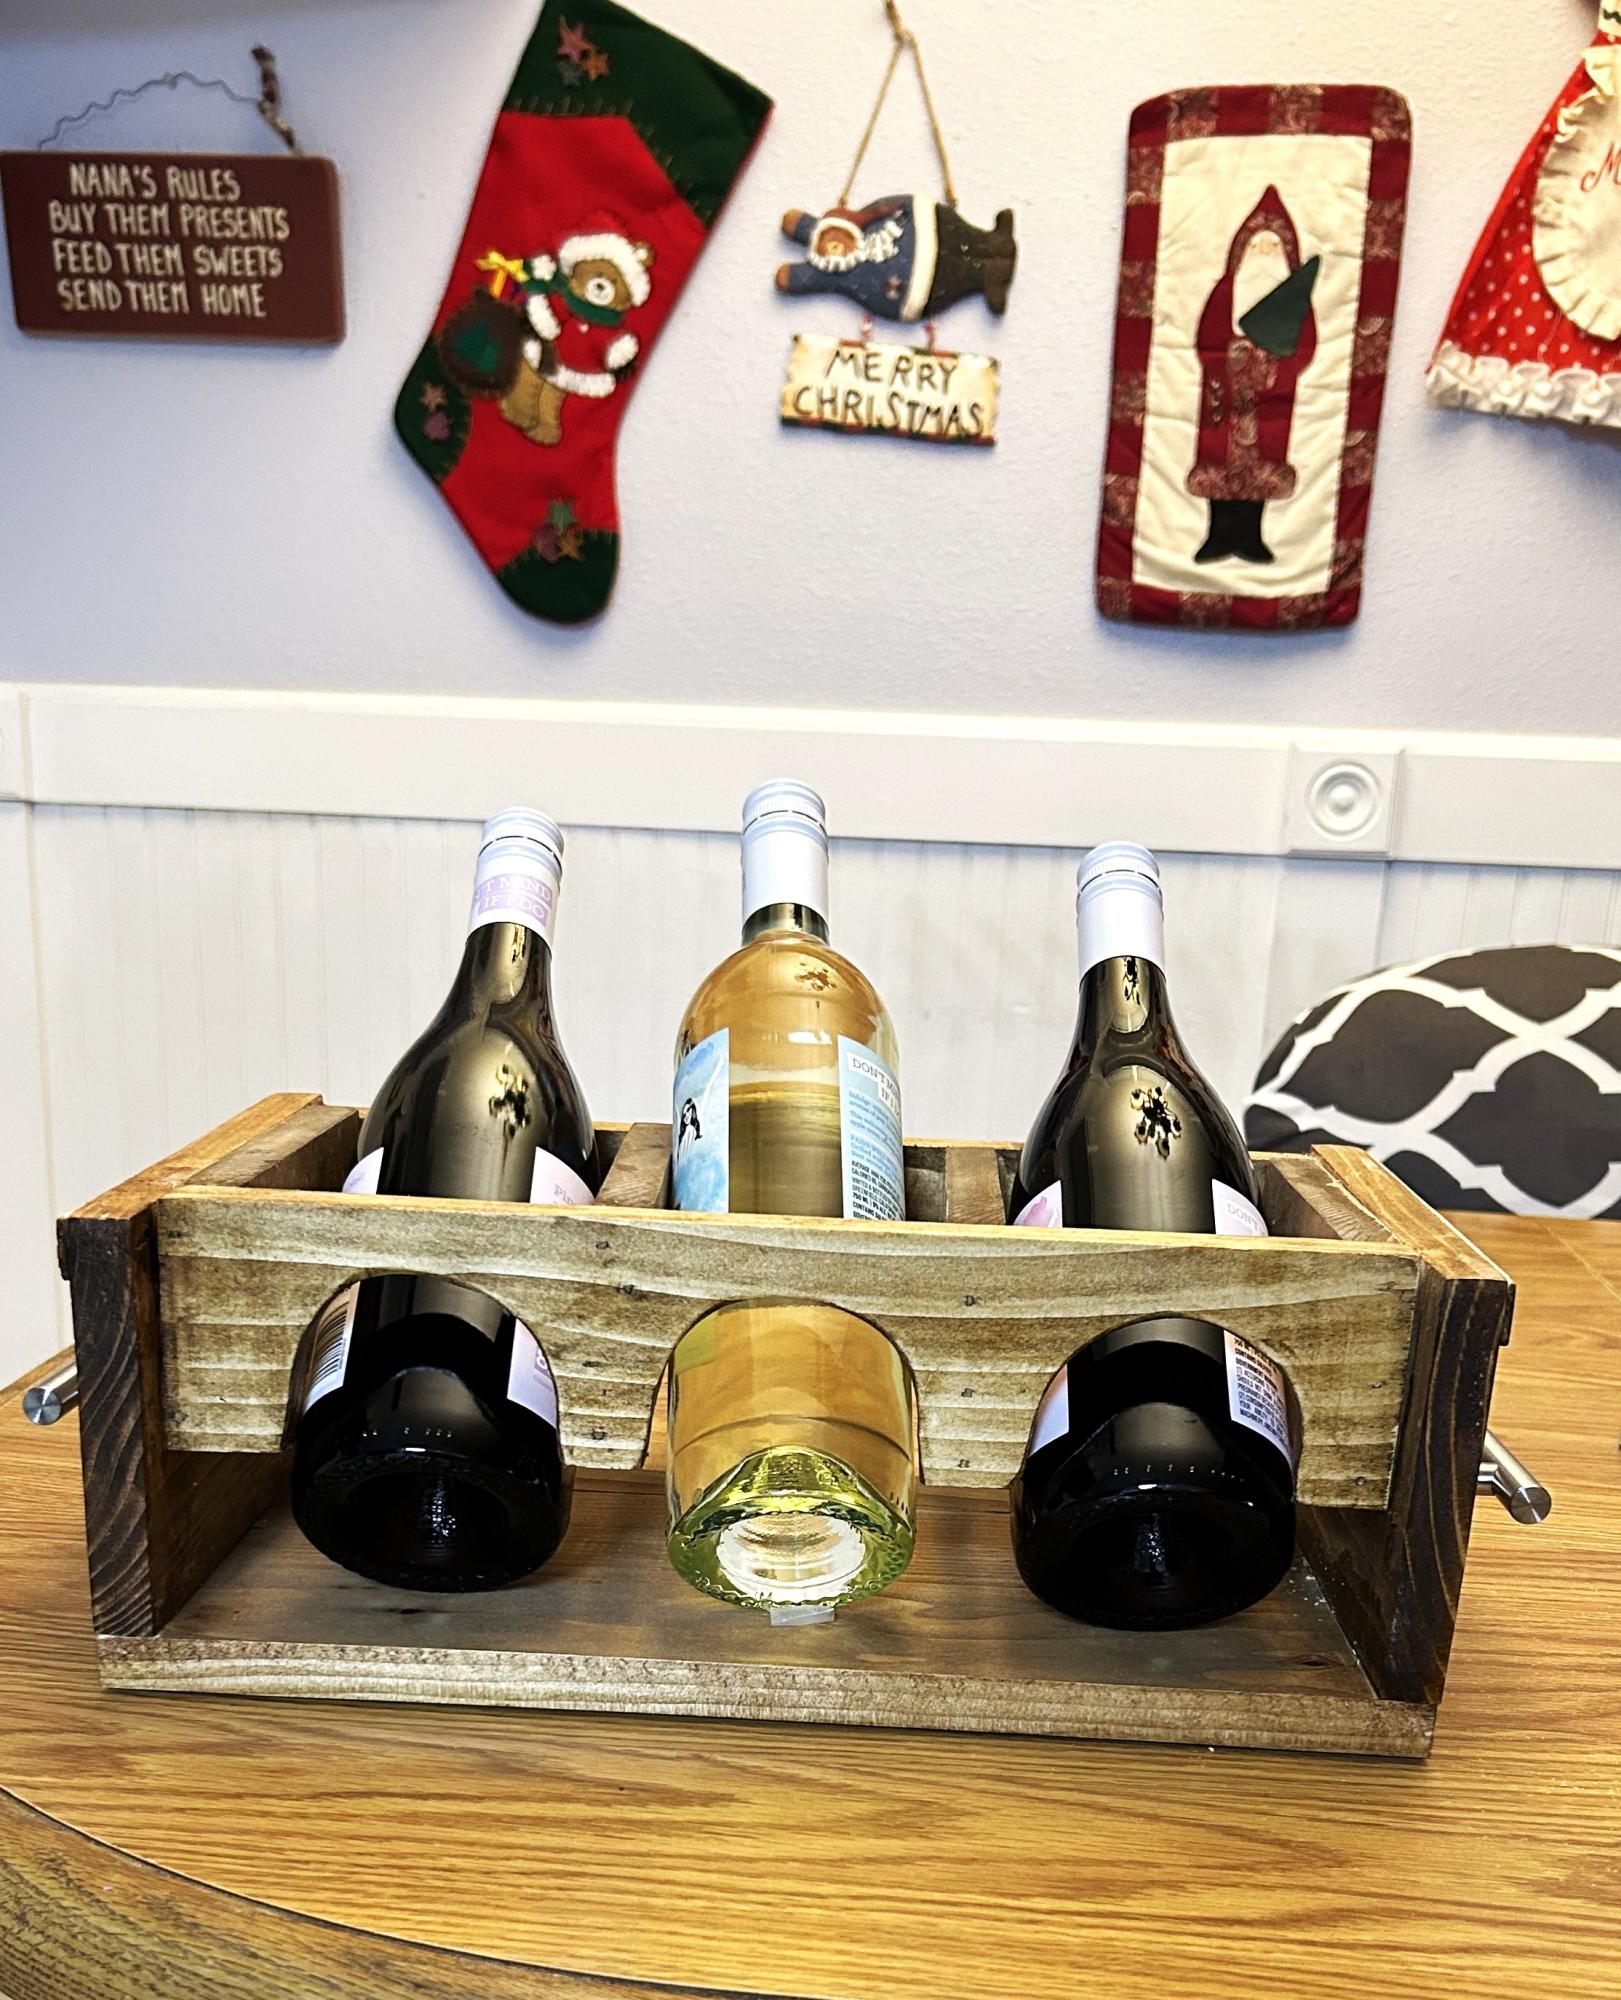
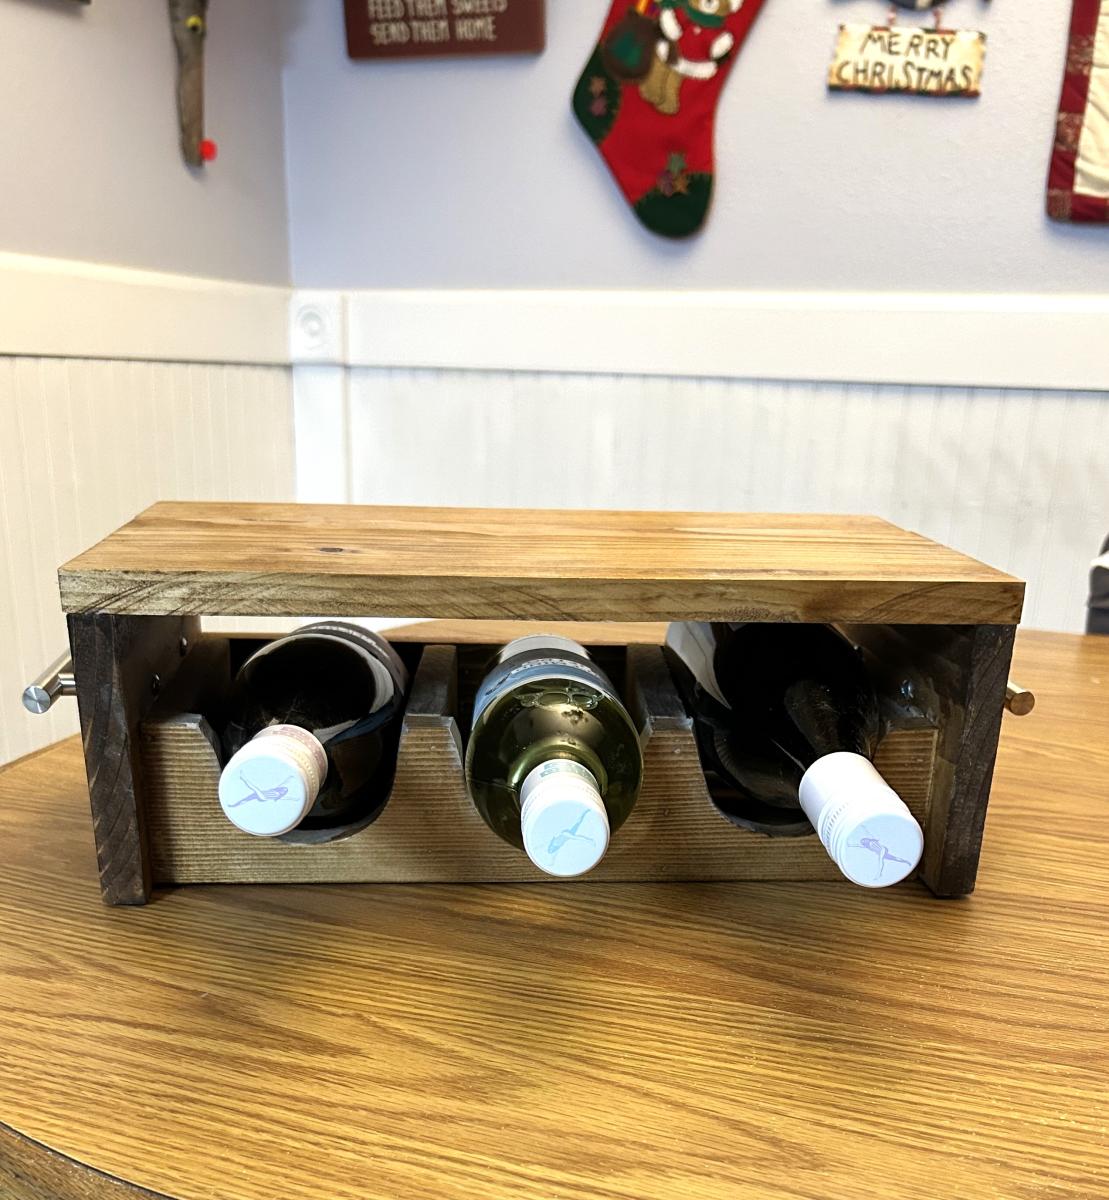
One of my first projects…thank you Ana White for building my confidence in wood working! ❤️
Midge Newth
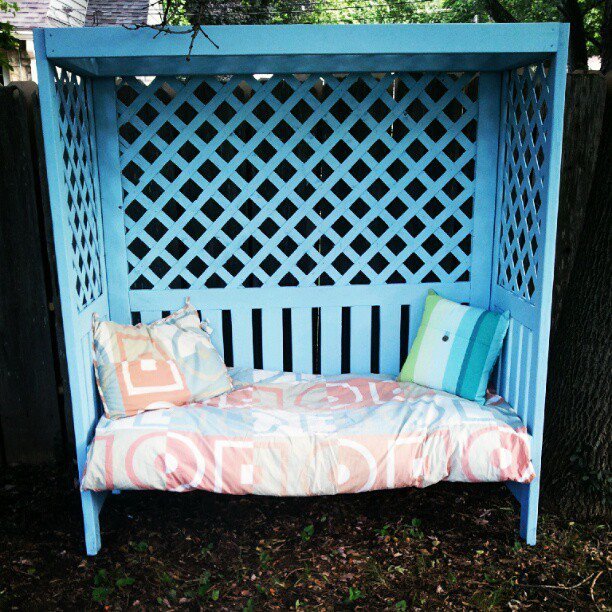
This was not built using one of Ana's plans. I have a book of 2X4 projects that my daughter gave me and actually got me started woodworking. This beauty was one of the projects. It was easy to build and easy to put together but not easy to paint. The lattice was the cheapest she could buy and was "furry". I tried sanding which took forever but it was still a mess to paint. I am including the link to the plans: http://woodtools.nov.ru/projects2/WoodPlan/lattice-bower.pdf
If you build this be sure and sand and paint before putting together-it's so much easier.
It looks amazing in her backyard and she is loving it.
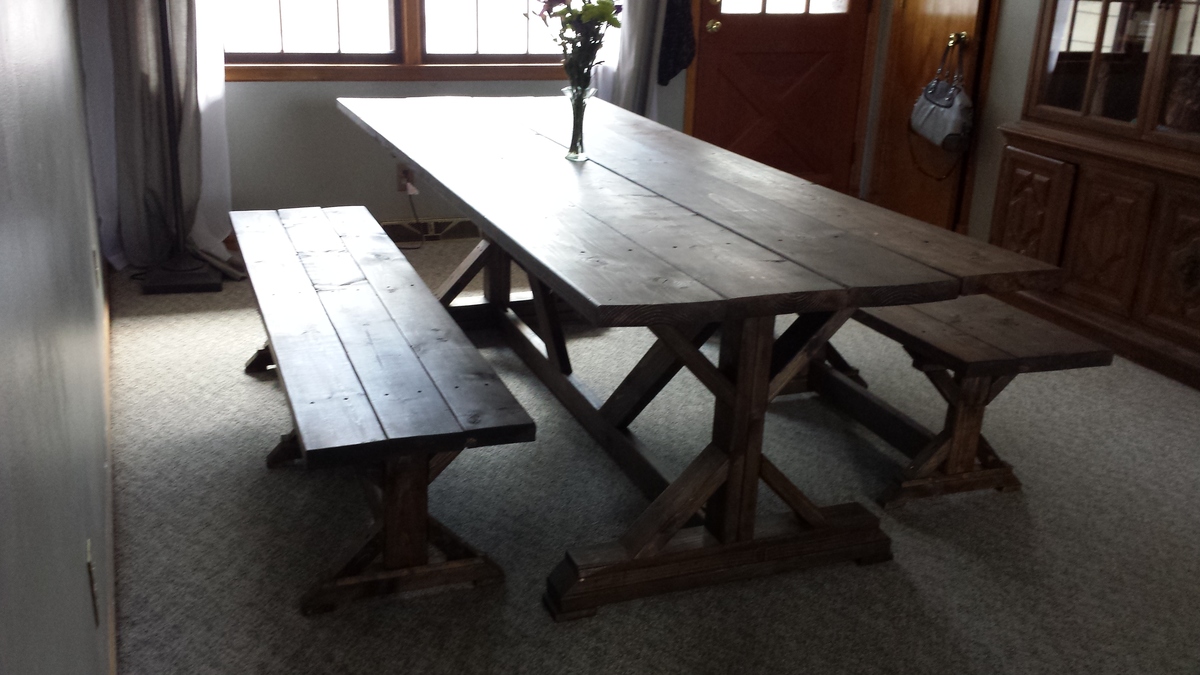
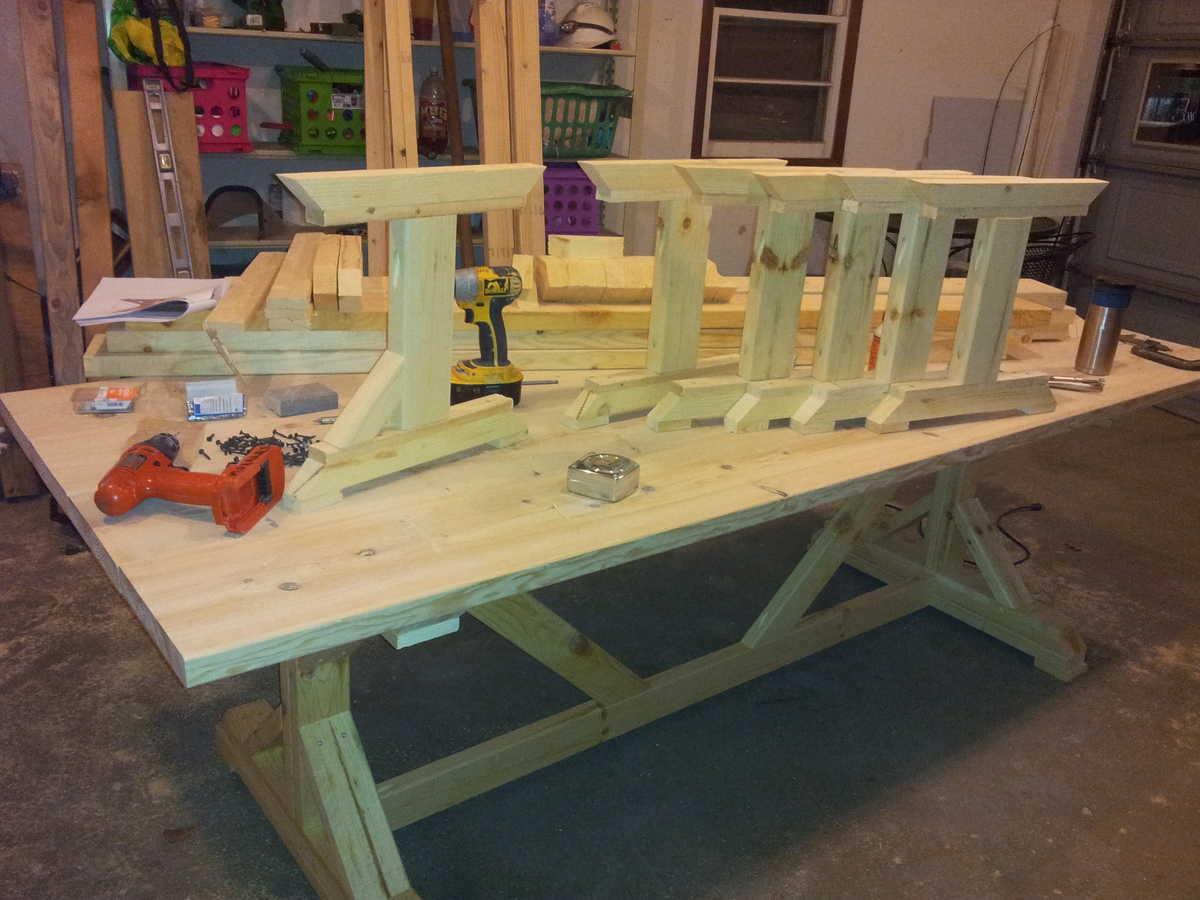
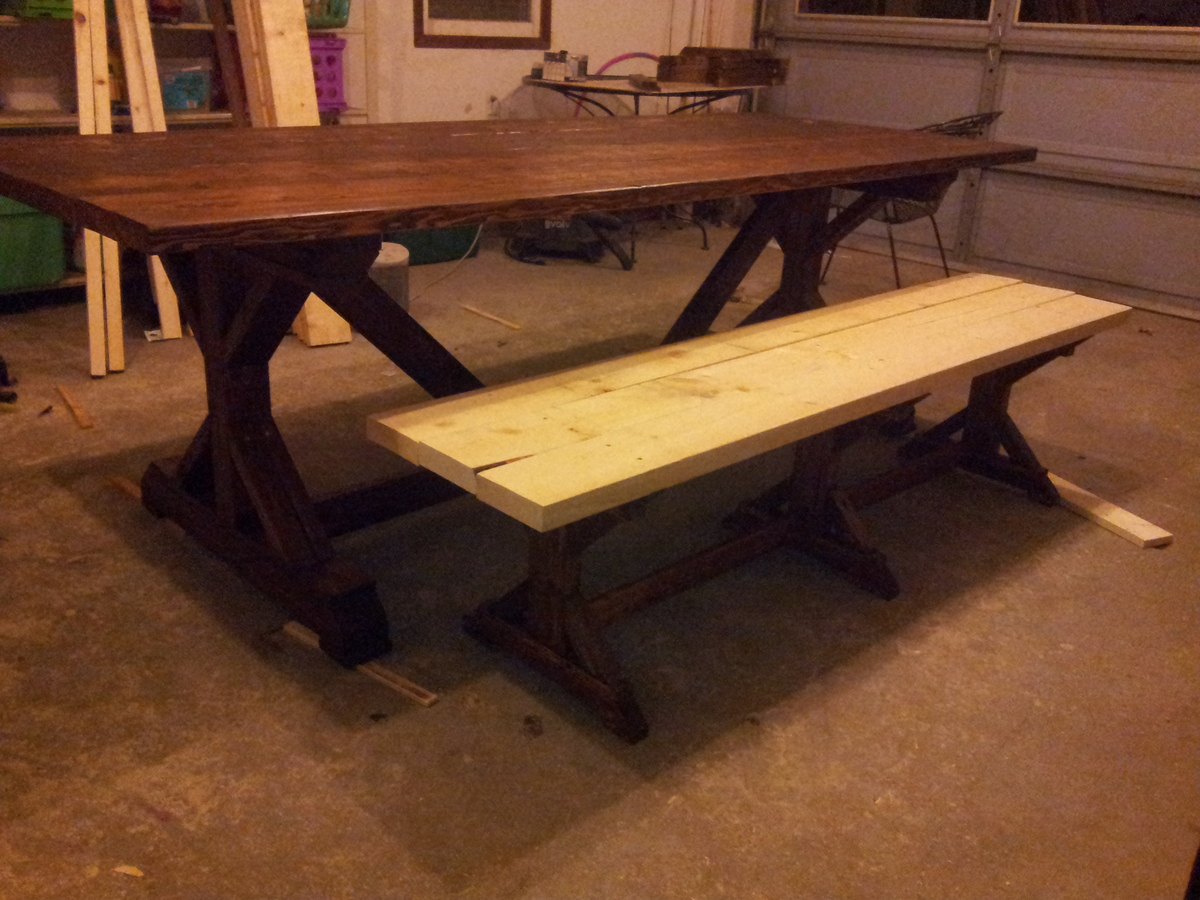
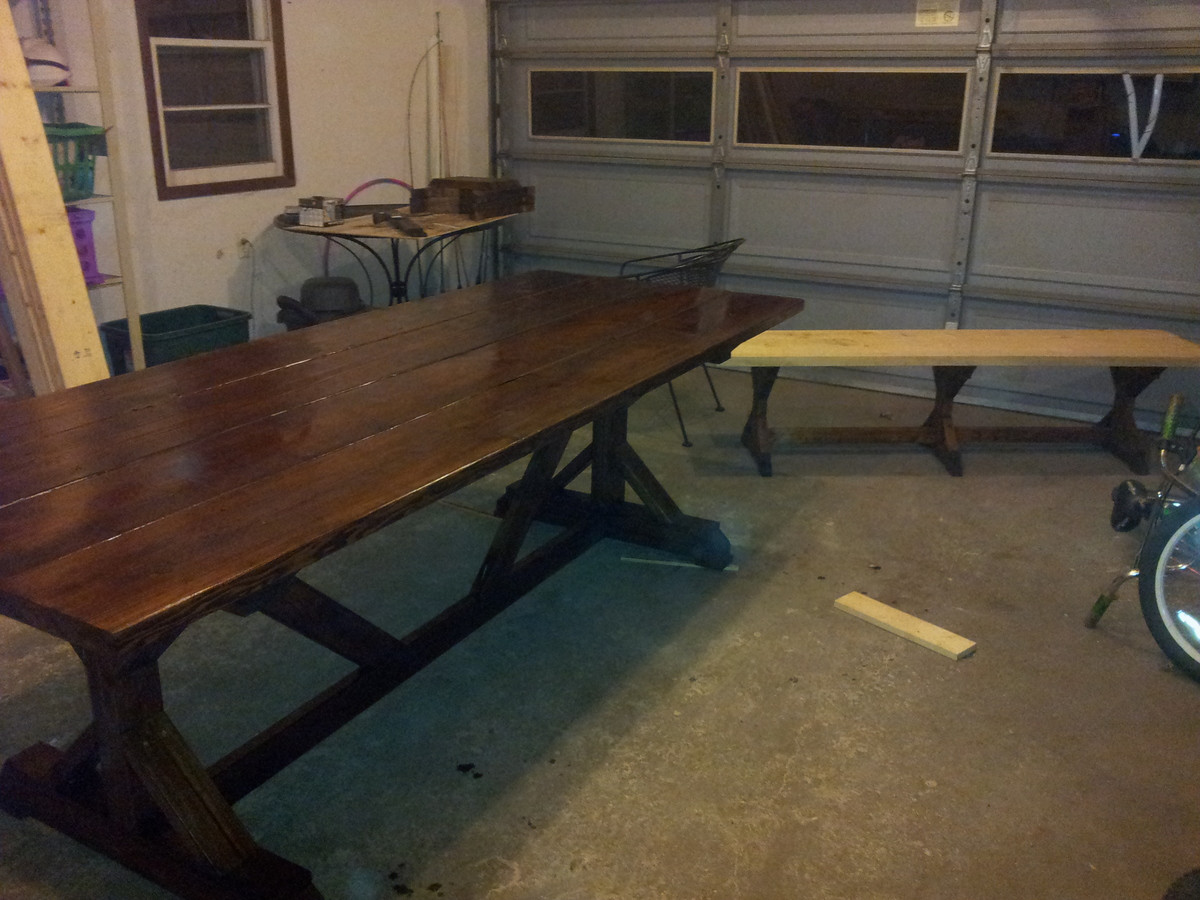
Well this is a project I made from plans from this site and we love it ! Is my first peace of furniture I've ever made and I think it was Farley easy my wife saw the pictures and ask me if I would make it & I was like I'll try and it turned out beautiful everyone who's seen it love it very sturdy actually it was completed right on time for thanksgiving day. I want to thank Anna and whoever posted those plans we love our big table and matching benches : )
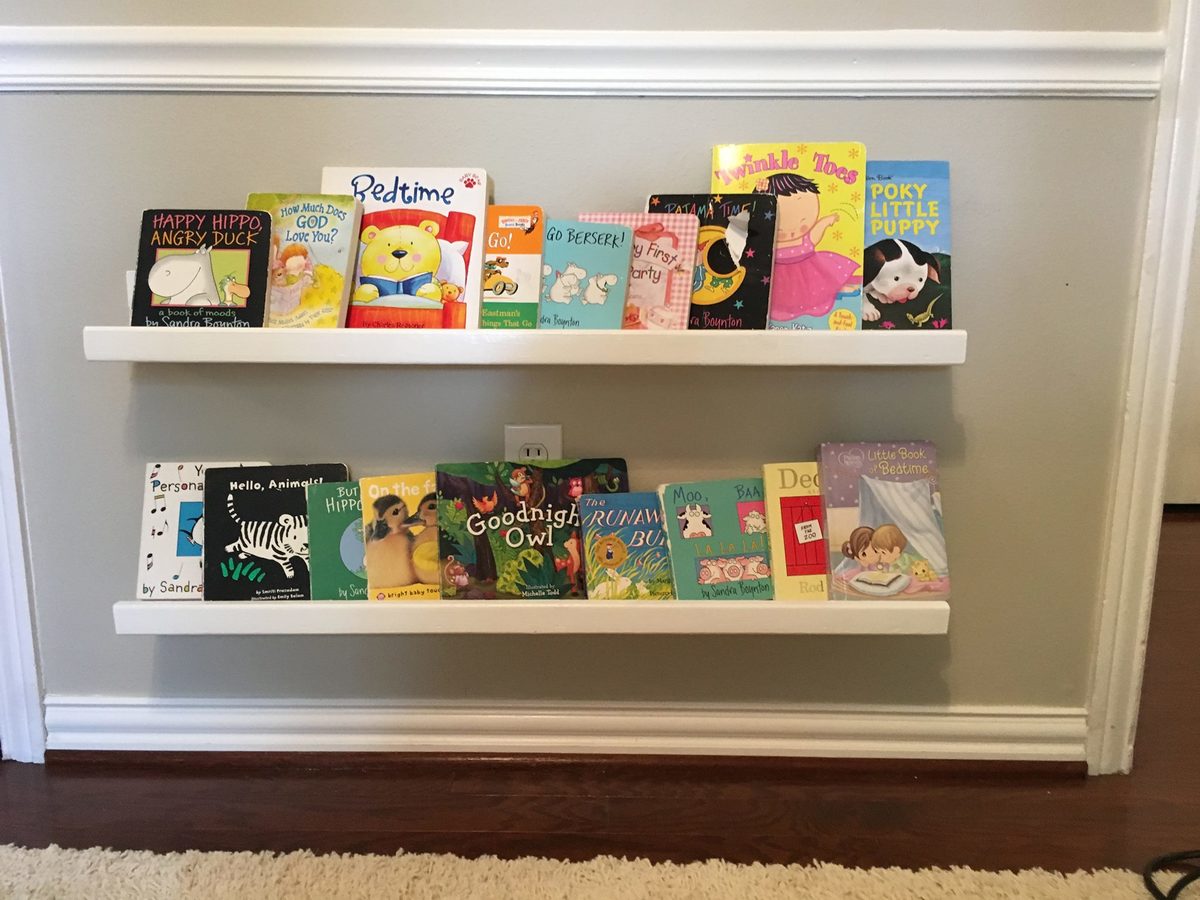
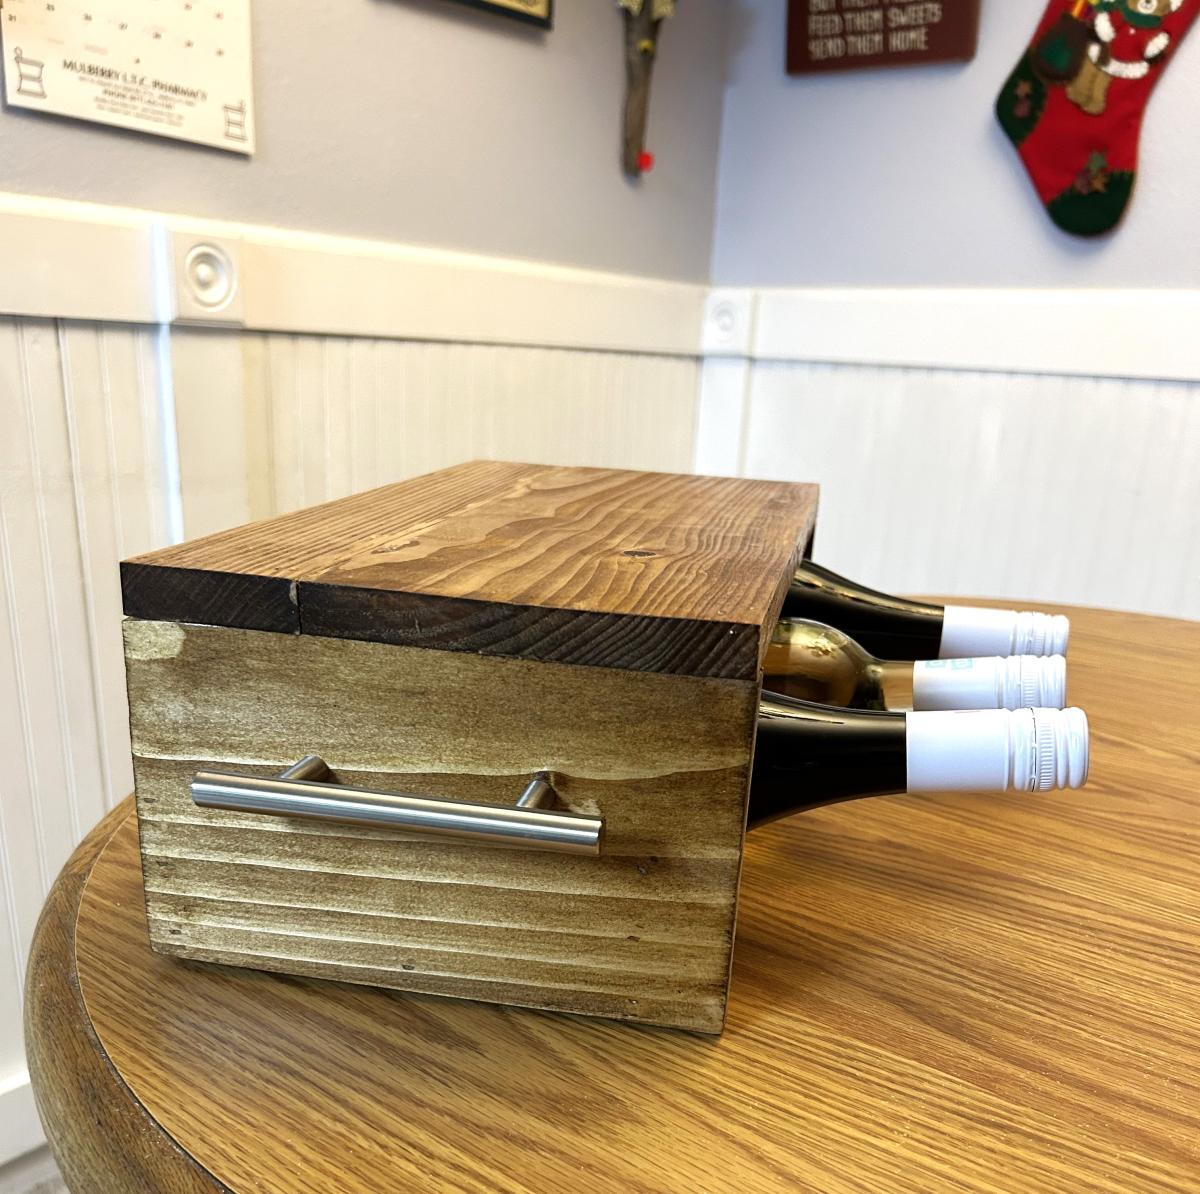
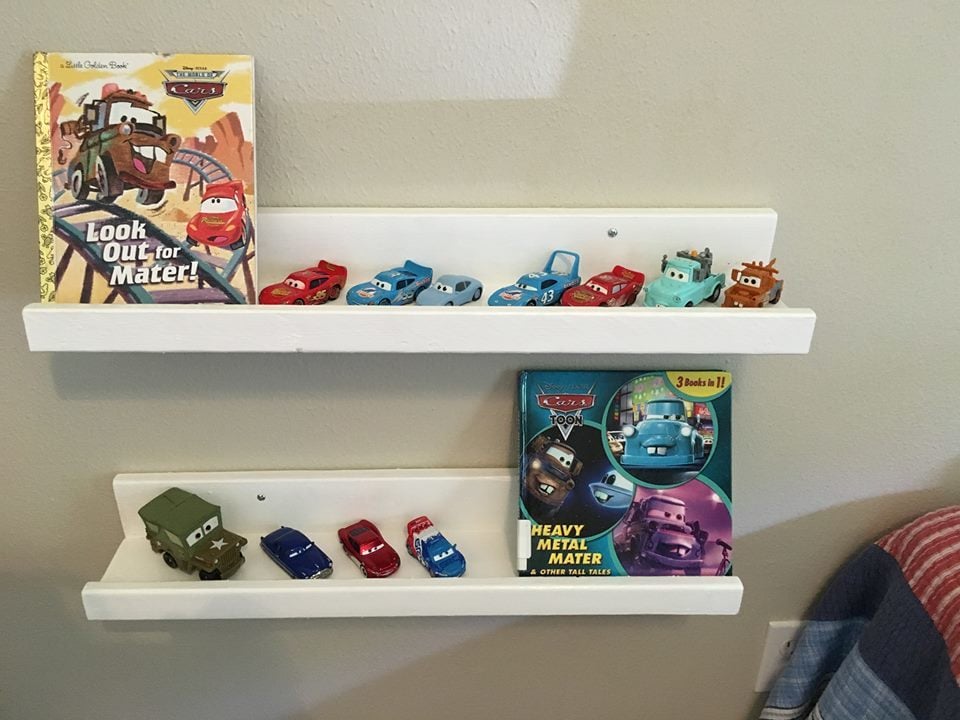
This was my first project after buying a miter saw. I used 2 inch screws to secure the back to the ledge, then nails (I think 2 inch?) to secure the front lip to the ledge. I then covered the nail holes with wood filler, painted with a white glossy paint that I had on hand for my house's trim, and secured into the wall with anchors and screws.
It was a fairly easy project and I used the cheapest wood found at home depot (each ledge literally cost less than a dollar for the wood). It did take me several hours but considering it was my first project, it was pretty fast. I'm sure someone with more experience could knock these out in 1-2 hours! It was a lot of fun and I can't wait to build something else.
Wed, 07/13/2016 - 11:27
Awesome!!! You did a great job, what a steal for $8!
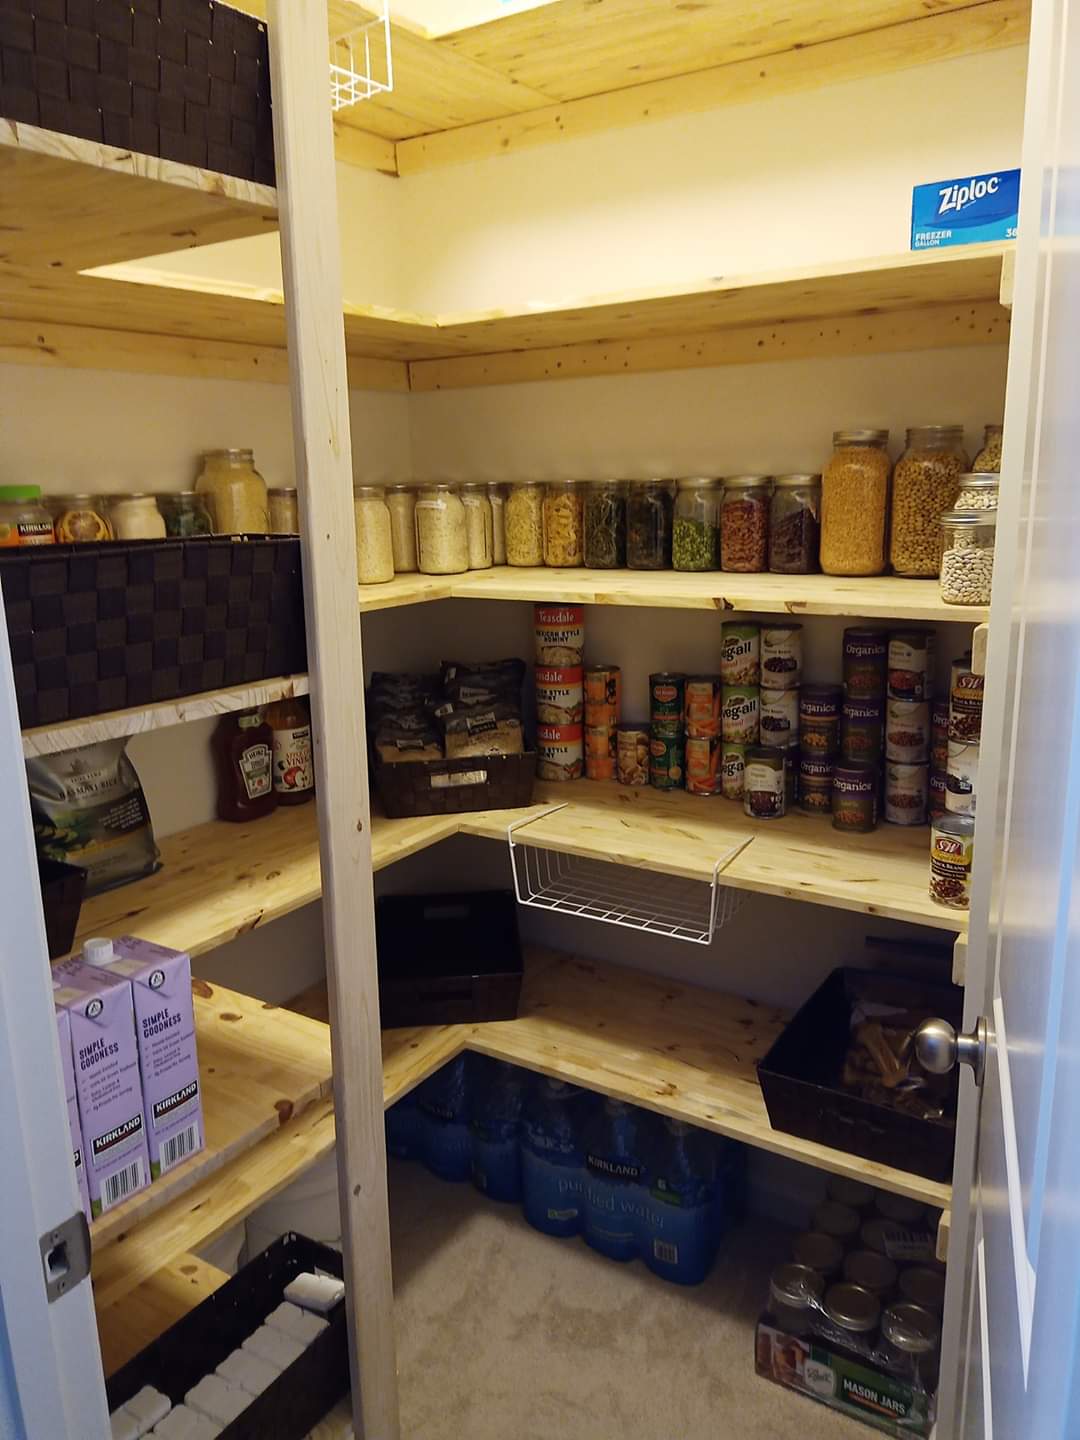
I can't believe I did it!! It came out so good!! Thank you so much for the instructions ...I got a Kreg jig and I love it!!! I used it to connect all my wood except when putting the furring strips on the wall....I also added a support for the shelves that were only connected on two sides...this was my first wood project!😀
Sat, 04/25/2020 - 20:12
Wow!!! This is amazing!!! Thank you so much for sharing, you made my day!
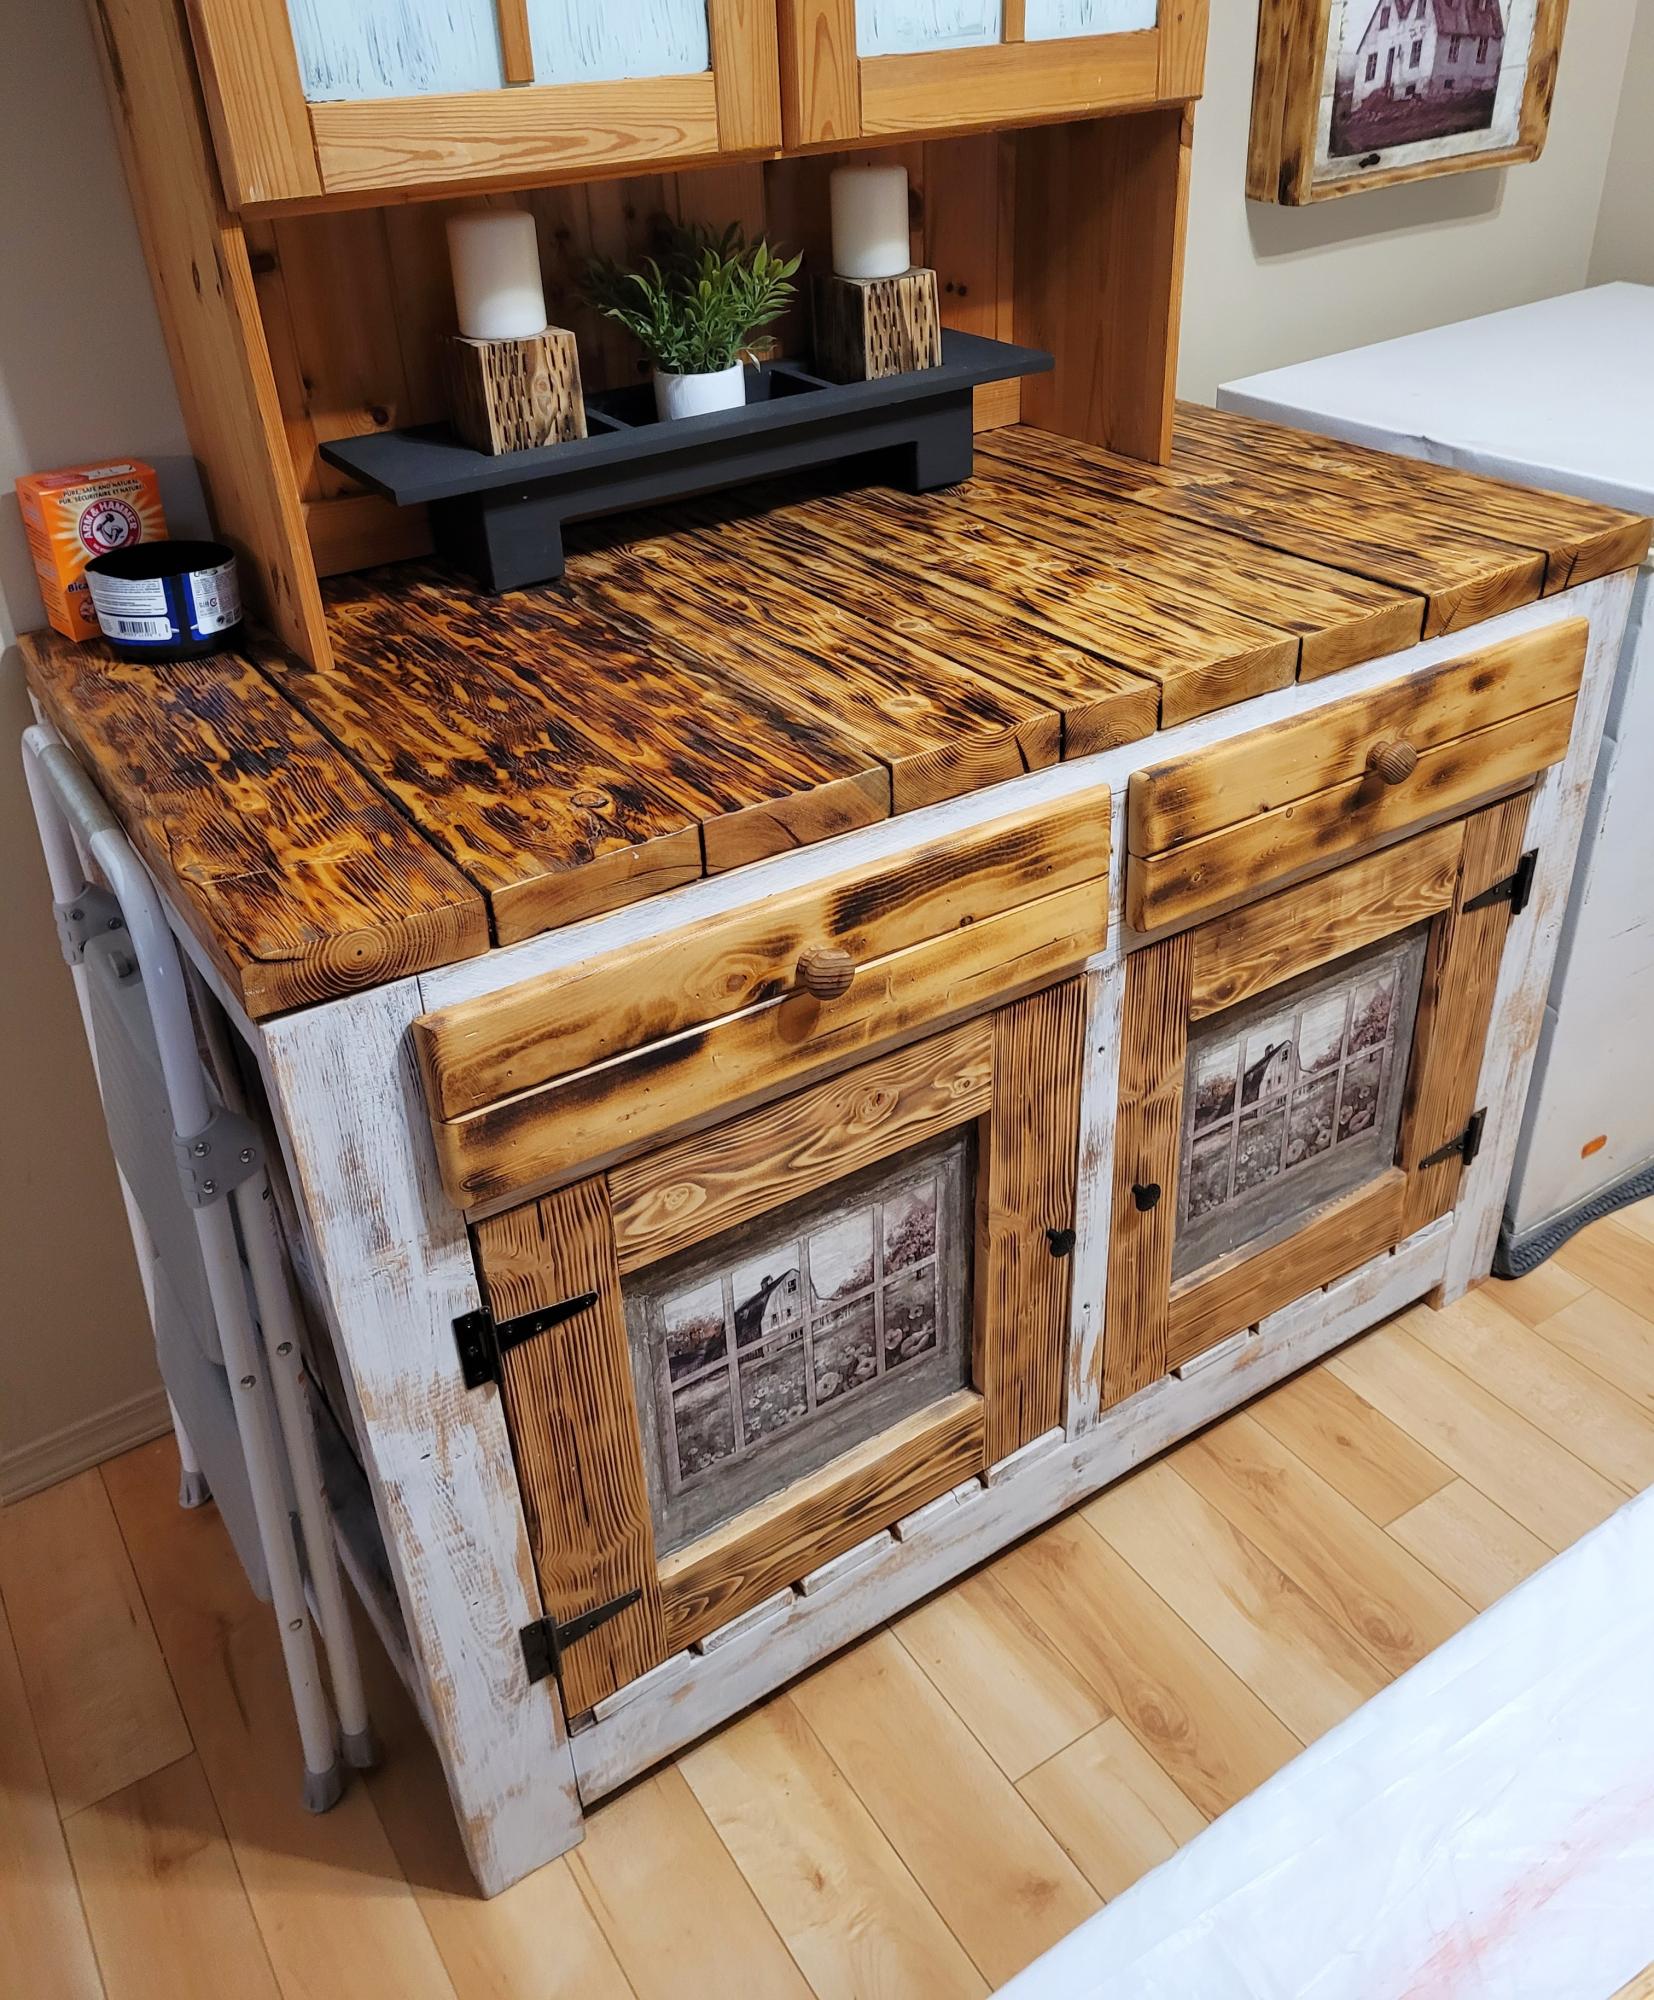
I started with your basic plan but i slightly modified it with out the overhang too much and added a set of doors and covered where the seating would be. But it still has room for two seats .. I made mine rustic :-)
backyarddiybuilder.ca
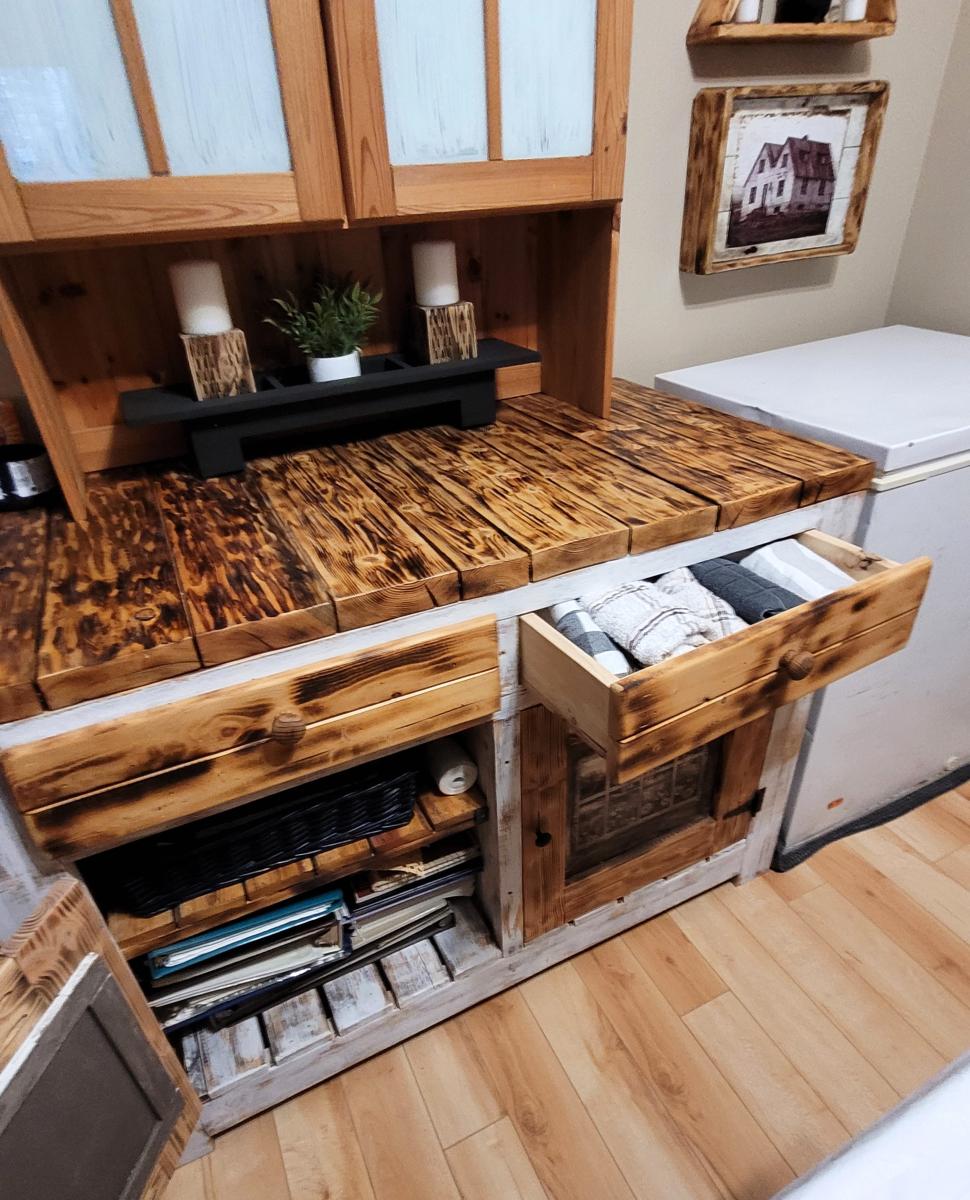
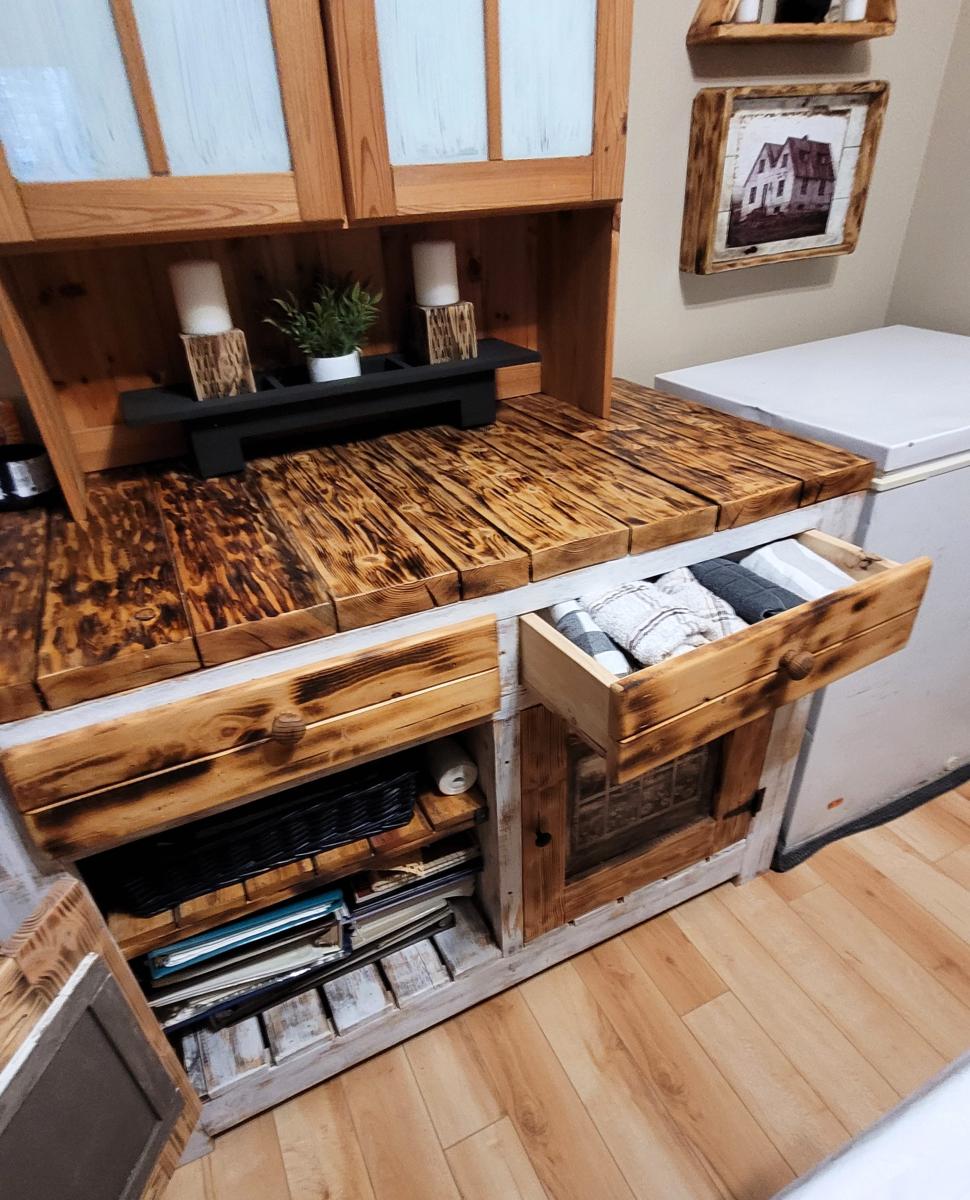
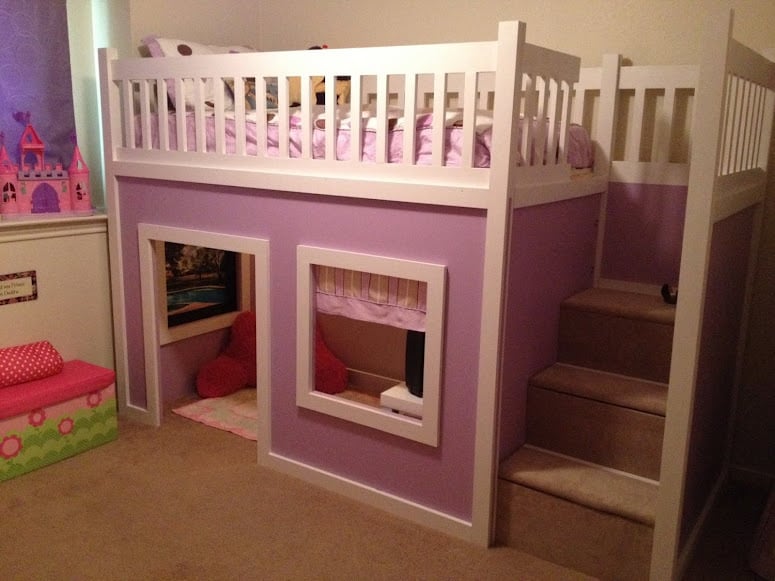
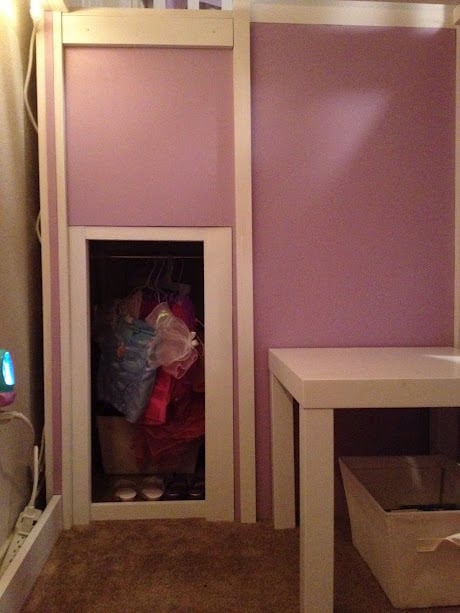
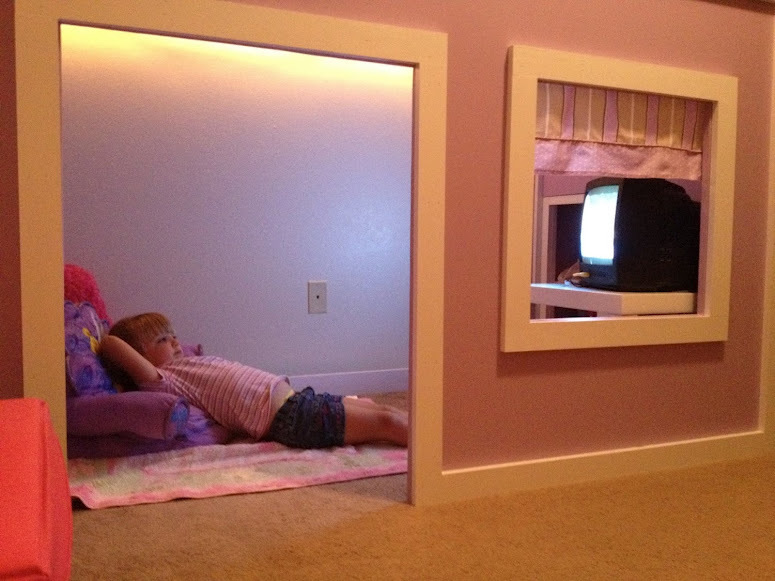
Saw this plan and knew I had to make it. This is her first BIG GIRL bed. Her reaction made it all worth it, "Daddy I am going to sleep in this bed FOREVER!" We stuck with the hinged storage under the first two steps but turned the space under the top step into a little closet for her dress up stuff. We also strung rope lights in the playhouse section for added fun lighting.
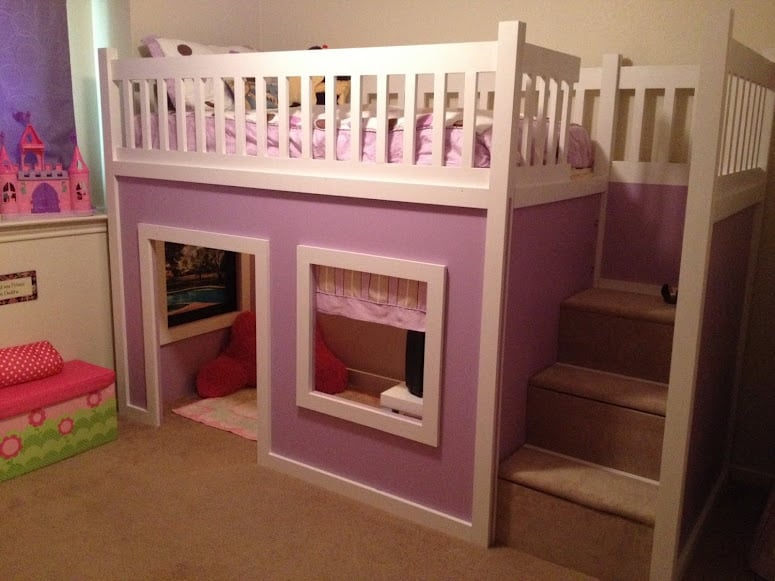
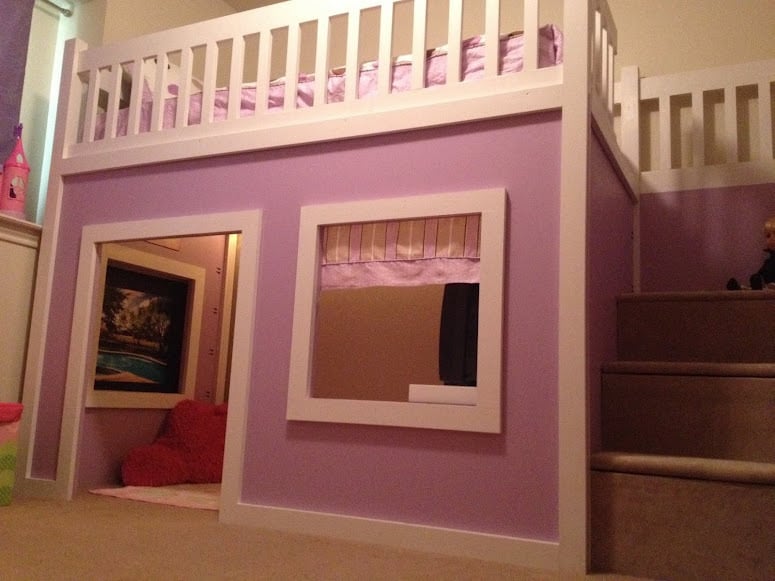
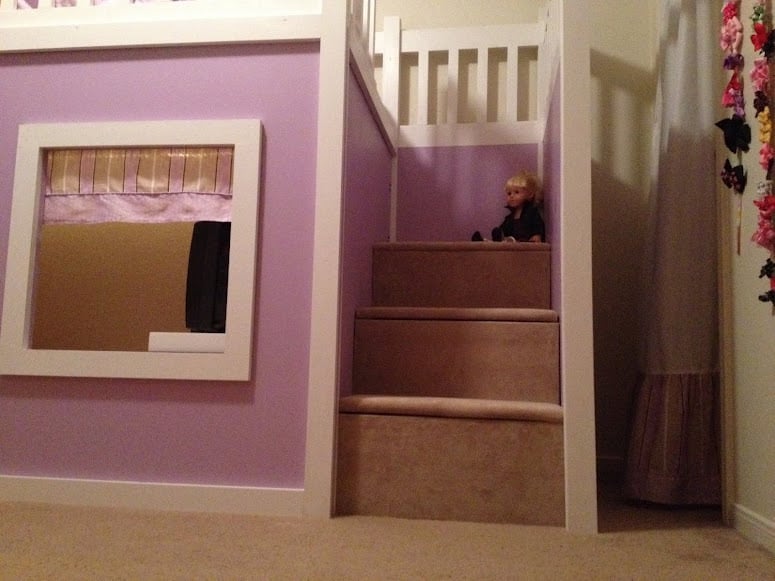
Fri, 11/23/2012 - 22:19
I'm going to build this for my granddaughter. She will absolutely love it. I'm having trouble figuring out the exact steps - which I need before I venture on this project. Trying to find accurate step by step plans for the stairs on the right side -- and all the walls too.
THANKS
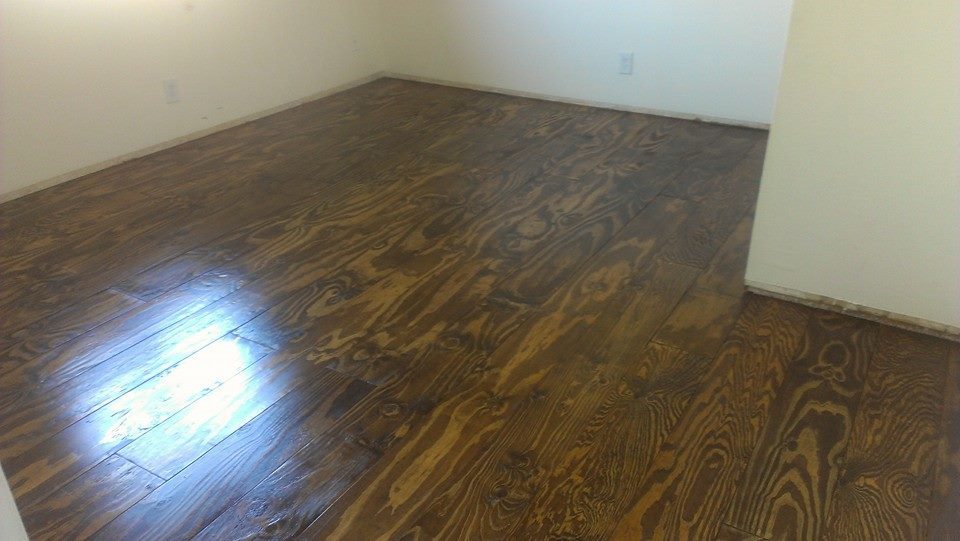
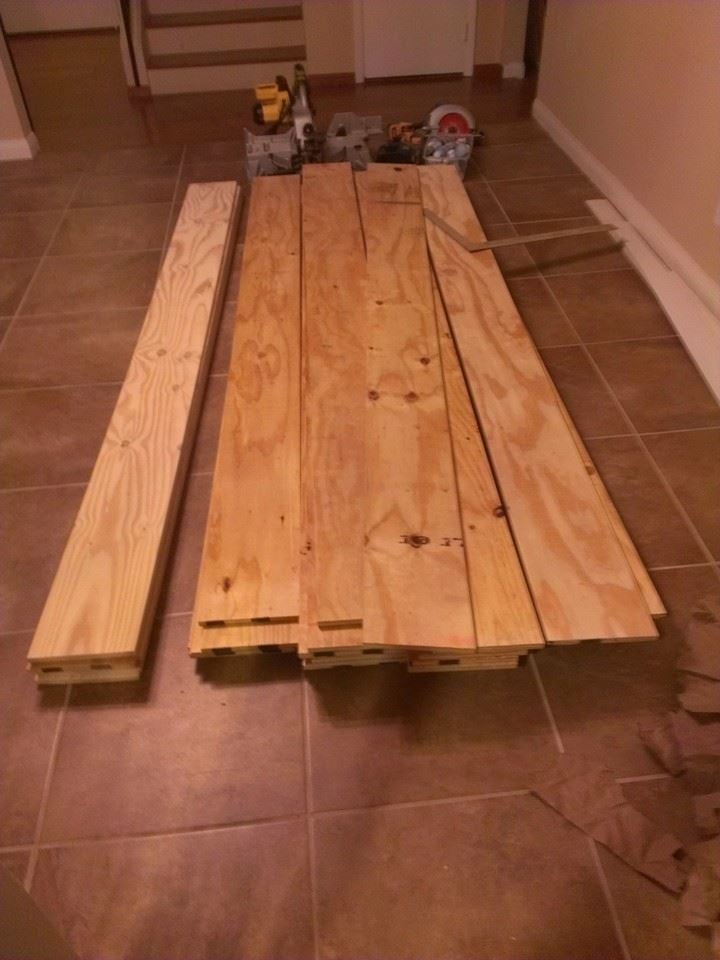
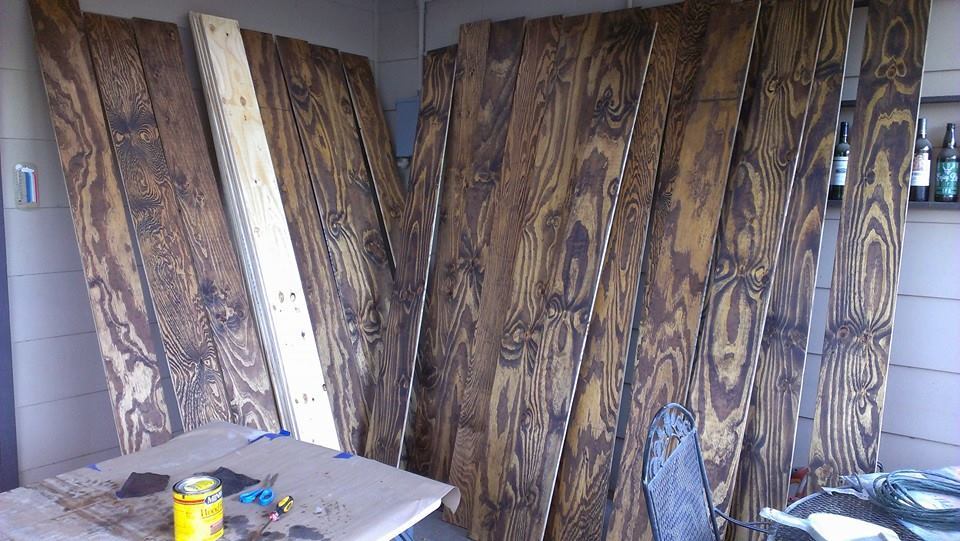
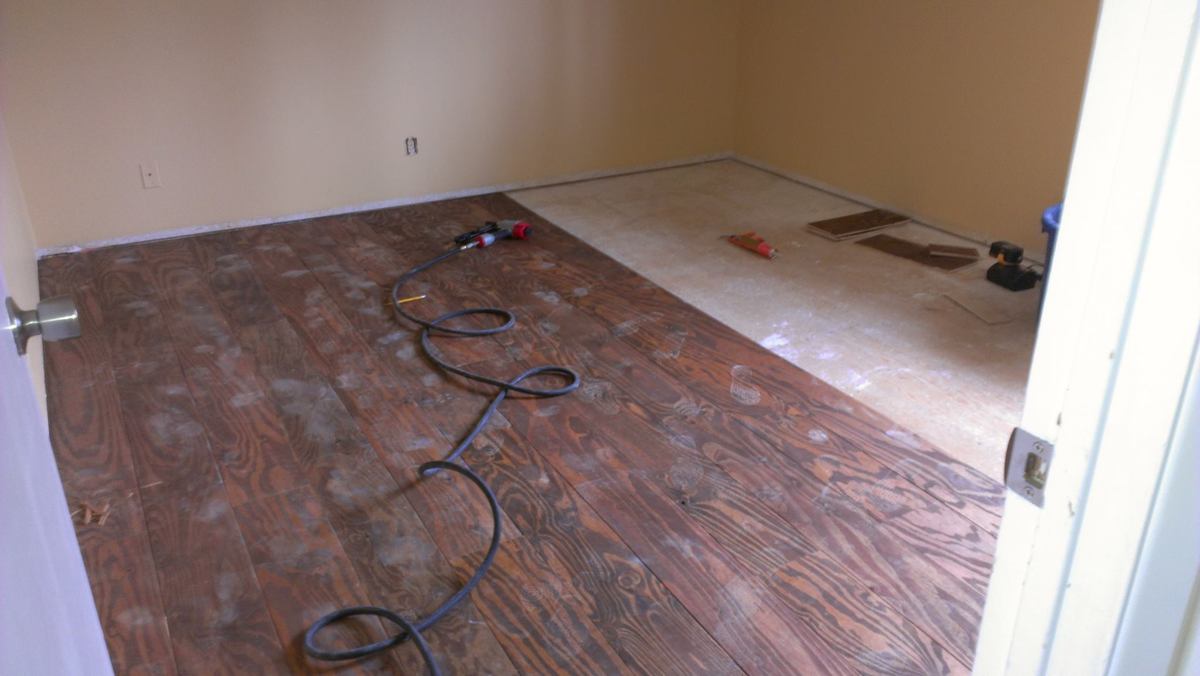
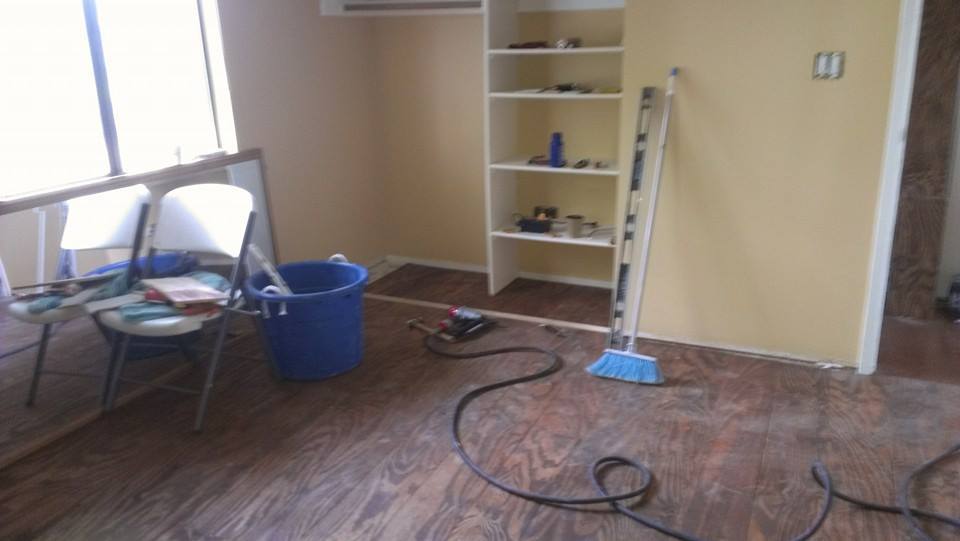
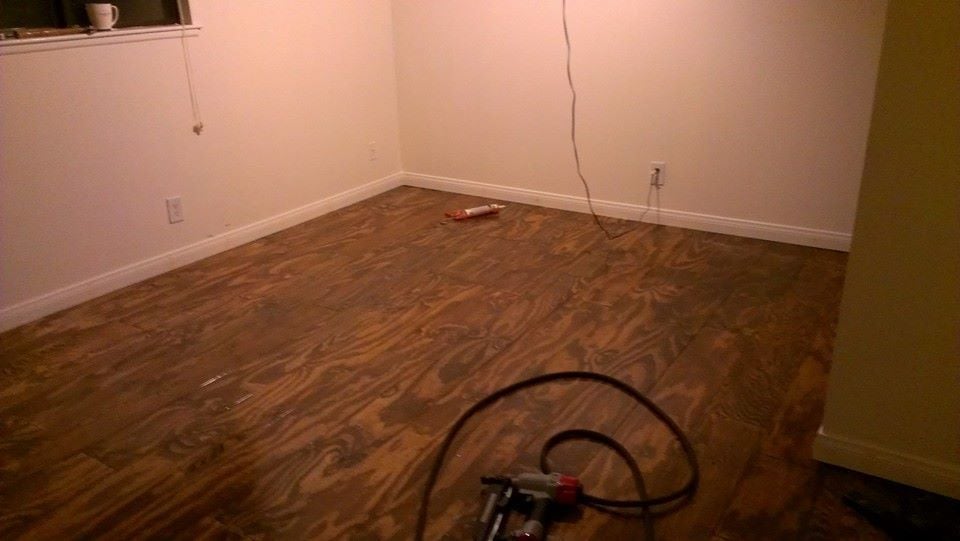
I was inspired by Ana to DIY and save a lot of money. I bought $17 plywood which was the cheap stuff. Lots of knots and rough. I sanded the plywood and cut it into 8 inch planks. I rounded the edges and stained it one time. I nailed it directly to the subfloor and used liquid nails as a second bonding agent. After the floor was nailed in I re stained it and applied 9 coats of flooring poly. It turned out so good im doing the entire 1400 sq feet upstairs of my home! I plan on making many of Ana's furniture projects to fill the rooms once its all complete!
Sun, 04/06/2014 - 16:26
Wow. This looks great. I wanted to go with wood floors, but instead my husband chose with laminate flooring. How does it hold up being plywood?
Sun, 04/06/2014 - 16:26
Wow. This looks great. I wanted to go with wood floors, but instead my husband chose with laminate flooring. How does it hold up being plywood?
Our two teen boys (13 and 14) took this on for a summer project. Their dad supervised the sawing, but it was a great first project for them. The plans were FANTASTIC! Everything went together perfectly, and we are super pleased with how it turned out! It is a large bench that the entire family can sit on at one time. Our dog is 60 pounds and she has a lot of room on it!
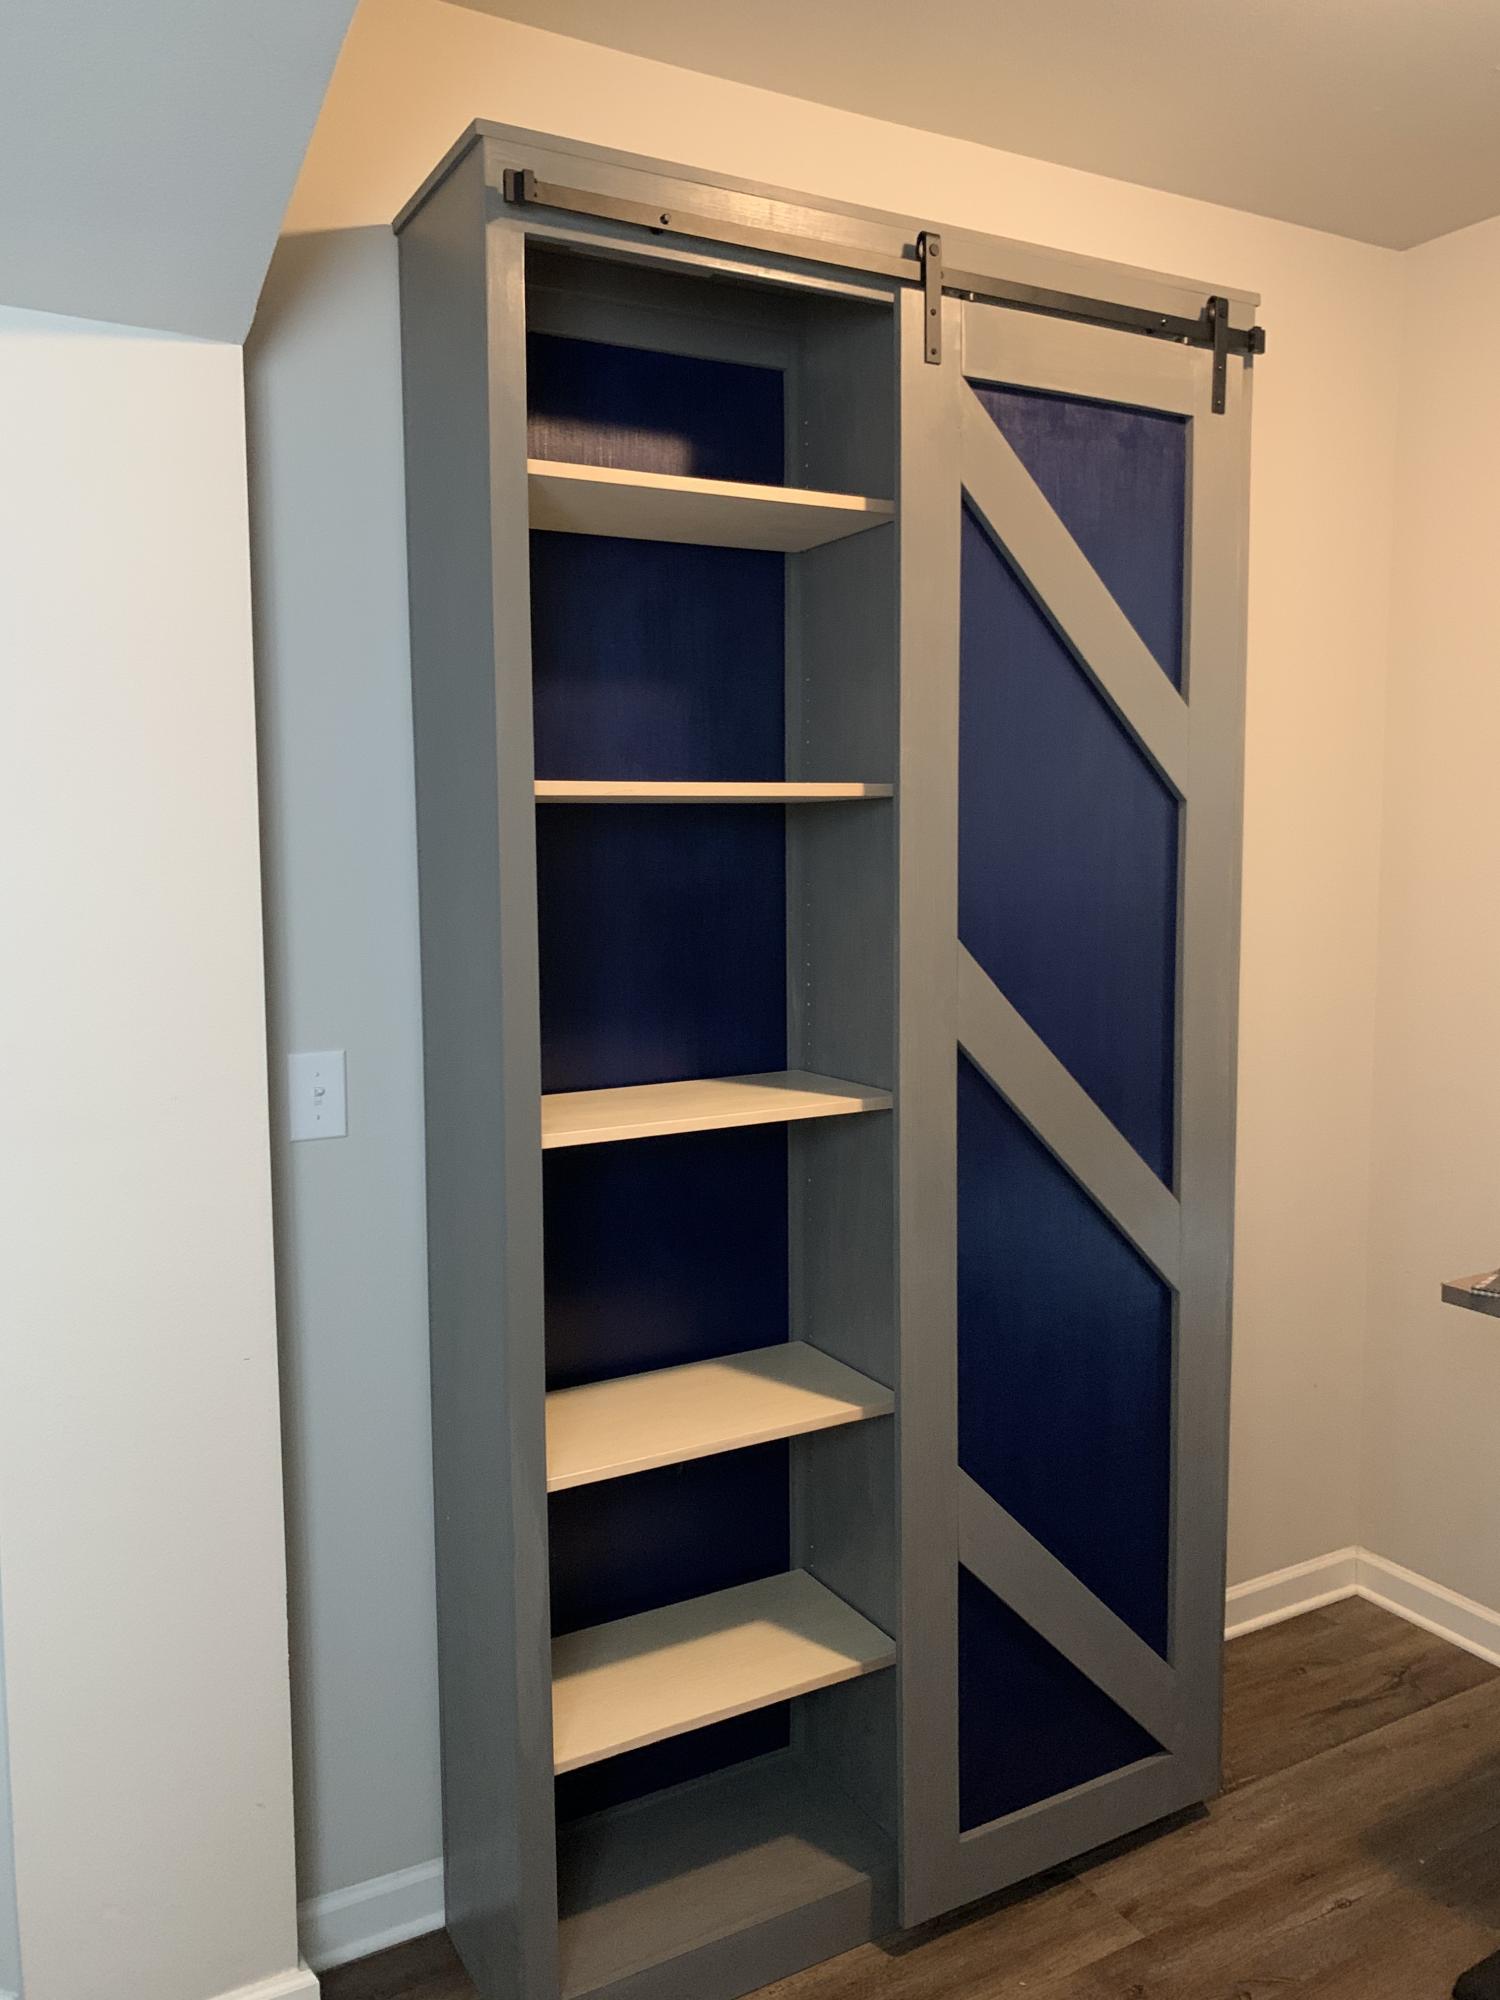
I used the plan but just made mine taller, some mistakes changed how some things looked and were done. It's always an adventure but fun!
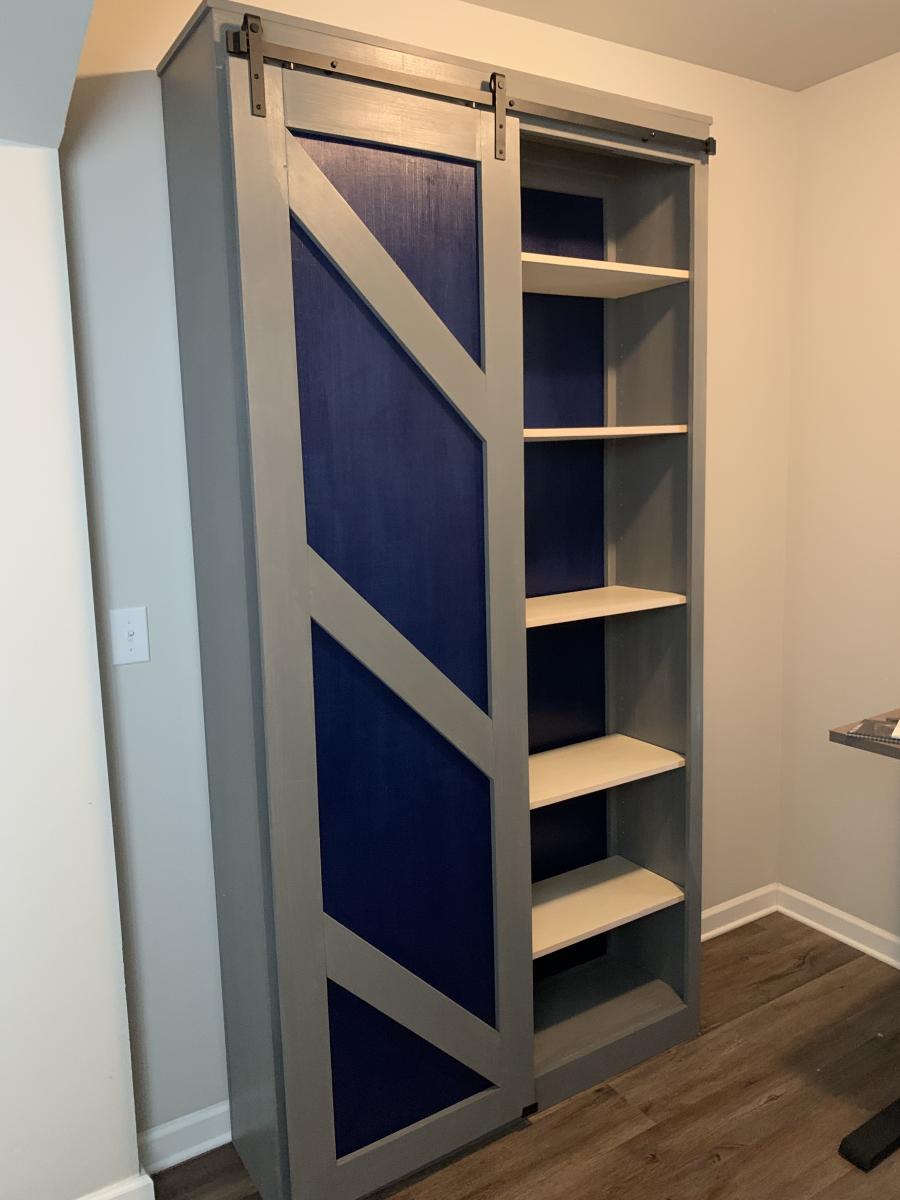
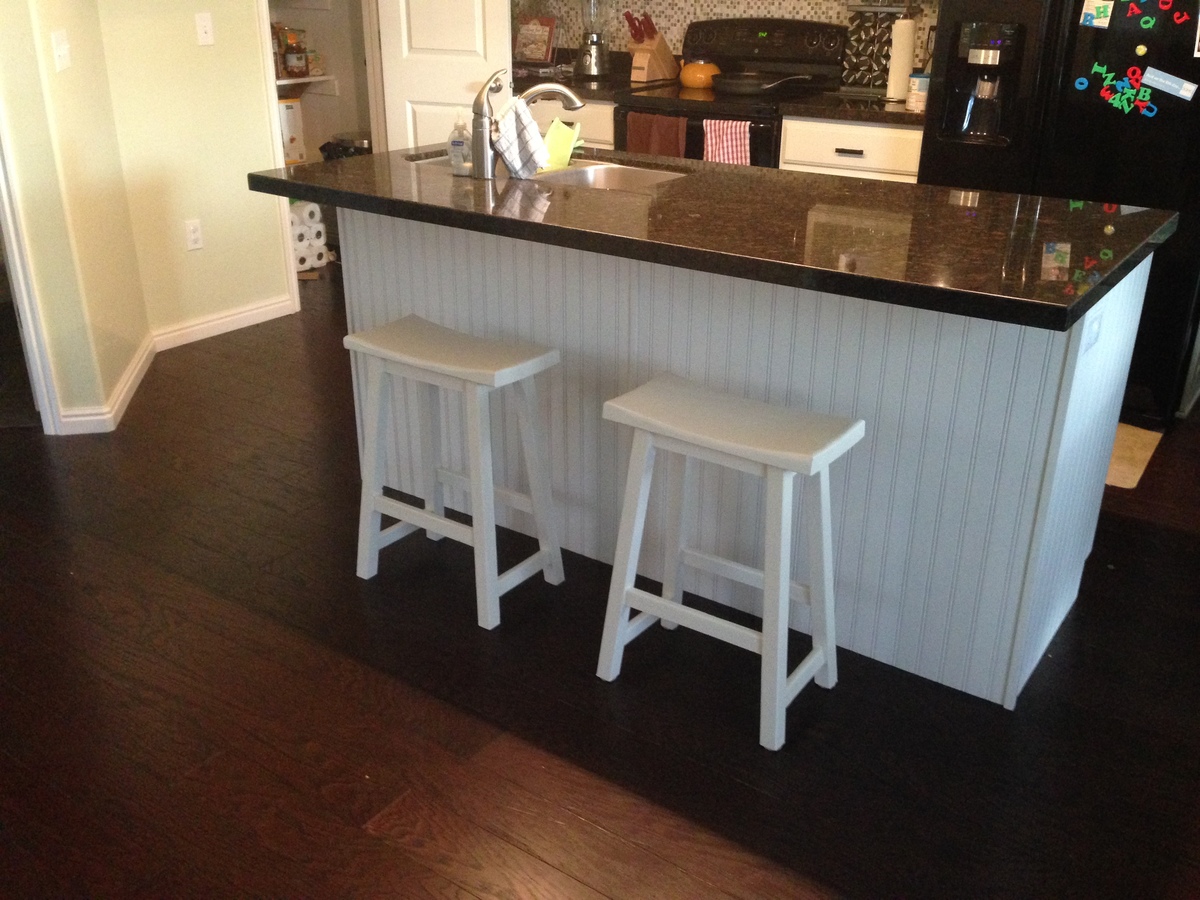
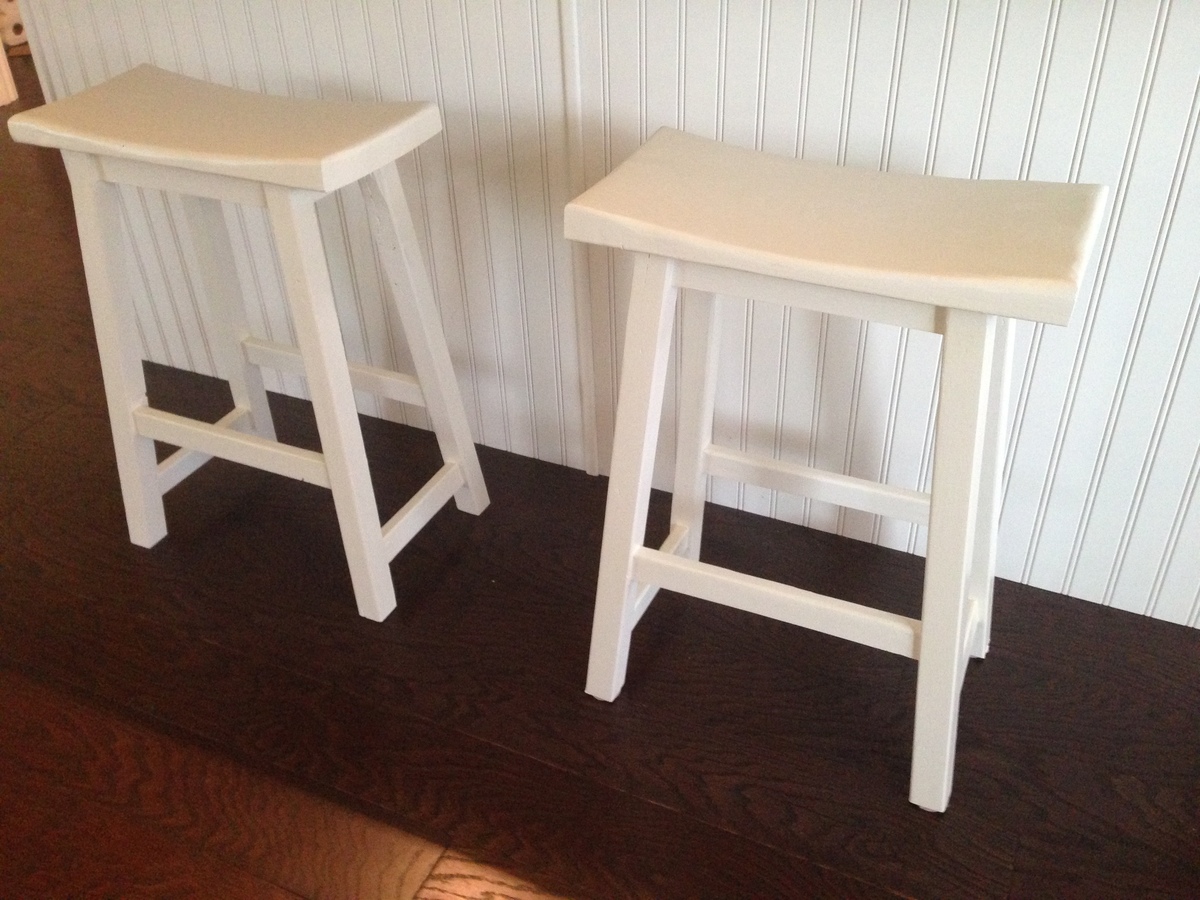
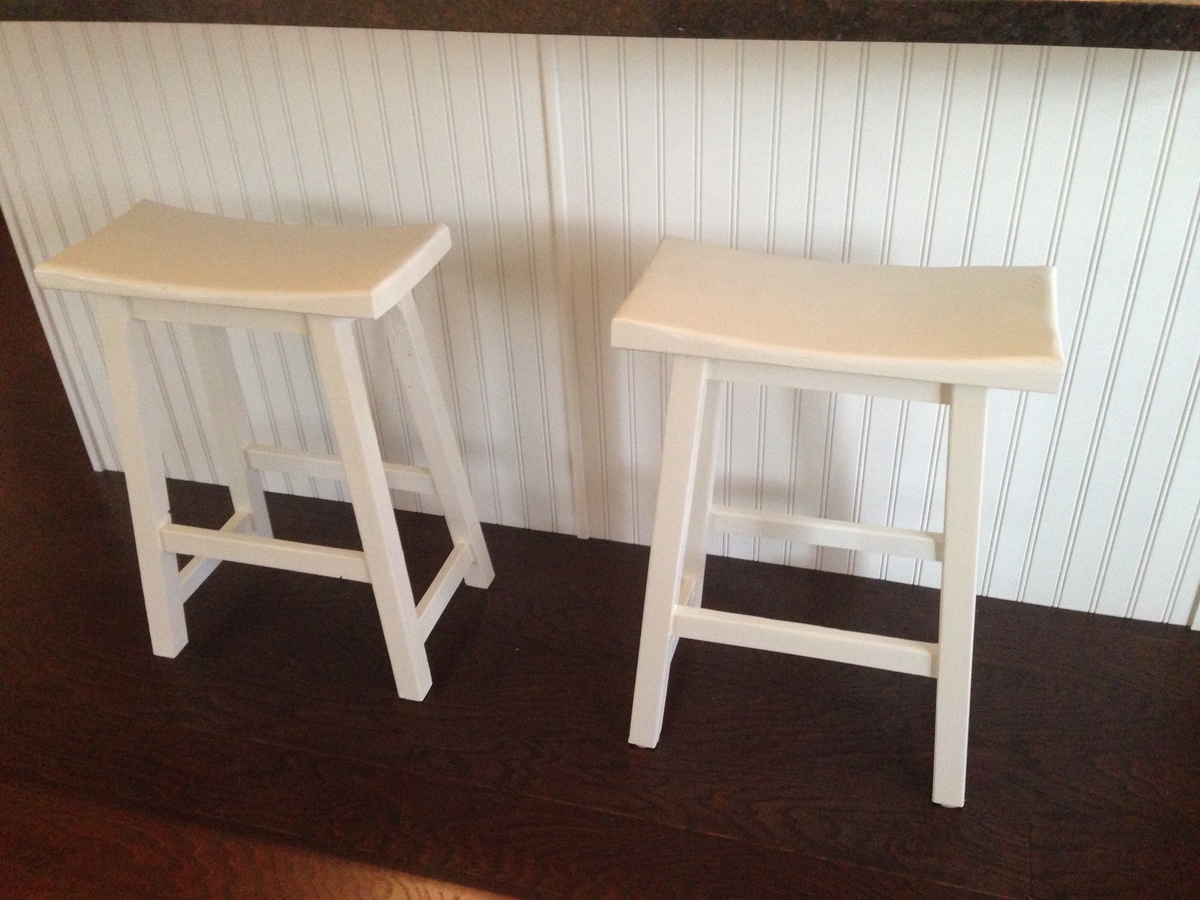
I slightly modified the plans to give them more of a "Saddleback" style. I used a 2x10 for the seat, then belt sanded for an hour to give it the concave shape.
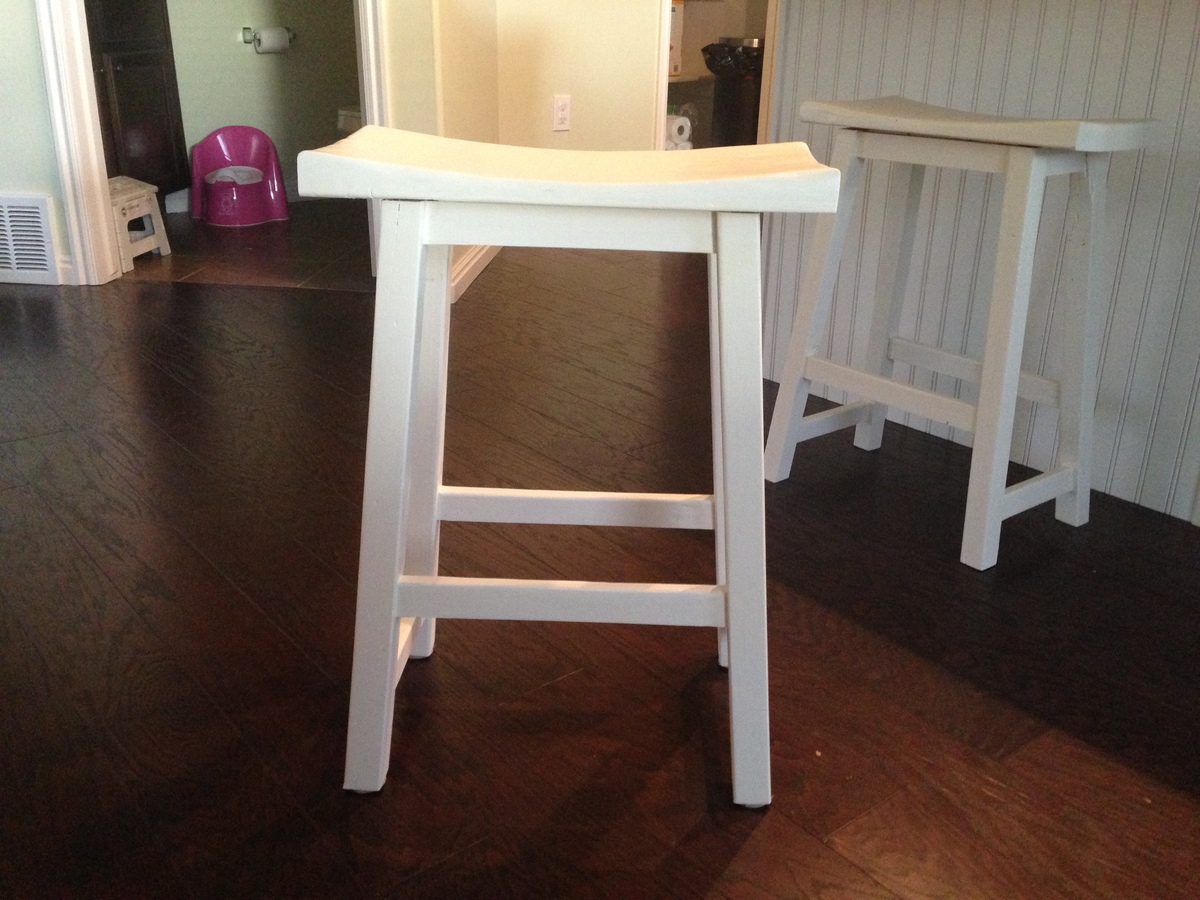
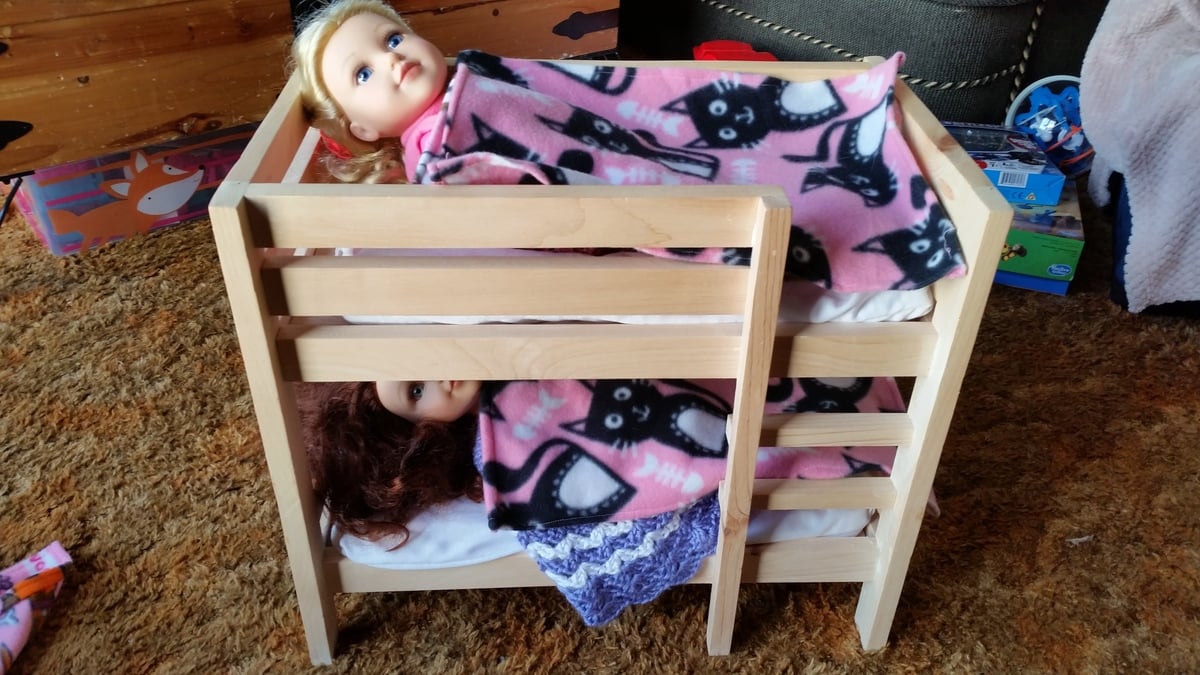
I made this for my daughter as a Christmas gift. She was thrilled and still plays with it every day. The tutorials are detailed and easy to follow. I used material left over from some of my other projects. There was a learning curve for the sewing portion so it took me longer to learn how to use the sewing machine. I am a better carpenter than a tailor :)
Thanks Ana...I will try more of your projects.
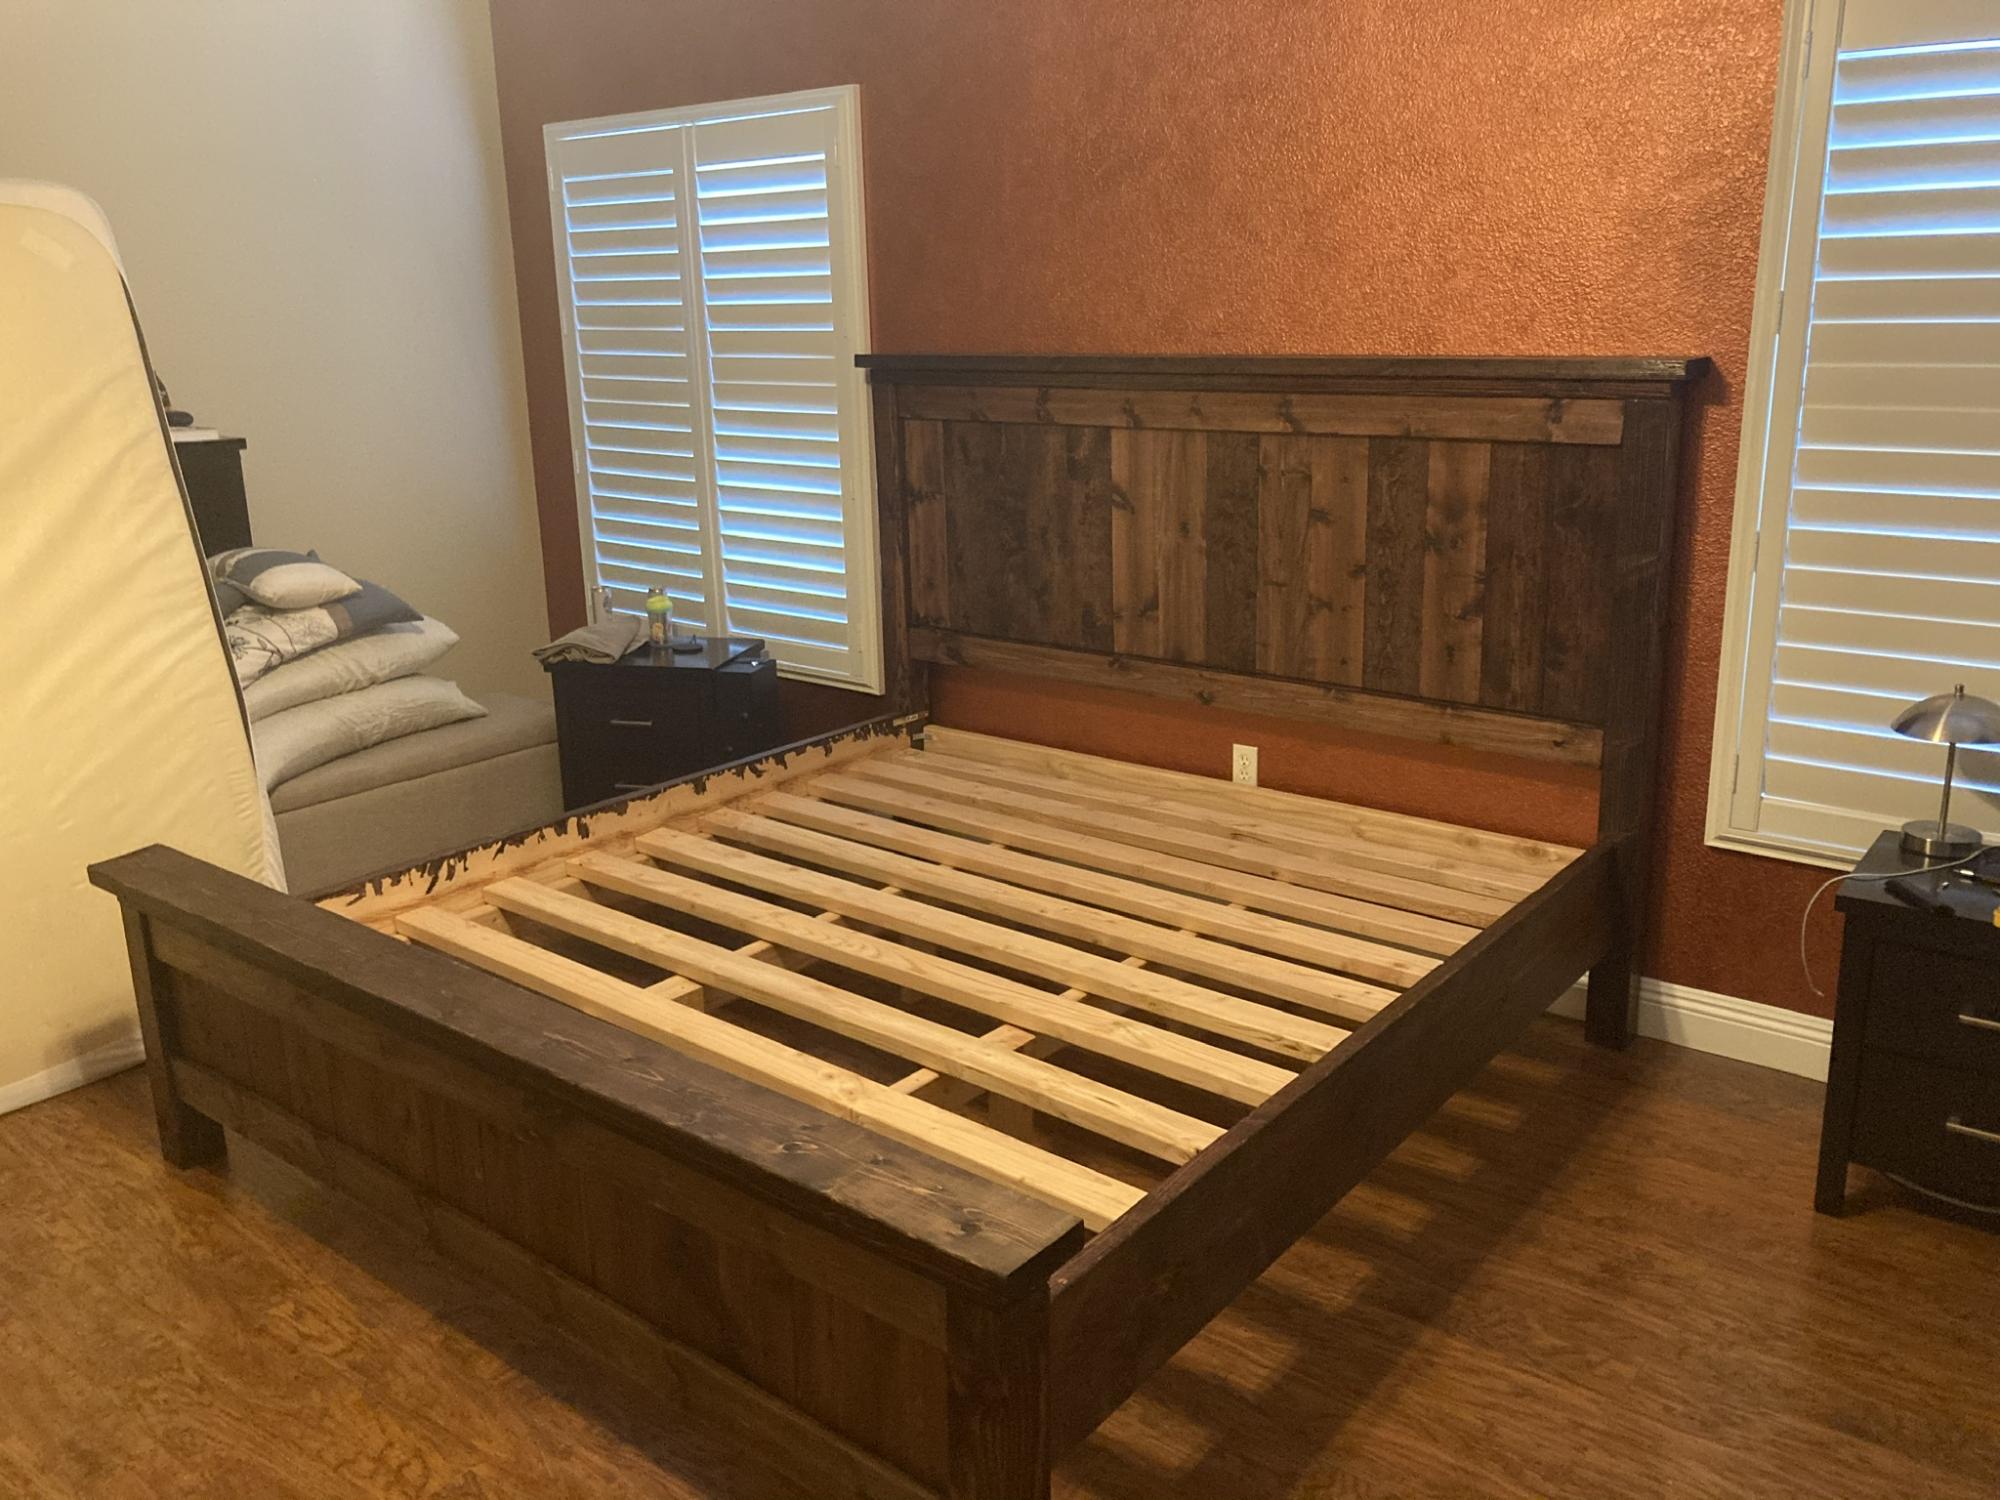
Relatively simple project. Just follow the the directions step-by-step and there will be no issues finishing in a day. Have to start early if planning to stain and complete in the same day.
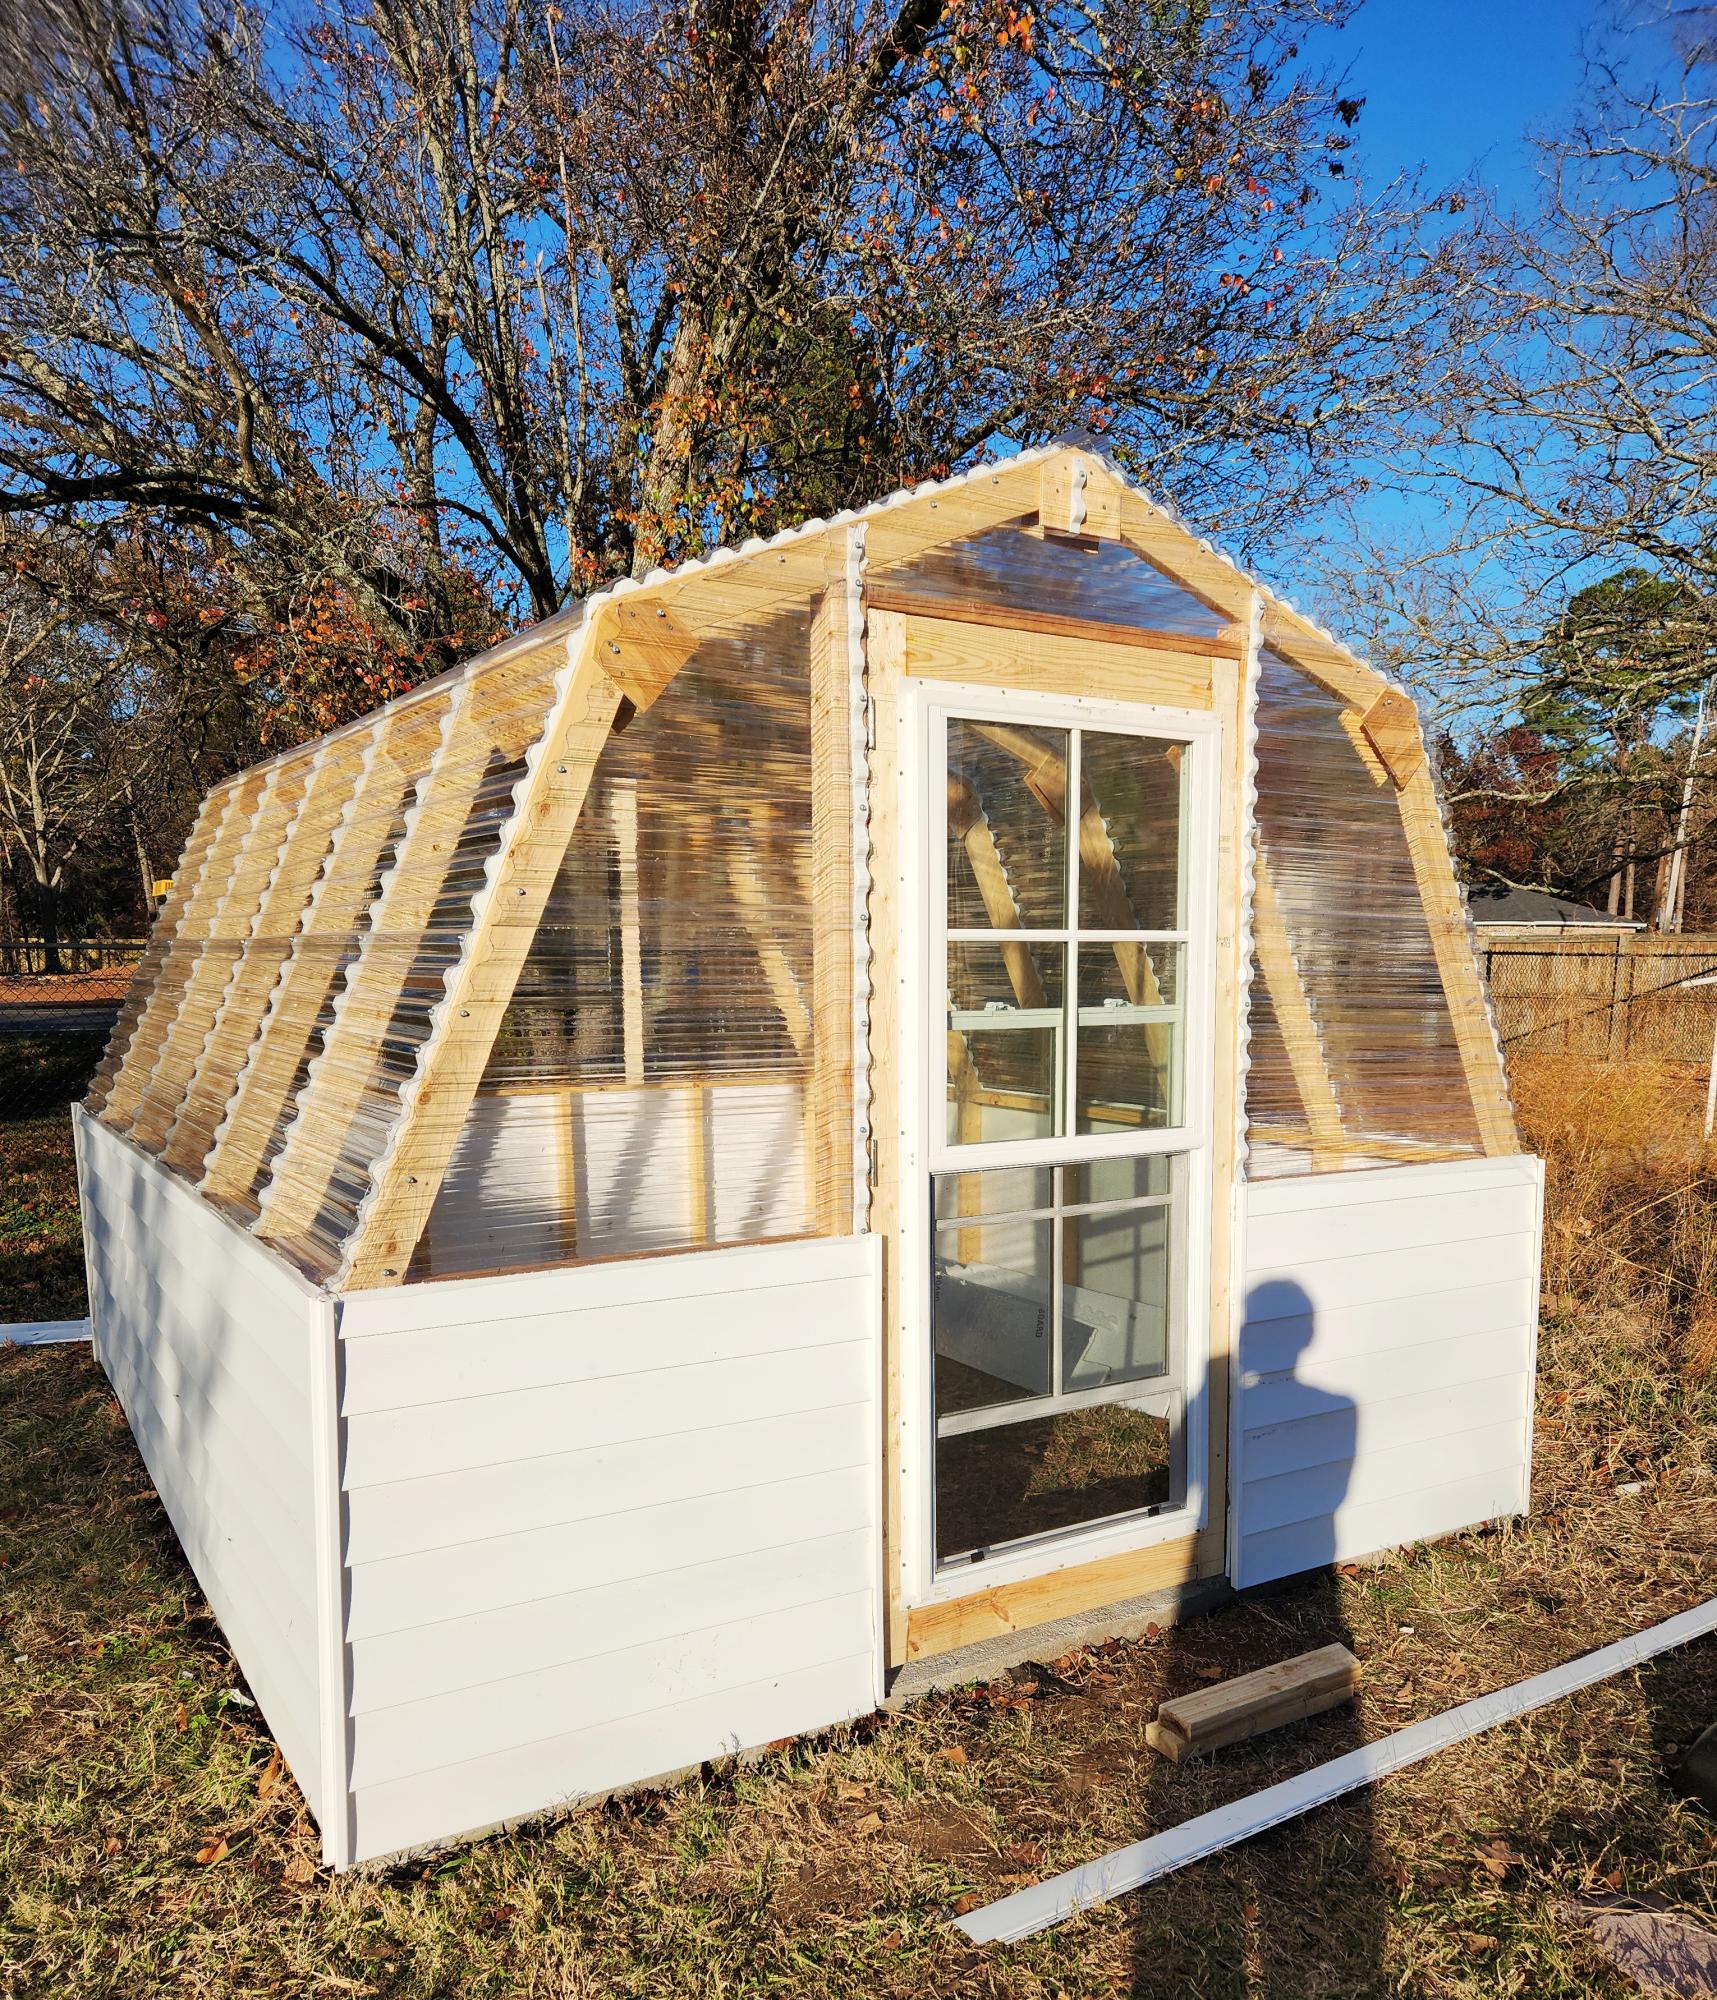
Our greenhouse. Long time coming but your plans were easy to follow. Can't wait to try some others.
Charles
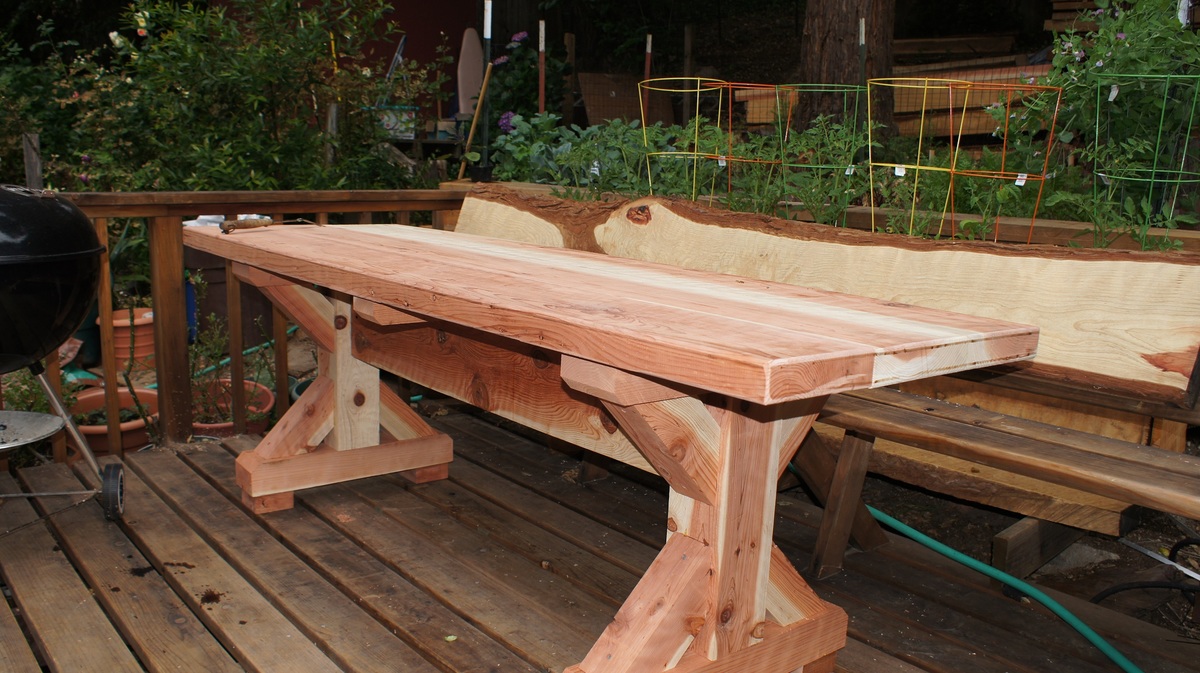
I had to take 2 redwood trees down last year so I learned to mill my own lumber. This picnic table is my first attempt at furniture. The dimensions of the wood is beyond "full" so a cutlist would be meaningless. For reference the table top boards are 2.25"x9.25"x7'.
The inspiration is from the Fancy X Farmhouse Table project on this site.
I don't know how you would price or time this because I started from logs 8^)
This site is awesome!
Mon, 06/18/2012 - 14:50
The table is simply beautiful! I love the natural color of the wood. It looks indestructible.
My gorgeous desk.