Community Brag Posts

Dream dollhouse just in time for Christmas!

Submitted by DKlein10 on Wed, 12/11/2013 - 05:14

This project took me a while to do just because I had to fit the time in to complete it. Plus I changed the stairs up from the plan because I didn't like how they turned out. They seemed to sag in the middle when you pushed down on it like a kid would when walking the dolls upstairs. I then tried the 2"X4" method suggested somewhere in the posts but that didn't turn out well either. So I searched online and found Wayne of the Woods website here: http://www.wayneofthewoods.com/dollhouse%20plans.html
Scroll down and find the stair plans I adapted to fit the dollhouse I built. I used scrap 1/4" plywood and 1 1/4" (I think) "L" trim/molding. I think I'm most proud of those stairs! :)

Estimated Cost
$75
Estimated Time Investment
Week Long Project (20 Hours or More)
Finish Used
Golden Oak, I believe.
Recommended Skill Level
Beginner

Comments

Cassandra Roberts

Sat, 12/21/2013 - 14:18

This is beautiful! It's exactly how I envision ours turning out when its done, but gender neutral. THANK YOU SO MUCH for the stairs idea, I really didn't like either other option.

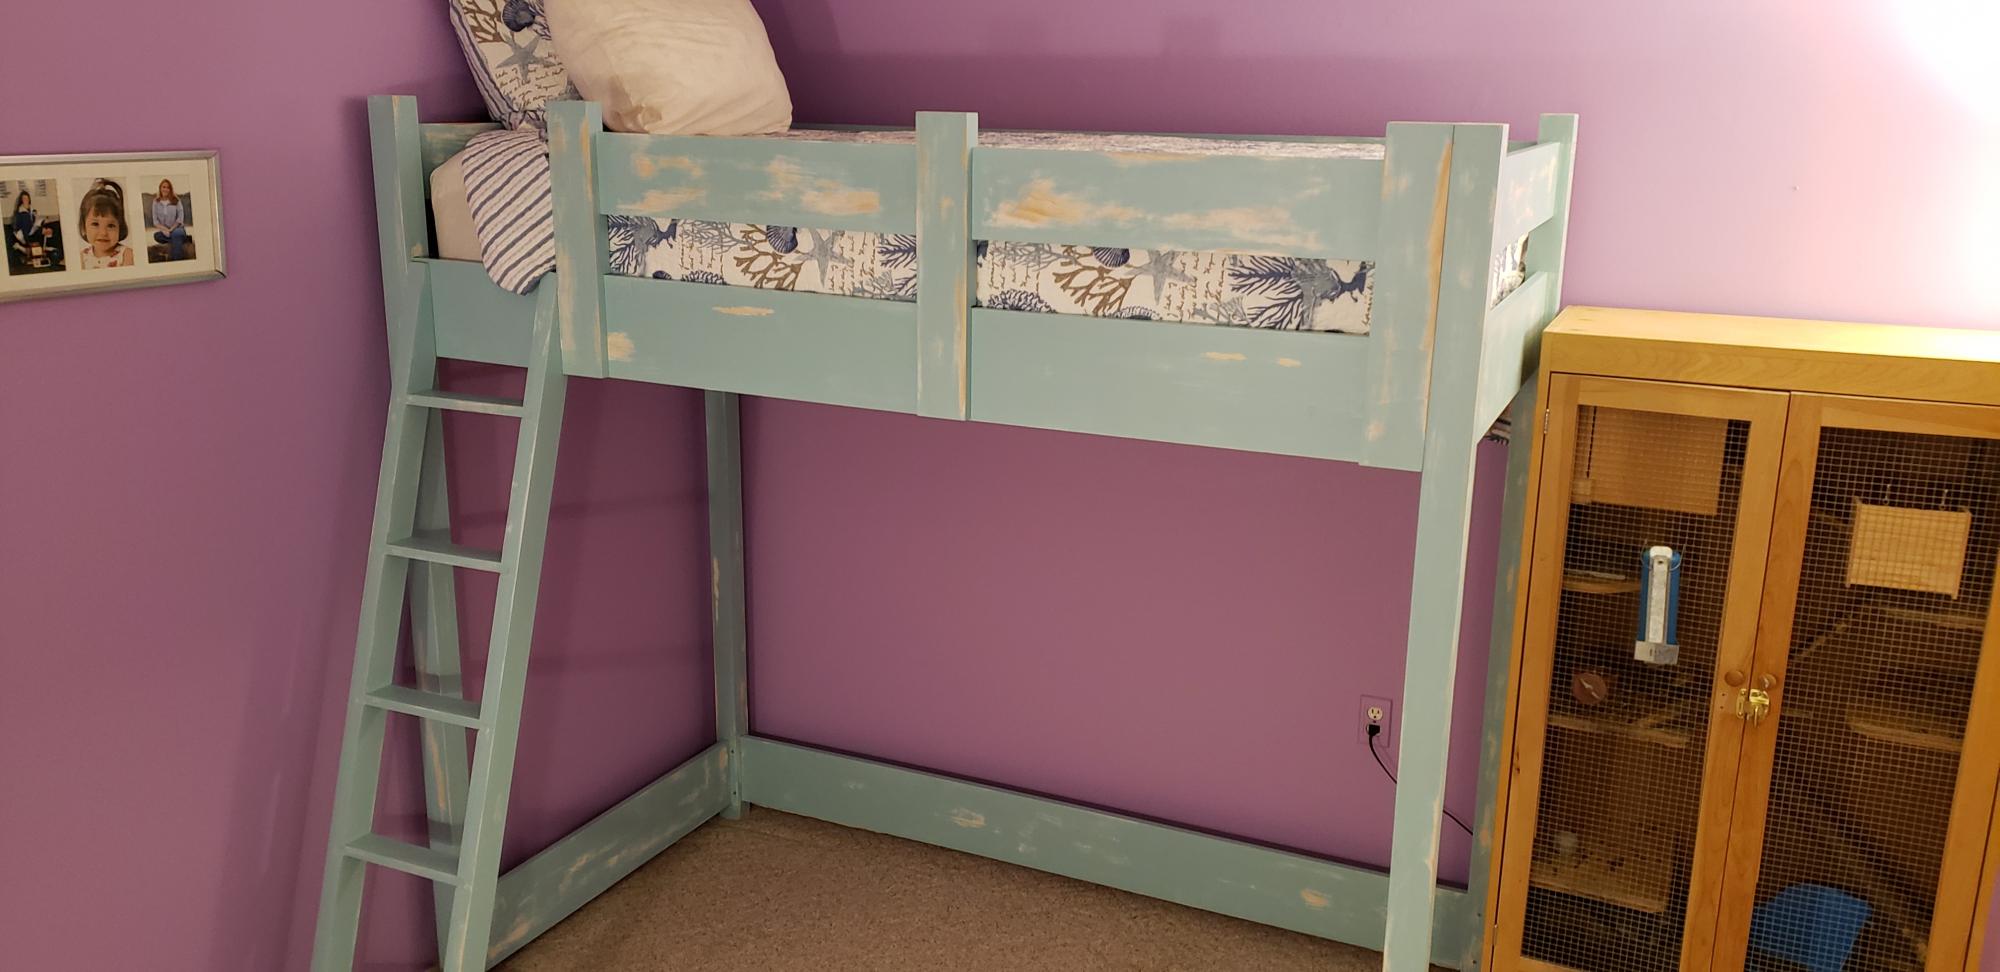
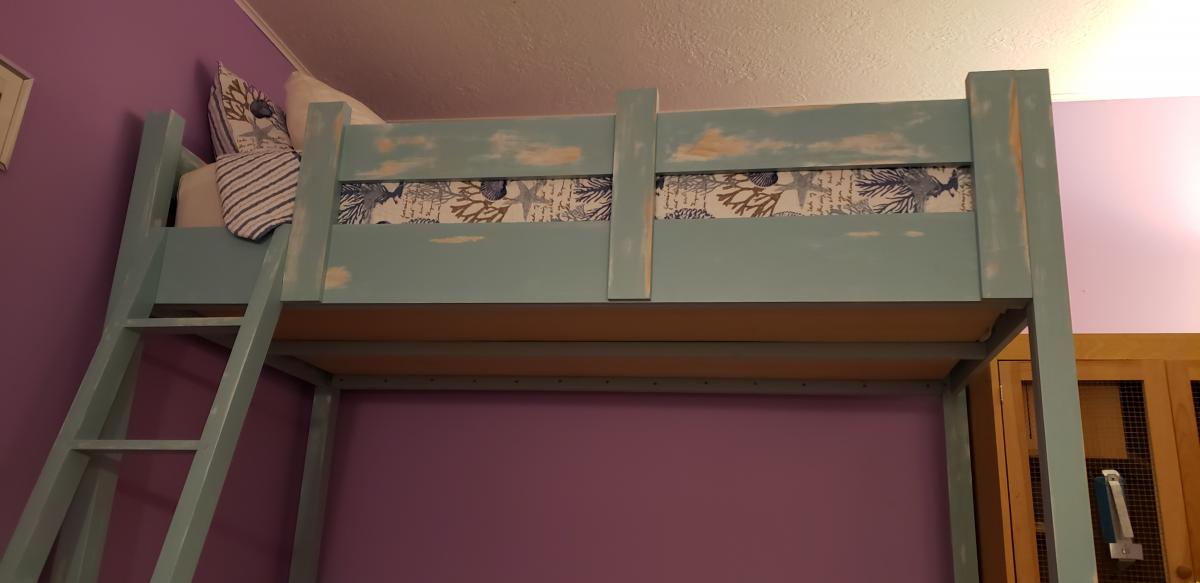
4 year old so LOVES his bed!!

Submitted by Anonymous (not verified) on Mon, 02/22/2016 - 22:58

These plans where so easy for my hubby to follow and put together. My son's room is small and even though it's a big bulky bed he has all that floor space to play now!! 

Estimated Time Investment
Afternoon Project (3-6 Hours)
Finish Used
We used a diy chalk paint to finish it off. Mix 1/3 cup plaster of Paris with 1/3 cup of water and 1 cup of acrylic paint.
Recommended Skill Level
Intermediate

Farmhouse Bed with Antique window headboard

Submitted by Anonymous (not verified) on Thu, 10/03/2019 - 13:41

I had been searching the internet looking for plans to make a headboard out of an old window I found. I came across these plans and they worked perfectly. Thank you for the great plans and tutorial!

Built from Plan(s)
Estimated Cost
$200.00
Estimated Time Investment
Week Long Project (20 Hours or More)
Finish Used
Varathane
Pre-stain wood conditioner
Special Walnut penetrating stain
Weathered Oak penetrating stain
Polyurethan
Recommended Skill Level
Intermediate

Comments

Inspirational

Submitted by Anonymous (not verified) on Fri, 06/16/2023 - 15:52

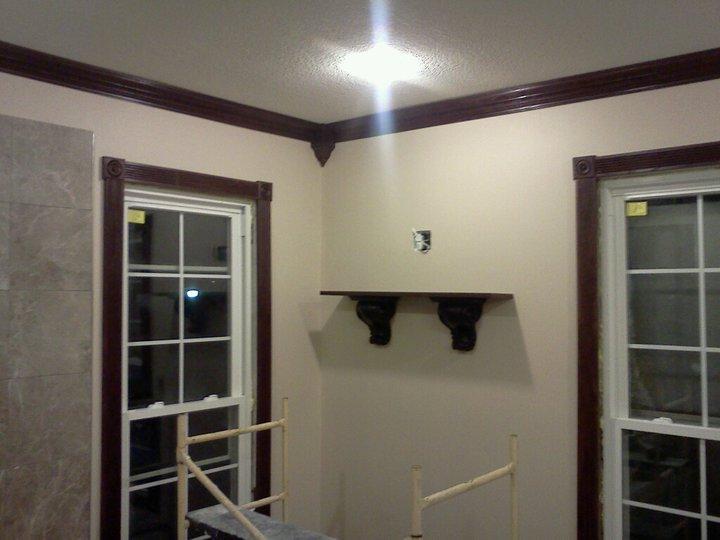
Love your site and wondering if you needed an idea. I know I would love to see a plan for this bathroom shelf. See picks attached. I was in a hotel and just had to take some pics of it for you.
Think you will design any more tiny homes? Keep up the great work and love, love you’re designs.

Comments

Doll Farmhouse Bed

Submitted by Karajoy on Sat, 02/04/2012 - 16:59

My 6 year old son and I made this doll bed for my daughter. It's the cutest little bed. Right now she puts her "Bitty Baby" doll in it but it will be great for when she's older and has an American Girl doll, too. And, it gave me a chance to make a little quilt. That was fun.
It was a quick and easy project! Thanks, Ana!!

Estimated Cost
Used Scrap wood. Cost was paint.
Estimated Time Investment
Afternoon Project (3-6 Hours)
Finish Used
White paint.
Recommended Skill Level
Beginner

playhouse bed

Submitted by ambro on Sun, 12/15/2013 - 09:38

I altered the plans a bit so this would fit along the wall where we wanted it. I basically shortened the width of the steps. I left the storage under the hinged 1st and second steps but I put in a shelf style cubby under the top step. This worked out to more useable space for us. I used cheap wood and just plained them down. I think I spent around 300 dollars including paint. But I also used a full sheet of plywood on the back as well.

Estimated Cost
300
Estimated Time Investment
Weekend Project (10-20 Hours)
Finish Used
Paint by Valspar.
Recommended Skill Level
Intermediate

Kitchen Console/Mini Island

Submitted by Marcie89 on Fri, 02/26/2016 - 09:14

I wanted to replace the awful cart we keep our coffee maker and toaster oven on, and have always wanted to see a butcher-block top in our kitchen. We are renters, so doing anything like countertop remodeling is out of the question. I decided to build this little console and present it to my husband, the coffee-drinker of our house, for Valentines Day. The actual construction of the console was very easy, it was the sanding, plugging of pocket-holes, and staining that took a week! My husband loves it, though, and immediately rid of the old cart and set up his coffee-maker on the new one. We are both very proud of it.

Built from Plan(s)
Estimated Cost
$75
Estimated Time Investment
Week Long Project (20 Hours or More)
Finish Used
General Finishes Gel Stain in Java, Candlelight, Prairie Wheat, New Pine, Brown Mahogany. I used masking tape on the top to create a multi-colored faux butcher-block effect. Quite time consuming, but worth the extra effort in the end, IMO :)
Recommended Skill Level
Beginner

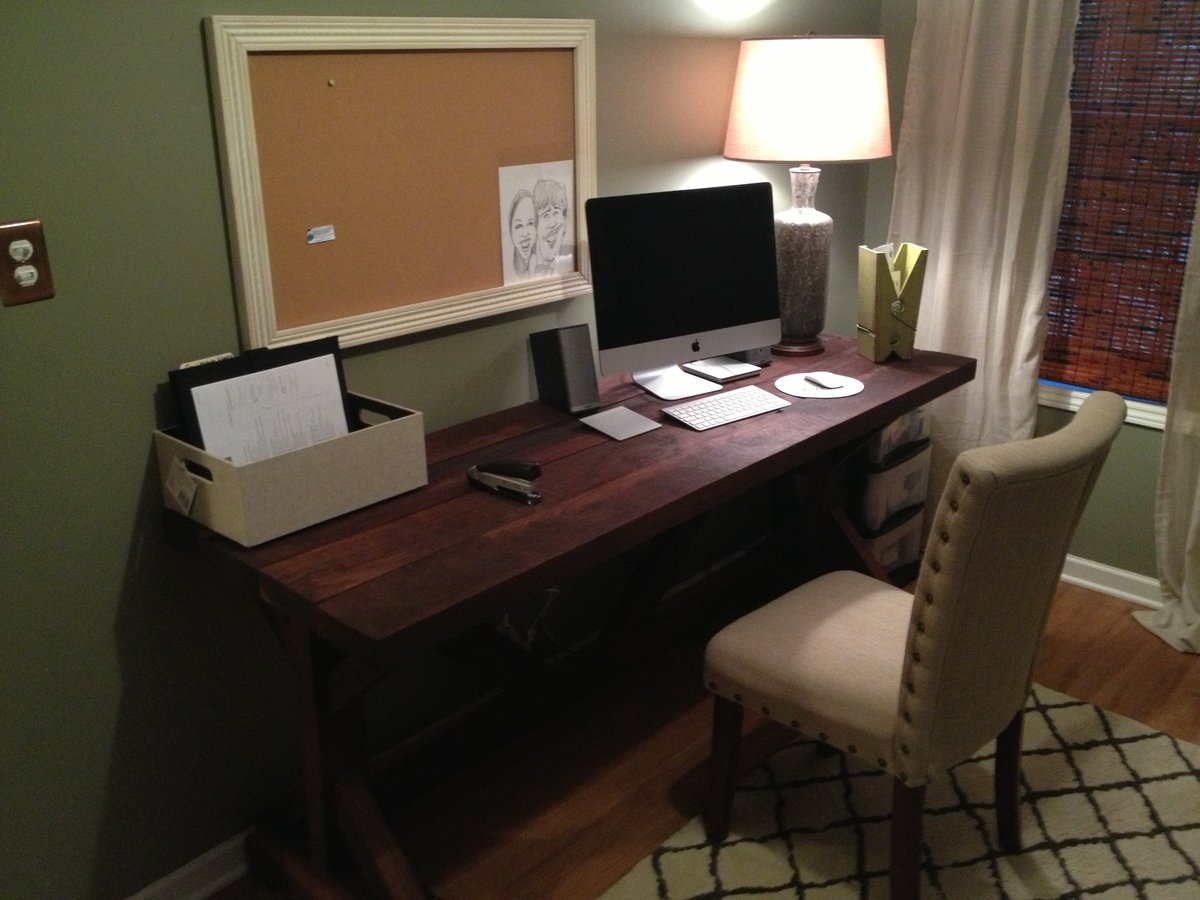
Fancy x desk

Submitted by Anonymous (not verified) on Sat, 10/05/2019 - 20:07

Built this for a friend. Changed up some of the dimensions but the plans were great. Super easy!

Estimated Cost
$70
Estimated Time Investment
Afternoon Project (3-6 Hours)

Comments

Ana White

Tue, 11/05/2019 - 10:39

Awesome project!

Thank you so much for submitting.  We are so excited to let you know your entry was randomly selected for a $100 gift card.  We will be emailing you directly as well.

Thanks again!

Ana

Clara /Lemonade/yard sale table

Submitted by angiemicn on Wed, 02/08/2012 - 01:57

My niece, who visits often needed a place of her own, for drawing, painting, playdohing, and of course the token lemonade stand. This is is, she loves it. When she's here, one weekend a month, it comes out, into the sunshine, so she can do her little girl activities. I left the top so I can resand if there are any accidents, and now it has a coat of poly sprayed on. I did make this project intermediate, due to the very tricky screwing that needs to be done not to go thru the top. I did use my Kreg Jig

Built from Plan(s)
Estimated Cost
25, I used pine, a little more expensive, well worth it
Estimated Time Investment
Day Project (6-9 Hours)
Finish Used
Kilz and pure white on legs and apron, top is polyurethaned lightly, has required two sandings due to heavy kid play, is still as beautiful as the day it was born in my garage
Recommended Skill Level
Intermediate

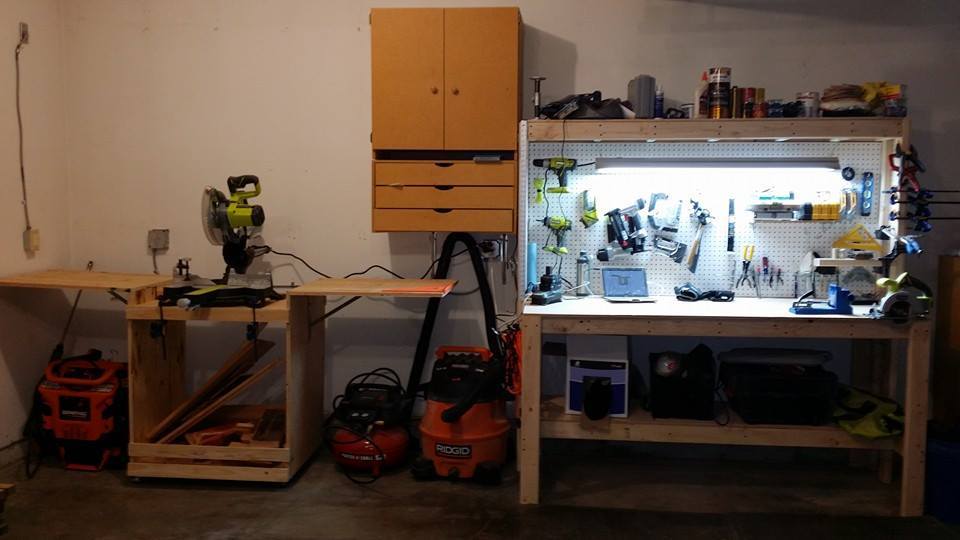
Almost wall to wall garage storage

Submitted by sraper2 on Wed, 12/18/2013 - 14:20

I didn't use one of your plans for these shelves but wanted to share it here since I learned how to build because of you! These were really easy to put together and only cost $100!!! I have the step by step plans on my blog.

Stephanie

Estimated Time Investment
Afternoon Project (3-6 Hours)
Recommended Skill Level
Beginner

Comments

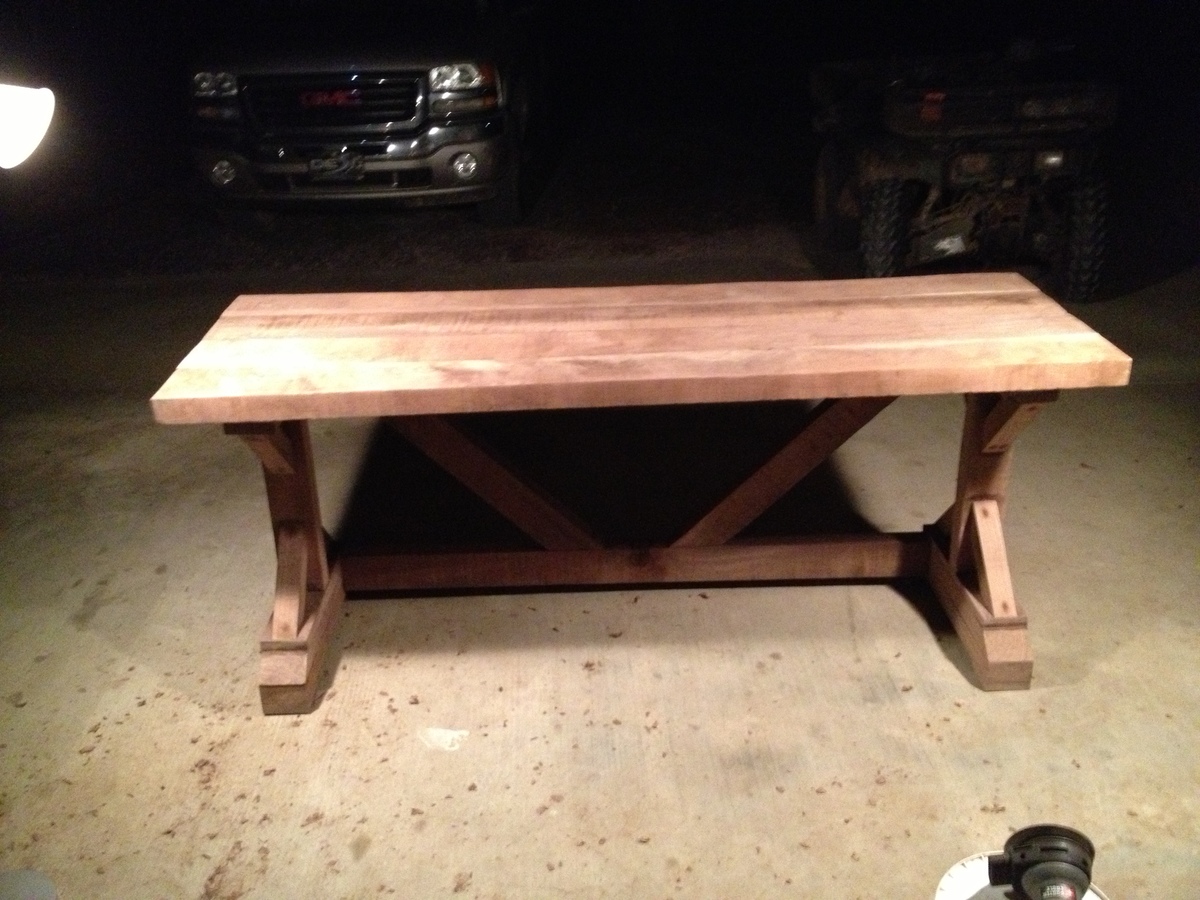
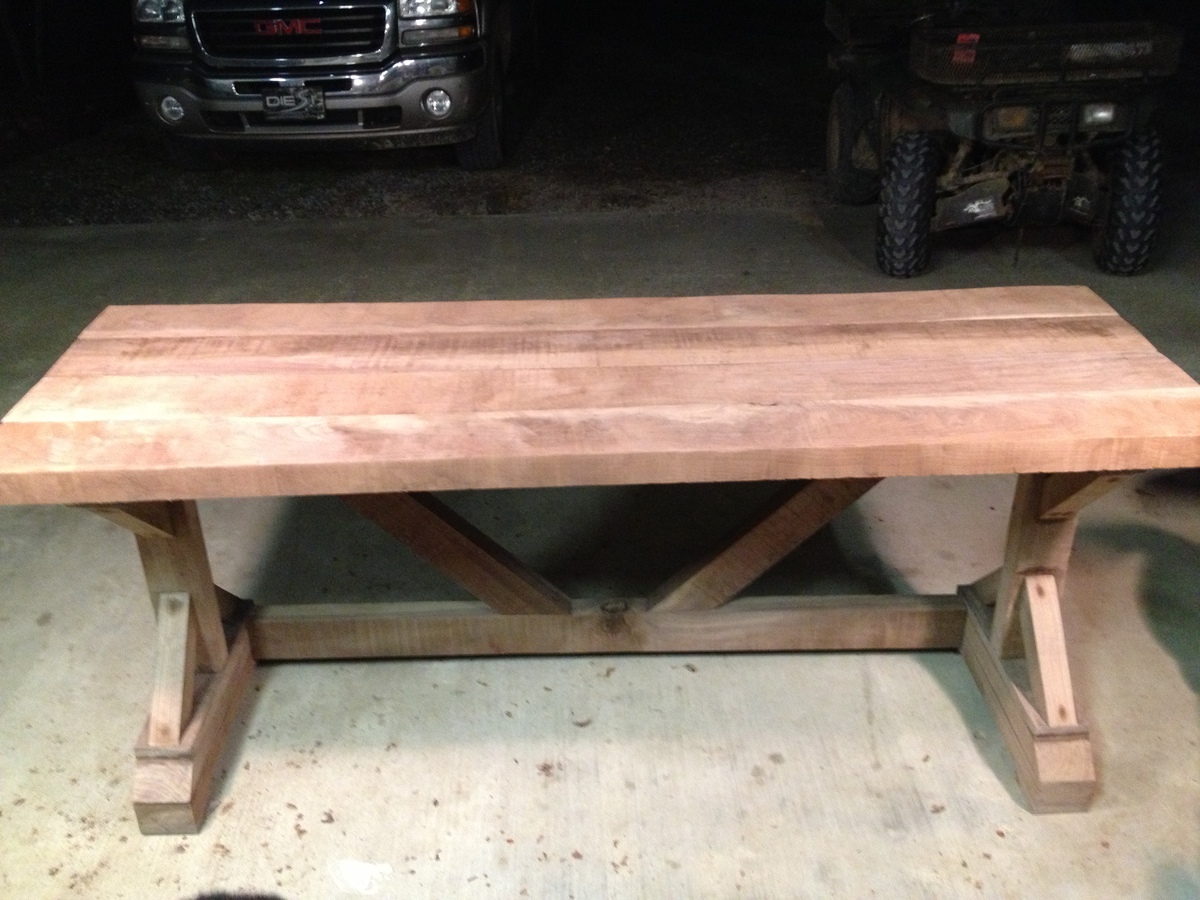
Restoration Hardware Inspired Table

Submitted by cjddesigns on Mon, 02/29/2016 - 07:00

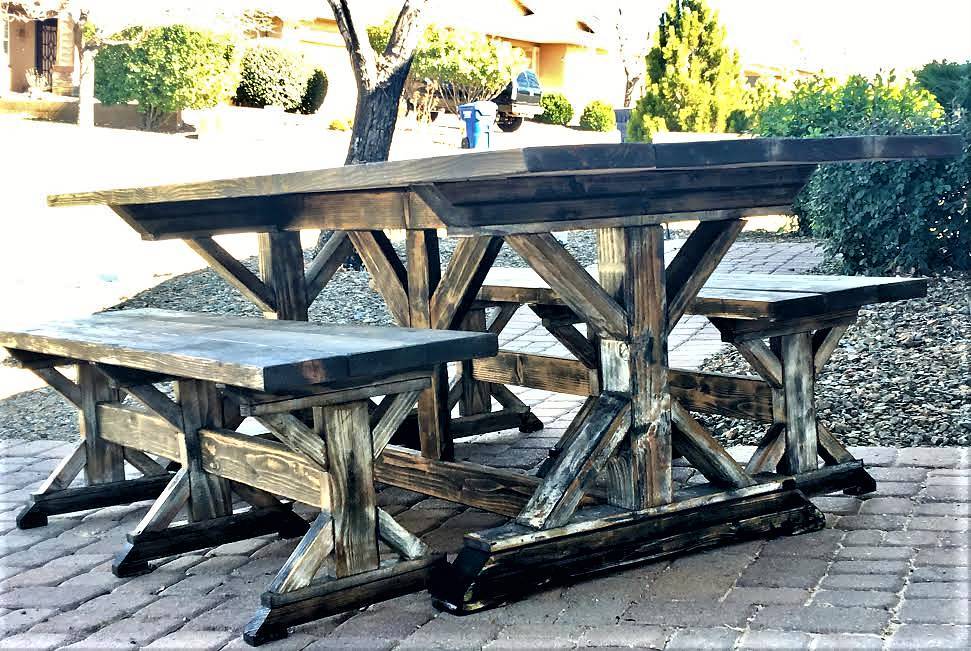
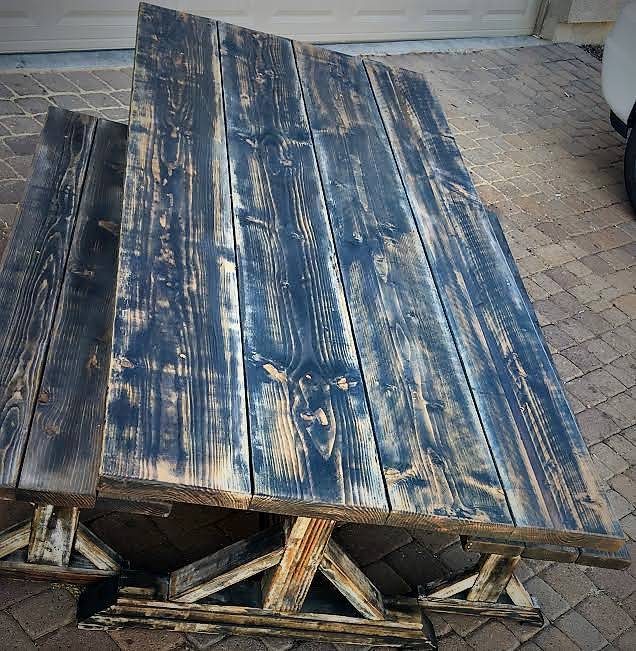
My wife wanted a farmhouse, rustic, restoration hardware type table but I wasn't about to spend the crazy money on one.  So I told her let me see if I can build one she would like and she loves it.  

Built from Plan(s)
Estimated Cost
$150
Estimated Time Investment
Weekend Project (10-20 Hours)
Finish Used
3 step process
Recommended Skill Level
Beginner

King Bed Frame for adjustable base

Submitted by Anonymous (not verified) on Tue, 10/08/2019 - 05:50

I could not find a frame which would accommodate my new adjustable king base. Modified Anna's plans by increasing the height of the headboard and footboard. Finished with chalk paint and antique finish for a rustic look. Side rails attached with mortises to allow for moving bed in 4 pieces if needed. Love my new bed

Estimated Cost
$300
Estimated Time Investment
Weekend Project (10-20 Hours)
Finish Used
Chalk paint (purchased from Habitat for Humanity re-store) using recycled paint. Finished with three coats of Annie Sloan wax
Recommended Skill Level
Intermediate

Comments

khowe791

Sat, 11/30/2019 - 03:31

Hi! We are making this headboard this weekend. We want to increase the headboard height and footboard as well. Do you happen to know the cut measurements or how you adjusted the height of the 1x6 (or 1x8 as others used) to make it work? Yours looks perfect! Thank you in advance for any feedback! 

TV Stand

This is a television stand/bookcase I built at the request of my wife. I used red oak plywood, red oak lumber, and the backing is 1/4" birch sheeting. It is put together with trim nails, wood glue, and countersunk wood screws. I used wood plugs to fill the screw holes. I marked it as intermediate due to the miter cuts on the trim.

Estimated Cost
$150
Estimated Time Investment
Week Long Project (20 Hours or More)
Finish Used
I used 2 coats of Minwax Aged Oak gel stain applied with a brush. I wiped the stain down after 10-15 minutes with a cotton cloth. I used 3 coats of of Minwax fast drying polyurethane on the top and 2 coats elsewhere. The birch backing took only one coat of stain.
Recommended Skill Level
Intermediate

Comments

windjamer812

Wed, 03/07/2012 - 23:00

I don't know about a sketch up. I will post the dimensions at some point along with the materials. I do many of my projects in my head and may draw a very rough sketch out.

Storage Basket Shelves

Submitted by Debbie440 on Sat, 12/21/2013 - 13:24

I built this and then ordered storage baskets that fit to the size. I built it exactly to the plan except I did not make the top flush to a back wall and I added decorative trim. I think adding trim really adds a nice look to this project.

The tower was super easy to build and took hardly any time. The most time was spent on the finishing work (sanding and painting).

Built from Plan(s)
Estimated Cost
Unknown/used leftover wood
Estimated Time Investment
Afternoon Project (3-6 Hours)
Finish Used
Sherwin Williams sample paint color matched to an antique white.
Recommended Skill Level
Beginner

Exotic Wood Farmhouse Style Bed

Submitted by Anonymous (not verified) on Fri, 06/30/2023 - 11:09

I loved your farmhouse bed , so decided to make my own , but with wood wat is available here(Philippines) the post and the frame is made of Mango wood , the tree fell down during the typhoon, so I made boards and beams out of it , for the headboard and also the footboard used Moldave/Mahogany/Ipalipal/and a few kinds I don't know the name

Built from Plan(s)

Basic Bookshelf

Built this over a couple of week nights. I used the basic bookshelf plans available on this site.

It was fun!

I do have a couple of observations though:
1- Sand all pieces of wood BEFORE you cut them, to the desired lengths! Make sure the wood is nice an smooth. So much easier to do with big pieces, that can be balanced on a good support! Especially important when using the cheapest pine available!

2- Take your time, double check measurements, and follow the assembly directions. (Yes.. I made a mistake on the assembly part... at least it's on the back, and no one can see it)

I did change the width to fit my wall space, and I did add adjustable shelves (1 fixed shelf, to help hold the whole thing square). (I used a piece of peg board to place the holes for the shelf supports). Pretty neat! I also added a couple of extra shelves. (I still needs some paint) I needed the extra storage for organizing the stuff we need in the family eating area.

I also changed up the top finishing details. I mitered the corners, and layed the 1x2's flat, offset by .75 of an inch. It gives a nice look.

Built from Plan(s)
Estimated Cost
$55.
Estimated Time Investment
Day Project (6-9 Hours)
Finish Used
plain, white, semi-gloss. It matches the trim in my house (and I had it in the basement!)
Recommended Skill Level
Beginner
Back