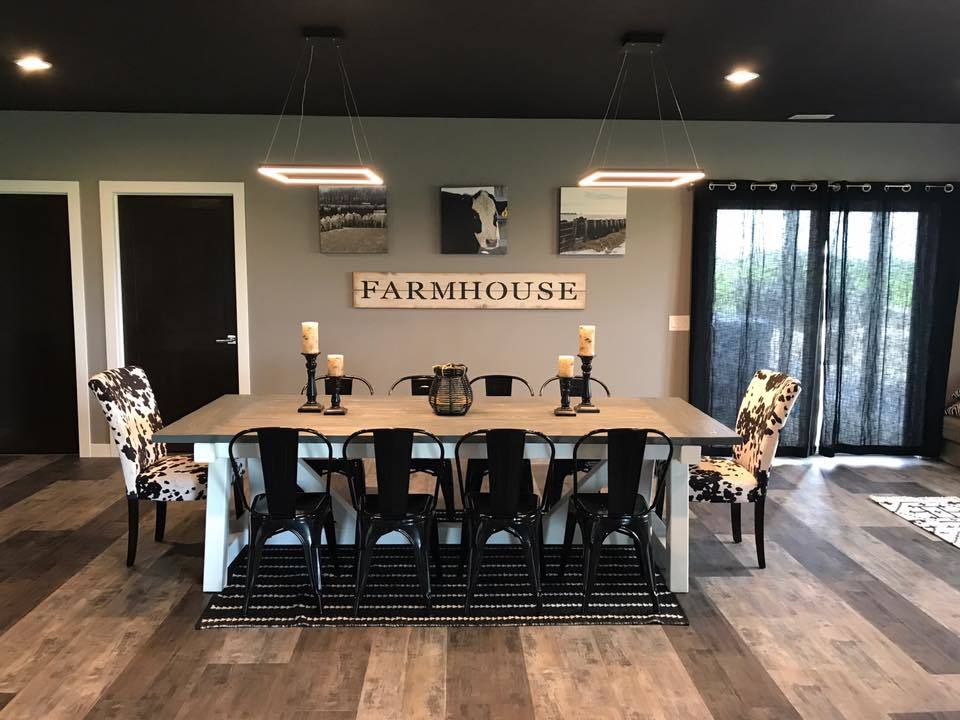
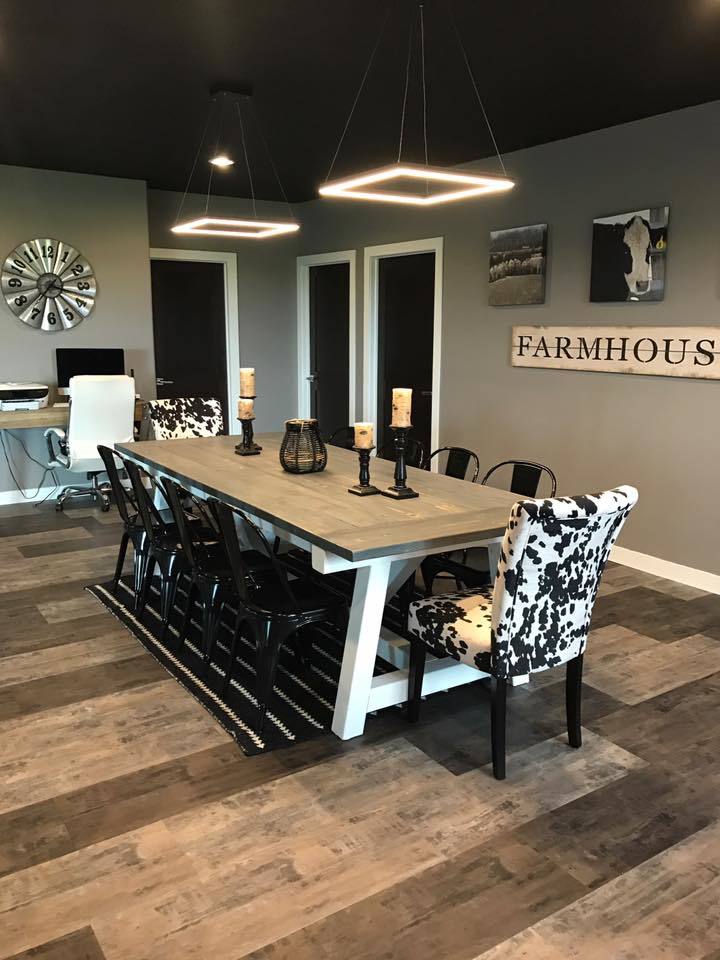
Pottery barn benchright end tables
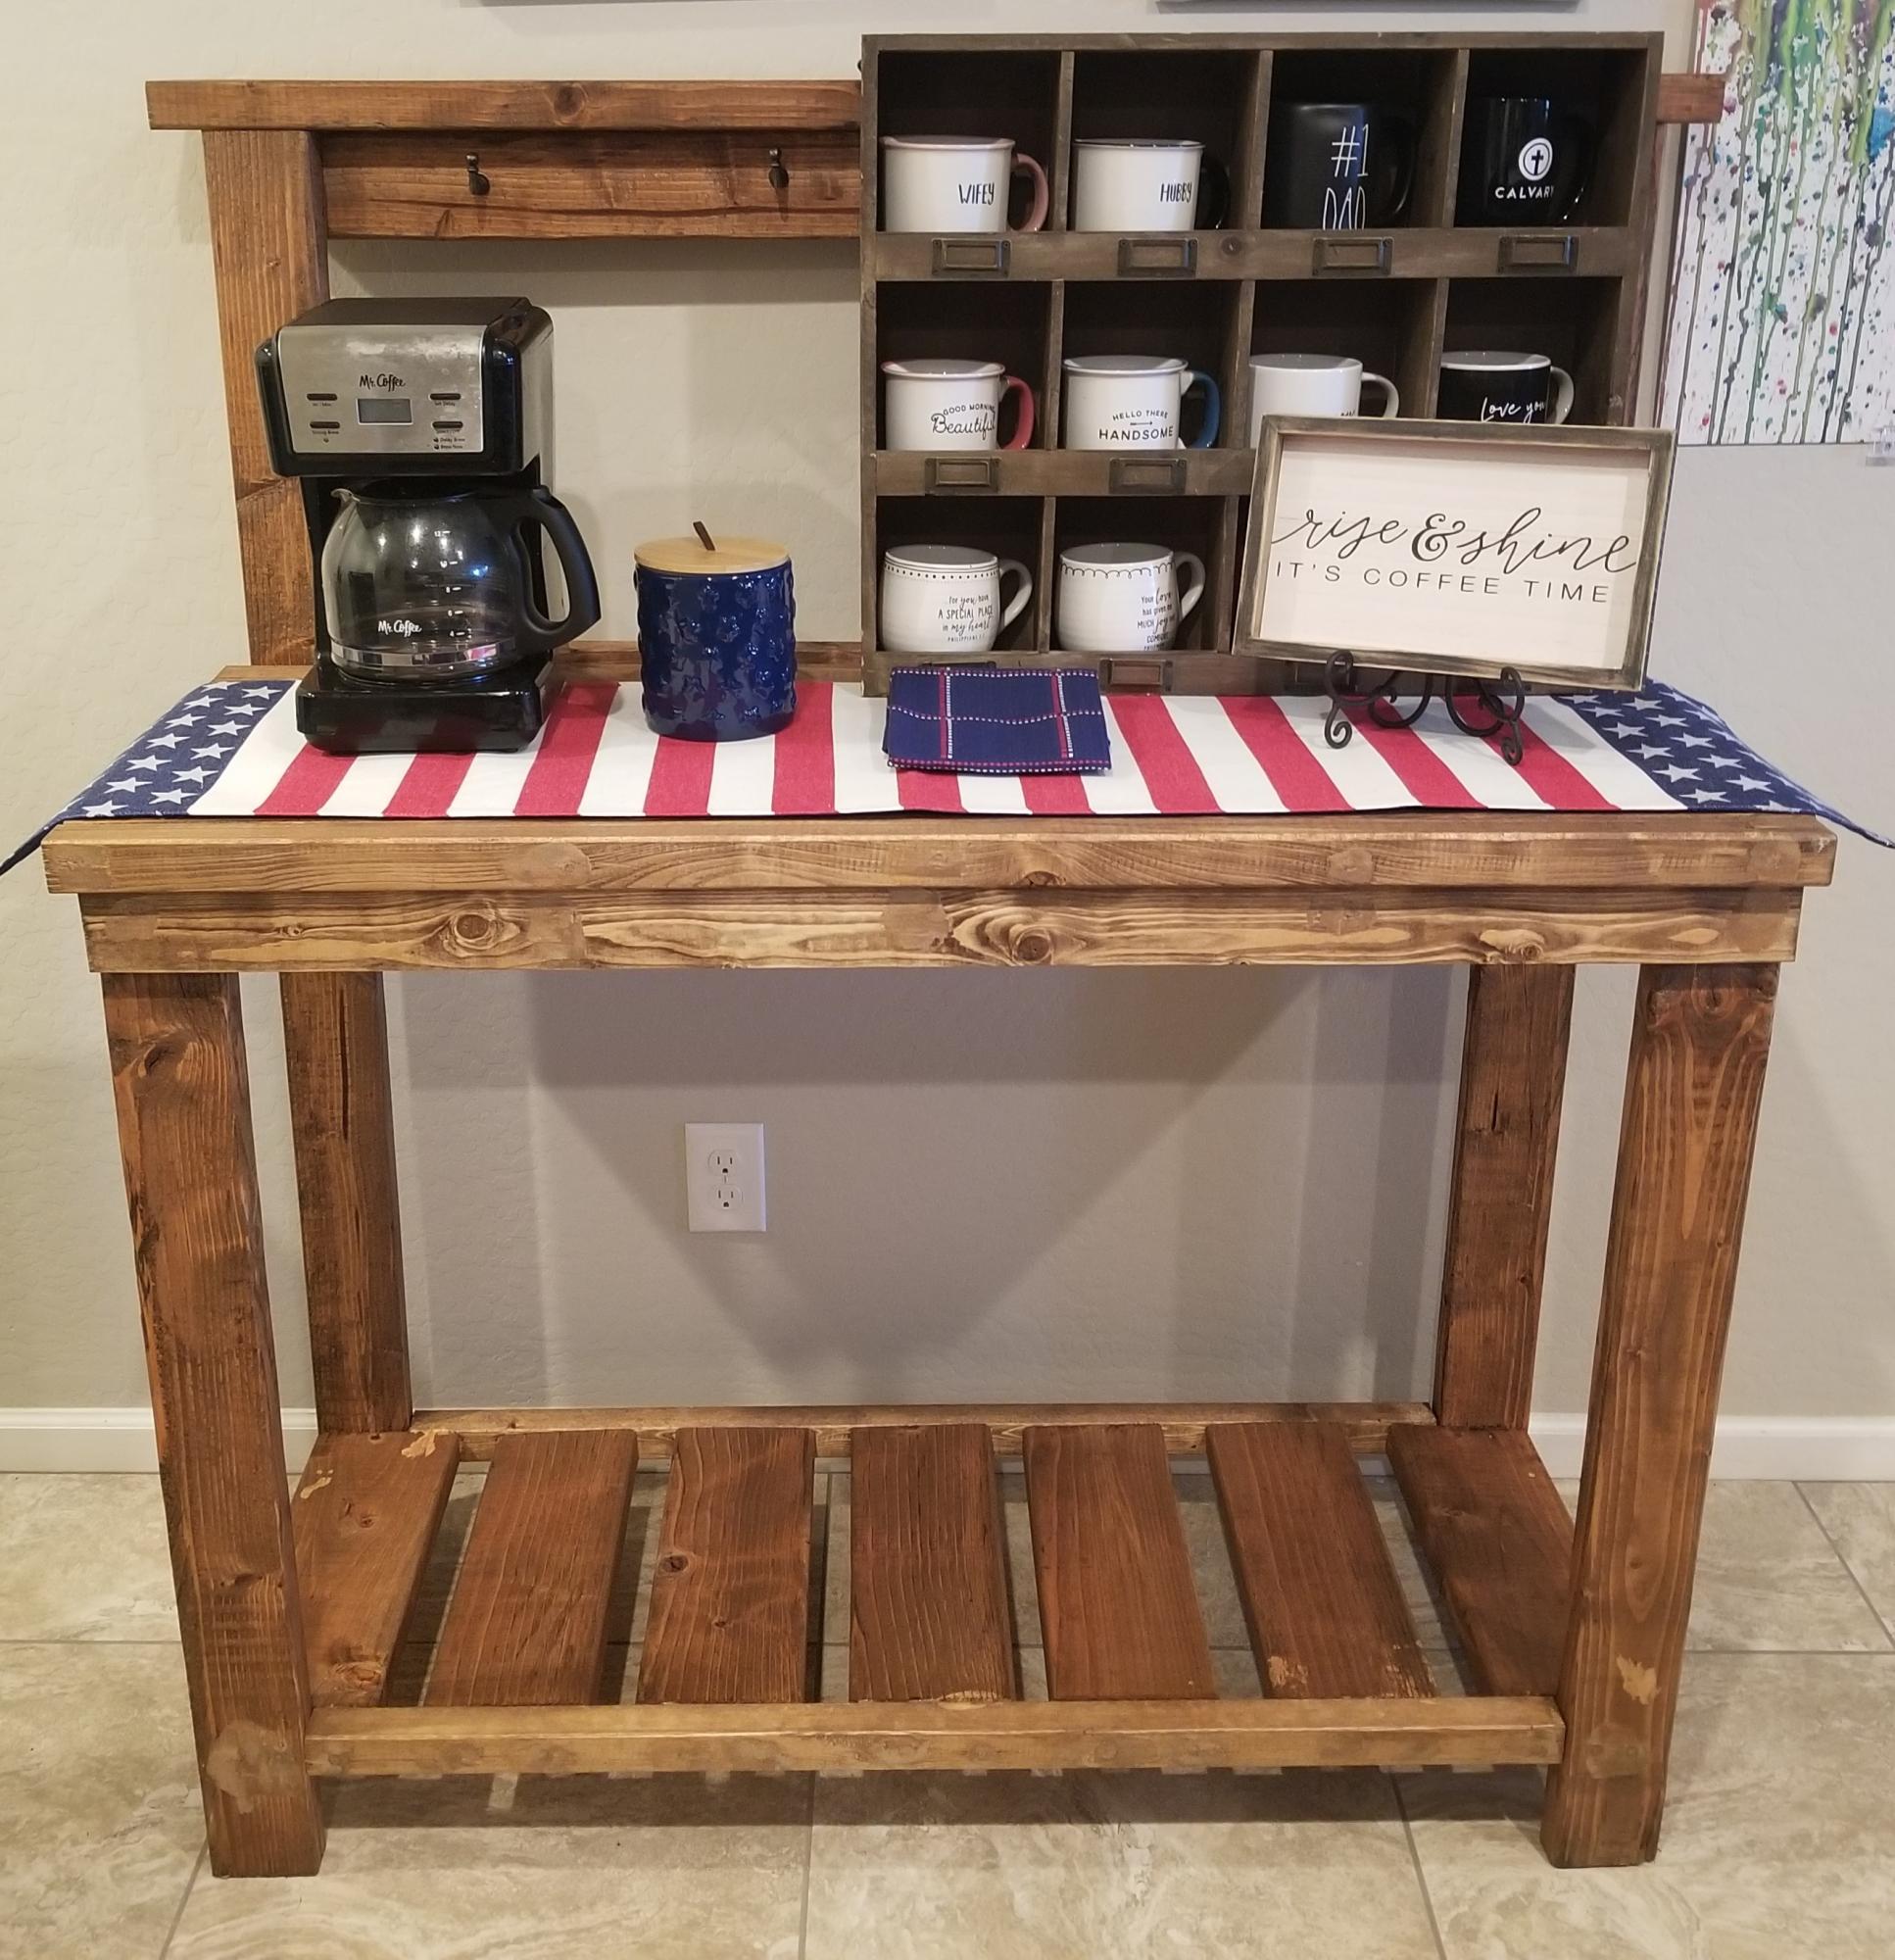
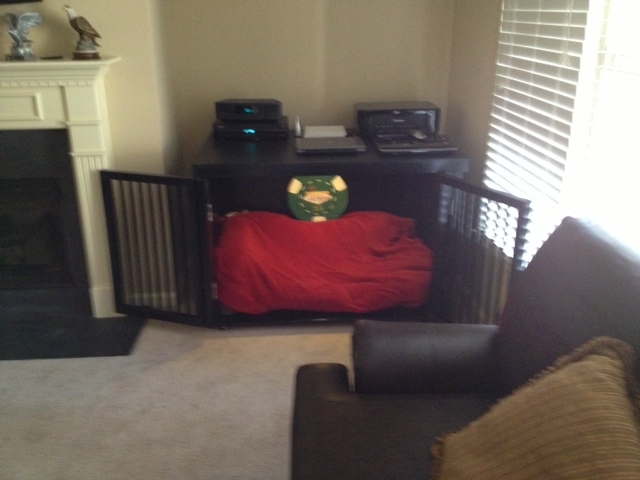
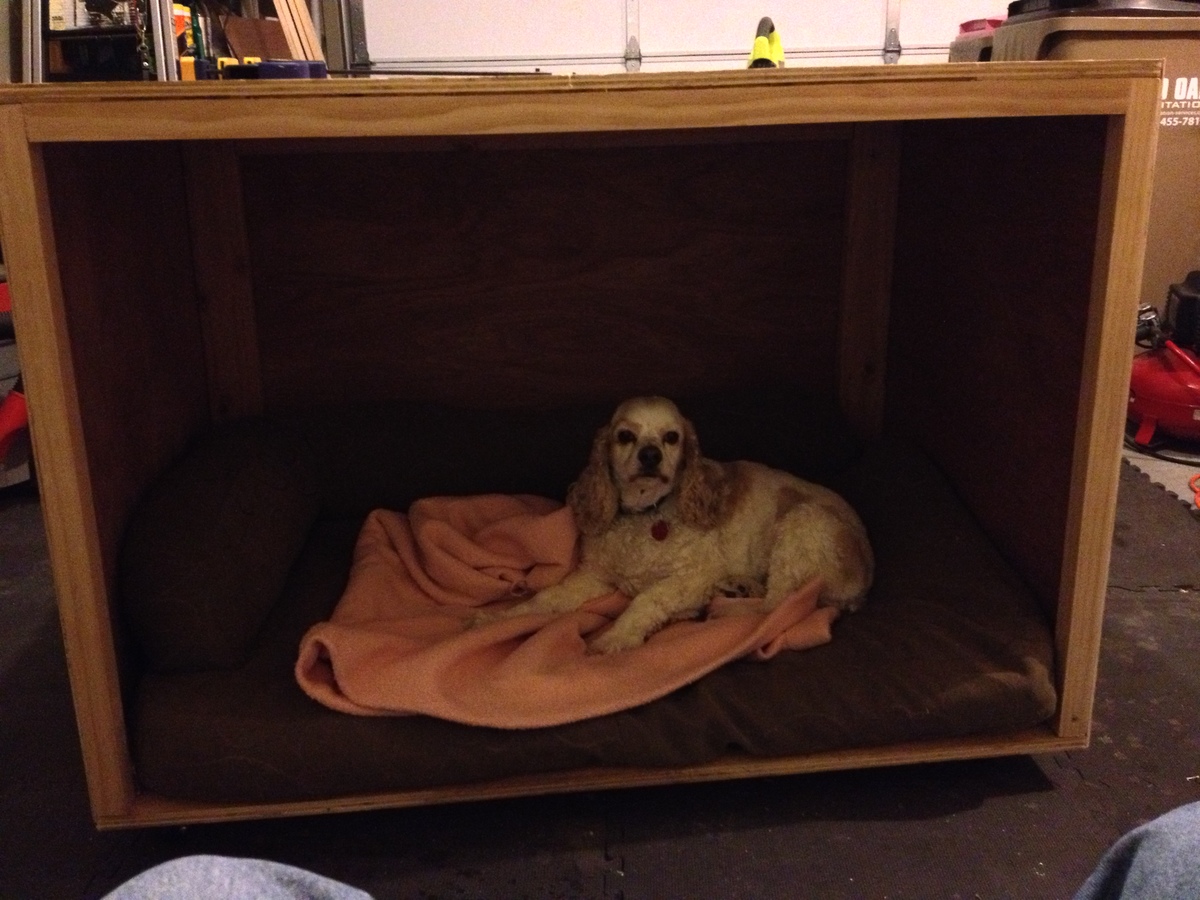
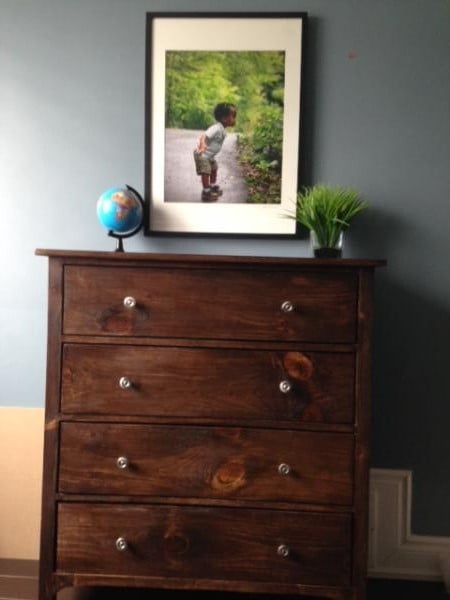
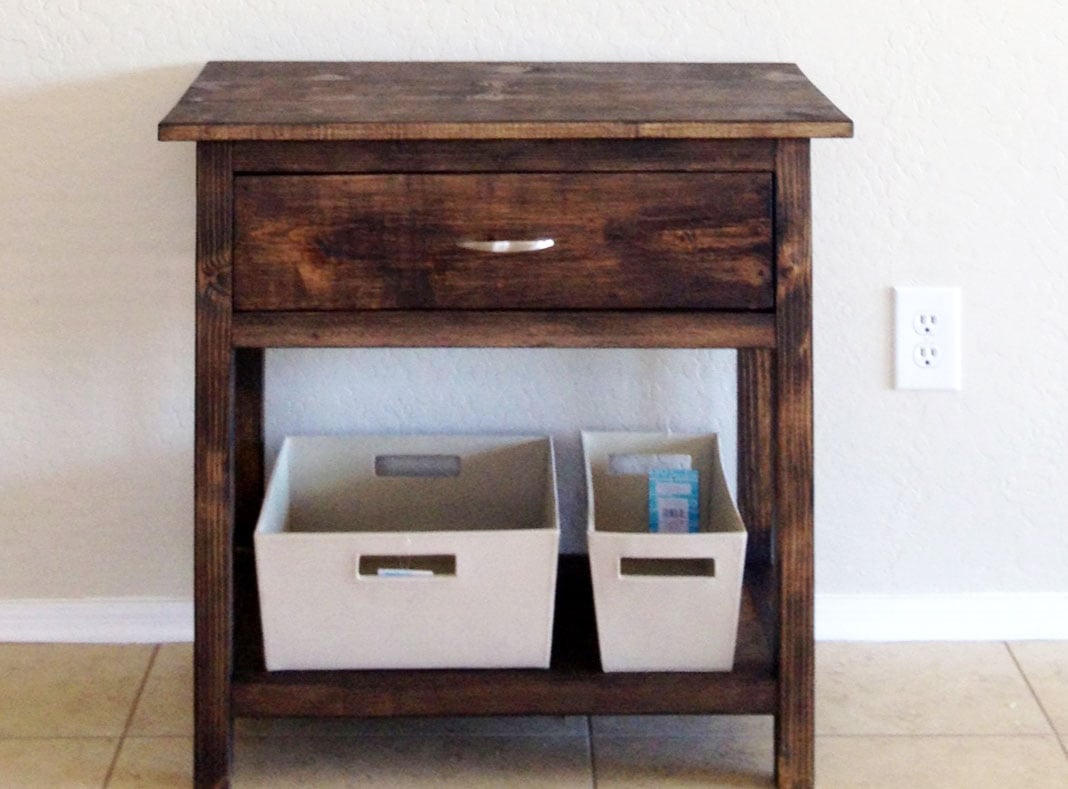
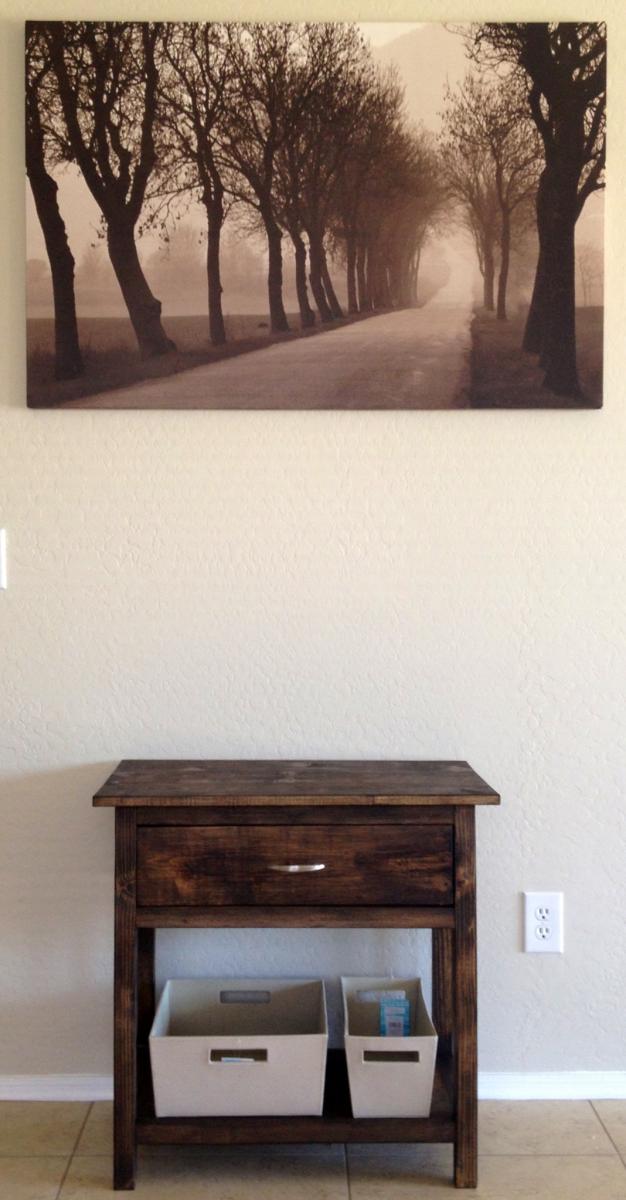
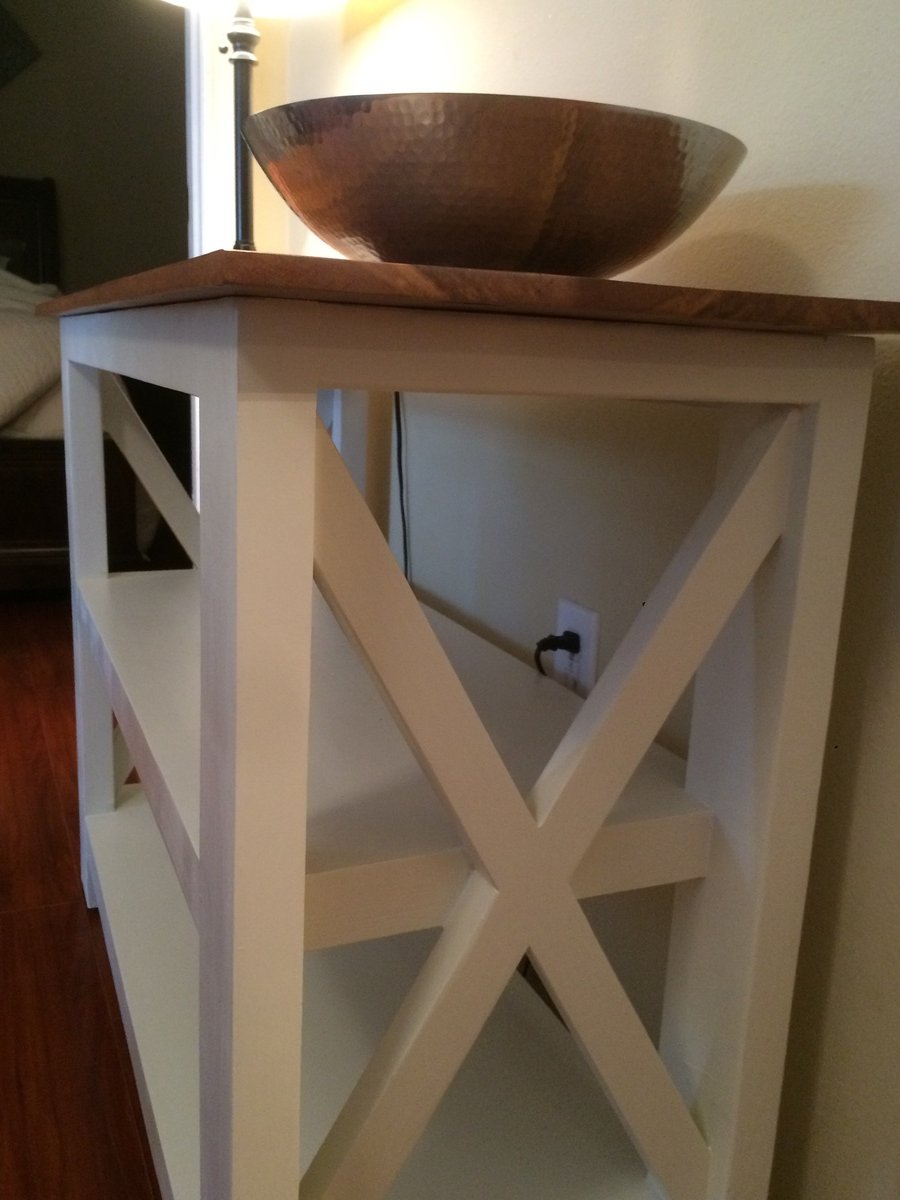
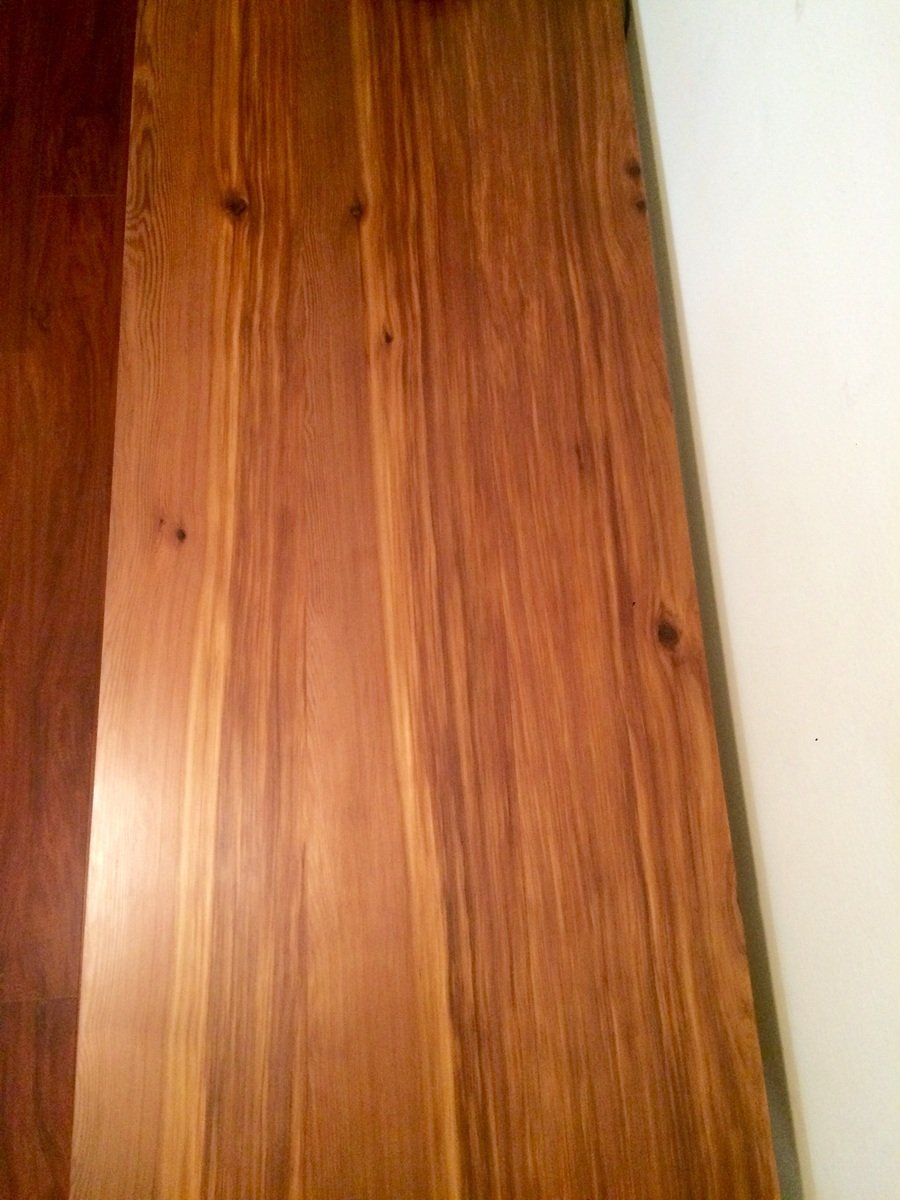
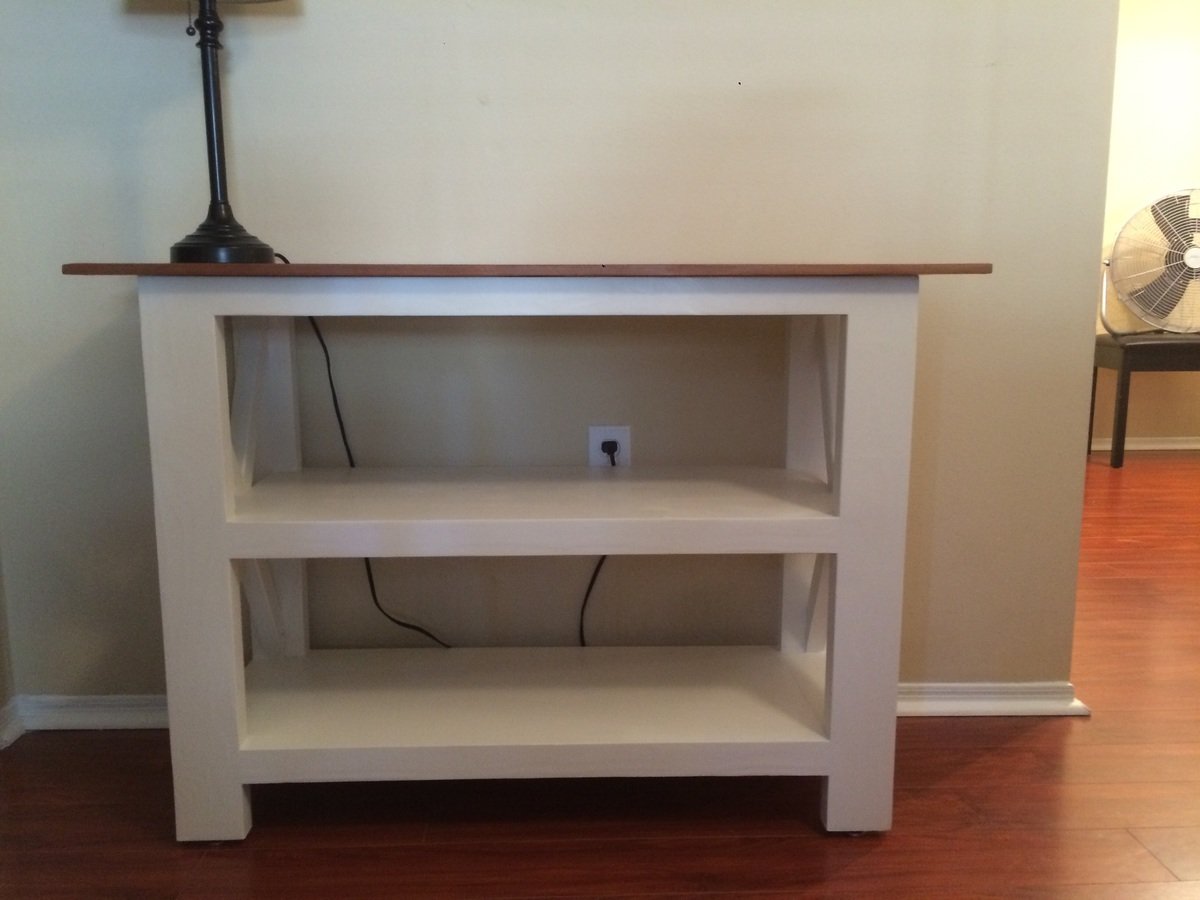
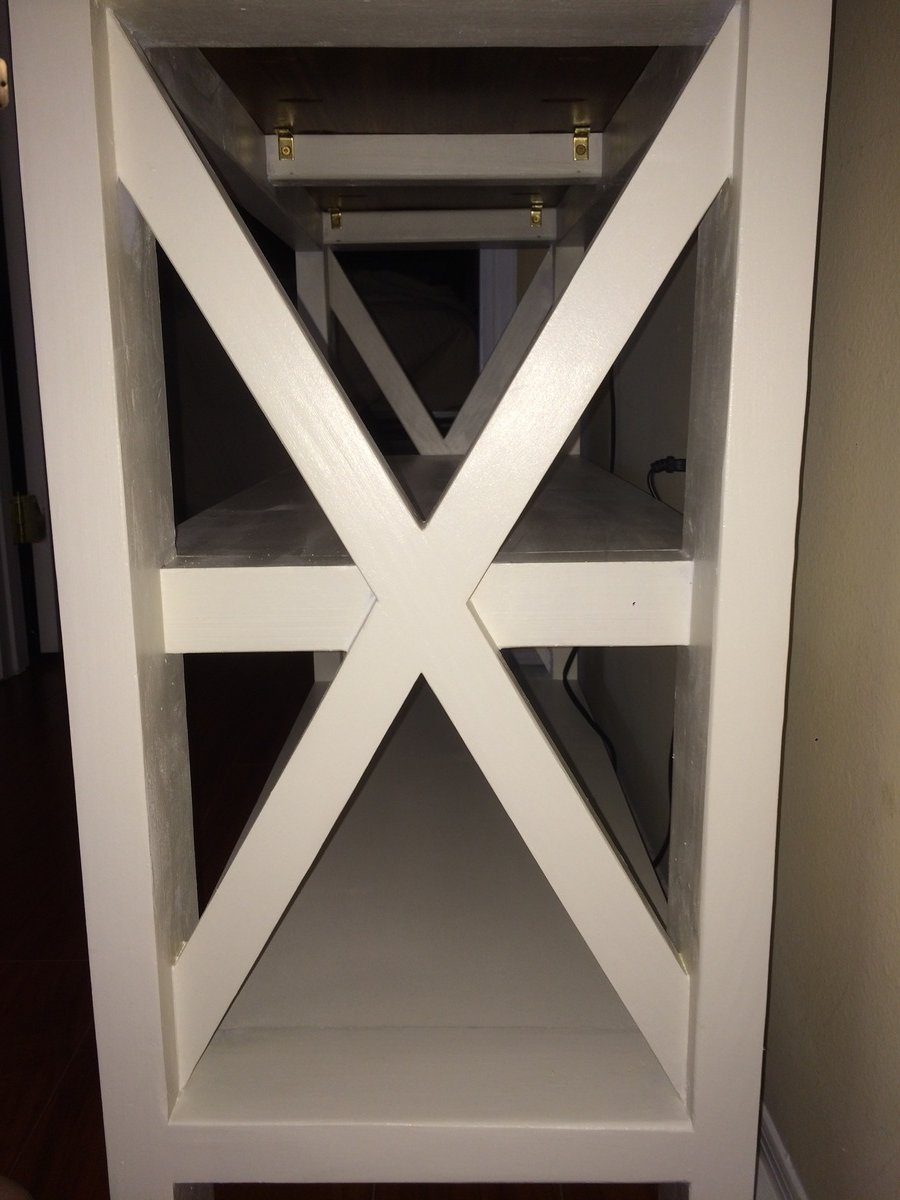
My daughter and son in law needed a small table for the babies room and this ended up being the perfect solution!! Absolutely love it!!
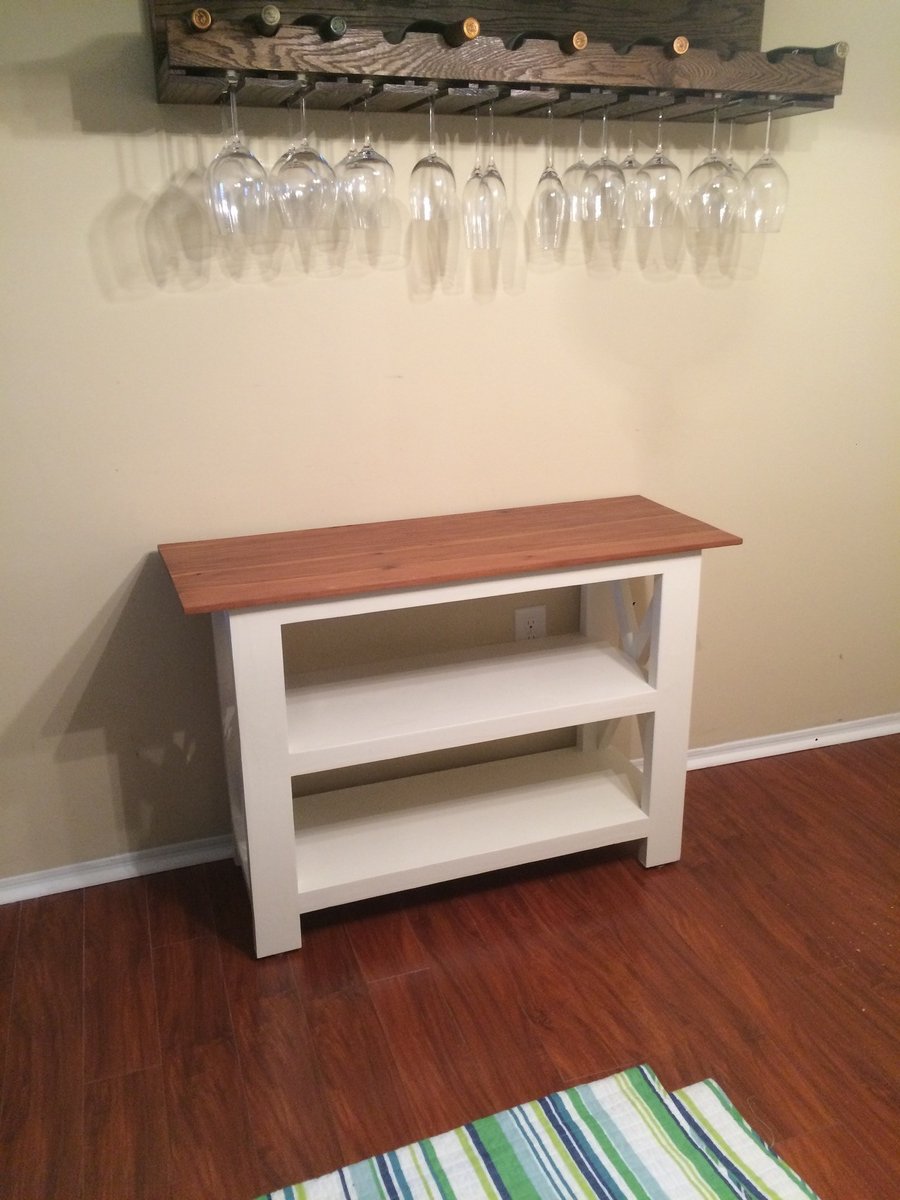
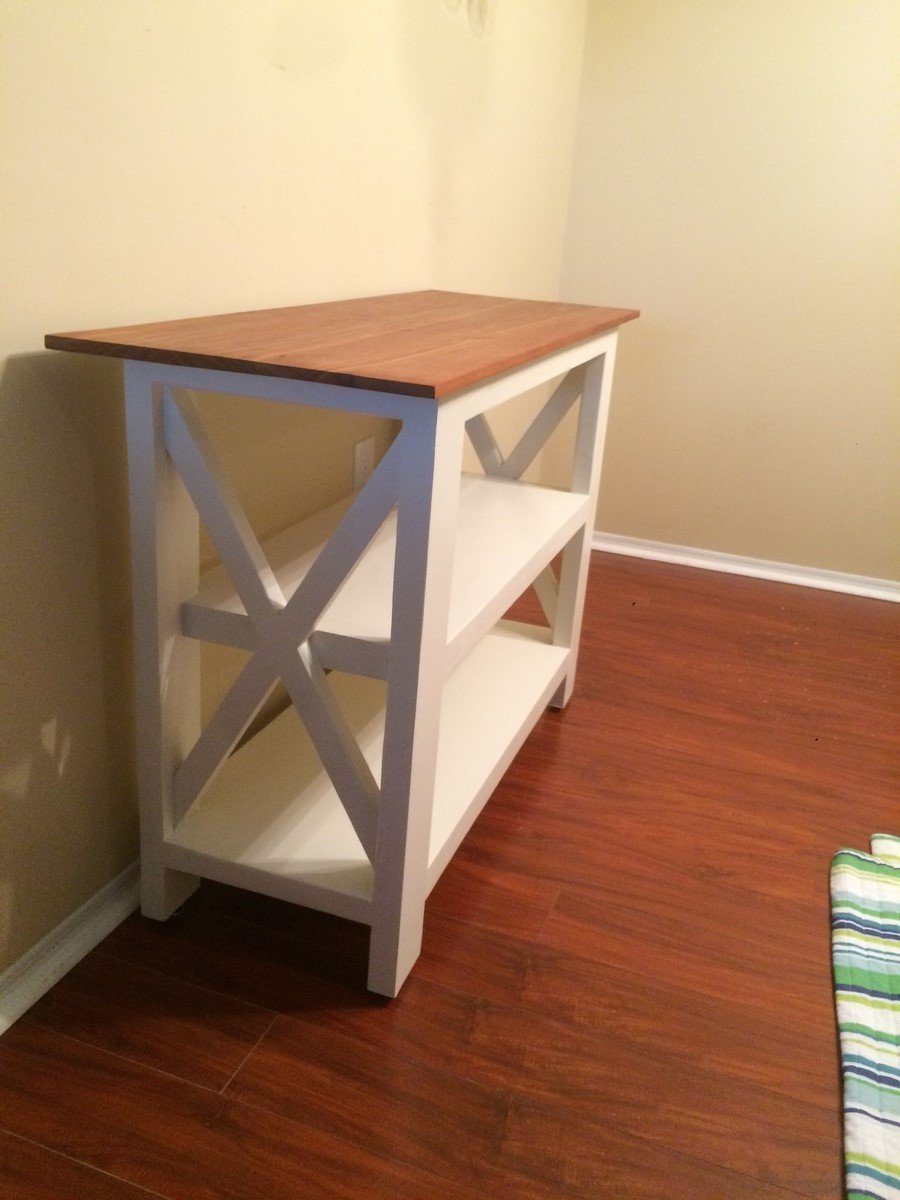
cross between a kitchen island and the x frame console table. LOL
Cross breeding furniture, gotta love it! :0)
Thu, 08/04/2016 - 13:03
how do I get the plans for this? I'm ready to get started already
Tue, 08/20/2019 - 00:05
I love this, a mix of some of our favorite plans! I'd love to do a plan like this!
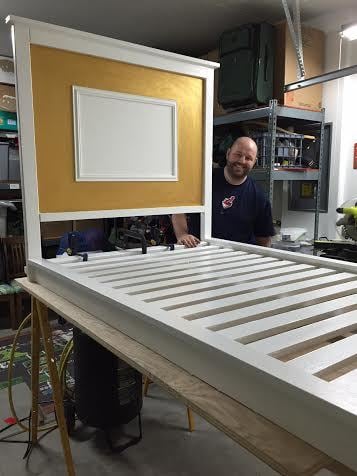
This was my Christmas present for my wife for 2014. Took about two days for me and my brother, with another 4 hours of staining and assembly. Could have been done quicker, but we took our time and enjoyed it! I have a good knowledge of tools, as does my brother, but I haven't done a woodworking project since Junior High School.
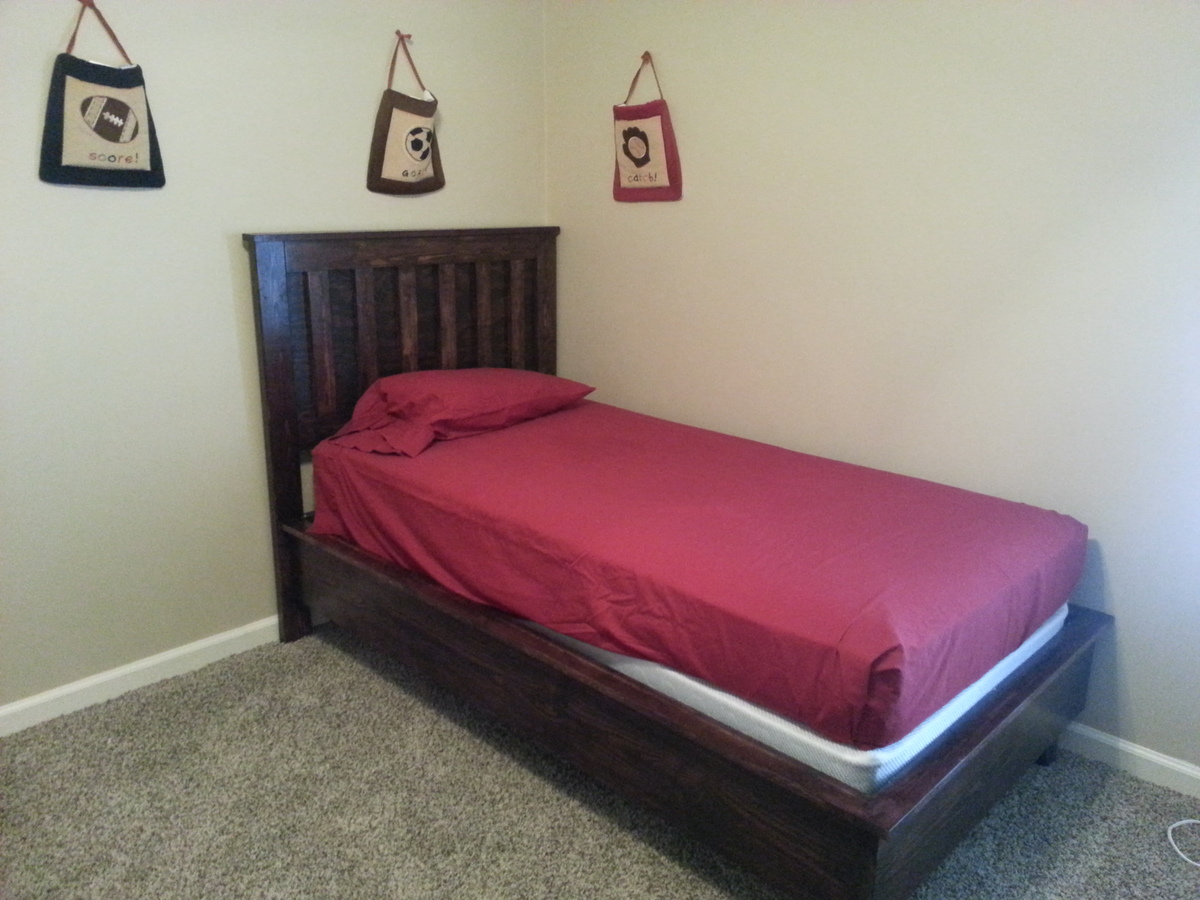
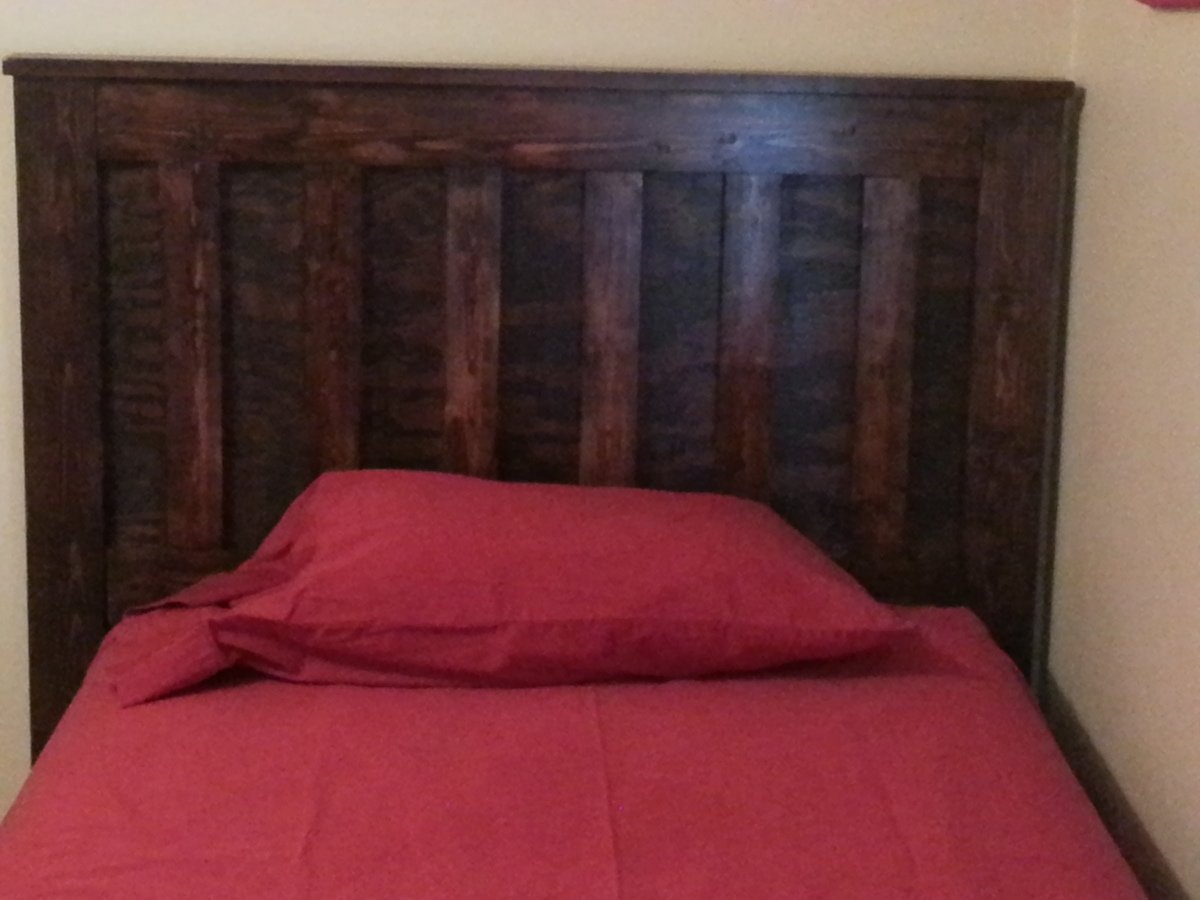
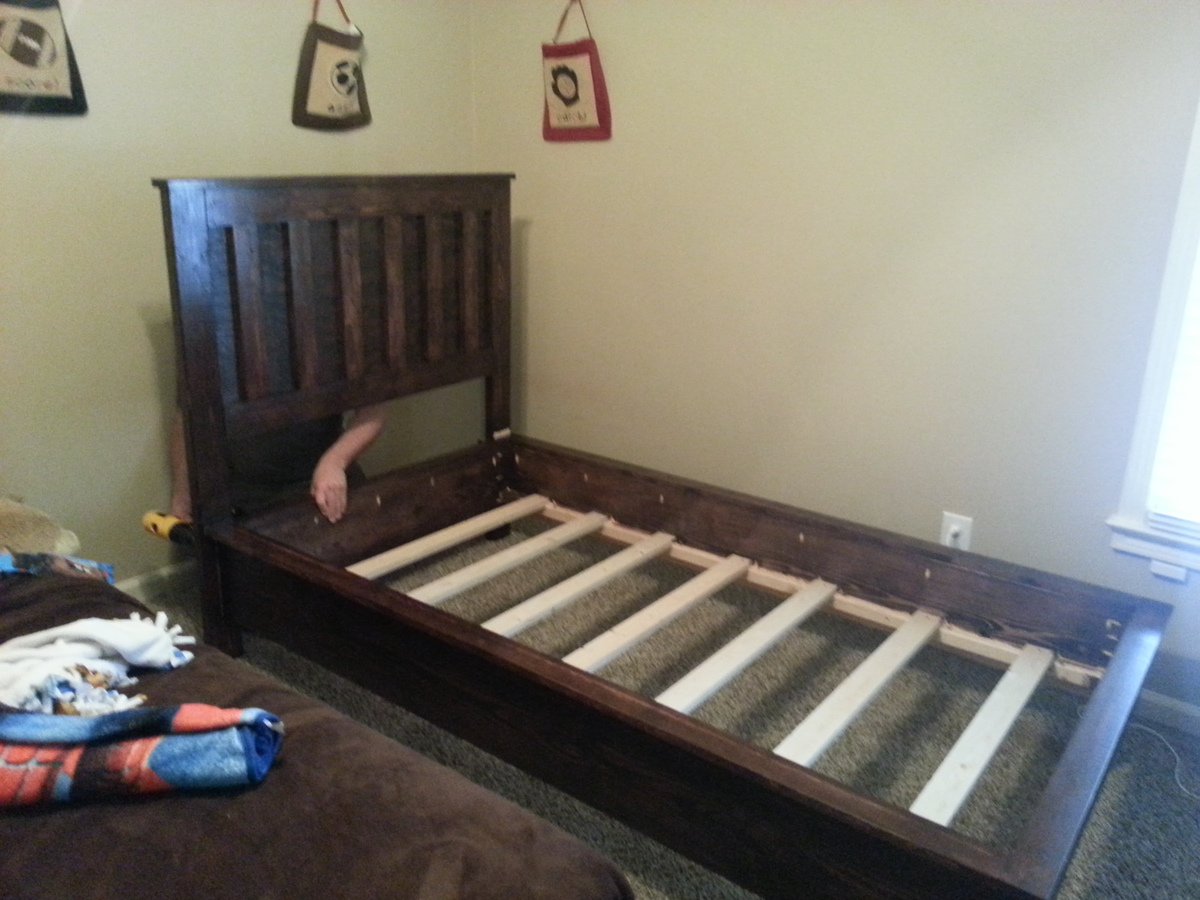
All in all, it was great and the result is perfect. I highly recommend using a pocket hole for the headboard attachment if doing the plywood - I didn't use one and it was tricky . You can't see the plywood because I decieded to add slats to the headboard and footboard in the end (wanted to stain the wood, not paint it as planned originally).
I ran across your website and decided to build my first ever extra long king size bed. I followed the plans of the farmhouse king size bed. Instead of using the square 4x4 post I used porch post and cut them down to size plus I stretched the bed to 88 inches long. My wife is super happy I did because we saved a bunch of money doing so and got a more durable bed.
We needed a guest bed for our guest bedroom. So I built the storage areas under the bed out of plywood and boxed them up. The bed would probably look better with a headboard, but we decided to just do that curtain style headboard.
I had seen different beds similar to this, and I just had those in mind when I started. I didn't follow any specific plan except for what I had in my head.
It was painted with an oil-base white paint.
I could have sworn this project was inspired by a stool I saw on here but I just spent way too long trying to find it. I wanted these to match our bed frame, which is really tall combined with our mattress. We needed stools that could be comfortably stood on with two feet, but could also slide under the bed when not in use. This was my first "finished" DIY project besides a dog house I made from plans from Lowe's. This was the first time I planned it and created it myself. They are very sturdy and look like they came with the set. I am very happy with them. I took my time on them because I was doing a lot of learning and wanted to get it right. I distressed the wood with chisels, files and carving knives.
Loved this project! We had an old headboard so my wife came up with the idea to cut off the top posts and use them as legs.
My friends were getting married so I chose these as their wedding presents due to them having fold out chairs for their new home. Wood burned the mr and Mrs. Used wood conditioning and stained with the rust oleum Kona. Then used the rust oleum glossy polyurethane x3 coats.
Thu, 04/01/2021 - 16:56
They looks great and I am sure the bride and groom will cherish them!
I made this dresser for my sister's nursery. The room is fairly small, so she wanted a changing table on top of the dresser to save space. We also added a third row of drawers.
Sun, 11/23/2014 - 05:35
I like how you modified the plans to make it have two more drawers. I'm looking forward to doing this very soon for my twin daughters. I was just wondering how the dimensions on the right and left sides were changed? Also, does this seems to carry the extra weight of the drawers OK?
Modified the dimensions to 13 inches deep, 40 inches wide and a lower clearance of 4 inches to accommodate a vent diverter for an exsisting heat vent.
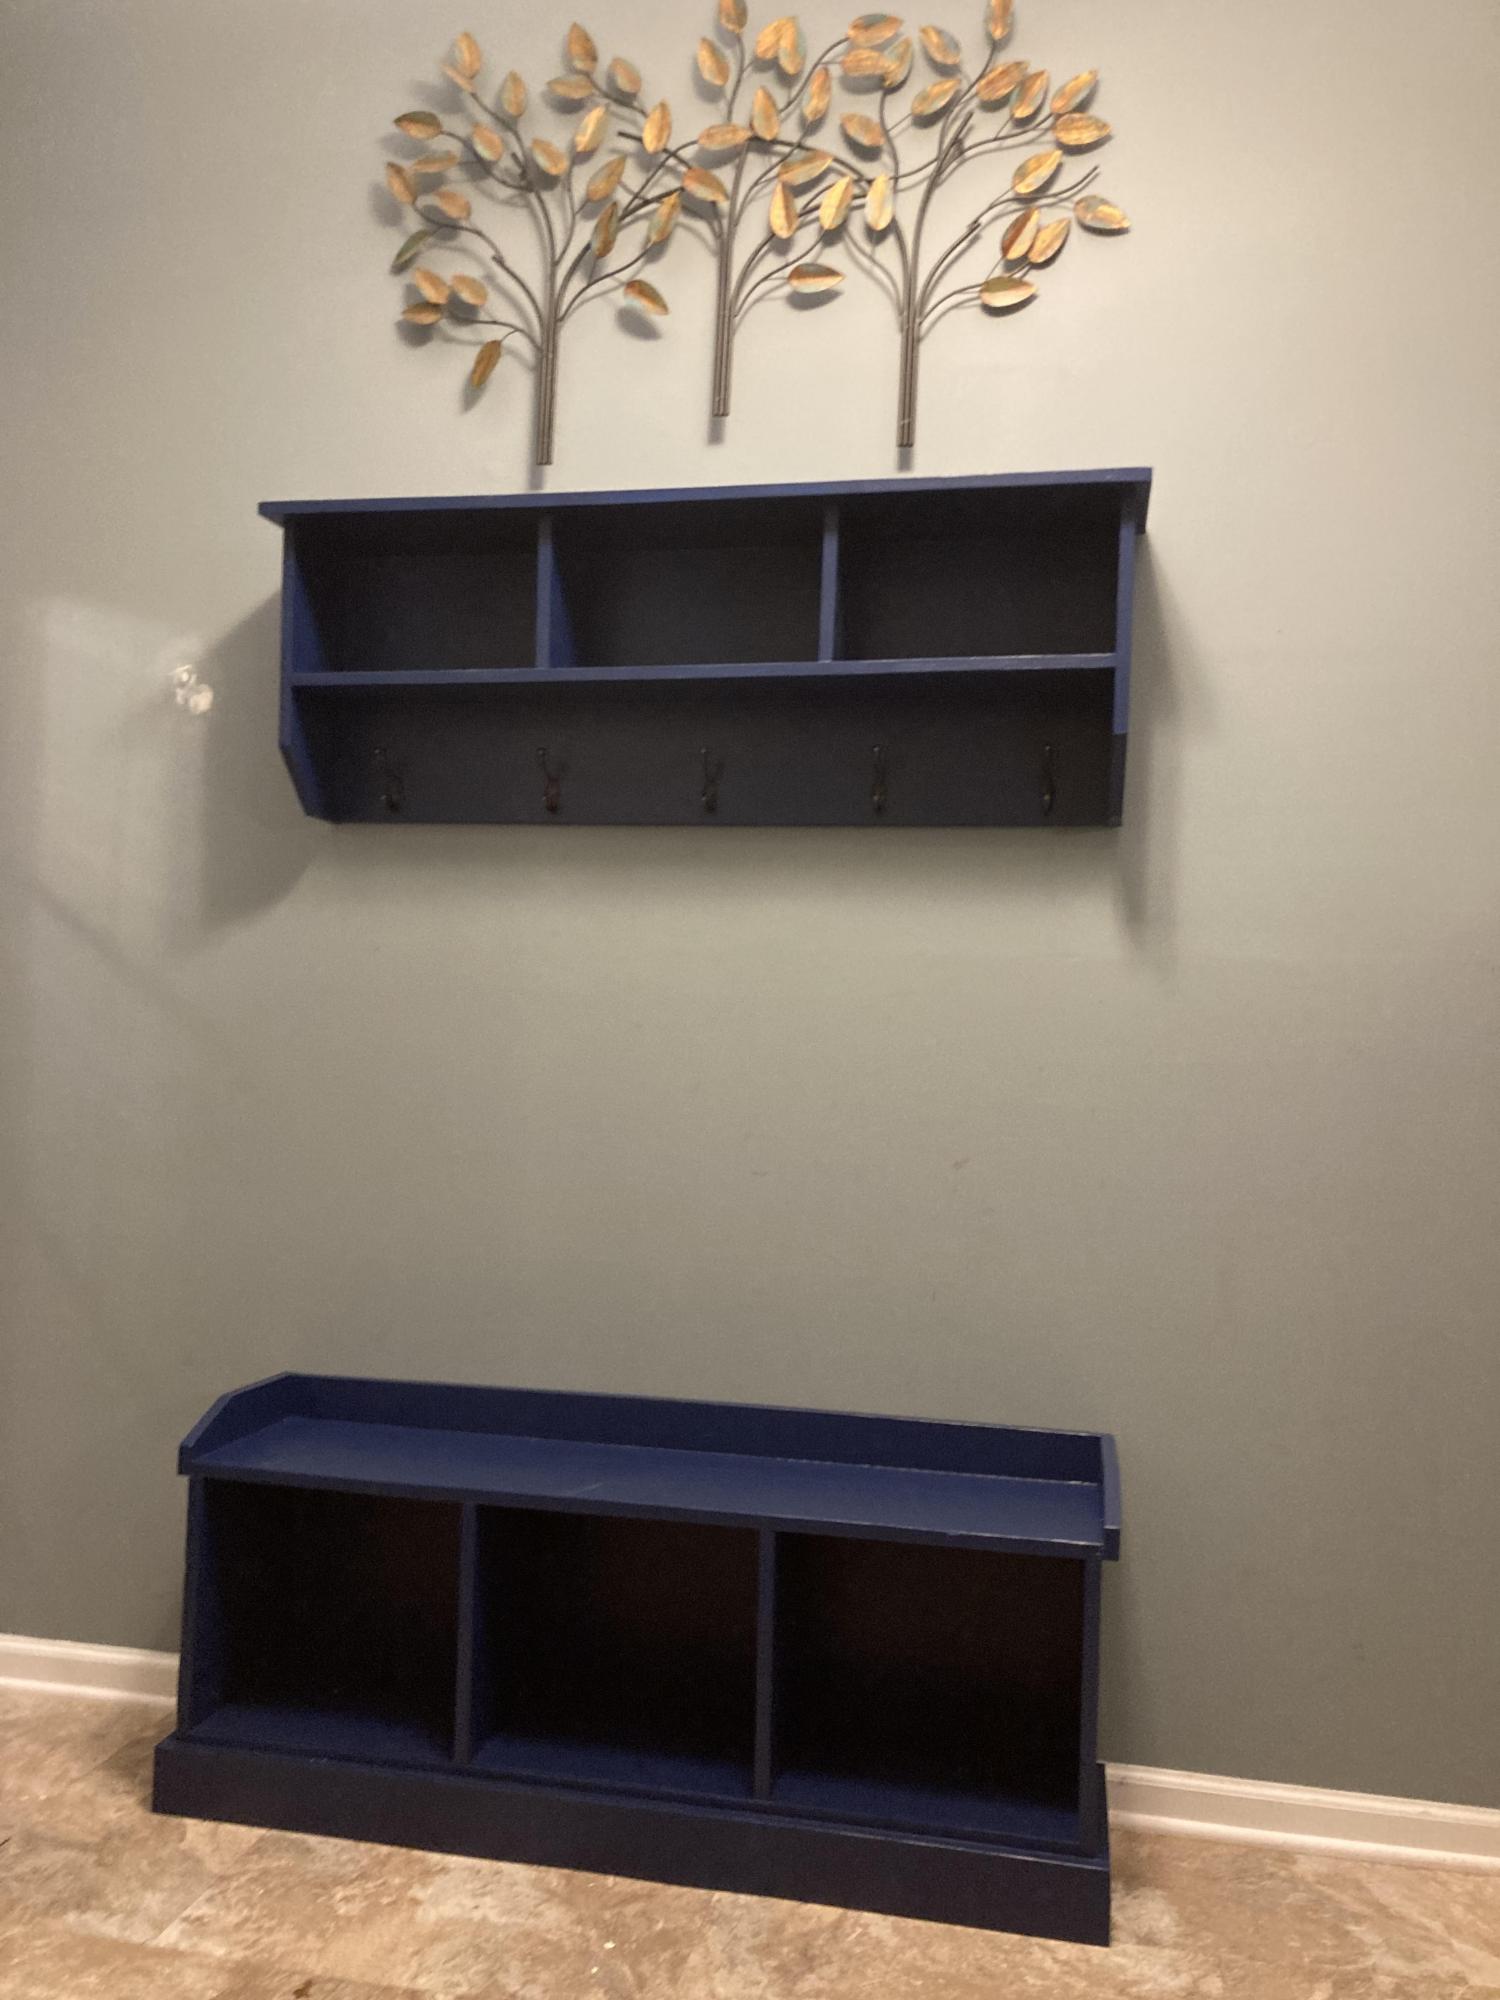
I used Maple Plywood (3/4 inch) for the bench, and 1/2 inch for the back (to allow maximum seating depth on the bench). The paint was leftover Valspar reserve paint from a recent bathroom project... and the paint dipped baskets were found at a local store called "the christmas tree shops" for under 25 dollars for both!
The project came in at just under $150 - well below our budget if we had purchased something in store. It was mounted to the wall for safety, as we have a dare devil toddler!
Thanks for the free plans. I did have to make modifications for the doors. i hid the hinges to give it a clean look. i used cedar for the trim and Plywood Siding Panel T1-11 4 IN OC (Common: 19/32 in. x 4 ft. x 8 ft.; Actual: 0.563 in. x 48 in. x 96 in.) for the doors. i used a metal flashing for the roof so it will vent.
I made some modifications. Instead of using 2x4's. I used 2x3. I live this storage bin, I added a top to use as a stool chair.
My husband and I built beds for our daughters' american girl dolls for Christmas. It was the first time we'd ever built anything and we learned a lot. So fun!
I changed the dimensions to fit the entire width of my framed pea gravel patio and stenciled a design on the table top.
This was a super easy, super simple project that took me about an hour and a half and was essentially free! Had I not had the blower fan given to me, I'd have used the leaf blower we have that has barely ever been used.
I made this nightstand for my daughter and struggled with the drawer install. I am grateful for Ana’s way of installing drawer slides - SO much easier!!!! Thank you Ana !!!
Mon, 04/12/2021 - 19:55
You did a fantastic job, I am so happy to hear about the drawers!
Made this as an entry table did the drawers out instead of in like the plan. Love how it turned out!
I made this for my granddoughter.
This was my first real woodworking project. This design was perfect for my one year old niece. Used Rustoleum Chalked Linen White and Clear Matte Topcoat. Made sure to use Zissers Bullseye on all the knots in the wood so they wouldn't bleed through, although I should have primed the entire piece. Pretty simple to make, with the angled cuts being the hardest. Found the label holders at Hobby Lobby in the scrapbook section.
Wow, building this table was more than I bargained for, but all the difficulties were my own fault. For starters, although the wood is beautiful (wormy ambrosia maple) the piece I chose to work with had a large knot hole that needed filling with an epoxy pour. It looks pretty good if I do say so myself (it's probably hard to see in this photo). Second, I didn't count on the hinges being so long and my wood came up about 3/4 inch too short for them. Had to scour the internet for some that were not so long. They ended up being a bit of trouble to install, but all's well. I used my router to cut a cove for finger grips which did make it easier to lift the top. I also made the top sides bigger that the original 2 x 2 (2 x 5 maybe) for weight and stability. I had extra wood so I added a bottom shelf as well. The finish is several coats of Varathane semi gloss polyurethane. I really like how it turned out!
Mon, 04/19/2021 - 15:35
Sounds like you attacked and conquered! Thank you for sharing your gorgeous build here!
Comments
Lilbitmojo
Fri, 03/19/2021 - 05:50
Side table
Needed a small table for the grand baby’s room.. this was the perfect solution