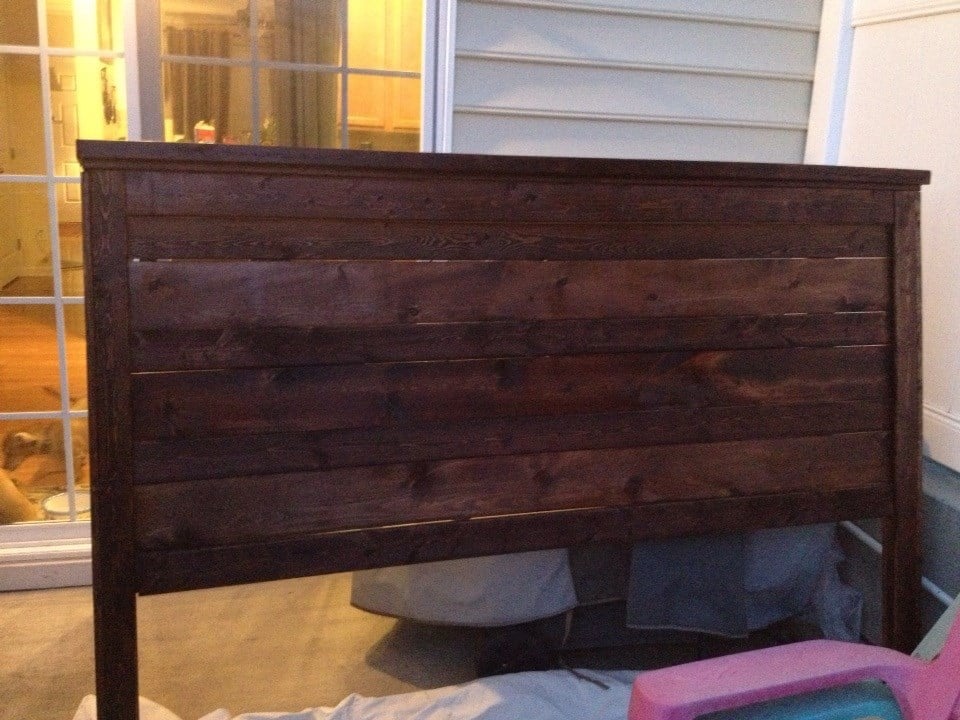
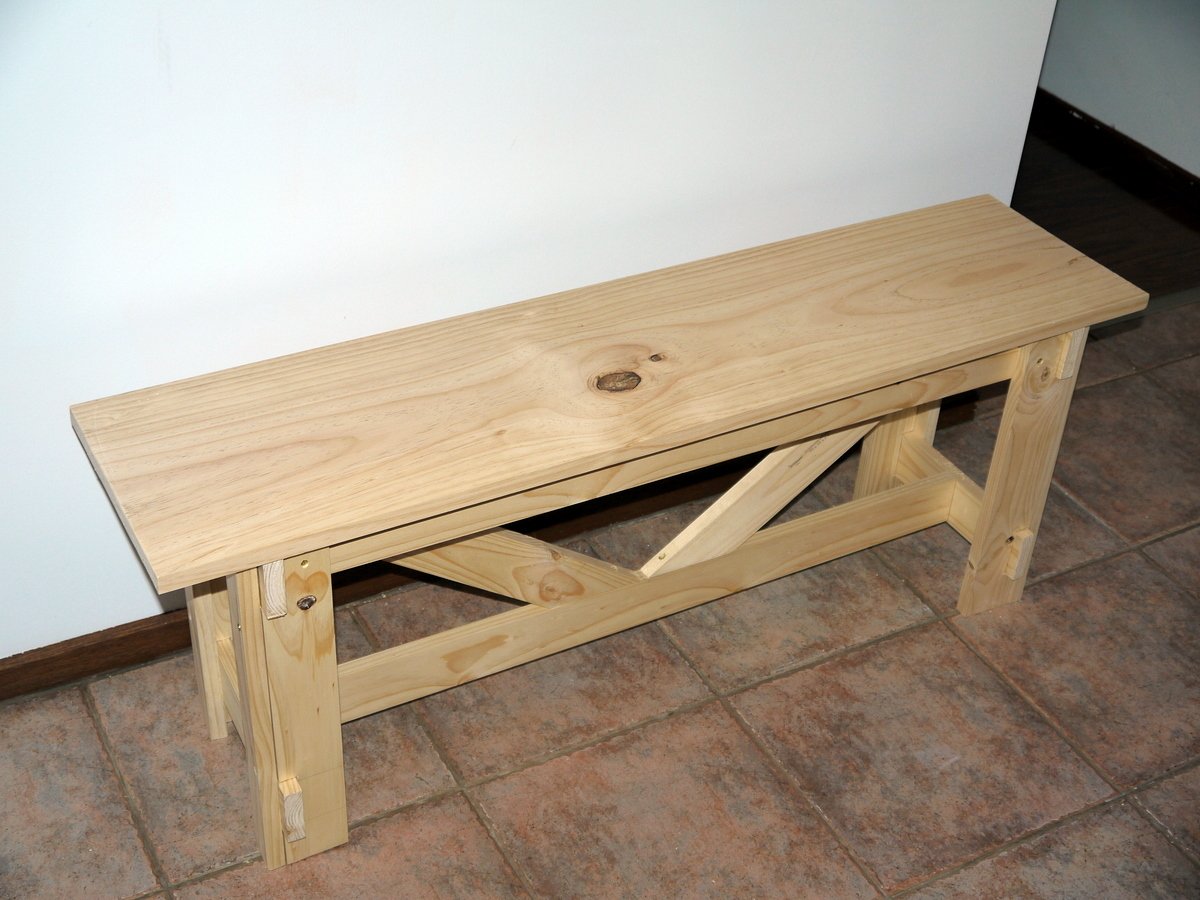
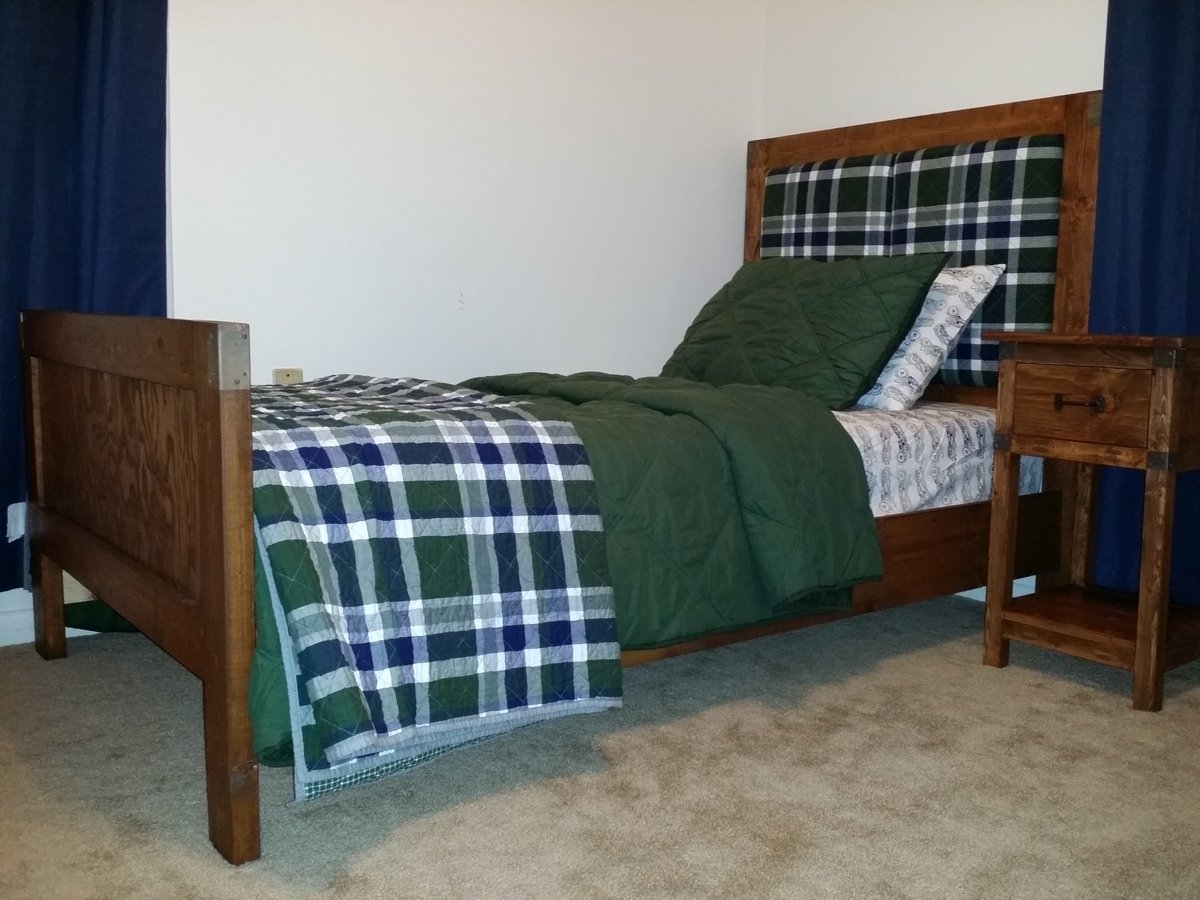
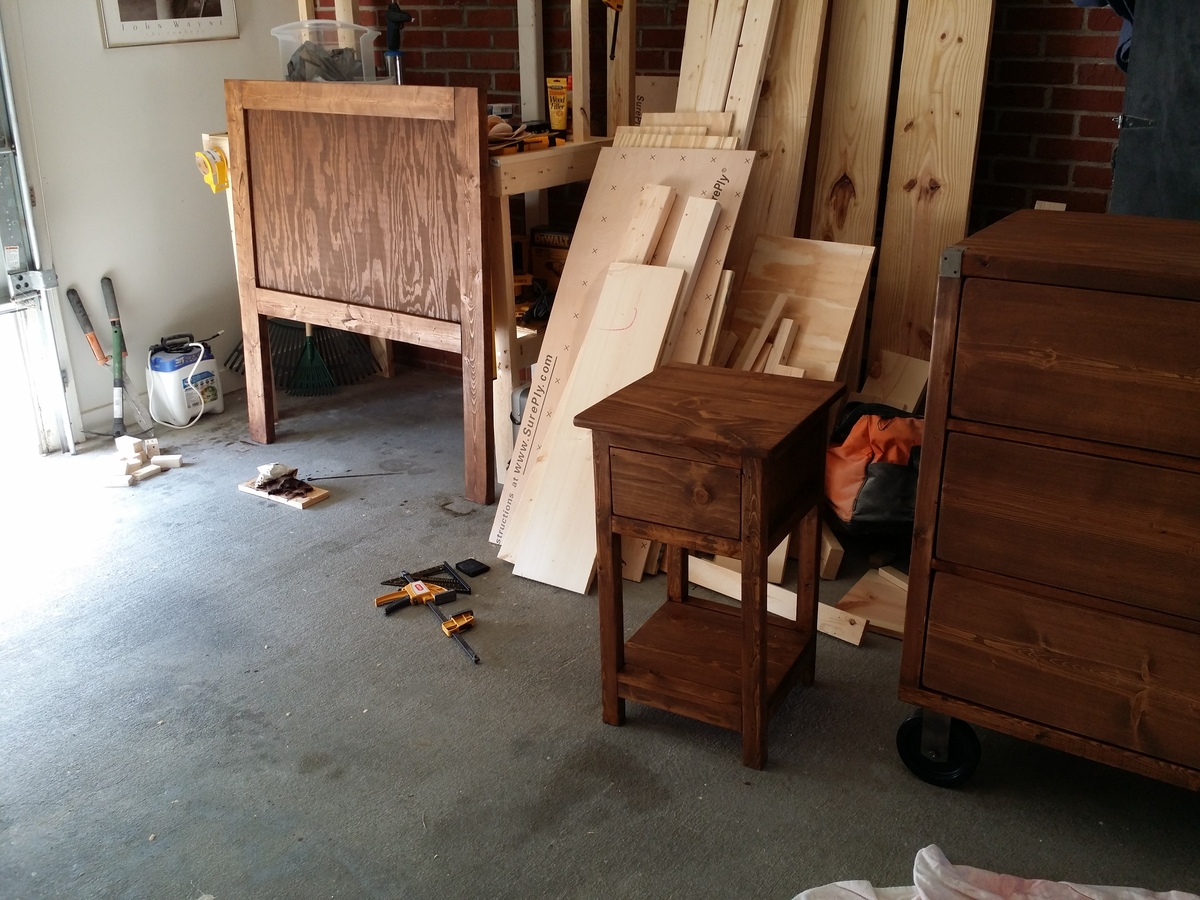
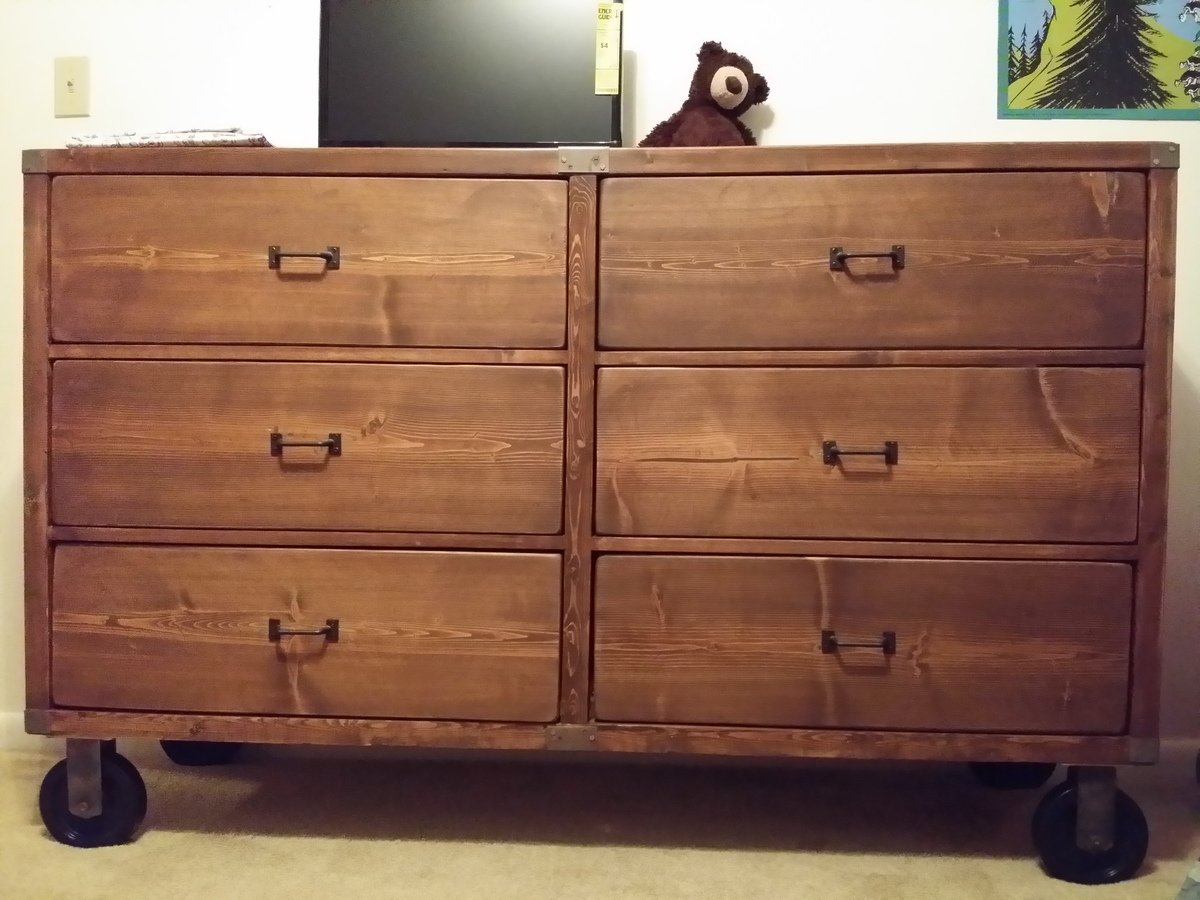
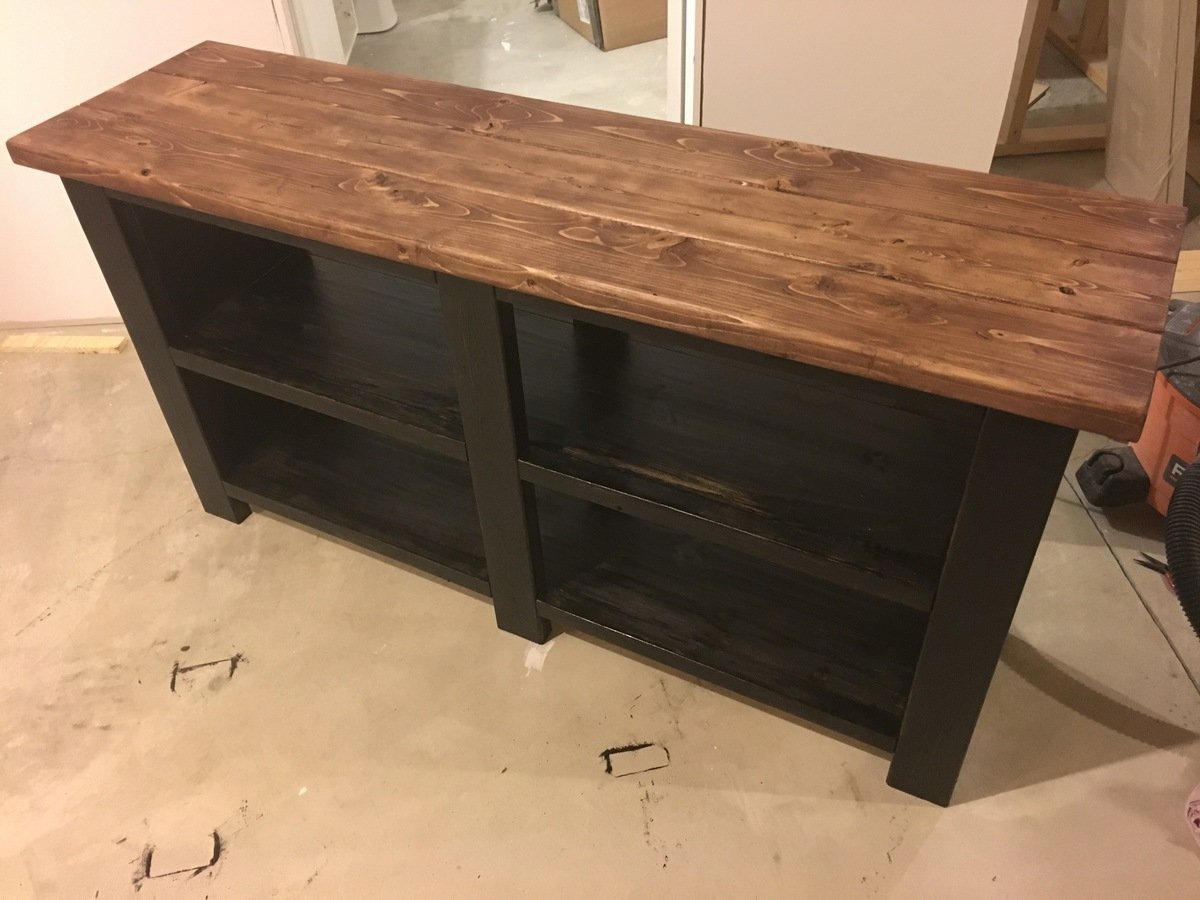
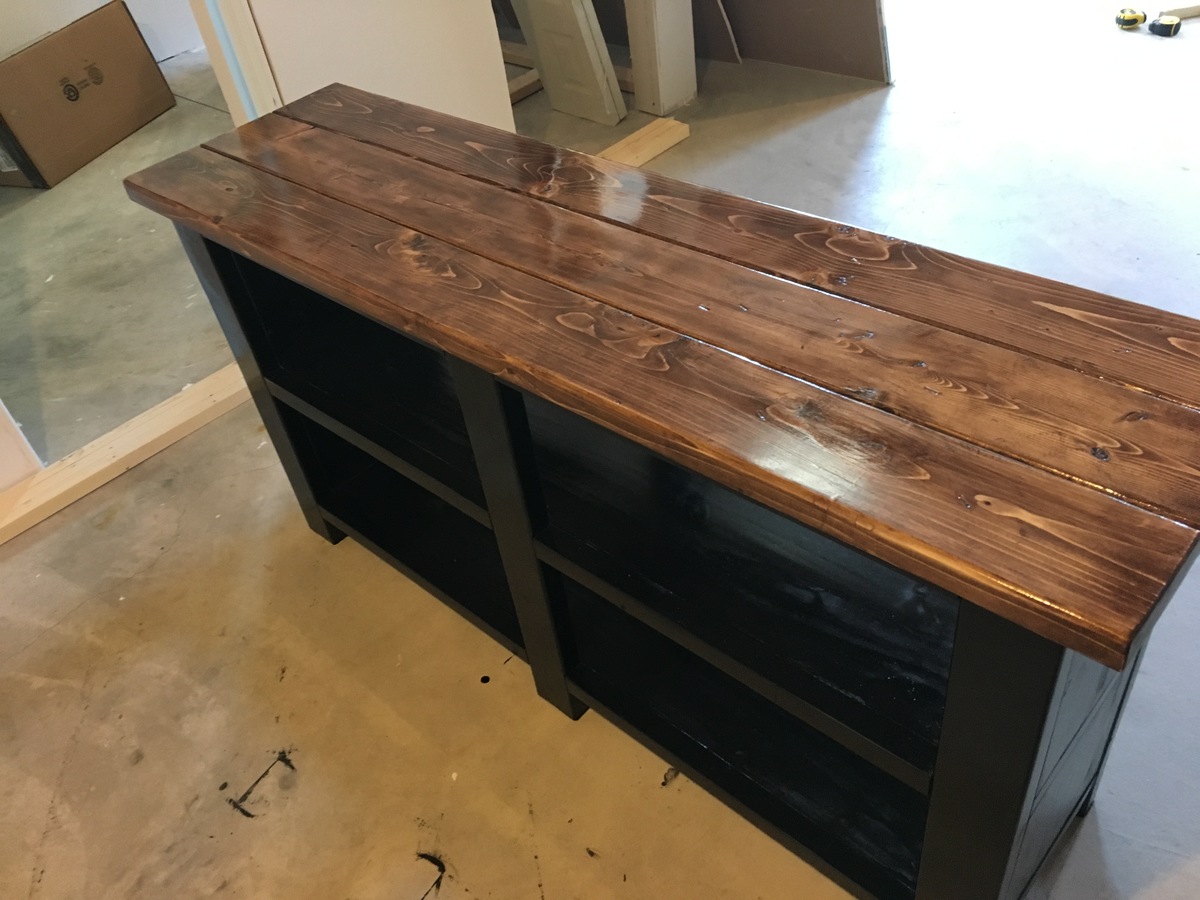
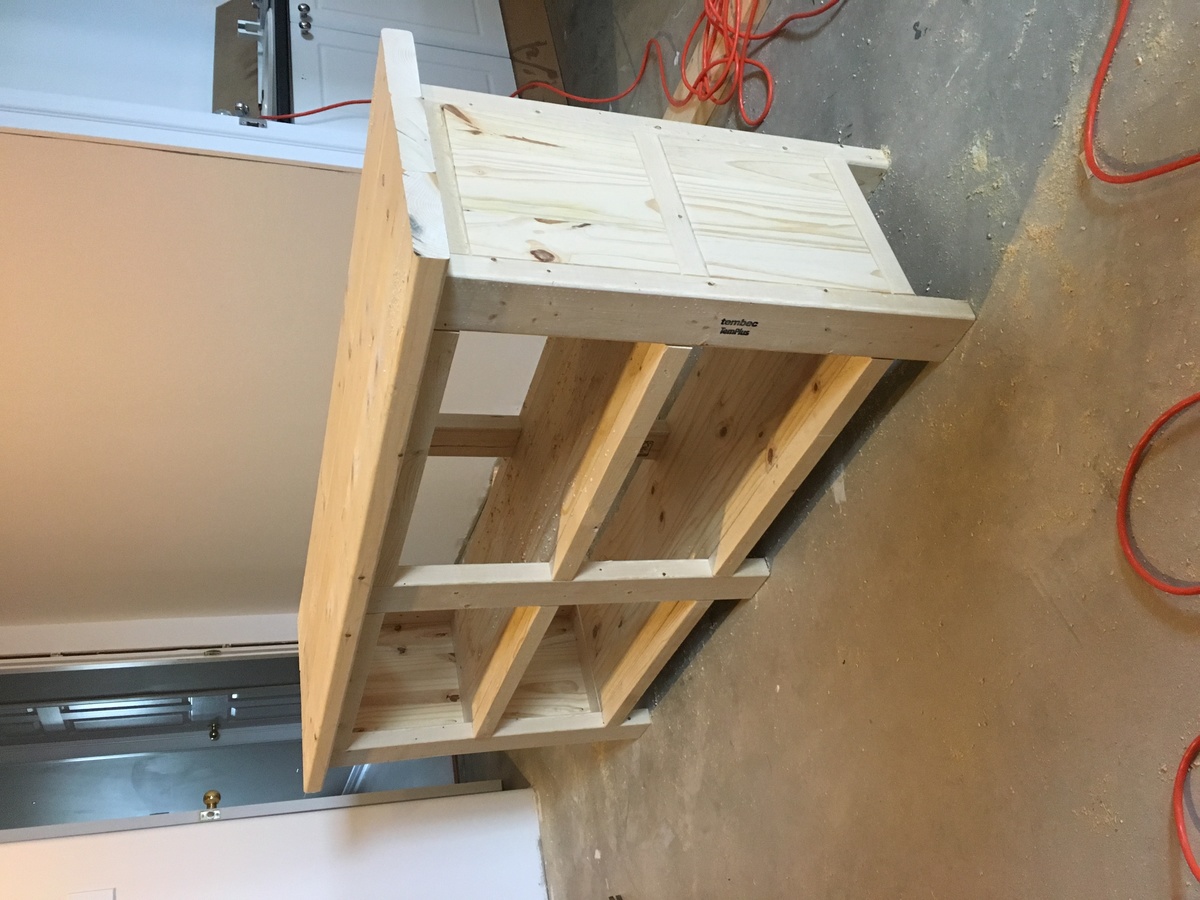
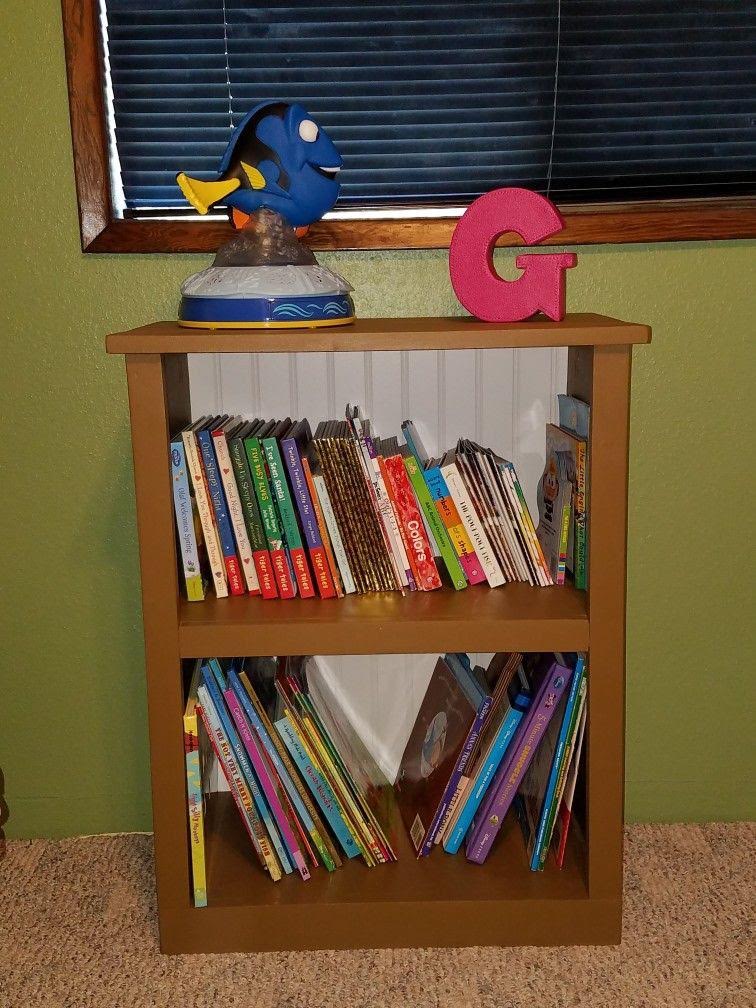
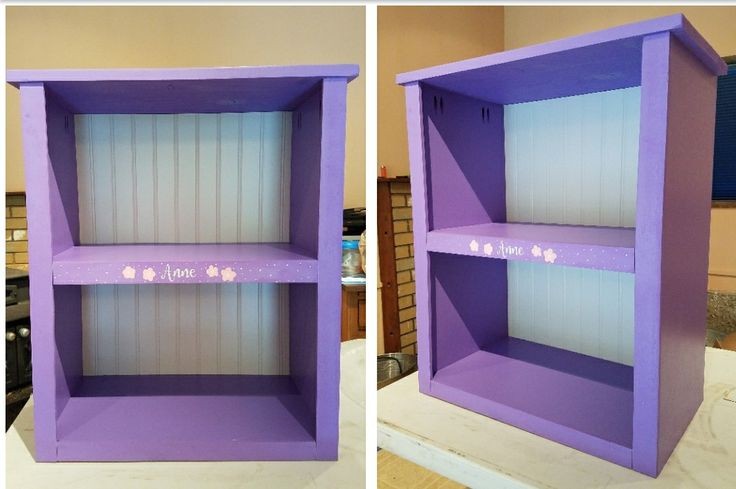
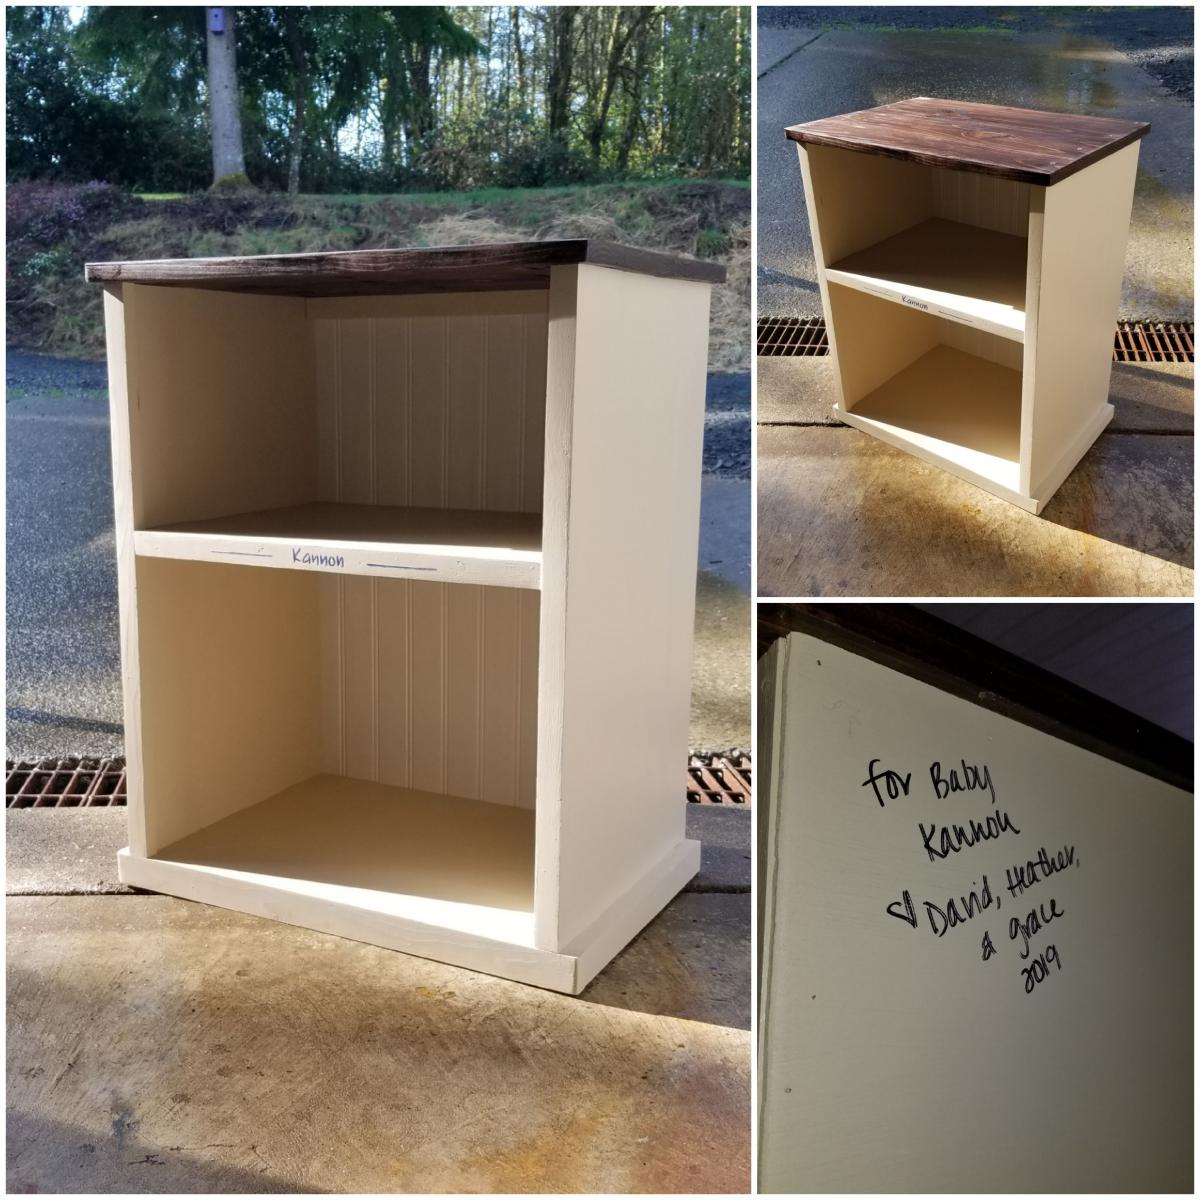
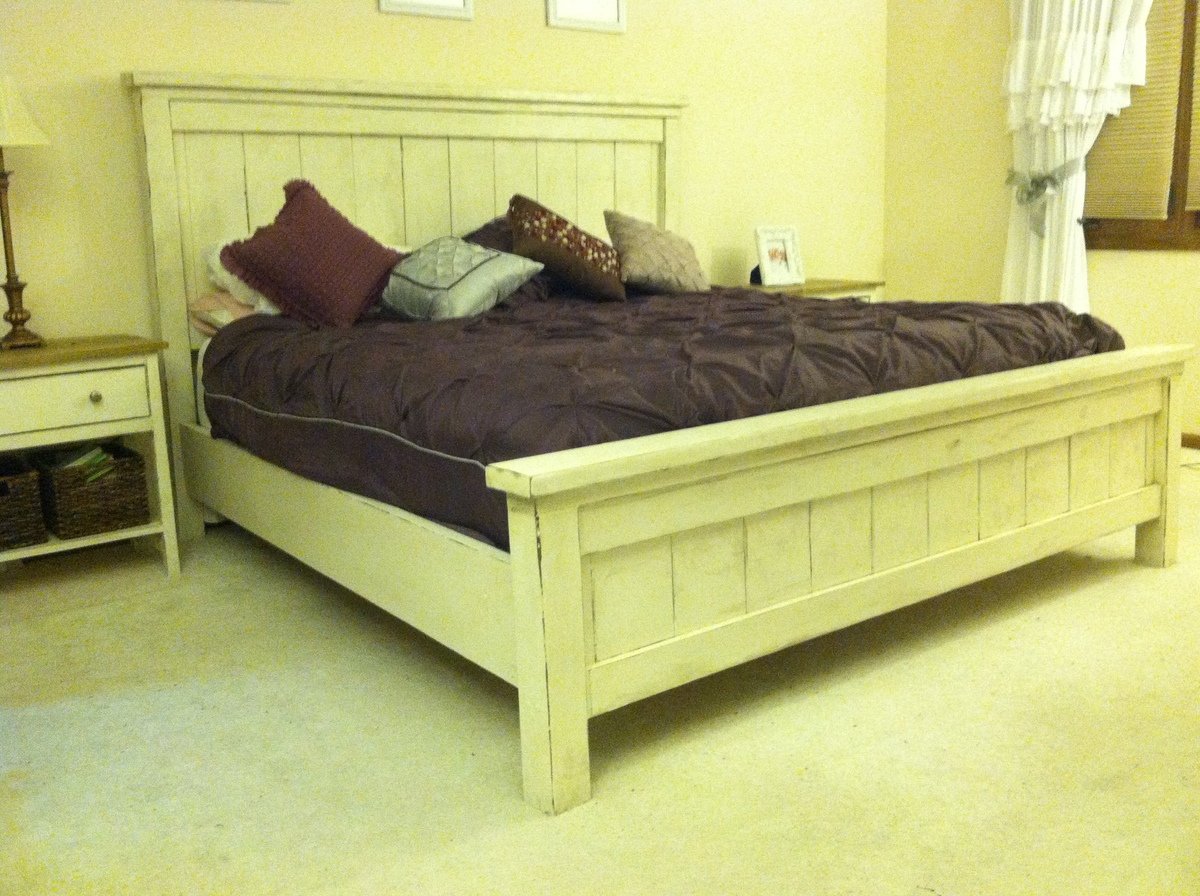
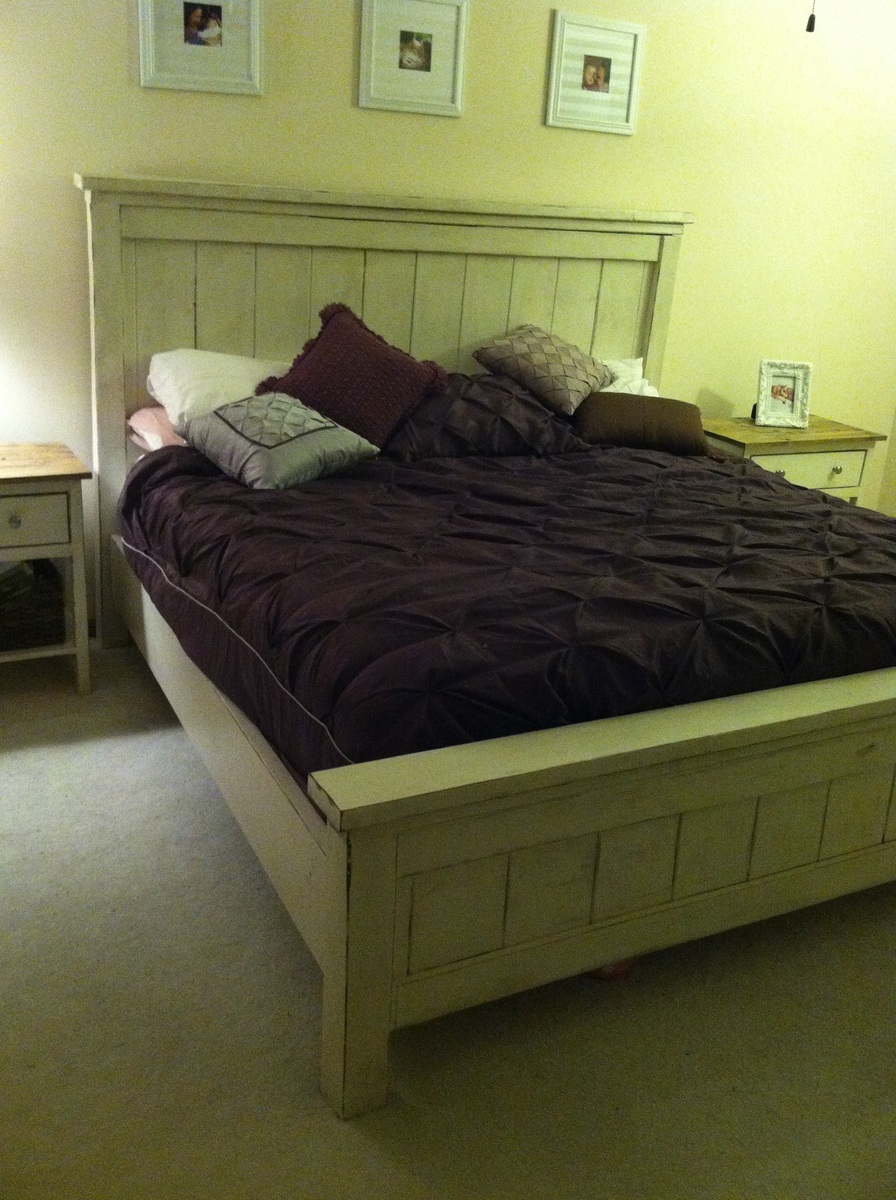
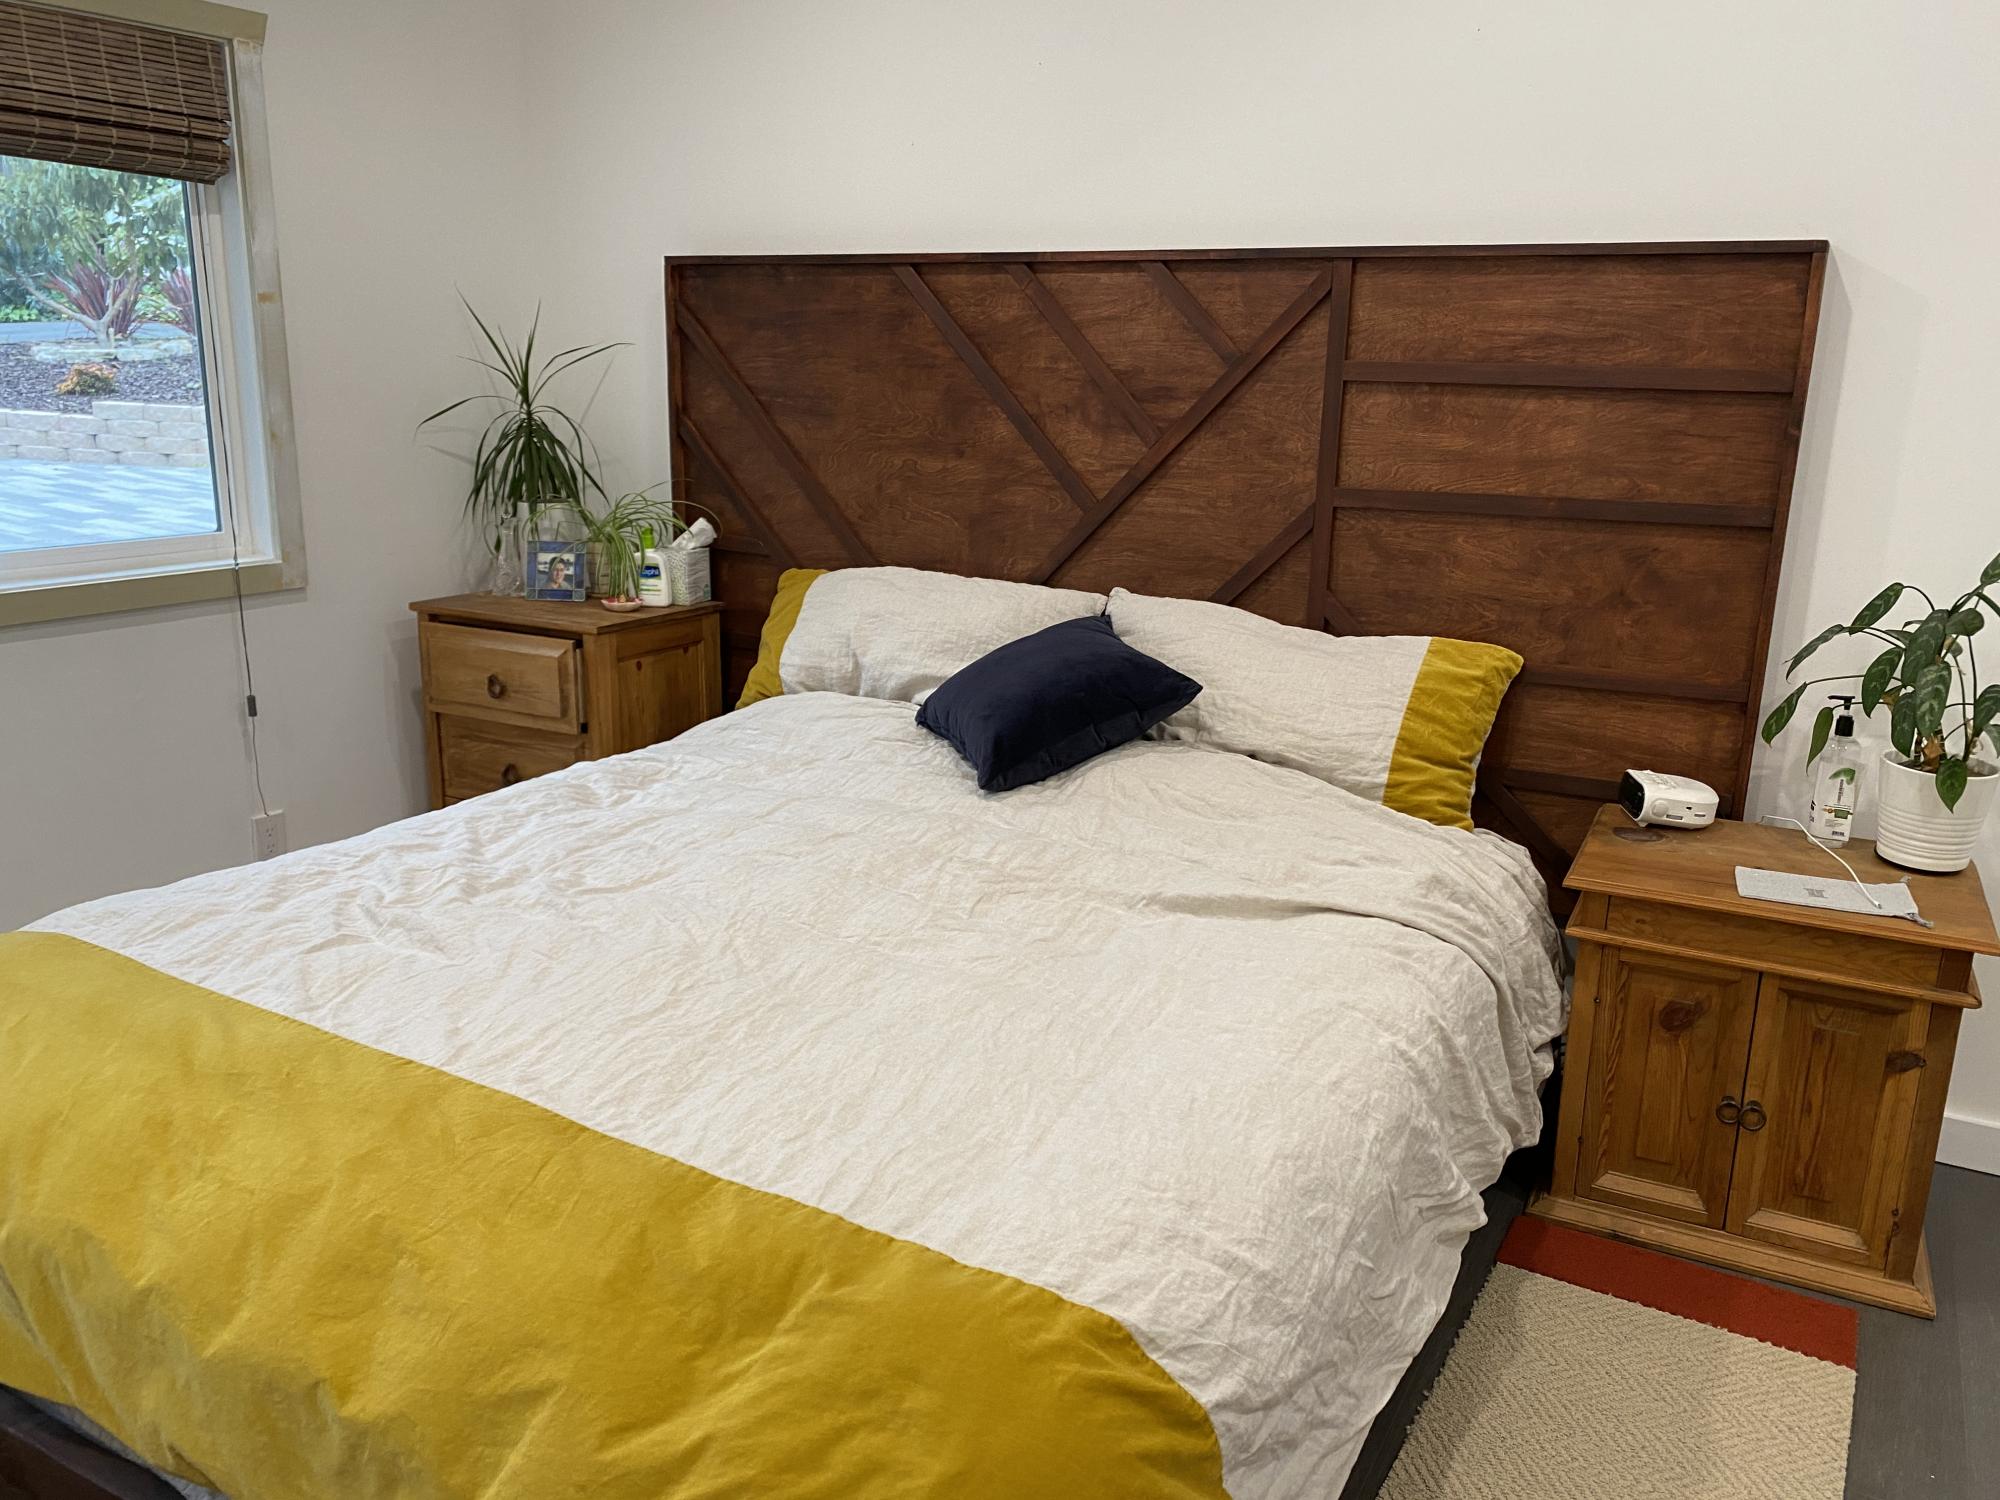
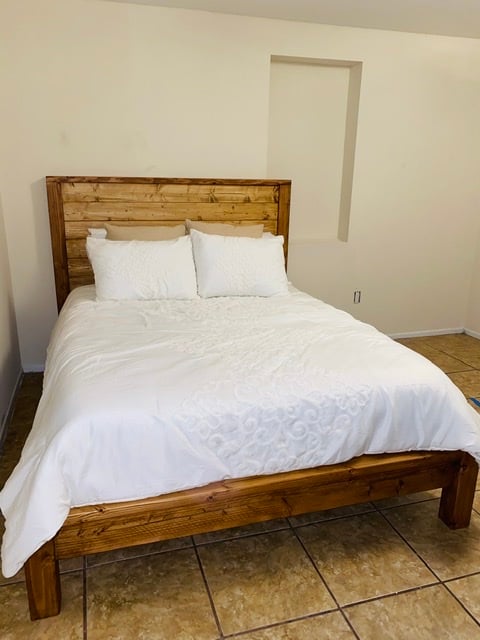
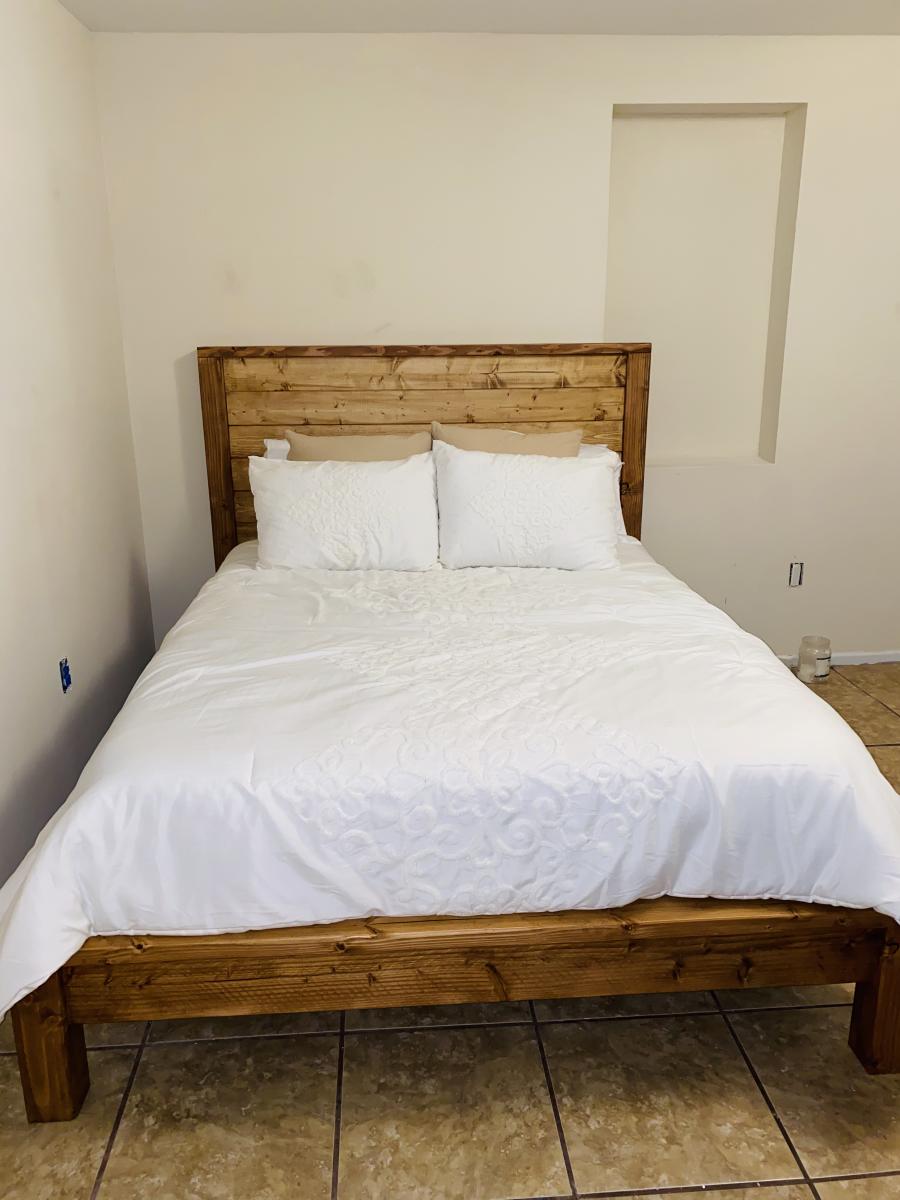
I started my son's bedroom set back at the beginning of January and have finally finished! I began by building the matching dresser (http://ana-white.com/2014/02/rustic-dresser-and-bedroom-set) and then started the bed only a week ago. The night table was taken from http://ana-white.com/2011/06/mini-farmhouse-bedside-table-0 - I had built it over the summer, but I couldn't get my pocket holes on the inside of the table because my drill wouldn't fit, so I wasn't going to use it.. until I realized it was the perfect little bedside table for a two year old who might destroy it anyways!
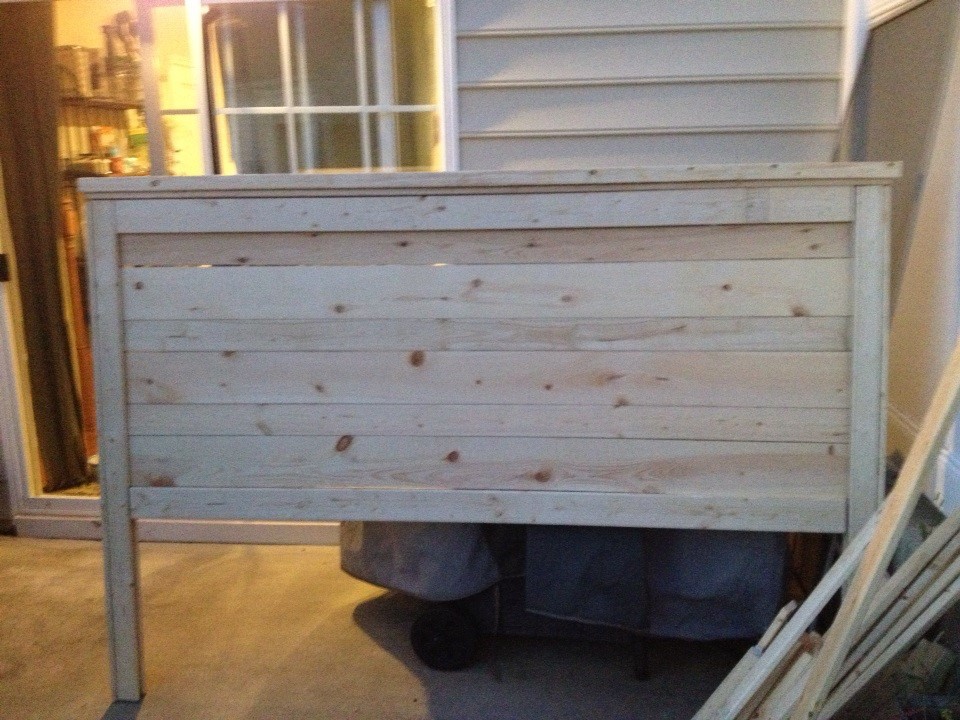
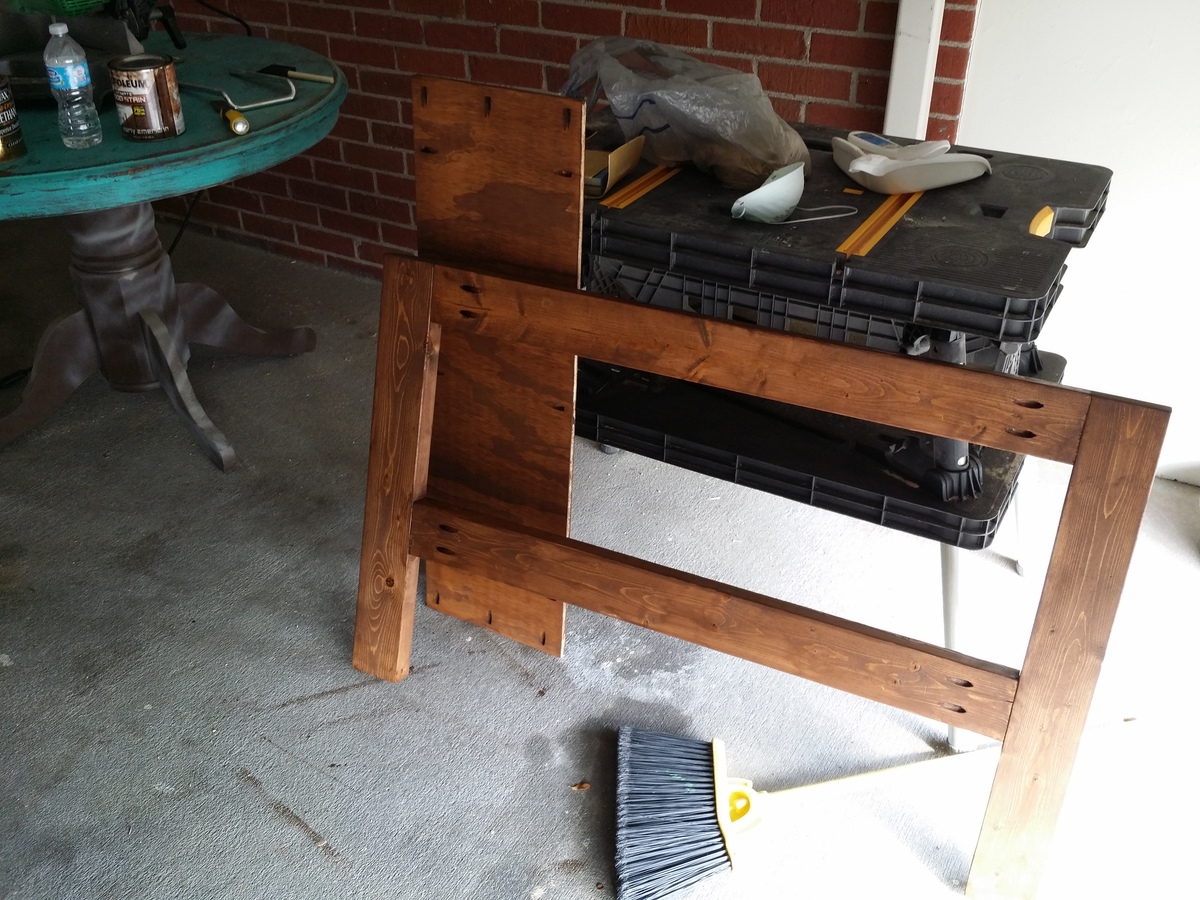
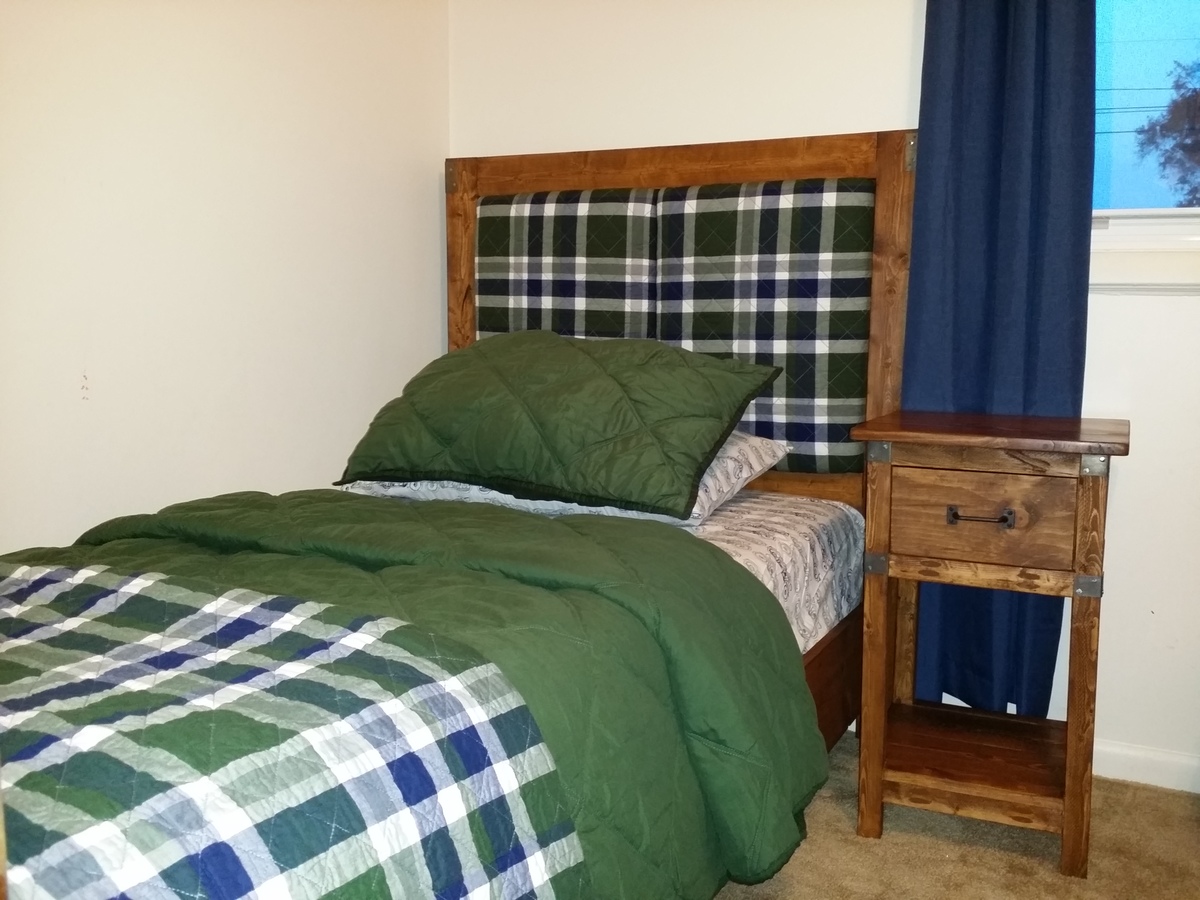
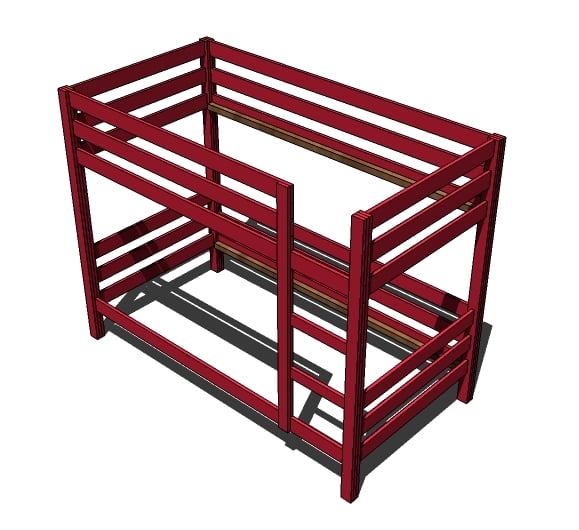
Back to the bed... I just had this vision of what I wanted my son's room to look like after seeing the rustic rolling dresser plan, and I stumbled on the Emme Twin bed plan. It was kind of perfect, but I didn't like the whole "window" look on the headboard. I still may add a divider on the foot board, but haven't decided yet. Regardless, so I envisioned something else with the same concept of the Emme twin bed. Building it exactly the same way without the dividers, I ordered the clearance shams from pottery barn that matched his new quilt and bought another piece of half inch plywood. I cut it in half and left about a quarter inch on each side of each piece of plywood to accommodate the fabric in between the 2 by 4s. I added one inch of foam and a couple layers of batting, matched up the two shams side by side, folded them each around the batting and foam, and stapled them. They fit perfectly into the headboard with some 1 1/4 or 1 1/2 inch screws (There is a gap from the fabric on the back, so your screw needs to account for that. You could put like a 1x4 onto each panel to screw through, but I placed the back plywoood attached to the 2x4s too far in, so it would have made the panels "float" and I wanted the fabric of the panels flush to the back plywood) holding them to the back plywood attached to the 2x4s. I wanted the padding on the back of the headboard because I always hear my son slam his head into the wall when he's sleeping and i just wanted to make sure he wasn't hitting the dividers that were on the EMME twin bed.
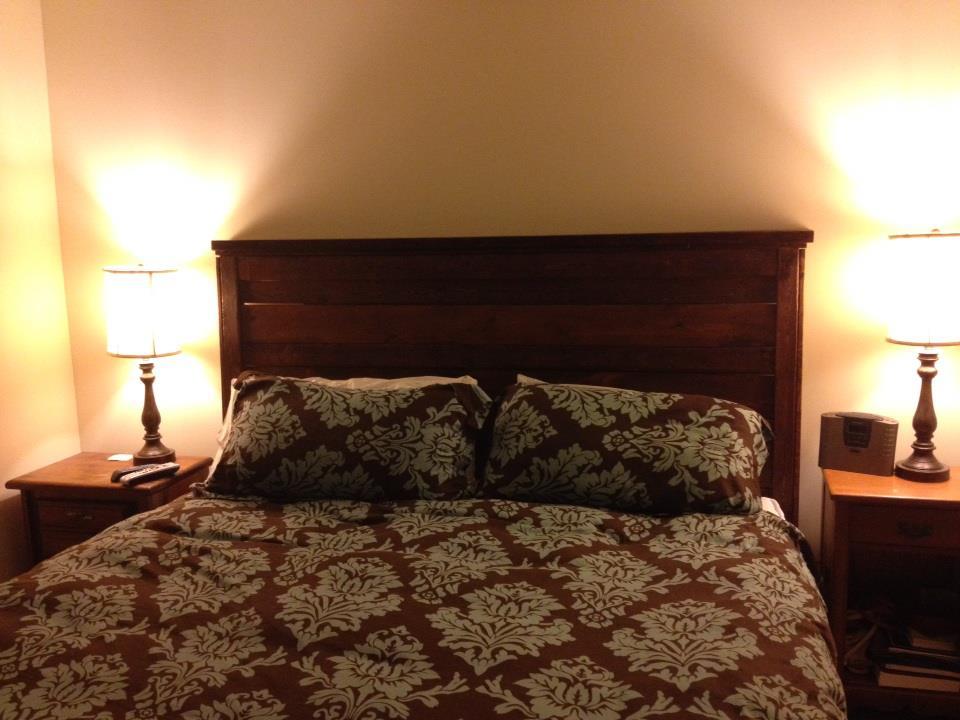
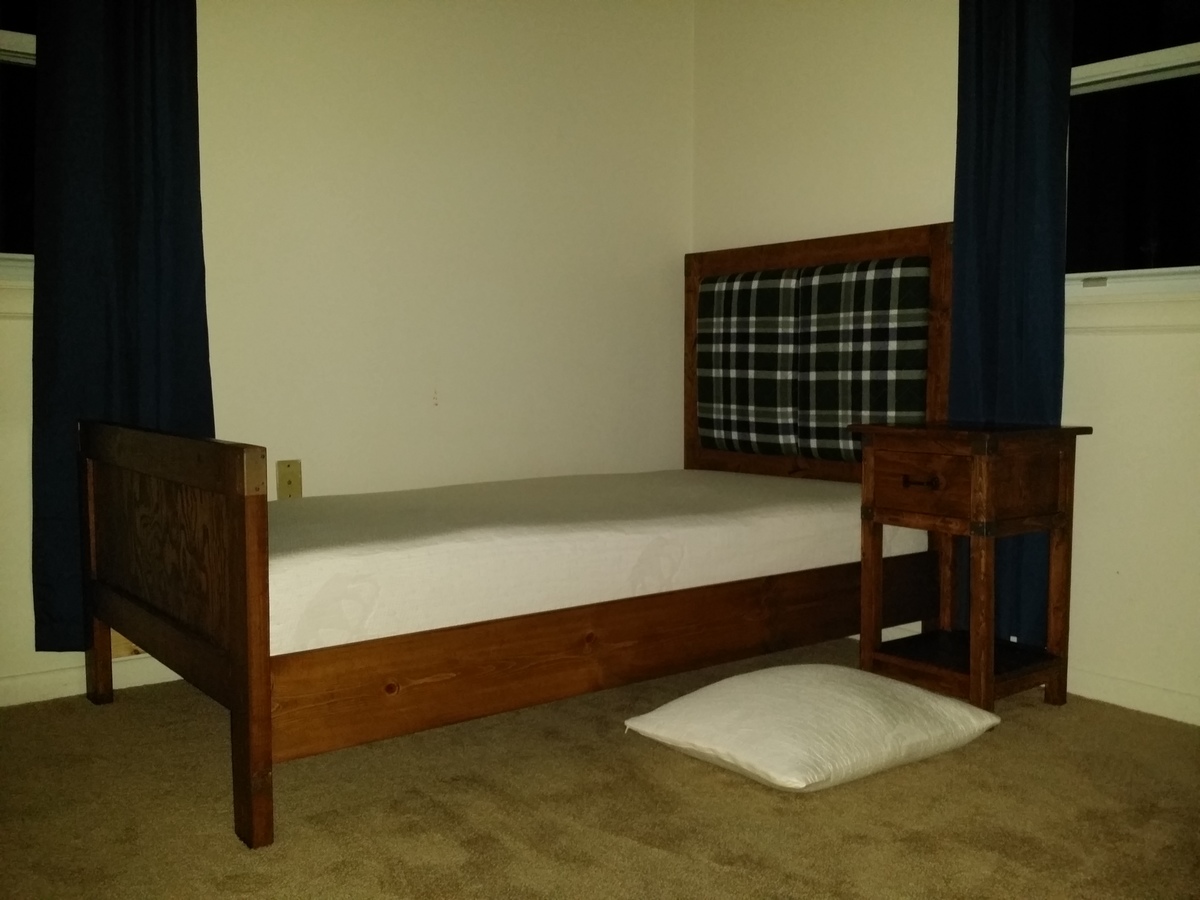
The bed was so easy to build, stain and finish. It turned out exactly how I had envisioned it. I had to lower the side rail 2x4s because I bought a ten inch memory foam mattress (You can see the foam mattress and pillow rising in the picture!) and didn't want it coming above the headboard, but now I don't think I'll need a guard rail since he is so close to the floor! The 2x4s sit 5.5 inches up from the bottom of each leg. I also added quite a bit of length to the foot board legs because I wanted the footboard to come above the mattress. I wish I had realized that there was much nicer plywood at Lowes, but when I asked, they told me "this is all of the plywood we have" and I got stuck with the ugly stuff.. I will fix the footboard with some nicer looking plywood, but it's good enough for now!
