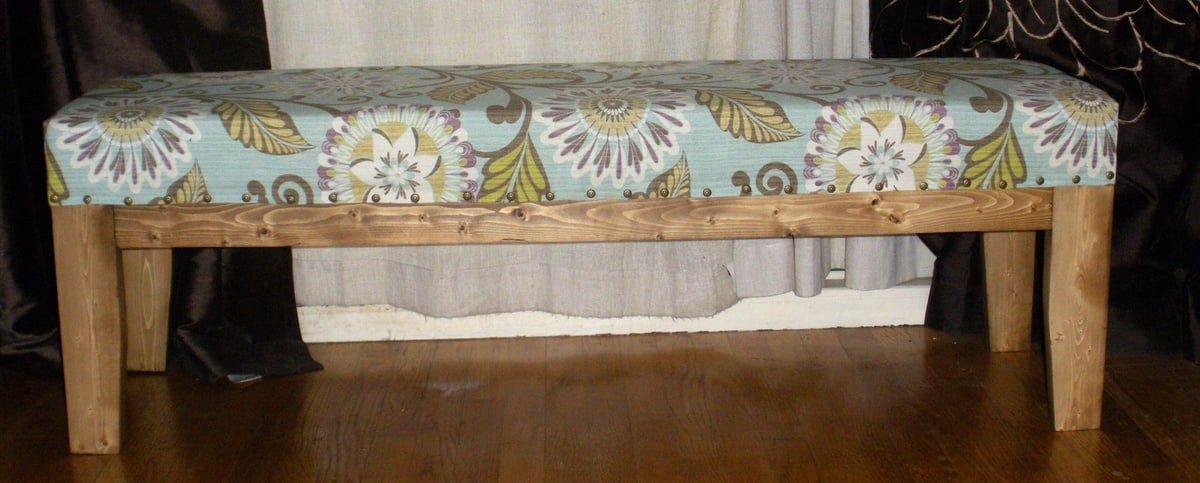
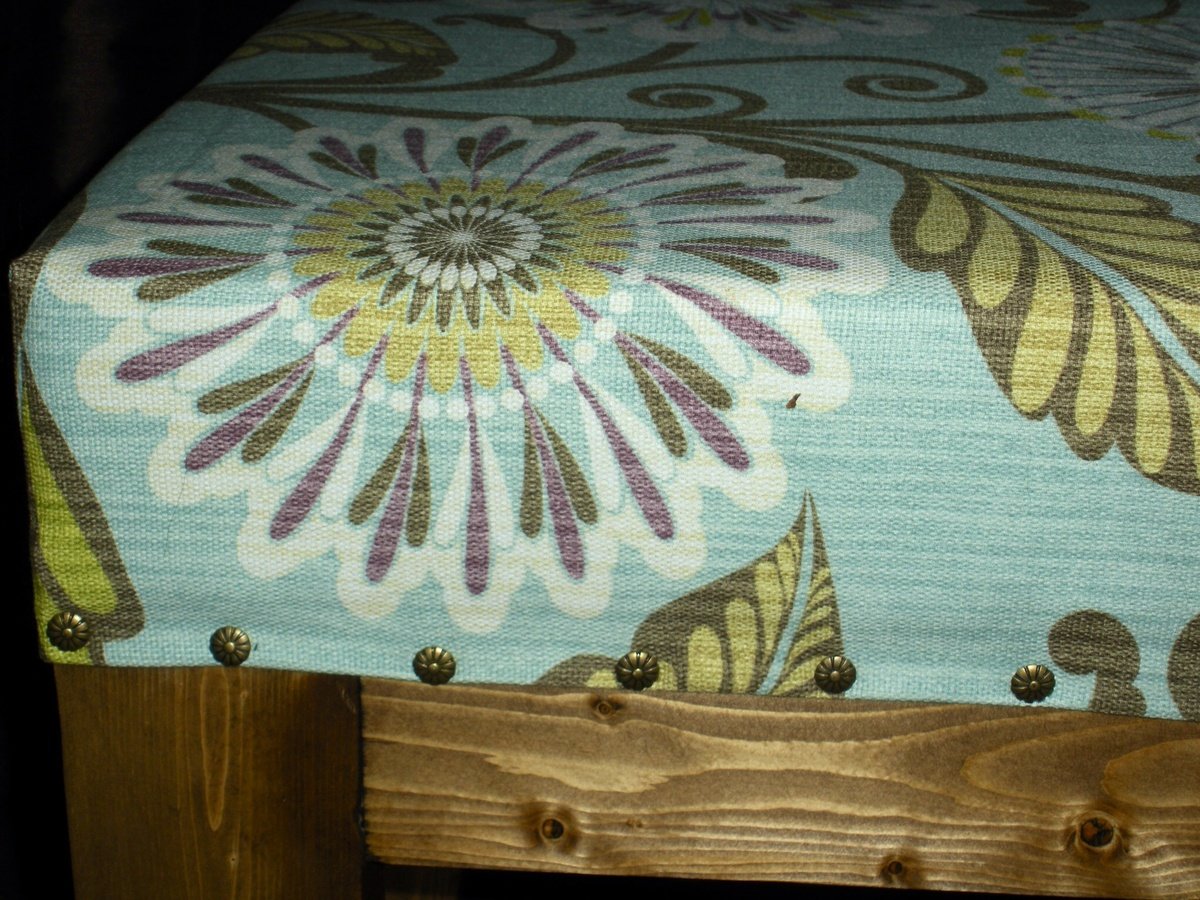
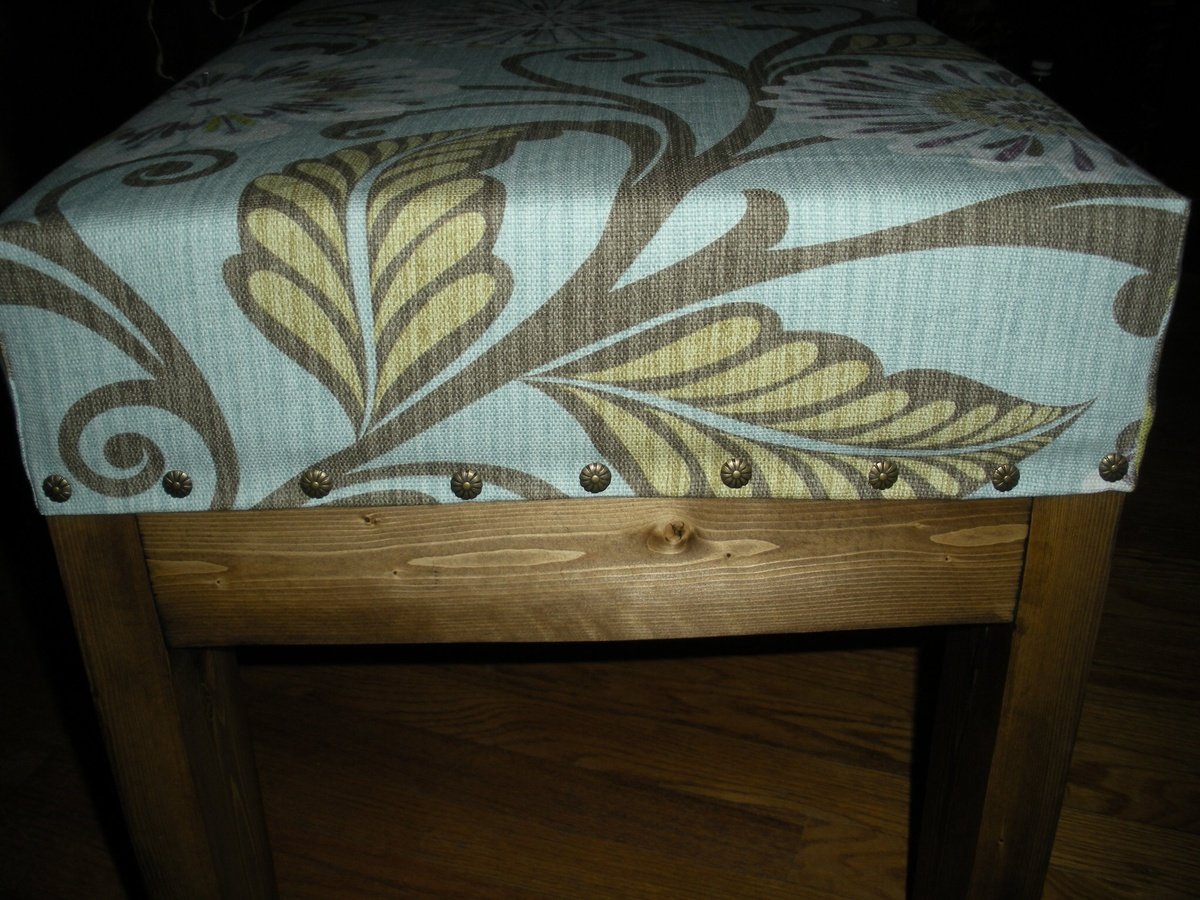
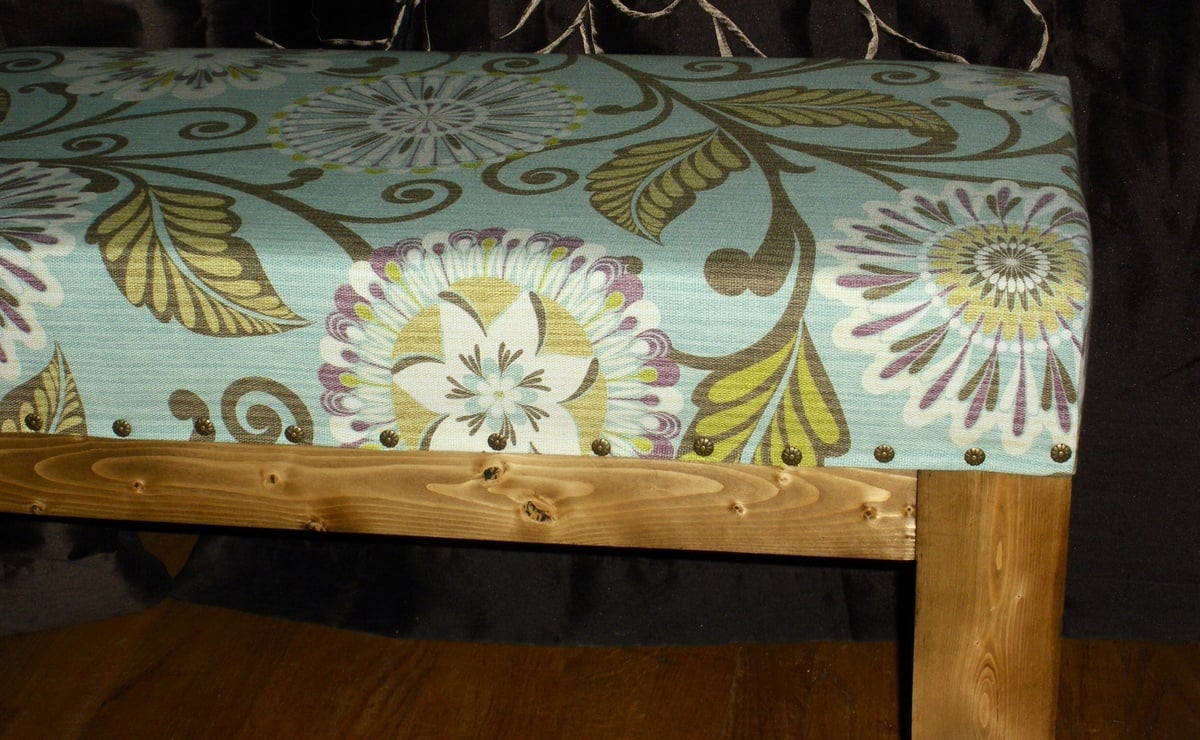
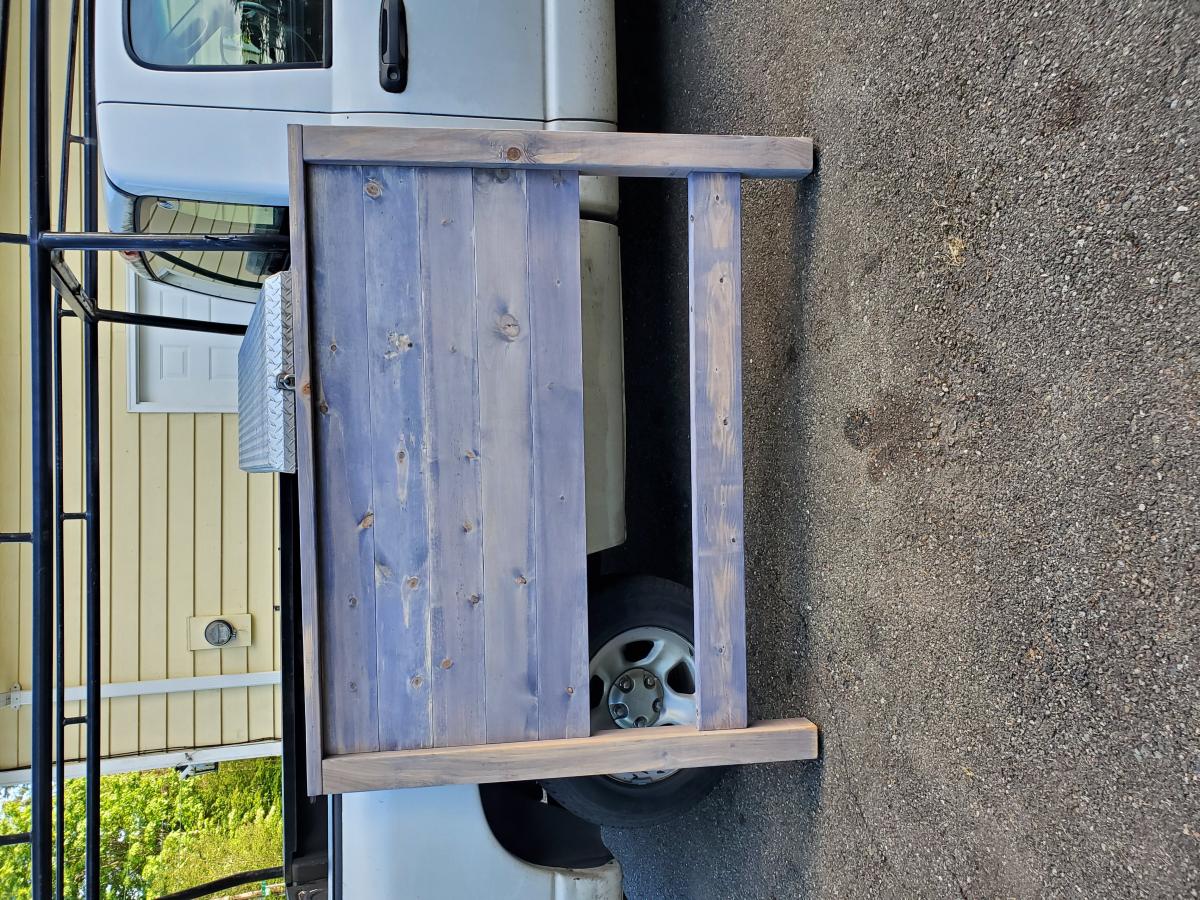
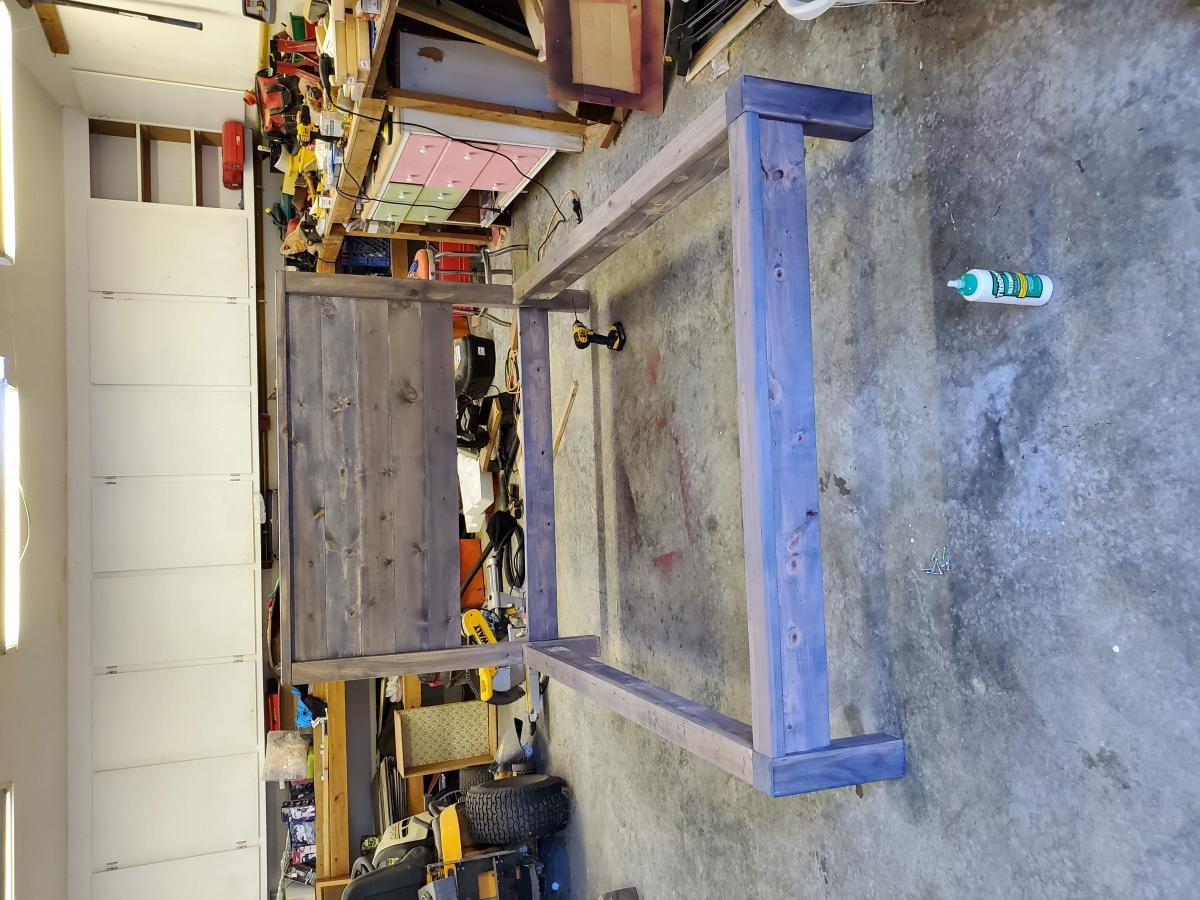
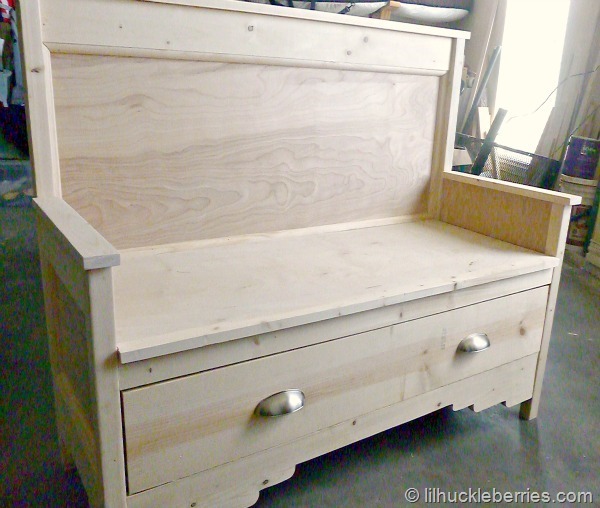
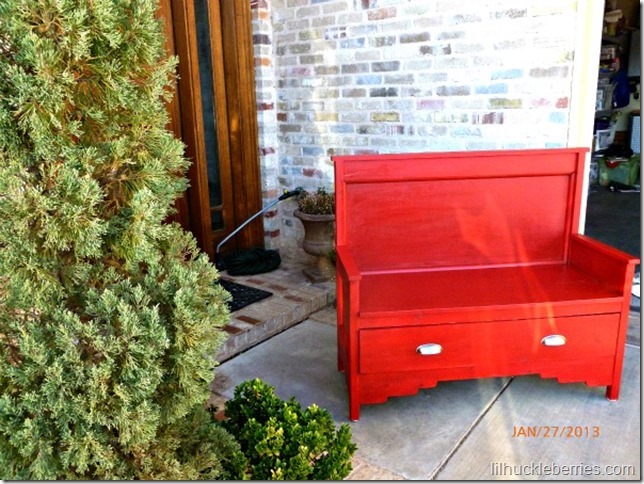
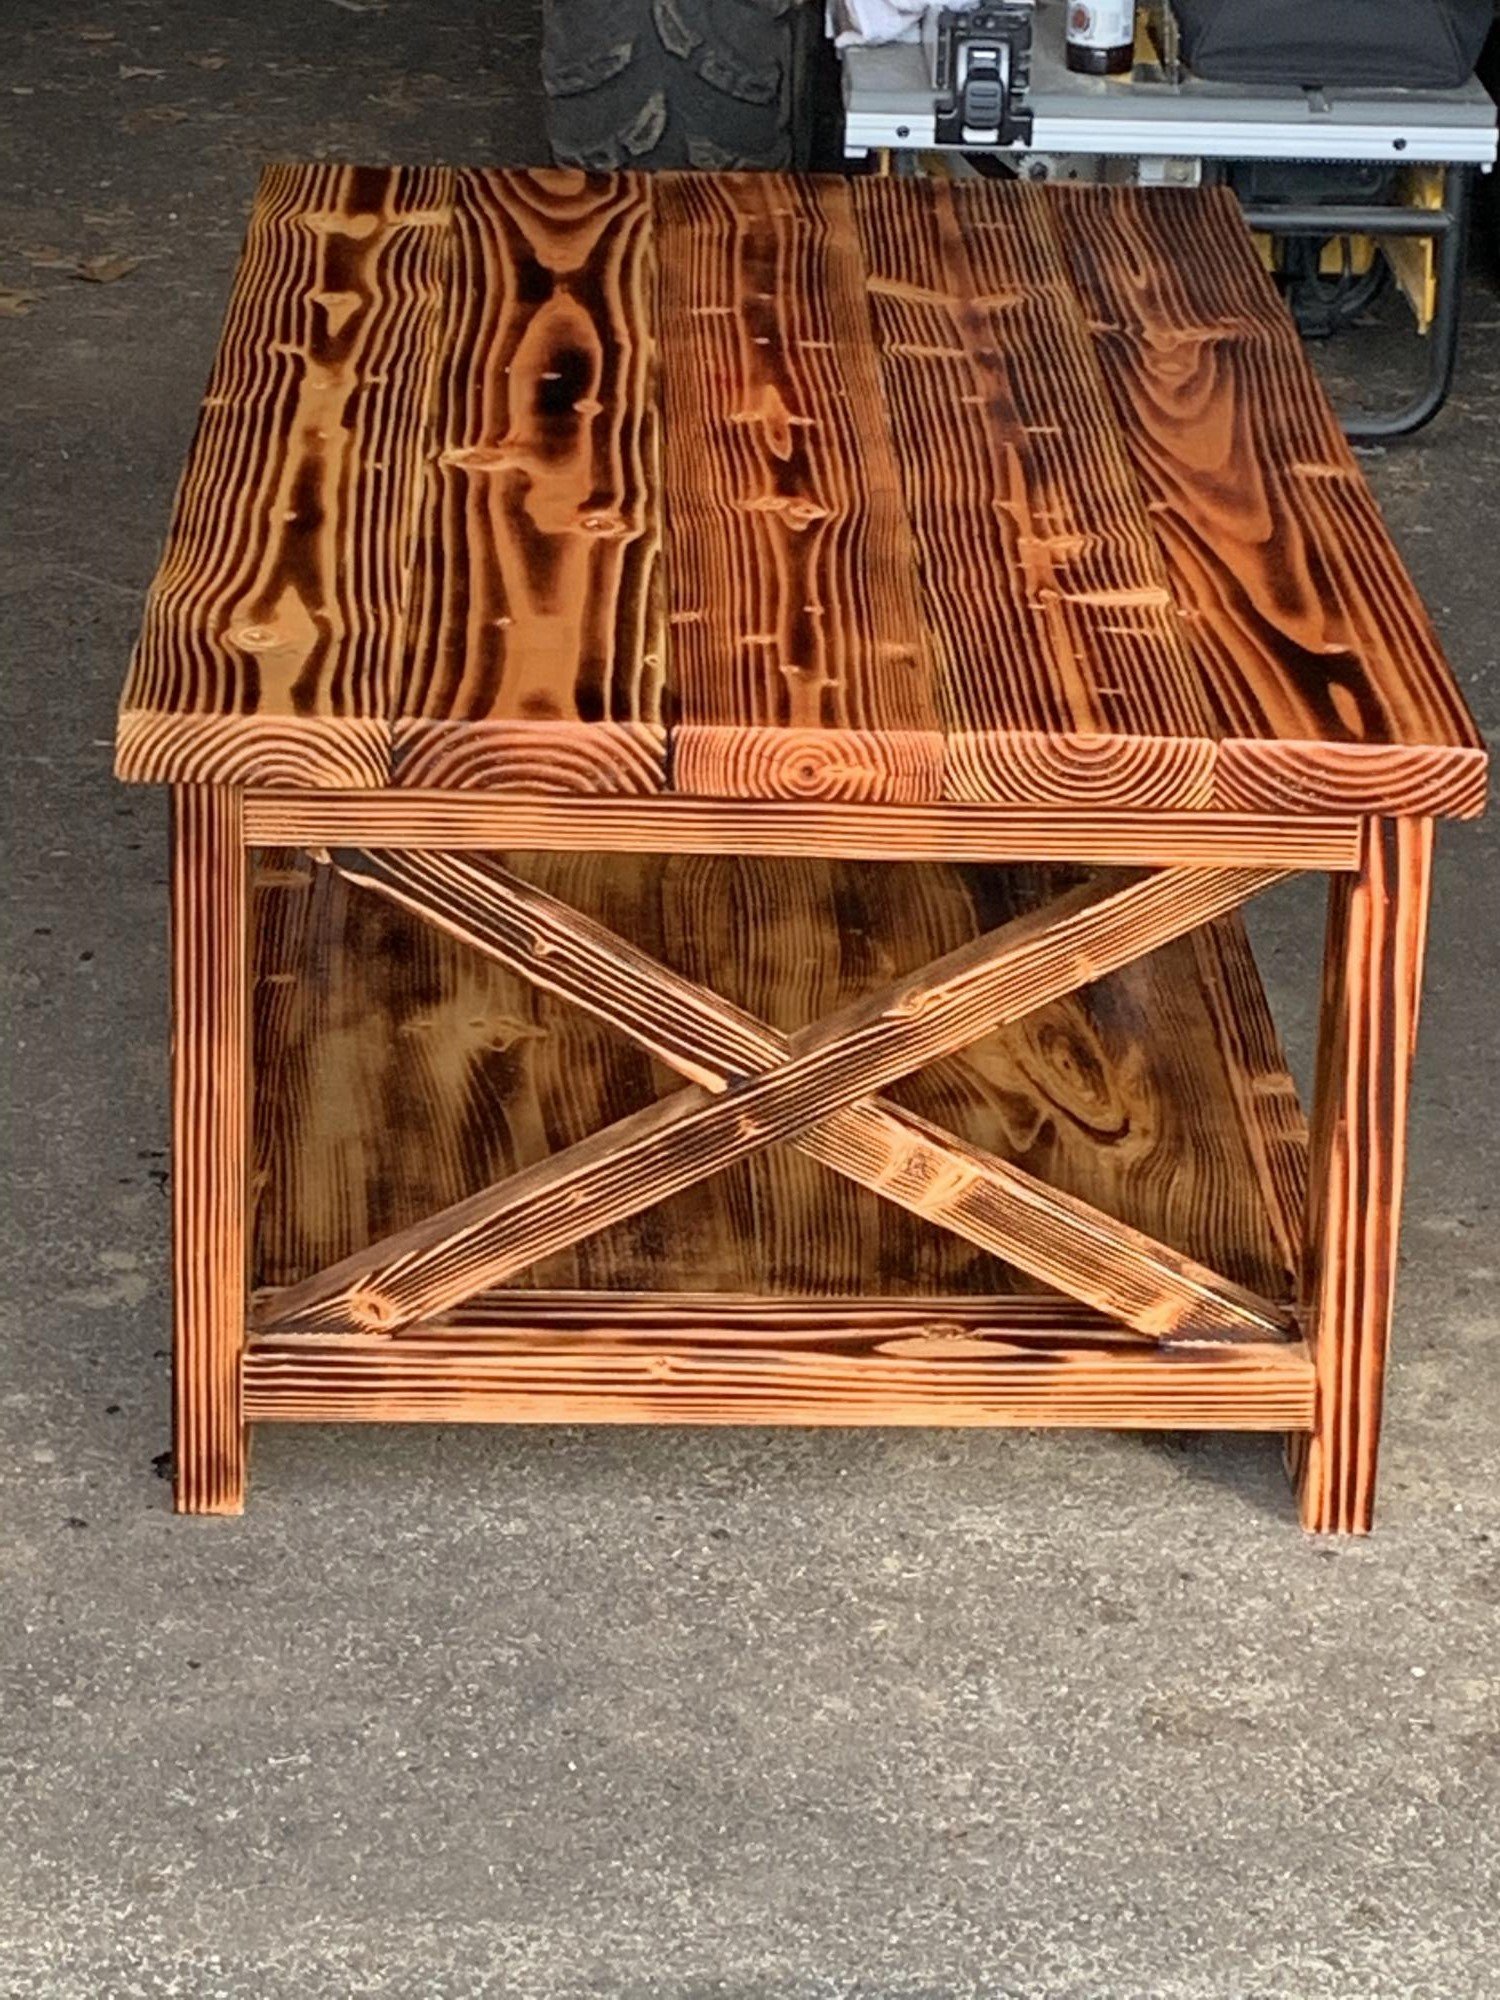
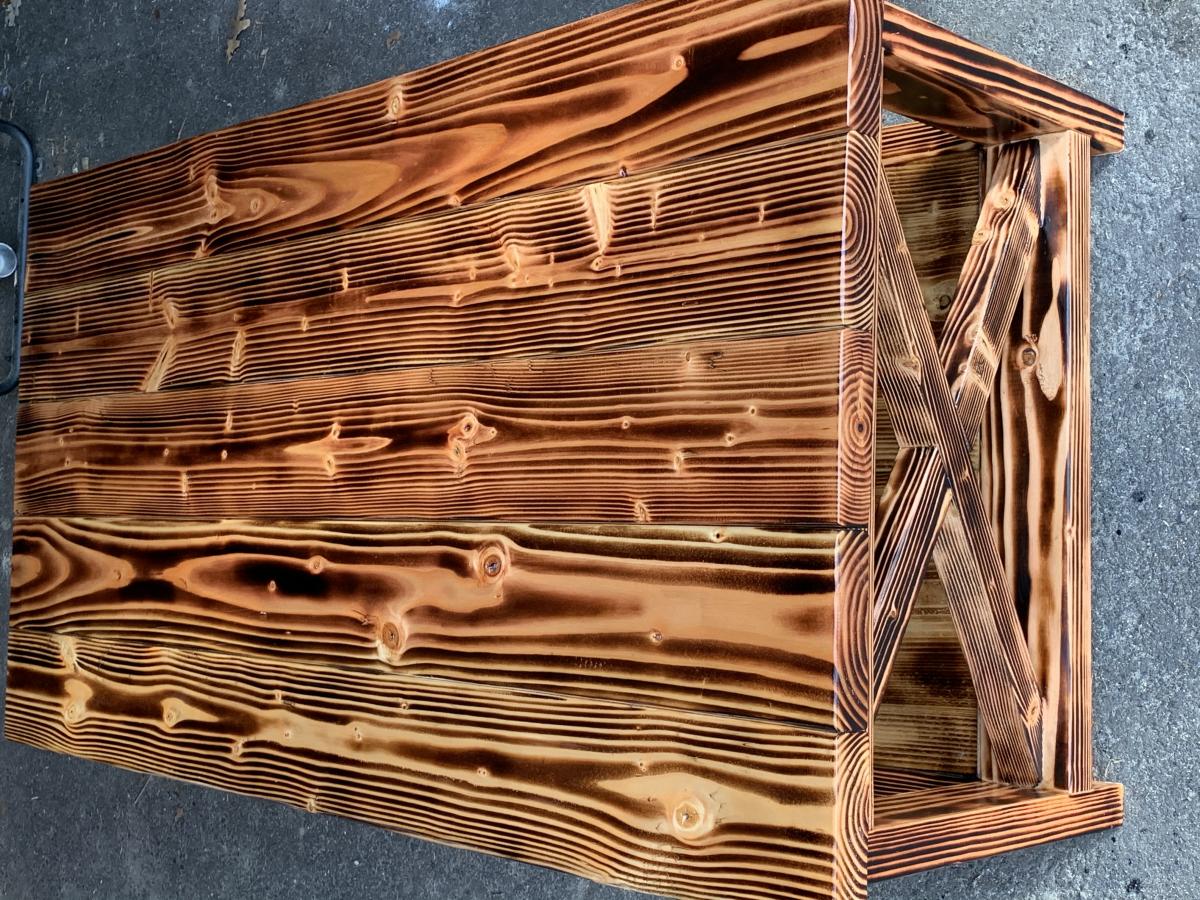
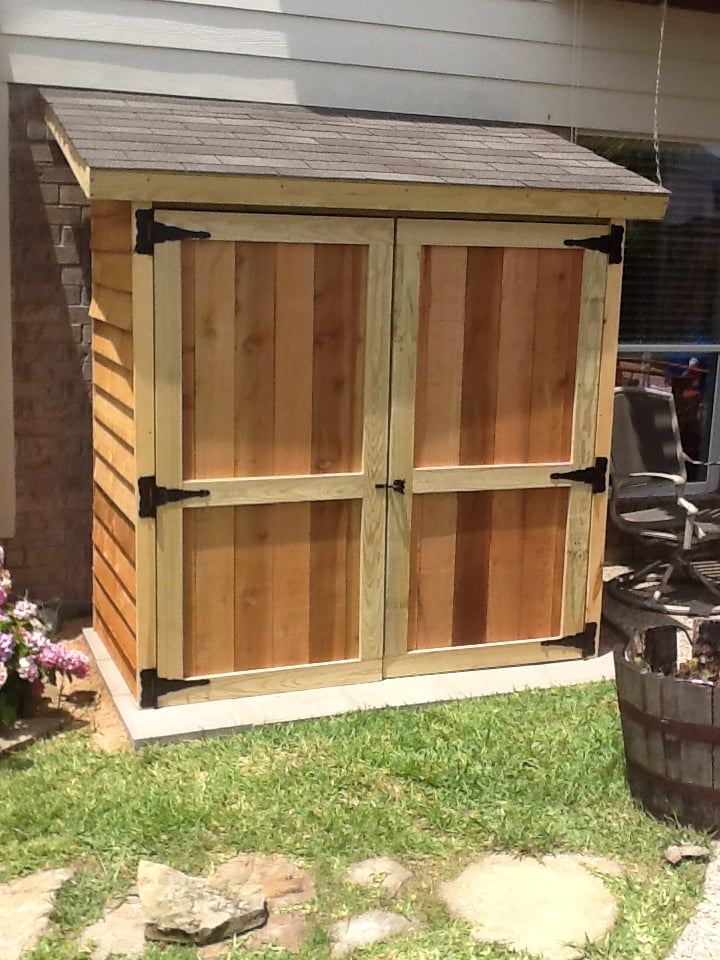
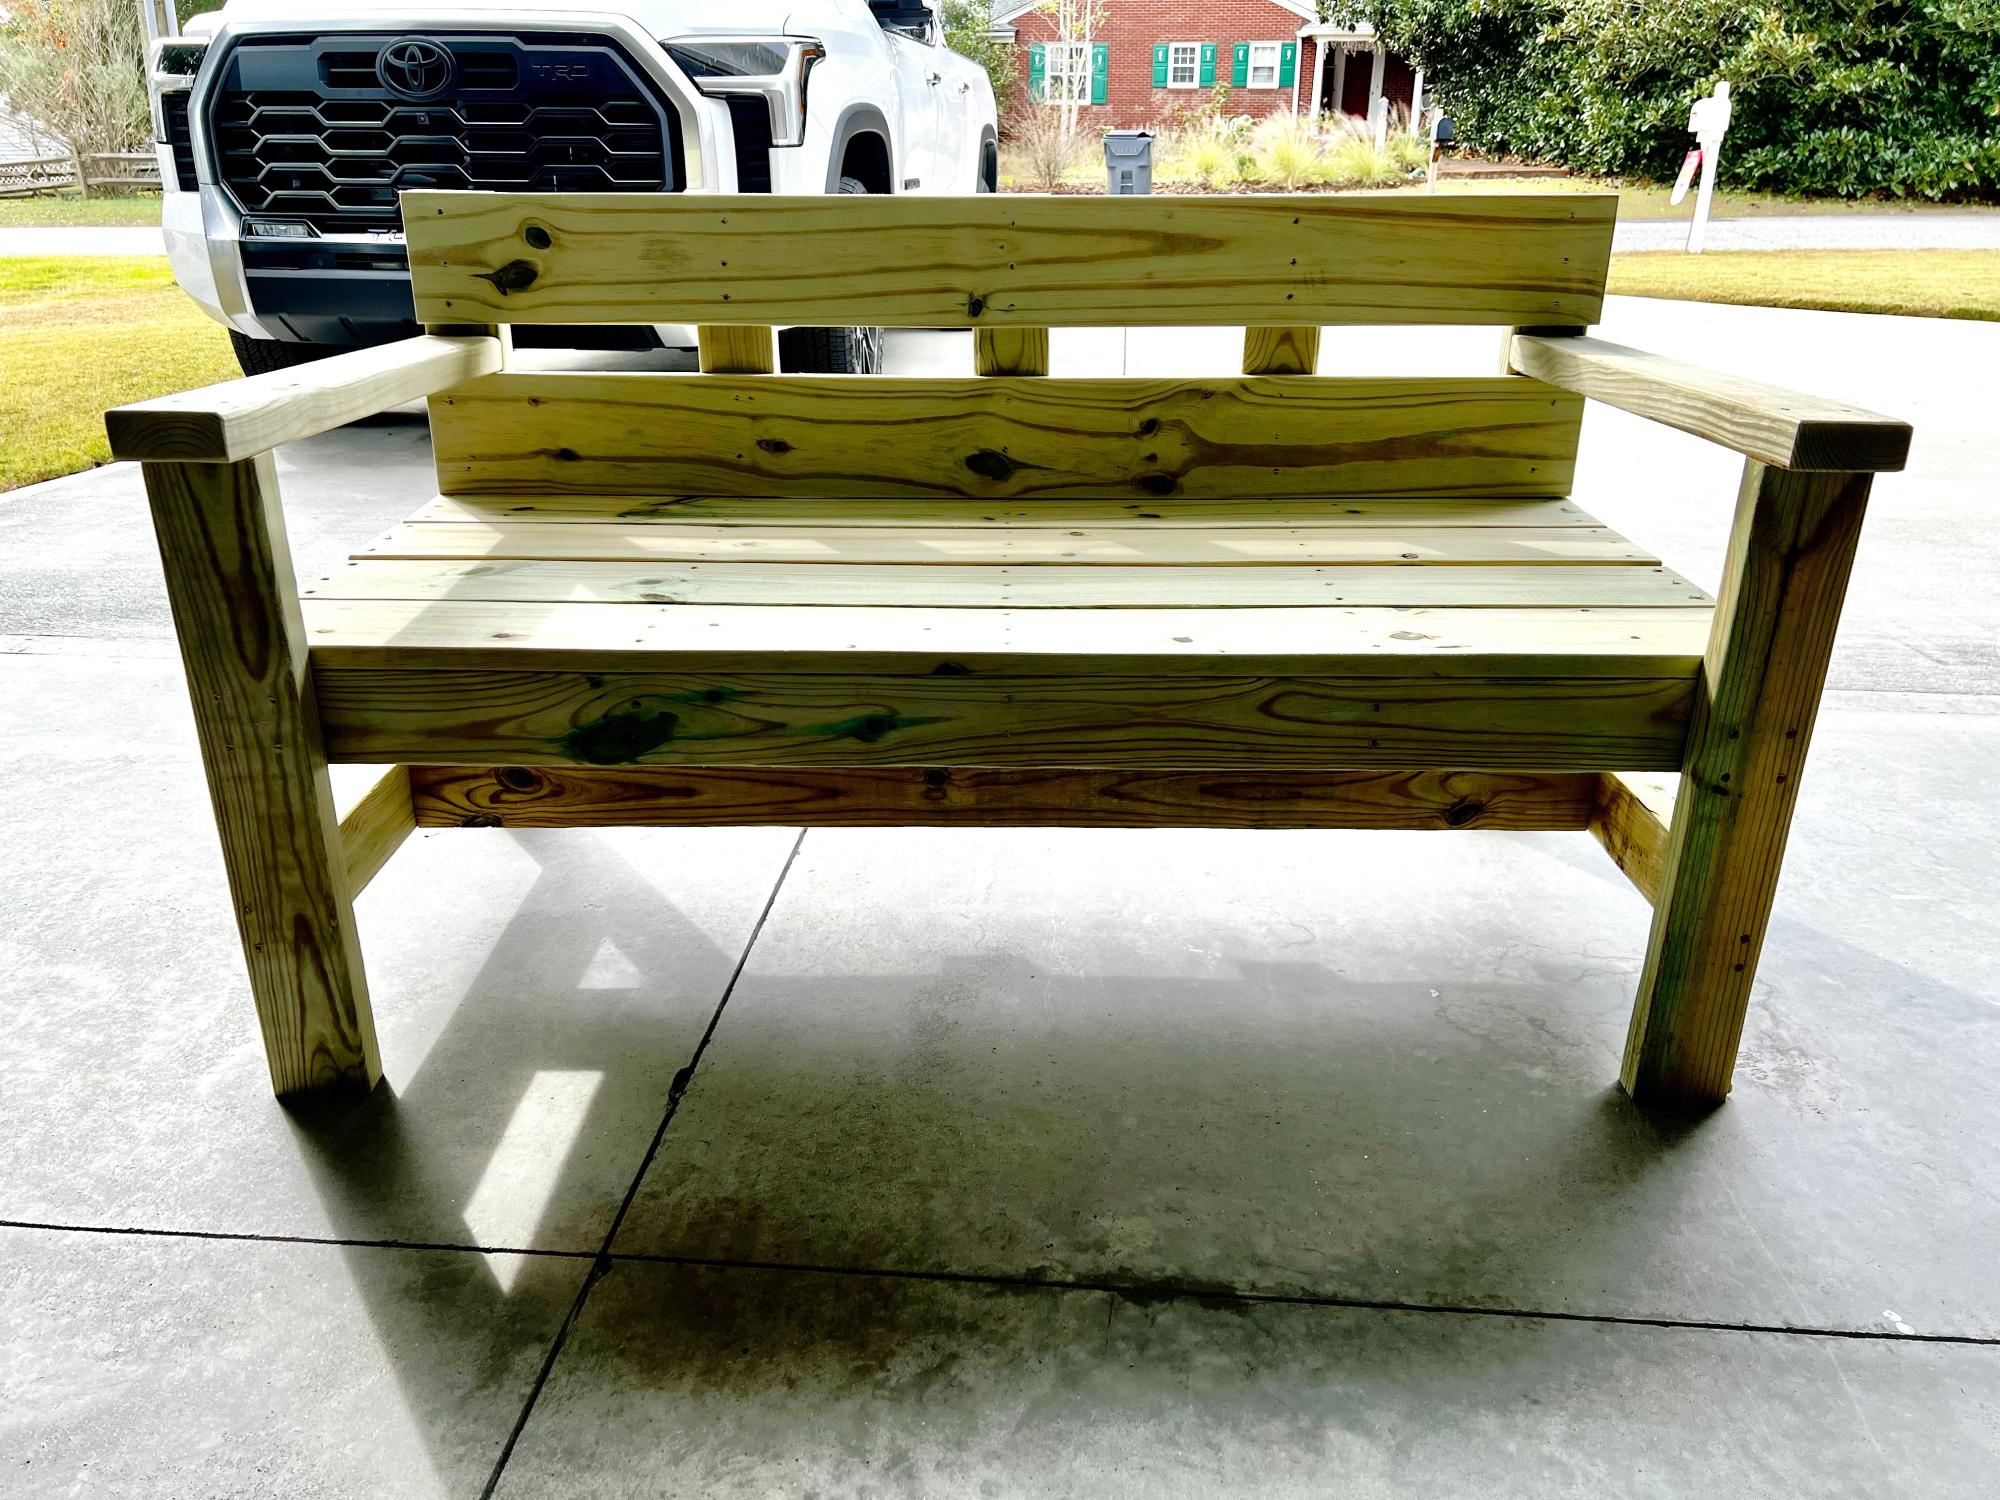
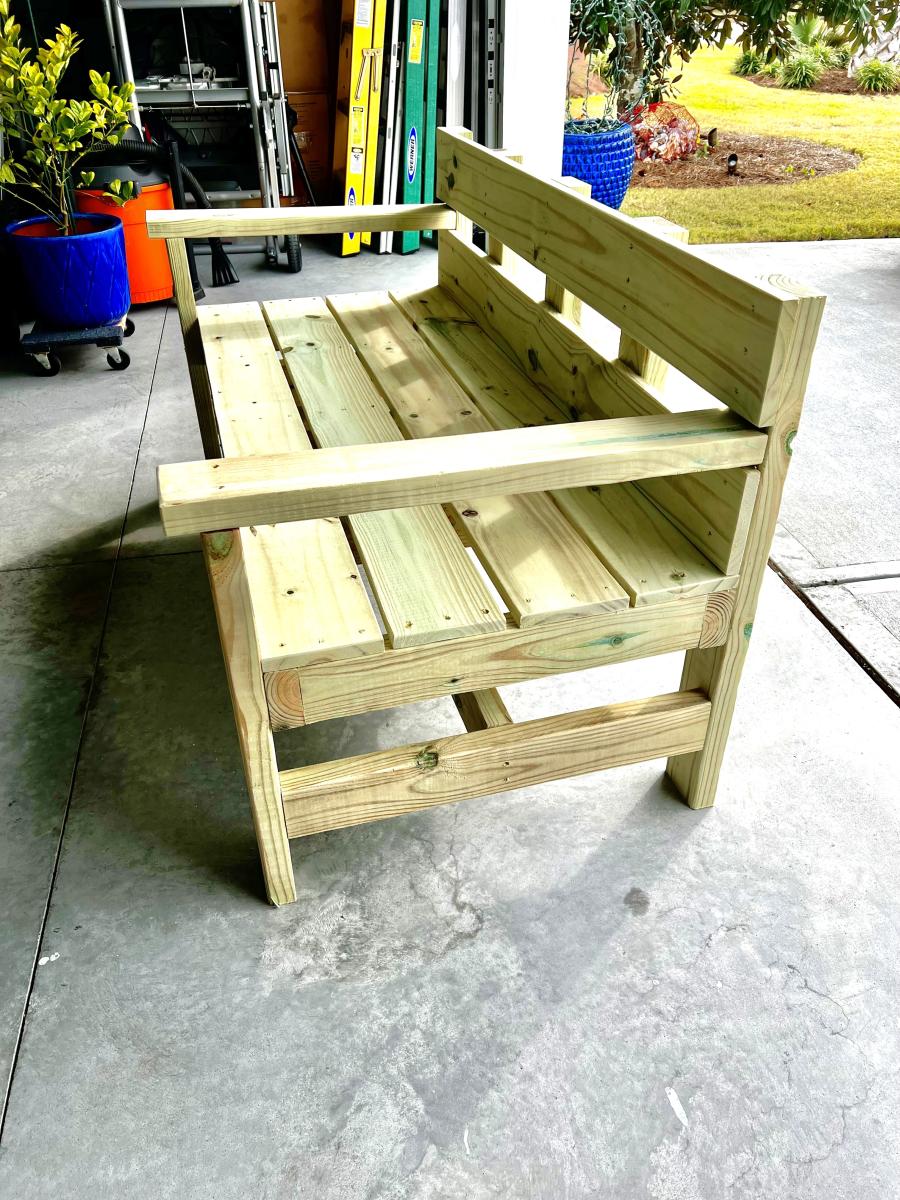
Providence bench
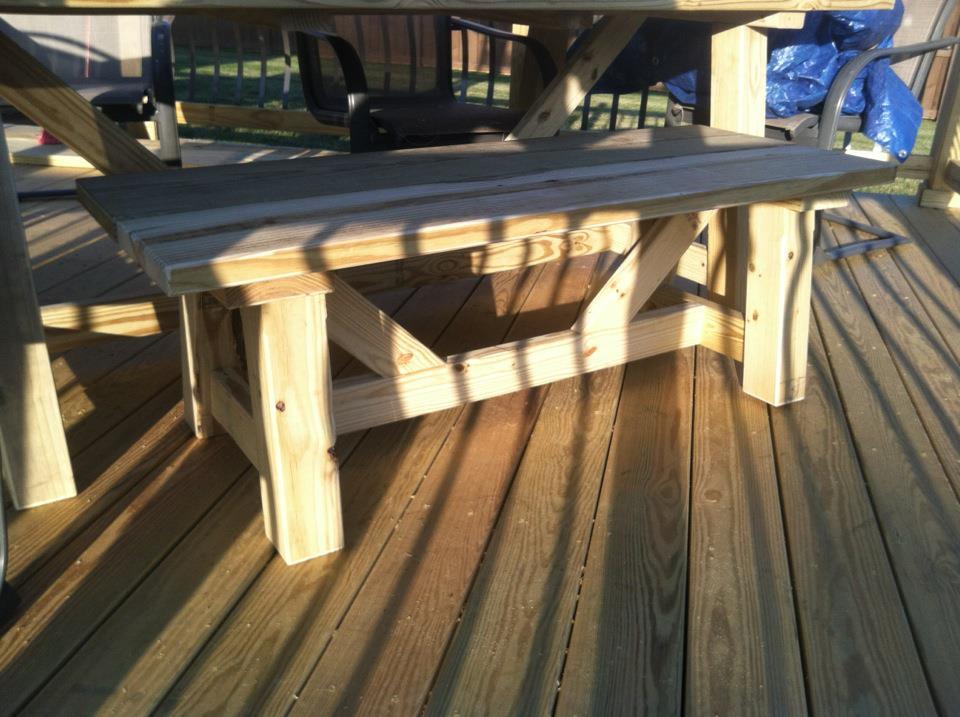
This is my providence bench made from left over scrap wood from our new deck. I used 4x4's for the legs. This bench is SOLID! It is also huge! We had five 6-7 year olds on it last night with room to spare.
After buying our king size mattress we went to look at bedroom furniture and realized how expensive nice bedroom furniture is. So I decided to build a bed and night stand myself, and they turned out great and cost less than 200 for both projects! I'm now a do it yourselfers and looking forward to more great projects!
Sat, 01/10/2015 - 07:35
What boards did you use for your side tables? Did you purchase extra just for them or are the left overs from the bed? Do you be chance have the demotions of the tables? They look awesome!
We have 3 kids and so I wanted them to each have their own place to cut down on arguments. I also chose to make this just a water table because of how close it is to the back door. I'd rather them not bring in a ton of sand each day. Because I wanted to be able to keep the lids on top when they weren't in use, we separated the bin areas so the lids can snap shut. We also made it a few inches taller to fit the stools underneath. It was a simple build, and didn't cost much more than a big box store small plastic sand and water table. Also I found those bins (same brand and size as in original plans) at Walmart with a white lid (which I preferred to the blue) for under $5 each.
Made this with my son for his new home. The only deviation from the plan was a solid slab of sycamore for the top with dark Minwax stain. Base was painted and waxed with Annie Sloan Old White paint The toughest part was getting the angles right for the X pieces. Had to eye the line and cut with a band saw.
I was initially very intimidated by these plans due to the drawers, but I have a great, handy dad who offered to help with the drawers. The wood is all recycled, most of it my dad has been hauling around for nearly 40 years and finally had it all milled this past year. With the offer of free wood, I couldn't say no! The plans worked great. It took a very long time as I have limited hours to work on and my dad is a sanding nut! I am more into rustic, worn look and my dad more fine wood working...so I had to keep assuring him it was just fine like that, and move on already.
This was a very simple and fun project!!! One of my favorites!! Plus I learned two new DIY SKILLS......upholstery & tapered legs!!!
My husband built these bunkbeds for my daughter's 5th birthday. She loves it!!
My oldest son moved out and took his queen size bed with him. This was a problem since we always used his bed as the guest bed when we had visitors. So my wife and I decided it was time to upgrade our own bed in order to solve the guest bed problem. With a new mattress incoming, it made sense to finally do away with the basic metal frame and grow up. My wife signed off on the modern farmhouse design and I was off to the home store to get started. I will say that having guests coming soon made this one of my fastest starts to finish projects ever. I cut everything and my wife did most of the staining. We stuck to what Ana used for stain with the weathered wood accelerator. Quick and easy build. One change I still want to make is to add another 1x6 to the headboard. Currently, one of my pillows ends up wedged between the bottom board, wall, and mattress.
Built the entertainment center for our new home. Thanks for the great plans.
Sat, 11/18/2023 - 12:59
Fabulous build, love all the extra detail! Thanks for sharing.
This table was made with Cedar but the base was pressure treated wood. The legs were Cedar 4x4s and very sturdy. I used a mix of designs and altered each to fit my needs. Getting the lumber from a lumber yard vs. big box cut my costs in half. Used stainless steel finish screws, Kreg Weather Treated Screws, and Deck Screws.
Sun, 03/17/2013 - 16:23
I love this! I'm planning on starting this project once the weather warms up and I was wondering if you could tell me how you attached the legs to the table top without visible bolts.
Sun, 08/11/2013 - 22:45
Absolutely Gorgeous! The photography is stunning as well! Great make!
Tue, 07/08/2014 - 17:02
Very nice looking table. I'm looking to make similar. What are your dimensions? I like the plank in the middle. Tks.
I needed additional seating for my dining room table and wanted something a little unusual. When I saw the vintage pew bench, I loved it. After looking at the plans, I determined I could alter the arm height so we could use it at our dining table. Now that we have moved, we no longer need it at our dining table, so it now sits in our entry. It has been a great multifunctional piece.
Mon, 03/24/2014 - 13:25
Thanks Ana! It is a painting. I bought it in South Korea while we were living there.
I may be able to track a canvas down for you, though. You would have to get it stretched...it would be too large to ship. I have a friend who is living there now. ;-)
Tue, 03/25/2014 - 10:15
Thanks for the reply, what a great find. I just had to comment on how striking it is!
Sun, 09/20/2015 - 16:44
What's the new arm height? I'm going to TRY to adapt this to a 60" bench with two drawers, and the lower arms.
Used MDF for the bases since we painted them. I didn't do the interior trim on the bases as the plan says, because I felt they constricted the size of the shelves usability. Top was made with 3/4" Birch plywood. Simply routered the edge to have a curve then stained.
I love it. Originally wanted to build the lift top coffee table but by the time it was ready to do it we realized the sides weren’t wide enough to for a hideaway storage. Wish it was a little bit smaller but for the first project of many it was great
My wife saw this project on your page. I had to shorten it to two feet, but, it pretty easy to do and turned out pretty well 👍🏼😁
Steve Phethean
I saw the plans for this and I had to have it. It was the first project that my husband and I completed together. I think we did a pretty good job. It just needs handles and it will be complete. If we can do this in the hot Texas heat then anyone can do it. I'm proud of us!
I modified the height to 36 to work with my workbench height. I also used 1x4 poplar in four pieces for the seat. I stained half golden oak and half cherry. I made the seat 14 inches around. I had trouble getting the pocket hole bit into the last leg of the stool once the full box shape was assembled. The top smallest pieces I had to tighten by hand. Also the seat even when larger than 12 inches shows some of the base 2by2. Otherwise it looks great. My height is what I needed and the stain and clear coat are perfect. I will be looking for more projects on this site.
Used Ana White's Husky Farmhouse Table plans/instructions and then made some of my own modifications to make the legs removable and expand the dimensions a bit. Turned out pretty good! This was my first project :)
Sat, 06/25/2016 - 15:02
Wow! She's a beauty! I am interested to hear how you went about making the legs removable. And where did you get those legs? They are stunning.
This started out as an idea for a hall tree, which none of expected to turn out great. But being in "lockdown" we needed something to do. After accidentally painting our interior entryway baby blue we decided to go with a nautical theme. As you can see, we used anchor style hooks and beadboard, which brought it all together nicely. The further along in the project planning. the more interested my children became. I'm not the most patient teacher and could have had this knocked out in a day. But it brought me so much joy and pride to see my children make something this beautiful. It really completes our entryway. The bench is more than sturdy enough for my very large self to sit on and the cats will probably claim it soon. We are just so happy with the end result. I can see this being the beginning of a lot of future projects and time spent together. My 10 year old daughter seemed particularly inspired by watching a very "girly" mom (Ana) building this. This project was meaningful. Thank you Ana White for sharing the info and know-how to get started on this journey!
Mon, 04/20/2020 - 14:28
Turned out really great! Love that you have such happy helpers!
Garden Bench Project. Christmas Gift for my daughter-in-law. Cost of materials $75 and invested about 5 hours into the project. I modified the length to fit their porch. I sanded all the material and slightly rounded over all of the material edges. Recommend installing the seat BEFORE you install the arms as it is much easier to fasten. I extended the arms by an inch because I thought it looked better than cutting it flush to the leg. We will paint it in the Spring after the material dries out and can accept paint. It was fun to build. I have seen similar benches on Etsy for over $500.
This one I can’t take complete credit for, the base shelving unit was left behind in our basement & was just beyond belief disgusting. I cleaned it up stripped it apart, stained it & put new hardware on it. The house is older & whoever “modernized” just didn’t do a spectacular job & place the cupboards in an odd way instead of utilizing the space properly. Anyway as I’ve mentioned in other projects, this is another odd corner, actually it’s not so odd because it’s supposed to be where the the fridge goes according to our landlord but it’s sized for a really small fridge & our big monster double door twice the size of this cubby, it is now in the mudroom which isn’t too inconvenient because it’s right off the kitchen & because we shut the vents in there to keep the heating cost lower in the winter the fridge doesn’t have to work too hard to keep cold. Anyway I wanted to utilize this space & found that the shelf fit perfect next to the garbage can that was there so I just made a top to fit the space & then we now have a microwave stand/coffee prep area.
Comments
spiceylg
Wed, 09/26/2012 - 13:50
mod
Hello. Great build. Love the chunkier legs. Question. Was it only the dimension of the end leg supports that were affected by the mod to 4x4s?
Craftycraftswoman
Thu, 11/01/2012 - 20:04
4x4 legs
I ended up just eyeballing it but the trick for me was nailing the short 2x4 in the center of the legs on each side. The short 2x4 was the only measurement that I remember changing. This bench has been climbed on, jumped on and beat up and is still as strong as the day I built it! Good luck with your build!!