Modern Outdoor Chair - High Back Adirondack
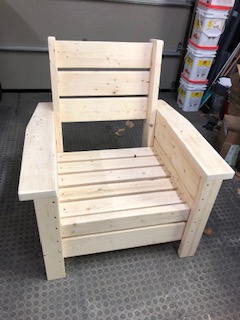
Modified with a high back and modern adirondack arms.
The base of the chair is built exactly to the plan except that the arms are done in a modern adirondack style.
The back was made independently to fit inside the base and then attached to the plan base.
Very comfortable but very heavy chair even without the modified back.
Not stained yet obviously.
Cushions are hard to find I think I would make it slightly smaller next time and maybe even find the cushions first and alter the plan to fit.


Built from Plan(s)
Estimated Cost
$45 Can
Estimated Time Investment
Afternoon Project (3-6 Hours)
Finish Used
None yet
Recommended Skill Level
Beginner


Comments
KeithMatthews
Tue, 06/09/2020 - 09:11
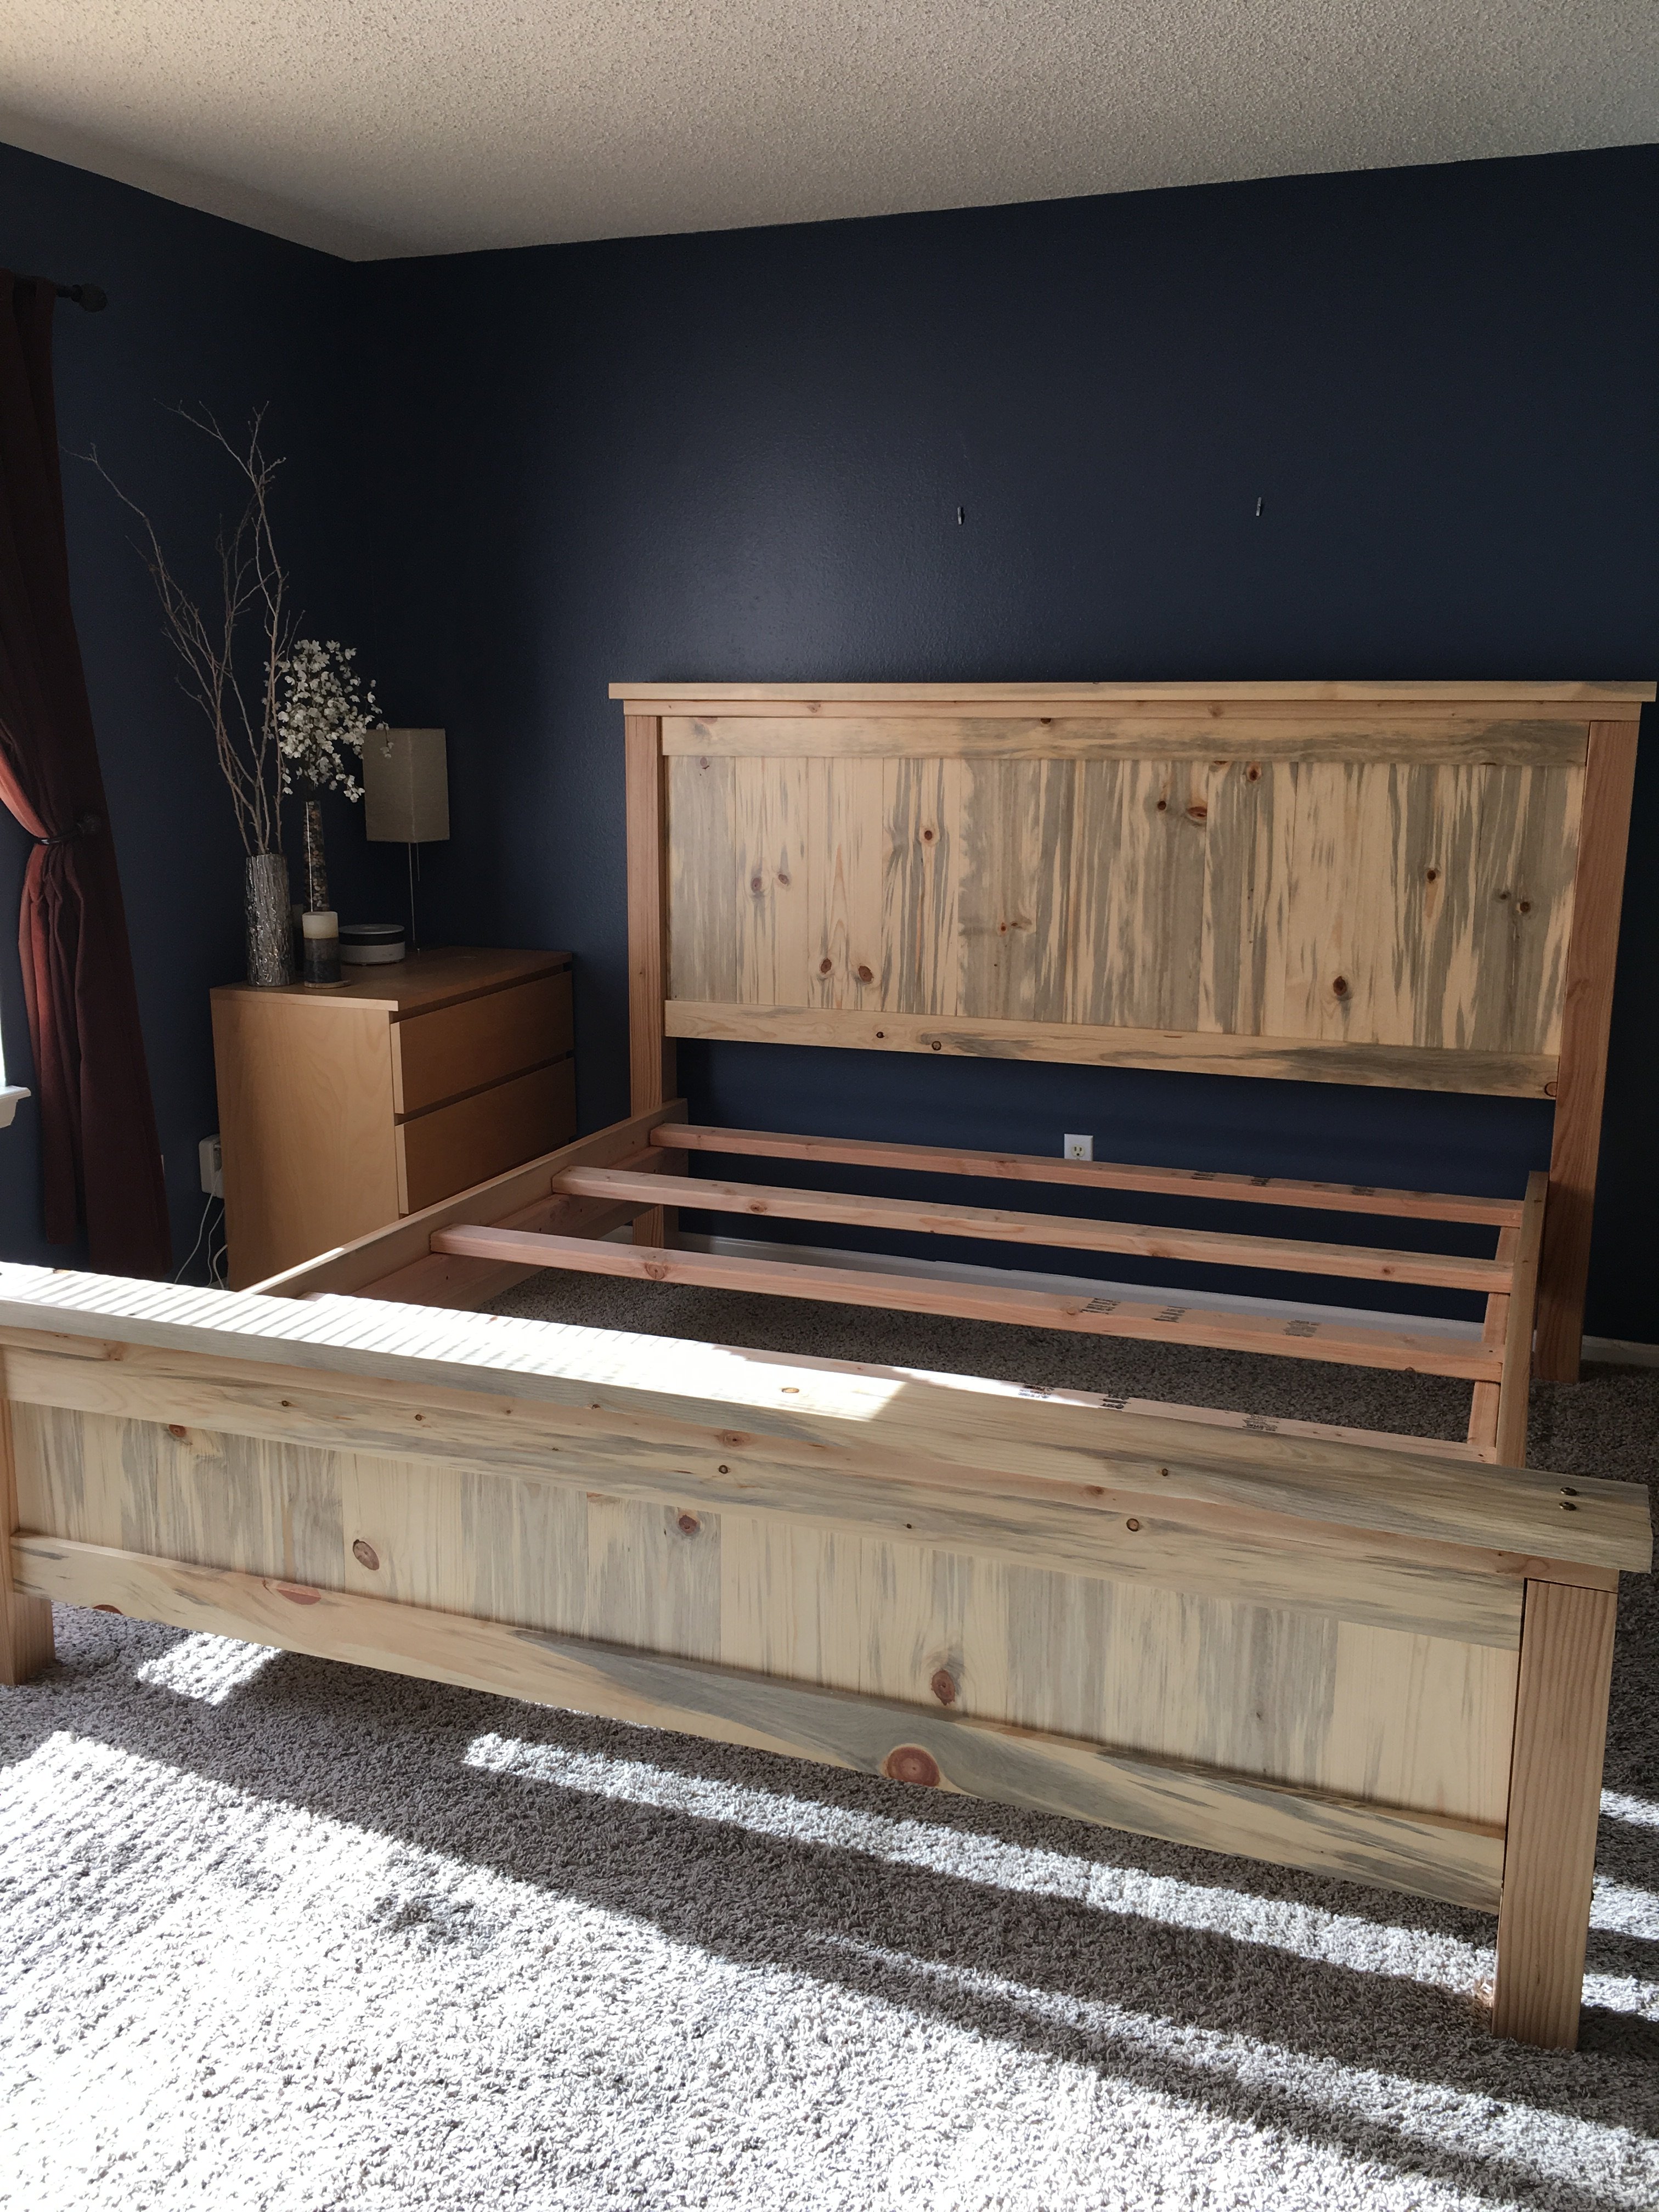
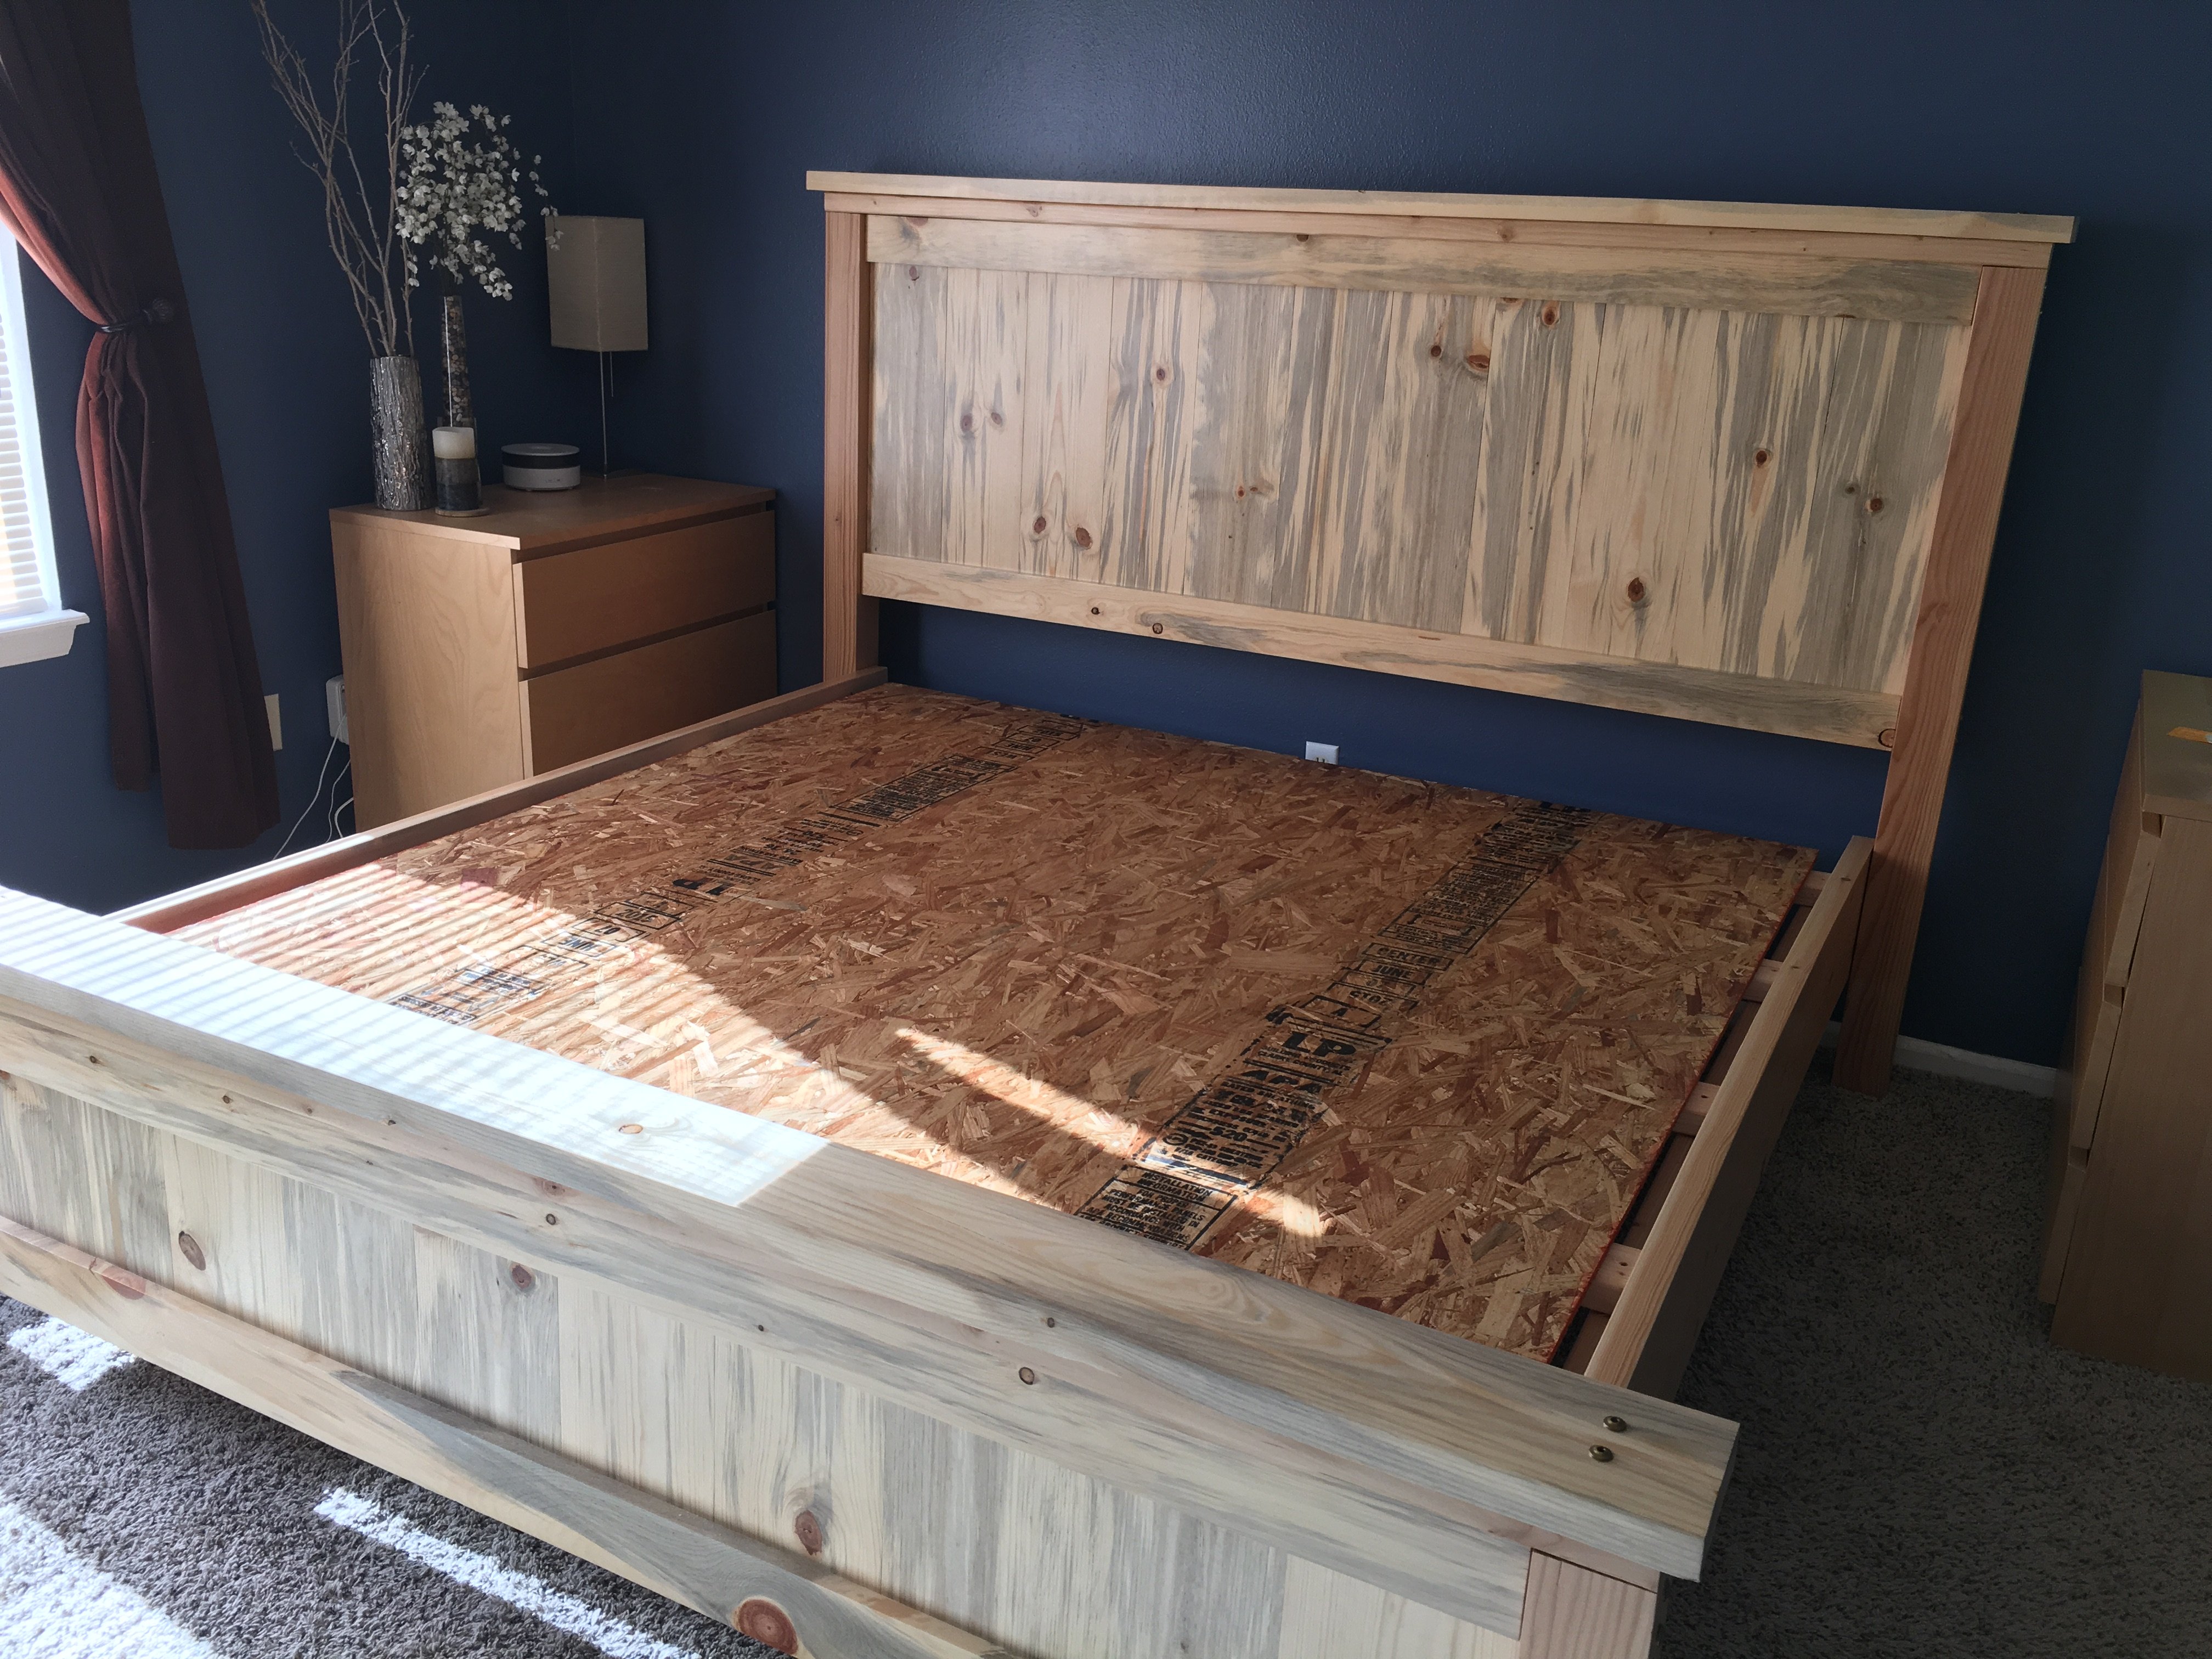
Stained with Saman: Urban…
Stained with Saman: Urban Grey mixed with some left over brown 4:1 and now has a companion side table
kquintero
Wed, 06/24/2020 - 07:33
Do you have the plans for…
Do you have the plans for the table you built? Im a brand ne beginner. I am trying the modern outdoor chairs and live this table with them.