Bench

I used a mix of 2x4's and 1x4's for this project. It is only 4 feet long so I thought 2x4's would make it too bulky. It goes together very quickly and it looks great!
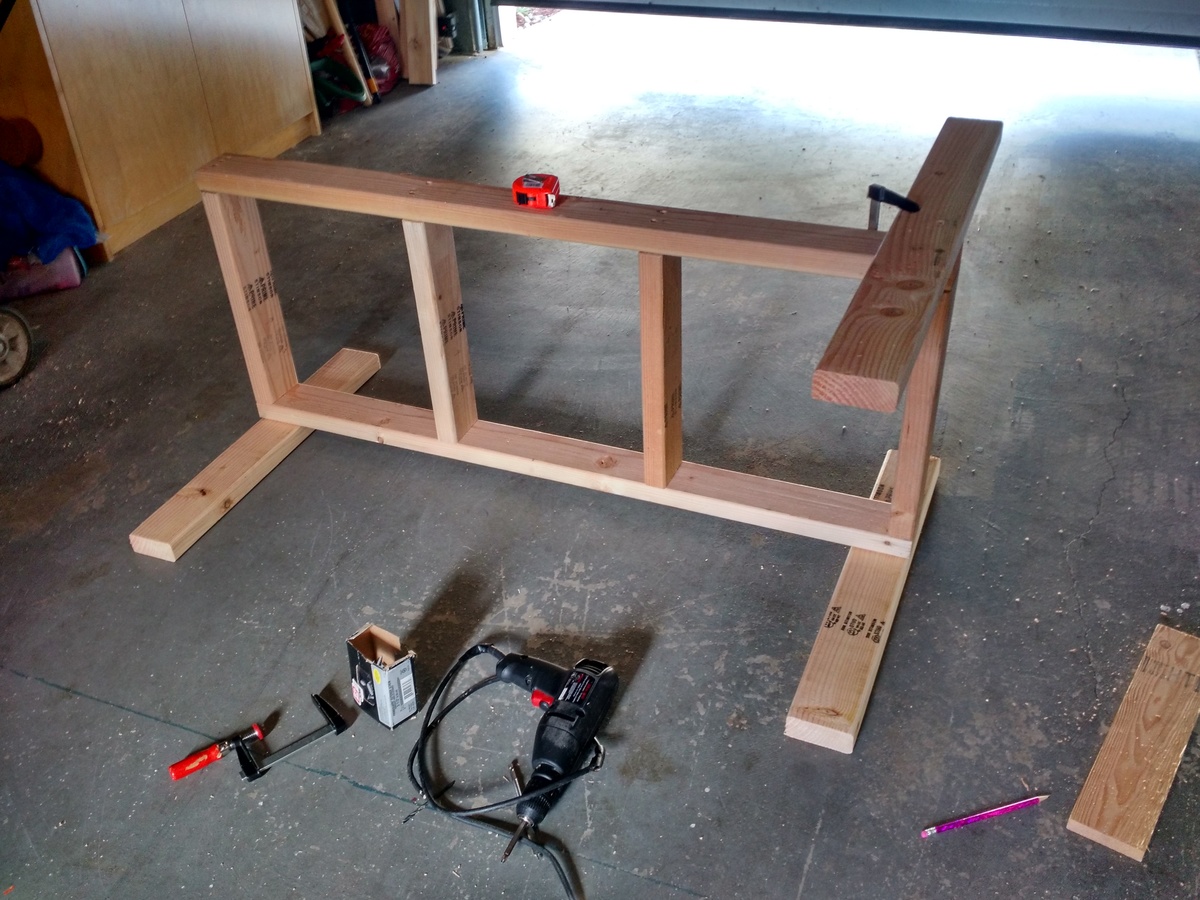


I used a mix of 2x4's and 1x4's for this project. It is only 4 feet long so I thought 2x4's would make it too bulky. It goes together very quickly and it looks great!


Modern outdoor loveseat to match the chairs! See more photos and comments here.
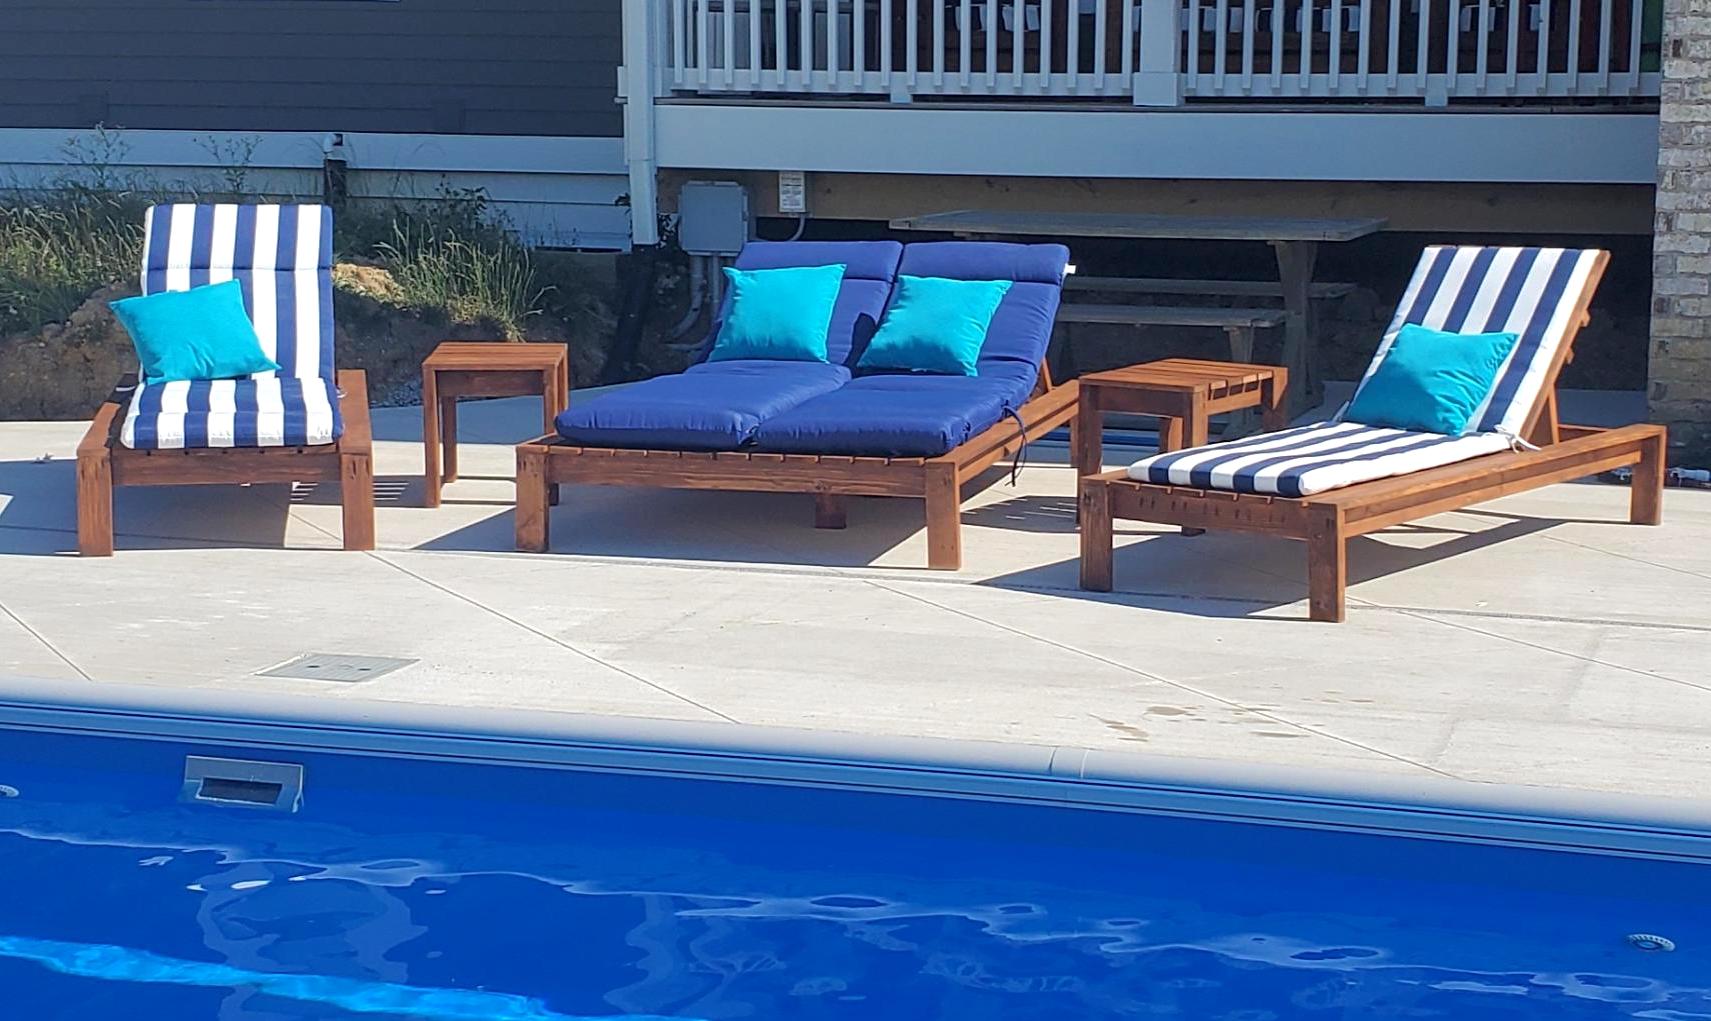
Part of a huge order I did for outdoor furniture. Love how they turned out! Thank you!
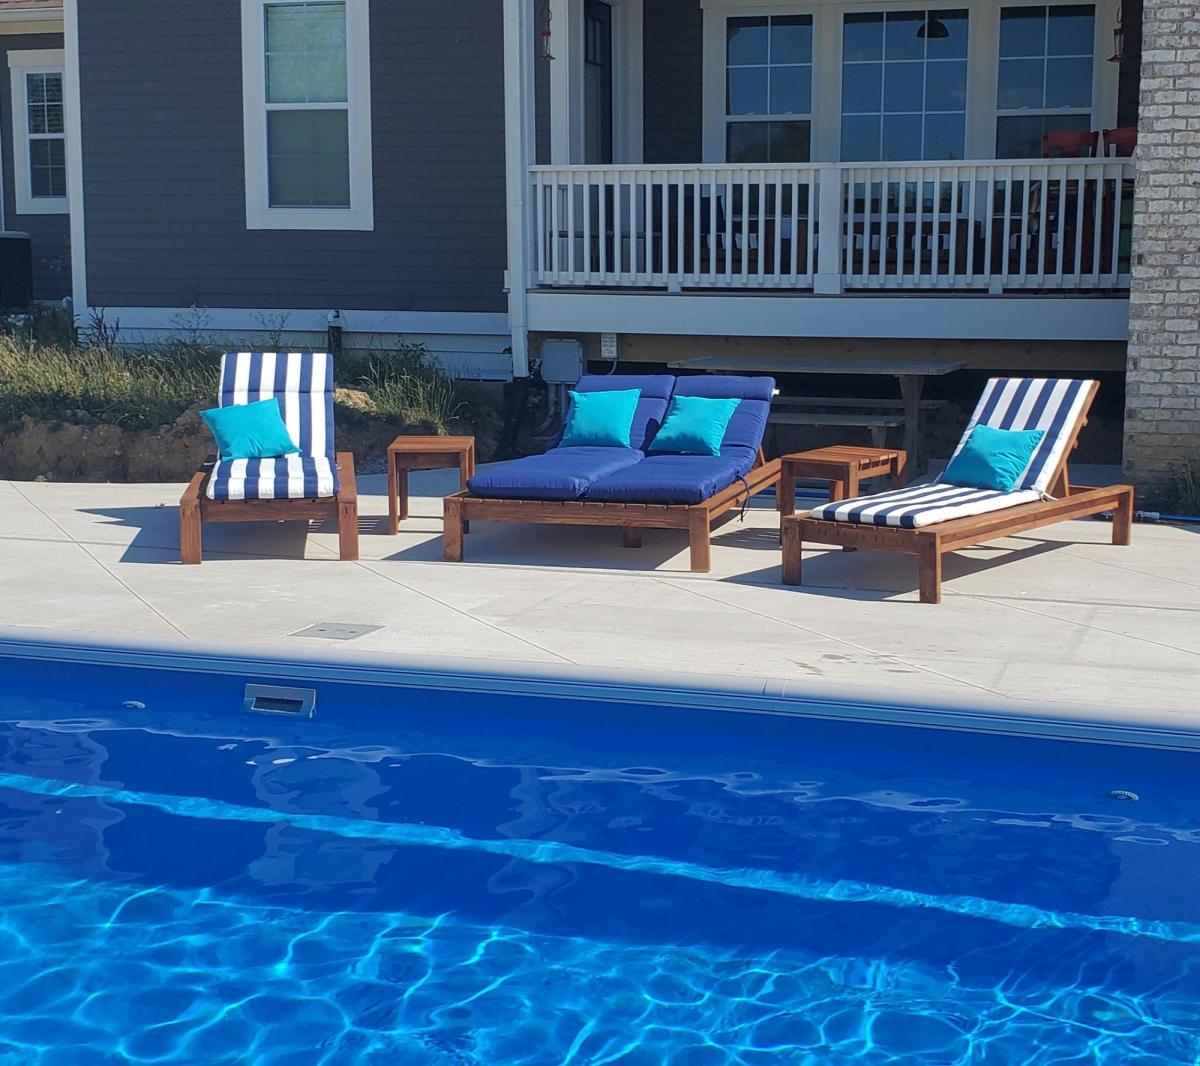

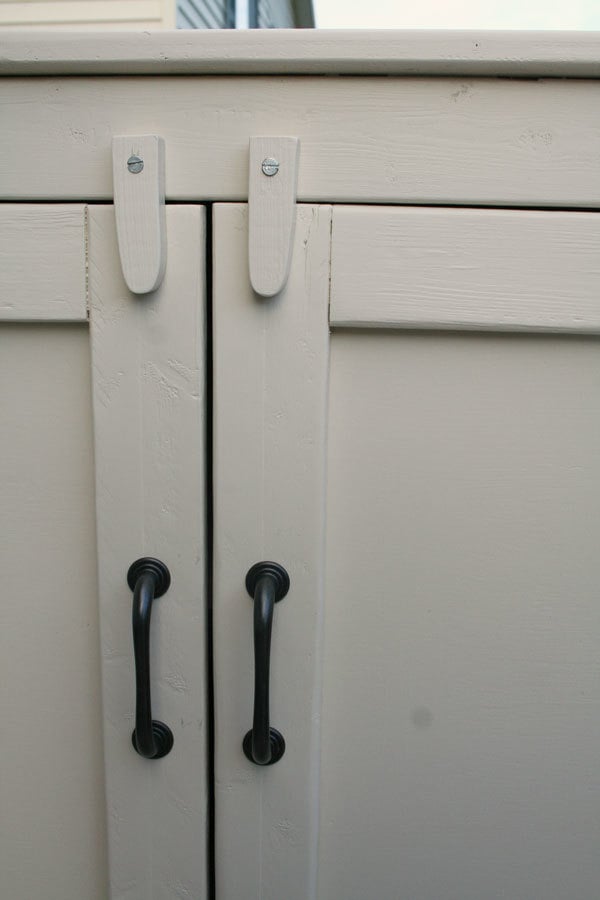
This project was built by my husband, for our daughter who needed some storage for her card-making and scrapbooking supplies. I had the easy part of doing the painting and purchasing the hardware. The hinges and handles are from Home Depot. It is a challenge to find good lumber at our big box stores. That was probably the most difficult part of the build...dealing with warped wood. This piece is suited for the primitive and rustic look so it didn't matter that the wood had some dings and splintering from the edges. Everything was sanded well and these marks just added to the character. He did encounter some problems with drilling the 1 and 1/4" kreg screws into the frame of the door. The wood wanted to split. Also, the plans called for magnetic closures but we could not determine how those would be installed as the shelves do not reach to the doors. So we cut some wooden swinging closures and attached them to the top of the cabinet. They seem to work well. One modification if he builds this again (and our other daughters are now putting in their orders!) would be to add a wooden support down the center front so that the doors would have something to close against. The way it is now, the doors could be pushed inward and put a lot of stress on the hinges. We were very pleased at how this project turned out! Thank you for the plans.


Tue, 10/09/2012 - 13:20
I like the way that came out and I agree its hard to get good wood at the big box stores it took me a while to go through the stacks they had there to find straight pieces. The other thing I had an issue with was the 1 1/4"
Kreg screws as well but if you dont over drive them it generally will not crack the wood. Just be gentle and if it still does turn the clutch down on the drill that will help as well.
Thu, 10/11/2012 - 18:11
Lawson4450,
Thank you for your comment, and for the advice on the Kreg screws!
We are in the process of cleaning up our garage, so that future building projects are easier to do! One thing my husband also built was a small workbench, with a lower shelf to store the Kreg jig, screws, etc on. It comes in handy as we always know where to at least find the Kreg stuff! We should also keep some notes on the shelf, too, to refer to when the wood cracks, etc.
-Ann
Wed, 10/10/2012 - 10:37
You could solve the door not reaching the shelves problem by installing the magnetic closures on the underside of the top piece so it would also act as a stopper for the doors so they don't swing to the inside. I think that's what Ana meant in the plans. Kinda like this:
Thu, 10/11/2012 - 18:04
Aisha,
Thank you for the photo of the magnetic closure. That makes a lot of sense! We could still add those, and also leave the swinging locks in place, too.
-Ann
Sat, 10/13/2012 - 10:43
I am the lucky receiver of this jelly cabinet. It is exactly what I had in mind when I was on the hunt for one. I was so pleasantly surprised when my parents came to visit and showed me my early birthday present in their trunk! :)

Per request of my wife, I opted to add a backrest to the chair. I feel as though my backrest design keeps with the style of the original build. I accomplished this by cutting the 2x4 vertical arms of the backrest at 13 inches with a 10 deg miter cut at the base. This allows you to keep with the 3/4" on the 2x6 backrest slats. I finished it off with a 2x4 top plate. I'd also note that I made slight modifications to the plans to accommodate 24" cushions.
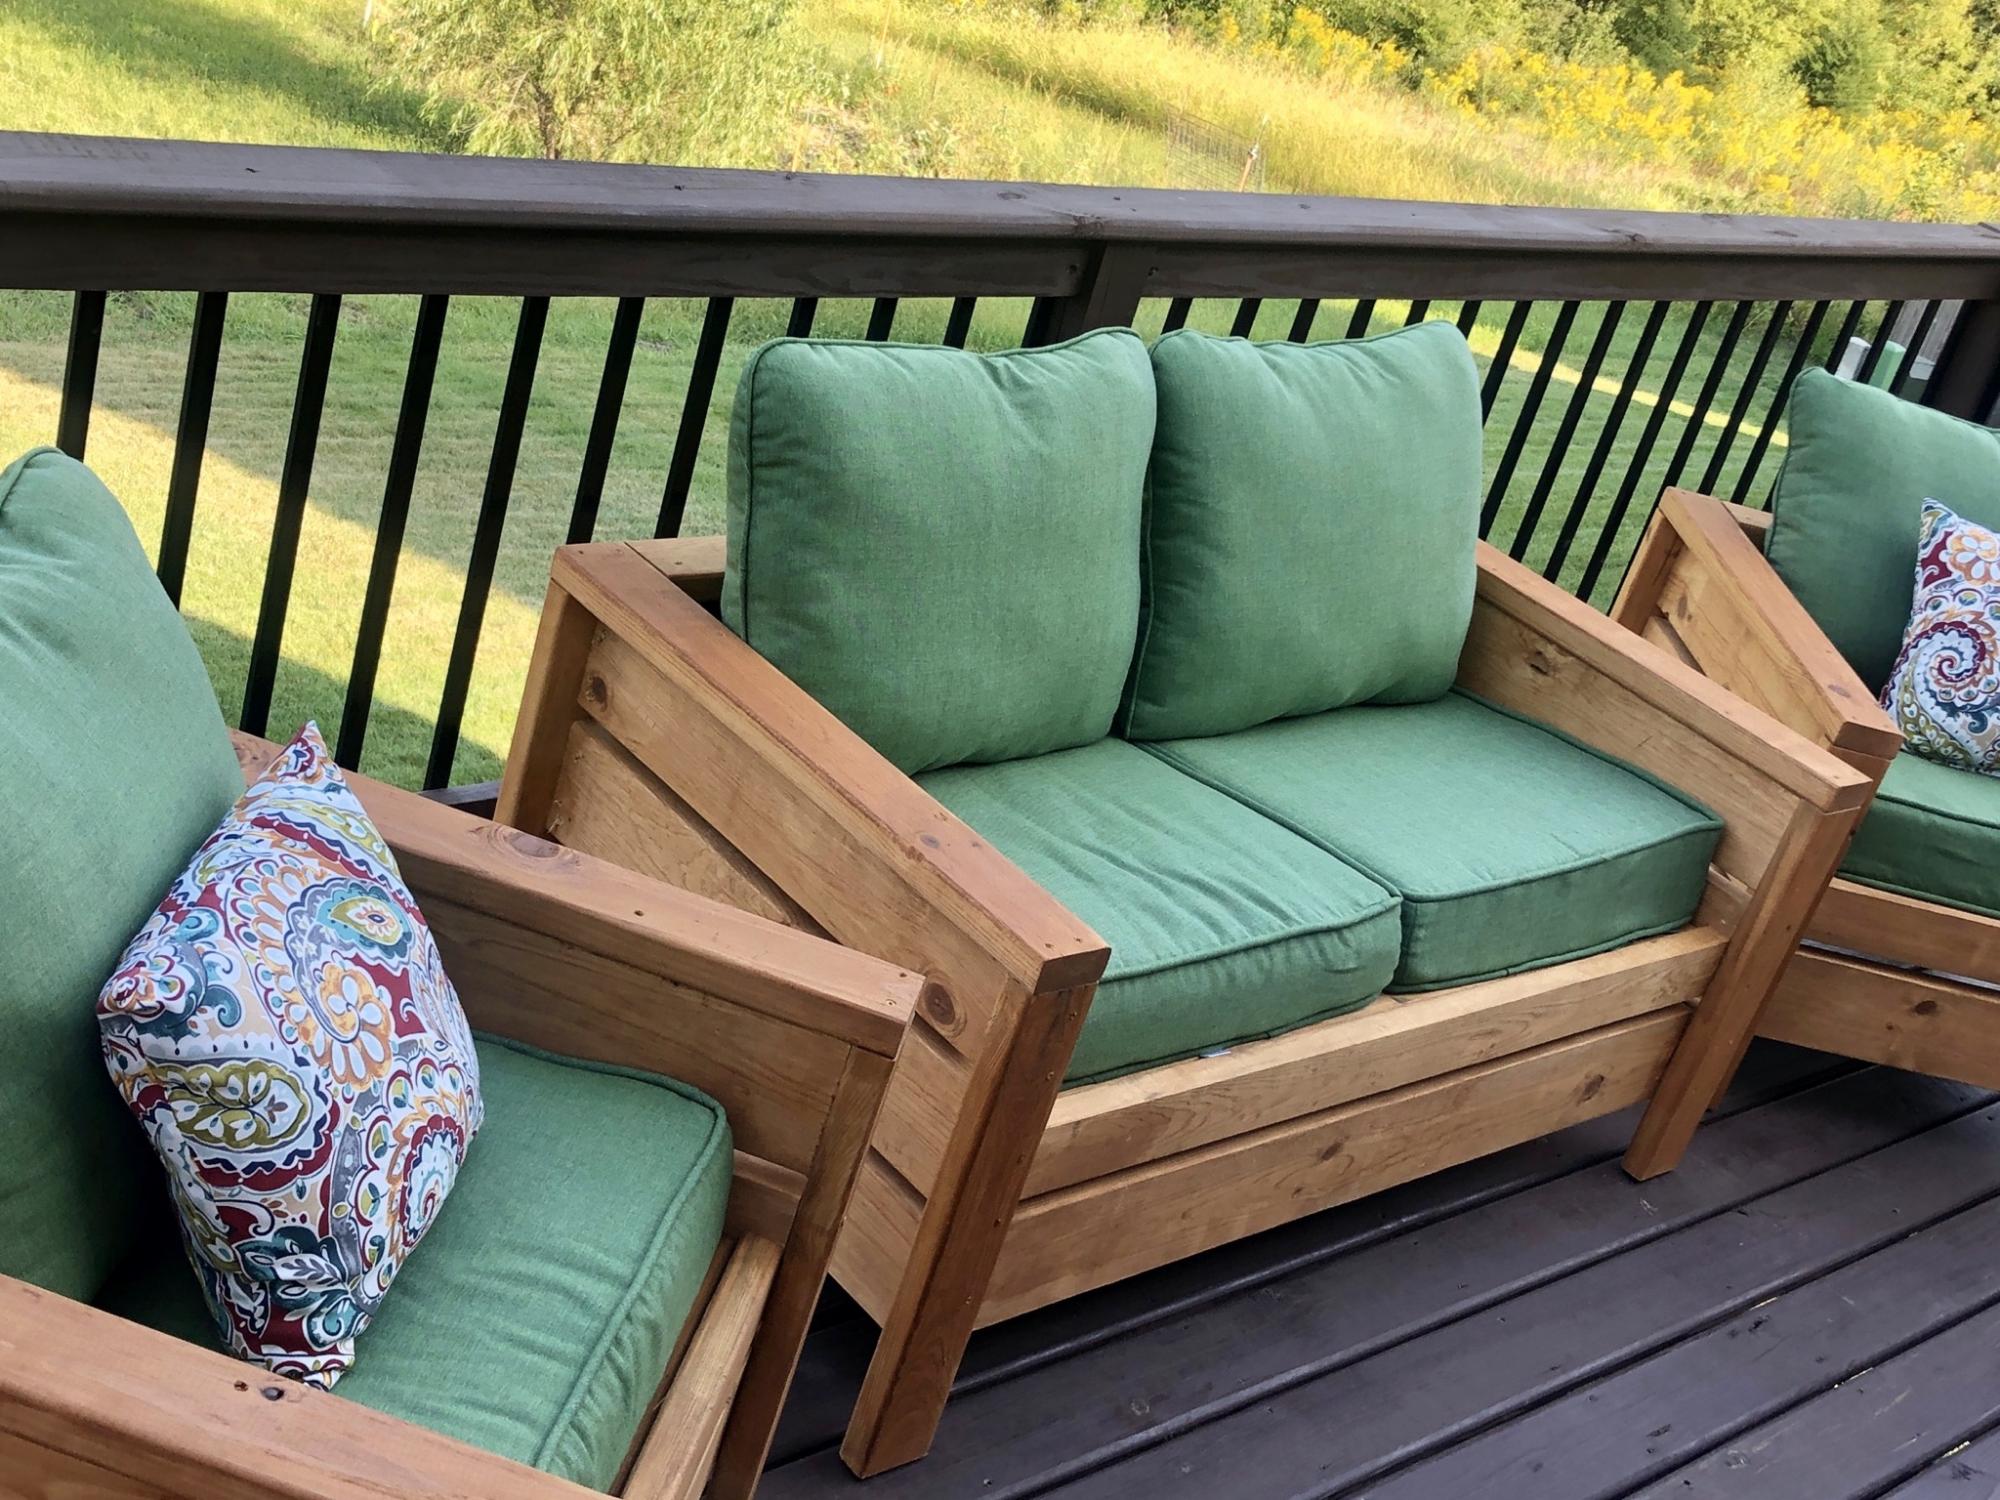
Built this over the weekend for my girlfriends sister. It was a great project and the whole family was able to work together on it, sanding and waterproofing it before assembling. The loveseat plans need a little tweaking. We ran ran the slats the same direction as the chair plans call for so we added a middle support for extra stability. We also pitched the seating down towards the back by 5* to make a more natural sitting position.


We used the shoe dresser instructions with some modifications to make it longer

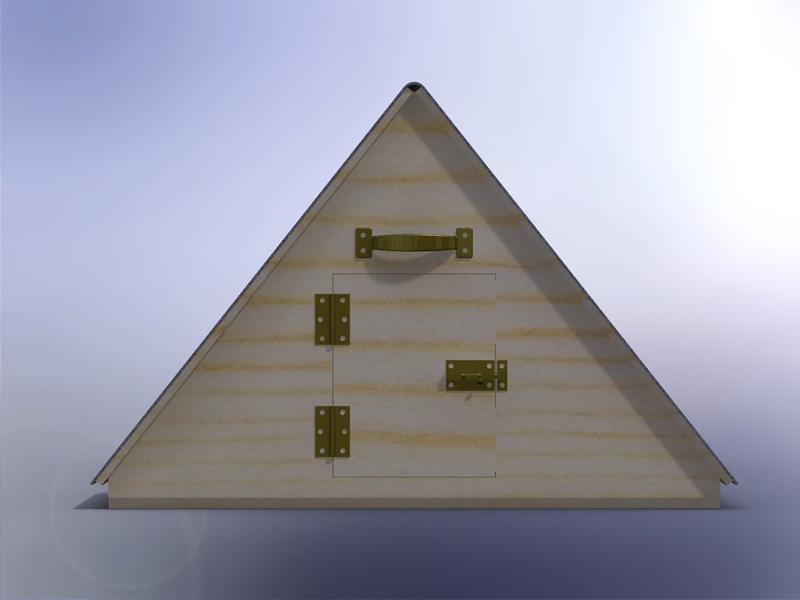
This is a rabbit hutch I created for my kids 5 rabbits. The thing that makes this hutch really nice is if you have a large lawn you can just move the hutch a little bit every day and the lawn gets mowed, fertilized and you don't have to worry about cleaning up all the rabbit droppings. I also mounted a rabbit feeder on the inside of the house door to keep the food dry, which has worked really well.
Here is a short blog of all the steps in its construction:
http://design.medeek.com/gallery/RH3080_COPALIS_2013/RH3080_COPALIS_201…



Sun, 05/05/2013 - 01:52
I apologize I haven't got the completed planset up for this project yet but I will try to get it up in the next couple of weeks as well as a very complete materials list. You will need to go to a farm/feed store to get the correct 1"x2" wire and 1/2"x1" wire for the floor. Do not go to Home Depot and use the cow wire they have or the hardware cloth for the floor, neither of which are the correct choice. Home Depot has the lumber but not the wire. If you have any questions or even improvements to my design I would be interested in hearing from you.
Sun, 09/13/2015 - 19:18
Finally got around to uploading the plans. I still need to create a material list for this plan but the basics are there now. We've had rabbits in it for about a year but recently we've tried some guinea pigs and it works great for that as well. The guinea pigs can pretty much live off just the grass and dandelions but you do need to move it daily to give them plenty to eat.
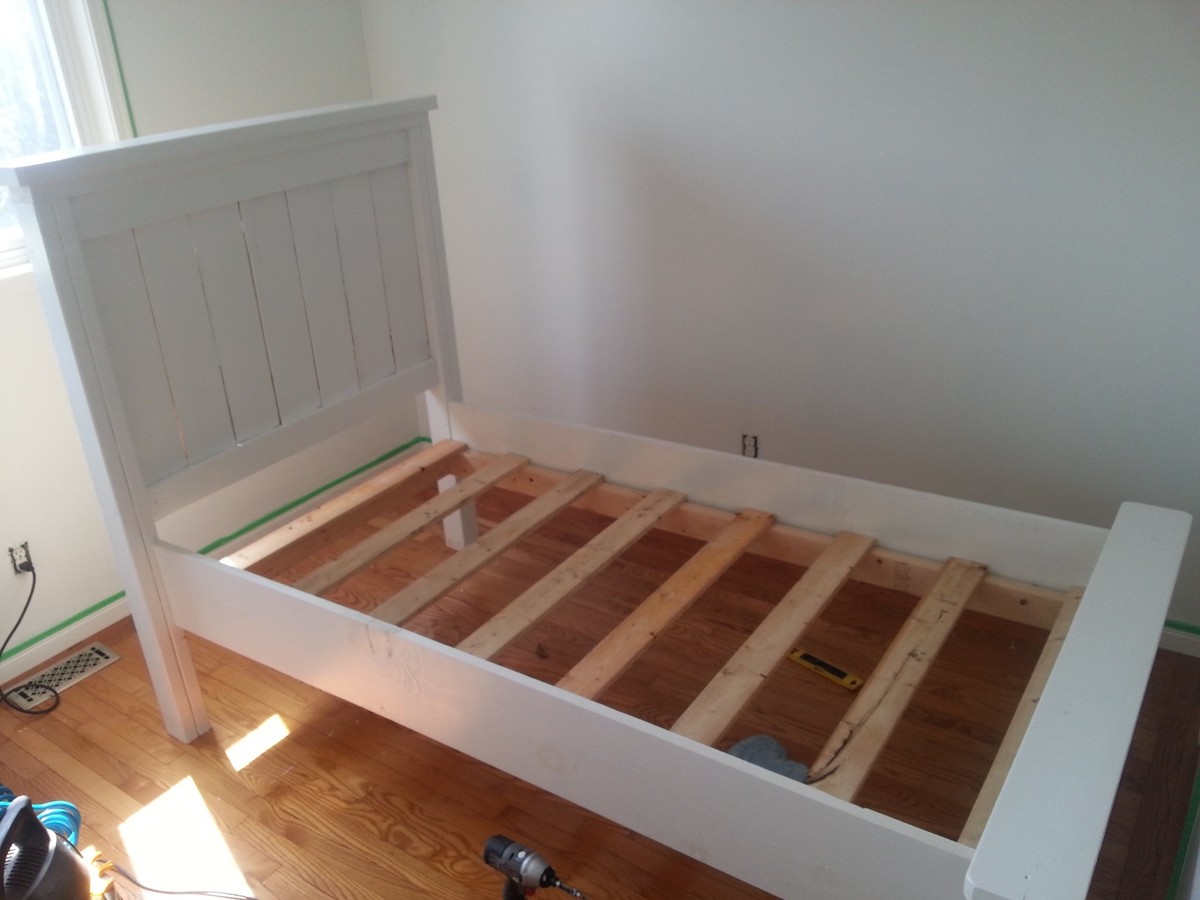
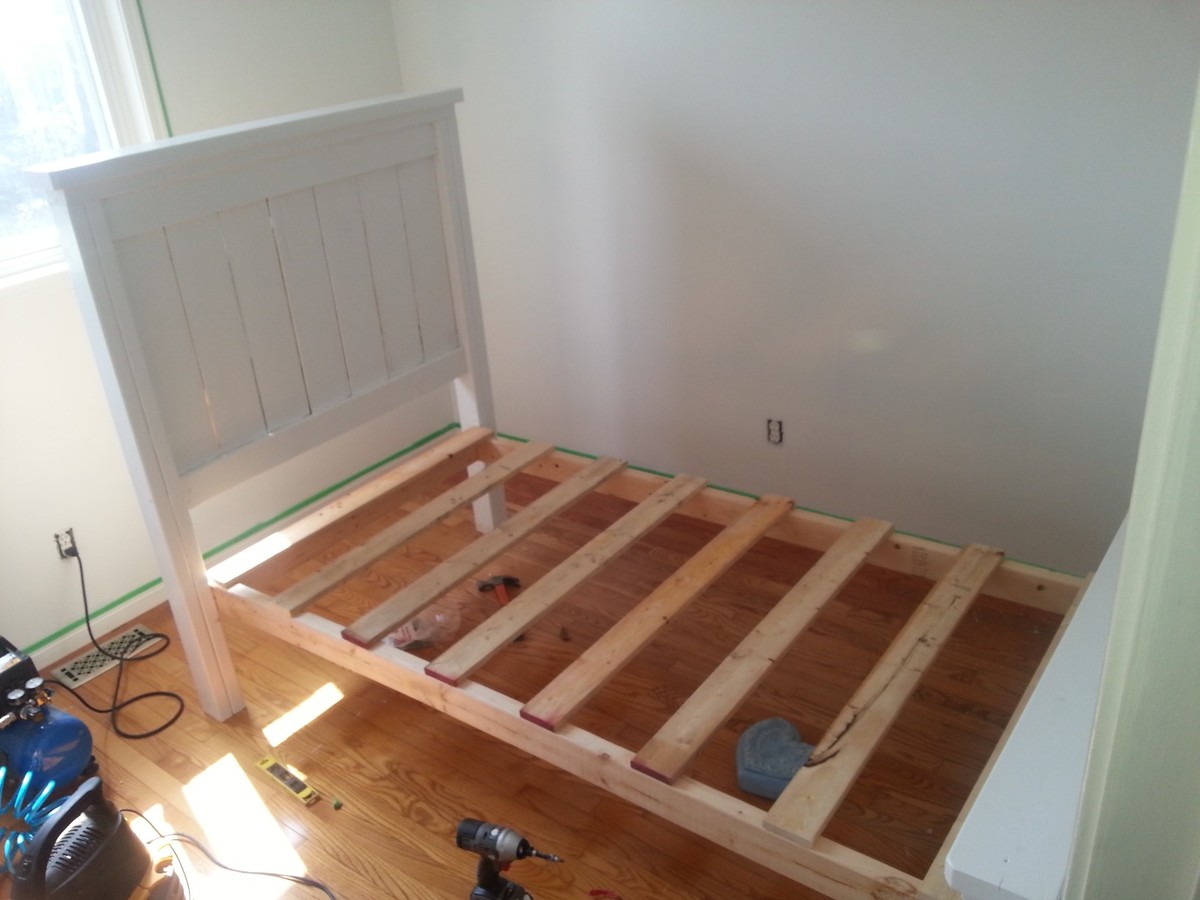
Took the farmhouse plan and added a Trundle. Was initially going to build two farmhouse beds for my two girls, but thought adding the Trundle would free up some much needed floor space. The girls love it!

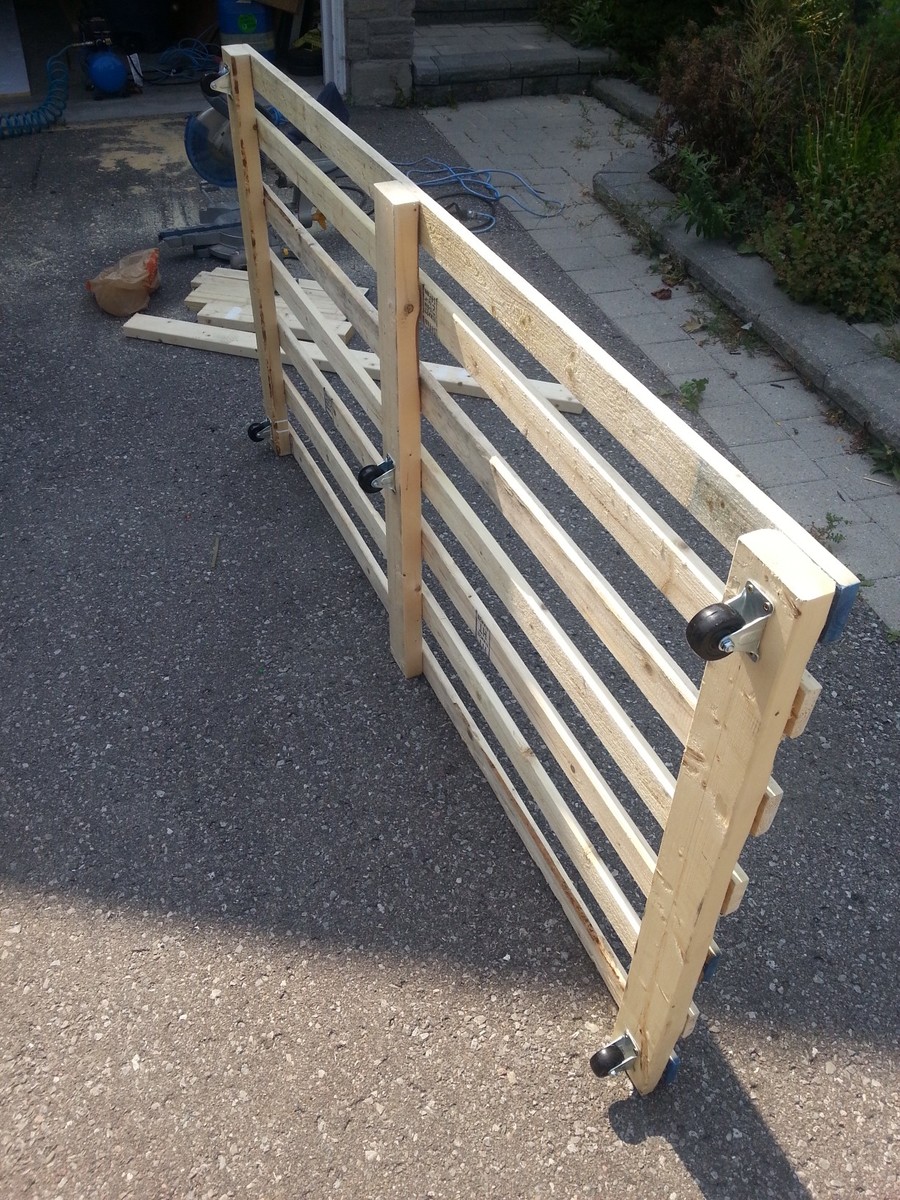
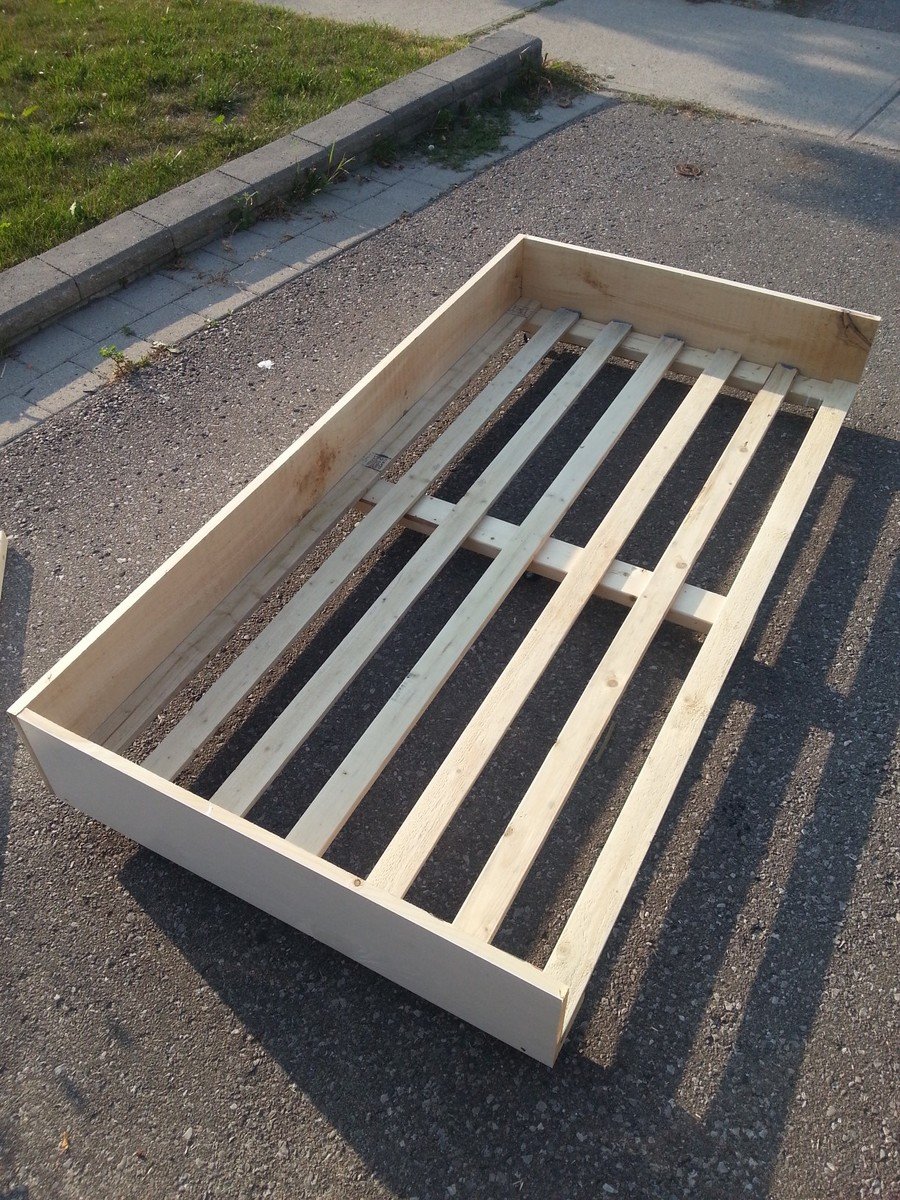

You can see the final project here: http://crabandfish.blogspot.com/2012/10/lil-archers-bed-its-done-its-do…
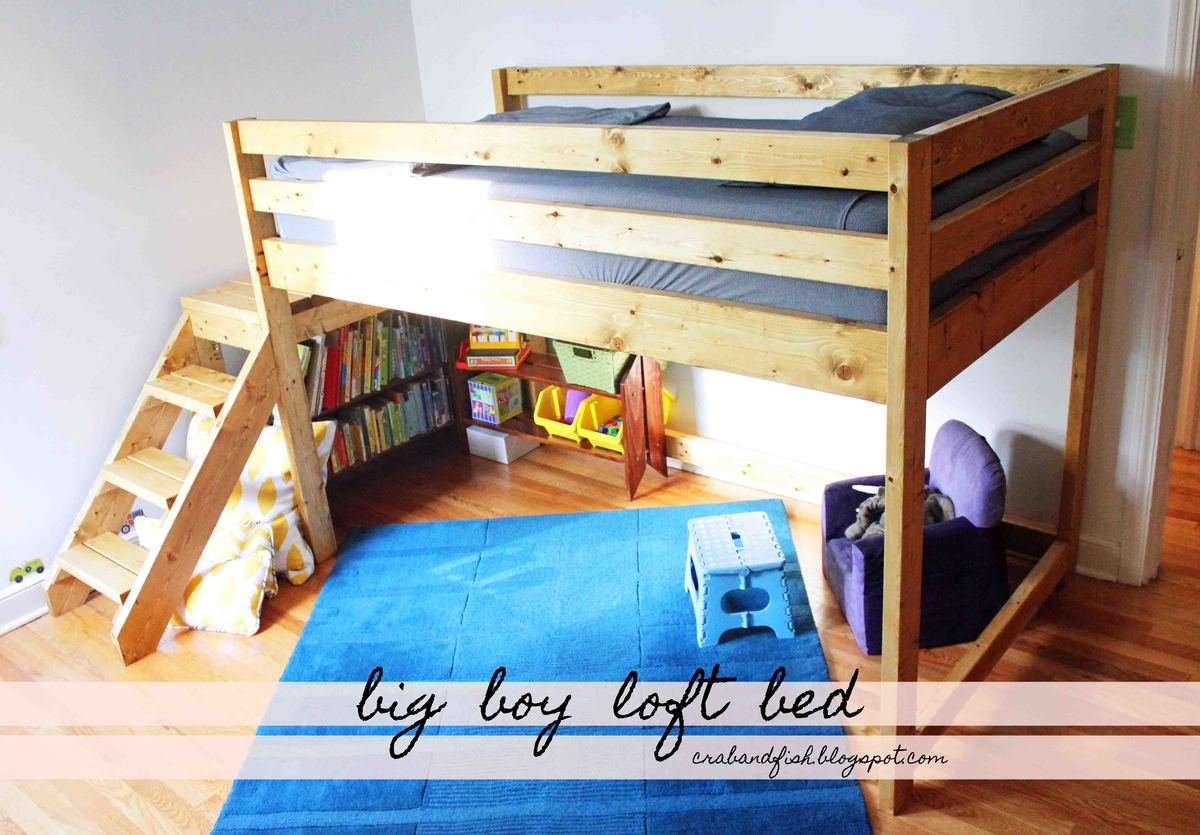
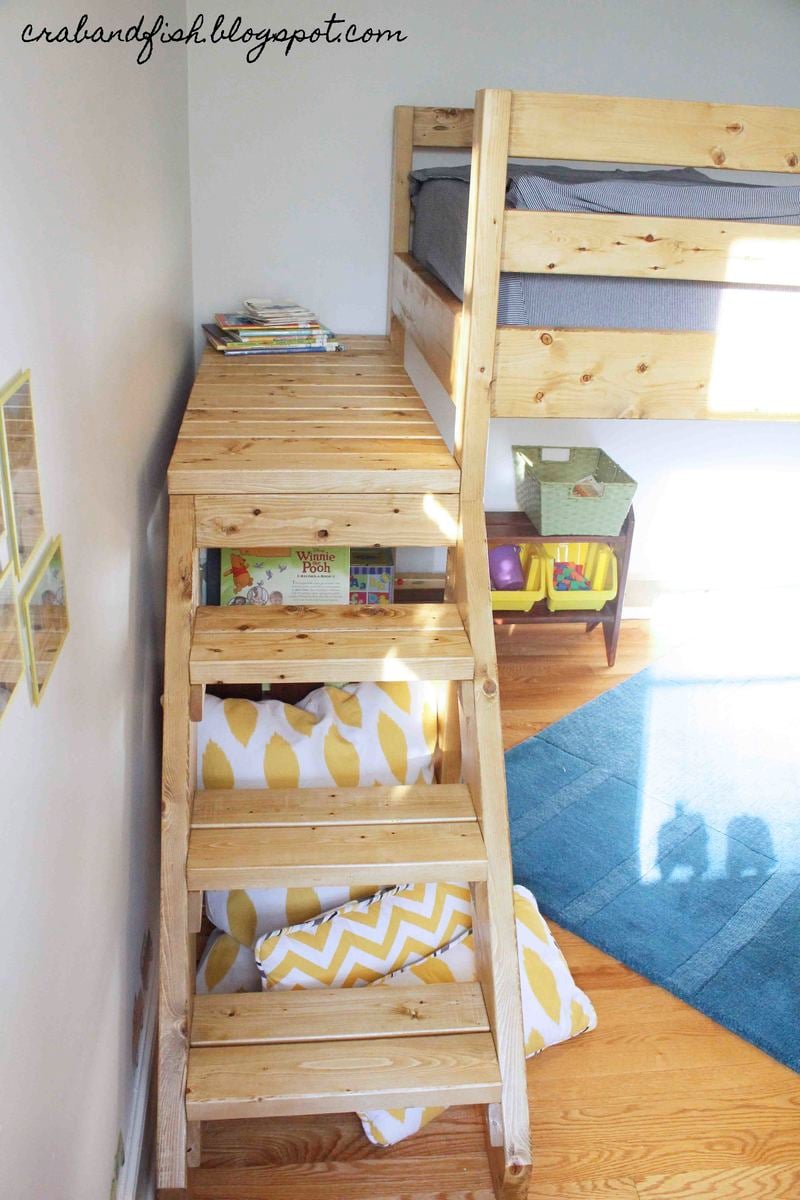
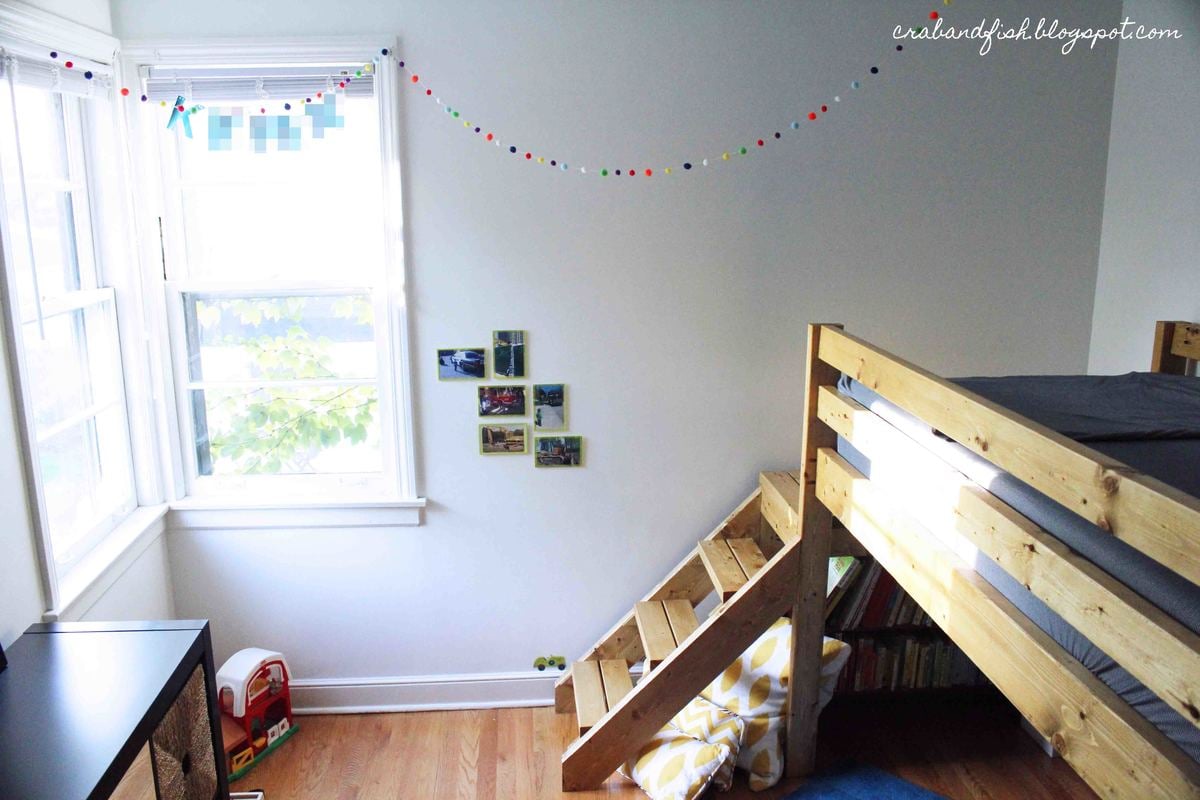
It was time for our son to move to a big-boy bed! We looked at tons of plans, but none were quite what I wanted. In the end, fish modified plans for Ana White's Camp Loft Bed with Stair. We wanted to make it a bit shorter because we only have 8' ceilings and there is a ceiling fan in the room. We spent about $80 for the lumber and invested in a kreg jig as well. The bed is stained with Minwax Golden Oak. We bought a 10" deep twin-sized foam mattress for the bed - if you are adding a coil mattress and boxspring, the bedside rails would definitely need to be higher.
Our son LOVES it! He is almost three and is easily able to navigate the stairs, which I don't believe will become too "baby-ish" as he grows older. If they do, the steps can easily be removed from the frame without losing structural integrity.
The underbed area has a great "cool" factor - we hang blankets to create forts, and it has become a place our son gravitates to for reading, playing, anything!


Sat, 01/03/2015 - 11:41
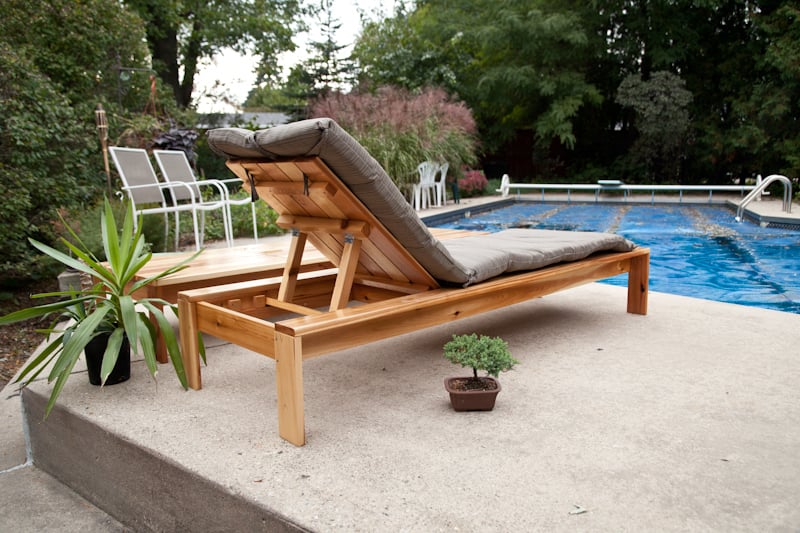
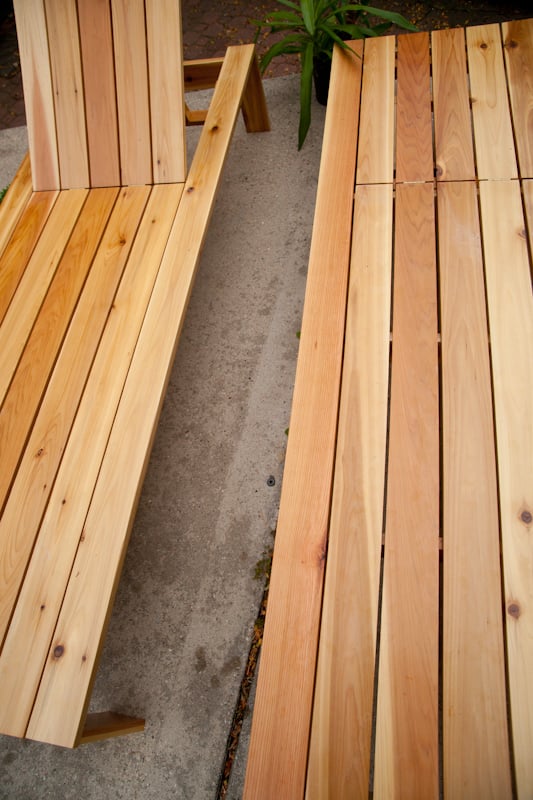
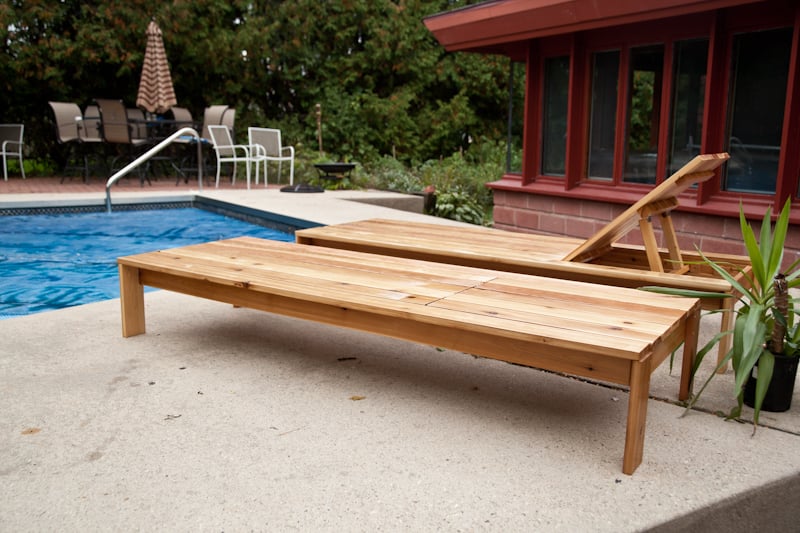
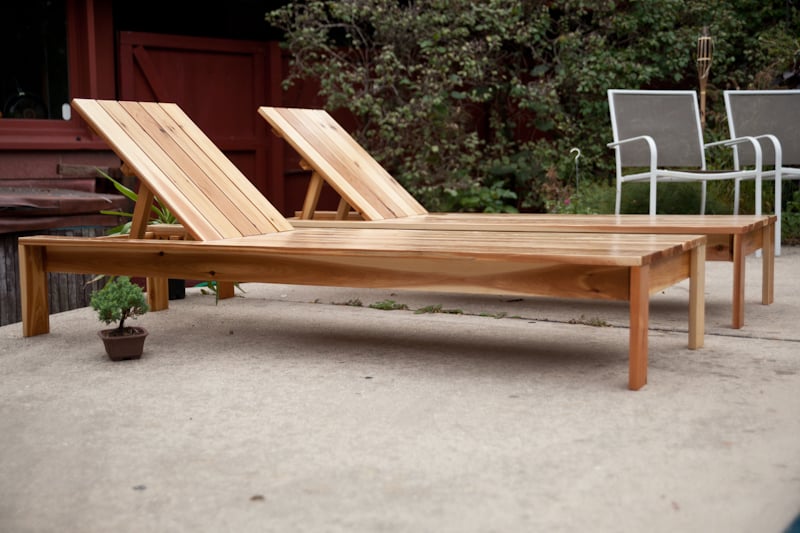
Modified the double lounger plans into 2 single loungers. I liked the idea of the boards running the long way rather than from side to side like the single lounger plan. These were pretty easy to build. All assembled with a Kreg for hidden screws. Made with Sanded and super polyurethaned cedar (3 or 4 coats). turned out beautiful with the matching boards running from head to toe!
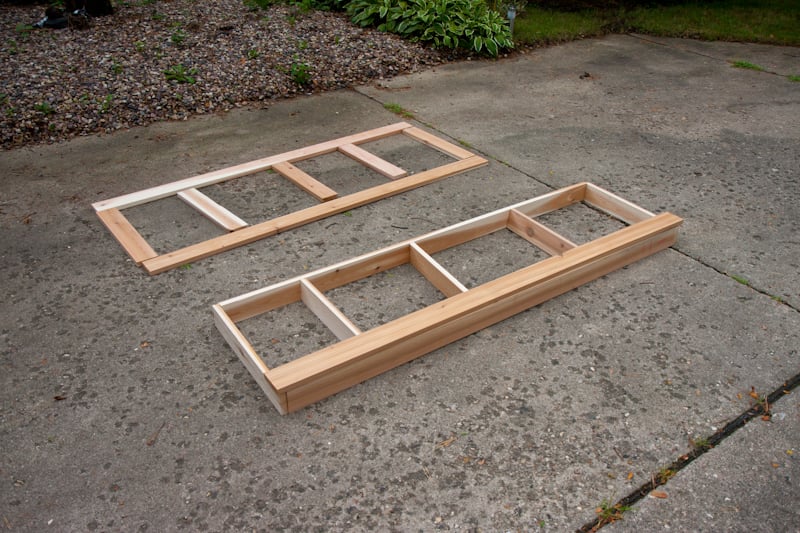
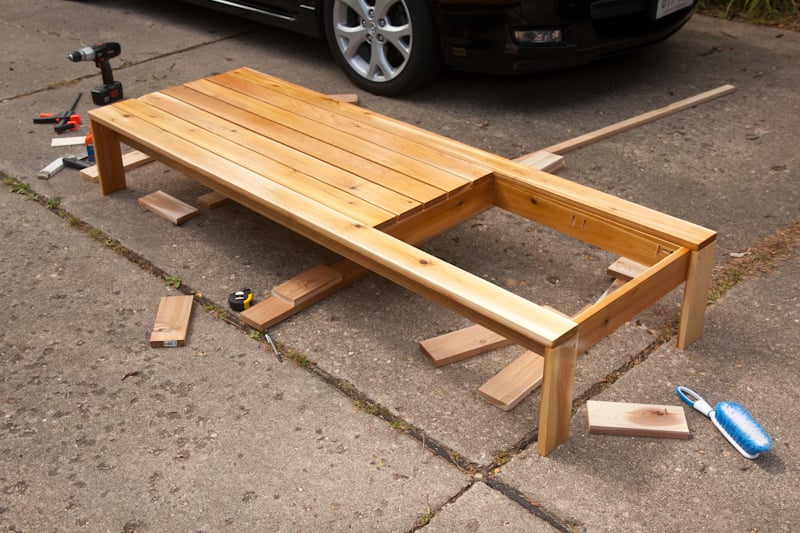
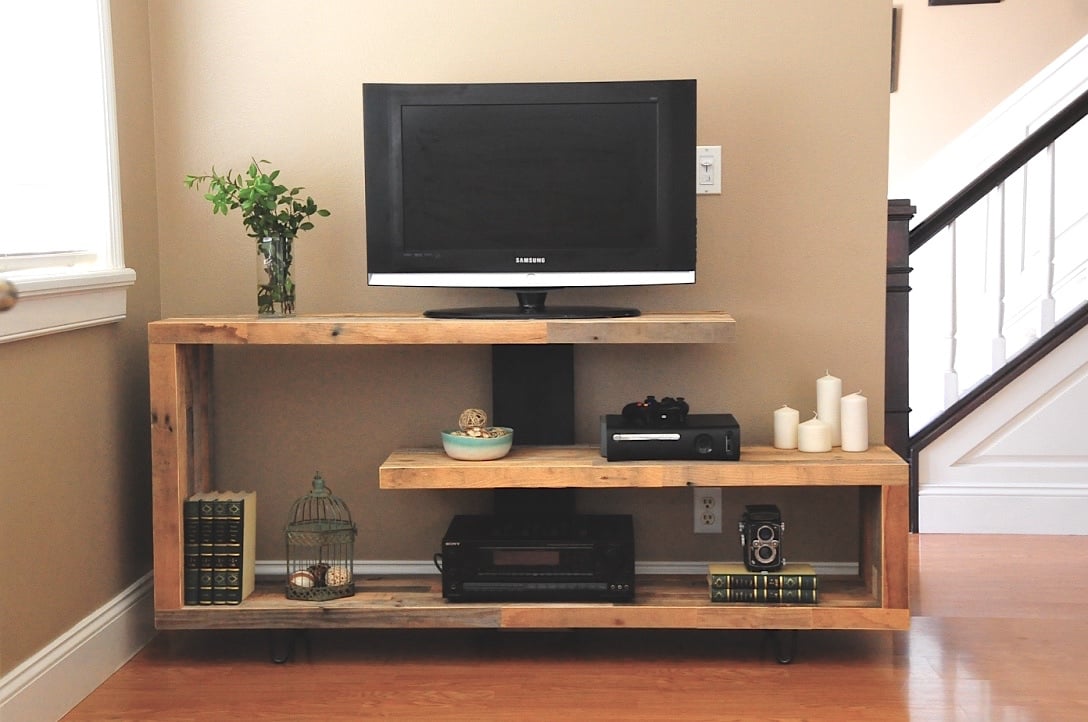
Just finished up this unique TV console. Built from reclaimed pallet wood.
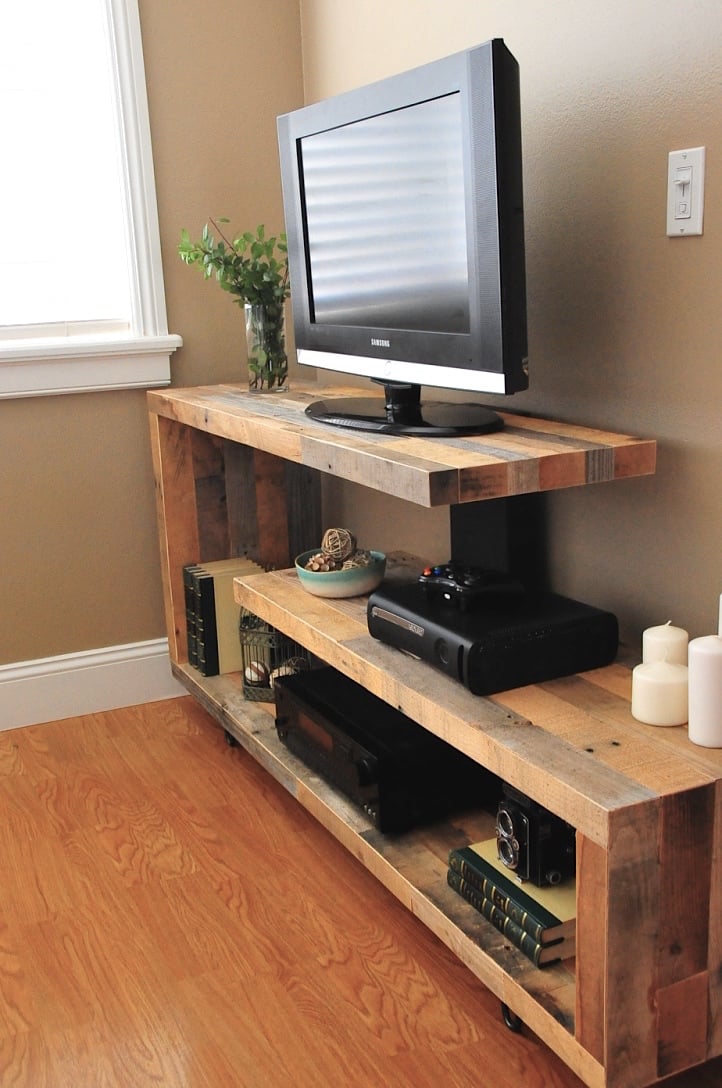
Mon, 12/02/2019 - 22:10
Hi there Im new to site and also have the issue of not seeing the plans for this Rustic Modern TV Console. Are they available and Im doing something wrong or??
Sat, 06/27/2020 - 05:03
I am logged in and I do not see the plans for the "Rustic Modern TV Console"

We loved this greenhouse plan from AnaWhite and wanted to be able to grow in 3 seasons so we modified the design to include humidity & temperature control & 18" deep elevated cedar beds inside with 4x4 posts for support and trellis option. We added electricity in order to have a lighted workspace and the ability to put in a circulating fan to control mold and fungus. We added 2 work tables (2x2') on the inside of the door left and right side door in order to do seed trays & store supplies. This was a wonderful project for my husband and my plants inside are doing incredibly well compared to my outside garden beds here in zone 5. Products used:
Foundation
We had a landscape company come and scape/dig a platform and then fill/compact with crushed rock
My husband then used rebar driven into a 4x4 frame in order to secure the frame to the ground and create a base upon which to build the greenhouse
Active ventilation
AC Infinity Cloudline T8 Inline duct fan
Air king range hood wall cap 8" on the bottom outside of the greenhouse wall for air intake + flex 8" duct to the fan itself
Shelter logic autovent automatic shelter vent kits (1 on each side of the front wall) in order to allow air intake from the bottom back of the greenhouse under the elevated beds to flow to the front of the greenhouse and out
Circulating fan- Hurricane wall mount fan 16" - this fan has 3 speeds with tilt function and small mounting bracket
Soil - sourced 3 yards of 50/50 loam/compost from local landscaping supply
60% loam
30% organic compost
10% organic topsoil + perlite
Soil beds
-cedar frame 2 feet wide along sides, 3 feet wide on the back wall
-galvanized metal roofing with holes drilled into it for drainage
-landscape cloth lined


Wed, 09/09/2020 - 13:09
Thanks for that update! I was wondering how to vent this project, as Green houses need the ventilation. Good to know dollar amount also. Great photos.
Wed, 09/09/2020 - 13:09
Thanks for that update! I was wondering how to vent this project, as Green houses need the ventilation. Good to know dollar amount also. Great photos.
Wed, 09/09/2020 - 13:09
Thanks for that update! I was wondering how to vent this project, as Green houses need the ventilation. Good to know dollar amount also. Great photos.

Not quite finished but love the table already. Trying to decide how to stain/paint it. The Kreg jig was a must for this project. It was my first of hopefully many! I used cedar for the 4x4s and 2x6 top pieces. The 2x4s are treated lumber (only because there were no more cedar ones....apparently lumber is getting hard to get lately!!!). Anyway....thanks for the great plans and motivation for this project.


My daughter and I built this out of the old framing that was pulled out of the house (fir) and some leftover wood from a friend's house build a few years back. If the cushions are lifted up you will see the old electrical wire holes! I shortened the set by one seat so it would fit the patio space. The cushions are from Ikea and fit perfectly. I also modified the coffee table so it was the similar proportion to the full sized set. Thanks for the very approachable plans Ana! Excuse the water all over the area in the pics. We have water dogs and they seem to like the sectional too!

New table for our patio space. This was a fun, relatively easy project. The weather was my only hiccup in the building. Spent an afternoon making cuts, the next day sanding and staining and then assembly. Hubby saw the pieces laid out before staining was complete and loved the two tone look, so I went with it. I used minwax Kona for the stained area and covered everything with Spar Varnish.


Happy Tuesday everyone! Today I am going to share a project with you that I built with the help of some plans from Ana-White.com.In a weekend we carved out a custom wine cabinet we will be donating to a local children’s charity here in St Peter’s, MO. This lovely cabinet was created from the SHANTY OPEN SHELF CONSOLE, which was designed for the Shanty sisters at Shanty-2-Chic blog site. We altered the plan to make it a wine cabinet which came out spectacular! Ana, thank's again for providing your free plans. I will be happy to upload the altered plans in a couple days so you can all enjoy them! Happy wood working!

Wed, 08/07/2013 - 14:43
Thinking this would make a great Christmas Gift idea for quite a few of my friends! Can't wait for the altered plans!
Thu, 08/08/2013 - 17:55
The plans are in process - Hope to have them posted this weekend to your Ana's site!
Sun, 08/18/2013 - 08:46
Looks great! Any idea when the altered plans will be available? Itching to get this built for my SO.
Tue, 08/27/2013 - 13:51
I'm adding this to the top of my build list as soon as the modified plans are uploaded! Thanks for taking the time to add them.
Wed, 08/28/2013 - 17:10
Wine Console Altered Plans
Sorry it took me so long, our blog over at Hello...I Live Here has kept us busy with all our new visitors. But as promised here are the altered plans to help you make the wine bottle holder and stemware holder.
MAKING THE WINE BOTTLE HOLDER:
Start your project with Ana White's plans. Finish the whole thing, but only make one door. Leave the other side open and alter as follows to get your wine holders:
1. First cut 3 additional shelves 17 5/8" wide. Make sure you Kreg 3/4" holes on the right and left side of the shelves, connect to the sides with 1 1/4" PH (pocket hole screws - Kreg).
2. We spaced each of our shelves 3 1/2" apart, allowing 12 bottles to be stored in the wine case.
3. Cut in half length wise a 1x2 board. This will give you a horizontal stringer about .75" wide.
4. We customized the top shelf board to fit the distance - we did not want the board to hang down interfering with the wine storage. We trimmed this board to 3/4" to match the shelf thickness. Then glued and nailed into place.
5. Once the top board is in place, measure the distance from the bottom shelf to the top shelf to just under the top shelf board from step 4. With a pencil mark the stringer and cut to size, and install with glue and nails. This step needs to be completed 3 times 3 1/2" apart from each other. You should now have 12 square boxes making your wine storage.
6. On each shelf behind the three stringers, we placed a divider to keep the bottles from hitting one another. Each divider is 1/2" square, and 11 1/4 long, to match the shelf depth.
MAKING THE WINE STEM HOLDERS:
Now that you are done building the box for the wine holder, we can move on to the stemware holder.
1. We purchased .25 x 1.5" x 36" poplar flat wood. This will make the bottom of the T's and L's stem ware holders.
2. Then we used 1/2" square pieces of poplar to make the L and T mounts. Mount the flat poplar to the 1/2" squares making 2 L shaped pieces for the Right and Left side of the unit, then make 3 T's for the centers. You will use glue, and clamp them down tight, then nail together.
3. Hang each L shape on the Left and Right Side of the unit with finish nails. The next part is kind of trick and depends on the size of the stem bottom you will be hanging not all base bottoms are the same. Once your L's are hung, take the stem wear you will be hanging and rest it into the L shape holding the glass (do not let go of the glass it will break if dropped). Then position the T shaped molding to accommodate your stemware. Move the glass in and out of the L and T until you get your desired width for your stemware. Mark the T you are holding with a pencil , carefully sit down the stemware and mount the T shaped holder. Continue until all 3 of the T's are hung ( we used glue and nails to complete this process).
We used a bead-board backer instead of plywood to give it that French country feel.
We hope these plans help you build a piece you love! This piece of furniture brought the charity we donated it to $500 extra dollars to help their children. We at Hello...I Live Here were very proud of the job we did and that we got to help some wonderful children!
Visit us at www.helloilivehere.com or stop by our Facebook page and give us a big like once you complete your project!
Happy building ;-)
- LC
Thu, 08/29/2013 - 13:01
Thanks so much for posting the plans! My sister has been asking me to make this for her since she saw the pics a couple of weeks ago.
Side note: I'm from St. Louis, MO, so seeing you were from St. Charles caught my eye!
In reply to Thanks so much for posting by Joeboxer1013
Thu, 08/29/2013 - 16:06
No problem - we are actually in Ballwin MO - stop past our page and see the other things we do - helloilivehere.com
LC

This was a build from a picture and made to fit into a space we have in the laundry room. Used the Kreg jig for much of it.
Tue, 06/05/2018 - 14:52
Awesome laundry sorter! Can't wait to see the paint/stain!
Thanks so much for sharing a brag post - much appreciated!
Ana

We made a beverage station for the corner of the kitchen!
Mon, 07/08/2019 - 10:46
We didn't use a plan for this but, if someone wants to build it, check out the linked YouTube video.
Tue, 07/09/2019 - 11:11
Amazing! Thanks so much for adding a brag post and linking to your video!
Fri, 07/31/2020 - 09:43
Hello! Was looking to see if this is something you would be interested in building for us? We are in love with this project but don't have the tools or means to do it ourself..
Can talk about pricing / size etc.
Thanks!

We chose this project because we have a small garage and space is at a premium. The dimensions of this build fit well in our limited space and allowed us to organize items such as paint, stain, screws and nails into one central location. I chose 2x4's on the sides to give it a more stable feel. Our garage and parking lot are all sloped and with the 2x4's this prevented the twisting. It feels solid and the wheels are smooth. We picked everything up at Home Depot. The screws that came with the hinges are to long and my husband used the Dremel to grind them down. You could just buy shorter screws. This is one of my firsts builds and I've definitely learned a lot of lessons along the way. Measure, measure, then measure again before you cut a piece and use a level surface to make level pieces. Overall, everyone in my family played a part in helping me build this piece and so I love it and will cherish this piece and the memories always. Thanks Ana for all your fun videos, sharing your life with your family, and providing resources like this plan to us for free. I'm thankful for my son who bought me a compound miter saw for Mother's Day and other family for buying me a Ryobi circular saw. I'm truly blessed and loved. Thanks


Mon, 08/31/2020 - 11:19
I love how you used the 2x4 on the sides. great idea

Well, I started with one chair and finished with a full set. Not bad for a first timer. Definitely room to improve. Little tip if you're going to make this amazing set... raise the backs as they are too low with thicker cushions. I built a casing to go on top after the fact. Pretty happy with how it all turned out. Thanks Ana for the plans... now onto the next project!


Fri, 04/28/2023 - 08:41
Very nice workmanship. I'm curious as to how comfortable they are with the straight 90* backs? Let me know please at [email protected]. Again nice workmanship.
Fri, 04/28/2023 - 08:41
Very nice workmanship. I'm curious as to how comfortable they are with the straight 90* backs? Let me know please at [email protected]. Again nice workmanship.
Comments
Smokeydog
Fri, 11/13/2015 - 07:15
Very nice!
Very cute bench. Nicely done!