Simple Outdoor Table

Modifications to the simple outdoor table plan thanks to Finn’s dad.


Modifications to the simple outdoor table plan thanks to Finn’s dad.


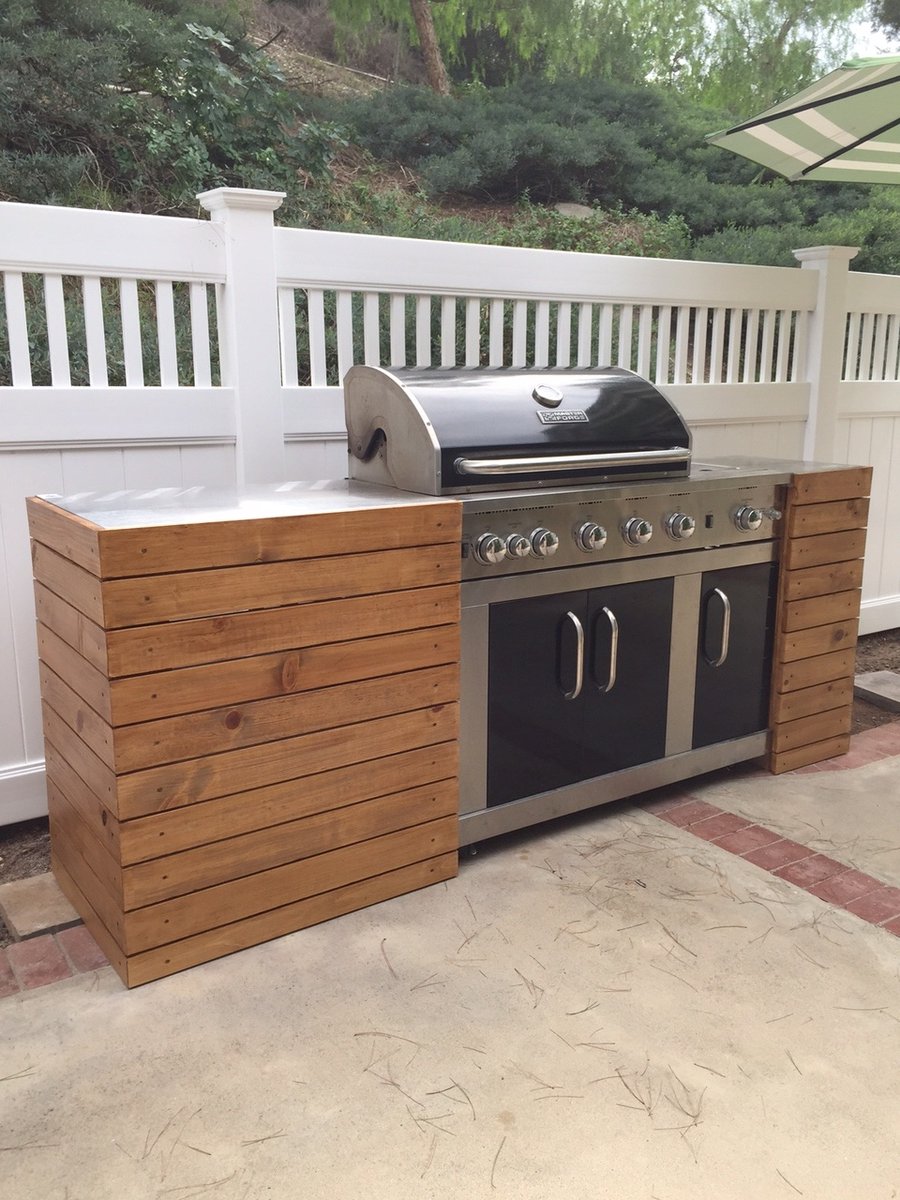
This was just a standard BBQ with an attached folding table. I used a combo of Ana's plans to add a little character and style to the BBQ and it made a huge difference in not only the BBQ, but also the backyard.
Mon, 05/23/2016 - 12:29
Hello: Very interested in which plans you used to build the BBQ Built In. Thank you.
Wed, 06/08/2016 - 09:22
Hello dbryant1977, please share the plans. Also, what's brand/model of BBQ? Very nice.
Thu, 04/09/2020 - 18:27
This is my guess on the plans used! https://www.ana-white.com/woodworking-projects/diy-grill-island-featuri…
Fri, 08/30/2019 - 09:50
Are there plans for this project or at least some pictures from while you were building it?
Thu, 04/09/2020 - 18:27
This is my guess on the plans used! https://www.ana-white.com/woodworking-projects/diy-grill-island-featuri…
Wed, 04/22/2020 - 15:52
Can you provide us with the plans for this? I would love to build one.
Mon, 03/04/2024 - 14:49
Hello: Very interested in which plans you used to build the BBQ Built In. Thank you.
My father and I made this awesome poolside towel cabinet using the Benchmark Cabinet plans. A super easy 1 day build and it looks amazing on the patio. Bring on the pool weather!

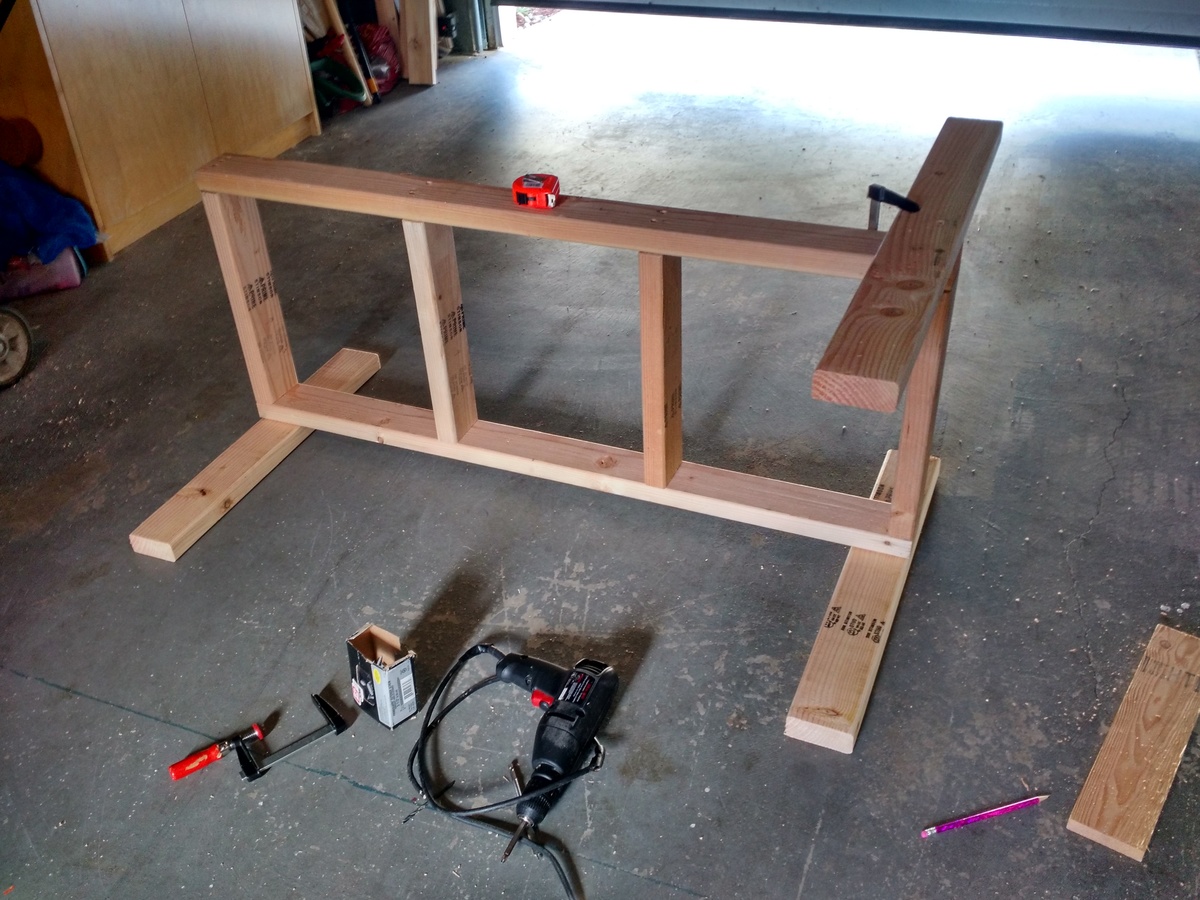
I used a mix of 2x4's and 1x4's for this project. It is only 4 feet long so I thought 2x4's would make it too bulky. It goes together very quickly and it looks great!


The bench was easy to build with great instructions. I had Home Depot make my cuts for this first project and then I went and bought a miter saw and other power tools for future ones. So much fun.
Mon, 03/14/2016 - 08:35
Great work. DId you do anything different to the swing itself? How did you build the frame. I'm looking to do this exact thing for my patio. I don't have anywhere to hang the swing.
Thanks for sharing any info.
Sat, 06/13/2020 - 16:54
Made the chair and then built the glider frame for it just eyeballing the picture. I can't figure out how to upload a photo of my design, but can try to describe it.
I made mine with a 4x4 on the base of each leg, but a 2x4 would work as well, it was just what I had on hand. The base board on each leg I made 48". From there I put two 48" vertical boards. The vertical boards were centered and from the front edge of the first board to the back edge of the second board. Two 16" boards were then used at the top and bottom of the vertical boards to hold them in place. Cap it off with a 30" board on top of the verticals. This is where you'll attach your eye bolts. I put both eye bolts 3 1/2" back from the front (a scrap of 2x4 works well as a guide). To join the two legs, I used two 52" boards on top of the base 4X4 of the verticals (one in front of the legs and one behind).

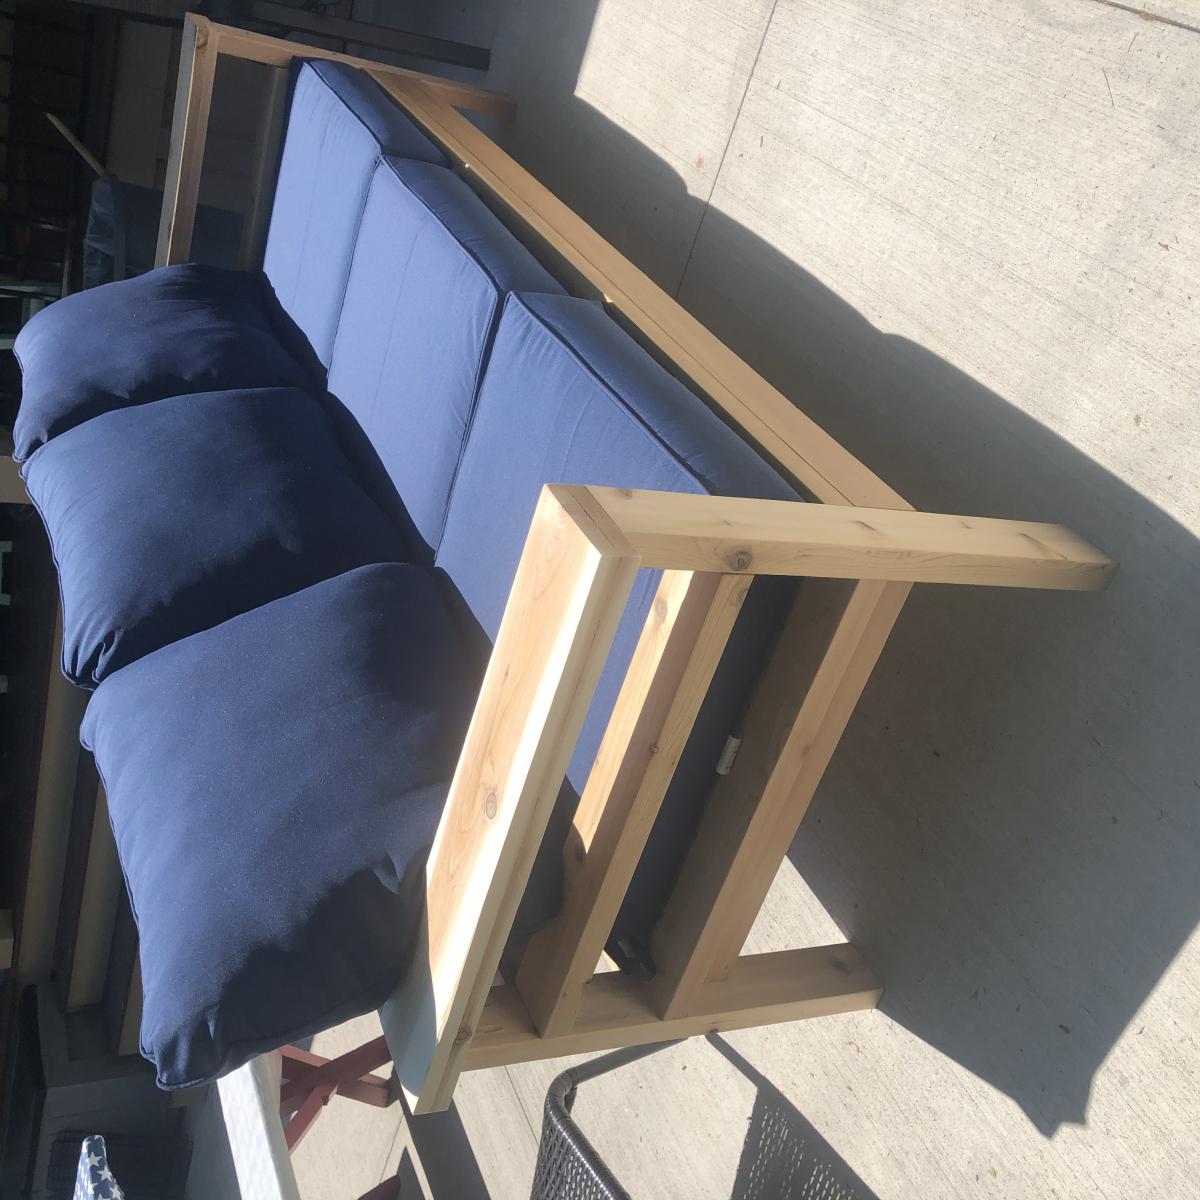
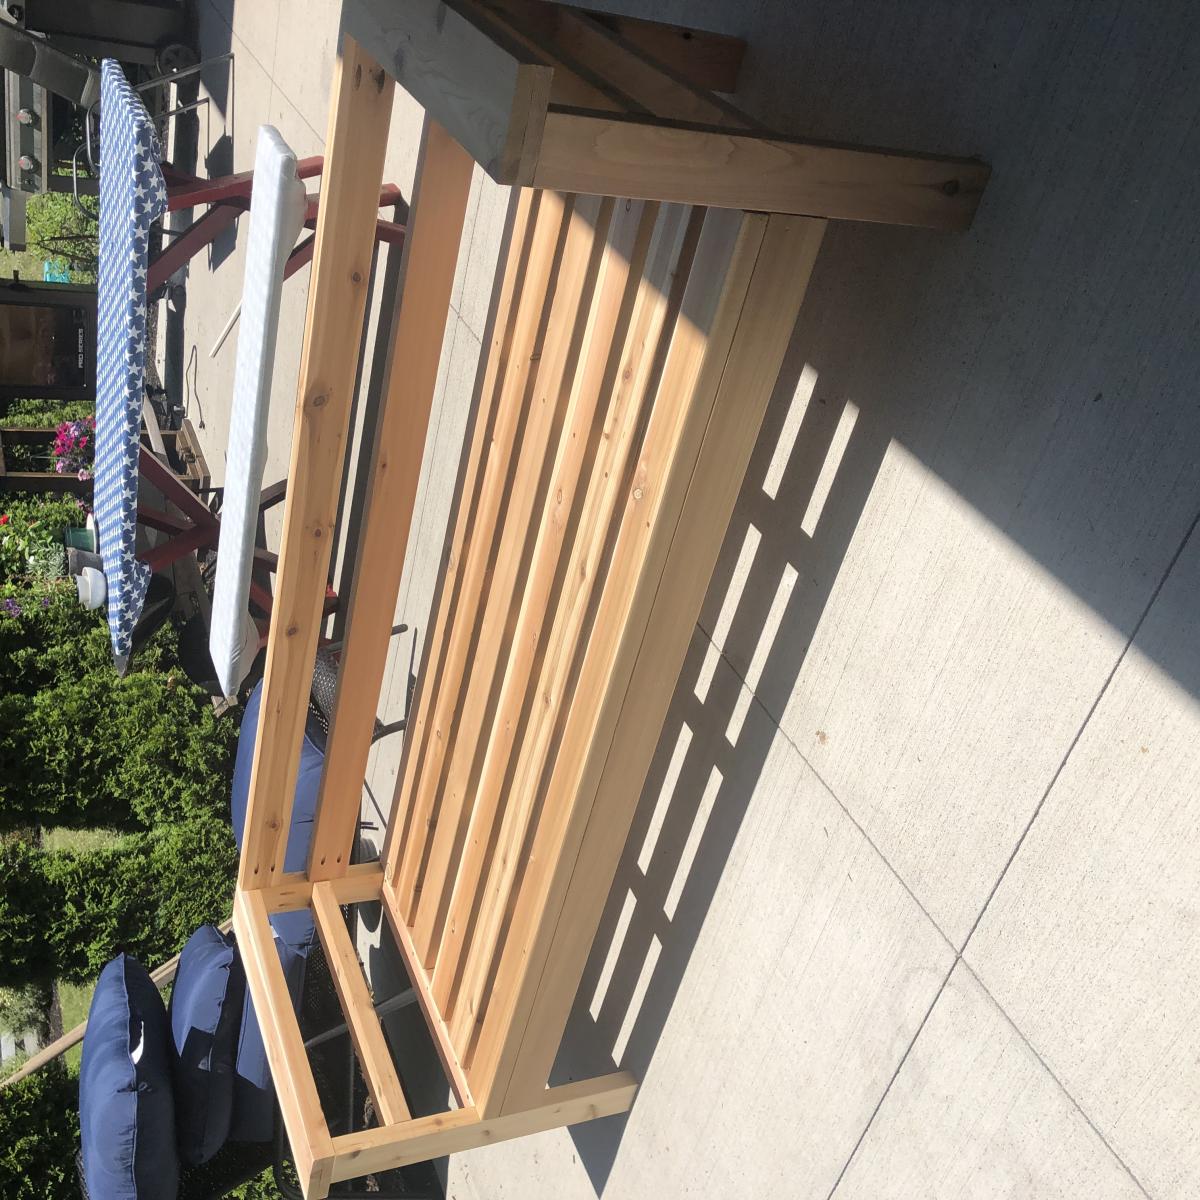
Super easy and fun project! We altered the original plans to build a loveseat and had zero issues. We did add some extra support below.
I did not find 25”x25” cushions within our price range so I settled for 25”x22.5” and they work but ultimately 25x25 works best.


I used cedar and added the extra boards so the cushions would stay put. We also made the arms 2x6 boards so we wouldn’t need end tables for the couch. The plans were super easy to follow. I mostly used pocket holes so the screws wouldn’t be visible. Love how it came out! Thank you for the plans, Ana!!


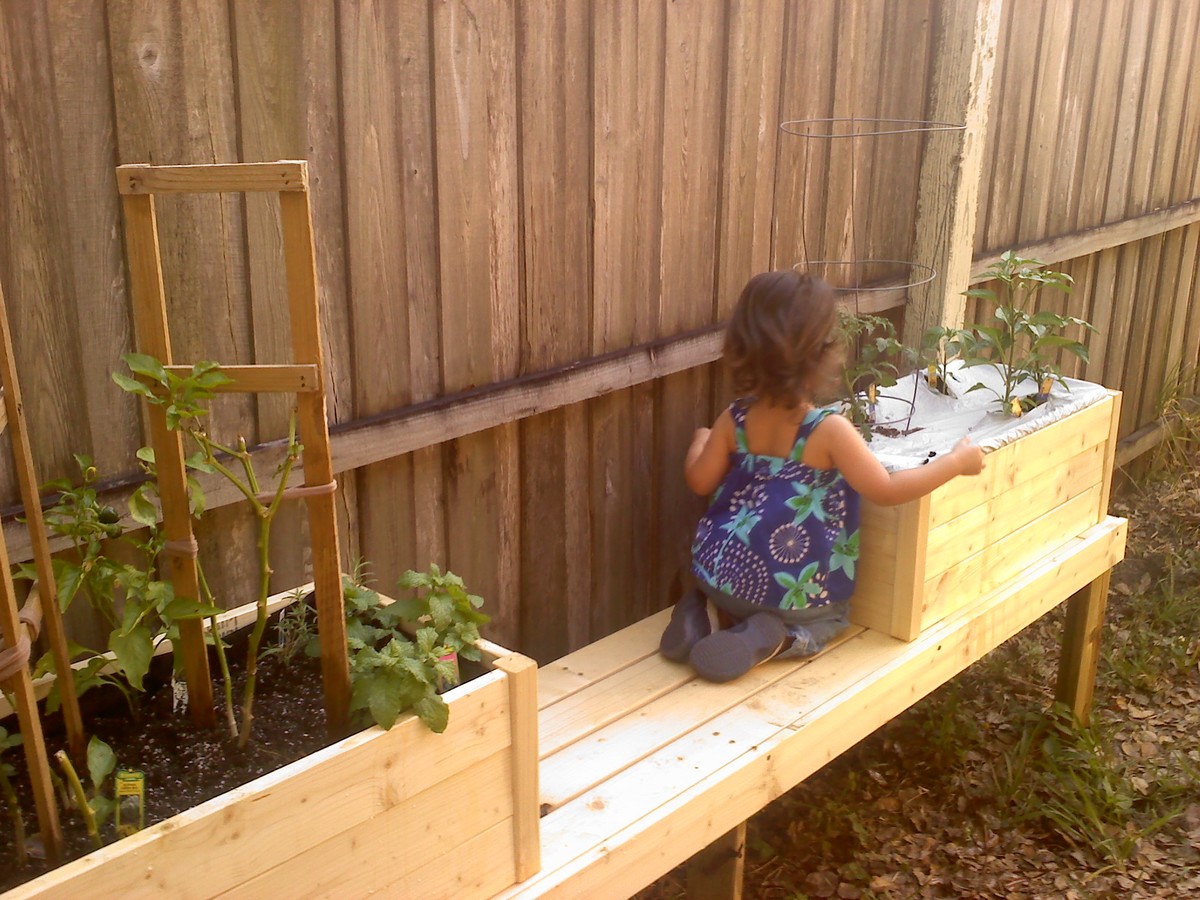
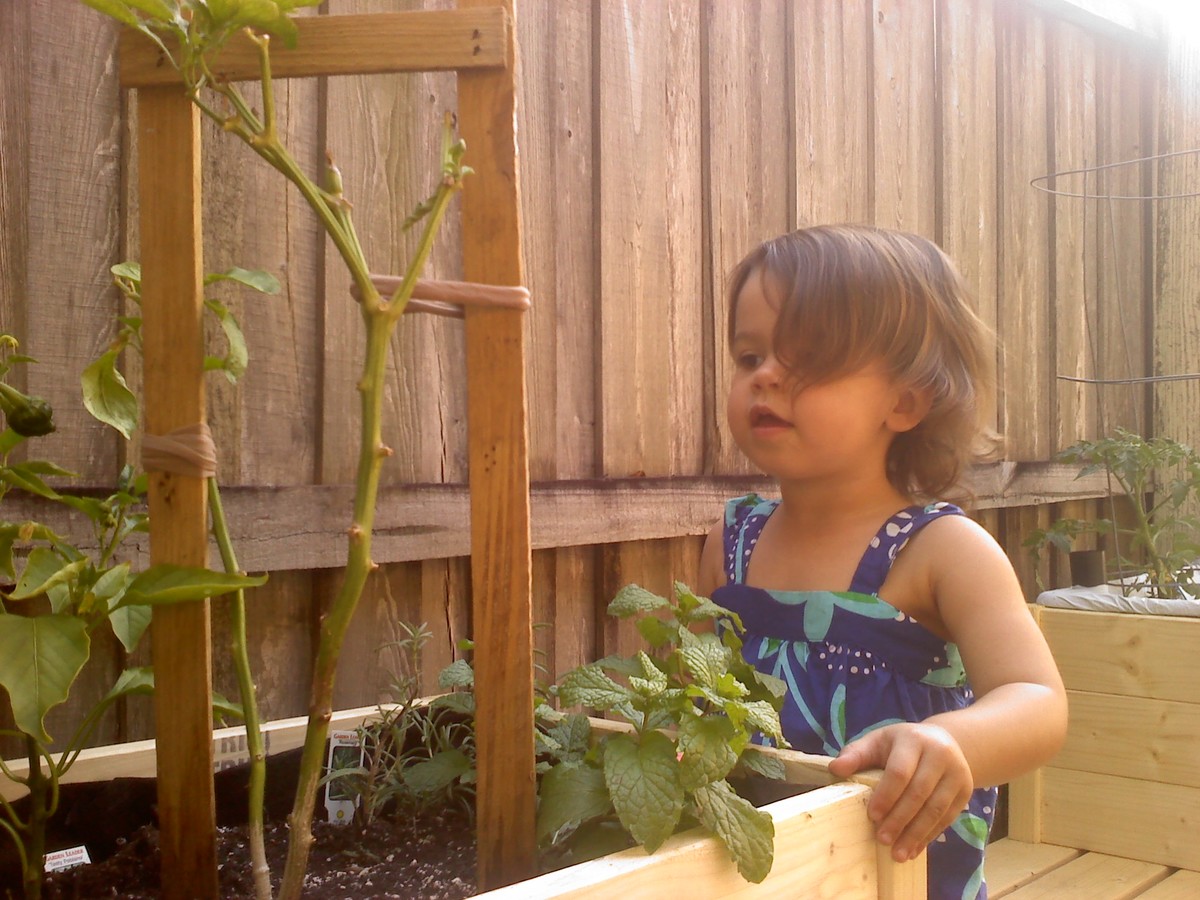
I took the design of the planter and stretched it to accomodate an "Earthbox" (which is 29 x 13.5x 11 inches) to see if I could boost the results of my little garden. Both planters were made the same size so that if I'd like, next season ,I can use two Earthboxes.
The bench was built to keep out bunnies, our Husky, give us a place to put down the bowl when picking from the garden and lastly to give Georgia a place to climb up and get a better view or help. It is made using some treated 2x6's for legs aand support and untreated 2x4's for the actual benchtop.
I'll add a protective finish (and missing trim on both ends) to the bench part later this week when I have some toddler free time at home :)




We loved this greenhouse plan from AnaWhite and wanted to be able to grow in 3 seasons so we modified the design to include humidity & temperature control & 18" deep elevated cedar beds inside with 4x4 posts for support and trellis option. We added electricity in order to have a lighted workspace and the ability to put in a circulating fan to control mold and fungus. We added 2 work tables (2x2') on the inside of the door left and right side door in order to do seed trays & store supplies. This was a wonderful project for my husband and my plants inside are doing incredibly well compared to my outside garden beds here in zone 5. Products used:
Foundation
We had a landscape company come and scape/dig a platform and then fill/compact with crushed rock
My husband then used rebar driven into a 4x4 frame in order to secure the frame to the ground and create a base upon which to build the greenhouse
Active ventilation
AC Infinity Cloudline T8 Inline duct fan
Air king range hood wall cap 8" on the bottom outside of the greenhouse wall for air intake + flex 8" duct to the fan itself
Shelter logic autovent automatic shelter vent kits (1 on each side of the front wall) in order to allow air intake from the bottom back of the greenhouse under the elevated beds to flow to the front of the greenhouse and out
Circulating fan- Hurricane wall mount fan 16" - this fan has 3 speeds with tilt function and small mounting bracket
Soil - sourced 3 yards of 50/50 loam/compost from local landscaping supply
60% loam
30% organic compost
10% organic topsoil + perlite
Soil beds
-cedar frame 2 feet wide along sides, 3 feet wide on the back wall
-galvanized metal roofing with holes drilled into it for drainage
-landscape cloth lined


Wed, 09/09/2020 - 13:09
Thanks for that update! I was wondering how to vent this project, as Green houses need the ventilation. Good to know dollar amount also. Great photos.
Wed, 09/09/2020 - 13:09
Thanks for that update! I was wondering how to vent this project, as Green houses need the ventilation. Good to know dollar amount also. Great photos.
Wed, 09/09/2020 - 13:09
Thanks for that update! I was wondering how to vent this project, as Green houses need the ventilation. Good to know dollar amount also. Great photos.

I made these modern Adirondack chairs for our business in Anchorage. GREAT and easy to build design by Ana - we upgraded the arms to tapered 2x6 and they're awesome!


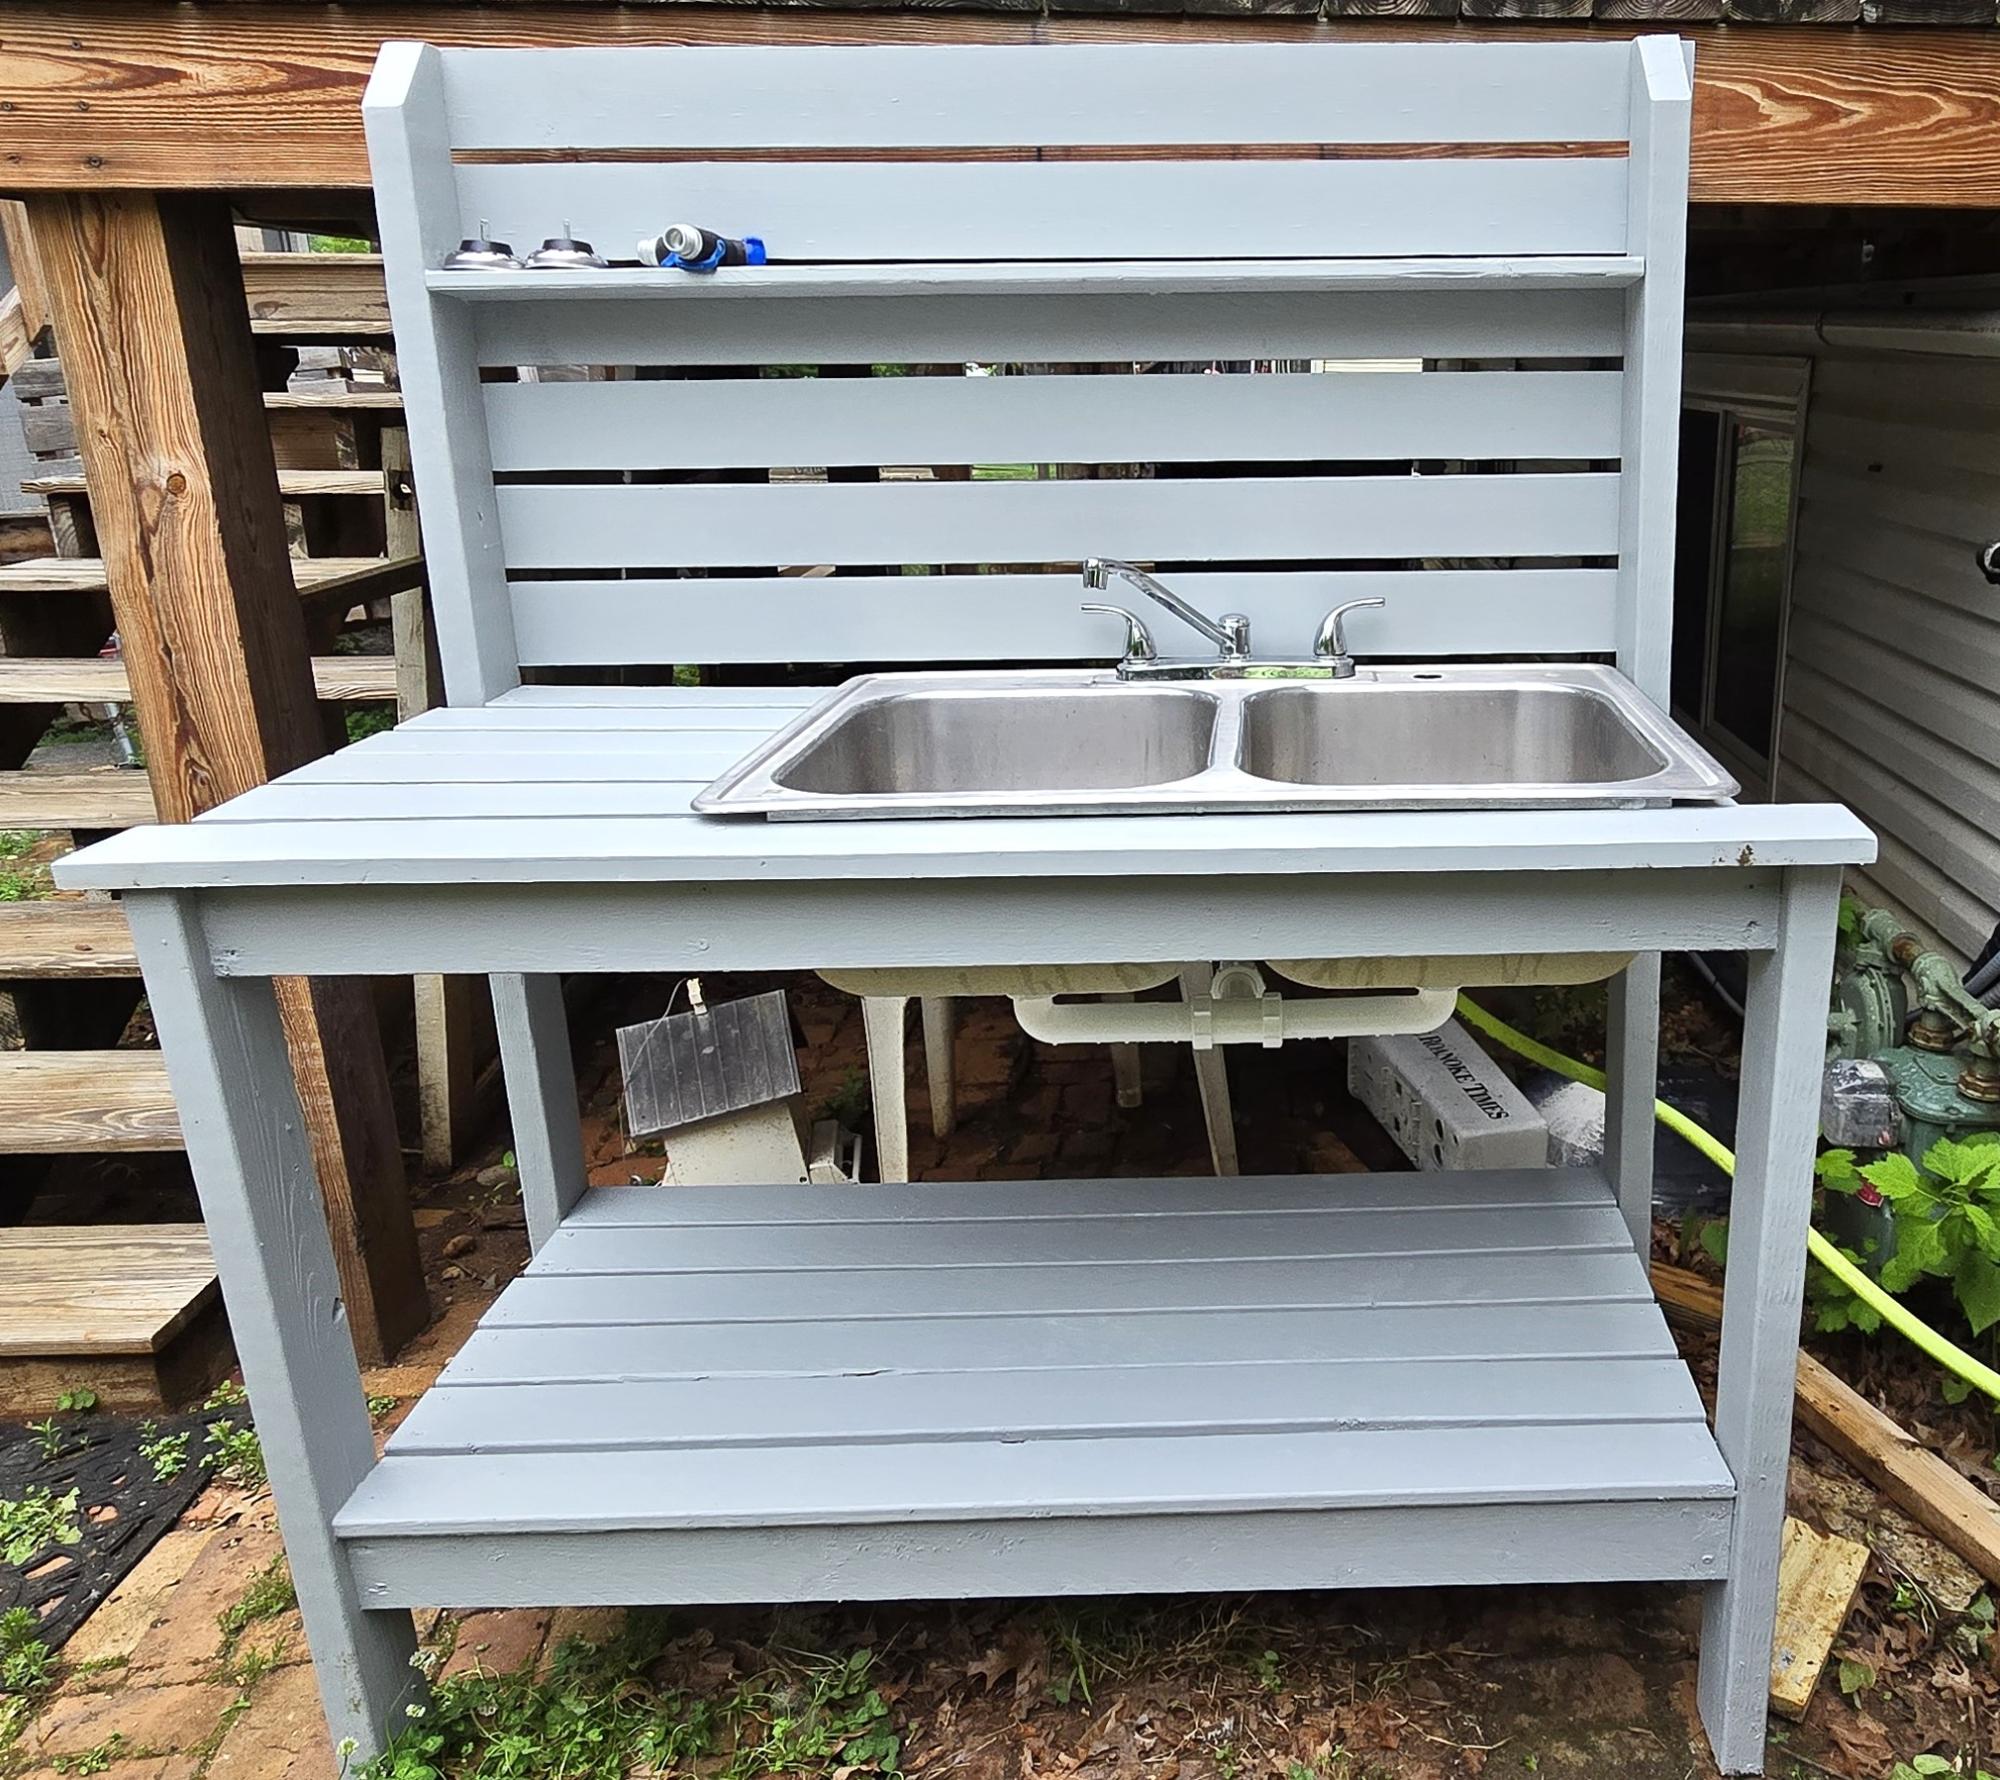
I used the basic 2x4 potting bench and made it a bit wider to have room for the sink. Had to make slight modifications -- put a 2x4 in the back to help support the half shelf on top. Found the sink at the restore for $15 have have been waiting to do this. Ana's plan was easy to follow and modify for my needs. Spent 88$ on lumber, nails, 15$ for the sink, plus about 40 $ for additional hardware for the sink. This sets beside my deck. I love it. Now I can was my hands outside and can't wait to rinse my veggies off when they produce.
Susan Chewning
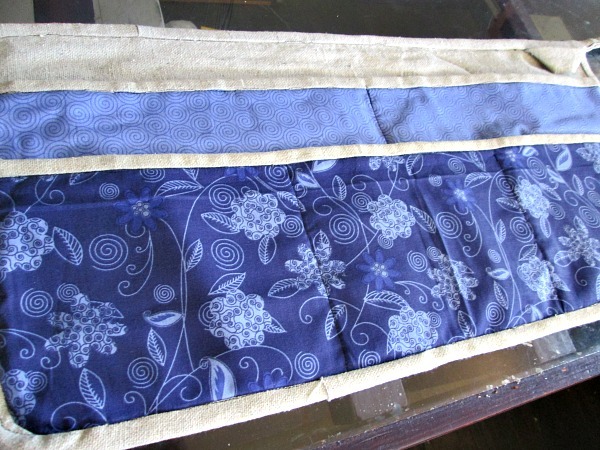
Thank you soo much for the apron plans. I've used a sewing machine about 5 times in my life, and I didn't know what "stitch in the ditch" or bias tape or trim was, but with the plans and some web searching, I was actually able to sew this apron. It took me considerably longer than others, especially because I don't have an iron, pins, or a seam ripper (ripping a seam took me over an hour). Again, thank you sooo much! I hope to never lose my pen and tape measure at the lumber yard again with this handy creation :)
Sun, 06/15/2014 - 05:27
Great job on the work apron, Yvonne! Congrats on conquering the sewing machine!
In reply to Looks great! by JoanneS
Tue, 06/17/2014 - 00:27
Thank you, Joanne. :) There is so much I want to learn, and for some reason, I feel like I need to learn it all now, when my life is busier than ever. Hah!
In reply to Amazing job by spiceylg
Fri, 06/27/2014 - 10:55
Thank you so much. It reminded me of using a jigsaw, and vice versa. :)
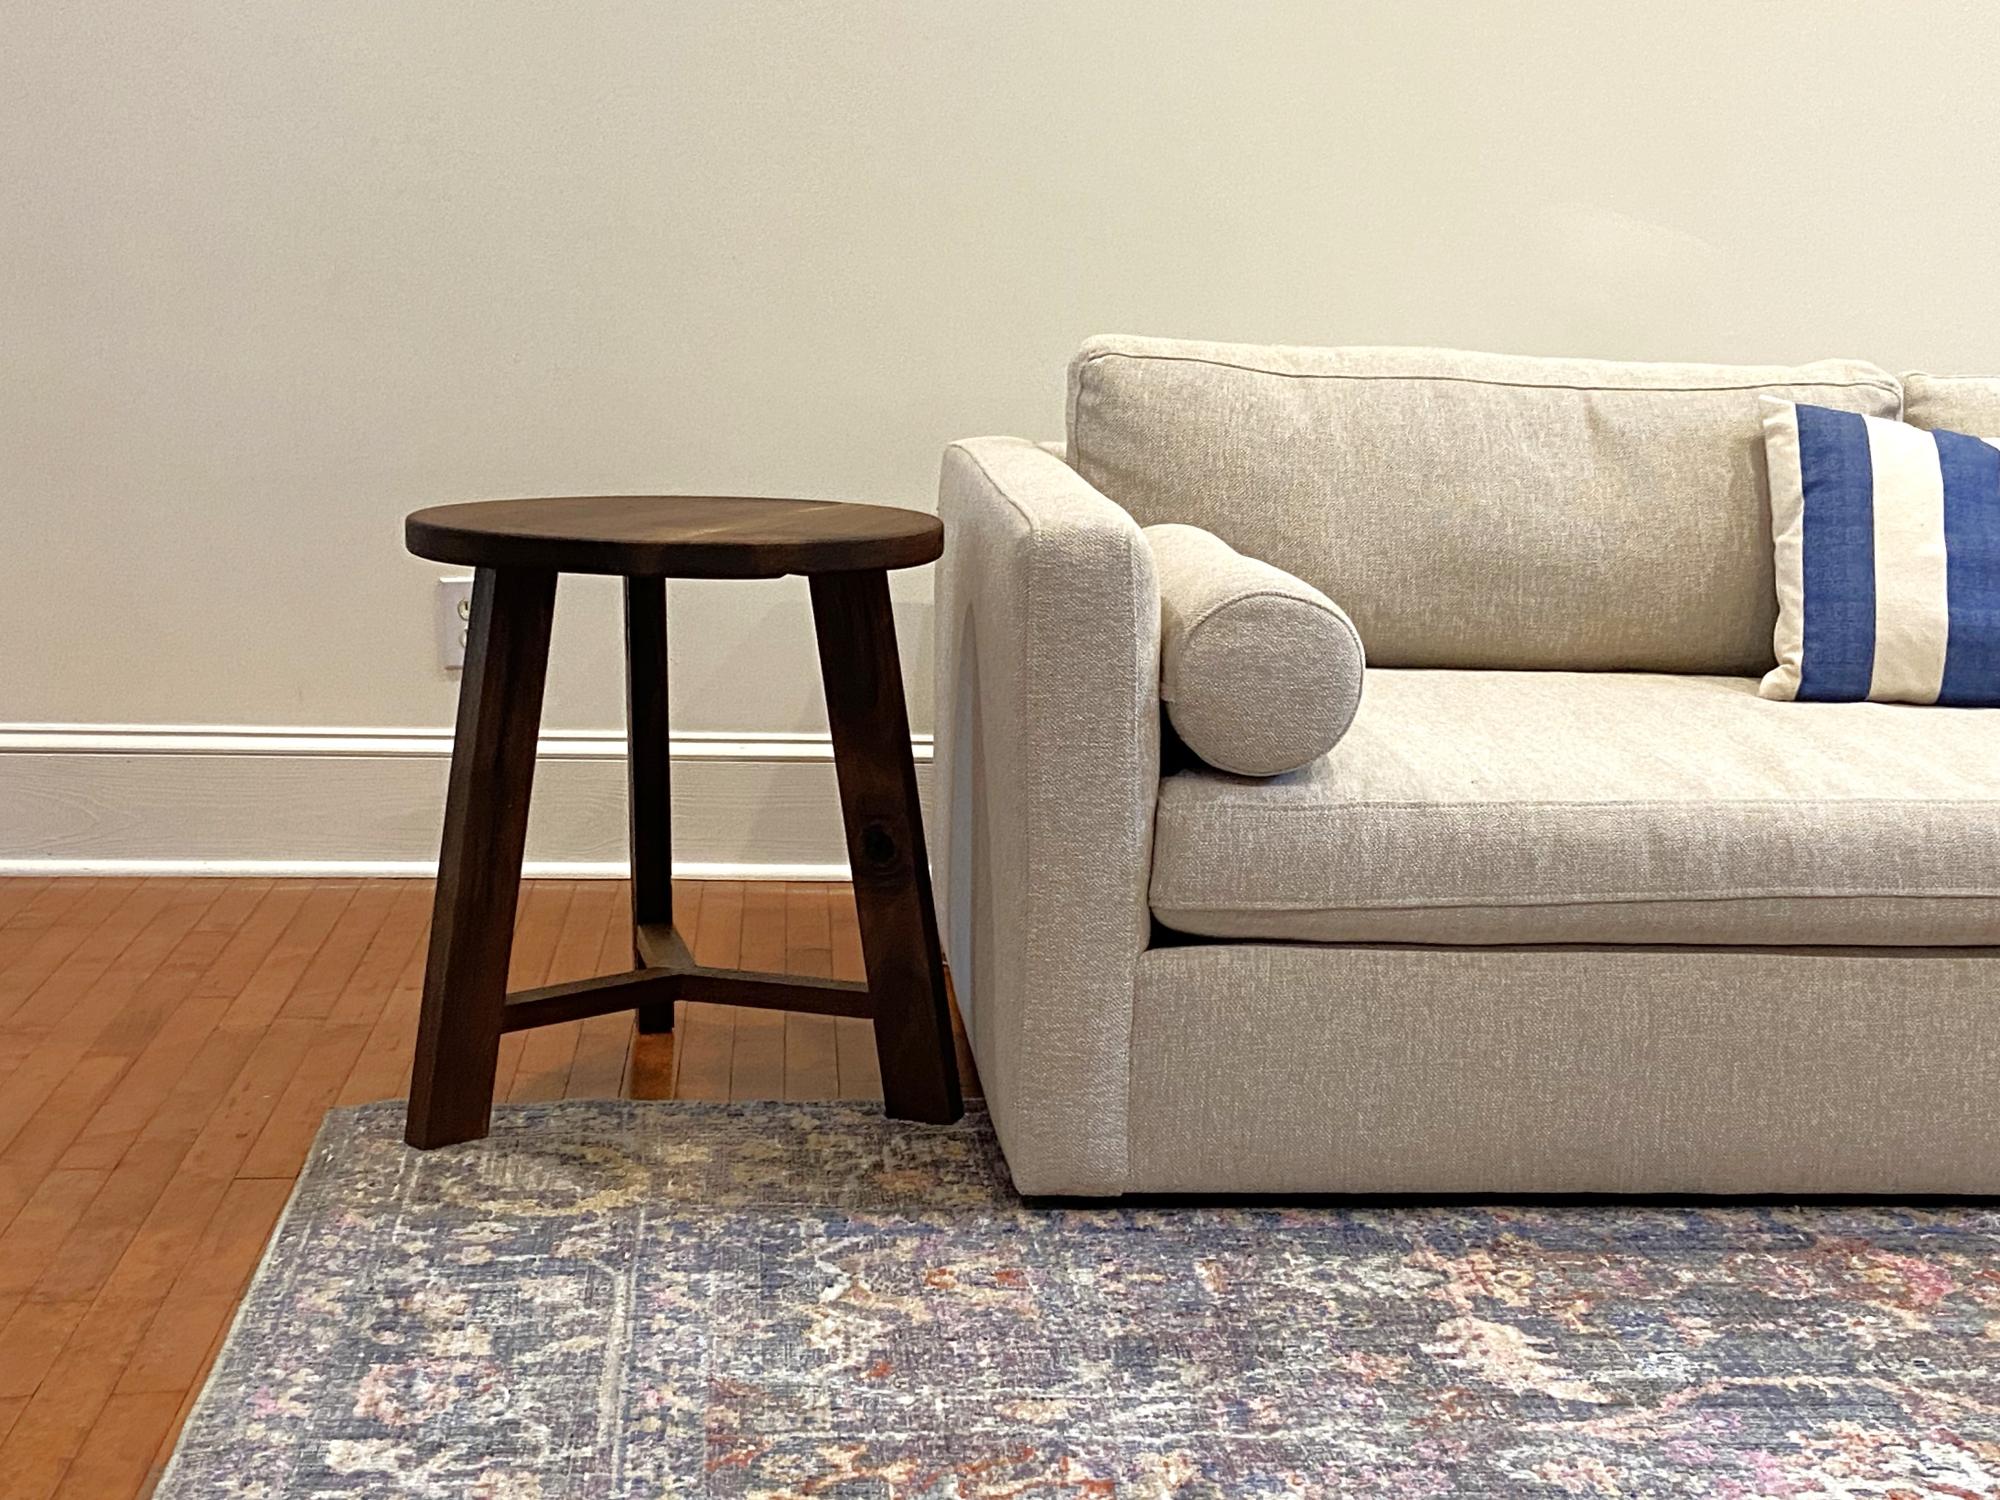
I used the End Table plans modified slightly. I cut all of the boards from a 10’ walnut slab. My wife Julie, and I finished them with Danish Oil. A great project; ready to start the next one!!
Stephen Russell

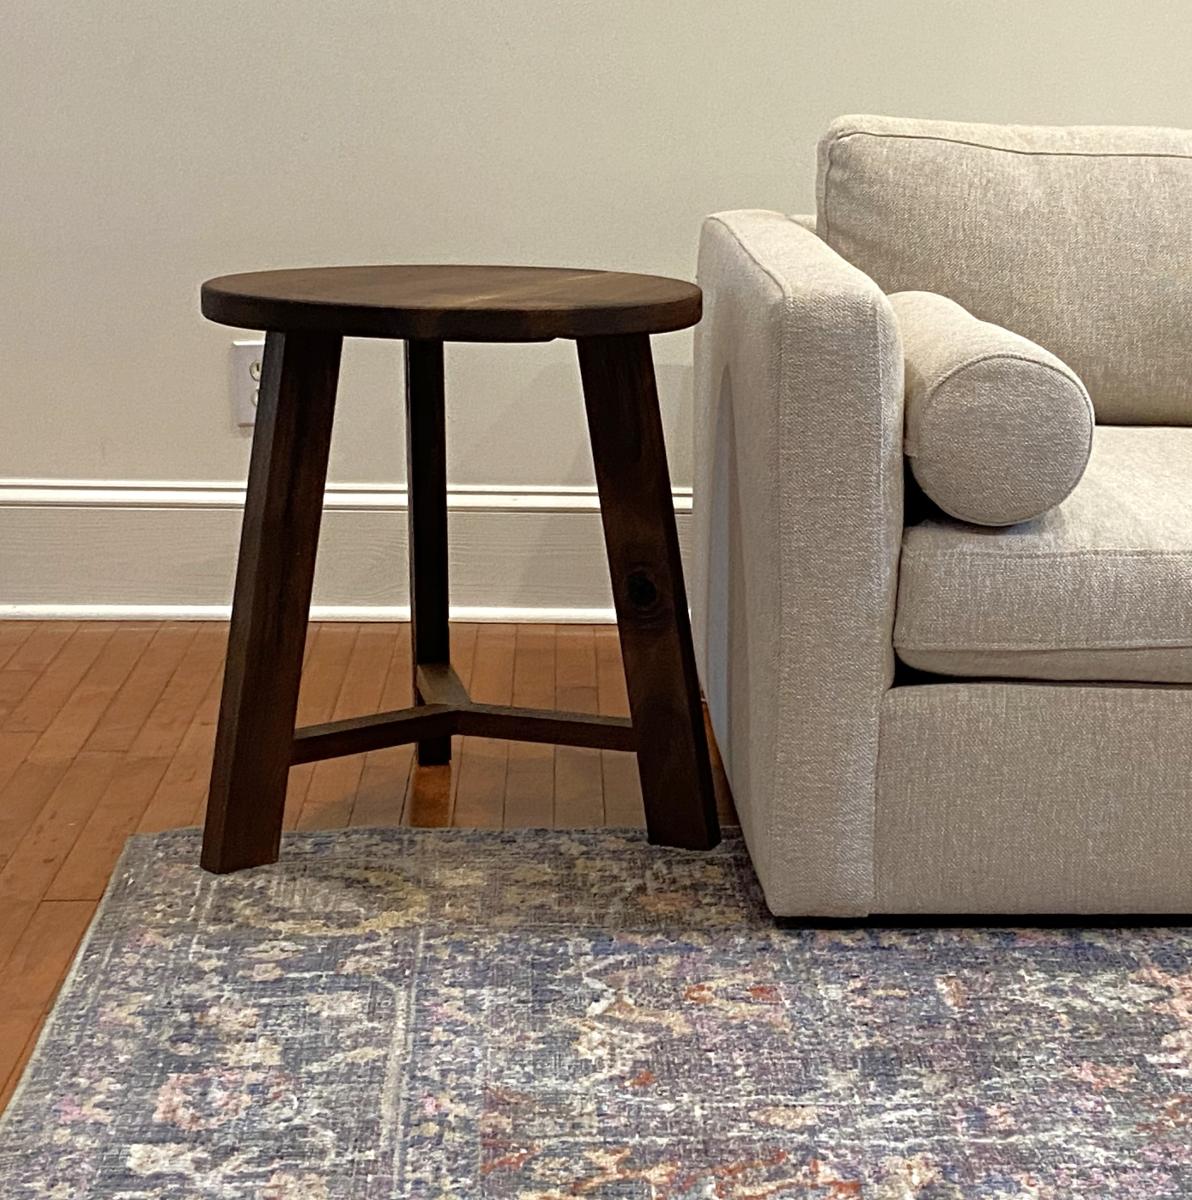


I reduced the size of the 2x4 coffee table to make 2 end tables. They can be used as additional seating when needed.

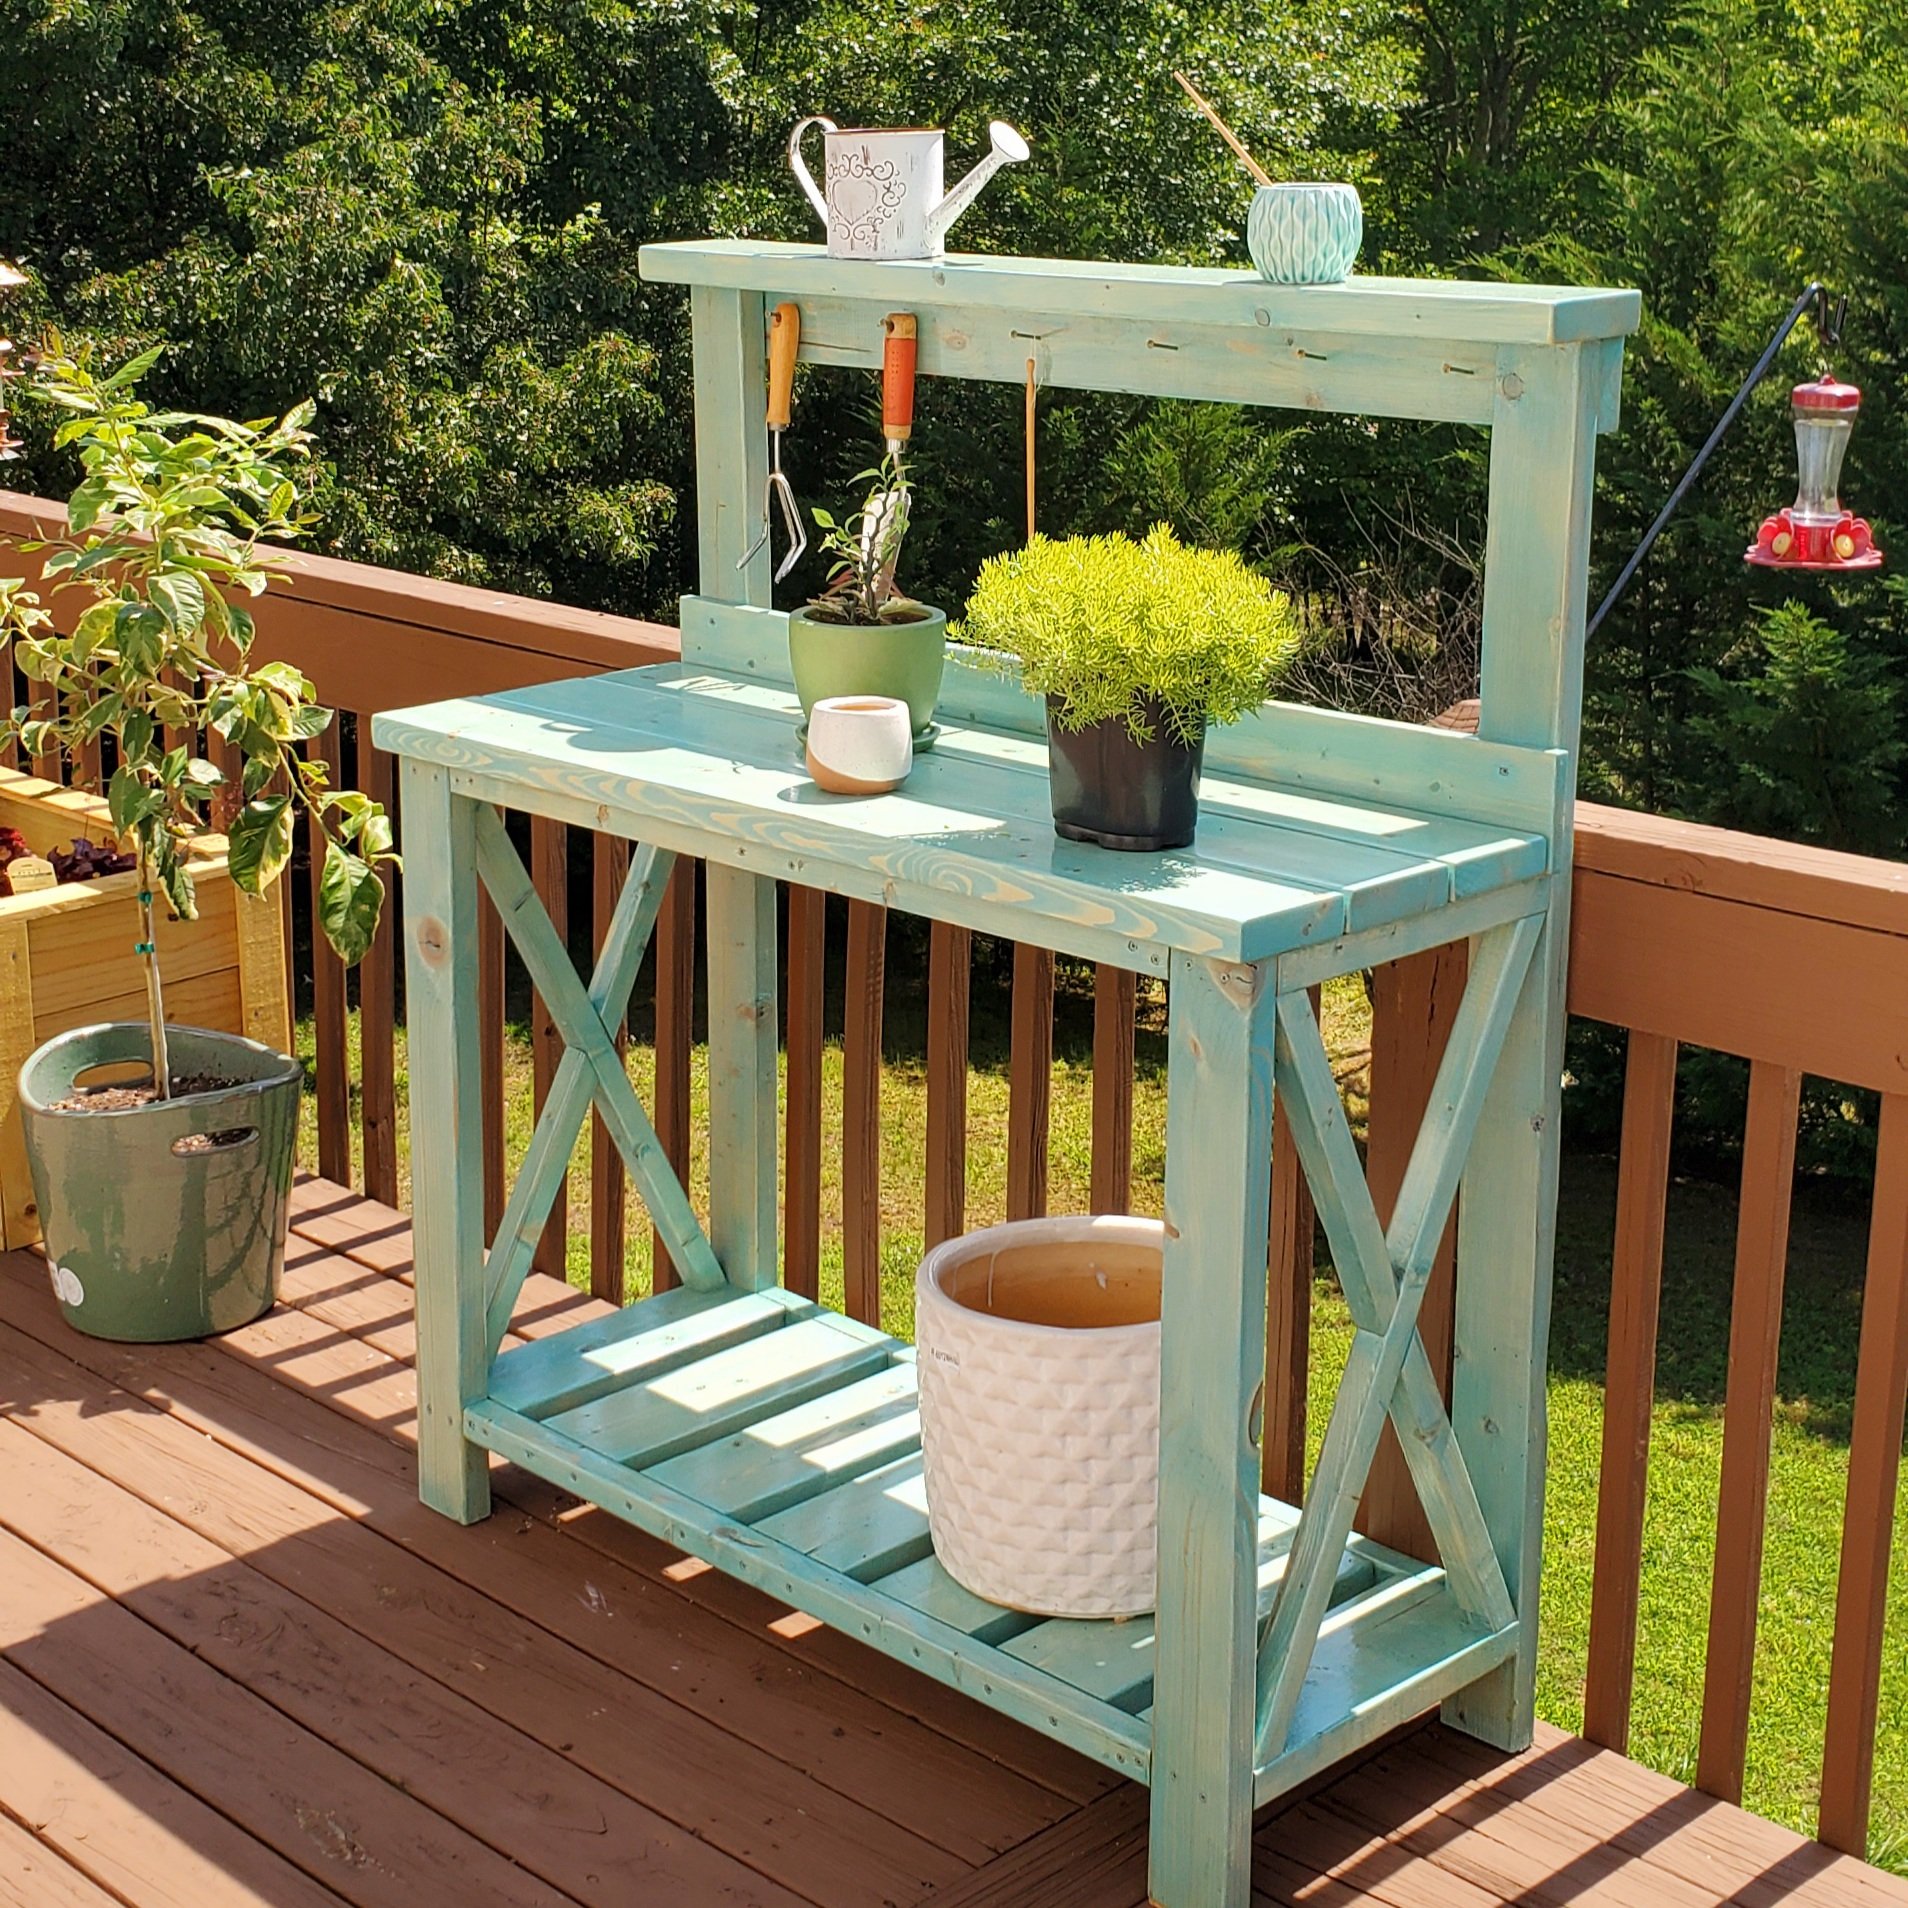
Built this for my girlfriend's birthday present. Added a 1x4 backsplash and a 2x6 for the top shelf to give a little more shelf room instead of the 2x4 called for in the plan. Stained with Varathane "Vintage Aqua" color and then 3 coats of Helmsman Spar Urethane for outdoor durability. Set the whole thing on caster wheels (not pictured) so she can move around the deck as needed.


I built a big kids see saw using 2x6's all around with a 2x8 seat. The center post is 30"h.


Thanks for the simple plans Anna, they worked out great!. I resized the table to make maximum use of the material, still within the same quantity you specified in your plans. I glued the legs along the lengths of the table, and kept the table top and shelf screwed in, for easy dismantling, if necessary.
Finally I added pop down heavy duty wheels allowing me to move the table (not shown in this pic) easily. When the wheels are not being used they pop up, making the table very stable. The height of the table is about 1/2” lower than the table saw, making it an ideal outfeed table as well.
Great design, and fun build.
I essentially stuck to the main plan - except to support the wings I used 2X2 boards and standard hinges.
I was worried that there may not be enough space for my Ryobi 10" sliding miter saw because of the slide however, it fits nicely and there is plenty of space.
Thank you for the wonderful plan. This was my first project of this size and I am very happy with the results!
Fri, 05/01/2015 - 08:10
This is great. I am currently getting my Dad's help to turn an old kitchen cabinet into a miter saw cabinet with wings like this. (it was a 1940's solid wood kitchen cabinet we took out of the house when we remodeled). I really like your 2x2 support struts. Have you considered putting a shelf in the middle of your box? It would add extra support and also more room to store stuff.
Sat, 05/02/2015 - 09:09
Good idea. I did consider adding a shelf however I have now decided to use the lower area to store my small router table. I discovered that it would fit in the spot however it leaves not enough room for a shelf.
Mon, 05/18/2020 - 14:12
I know it’s been a while but do you remember the angle you used on the 2x2 supports? I struggle when it comes to cutting angles.

My new garden shed built from your premium plans! I'm 62, never built a shed before, and worked mostly alone. My sons helped with some of the wall and roof sheathing. In the end, I did everything except for the shingling. I painted it to match my house main color and trim.
The video is very helpful - I watched it several times. My major change to the plans was using Simpson Strong Ties and hurricane ties to secure the rafters to the ridge pole and the top plates. Otherwise, I used all other methods. I recommend cutting the front wall sheathing before cutting the panels for the doors. I do not have a trim saw and thought my standard circular saw was too heavy for me to make the cuts like Jacob did.
Tue, 06/13/2023 - 13:57
Really impressive, thank you so much for sharing and good for you to just go for it!!!
Thank you! My favorite & first is from your mud kitchen! I put in running water!😂 For the GrandLuvs!”
@penny.vanderlugt

This was my first attempt at building anything....ever. It was so incredibly fun and I certainly learned a lot. My 8 little chickens are loving their new home and I can't wait to build my next project!
Wed, 06/19/2013 - 11:51
Hello! Could you repost the picture / info on your chicken run? I keep getting "page not available" and I've been trying for days :O) I think I want to build that chicken shed (too big for 3 hens?? It's just so cute!) and a run like that to go with it! Thanks! Have a great day!