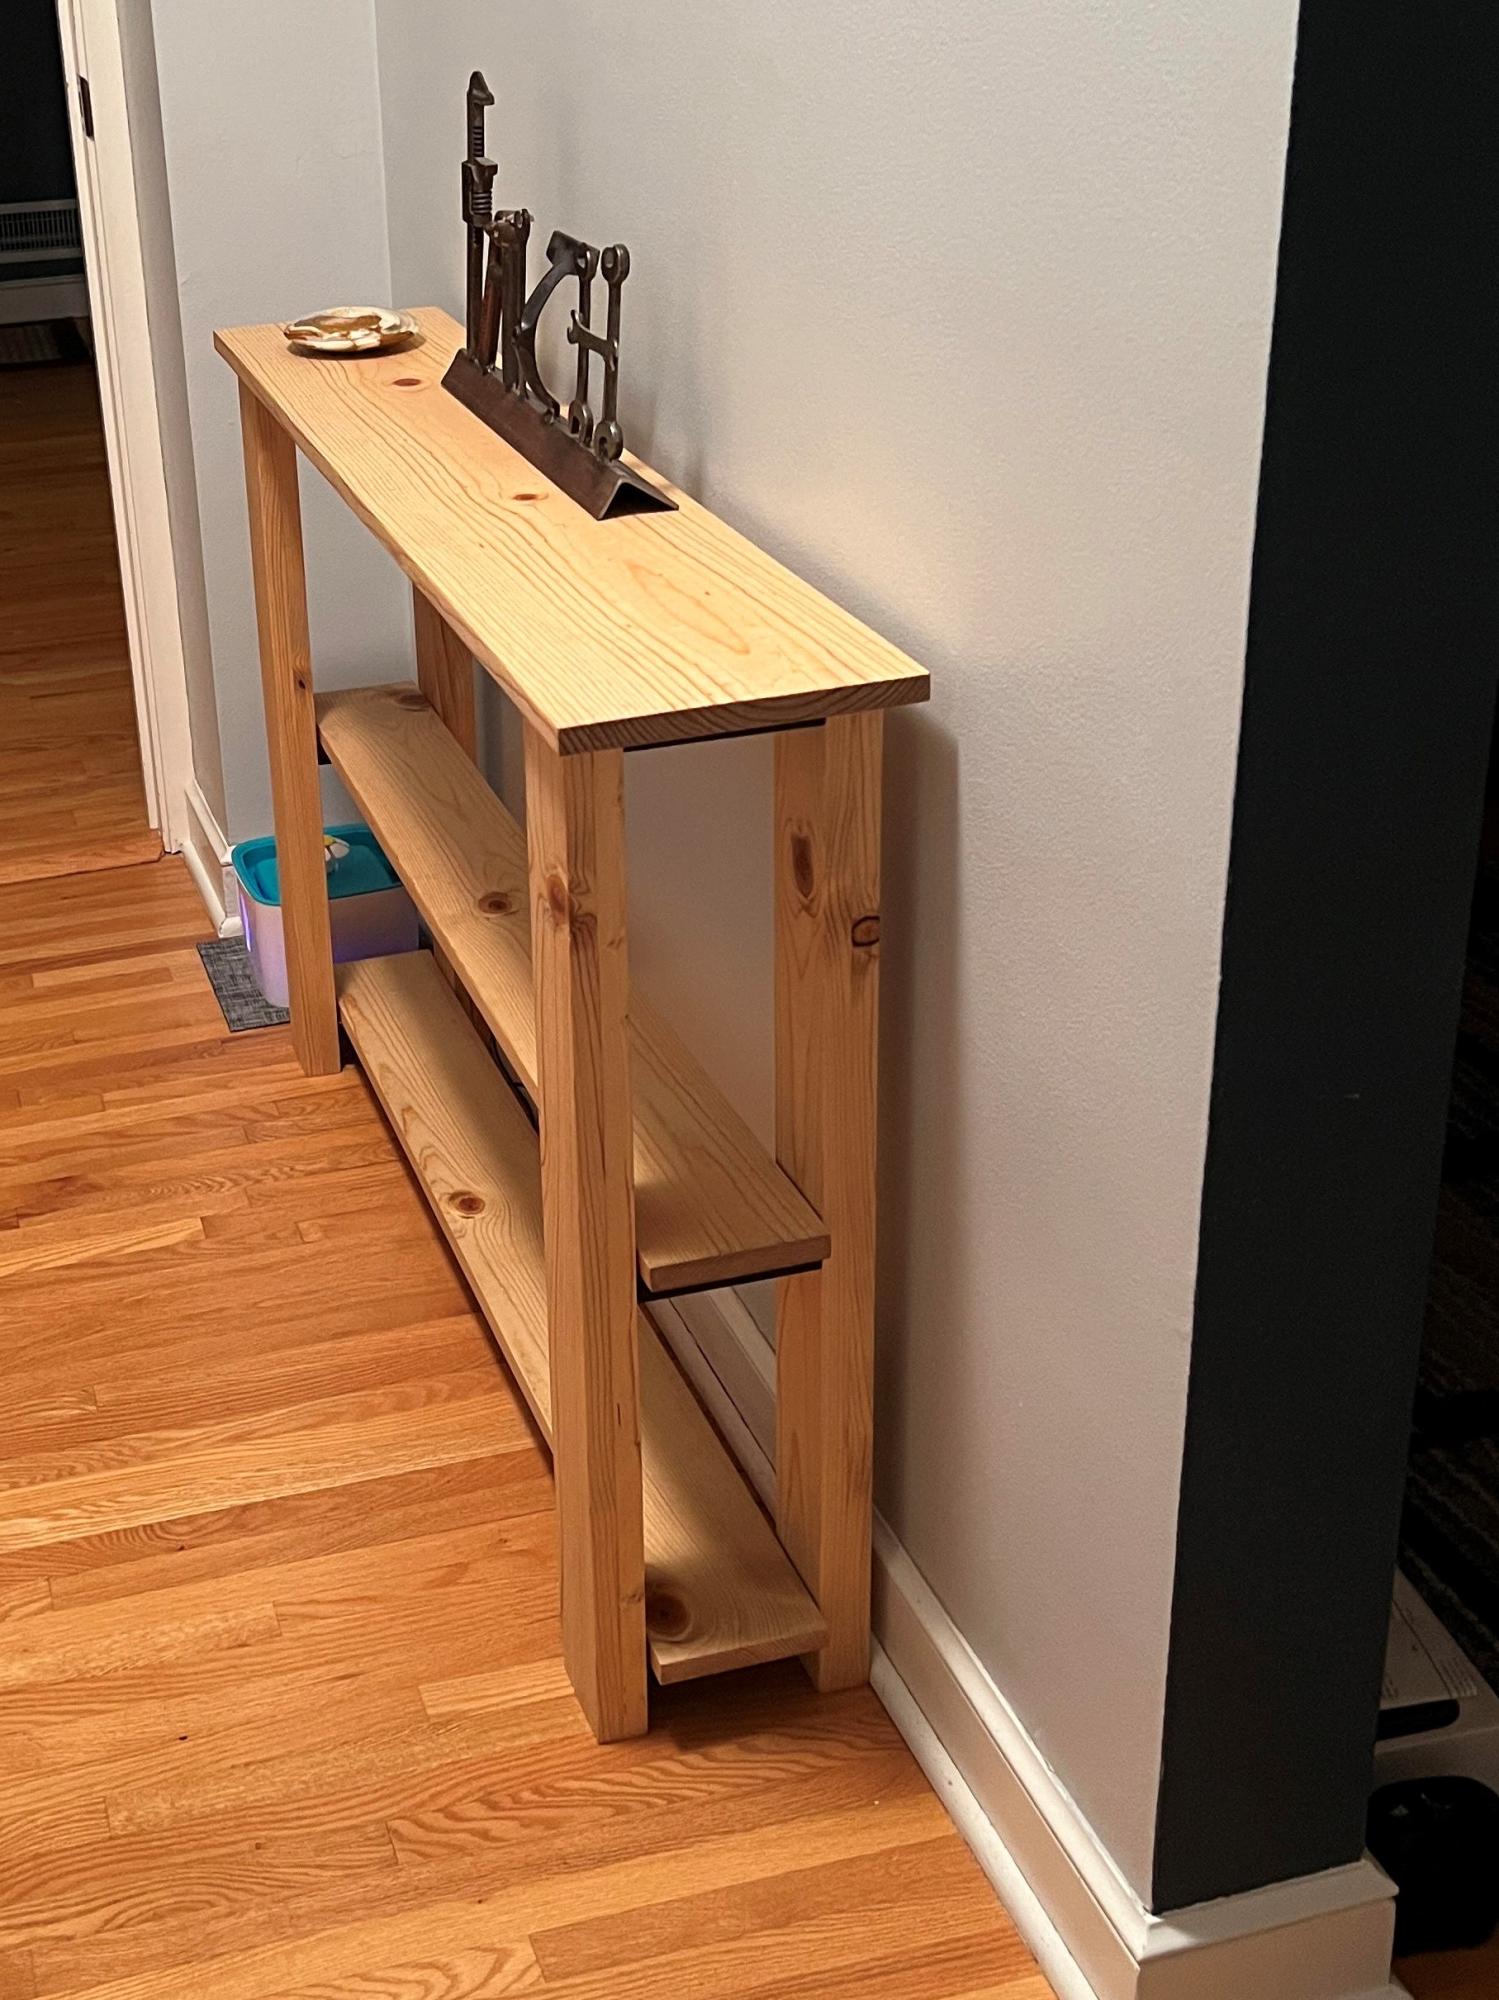
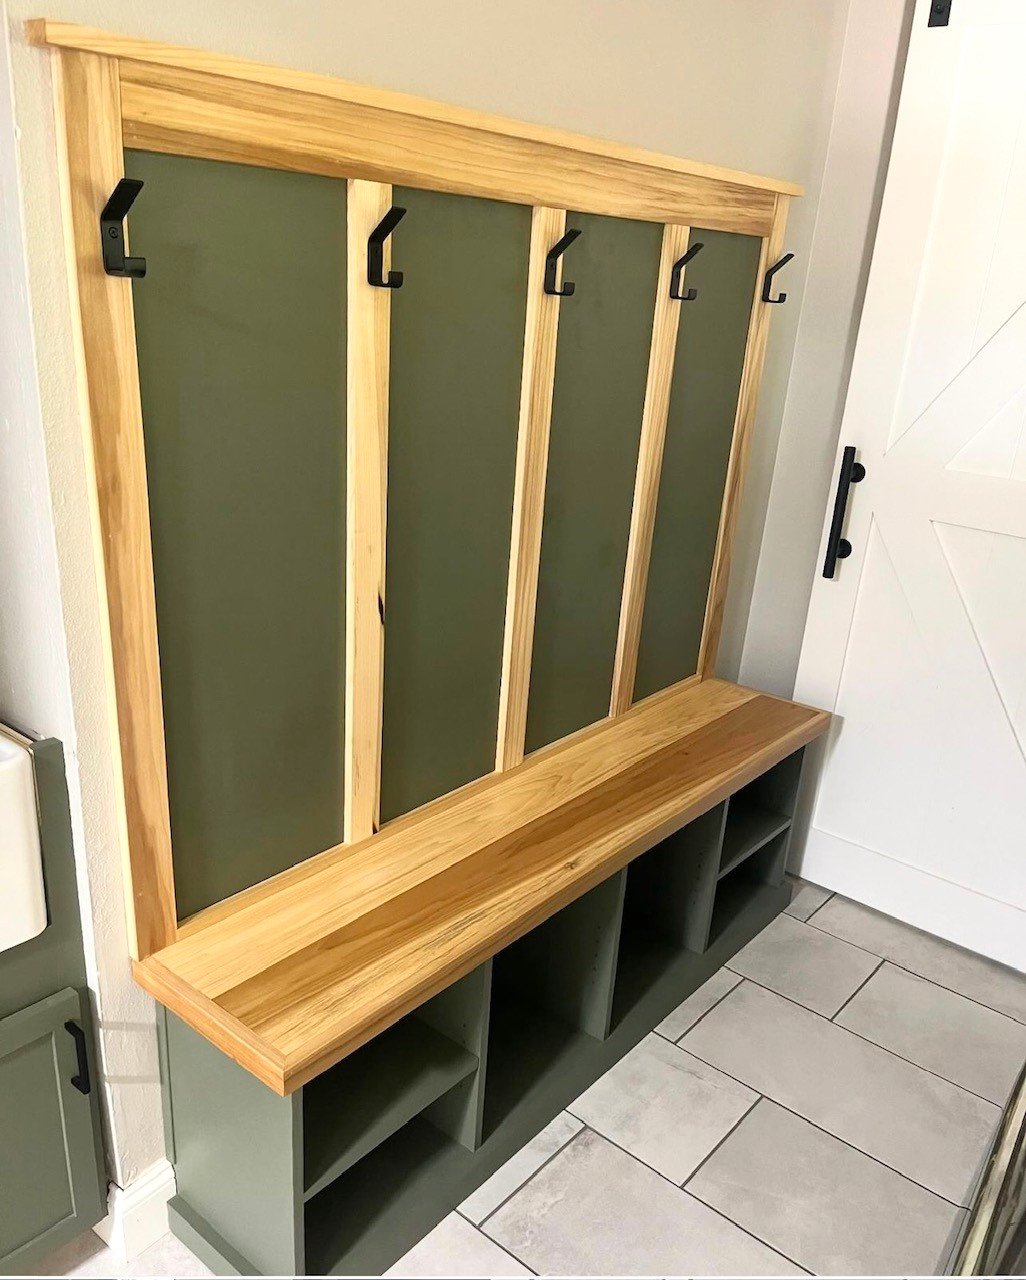
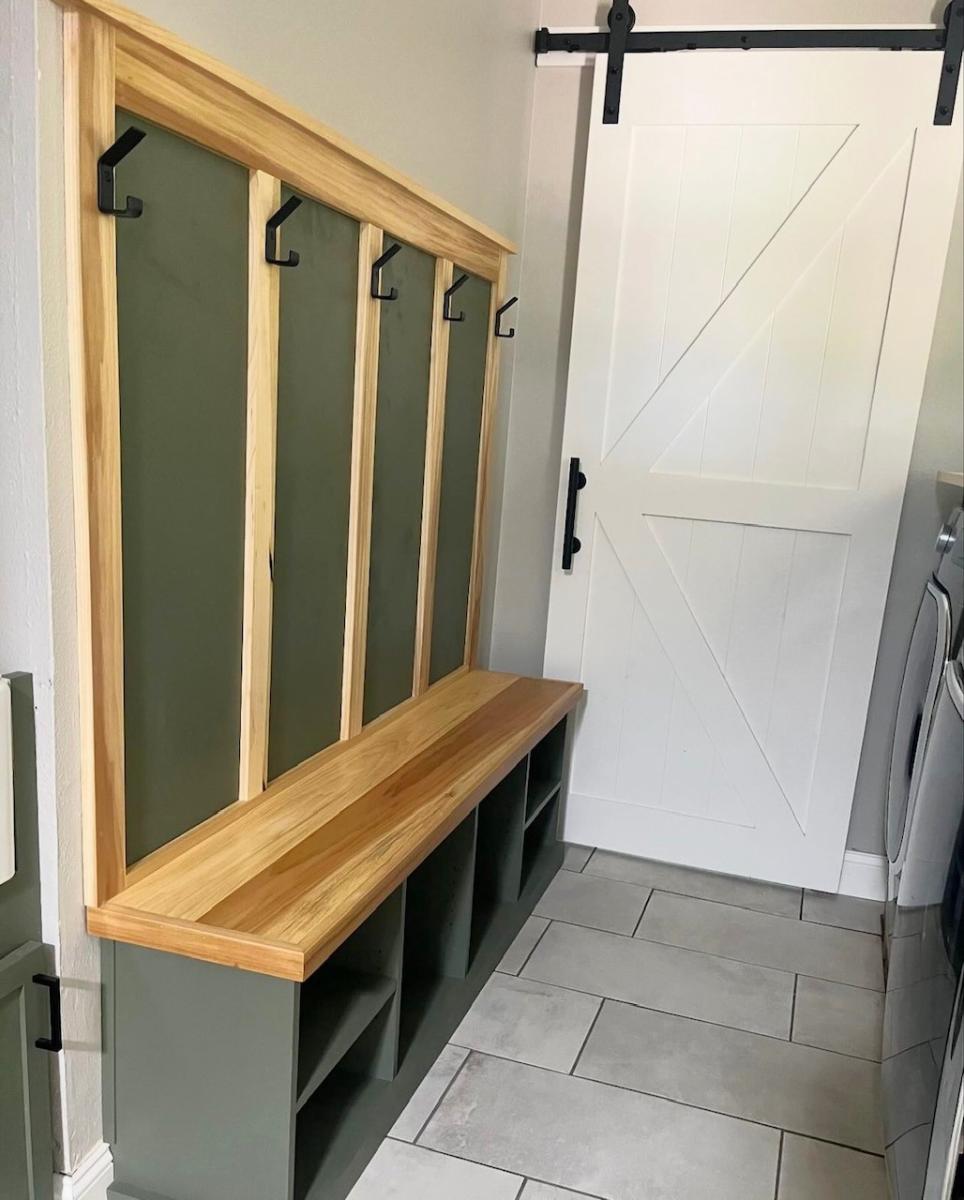
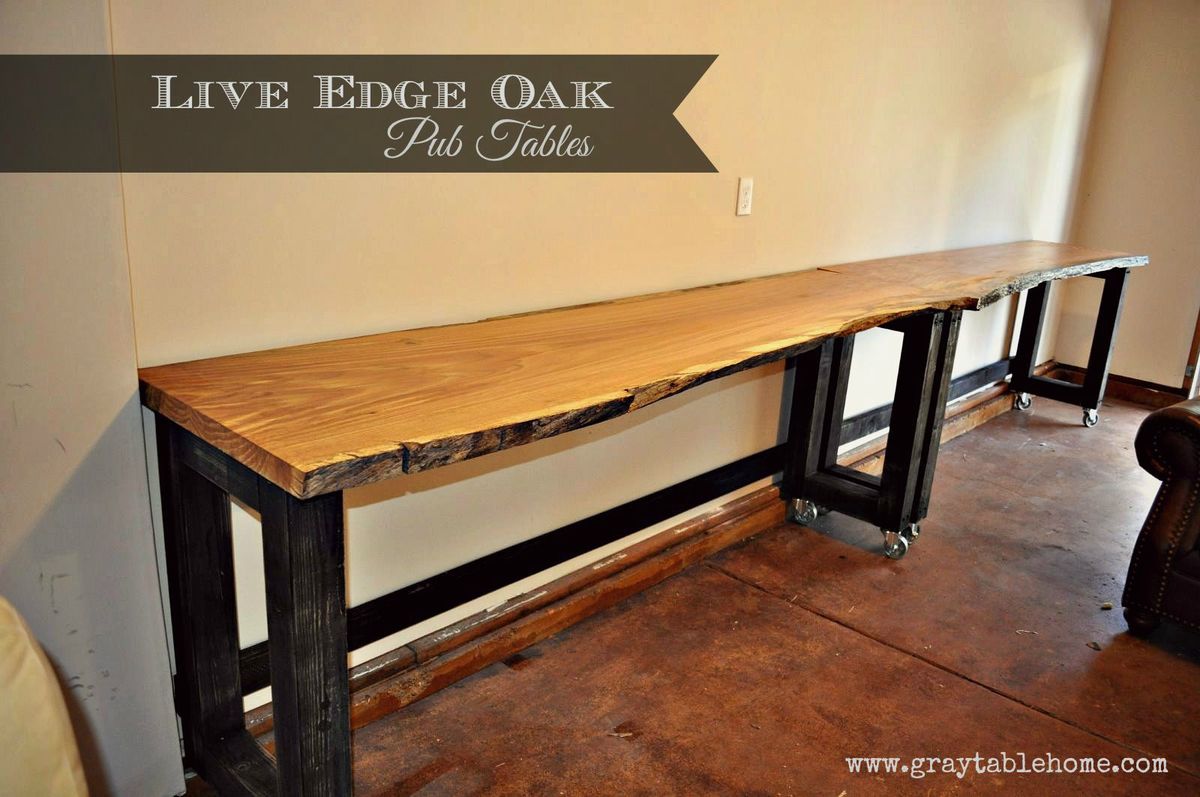
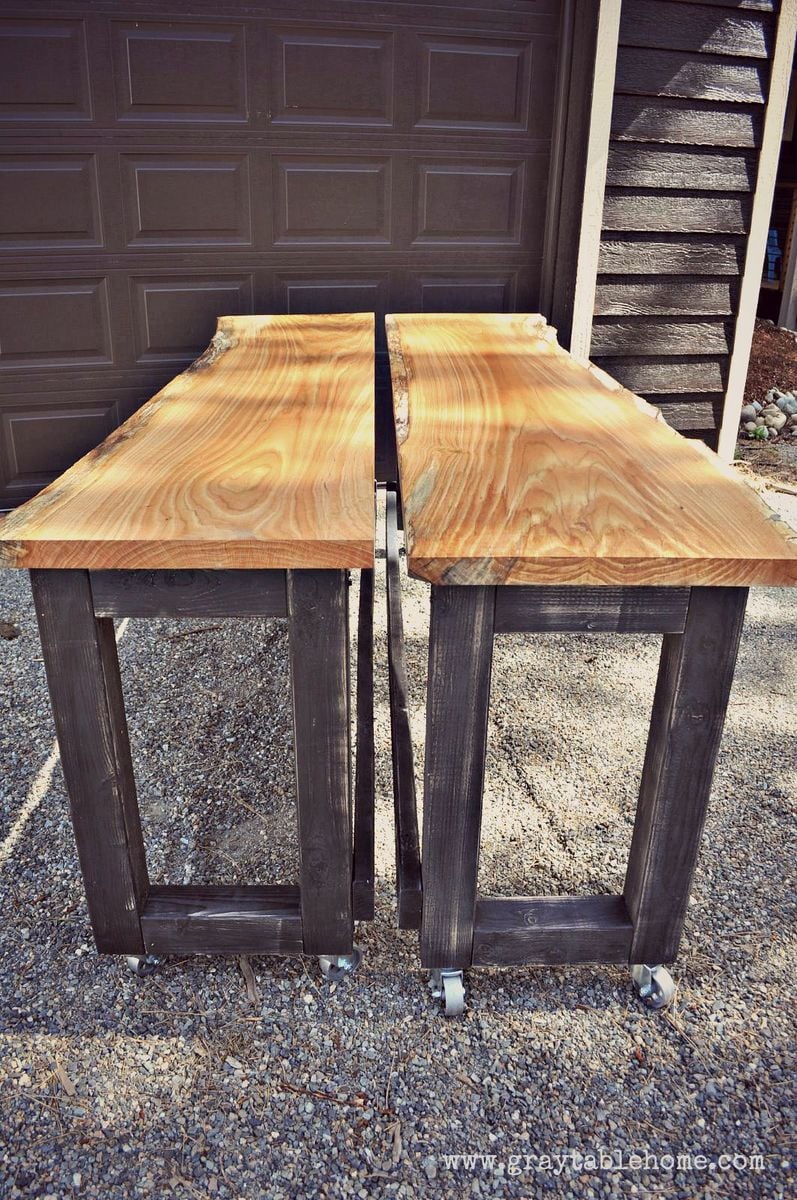
Oversized X end tables
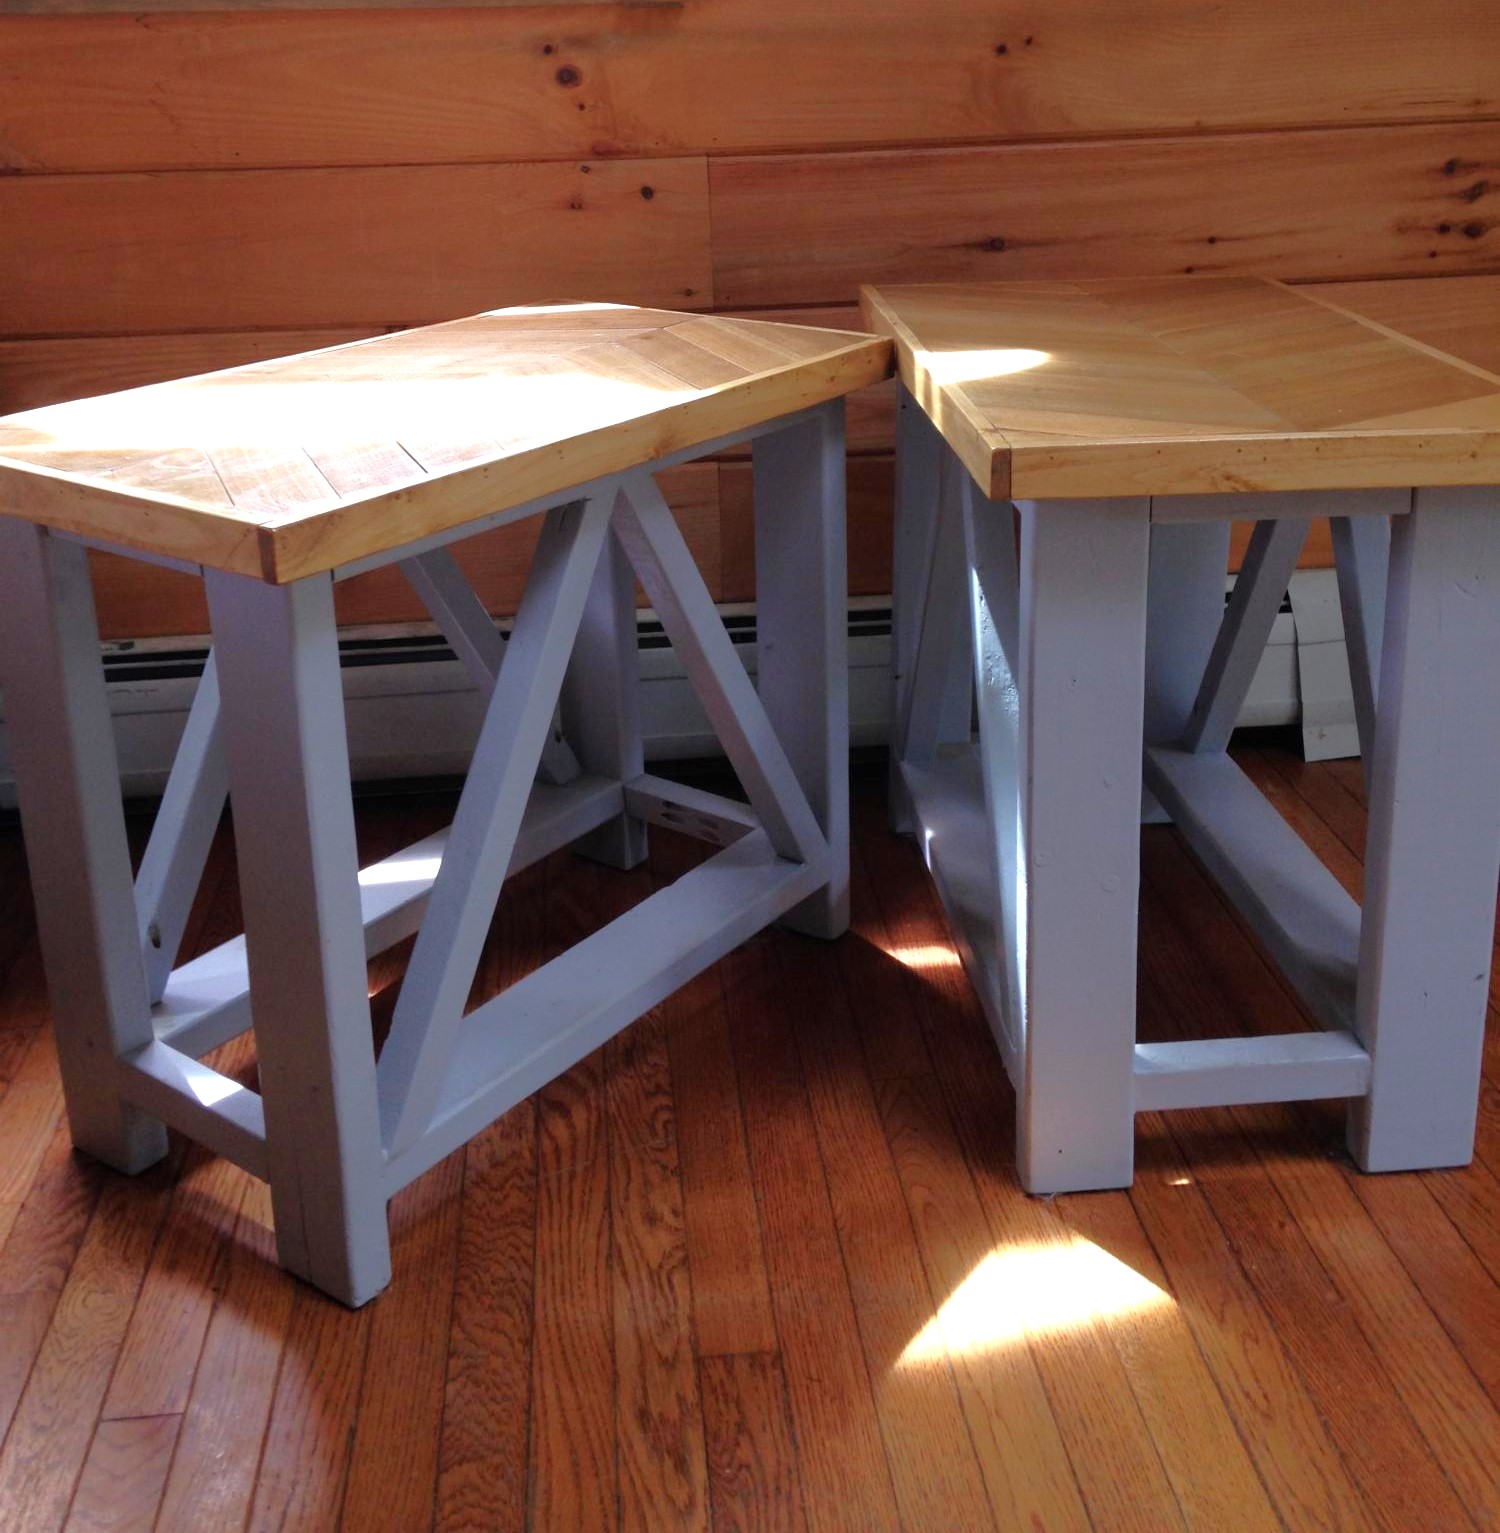
From the rustic X end table plan, I made mine slightly taller and a little more narrow to fit my space. Also decided to do a chevron top


Built from Plan(s)
Estimated Time Investment
Weekend Project (10-20 Hours)
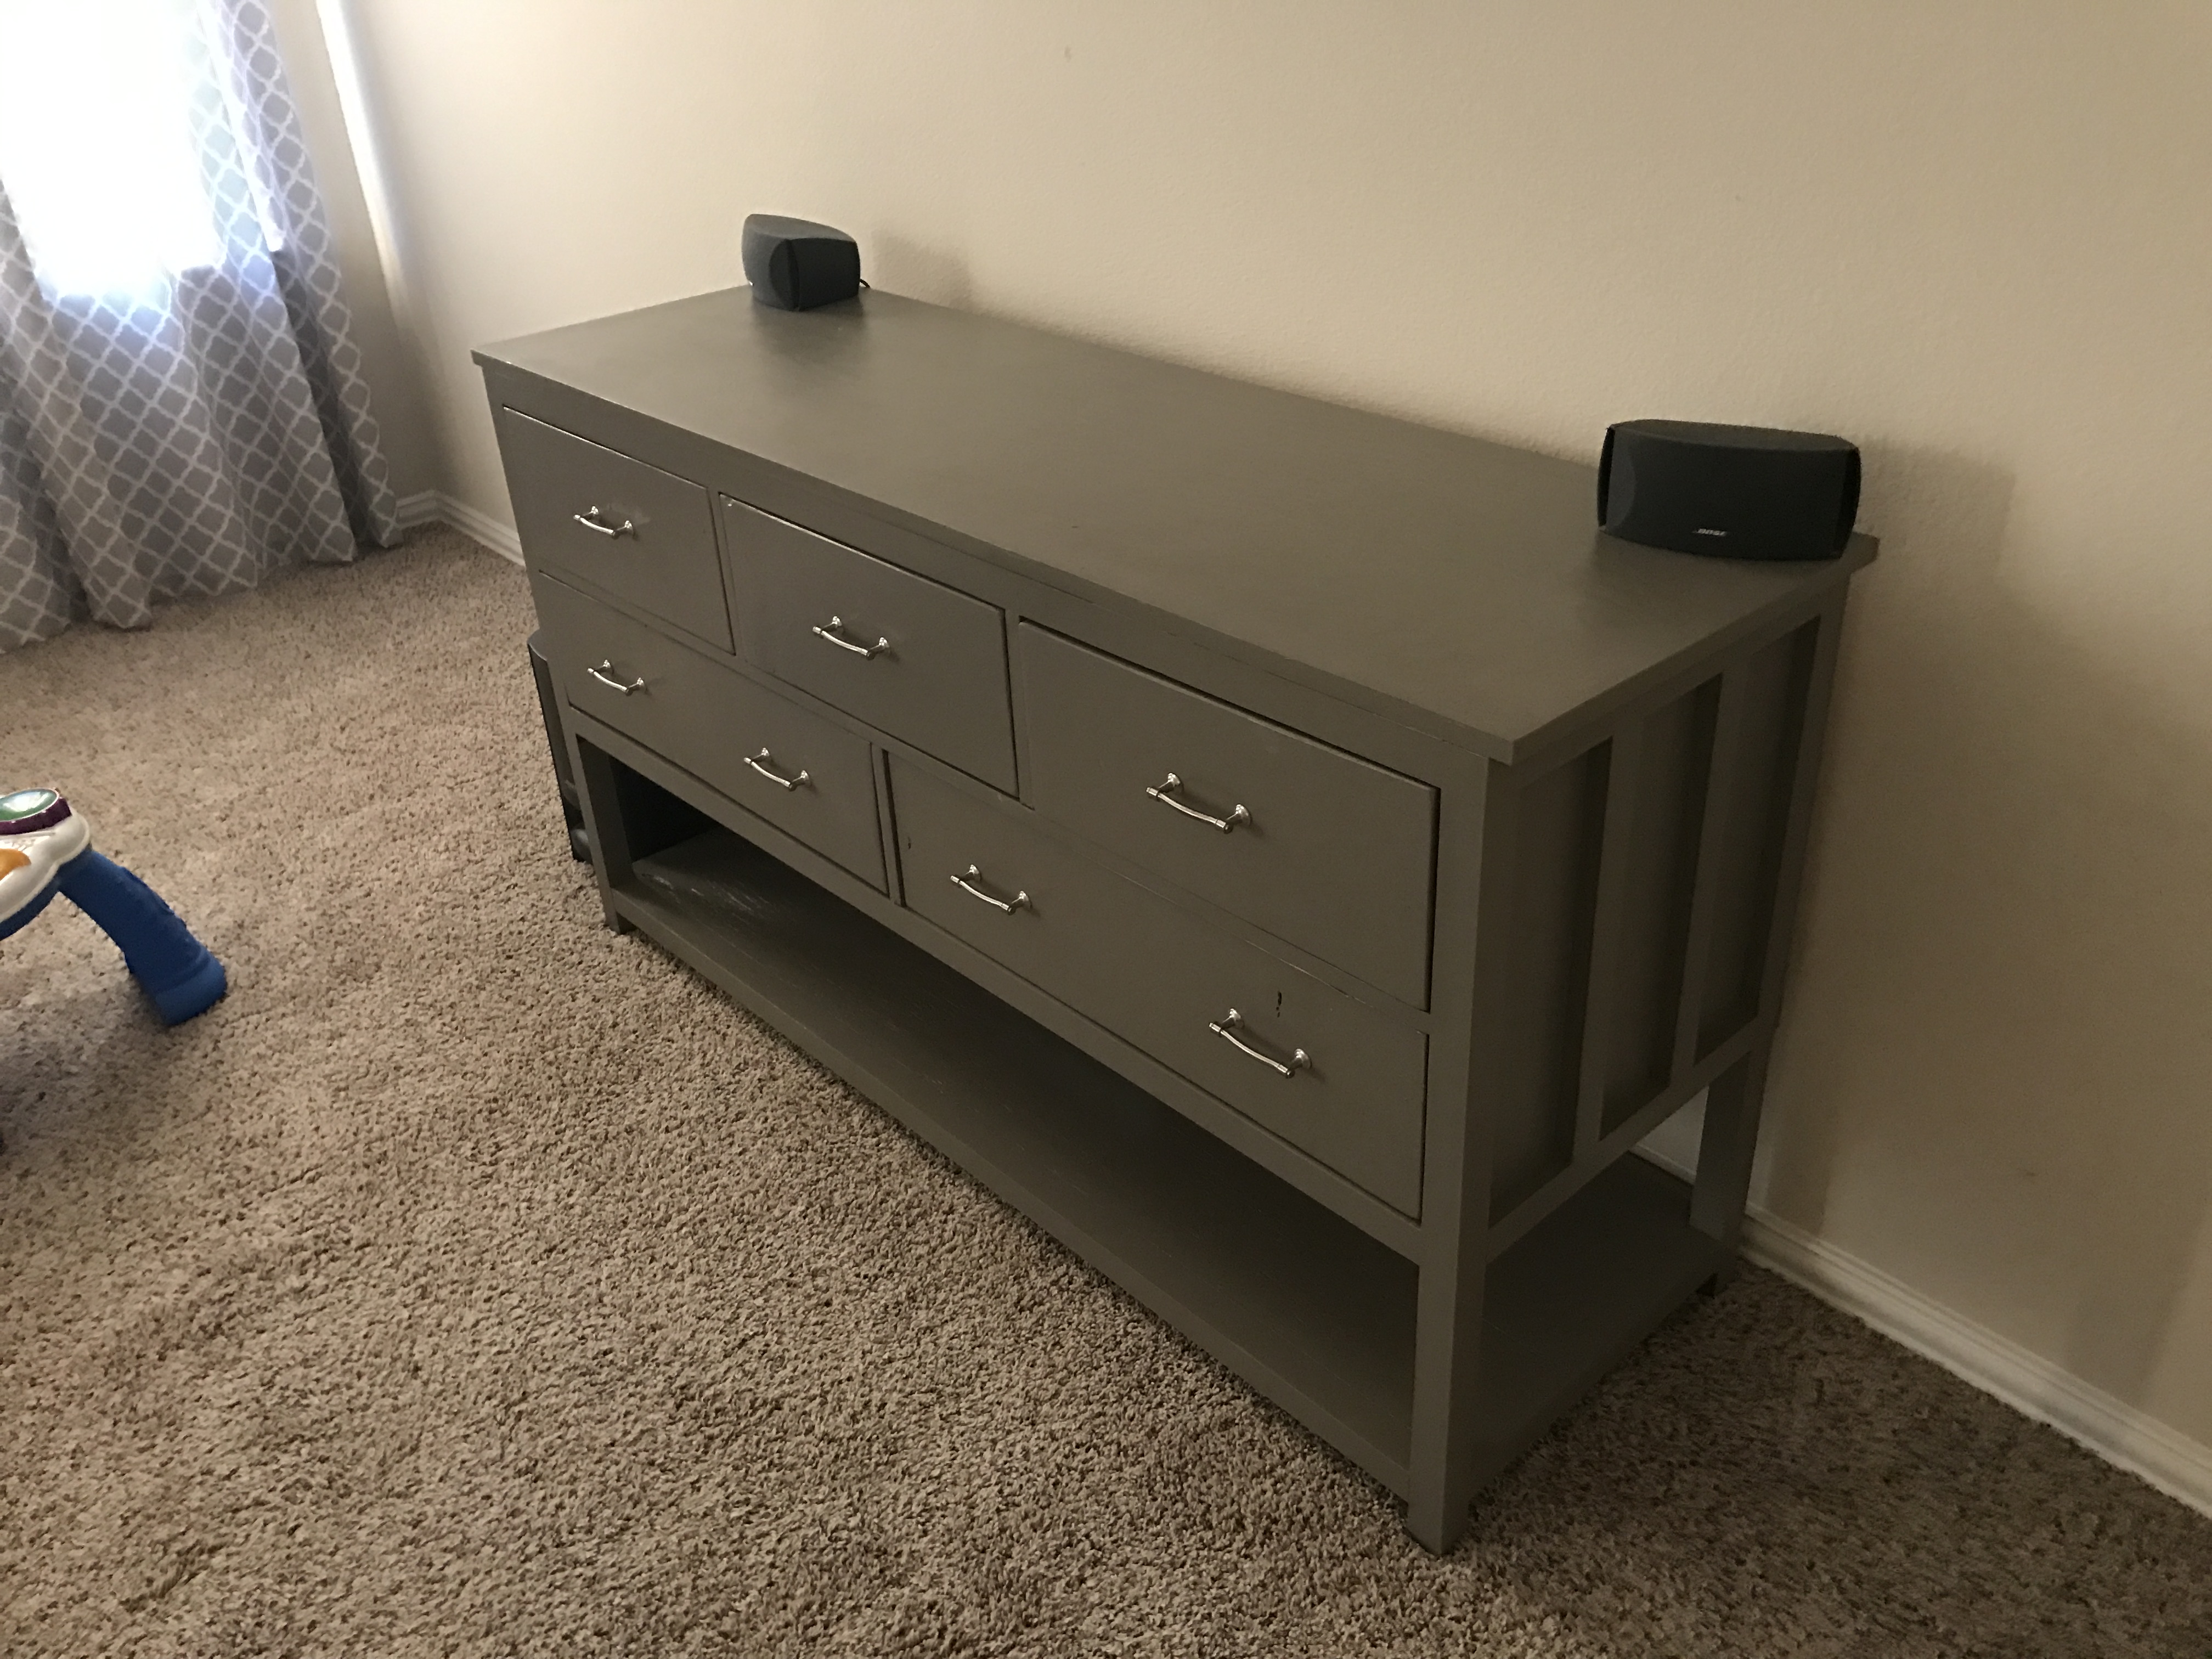
Finish Used
grey paint (Anonymous from Behr) on the bottom, fruitwood stain on the wood top
Recommended Skill Level
Intermediate