Community Brag Posts

Leaning Desk

Submitted by Anonymous (not verified) on Sun, 10/13/2019 - 12:59

I needed a desk to get my computer off the kitchen table. After remodeling my bedroom and sealing a doorway to make the wall space, I needed something that would take up a little amount of floor space. Of course I couldn't find exactly what I wanted so I decided to build it. Found this little gem of a plan and modified it to my liking and needs. I’ve had it up for about a year and I love it.

Built from Plan(s)
Estimated Cost
50.00
Estimated Time Investment
Weekend Project (10-20 Hours)
Finish Used
White washed with a water based pay finish.
Recommended Skill Level
Intermediate

Camp Loft Bed with Video Gaming "Boy-Cave"

Submitted by Anonymous (not verified) on Wed, 03/25/2020 - 08:35

I built this for my 10 year old son. His room is not very big so this loft bed provides the perfect solution to freeing up floor space for playing.

I added some toy shelves to the side for additional storage.

The curtain, TV and gaming chairs turn the under the bed portion into his personal "boy-cave" gaming center.

Thank you for the easy to follow instructions. He loves it!

Estimated Cost
The bed / shelves combo cost me a little less than $200, including sanding, staining, etc...
Estimated Time Investment
Weekend Project (10-20 Hours)
Finish Used
We used a very light minwas stain that my son picked out
Recommended Skill Level
Beginner

Best Chairs Ever!

Submitted by Anonymous (not verified) on Tue, 06/09/2020 - 18:16

I made these modern Adirondack chairs for our business in Anchorage. GREAT and easy to build design by Ana - we upgraded the arms to tapered 2x6 and they're awesome!

First Project

Submitted by dragondad on Thu, 08/06/2020 - 11:34

Well, I started with one chair and finished with a full set. Not bad for a first timer. Definitely room to improve. Little tip if you're going to make this amazing set... raise the backs as they are too low with thicker cushions. I built a casing to go on top after the fact. Pretty happy with how it all turned out. Thanks Ana for the plans... now onto the next project!

Comments

My first dining table and chairs project

Submitted by Javata on Wed, 02/06/2013 - 17:19

We used carraige bolts to make the legs removable. Very happy with the results!

Built from Plan(s)
Recommended Skill Level
Beginner

Comments

Javata

Thu, 02/07/2013 - 05:16

Jake,
Thanks so much! I spent about two months working evenings and weekends as weather permitted, to complete this project. My daughter chose two stain colors and we mixed them together. I'm happy with the way the color came out.

Debbie440

Thu, 11/21/2013 - 18:27

I made the same 30" tall bar stools. I love the whole look of your set. Did you adjust the height of the table for the chairs? Or is the table high enough for these chairs? Also, did you make the table top smaller?

You did a great job!

Javata

Sat, 11/23/2013 - 18:13

Debbie,
Thanks so much for the compliments! My daughter didn't like the "plank" version of the table top so I used oak plywood and framed it with oak 1X4s. I believe the measurements of the table are 48" by 48". I don't think I adjusted the chair height but I did add a foot at the bottom of the table legs. That may have added an inch or so to the overall height of the table.

Chris22

Tue, 02/10/2015 - 13:22

I really like how you added the foot and removable legs to this table! I would like to make mine with removable legs as well. How did you modify the table to use the bolts?

velvetechos

Tue, 07/14/2015 - 06:31

Hello! This plan is EXACTLY what I am looking for except there is a huge difference.......it will be the ritual platform for a traditional Tibetan Sand Painting.  I am seeking a plan just like this for a square table that is 6' square and 3 1/2' high......is it possible to purchase a plan of that dimension or does anyone have a recommendation where I can find that.  THIS would be truly lovely in this design.  THANKS for any help!!!  

Javata

Thu, 07/16/2015 - 12:08

I really just followed the Ana White plans for the Pub Table but used one solid piece of plywood instead of the 1x4s for the top. Since plywood comes in 4x8 foot sheets, you might need to get creative to get it to 6 feet. Good luck, and don't forget to post pictures when you finish!

Crayola2

Sun, 06/21/2020 - 11:52

I really want to make there chairs too! Please post the link to the plans.

Pergola

Submitted by benfsu00 on Fri, 04/19/2013 - 01:30

I have wanted a pergola for years and since we moved into our new construction in Dec. '12, I decided to finally go for it and add it to our new backyard plans. When I stumbled onto the plan on ana-white.com, I couldn't be more thrilled to see how simple of a project it was. I do not mean that it was an easy build by any means. I wanted a "beefier" look to it so I used 2x6 and 2x4's. The 4x4 posts are 10ft long (I was going to use 12 ft until I realized just how tall they were!). I stole the steel anchor post idea from the Popular Mechanics site and the "look" of the pergola from the Weatherly plan. I decided not to notch each beam due to time constraints and I just didn't think I need to. I did use zinc L brackets to secure the 2x6s to the support beams (also 2x6s). The top is stiff as can be but the bottom has a slight give to it since it is only four 4x4s sitting on post anchor brackets. I am planning on adding about 6 inches of concrete around the base of the posts (after my HOA "approves" the pergola) to stiffing the structure and then trim around the base for a more "custom" look to it. It will be similar style to the Weatherly except wider around the base so that I can set drinks on it. It took about 8 hours total and about an hour of that was setting the steel anchor posts (measuring and installing 2 1/4" red head screws into the 4" concrete slab patio).

I will stain it with a semi-transparent (BEHR brand) redwood-ish color in a few months after the PT pine dries.

Built from Plan(s)
Estimated Cost
$400
Estimated Time Investment
Weekend Project (10-20 Hours)
Recommended Skill Level
Intermediate

Modern Outdoor Chair - High Back Adirondack

Modified with a high back and modern adirondack arms.

The base of the chair is built exactly to the plan except that the arms are done in a modern adirondack style.

The back was made independently to fit inside the base and then attached to the plan base.

Very comfortable but very heavy chair even without the modified back.

Not stained yet obviously.

Cushions are hard to find I think I would make it slightly smaller next time and maybe even find the cushions first and alter the plan to fit.

Estimated Cost
$45 Can
Estimated Time Investment
Afternoon Project (3-6 Hours)
Finish Used
None yet
Recommended Skill Level
Beginner

Comments

Storage Daybed with Bookshelf Surround

Update 8/2017: This project started with the Storage daybed, which I built in 2014. My daughter is a book lover and I wanted to provide her with more space for her books. I recently added the following plans to the Daybed with Storage Trundle Drawers:

- Twin Storage Headboard Base

- Small Hutch for Storage Headboard

- Cubby Hutch Plans for the Storage Headboard

I also made one extra storage headboard base and added more shelves along the long side of the bed so she could be surrounded by books. There are two additional supports under long bookshelf and I placed them roughly behind each of the trundle drawers.

For the bed (I built two), I opted to use the alternate slat system. I also used 2" caster wheels and added dividers to the drawers--one drawer has three compartments, and the other two drawers were divided in half.

Note: In my main brag photo it looks like the drawers don't close flush... I didn't notice when I took the photo because I was focused on the new shelves. But they do close and line up perfectly!


Estimated Cost
$600 (Fairbanks, Alaska)
Estimated Time Investment
Week Long Project (20 Hours or More)
Finish Used
Minwax Dark Walnut and one coat of gloss polyurethane
Recommended Skill Level
Beginner

Skull Adirondack Chair

Submitted by naomi on Fri, 06/23/2017 - 07:35

I made this chair from plans in Ana's book. Obviousy I modified the back to make the skull.

Super easy to make. I used all pallet wood for this project so the only cost was the screws.

Estimated Cost
$0
Estimated Time Investment
Afternoon Project (3-6 Hours)
Finish Used
I stained this chair in walnut stain
Recommended Skill Level
Beginner

Foldable Farmhouse Rustic Dining Table

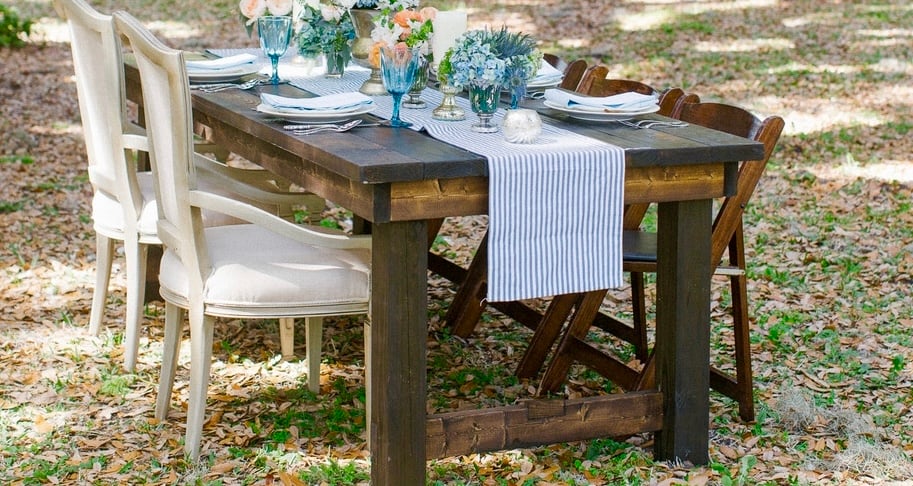
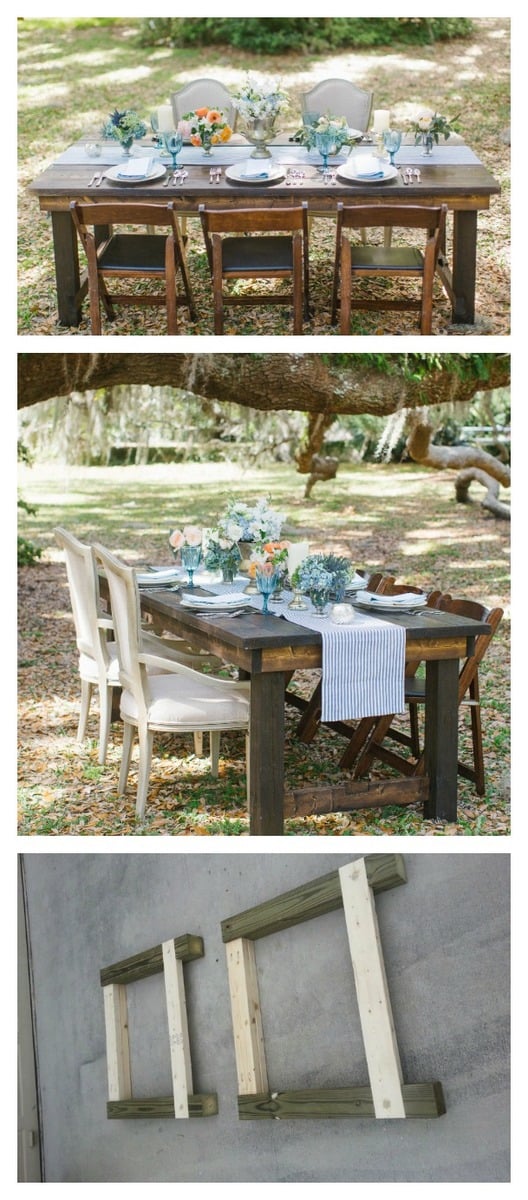
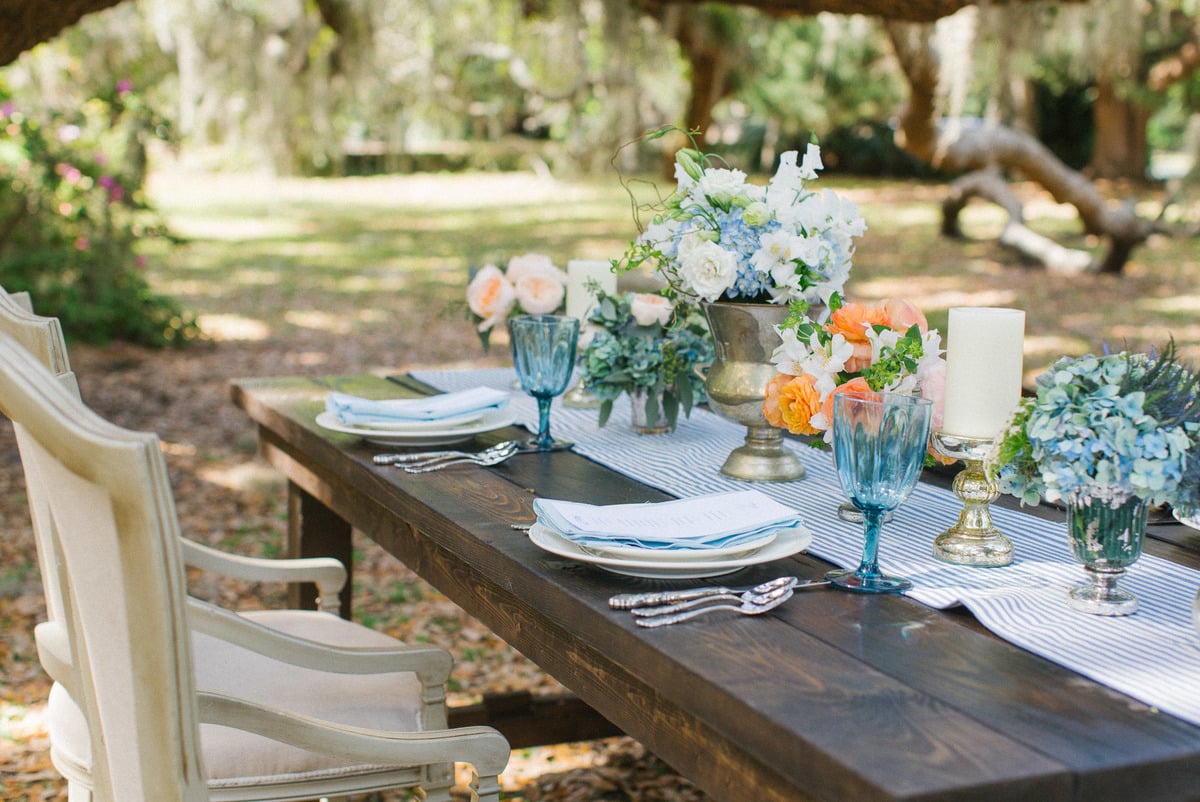
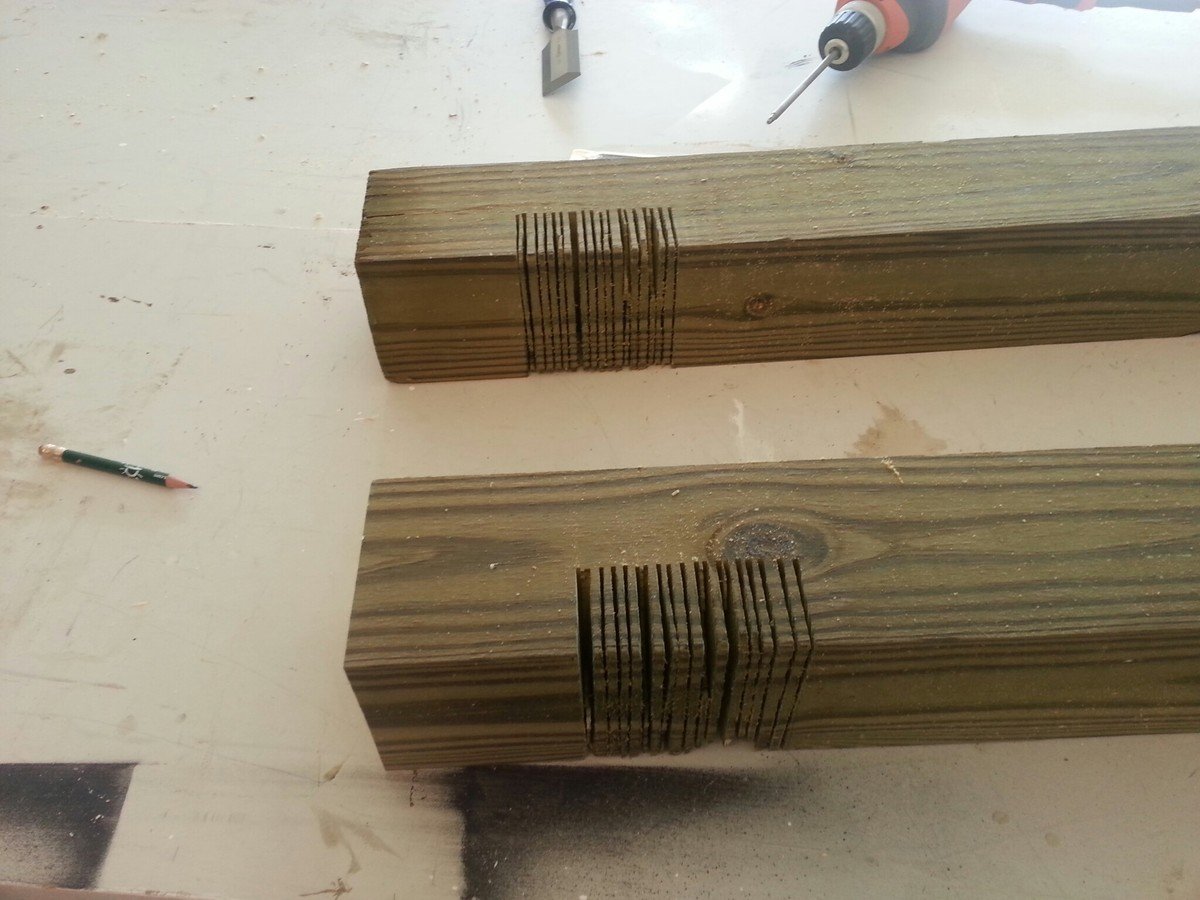
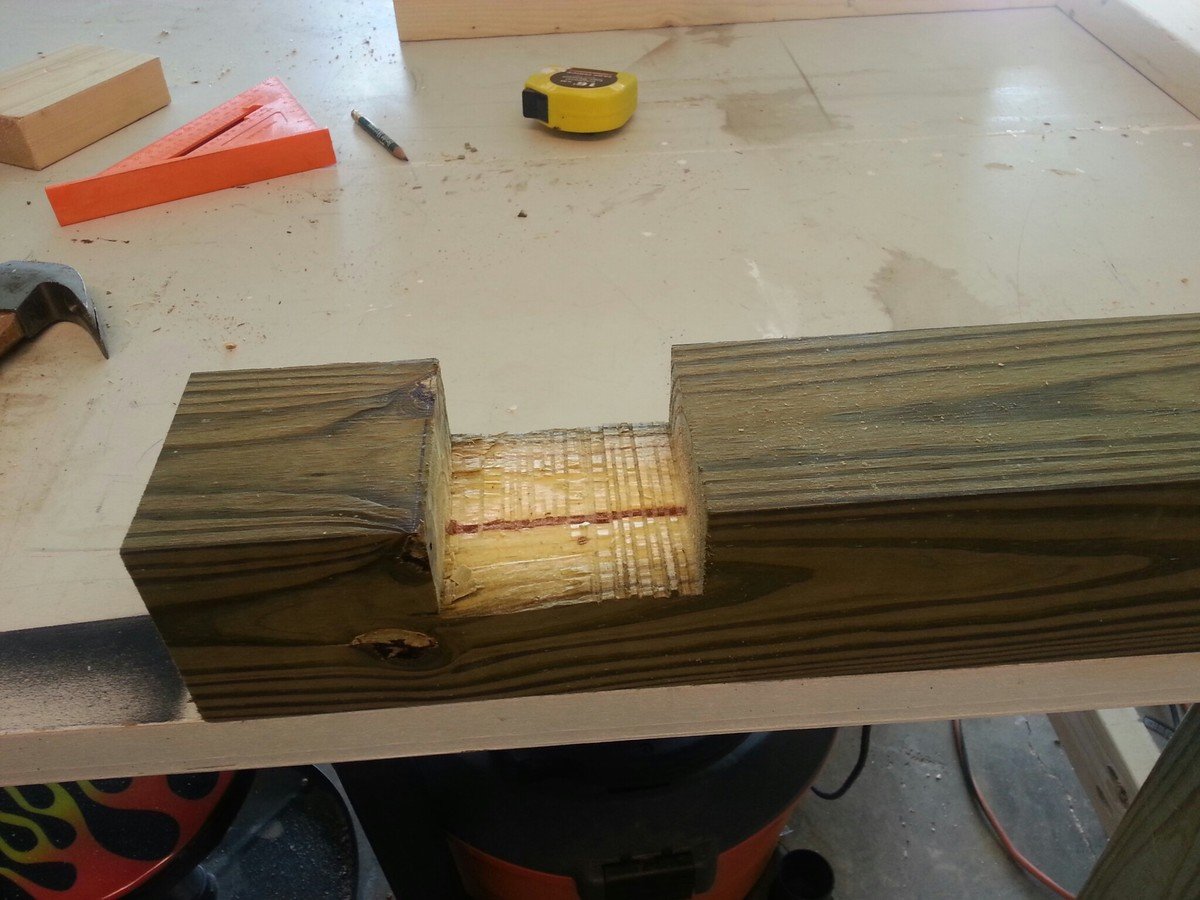
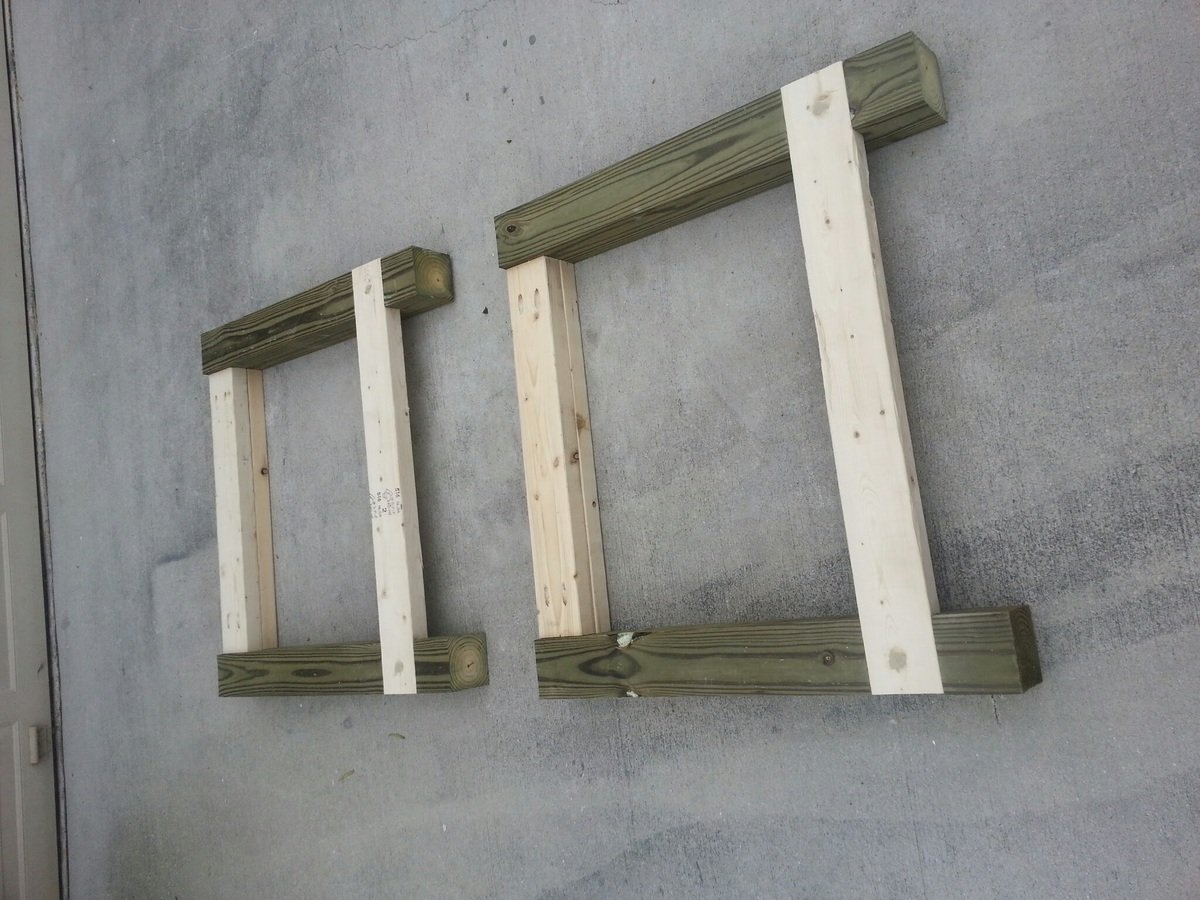
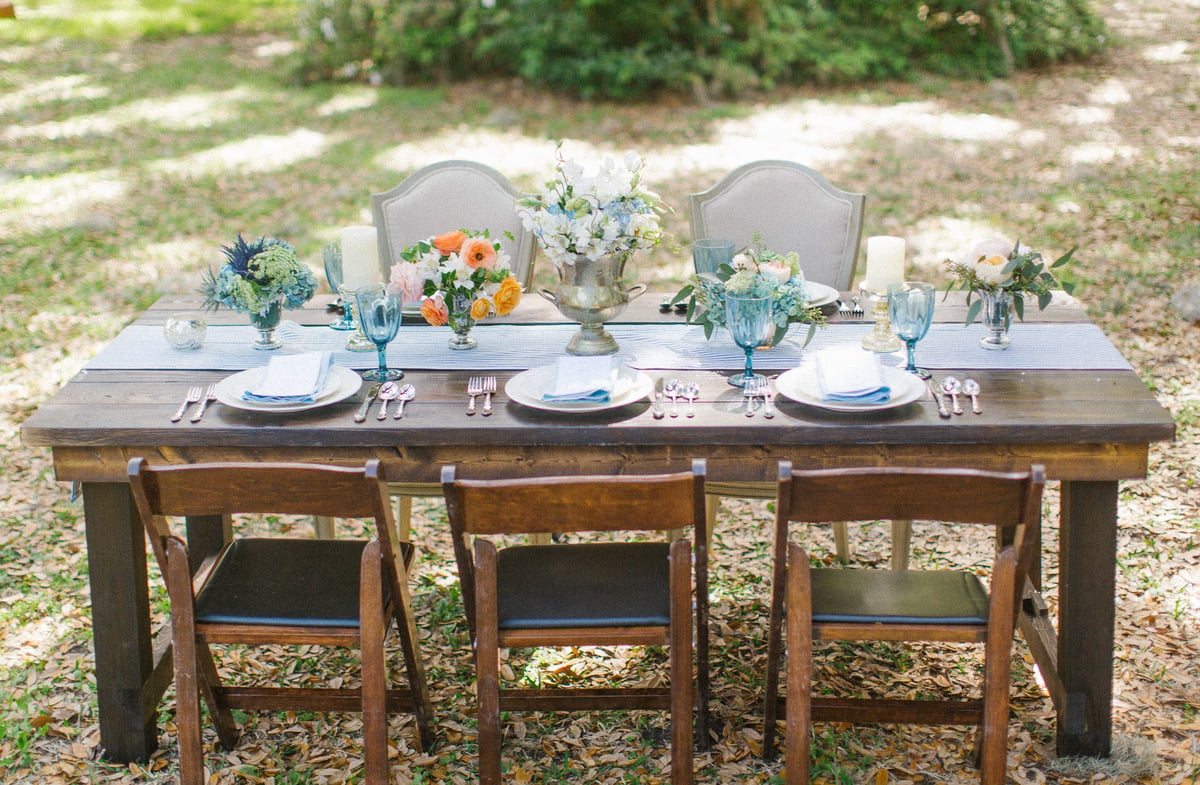
My wife wanted a portable farmhouse style rustic dining table that she could take to photoshoots and other events. I started with a top made with 2x6s and make the legs with 4x4s and the rest with 2x4s. Stain is dark walnut with a clear coat on top.

The legs are attached with door hinges and can fold into the top for more portable use. There is also a board that can be inserted in the bottom slots so that when in use the legs can not fold in.

So far the rustic dining table is working out great, although this table is VERY HEAVY and needs 2-3 strong people to carry it around. I have also made a lighter version using 1x6 tops and all 2x4 frame and legs.

Photos courtesy of Jennifer Blair Photography Designed by Amber Veatch Designs

Estimated Cost
150.00
Estimated Time Investment
Weekend Project (10-20 Hours)
Finish Used
Miniwax Dark Walnut
Recommended Skill Level
Intermediate

Comments

Juanita_r

Wed, 06/12/2013 - 04:15

Oh I really hope that you are able to put these modified plans up!!! A foldable farmhouse table.... what will they think of next!

Unicorn1960

Sat, 10/22/2016 - 17:21

I cannot find the plans for the tiny house drawers any where.  Can someone please point me in the right direction.  Thank you! 

Colorful Custom Bedford Corner Desk with Live Edge Desktop

Submitted by Anonymous (not verified) on Fri, 06/28/2019 - 20:41

I followed the plans pretty closely. I added dividers to make 3 drawer units but I didn't find it necessary to have the top shelf go all the way to the back since it would never function as a shelf. I used scrap pieces for that and they weren't big enough to be full shelves.

I used 1/2" MDF for the bottom, sides, and backs of the drawers to cut down on weight, cost, and general bulkiness. I used this free app called Cut List to figure out the easiest way to have the guys at Home Depot cut all the drawer panels after I learned I'm not that good with a circular saw. I used a hack saw to cut aluminum bars for hanging files and used scrap wood to make the little brackets to hold the bars upright in the drawer. The full extension drawer slides are functionally and asthetically better but it would have been so much easier to put in basic bottom mount slides. 

I wanted a wood grain top and ended up with common pine boards over more expensive poplar or oak and I would use pine again without hesitation. I used Google SketchUp to figure out the widths of boards I needed to make the top with minimal cuts. Then joined them with glue and mending plates and sanded the hell out of them. I altered the dimensions slightly to make it the same size desktop as the Bedford desk. My two wing sections are 23" x 23" but I should have made them 23" deep by more like 24" or 25" long. I had to hack the bottom bracing to make a spot for the drawer units to slide into. If you alter the dimensions make sure you can secure a brace between the main body and the wing of the desktop and still have room for the brace at the edge of the wing. 

My cost includes things like a Kreg jig, saw blade, clamps, paint brushes etc. so you may be able to do this for less. I could have gone with a middle of the line paint I think. This project was a beast for me because a) I'm not a furniture maker b) I don't own a table saw which would have been amazing c) I picked the hardest way to make the desktop and d) I modified some of the dimensions from the basic plans. I worked on this thing for weeks (granted sometimes I didn't touch it for several days or a week). But it was a fun and rewarding project. 

Estimated Cost
$500-$600
Estimated Time Investment
Week Long Project (20 Hours or More)
Finish Used
Behr Marquee, Minwax wood conditioner, stain (honey) and stain poly
Recommended Skill Level
Intermediate

Comments

Rekourt Dining Room Table and benches

Submitted by Anonymous (not verified) on Sat, 03/18/2017 - 18:08

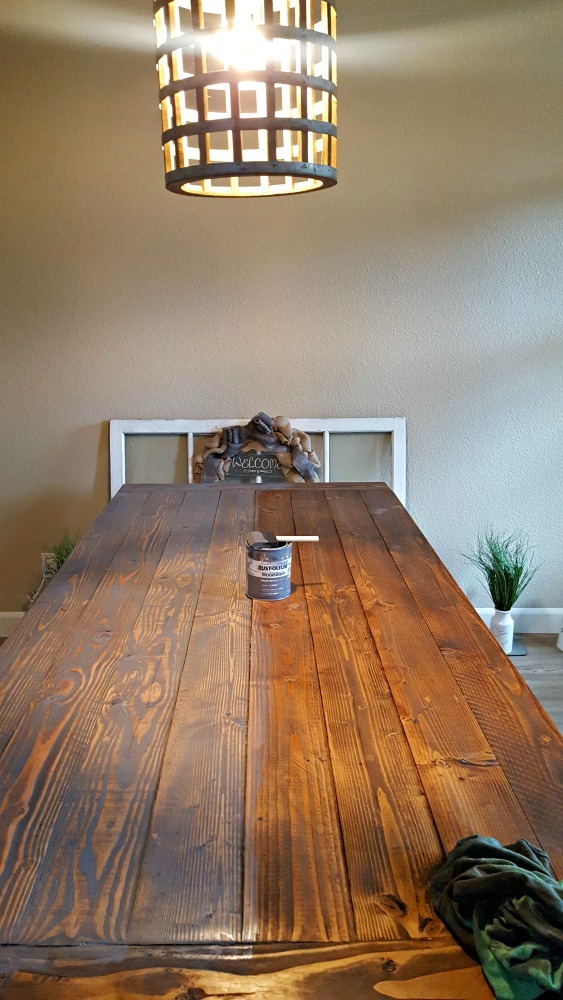
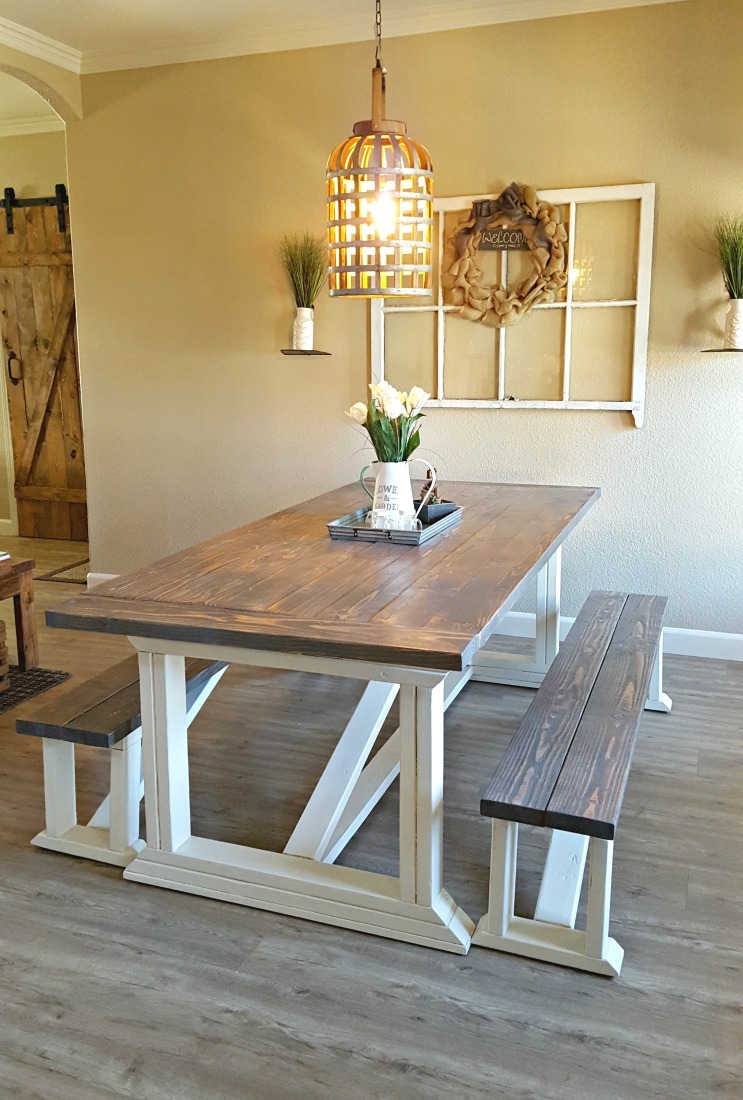
This was my first big build and I love how it came out!  Thank you Ana White for amazing and straightforward plans to follow for both the farmhouse table and benches.  

Estimated Cost
$150
Estimated Time Investment
Weekend Project (10-20 Hours)
Finish Used
Top MinWax Dark Walnut plus Rusteoleum Weathered Grey. Bottom is painted with ivory chalk paint.
Recommended Skill Level
Intermediate

Bunk Beds for a Small Room

Our bedrooms are 9' x 9' so when our girls needed to move in together, we needed a bunk bed that would be short enough to fit under the fan, have a place for drinks, books, an alarm, and tissues, and also have a place where our youngest could have a dark sleeping space while older sister stays up later.

We're not going to be in this setup for long, so I used common board to keep the cost down as much as possible. The whole bed cost about $200, but I would suggest staying away from common board. It was really warped and couldn't be sanded smooth. We ended up going with a dark, thick paint to cover the wood imperfections. To deal with the warped wood, I made an outline of each end of the bed with painter's tape on the garage floor and used weights to hold the wood where it was suppose to be. I also modified the plans to make the bottom bunk a bit shorter and made the whole thing only 3 inches off the ground. All put together the bed is very sturdy and everything lined up well.

I used some scrap wood to make the holders for drinks and tissues and a holder for the iPod and speakers. These just rest over the railing, so we can move them around if need be. The book racks are Ikea hacks....they're just spice racks painted to match the bed. The curtains are just hung on a 1" dowel set into the same cups that closet rods are put up with. I also added some flower knobs from Target so that the girls can hang a robe when it's cooler outside.

Thanks for the plans Ana! My girls LOVE this bed!

Built from Plan(s)
Estimated Cost
$200
Estimated Time Investment
Week Long Project (20 Hours or More)
Finish Used
Paint and polyurethane coat.
Recommended Skill Level
Intermediate

Comments

Rustic Modern 2x6 Platform Bed

I recently moved to Boulder, CO and finally have a garage where I can actually work on projects. Since I moved here with practivally nothing, I decided I should build my own bed. This is probably one of the most ambitious wood working projects I've attempted. I also tend to be slightly anal, so I've probably spent way more time on this project than most people have or will.

After reading the plans and other Brag Posts, I felt I was ready to start. I ordered the Kreg Screws, and a few other supplies I would need for the Project on Amazon and was off to the races. Several trips to Home depot to get various pieces of wood, (since I wasn't going to fit it all in my Subaru in one go), I finally had most of the lumber for the bed frame. Let me tell you, it's not easy getting straight pieces of lumber (as mentioned before, I'm a little anal). I decided to go with oversized lumber, since I would have more usable leftover pieces for other projects.

I spent several hours after work during the week, and several more on the weekend, sanding down all the lumber with 60 Grit, then applied the first coat of Stain, to raise the grain. I was out of town for the weekend, and let the stained wood sit in my garage while gone. When I got back, I noticed a lot of marks which I didn't notice before staining. Some of these were from the belt sander I used to knock down really rough parts of some of the lumber. But most of the marks were because I put too much pressure on my random orbital sander.

Lesson learnt: Sanding takes time, and patience! DO NOT press down hard on the sander, if you don't want marks on your wood. These marks will be significantly more prominant after staining.

I decided to sand everything again, 60 grit, then 100, then 150. I gotta say, the wood feels so much nicer to touch and I'm glad I decided to re-sand. I spent a few hours after work to get most of the head board pieces done, but noticed that the 2x4 had warped beyond repair... I'm going to get the upper and lower 2x6 pieces ready to assemble with my kreg jig this weekend, and then decide if I want to add a 2x4 in the middle like the plans call for.

I decided to go with just 2x6s for the headboard, I used the Kreg Jig to put it all together, I also attached 4 supports made of some scrap Plywood I got from my neighbor for the headboard.

I stained it all with a Staining pad twice, then applied 3 coats of Poly with a brush. I didn't sand between coats since I was applying very thing coats and I had already sanded everything down with 150 grit. 

Estimated Cost
$100-150
Estimated Time Investment
Week Long Project (20 Hours or More)
Finish Used
Stain: Minwax Oil based Dark Walnut - 2 coats with a staining pad
Varnish: Satin Water based Indor Polyurethane by Varathane - 3 coats with a brush.

http://www.homedepot.com/p/Minwax-1-qt-Wood-Finish-Dark-Walnut-Oil-Based-Interior-Stain-70012/100376185

http://www.homedepot.com/p/Varathane-1-qt-Clear-Satin-Water-Based-Indoor-Polyurethane-200241H/100169146
Recommended Skill Level
Intermediate

Comments

username.

Fri, 03/02/2018 - 19:17

Sick job dude! What stain is that? I like the color of it and might use it for mine. Did you notice a stain odor at all after applying the stain and covering it with the poly? 

Outdoor side table

Keeping budget with wood projects, made side table for outdoor fire pit area.

Estimated Cost
$25
Estimated Time Investment
An Hour or Two (0-2 Hours)
Finish Used
Legs and braces=rosewood stain
Top=honey pine
Recommended Skill Level
Starter Project

Cat Tree/Condo

Submitted by Joni on Sat, 05/11/2013 - 07:22

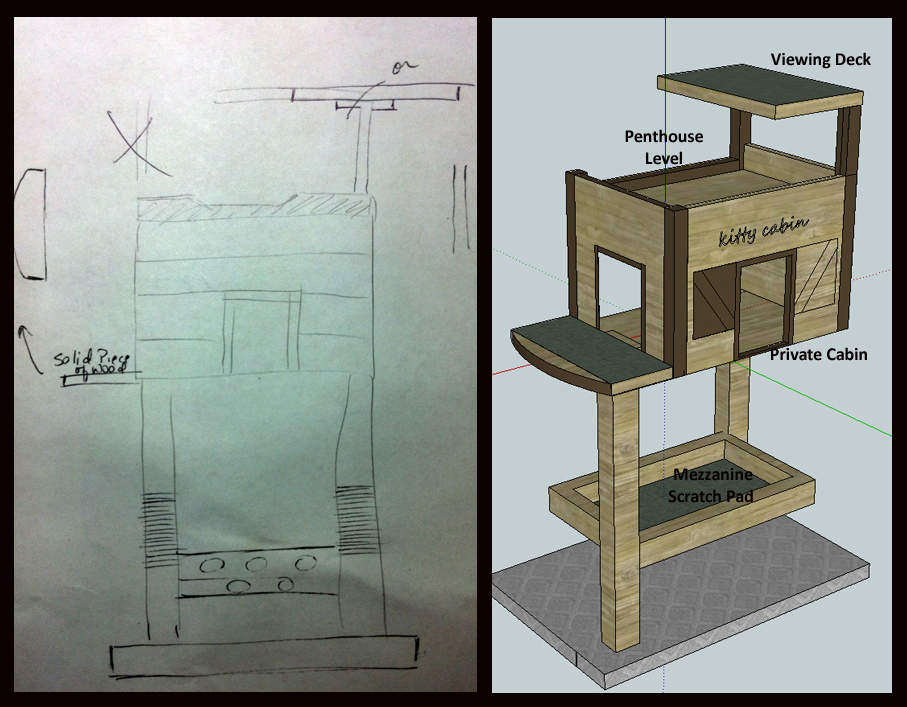
I always wanted a cabin-type cat tree where my cats could crawl in and feel safe, but still have a great view of the birds out of a window. I tried to draw my vision on paper, but that had a hideous result. Learning Google SketchUp (at least the basics) was an absolute necessity. I could never have built this without drawing it in 3D first, and seeing how the boards would connect, etc.

For the scratch pad, I built a frame out of 2x4s on top of plywood, covered it with carpet, and dropped the standard size scratch pad in place. This is the cat's favorite feature. I put barn doors on the window with tiny hinges so that I can close for added privacy. The tree sits against a window so that the back side is totally open. I made cozy zippered cushions for the platforms (that can be taken off and washed). I covered the carpeted areas with spare carpeting.

Estimated Cost
Approx. $30 for can of paint, varnish and a 4x4 (all other was scrap material)
Estimated Time Investment
Weekend Project (10-20 Hours)
Finish Used
Combination of Minwax Water-based stains: 6 parts Colonial Pine: 1 part American Walnut, followed 3-4 coats Minwax Polycrylic
Recommended Skill Level
Intermediate

Comments

bhoppy

Fri, 07/12/2013 - 09:36

Would you mind sharing your dimensions for this? It is absolutely beautiful!

Jodi W

Sun, 08/25/2013 - 08:10

Do you have the plans somewhere? I really want to build this (even got the okay from the hubby!) but I don't think I could do it without some serious guidelines...

Joni

Fri, 08/30/2013 - 15:55

First, sorry for the late notice; I just happened to look and saw the comments/questions.

I don't have plans...all I have is a google sketchup diagram that I created as a guideline for my construction (which is included in the photos), which is not to scale. Actual measurements are:

* Base (green carpeted base): 33.5" x 19"
* 4x4 legs: 35" tall
* 'Mezzanine' scratch pad level: 22" x 17.5"
* Mid-level base: 18" x 32"
* Enclosed cabin: 18.25" x 22.5" x 17" high
* Highest point: 56"

This has turned out to be a fantastic hit with the cats. They use all 5 levels, but the scratch pad and cabin are their favorite spots. If you need anything else or additional pics, please contact me.

Jodi W

Fri, 08/30/2013 - 18:15

Thanks for the dimensions, Joni! I'm trying to learn SketchUp so I can draw up my own plans, also. If I can't figure it out, I'll hand it off to my 12 year old, who is a pro at it (go figure). I know my cats will love it if I can manage to get it built!

Joni

Thu, 10/31/2013 - 14:30

Bhoppy -- I looked at your cat tree on facebook. It's awesome! The sturdiness of it shocked me too. And I was initially worried that my cats might knock it down!!

The worst part of building it was getting that lower scratch pad level on straight with the 3 posts. I'd never want to do that again!
Thanks for sharing, Joni

gregmasciola

Fri, 01/02/2015 - 01:18

Funny, almost every time I'm looking for ideas or inspiration when I want to build something, I end up back on this site. I was searching for pictures of cat trees and this was the only one that made me say "Holy crap, that's EXACTLY what I want!" My cat will love it!

M0710NM4N

Mon, 04/27/2020 - 20:41

Not sure if anyone is still around to see this, but I fell in love with this tree the second I saw it. Wondering if anyone created a detailed plan and might have it handy or possibly a detailed sketchup and wouldn't mind sharing the save file?

In the event nobody has either... I'm planning on having someone else build this for me as I don't have the tools nor skill to do it myself. I have a few questions:

1. The tree base/platform, what's a good recommended thickness?
2. The platform for the scratchpad... is there any certain reason it's so much thicker compared to the other platforms?

Thanks.

whiteroses9

Sun, 09/12/2021 - 11:51

Reverse engineering this project, using just 2x4s. None of the photos show the undersides. How are the plywood pillow bases attached for the top and bottom of the cabin? and the base of the top viewing platform?

Cottage bedroom bookcase

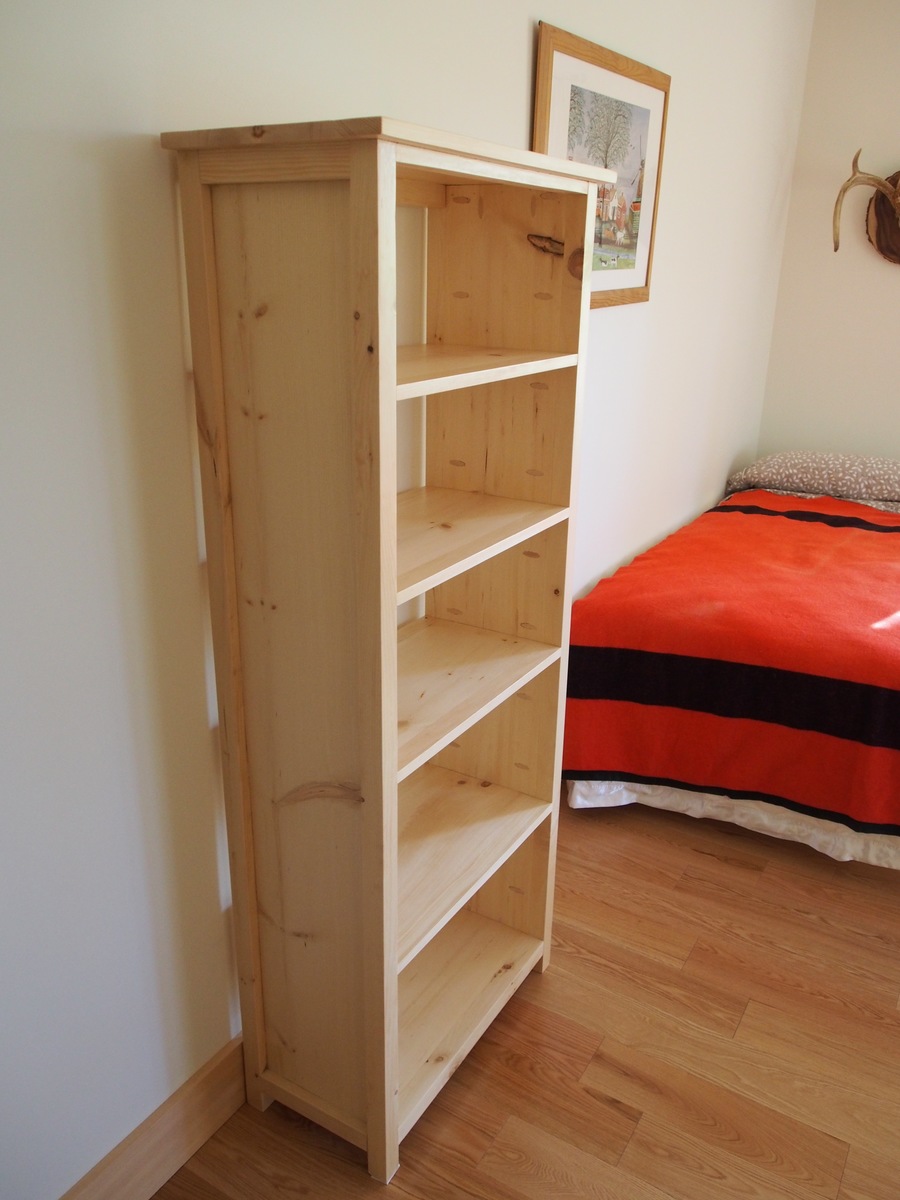
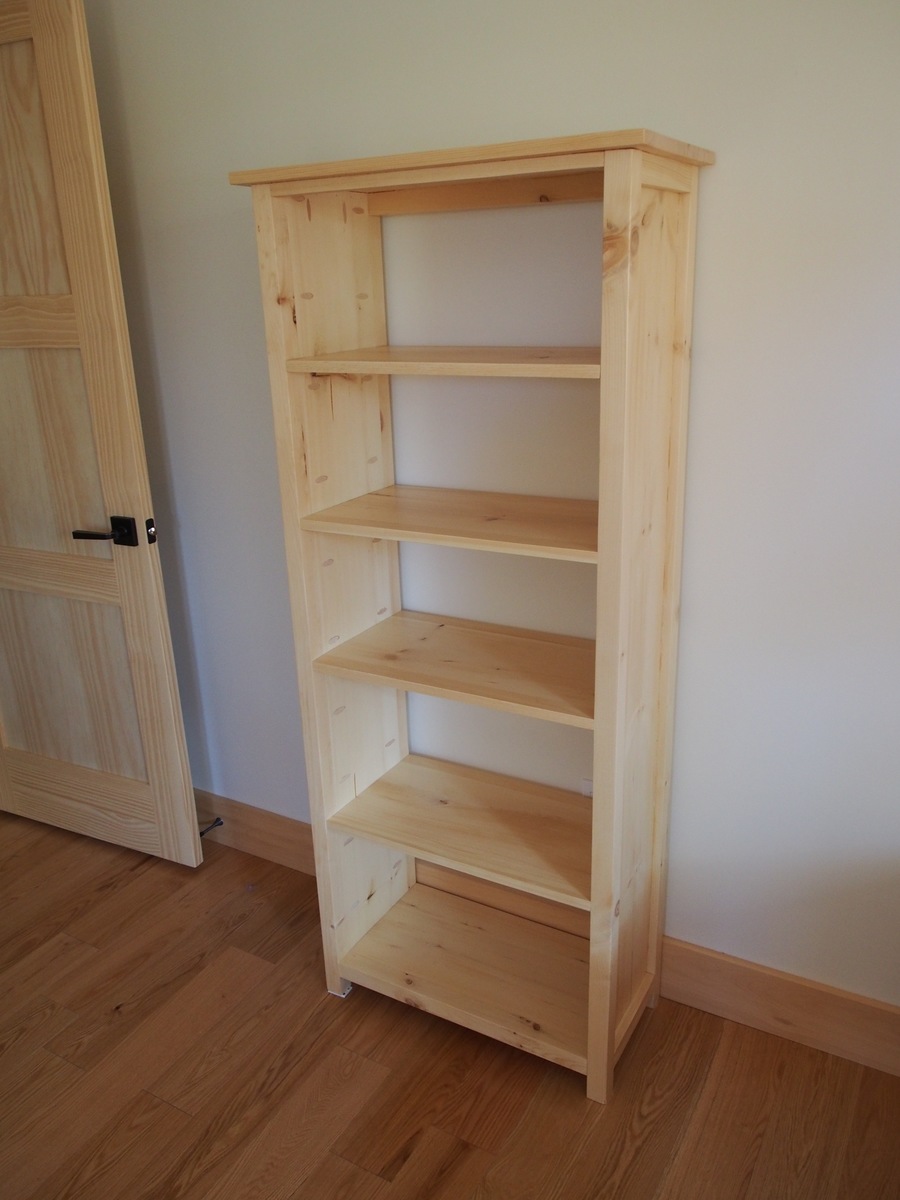
Submitted by yhaas on Thu, 10/29/2015 - 20:42

I used 1 x 10s to make the bookcase a little shallower, and left the back open. Thanks for the great plan.

Built from Plan(s)
Estimated Cost
$100
Estimated Time Investment
Weekend Project (10-20 Hours)
Finish Used
Varathane diamond finish water-based polyurethane, satin.
Recommended Skill Level
Beginner

Small Cedar Woodshed

Spaced out the boards to allow airflow; did a sliding barn door and metal roof. Thanks for the plans!

Comments

Seasonal And Holiday