Community Brag Posts

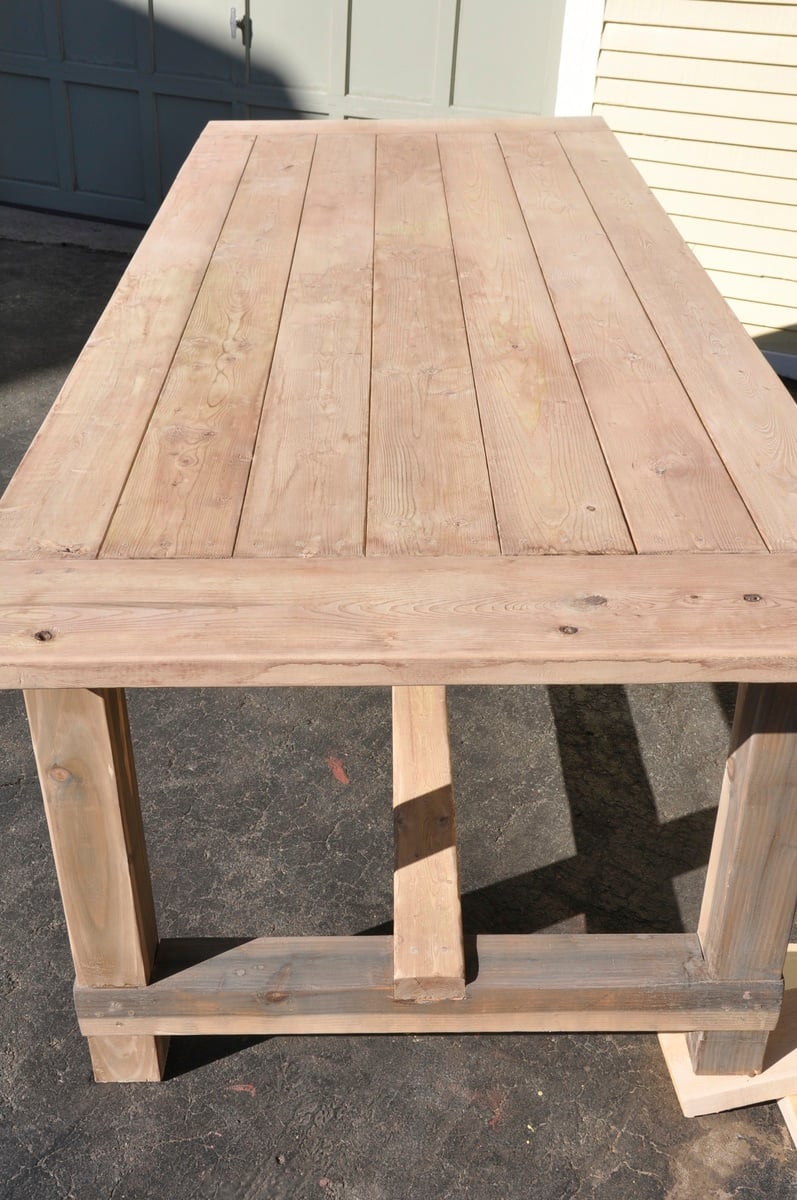
Farmhouse Table with Extensions

This was my first build and I learned A LOT and watched A LOT of youtube diy videos. The main take-away from this project is not to build in the freezing cold if the finished project is for inside. I finished this project in below freezing temperatures and I noticed that the wood expanded (increasing slightly the gap between the finished boards on the top) when it was brought inside.

I built this from the original farmhouse table plans with no kreg jig although I did buy and use a pocket kreg jig to make the extensions. The main modifications were using 4x4s such as were used in the Country Living magazine spread that inspired this build and also making modifications to allow the addition of 15" extensions at each end of the table's bread boards.

My first challenge was figuring out how to build with the 4x4 legs instead of the 2 2x4s screwed together. In order to accomplish this i had to use a chisel to create the corner lip that the table top frame would sit on. I added photos of this so I hope it will help someone. Chiseling these 4 corners (one on each post) only took an hour or two and was so worth it for the look of the 4x4s. Just measure carefully and work carefully with a sharp chisel. I actually removed half the wood by sawing off the corner at a 45 degree angle. Remember when cutting your boards for the table ends that a 4x4 has different dimensions than 2 2x4s screwed together. Compensate for this in your cuts.

Another challenge was hiding the screws on the table legs and table top. I was leaving the finish natural so didn't want to use wood fill. I accomplished this by getting a countersink bit and then buying wooden dowels the same diameter. For these screw holes, after finishing screwing, I put a dab of wood glue in the countersink hole, inserted the dowel as far as it would go, used a fine hand saw to cut off the dowel flush with the table and then used a hammer to make sure the dowel was in tight and flush.

I had trouble figuring out how to attach the table top frame to the table legs with the long screws from the plans so I included a picture of this step. Its really easy but I was not able to use three screws as the plan calls for. I used two instead and it has been very solid. I used the long screws as proscribed.

Finally, I wanted to build extensions (2 2x8 boards kreg jigged together) so I could increase seating up to a max. of 12 persons, so I needed to cut out 2x2 gaps on the table ends. I also included a picture of these in place. To make room for the 2 2x2s that extend under the bread boards and table top to brace the extensions, I left out one of the 2x2 cross beams at each end of the underside of the table (the boards that the table top boards screw into).

I hope this is helpful to you!

Estimated Cost
$250
Estimated Time Investment
Week Long Project (20 Hours or More)
Finish Used
Vinegar and Steel Wool Solution (soak steel wool for 24 hours in vinegar and be sure to test on a sample) to "age" the wood. Tung oil over this sealed the stain/wood. over this I applied a wax finish. First I used Briwax Liming Wax to enhance the gray finish and leave a slight white wash patina. This finish was enhanced because I had steel brushed with the grain to remove some soft wood so the liming wax would enhance the grain. I finished the project with clear briwax. We have been using this as our everyday table since February and there are no stains or problems with this finish.
Recommended Skill Level
Starter Project

Comments

dyemond47

Mon, 02/10/2014 - 11:55

Great job on the table! I love...I had visions of this table before I saw it. I wanted to use the 4x4's for the legs as well, the same finish. I am concerned now about the 4x4's because I am an amateur and I think that may throw too many wrenches into my plan. I started with the bench, finished in 3 hours I have patted myself on the back. Plotting on a Kreg jig right now.

epweigel92

Sun, 07/24/2016 - 09:57

Love the look of this table! Just to make sure I'm following correctly, the extensions are ones you can add and remove, not fixed? Do you have a pic of how they slide in or out?

Modern slatted bench

Submitted by Whimwhams on Mon, 06/27/2016 - 11:51

I made this for my sister the day before her house warming party. It was a pretty easy build. I used wood glue and 2" nails. Using a nail gun, this came together pretty quickly. I do wish that I had wide enough clamps to hold everything in place while it dried, because there were a few gaps due to some imperfect boards. I used 104" stud length boards, so I only need to purchase 7 instead of 9. this was enough to make the cuts for the top and both leg pieces from each board. the price was the same and we had limited space in our van for boards, so this was a better option for us. I used a sprayer hooked up to an air compressor to apply the stain and was able to get in between the slats fine with this method, brushing over it as I sprayed. Luckily I chose the same color as her deck not knowing, so it matches great. Now I need to make one for myself! :)

Estimated Cost
$40
Estimated Time Investment
Afternoon Project (3-6 Hours)
Recommended Skill Level
Starter Project

Farmhouse Style Toy Box / Blanket Chest

Submitted by Anonymous (not verified) on Tue, 01/17/2017 - 11:17

I built this for my daughter after Christmas sinse she had the living room covered in toys. The dimensions are 37" x 18" x 20" 

Estimated Cost
$75
Estimated Time Investment
Weekend Project (10-20 Hours)
Finish Used
Watco Danish Oil - Medium Walnut (2 coats) with a light sanding between coats with 220 grit, I allowed 24 hours between each coat to dry. To protect the surface I used water based polyurathane matte finish (3 coats) with a light sanding - 400 grit.
Recommended Skill Level
Beginner

Comments

jwelch

Wed, 01/18/2017 - 13:06

Great job! Can you share more about how the legs were constructed and joined? Was this project based on Ana White's "Simple" toy box plan? Any info appreciated.

jgreaff

Tue, 01/09/2018 - 05:51

HI Anna, 

Can you provide more pictures or instructions on how you assembled this toy box? i want to make one just like it! 


Thanks!

apezz

Wed, 03/10/2021 - 16:31

Looking at the wall panels they look like the long edge of each panel has a small bevel cut on it. This gives each panel edge a more pronounced or well-defined edge? Is this true? Was it done with a router?

Outdoor Patio Furniture

Submitted by Anonymous (not verified) on Tue, 06/20/2023 - 09:32

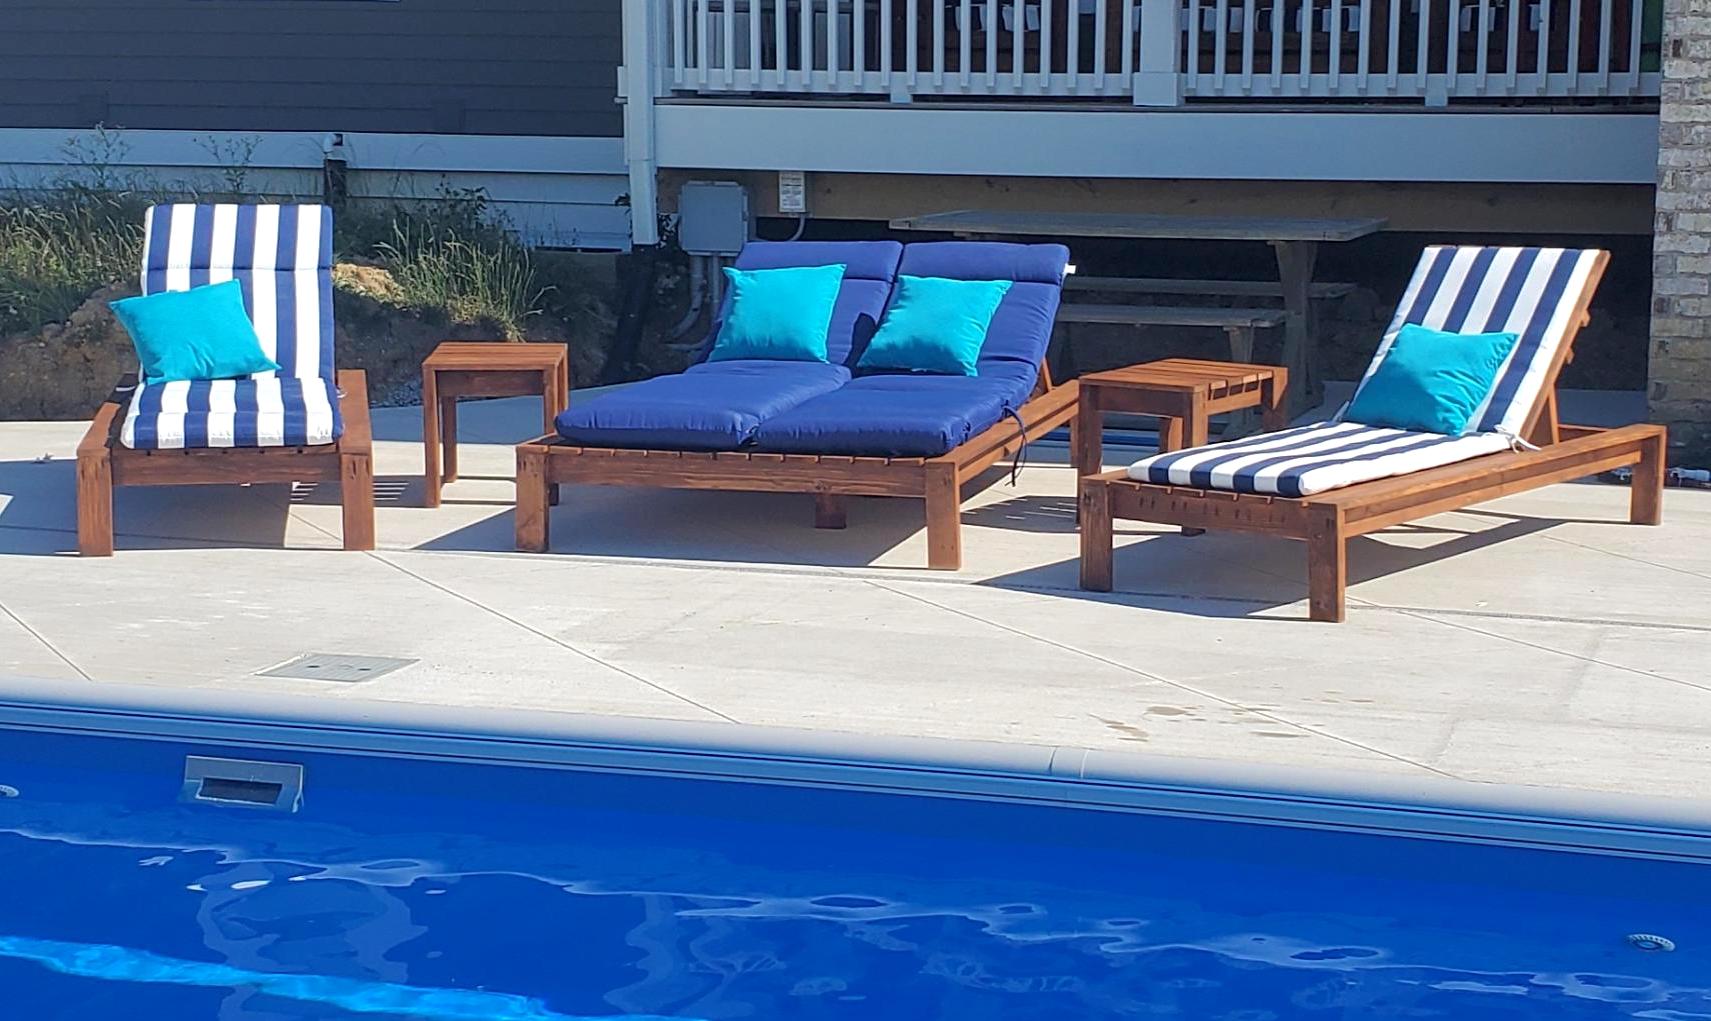
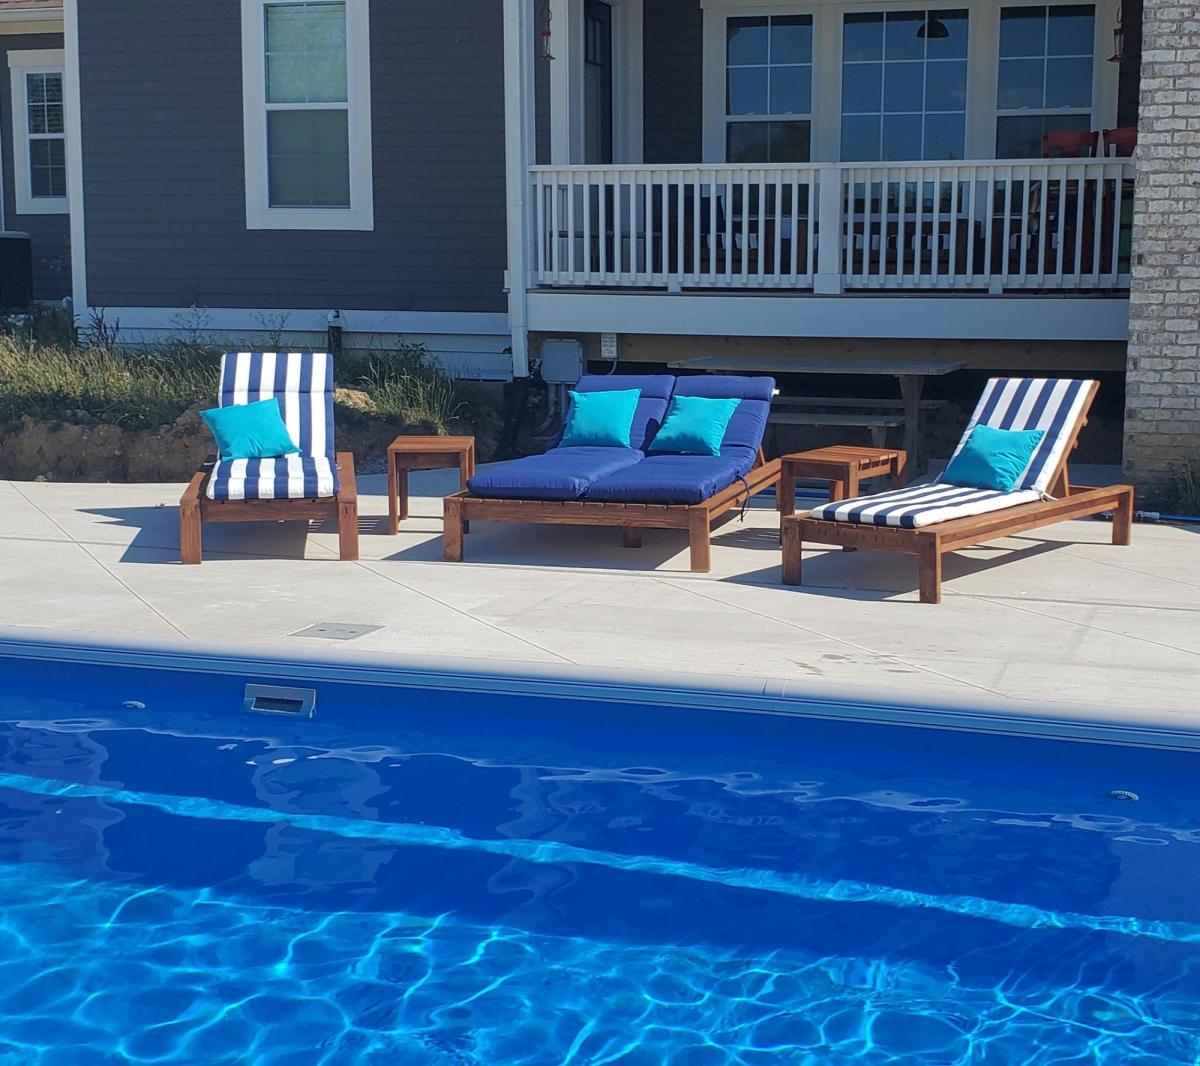
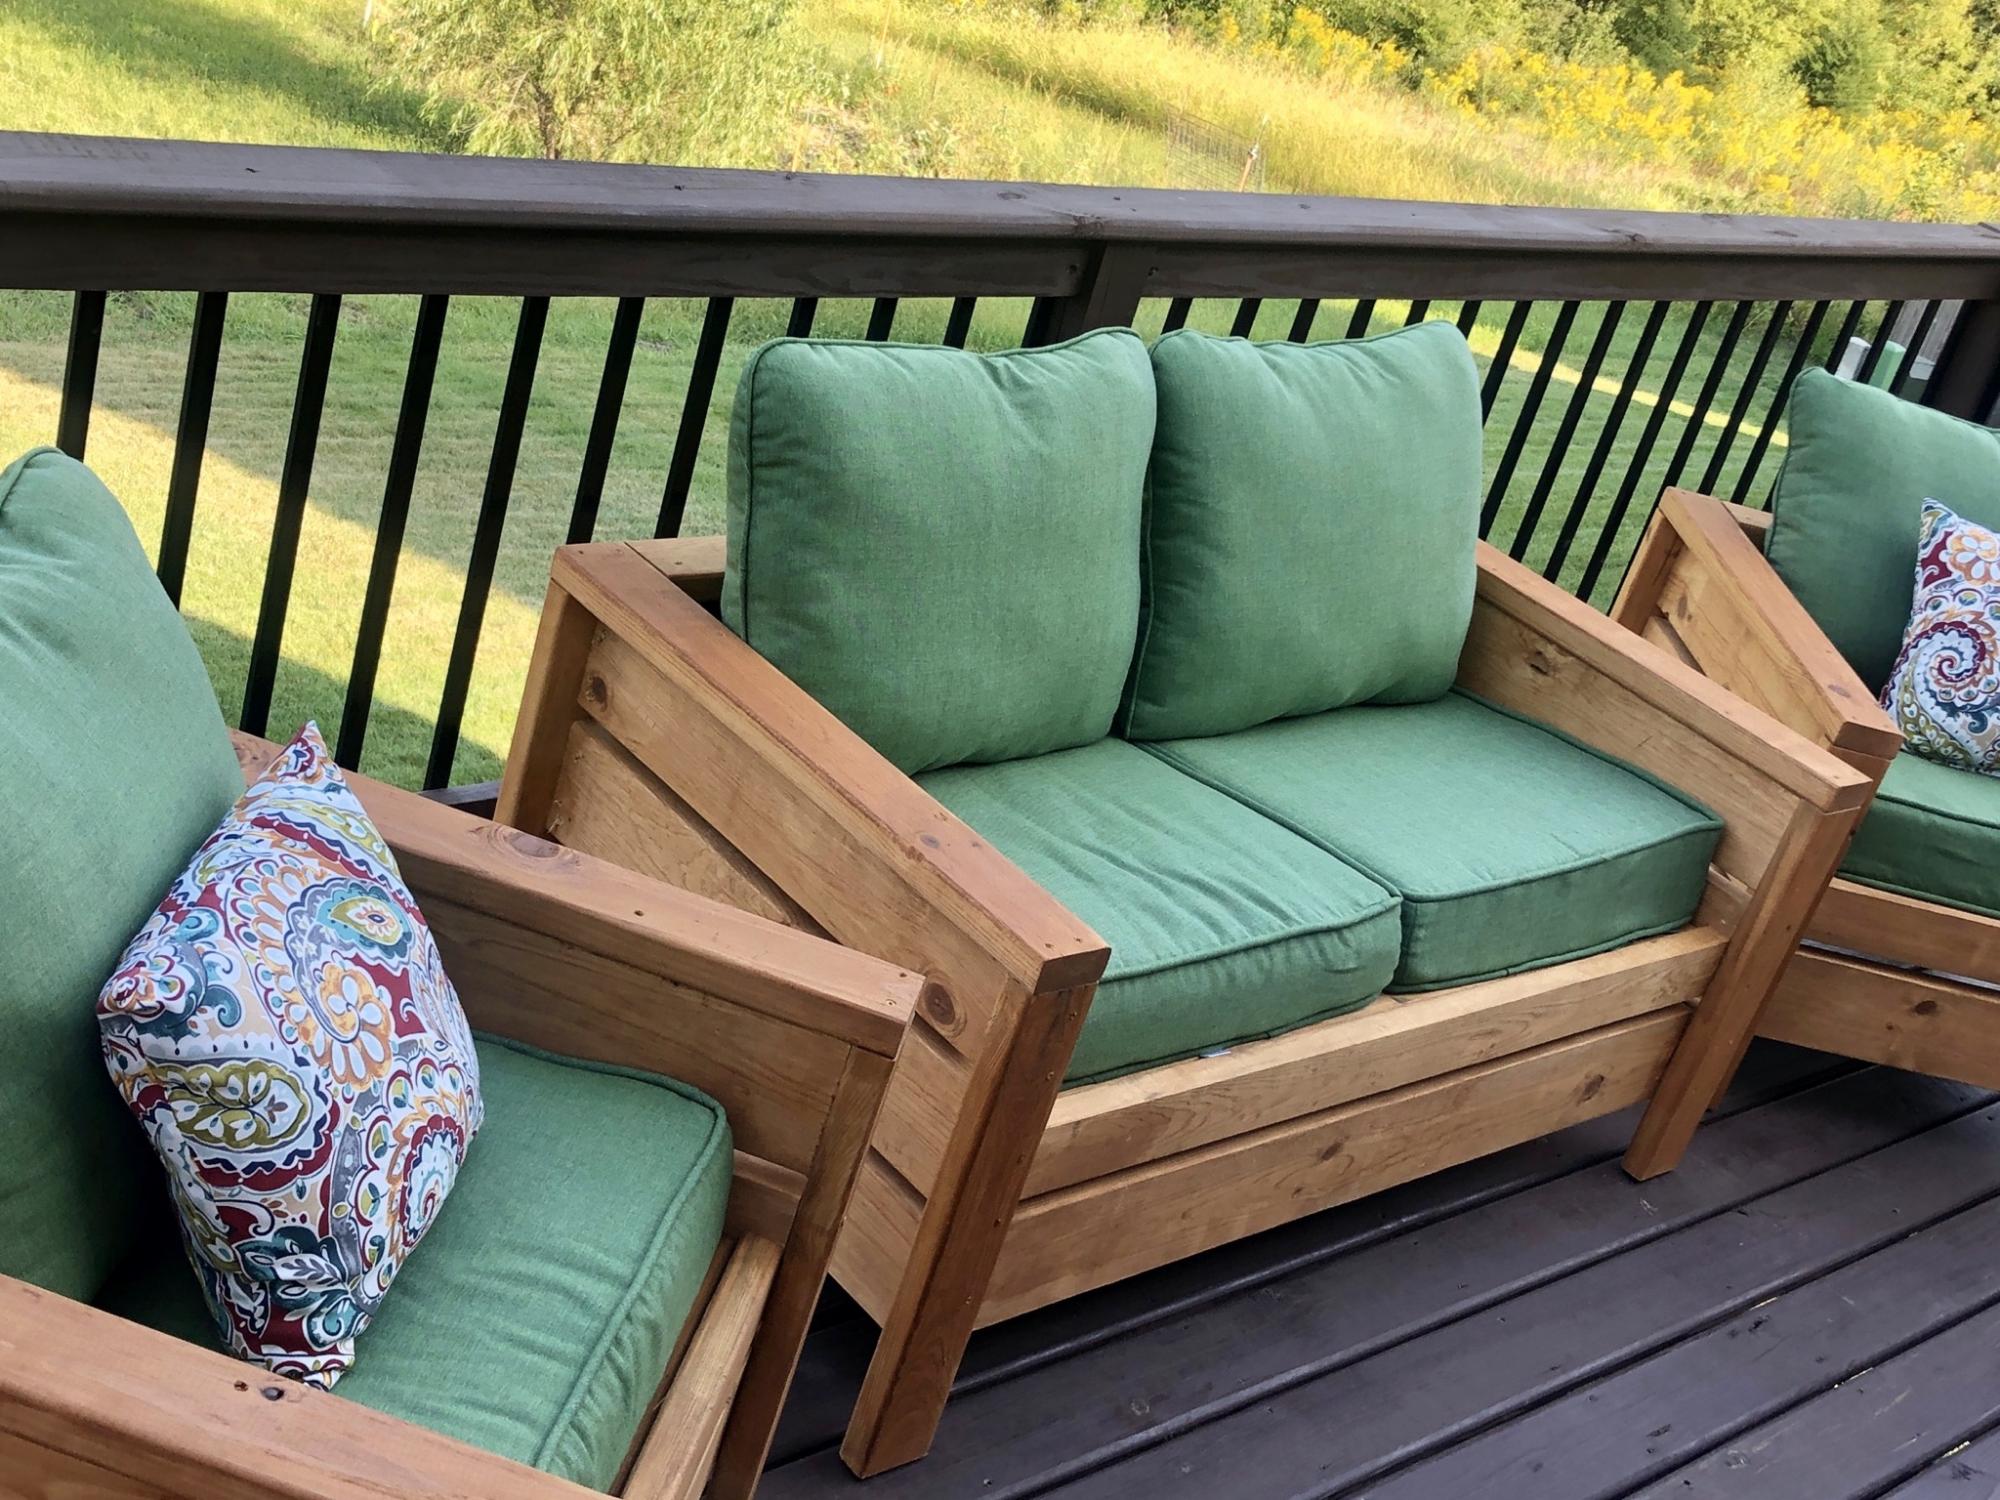
Our outdoor furniture from Costco was falling apart but the cushions were still in great shape so I decided to design the furniture around the existing cushion dimensions. I used all Cedar wood and stained it with Australian Timber Oil Honey Teak stain. The table design was from a picture I saw on another site.

Comments

Seasonal And Holiday

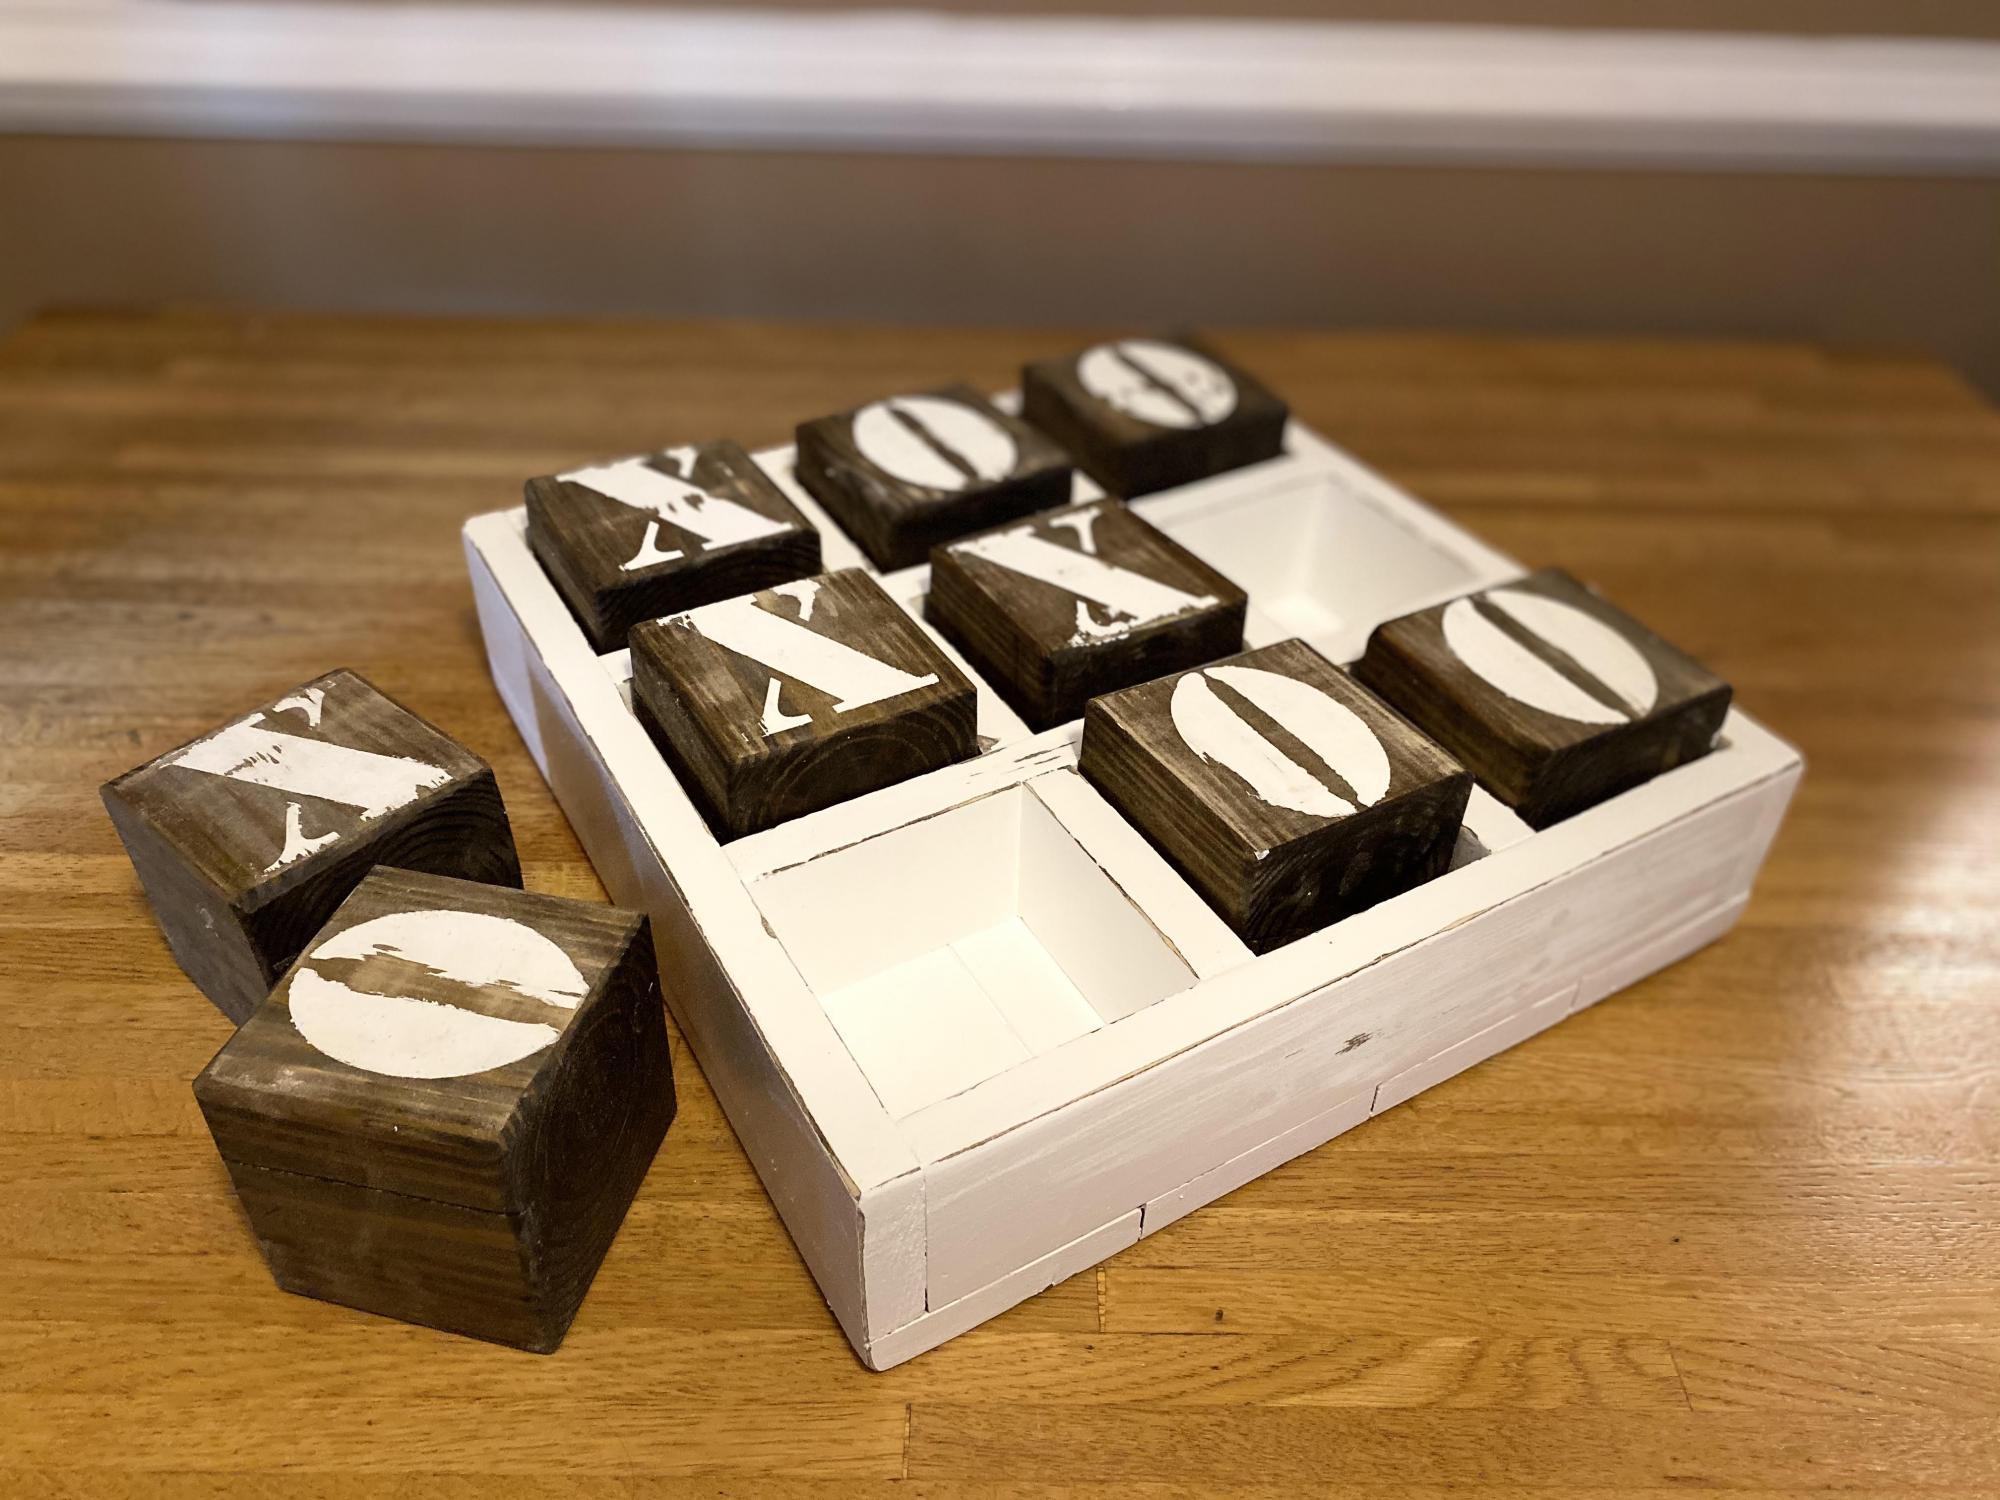
Large Tic Tac Toe Board

Submitted by JamieLynn on Tue, 05/26/2020 - 09:43

Took some liberties with this one and combined with another plan. My first stencil project.

Built from Plan(s)
Estimated Time Investment
Day Project (6-9 Hours)

Comments

Myron3

Wed, 05/27/2020 - 08:28

I love this. Functional but also decorative. Would you mind sharing the plan for your version?

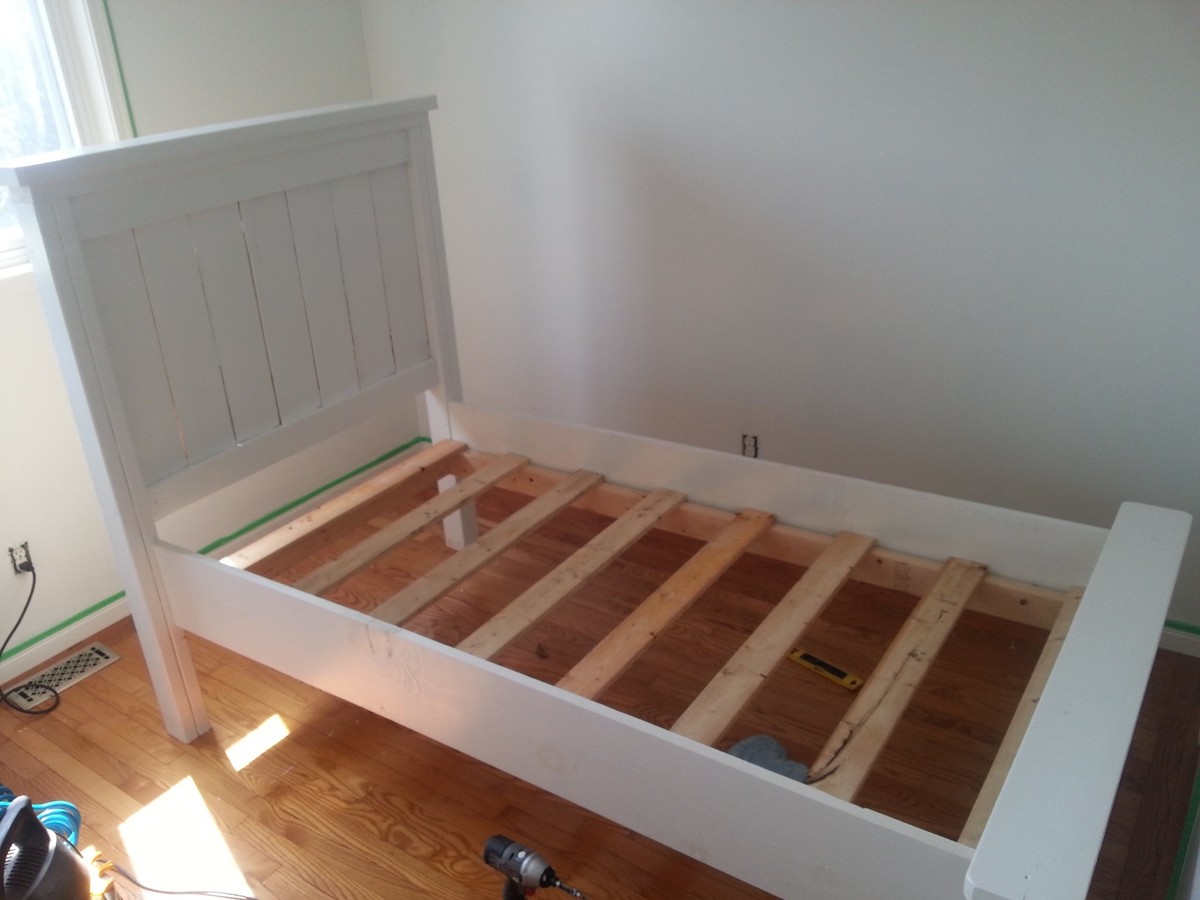
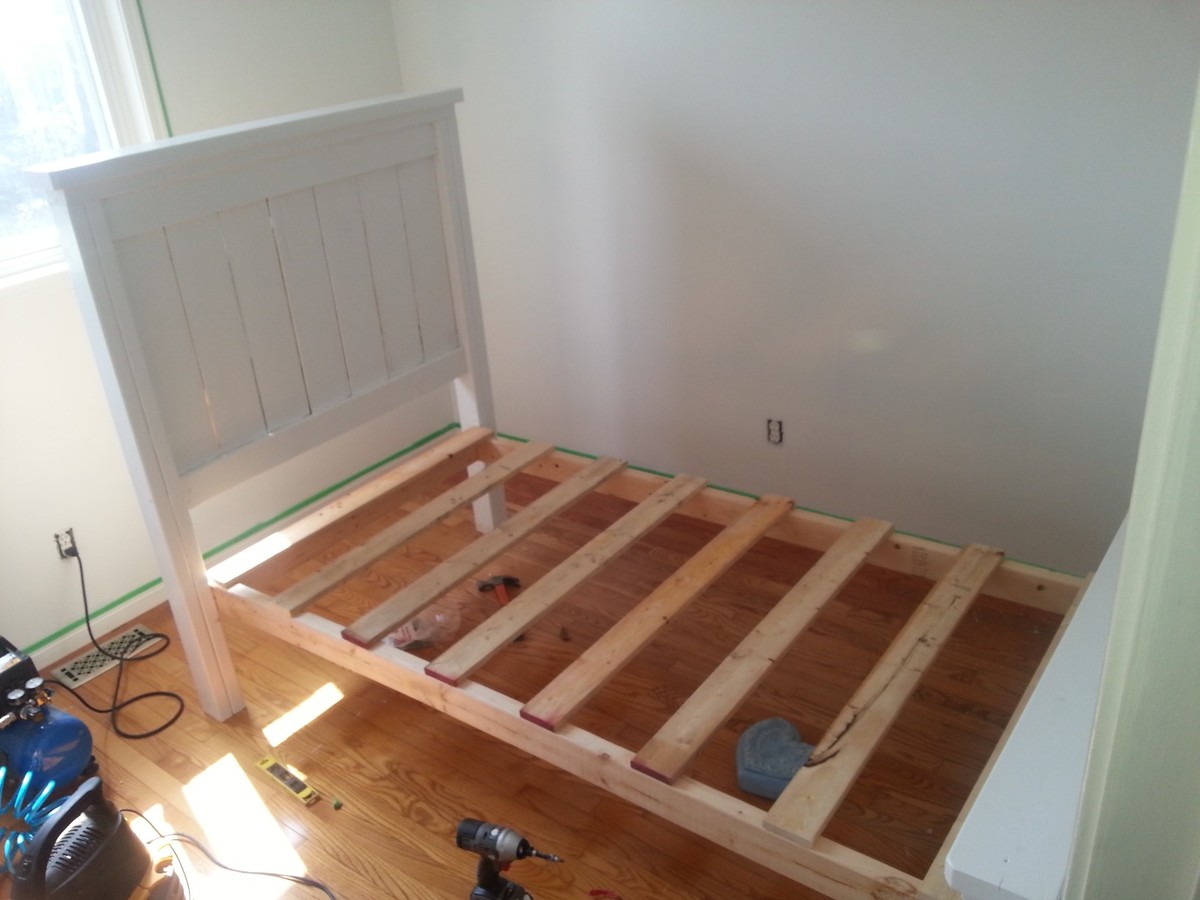
Twin Farmhouse Bed with Trundle

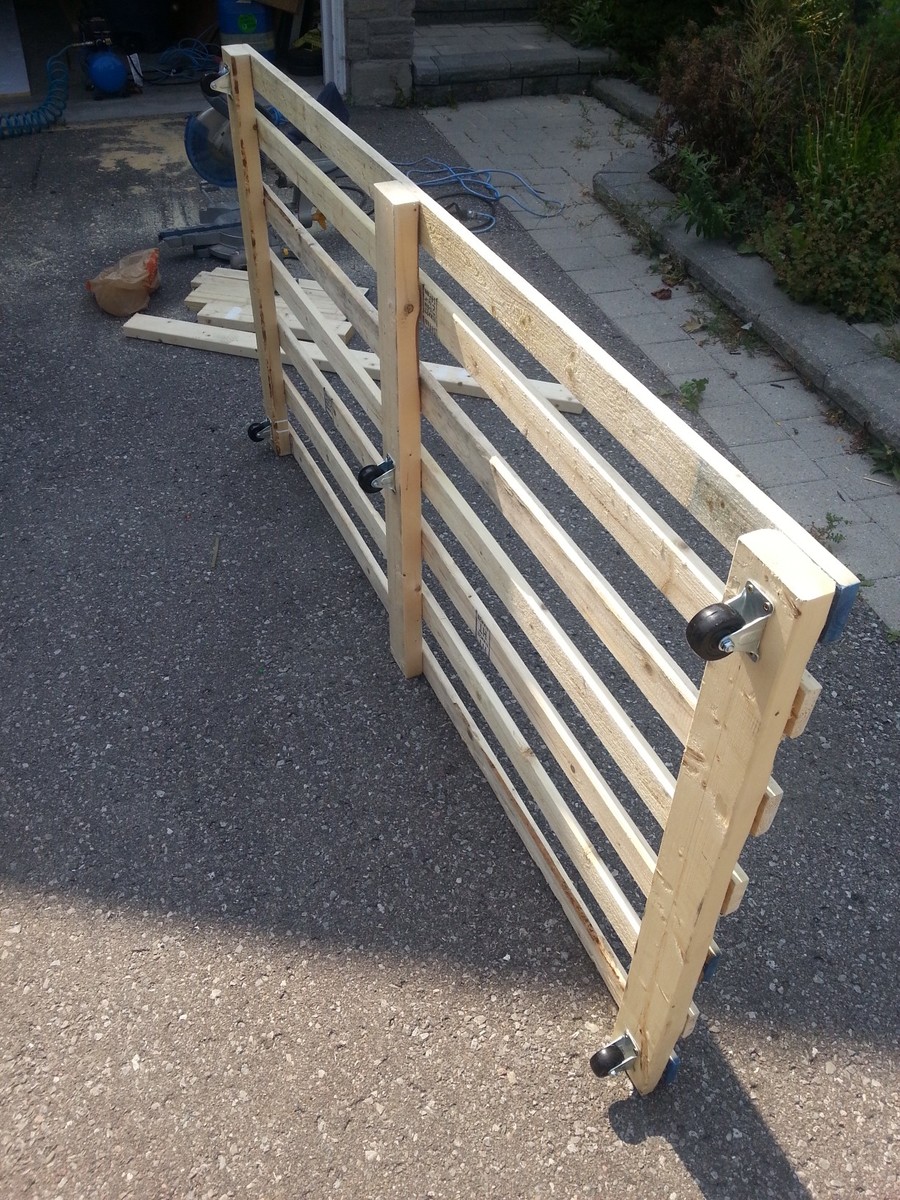
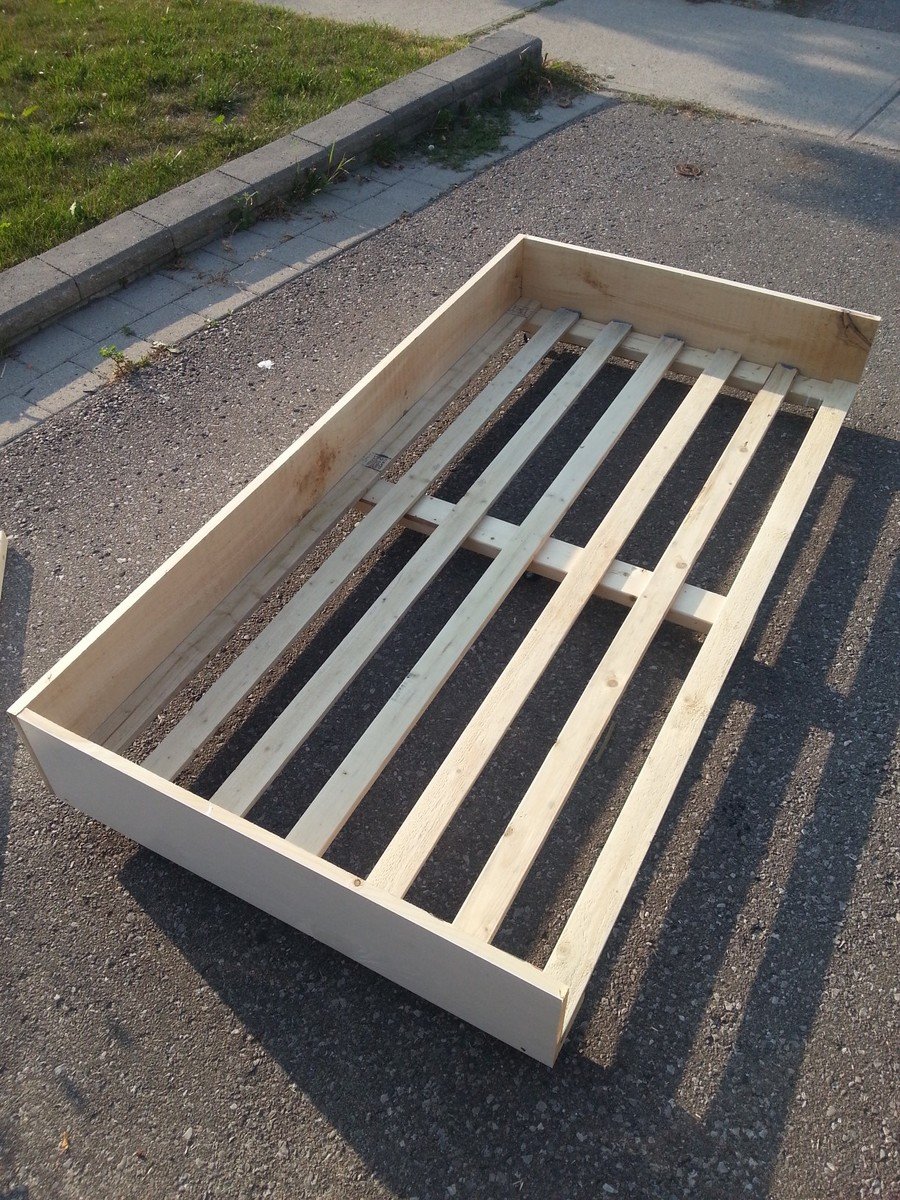
Took the farmhouse plan and added a Trundle.   Was initially going to build two farmhouse beds for my two girls, but thought adding the Trundle would free up some much needed floor space.  The girls love it!

Estimated Cost
$150
Estimated Time Investment
Day Project (6-9 Hours)
Finish Used
Latex paint
Recommended Skill Level
Intermediate

Pool Lounge Chairs

Submitted by Fitnpink on Wed, 07/15/2020 - 17:00

Part of a huge order I did for outdoor furniture. Love how they turned out! Thank you!
Comments

Seasonal And Holiday

Jelly Cabinet for Heather

Submitted by itzann on Tue, 10/09/2012 - 07:14

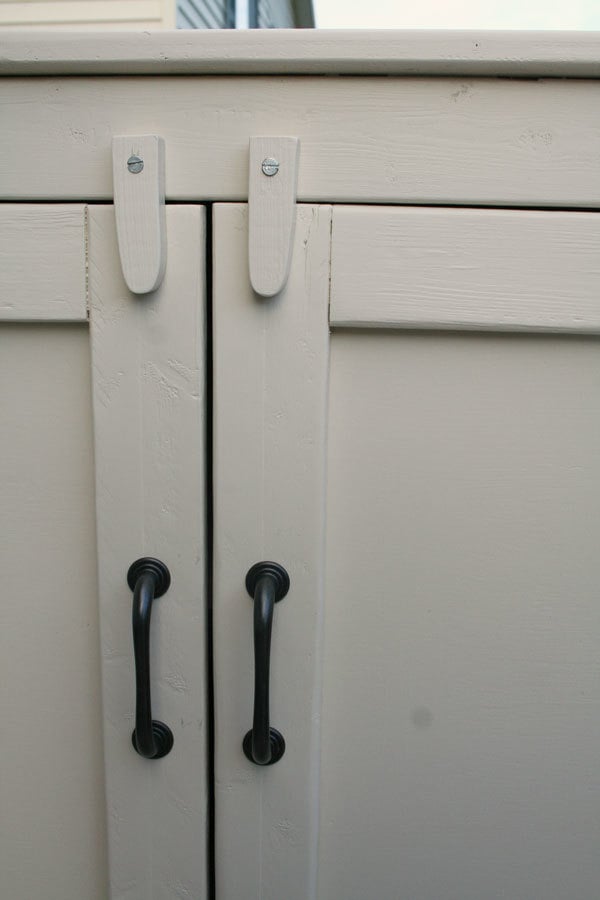
This project was built by my husband, for our daughter who needed some storage for her card-making and scrapbooking supplies. I had the easy part of doing the painting and purchasing the hardware. The hinges and handles are from Home Depot. It is a challenge to find good lumber at our big box stores. That was probably the most difficult part of the build...dealing with warped wood. This piece is suited for the primitive and rustic look so it didn't matter that the wood had some dings and splintering from the edges. Everything was sanded well and these marks just added to the character. He did encounter some problems with drilling the 1 and 1/4" kreg screws into the frame of the door. The wood wanted to split. Also, the plans called for magnetic closures but we could not determine how those would be installed as the shelves do not reach to the doors. So we cut some wooden swinging closures and attached them to the top of the cabinet. They seem to work well. One modification if he builds this again (and our other daughters are now putting in their orders!) would be to add a wooden support down the center front so that the doors would have something to close against. The way it is now, the doors could be pushed inward and put a lot of stress on the hinges. We were very pleased at how this project turned out! Thank you for the plans.

Built from Plan(s)
Estimated Cost
$75.00
Estimated Time Investment
Week Long Project (20 Hours or More)
Finish Used
Top coats are Benjamin Moore Regal, Pearl Finish in Frappe color. I started by thoroughly sanding and then primed using Ace Royal Shield Primer (latex). Then I sanded again to remove the raised grain. The final coats of the Benjamin Moore Regal were applied using a Fuji HVLP spray gun. The inside of the cabinet (shelves) were sanded but not finished in any way. We like the look of the unfinished pine for the shelving.
Recommended Skill Level
Beginner

Comments

lawson4450

Tue, 10/09/2012 - 13:20

I like the way that came out and I agree its hard to get good wood at the big box stores it took me a while to go through the stacks they had there to find straight pieces. The other thing I had an issue with was the 1 1/4"
Kreg screws as well but if you dont over drive them it generally will not crack the wood. Just be gentle and if it still does turn the clutch down on the drill that will help as well.

itzann

Thu, 10/11/2012 - 18:11

Lawson4450,
Thank you for your comment, and for the advice on the Kreg screws!

We are in the process of cleaning up our garage, so that future building projects are easier to do! One thing my husband also built was a small workbench, with a lower shelf to store the Kreg jig, screws, etc on. It comes in handy as we always know where to at least find the Kreg stuff! We should also keep some notes on the shelf, too, to refer to when the wood cracks, etc.
-Ann

itzann

Thu, 10/11/2012 - 18:13

Patrick,
I think the plans said to make the shelves 1 x 10? And because a 1 x 12 was used for the side frame, the shelves therefore didn't reach to the doors.
Ann

itzann

Thu, 10/11/2012 - 18:04

Aisha,
Thank you for the photo of the magnetic closure. That makes a lot of sense! We could still add those, and also leave the swinging locks in place, too.
-Ann

HRagg (not verified)

Sat, 10/13/2012 - 10:43

I am the lucky receiver of this jelly cabinet. It is exactly what I had in mind when I was on the hunt for one. I was so pleasantly surprised when my parents came to visit and showed me my early birthday present in their trunk! :)

Modern Outdoor Chair with Backrest

Submitted by PoppaZotch on Mon, 08/17/2020 - 11:53

Per request of my wife, I opted to add a backrest to the chair. I feel as though my backrest design keeps with the style of the original build. I accomplished this by cutting the 2x4 vertical arms of the backrest at 13 inches with a 10 deg miter cut at the base. This allows you to keep with the 3/4" on the 2x6 backrest slats. I finished it off with a 2x4 top plate. I'd also note that I made slight modifications to the plans to accommodate 24" cushions.

Estimated Cost
$100
Estimated Time Investment
Afternoon Project (3-6 Hours)
Finish Used
sanded to a 220 grit
Recommended Skill Level
Intermediate

Modern Outdoor Patio Set

Submitted by dlangford on Sat, 09/05/2020 - 16:08

Built this over the weekend for my girlfriends sister. It was a great project and the whole family was able to work together on it, sanding and waterproofing it before assembling. The loveseat plans need a little tweaking. We ran ran the slats the same direction as the chair plans call for so we added a middle support for extra stability. We also pitched the seating down towards the back by 5* to make a more natural sitting position.

Estimated Cost
$300
Estimated Time Investment
Weekend Project (10-20 Hours)
Finish Used
Behr Cedar Natural Tone Waterproofing Stain and Sealer
Recommended Skill Level
Beginner
Seasonal And Holiday

Master Bath Barn Door

Submitted by Anonymous (not verified) on Fri, 03/17/2017 - 16:34

Created this door with pine wood tongue and groove lumber and pine wood planks. Purchase barn door hardware / track from Jet.com and door handles from Hobby Lobby. 


This replaced my Master bath door and I think came out pretty good. Thank you for the ideas!!!  Jeff M.   Brownstown, Mi

Estimated Cost
Wood 55.00
Handles 2 for 8.00
Stain ( left overs)
Barn door track 54.00

Total $117.00 and 10 % Military discount at lowes
Estimated Time Investment
Weekend Project (10-20 Hours)
Finish Used
Minwax. Mix of Kona and Driftwood Grey
Recommended Skill Level
Intermediate

Treehouse/Playhouse

Submitted by Bigbill99 on Sun, 01/10/2016 - 00:07

Thank you! You've helped me look like a true carpenter who knows what he's doing! My whole family is impressed with my woodwork lately, and now I'm addicted. I've done your seesaw, bar table and stools plus the treehouse in 2 weeks. Thank you for sharing your plans!
Estimated Cost
$500.00
Estimated Time Investment
Week Long Project (20 Hours or More)
Finish Used
Spar urethane
Recommended Skill Level
Beginner

Adirondack chair

Submitted by Davis_Reed on Fri, 05/24/2019 - 07:10

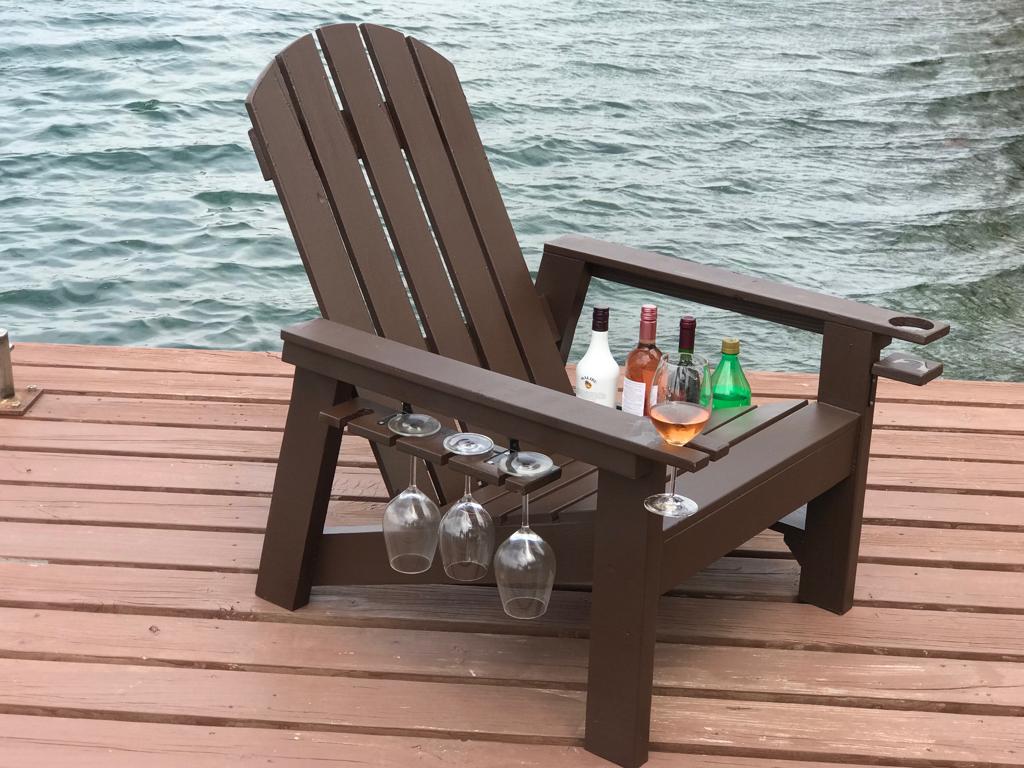
These are the adirondack chairs and I took the basic model and added a wine glass holder and also a bottle/snack bag holder.

Estimated Time Investment
Weekend Project (10-20 Hours)
Finish Used
Benjamin Moore wood primer and then Benjamin Moore oil based paint.
Recommended Skill Level
Beginner

Comments

Easy Build DIY Planter Box

Submitted by Anonymous (not verified) on Tue, 04/18/2023 - 07:46

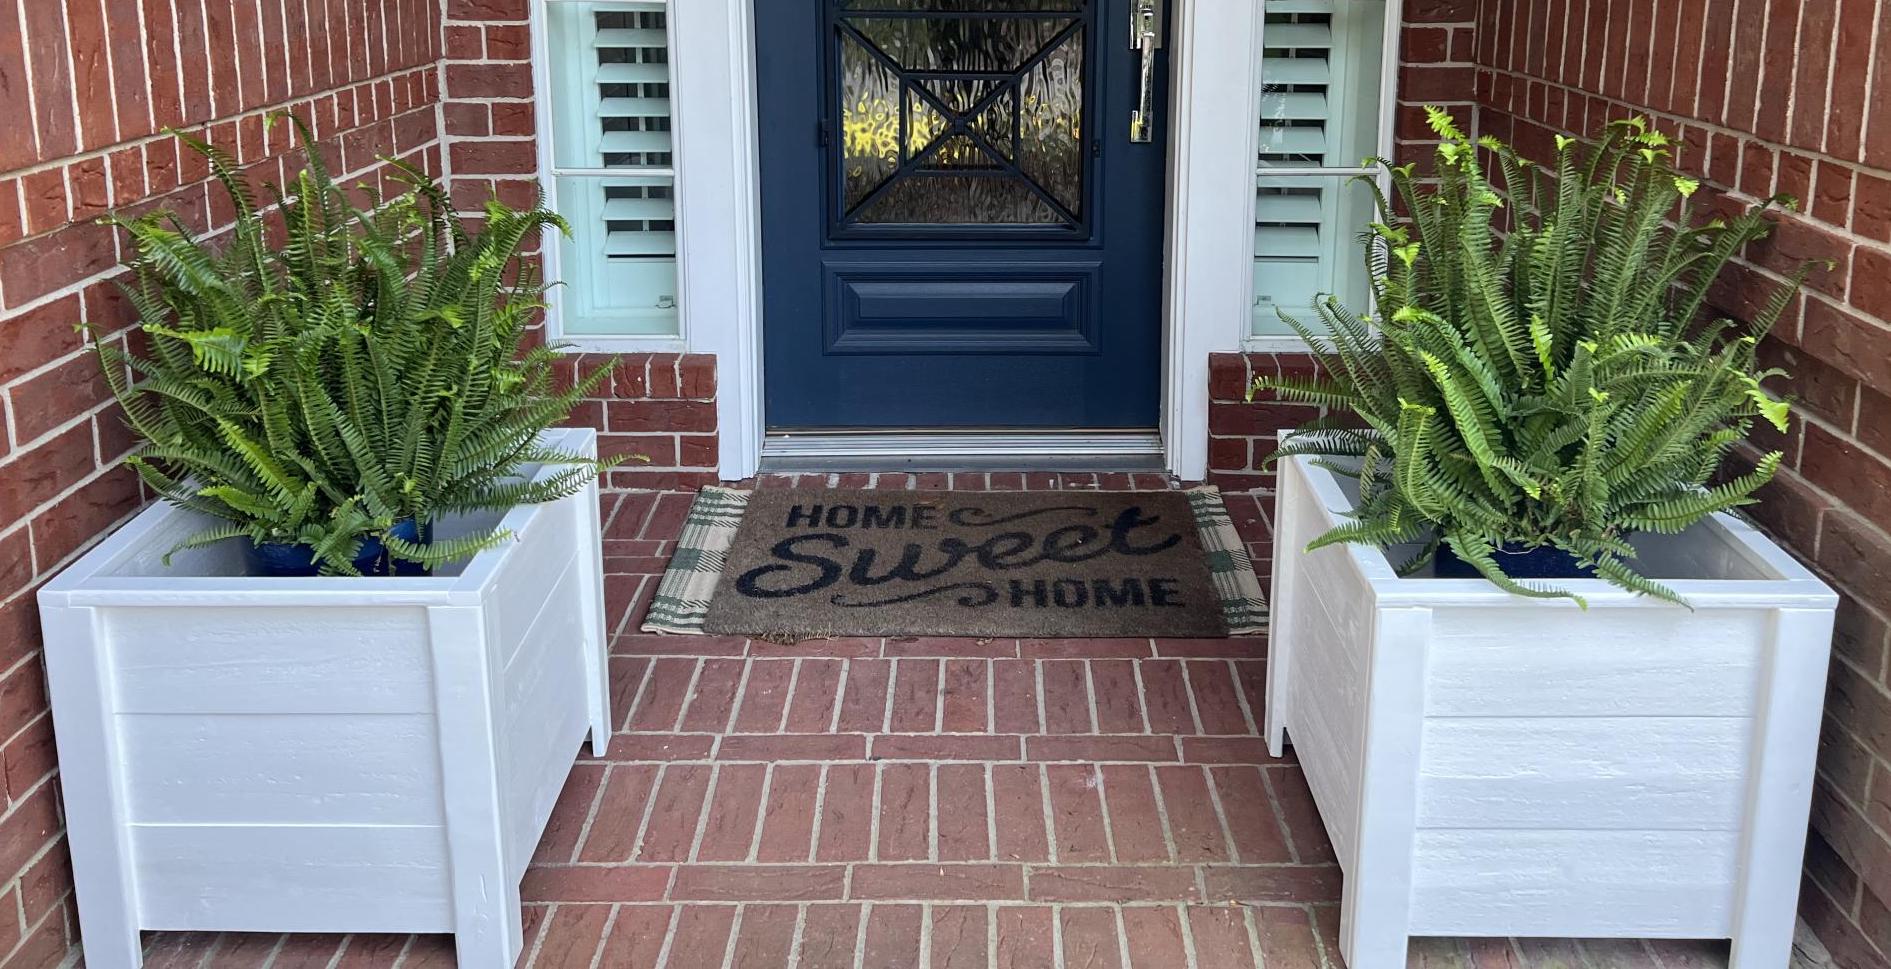
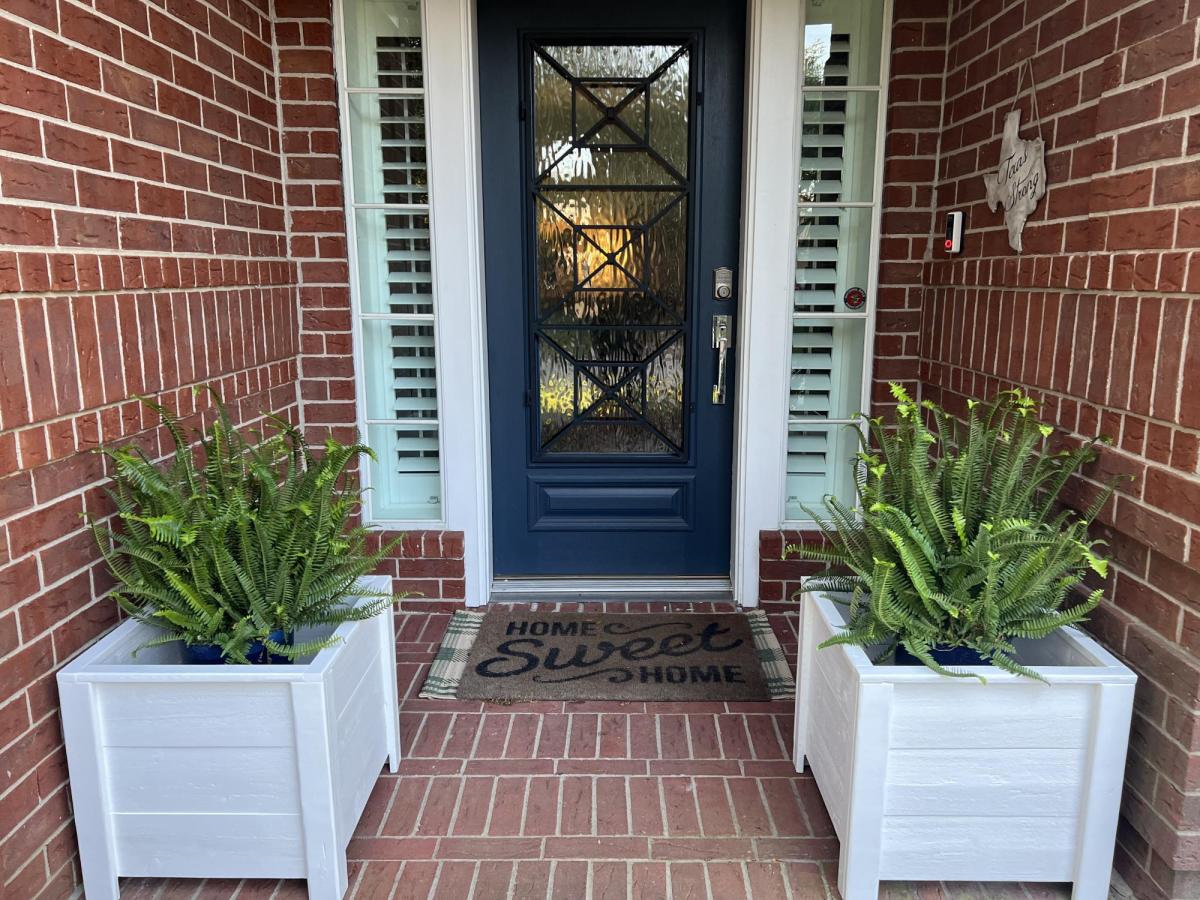
I was looking for planter boxes for my front door and these were easy and super sturdy. I absolutely love them and how they enhanced this area! Thank you Ana for this simple yet impactful plan!

Comments

Seasonal And Holiday

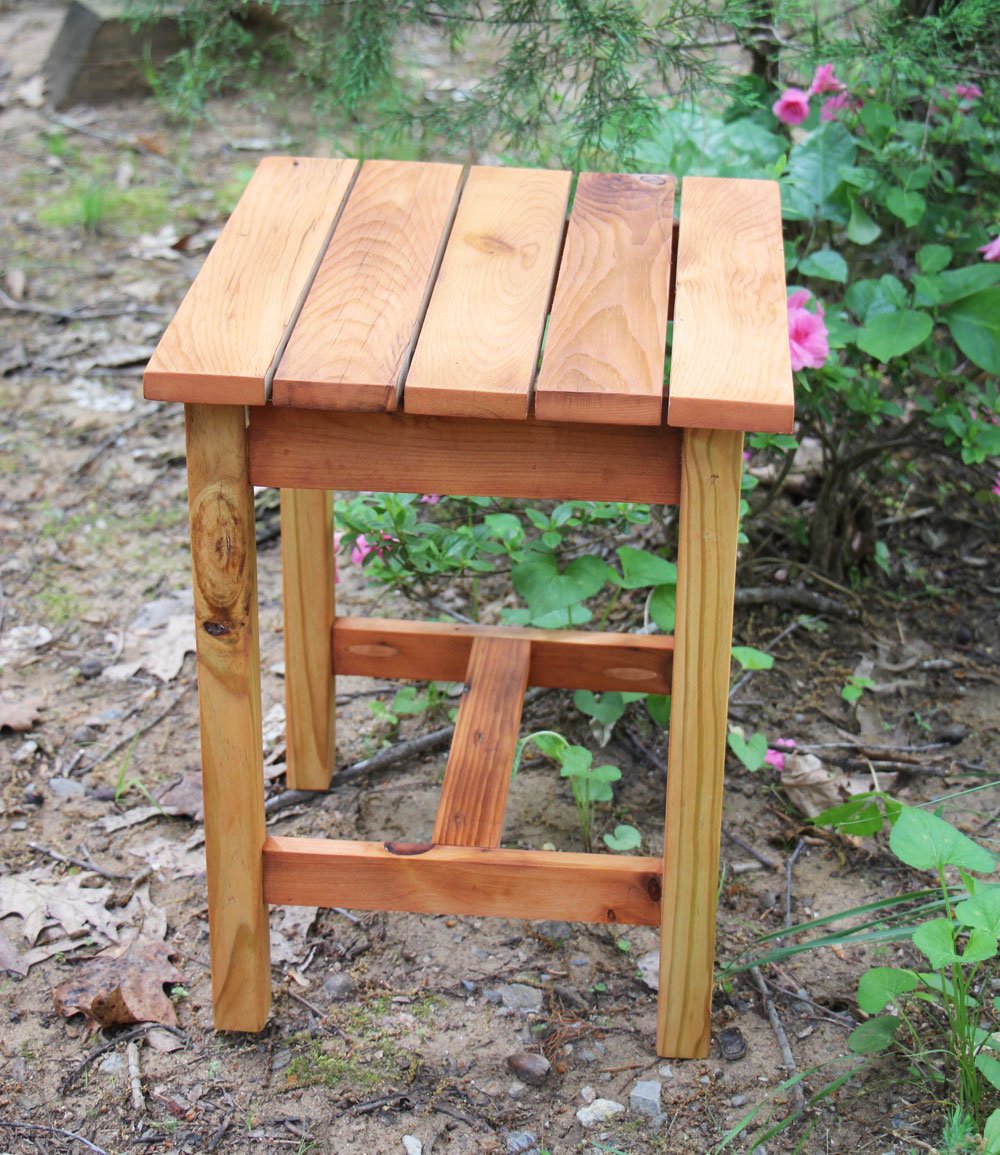
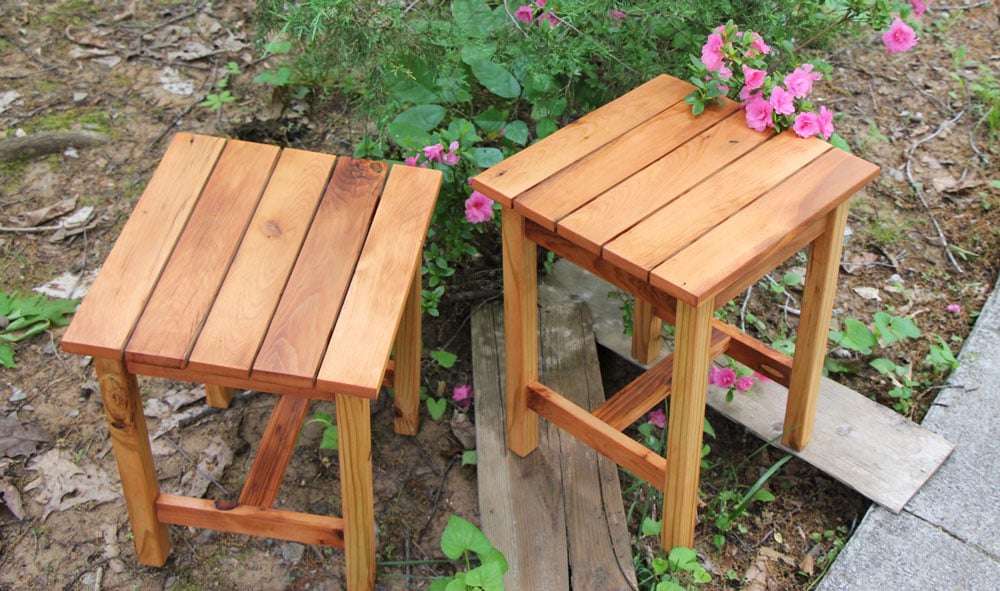
Cedar Outdoor Side Table First Project

Submitted by Amy.Mapes on Sat, 05/04/2019 - 09:35

This was my first attempt at making anything out of wood.  I was thankful for guidance from my husband but I did it myself!!!

Built from Plan(s)
Estimated Time Investment
Afternoon Project (3-6 Hours)
Finish Used
Minwax Colonial Maple Stain
Recommended Skill Level
Starter Project

Comments

Seasonal And Holiday

Full length sliding mirror cabinet

Submitted by mltdblack on Tue, 10/16/2018 - 19:25

I built this for my daughter after building a ladder shelf for my kids bathroom. It took more time to install and adjust the drawer slides and paint the project.  

Estimated Cost
$65.00 - I used a slightly larger mirror.
Estimated Time Investment
Day Project (6-9 Hours)
Finish Used
Exterior - Valspar Black Flat Latex
Interior - Valspar Filtered Shade Flat Latex
Top Coat - Minwax Gloss Spray Polyurethane
Recommended Skill Level
Beginner

Comments

akagracegallag…

Sat, 09/07/2019 - 03:32

Hi mltdblack

Really nice finish on the cabinet.  

It looks like there’s molding on top of your mirror.  

Did you buy a mirror with a frame or buy molding and put it on over the mirror?  

What molding did you use an how did you secure it?  

What size mirror did you use?  Thanks

mltdblack

Fri, 01/07/2022 - 14:14

I am so sorry. This is the first I am seeing your question. The mirror came with a frame and I carefully nailed thru the frame to attach with my 18 gauge nailer. I bought the mirror at Lowe’s and I believe it was 15.5” x 50”. Also, I used full extension soft close drawer slides.

Outdoor Play Kitchen!

Submitted by Anonymous (not verified) on Thu, 12/28/2023 - 08:57

We modified Ana White’s excellent Mud Kitchen plans, adding a third section and scaling the whole thing slightly larger to be a better size for our 4 and 6 year old grand daughters. It was so much fun to make and accessorize!

Built from Plan(s)
Seasonal And Holiday

Drop Zone/mudroom

Submitted by Anonymous (not verified) on Tue, 03/09/2021 - 07:10

I used ShelfHelpNow which I LOVED! Got it delivered at the start of a snowstorm! Would never have made it then if I had to go get the wood myself!
Got so many compliments and requests
To build this.
Thank you for your easy plans and wonderful ideas!
In hindsight I would have either connected the two units or separated them more. I’m more a wing it/see how it goes type of builder for myself rather than a planner. 🤣
Diane

Estimated Cost
600 for carcass
Estimated Time Investment
Weekend Project (10-20 Hours)
Finish Used
Putting it together took a couple hours. Painting and waiting for things to dry took a lot longer!
Hopefully this will free up some room in my house for more utilitarian closet/pantry.
Recommended Skill Level
Intermediate

Levi's play kitchen

Submitted by Ash Matson on Thu, 12/26/2019 - 11:17

We modified the plans a little we made the 2 pieces together instead of separate. We used a 2” hole saw to cut out the oven knobs, then drilled holes a tad bigger than the screw so they would still turn once attached. We also made the back splash taller to accommodate our faucet that had to attach on the back splash instead of the counter top. We used all pocket holes to attach everything it makes it look so much nicer but doesn’t need to be done that way. We bought vinyl circles for the burners on the stove. A dog bowl for the sink and a laundry room faucet for the faucet.

Links to products we used

Faucet - https://www.amazon.com/gp/product/B01KRCTHEA/ref=ppx_yo_dt_b_asin_title_o07_s00?ie=UTF8&psc=1

Oven hinges - https://www.amazon.com/gp/product/B004K7V8UU/ref=ppx_yo_dt_b_asin_title_o08_s00?ie=UTF8&psc=1

6 – 4 inch circles matte black Stove vinyl - https://www.etsy.com/listing/713062039/circle-circles-pack-set-vinyl-decal-car?ref=yr_purchases

Sink 56oz dog food bowl - https://www.amazon.com/gp/product/B00H6OXRN0/ref=ppx_yo_dt_b_asin_title_o01_s00?ie=UTF8&psc=1

Oven handle - https://www.lowes.com/pd/Sumner-Street-Home-Hardware-Vail-10-in-Center-to-Center-Matte-Black-Pull/1001368422

Estimated Cost
100.00
Estimated Time Investment
Weekend Project (10-20 Hours)
Recommended Skill Level
Beginner

Comments