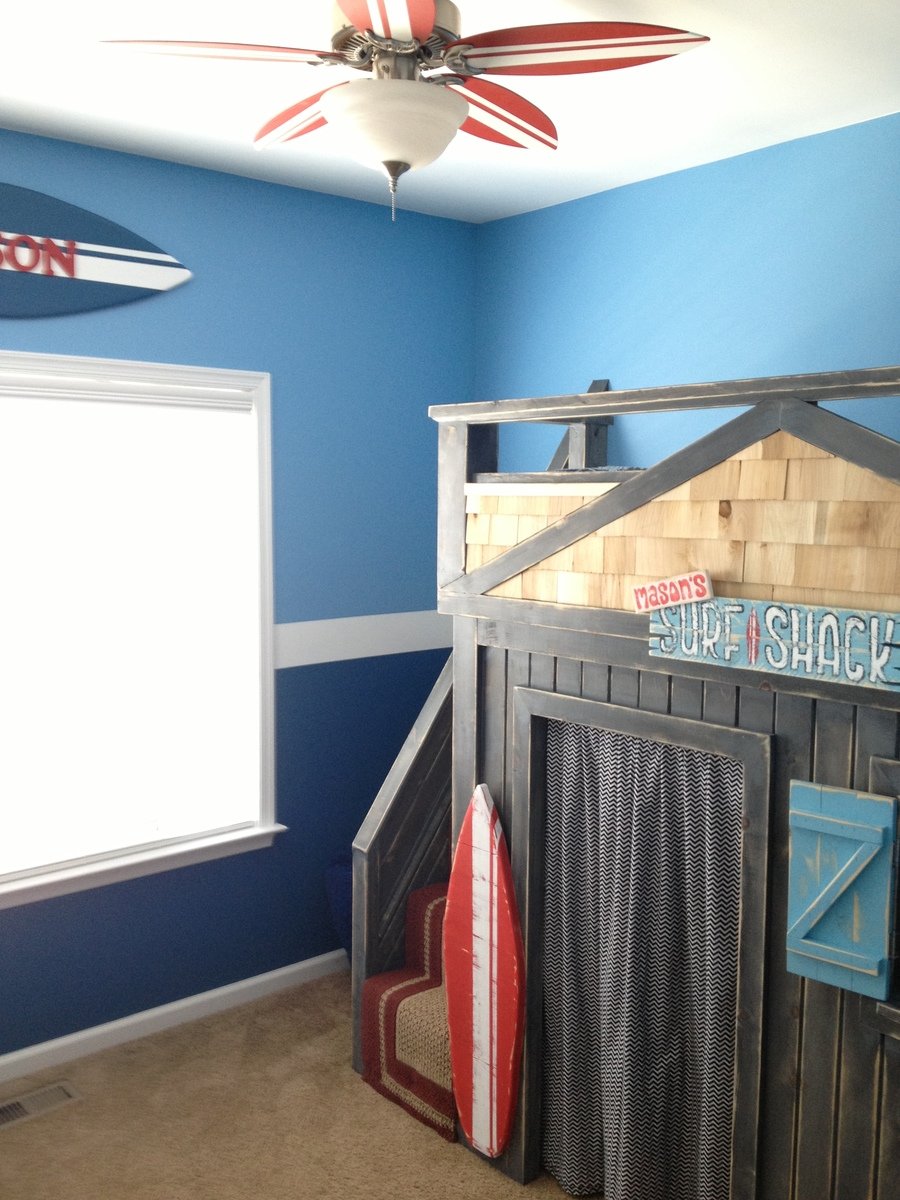
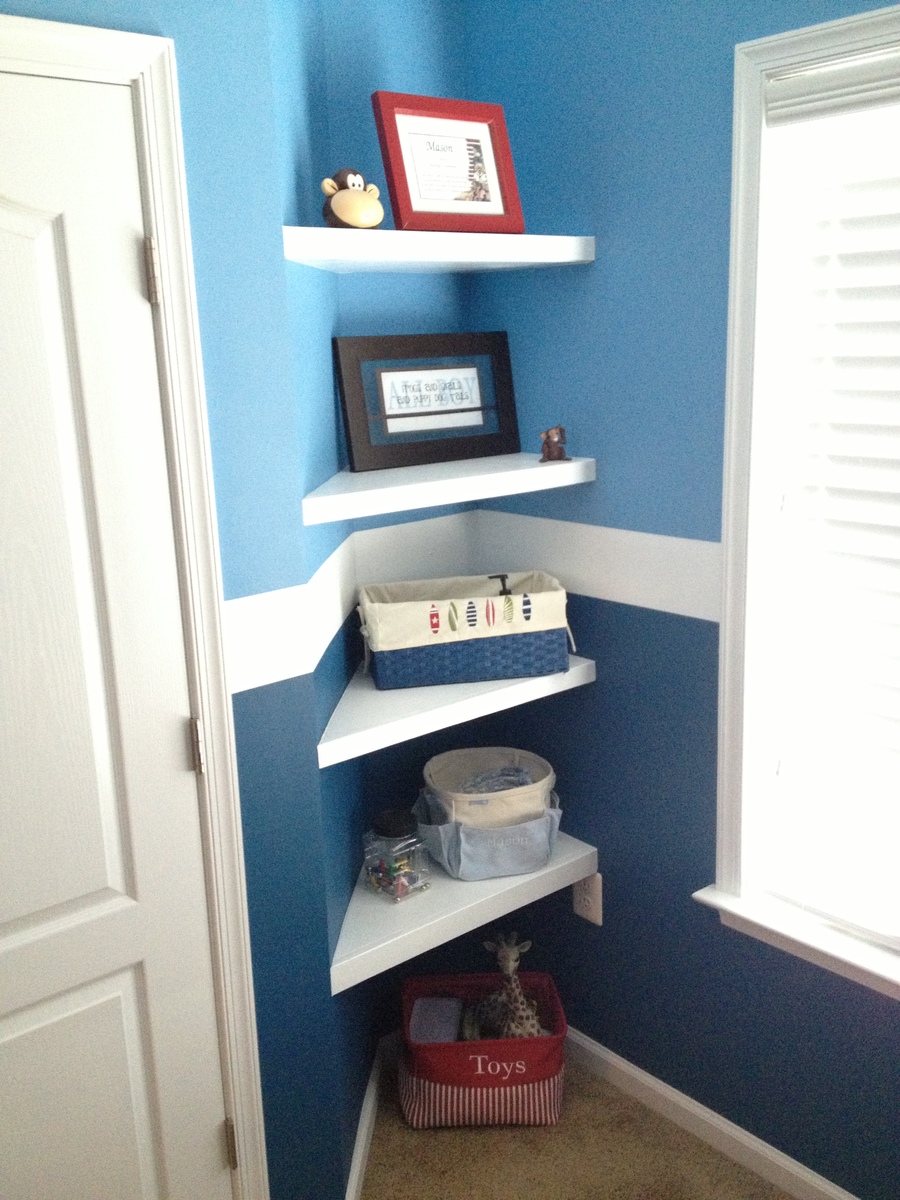
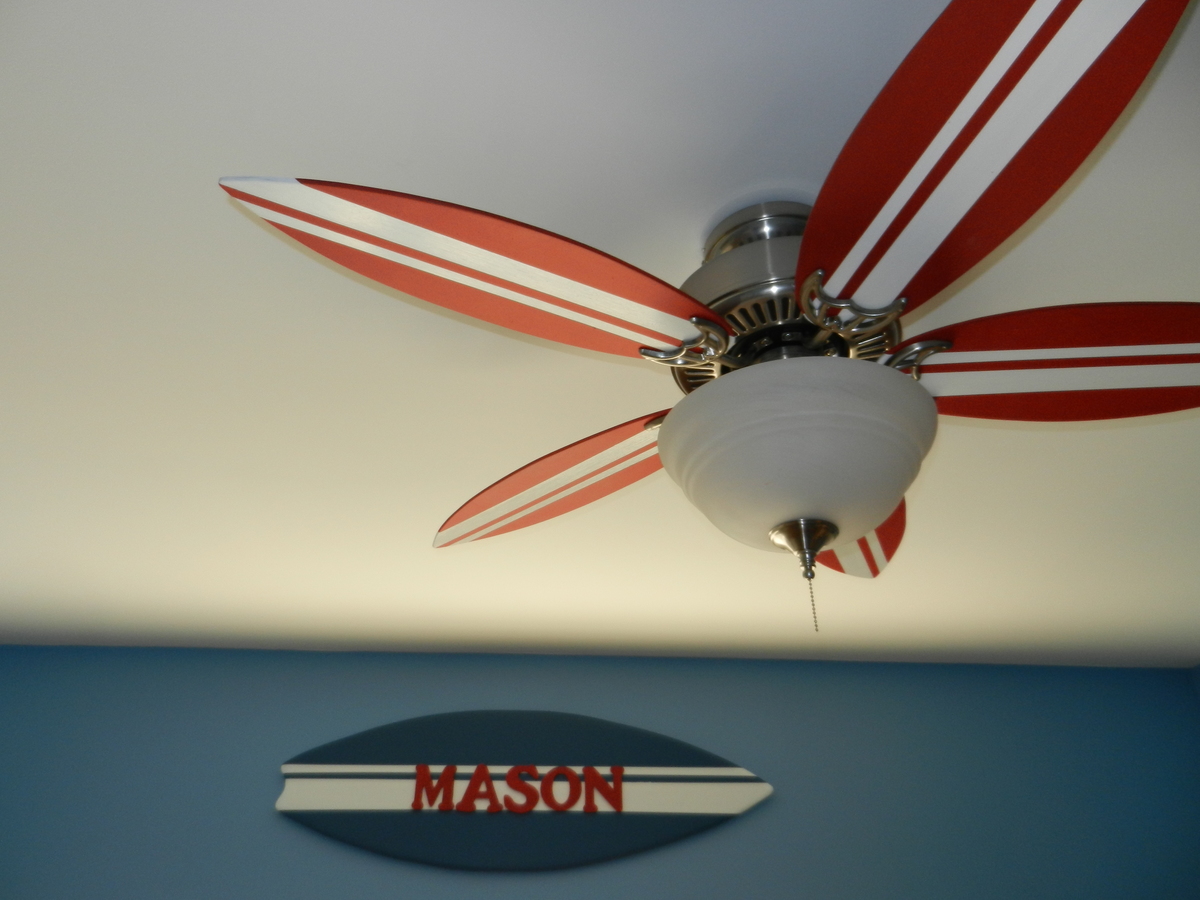
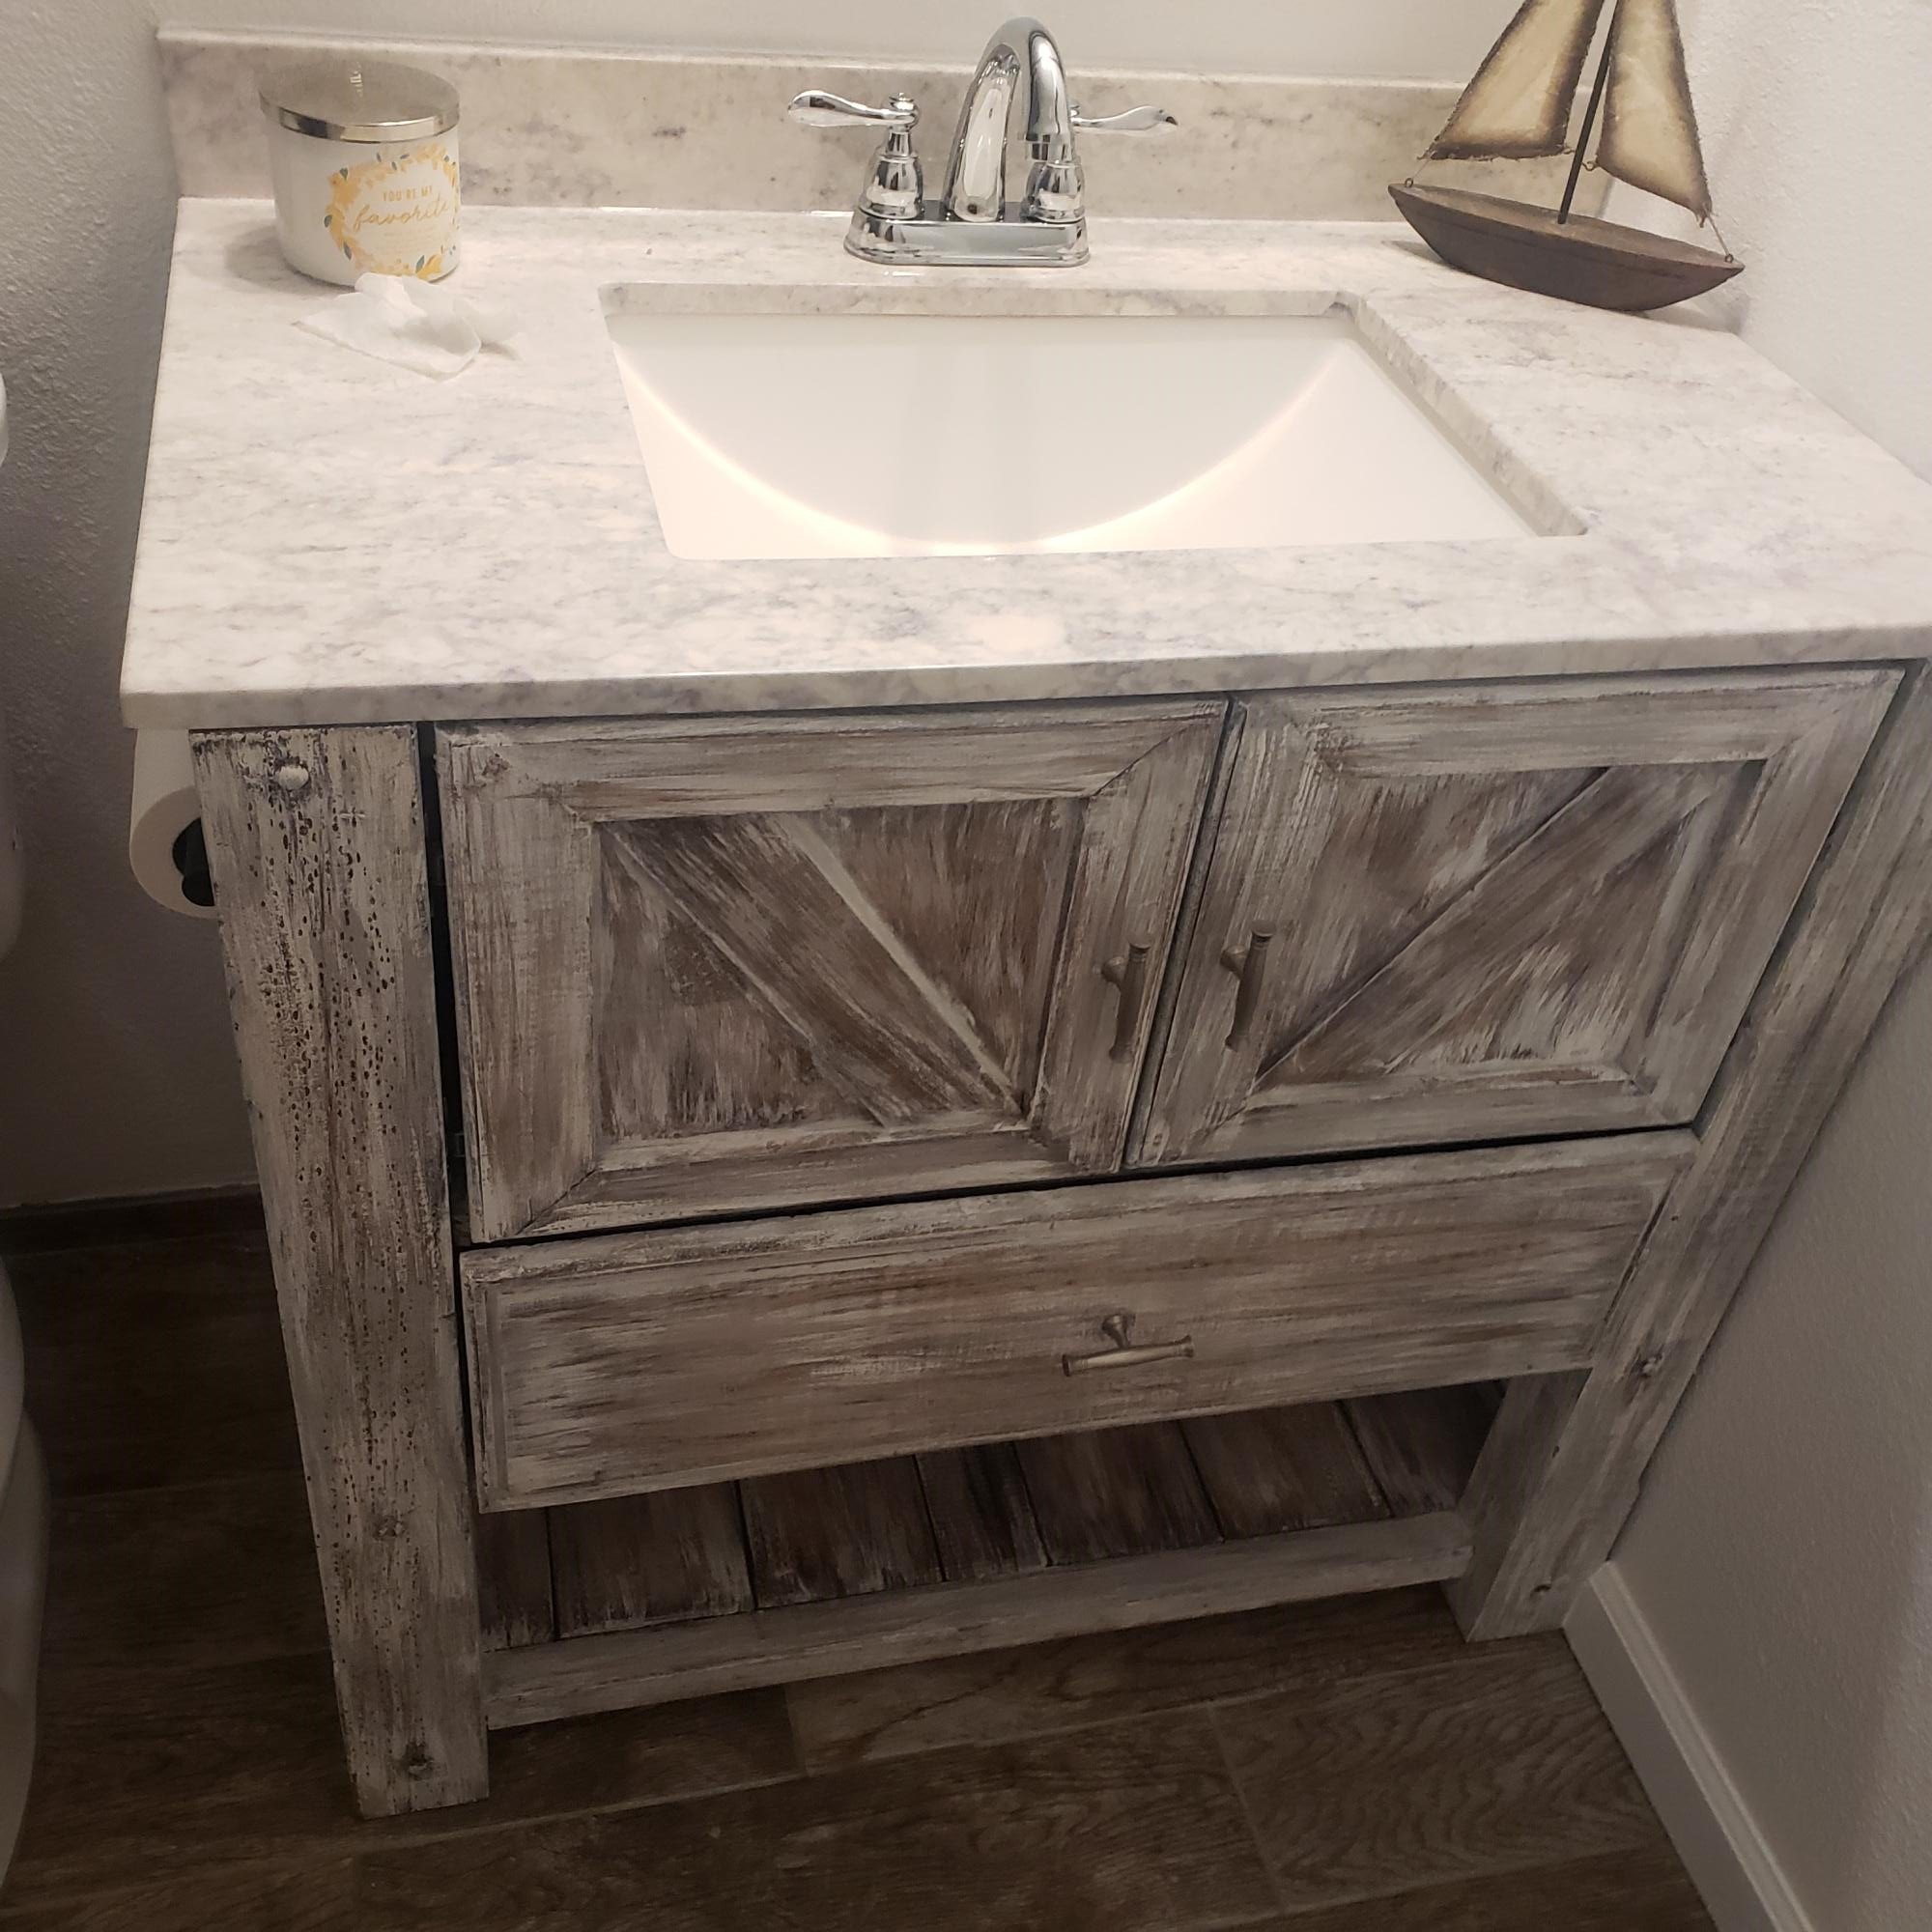
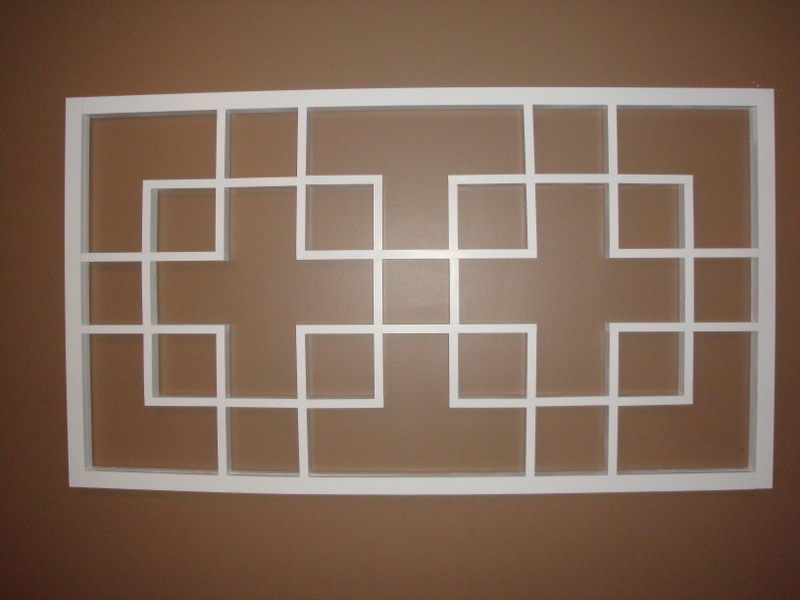
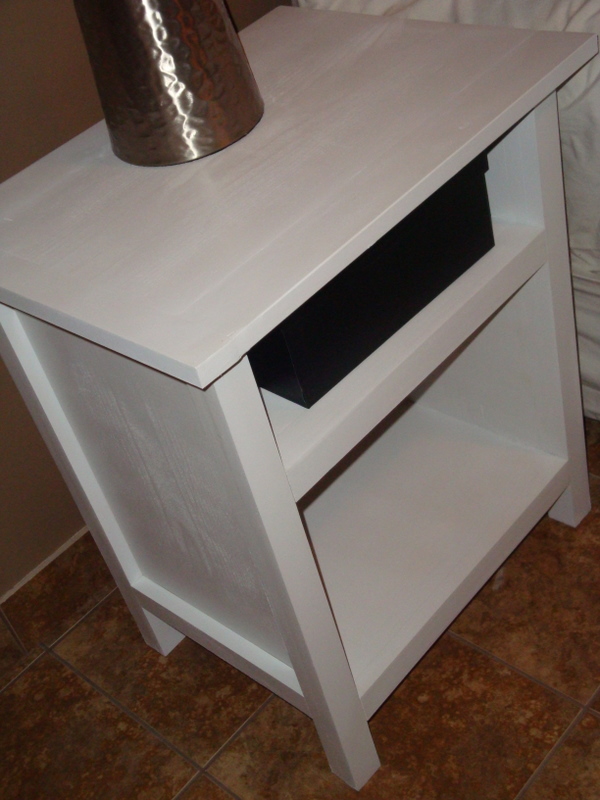
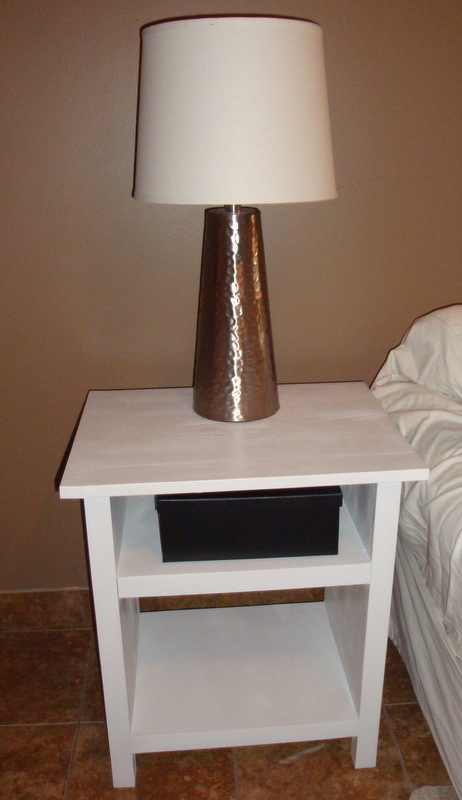
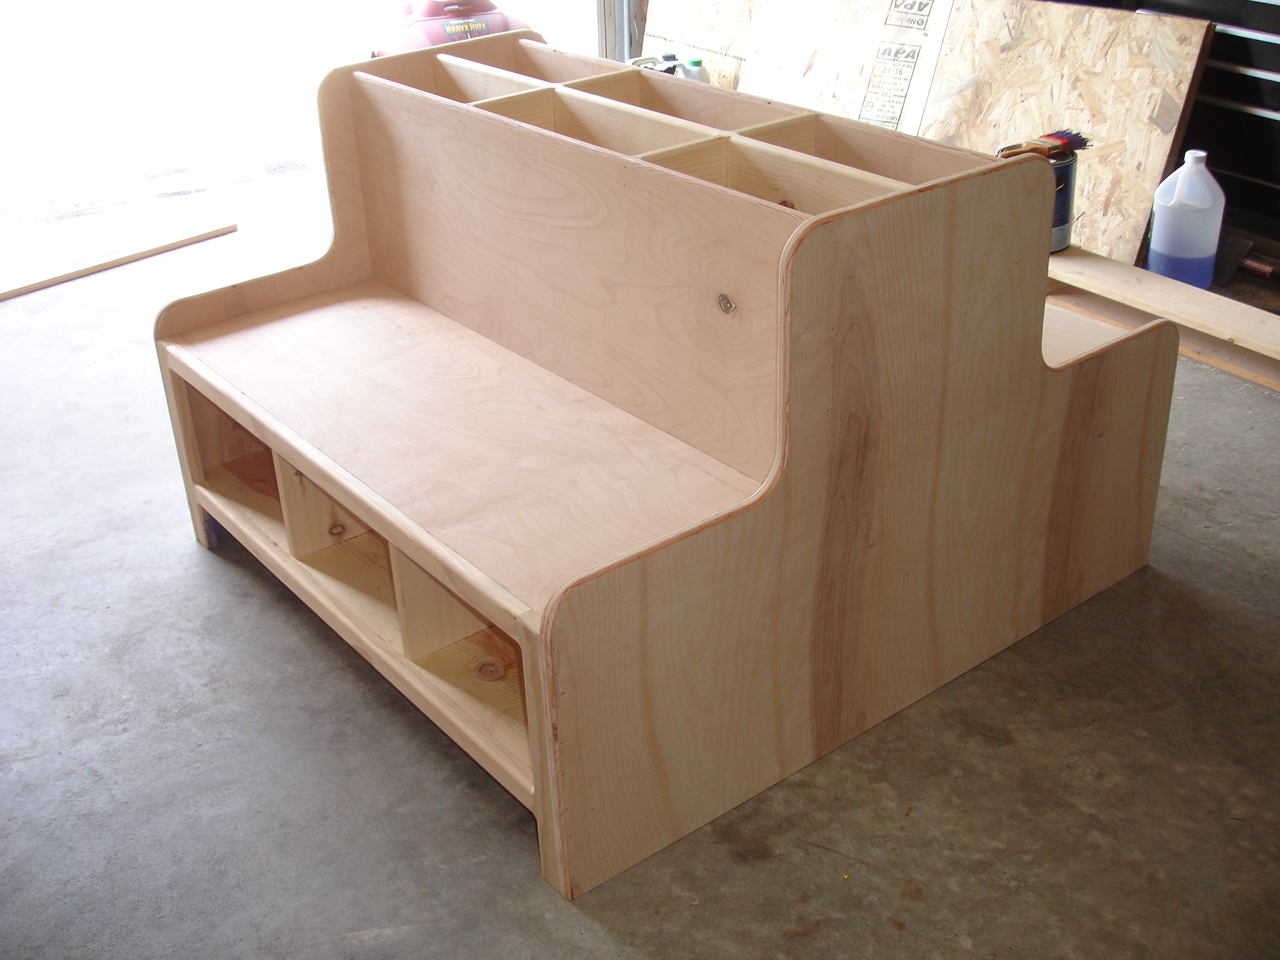
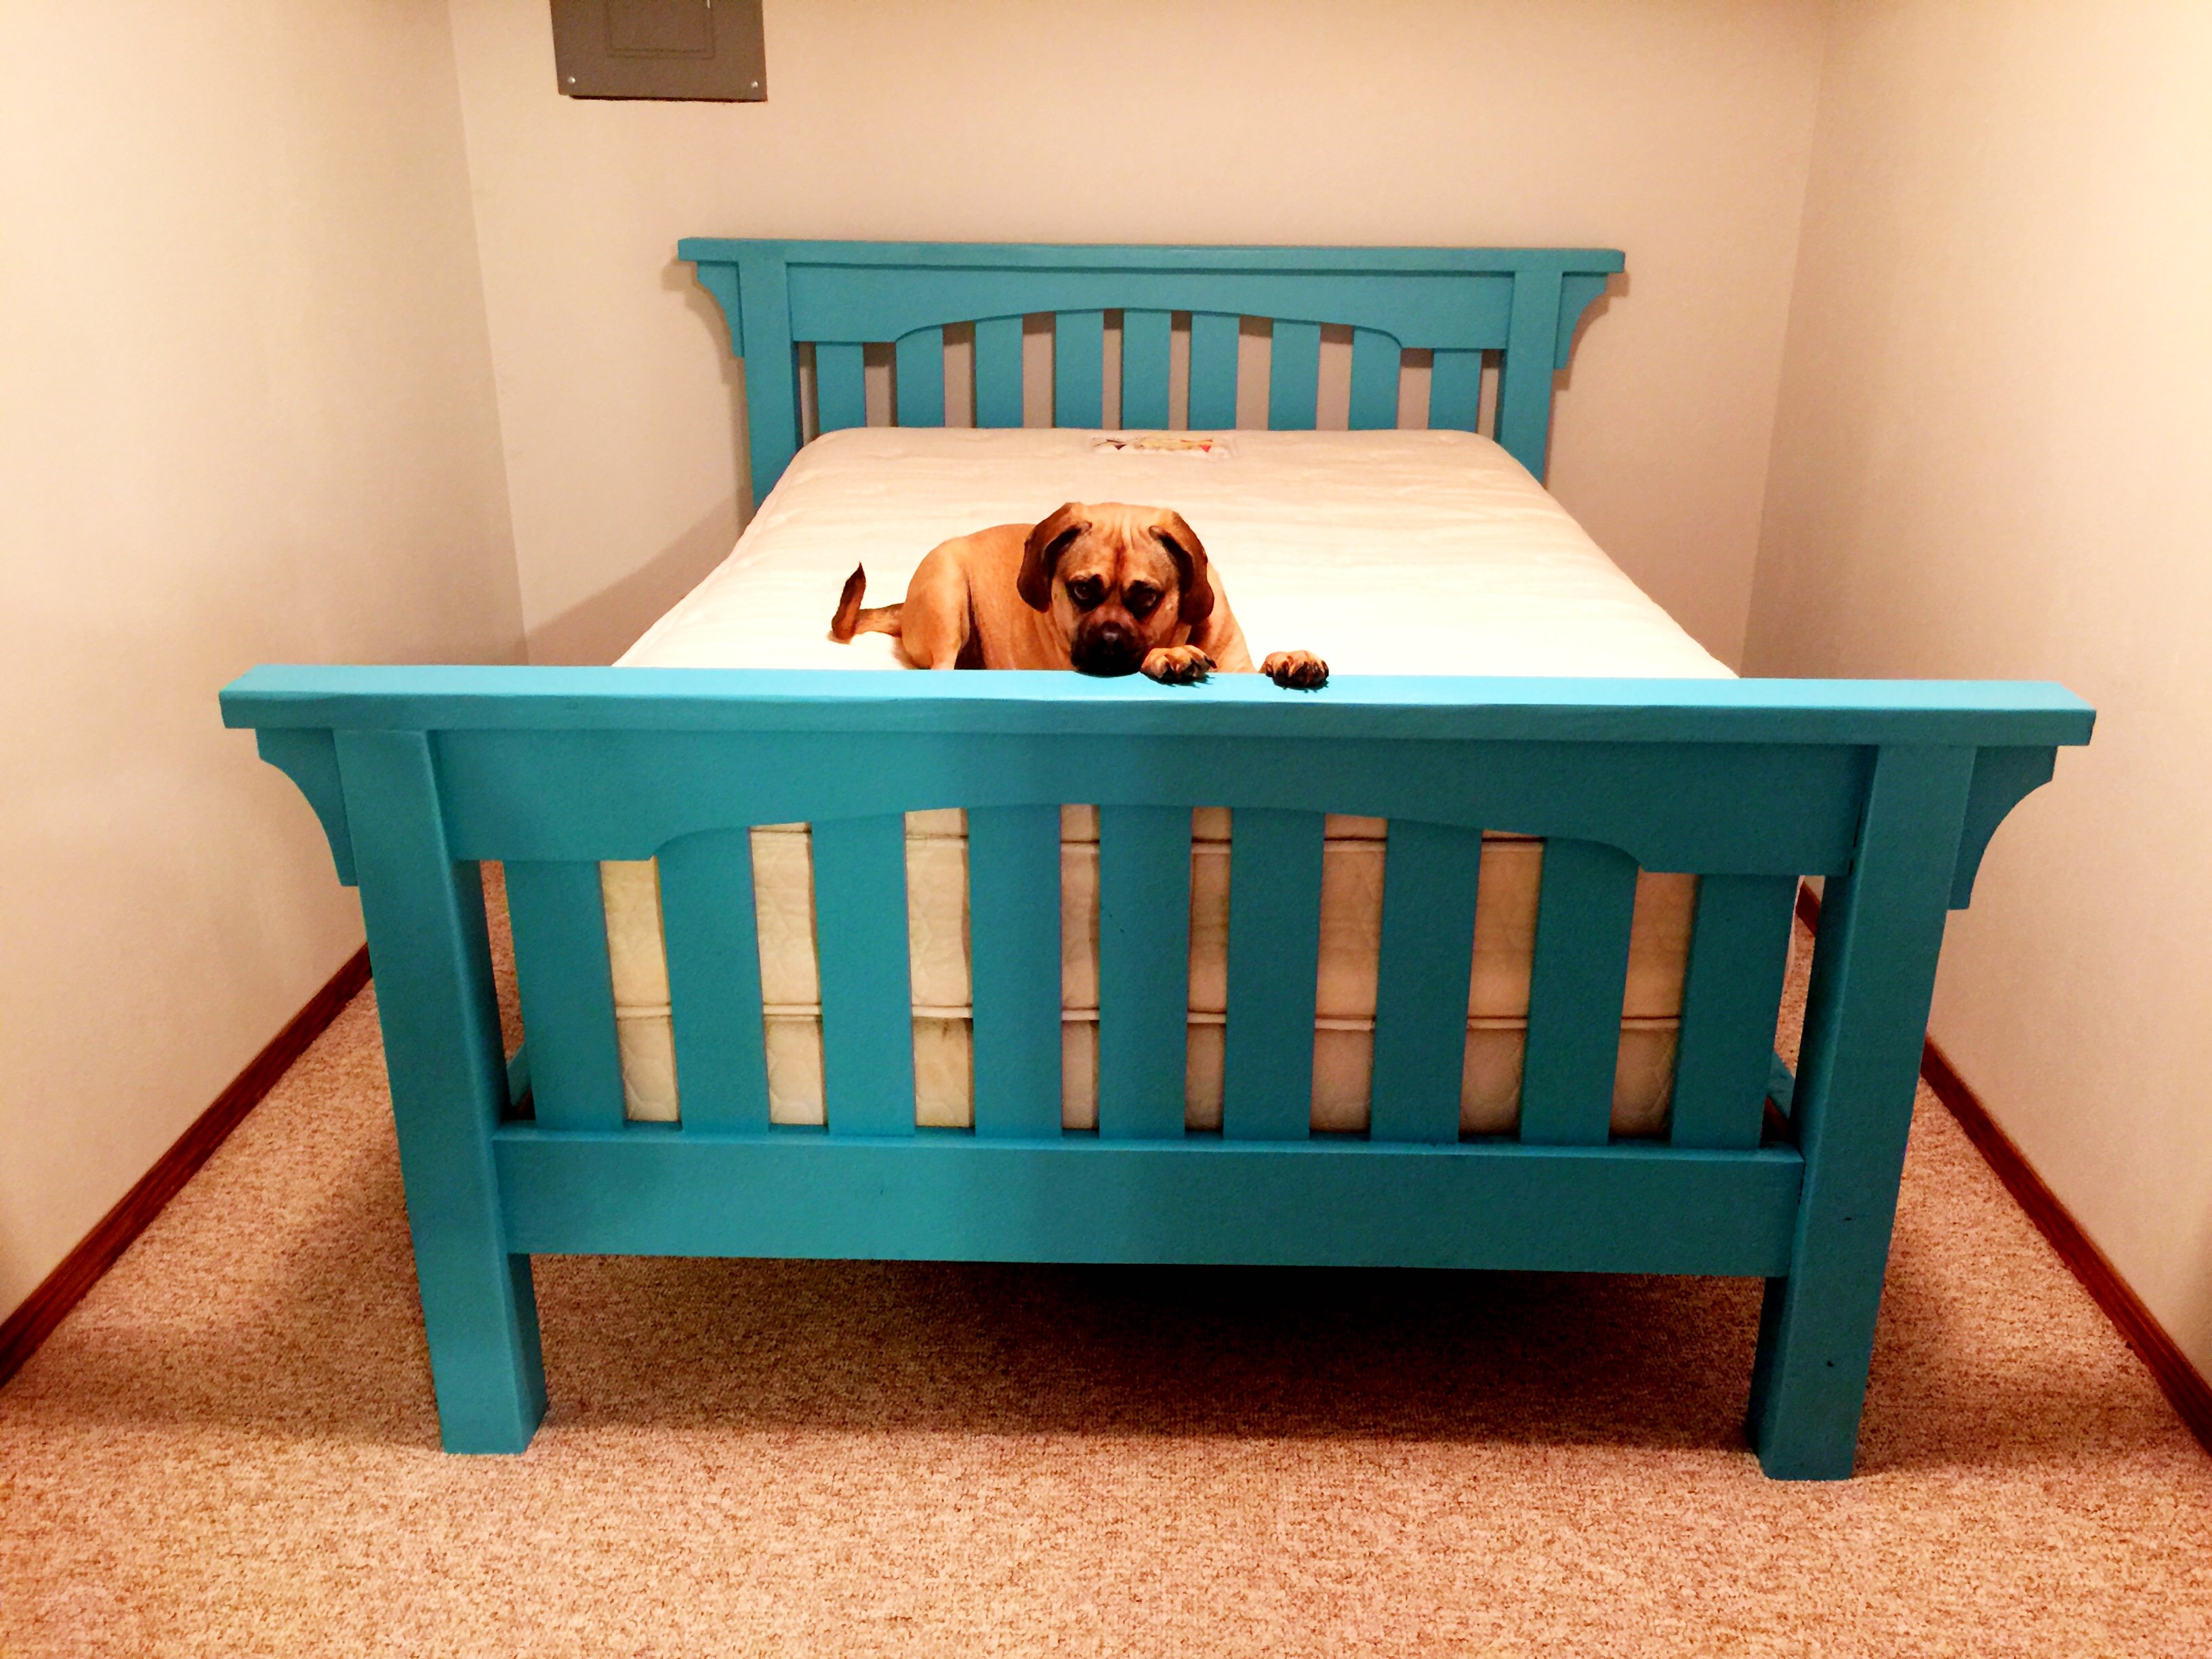
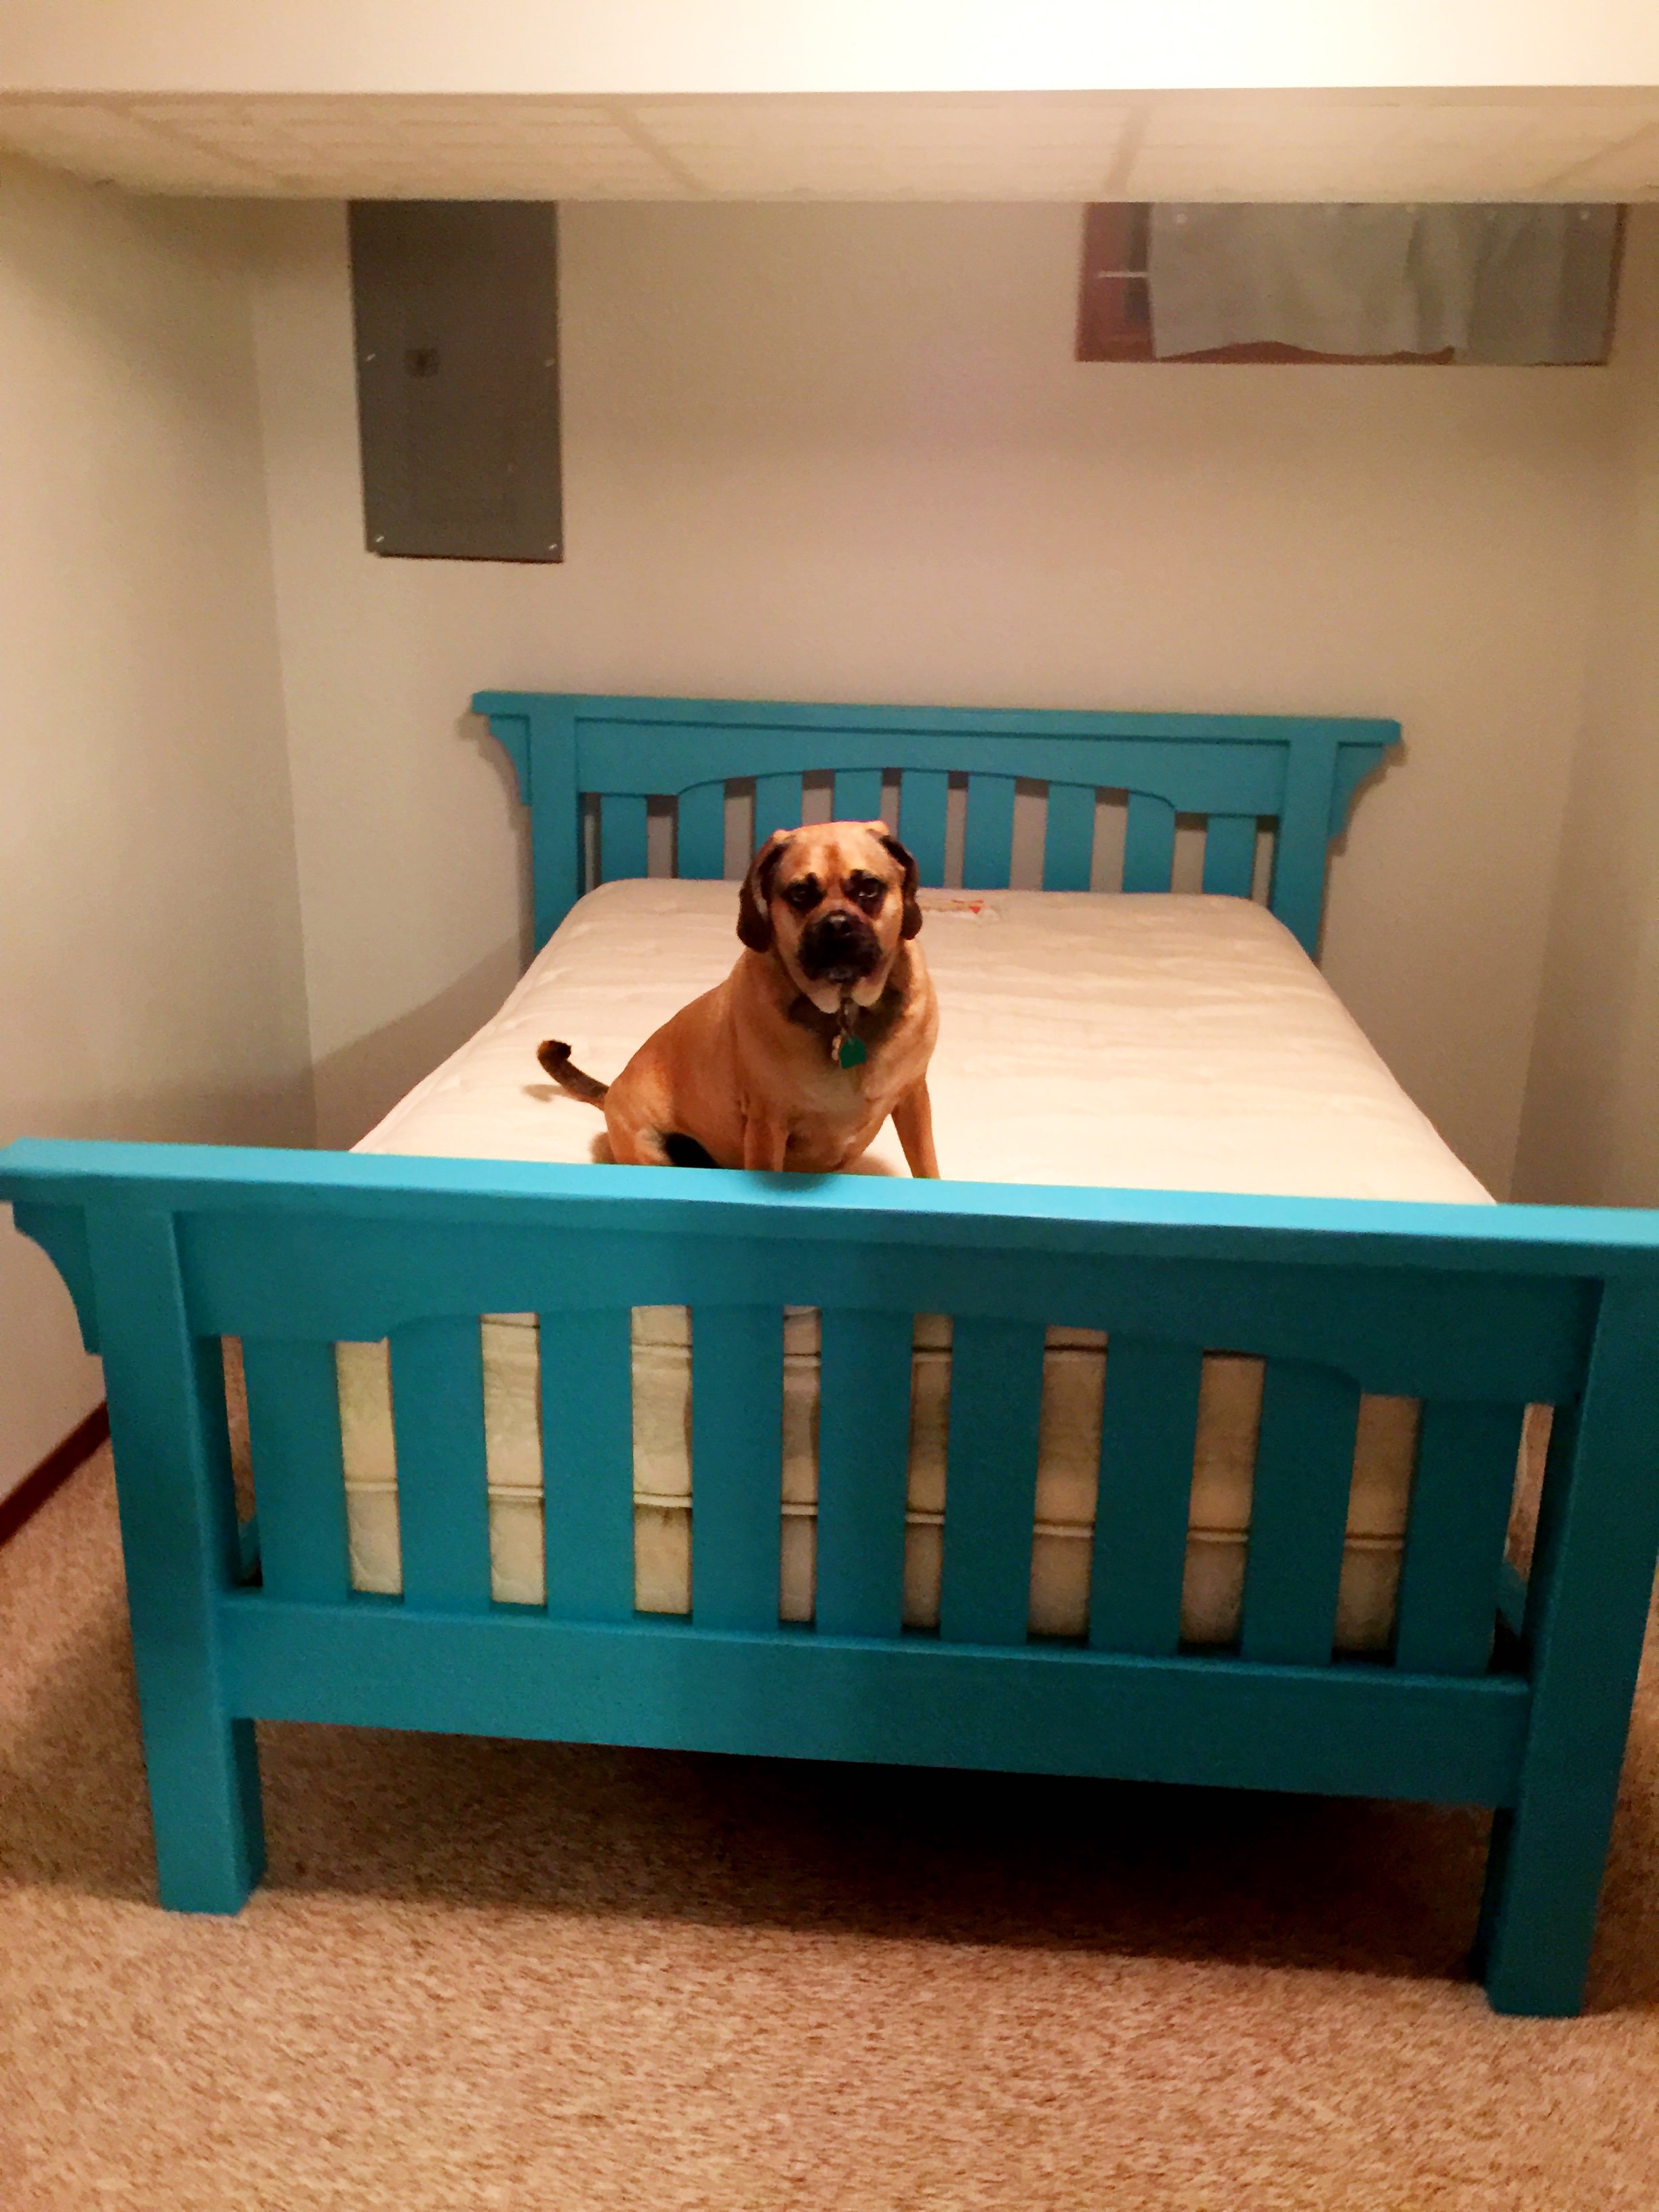
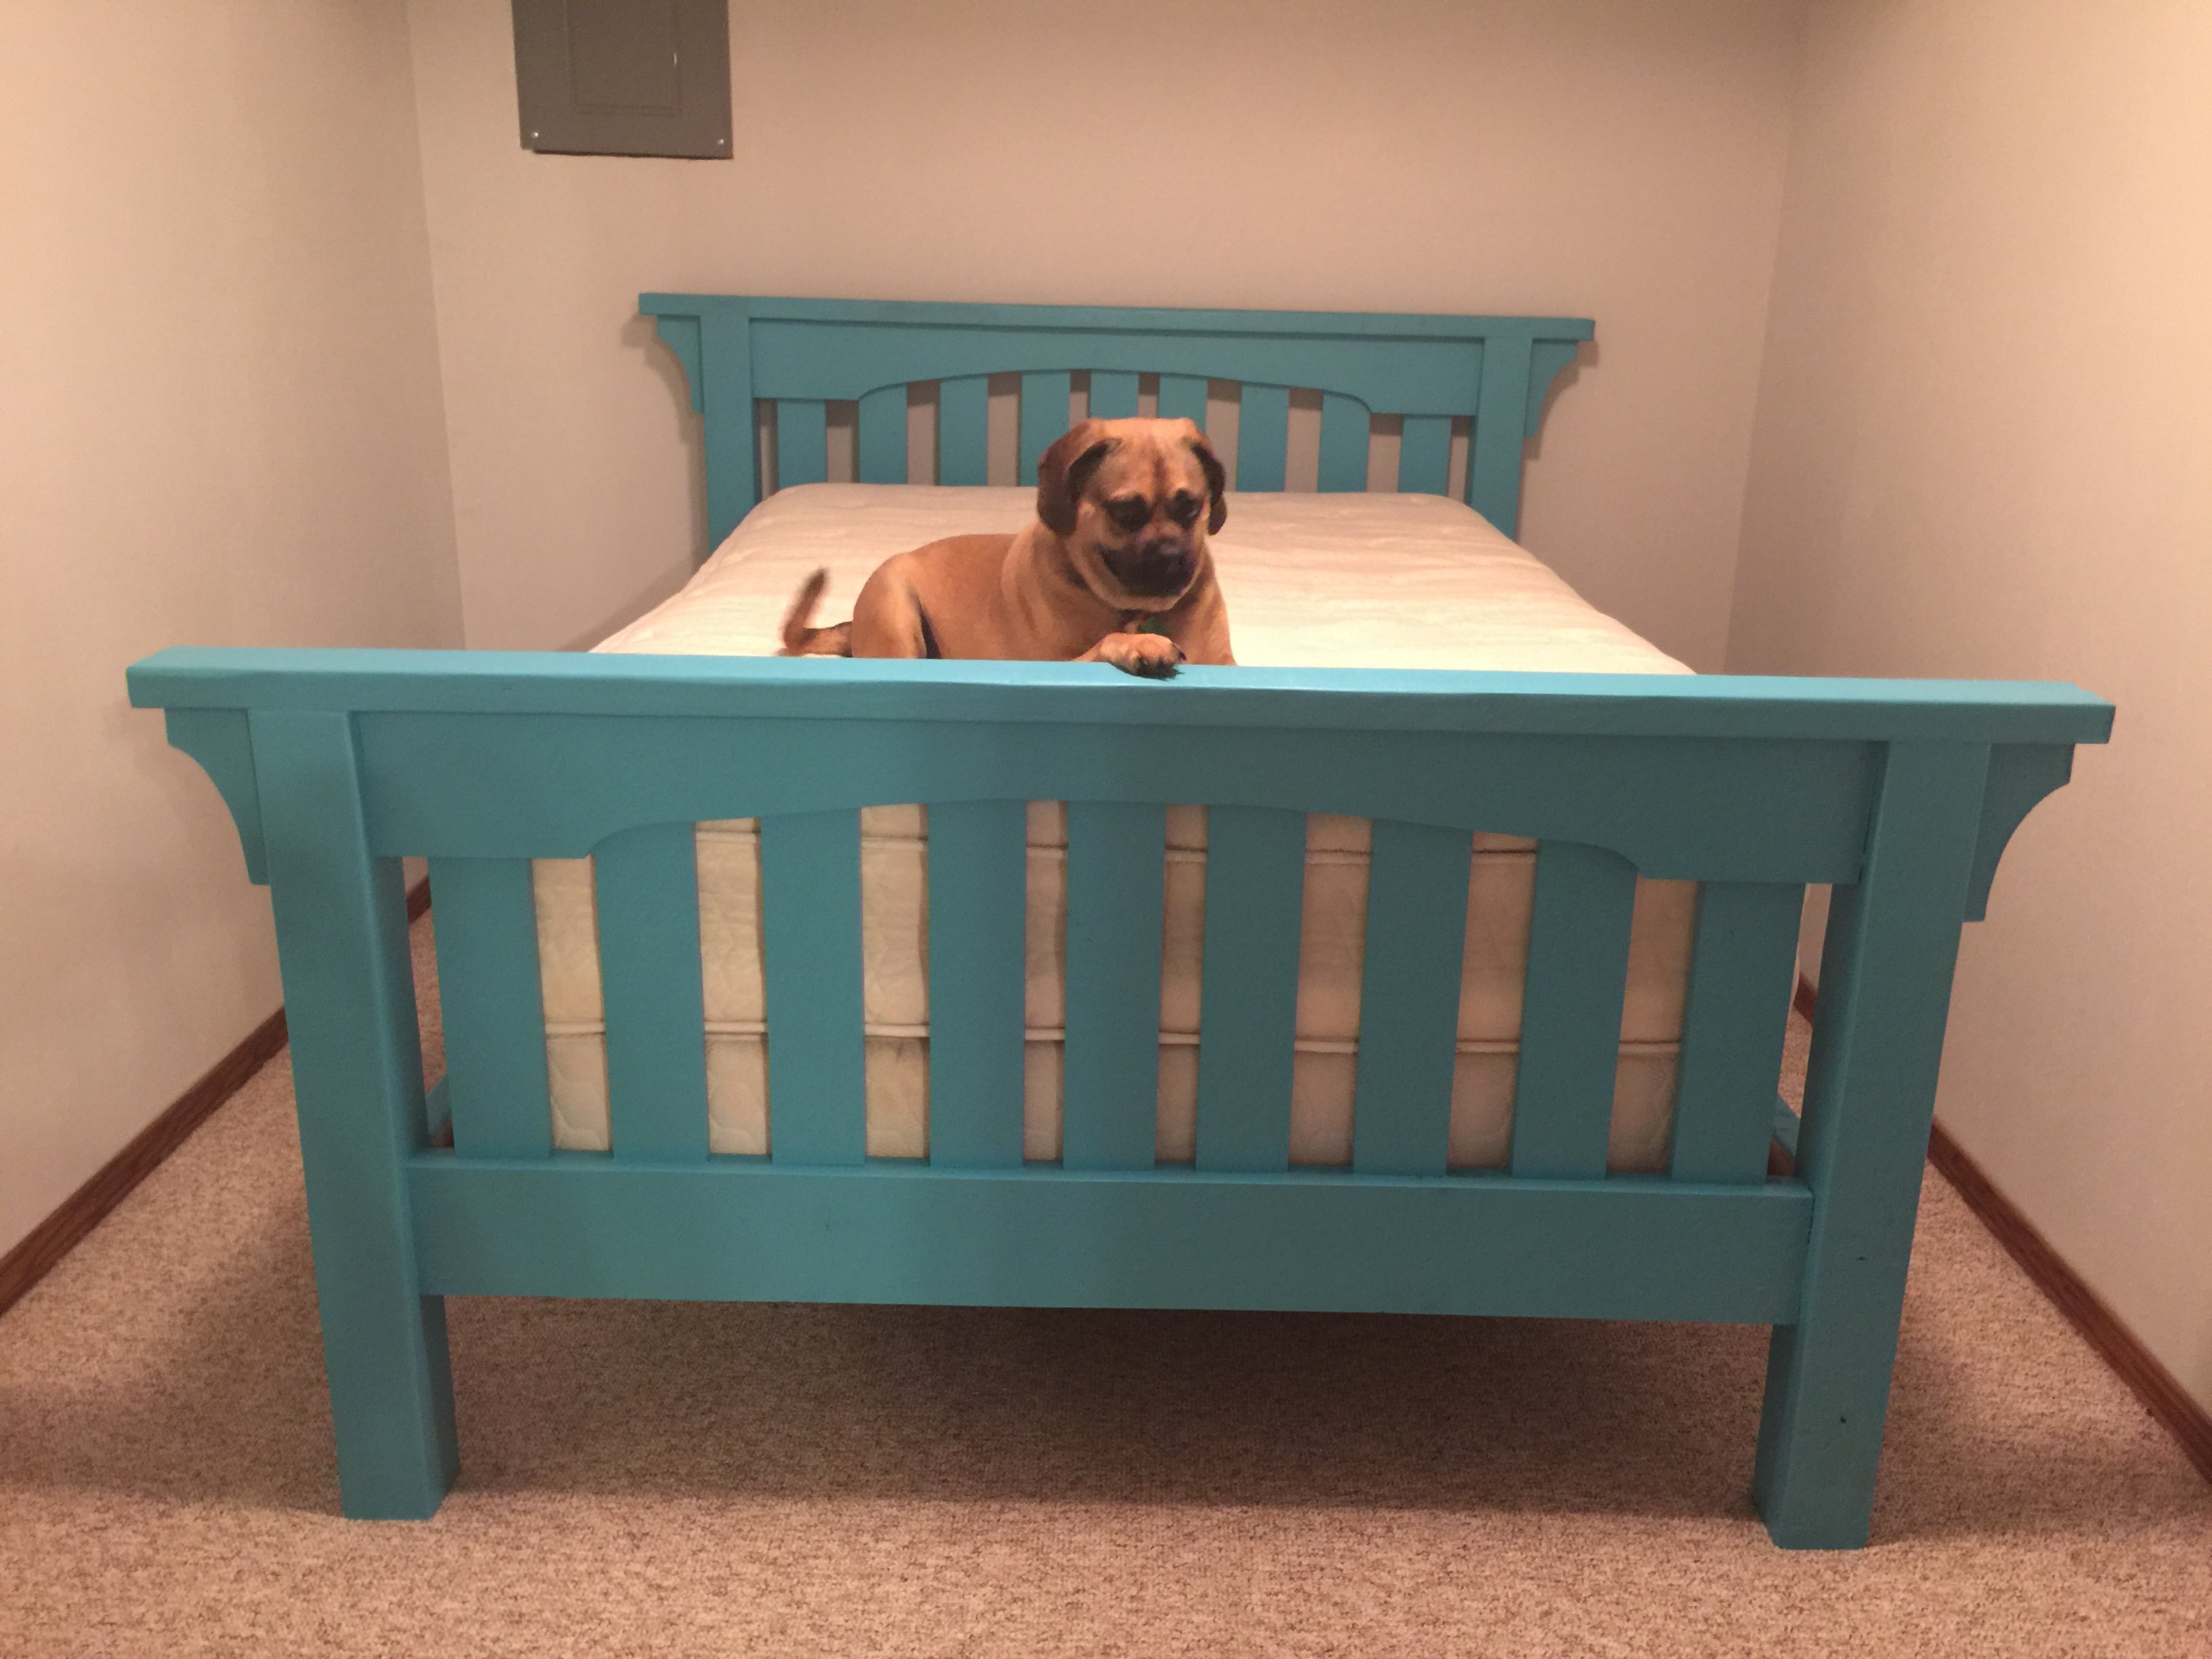
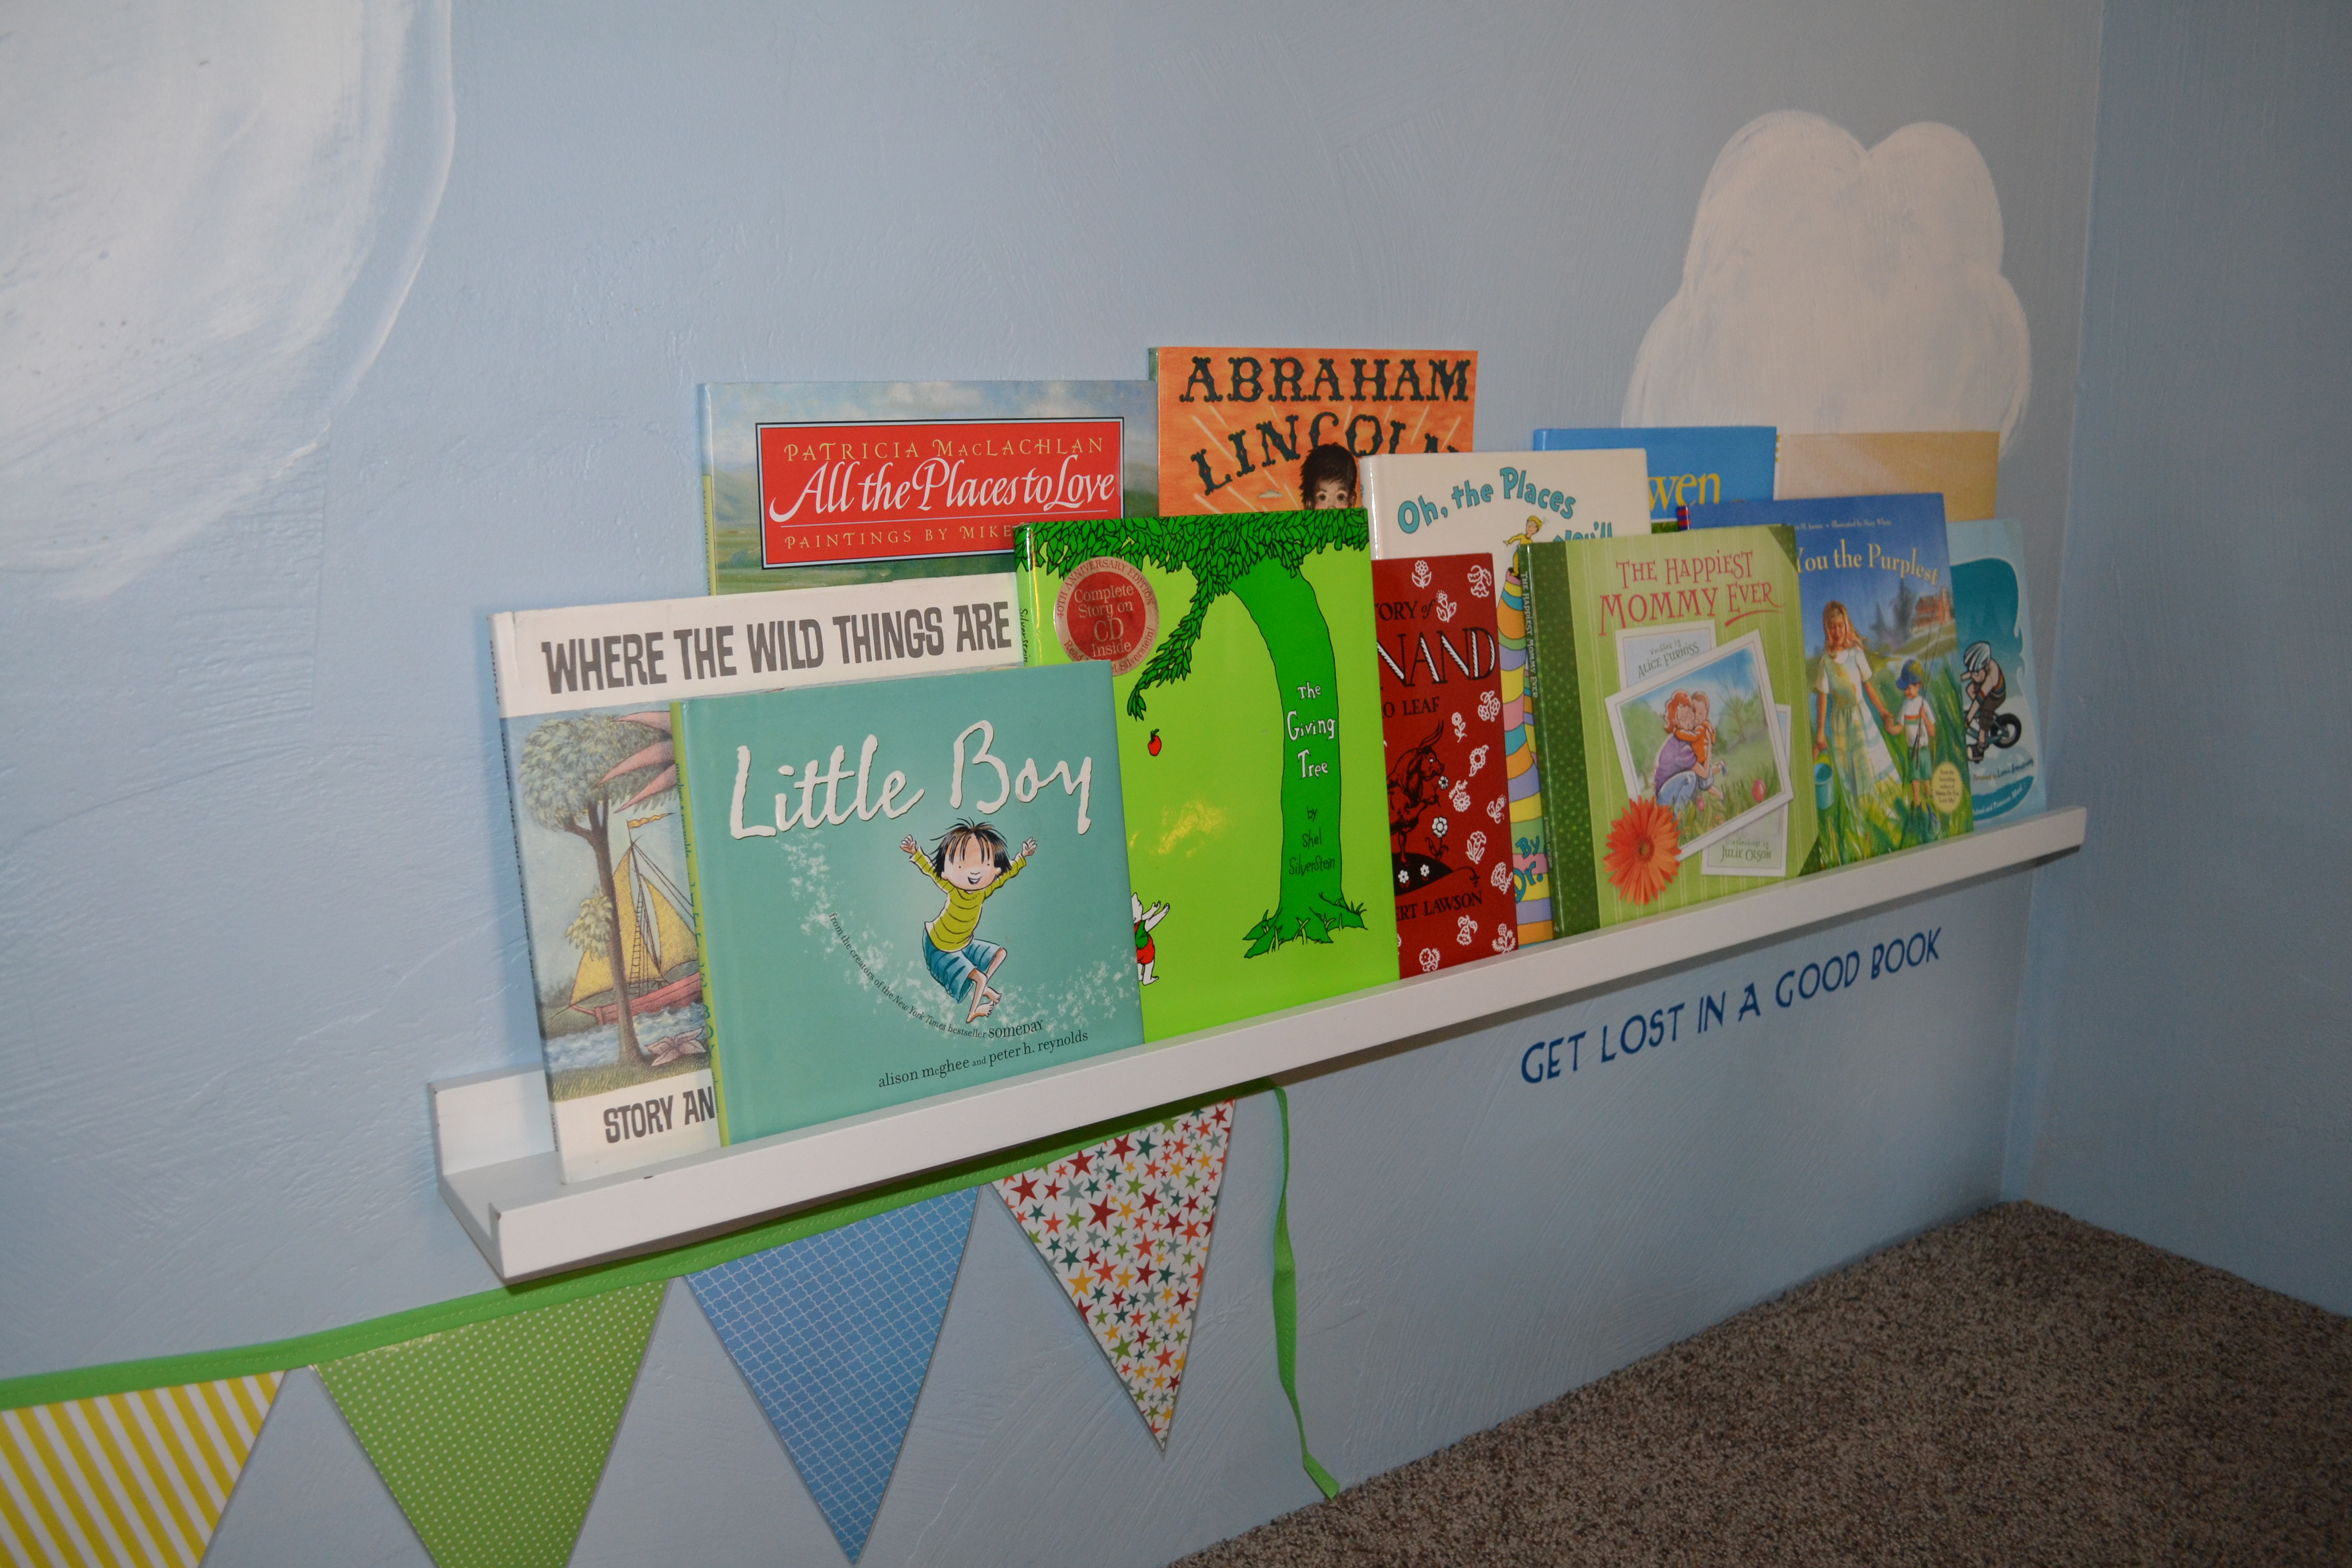
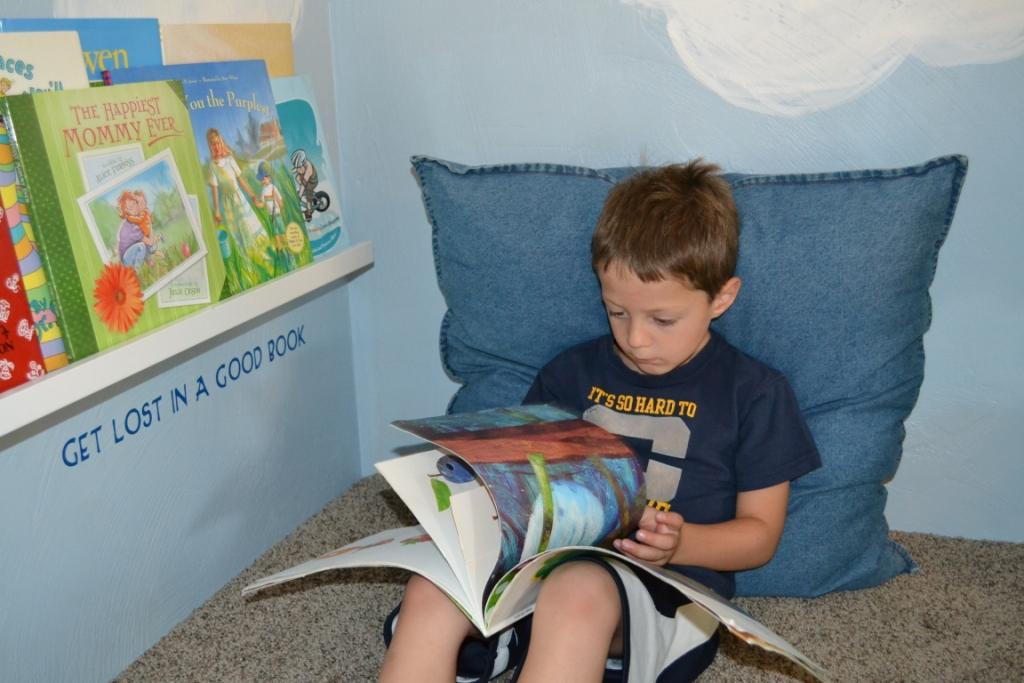
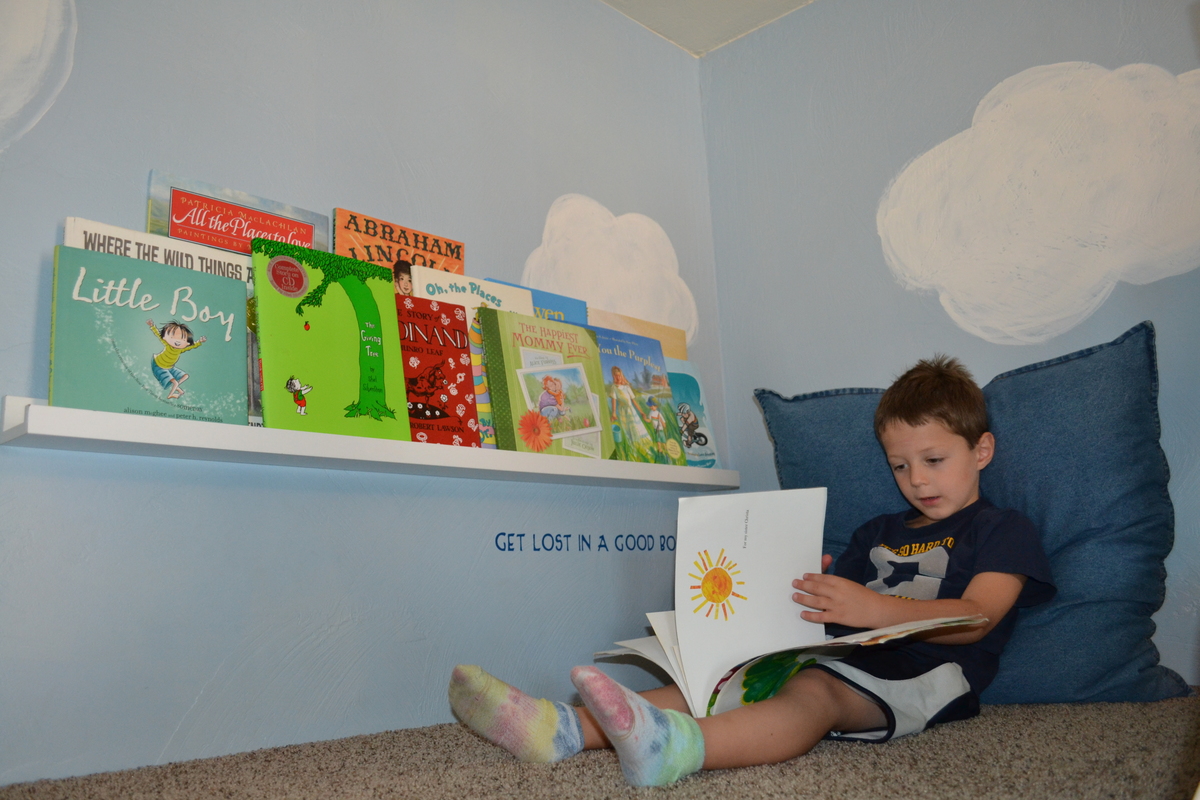
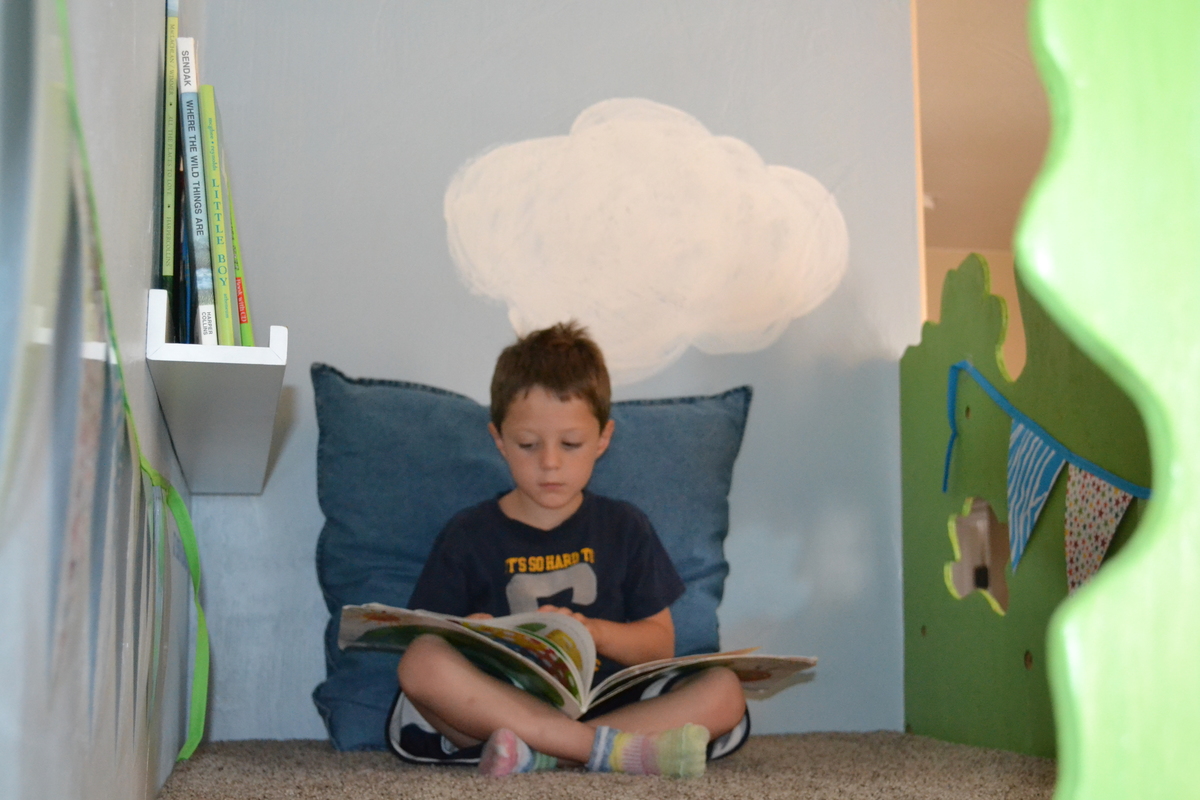
Surf and Beach Themed Bedroom
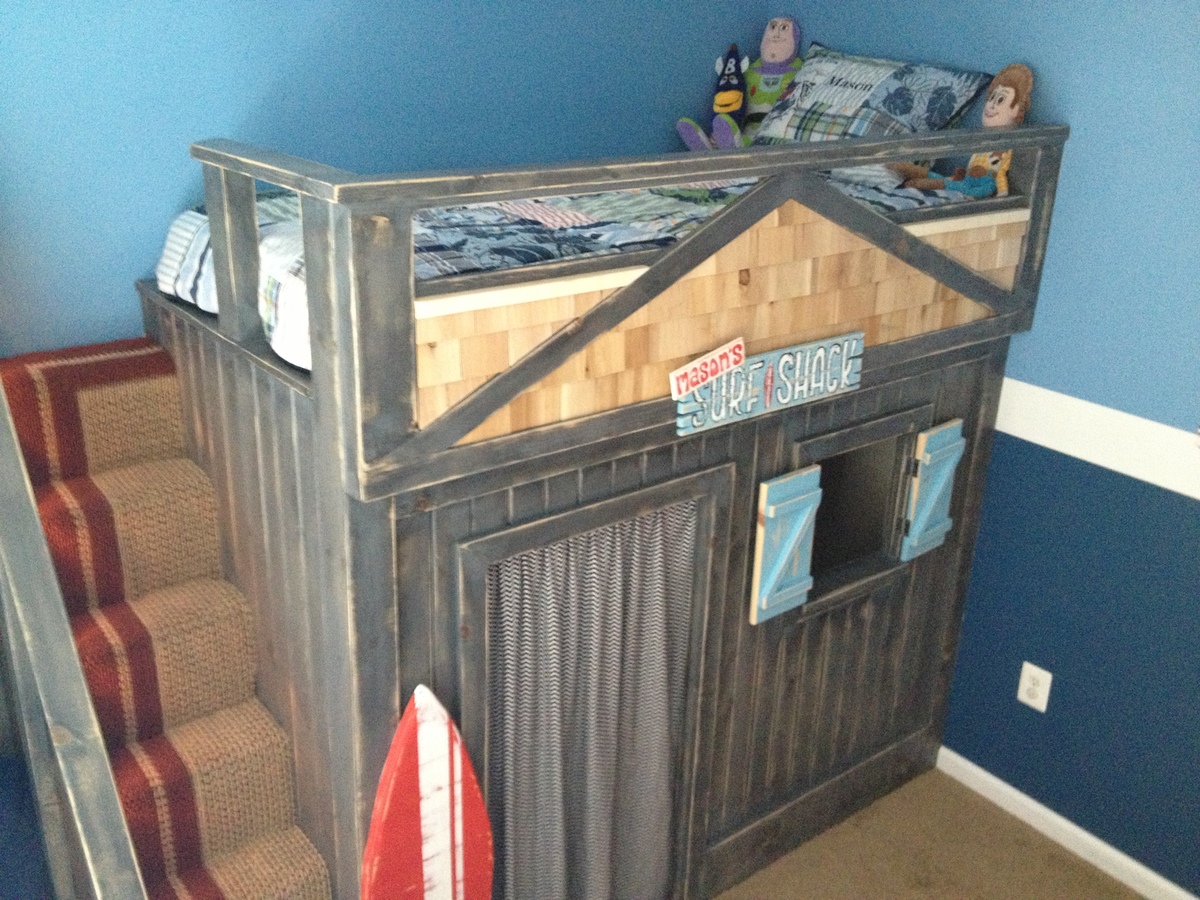
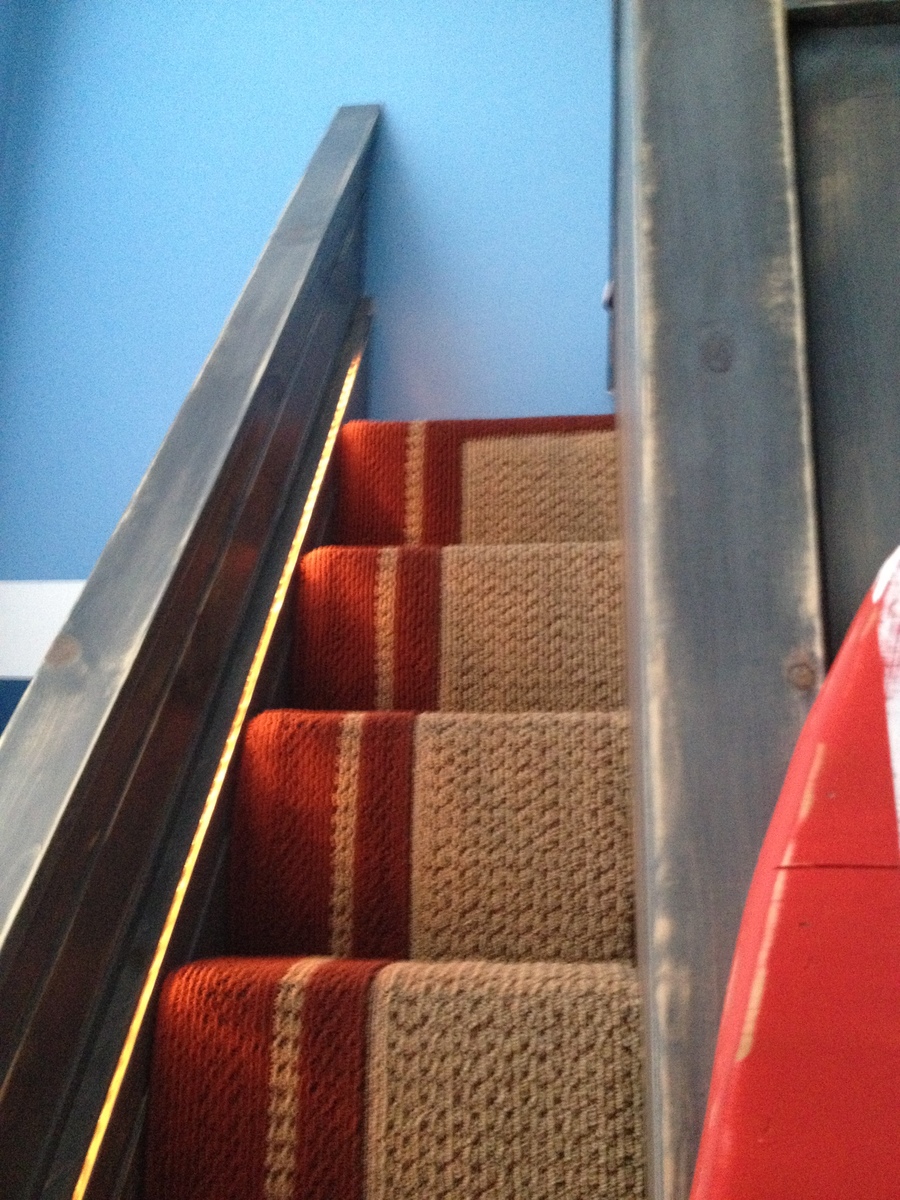
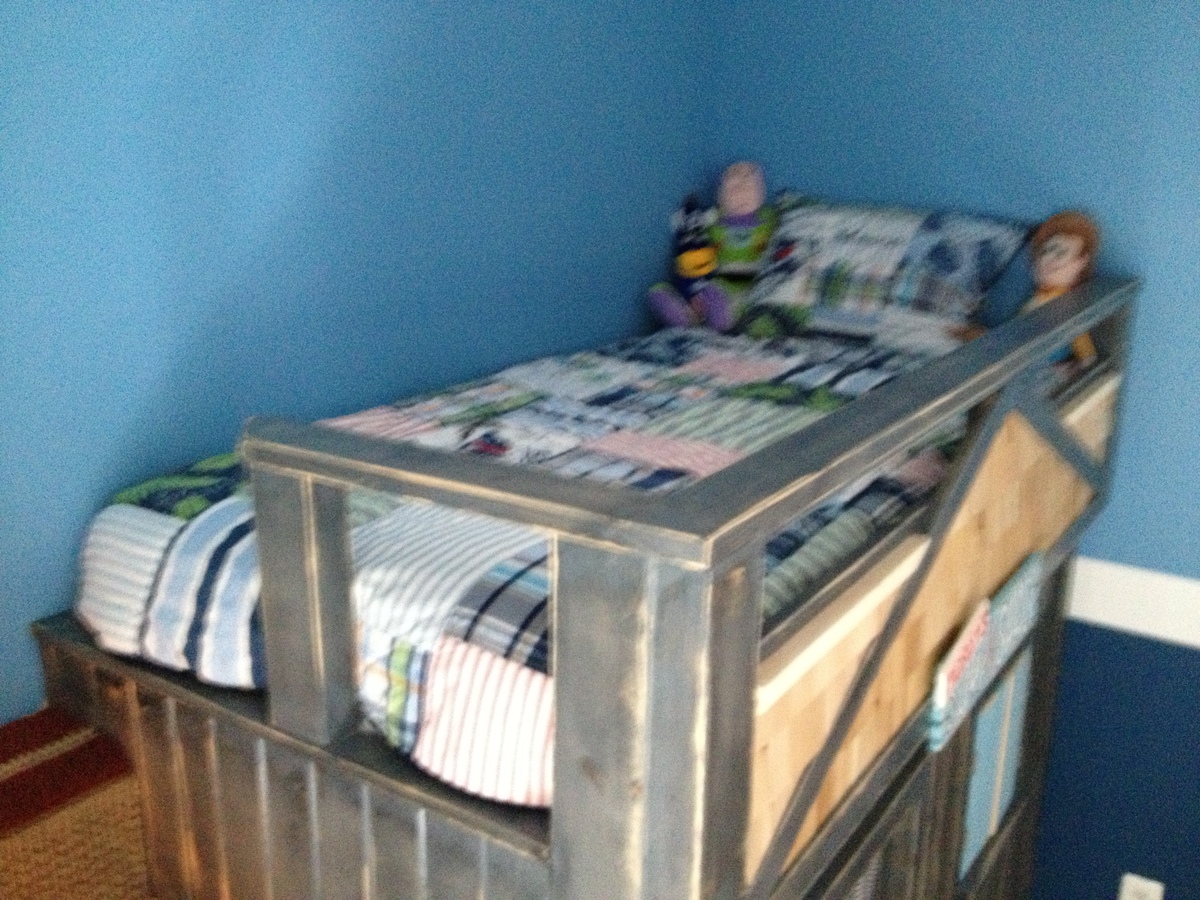
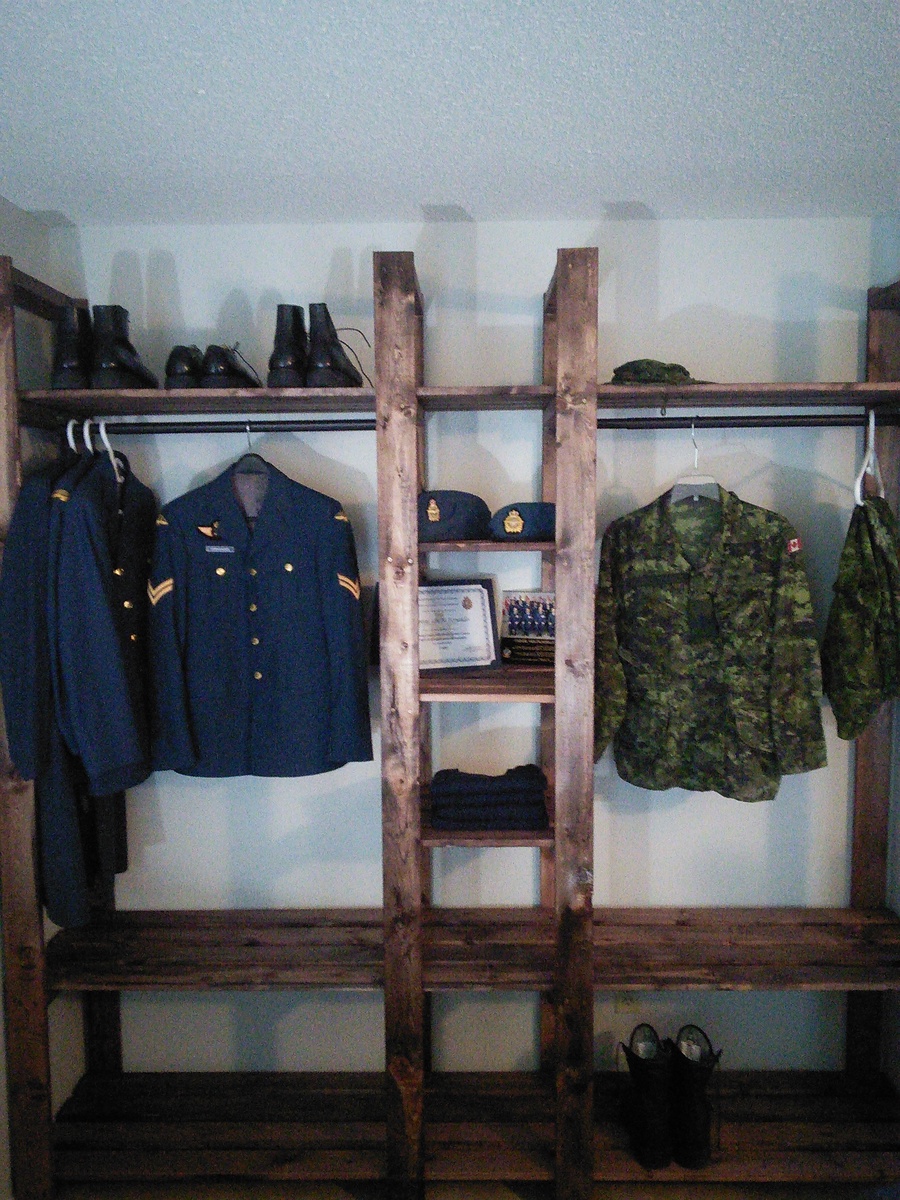
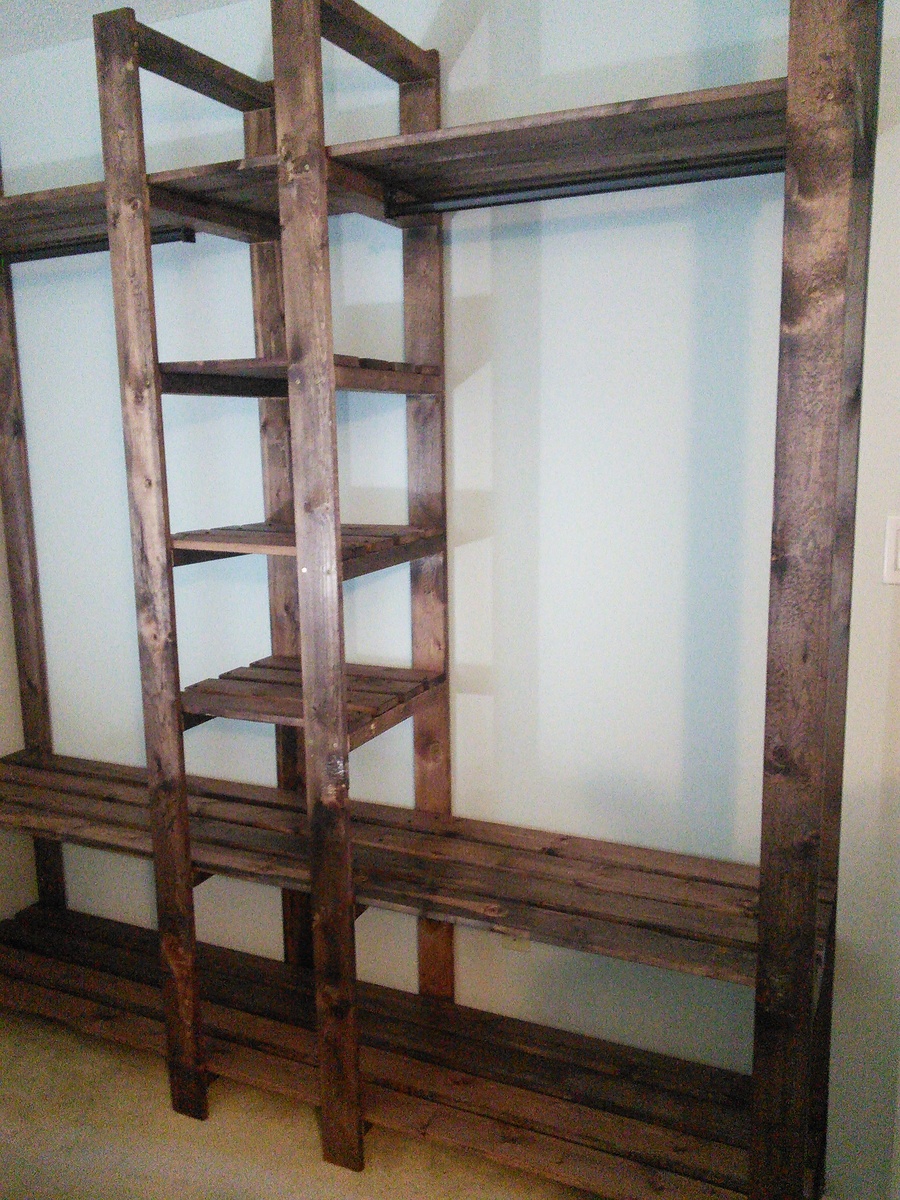
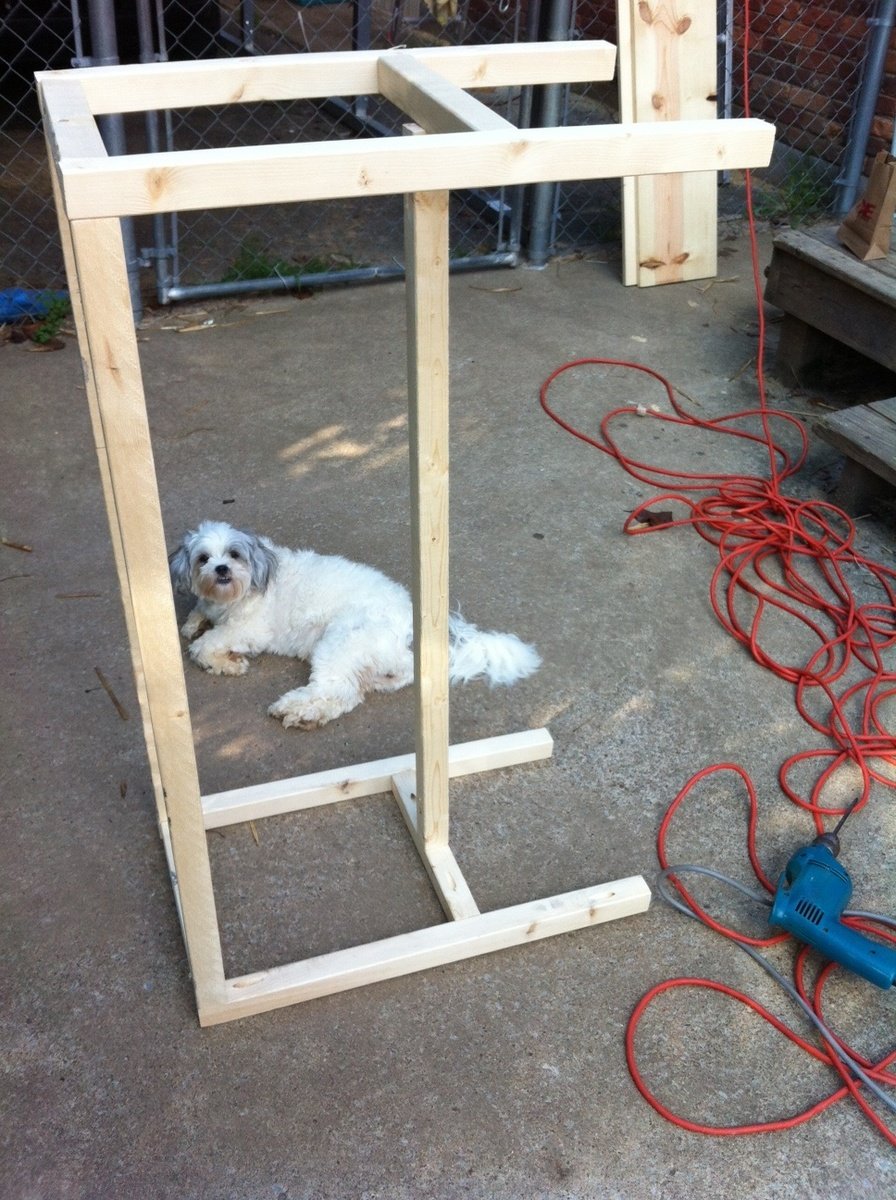
This project started with my son having the need for a loft bed. I began building the framing with some 2x4s and my imagination took over. The more I built, the more ideas and details I thought would be cool for whole theme. After finishing the "surf shack" loft, i moved to creating custom made fan blades, switch plates, placards, etc to fit the theme. It was all finished off by installing built-in shelves and painted walls.
Estimated Time Investment
Week Long Project (20 Hours or More)
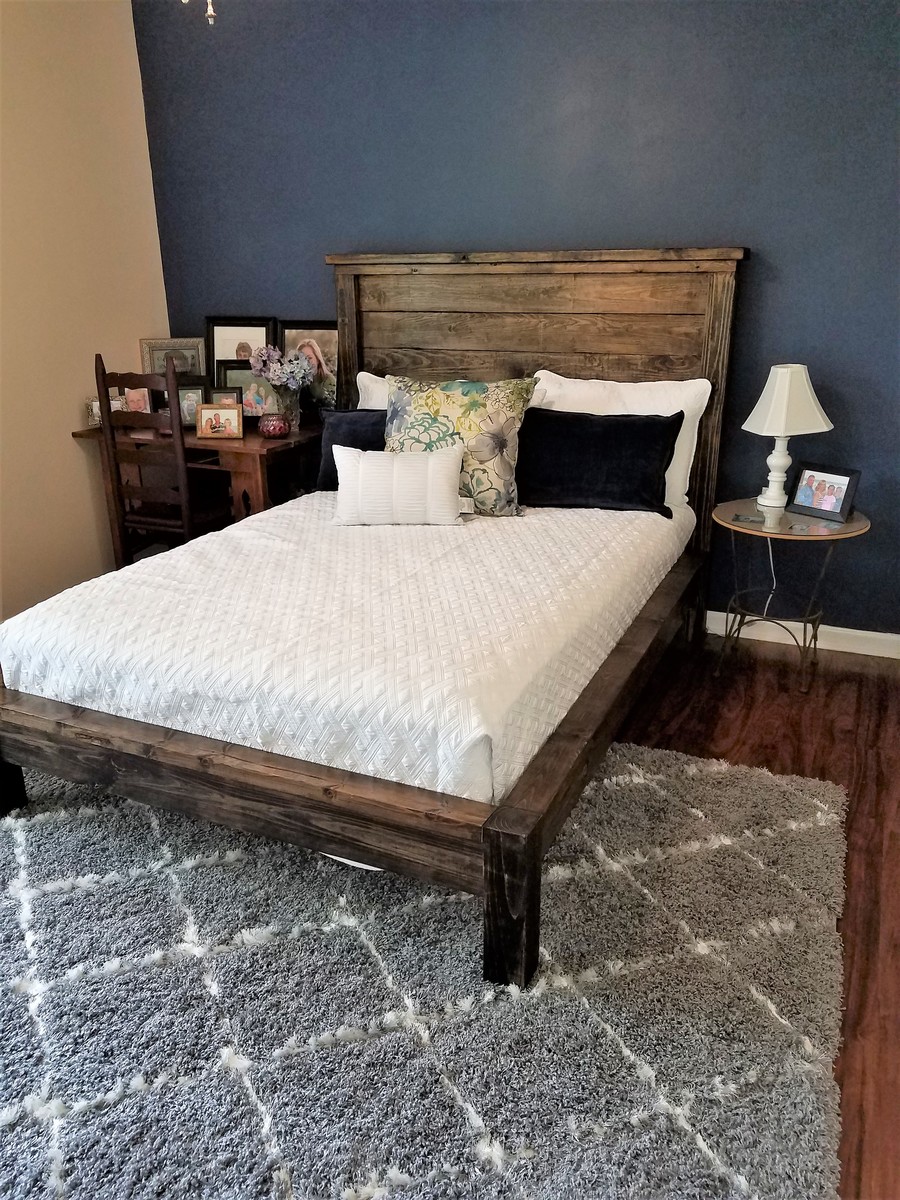
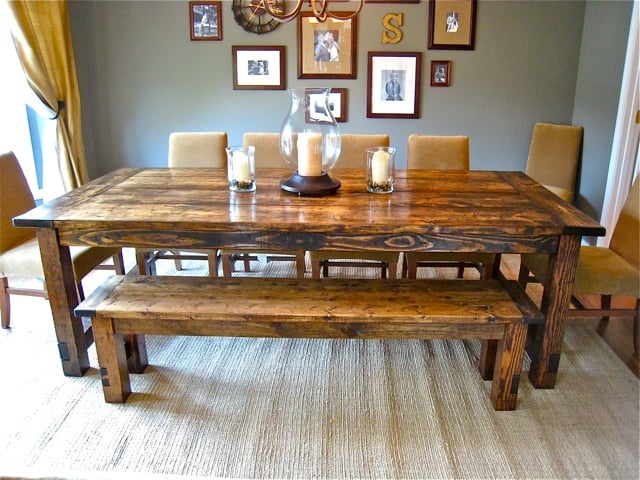
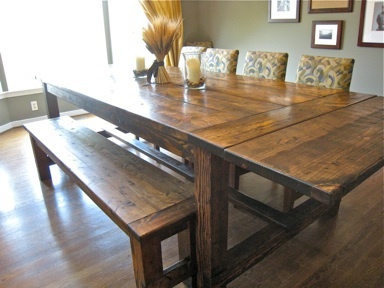
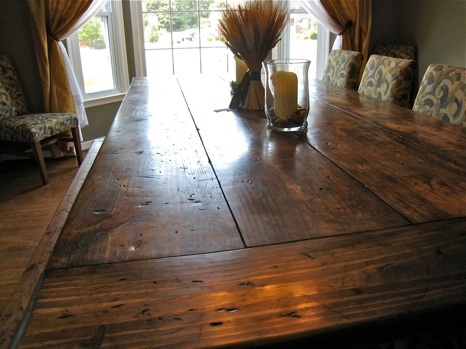
Finish Used
Watered down black paint applied and then wiped off to bring out grain and knots. Finish coat of Minwax Weathered Gray Stain.
Recommended Skill Level
Advanced


Comments
spiceylg
Wed, 07/24/2013 - 09:24
Resourceful
That came out really nice. Love all the added touches. Good use of that corner with shelves. We had a bigger niche like in our kitchen where we put shelves as well. The icing is the custom fan blades! Very clever!
NimbleShopper
Wed, 07/24/2013 - 10:28
Very Nice Work
Looks like it should be in a Pottery Barn Kids catalog. It looks beautiful. Good work.
smcoplan
Tue, 05/12/2015 - 13:25
Plans??
I LOVE THIS and want to make it for my son!! I don't see any plans attached - do you still have them?? I made your other surf shack loft bed for my other son and it was a hit!!!