We Love our Sectional and Tables
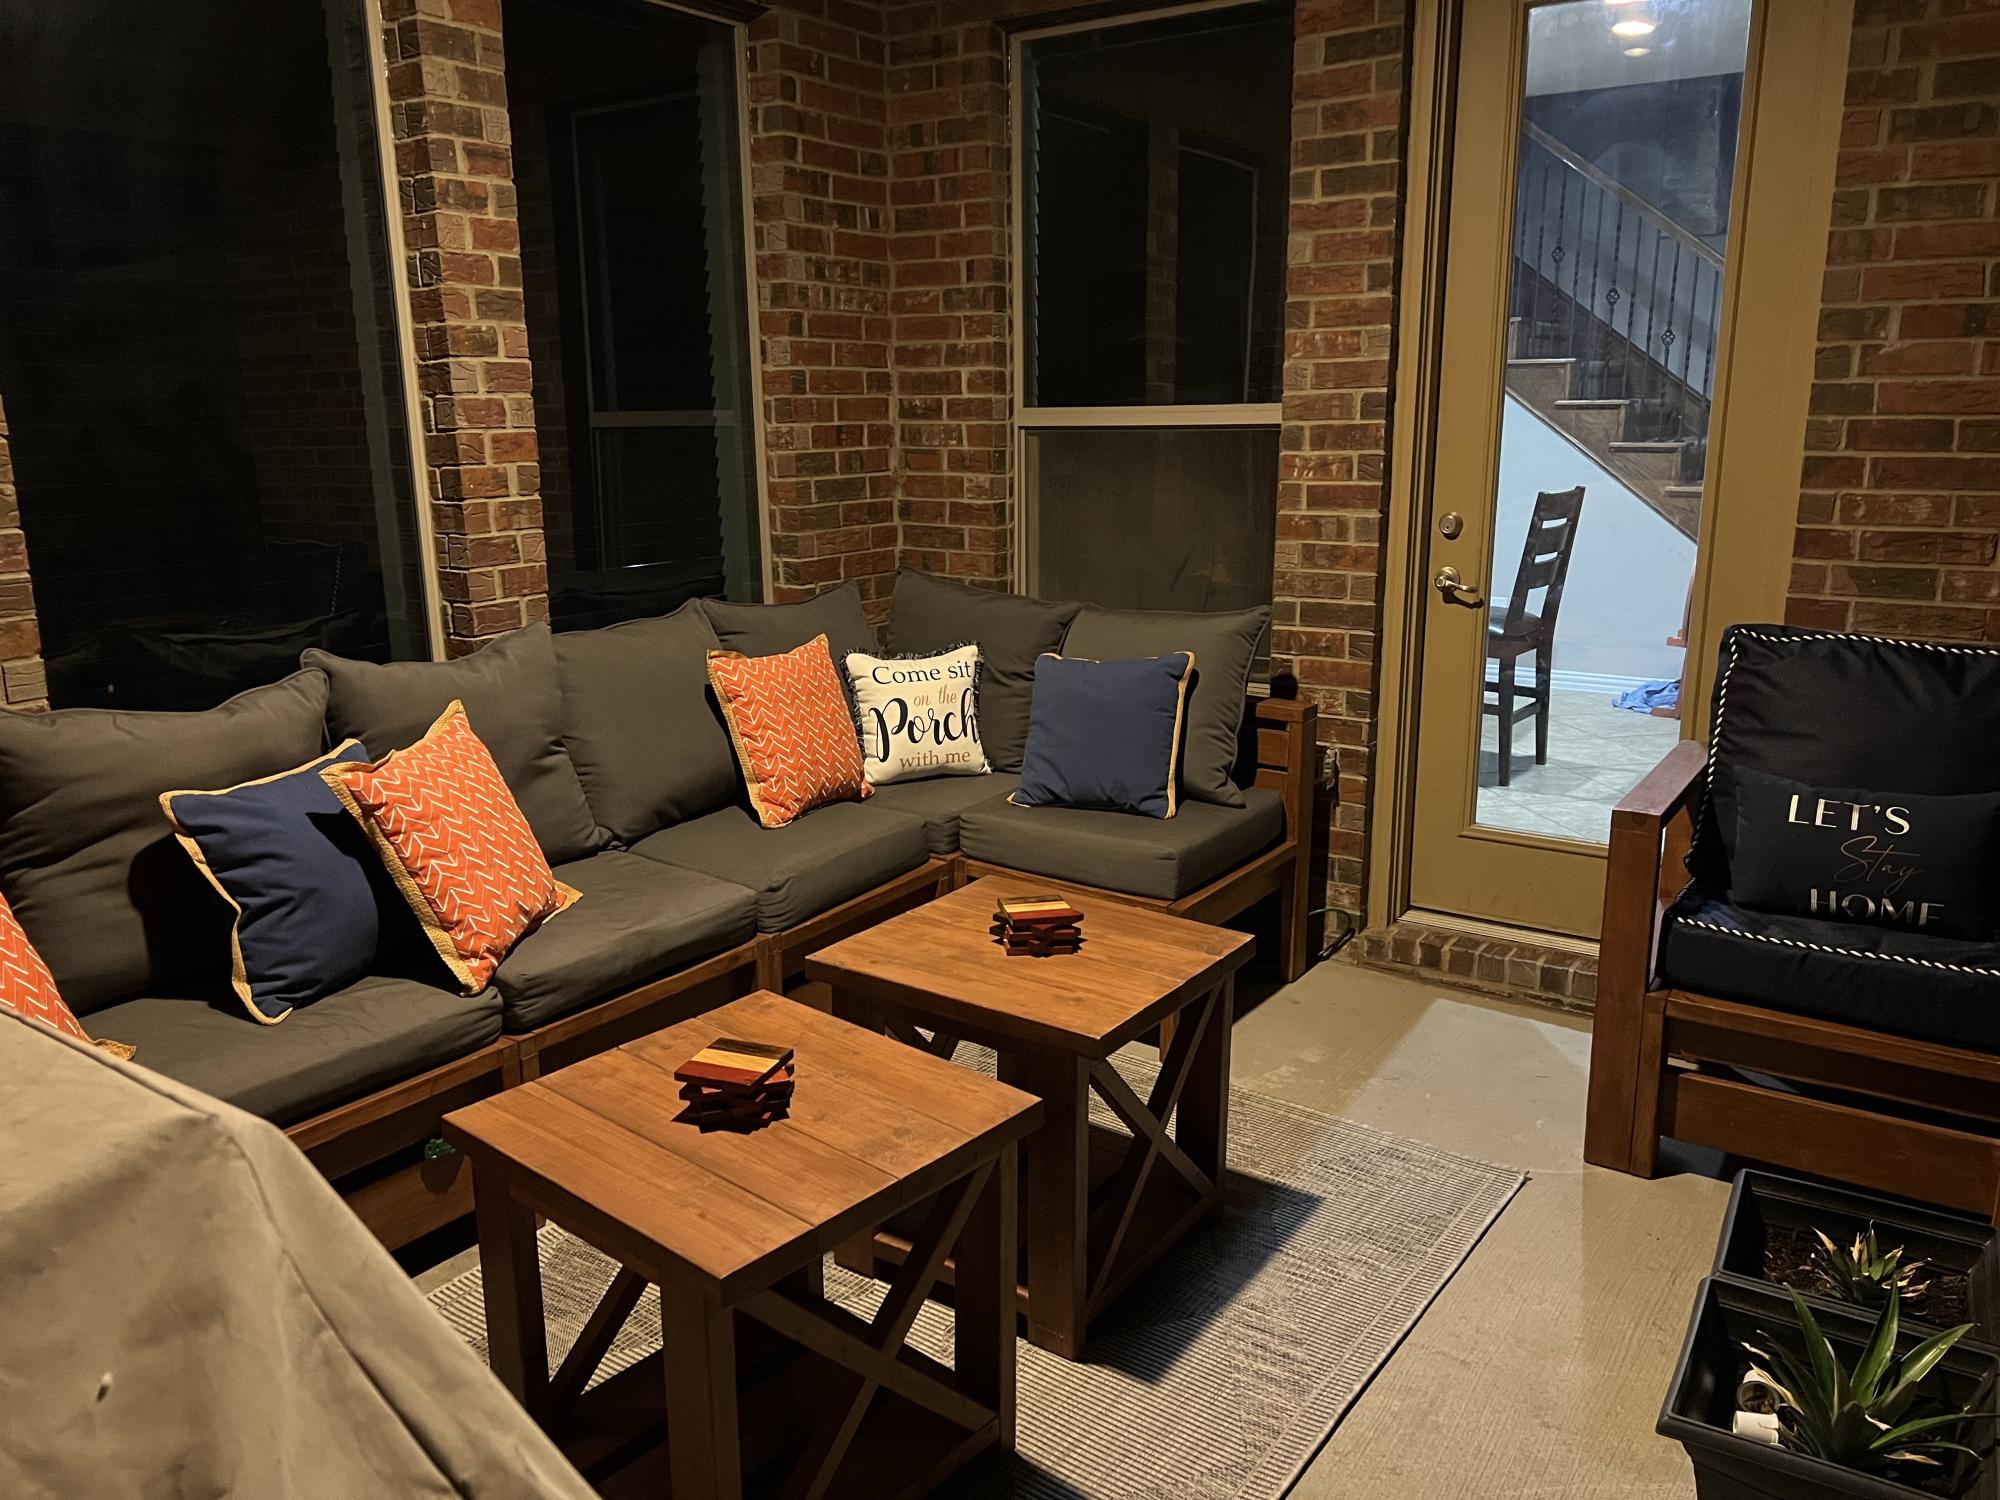
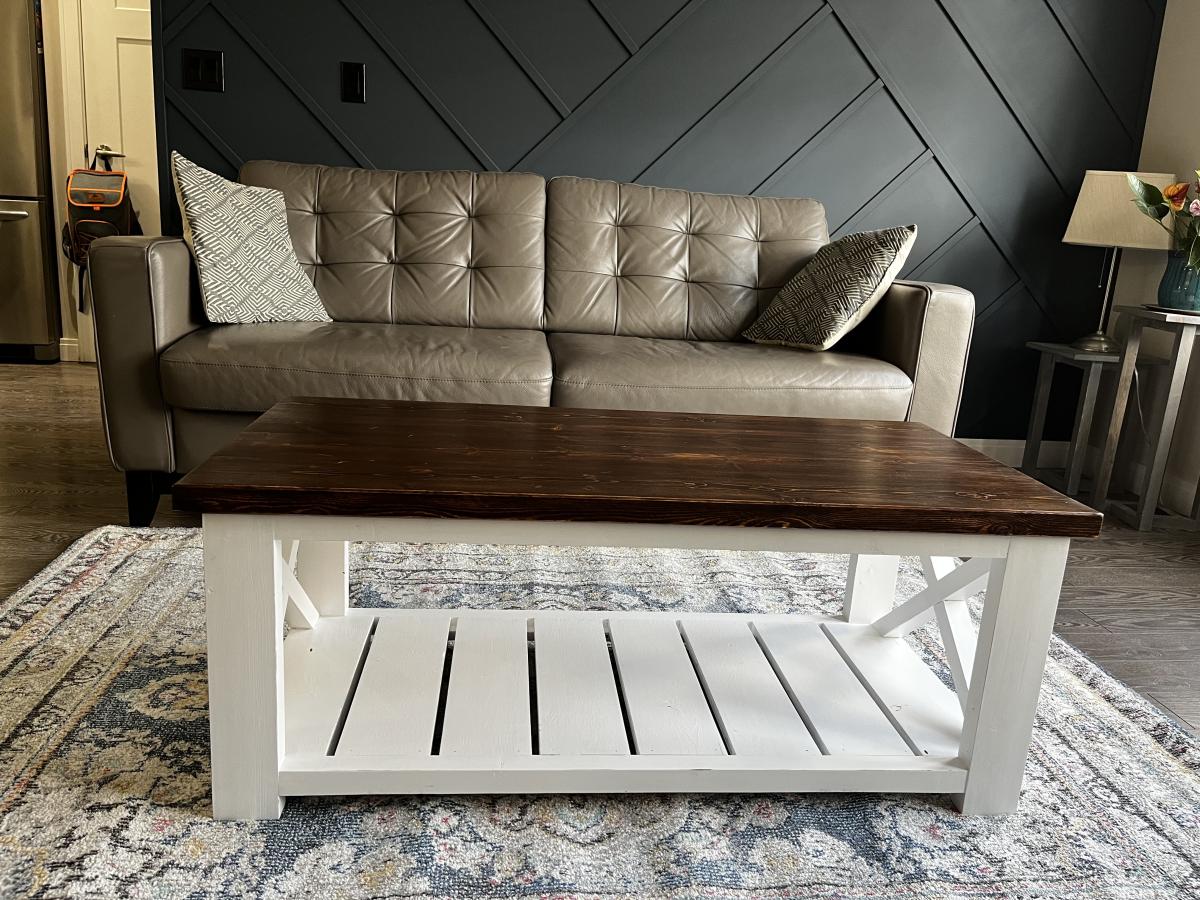
We love our sectional built from the modern sectional plan. We also made the tables from an Ana White plan but we adjusted the size. My husband and I love projects.
We love our sectional built from the modern sectional plan. We also made the tables from an Ana White plan but we adjusted the size. My husband and I love projects.
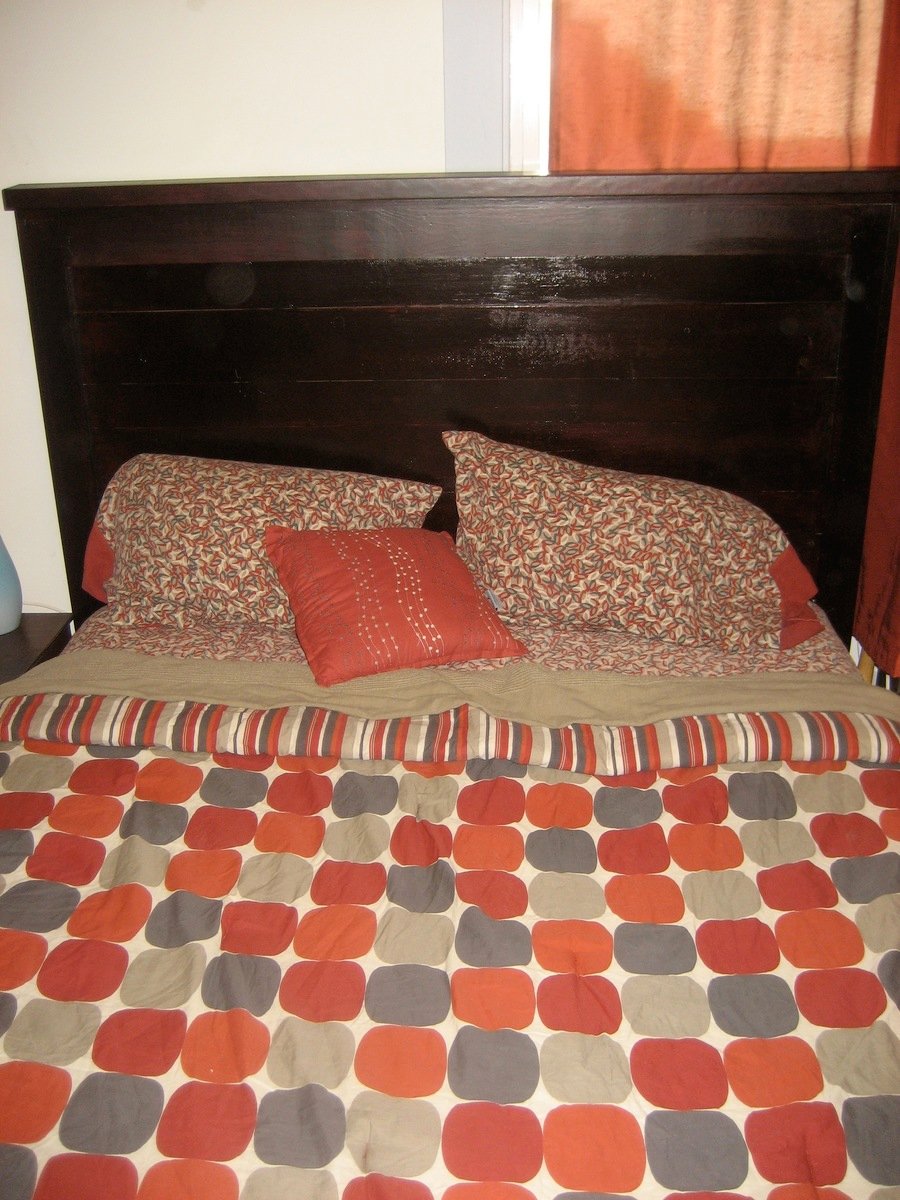
I had never built anything before. I also hadn't had a headboard in years, so I figured two birds with one stone. The biggest lesson we learned was how important it is to find the best wood. One of our pieces was not straight and we ended up having to make another trip out to the store. Otherwise, it was a pretty easy build!
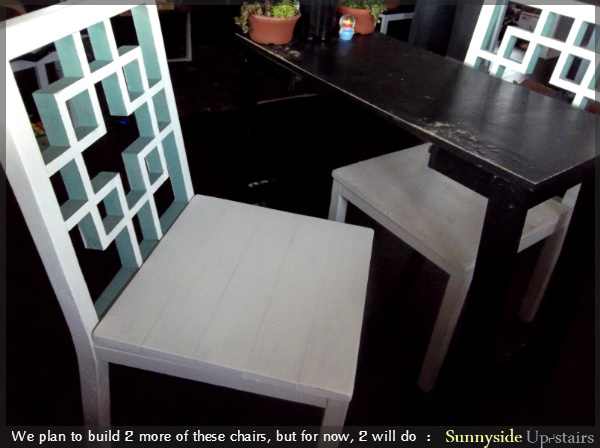
I purchased and used a circular saw to cut the back legs, which was so much easier than just using a jigsaw like I did the first time. Having experience building one before made assembling the second one simpler.
(Note: The measurements in the photos are different than those in the plans because I cut the back legs to be 37", adding about 1" to the height of the patterned back support to accommodate a 1" seat cushion for future.)
Mon, 09/02/2013 - 06:59
Are the back legs of your chairs two different pieces?? I noticed they have a curve to them and was curious how you got that look!!
Thanks,

In reply to Look Great by Medickep
Wed, 09/04/2013 - 00:54
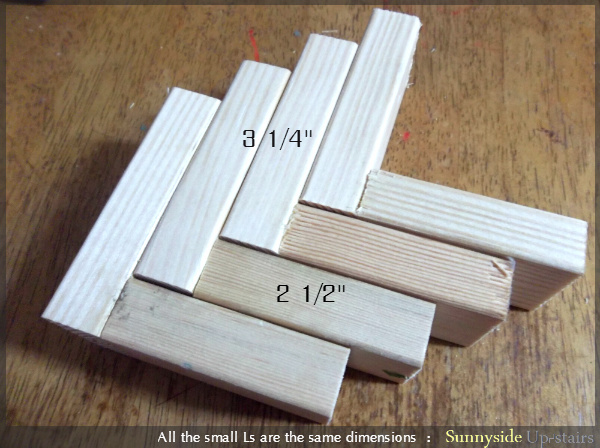
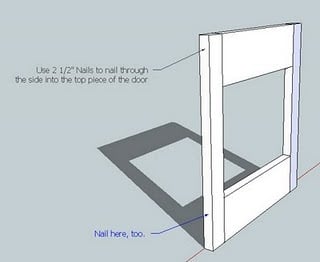
The chair is essentially made in two pieces: the back support and back legs being one assembled piece and the seat and front legs being the other. Each back leg is cut from a 2x4 to make the angled back, which was the trickiest part of the whole build for me. There are diagrams in Ana's plans to explain it visually. =D I hope this helps a little!
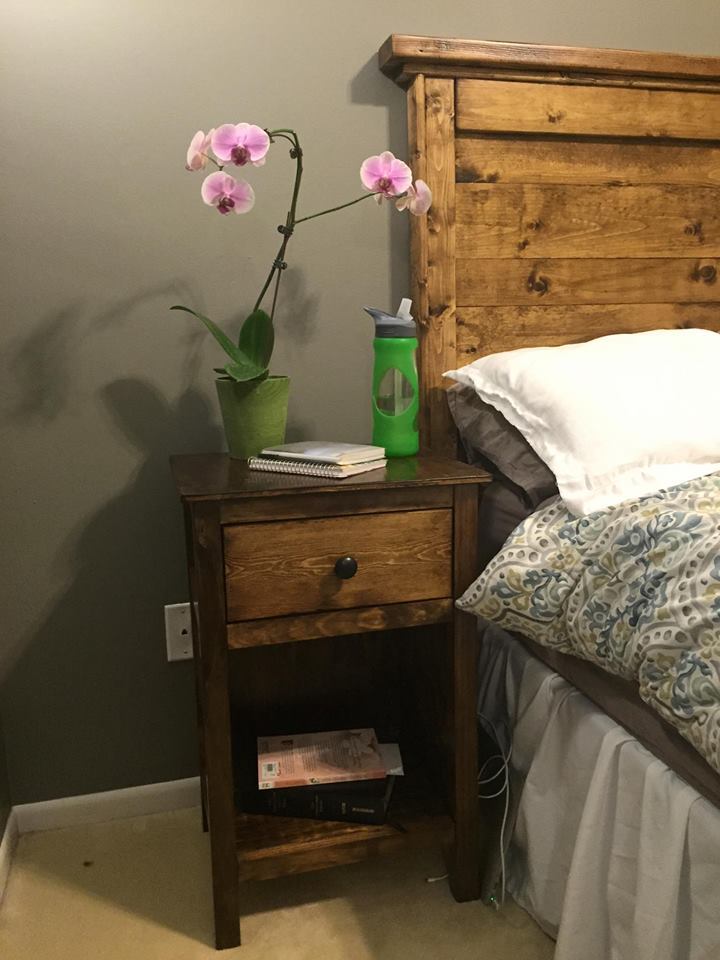
I based these off of the mini farmhouse bedside table plans, but changed a lot of the dimensions, added sides/back and chose to use plywood for the top, sides and shelf. The plywood did not stain very nicely for me- I learned my lesson! The drawers were definitely the hardest part!
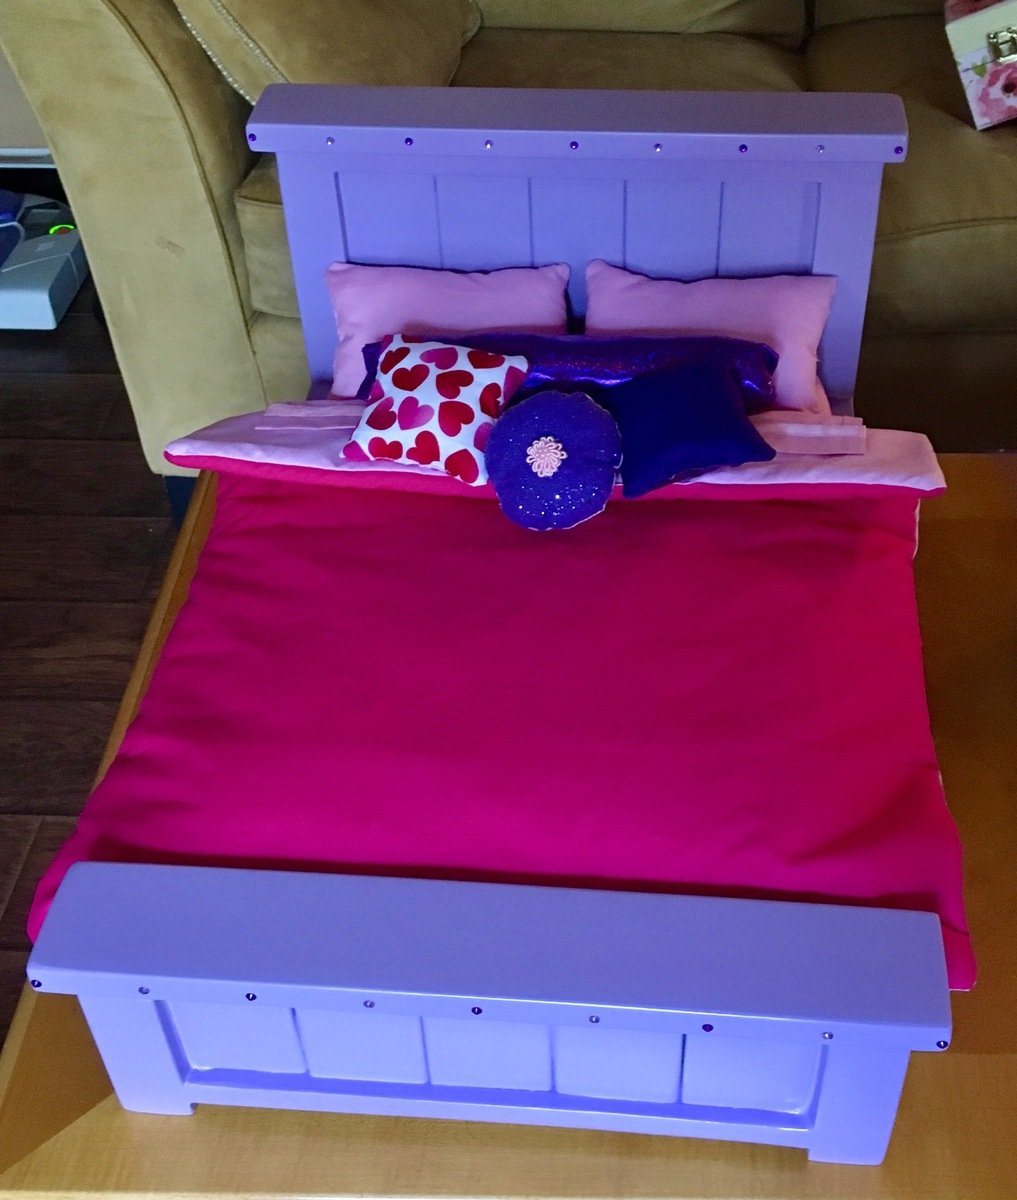
Wow! I’m so pleased with how this turned out!! Super easy and mostly done with scraps left over from other projects. Was able to get the bed and bedding completed for under $30. Smaller (and cheaply made) beds on the AG website cost well over $100. Thanks to this plan, I’m able to give my niece a birthday gift that will last her for years...maybe even generations.
Sun, 08/12/2018 - 10:57
The only reason I listed this as an “intermediate” skill level is because of the sewing portion of the project. Covering the mattress and sewing the bedding (since there’s no plan for that part of the project) isn’t really a no-brainer sewing project.
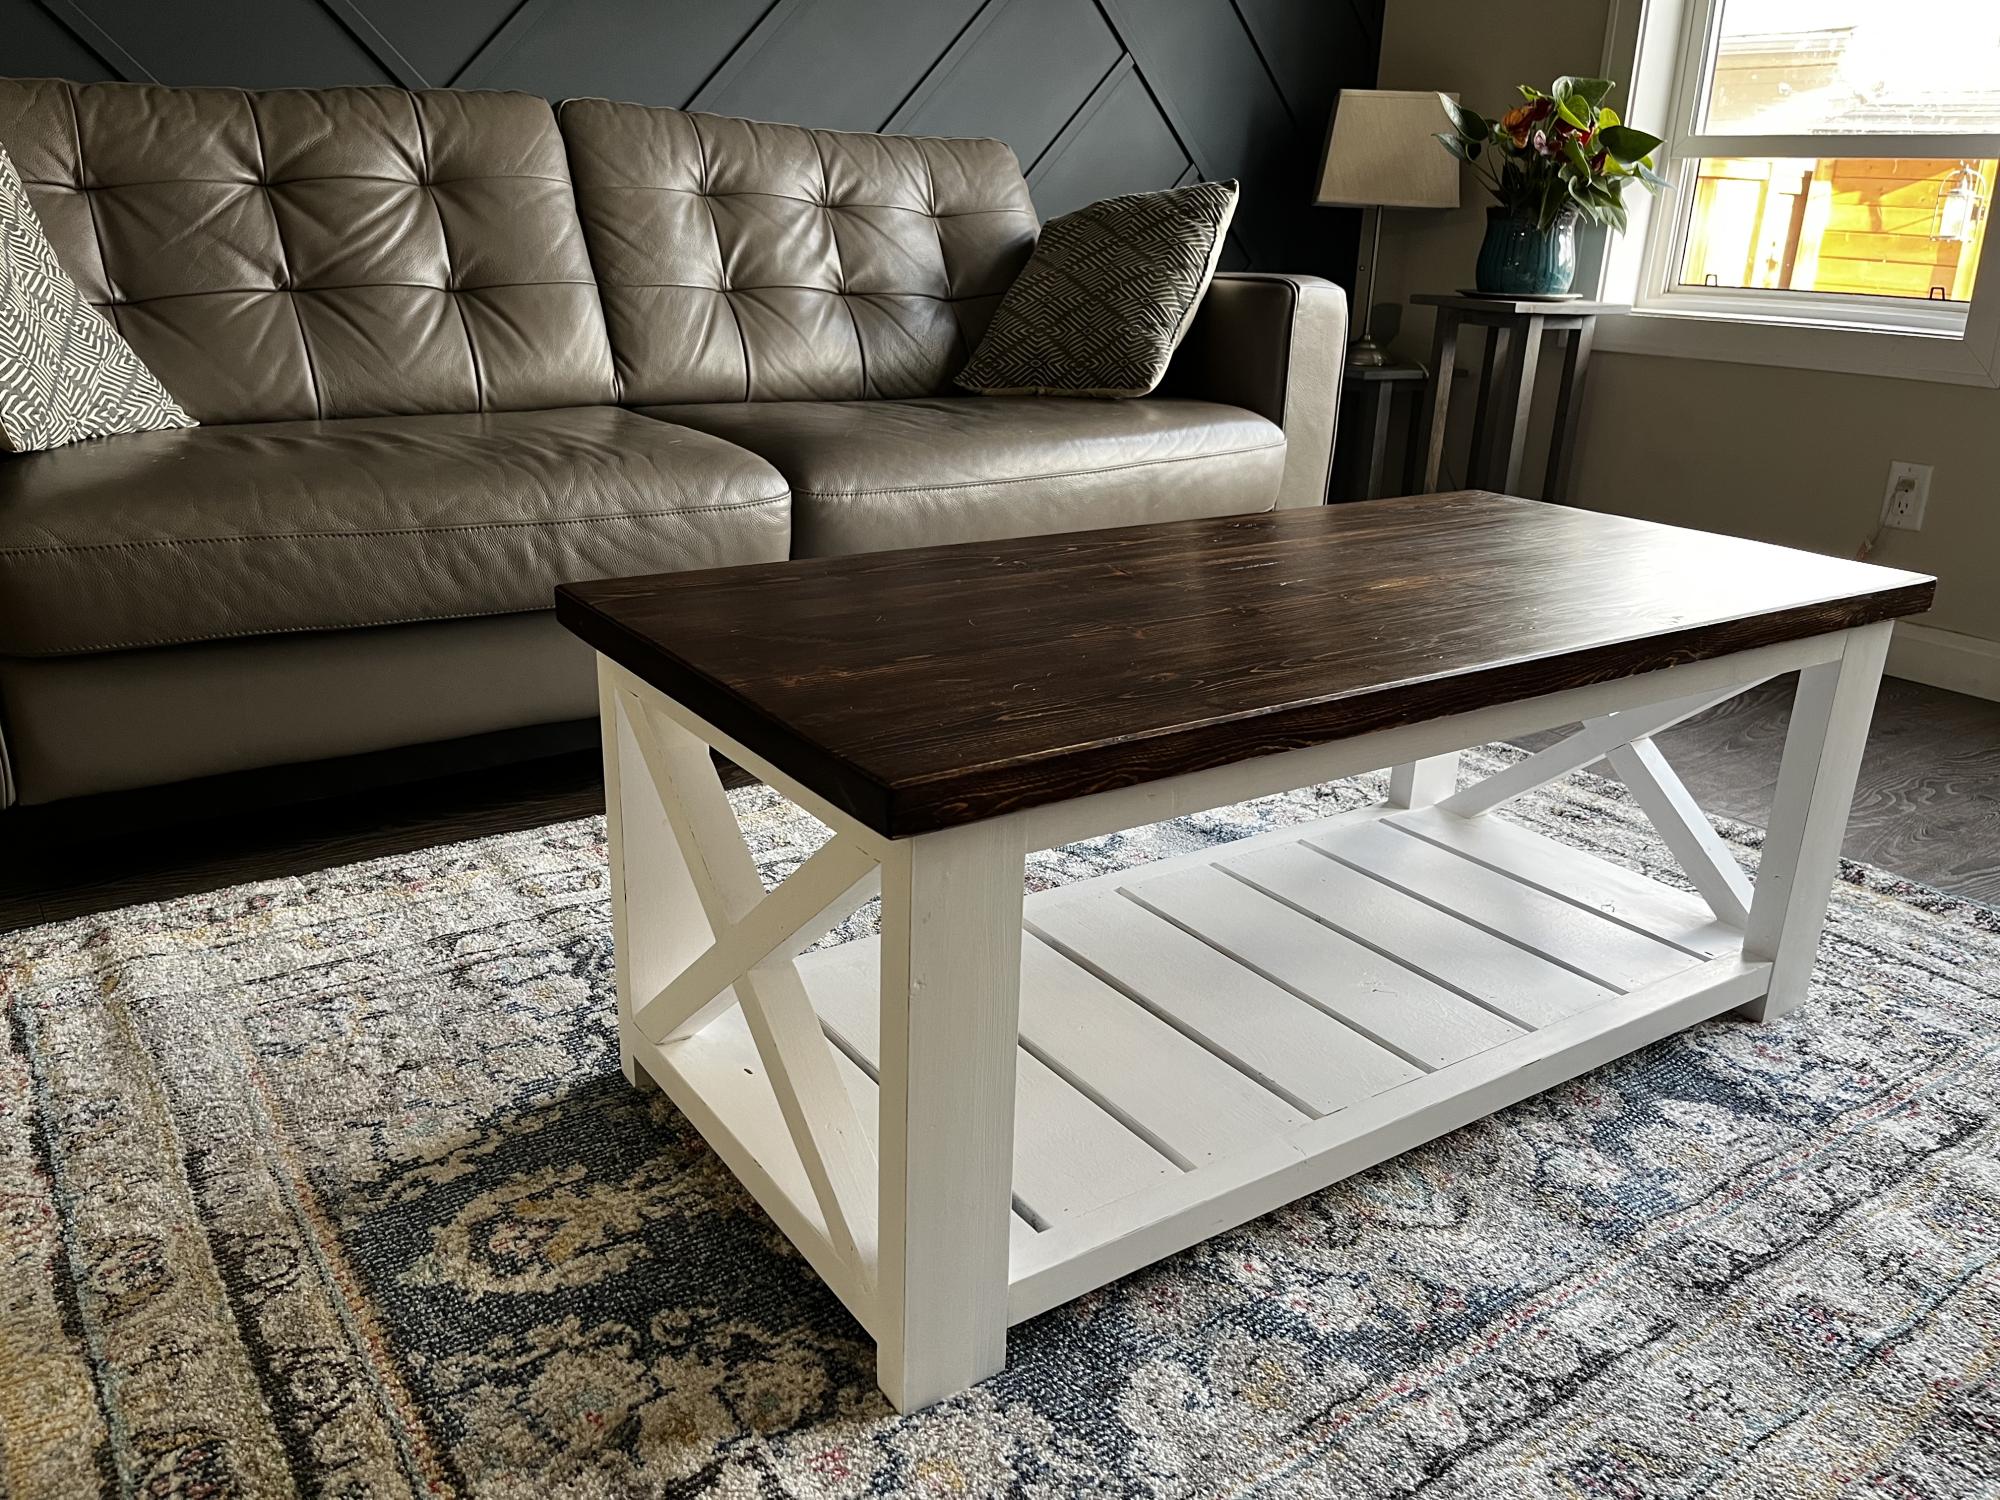
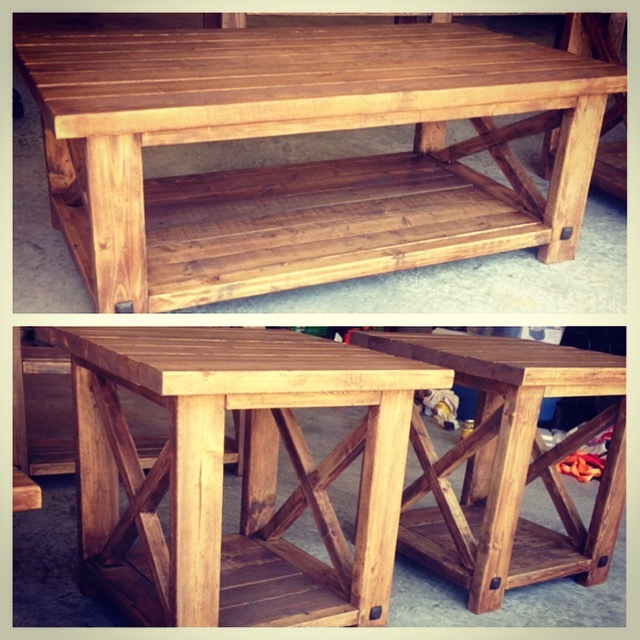
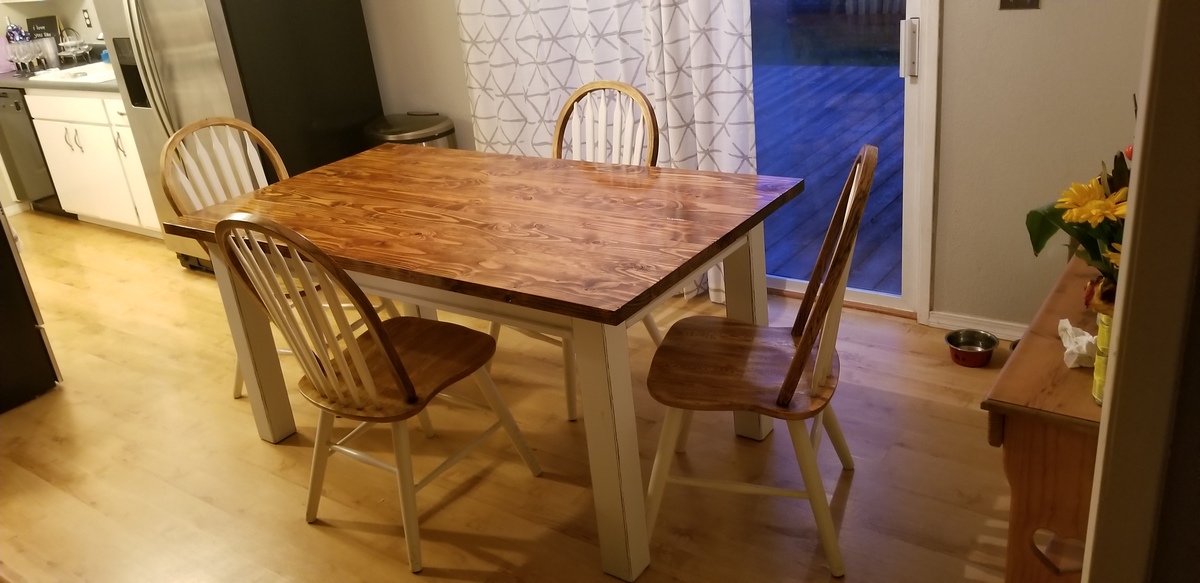
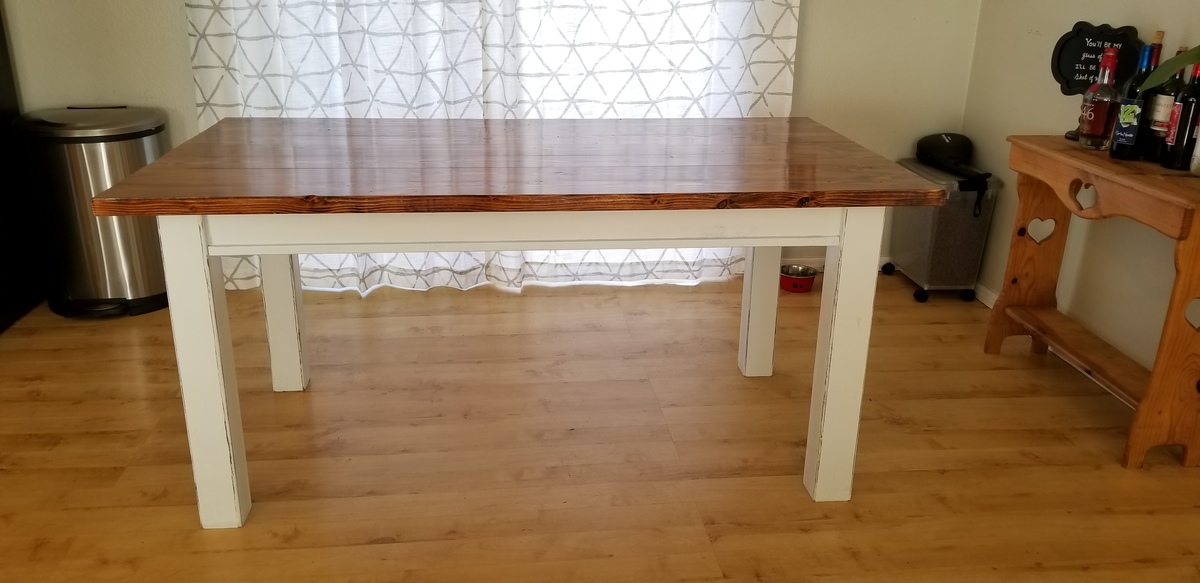
All pocket hole joinery
Base is painted shade of white
Top is dark walnut
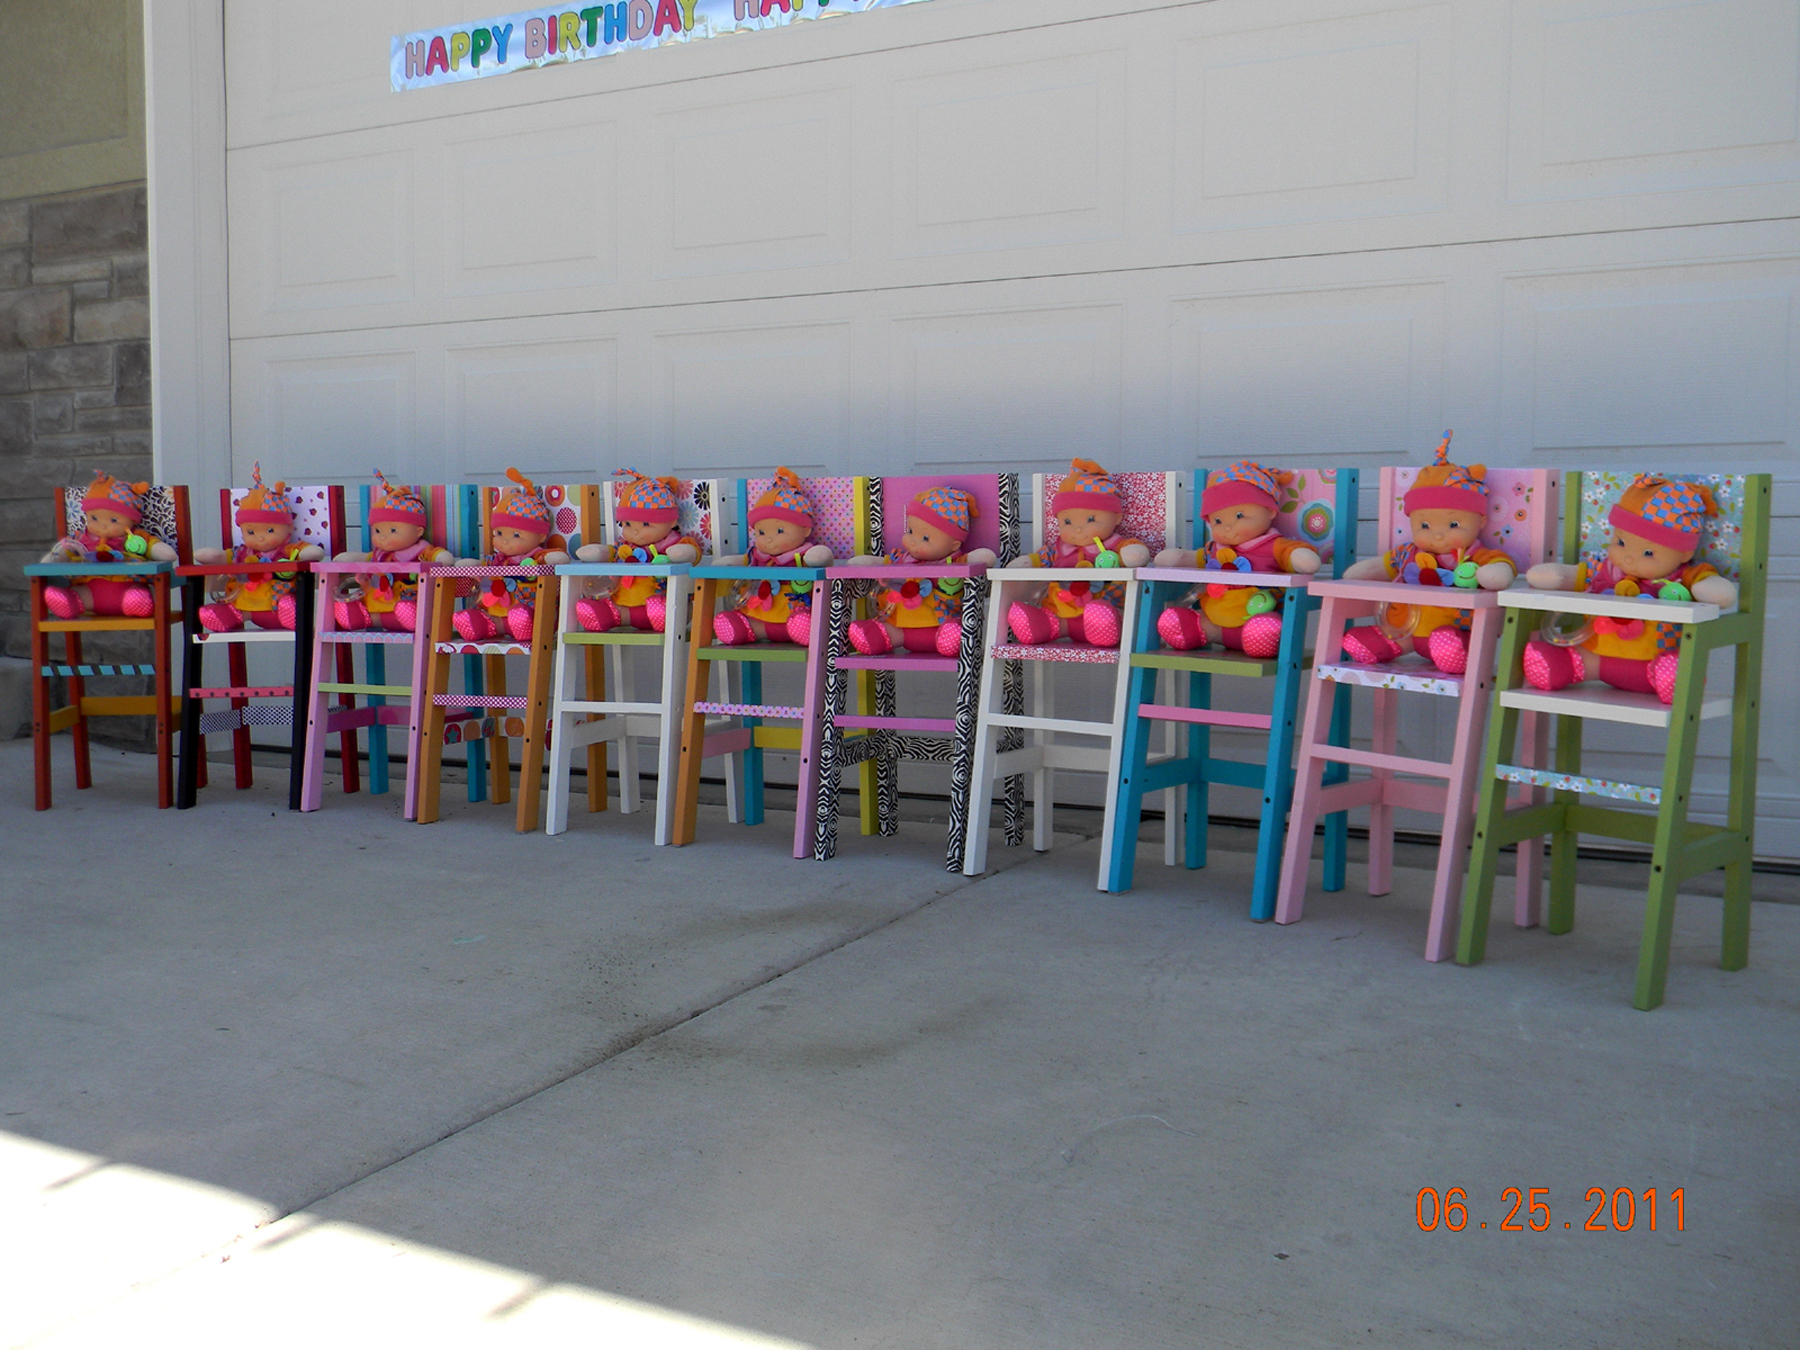
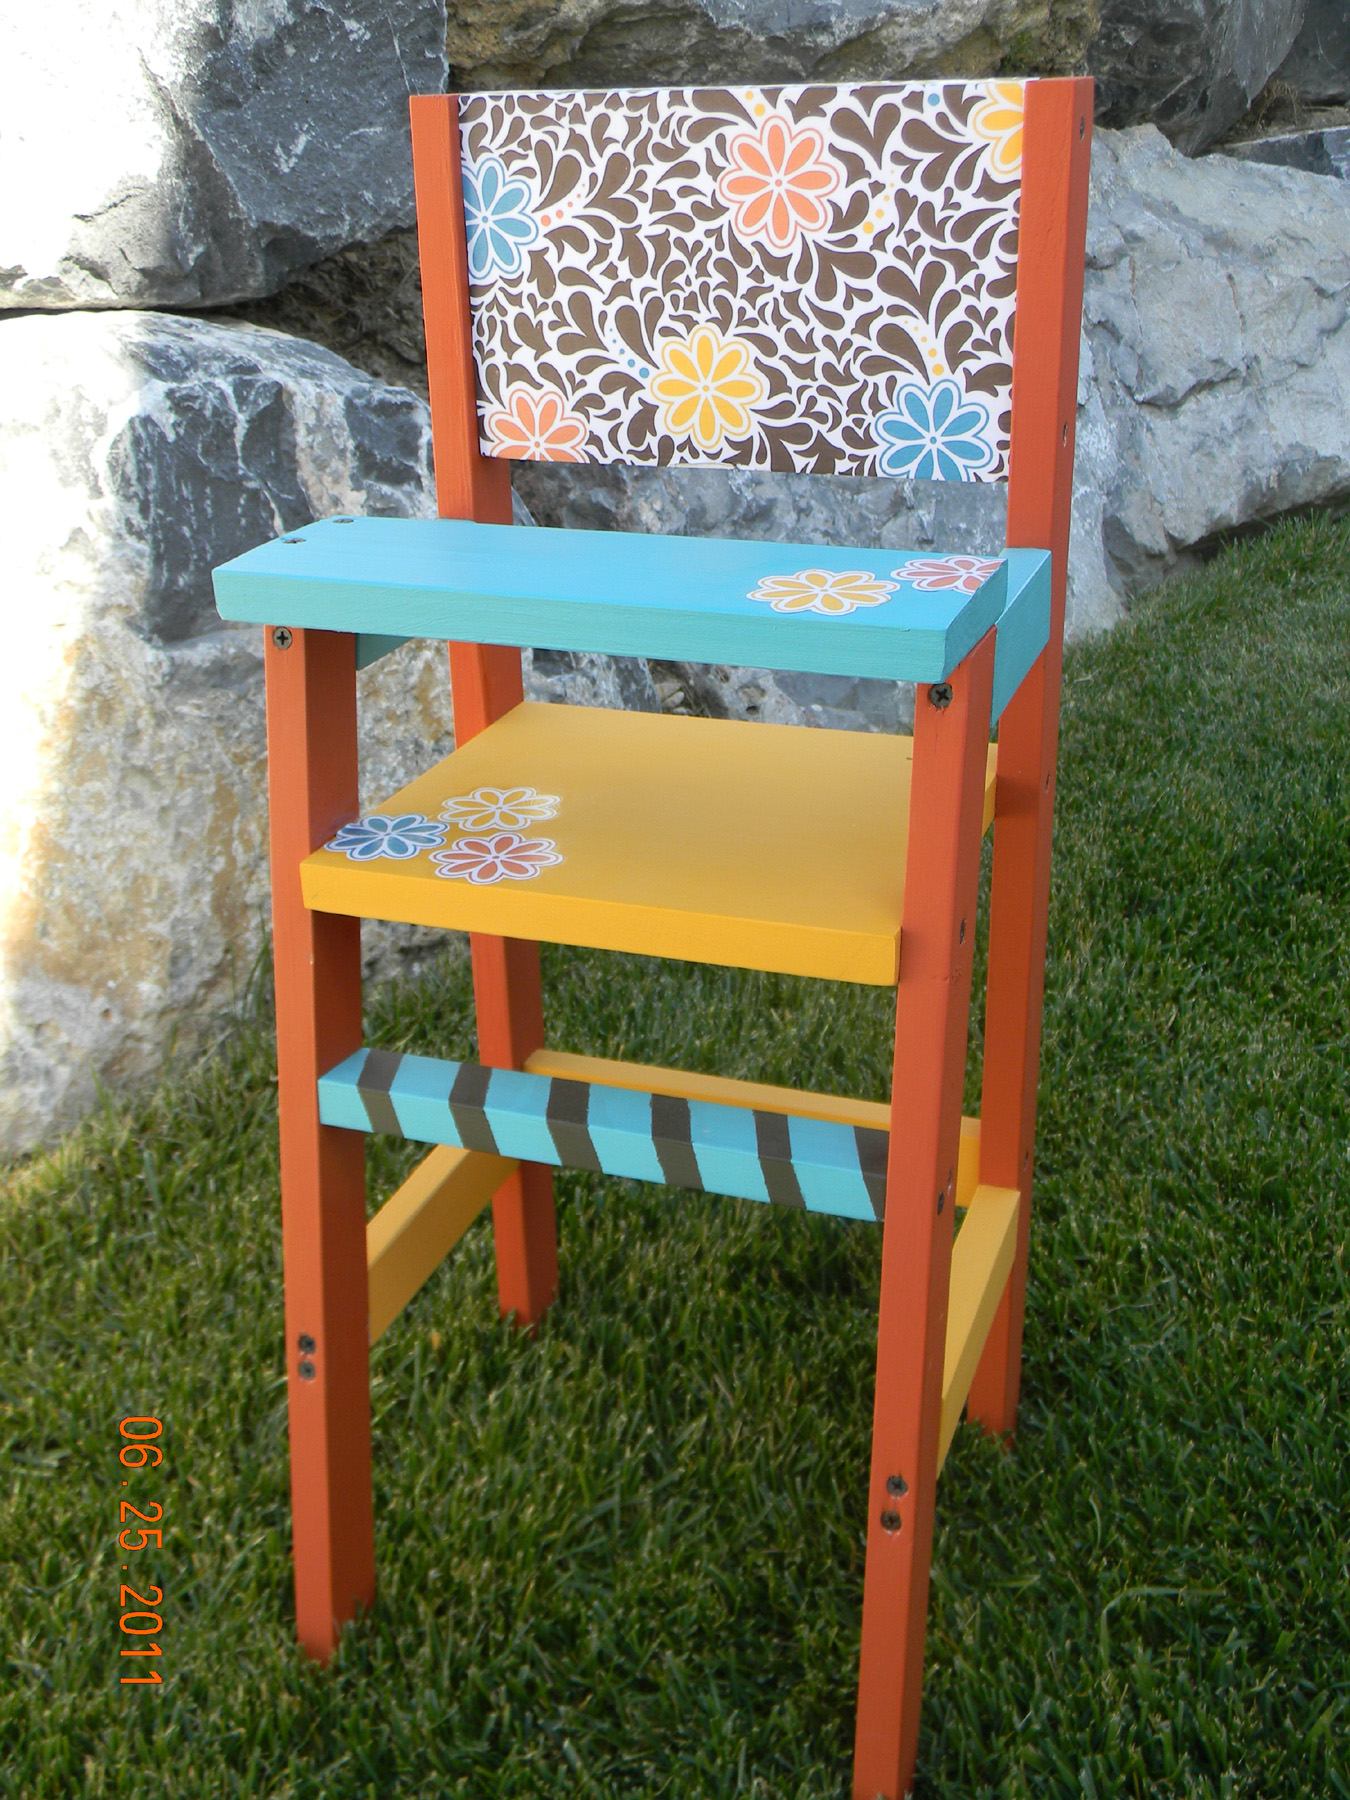
I built 11 doll highchairs for my daughters 5th "Adopt A Baby" birthday party! These chairs were fast and easy to build and I had a BLAST painting them! The girls loved, loved, loved them! A little extreme for a 5 year old birthday party? Maybe. But definitely worth it!


Fri, 07/15/2011 - 05:13
Wow! That's a LOT of work!!! They turned out absolutely adorable, though.

So we couldnt find any bed we really wanted for my son, and this one was perfect.
I used the wood one step up from the whitewood at HD, which had too many knots for this, and was .75 more. Still had to pick thru the 2x4 and 2x6s but the quality of the wood was much better.
After seeing what another bragger posted, i raised the posts to 72" instead of 66", which allowed for an additional 2x6 at the top. The mattress stayed at the same height, but know i sleep better thinking he wont roll off.
Lesson learned from this: Sand the primer!!! i never knew to do that before in my life and wow, what a difference.
Painting Steps were:
Sand wood,
prime, ( Used Zissner BIN)
Sand primer with 220
Wipe with Tack cloth
Paint ( Used Behr Ultra White Semi Gloss and Behr Par Four Green Semi Gloss)
Sand lightly with 320 grit
wipe with Tack
Paint again.
The two end pieces and the deck were assembled in the garage, but the cross pieces and steps were built in the bedroom.
Im thinking of creating a mini gate where he climbs up just for sleeping that i could put in once he is in his bed to really prevent rolling... trust me.. he rolls everywhere. May be to the height of the top 2x4, halway the length of the opening, and use dowels or something.
Note the second picture didnt have the 2x6 ladder step installed yet.
Thanks Ana for the plans! My son never wants to leave the bed!


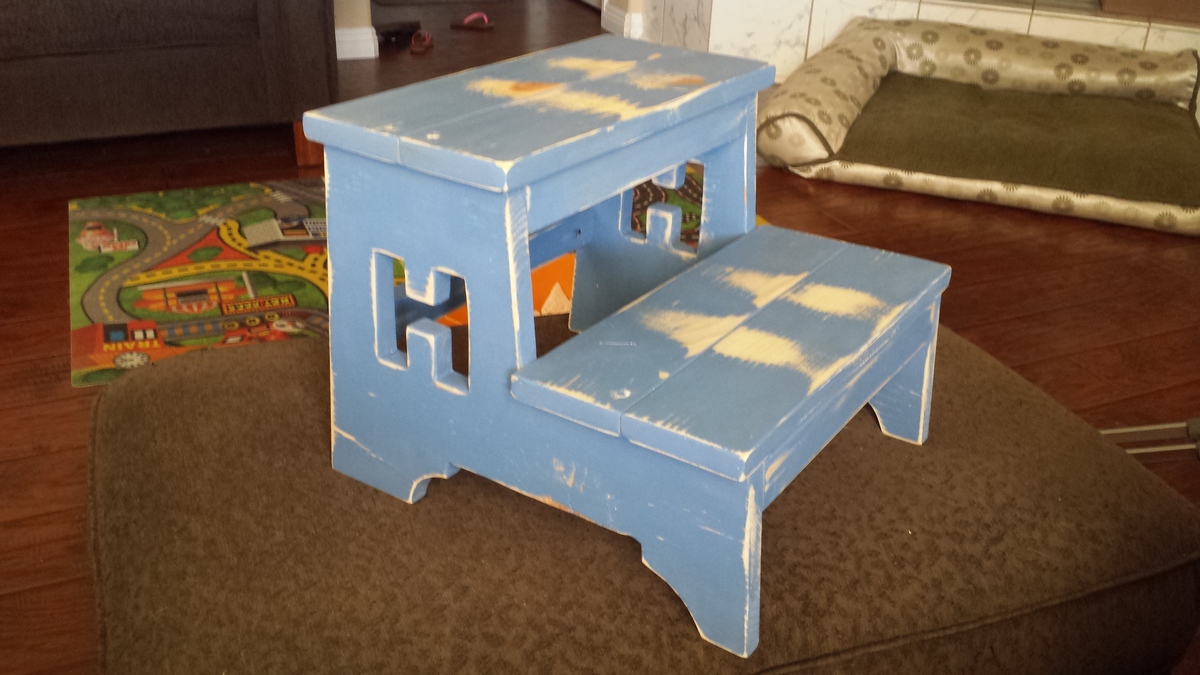
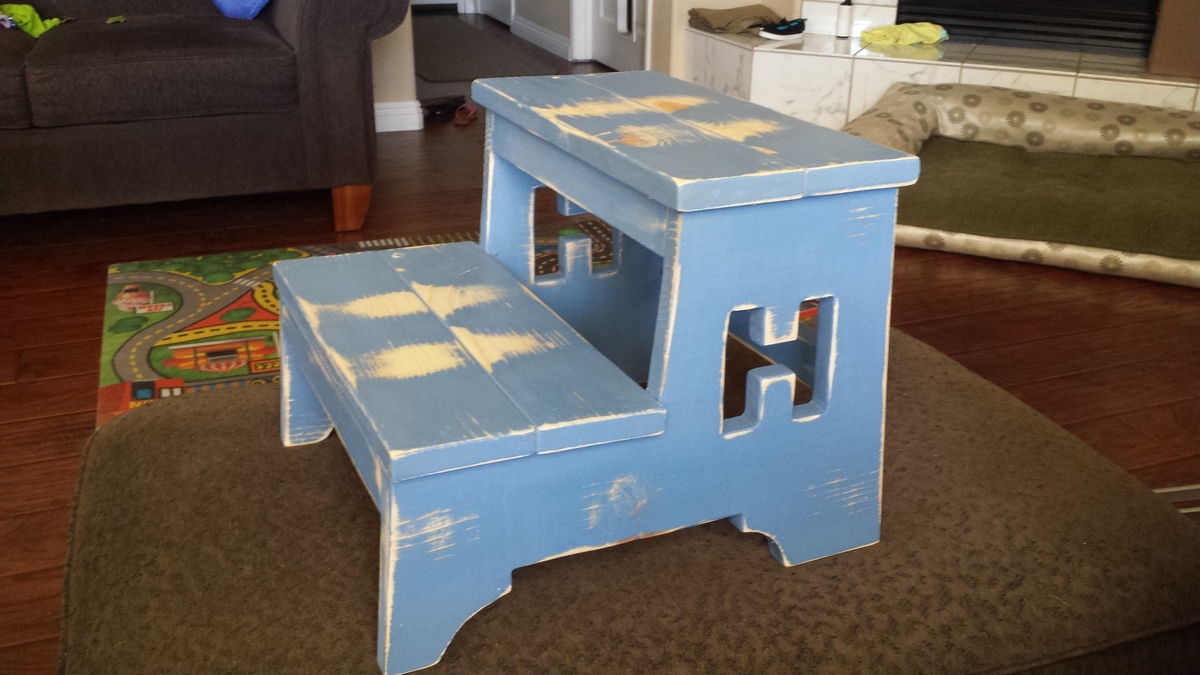
This is the 2nd step stool I built, the first was for my daughter and I just followed the plans. Built this for my friends son Hayden, decided to add the H for his name. It was a tag team build, I built it and painted it and my wife did the sanding, distressing and wax sealer.
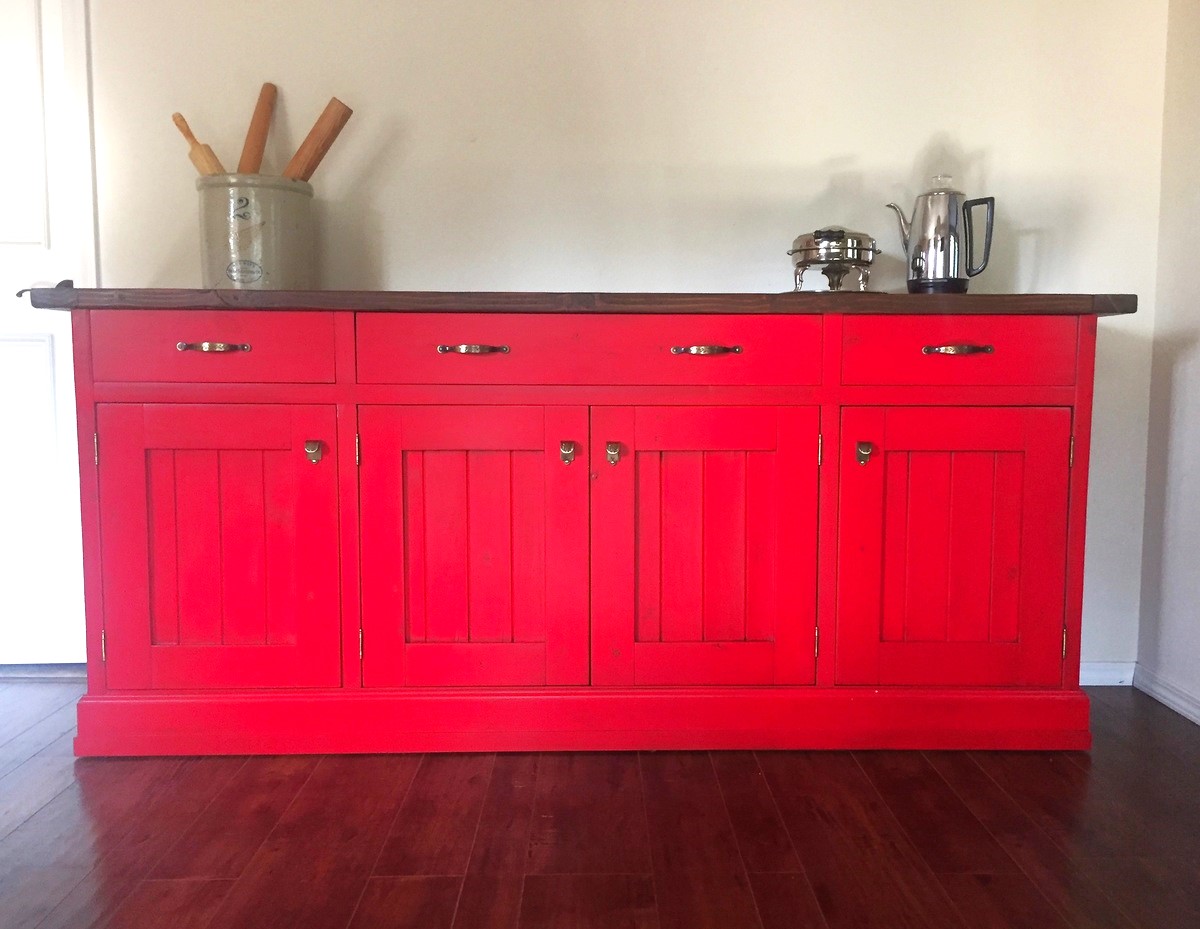
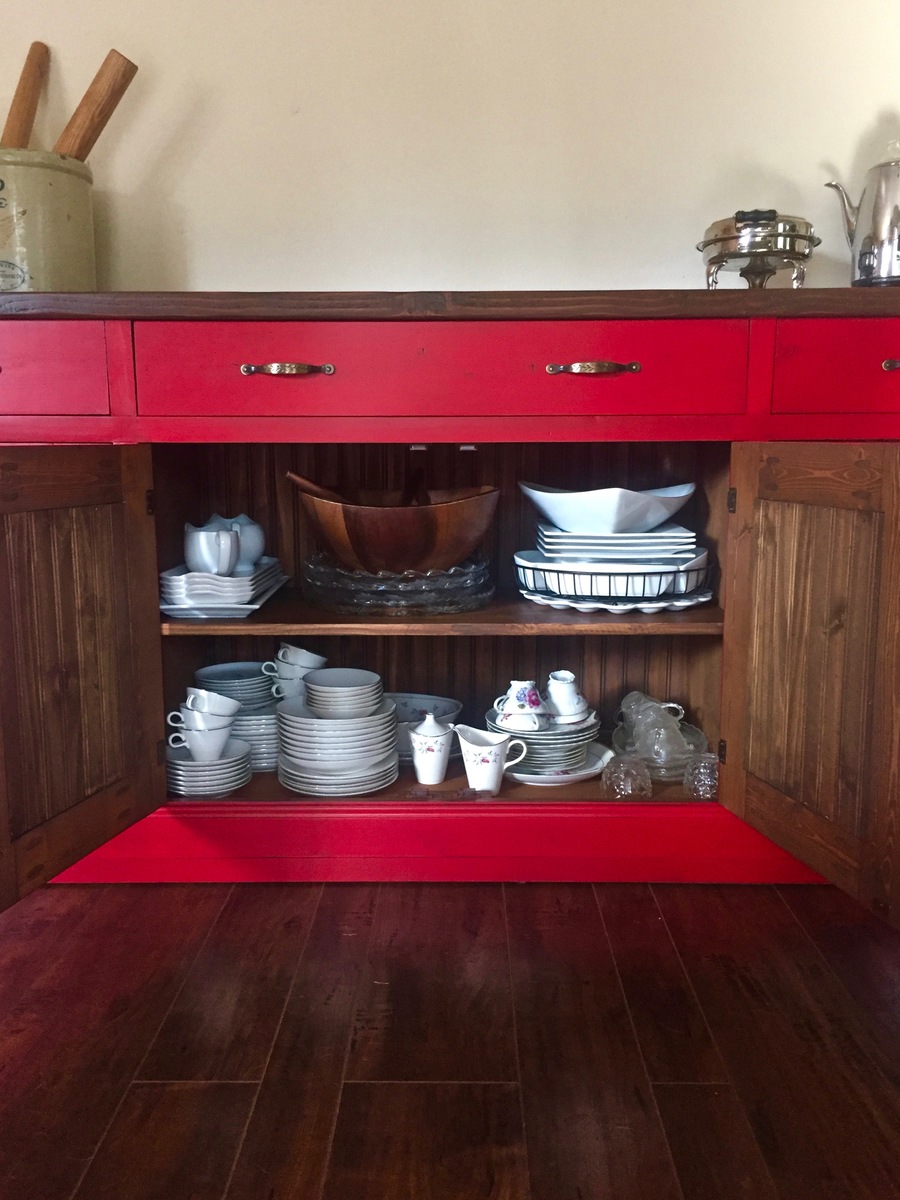
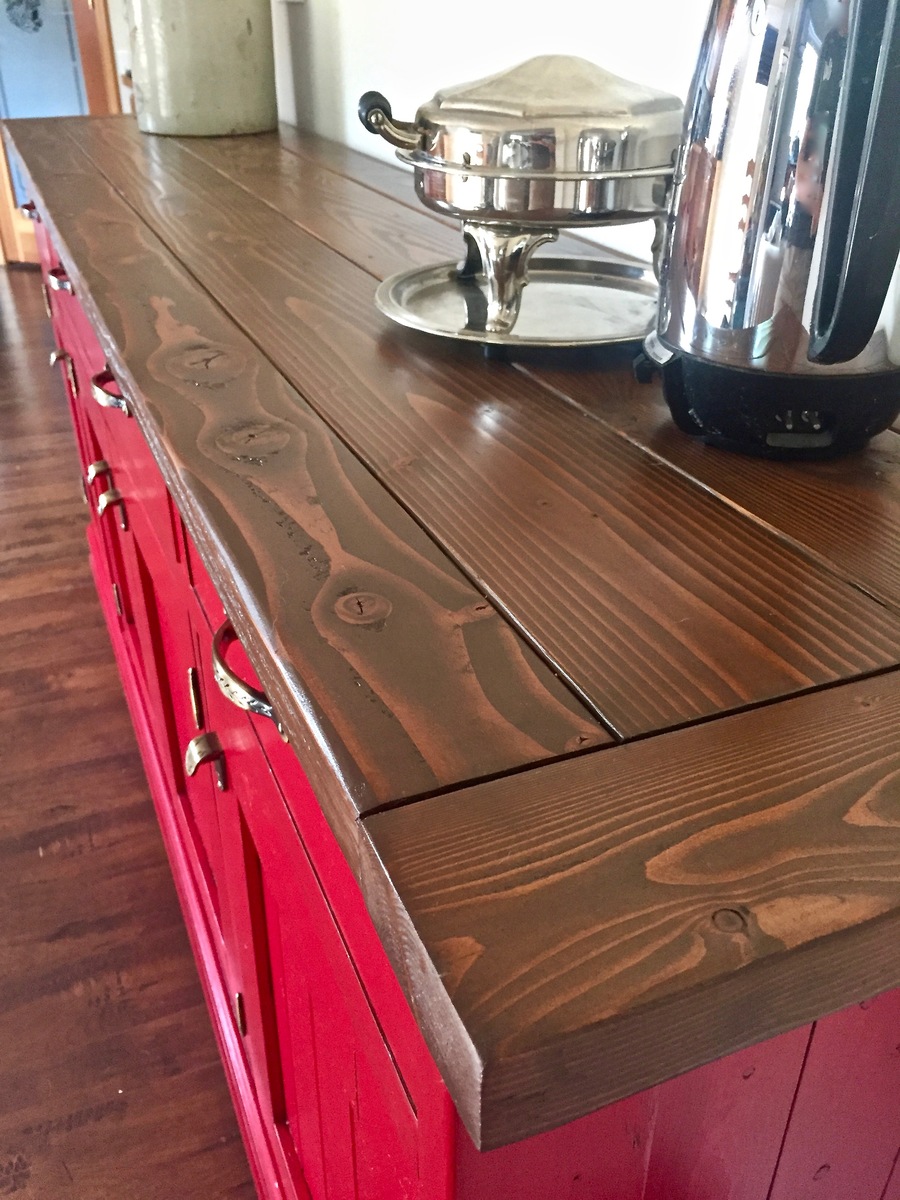
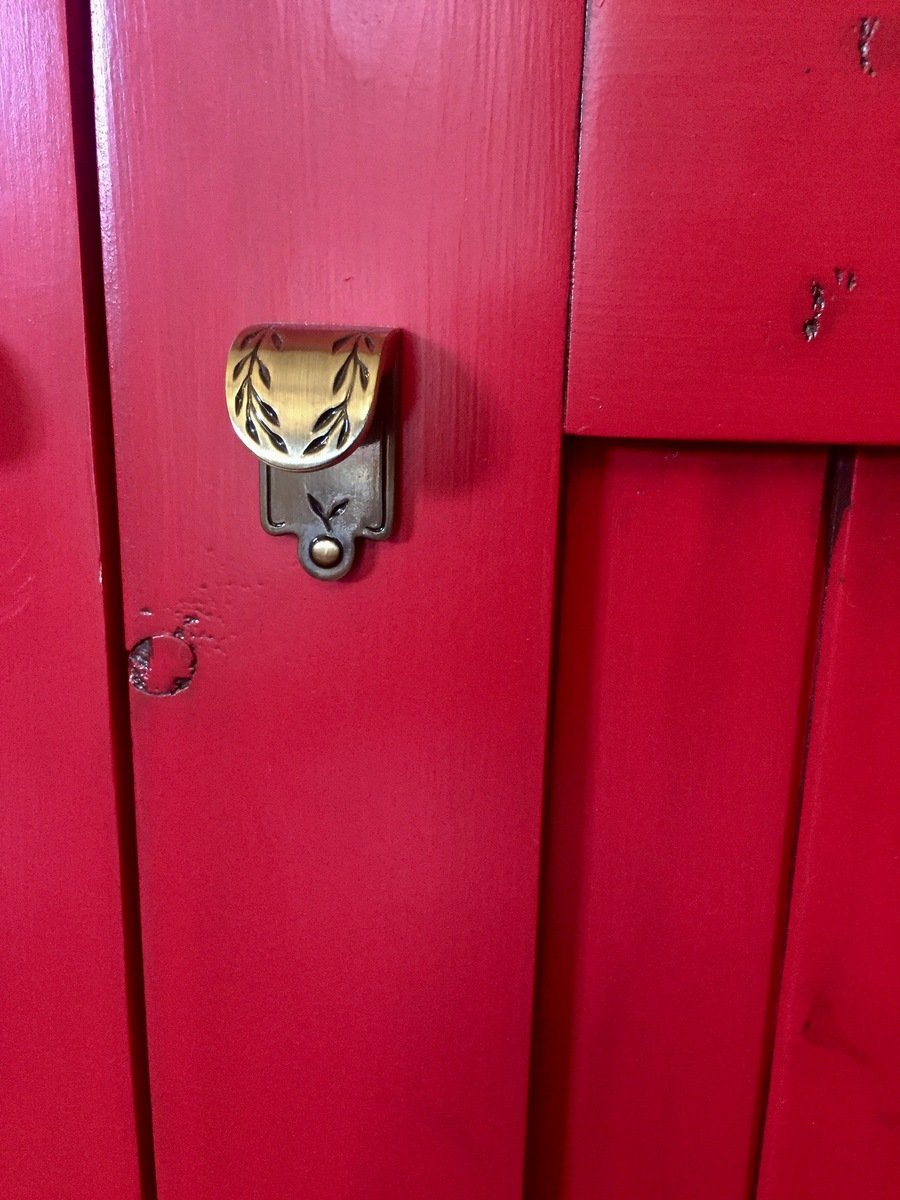
I was on a mission to find just the right buffet to house Grandma's china and infrequently used serving dishes. Countless searches in second hand stores, hours scouring Offer-up and Craigslist, and even some regretable purchases all led to the building of this magnificent buffet. I found a build plan for the planked wood sidboard, printed it and started in. I had always planned on painting it and wanted a rustic look so decided on budget friendly lumber. The frame and top of the unit is made from fir and the drawers and doors from pine. The door insets and the back of the unit is pine beadboard. The top and interior of the buffet is finished in GF Antique Walnut Gel Stain. I used a wipe-on polyurathane on the interior of the buffet and the inside of the drawers. I choose an amazing shade of red for the exterior of the buffet: GF Milk Paint in Holiday Red. It was my first experience with milk paint and it was a pleasure. It went on so smooth and brush-stroke free. After two coats of Holiday Red milk paint I applied a single coat of GF High Performance Top Coat in satin finish. This really enhanced the color of the Holiday Red and served as a base for a glaze application. I mixed the GF Antique Walnut Gel Stain with ten percent mineral spirits and glazed the entire buffet. I got into all the nooks, crannies and knots and left a thin coating on the face of the unit. I loved the buffet before the glaze, but now I was head over heals. The buffet was finally finished off with two coats of High Performance Top coat. Mission accomplished!
Hi Ana and Family,
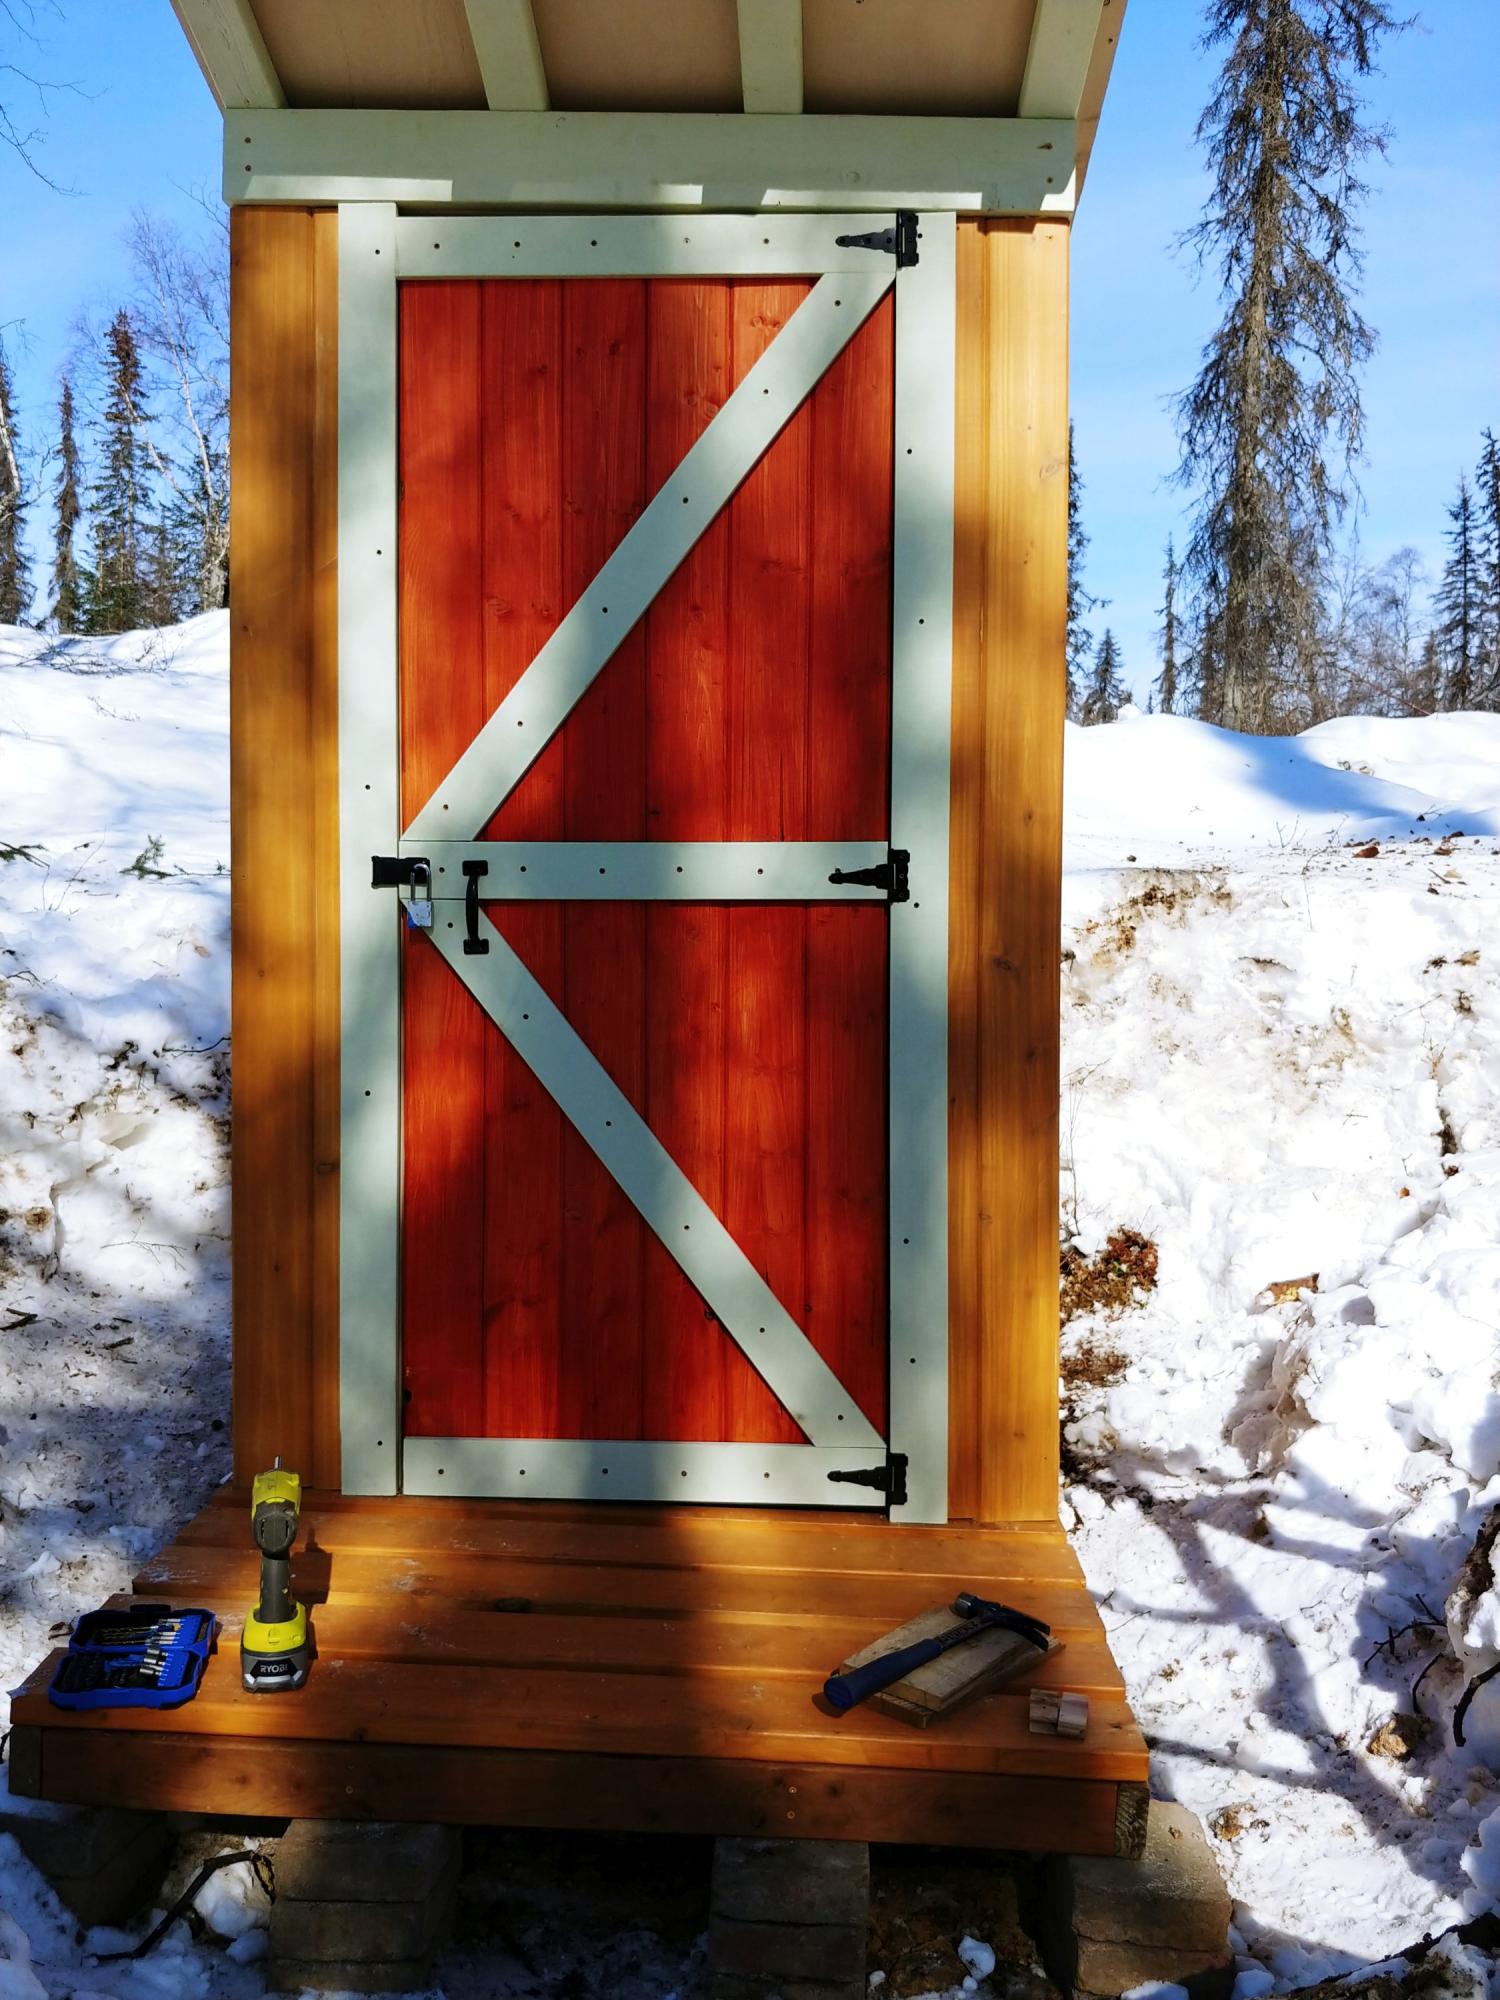
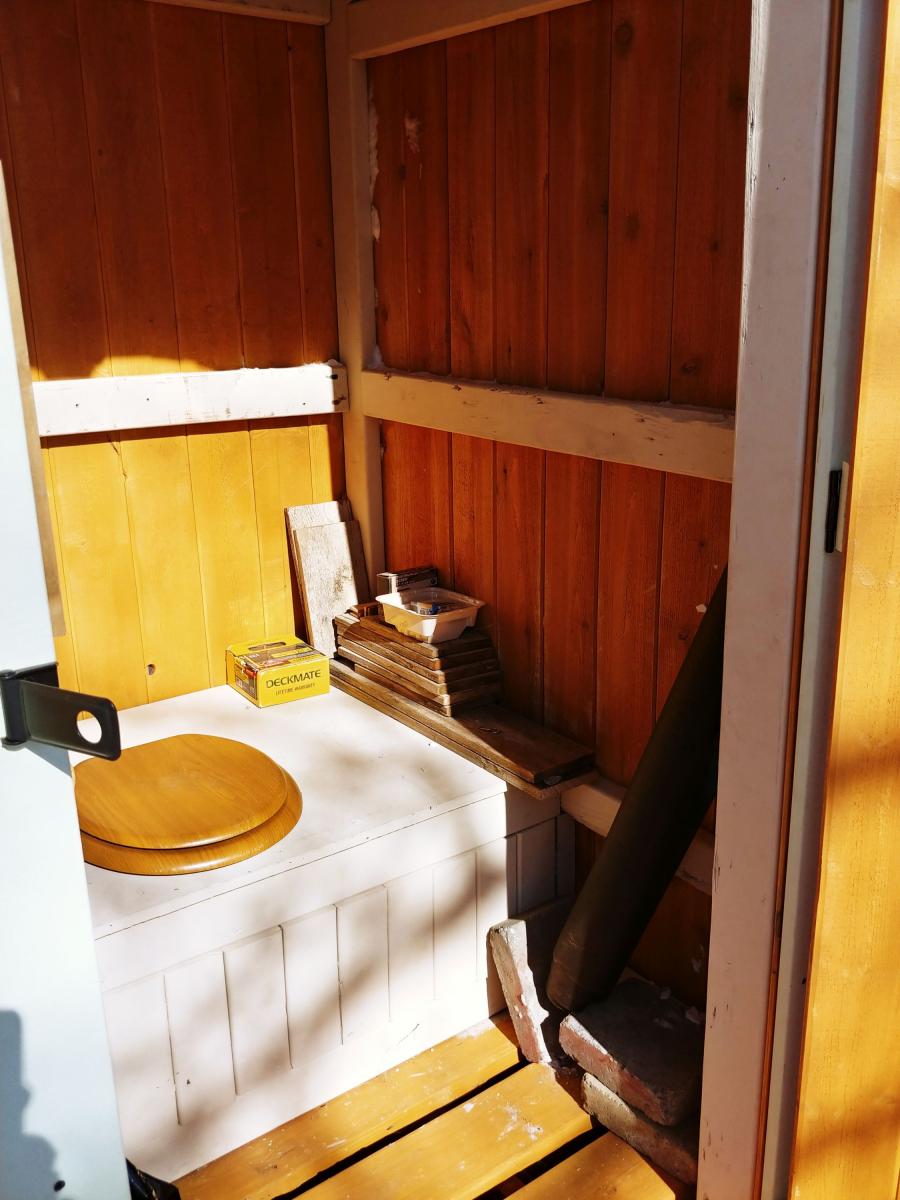
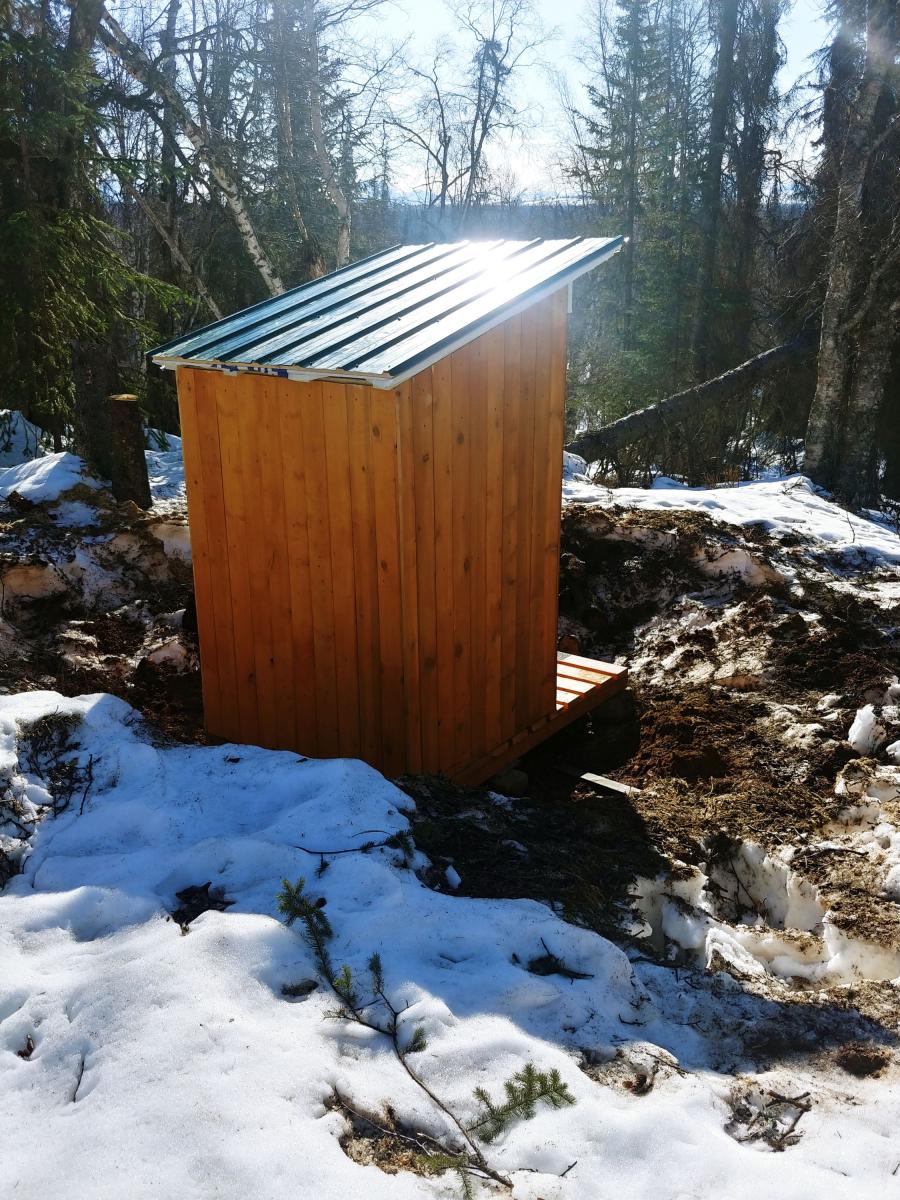
I mostly followed your plans for my remote Alaska property outhouse build, with slight modifications. Our property is 7 miles from any road (and 2.5 hr drive from Anchorage) and I typically go there in the winter via snowmobile (December-April). I built this on my back deck in Anchorage and then took it apart and transported it in sections (back wall, 2x sidewalls, floor parts, door, roof parts, seat parts). It took me 5 trips to get it all up to my property from the truck at the trailhead via snowmobile!
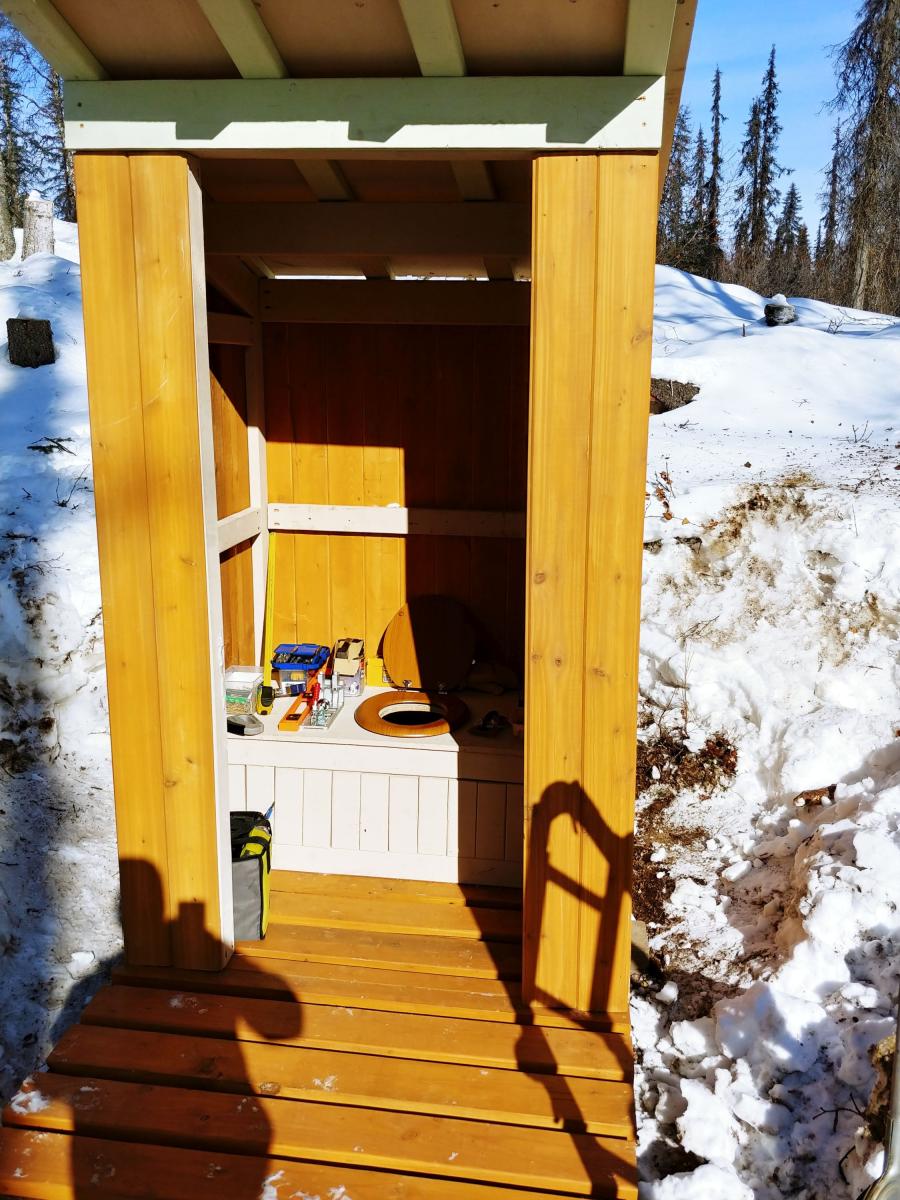
The hardest part was digging the hole under 5 ft of snow! I cut several dead spruce trees in the area I planned to situate the outhouse and started a big fire (really big). We kept that going until we had melted out about a 15ft wide area down to bare soil. The next morning, while the ground was still warm from the previous evening's fire, we dug the hole (only about 3.5x3.5ft). Then I cribbed in the hole with old cedar fence slats to help prevent the inevitable ground cave-in that we often see with soil melt and rains in Alaska. Then, I pieced the outhouse together, with the frame sitting on small pavers.
I used a combo of T&G pine and cedar for the walls. I used metal for the roof. As I built this in January and February over several weekends (in Alaska), it was very cold and I would take the pieces inside and paint/stain them. As such, this basically took me all winter from start to finish. It doesn't take that long if you build it on site in warm weather. Once transported to the cabin site, it took parts of 3 weekends to get it in place and useable, including site prep. I've still got a little touch-up work to do (e.g., window for light in winter and bird block to keep the spring and summer nesters out). I put some anti-slip tape on the frame so that I don't slip on the frame base.
There is some waste wood if you follow the plans directly (especially 2x6), but I am using that to build a small firewood cover at home. This was not an inexpensive outhouse even without pandemic prices (I could have chosen a less expensive siding), but I wanted a nice outhouse and I'm very pleased with the outcome, so it was money well spent. Great plans! Thanks.
Tue, 06/07/2022 - 15:29
Snow always makes everything more challenging! Thank you for sharing, this looks great:)
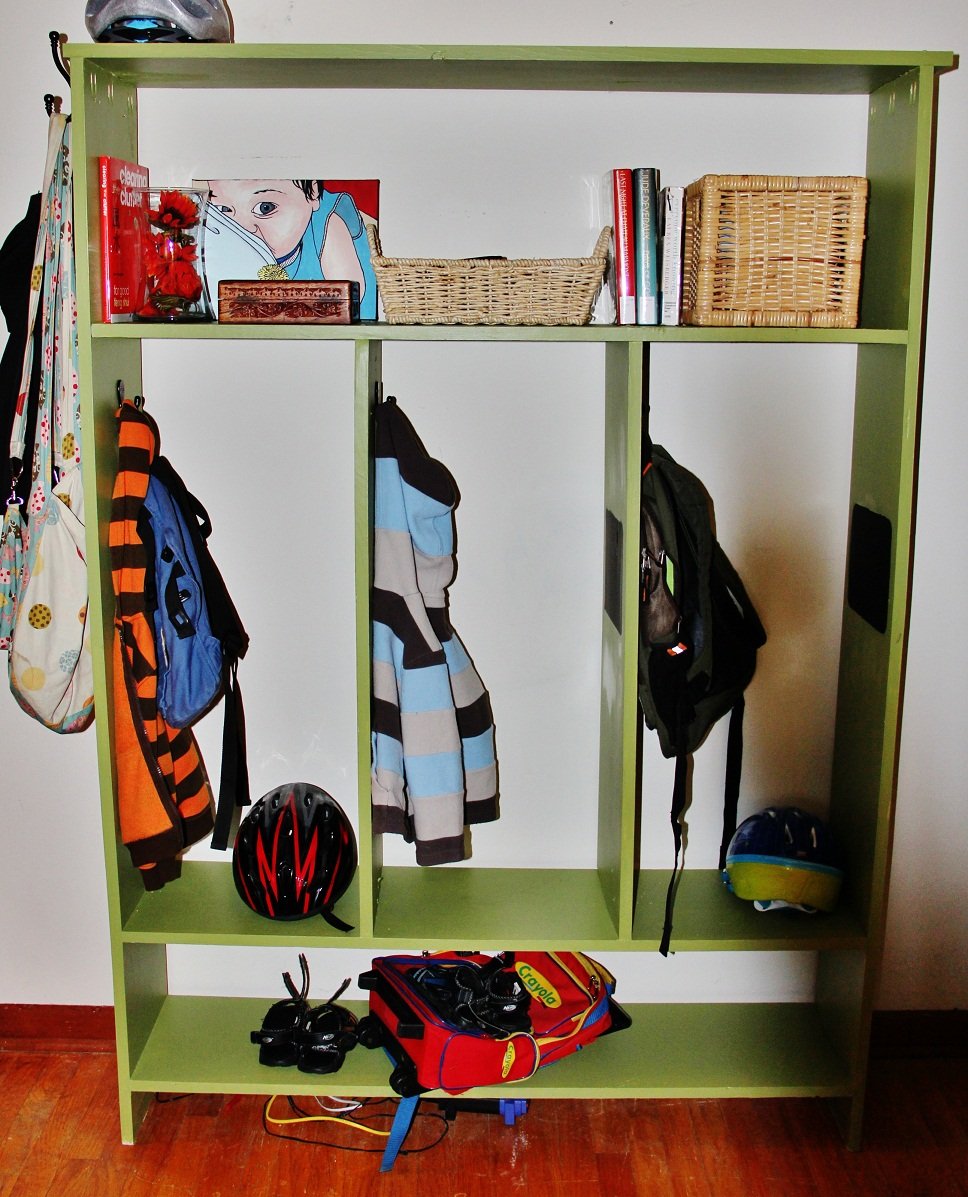
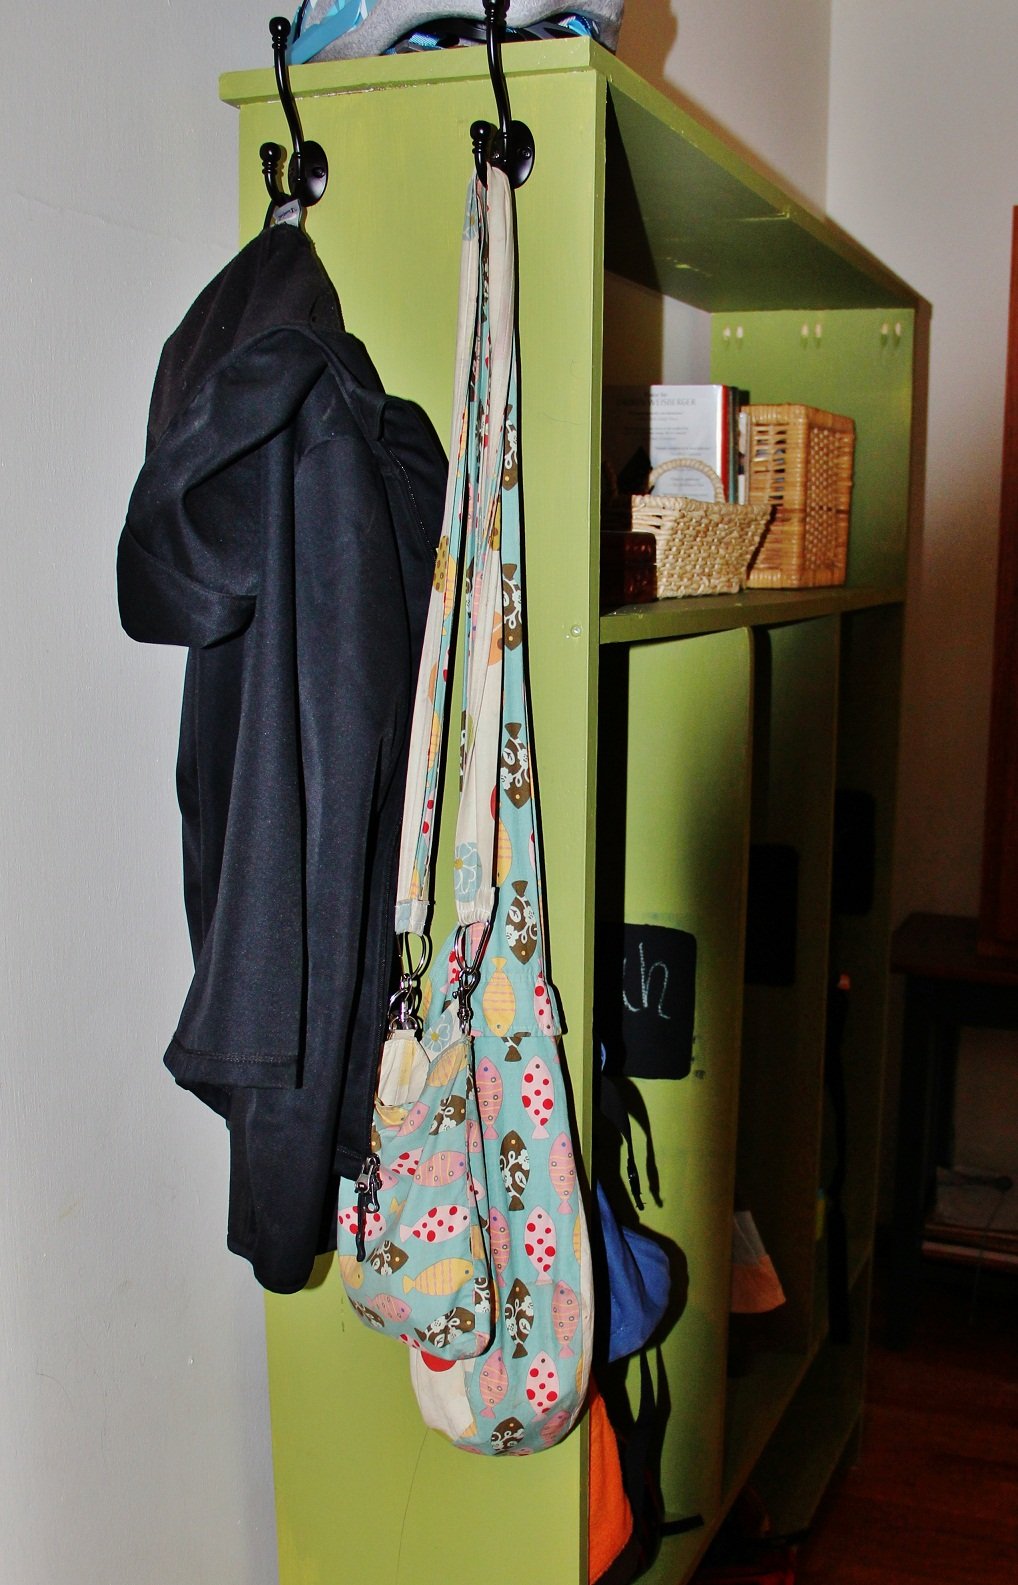
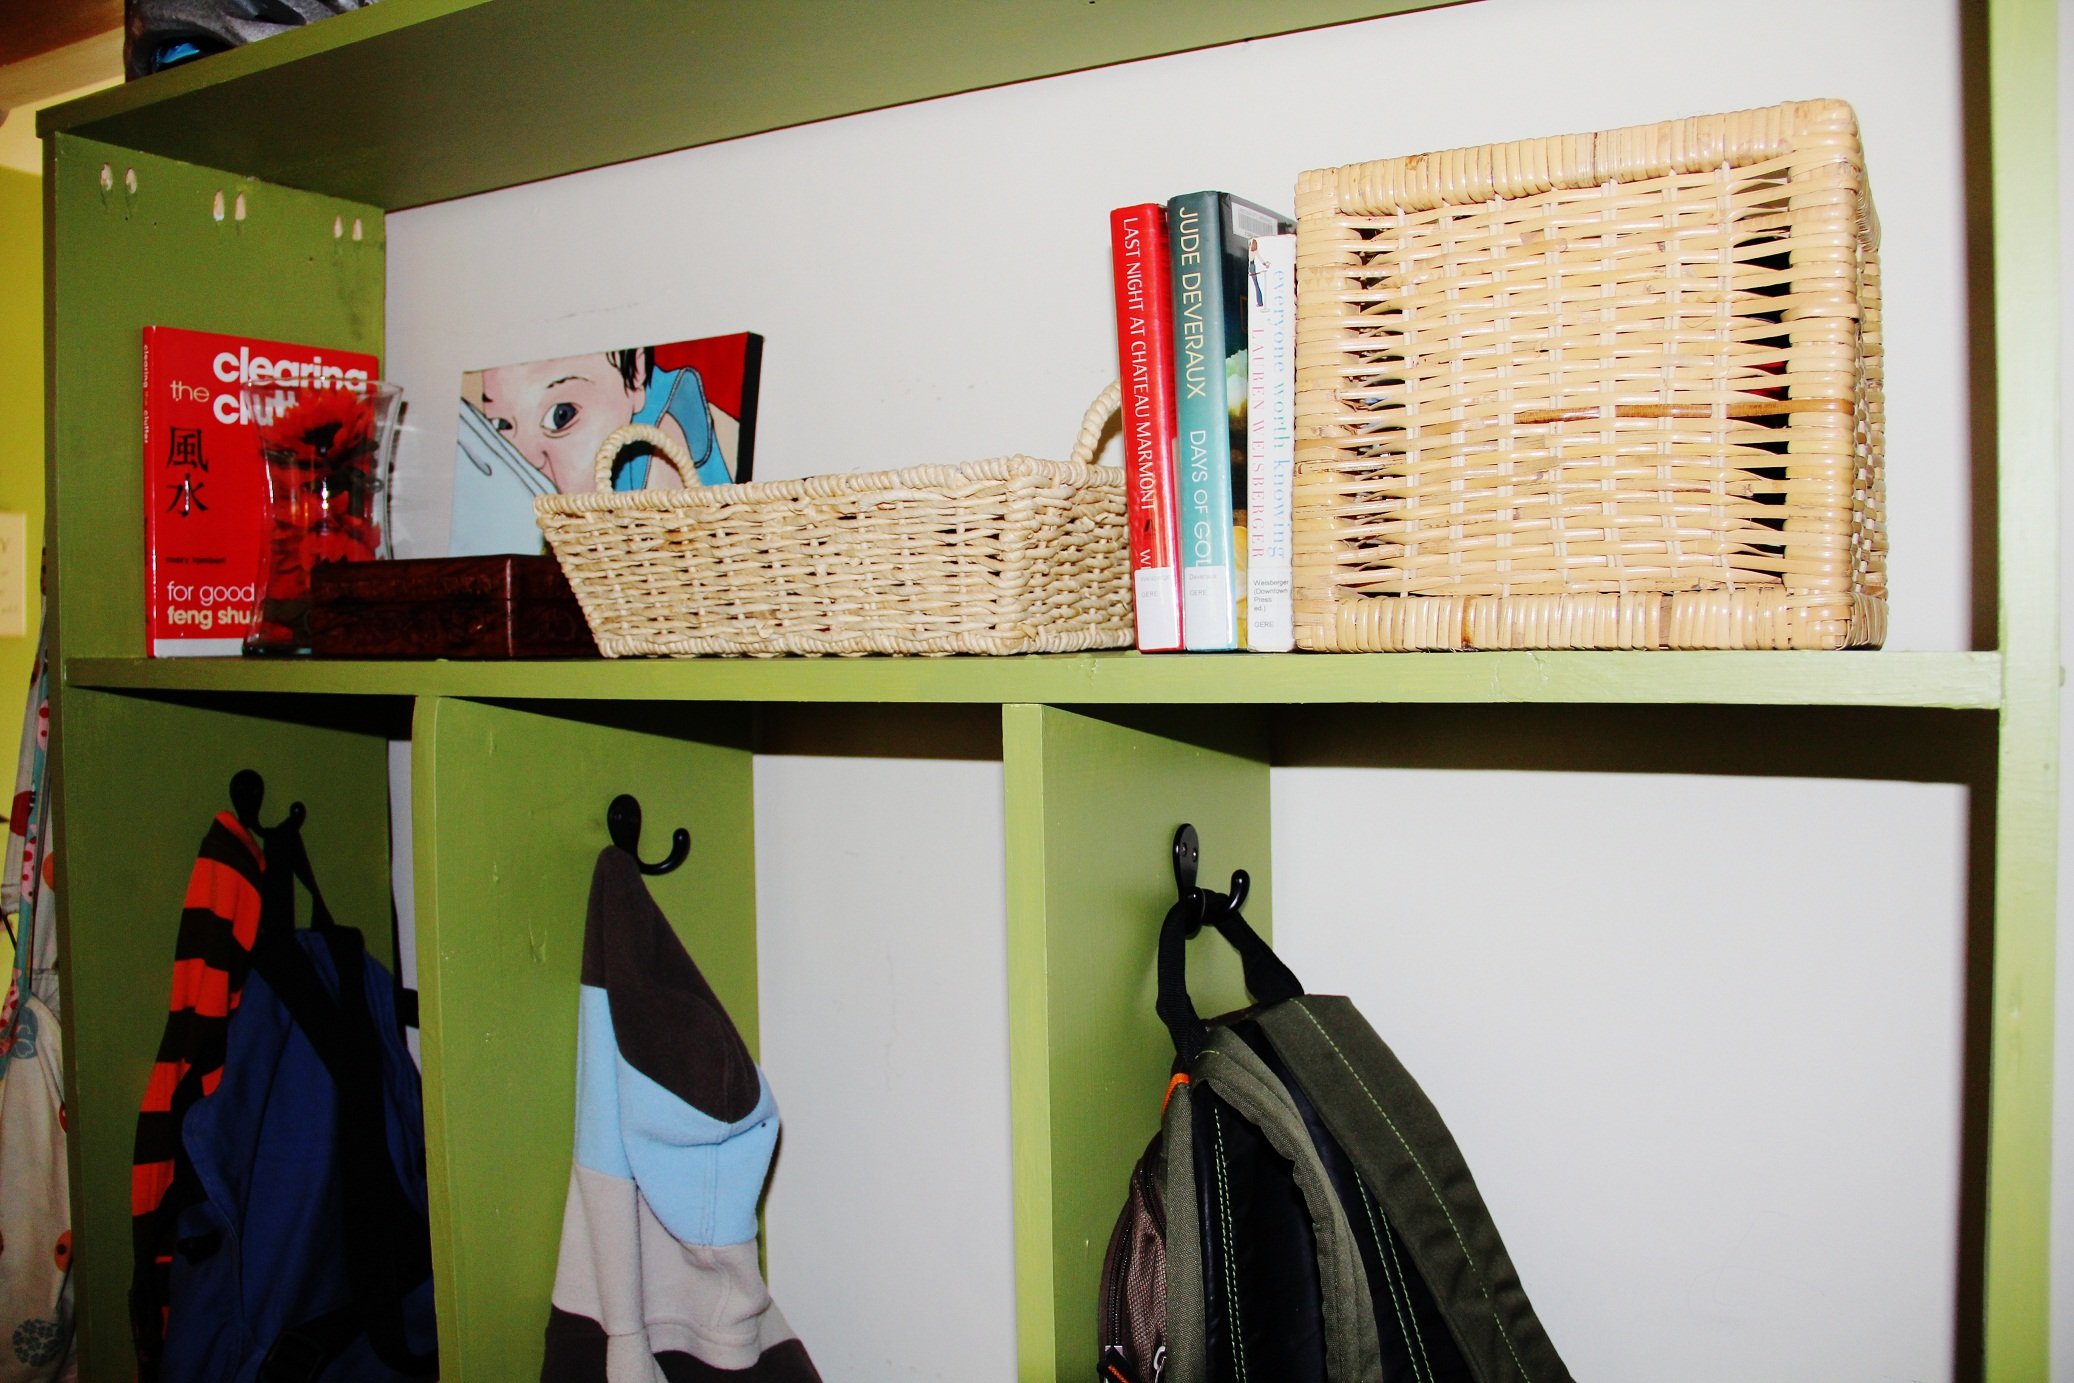
I really needed an entry way system that was easy to corral all of my 3 boys shoes/coats/crap, etc. . . and I LOVED this plan! I messed up on the frame, so just left it off, and decided that I didn't need the back either. I painted little chalkboards on the side of each boys cubby.
I'm fairly certain that this isn't made perfectly, but it's perfect for us! This was my 2nd project and I'm really super psyched about it!

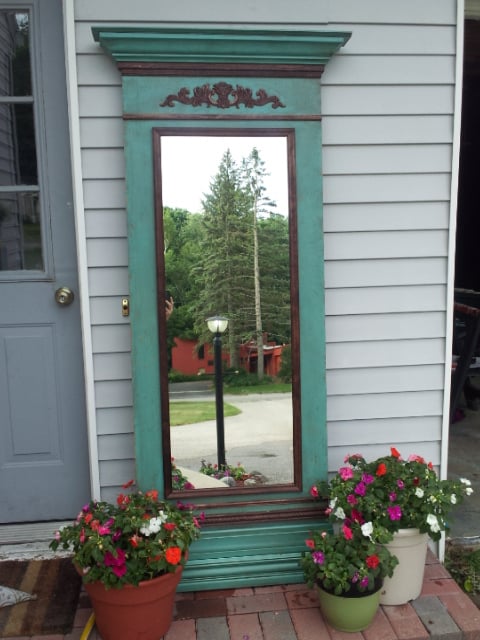
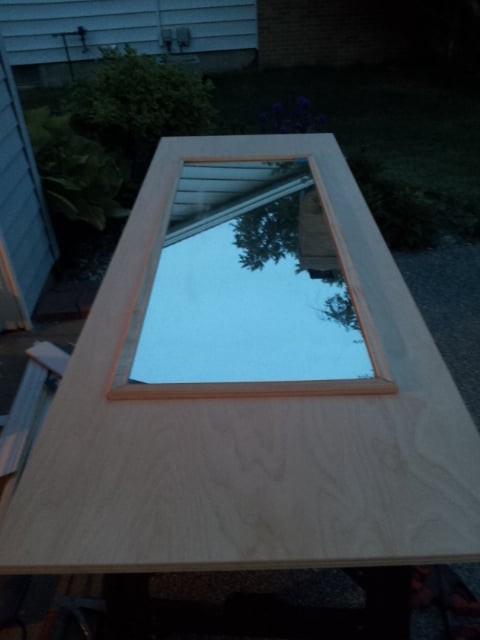
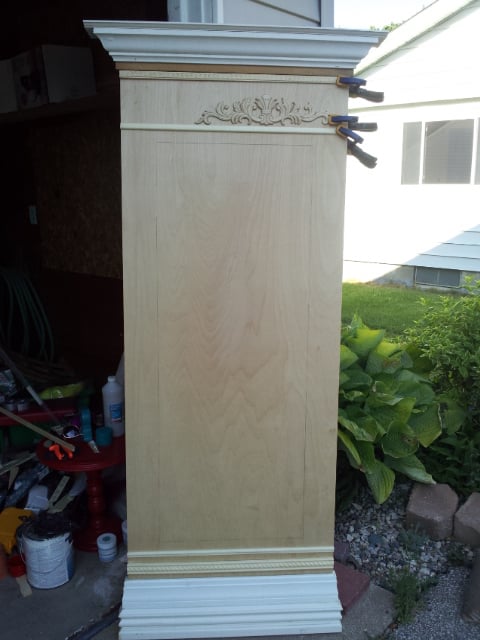
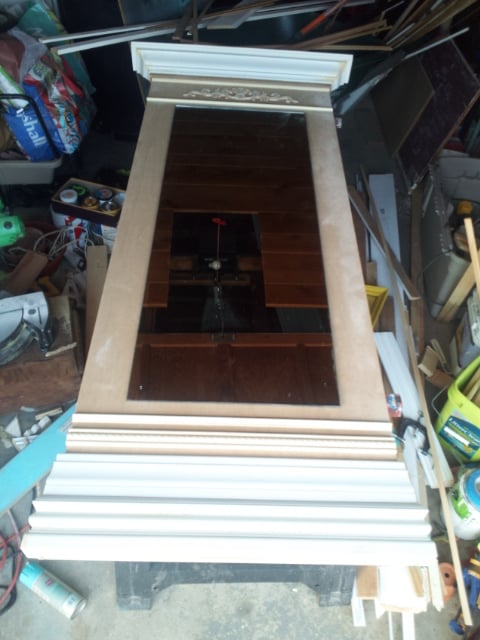
This was made as a present my mom's birthday. I found a good sized mirror at the thrift shop which was perfect for the project. I adhered it to some plywood, added trim around it, bulked up the top and bottom with multiple layers and types of trim and added some crown molding to the top. The finish is "A Day at the Jewellers" by Valspar with a Red Mahogany stain/glaze over top.
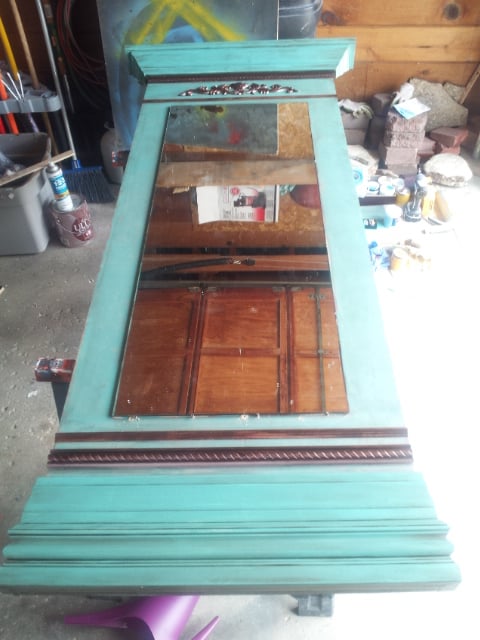

Project was a bit difficult but extremely rewarding when completed!! I followed Ana White's advice......"take a break and always finish your project!!!"
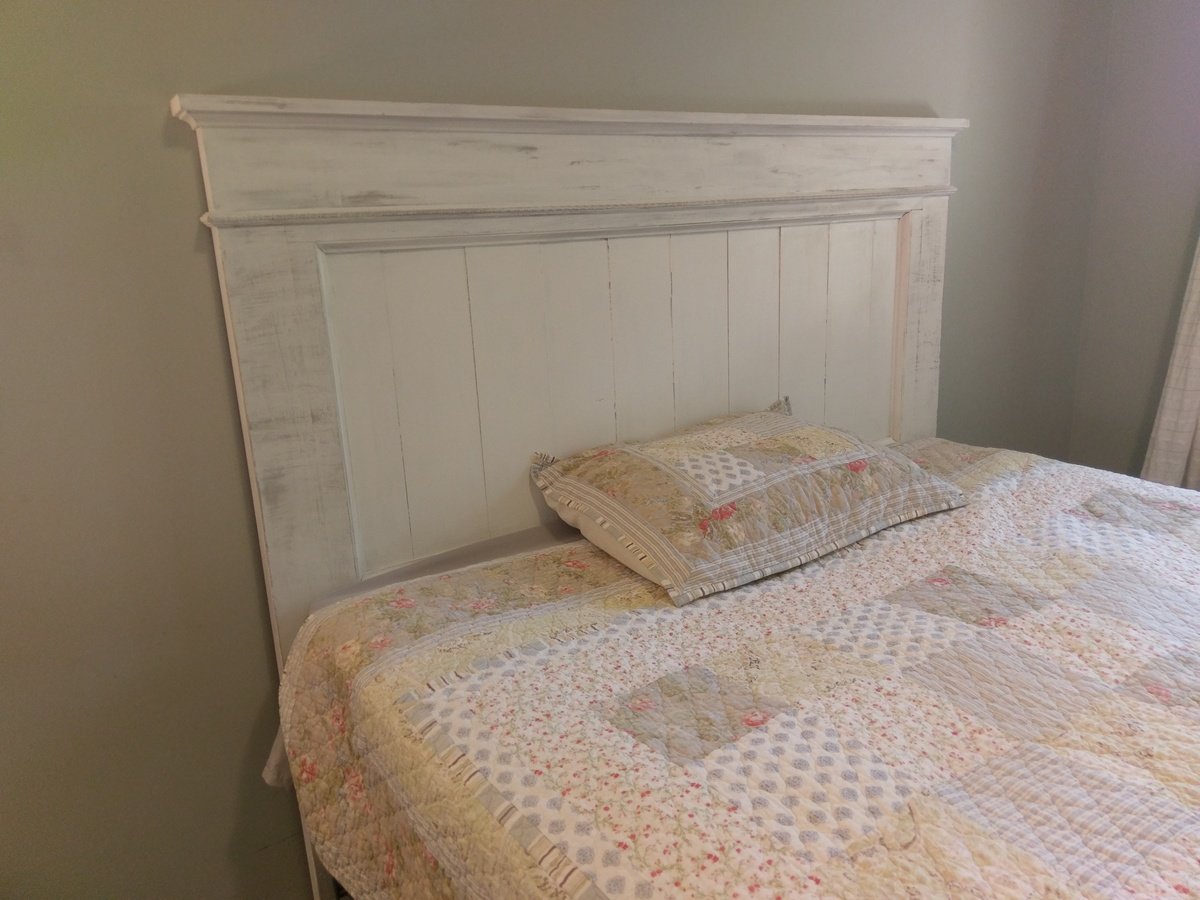
Here's a queen headboard we just completed for our guest bedroom.
It only took an afternoon to build this simple yet stunning headboard, and then a little more time to paint, distress, and wax it.
More information is available on our site at FamousArtisan.com
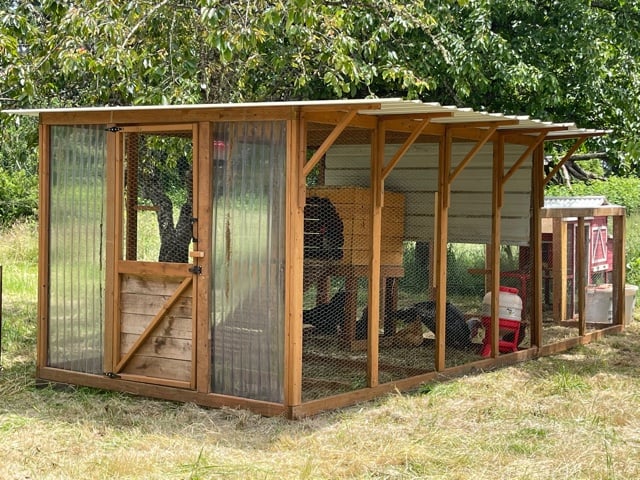
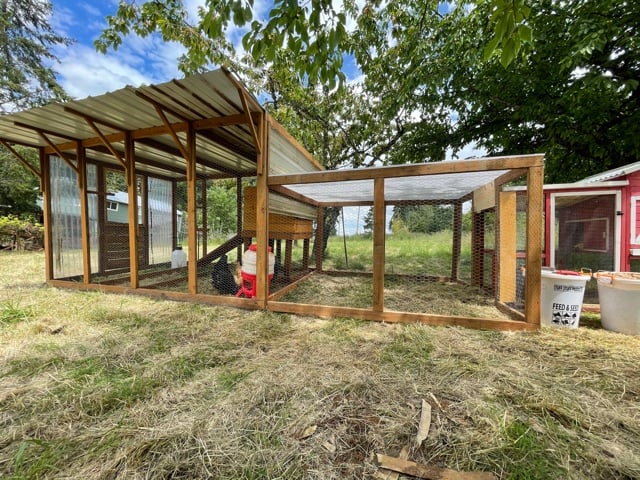
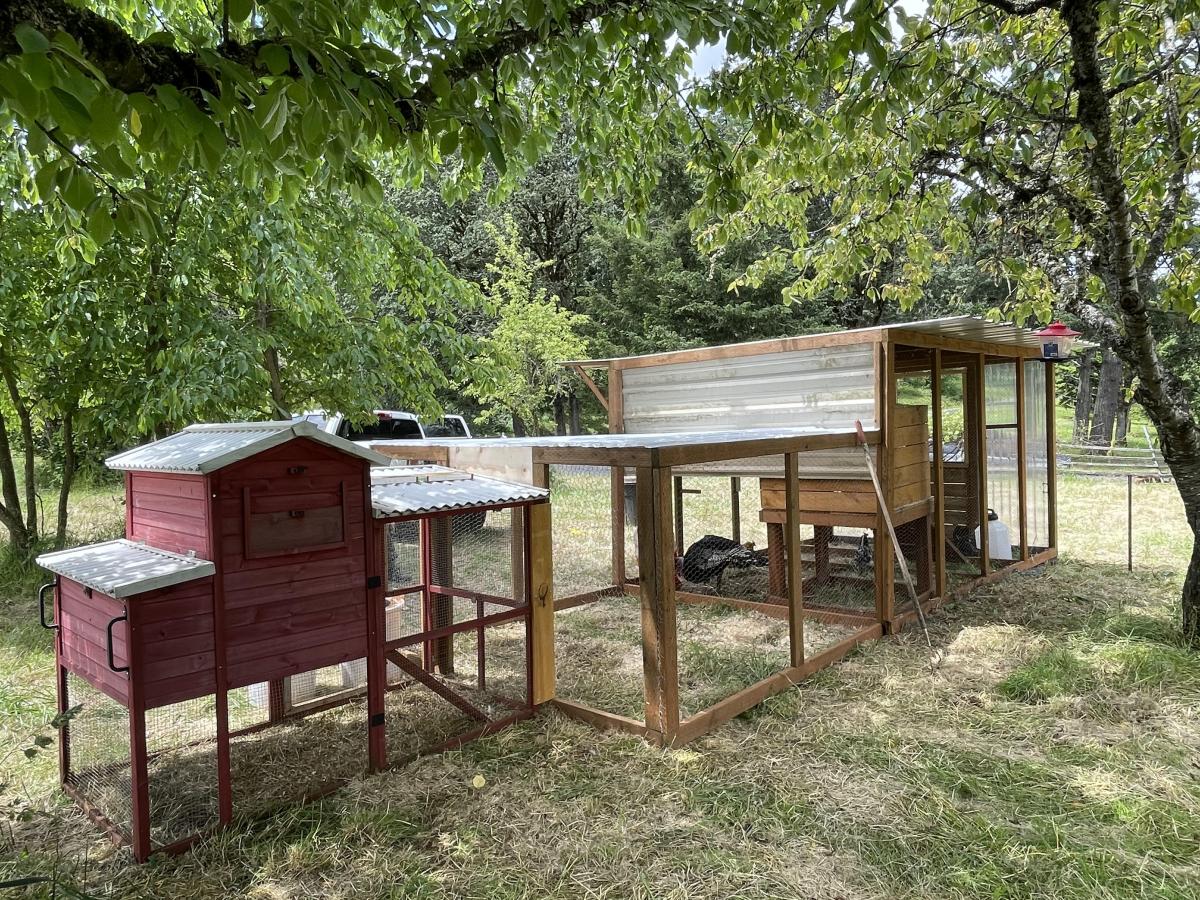
I had to move our original coop to another property, so decided to do a little upgrade. We used Ana's Chicken Run plan for both of the large sections and just added a roof. We attached the run to a small red coop that we purchased. Ana's plans are great for modifying for any size, as you can see the main tall portion is from her run plan just built taller and we added a door to the front.
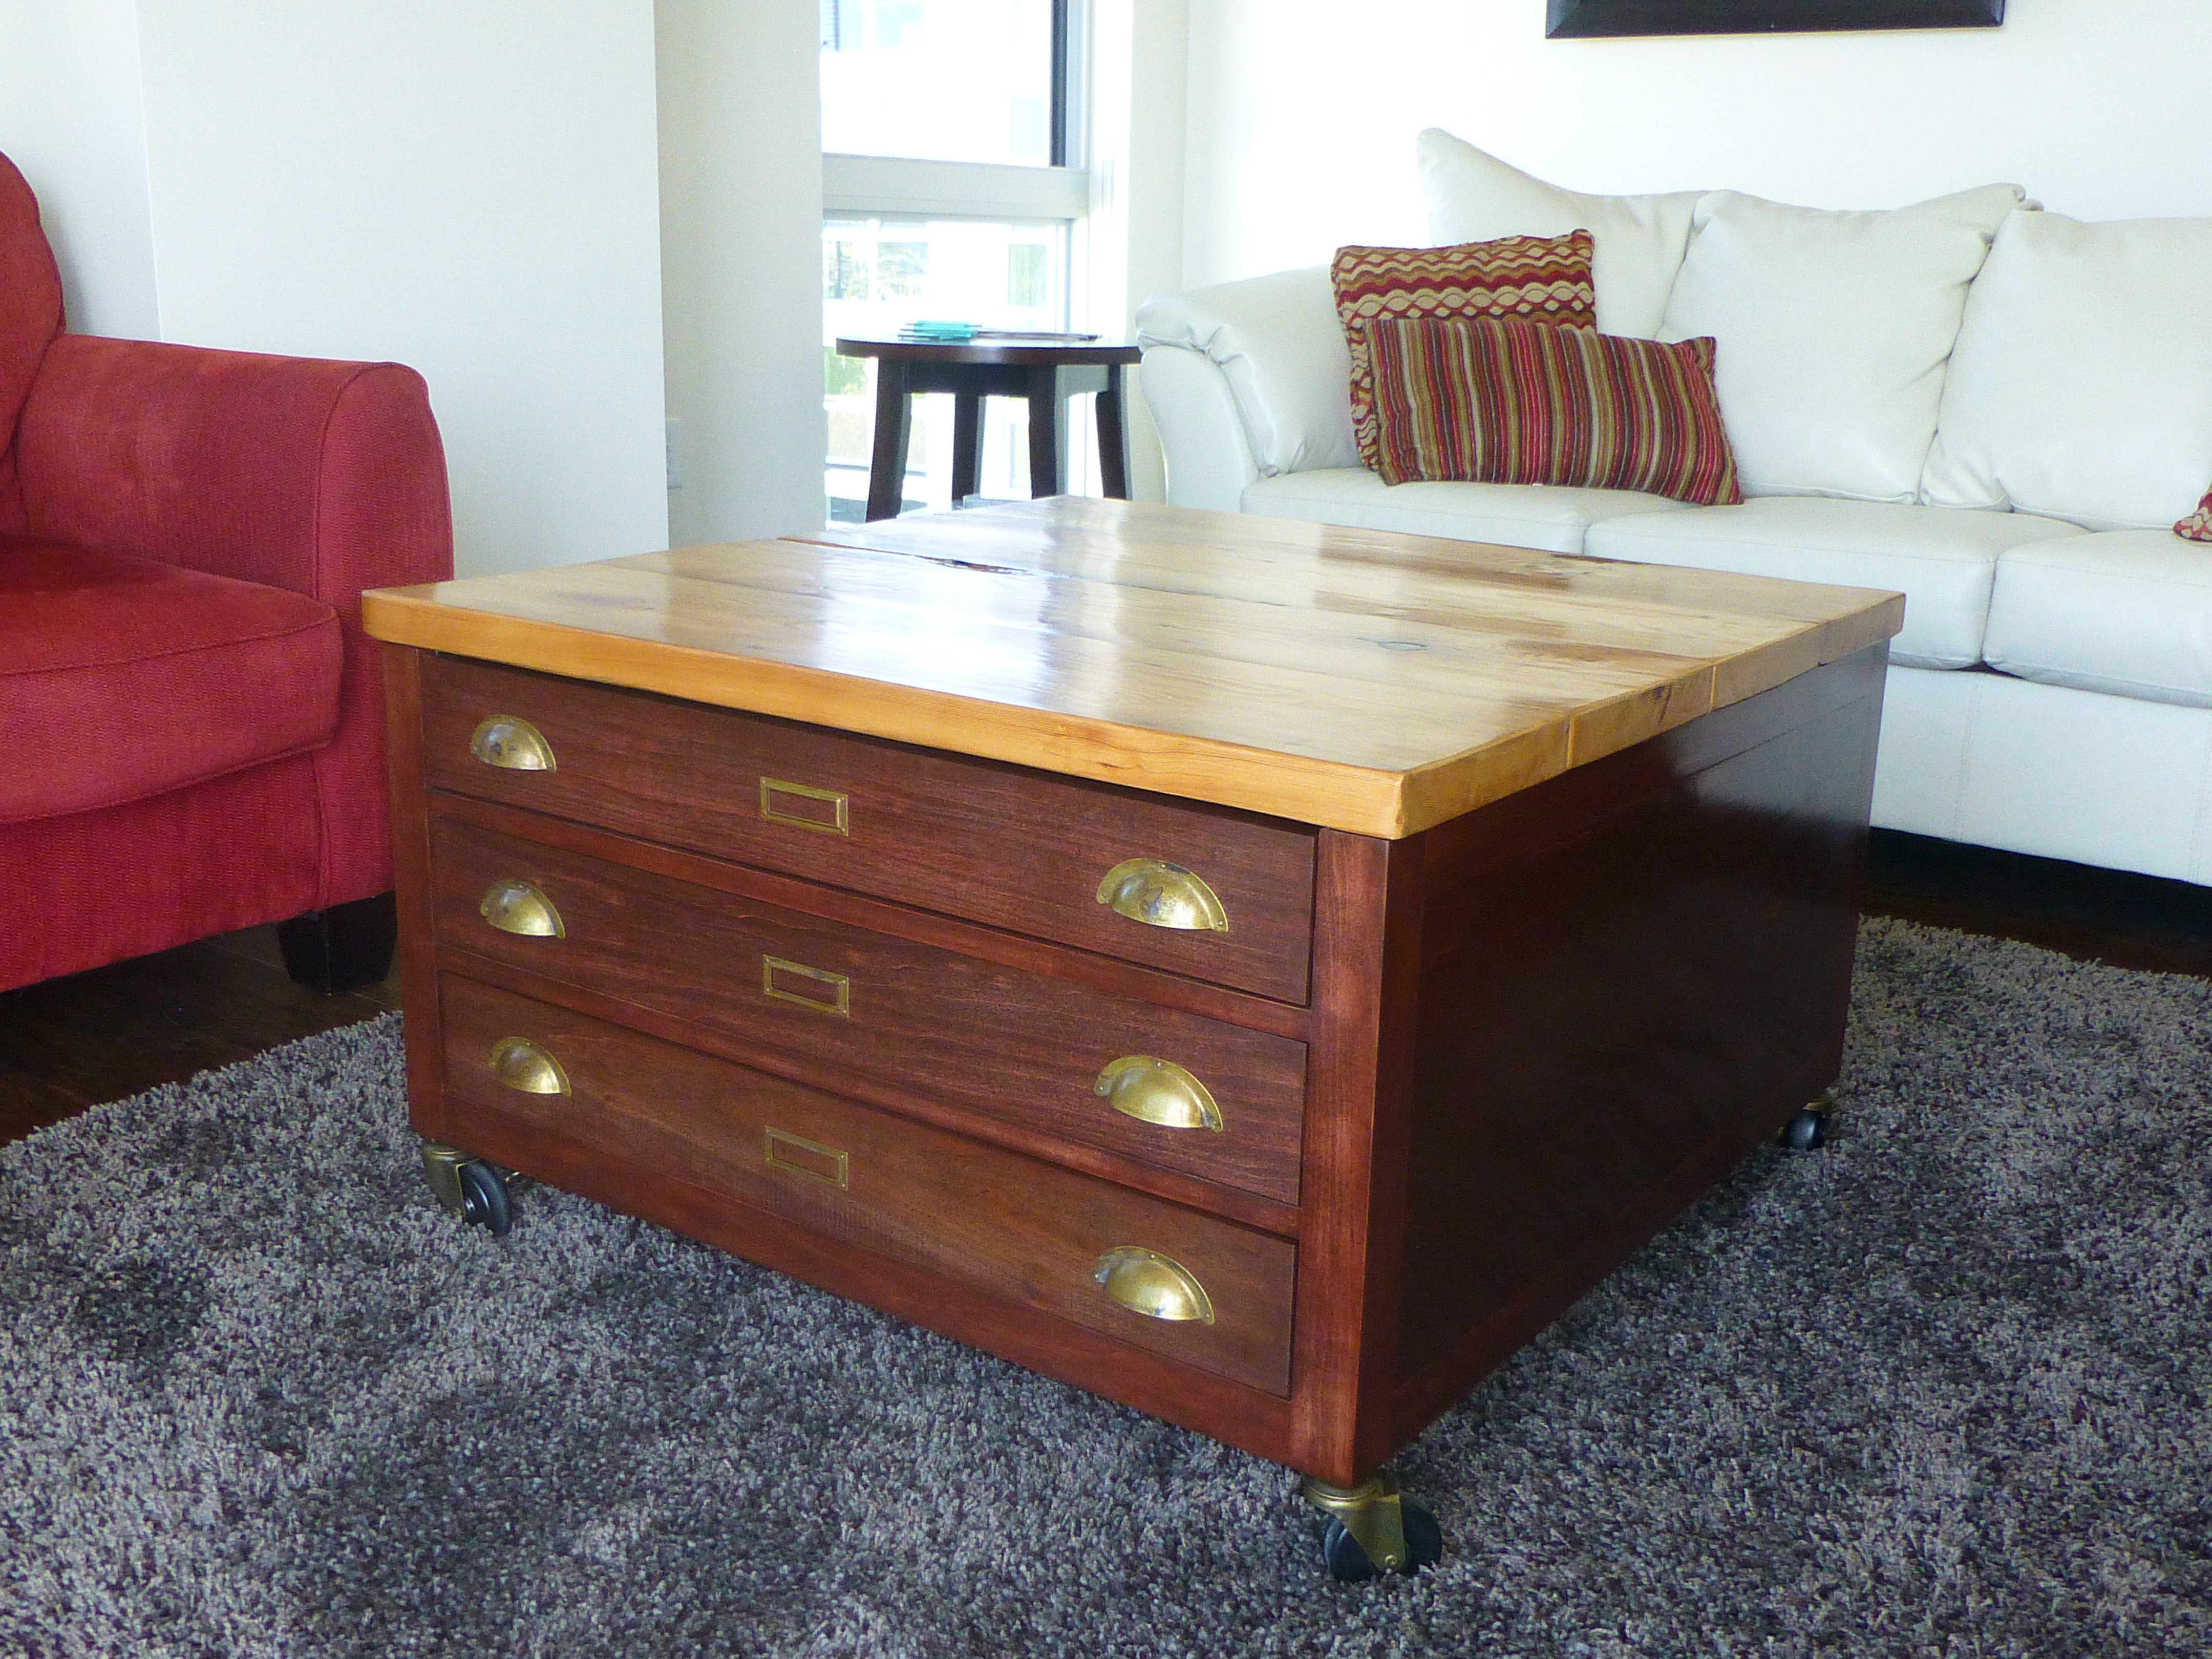
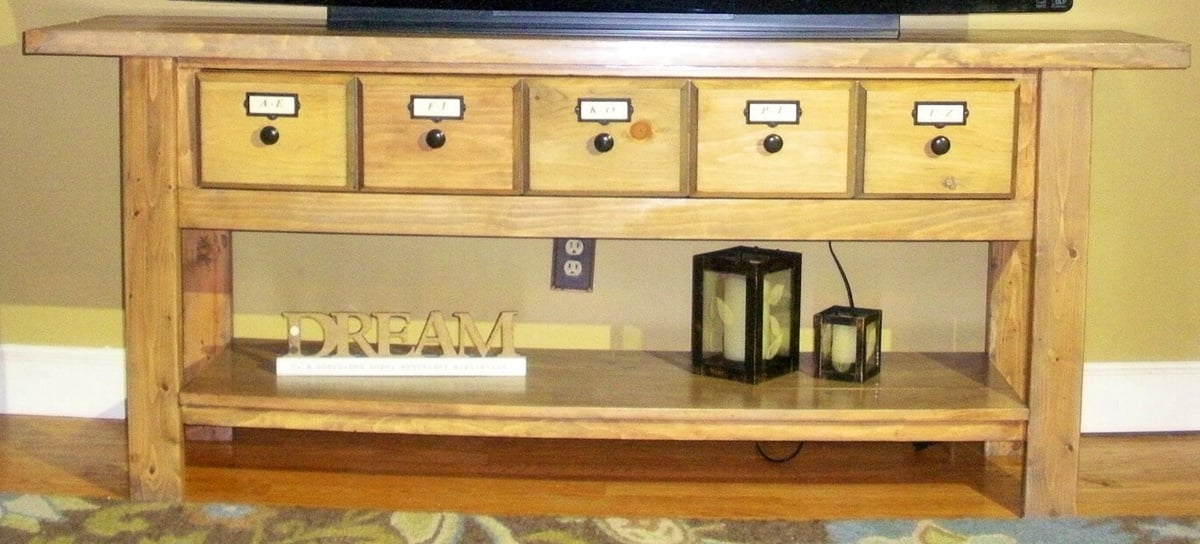
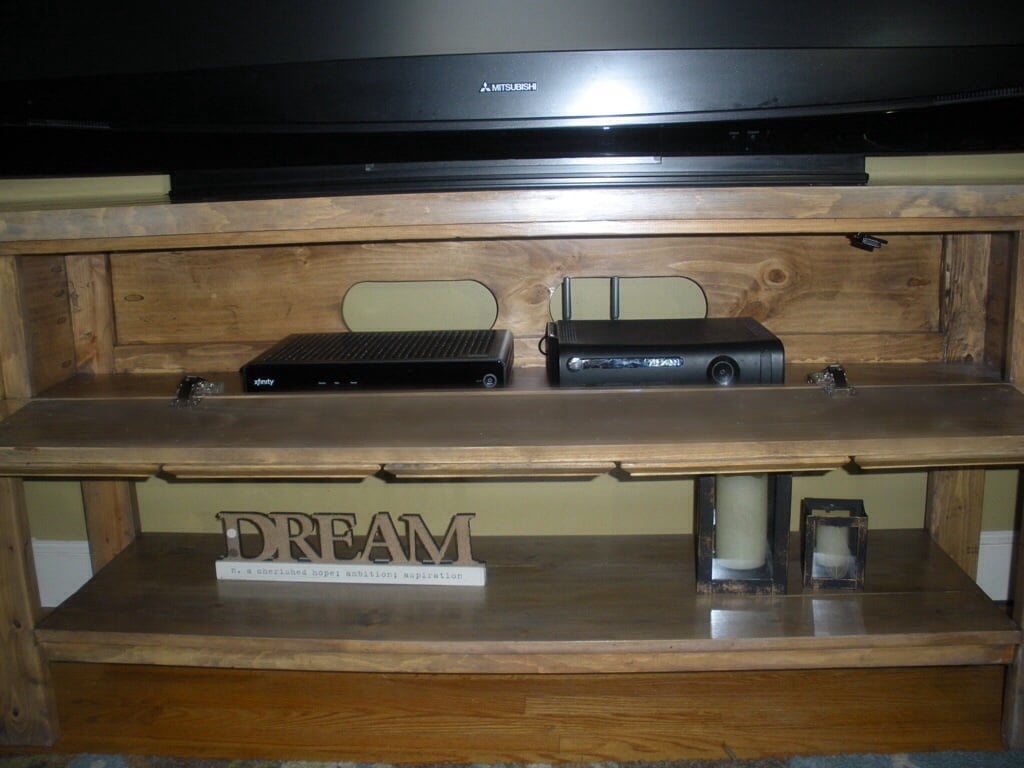
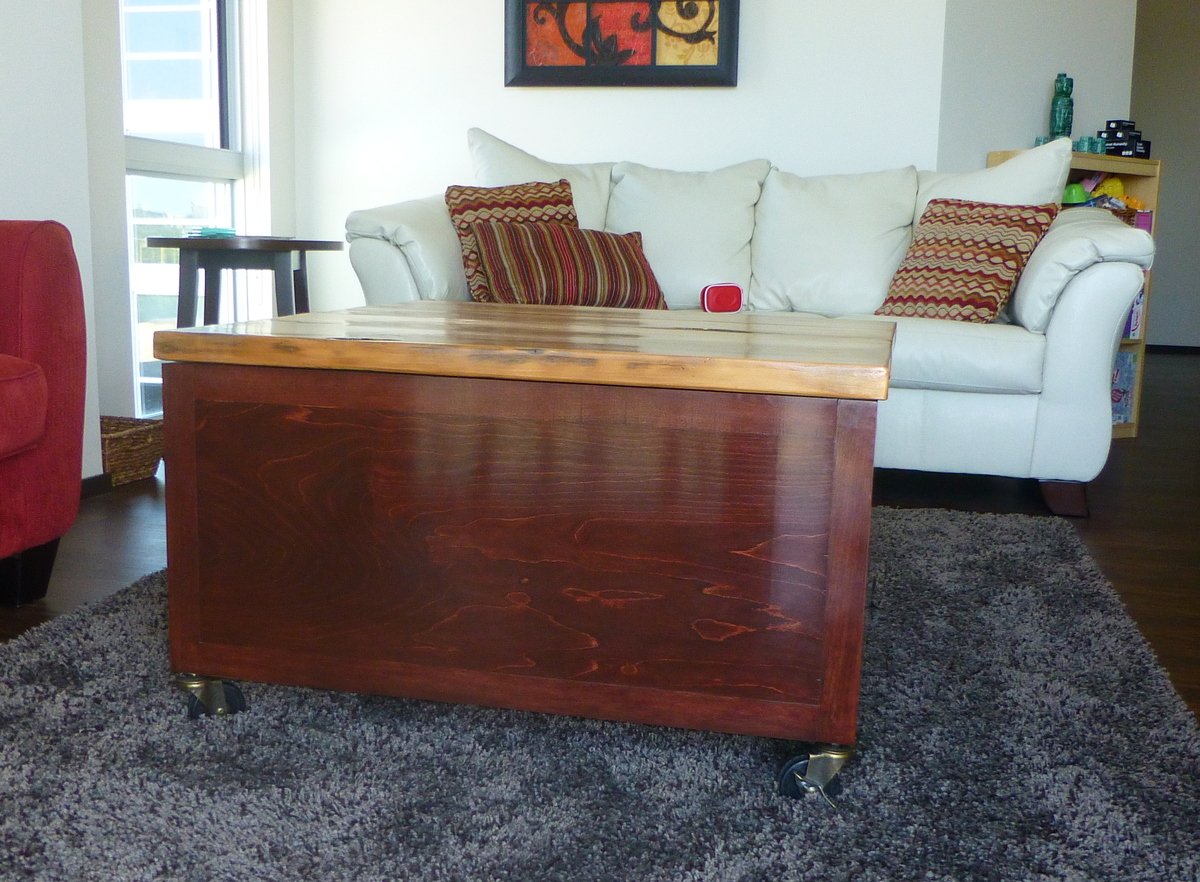
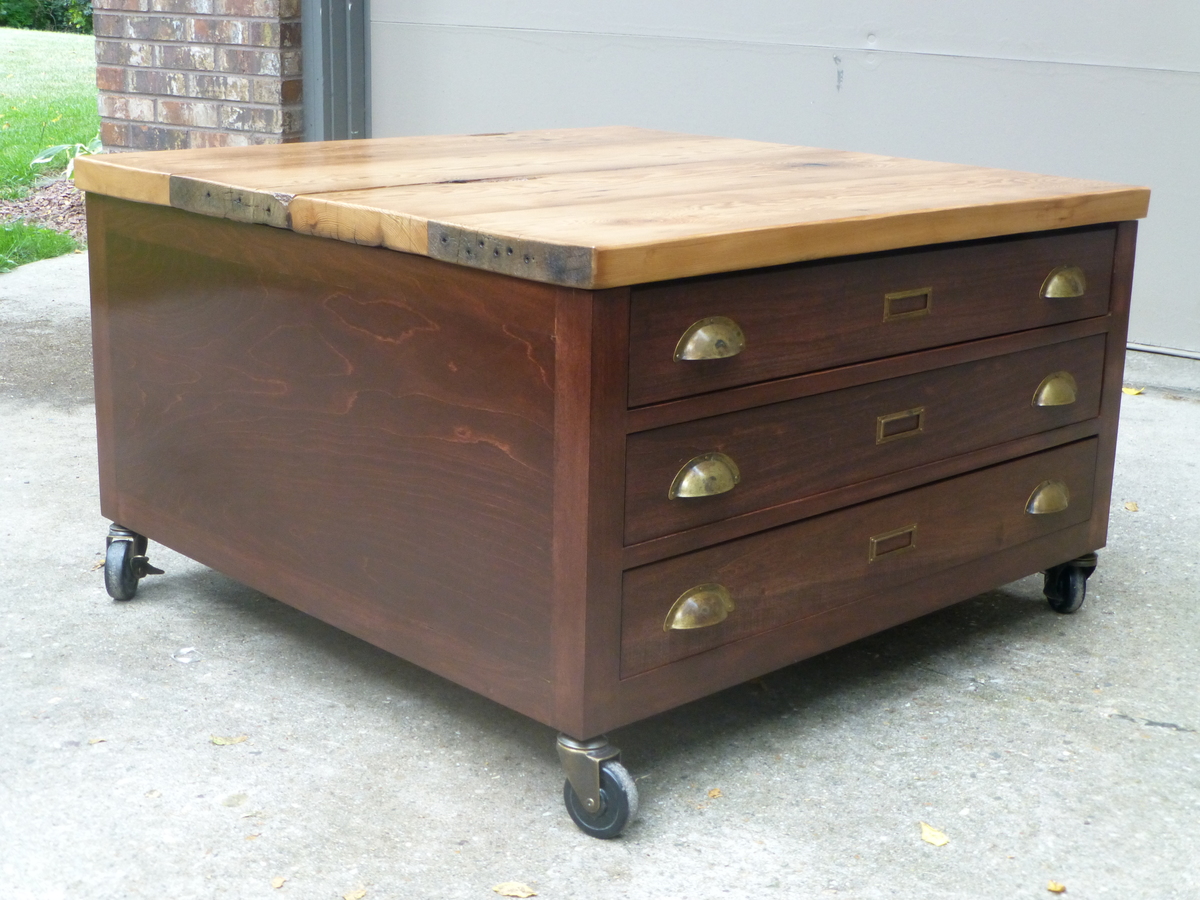
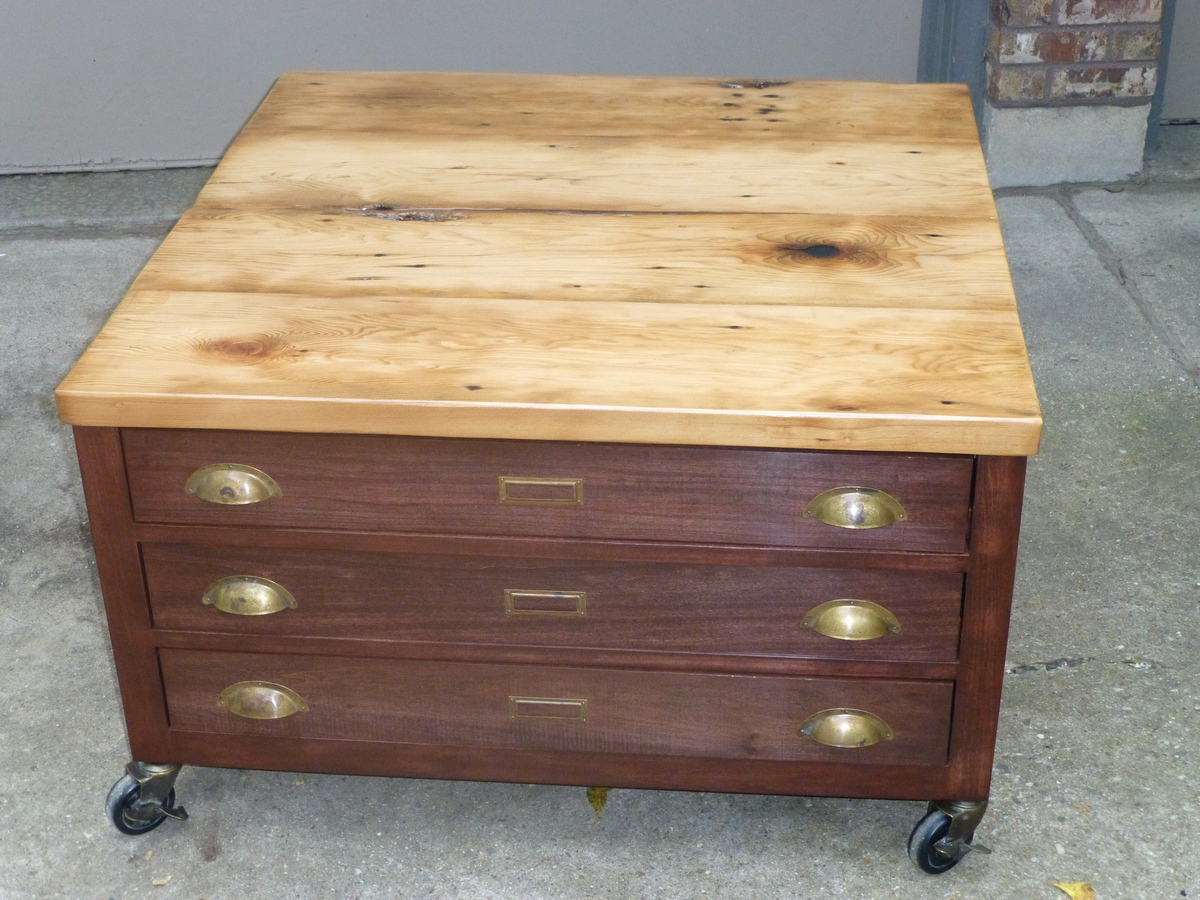
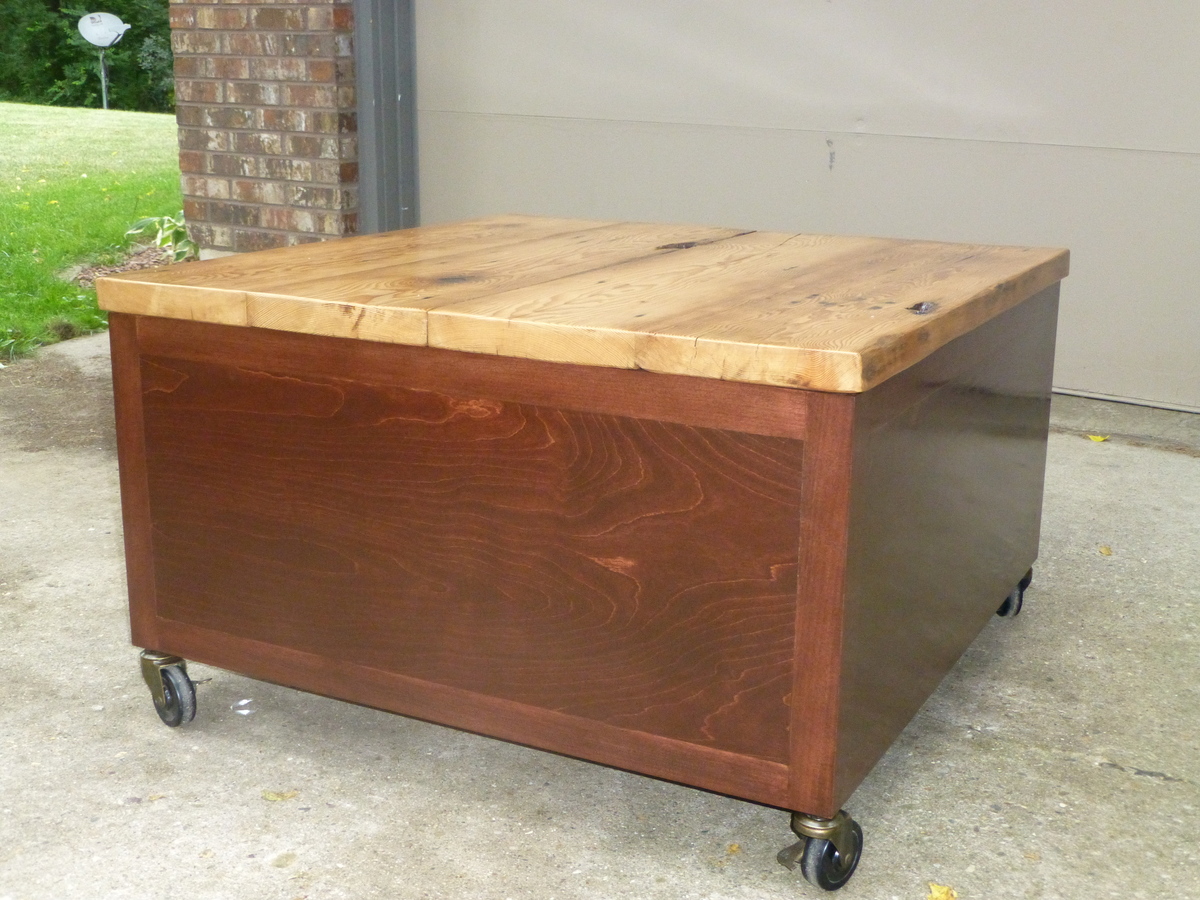
Modified the plans to be only 3 drawers which saved on weight and hardware. Used reclaimed 100+ year old barn wood for the top, adding lots of character.

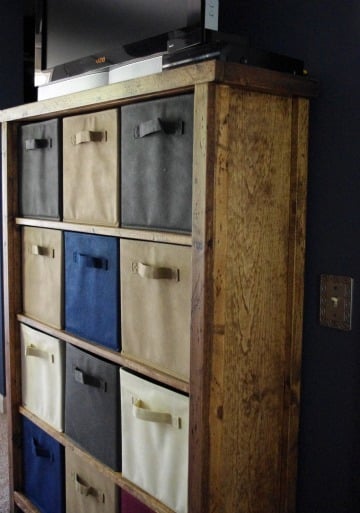
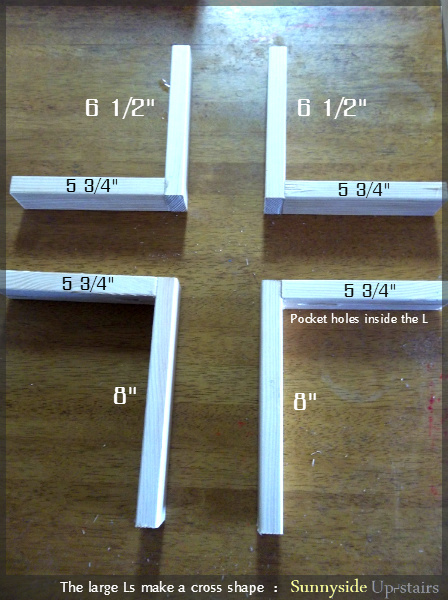
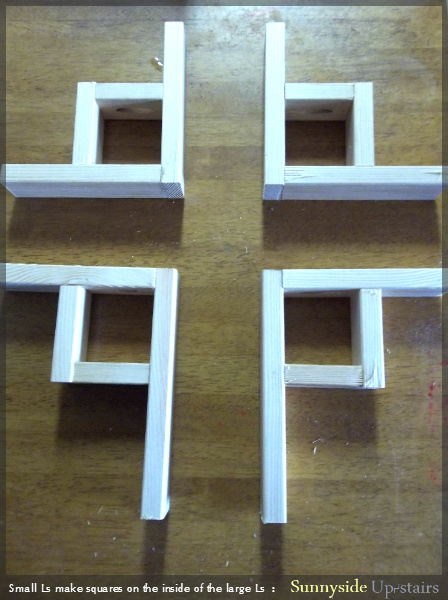
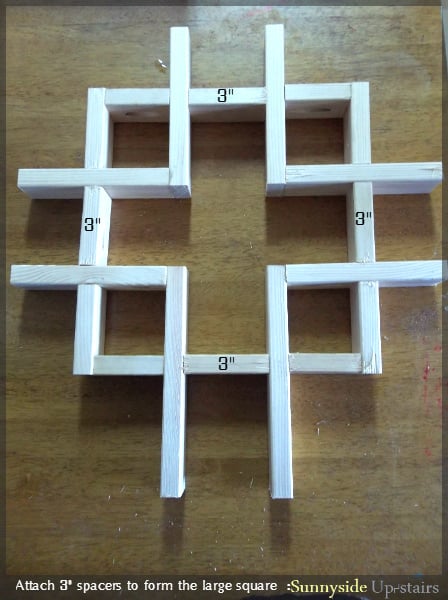
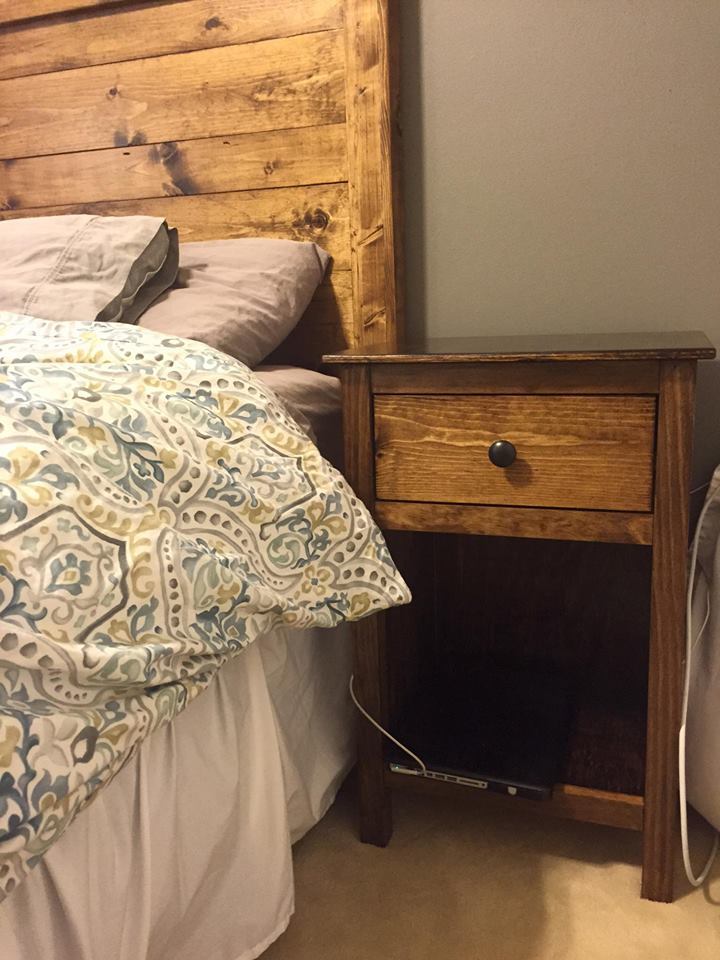
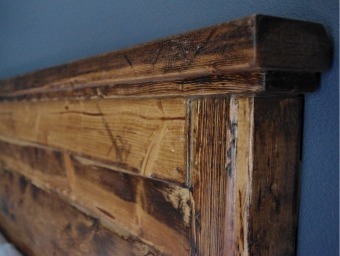
This is inspired by pieces I've seen here, though I sketched it out on paper myself to make sure it would suit the limited space in our room. I built the simple piece to match our bed (made from Ana and her reader's plans, see my photos below).
Originally, I planned to include cabinet doors, but with the limited space we have, this is better for us.
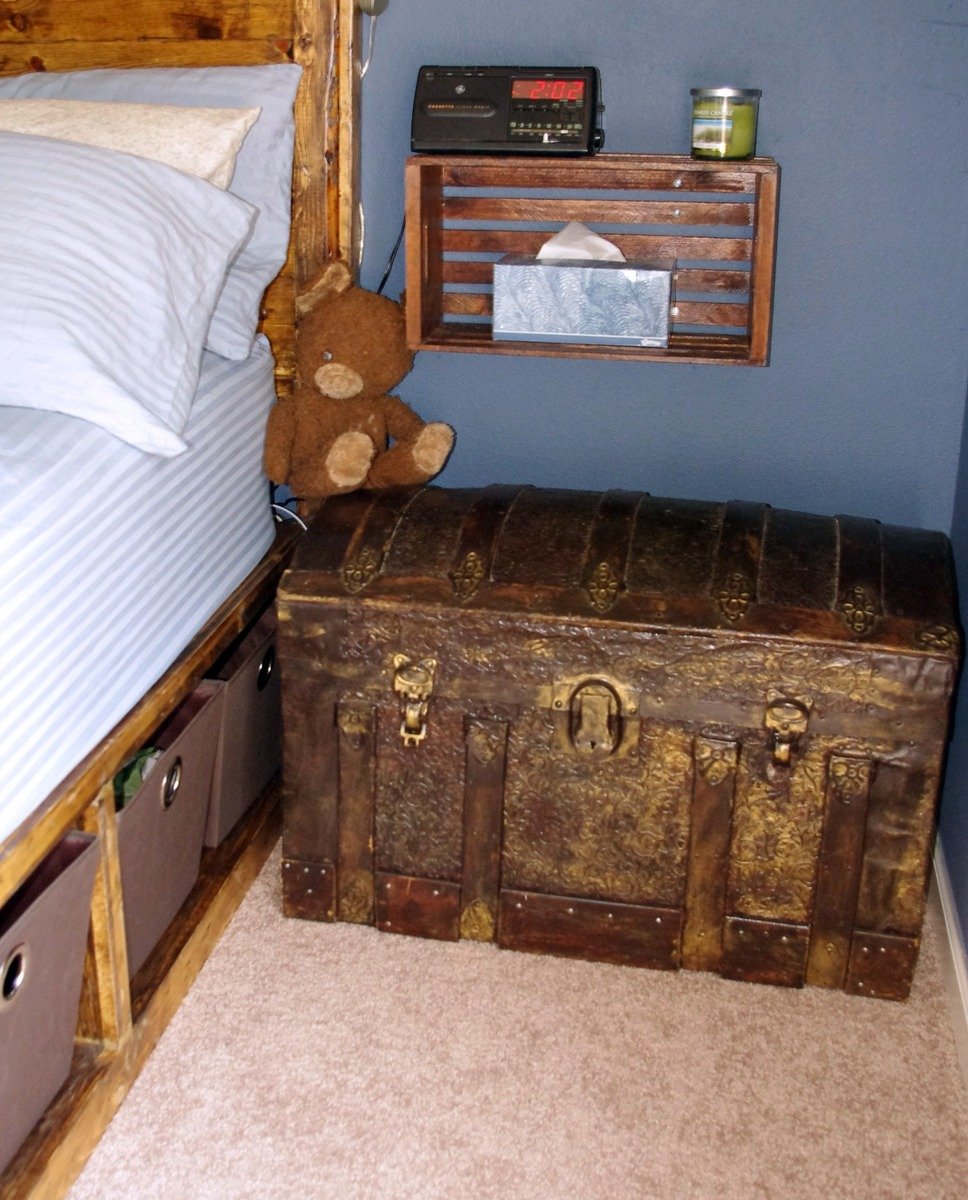
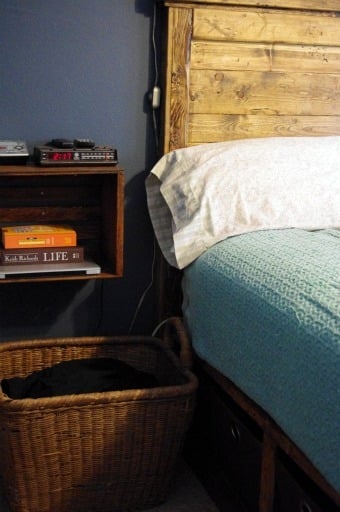
For nightstands, I stained plain wooden crates I had in the basement. Still working on how to hide the cords.
The baskets under my bed are from Bed Bath Beyond. The baskets in the "dresser" are from Target.
Sorry about the poor photo quality.


Wed, 07/27/2011 - 14:23
I see that they all go together, and they look great! I'm especially loving that dresser, it is beautiful.

Sat, 12/10/2011 - 07:41
Sorry I haven't logged in in so long--the bed follows plans for the king Stratton, combined with the reclaimed wood headboard. The headboard is attached to the wall. We can slide the foot bench part out to hide presents behind, which is really handy (though heavy) to do.


Comments
Ana White Admin
Mon, 05/16/2022 - 08:25
Gorgeous Space!
This looks amazing, thank you for sharing!