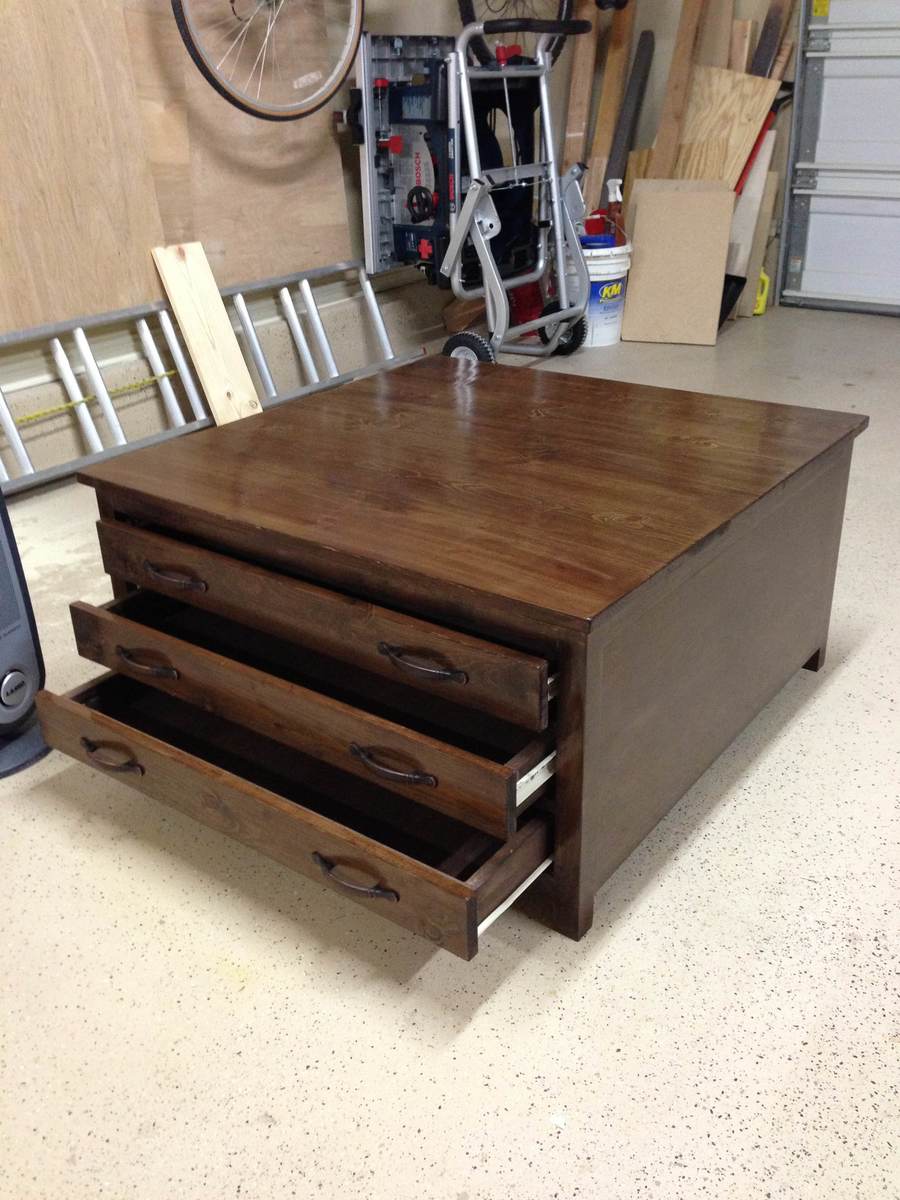
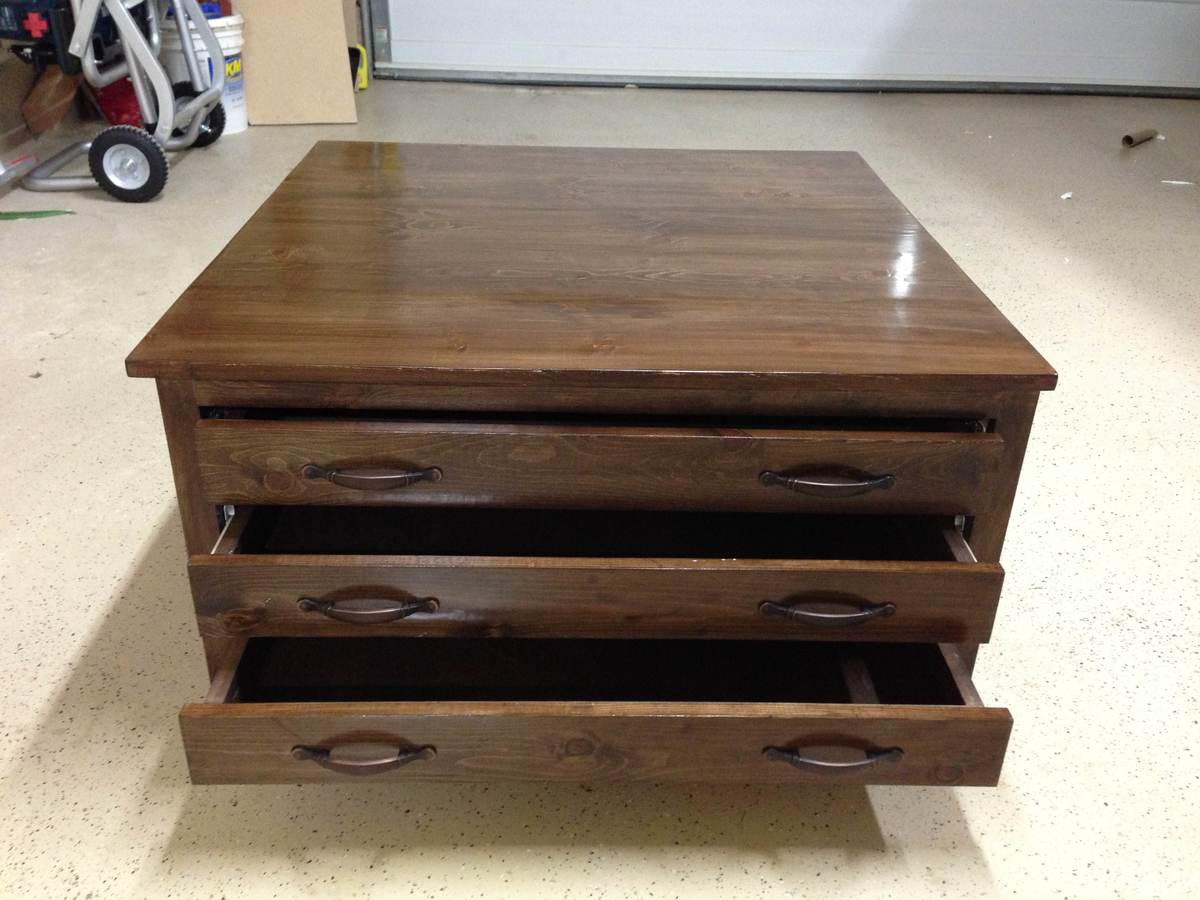
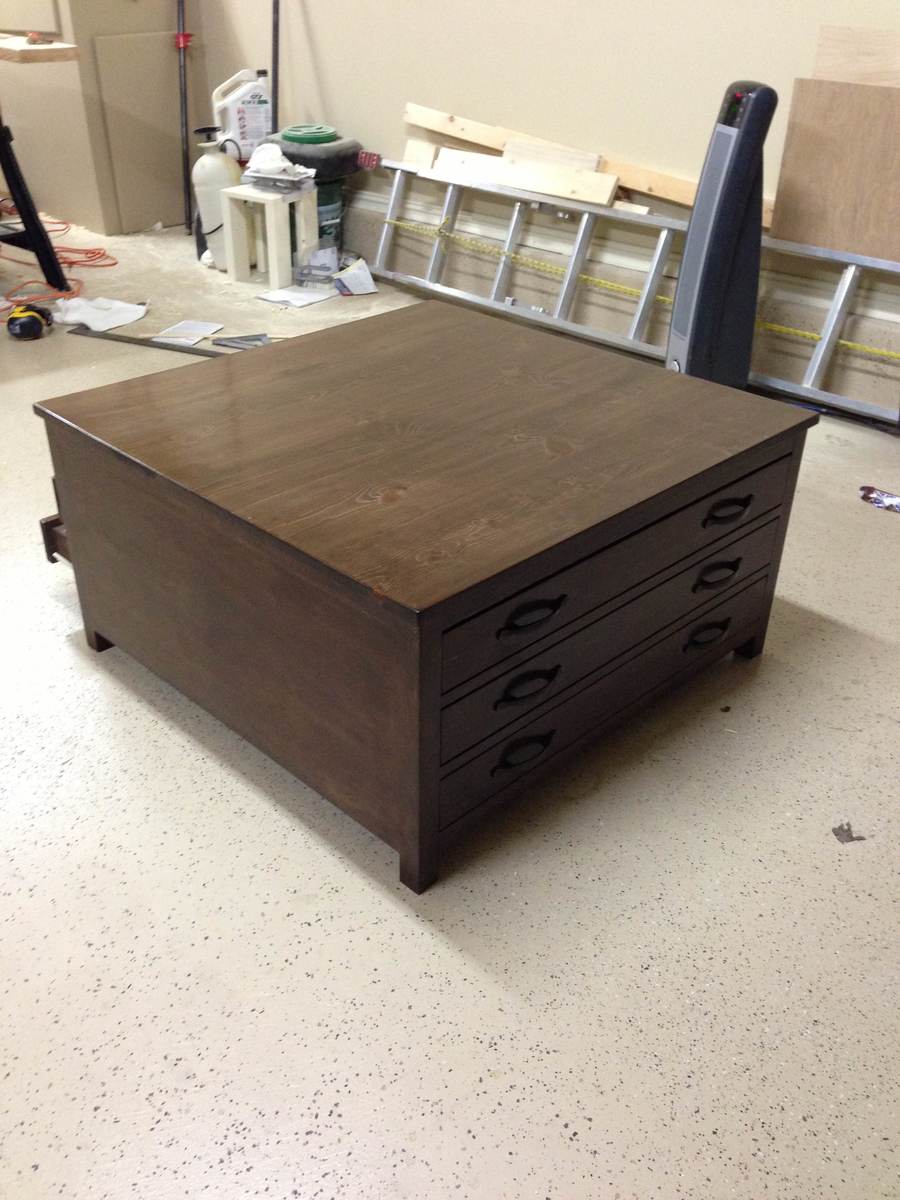
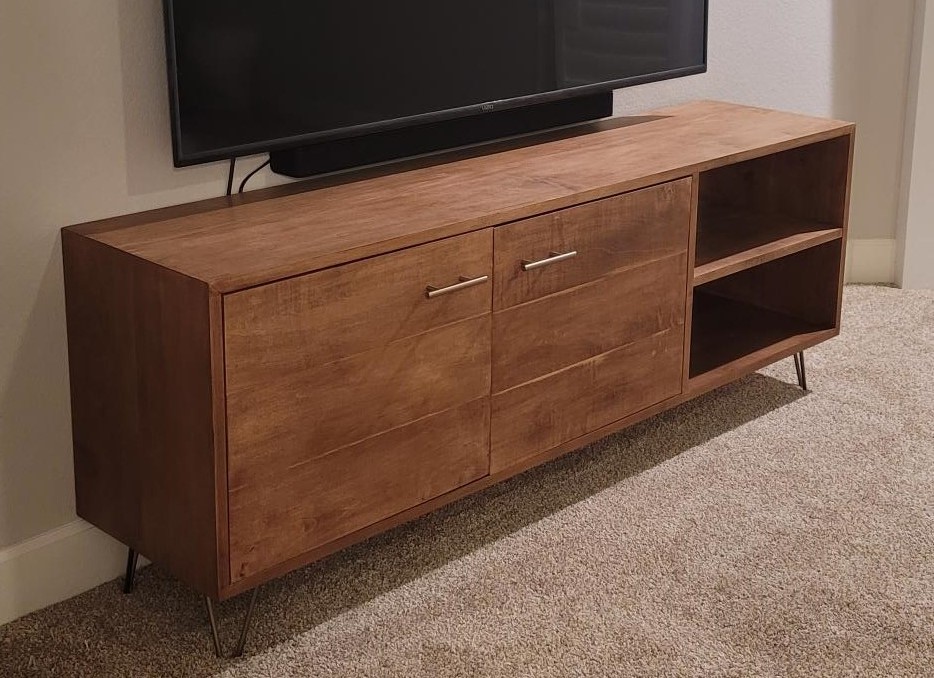
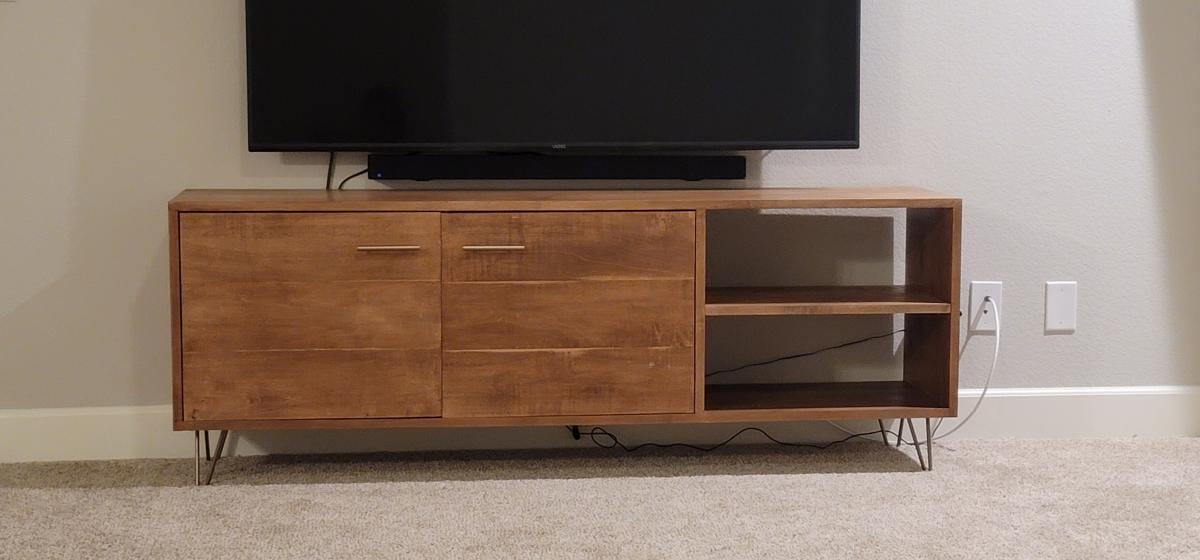
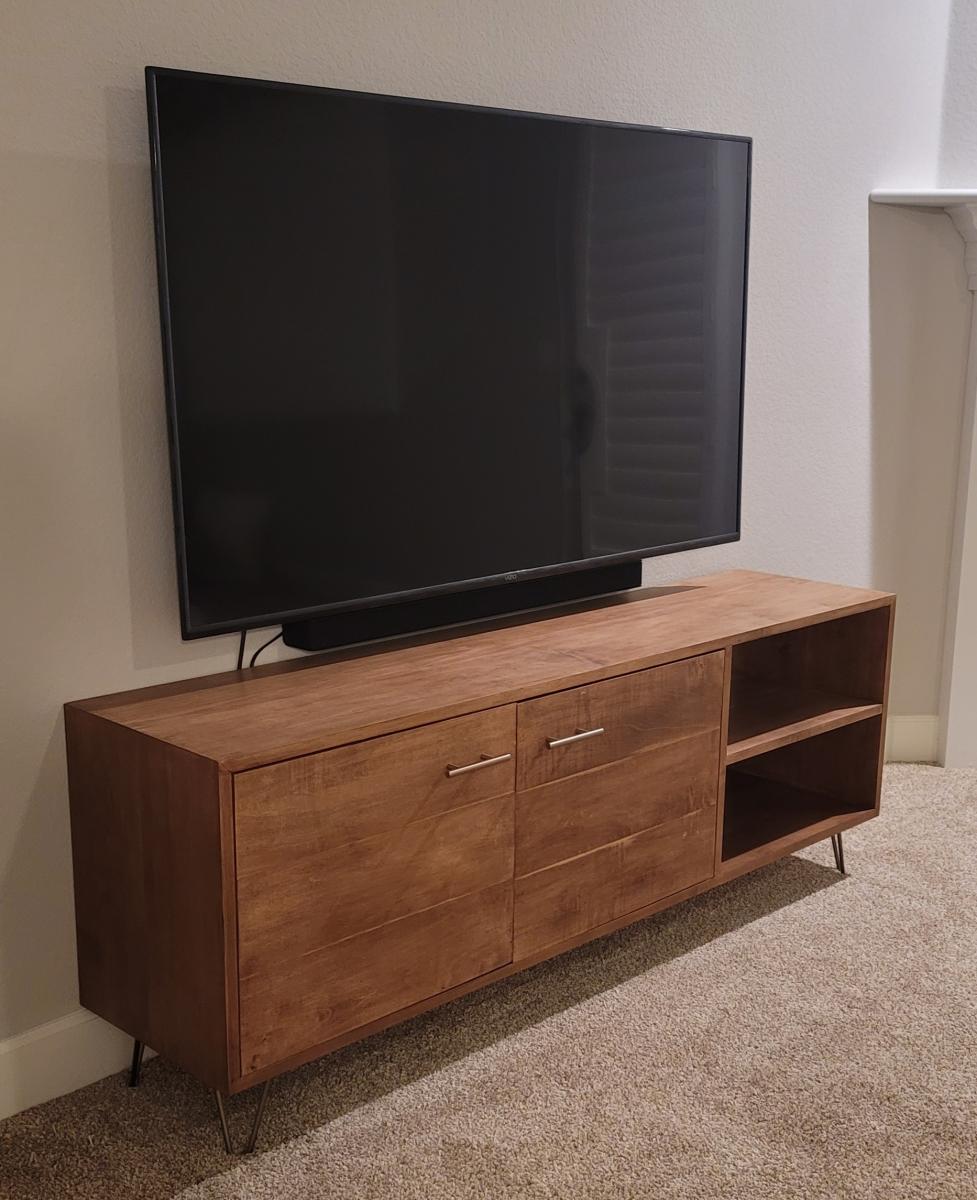
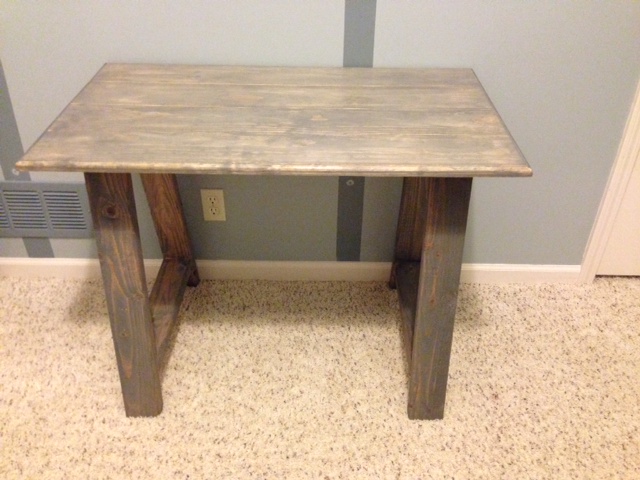
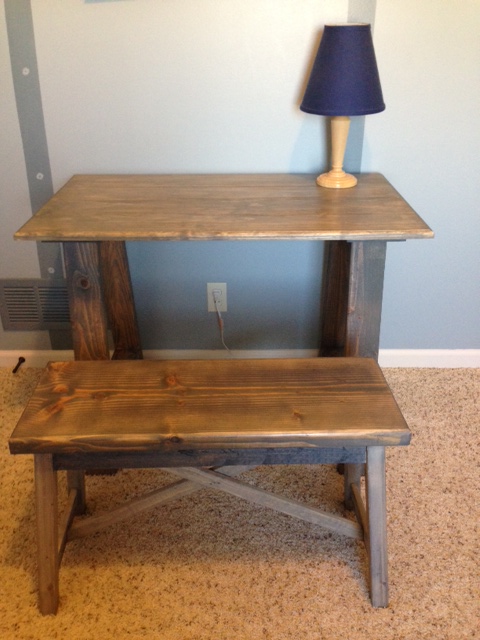
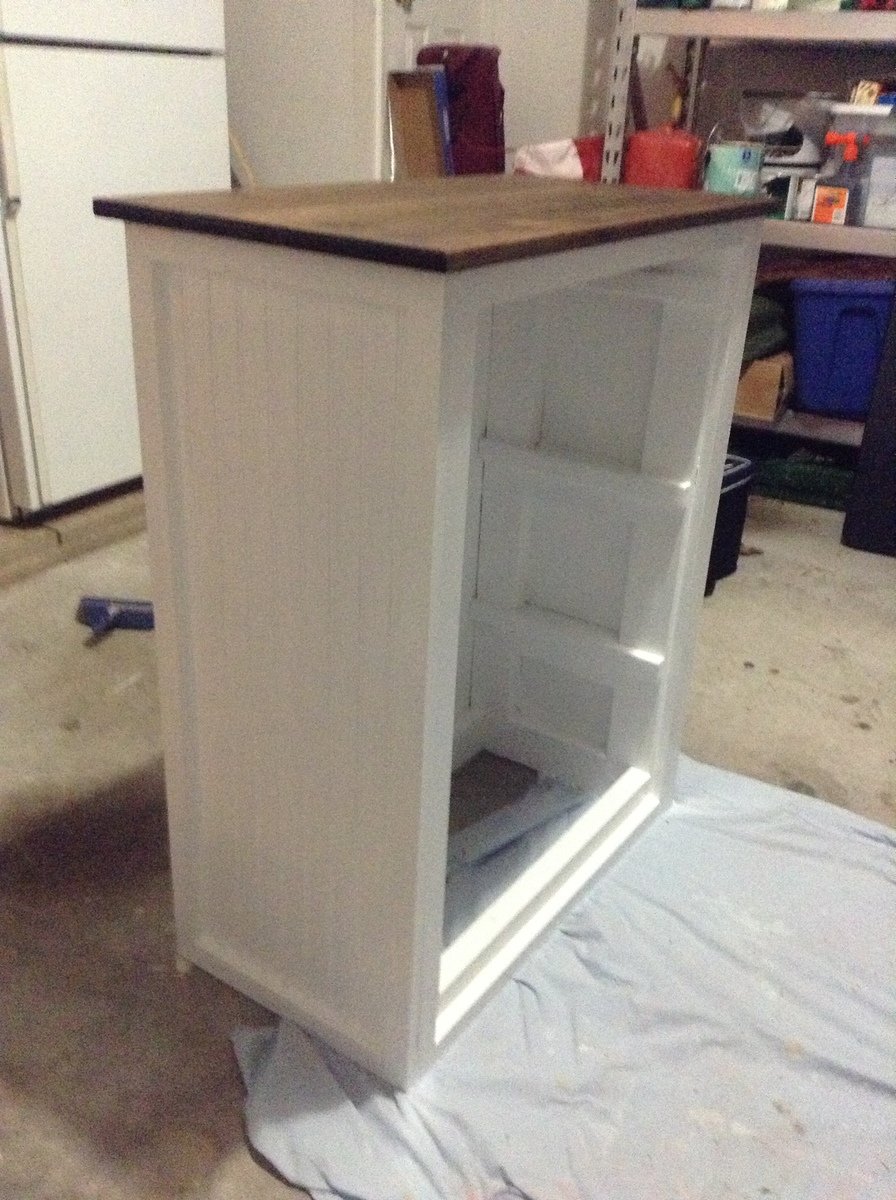
My $55 Live Edge Desk
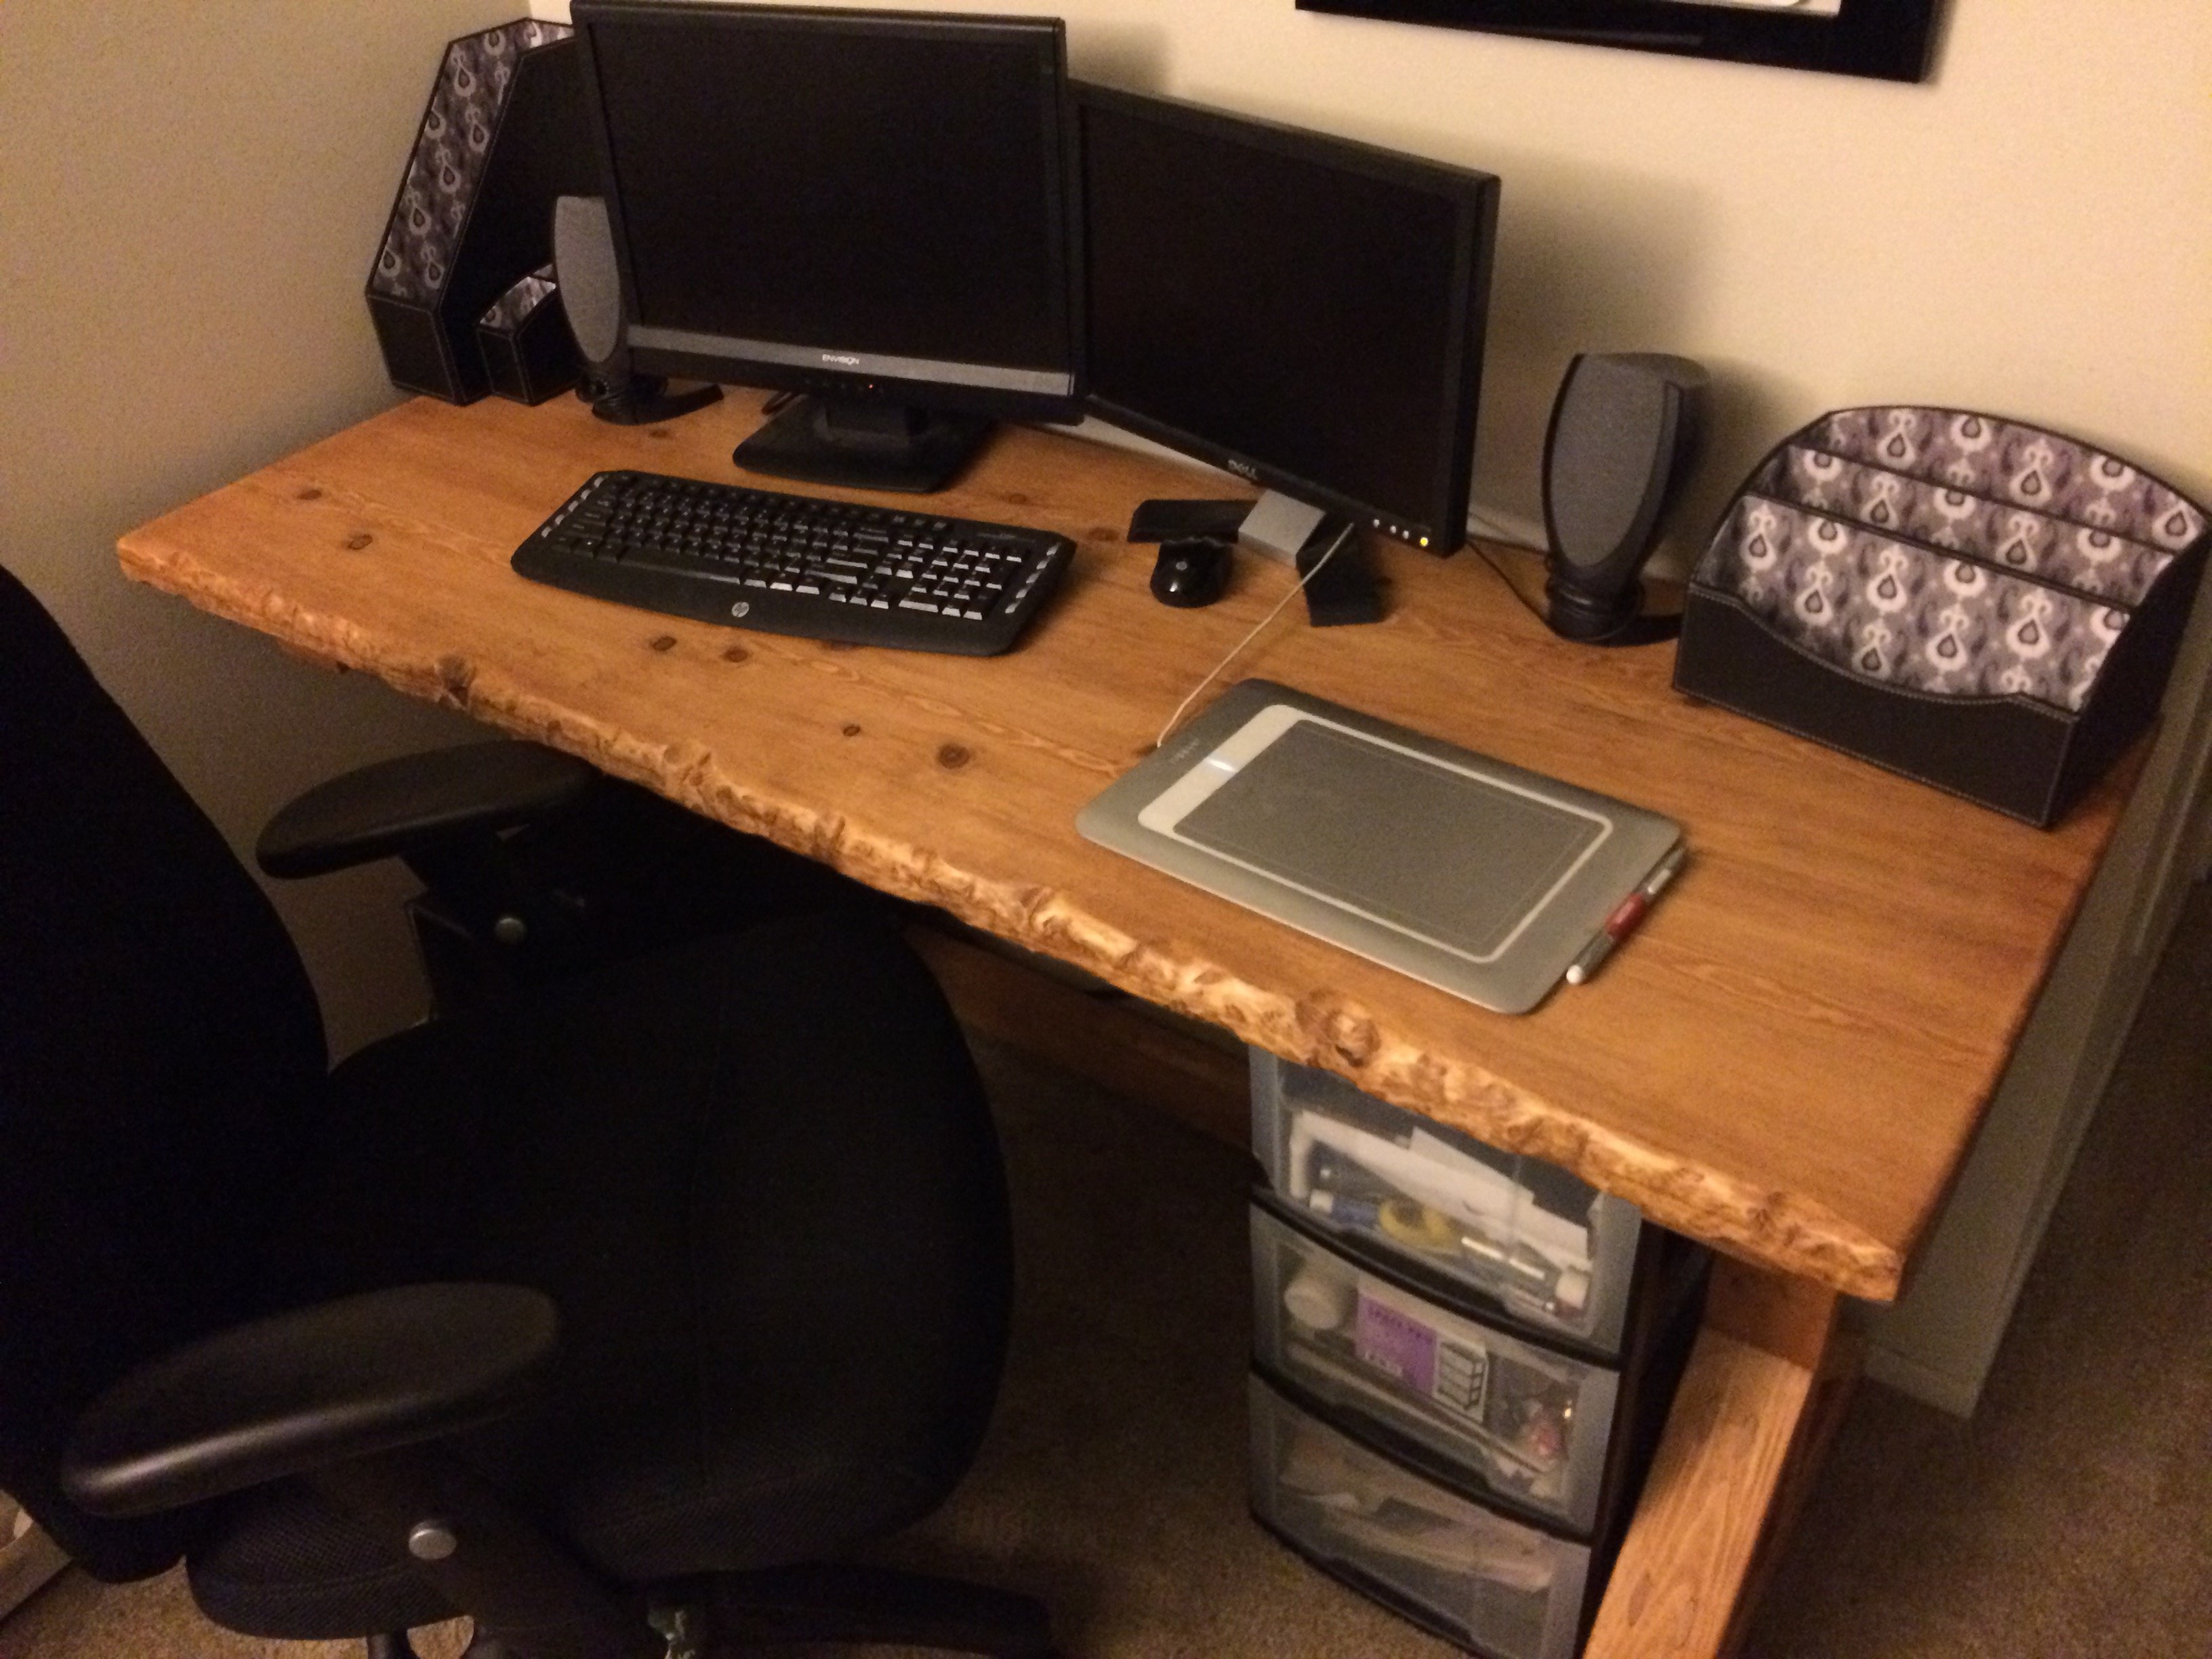
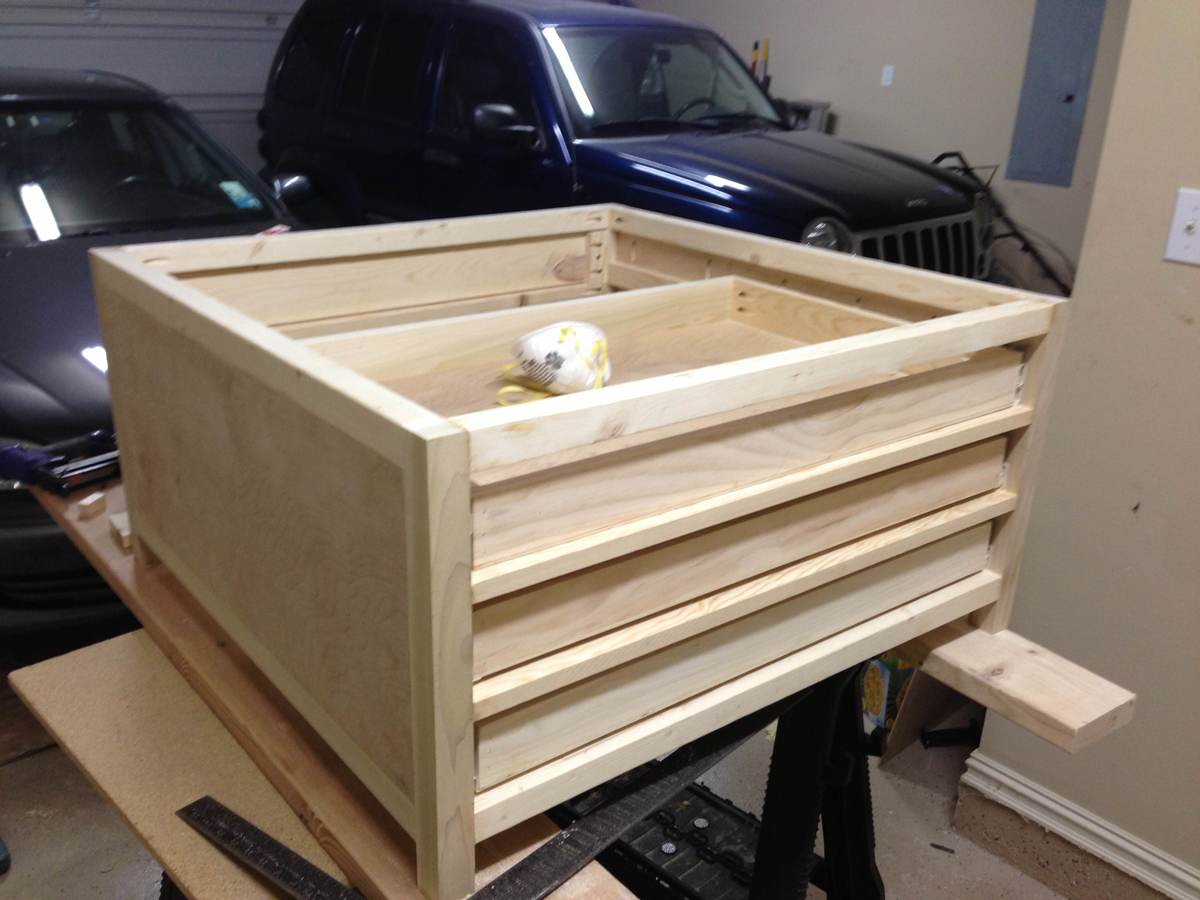
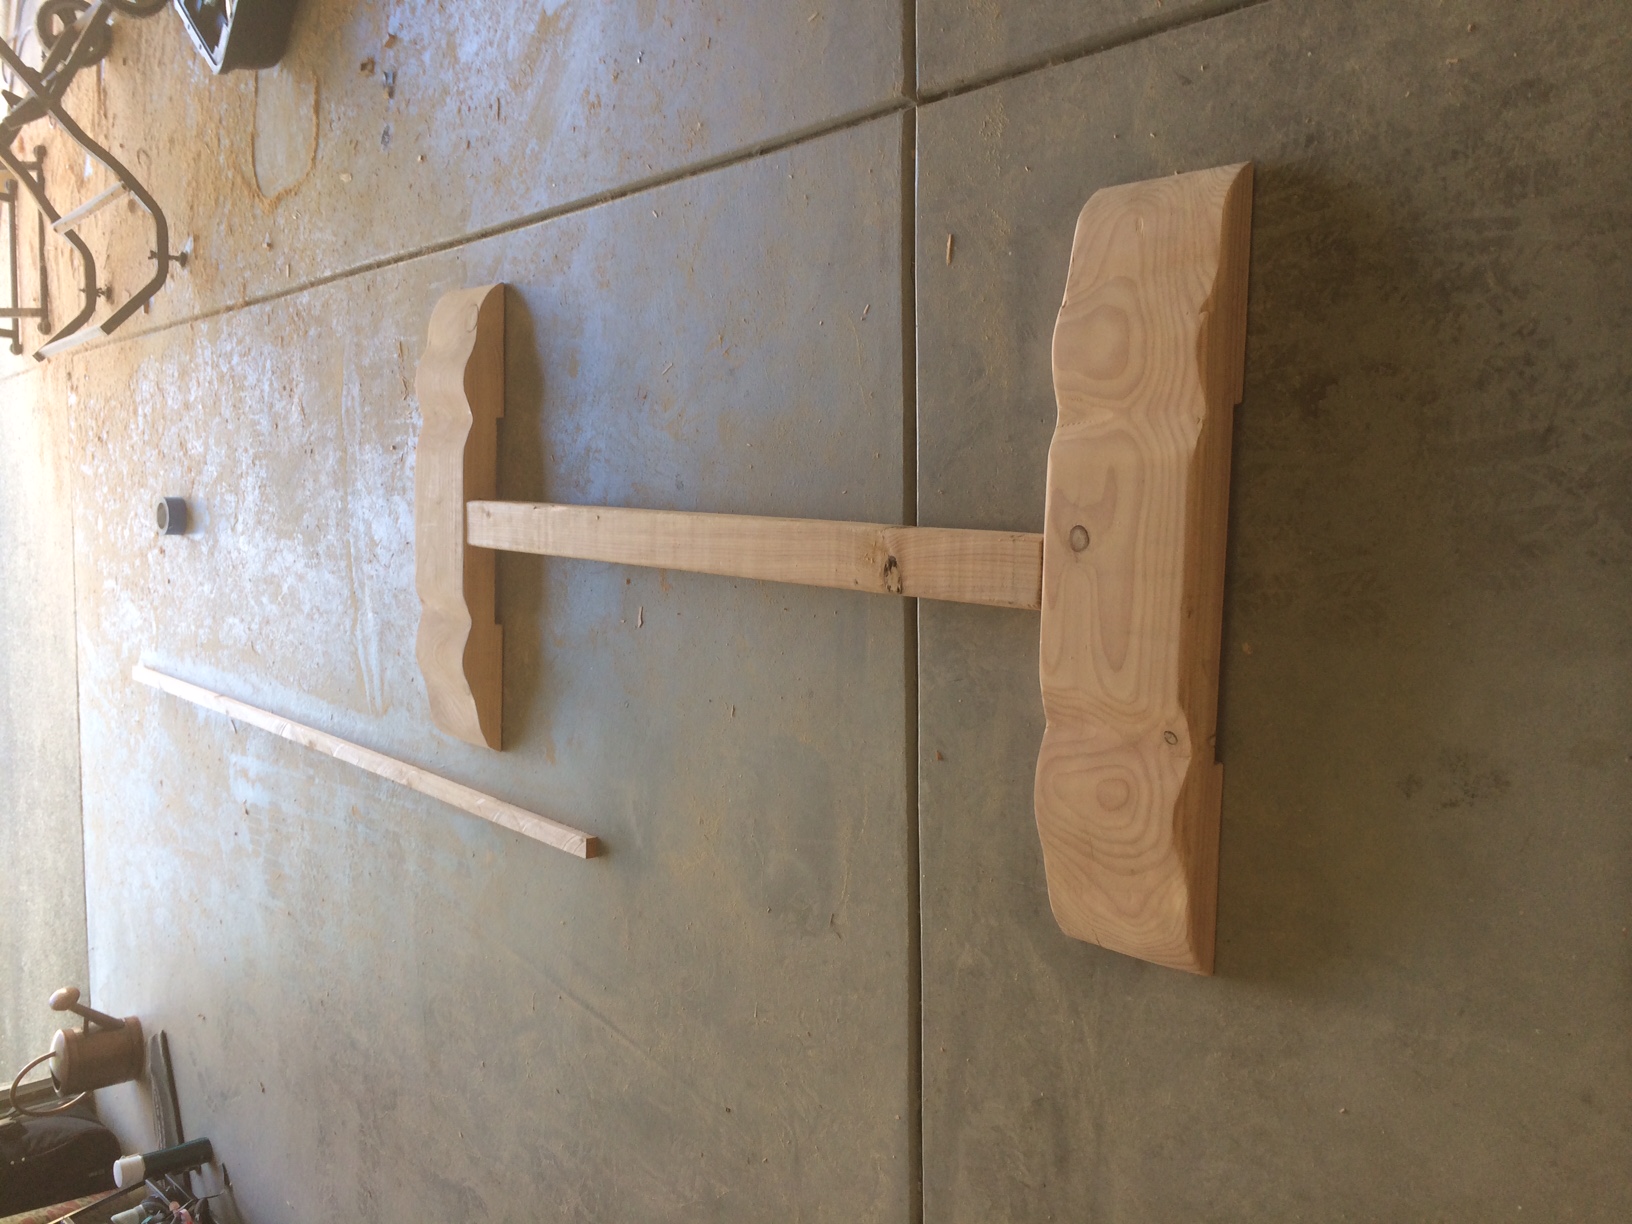
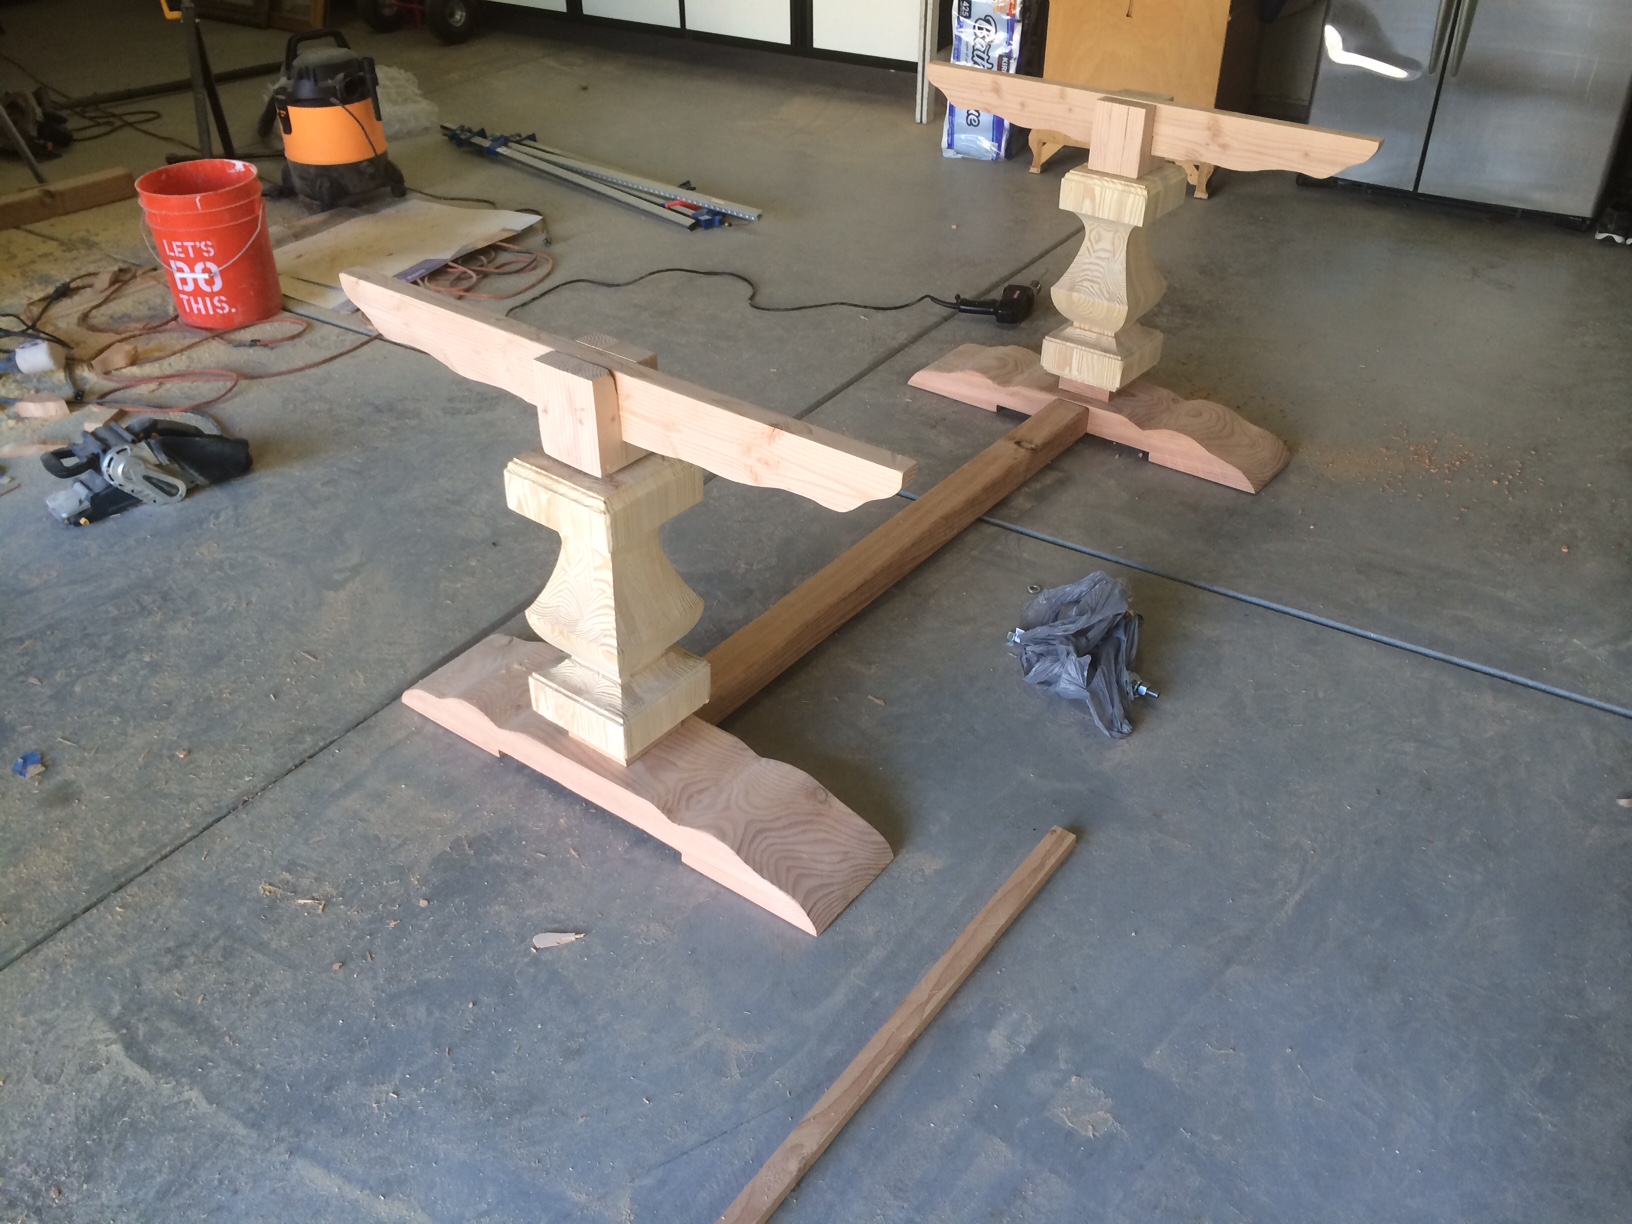
Built using the plan except for removing the back angle supports and creating a top that resembles a live edge look. Most of the build is done with pocket hole screws, glue and nails.
Built from Plan(s)
Estimated Cost
I had most of the wood except for the 1x12's which cost around $15. Screws and nails were all under $10. Took a long time to put together but most of that time was spent on the edging rather than the actual building. Sanding took a long time as well.
Estimated Time Investment
Week Long Project (20 Hours or More)
Finish Used
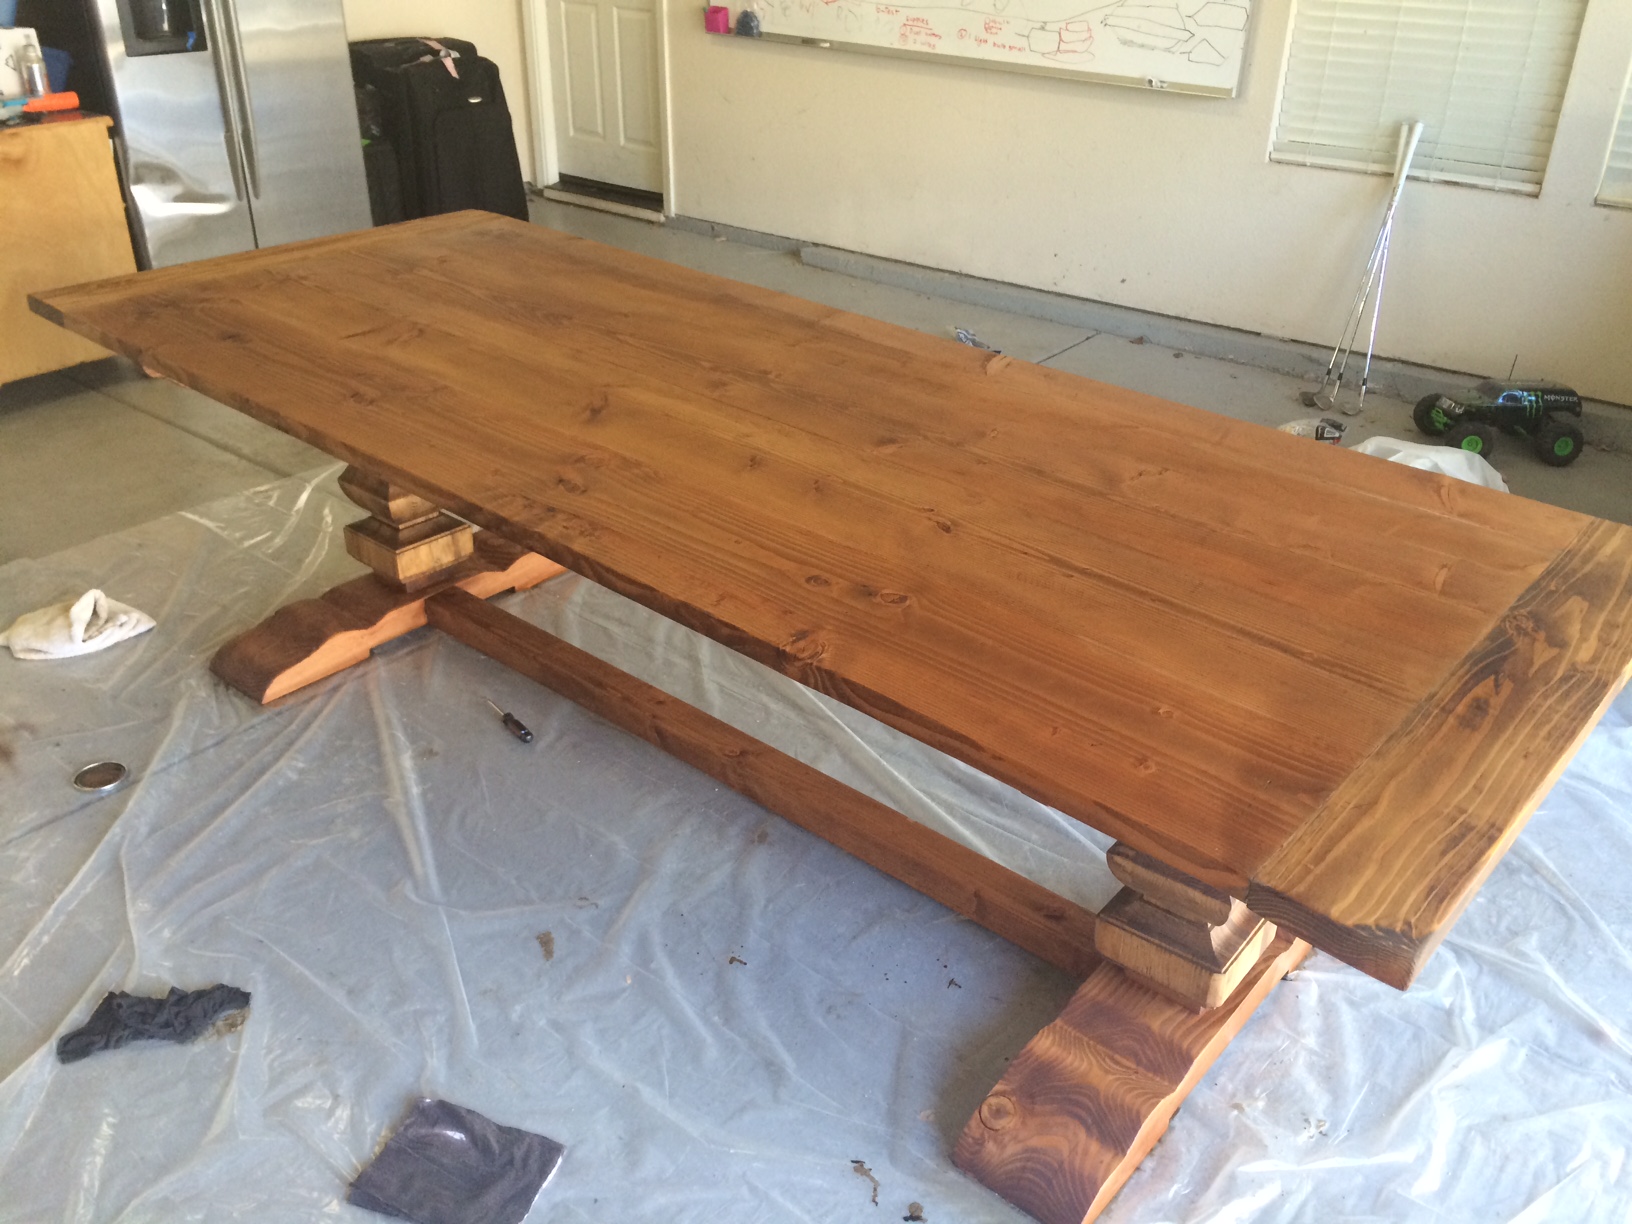
I used a quick dry (1 hr) oil stain and then a quick dry water-based poly.
Recommended Skill Level
Beginner


Comments
JoanneS
Tue, 10/21/2014 - 18:02
Awesome desk!
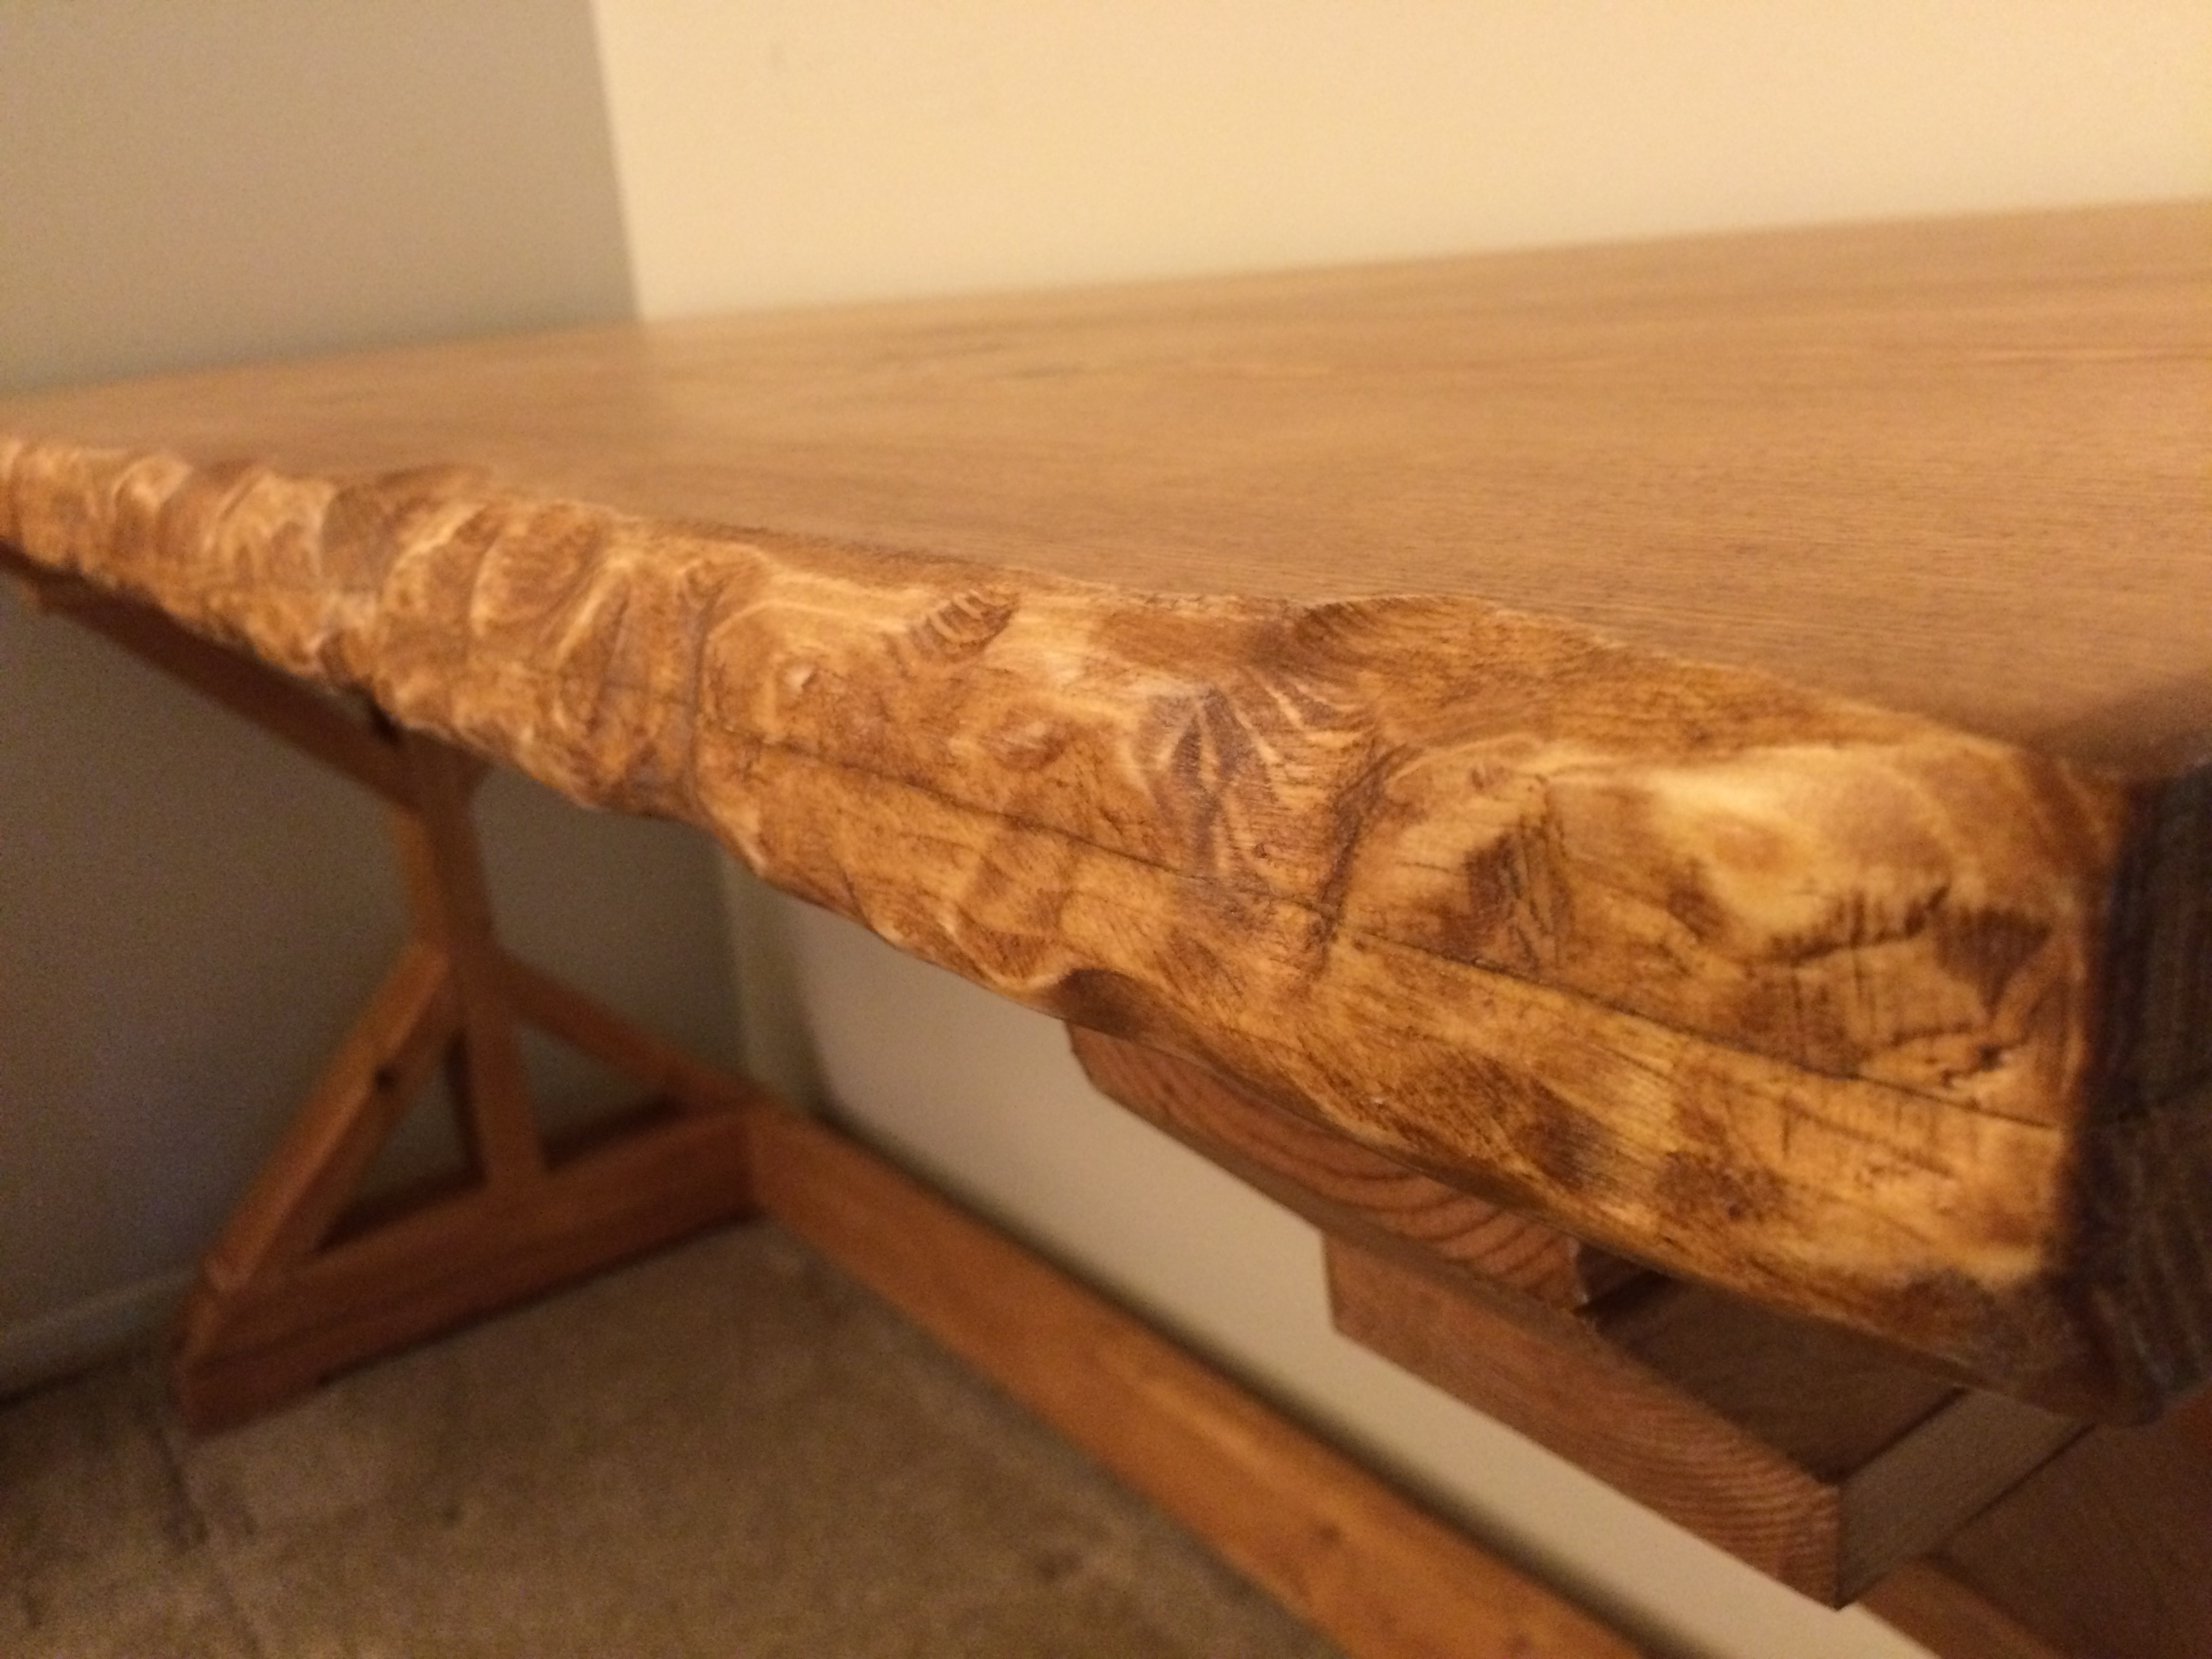
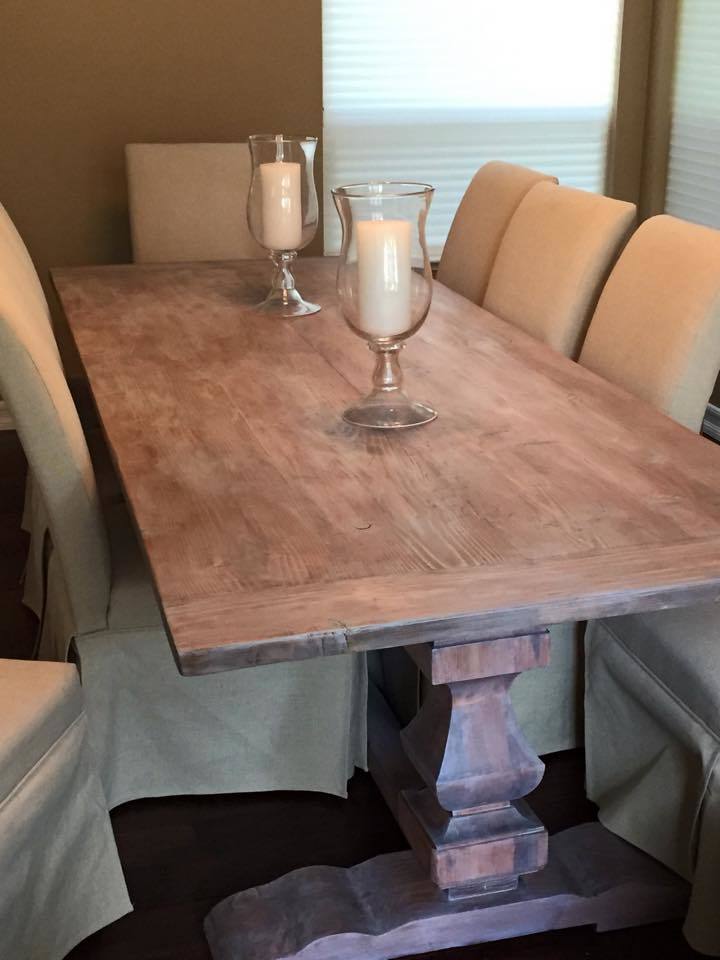
What a great build! That live edge effect on your desktop is super cool! (looks very real) I'd love to know how you achieved that look, it's stunning!
jrbamberg
Wed, 10/22/2014 - 06:25
Live Edge Desk
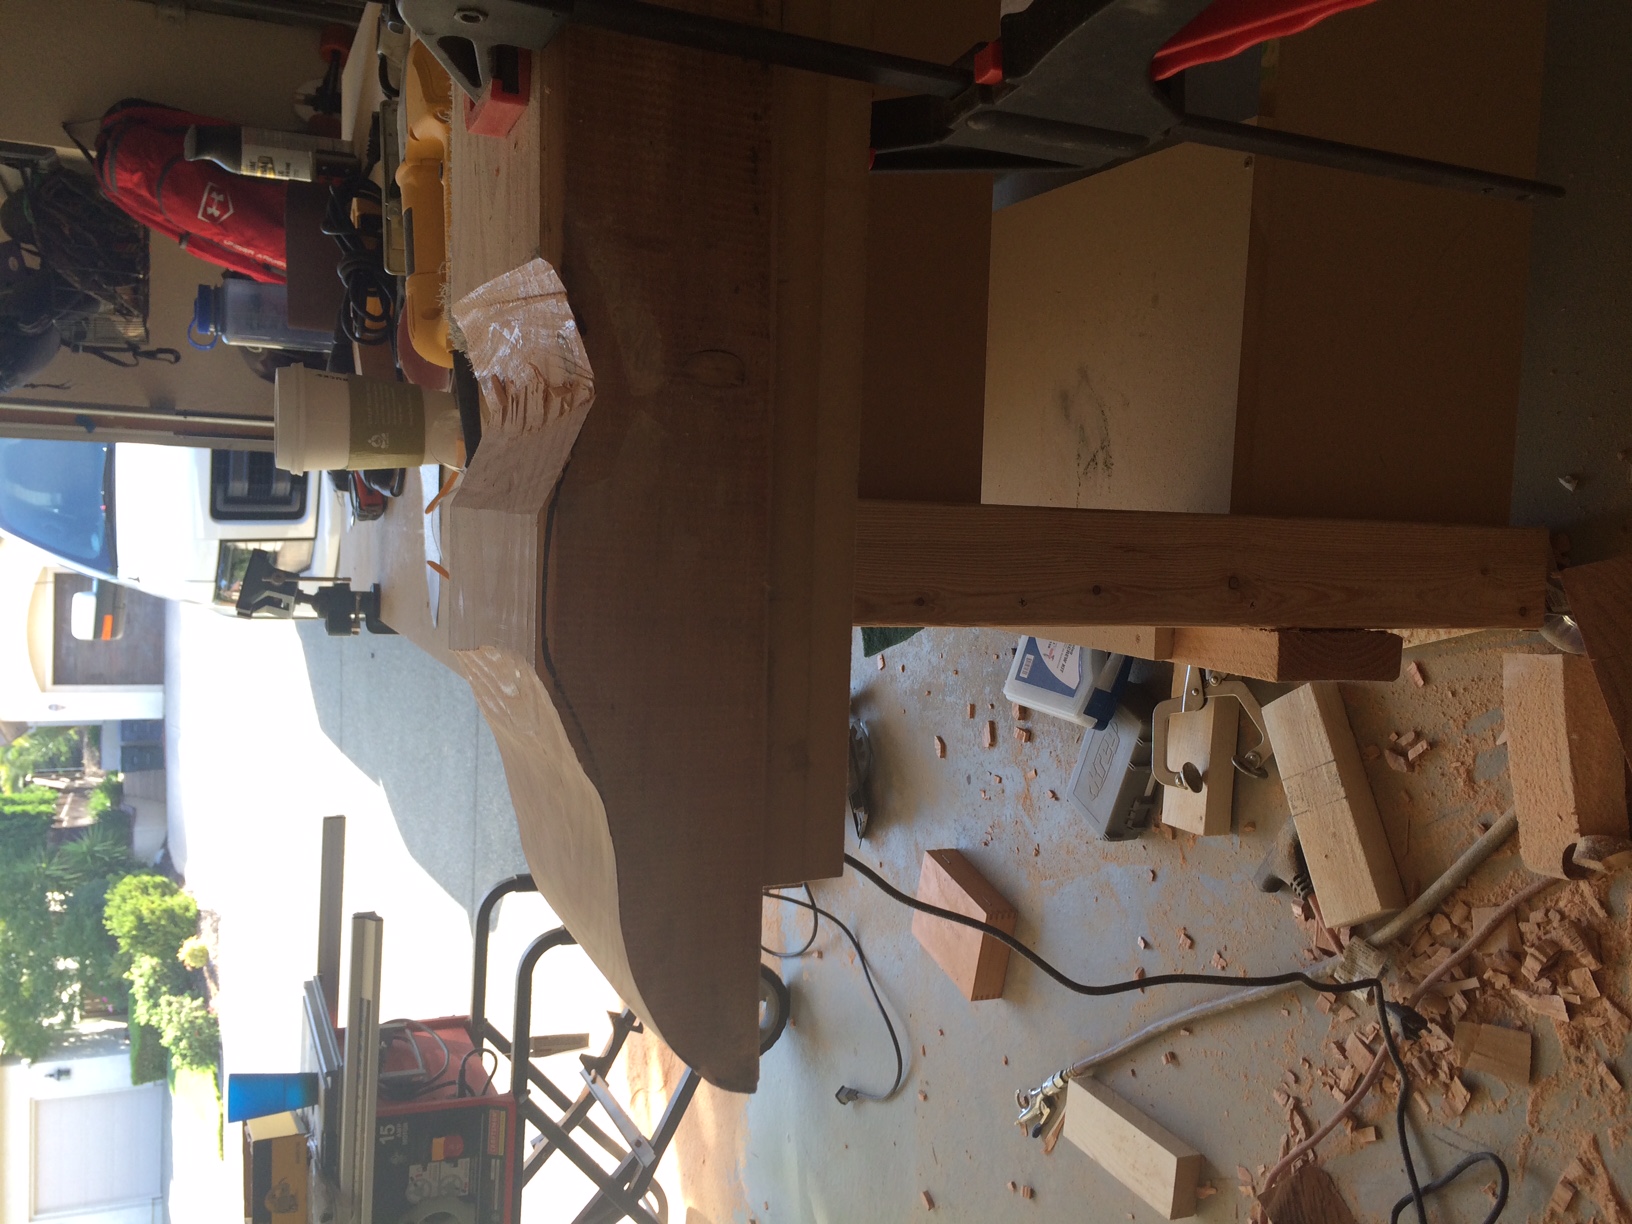
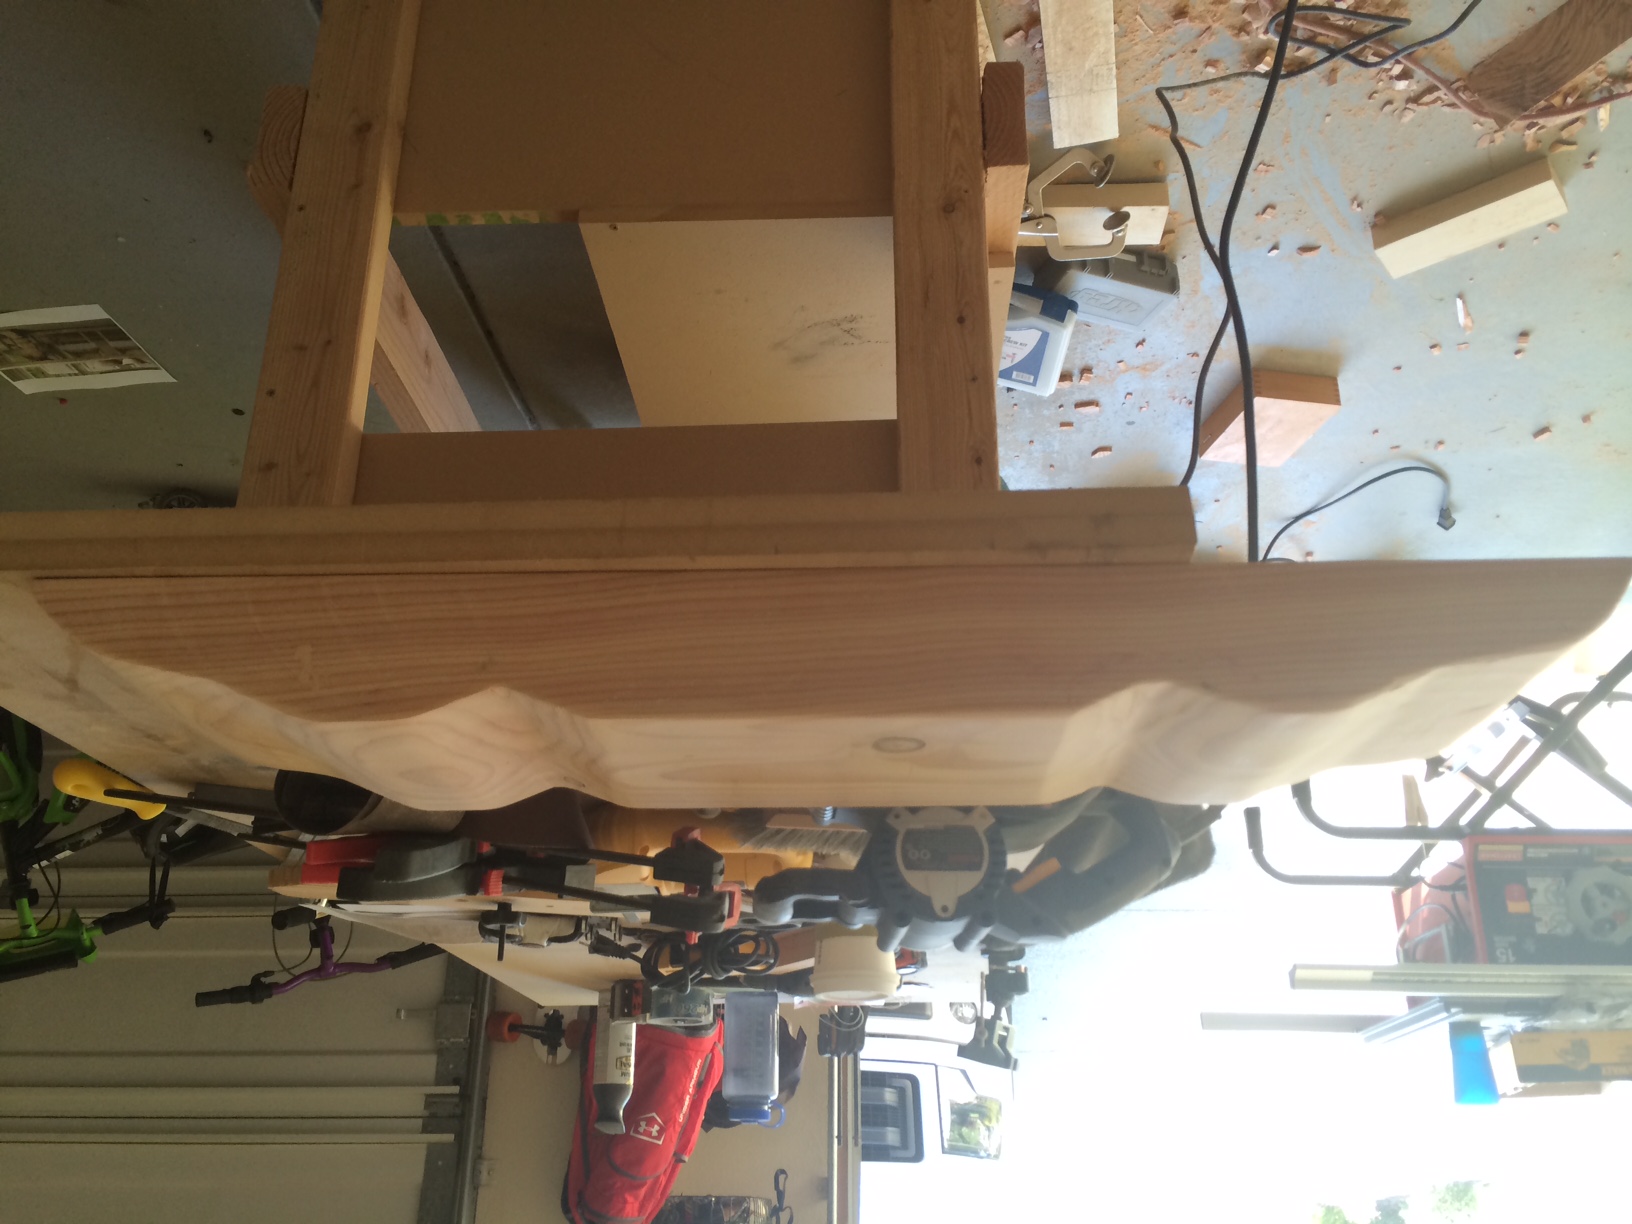
Joanne,
Thank you! Grab a belt sander and go at it. I tried using a grinder and that probably would work too, but mine doesn't work very well. I also found that it burnt the wood. Since the wood is soft, I used a belt sander to cut through the wood. Dug in the edge of the sander to make deep gashes. Its a lot of work but can be acheived with a great results. Use a low number sandpaper to get rid most of the wood off (50 grit was good). I practiced drawing out an idea on a spare block of wood off the same board and tried it out. When the sample went well I got ready for the big board. Once completed the initial slicing and dicing, I changed grit levels, 80, 120. Lastly, with my orbital sander I used 120 again and then finished with 220 to get it all nice and smooth. Hope that helps. Then just stain and poly. I hand sanded between layers of stain and poly with 220. Lots of work sanding. But it turned out smooth and flat.