My daughter turned 5 in July. She loves twirly dresses, unicorns, and building. Her current project is a full size airplane made from wood. She is certainly ambitious. For her birthday, she received all kinds of building toys (Legos, knex, etc.) and quickly got to work, creating masterpiece after masterpiece. Like every 5 year old, dismantling a masterpiece is unthinkable. So, she has taken it upon herself to display her projects on every available surface, despite its intended function (i.e., my desk). We needed something that she could use to build, store, and display her projects that wasn't in the way and didn't disrupt our everyday routines (Mama's gotta work!).
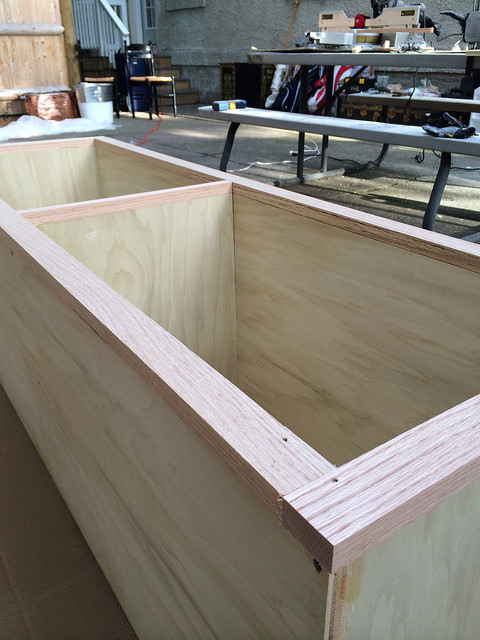
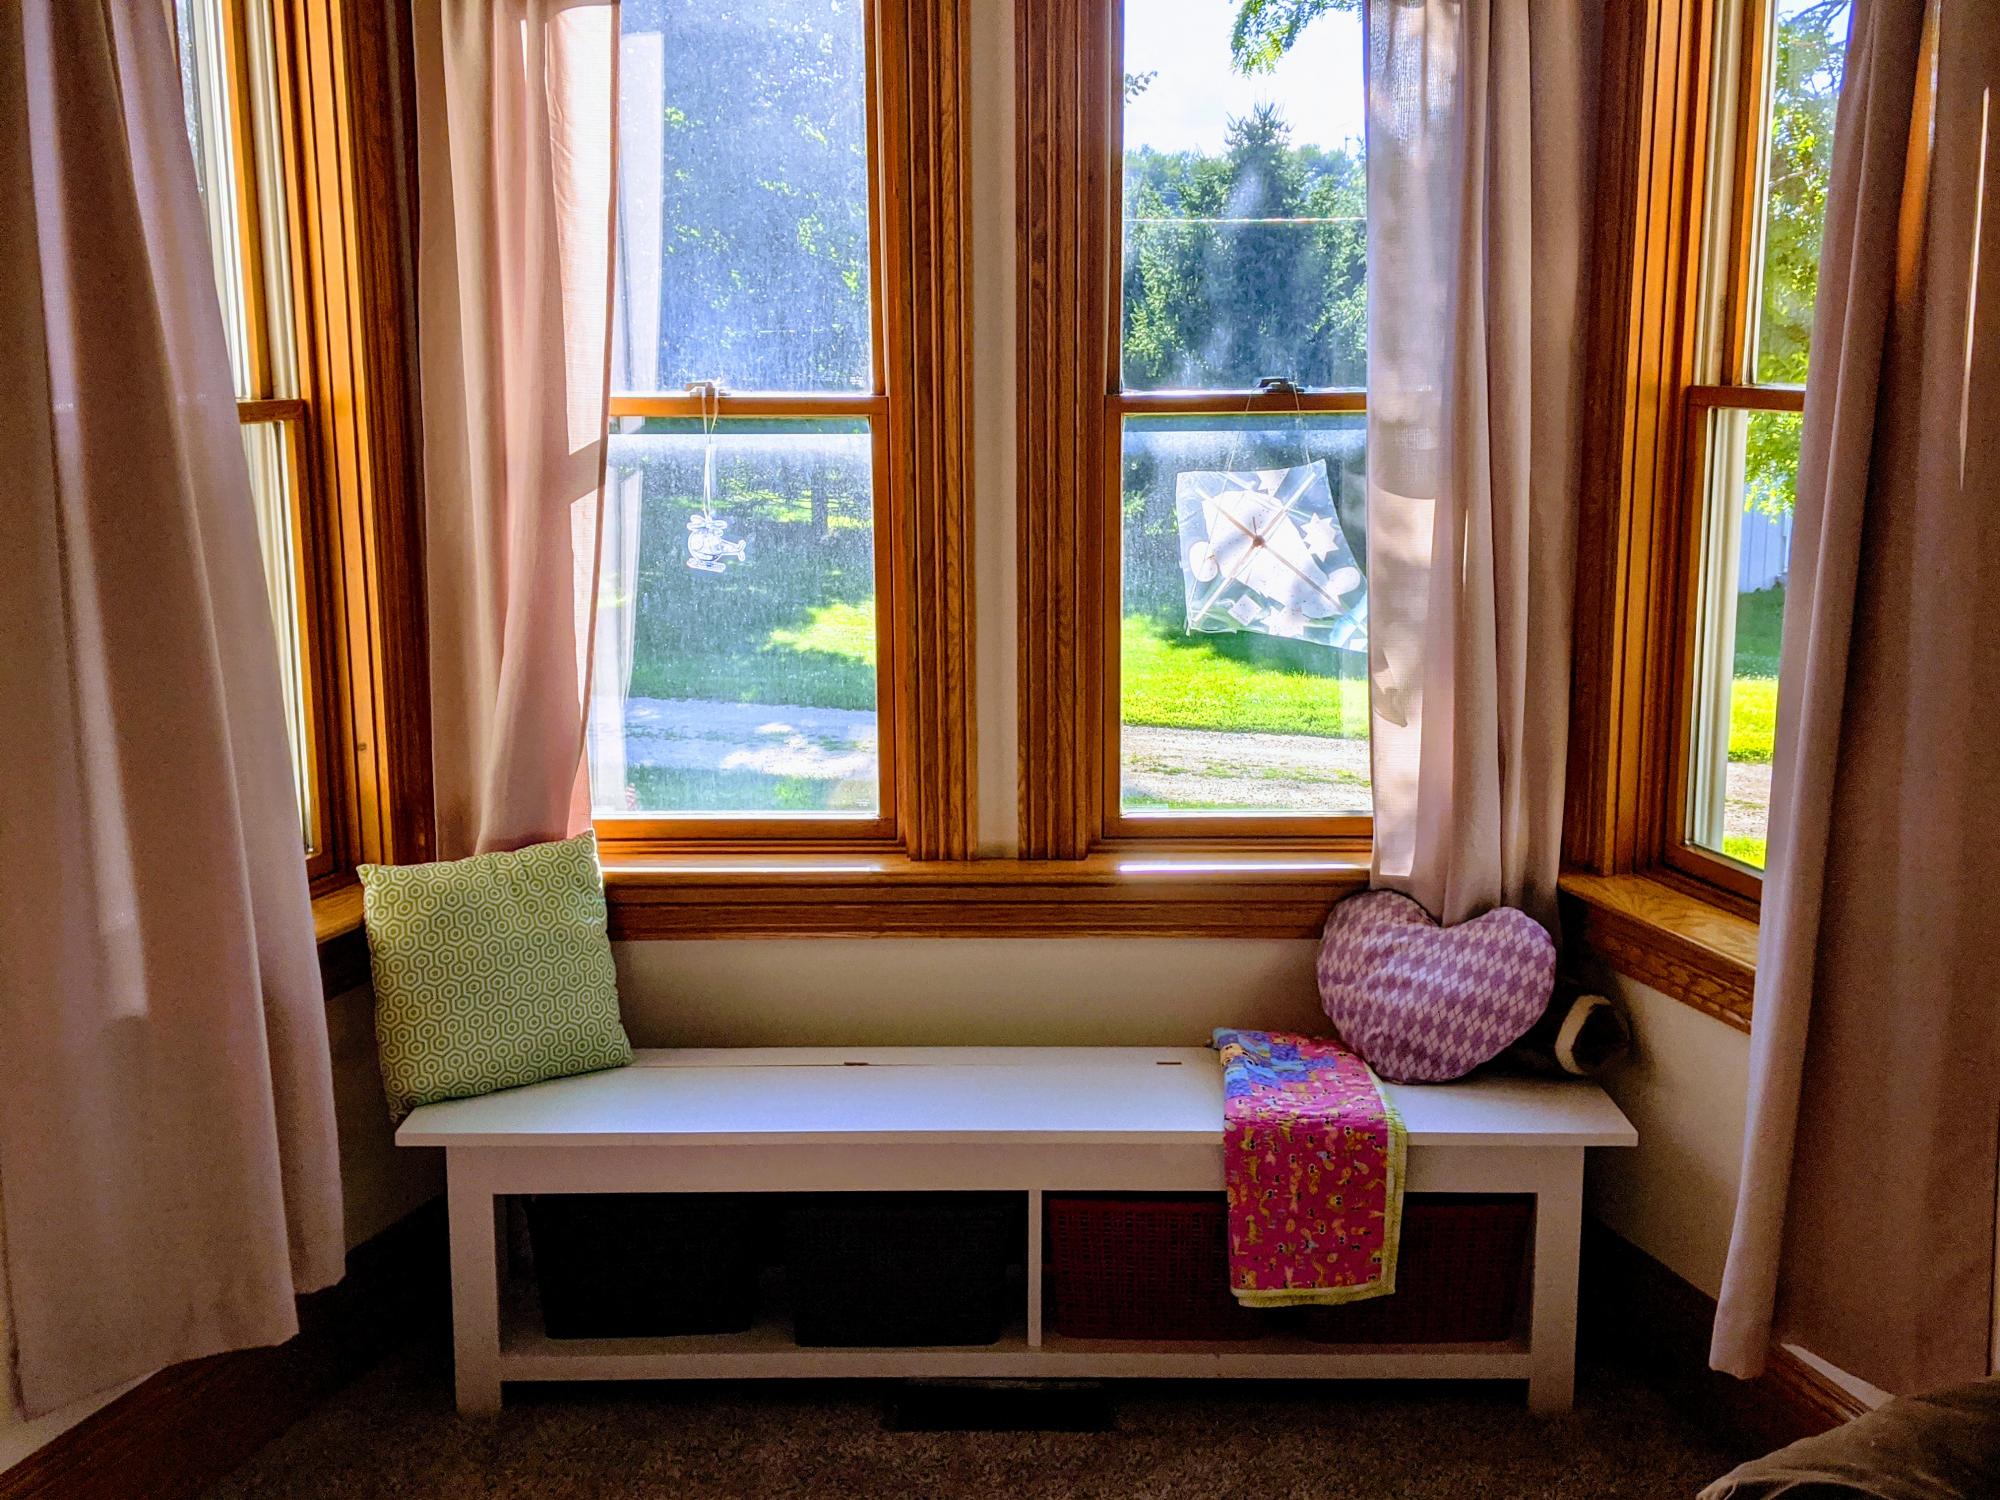
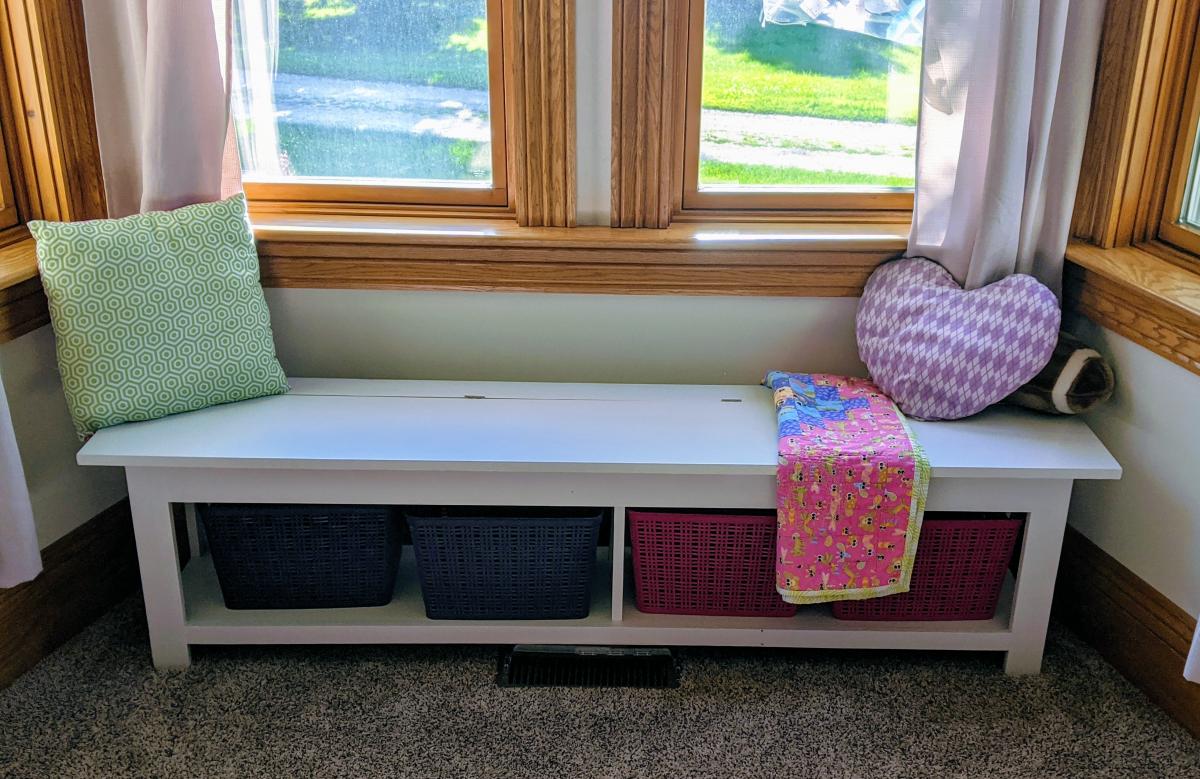
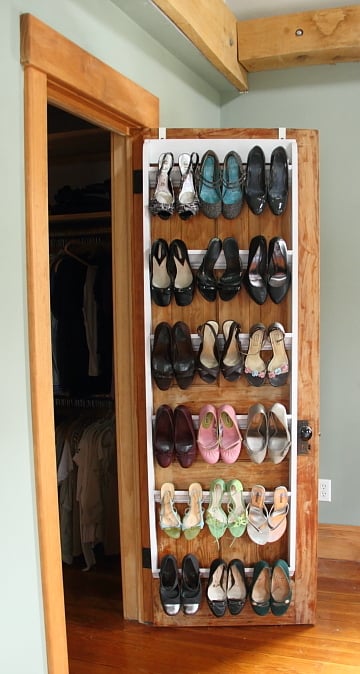
Enter, this window seat. I've been wanting to build one for years but never really found a plan I liked. This is exactly what I was looking for, as it has enough building space and storage space to meet our needs. Maybe one day i'll get to use it as a window seat!
I used the flip top storage bench plan and modified the length to fit our windows. The lid is 69" wide and the base is 64.5". I added some supports in the middle, as well. I painted the inside storage space purple to give it a kid friendly touch. I also added lid supports on both sides to prevent pinched fingers.