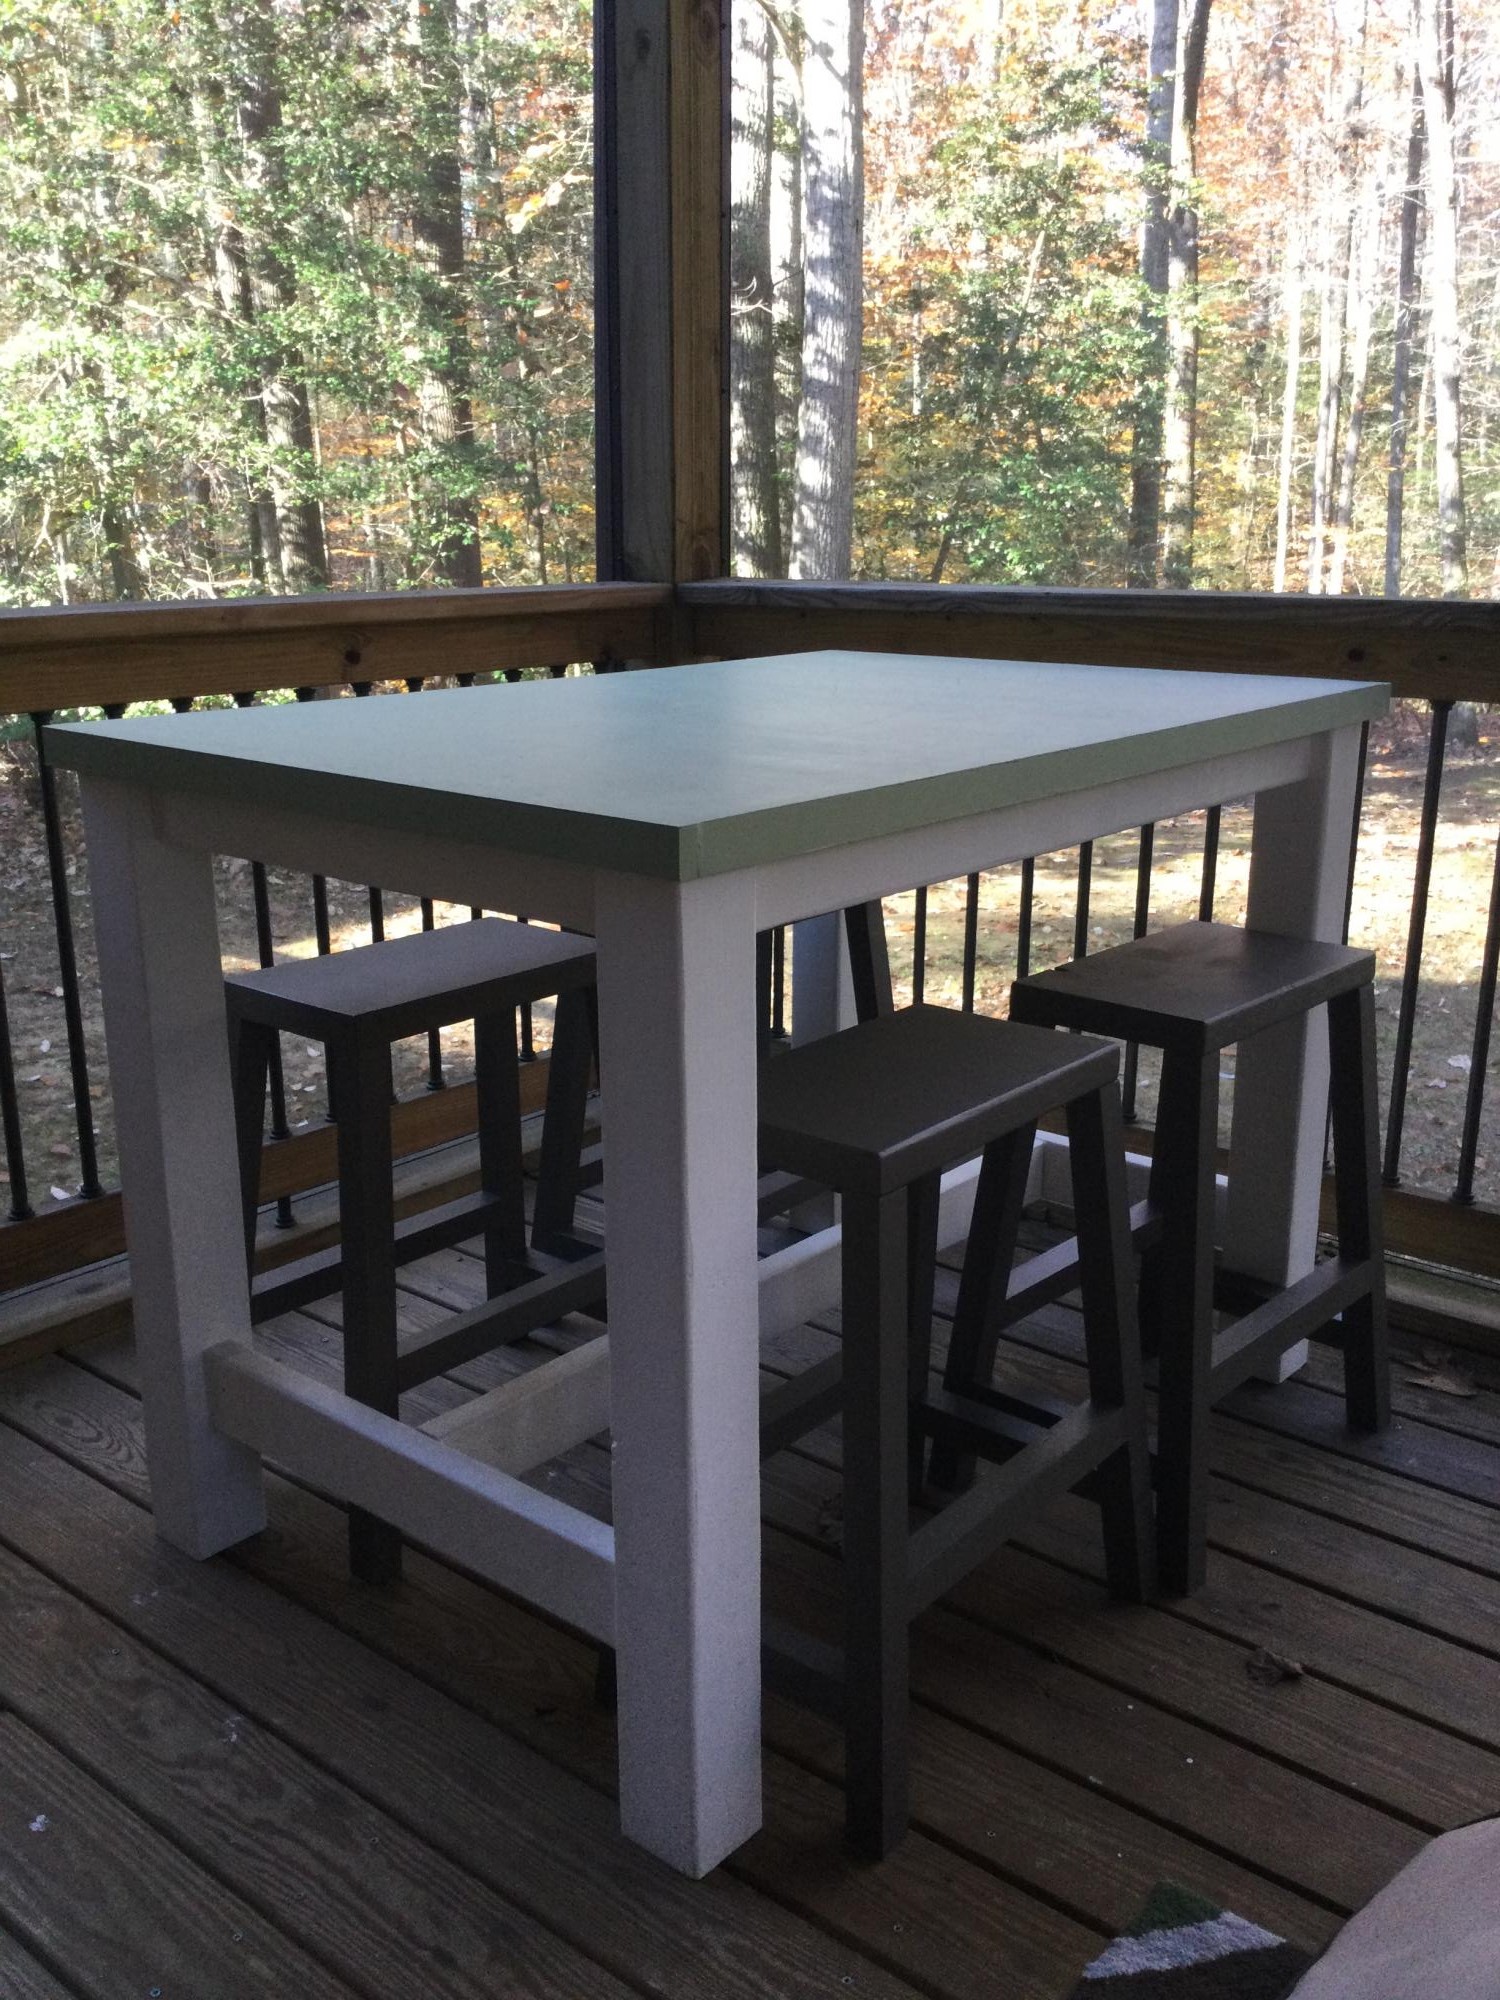
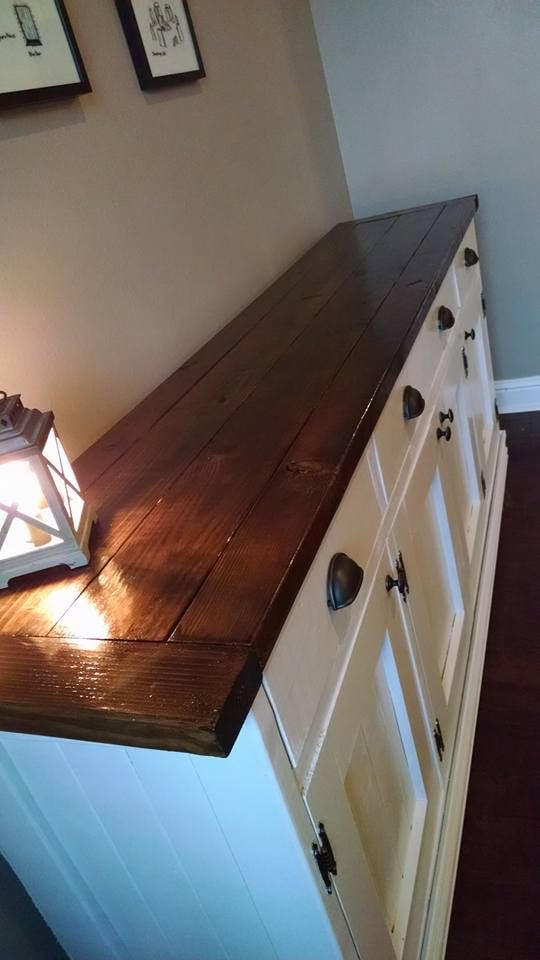
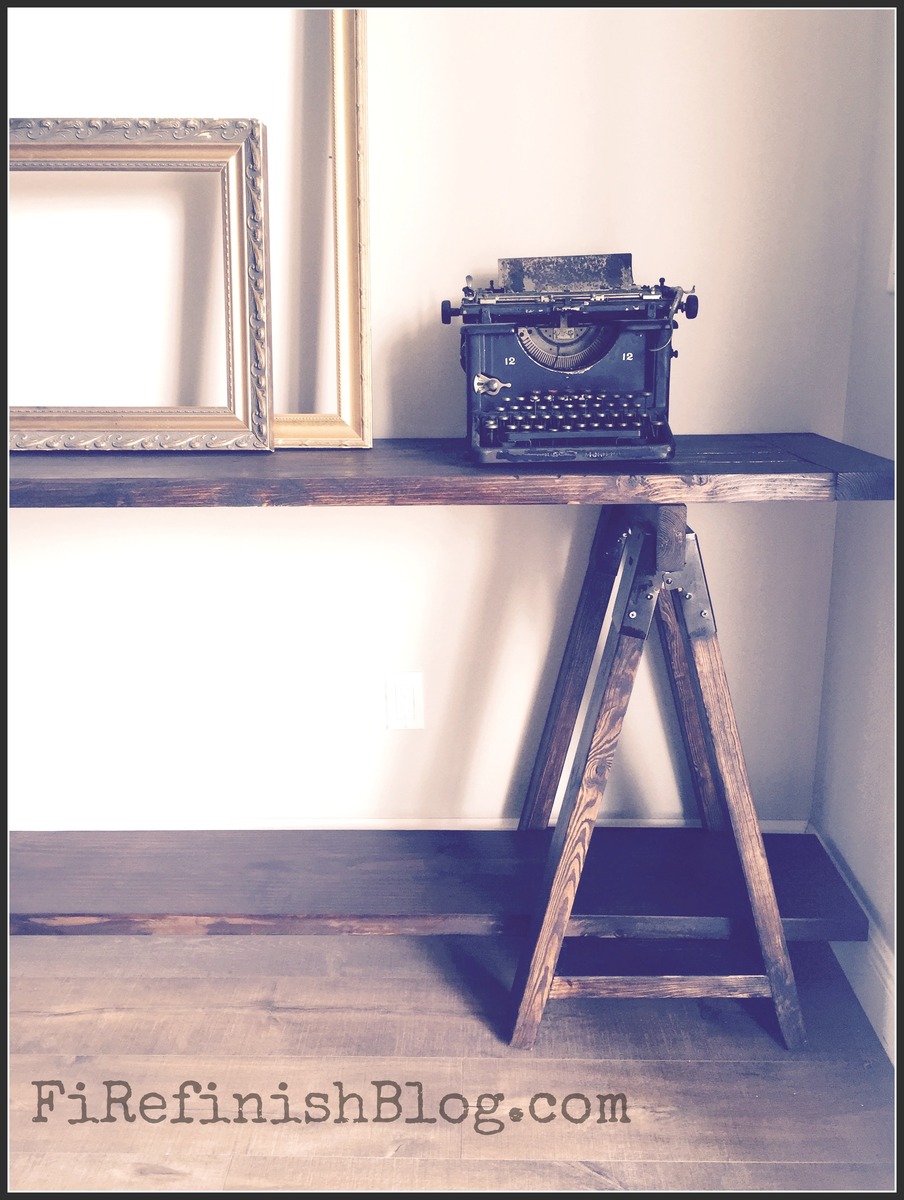
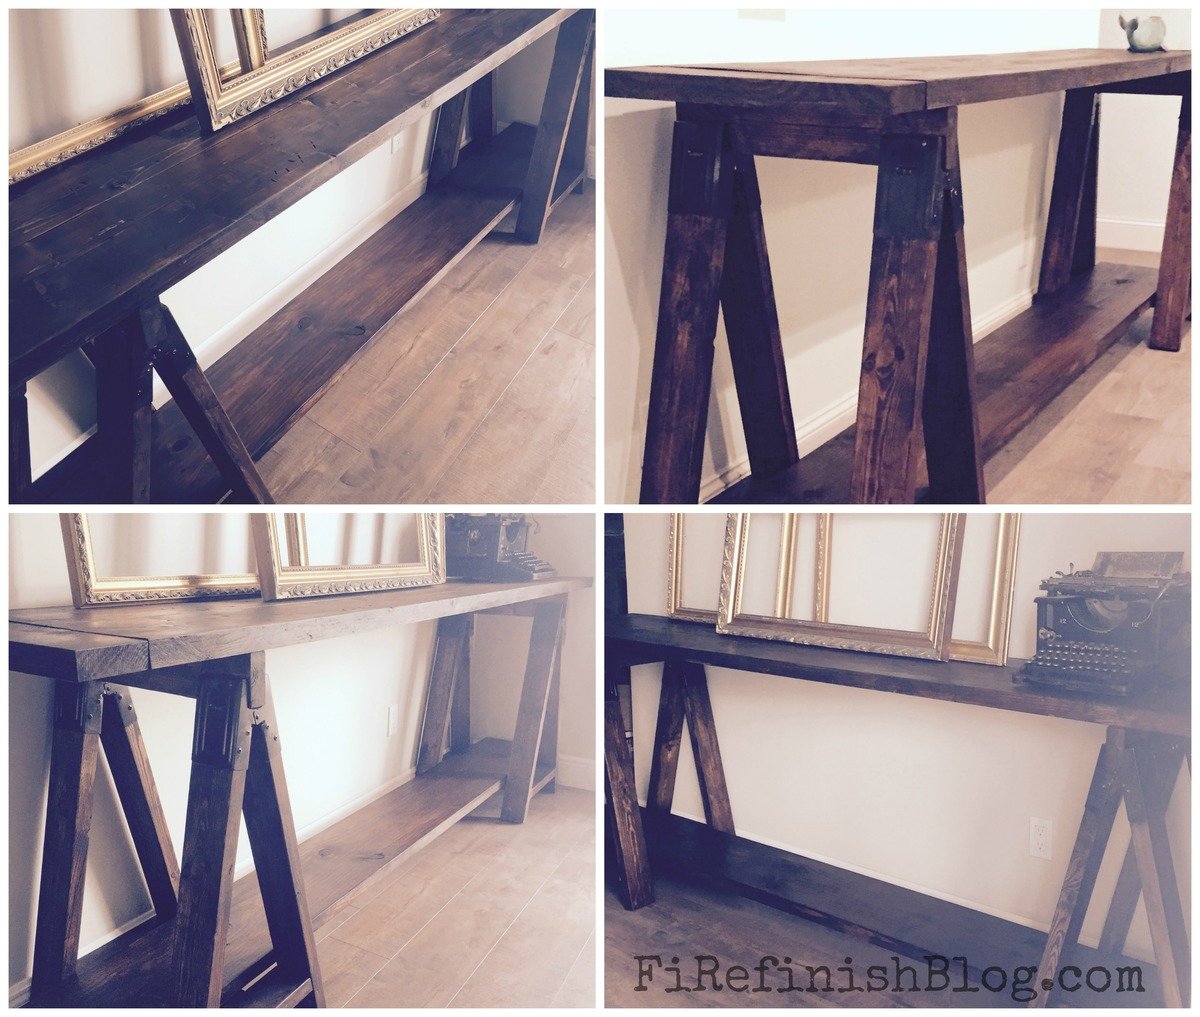
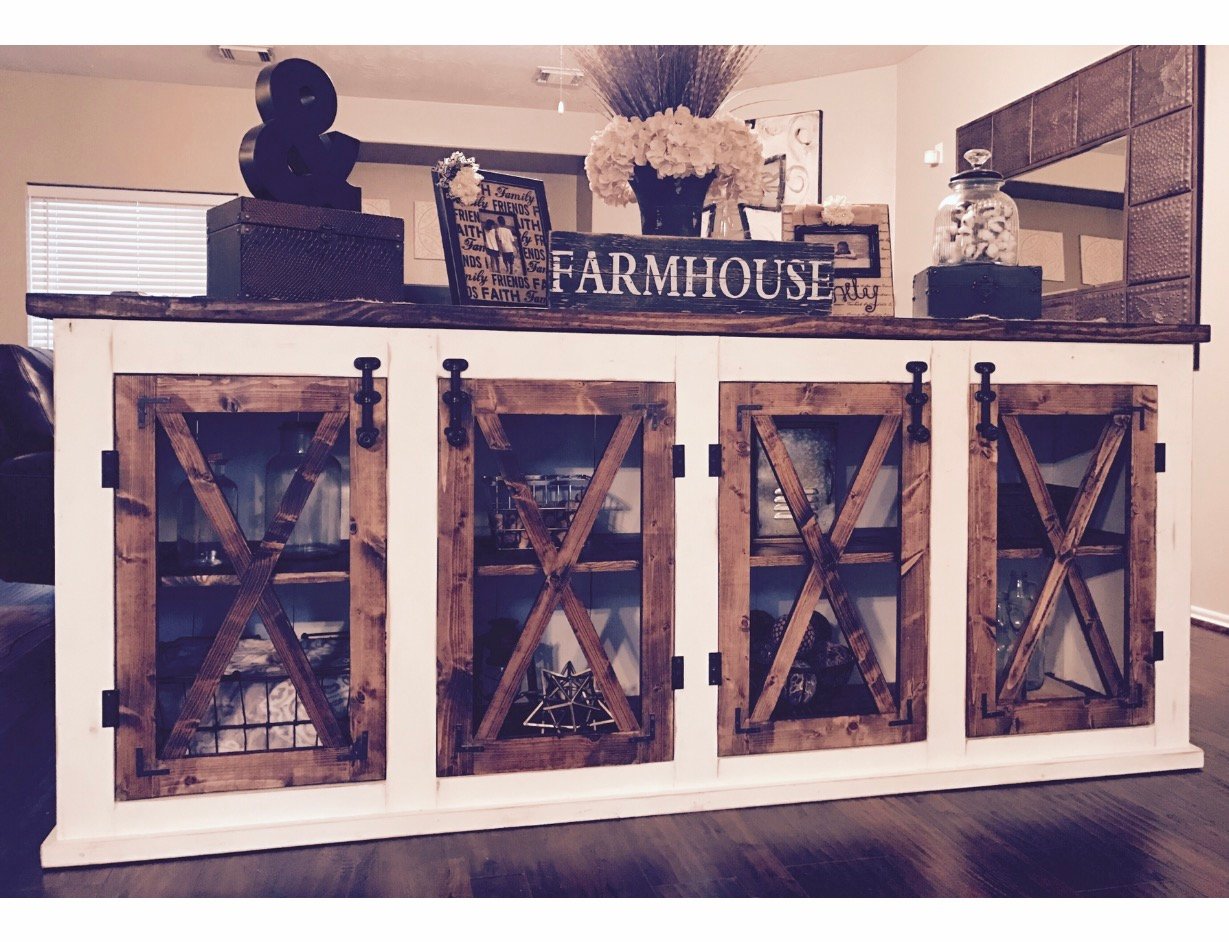
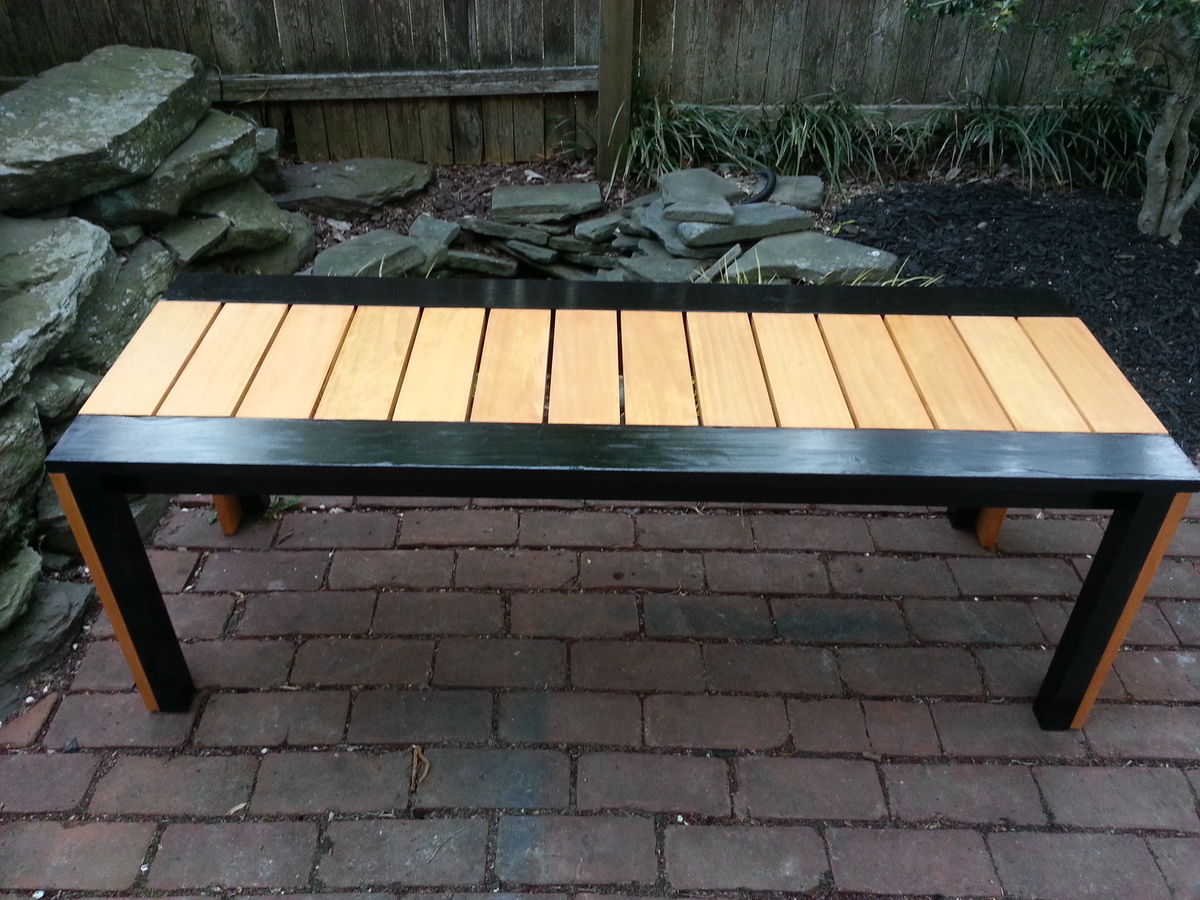
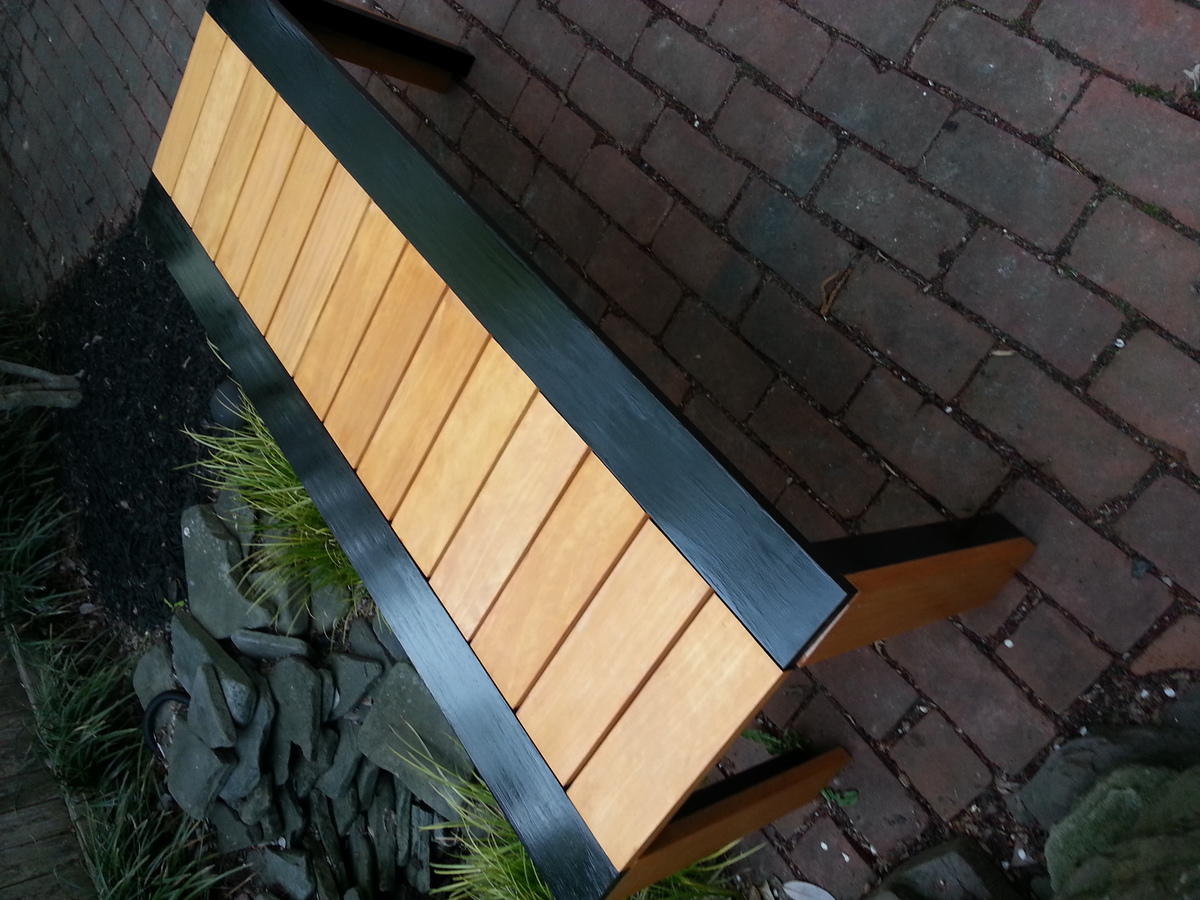
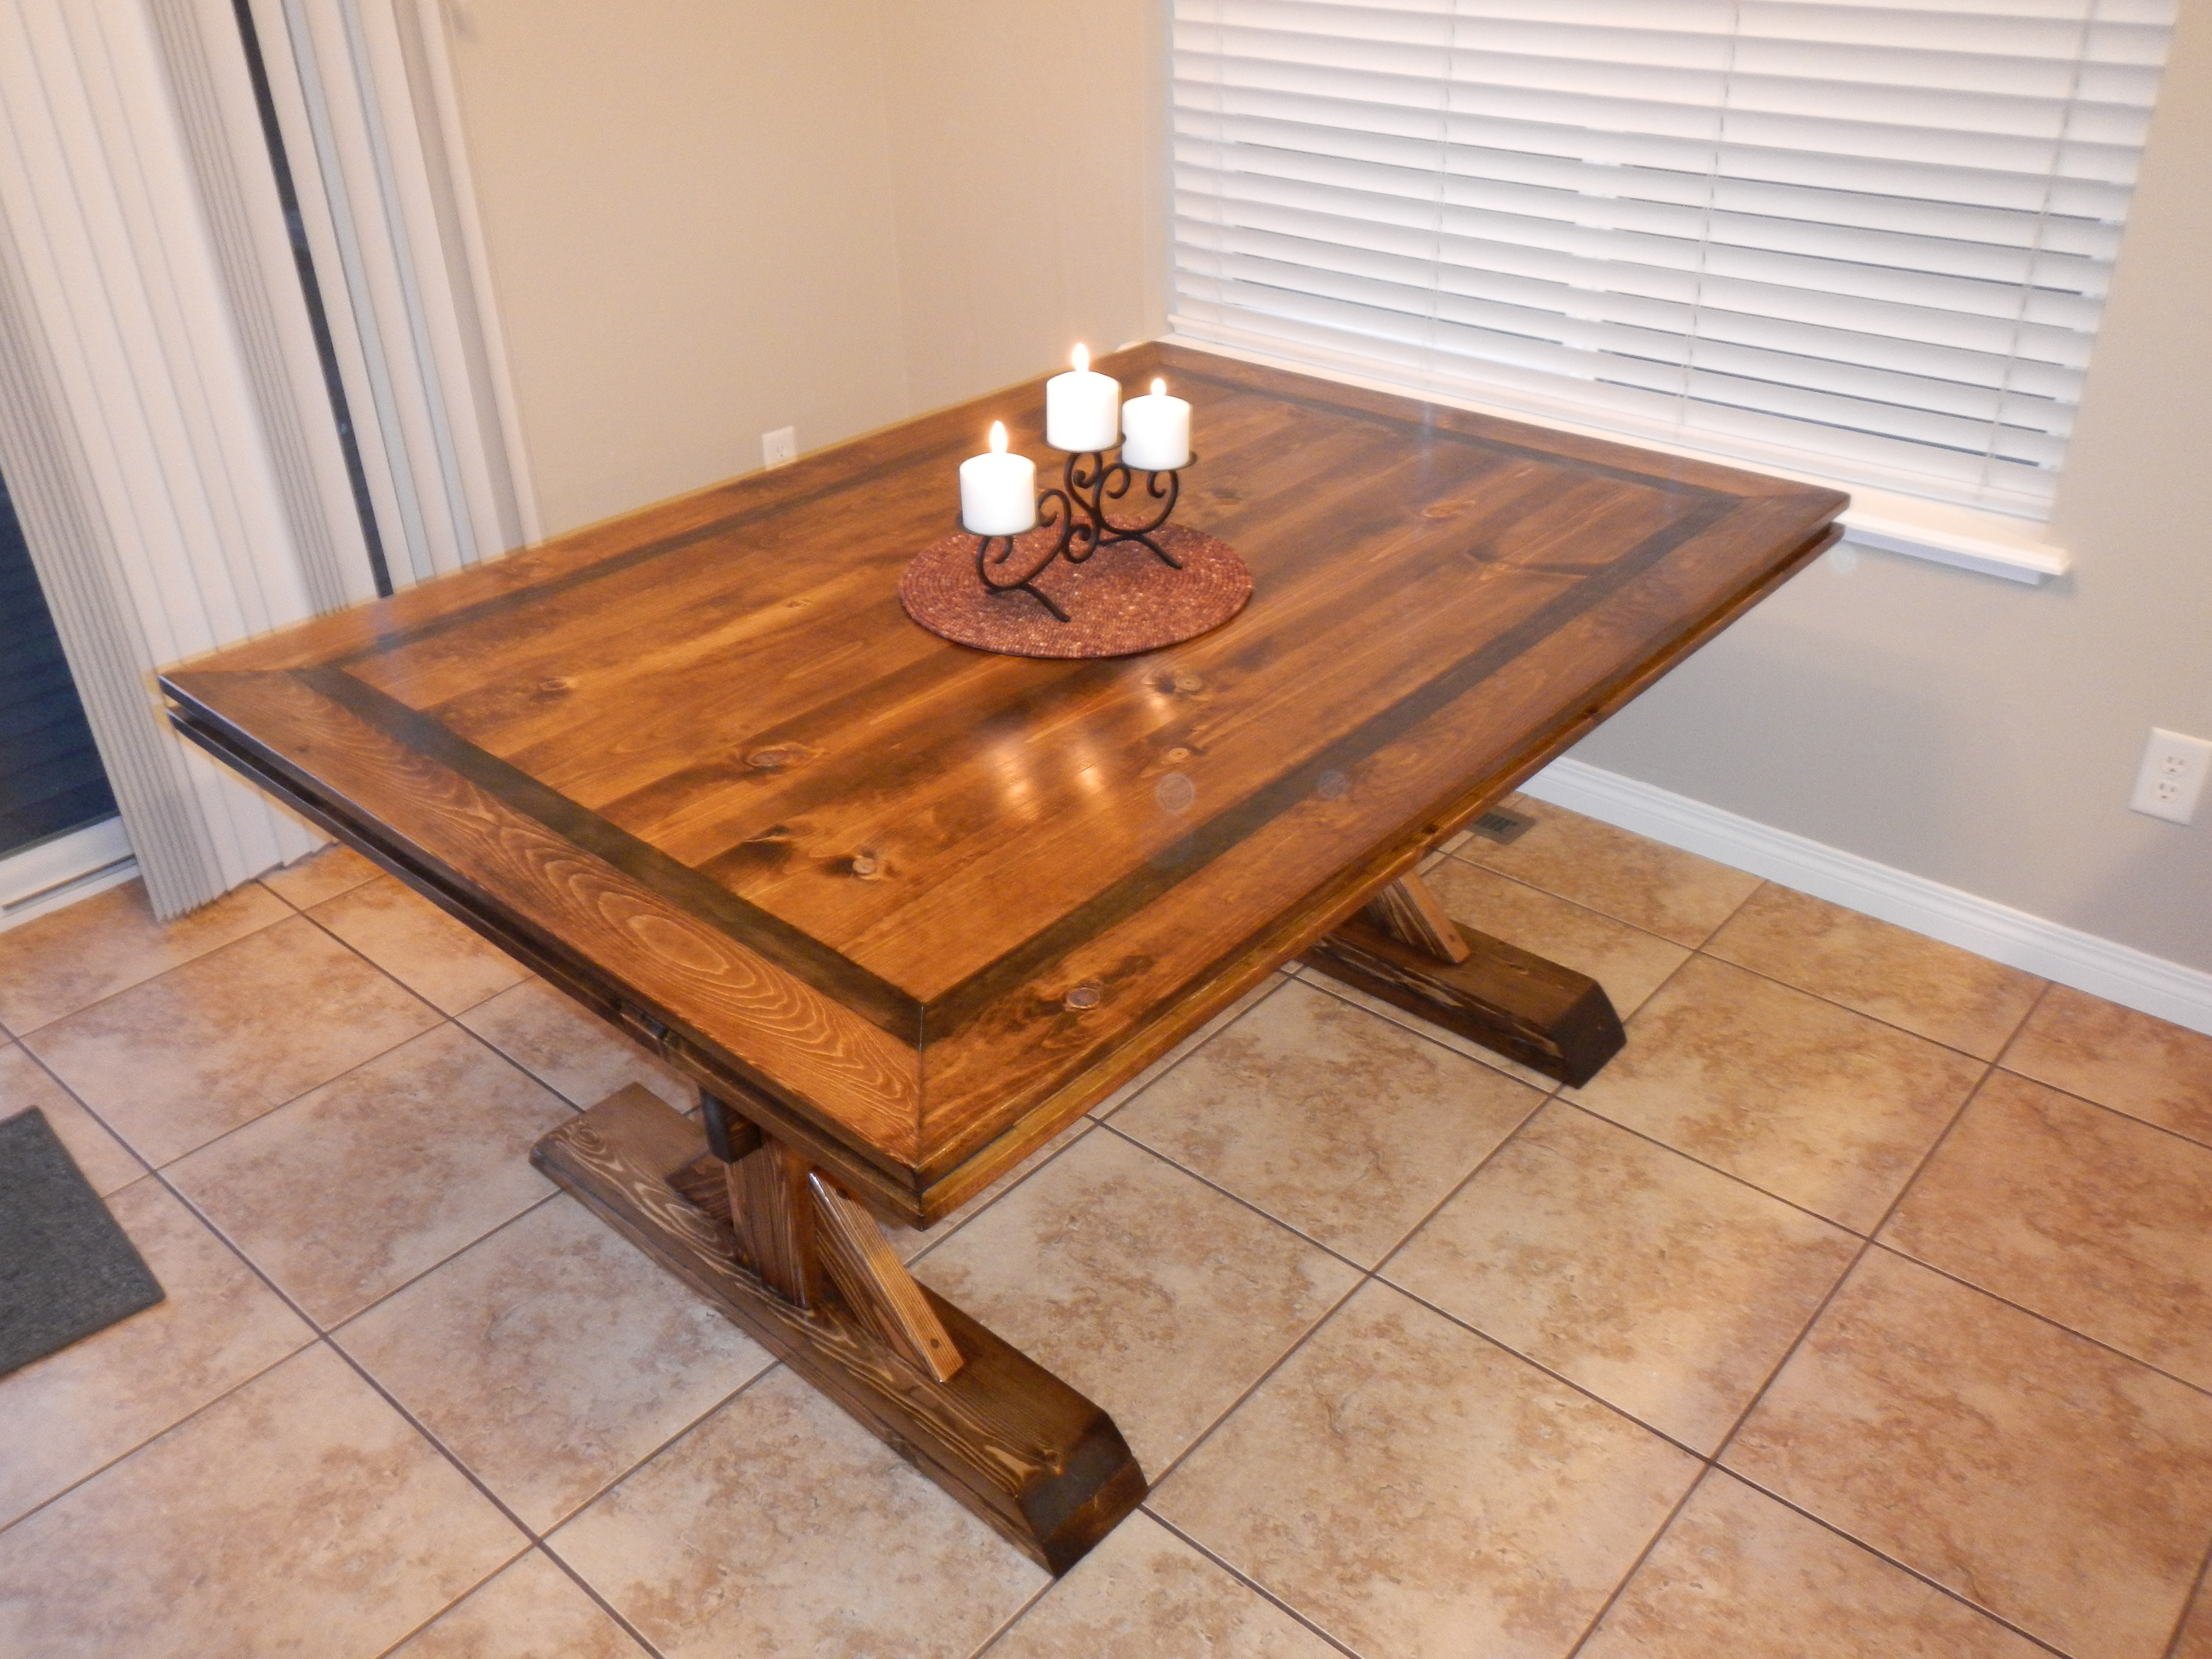
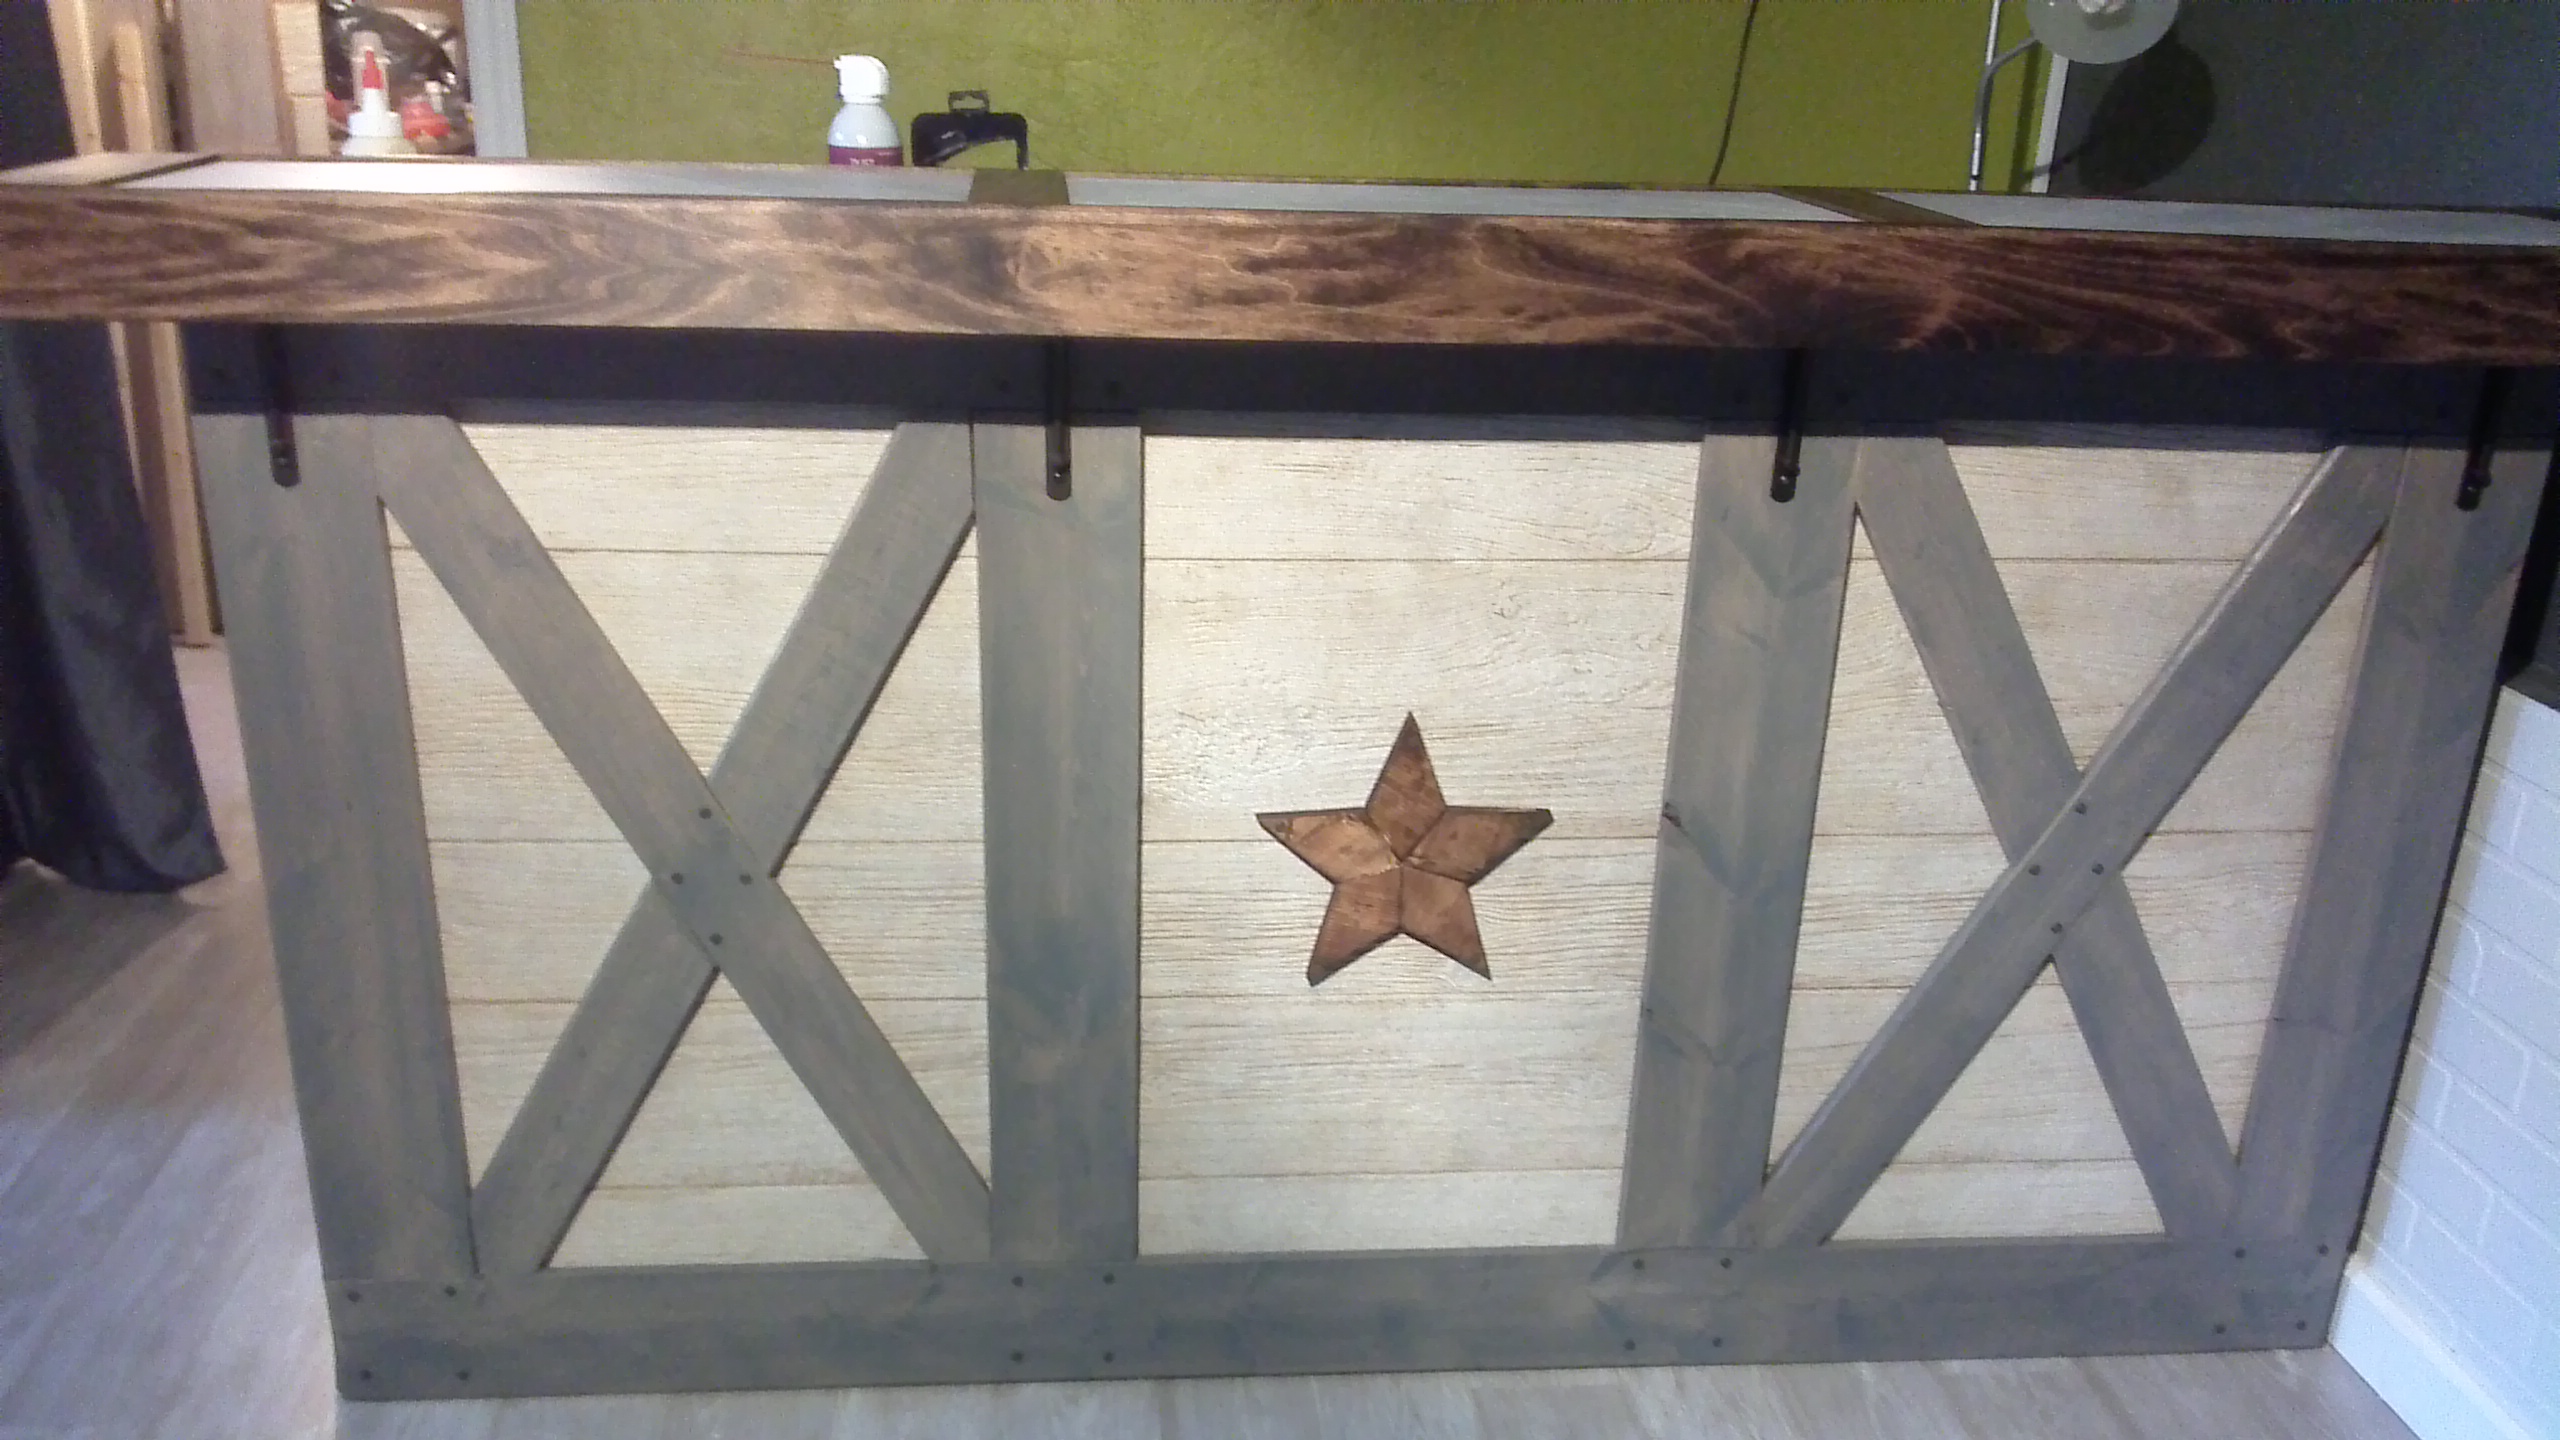
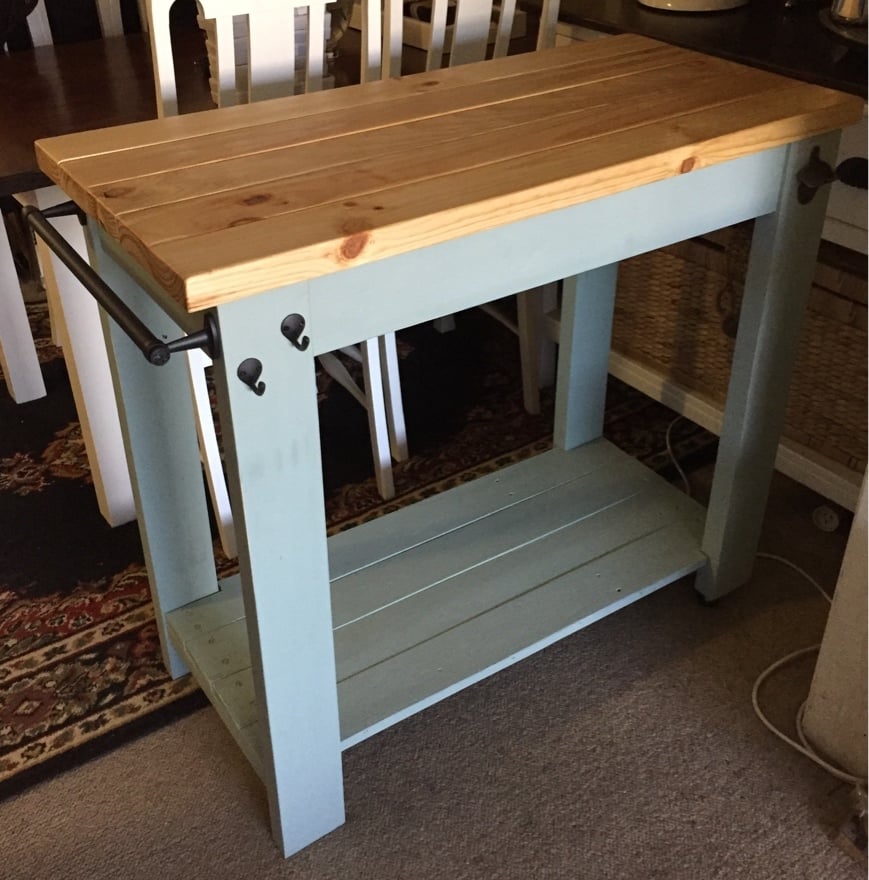
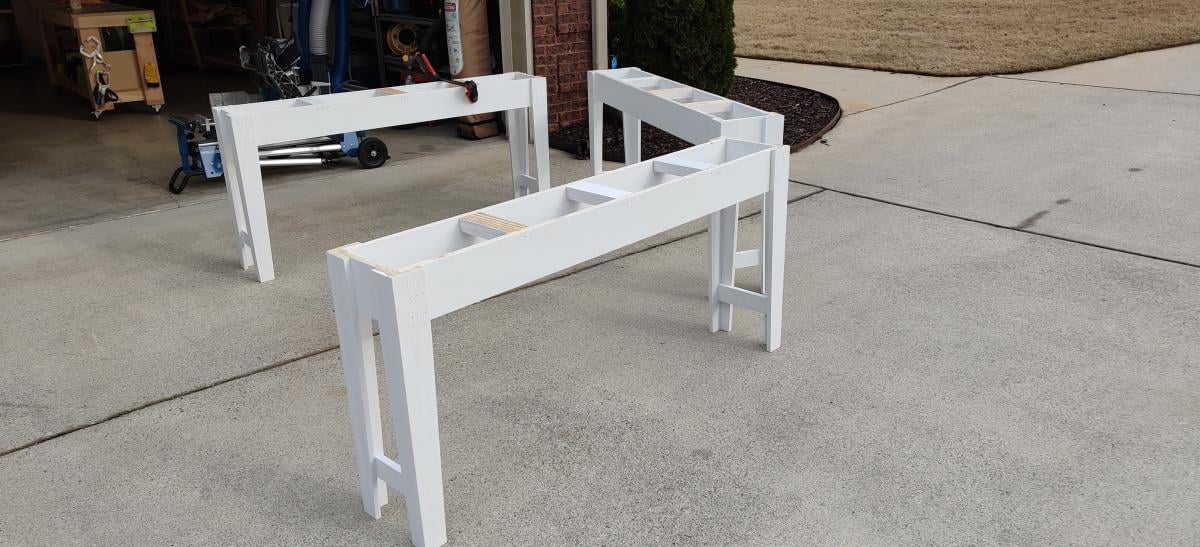
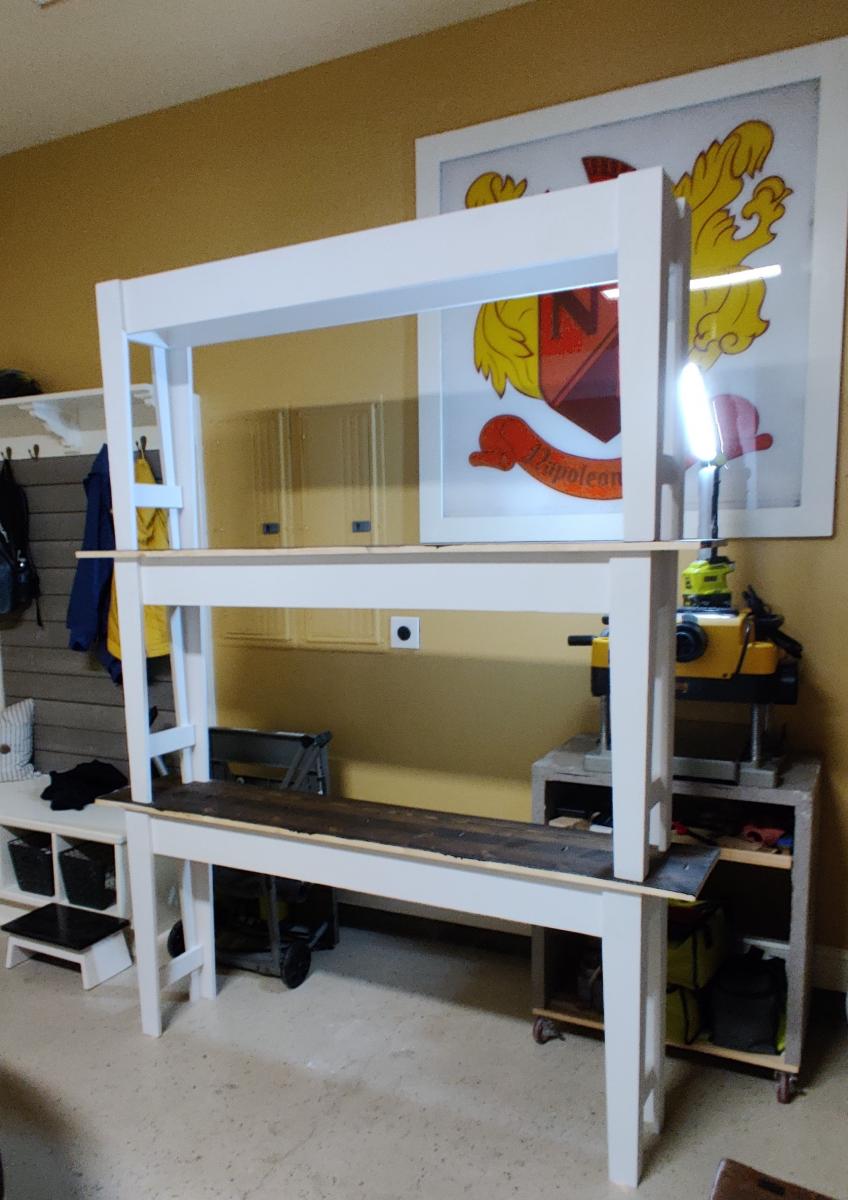
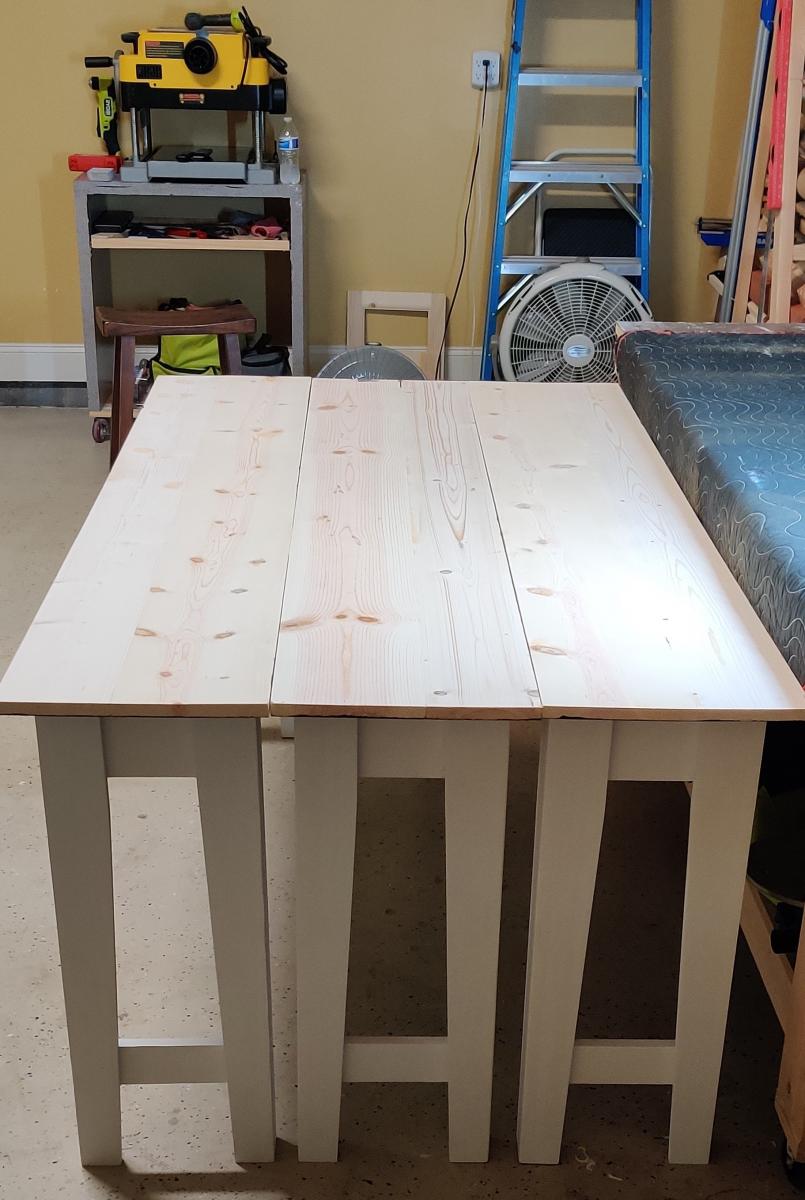
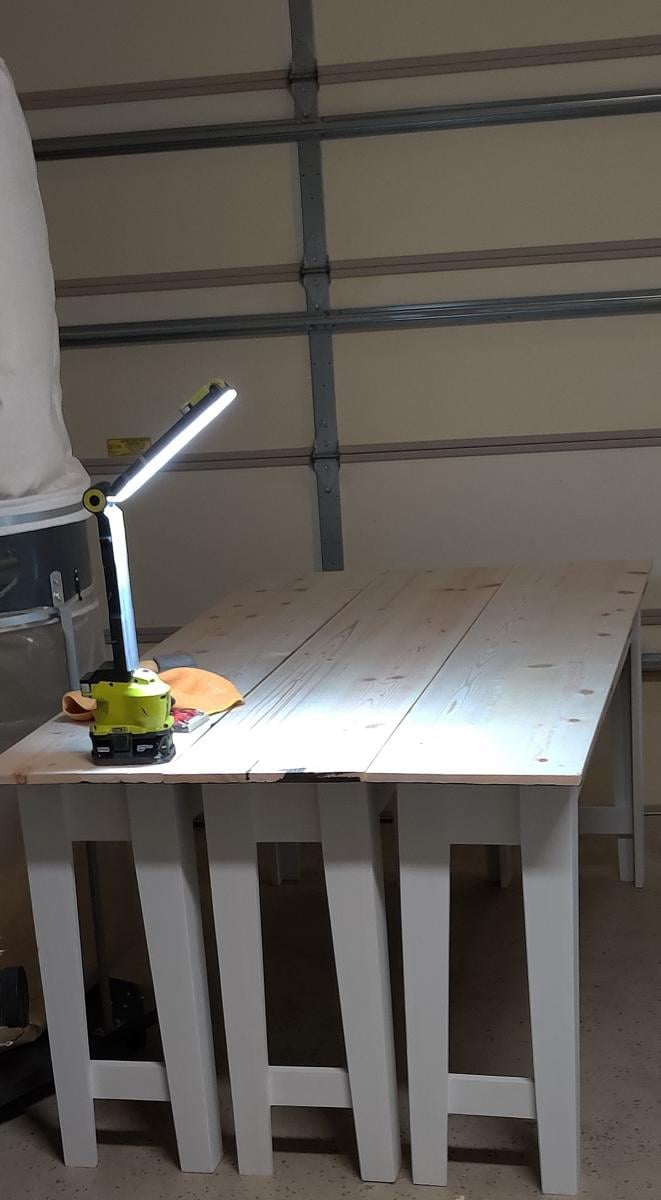
Sawhorse Console Table
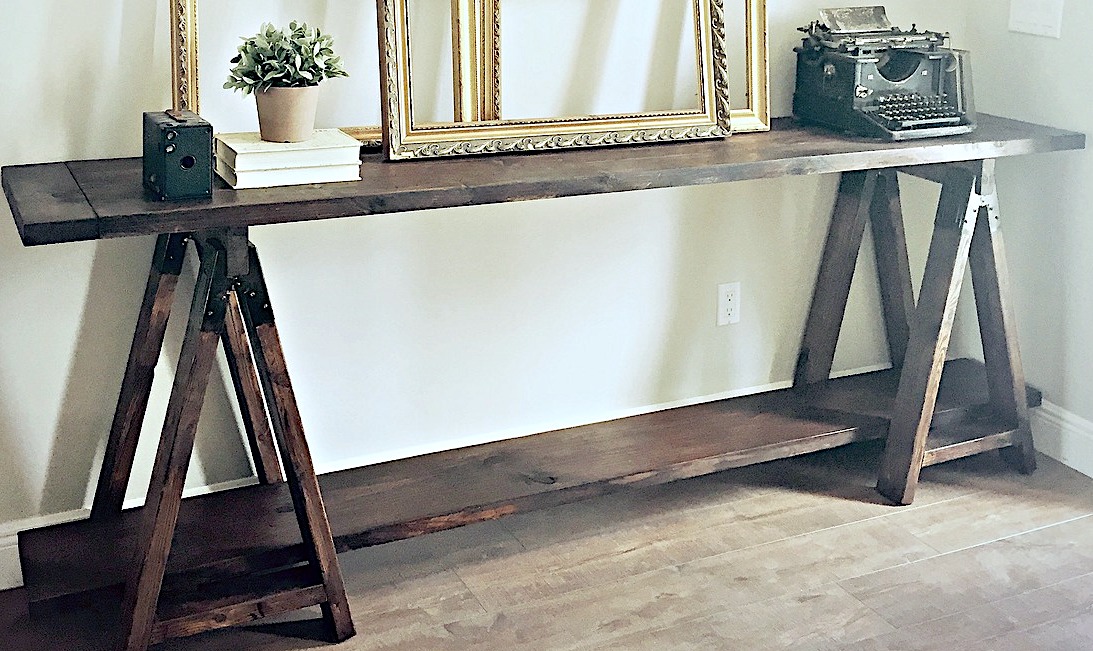
I saw a similar table on Shanty2chic.com and created my own version :)
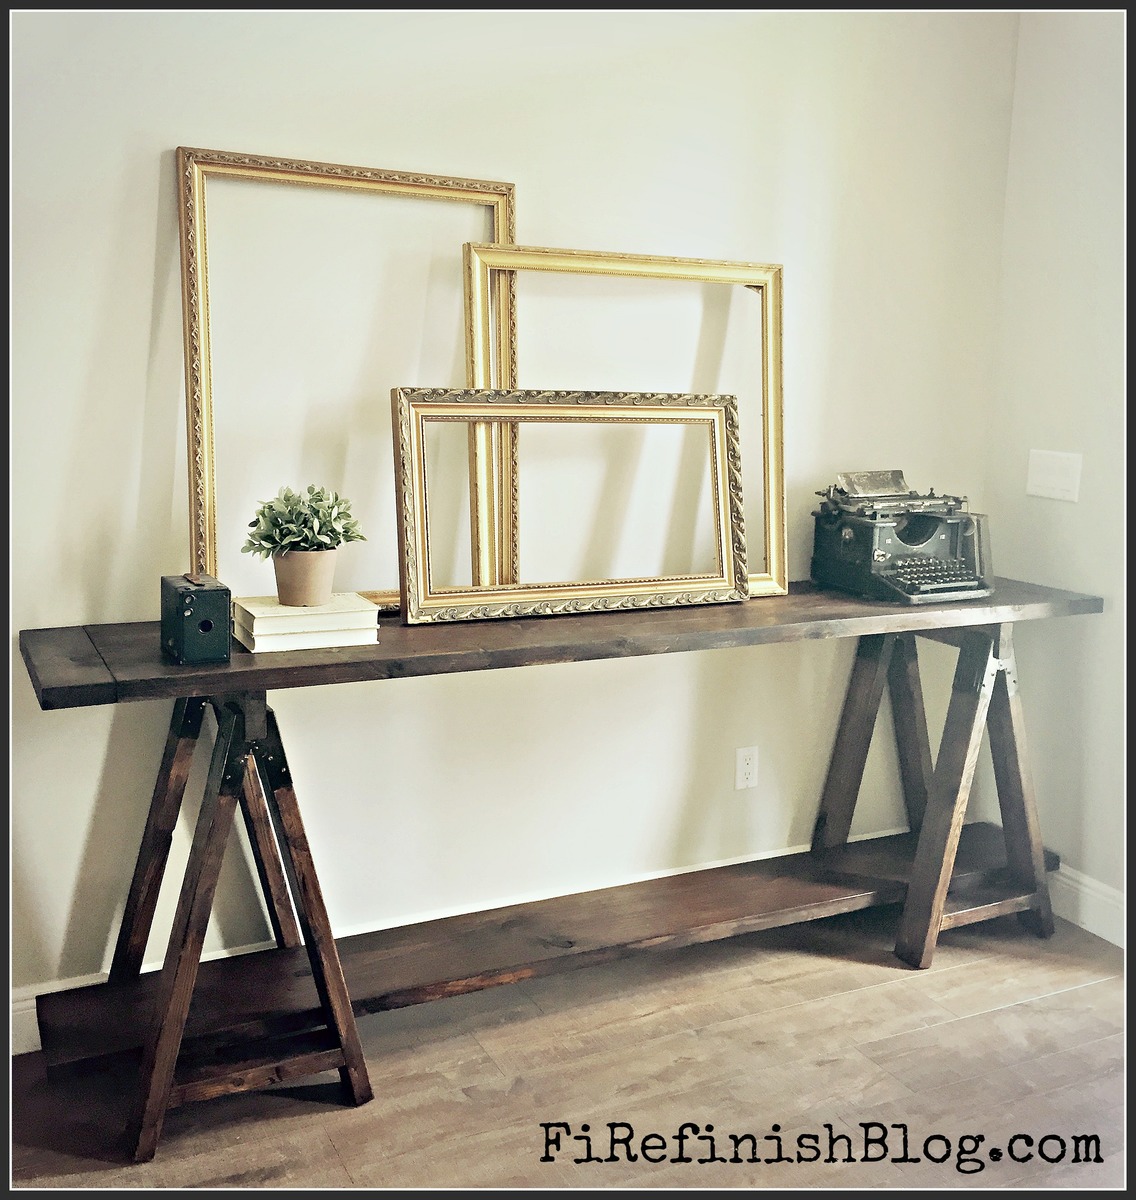
Built from Plan(s)
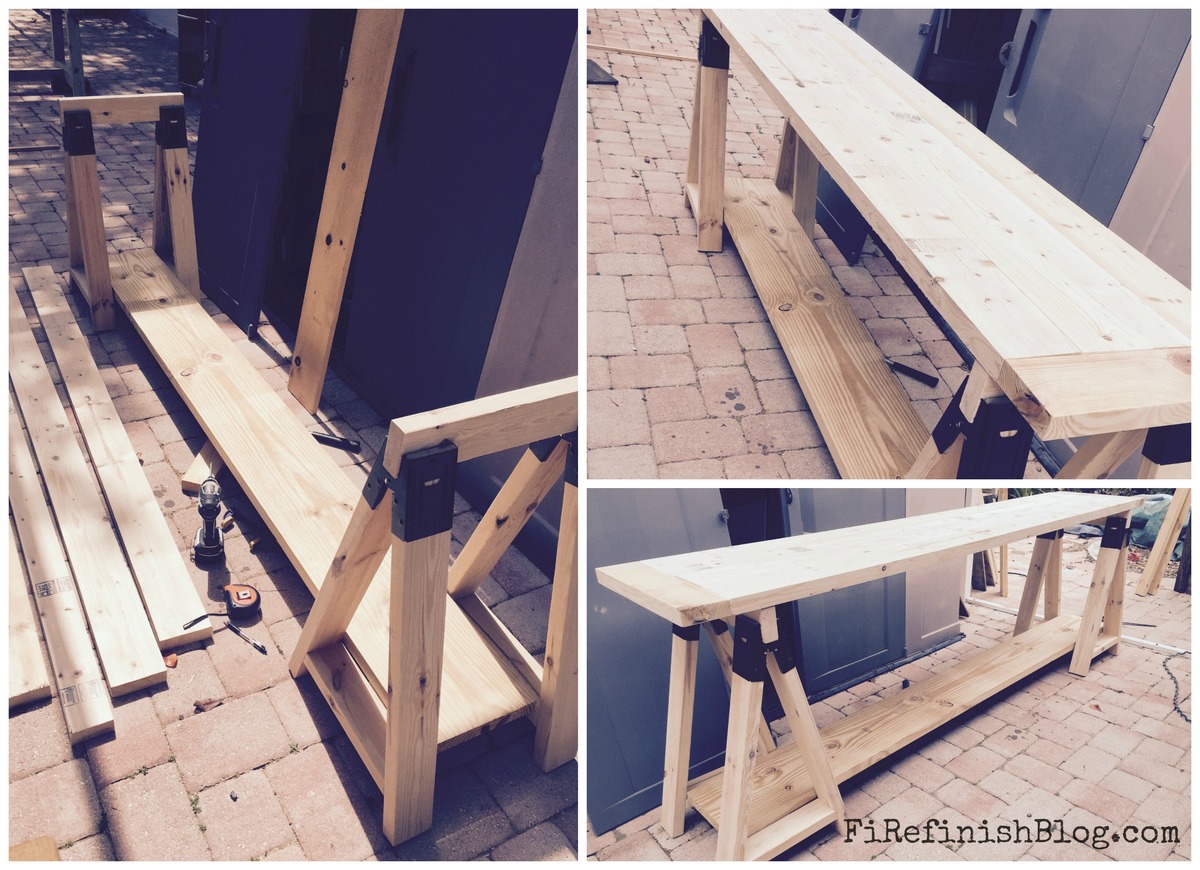
Estimated Time Investment
Day Project (6-9 Hours)
Recommended Skill Level
Beginner

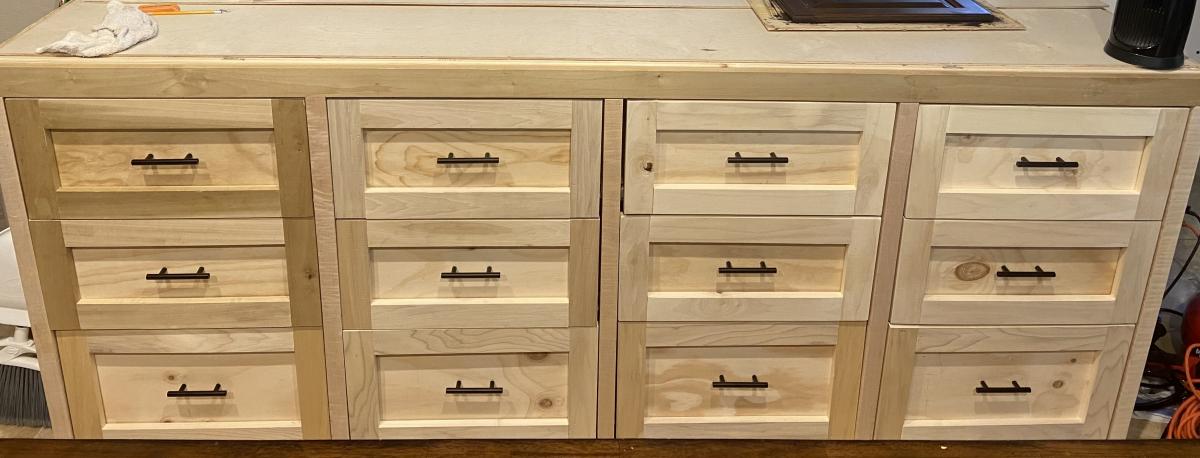
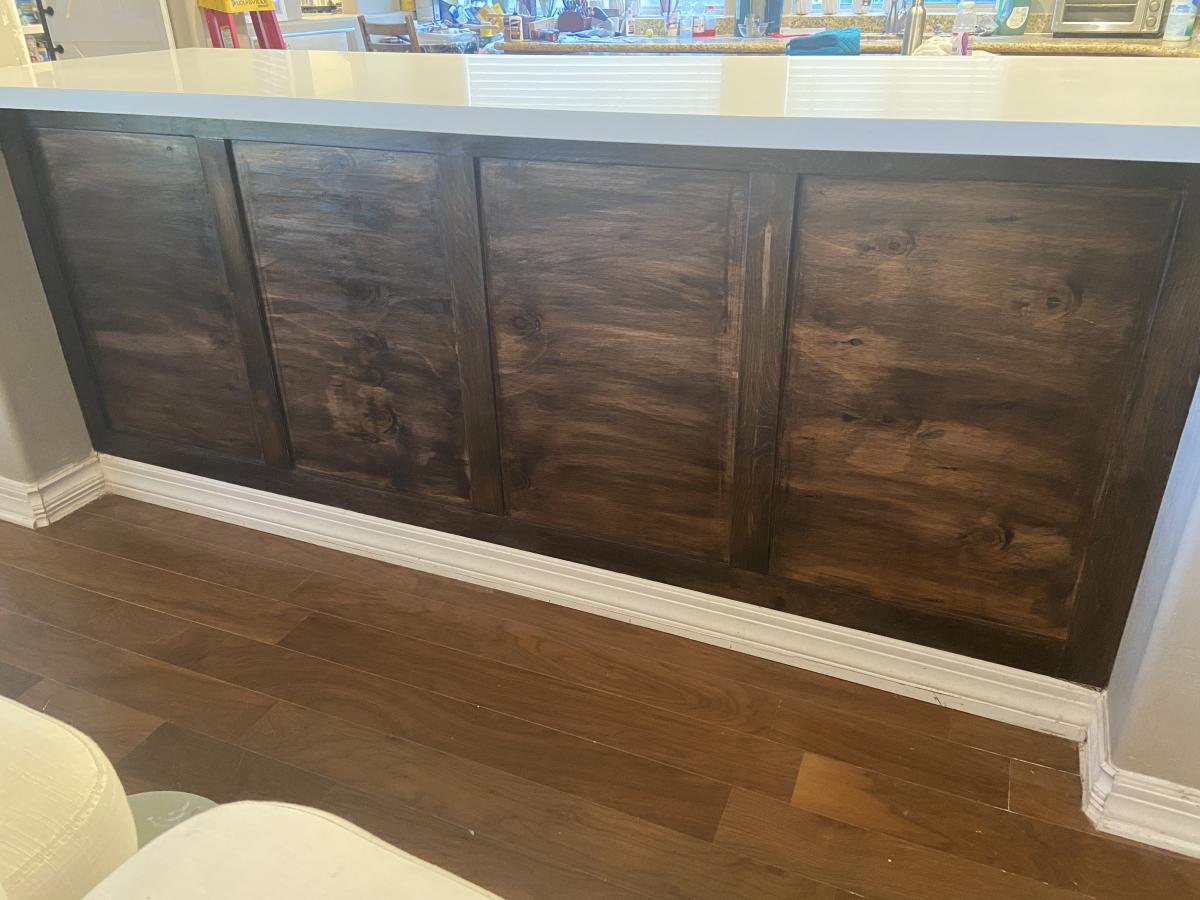
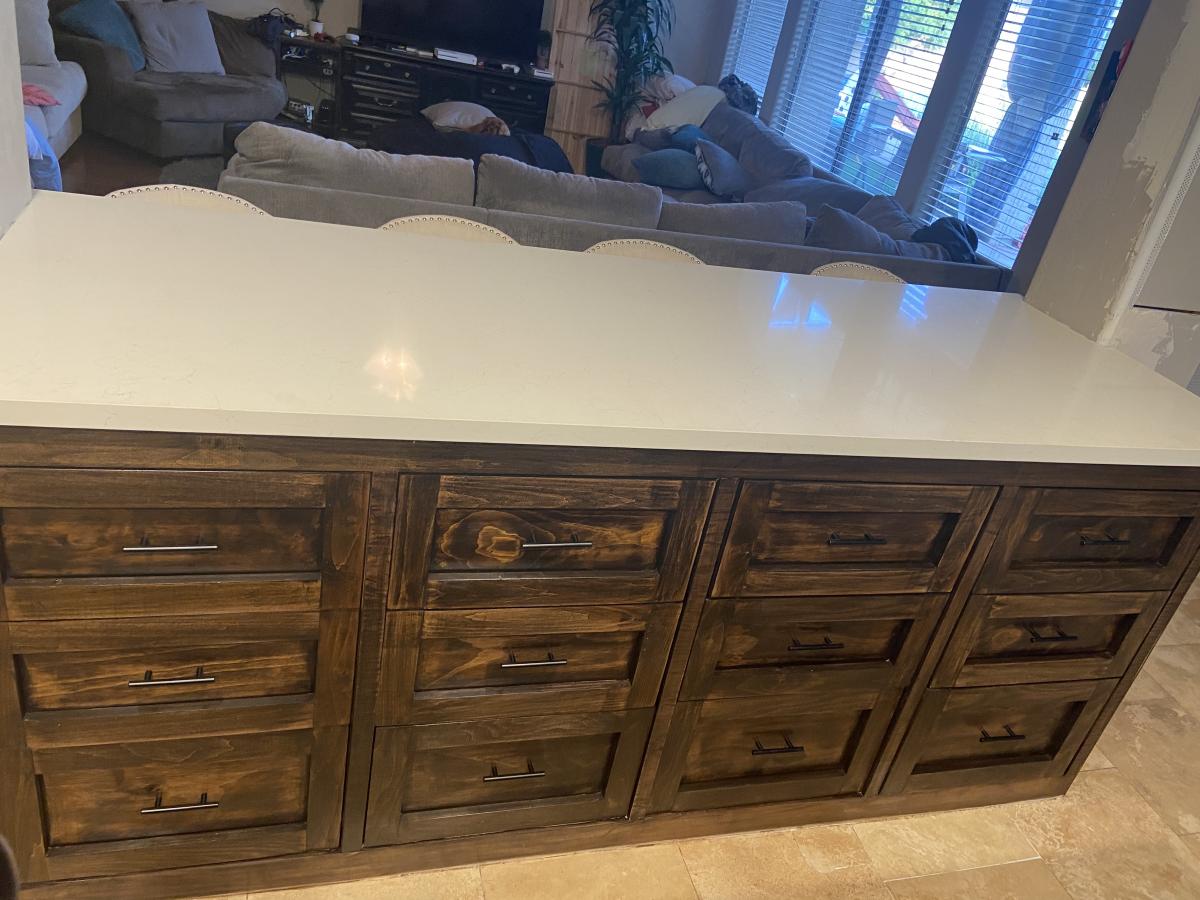


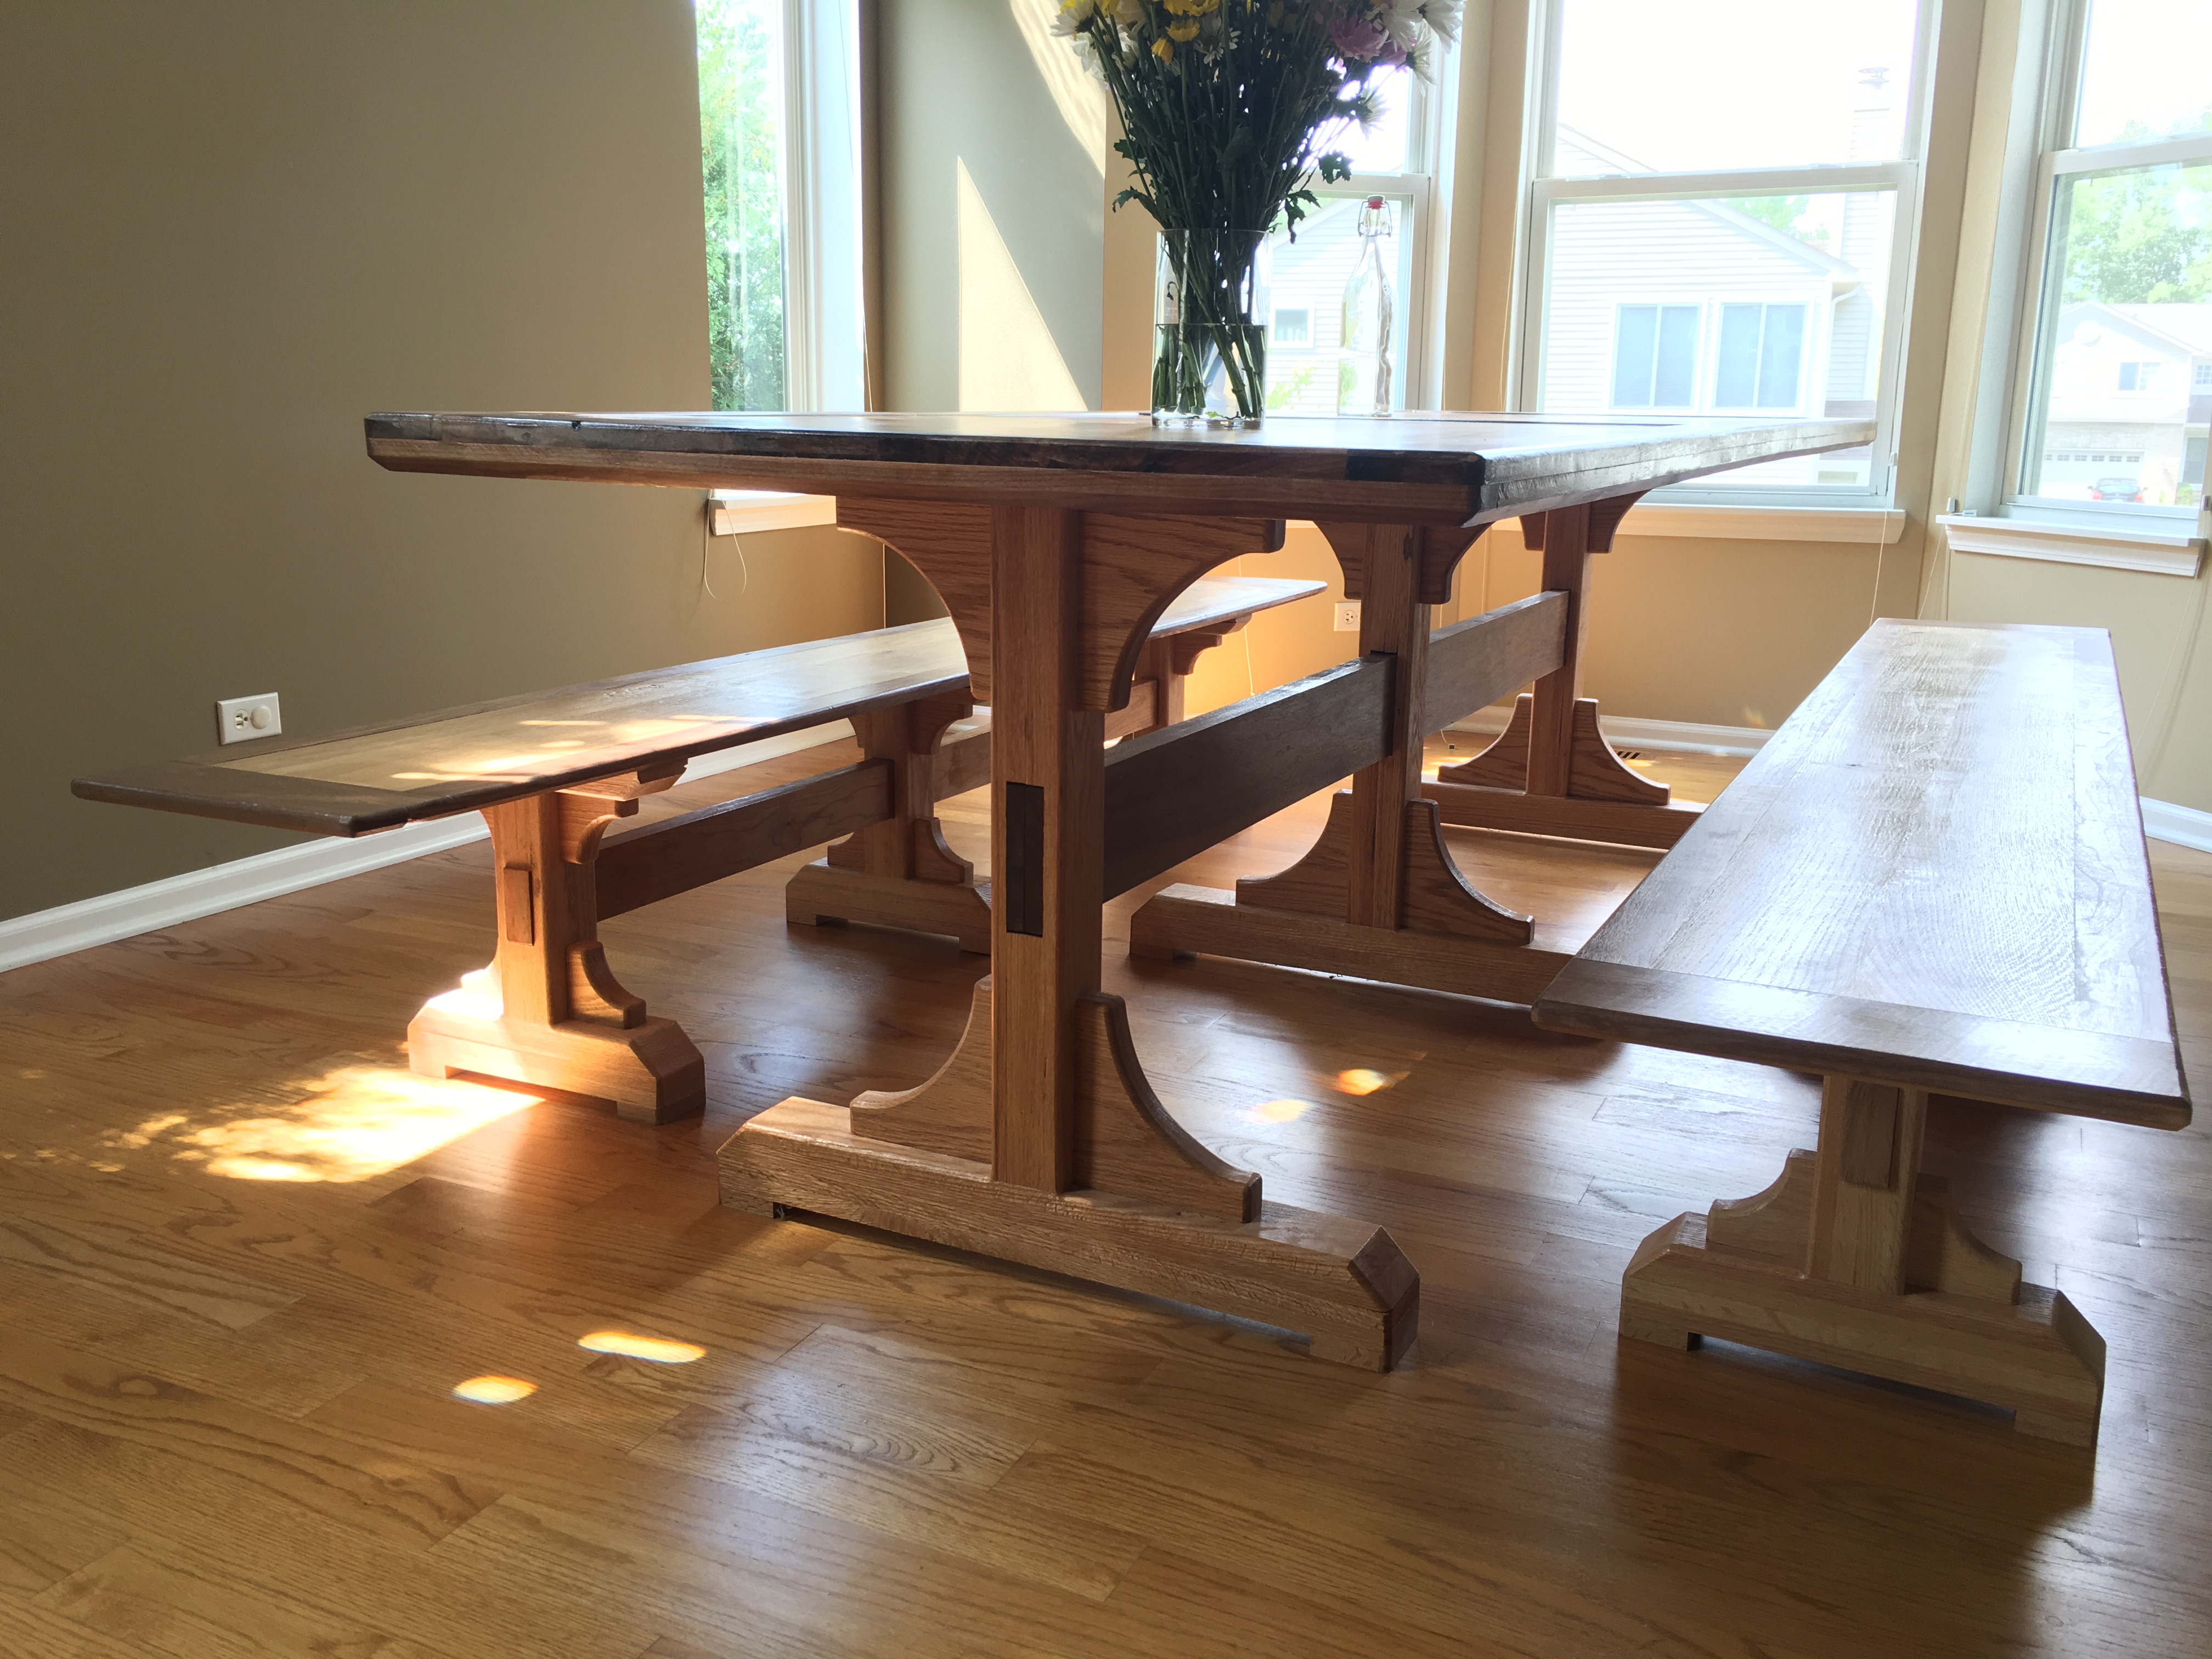
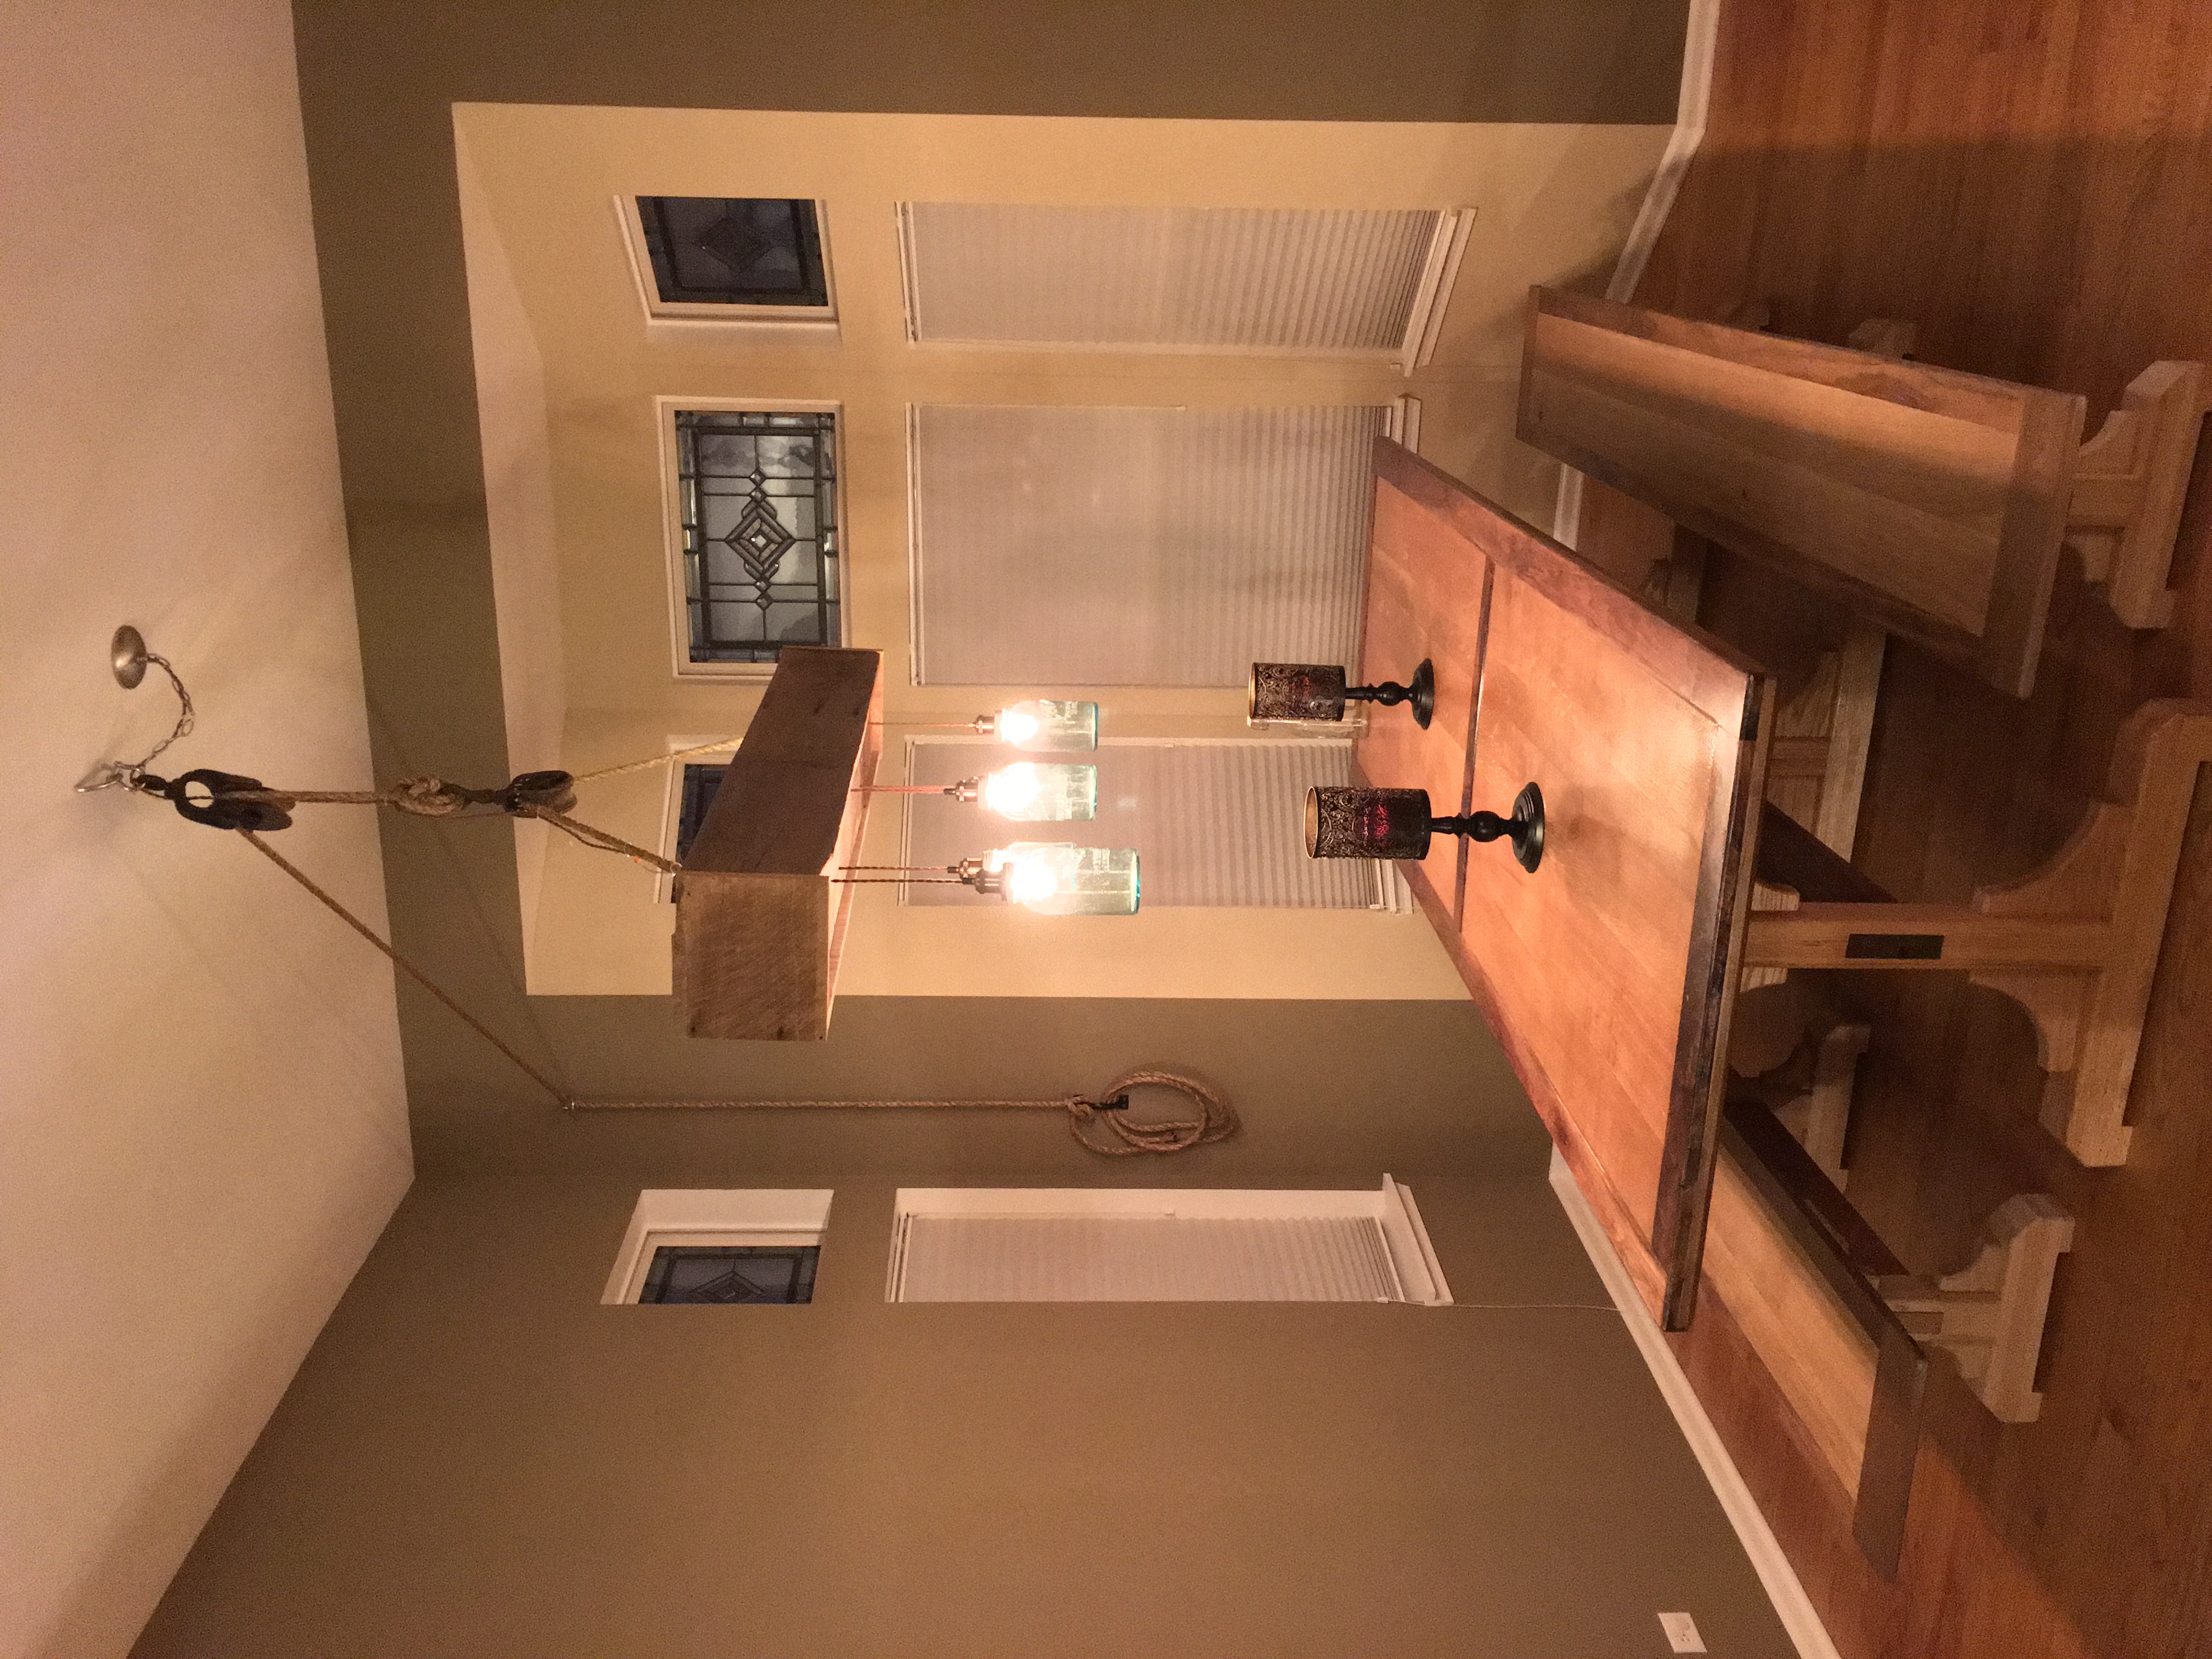
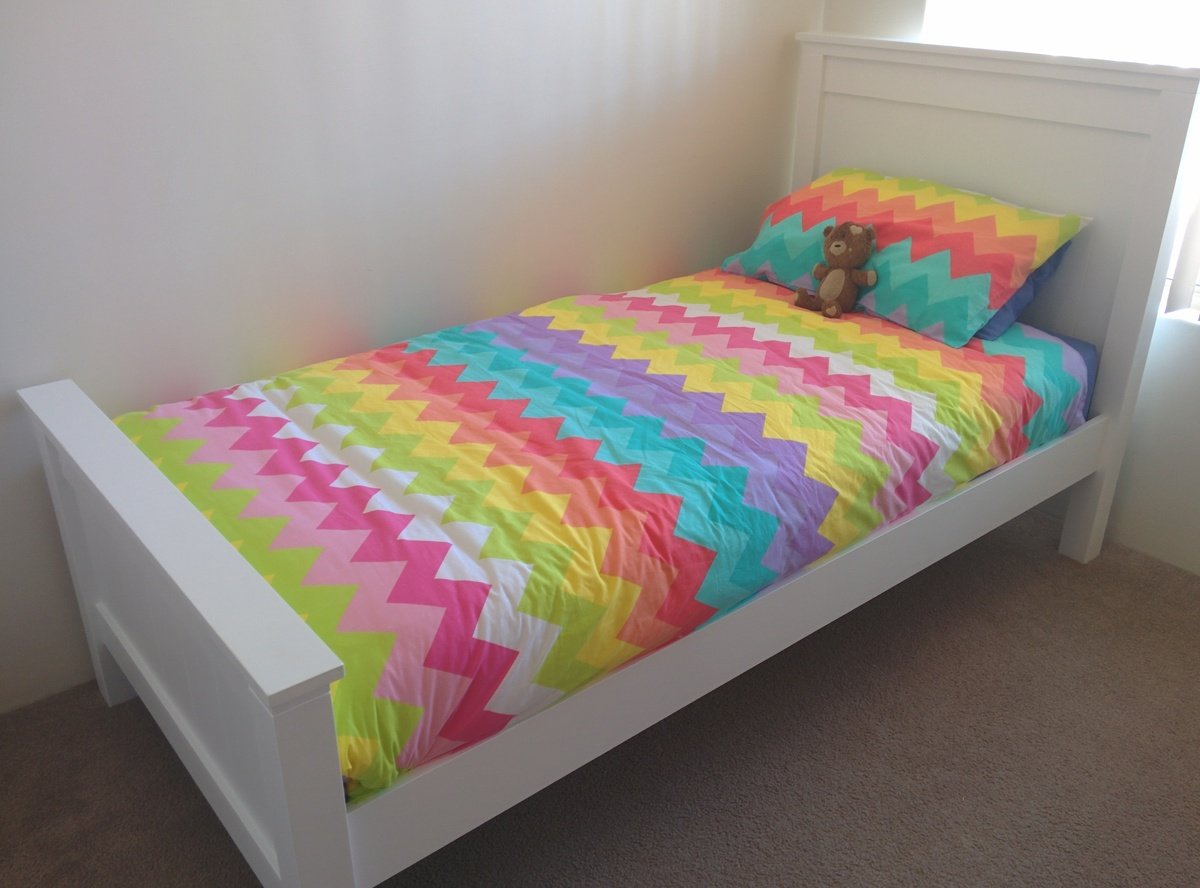
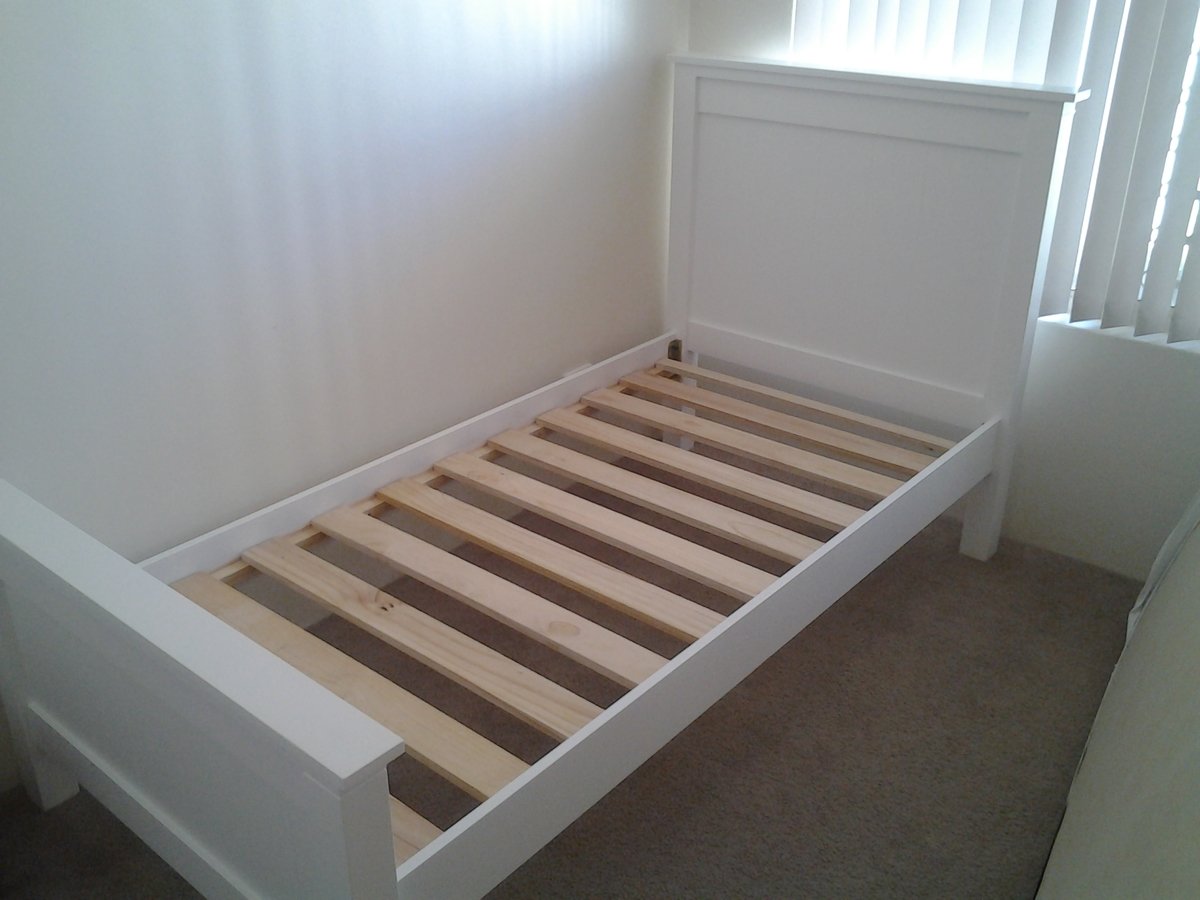
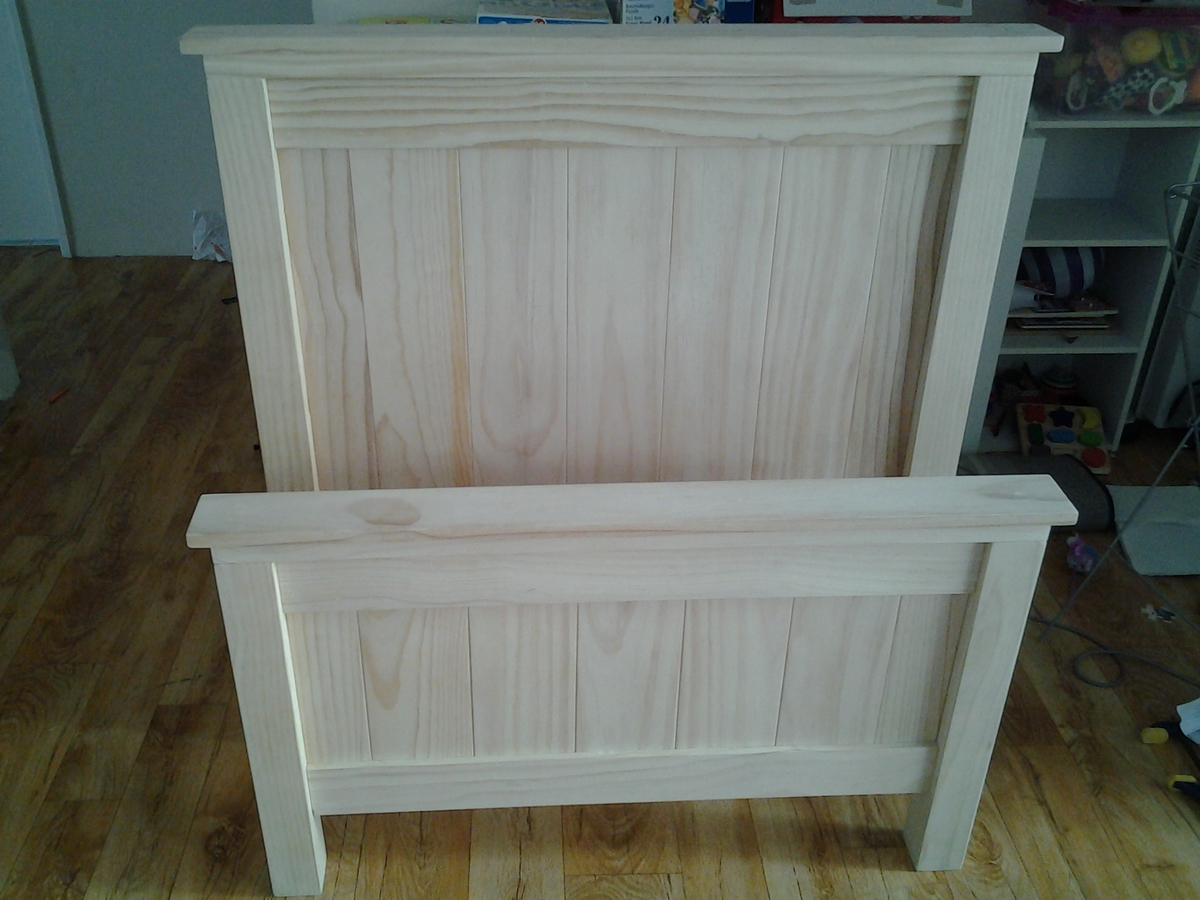
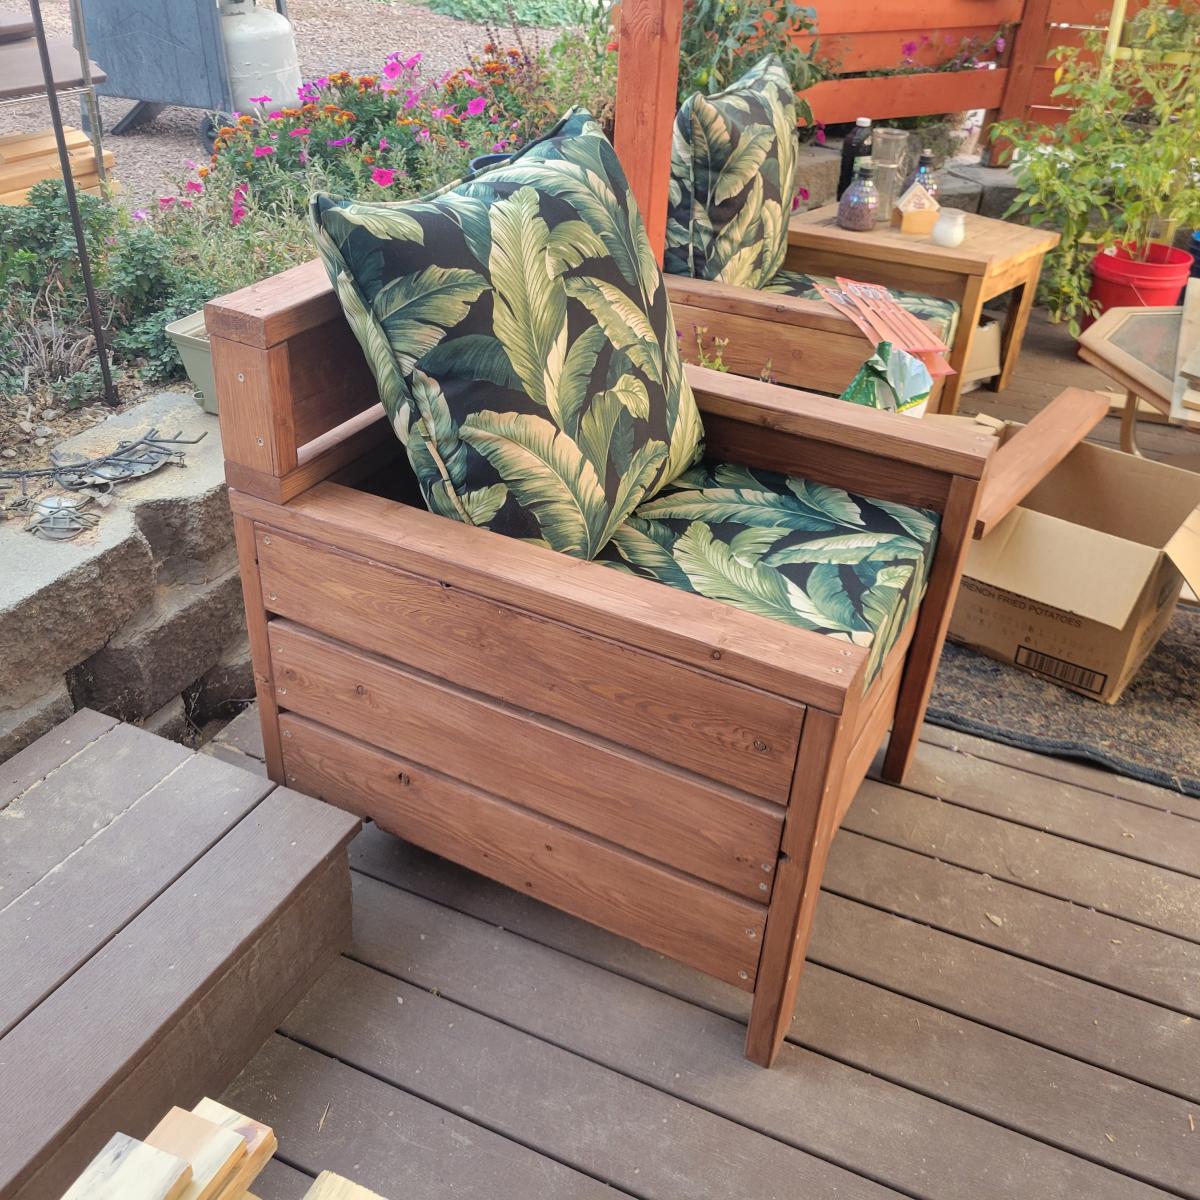
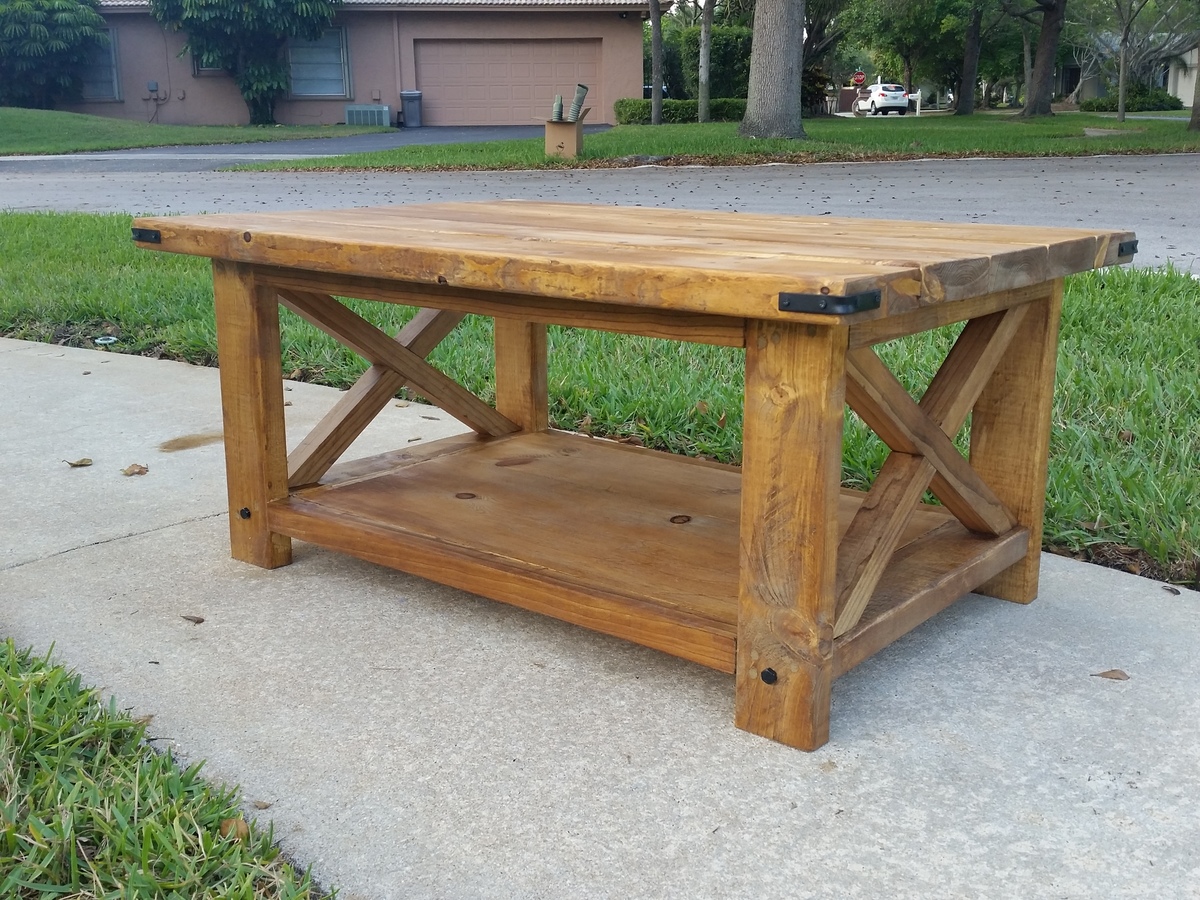
 . Painted walls, added new flooring, still have to customize the closet, but with Ana's help that will be a snap. I would have never gotten the courage to do some of the builds I've done without Ana's site. Thank You Ana!!!