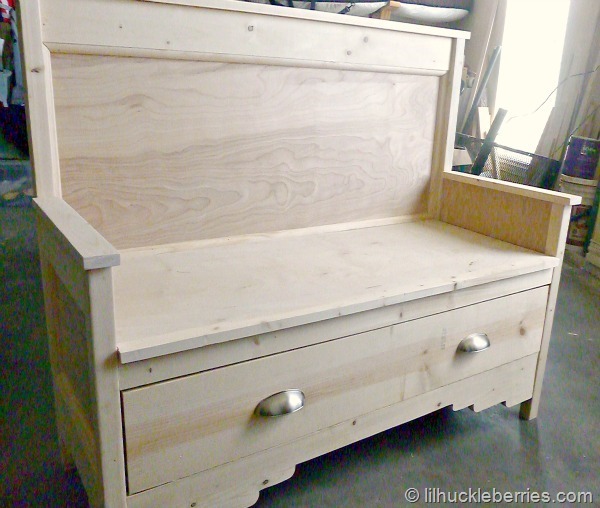
9 Cube Bookshelf
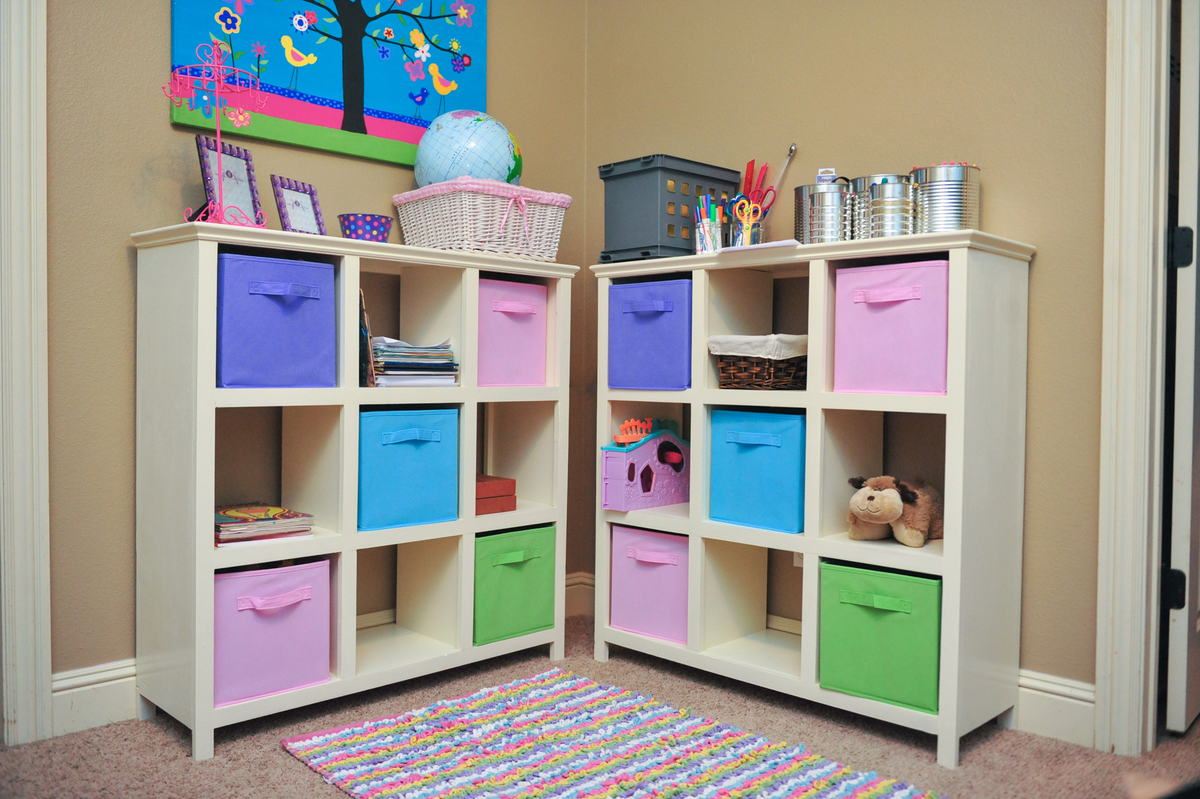
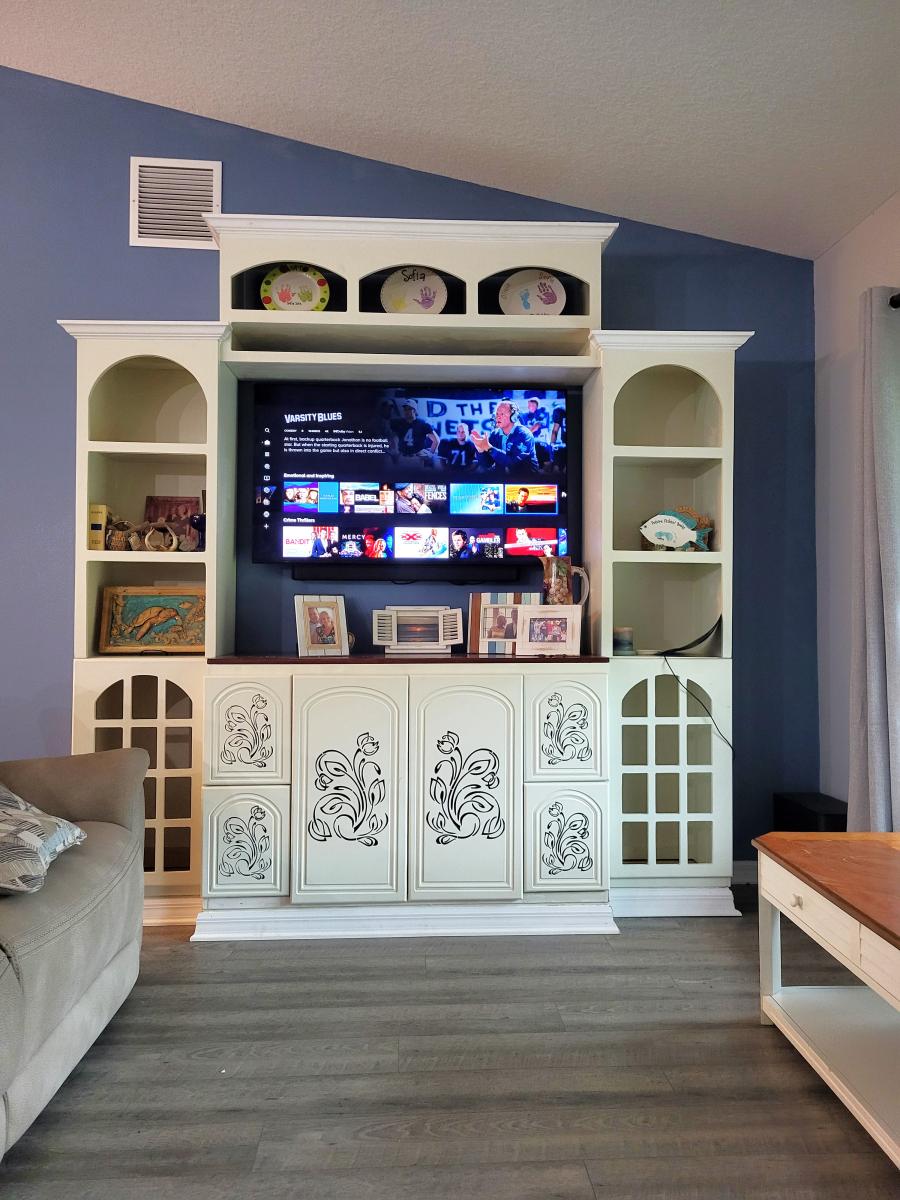
I followed the 6 cube shelf plans but just accounted for the extra cube plus 3/4 inch shelf. It was pretty simple build. The hardest part was painting it.
Built from Plan(s)
Estimated Cost
$70
Estimated Time Investment
Day Project (6-9 Hours)
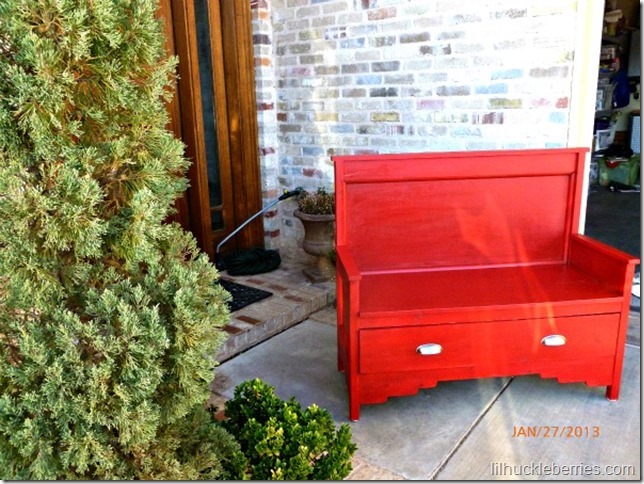
Finish Used
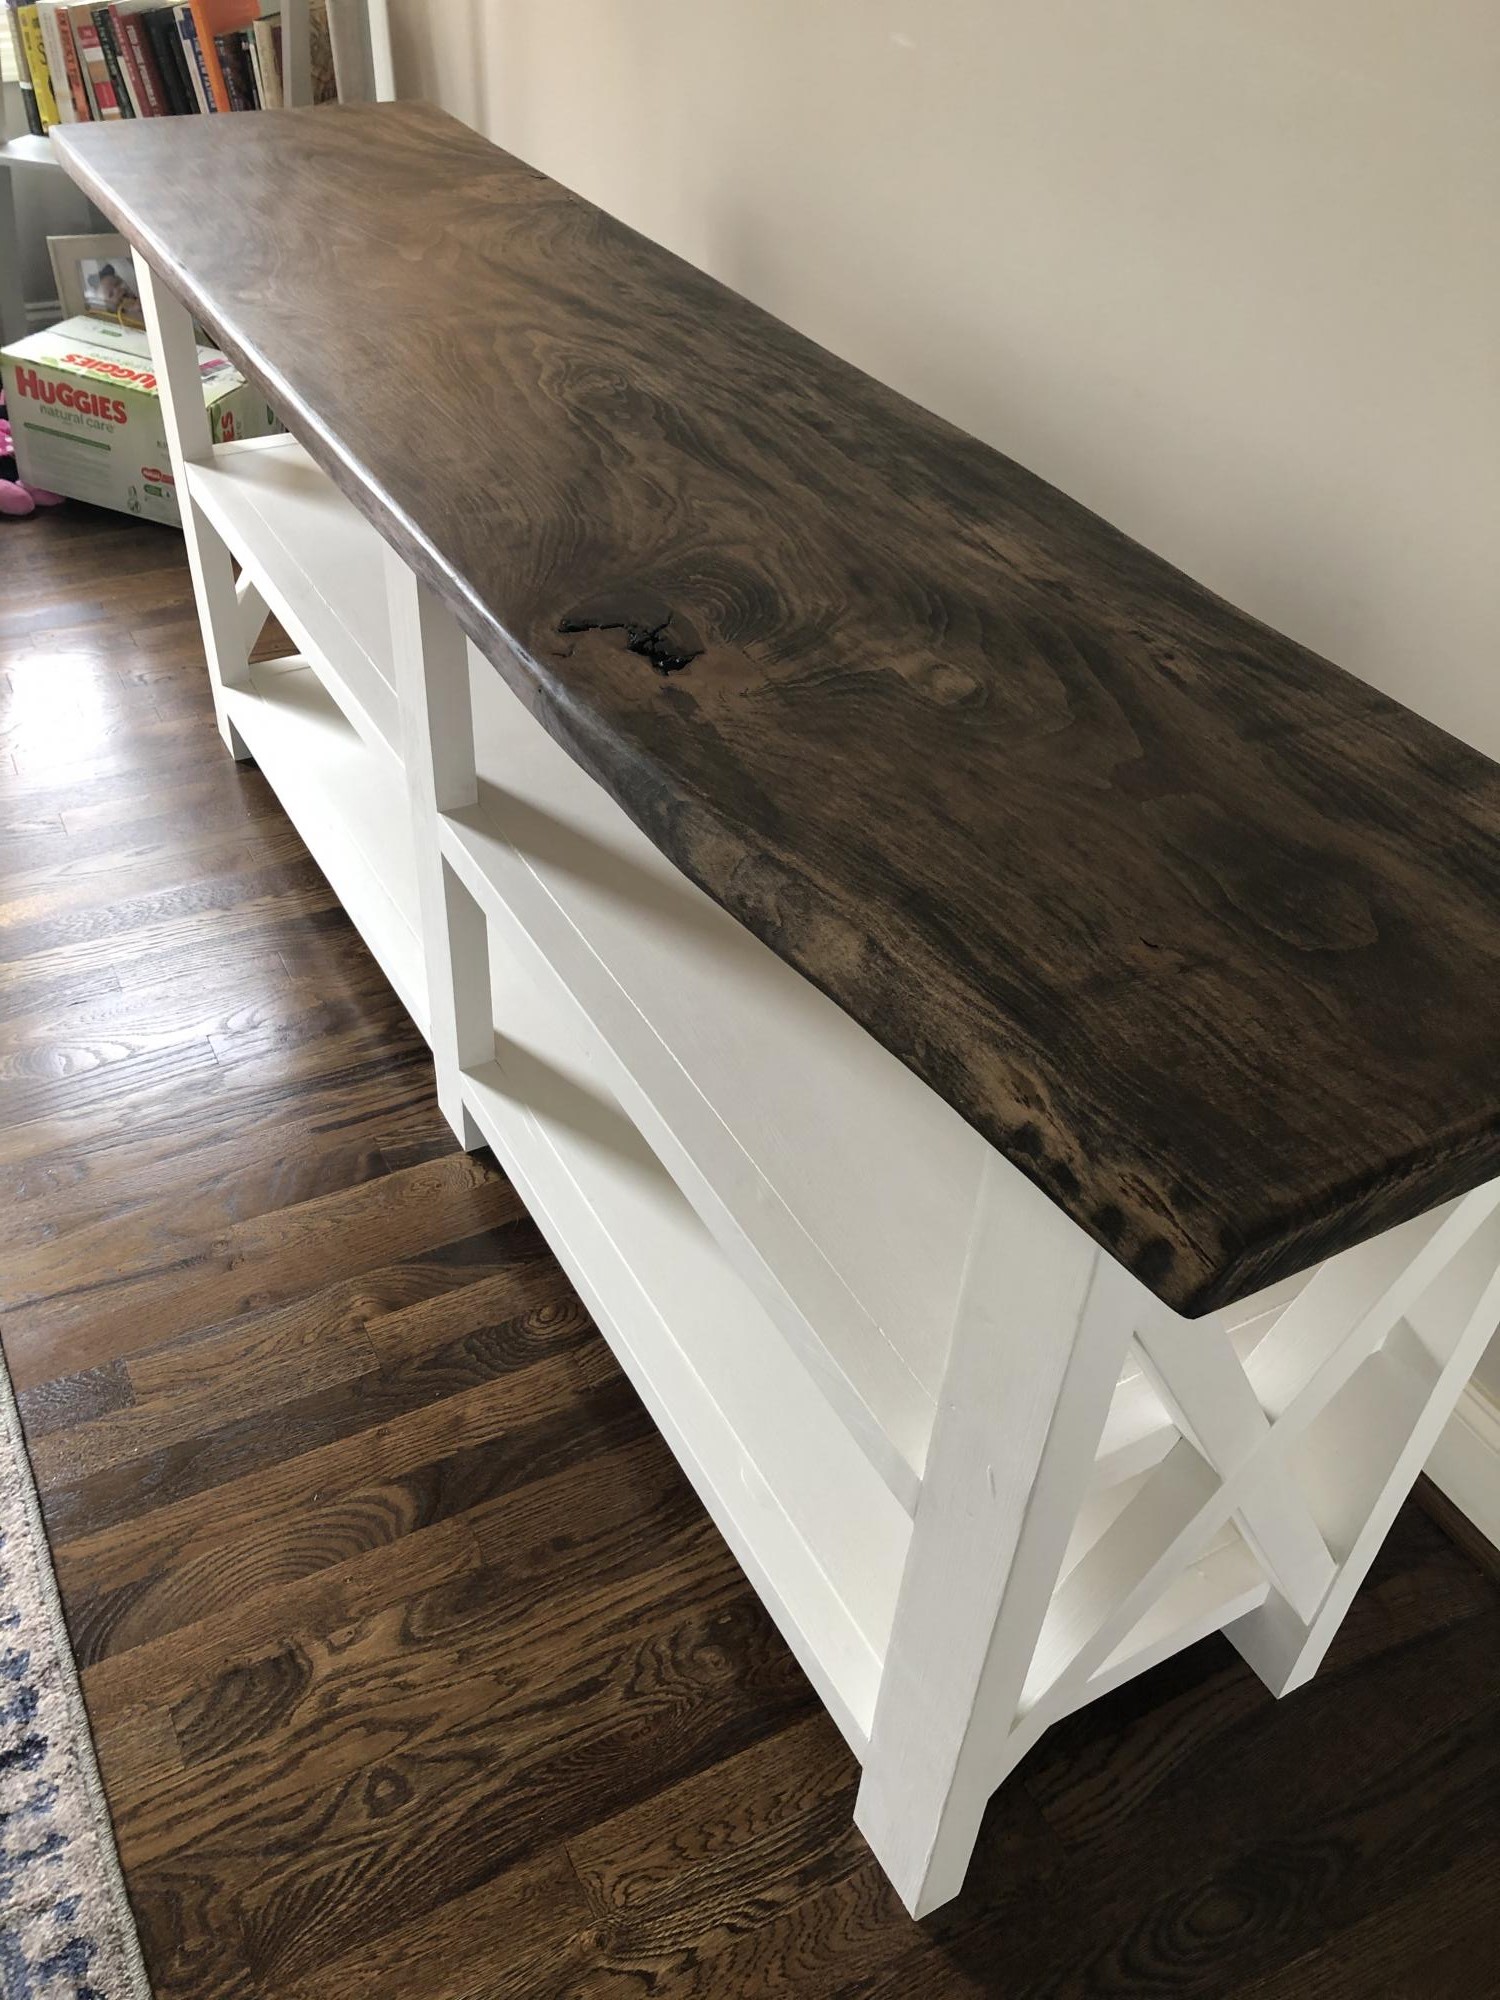
Valspar Ultra Paint + Primer. The color we used was Lowe's Crafted White, which we matched to our baseboards and crown. We did 2 coats, then filled and sanded, and did 2 more coats. Really nice thick coats
Recommended Skill Level
Beginner


Comments
Sandywales
Wed, 03/05/2014 - 05:02
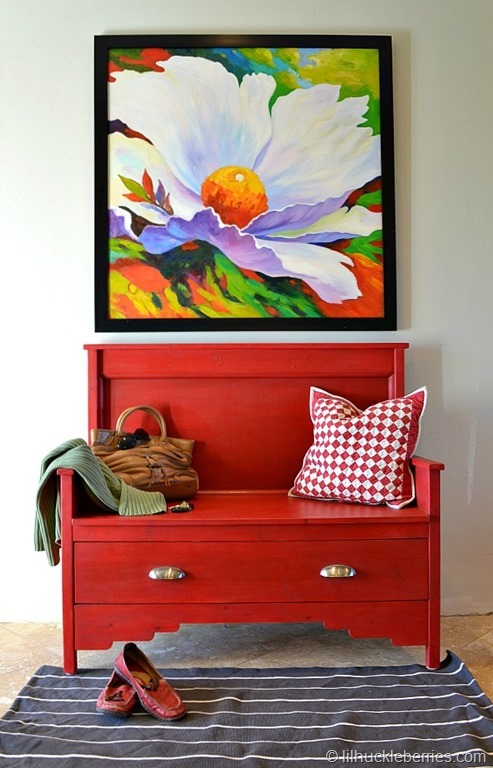
Great job. The trim really
Great job. The trim really gives it a quality look!
nahema2102
Mon, 11/21/2016 - 14:34
Re:
Hi
You said that you made a 9 Cube by adding 3/4 inch to measurements. Please let me know if my measurements are correct. You added 12 1/4'' (cube height) + 26 3/4'' (side height) + 3/4'' (measurements you added to get the total inches need for the sides?