Community Brag Posts

Dresser With Open Bottom Shelf

Submitted by stacynabby on Fri, 01/10/2014 - 22:15

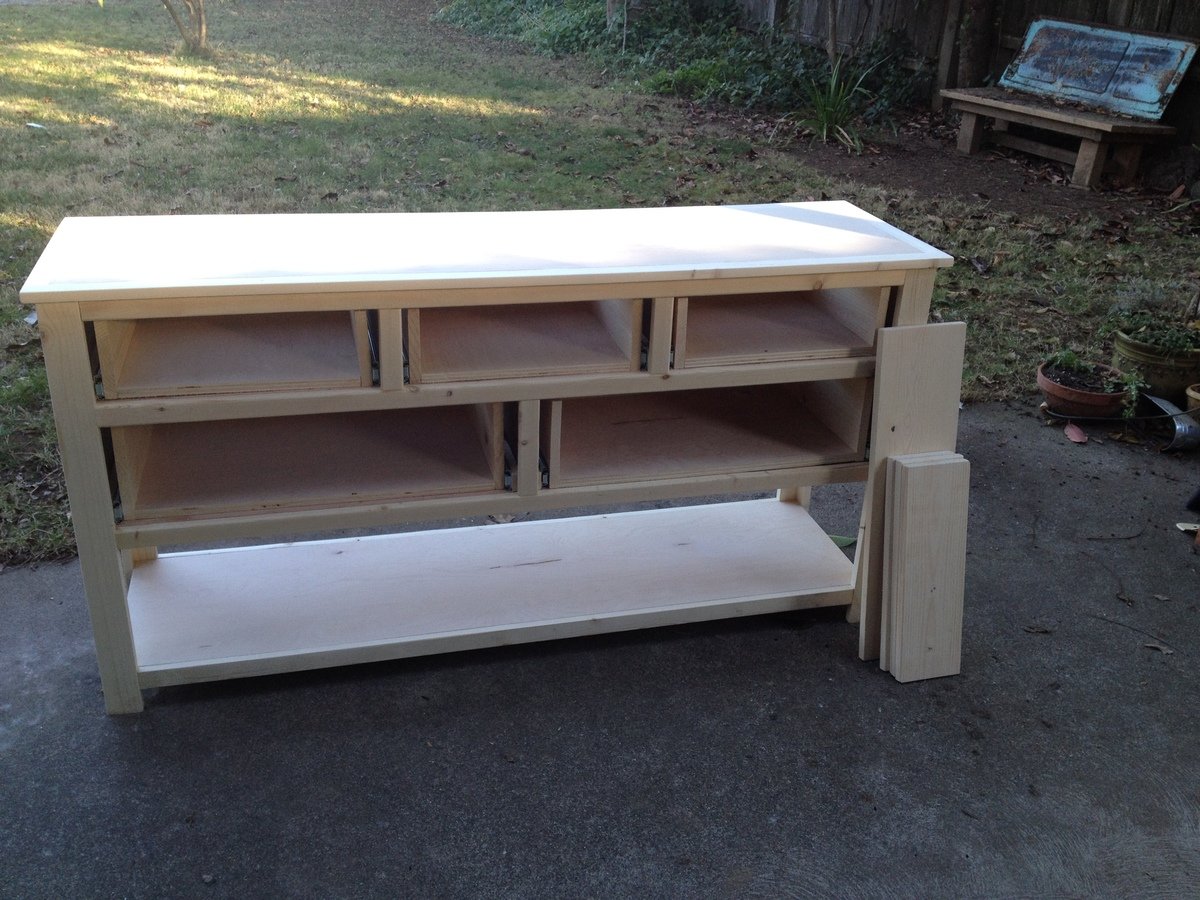
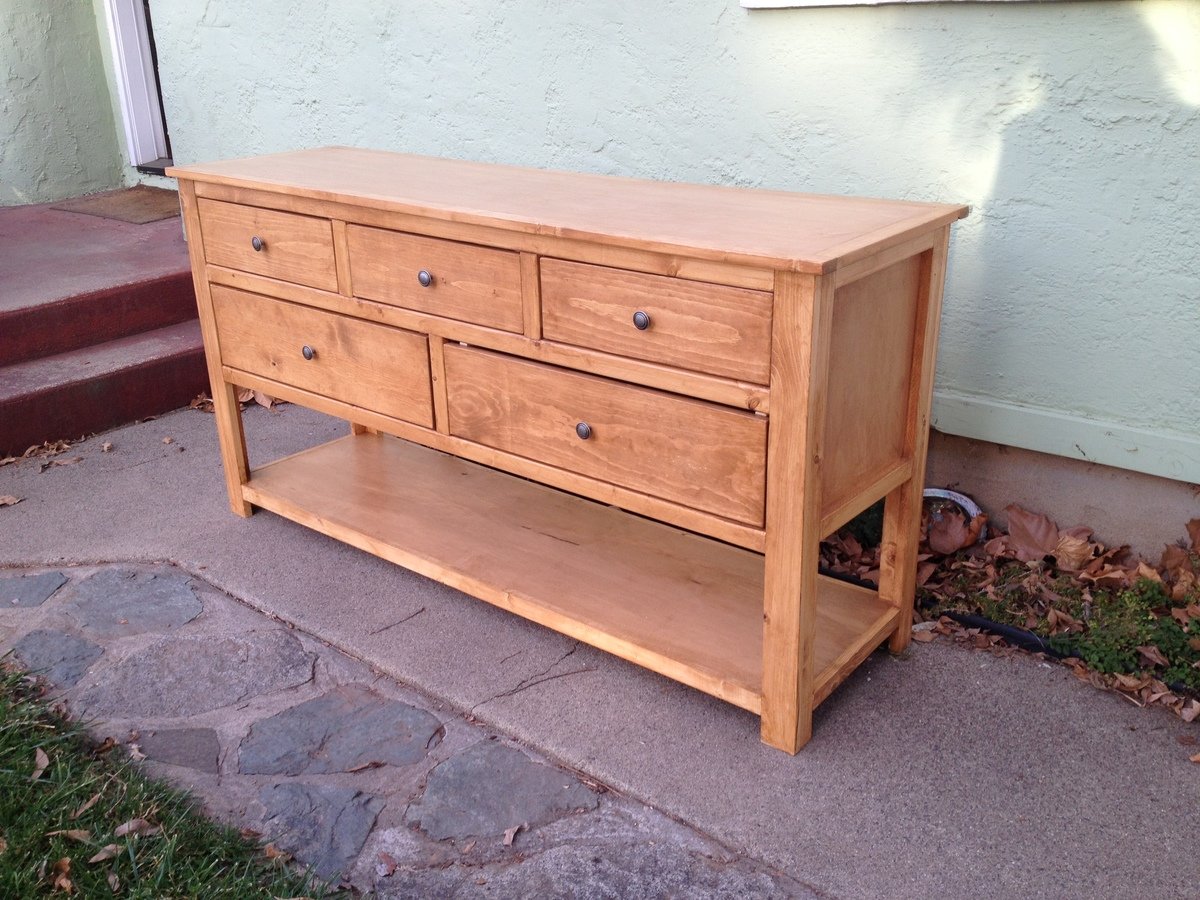
I needed a dresser to match the two farmhouse sidetables I built for the room and this design fit the bill. I really had to take the time to figure out where to place the pocket holes. Finishing is my least favorite part of the process, but I'm glad to have really taken my time. This was a really challenging project and I'm so pleased with the end product. By far, my favorite build yet!

Estimated Cost
$225 - $250
Estimated Time Investment
Weekend Project (10-20 Hours)
Finish Used
Cabot Fruitwood stain and four coats of polyurethane satin finish. Last sanding was with 600 grit.
Recommended Skill Level
Intermediate

4x4 Truss Beam Table and Benches

Submitted by MakinDust on Sat, 01/18/2014 - 08:36

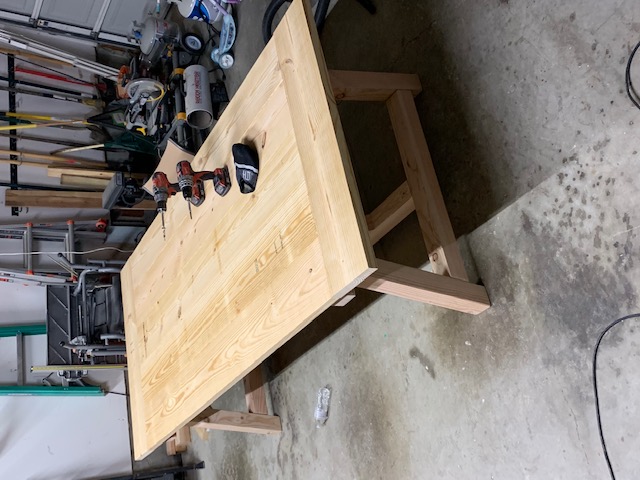
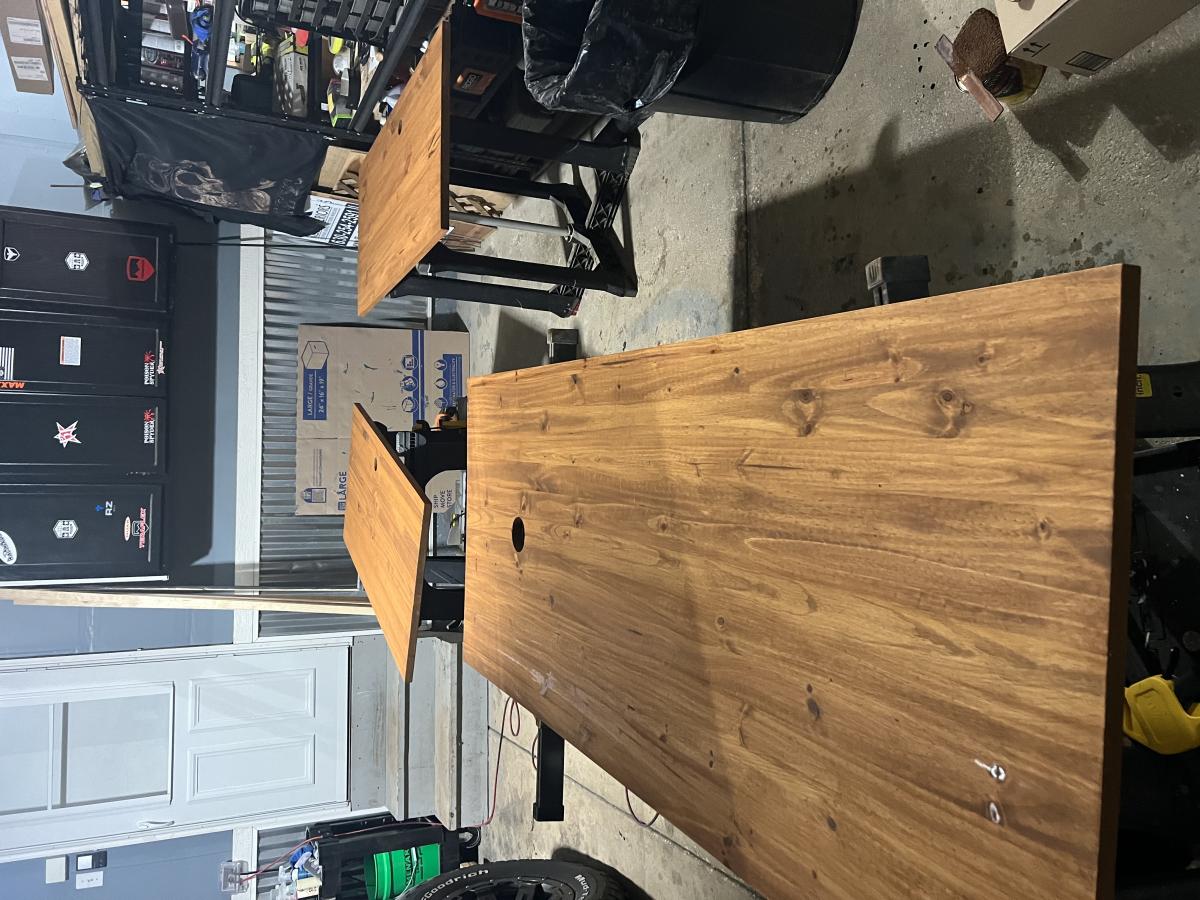
Table and benches were made to plan, except I shortened the overall length and added another 2x10 to the top to give it some additional width. The benches were also shortened slightly so the legs of the benches slide between the legs of the table; which allows the benches to be pushed further under the table when not in use. Avoid my rookie furniture making mistake and go to a specialty lumber store that sells wood that is already aged (dry). Most everything you find at the big box stores will still be wet and shrink/warp on you if not completely dry first.

Built from Plan(s)
Estimated Time Investment
Week Long Project (20 Hours or More)
Finish Used
MinWax English Chestnut Stain and 3 coats of MinWax Satin Poly
Recommended Skill Level
Beginner

Comments

MakinDust

Tue, 05/20/2014 - 16:23

Appreciate the compliments. Sorry for the delayed response, but the final dimensions turned out 72" x 46". Let me know if you have any other questions.

DIY Wood Patio Set

Submitted by Anonymous (not verified) on Fri, 09/15/2023 - 08:46

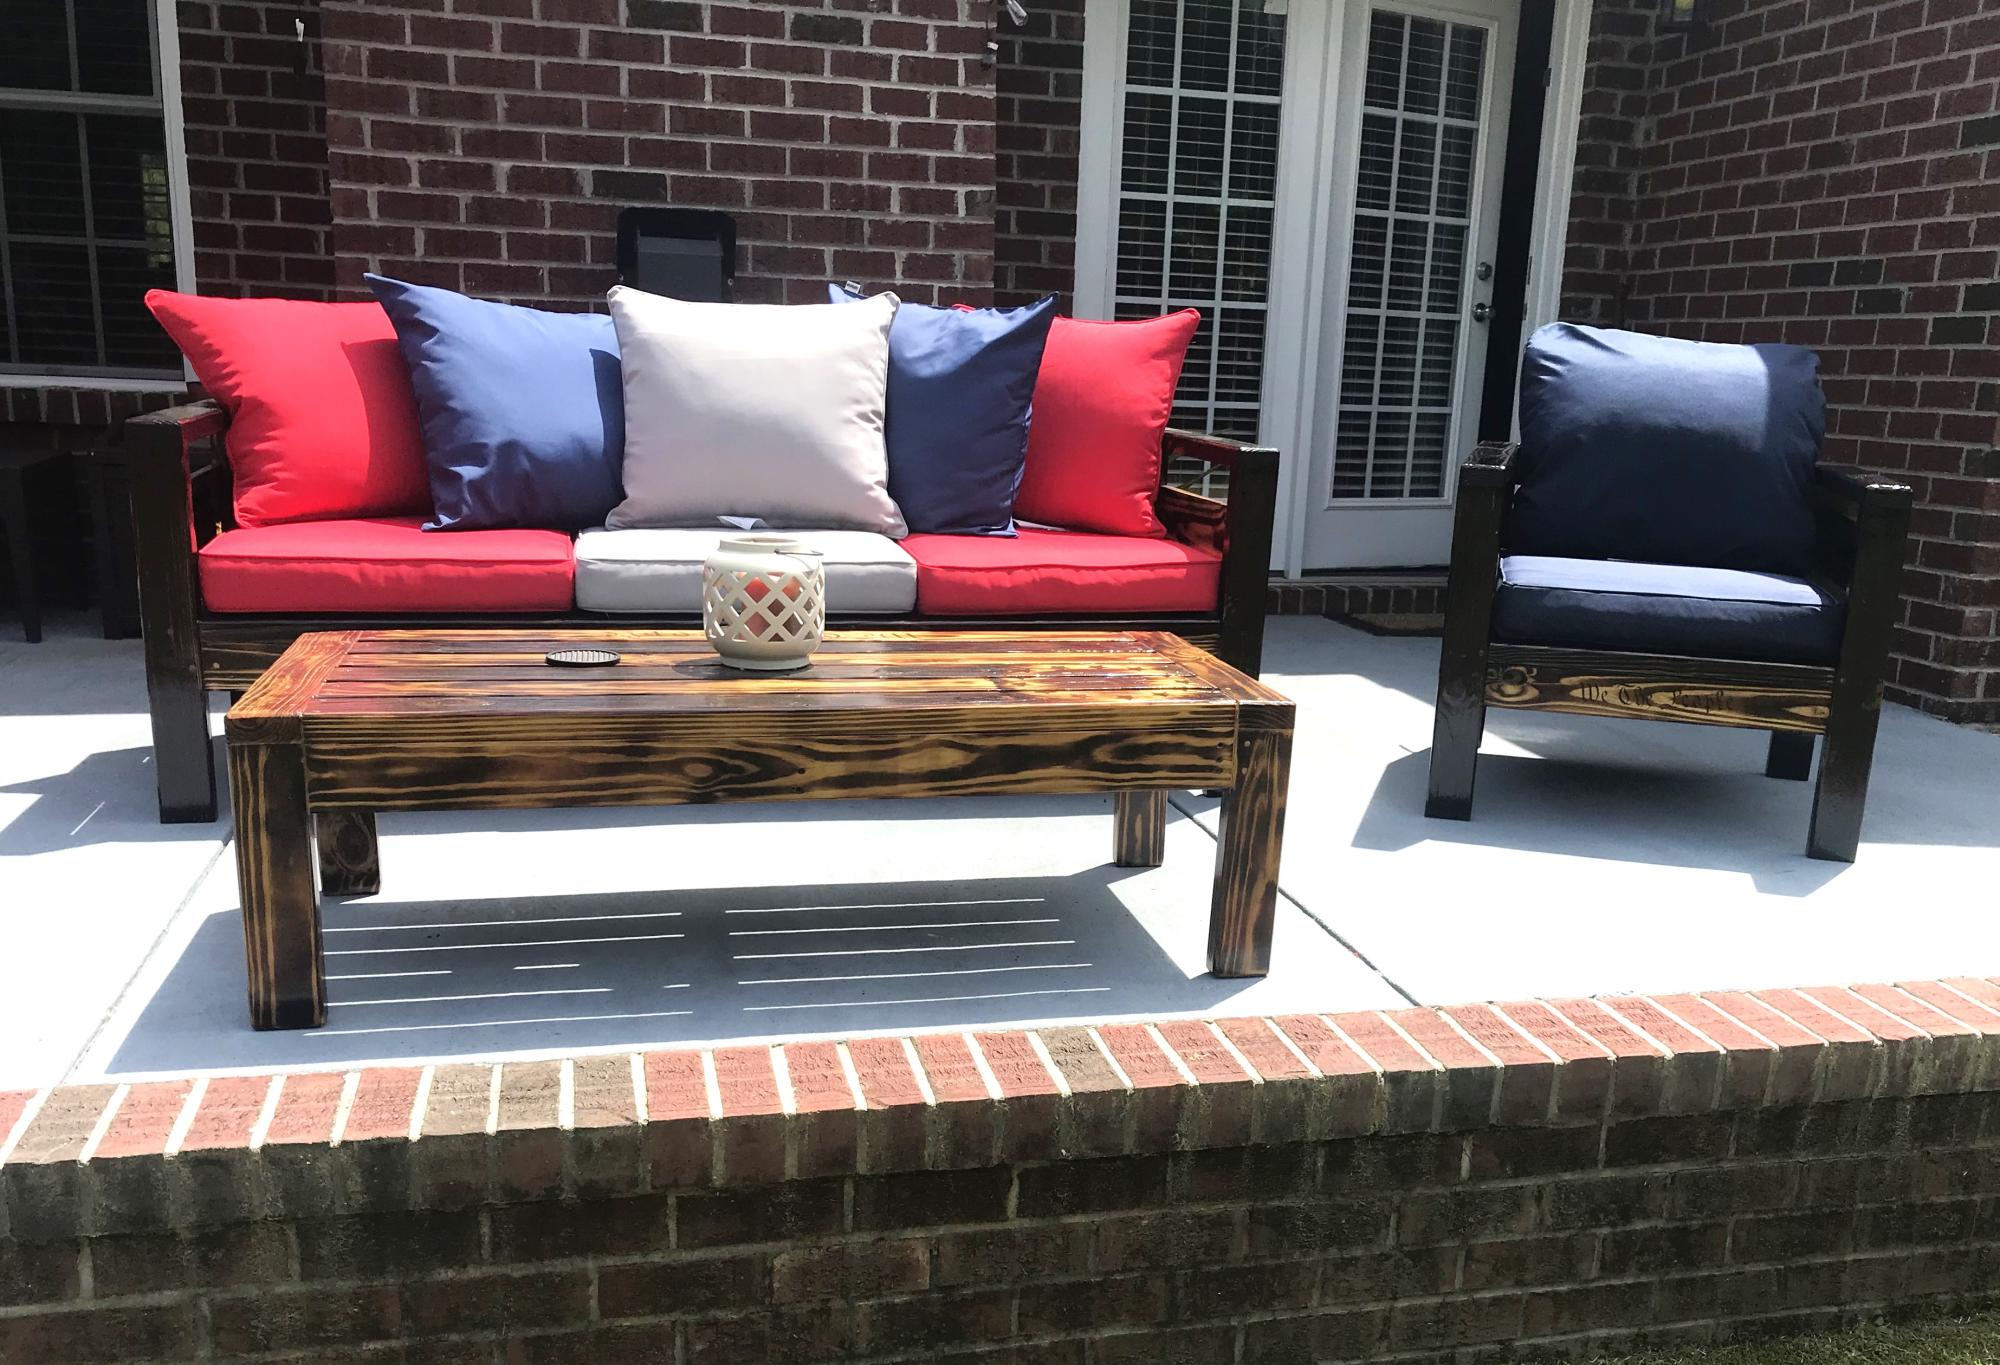
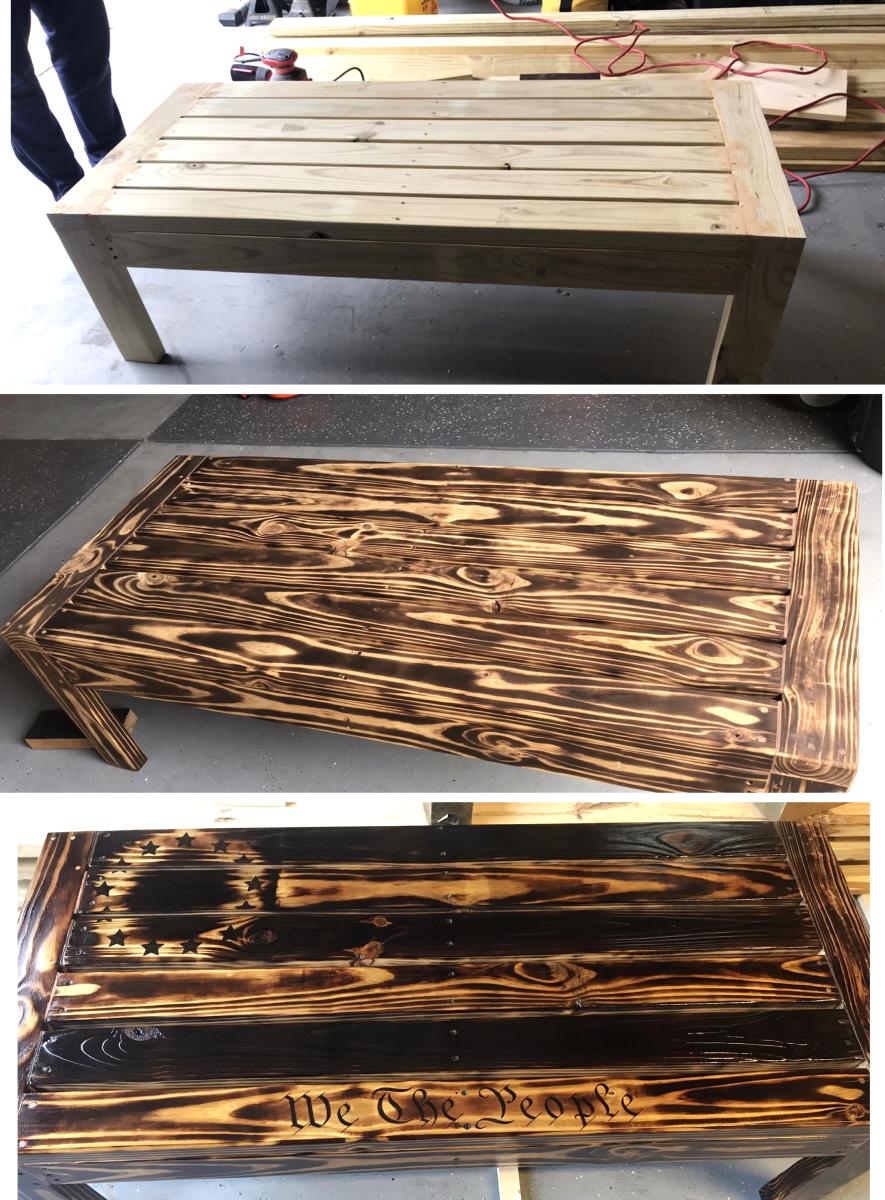
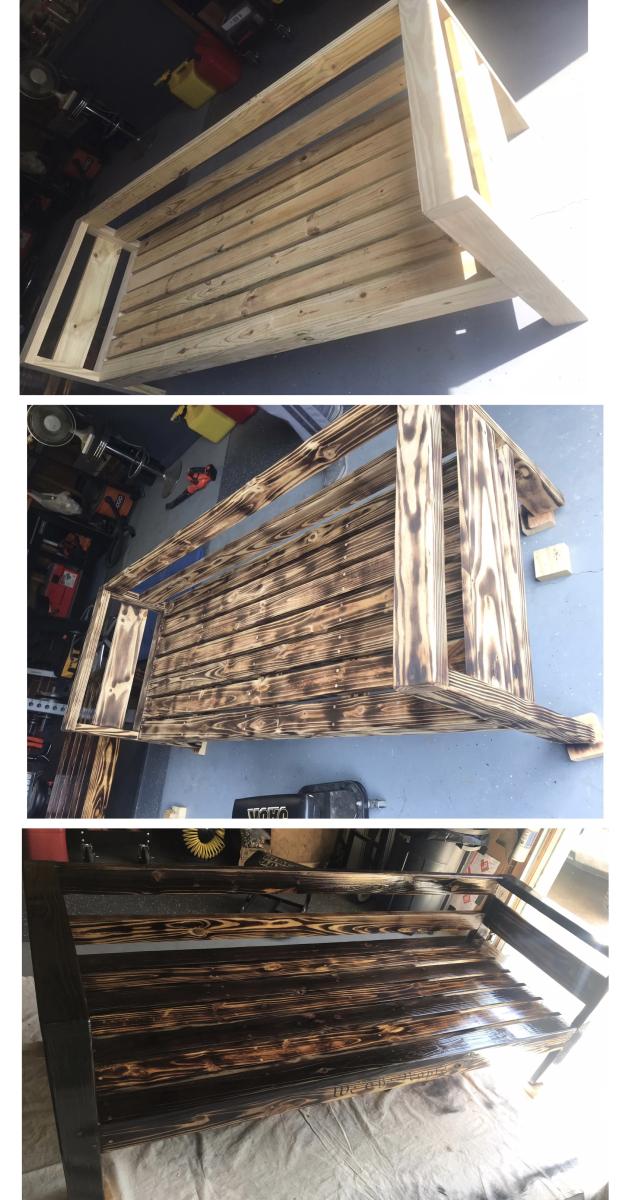
We were in need of a nice patio set and just couldn’t find the right fit until we came across some 2x4 plans and thought “that seems simple enough”. Took some planning for the right dimensions but I swear my husband can build anything. It turned out beautifully. He made a table, a sofa and a chair….burned them with a torch is certain areas then put polyurethane on them. Thanks for looking.

Lanette

4x4 TRUSS BEAM TABLE

Submitted by largashell on Fri, 01/24/2020 - 07:52

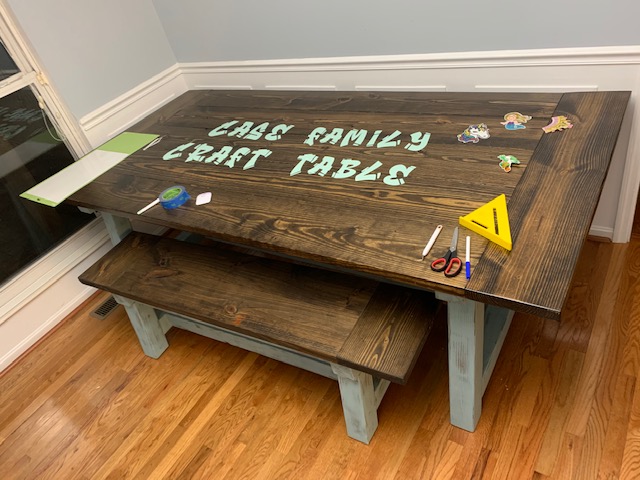
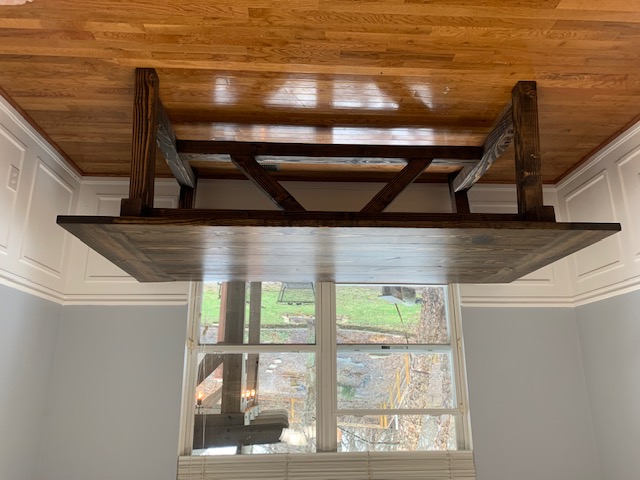
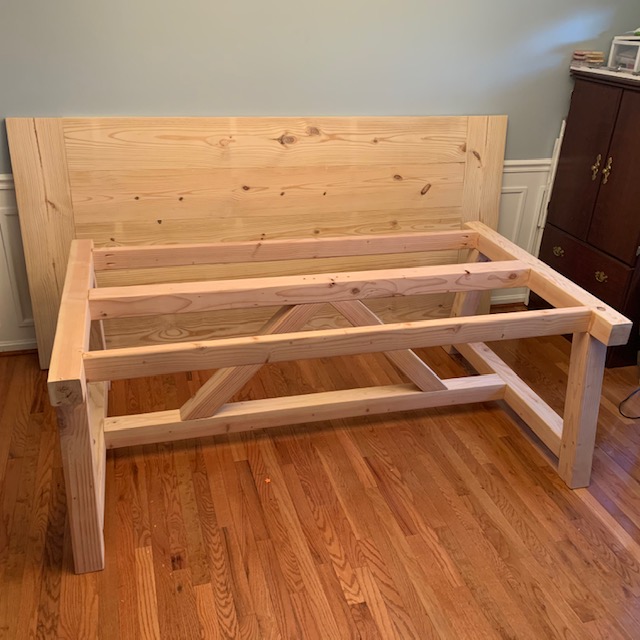
I built this as a craft table for my family. I altered the plans to make the table larger to fit a specific space in our craft room. The table was easy to build and turned out great!

Thanks for the plans

Built from Plan(s)
Estimated Cost
$100
Estimated Time Investment
Weekend Project (10-20 Hours)
Finish Used
Craft table for the family
Recommended Skill Level
Beginner

Room Divider Wall with Built-in Storage

Submitted by Anonymous (not verified) on Mon, 09/18/2023 - 15:23

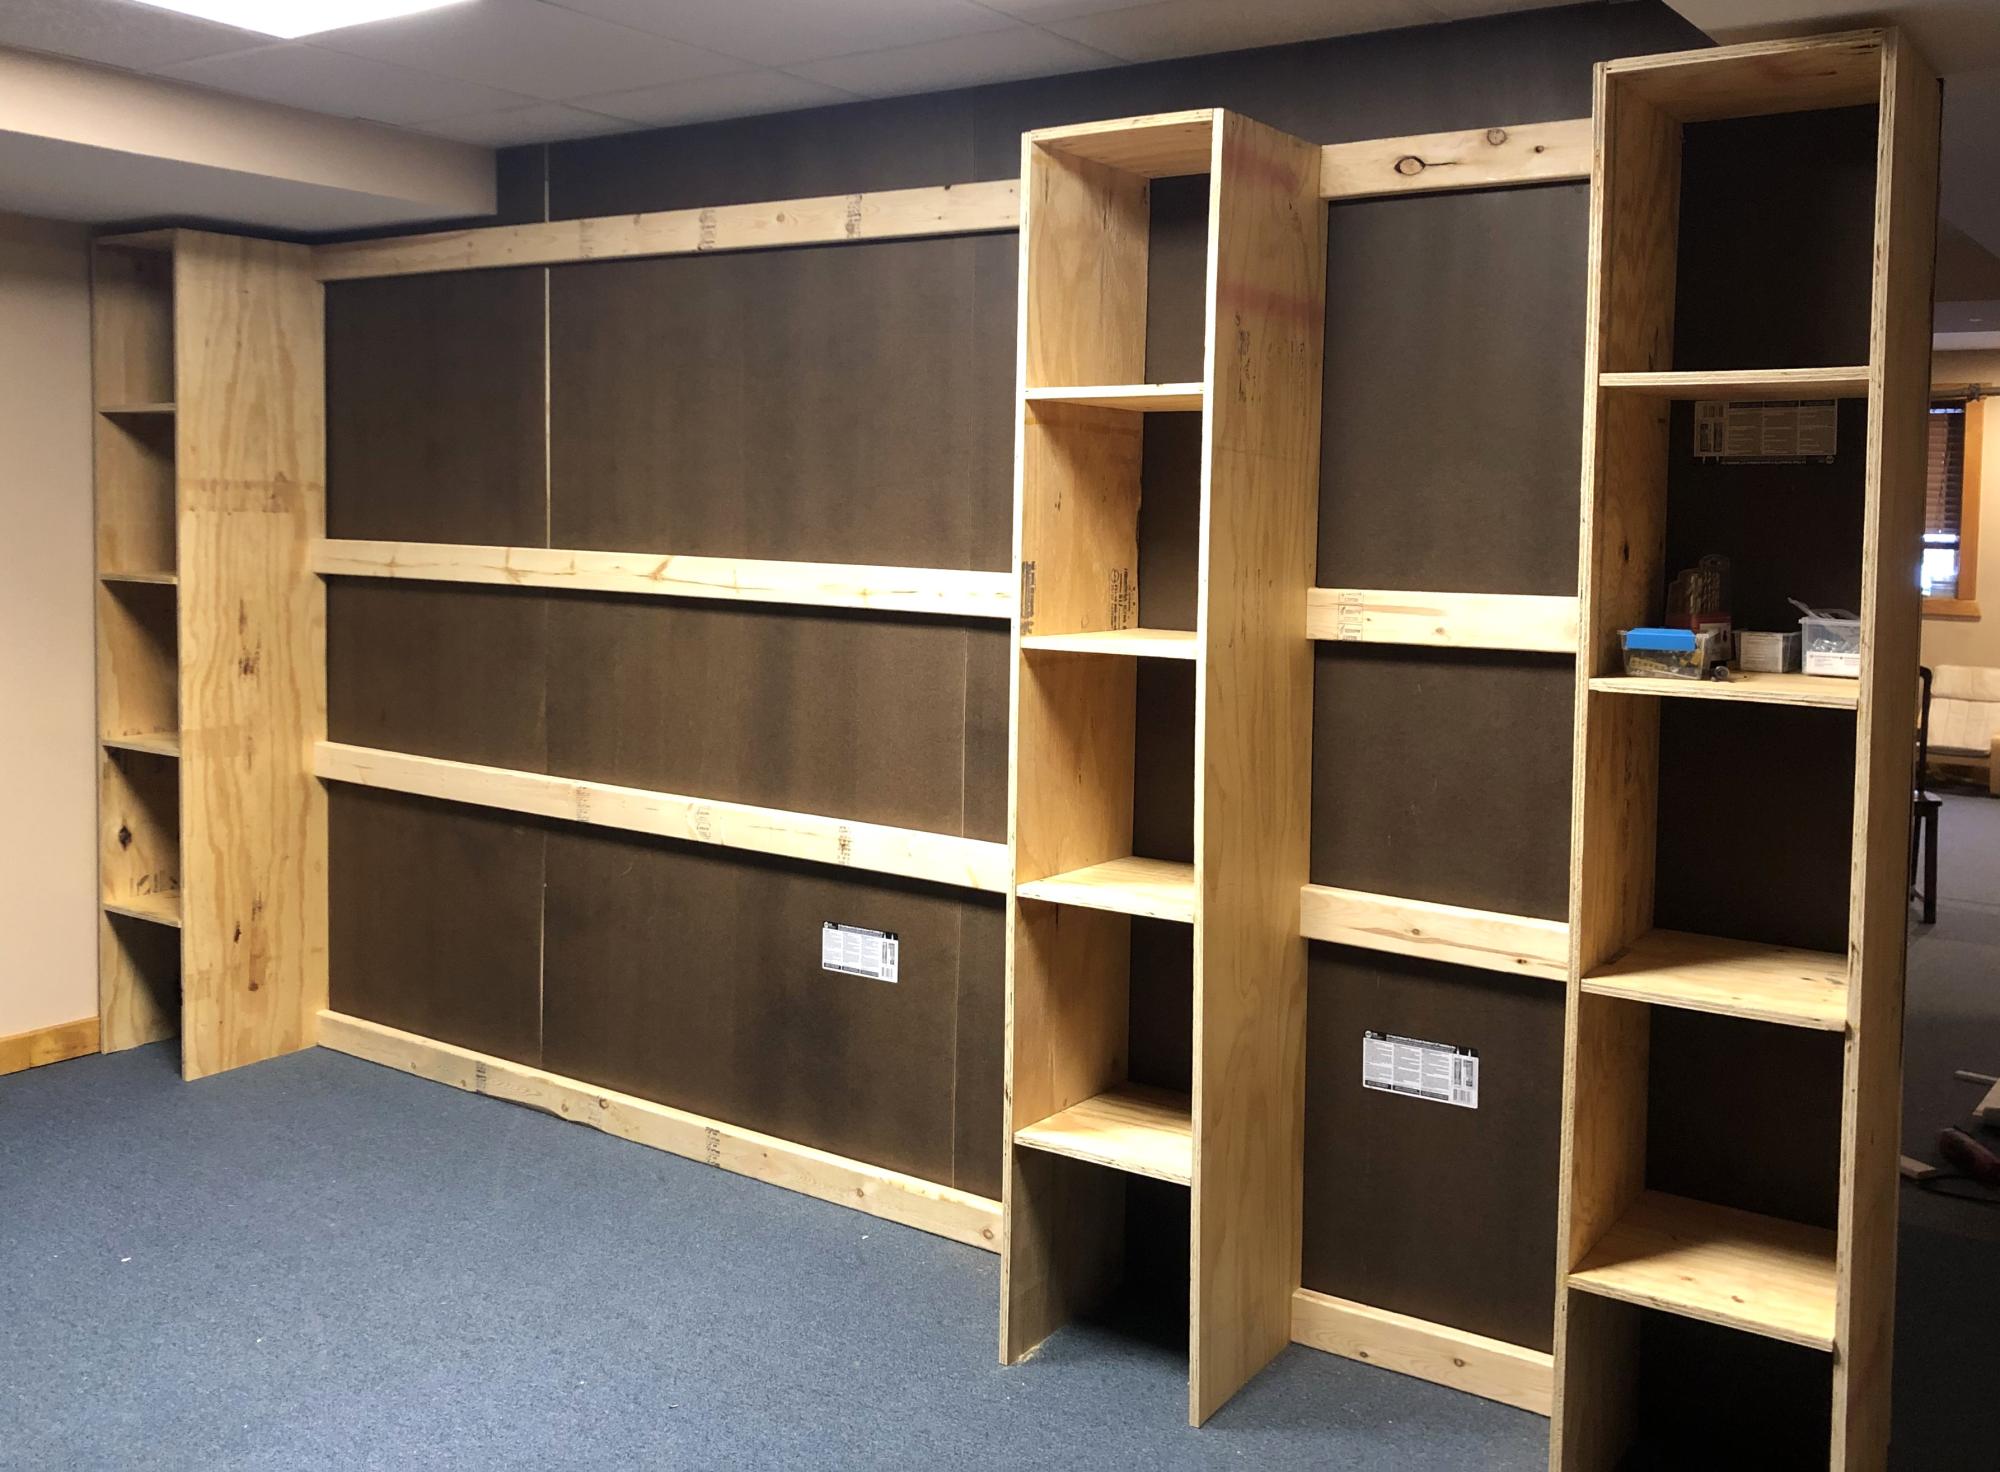
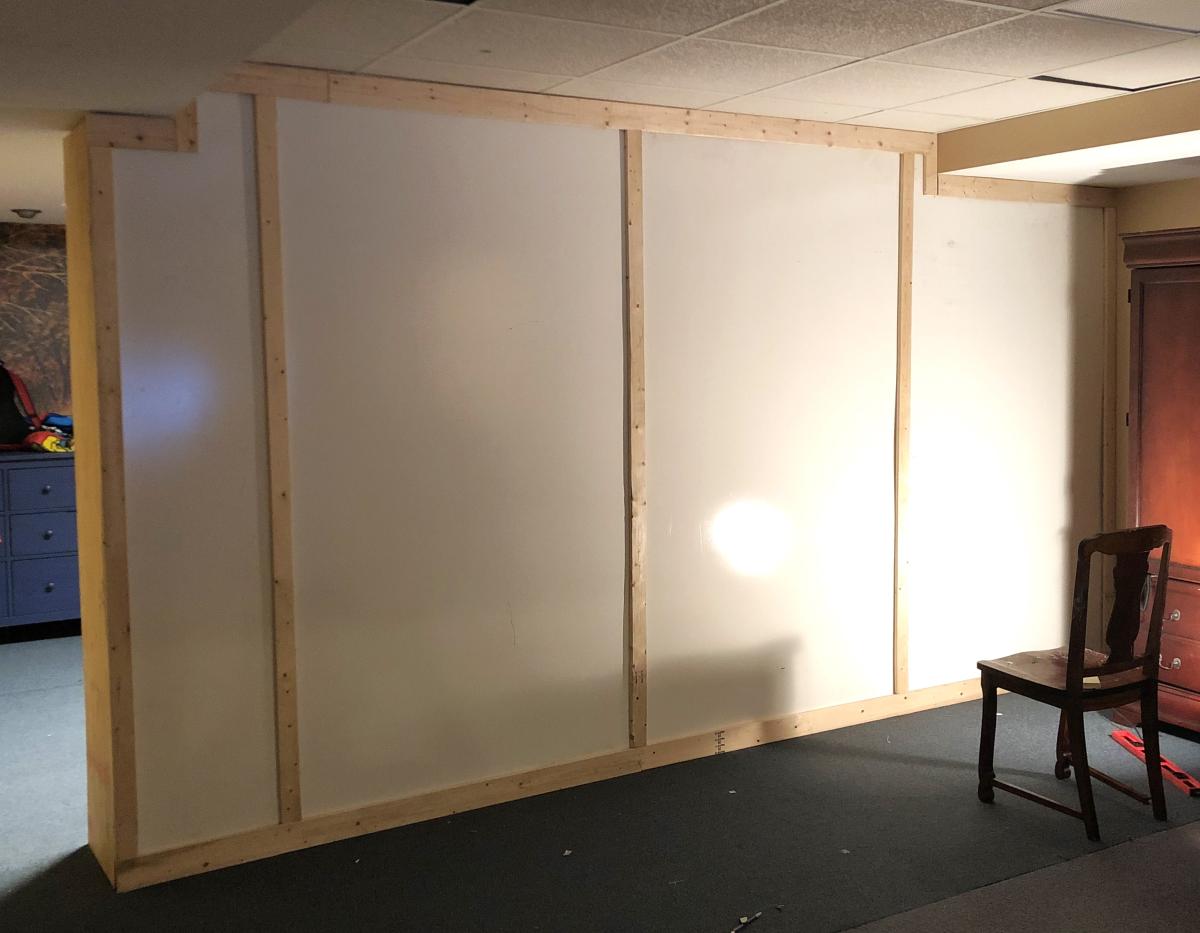
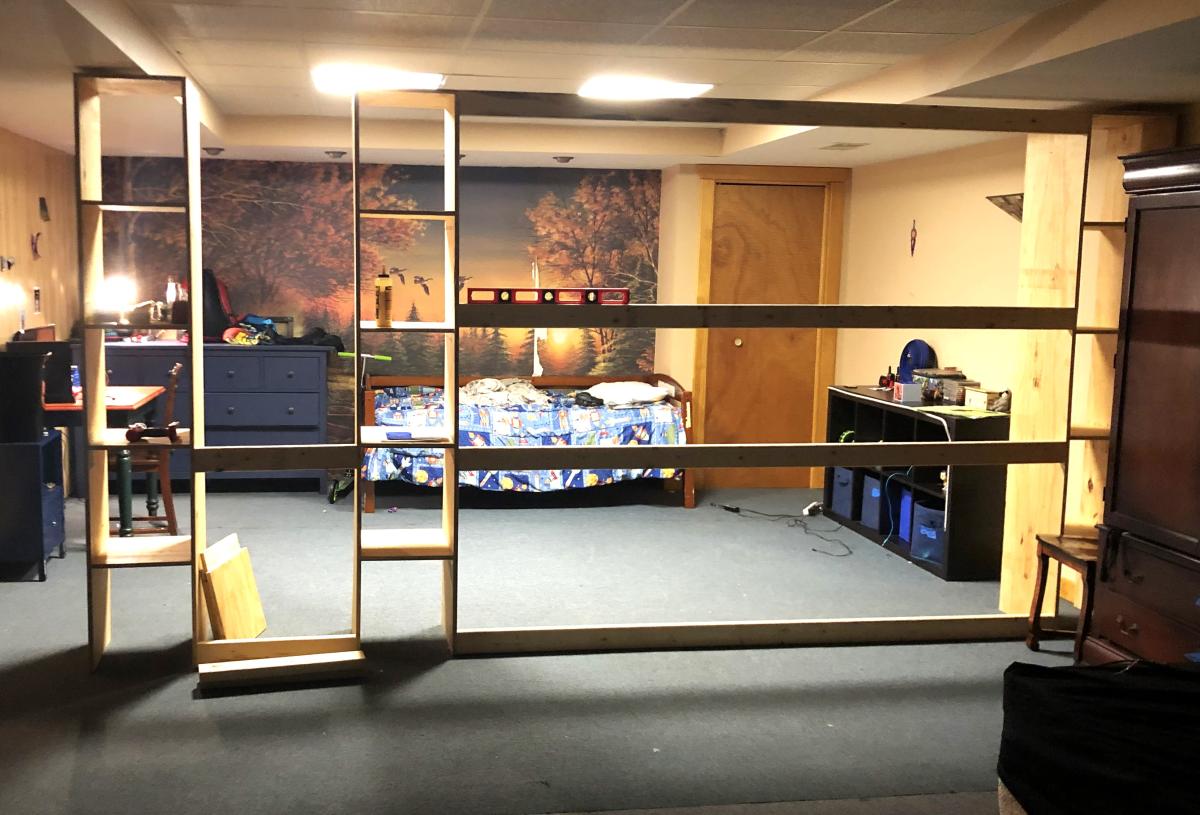
Modified the wall divider closet plan into a wall to serve as an extra bedroom in my basement. The inner wall was subsequently painted.

Grace LeBlanc

Built from Plan(s)

Comments

Modern media console - walnut slab

Submitted by jvtoomey on Sat, 03/14/2020 - 14:02

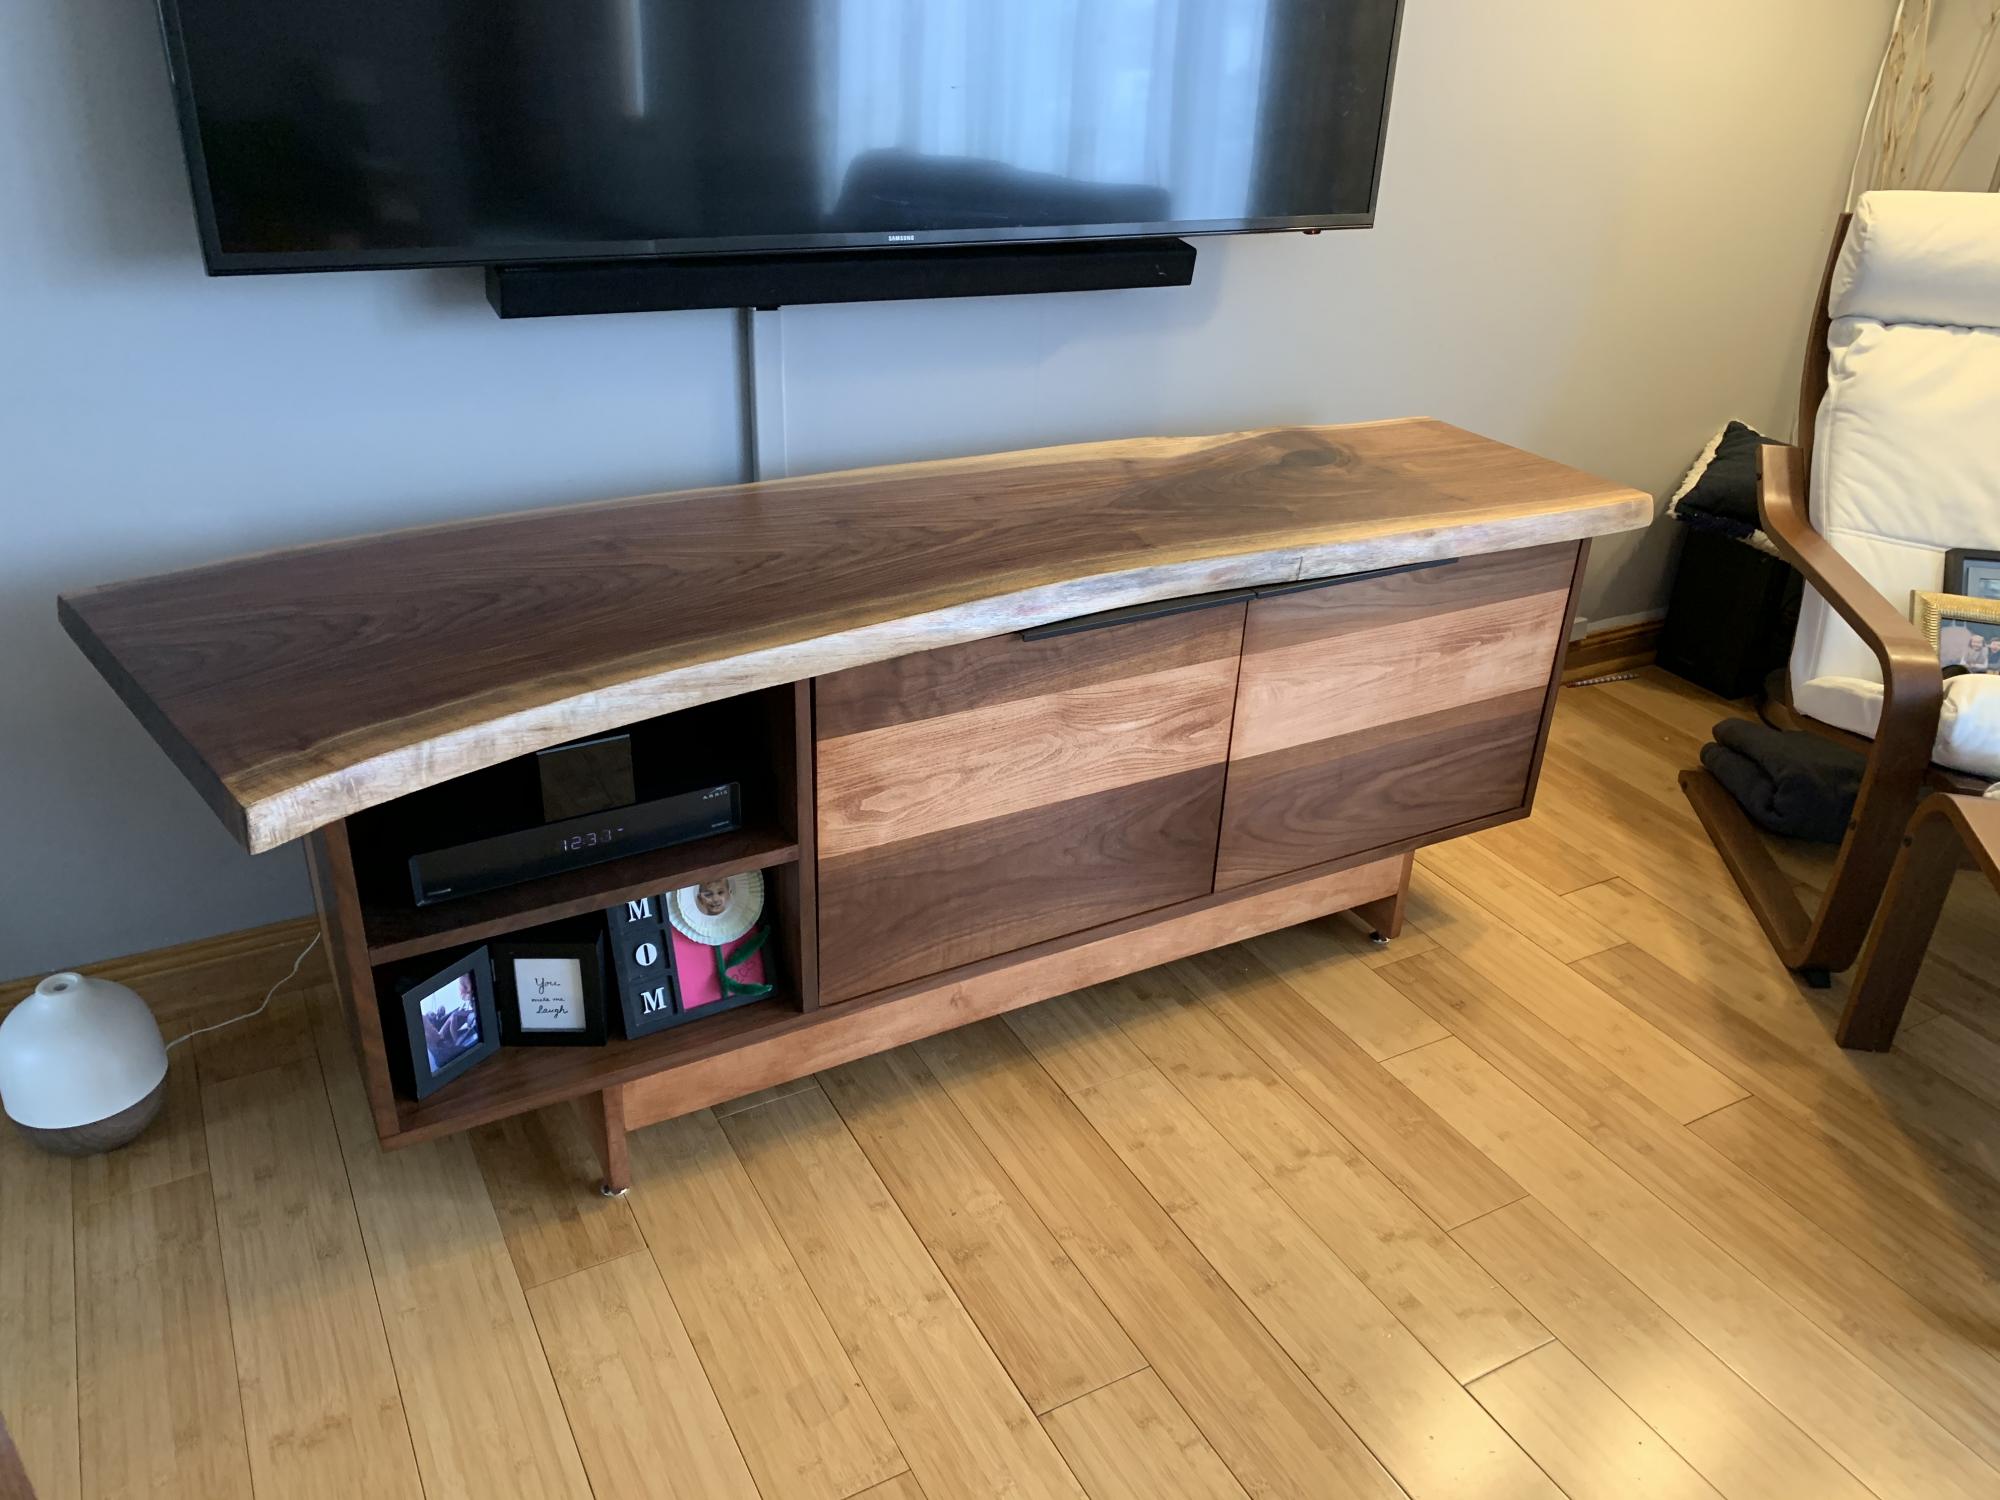
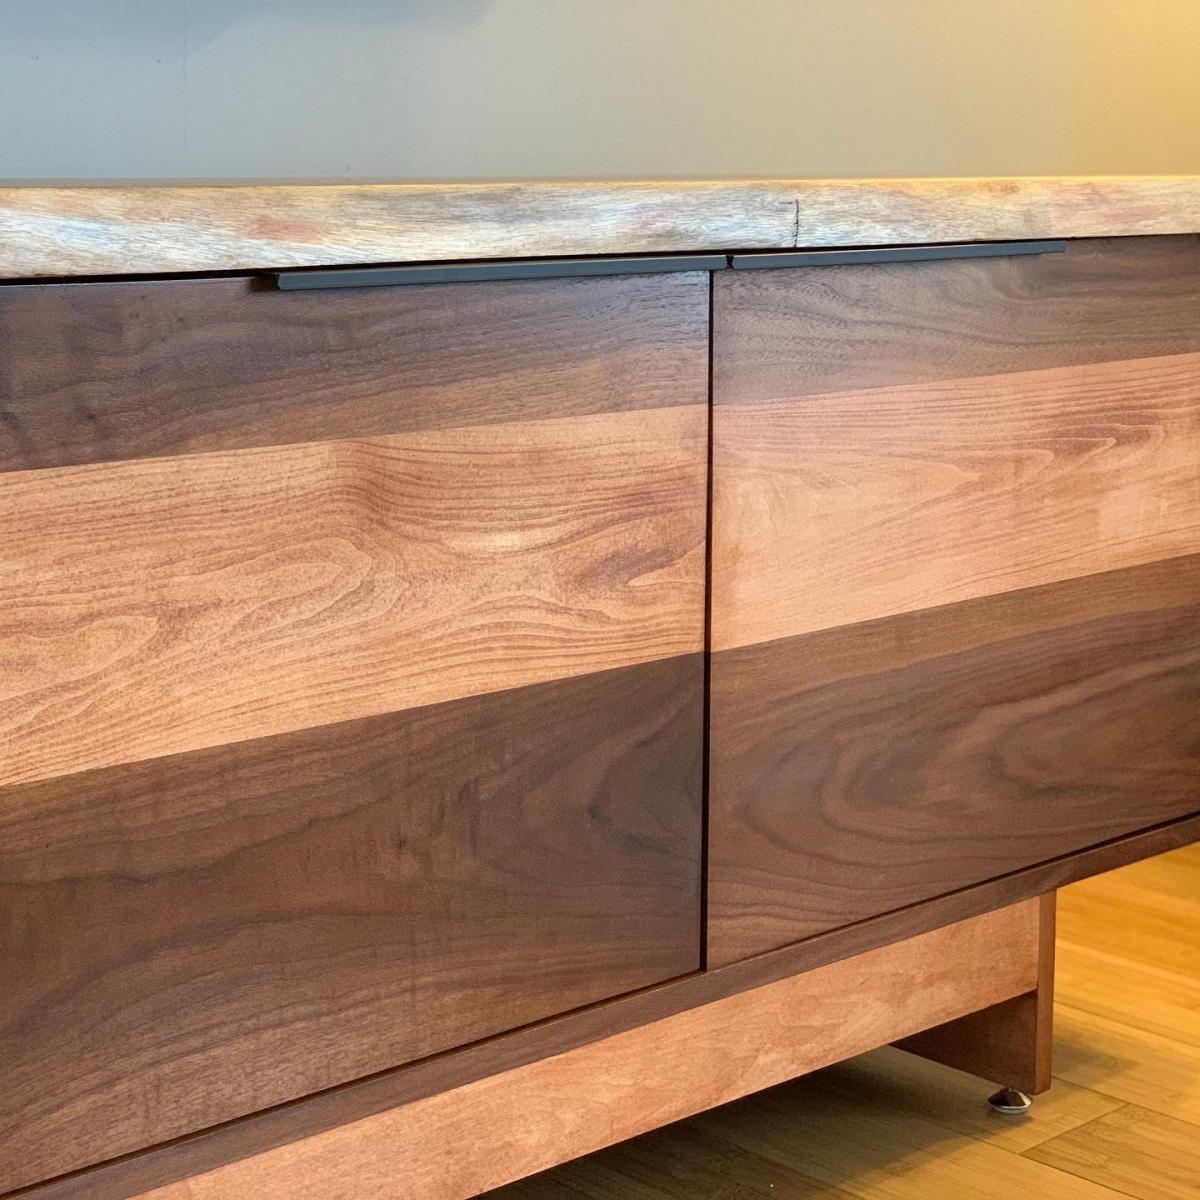
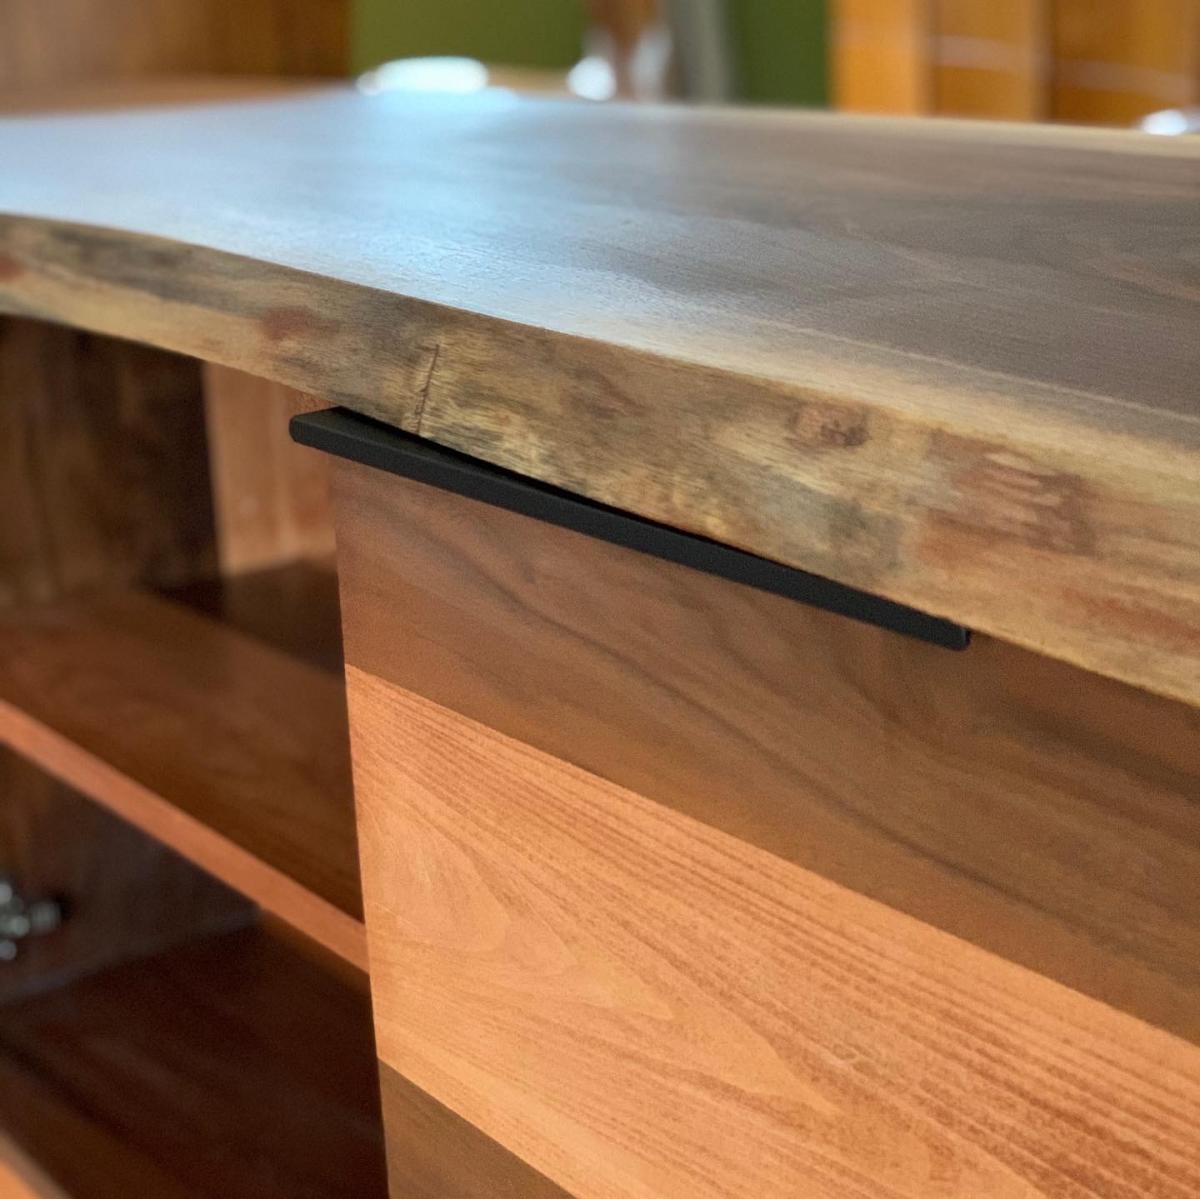
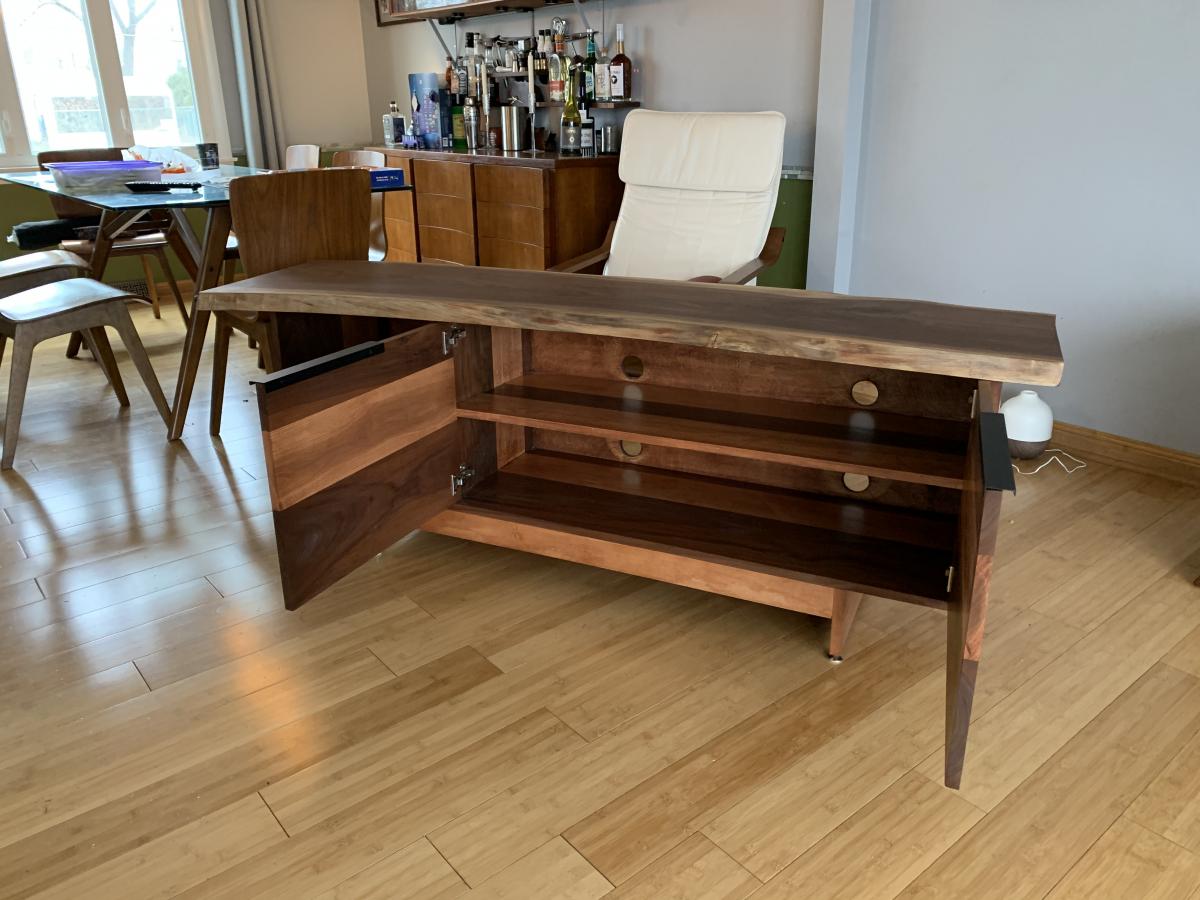
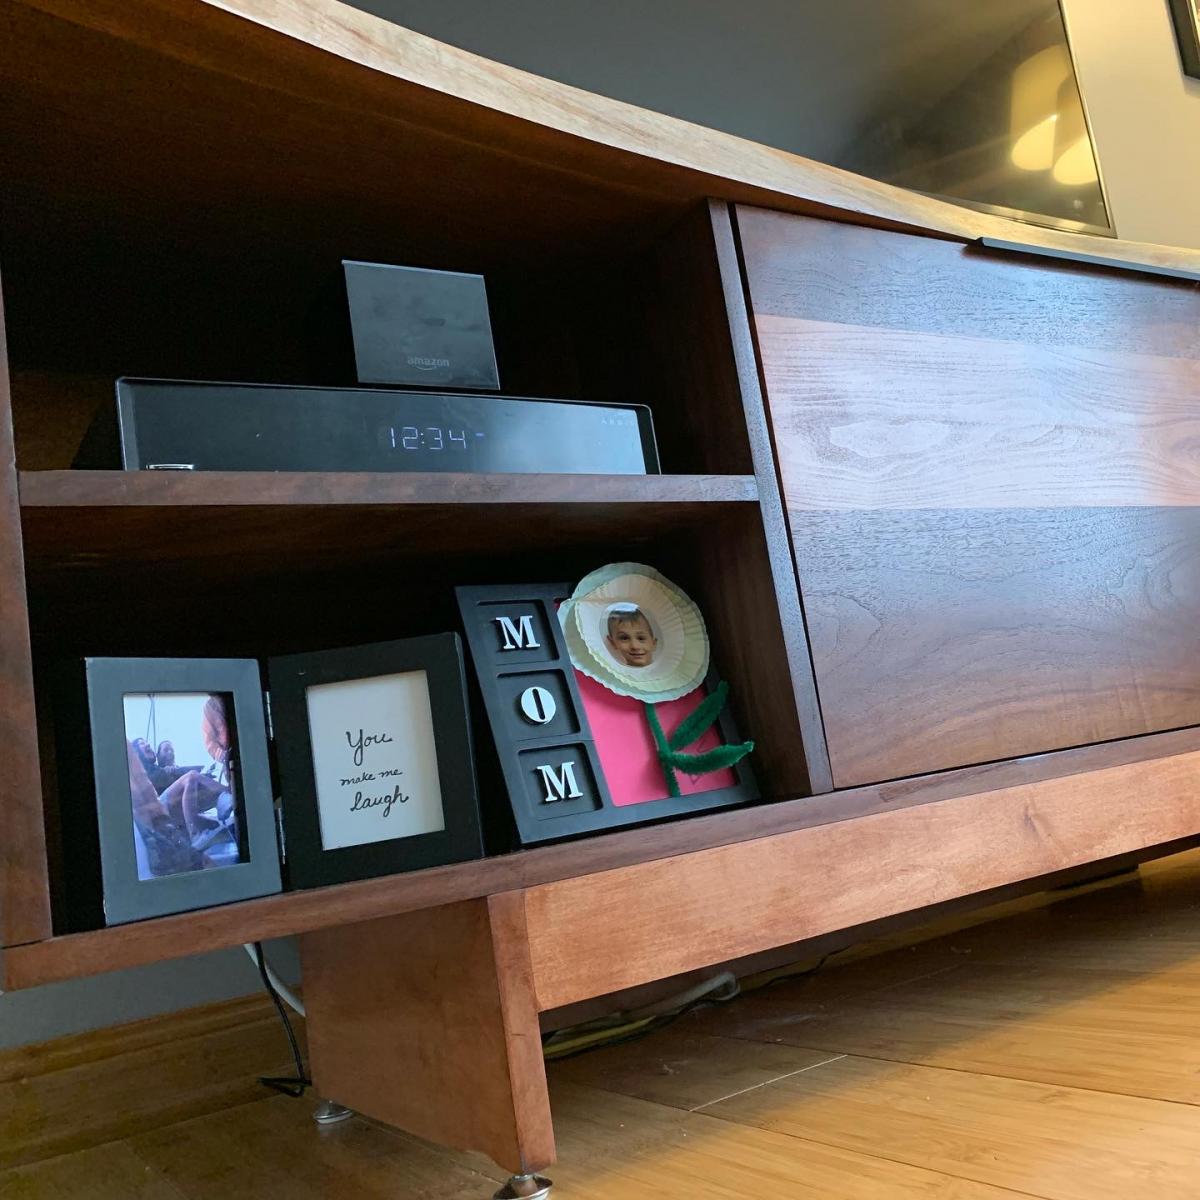
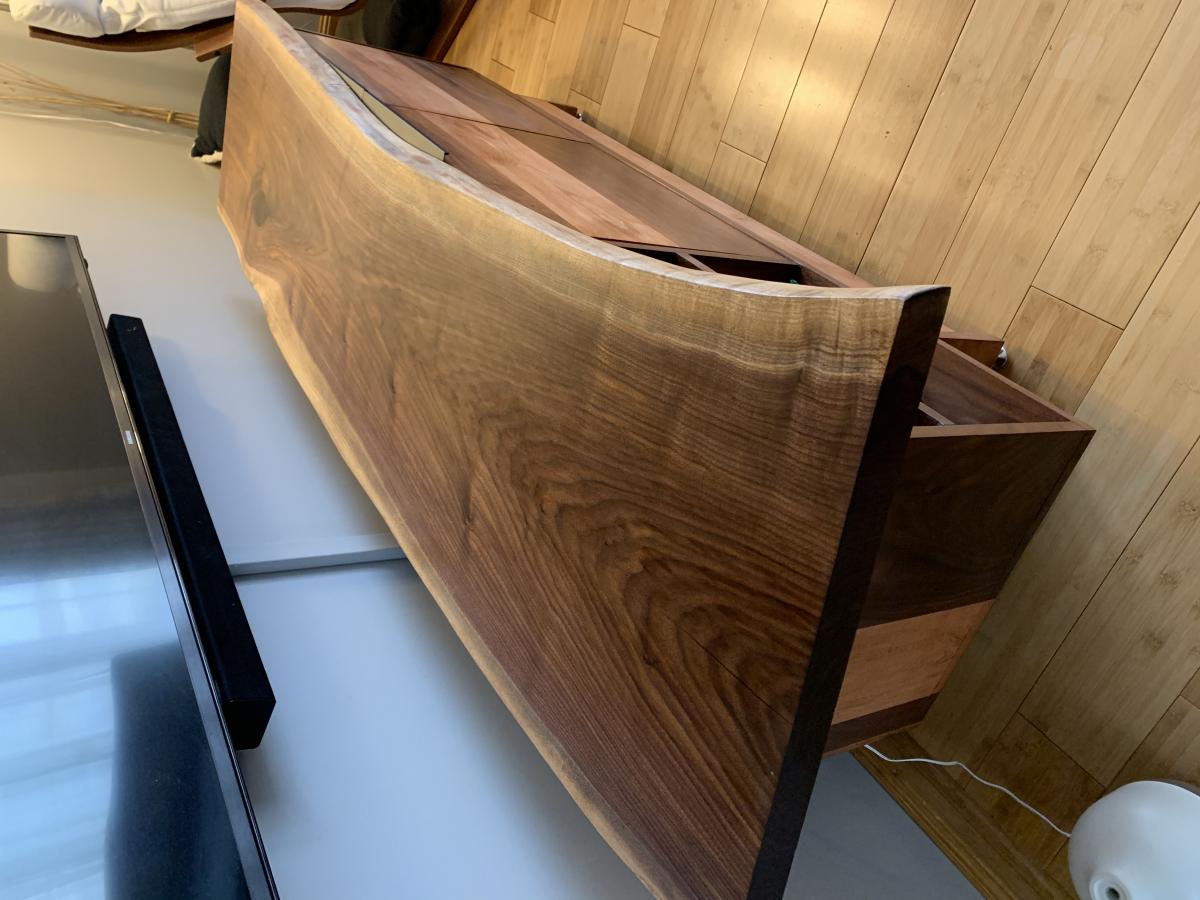
Built mainly from the Modern Media Console plan, modified in a few ways.  Aside from the obvious part being the walnut slab on top, I modified the doors to be inset hinges for looks, and it’s slightly longer than the original plans.  The other main modification was using the base from the Emersen Console or Buffet plan with the addition of the adjustable height leveling legs. 

Estimated Cost
750
Estimated Time Investment
Week Long Project (20 Hours or More)
Finish Used
Stained with American walnut to bring the hue of the walnut and maple to be similar, then finished with a light coating of clear satin polyurethane.
Recommended Skill Level
Intermediate

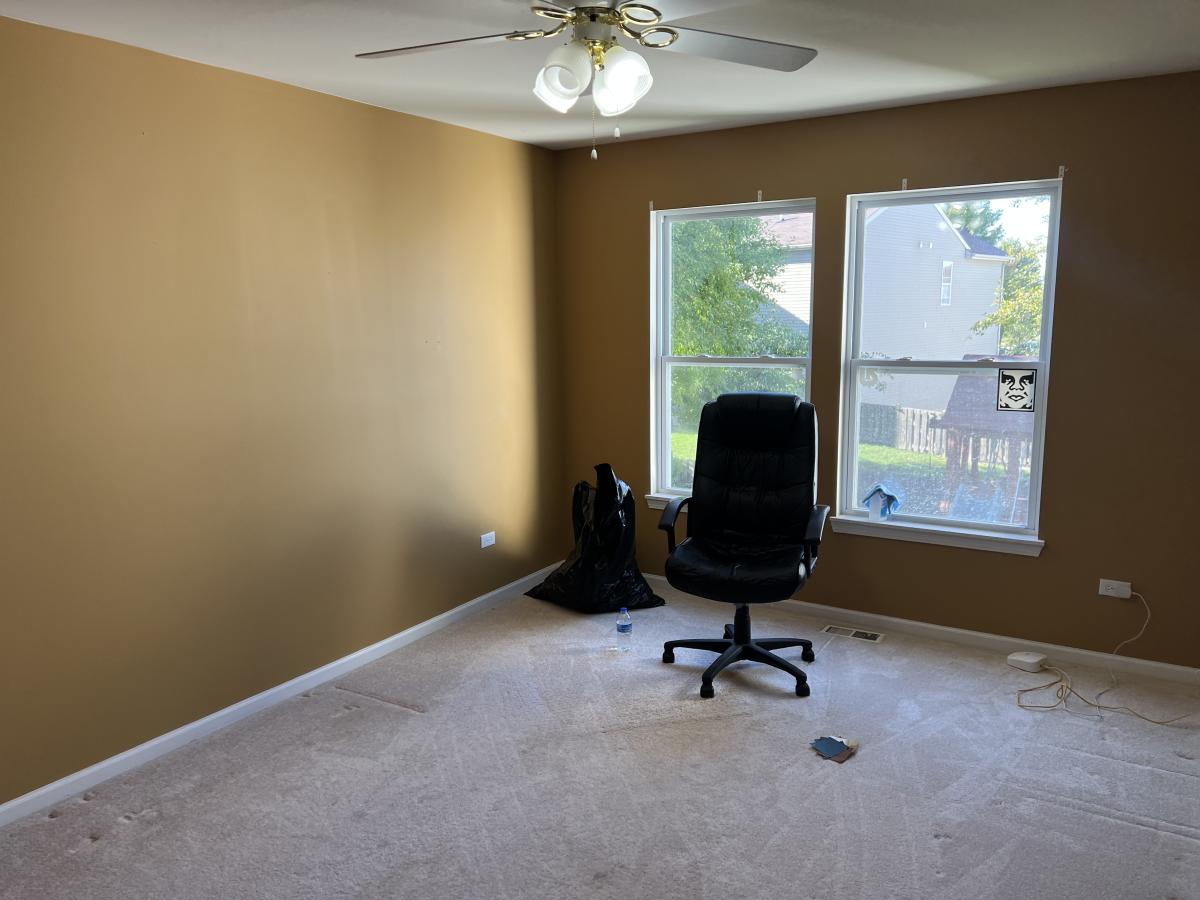
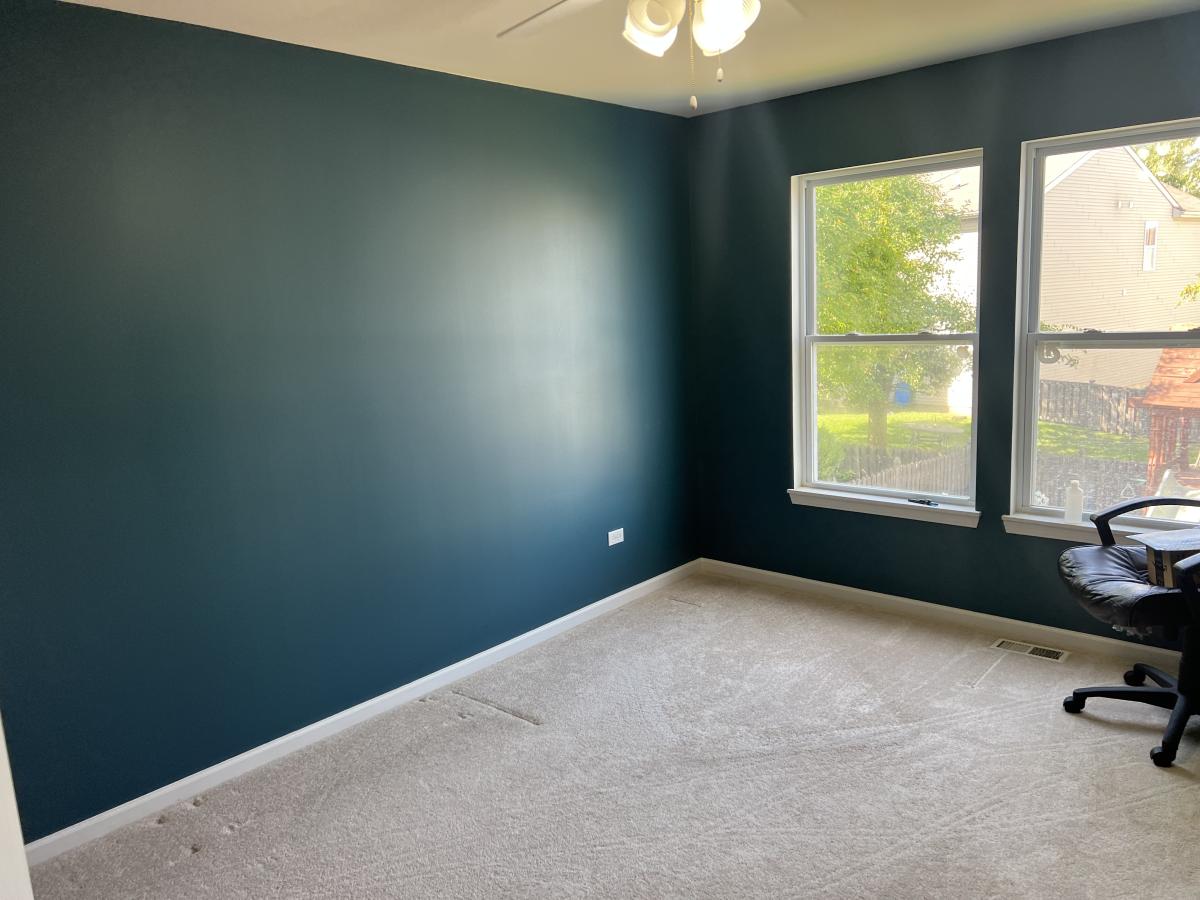
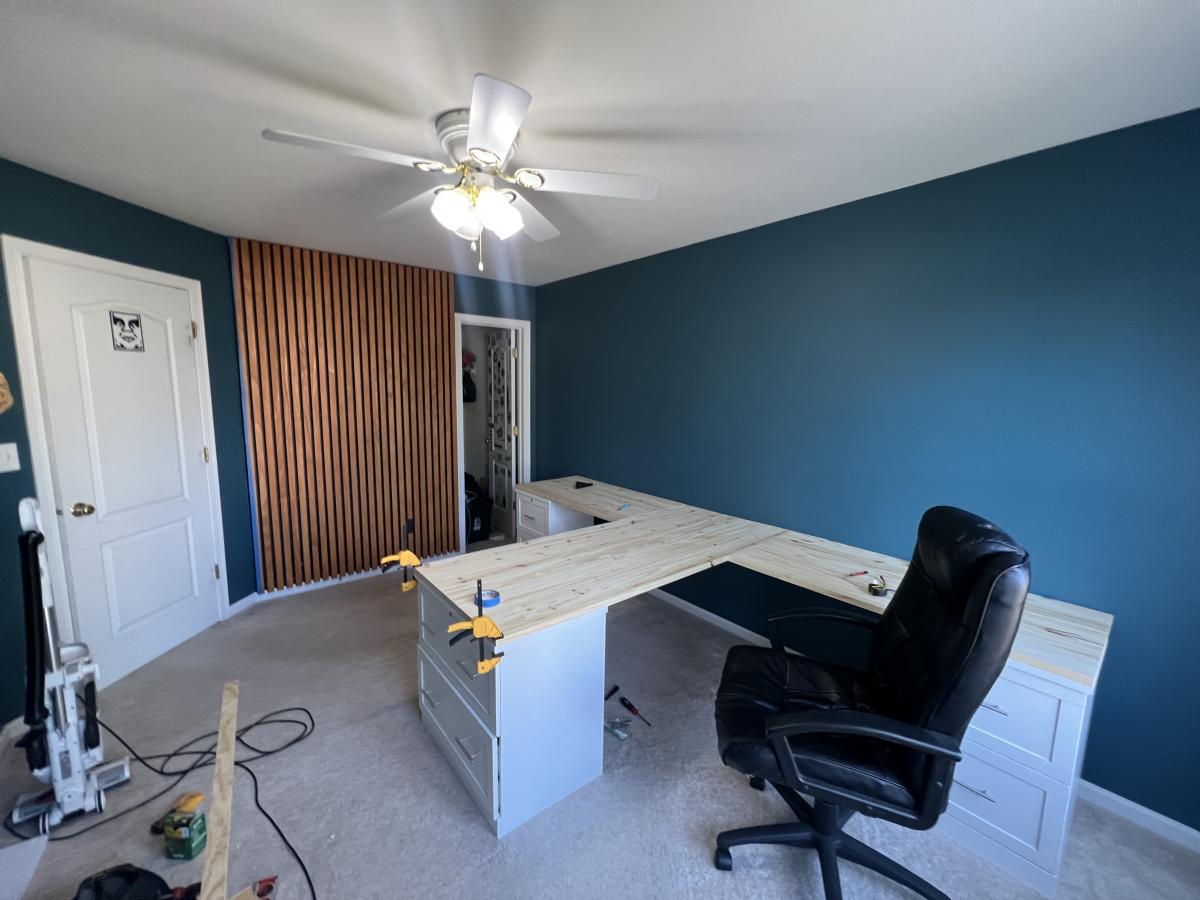
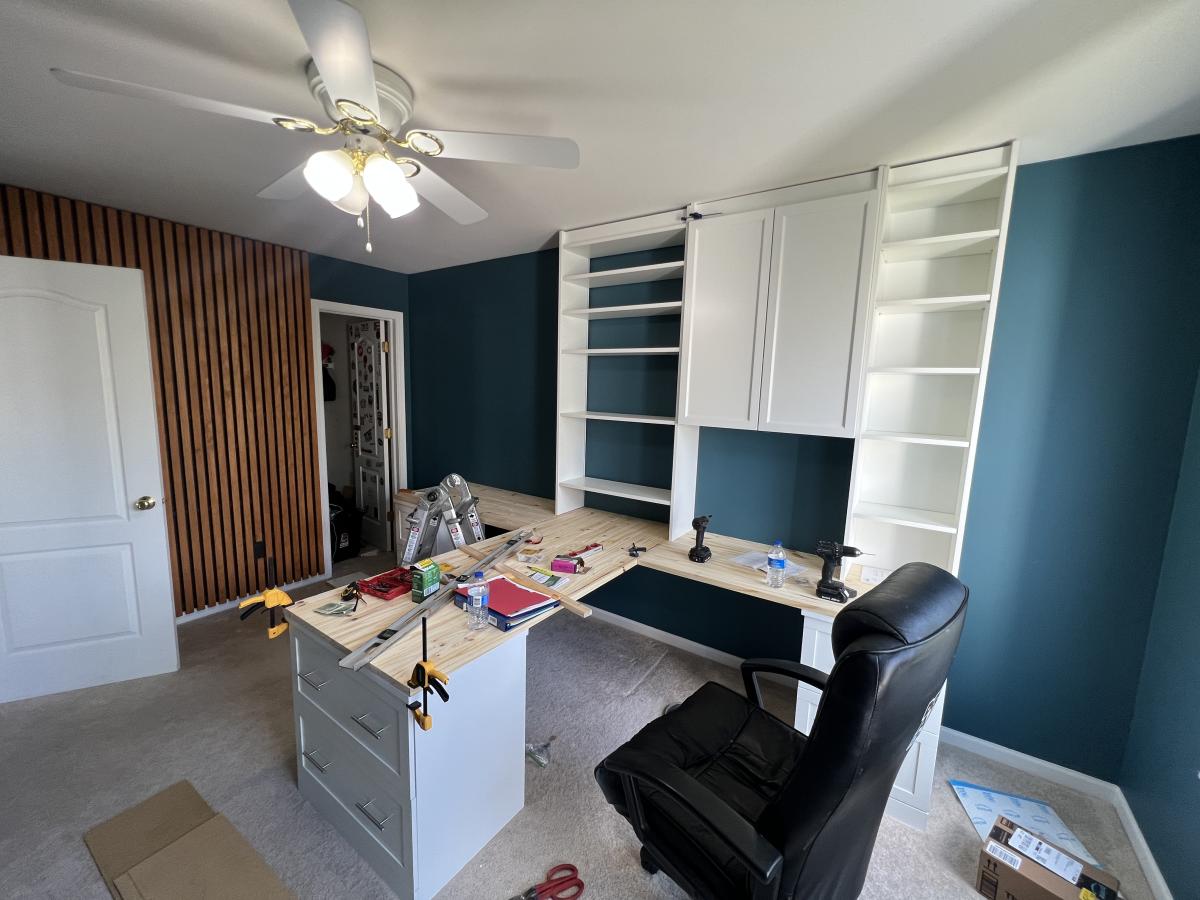
Modular Desk System

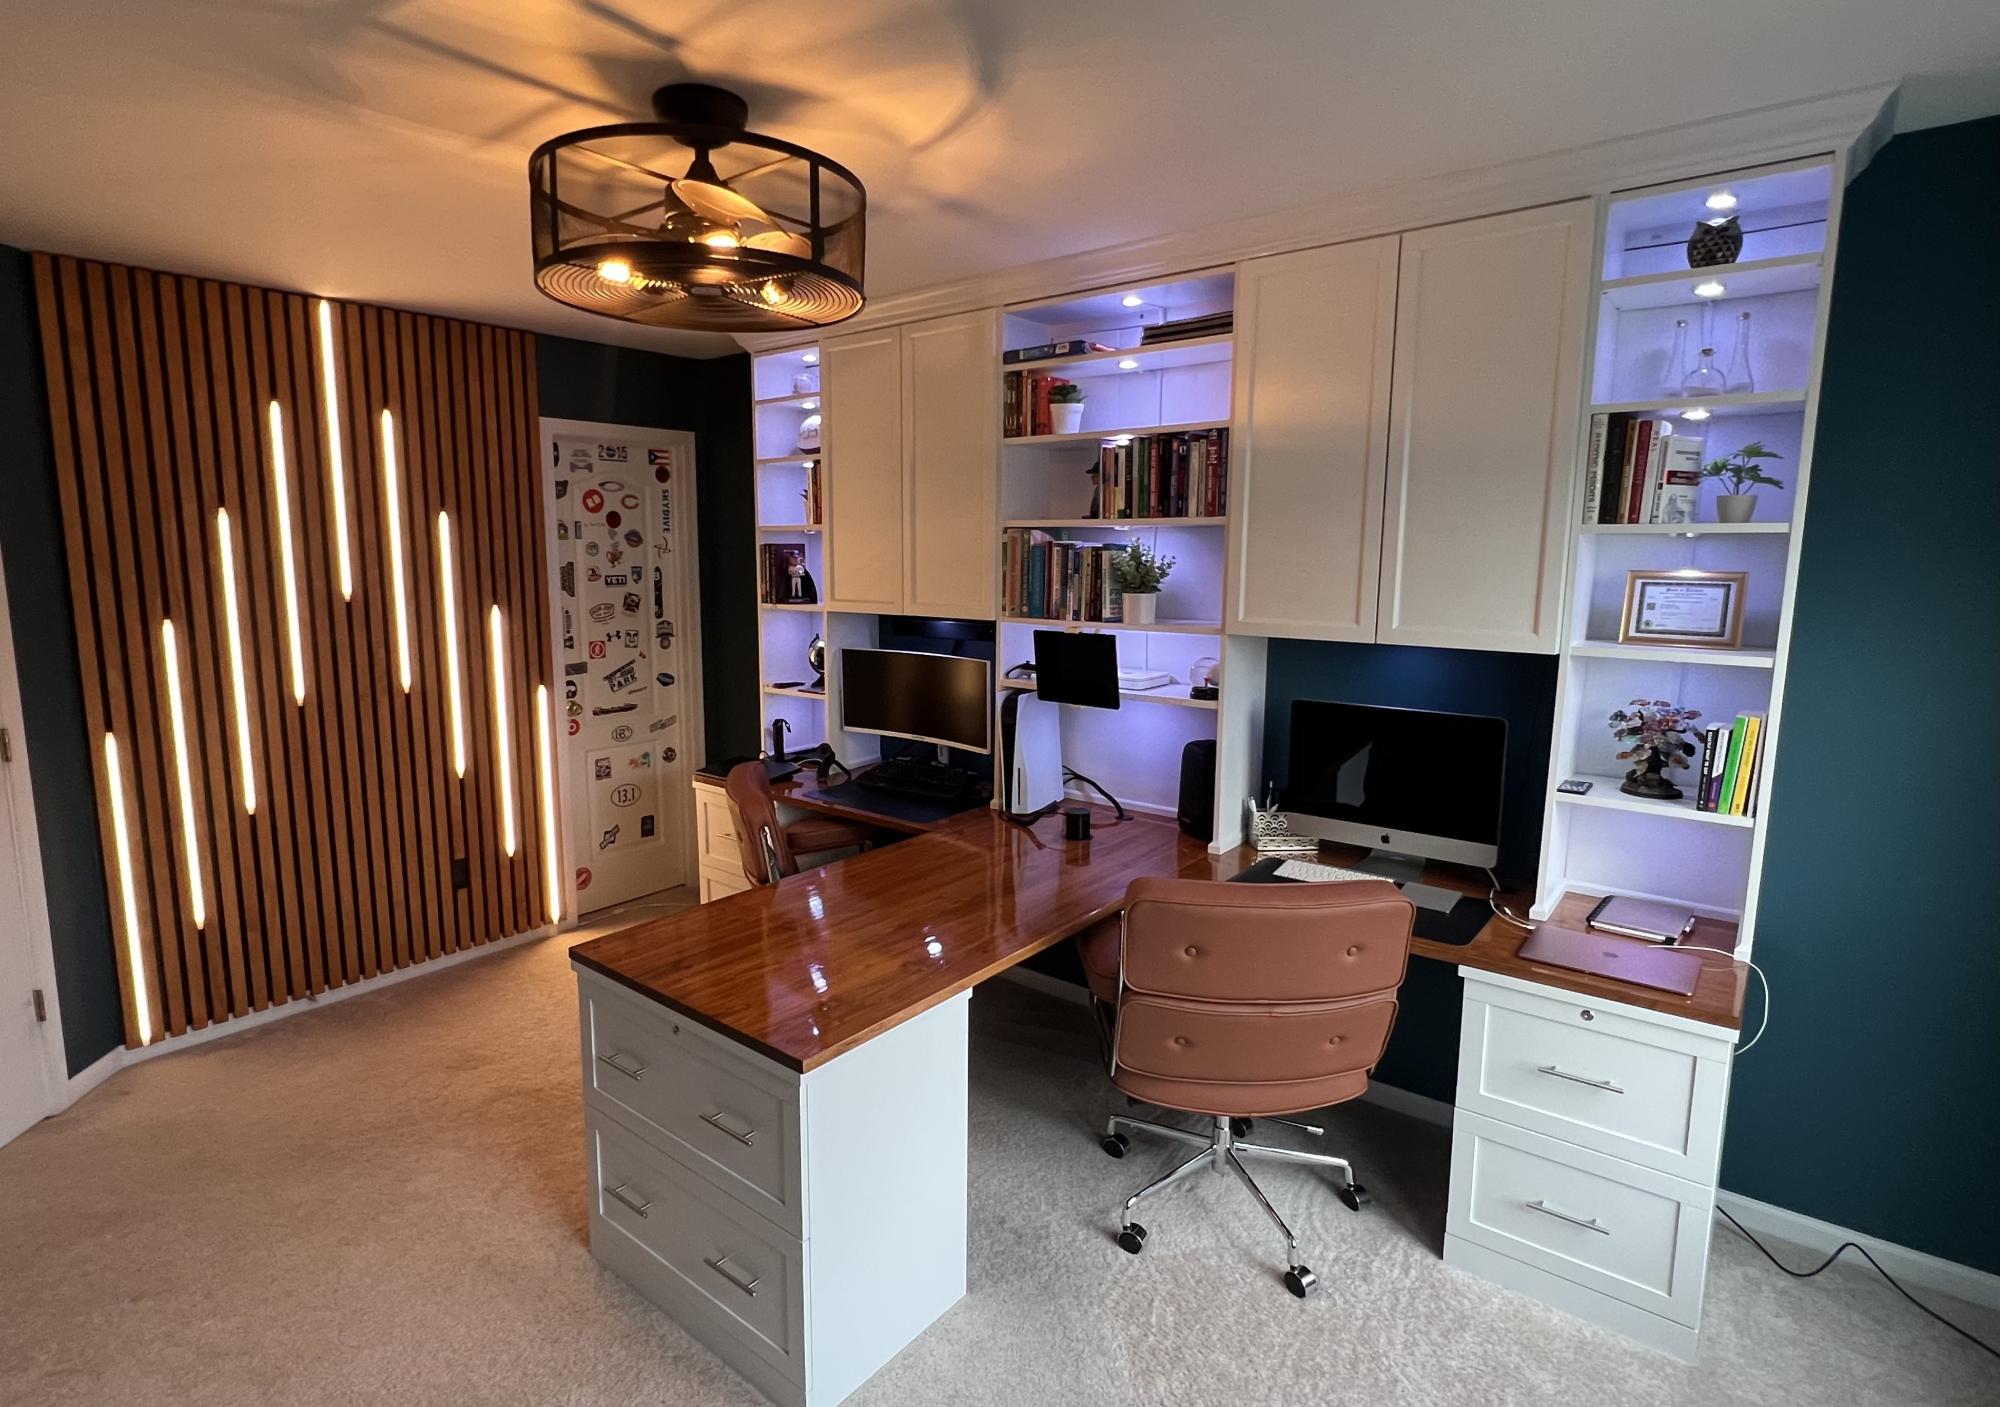
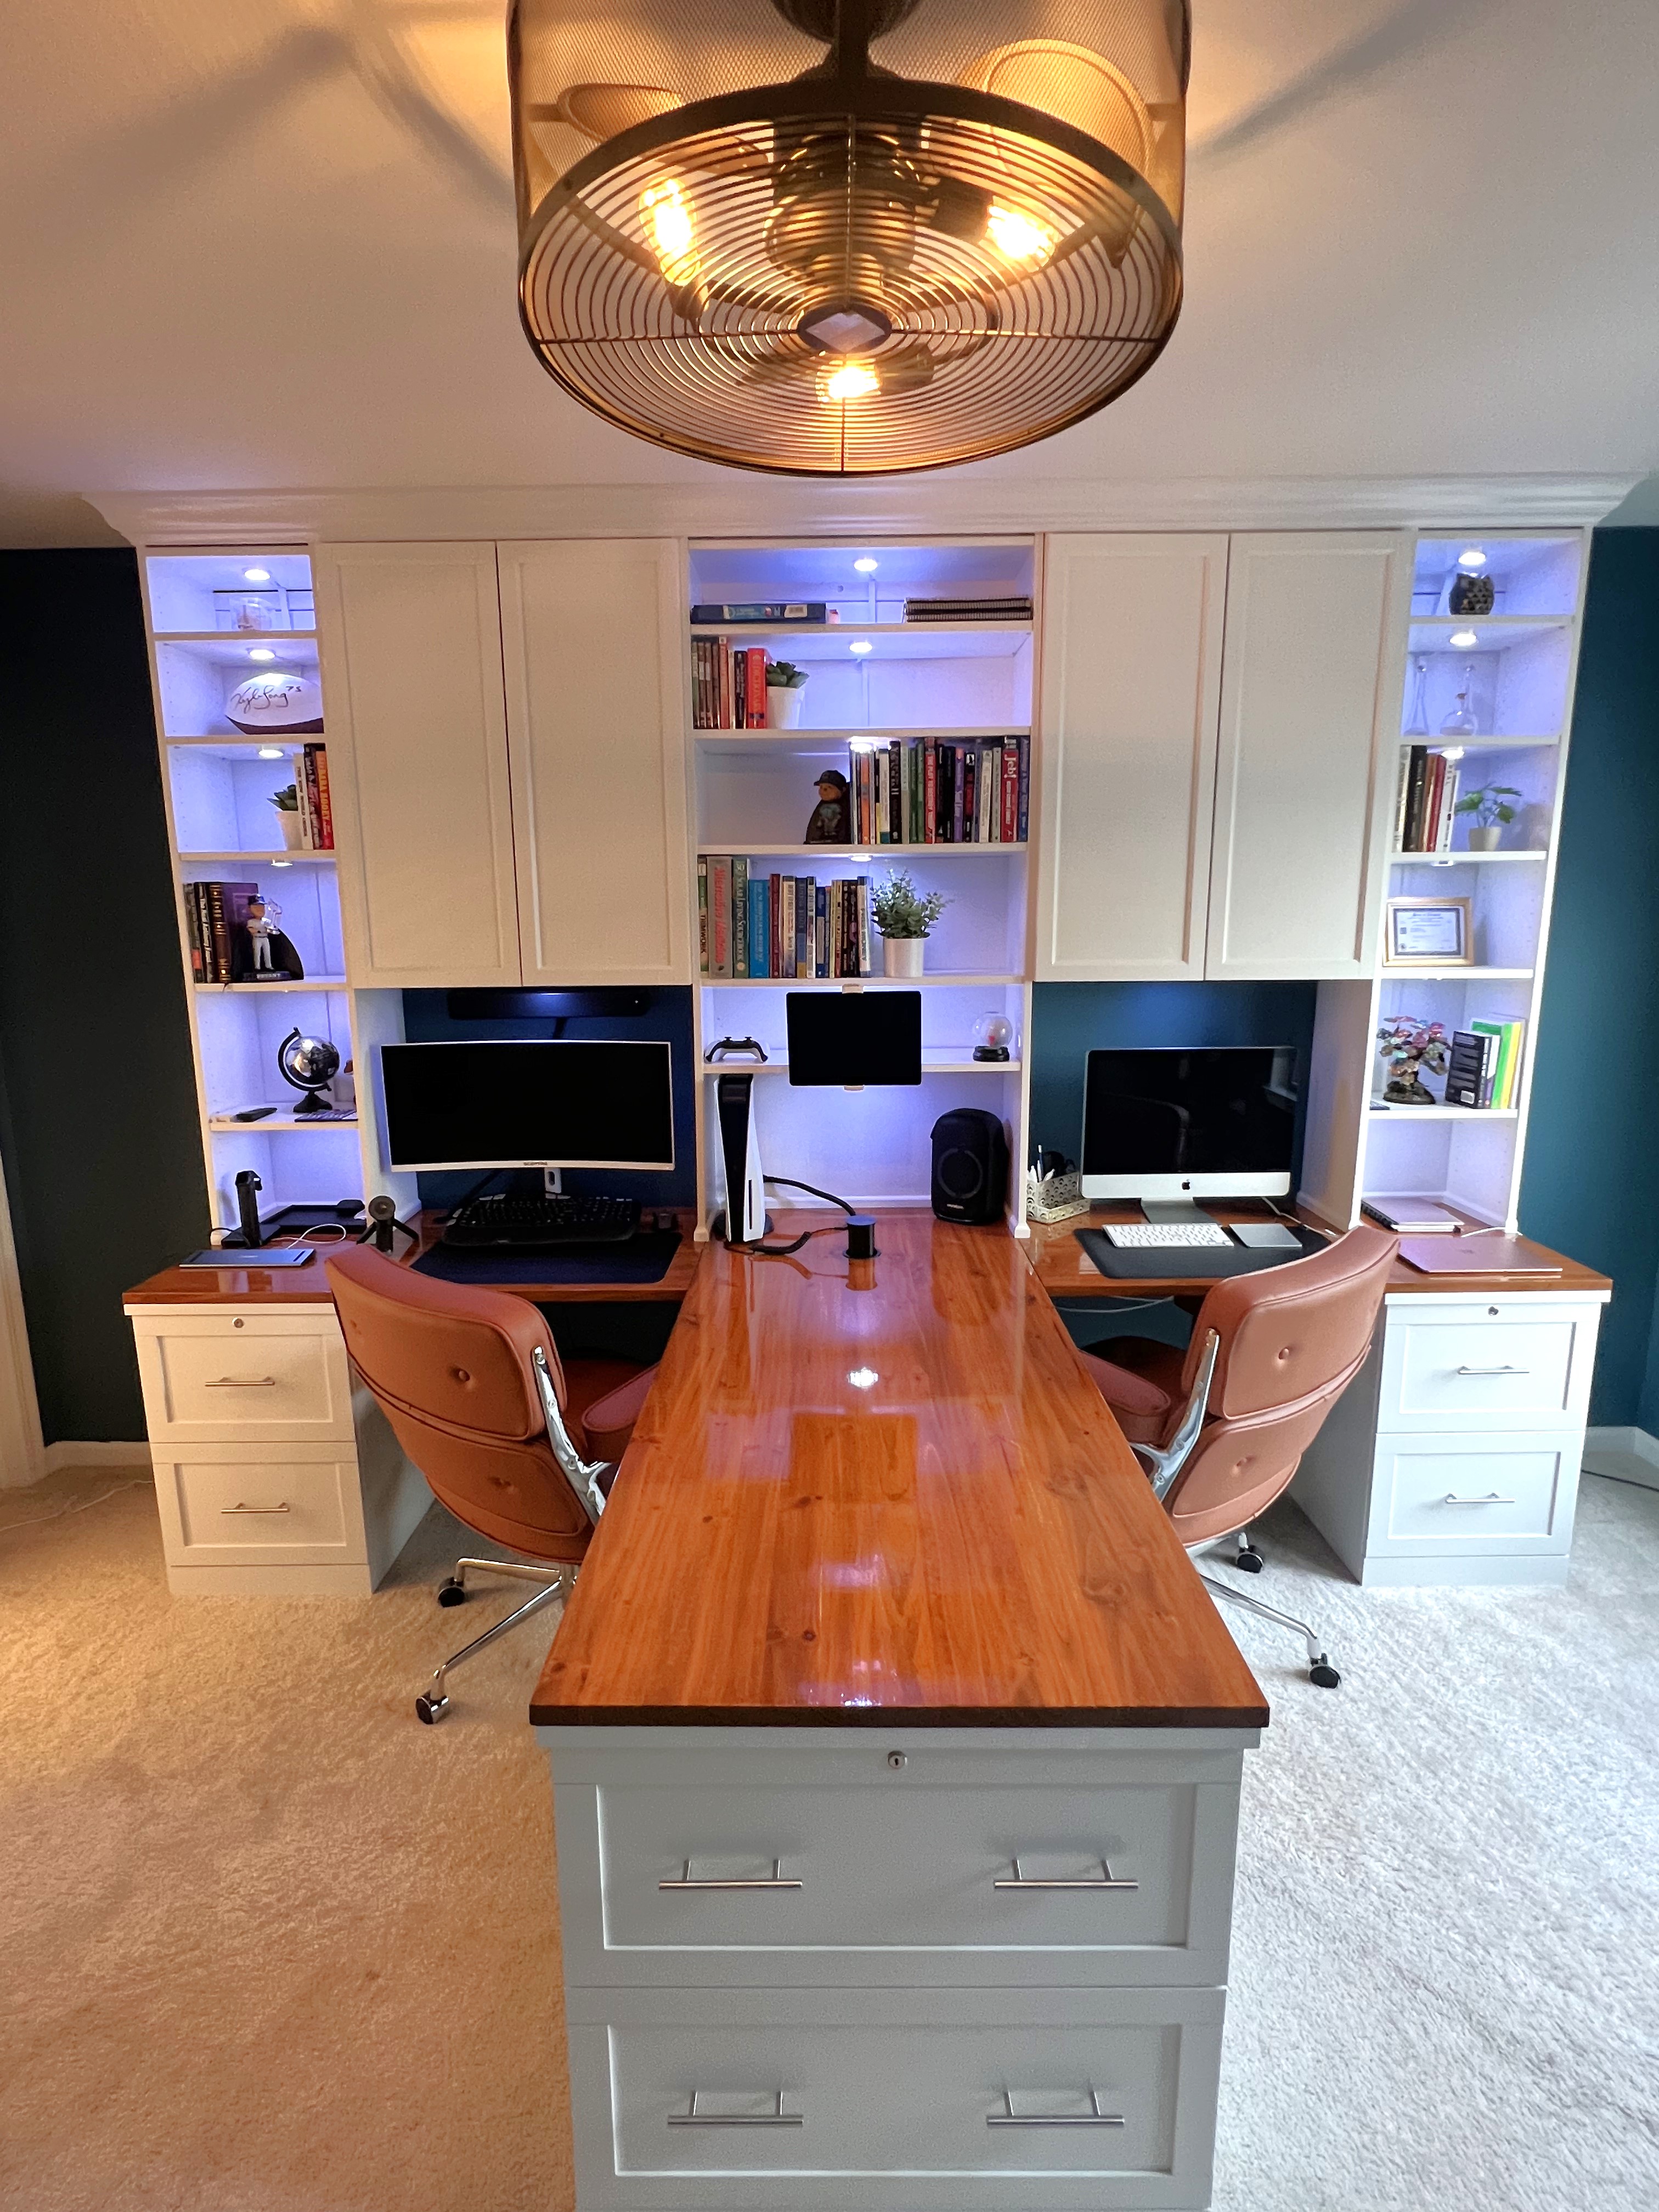
deskMy home office remodel was inspired by a post from Ana White a few years ago. For this project I ended up using IKEA bookshelves and cutting the tops off and flipping them upside down. I used some crown mounding to cover the base of the cabinets on the tops. The desk top bases are file cabinets I found at the office supply store and the desk tops are edge glue pine. Overall I think I only had to make 8 cuts for the entire project. Saving me a ton of time and money. Thank you Ana for all of the wonderful post!

Mark Danreiter on Facebook

10 Dollar Ledges

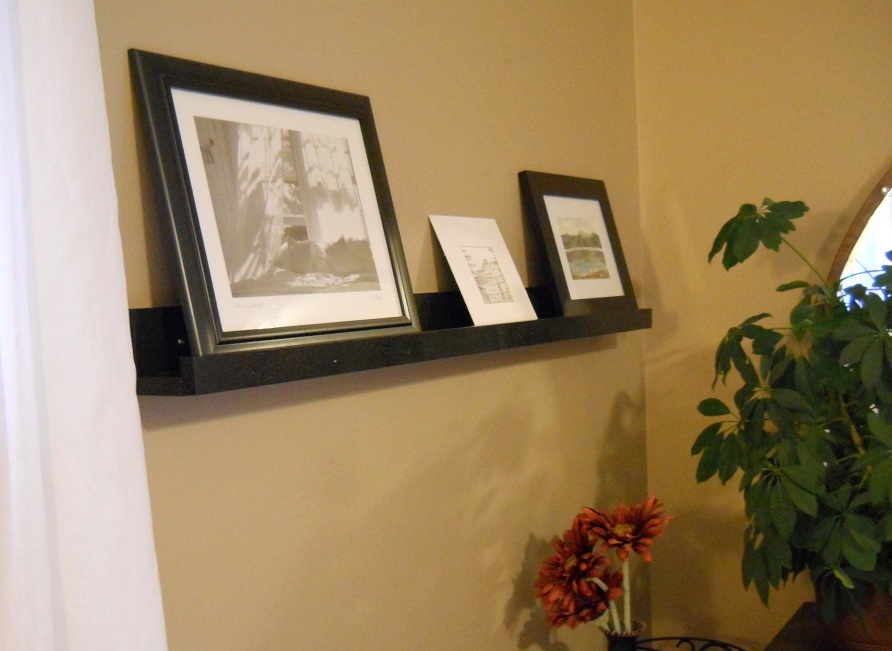
This is the first Ana White plan I've used and my first project with a Kreg Jig. It was so easy! I used 6' long lumber. This ledge is 4' long and I have a 2' ledge in the living room.

Built from Plan(s)
Estimated Cost
$17
Estimated Time Investment
An Hour or Two (0-2 Hours)
Finish Used
"Hammered" finish black spray paint
Recommended Skill Level
Starter Project

DIY Nativity

Submitted by Anonymous (not verified) on Tue, 12/26/2023 - 12:18

Well, it's not a barnyard play set, but there are farm animals in it. This is my wife's nativity set that her late sister made. Never had a barn till yesterday. All scraps from my shop. Keep the plans coming!

mccabechristopher


Built from Plan(s)
Seasonal And Holiday

Butcher Block Kitchen Island

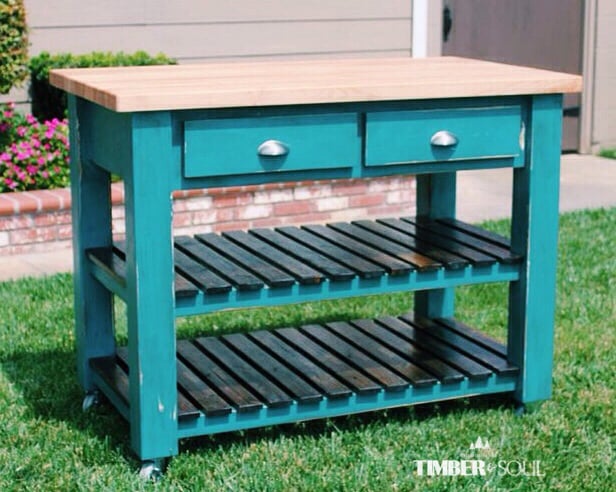
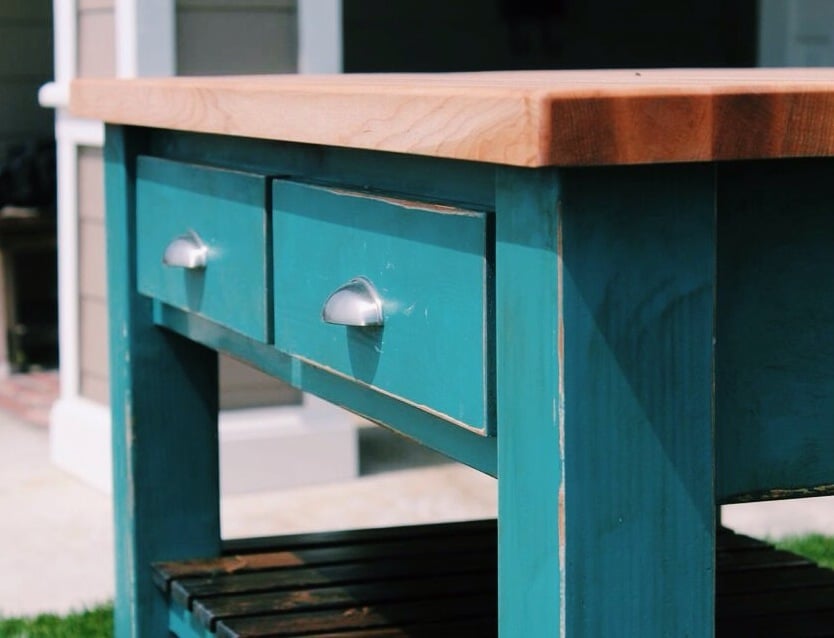
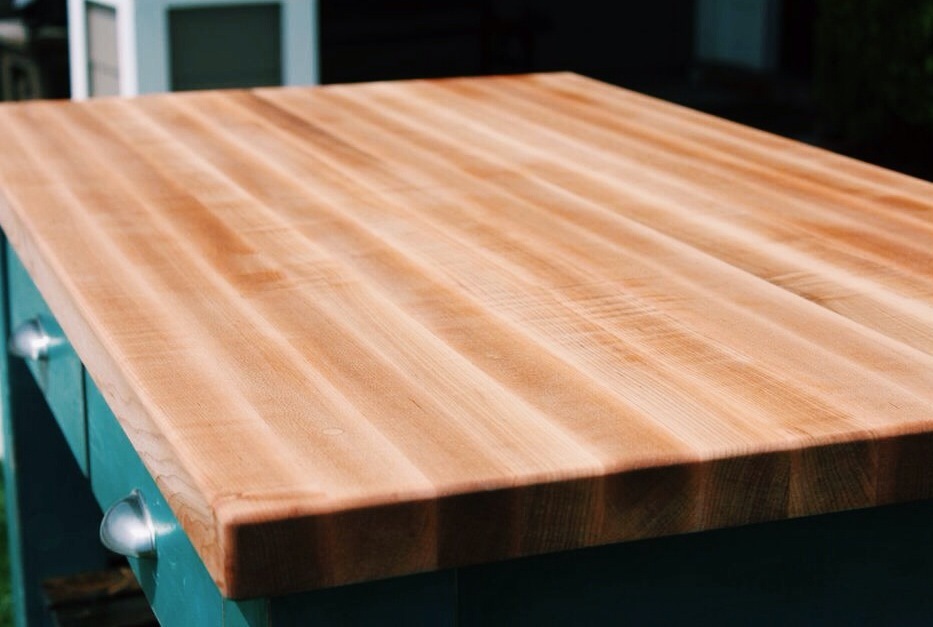
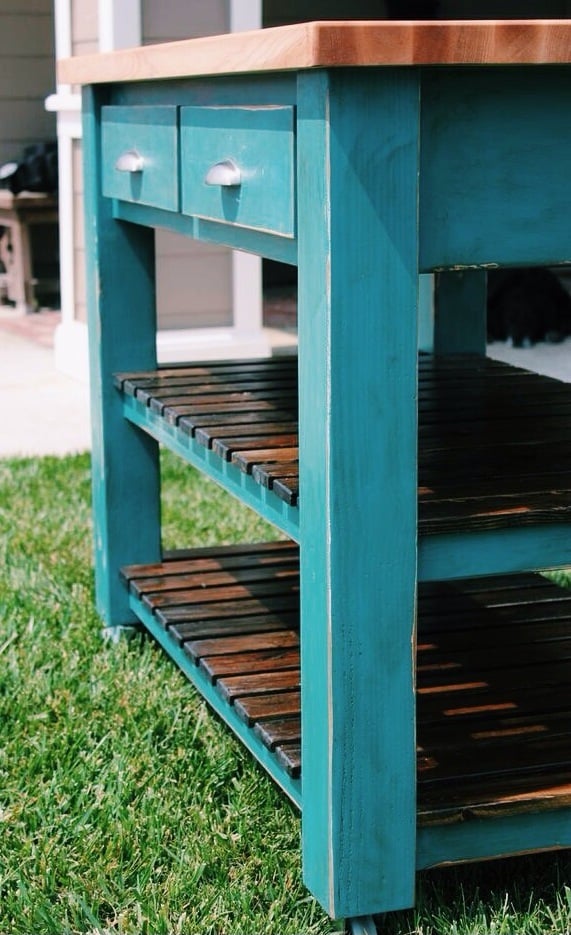
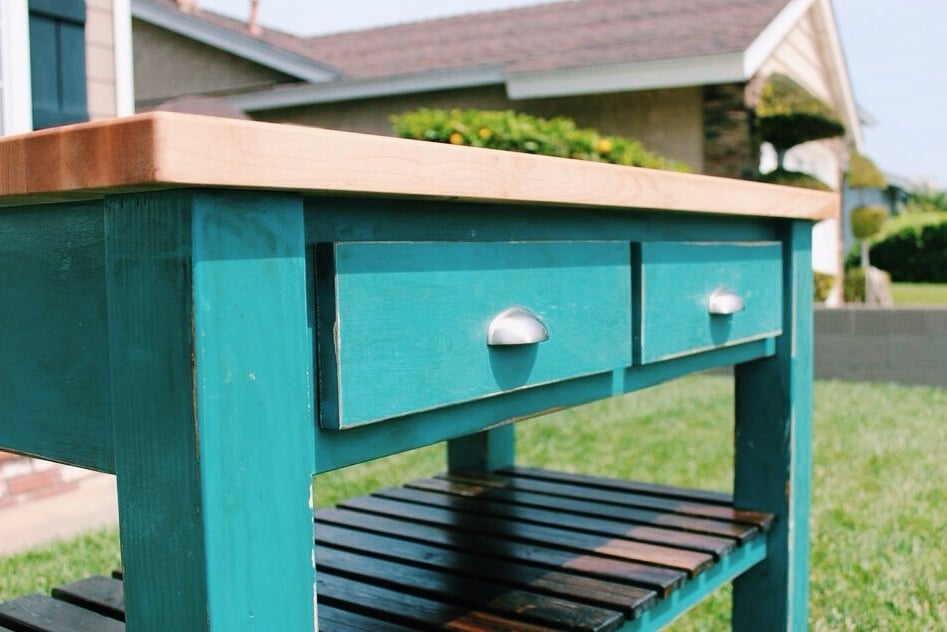
I built this from Ana's plans with some slight modifications. The top is built from hard maple and is an edge grain butcher block. I sealed the top with mineral oil and beeswax. The finish is distressed calypso blue. I also added 3" locking and swiveling casters.

Built from Plan(s)
Estimated Cost
$200.00
Estimated Time Investment
Week Long Project (20 Hours or More)
Finish Used
The paint is calypso blue by Benjamin Moore. I sanded and distressed the piece. I then wiped on stain and wiped off stain to add a rustic look.
Recommended Skill Level
Advanced

Comments

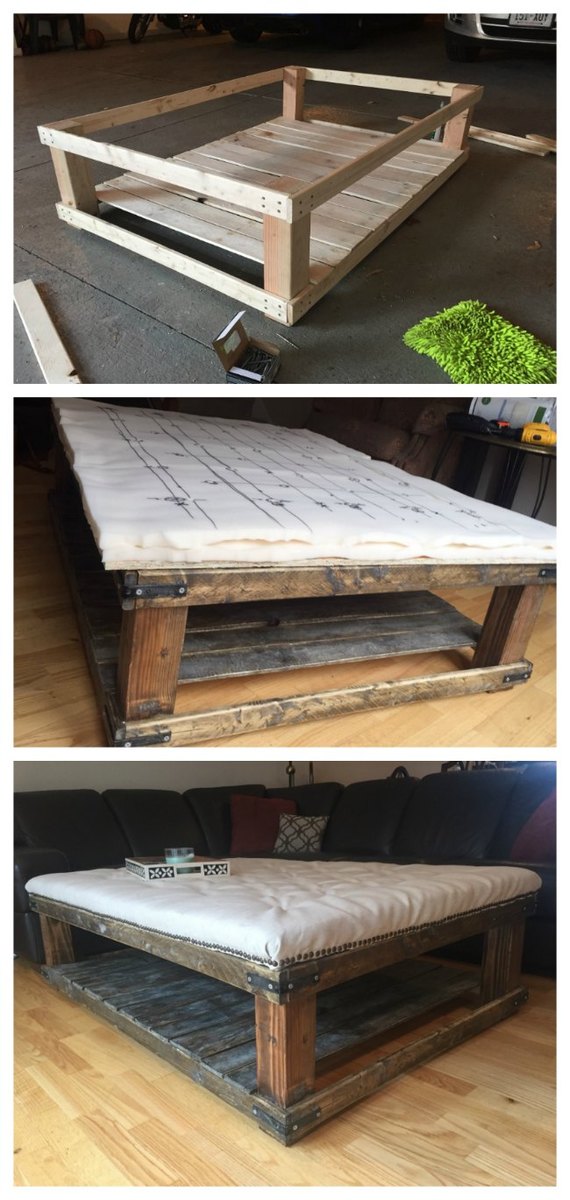
Oversized Tufted Ottoman

Submitted by Kegusho on Fri, 07/08/2016 - 09:53

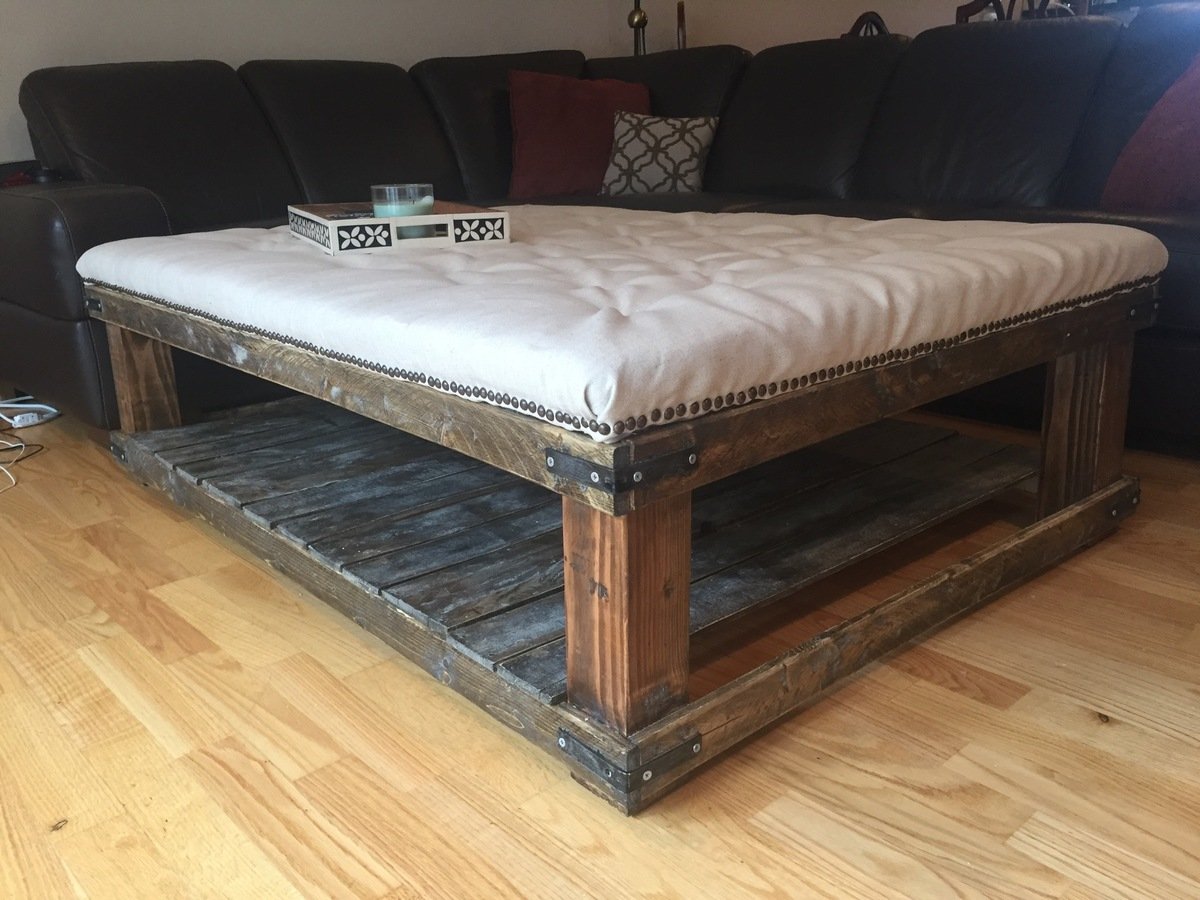
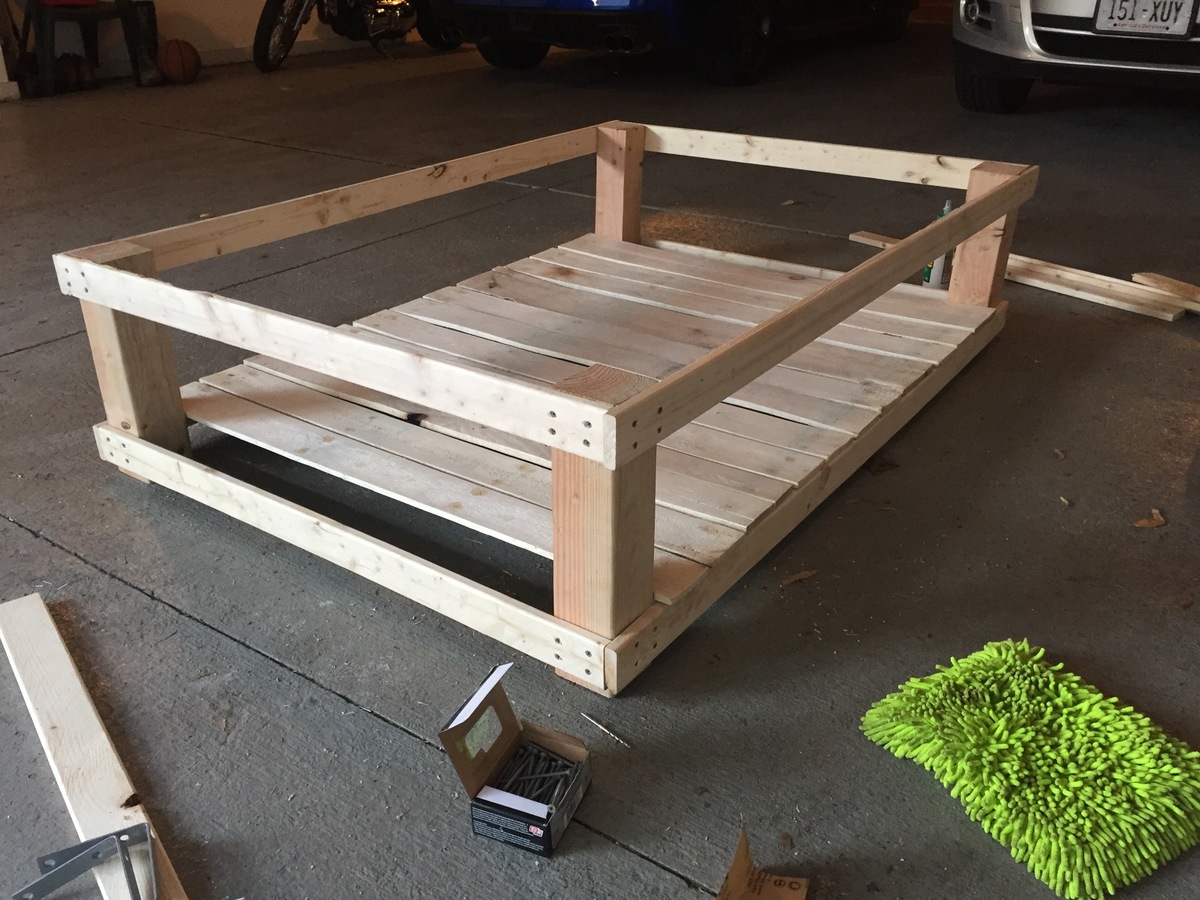
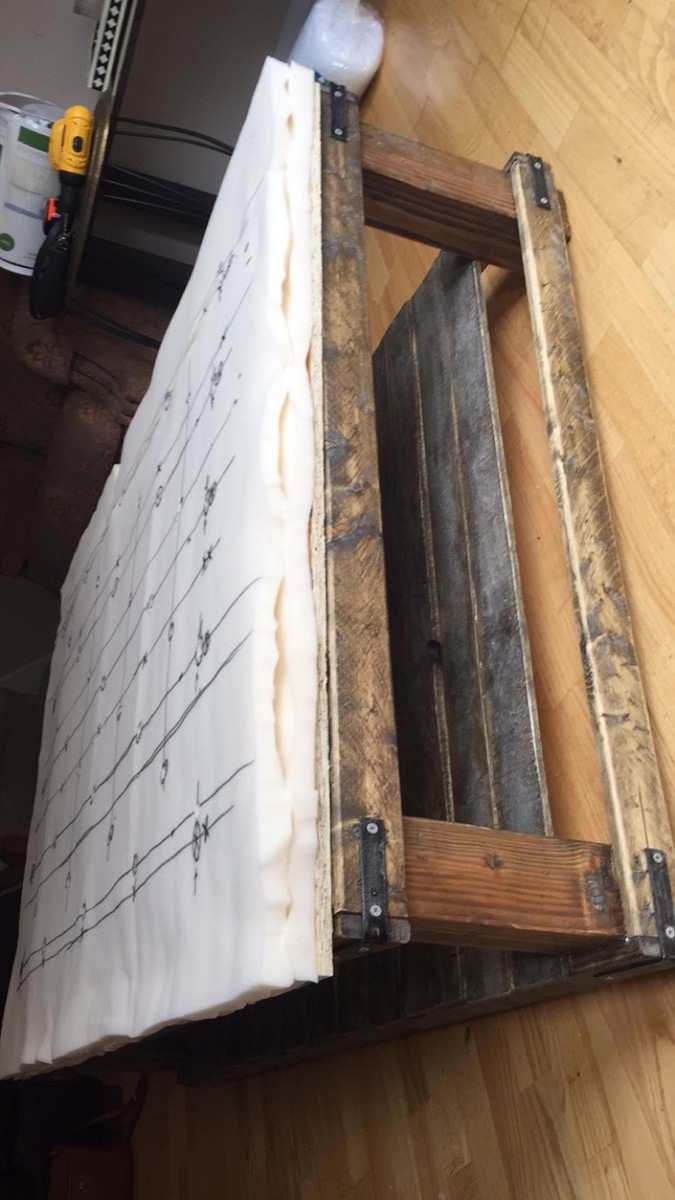
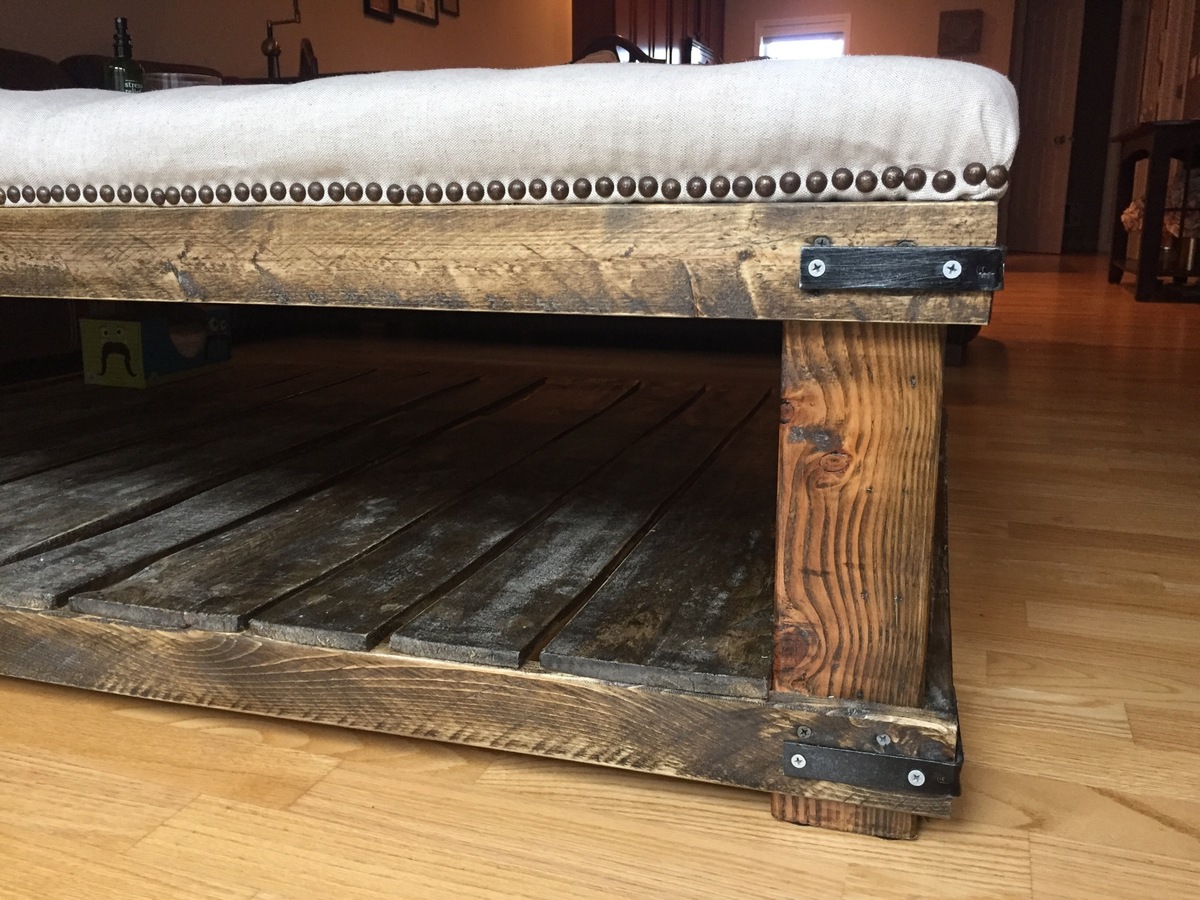
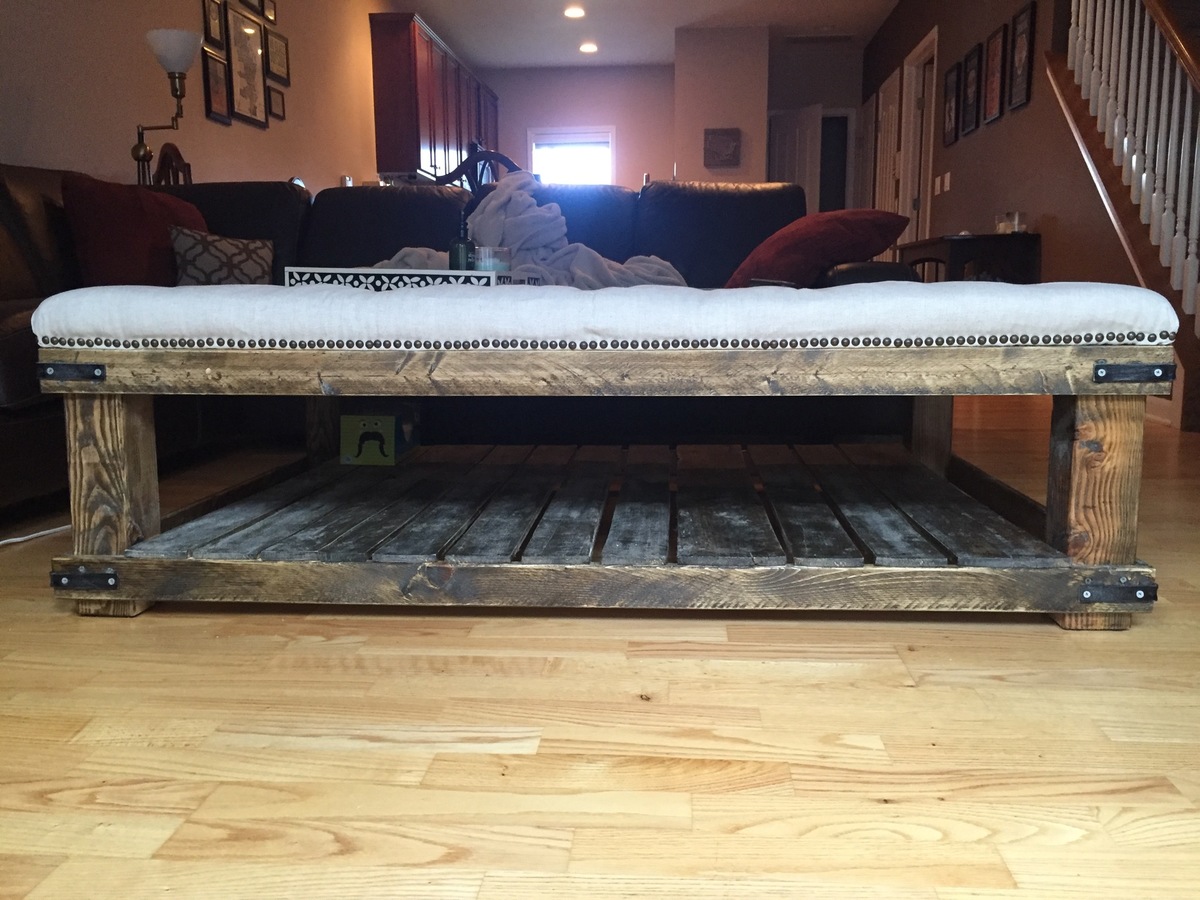
This project was inspired by the featured Diamond Tufted Ottoman plan. I combined the top with a customized plan inspired by the Cameron Coffee Table from World Market and Ana White's tutorial on how to create a weathered stain look like Restoration Hardware. 


Built from Plan(s)
Estimated Cost
$250
Estimated Time Investment
Week Long Project (20 Hours or More)
Finish Used
Combination of Minwax Special Oak and Weathered Oak, followed by two thin coats of polyurethane (lightly sanded afterward for smooth finish).
Recommended Skill Level
Beginner

Comments

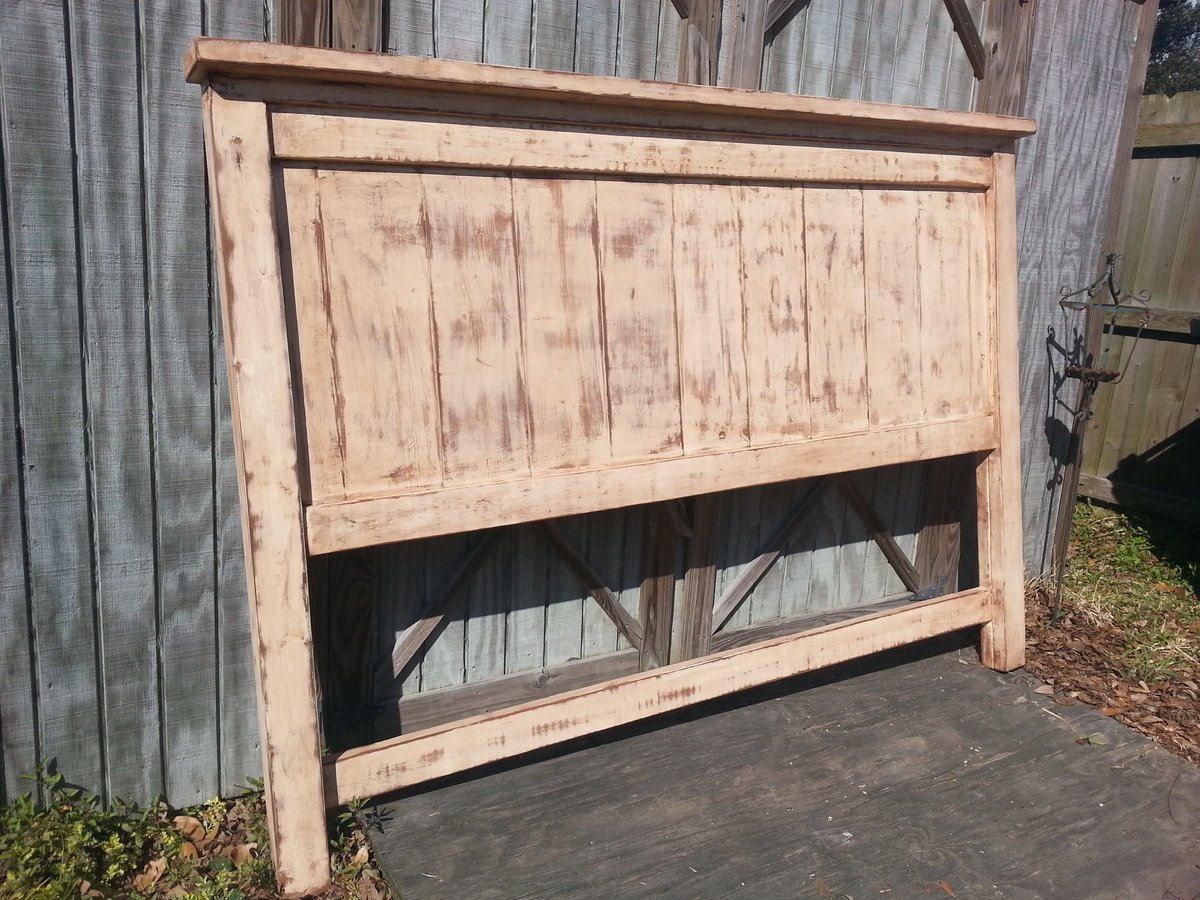
Distressed Farmhouse Storage Bed

Submitted by atphelan on Thu, 05/08/2014 - 11:33

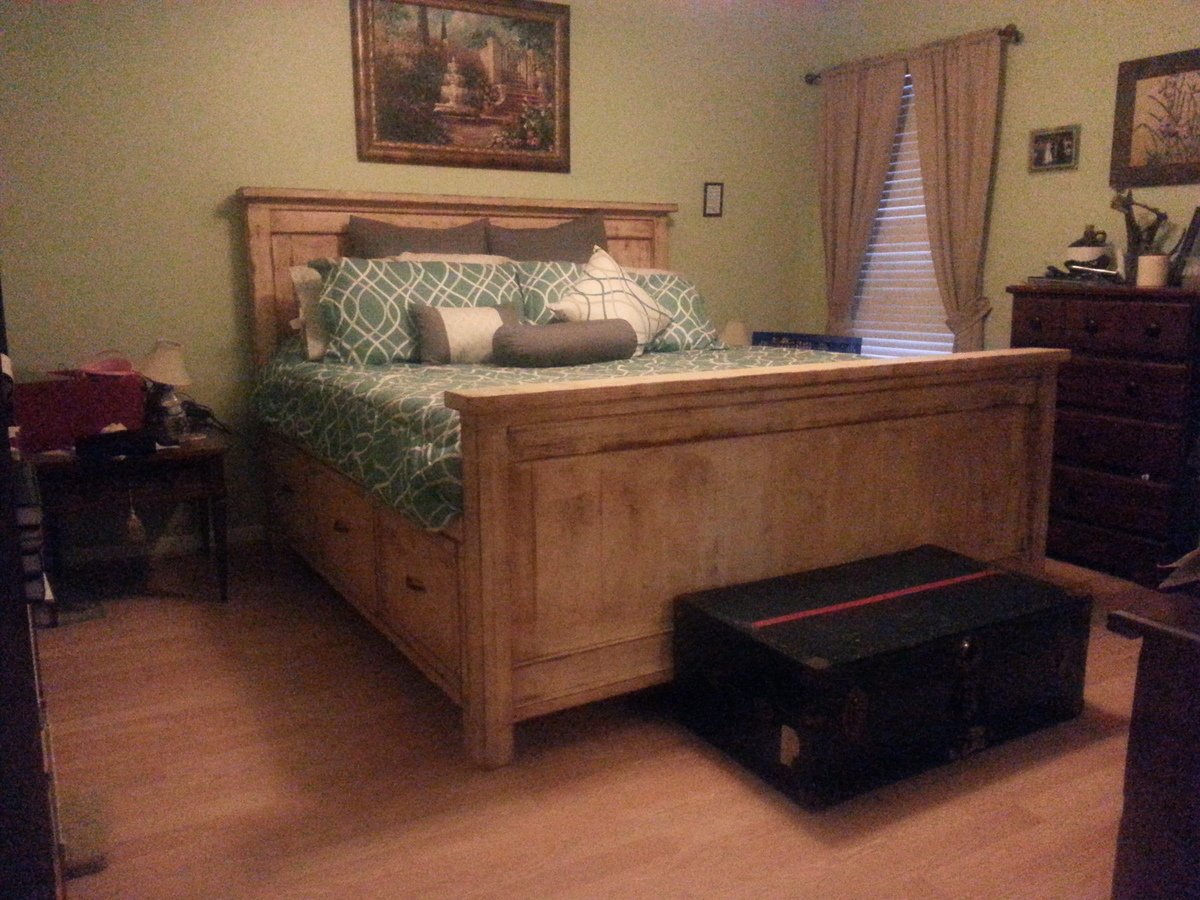
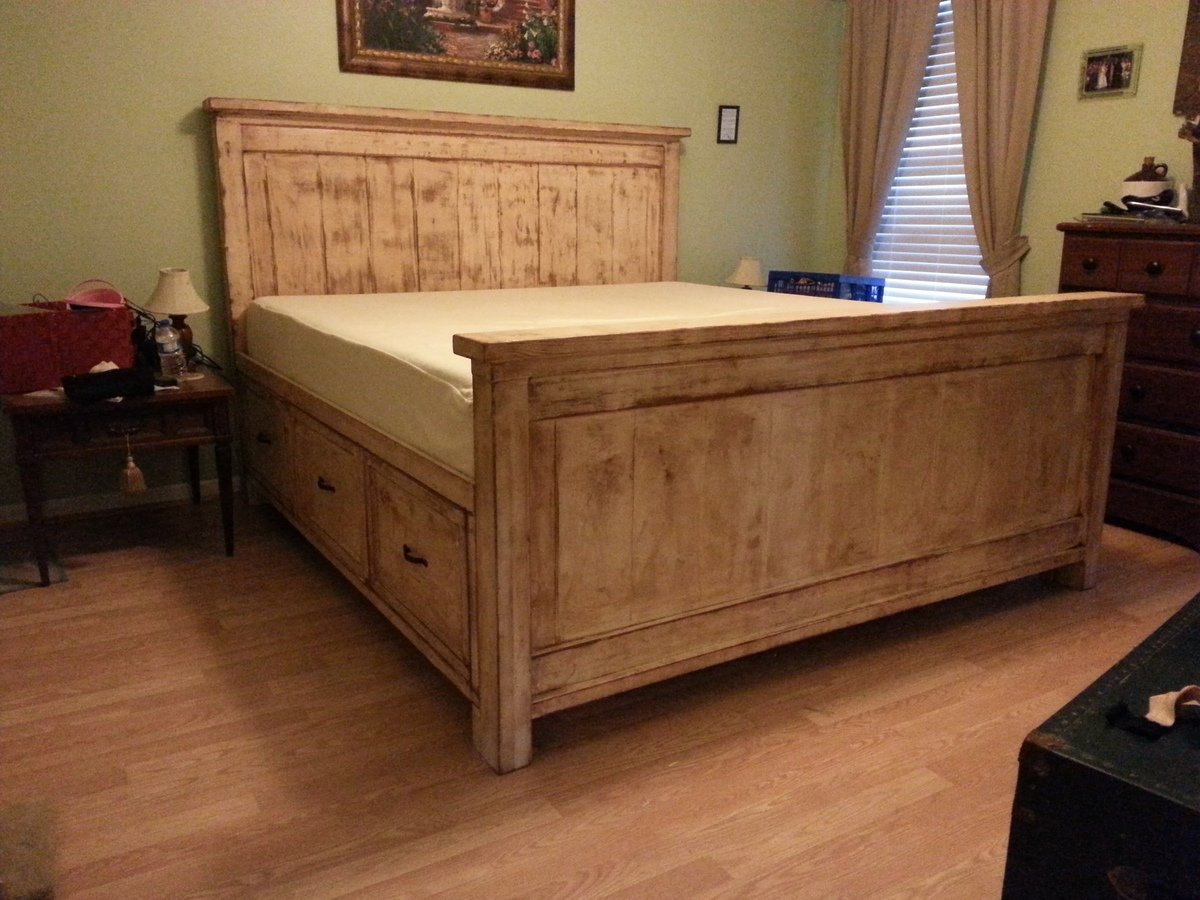
This is my biggest project to date; I put it together with a few modifications to the plans on this website (as I'm sure everyone does!) It will be my wife and my bed for quite some time and hopefully I can pass it along in the future. Seems sturdy as a rock and the additional storage will benefit us as our home has minimal closet space. The finish is a waxed-stained-sanded painted surface.

I broke this project into 3 phases: headboard, benches, and footboard. Juggling two kids and a wife, its hard to be able focus completely on a project without some (often welcome) interruptions.

One final note: this website introduced me to and this project confirmed that my favorite tool in my tool shed is the Kreg Pocket hole Jig; bought it thinking I would use it on a buffett table I built and have used it on every project since!

Estimated Cost
$350
Estimated Time Investment
Week Long Project (20 Hours or More)
Finish Used
waxed-stained-sanded painted surface
Recommended Skill Level
Intermediate

Comments

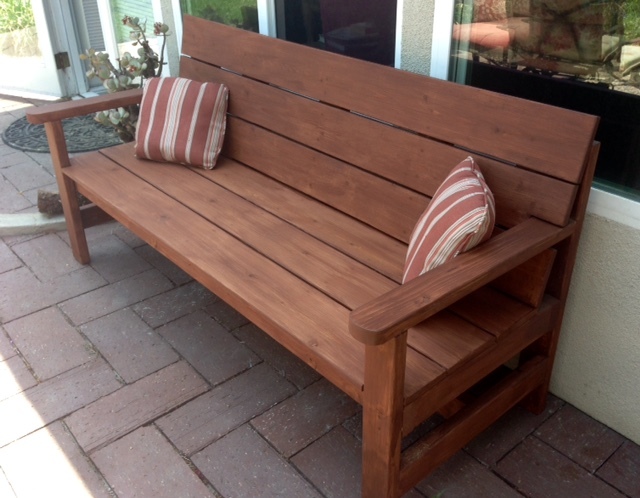
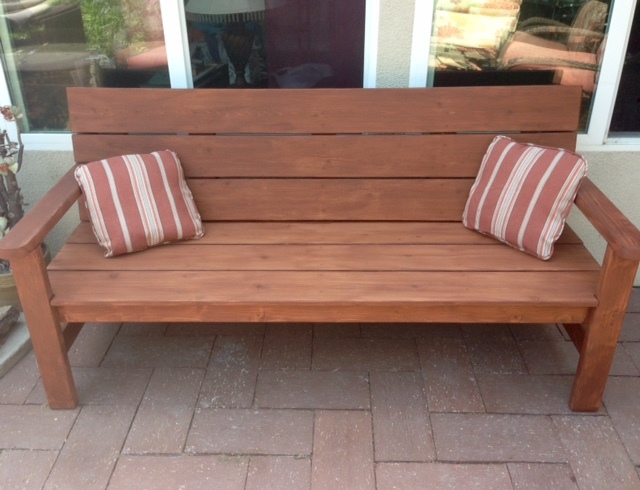
Modern Outdoor Bench

Submitted by Anonymous (not verified) on Tue, 08/09/2016 - 16:29

Great plans!  I modified the bench by adding a slanted back (which enabled me to put the slats closer together), extending and curving the front of the arms and extended the seat to the outside of the legs.


Recommended Skill Level
Intermediate

Comments

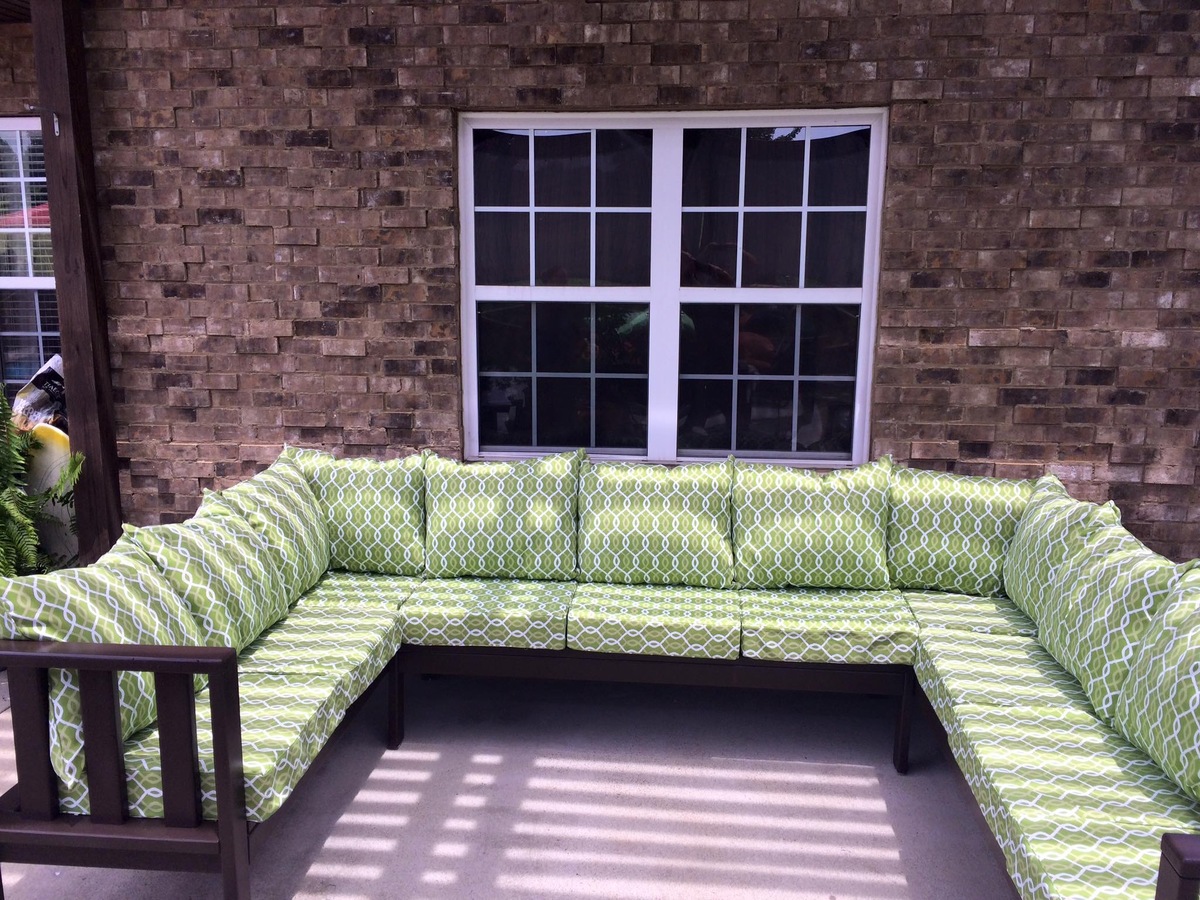
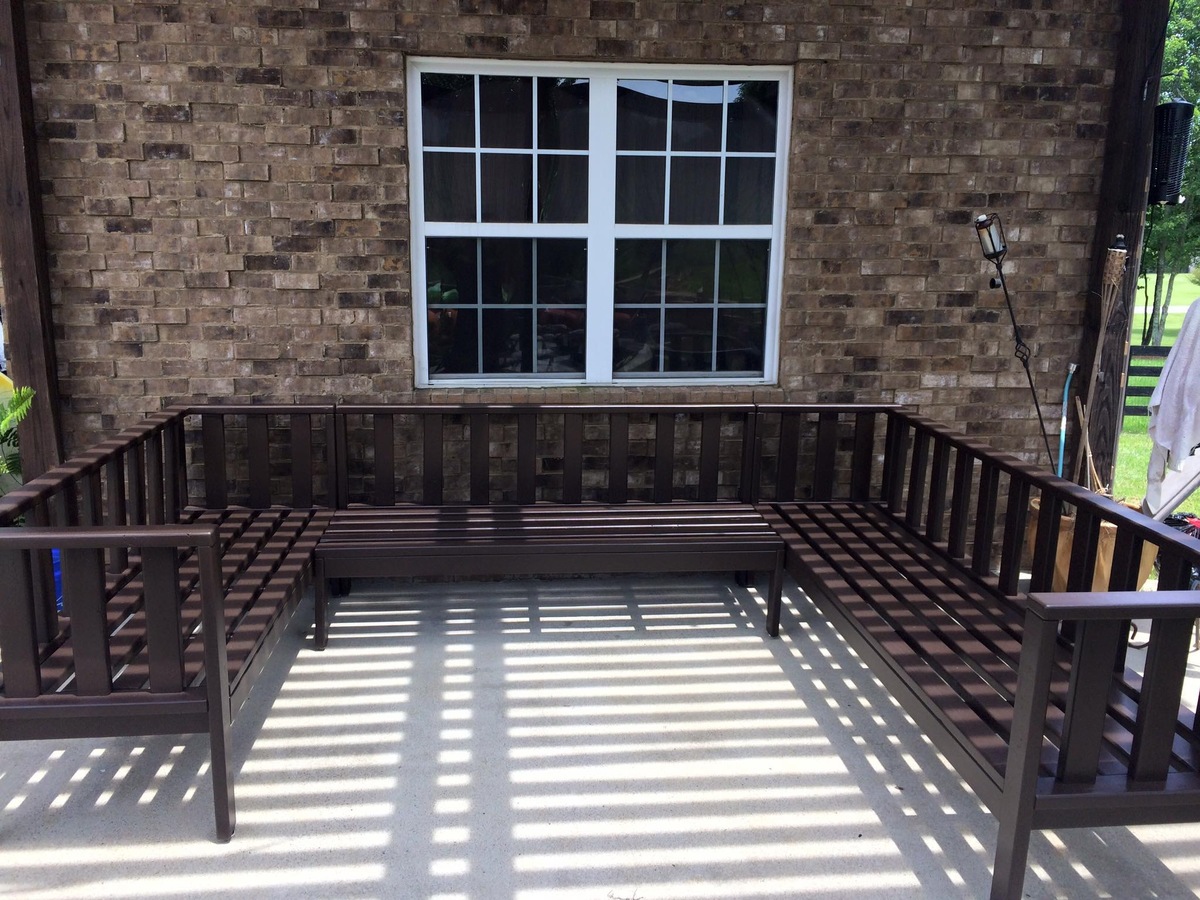
My Outdoor Sectional Couch

This was built off Ana's Outdoor Couch plans.  I just made some additional things to it and made it larger.

I added the vertical back supports so the cushions don't slip out the back.  I raised the seat height to 17". 

Estimated Cost
$600-$800 including the cushions.
Estimated Time Investment
Week Long Project (20 Hours or More)
Finish Used
Oil primer and Latex Paint.
Recommended Skill Level
Intermediate

Comments

Codding58

Mon, 08/22/2016 - 13:57

Great job!    I really like the way that your set came out!    This had been on my list to do, but a broken foot put a damper on it this summer!    Great Job!

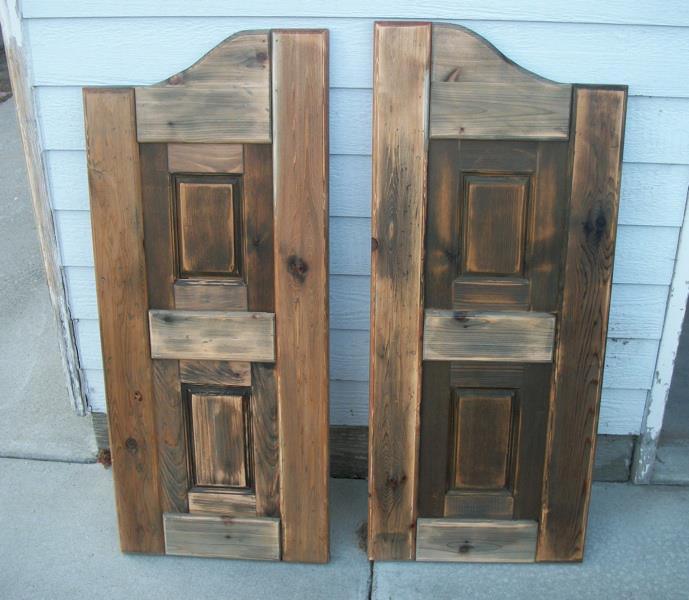
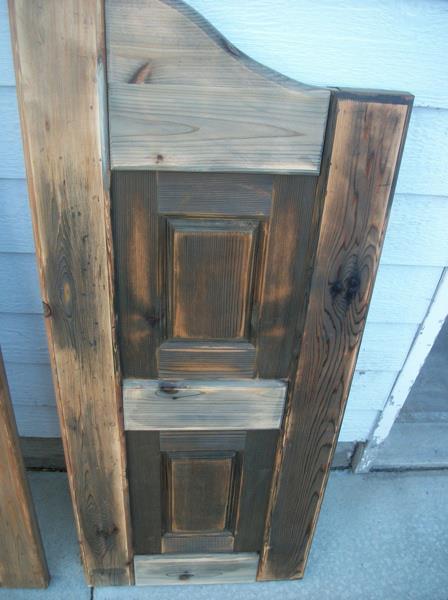
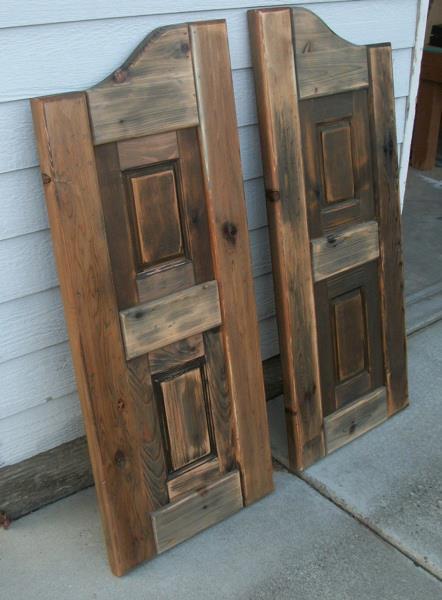
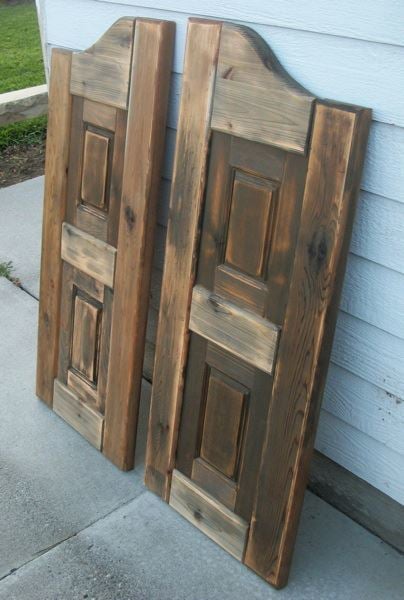
Western Saloon doors

Submitted by tracysmith on Thu, 08/02/2012 - 00:44

I built these doors for a very good friend of mine who actually helped me get started turning my new love for building (after finding Ana's site) into a way for our family to make some extra money.

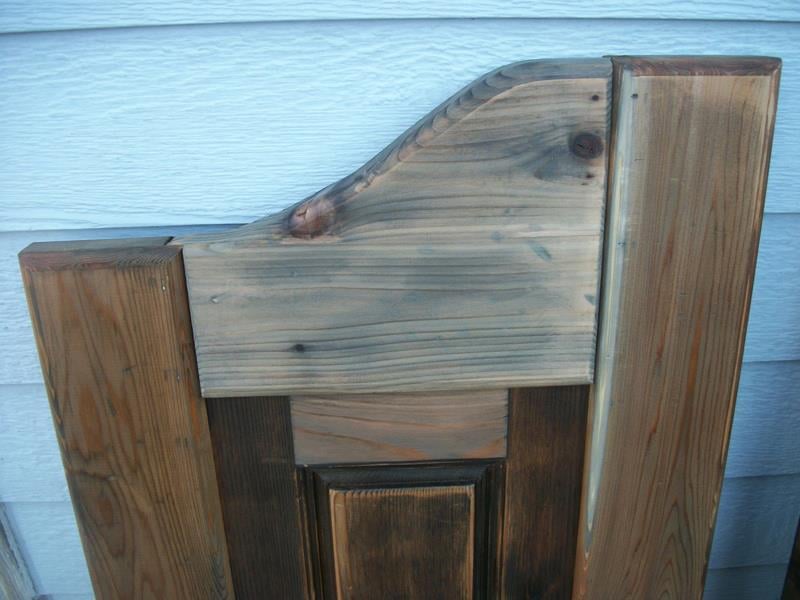
It took me a little while to wrap my brain around building something without using my Kreg Jig. I used a router table set up with some raised panels bits and put the whole thing together with glue and nails! Wonderful experience!

For the finish, I used a vinegar solution to give the cedar wood an old barn look. I think the final result turned out great and the final step was a clear coat sprayed on out of a rattle can.

Estimated Cost
Lumber cost was about $80
Estimated Time Investment
Week Long Project (20 Hours or More)
Finish Used
Vinegar solution and a clear coat put on.
Recommended Skill Level
Advanced

Comments

birdsandsoap

Thu, 08/02/2012 - 10:51

These turned out great! I haven't seen this style of door in forever! They used to be really popular, I remember my Aunt and Uncle having these in the entry to their kitchen. They were the coolest thing ever when I was a kid! Maybe they are a making a comeback?
I'm really impressed with your routing skills, that's a task I have yet to tackle, but I've got the bits laying around waiting.

Nice job!

tracysmith

Thu, 08/02/2012 - 21:10

Thanks a bunch! My friend is replacing an old set of louvered doors that went into her laundry room. Her family are farmers and rodeo people so the western decor really fits in their house. Great western stuff there. They made a chandelier out of a wagon wheel! Really cool!

This was my first attempt at routing so I really appreciate your compliment! It's really simple if you can get the basics of it. I'm sure you'll do just fine when you get to that point. If I can do it, anyone can do it! Thanks again!!

laneal1987

Mon, 01/23/2017 - 09:32

I really want to try and build this for a closet.  Are there any instructions for this?  This is the first door of this style that I have come across that I absolutely love.

Inspiring First Woodworking Project

Submitted by WomanPower on Sat, 06/27/2020 - 21:52

**From a Woodworker First Project Perspective**

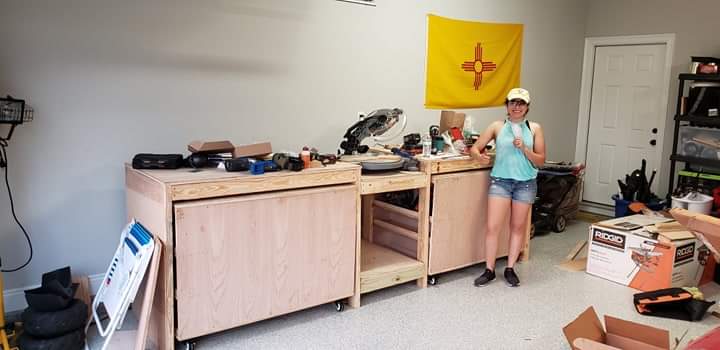
Power Tools: I used a circular saw (Ridgid, lifetime warranty) for all of my cutting because it was the easiest tool to use once I got into a rythem for cutting plywood and other materials.

Other helpful tools: I had 2 height adjusting saw horses that made it easy on my back made by Kobalt. There were some mistakes in the beggining with keeping the lines straigt but a circular saw track (kreg) easily fixed that problem for most of the cutting. After awhile it got easier to steadily cut following a drawn line with no track (hubby was impressed). Overall, this project was a process of trial and error but I learned from every hiccup along the way. Next up, chicken coop... :D

**How It All Started**
While deployed I had a lot of time to imagine my very own personal workspace to complete DIY projects and when I saw this design I could not wait to get home and begin my new hobby. This project inspired me to really get serious about woodworking. Never in my life had I ever built anything from plywood and 2x4s, much less had I ever used a circular saw. I'm proud of myself for completing this from start to finish as a first project. Thank you Ana!

Peace and Blessings,
WP

Estimated Cost
420
Estimated Time Investment
Week Long Project (20 Hours or More)
Recommended Skill Level
Beginner

Reclaimed Fence = Free Benches

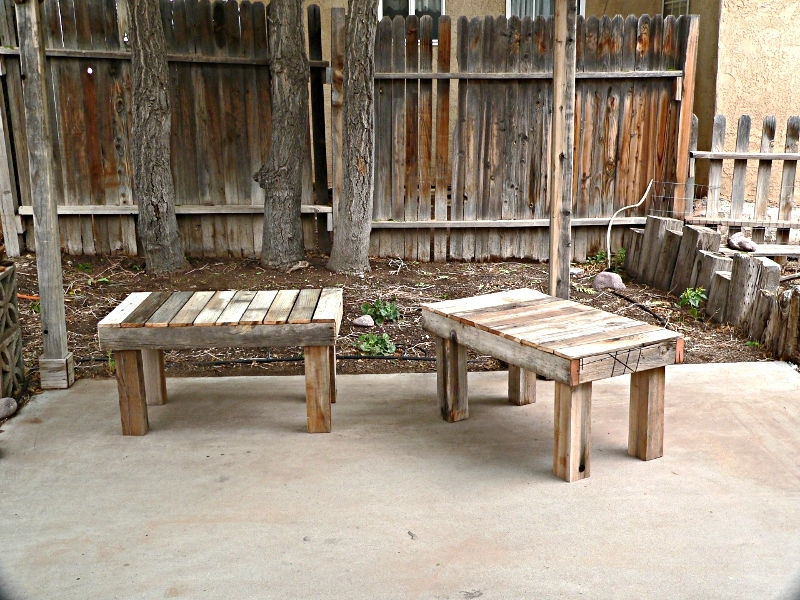
These are made from the 4x4 posts, 2x4 rails, and slats from an old wooden fence that weren't good enough to re-use when we repaired the fence.

It's close to the Simple outdoor bench, but I simplified the plan even more to take advantage of the pile of free lumber. Or maybe it's the Simple Outdoor Dining Table ... but a lot shorter.

CAUTION: Be careful to remove ALL nails, screws and bolts from the lumber you are reusing. If you can't get the metal out, mark that area and figure out a cut that won't hit it.

TIPS FOR RECLAIMED LUMBER:
* Trim the ends of the lumber square before you measure.
* Don't try to salvage split or rotted wood. Trim it off and see what you can do with the good bits.
* Plan your cuts so you have the least waste.

TOOLS:
10" Miter saw
Wood glue
Nail gun, with 2 1/2 and 1 1/4 inch 16gauge nails for gun (You could use deck screws if you have them)
Surform Pocket plane (wood rasp from Stanley tools)

CUT LIST:
For one bench, 21x36

NOTE: To cut a 4x4 cleanly with the 10" miter saw, put a thin shim behind each side of the 4x4

4 4x4 post scraps, 18 inches long (legs)
2 2x4 18 inches long (sides)
2 2x4 36 inches long (front and back rail)
10 fence slat pieces, 21 inches long (cut to fit the top after it is assembled)

ASSEMBLY:
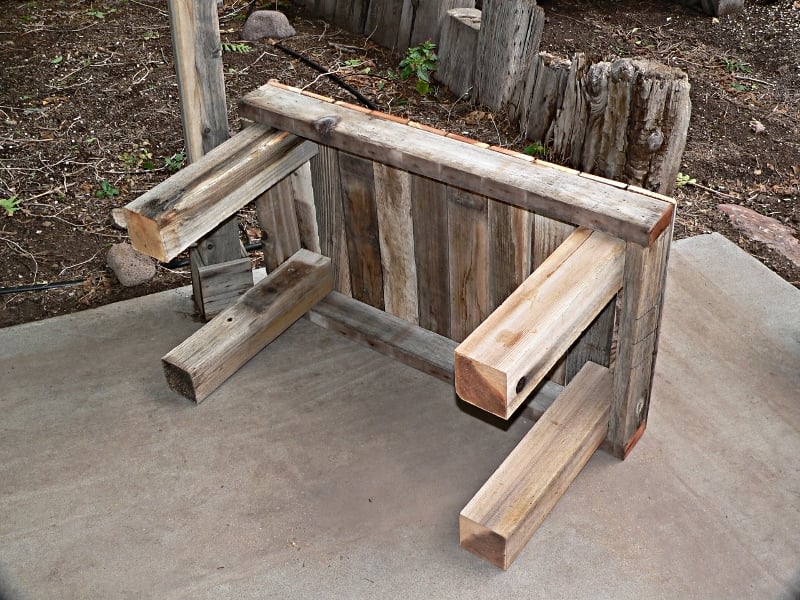
See the picture of the underside of the bench:
1 - Square up the legs with the end pieces, glue and nail.
2 - Square the sides with the legs, so the legs are inside the 2x4 apron, glue and nail.
3 - Align the 2 end slats with the edges of the bench and nail through them into the 2x4 apron
4 - Space the rest of the slats on the top, leaving 1/8 inch or so etween the boards for drainage. Nail them to the 2x4 apron.

FINISH: Use the wood rasp to round the cut ends of the slats and 2x4s. Rasp with the grain to avoid raising splinters. Lightly rasp the tops of the slats to smooth any really rough spots.

A table or maybe a buffet is planned, with the same construction method, but a bit taller. Tables are 26-29 inches, most buffets are 36". It depends on what will make best use of the remaining bits.
Estimated Cost
$0
Estimated Time Investment
Afternoon Project (3-6 Hours)
Finish Used
none
Recommended Skill Level
Beginner

2x4 modern Adirondack Chair (modified)

Submitted by Anonymous (not verified) on Thu, 07/02/2020 - 17:45

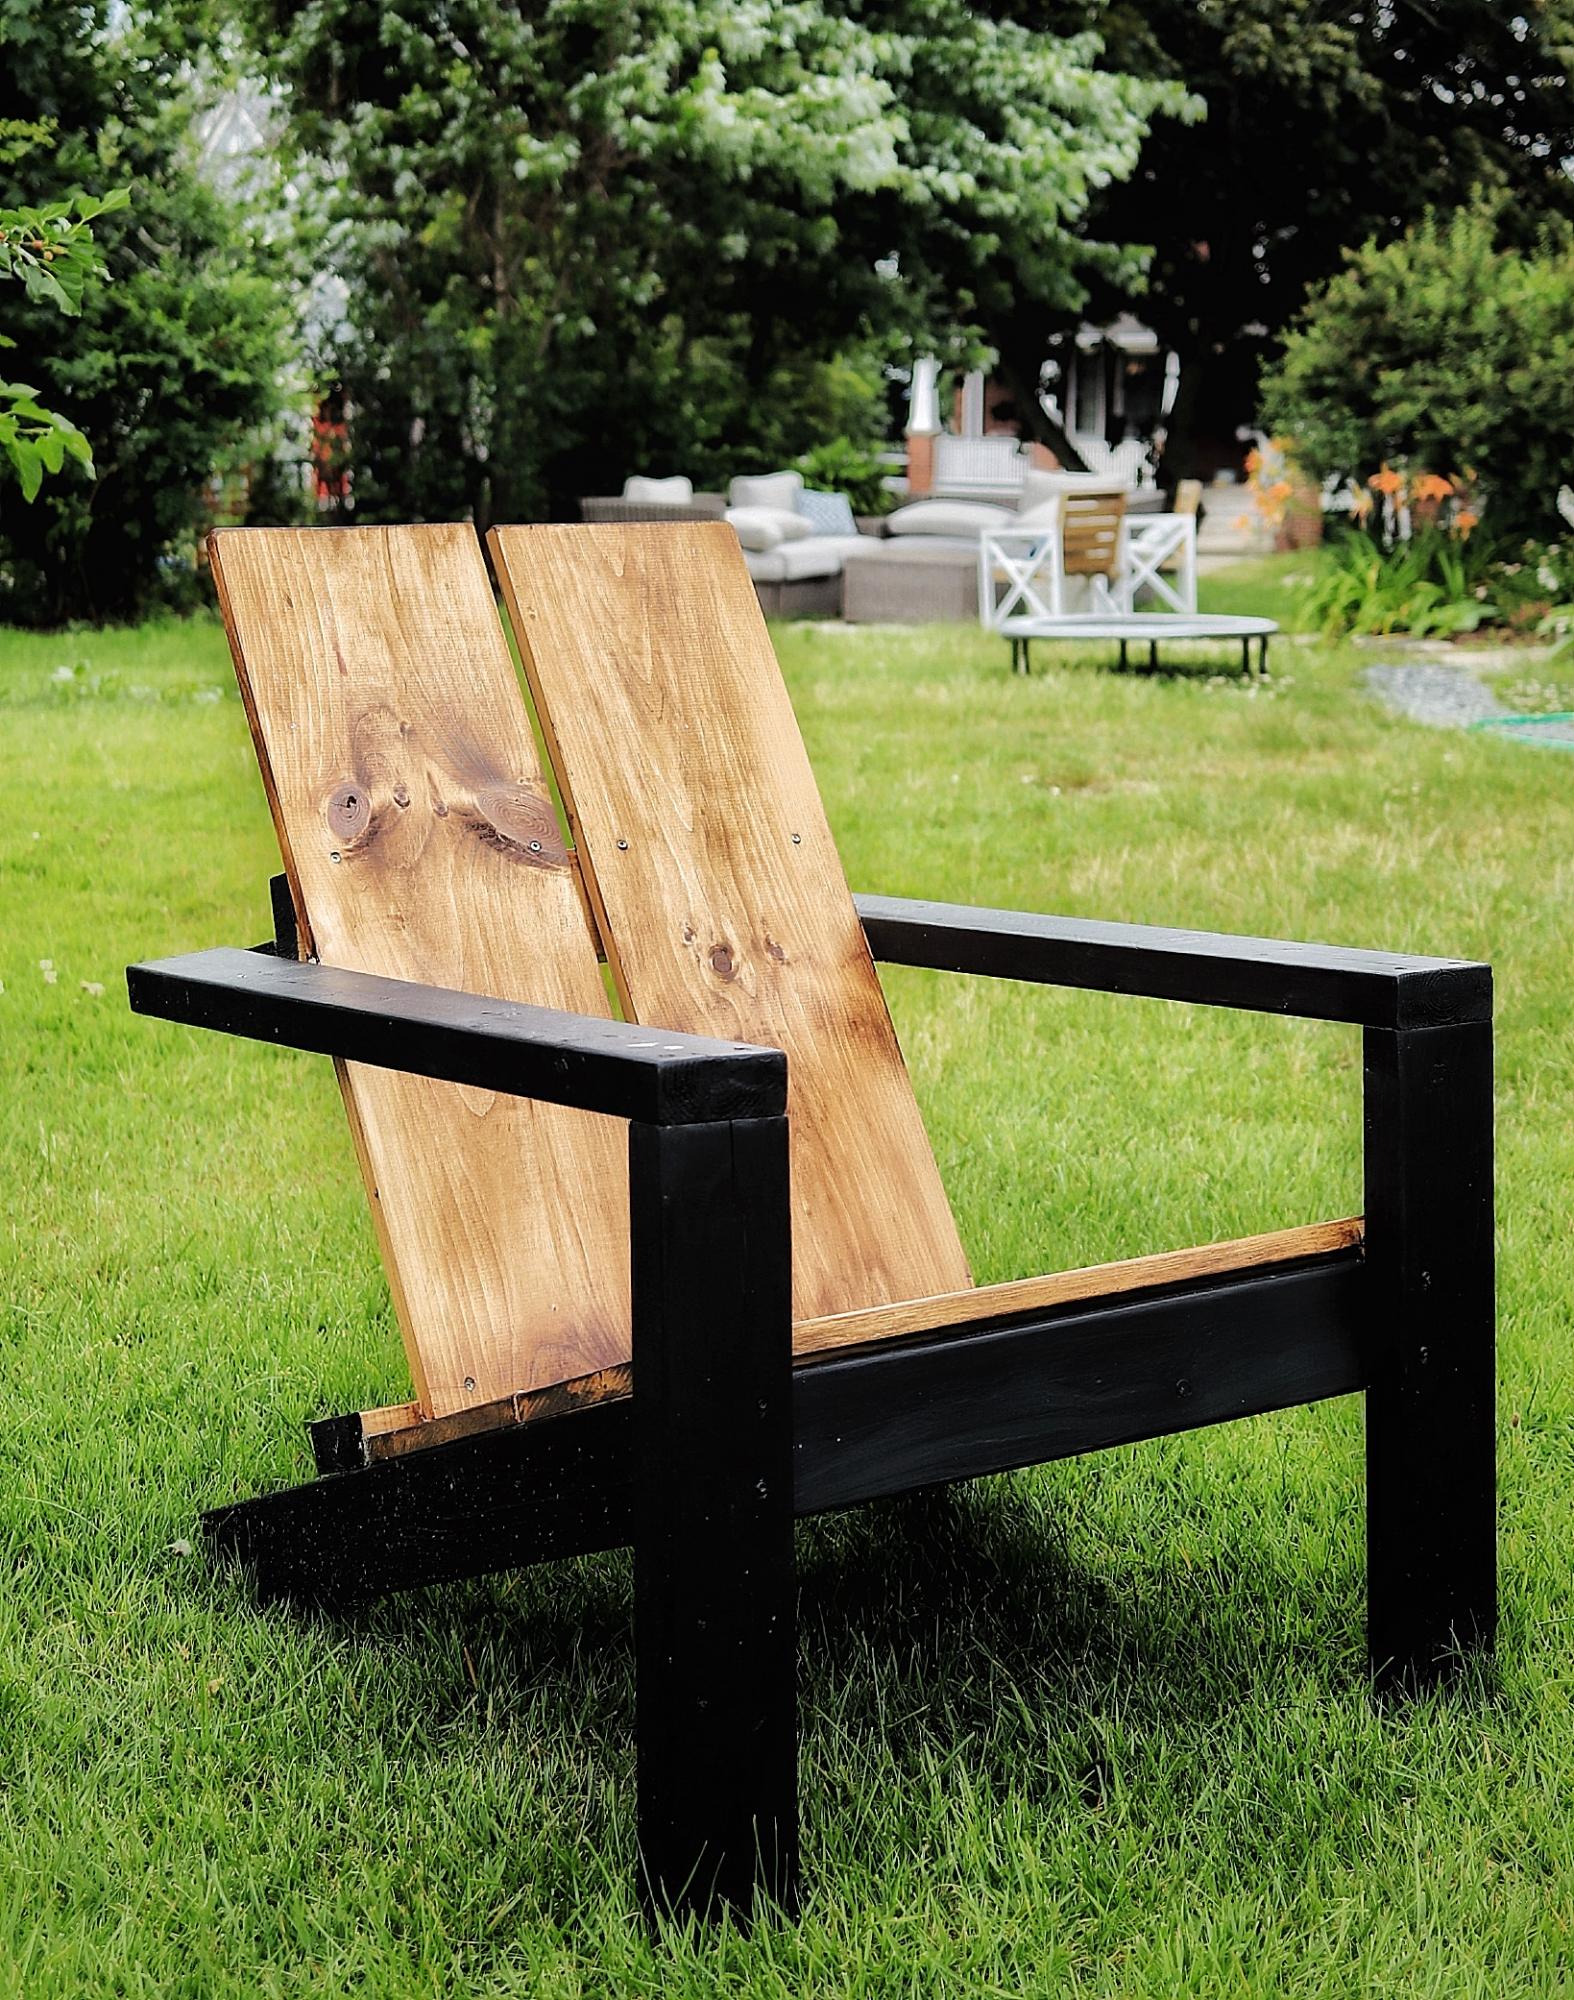
I was so excited to find the plans for these awesome chairs, I’ve built 7 this season already—the modification happened as an accident, but I loved the result !

Estimated Cost
$30
Estimated Time Investment
An Hour or Two (0-2 Hours)
Finish Used
MinWax Aged Oak and Black paint
Recommended Skill Level
Intermediate

Comments

Seasonal And Holiday
Back