Community Brag Posts

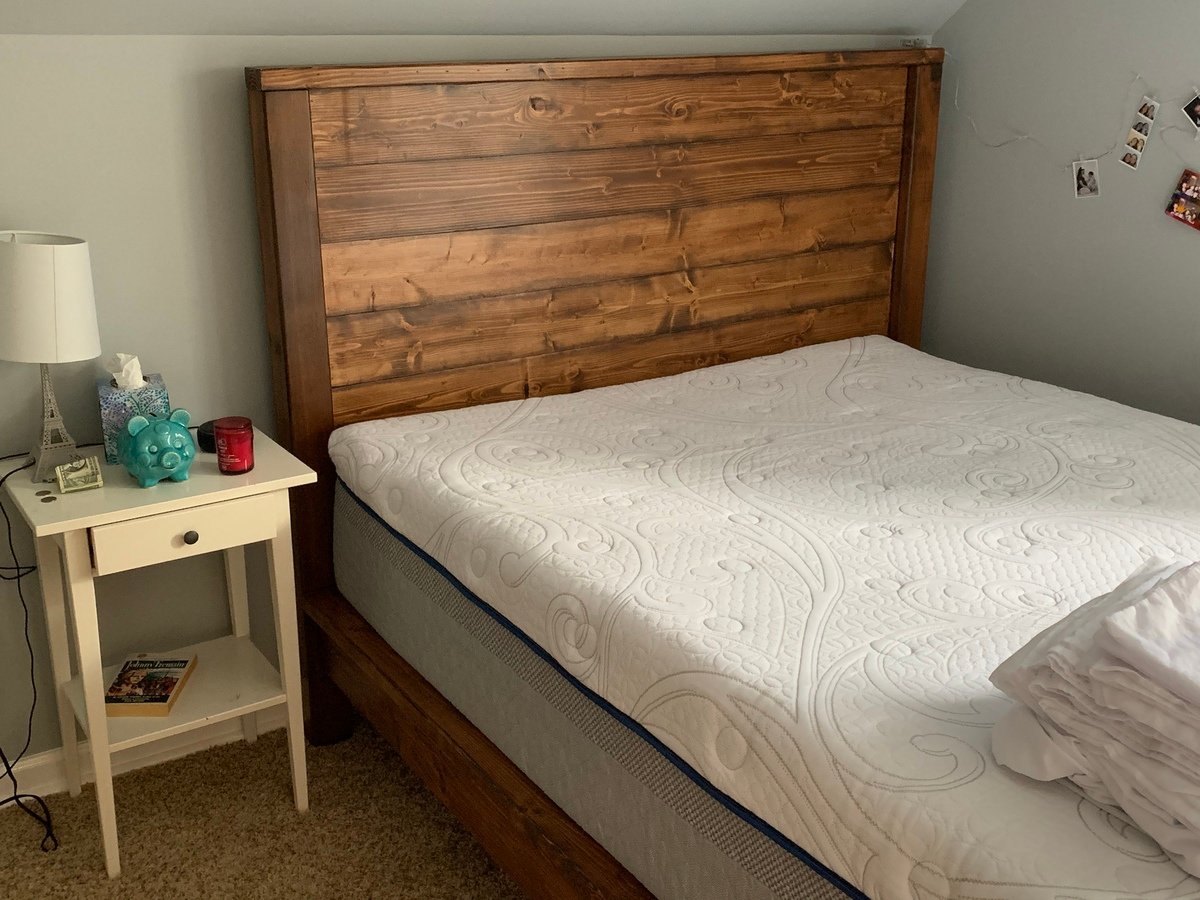
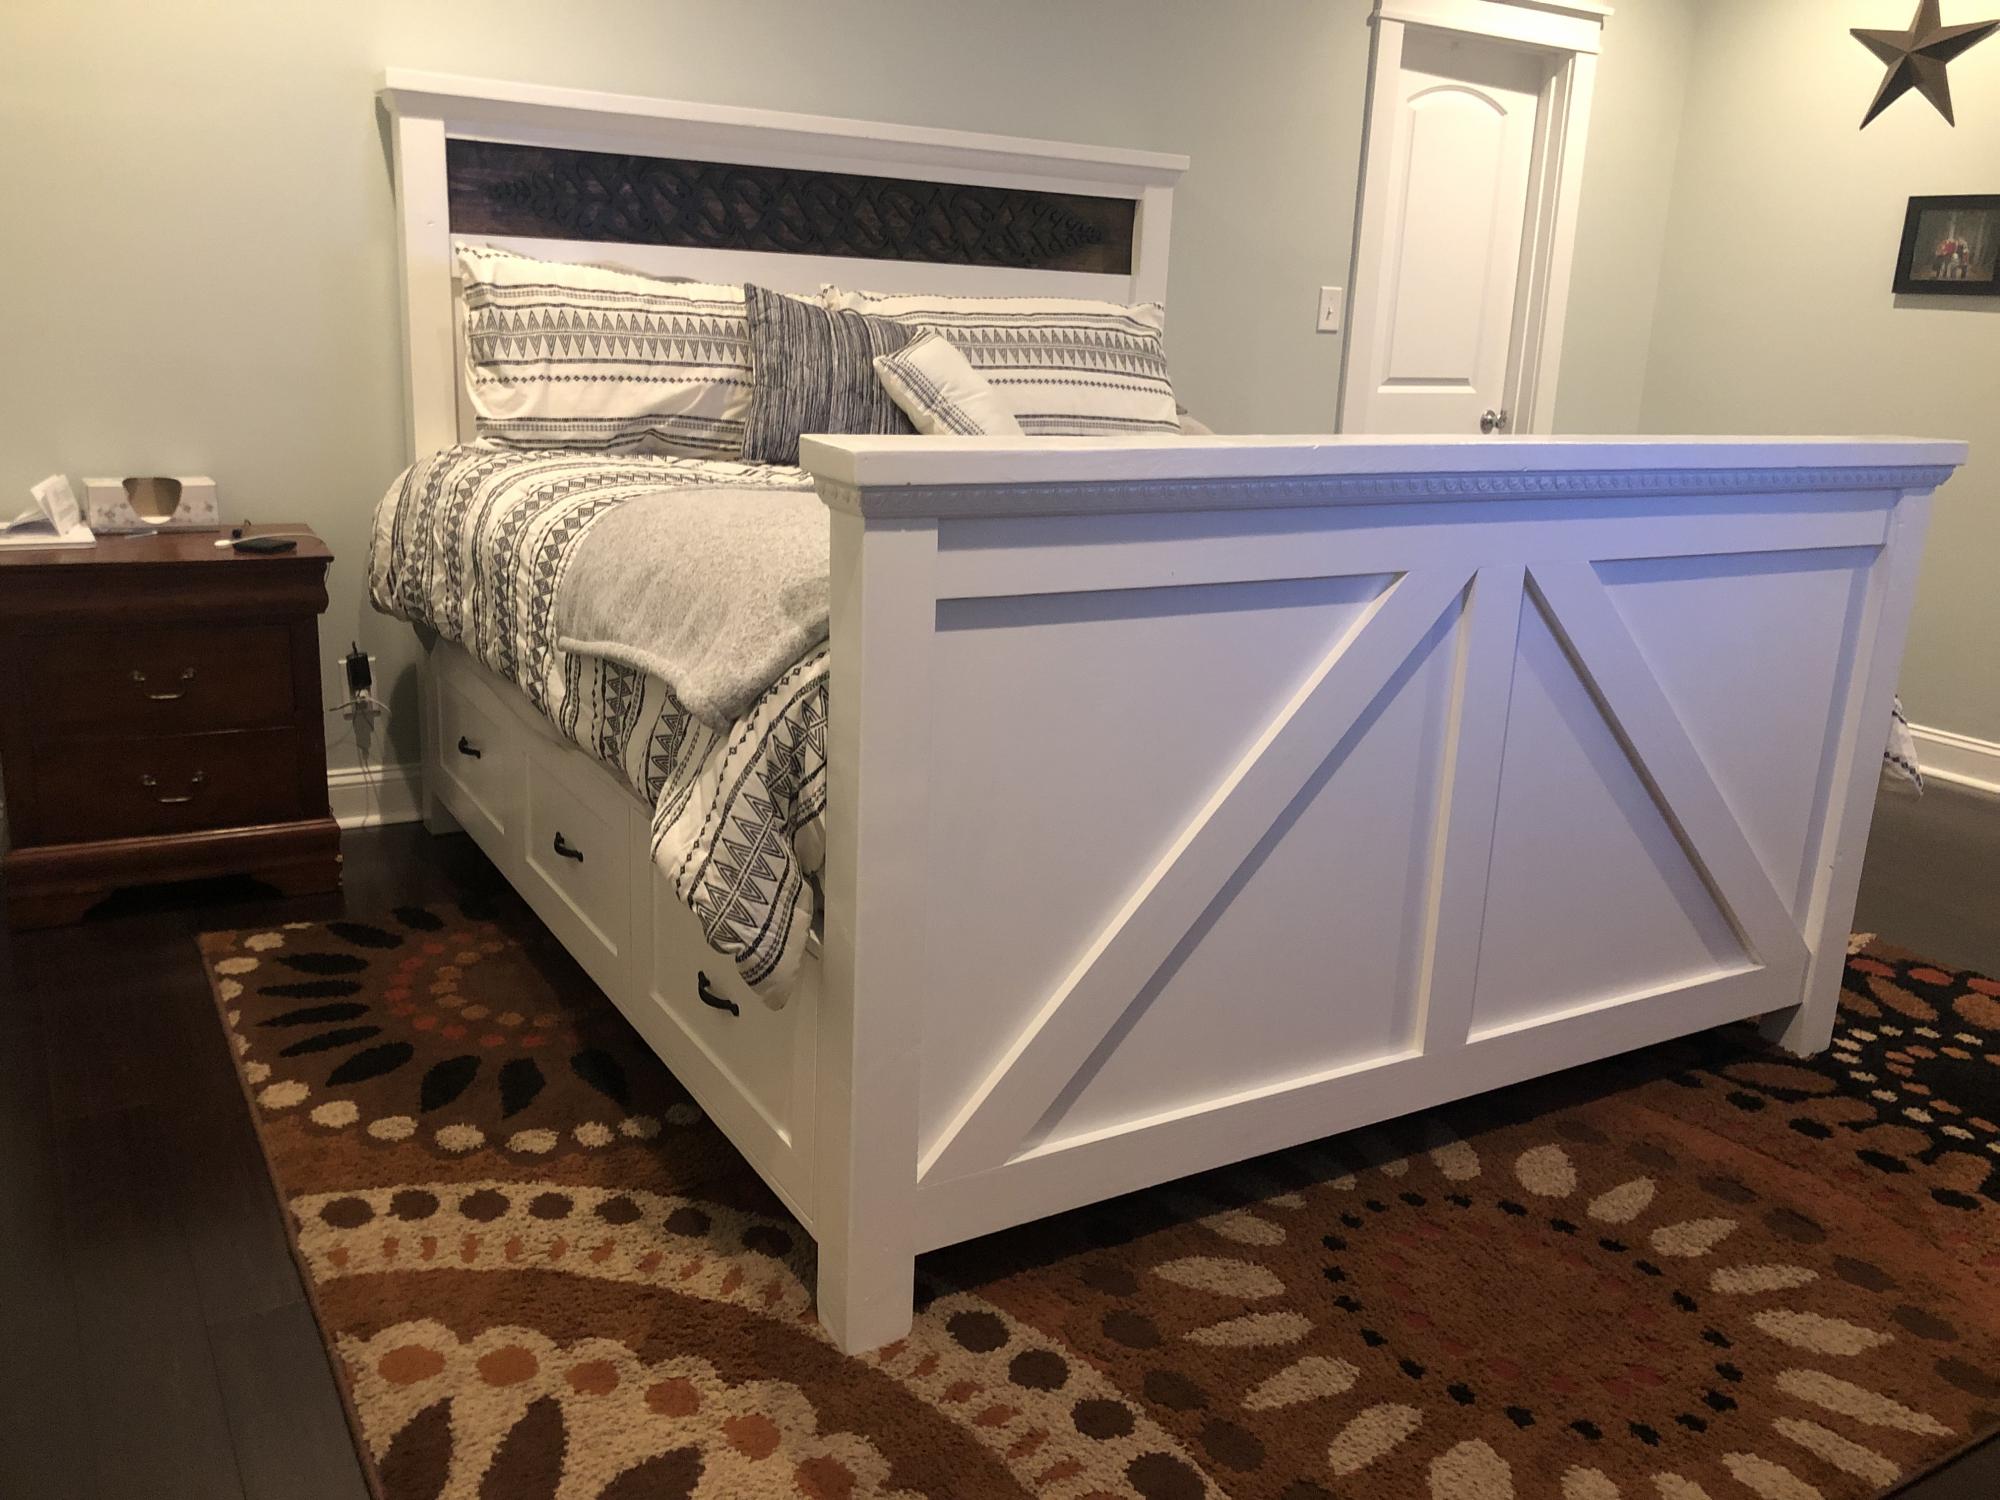
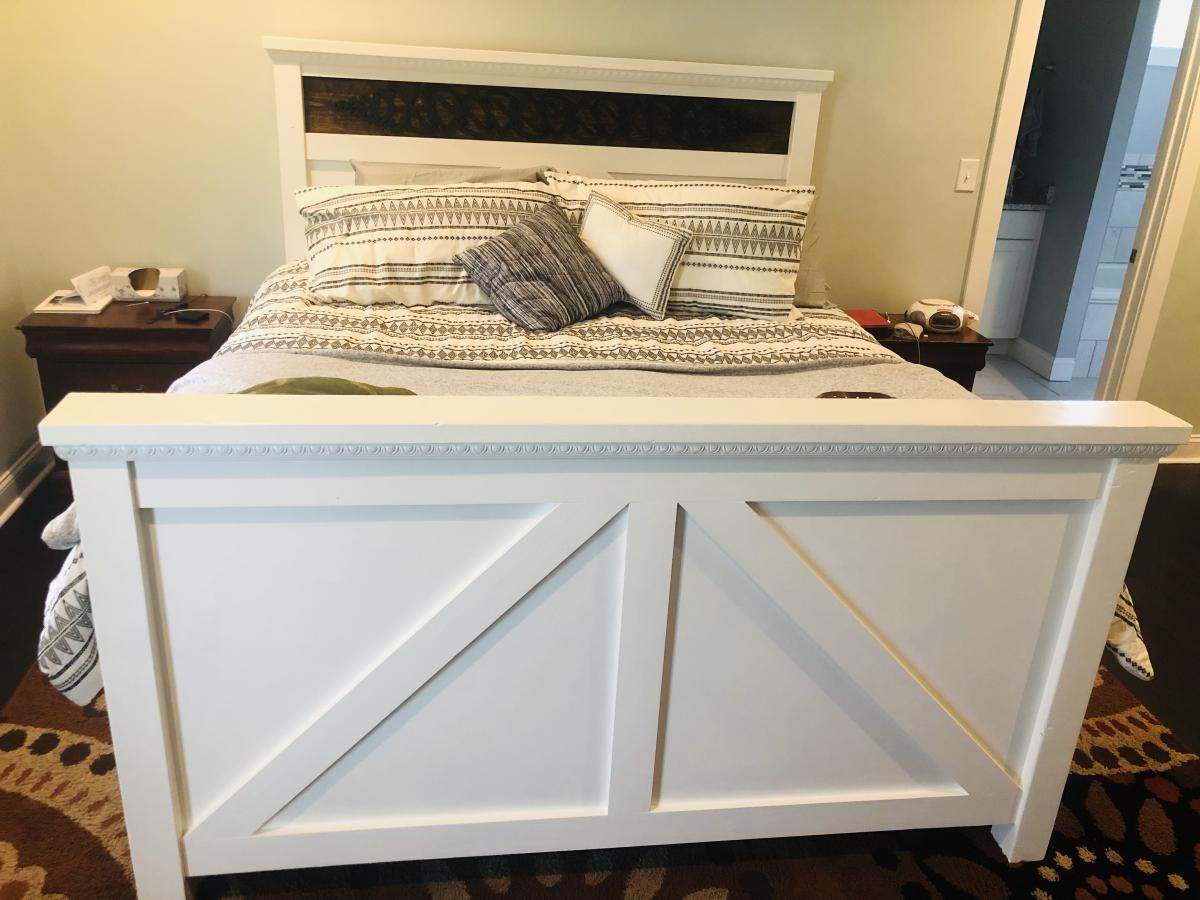
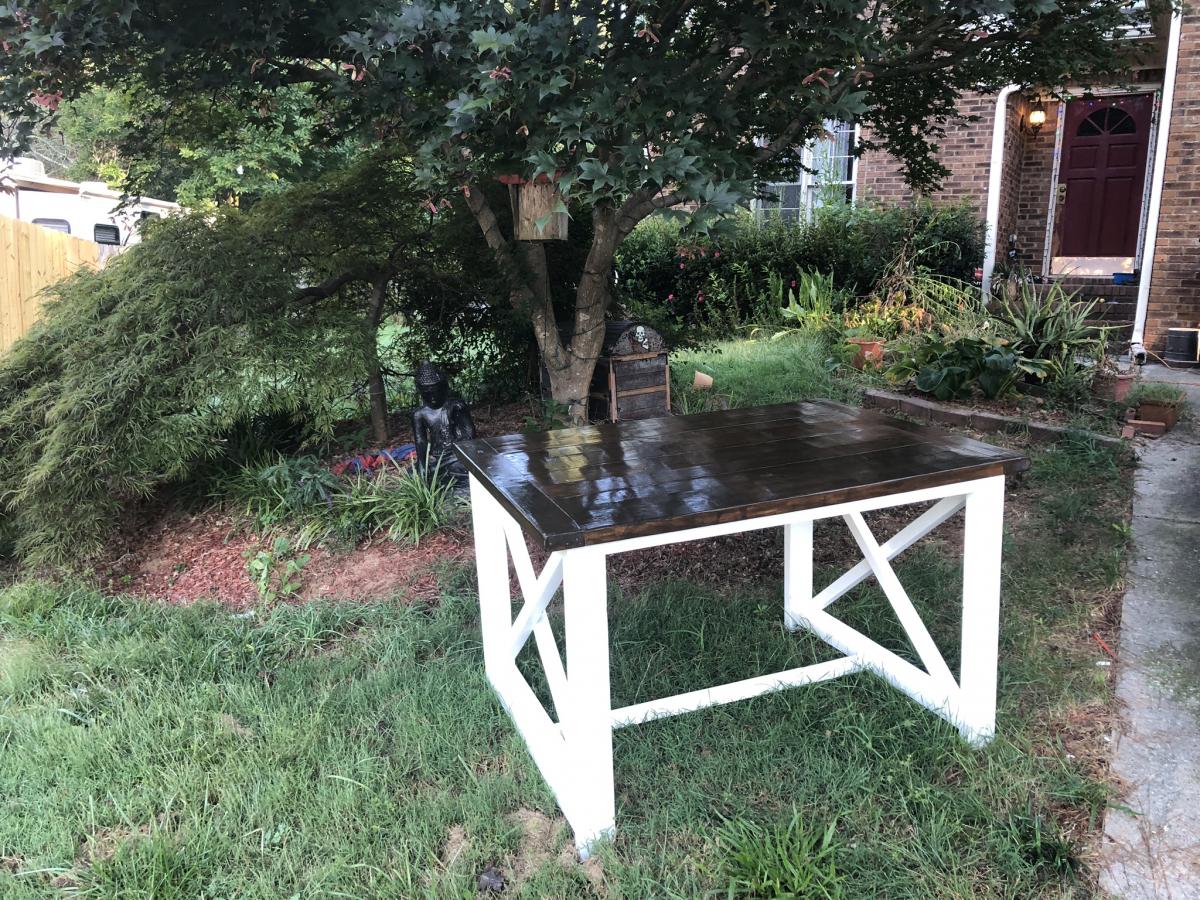
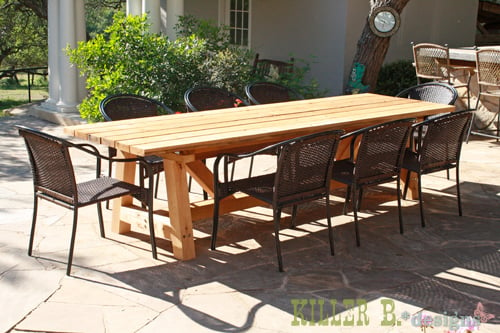
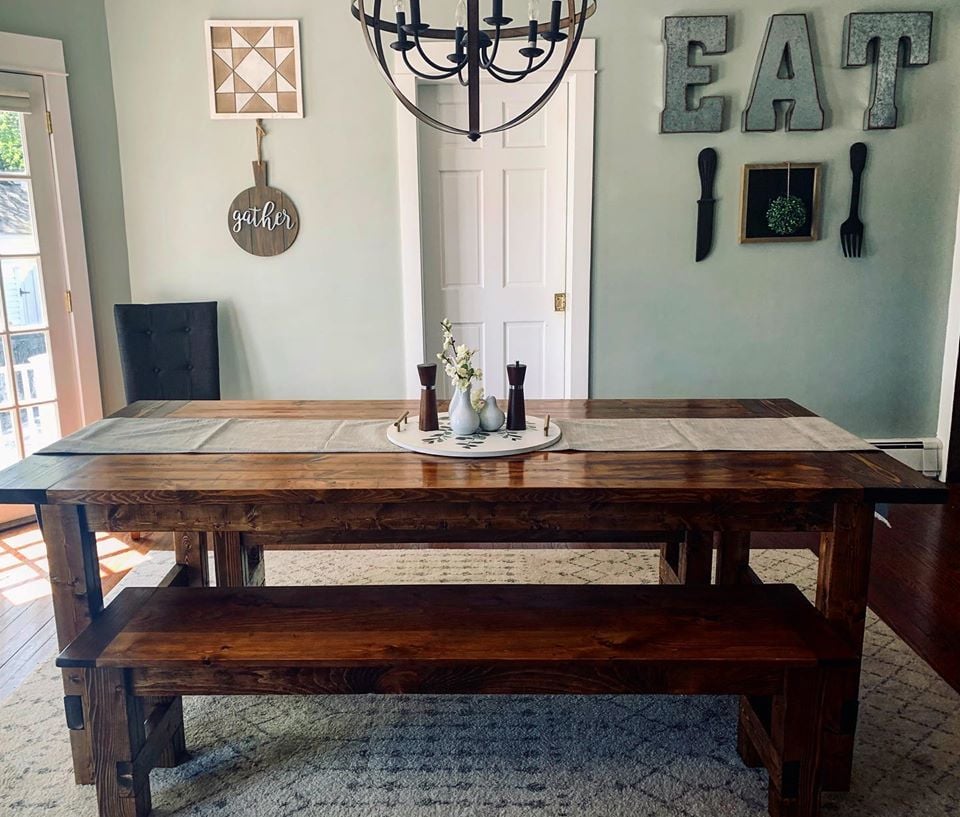
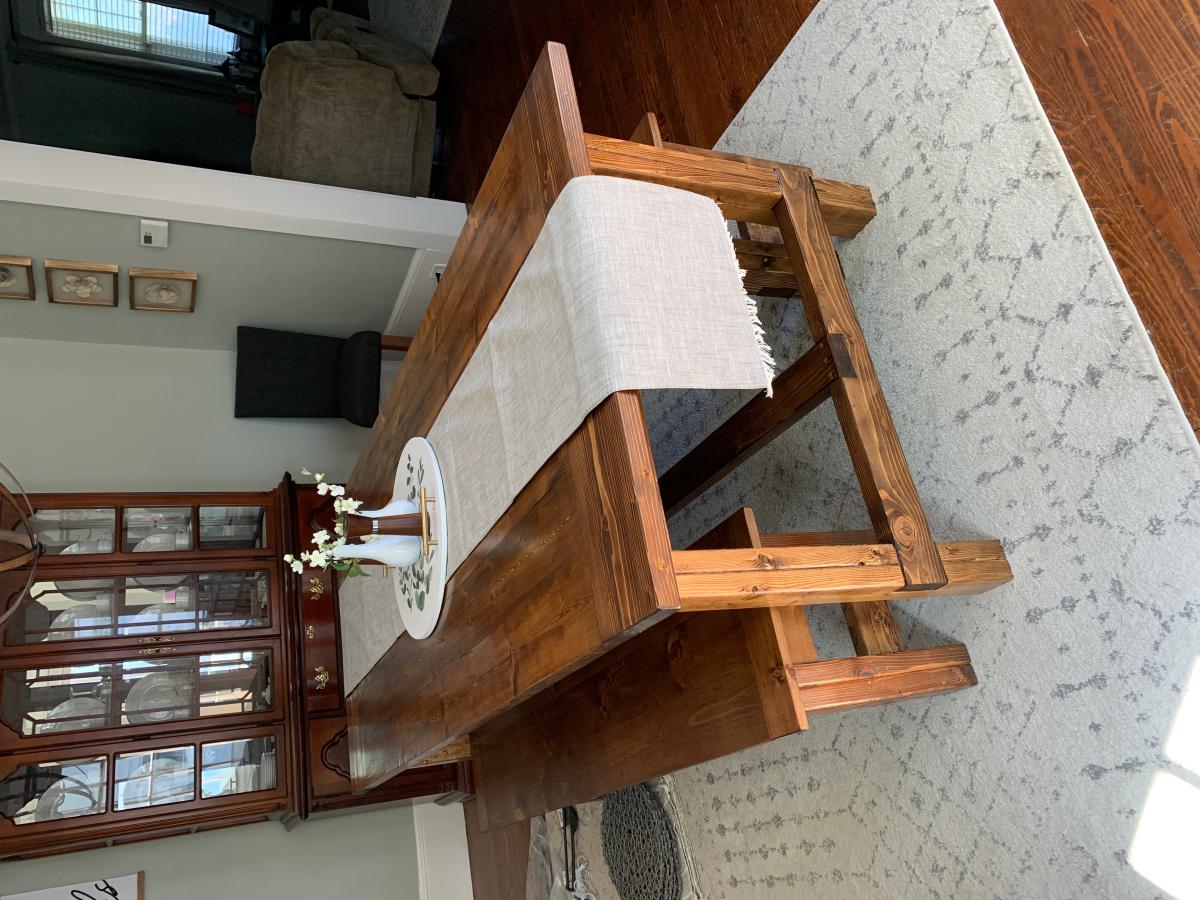
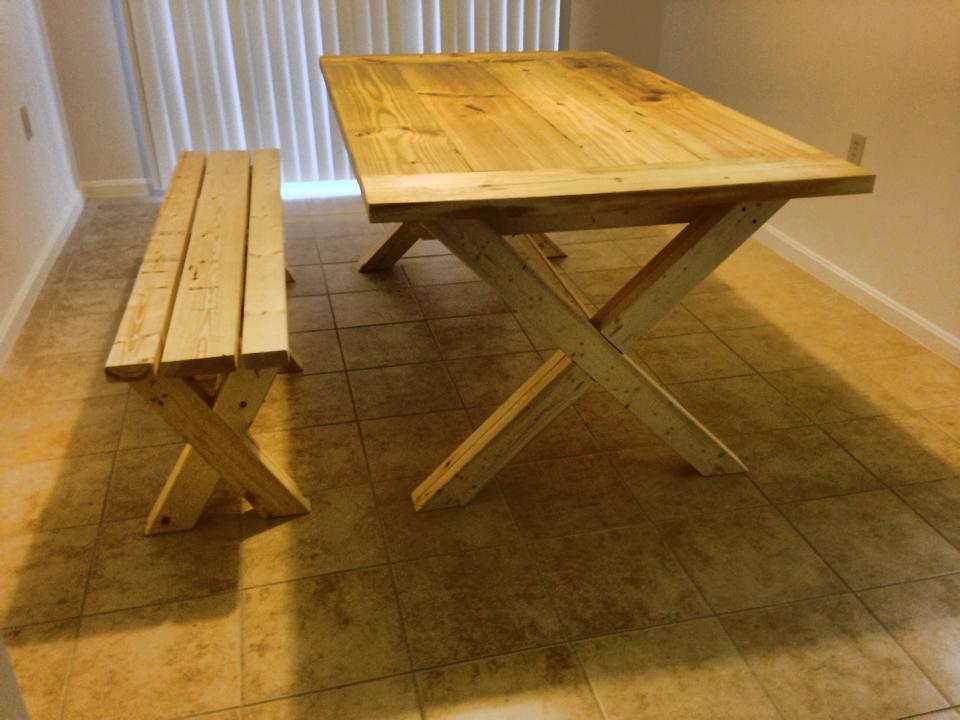
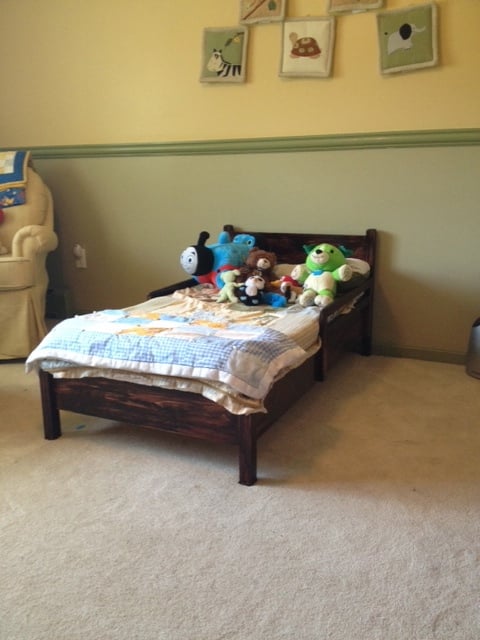
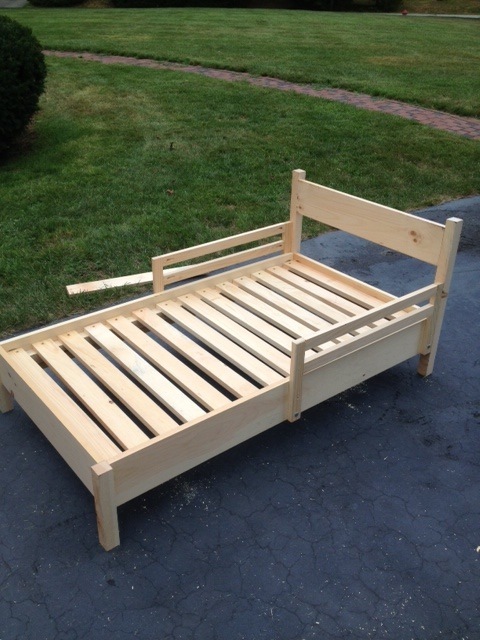
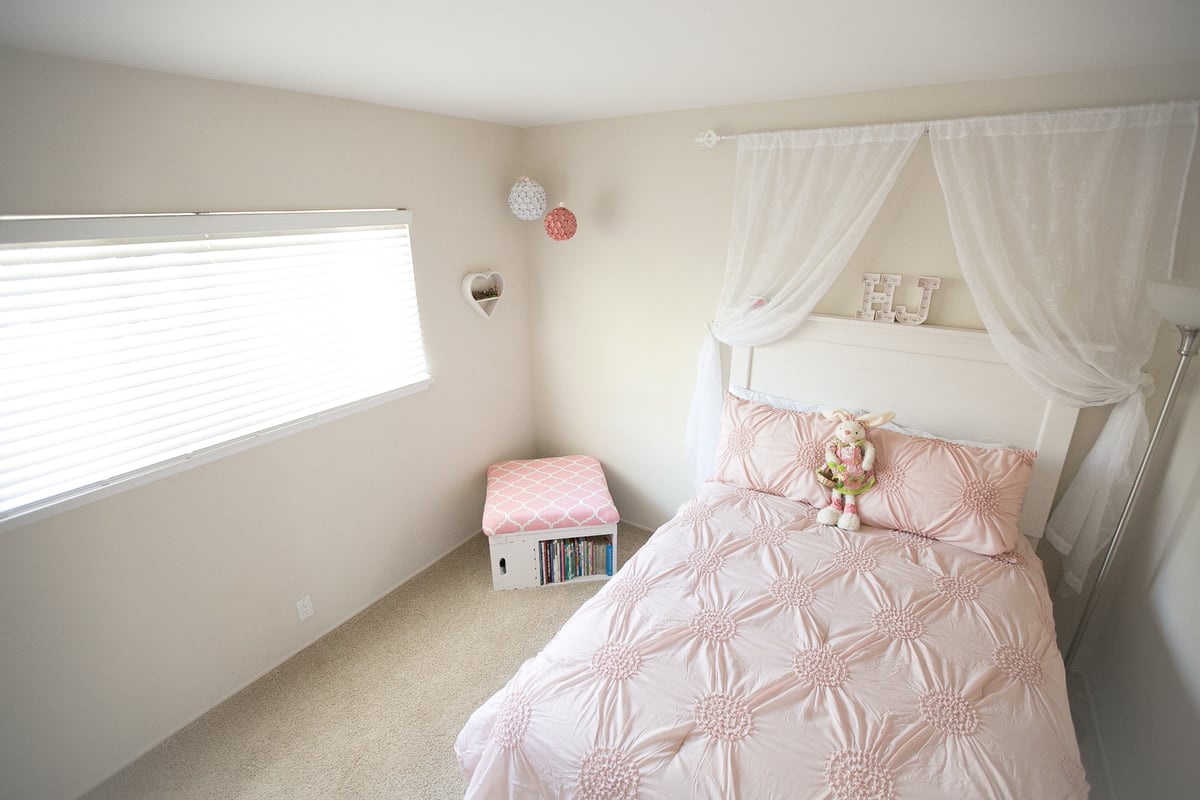
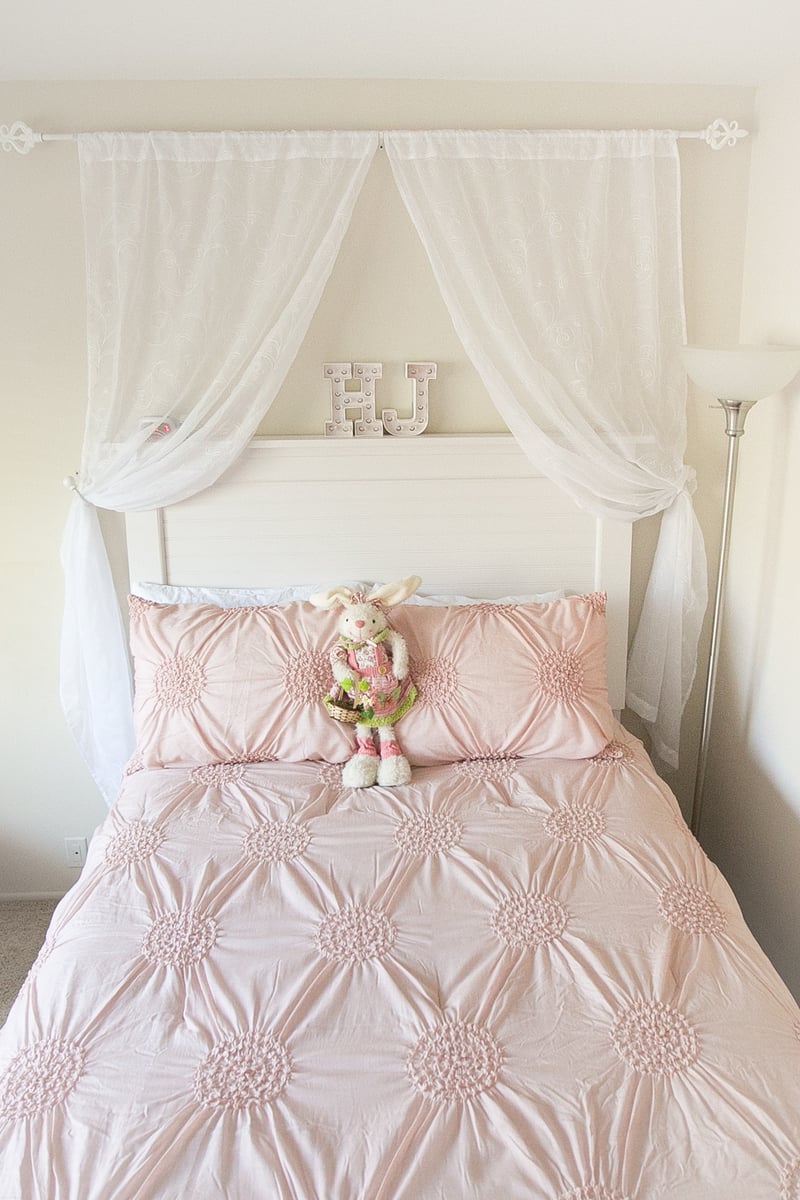
Modern Farmhouse Bed

Submitted by Anonymous (not verified) on Tue, 02/26/2019 - 08:33

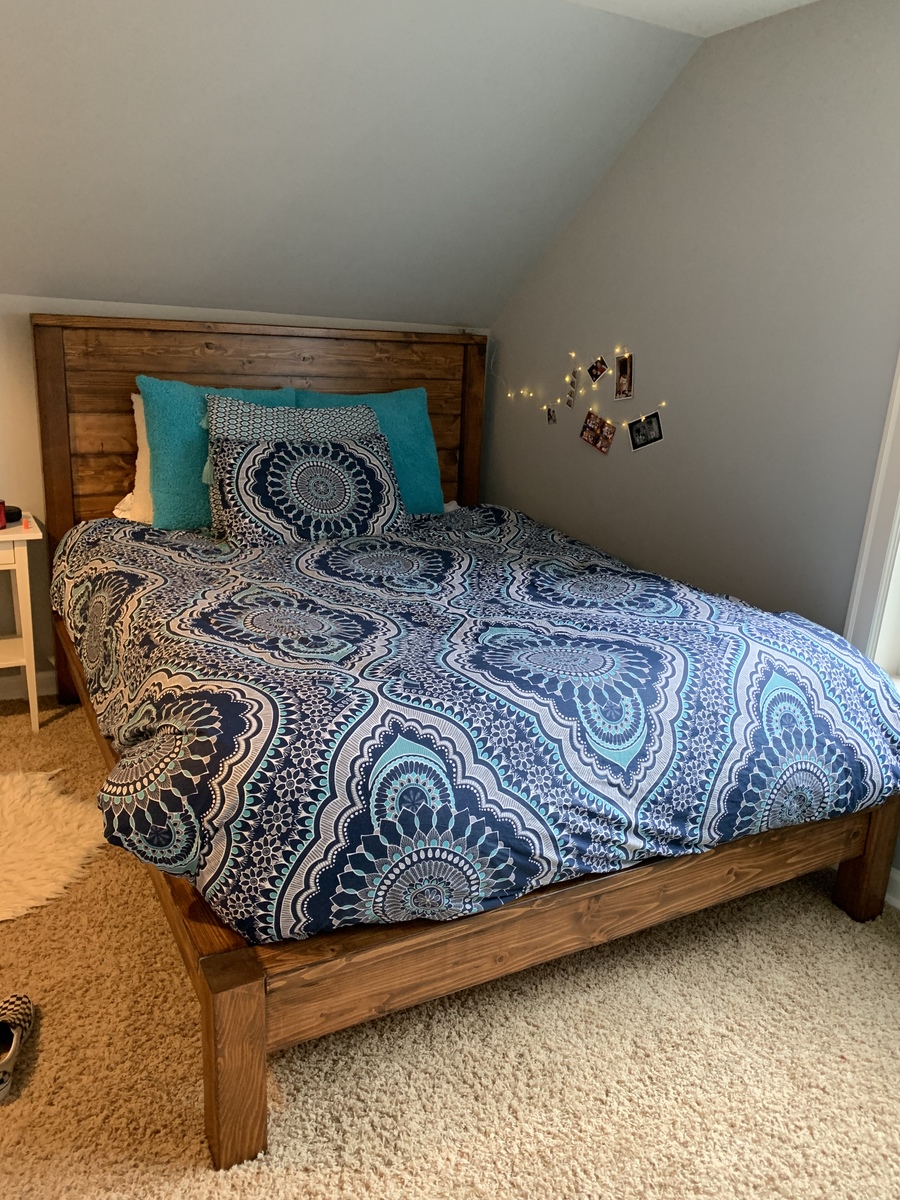
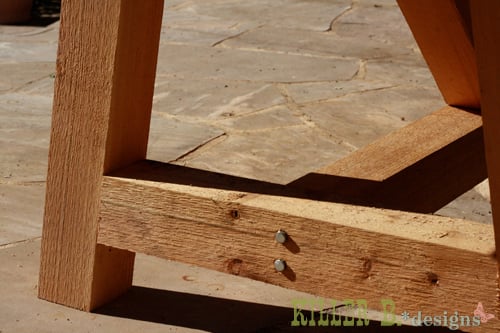
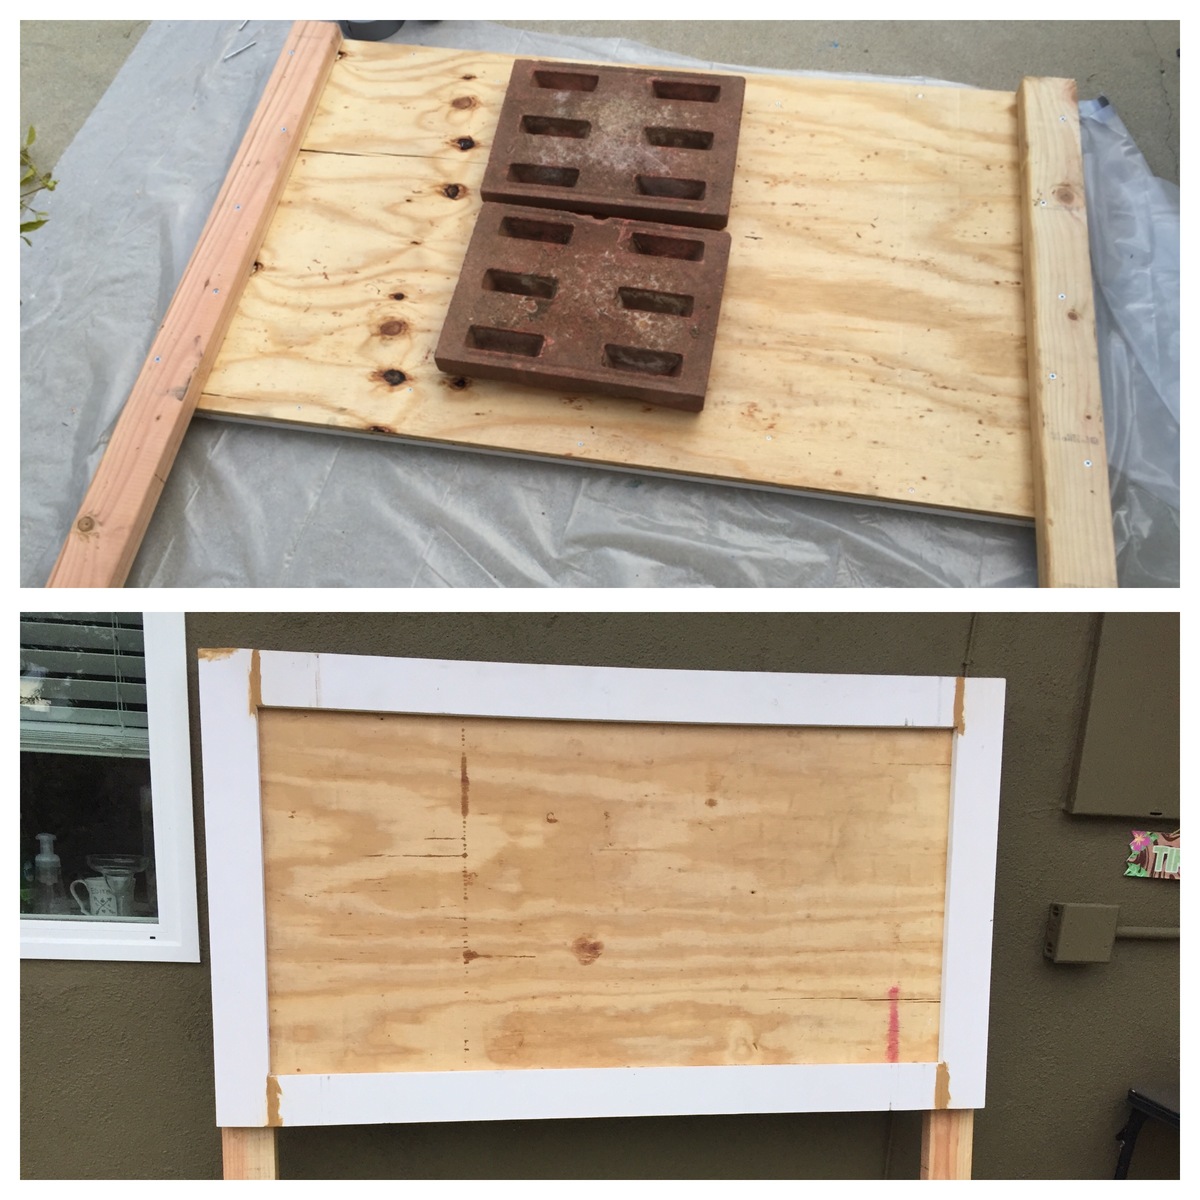
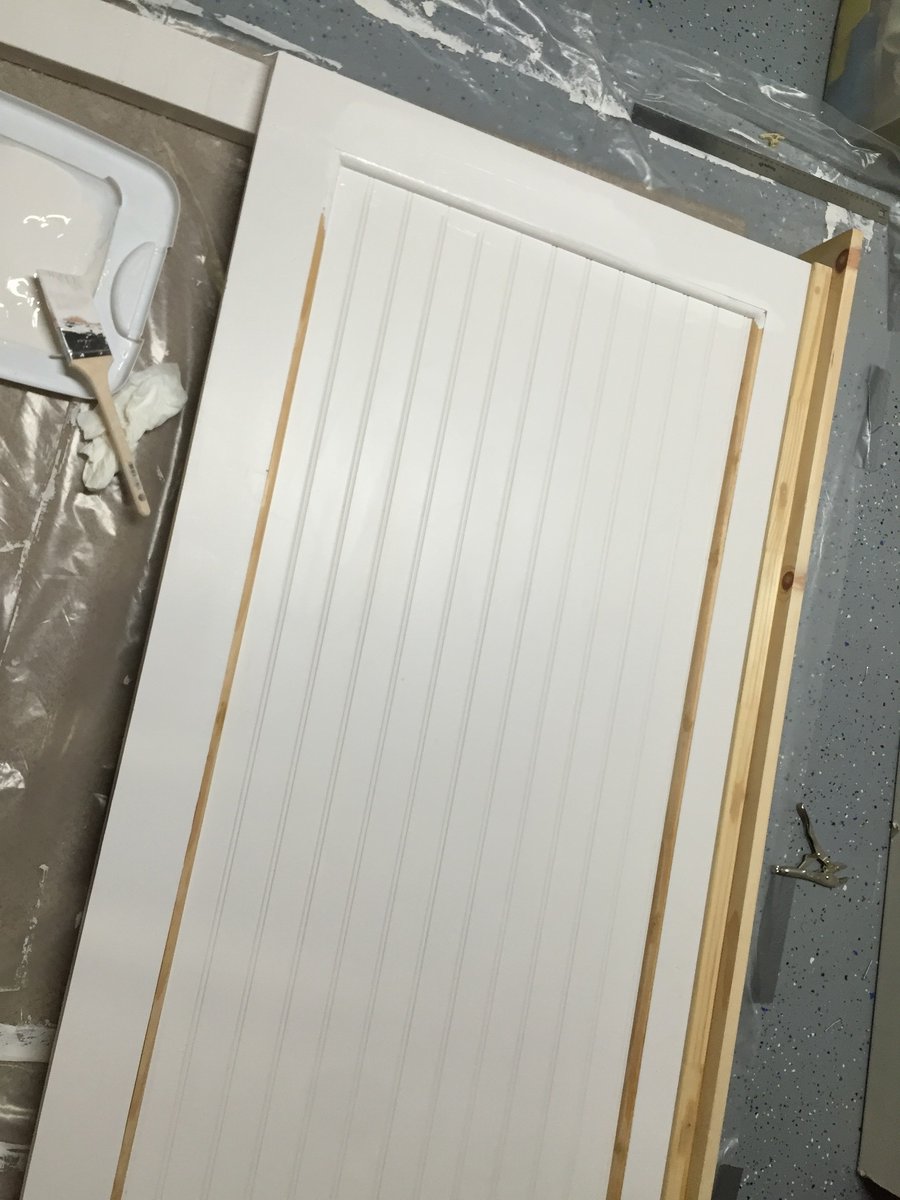
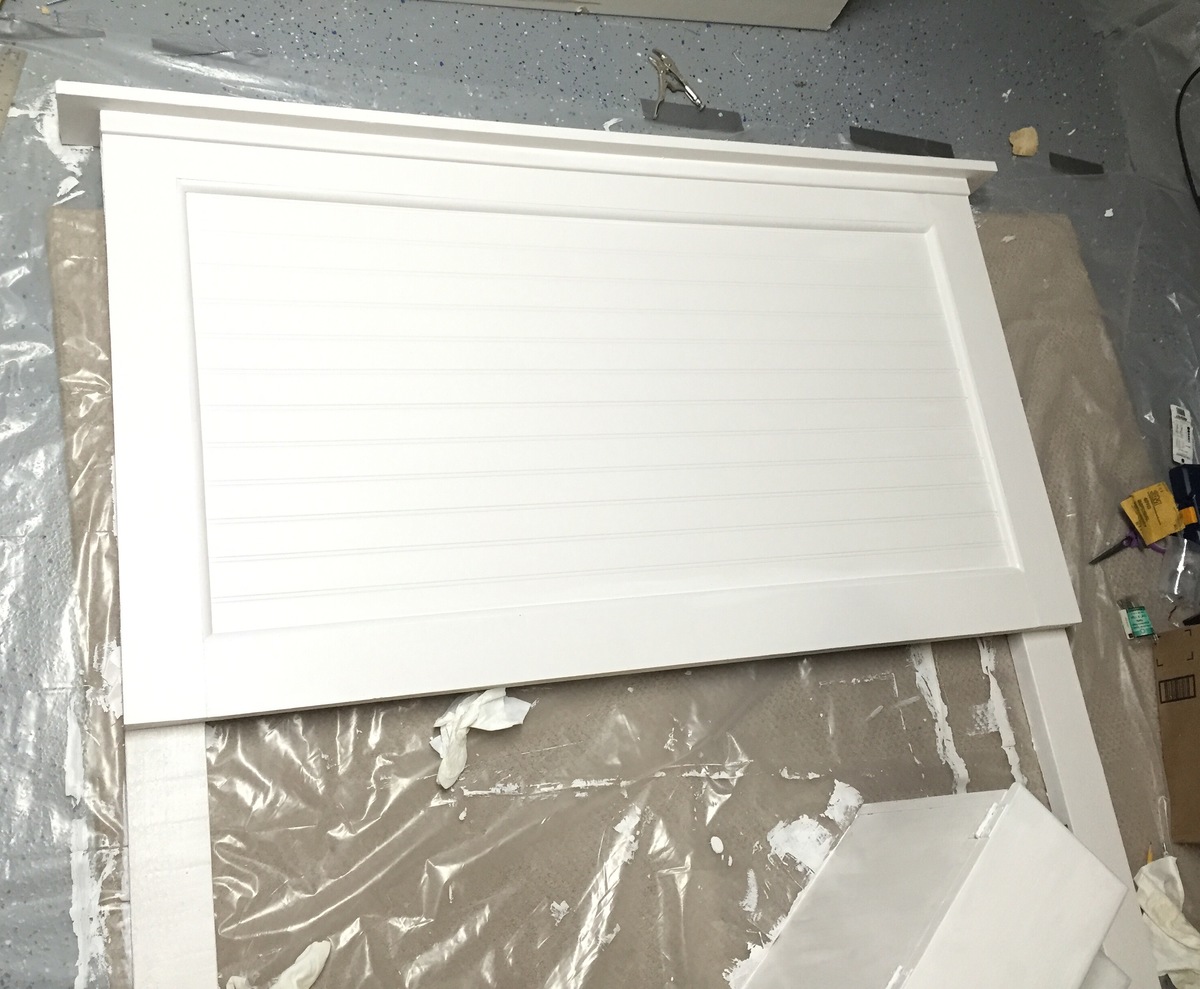
I made this as part of a room makeover for my teenager. It was my second furniture project, the first being Ana’s original farmhouse bed. This was my first project with the Kreg jig and I watched a great YouTube video by shanty2chic to learn the basics of pocket holes. This was also my first staining project and I love the results. My daughter loved it so much she had me stain her closet doors to match! The lumber for the bed was only $120, I spent an additional $80 on wood and screws for the slats to support the mattress, my new kreg jig came with enough screws to make the bed frame. I spent another $80 on wood conditioner, stain and poly since she didn’t like the first stain (Briarsmoke, which I will definitely use on another project).

Built from Plan(s)
Estimated Cost
$200
Estimated Time Investment
Day Project (6-9 Hours)
Finish Used
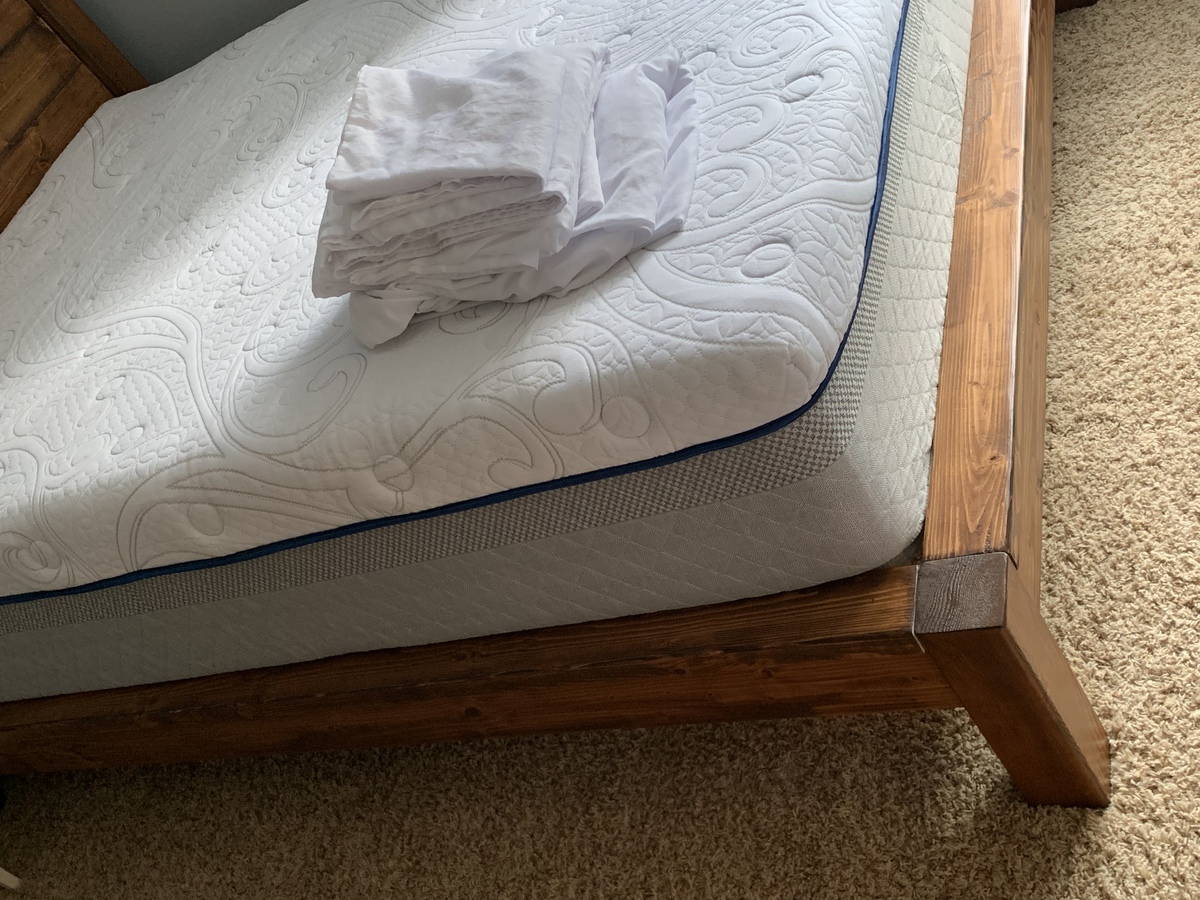
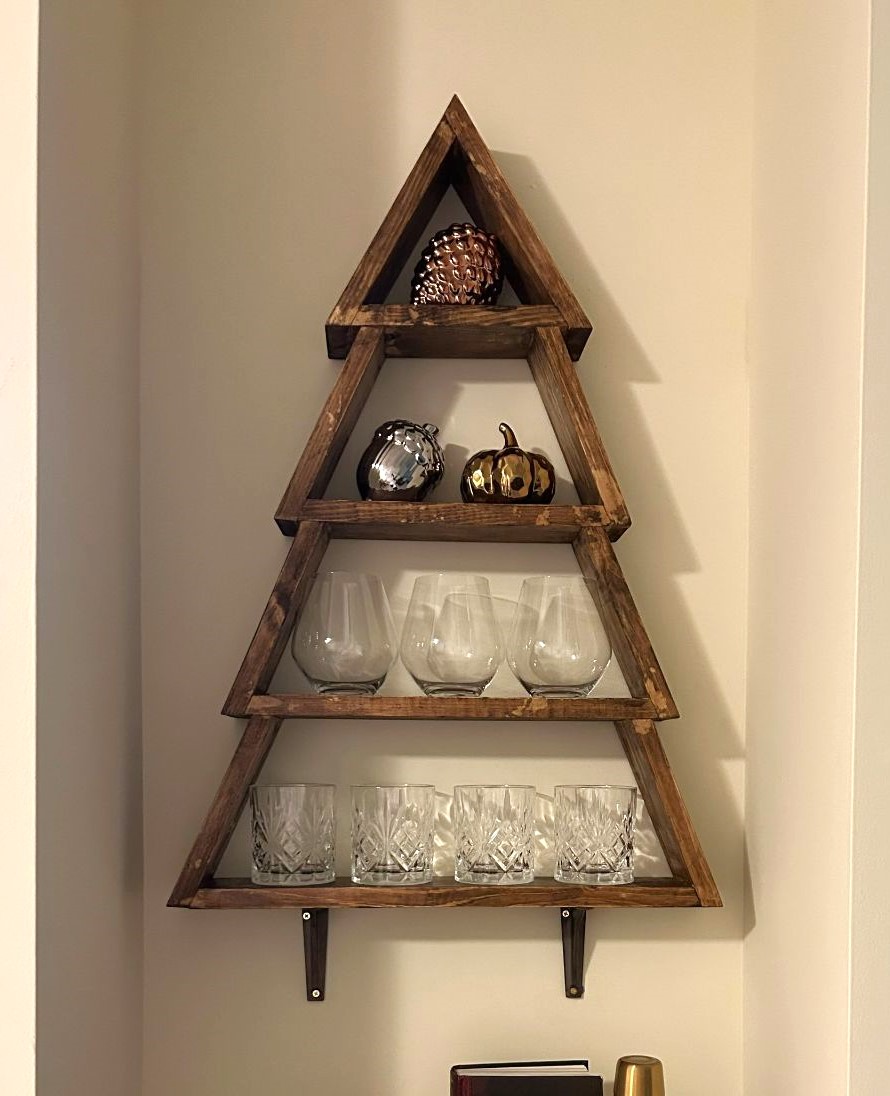
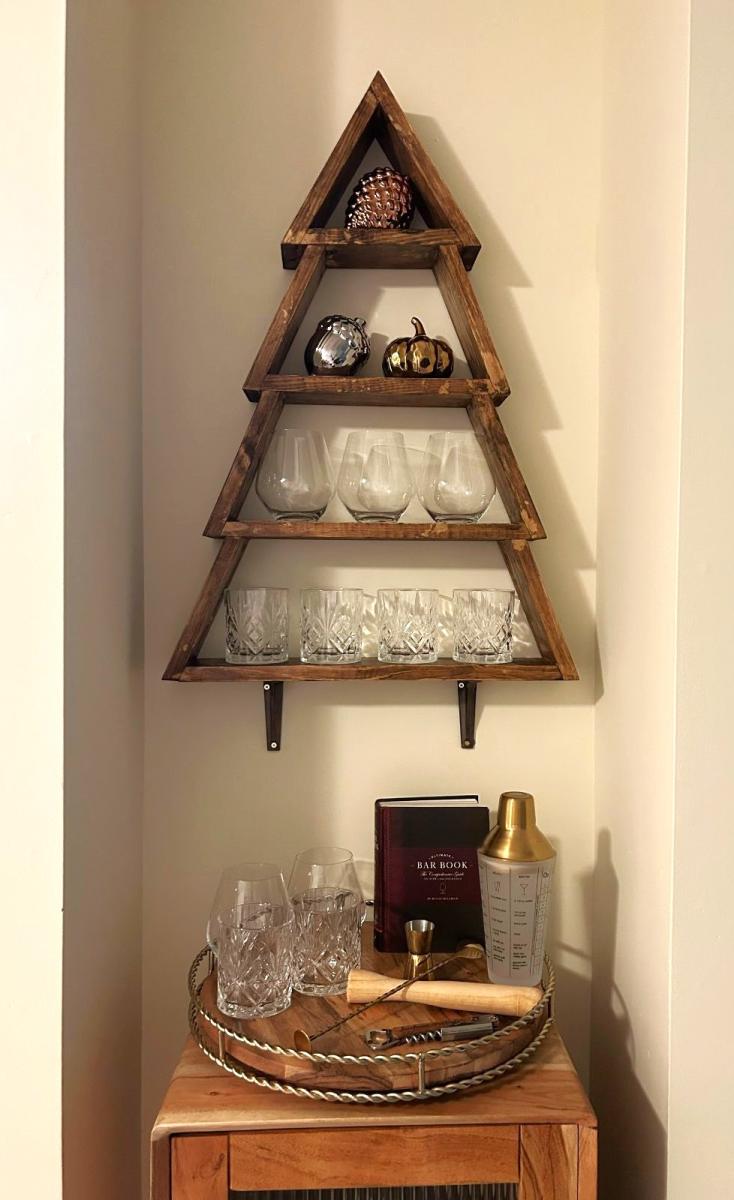
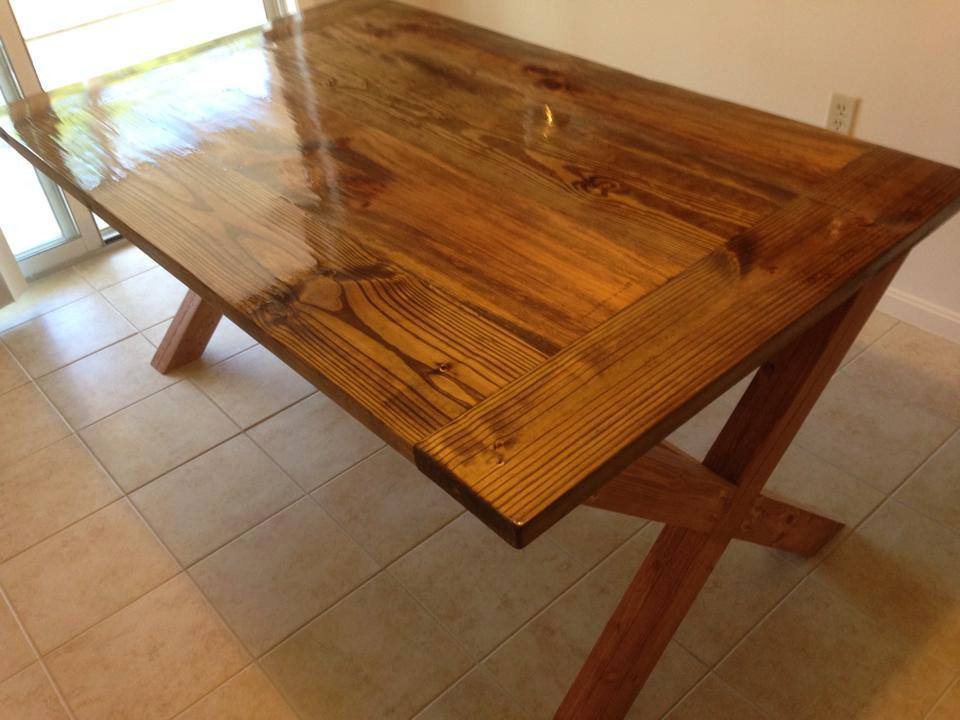
I started with a wood conditioner and then used Varathane Early American stain applied with a rag and dry brushed on top of that with varathane Kona, again watching a shanty2chic video for technique. Poly is water based satin finish. I used the triple thick but still had to do 2 coats, partly for coverage but also because the water based poly raised the grain so I needed to do a light sand and a second coat of poly for a smooth finish.
Recommended Skill Level
Intermediate

Comments

okstout4

Mon, 10/19/2020 - 19:49

This is very nice. Love the color too. I used Special Walnut in Behr brand and it came out too dark. Wished I had looked at some of these builds before I did the Behr brand stain.

Pretty AND Functional Wall Shelf

To finish off my bathroom remodel I built the Martina wall shelf. I reused the metal hook that was previously on my wall before the board and batten treatment. It fit perfectly in the space under the shelf meant for hooks. I wish I had measured out my towels and storage needs. I could have actually stored more if I had adjusted the plans to make the shelf a little deeper and a couple inches wider. Overall, I'm very pleased! The Kreg Jig is a fun little tool, too!

Estimated Time Investment
Day Project (6-9 Hours)
Finish Used
primer/sealer (1 coat)
Valspar High Noon in Flat Enamel finish (2 coats)
Recommended Skill Level
Beginner

Comments

Modern Craft Table *tweaked*

Completed Modern Craft Table! We tweaked the plans a bit because I was looking for a larger table top. The top now measures 48" x 76". We simply did this by adding an extra set of cubbies to the other side of the shelves. Absolutely LOVE how this turned out! All I need now is 4 counter height stools built and lots of shelves to complete my craft room! Will be sure to post those once they are completed!

Built from Plan(s)
Estimated Time Investment
Weekend Project (10-20 Hours)
Finish Used
Ultra White Latex Paint
Recommended Skill Level
Beginner

Comments

Ana White

Thu, 11/17/2011 - 01:10

Darn I was so excited to see you craft table! I apologize that your brag post did not show images. If you can send me images at knockoffwood(at)gmail.com I'd be happy to post. Thanks so much for submitting a brag post. Ana

Guest (not verified)

Sun, 03/04/2012 - 07:31

I LOVE LOVE LOVE your craft table. I want one! Looks like my husband wil have to get busy! Thanks for sharing!
Kristina
Houston, TX

Kimmy (not verified)

Tue, 03/20/2012 - 17:51

Is this the pic of the one you did ?? I am wanting a bigger table top too. I have waited years for just the right table and this is it.

Kimmy (not verified)

Tue, 03/20/2012 - 17:51

Is this the pic of the one you did ?? I am wanting a bigger table top too. I have waited years for just the right table and this is it.

Kimmy (not verified)

Tue, 03/20/2012 - 17:54

Is this the one you made ? I want a bigger table top as well. But I don't see the extra cubbies.

Kimmy (not verified)

Tue, 03/20/2012 - 17:54

Is this the one you made ? I want a bigger table top as well. But I don't see the extra cubbies.

naildoctors

Tue, 05/29/2012 - 00:05

This is great!! I am planning something similar, but what is your idea or the plan you used for the middle support to keep it from sagging over time? My idea is to run another cubby in the middle from side to side. What do you think?

Laura Mulholland (not verified)

Mon, 01/21/2013 - 09:54

I love the modern craft table, just what I have been looking for, do you share instructions, dimensions, etc.? thanks, Laura

HapETexanGal

Thu, 05/12/2016 - 15:14

I'm loving this and would love to have FIL build it for me but the plans look like its for the regular modern craft table but not the tweaked?  Also is there support for the middle?  Can you send me a link for the tweaked supply list please, can't seem to find it.  Love what you do!

King Farmhouse Storage Bed

Submitted by Anonymous (not verified) on Sun, 08/18/2019 - 15:41

After a successful attempt at Ana’s farmhouse desk I decided to make a bed for my wife... needless to say I think she likes it! Thanks to Ana and Pretty Handy Girl’s plans! (This is my 3rd woodworking project)

Estimated Cost
700
Estimated Time Investment
Week Long Project (20 Hours or More)
Finish Used
Valspar Cabinet Enamel
Minwax Dark Walnut stain
minwax Polycrylic satin polyurethane

I used acetone to transfer the graphic I designed for my inlay. I carved out the inlay with a router. I stained the wood and then painted the surface black.
Recommended Skill Level
Beginner

Comments

Rustic X Tall Bookshelves

Submitted by frmoody on Wed, 10/02/2019 - 09:23

A friend wanted these bookshelves to match the Farmhouse X Desk but she wanted them narrow so they would fit in a small office. This was a very challenging and at times frustrating build getting everything to fit and getting the X's correct but in the end they turned out very well.

Built from Plan(s)
Estimated Cost
$75
Estimated Time Investment
Week Long Project (20 Hours or More)
Finish Used
The wood was painted with a white cabinet paint and the shelves were stained with Varathane Kona.
Recommended Skill Level
Intermediate

Comments

DIY Brew Station

Submitted by Anonymous (not verified) on Sun, 07/30/2023 - 14:38

I used your workbench plan to build my Brew Bench. I changed the measurements to fit my space and used a butcher block for the countertop. Very sturdy and pretty easy project. Took one day to build.

Scott R

Comments

Tall Rustic X Bookshelves

I followed the Rustic X Tall Bookshelf plan to make a set of bookshelves for my husband for Christmas! It was my second ever woodworking project. The plan was really easy to follow and so fun to make! I ended up using an additional shelf piece on the very top for a more modern spin on it. I also bought a pocket hole jig to use on this project. I'm happy with how it turned out!

Built from Plan(s)
Estimated Cost
$75 per shelf
Estimated Time Investment
Weekend Project (10-20 Hours)
Finish Used
MinWax English Chesnut Wood Finish and Paste Wax
Recommended Skill Level
Intermediate

Folding workbench

Submitted by mellyc_fl on Mon, 12/30/2019 - 17:42

We do not have a garage yet, so this size works great to push out of the way when not being used and pull out for a workbench and also to extend the table top for the saw.  The plans were easy to follow and easy to modify.  I added a base made of 2x4’s to make it sturdier since it will be moved across a deck vs a level floor.  I also added some boards behind the shelf to keep things from falling out the back and adjusted the height to match the table saw top.   Next up will be a router table stand to replace the camping footlocker. 

Built from Plan(s)
Estimated Cost
$100
Estimated Time Investment
Afternoon Project (3-6 Hours)
Recommended Skill Level
Starter Project

10 foot long Provence Table with 4x4's

My mom was looking for a new outdoor table, and asked me to come up with something. I found the link for these plans (http://www.thedesignconfidential.com/2011/04/free-diy-furniture-plans-t…) to knock off Restoration Hardware's $4000 Provence Beam outdoor table. Overall I liked the plan, with the chunkier look of the 4x4's. But there were a lot of errors in the diagrams, and the finished height is 34" which is ridiculously tall for a table. So we took it apart and cut the legs back down to change the finished height to 30". We chose rough-cut cedar for it's look and outdoor properties, not wanting to use treated lumber for a dining table. We couldn't find 2x10's like the plan, so we substituted seven 2x6's just like Ana's plan, but left a 1/2" gap in between so water can drain and not pool on top and rot the wood. Also, since we were working with 4x4's for the legs, we chose heavy duty lag bolts instead of screws to join them together. I love the finished look they give. Overall it's a sturdy, yet lightweight table that my mom loves and has already used for entertaining!

Built from Plan(s)
Estimated Cost
$230
Estimated Time Investment
Day Project (6-9 Hours)
Finish Used
outdoor sealer
Recommended Skill Level
Advanced

Comments

brookifer86

Wed, 04/25/2012 - 10:02

Thanks Brook! It was so much fun to build. I put my dad and husband to work while I was the "project manager" ;)

My very FIRST build!! LOVE IT!!

Submitted by AmJoy37 on Sun, 02/23/2014 - 09:11

My husband is deployed and I just decided to start building, to keep my mind busy. I built this table & benches, sanded, stained it & had it in my nook in just 6 days!!! I worked on it every night when the kids went to bed. Thank you Ana White!! :) I will be using this site quite a bit to keep me busy!

Built from Plan(s)
Estimated Cost
$140
Estimated Time Investment
Week Long Project (20 Hours or More)
Recommended Skill Level
Beginner

Comments

Christmas Tree Cup Shelf

Submitted by Anonymous (not verified) on Mon, 12/04/2023 - 08:50

Hi Ana,
I just want to thank you for sharing your projects. My father is 92 years and was always a "maker." For the last three years he is living with and being cared for by my sister, but while he no longer has use of his basement workshop, he still gets up early each morning and goes to his small work area in her craft room where he does small projects like bird feeders. He had made and given away so many bird feeders that we were searching for another small project he could take on. I came across your Christmas Tree shelf. My husband cuts the pieces to size and then my dad completes the projects. He has made enough to give his six children and 10 grandchildren each one as a keepsake. Pictured is the way one of the grandchildren has recently used the shelf he was given. So thank you for being so generous with your ideas and plans!

Mary Beth Sharp

Built from Plan(s)

Comments

Seasonal And Holiday

Flag Pole Planter

I wanted a place for a flag pole, but I didn't want to put one in the ground or screw into my siding, so I modified the cedar planter to hold a flag pole. It was a fun project!  Check out more here!

Built from Plan(s)
Estimated Cost
$40 plus flag pole
Estimated Time Investment
Afternoon Project (3-6 Hours)
Finish Used
White Exterior Paint
Recommended Skill Level
Intermediate

Farmhouse Table & Benches

This was my first time building a piece of furniture on my own, so it was a lot of learning and trial and error on my part. The plans were fantastic for the most part (I thought the bench plans could have used a little more specification and couldn't seem to find a pocket hole version). We completed the project over the course of a couple months, simply because we revisited it when time allowed. It could easily be done in a much shorter period. One thing I will say is this -- add a step to the plans and utilize a planer and jointer on all of the boards. I had the table put together at one point and whew, I wasn't sure what I did wrong, and I went back and had followed all the steps. While this might sound obvious now, remember it was my first time doing something like this, so I followed each step to a T. I also used a belt sander on the table and bench tops to level things out even more, and went across the grain to make a smooth surface with an 80 grit belt, then hand sanded with a sanding block with 120, 220, and 320 grit. I also modified the bench plans to cut about 5 inches off so that they would fit under the table.
We used Minwax pre-stain conditioner, then one 10 minute application of Mixwax Honey stain, followed by Mixwax Satin Poly. It turned out great and we are already moving on to other projects!

Estimated Cost
About $400 inclusive of lumber, stain, poly, and sanding.
Estimated Time Investment
Week Long Project (20 Hours or More)
Finish Used
Minwax Pre-Stain Conditioner
Mixwax Honey (10 minutes then wipe off)
Mixway Satin Poly (3 coats, sand with 600 grit after coat 1, 800 grit after coat 2).
Recommended Skill Level
Beginner

PB Sawyer Trestle Look Alike

Submitted by samdwest on Tue, 07/17/2012 - 14:32

So my husband and I have this thing...I find the projects, he builds the projects and I get to finish it. I'm more of the artsy one and he is more hands on. So this is the first table we did from Ana!

Estimated Cost
$35
Estimated Time Investment
Afternoon Project (3-6 Hours)
Finish Used
Yellow Paint w/ Glaze...will update with specifics later!
Recommended Skill Level
Beginner

Wood Storage Mantle

Submitted by Anonymous (not verified) on Fri, 02/23/2024 - 10:26

I had been wanting to build a mantle for quite a while but couldn't decide what I wanted it to look like, then I saw the wood mantle with hidden storage plans on Ana's website. I used a steel wool\vinegar mixture as a stain, 3 coats making sure it dried completely before applying the next coat. I finished it off with a beeswax & orange oil wood polish & conditioner. So far I'm storing the remote for the fireplace, the key to the gas for the fireplace and the tool that helps remove the front of the fireplace in there. I'm not sure what else will find it's way in there. I'm very happy with how it turned out.

Julie V.

Built from Plan(s)

Large Modern Porch Swing + Ghetto Stand

Submitted by mrhelton on Mon, 09/10/2012 - 17:04

Made the swing then just kinda came up with my own frame.

Built from Plan(s)
Estimated Cost
$110
Estimated Time Investment
Weekend Project (10-20 Hours)
Finish Used
Just some semi gloss outdoor paint. Going to paint the frame in a few minutes.
Recommended Skill Level
Beginner

Comments

mikejillnelson

Tue, 09/11/2012 - 05:04

I have been considering making this bench for a friend but I wonder how comfortable it is...is it comfortable? Does it require a cushion? Is the back high enough to be comfortable leaning back in it for long periods? Also - how long did you wait to paint your pressure treated wood? I just recently learned you have to allow pressure treated wood dry out before painting...no one seems to tell you how long you have to wait though. Thanks for any help/opinions you share.

mrhelton

Wed, 09/12/2012 - 19:38

Honestly, it's not very comfortable. I think the seat part is a little too long, and the back is a little too short. We're going to put a beefy cushion on the back, and I think that's going to help because it will push us forward a little bit. It's not bad to sit in, but I definitely think it could be tweaked.

I let the wood dry out for 4 days (but I cut and assembled it the day I bought the wood). I'm not sure if that was long enough of not, but I was getting impatient, and, like you, couldn't find any real answers on drying time. It wasn't really that wet to begin, though. Hope that helps!

tracysmith

Thu, 09/13/2012 - 00:04

I thought my kids and I were the only ones who used "ghetto" as a way to describe things... but I have to say that your frame looks great, it serves its purpose so I have to respectfully disagree with you, it doesn't look anything like "ghetto" :-)

Joe (not verified)

Tue, 01/22/2013 - 10:02

Hey, can you post the dimensions of your frame? its exactly what I'm looking for. Do you have it screwed down to the deck? will it tip over?

Joe (not verified)

Tue, 01/22/2013 - 11:27

Hey, can you post the dimensions of your frame? its exactly what I'm looking for. Do you have it screwed down to the deck? will it tip over?

Pottery Barn Style - Full Size Headboard

Submitted by Oshynlover on Thu, 10/13/2016 - 03:21

My very first big project!  My 6 year old daughter was in need of a new bed and a room makeover so I decided to build her a headboard which then turned into a whole new room!!! 


I really wanted it to it to have some dimension to it so I added some moldings and a mini shelf to the top of it.  I basically just designed it myself, based on what some of the $1000+ pottery barn ones look like and spent hours at the hardware store finding the perfect moldings.  


For the main backboard I used plywood, however to keep it light I used a sheet of molding and added a round edge to make it seamless.  


My my daughter was so excited Mommy built her whole room. 

Estimated Cost
$150 The Moldings added cost but can be made for less than $100 without it. But why would you??? It looks SO much better!!
Estimated Time Investment
Day Project (6-9 Hours)
Finish Used
Behr Semi Gloss
Recommended Skill Level
Beginner

Comments

Back