Community Brag Posts

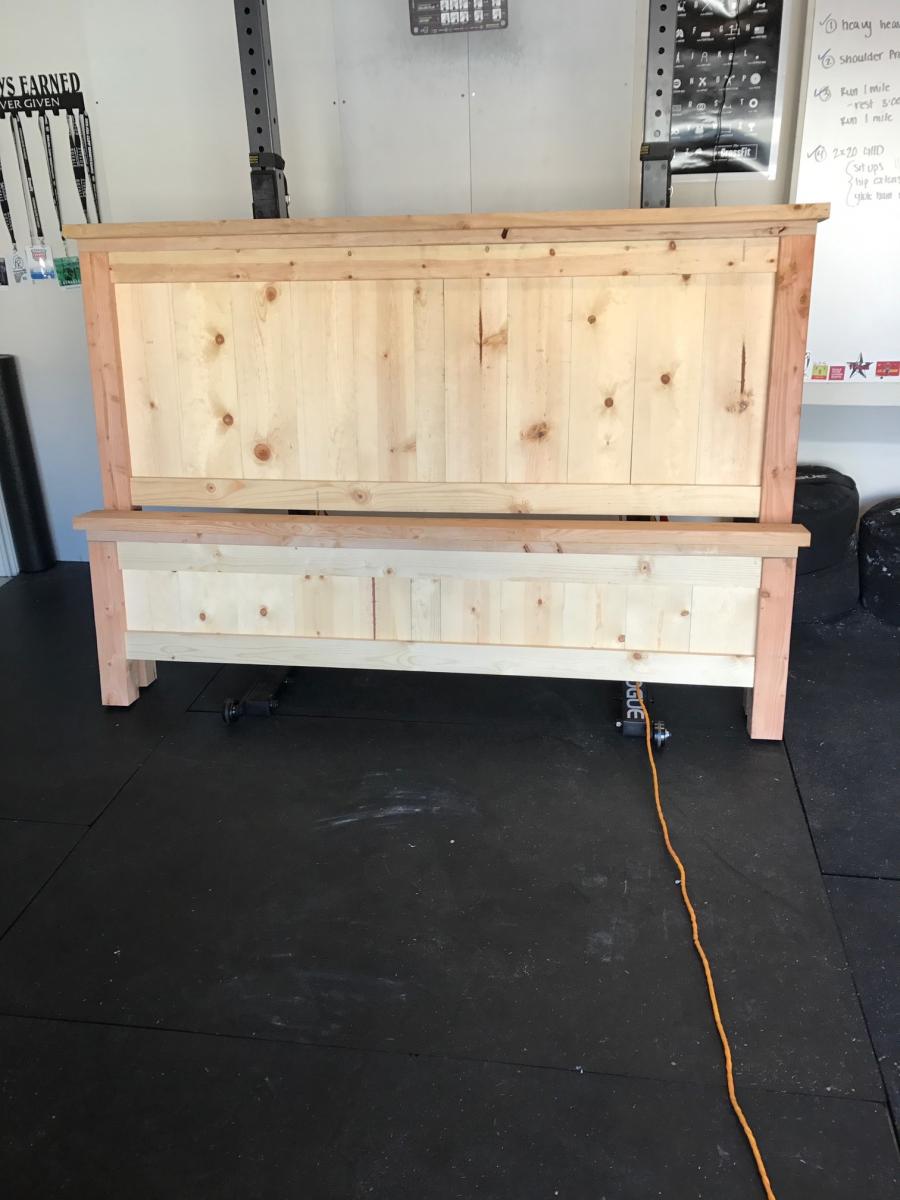
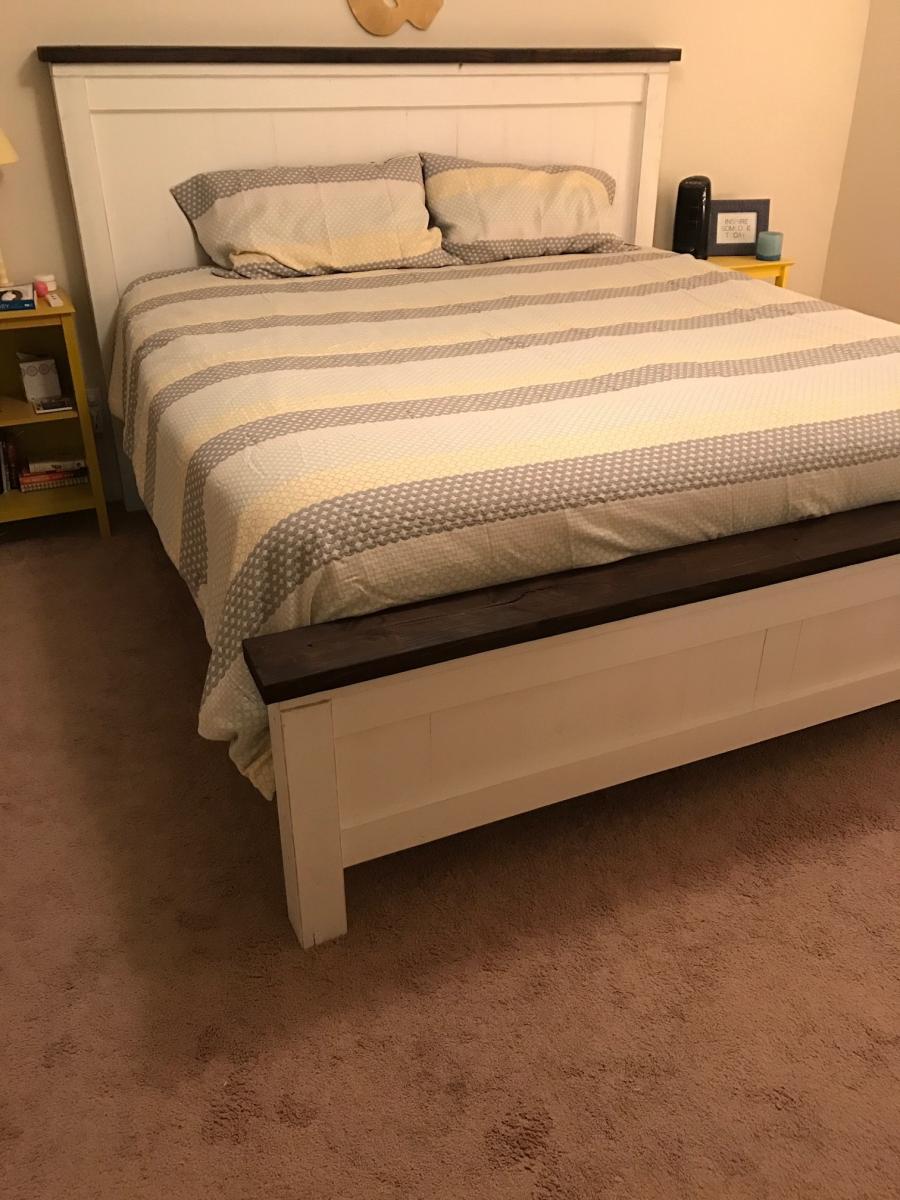
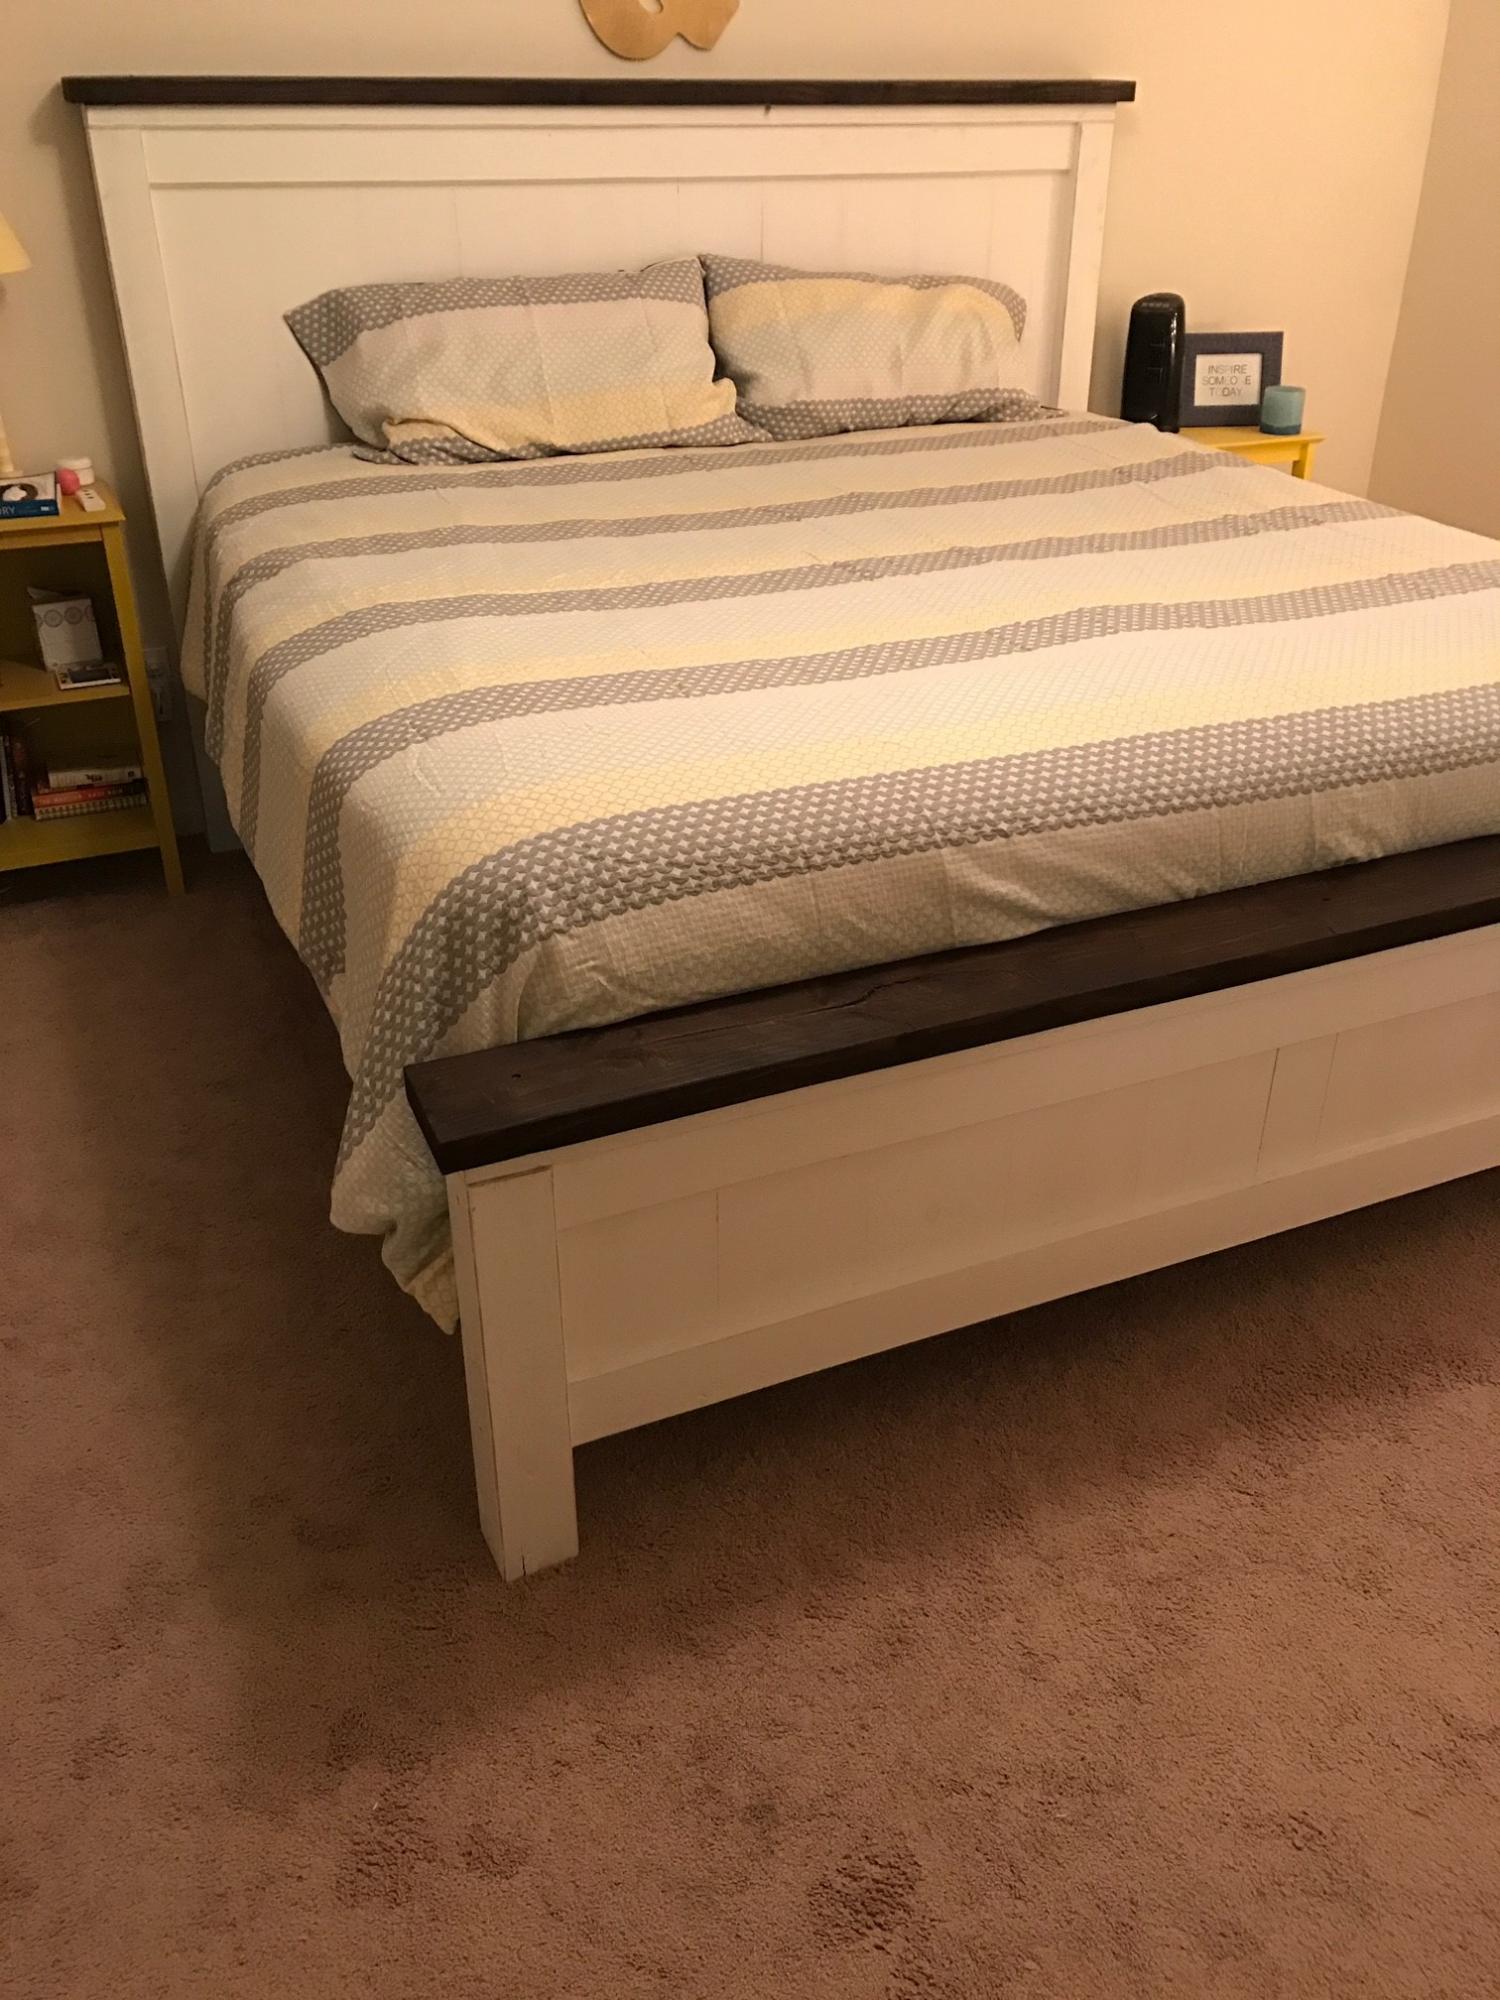
B&T - King Farmhouse Bed

Submitted by Anonymous (not verified) on Fri, 10/04/2019 - 11:33

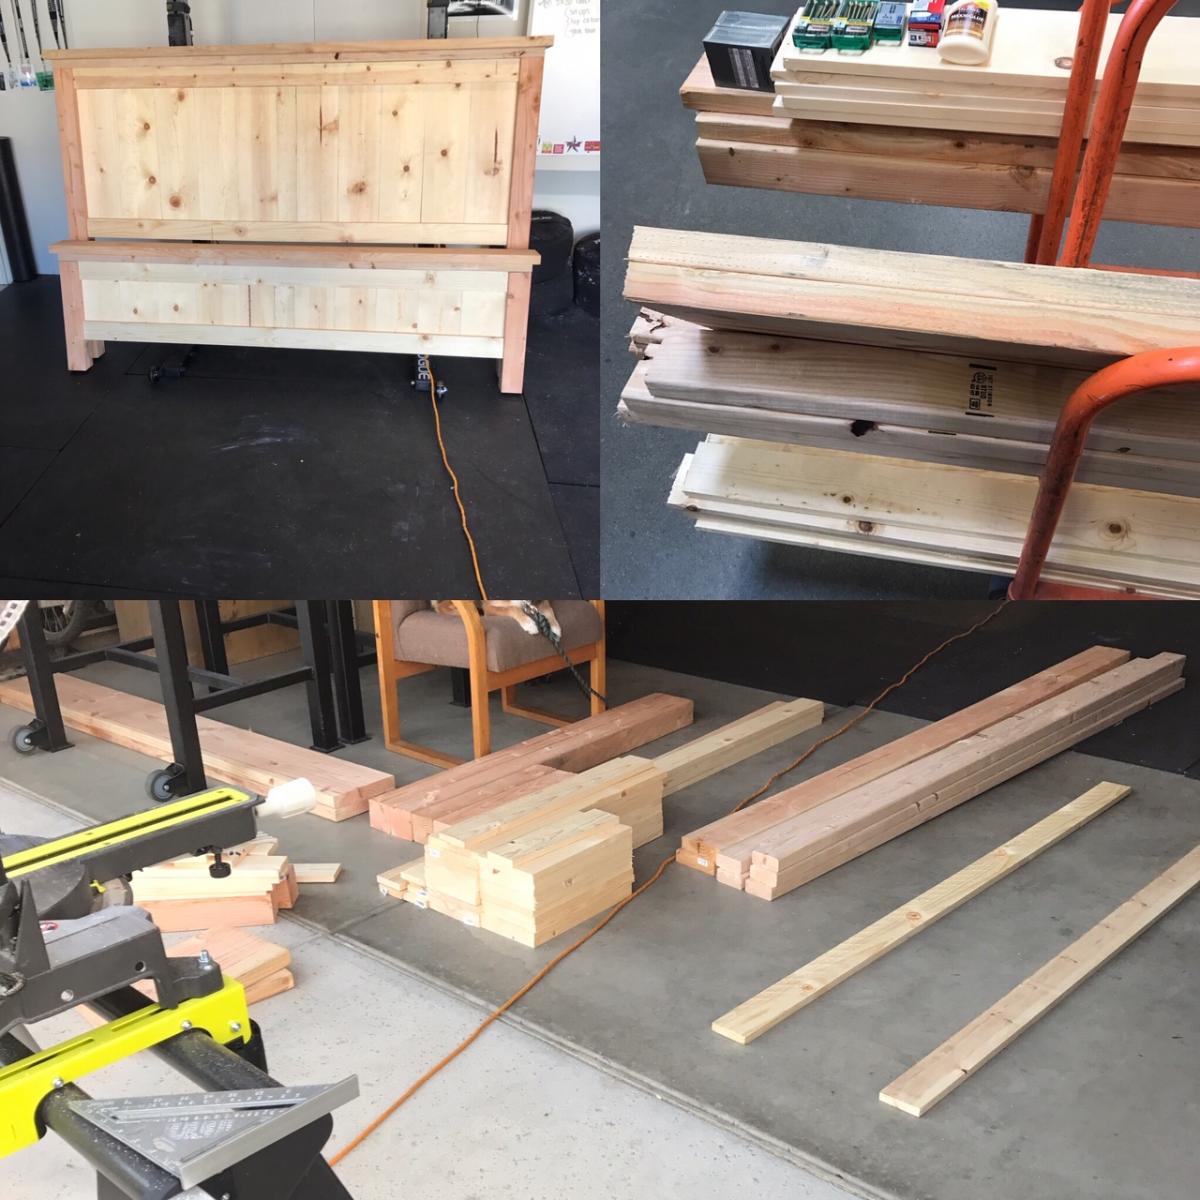
My wife wanted a new King bed frame, and we were searching around stores to find one that she loved. All of them were close. but not perfect, and also way too expensive. I told her I'd just build one! It was my first woodworking project, and it came out exactly what we wanted. We even had some fun Saturday nights sanding and painting together.

Estimated Cost
400
Estimated Time Investment
Weekend Project (10-20 Hours)
Finish Used
White paint & Kona Varathane stain
Recommended Skill Level
Starter Project

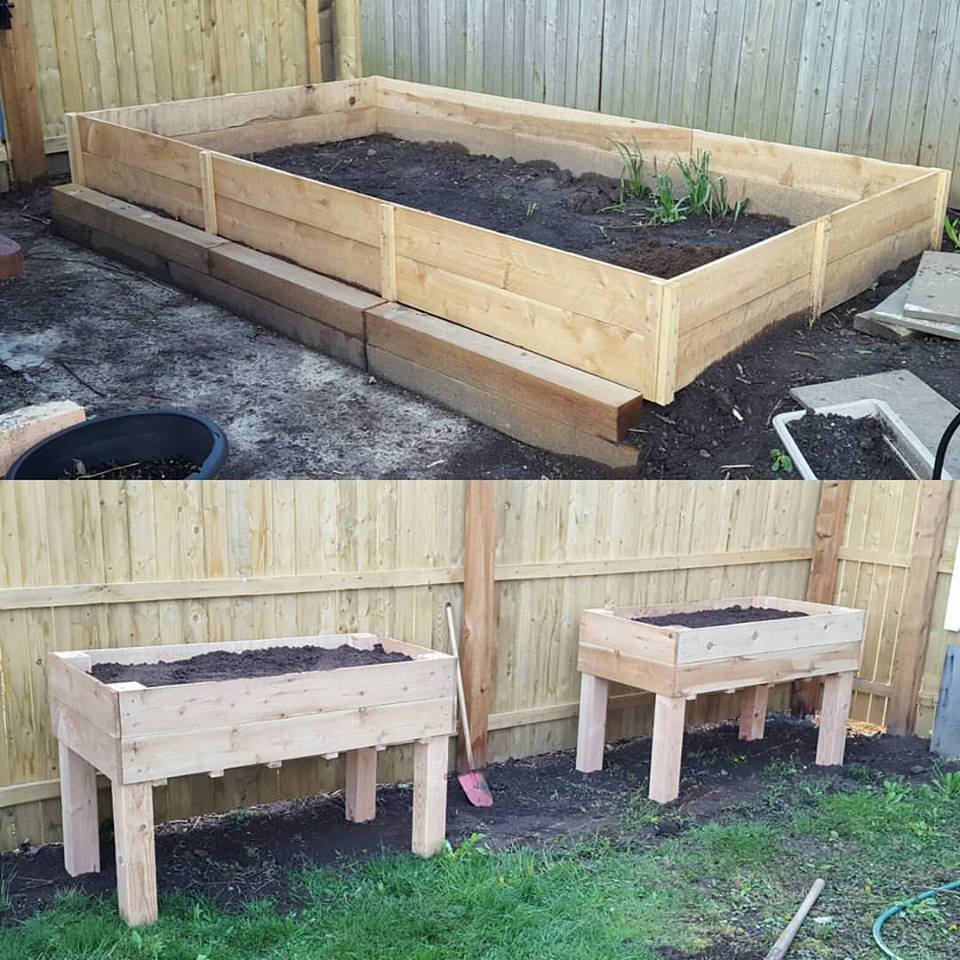
Our new garden beds. Thank you!

Submitted by Anonymous (not verified) on Wed, 05/04/2016 - 07:00

I'm only moderately handy and these were fun and pretty easy.

Learned a lot and got better as I went along.

I found ways to make it as cheap as possible, probably did all three projects for 150 bucks.

Estimated Cost
Around $150
Estimated Time Investment
Afternoon Project (3-6 Hours)
Recommended Skill Level
Beginner

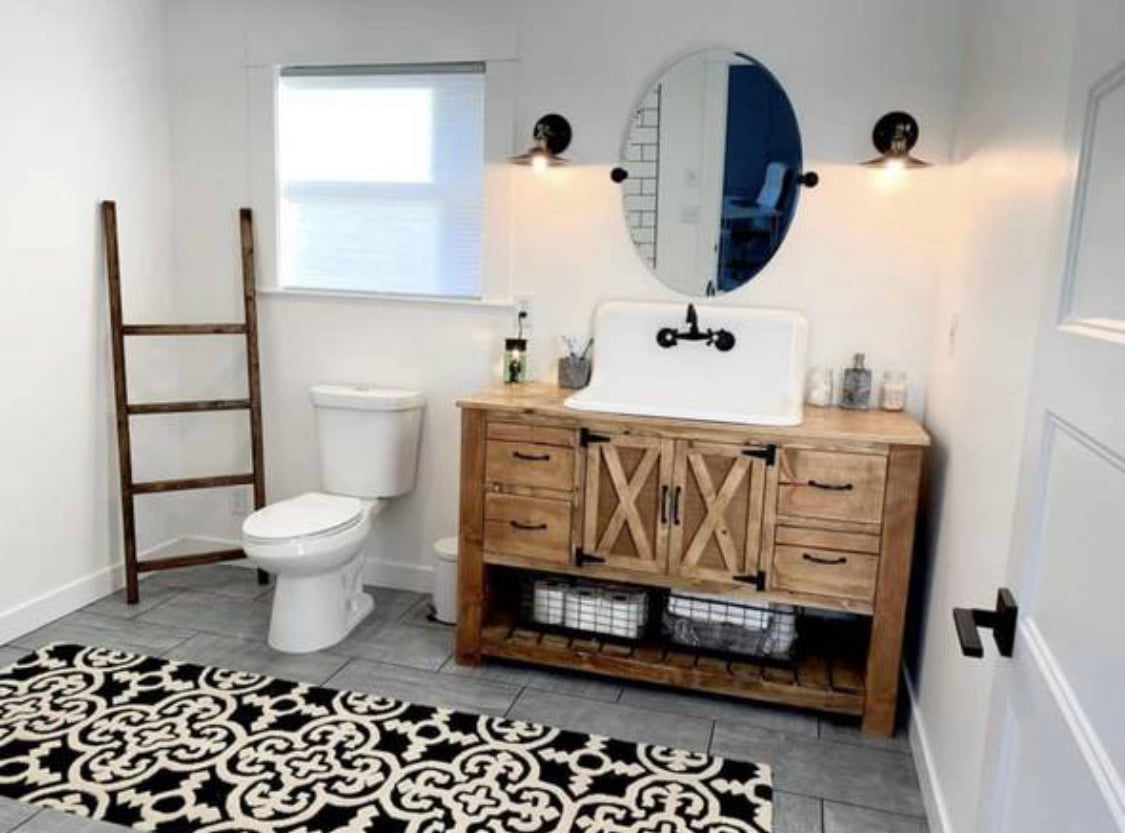
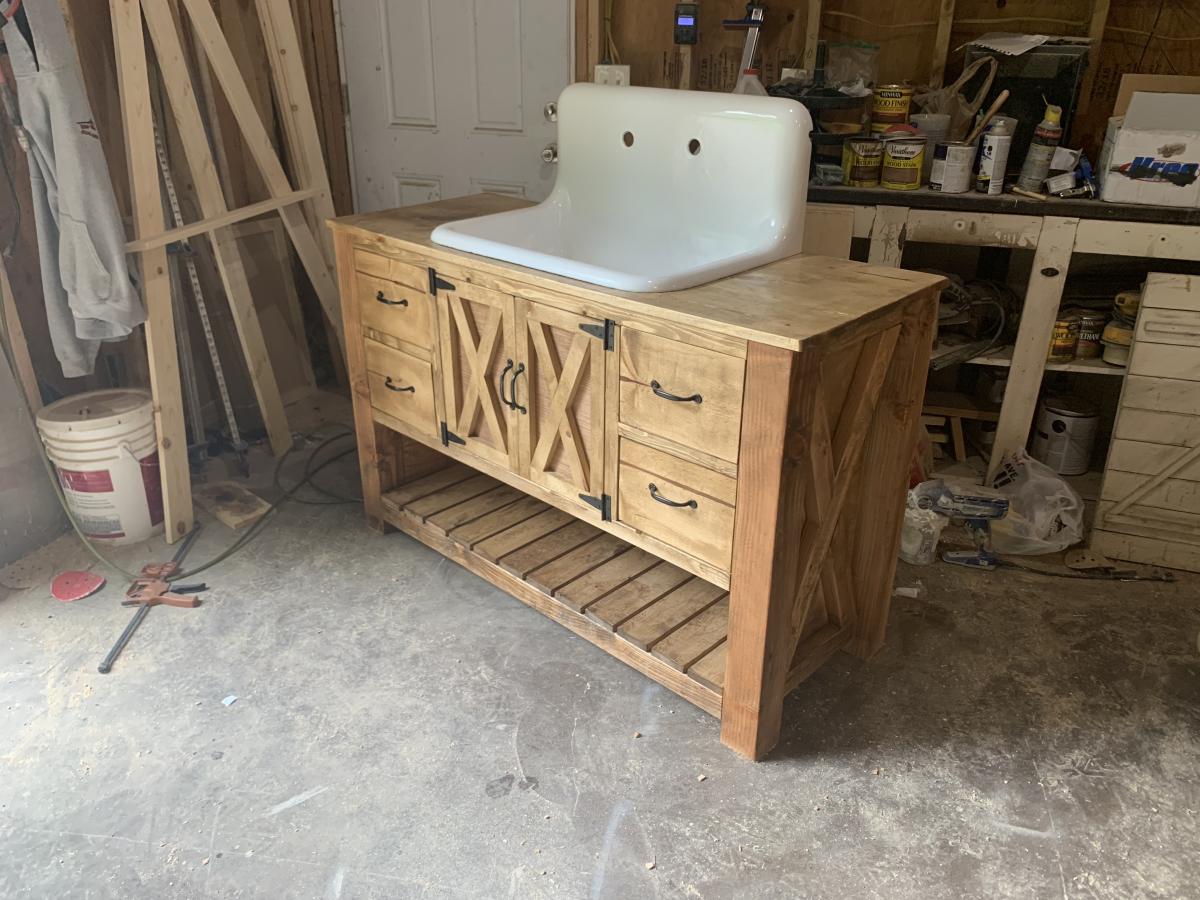
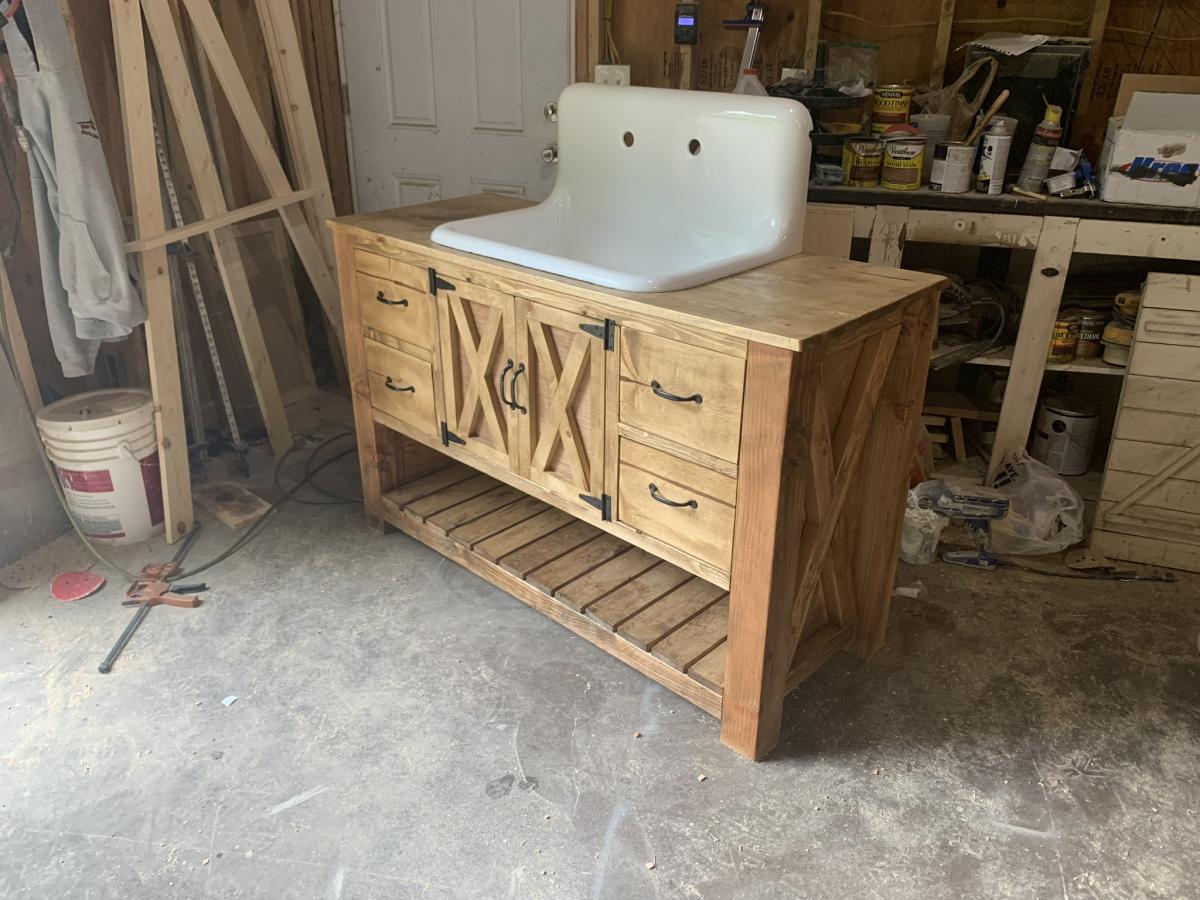
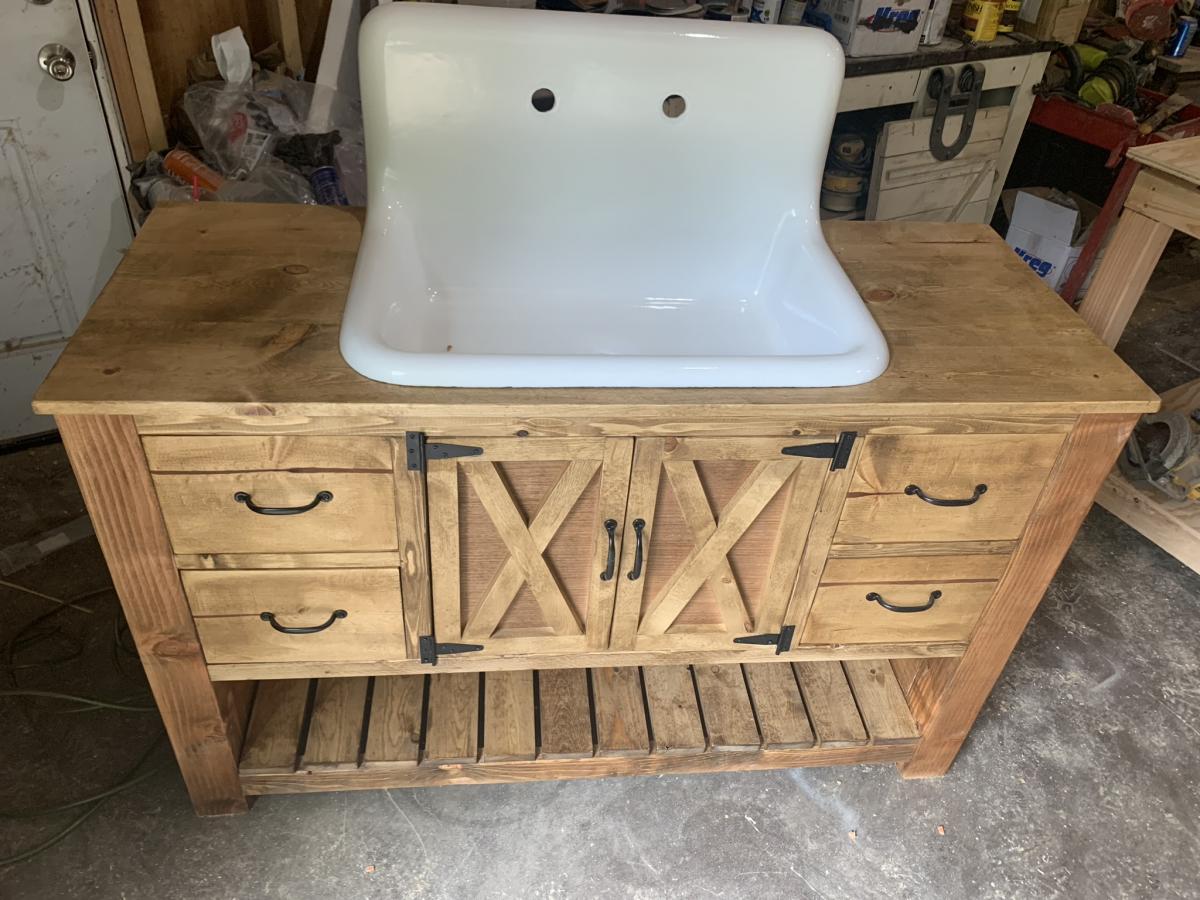
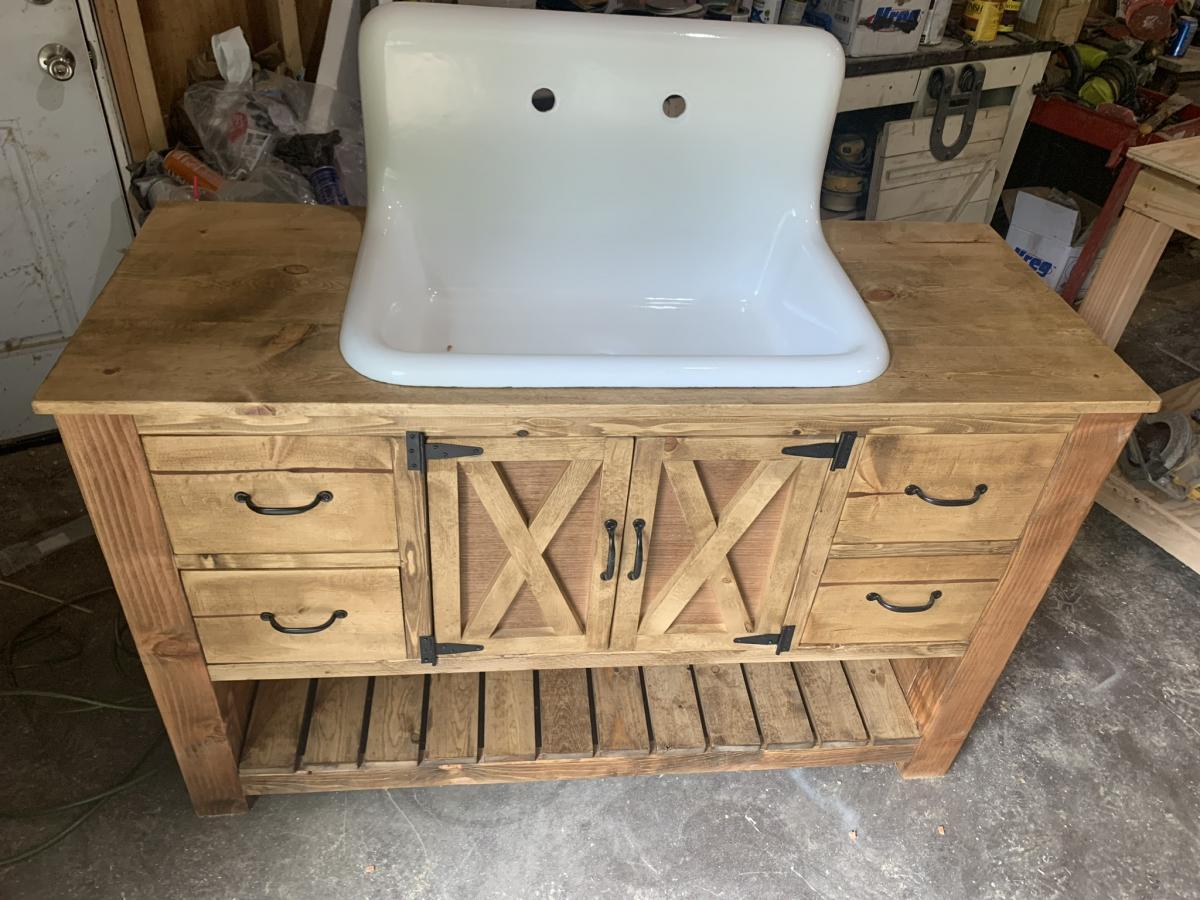
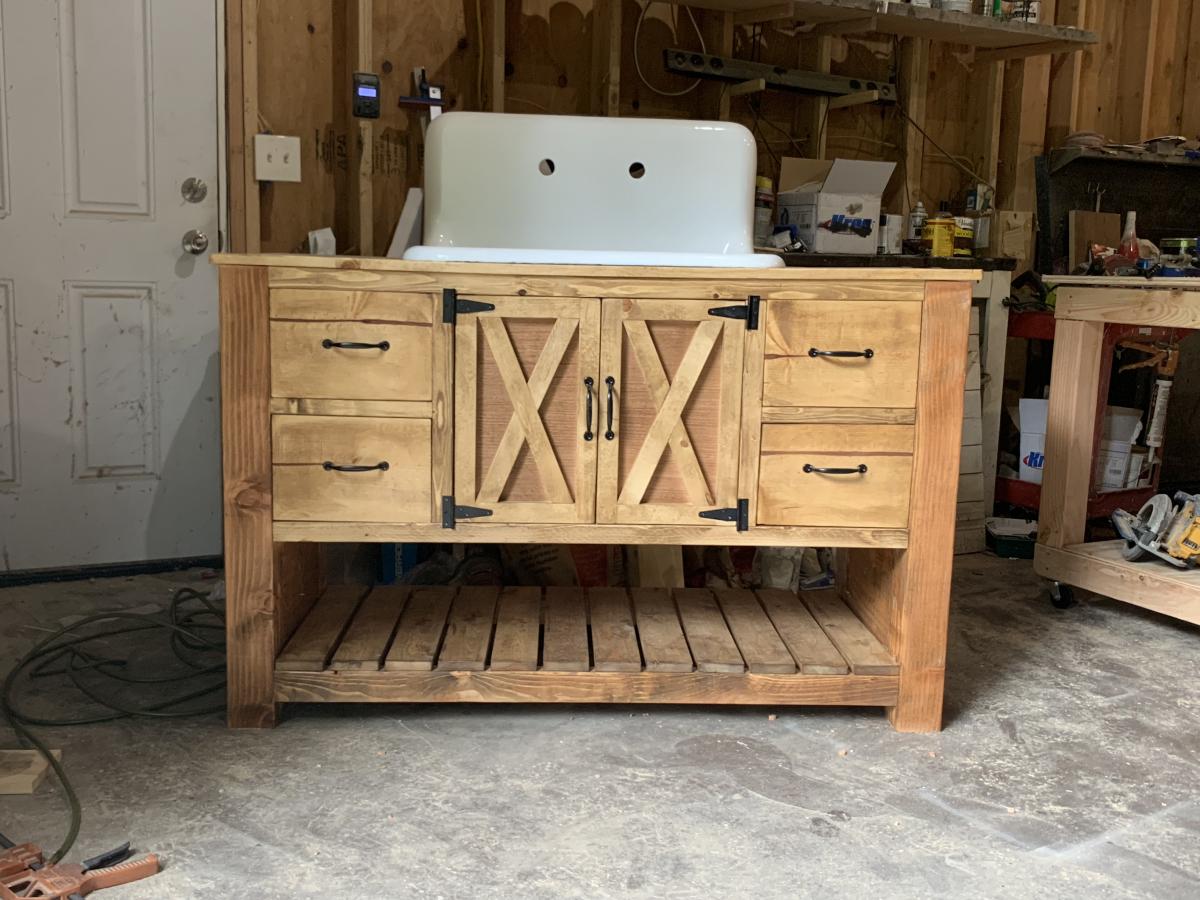
Bathroom vanity

Hand made bathroom vanity check us out on Facebook marney Marie 

Estimated Cost
200
Estimated Time Investment
Day Project (6-9 Hours)

Comments

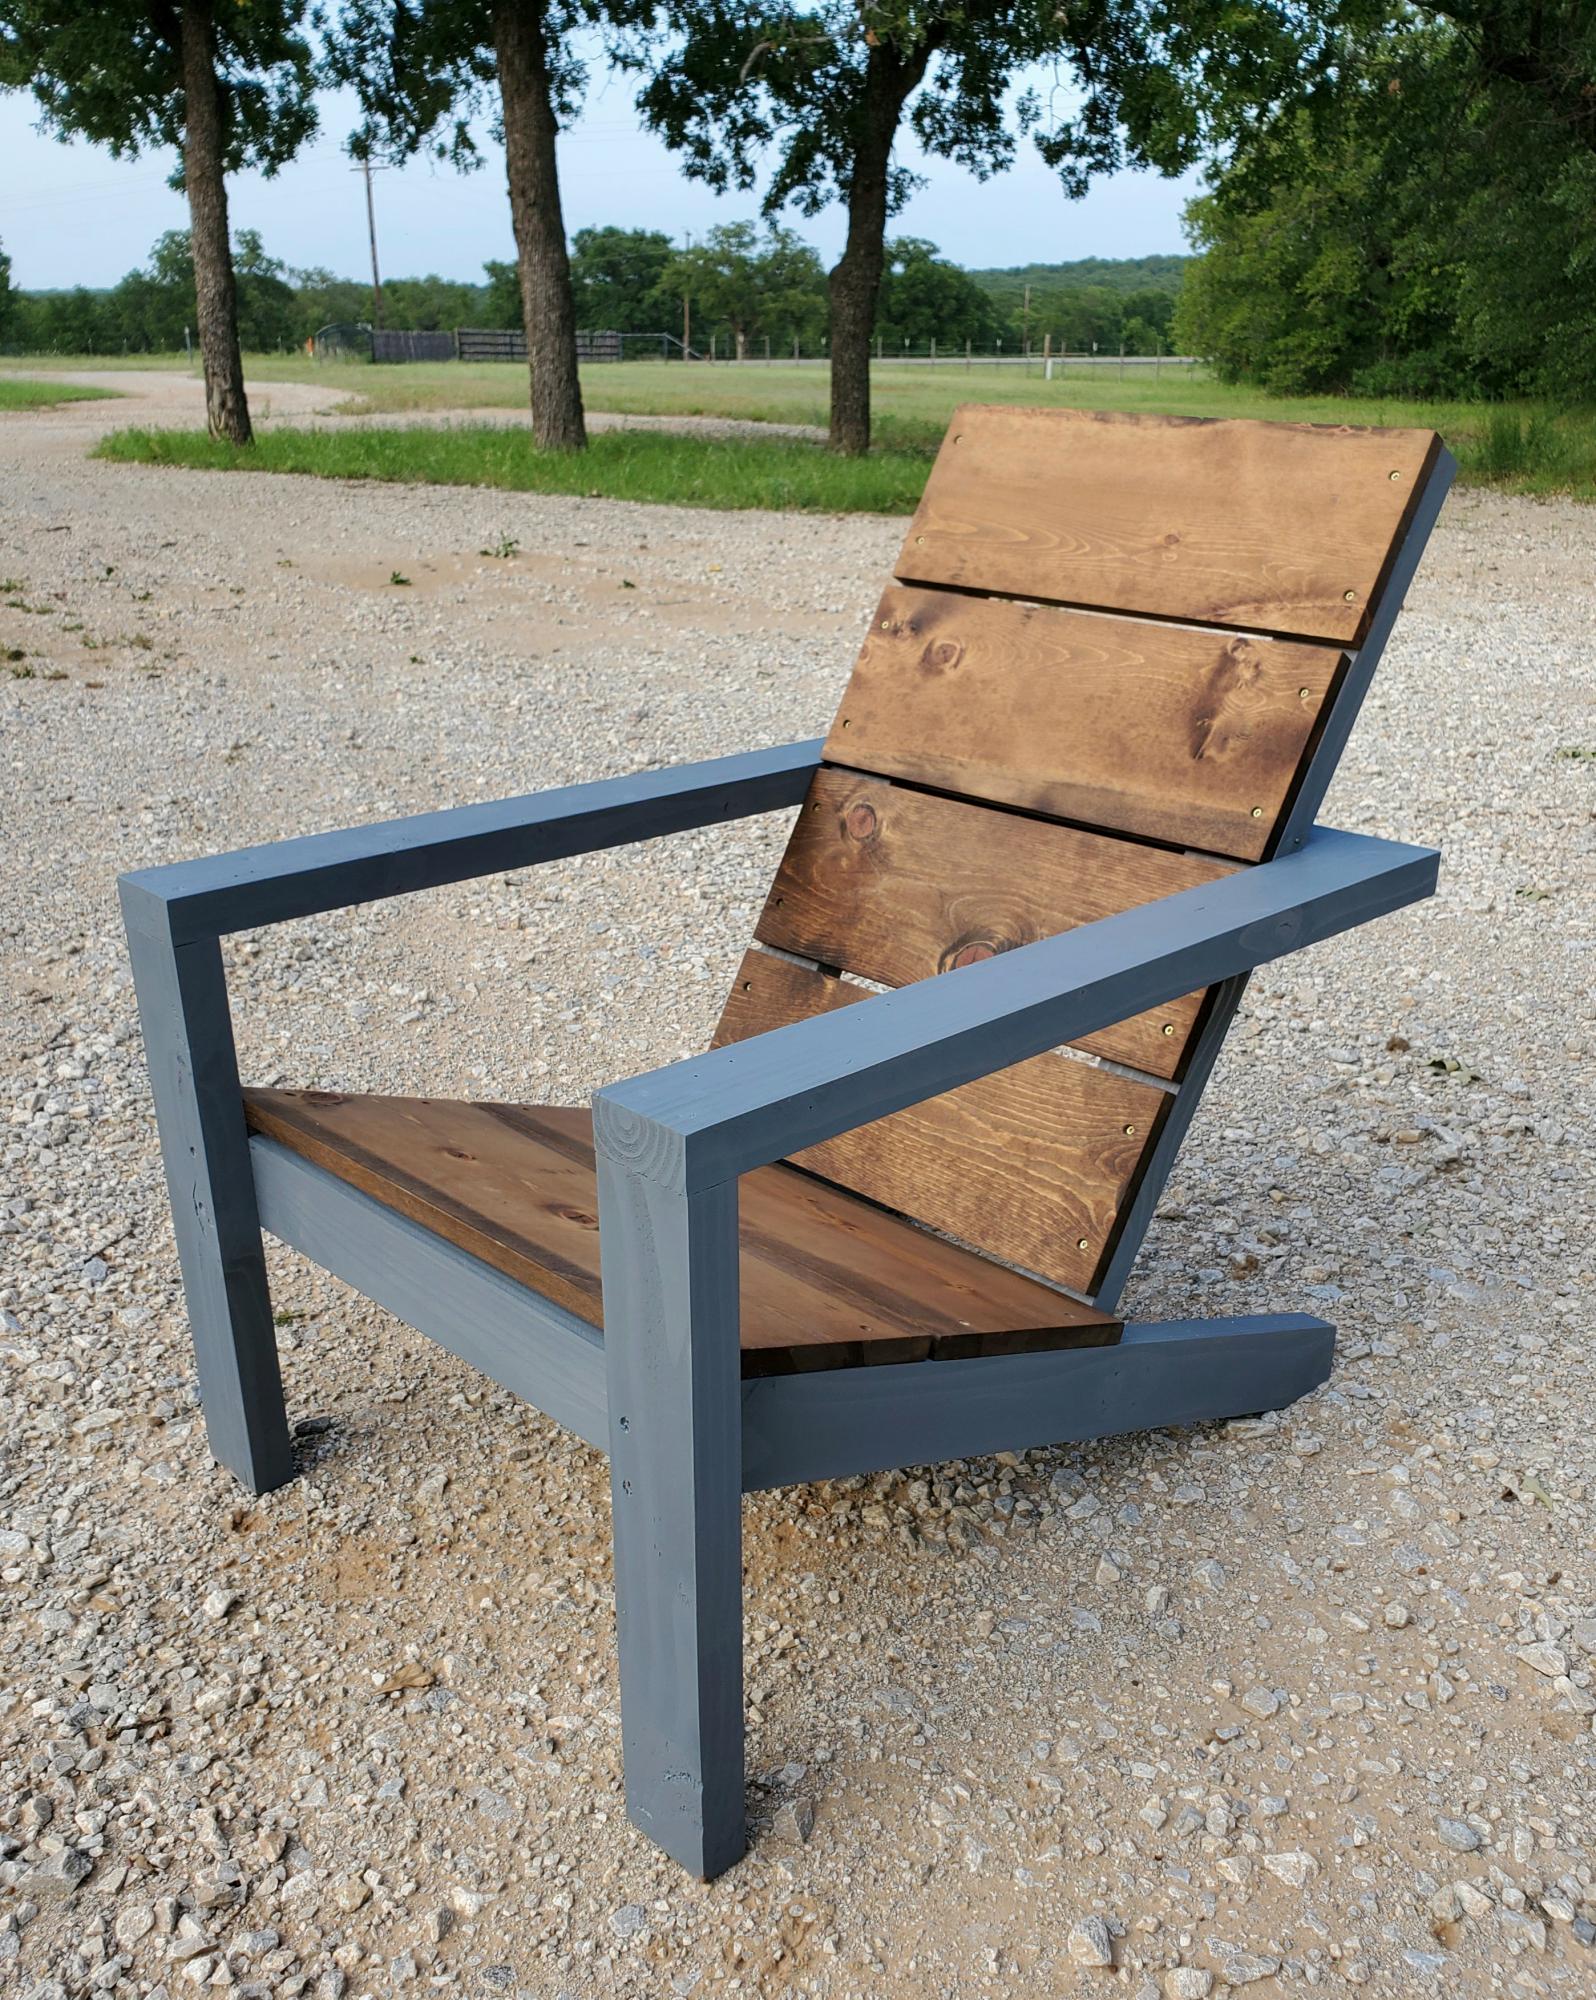
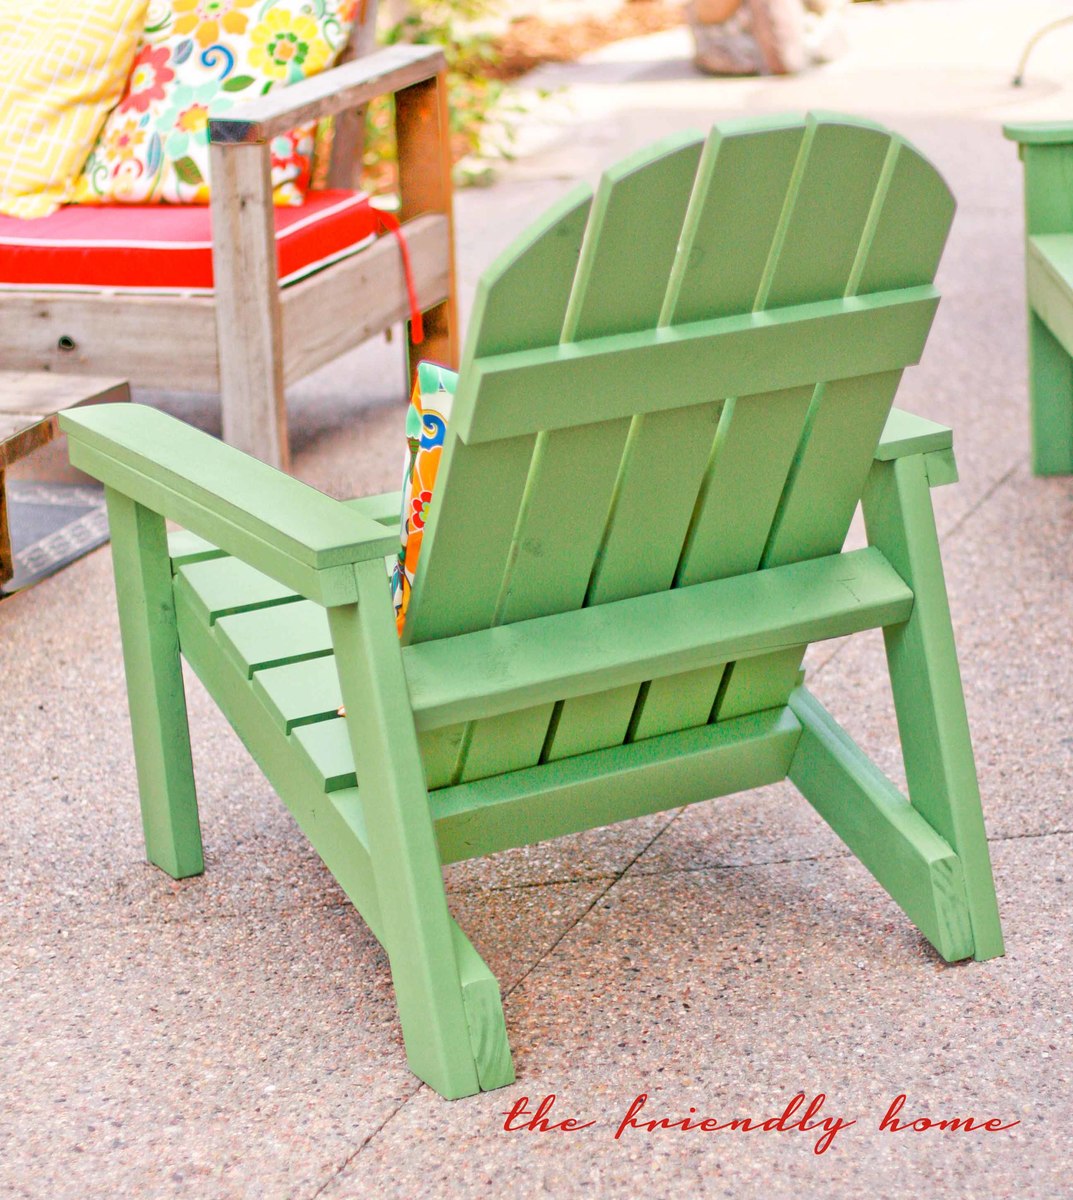
Essential Adirondack chair

Submitted by str1523 on Mon, 05/25/2020 - 10:23

Like this chair! Changed the 3 1x10's on the back to 4 1x8's ripped down to 6 ¹⁵/¹⁶

Estimated Cost
40
Estimated Time Investment
An Hour or Two (0-2 Hours)

Comments

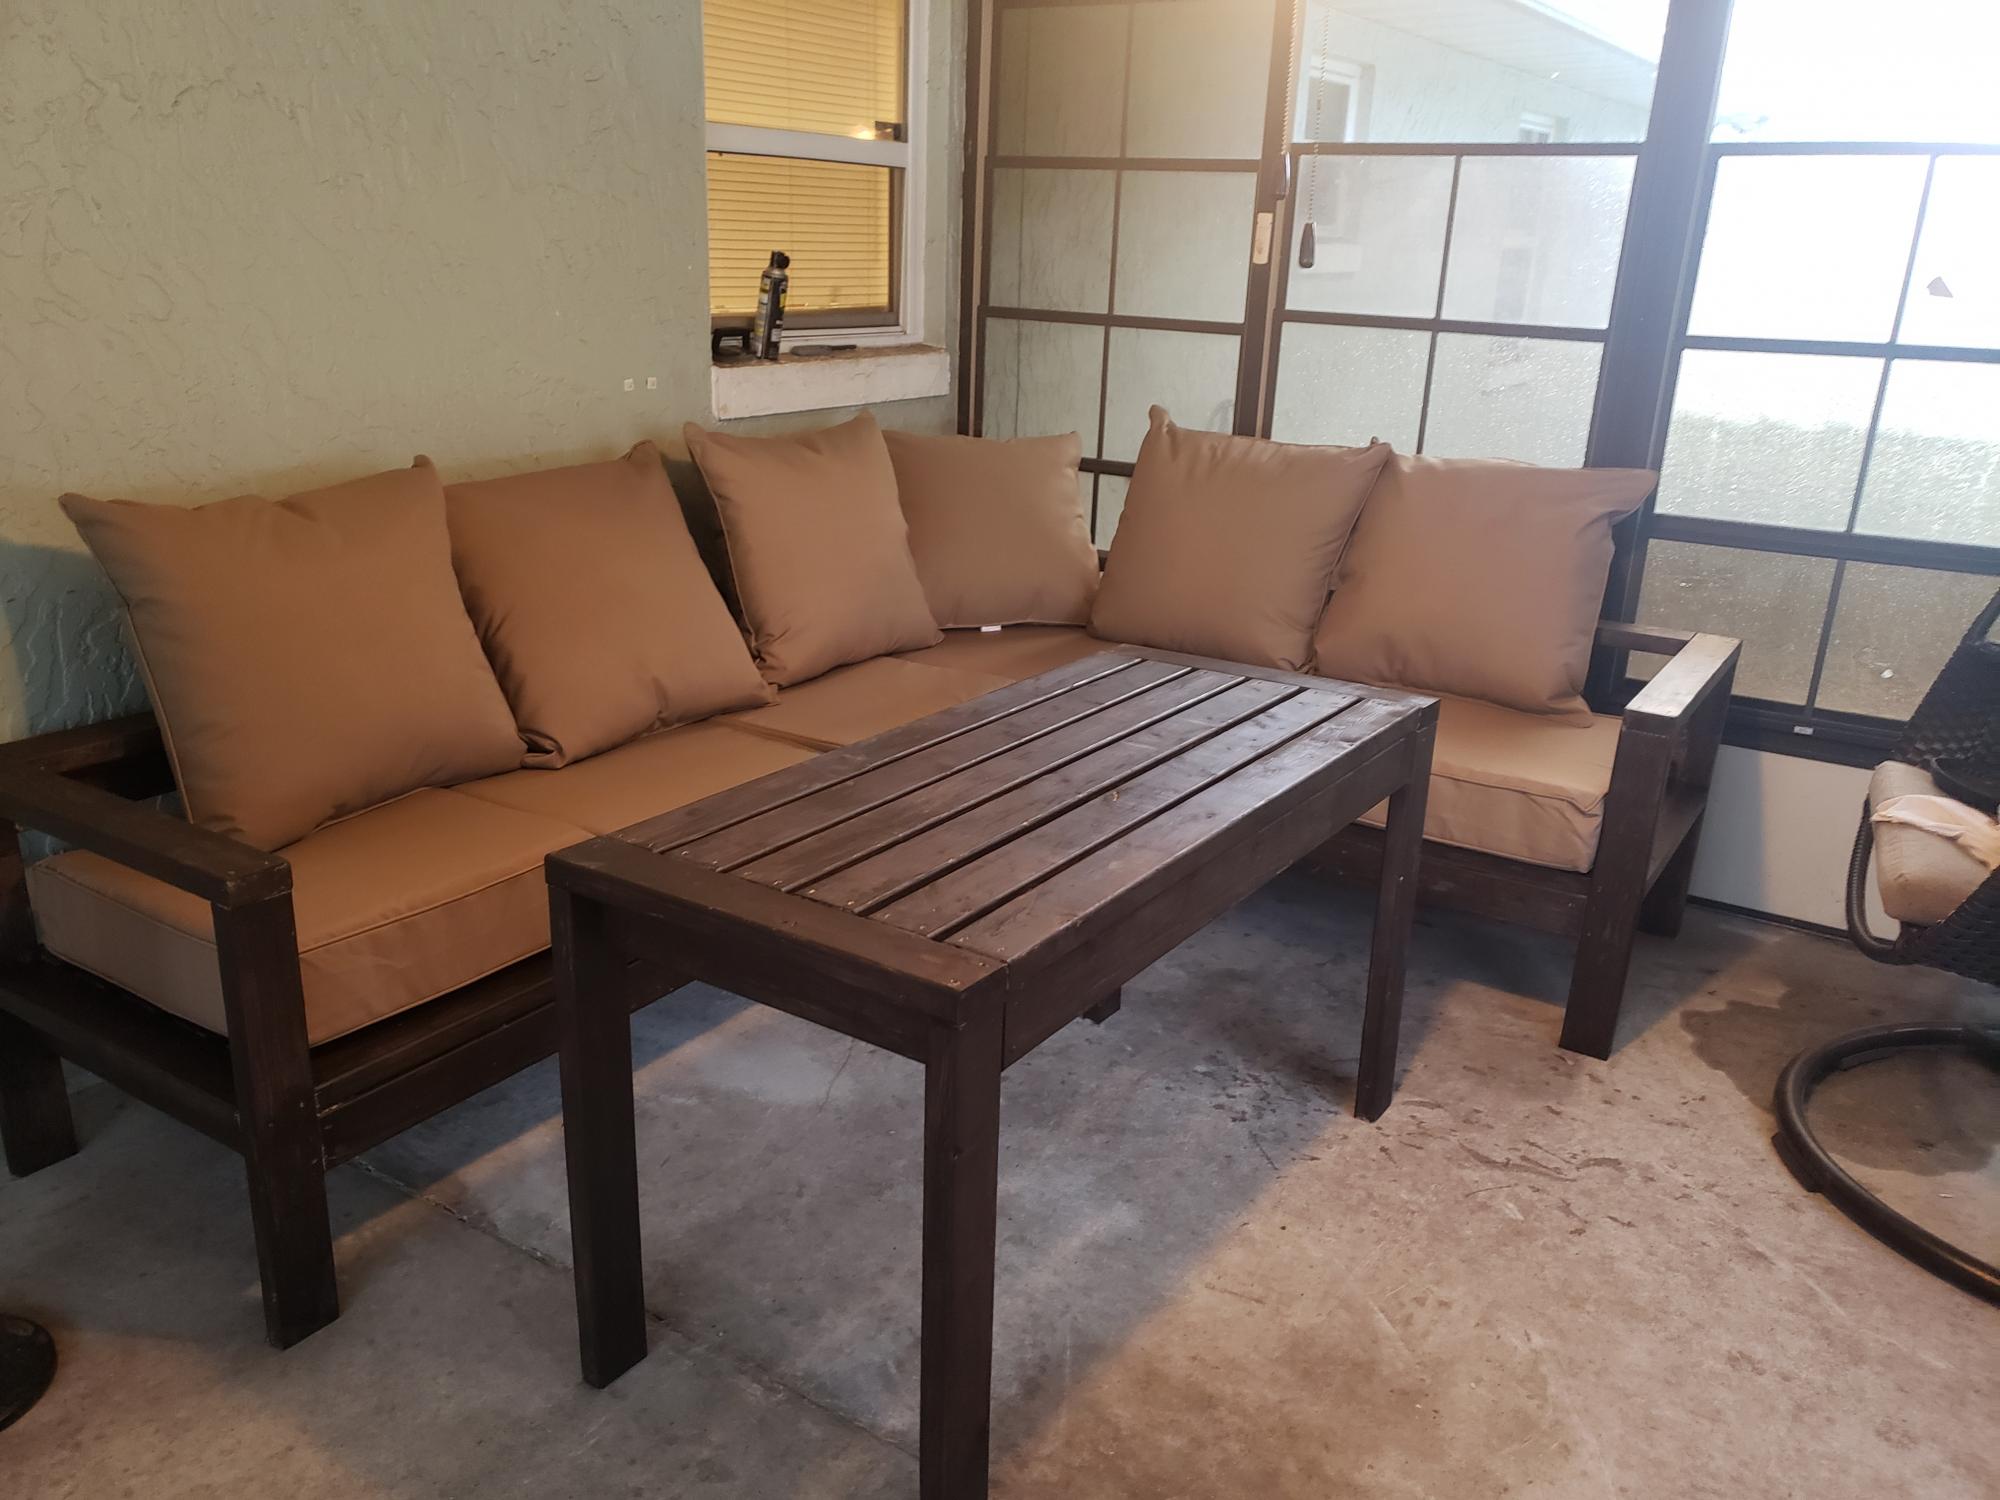
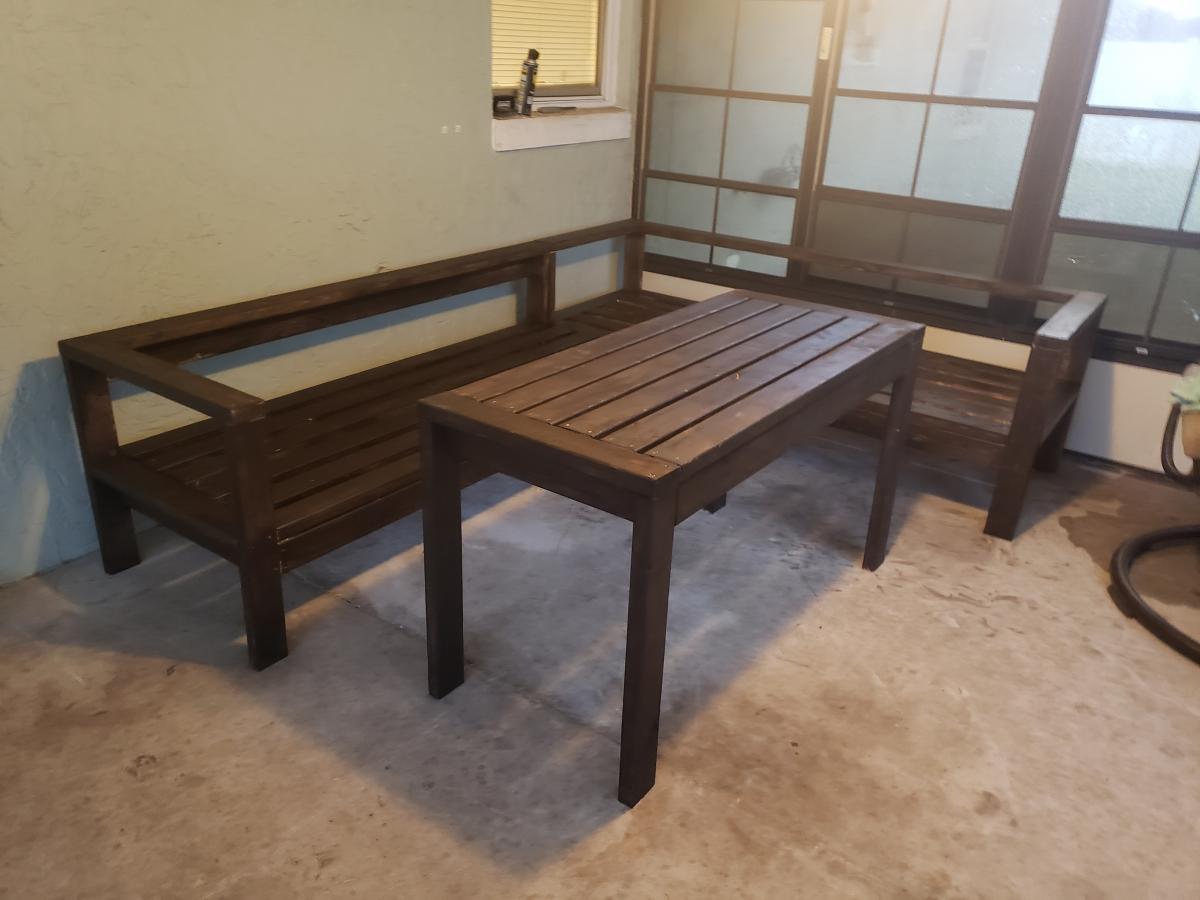
2x4 Outdoor sectional

Submitted by Anonymous (not verified) on Mon, 06/01/2020 - 12:00

I stumbled upon this page and instantly fell in love. I made the 2x4 outdoor sectional this week with a few tweeks to make it work for us. My husband does a lot of computer work on our patio so we did the tall table to make it work. I plan to add a shelf at the bottom and touch up on my staining but for my first project I'm impressed. With the instructions and lists given this was a breeze of a project!

Estimated Cost
160$ before cushions
Estimated Time Investment
Weekend Project (10-20 Hours)
Finish Used
Semi transparent stain
Recommended Skill Level
Beginner

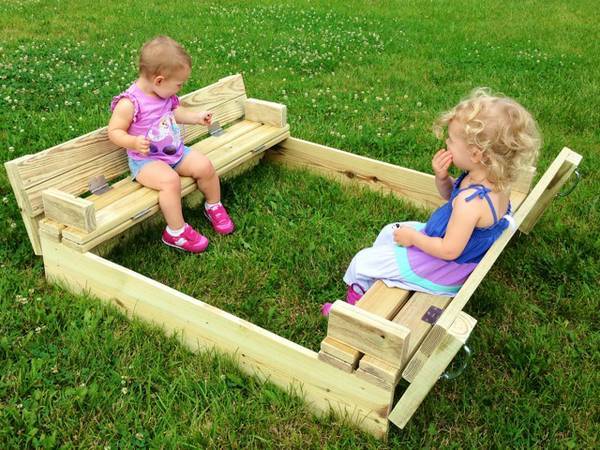
Wooden Sandbox with Convertible Bench / Cover

I make and sell kids picnic tables on craigslist and a buyer asked about making one of these. I took it on and found the plans on here very easy! I now list these on craigslist also and hope to sell more before the summer is over.

Built from Plan(s)
Estimated Cost
~$100
Estimated Time Investment
Afternoon Project (3-6 Hours)
Finish Used
none, until PT has dried
Recommended Skill Level
Beginner

Comments

Pine and Aromatic Cedar Blanket Chest

Submitted by tylerhey on Tue, 12/13/2016 - 12:21

Raised panel pine blanket chest lined with 5/8" aromatic cedar.

Estimated Cost
$200
Estimated Time Investment
Week Long Project (20 Hours or More)
Finish Used
Tinted Shellac and butcher's wax
Recommended Skill Level
Advanced

Comments

rnkimg

Wed, 11/13/2019 - 07:15

I have searched and searched and cannot locate the plans either. I am making 3, for my daughters for Christmas and this one is amazing. please share plans.

thank you!!

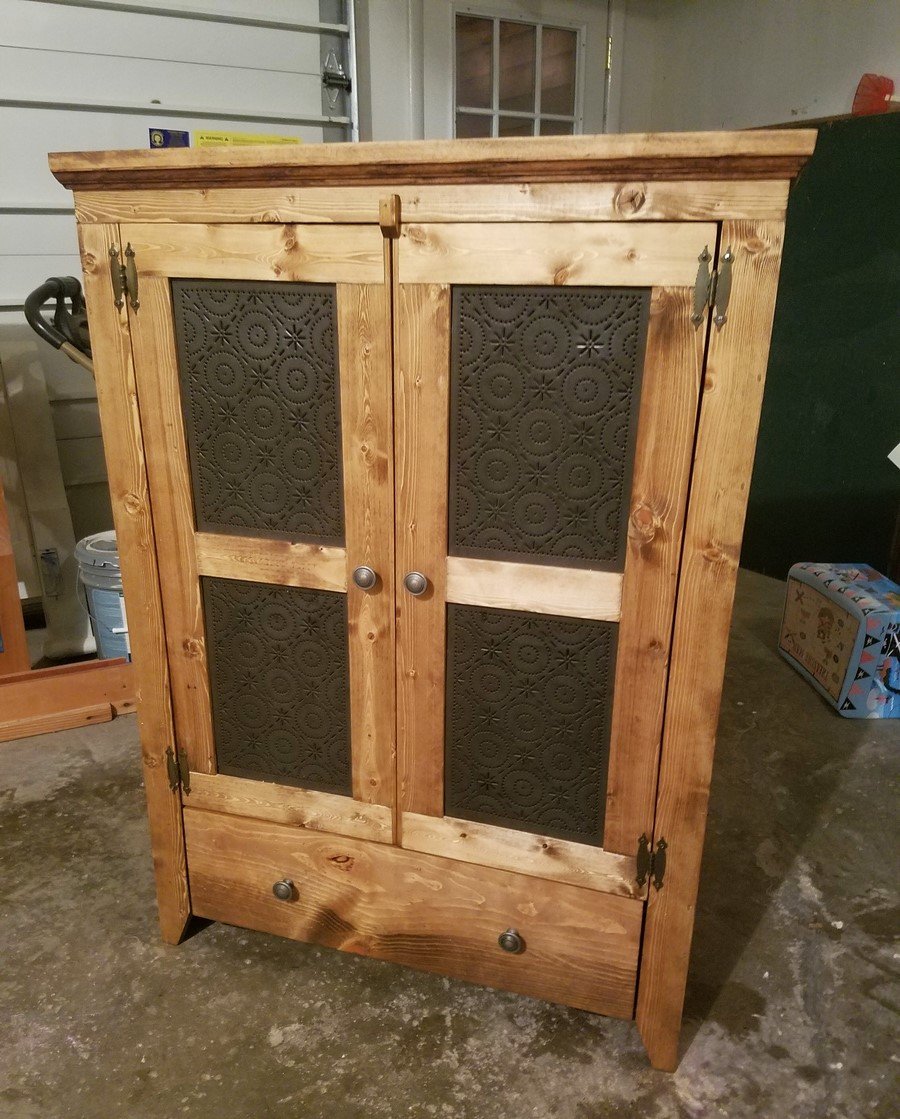
Pie Chest

Submitted by Cveith3 on Sat, 12/24/2016 - 16:35

This project was built for my mother as christmas gift.  Very easy to do, I based it off of Patrick's jelly cupboard plans and ana whites pie Chest idea.  I modified mine  to allow for a drawer/door at the bottom.


http://www.ana-white.com/2015/10/DIY_furniture/pie-safe


http://www.ana-white.com/2011/12/plans/patrick039s-jelly-cupbard

Built from Plan(s)
Estimated Cost
$125
Estimated Time Investment
Weekend Project (10-20 Hours)
Finish Used
WATCO Danish oil
Dark Walnut
Recommended Skill Level
Beginner

Simple 2x4 Bench

Submitted by jennibee on Sun, 09/14/2014 - 17:03

I made this in an afternoon. Loved this project. It is made with 2x4's using a Kregs Jig and mitre saw (plus additional tools like a drill and square).  This was my frist time using the Kregs Jig and I am sold!!

The free plans were taken from another website. They are very detailed and there is even a video (I recommend it as he gives a great tip for making sure the back stays equal/level to each other before putting the back on). Even though you can build this by yourself, I did have help for the heavier sides once they were assembled.  I plan to build the additional side table soon and finish them both with sanding and staining when the weather seems less iffy for rain.

If you are looking for a good beginner project that doesn't take forever or have complicated steps, this is your project.

Built from Plan(s)
Estimated Cost
Around $50
Estimated Time Investment
Afternoon Project (3-6 Hours)
Recommended Skill Level
Beginner

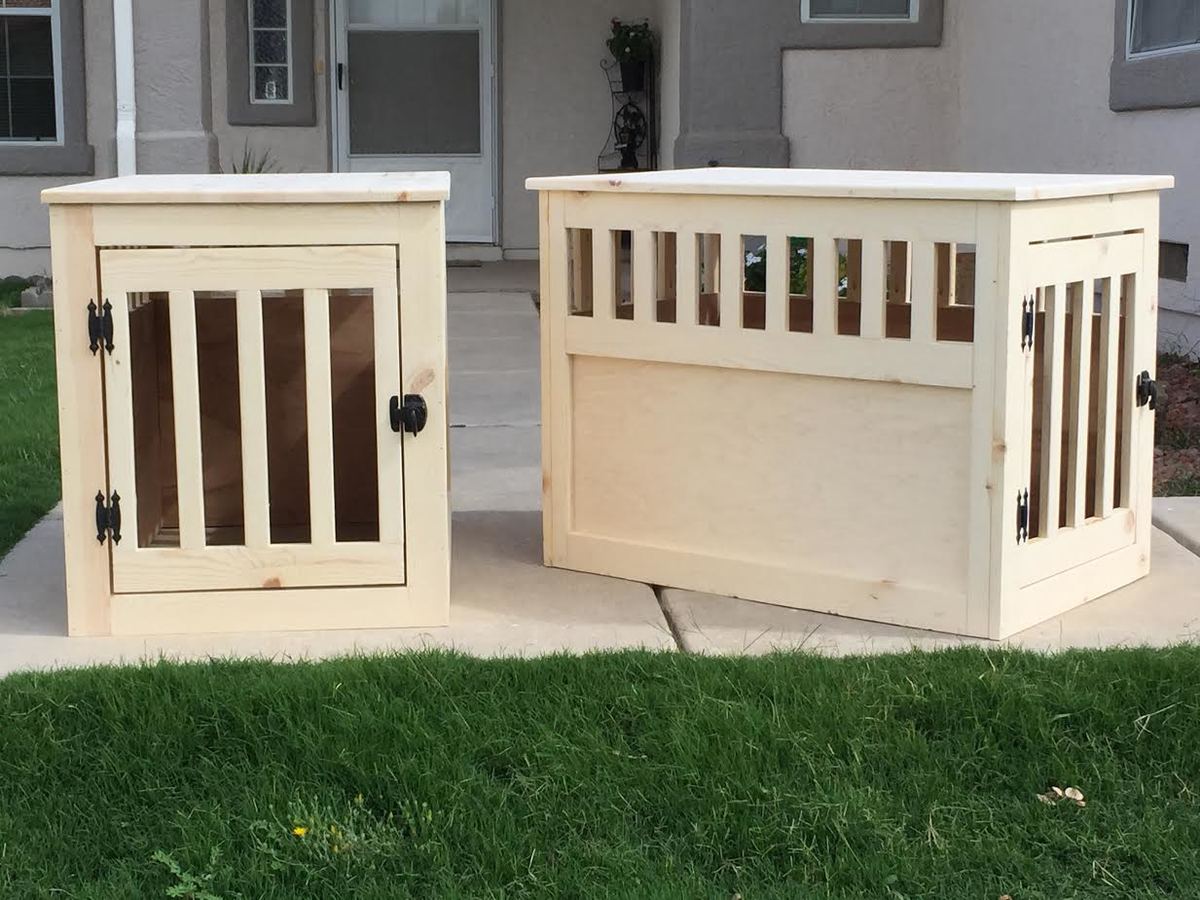
Pair of wood pet kennels

Submitted by Zack on Mon, 09/22/2014 - 20:55

Someone on Facebook reached out to me after seeing a gallery of some items I've built from this site. She asked if I could build a couple of the large pet kennel end tables from the plans posted here. This is the final result. This was a very fun project.

Built from Plan(s)
Estimated Cost
$150 for both
Estimated Time Investment
Weekend Project (10-20 Hours)
Finish Used
Unfinished. Will be stained to match the rest of the furniture she is having built.
Recommended Skill Level
Beginner

Comments

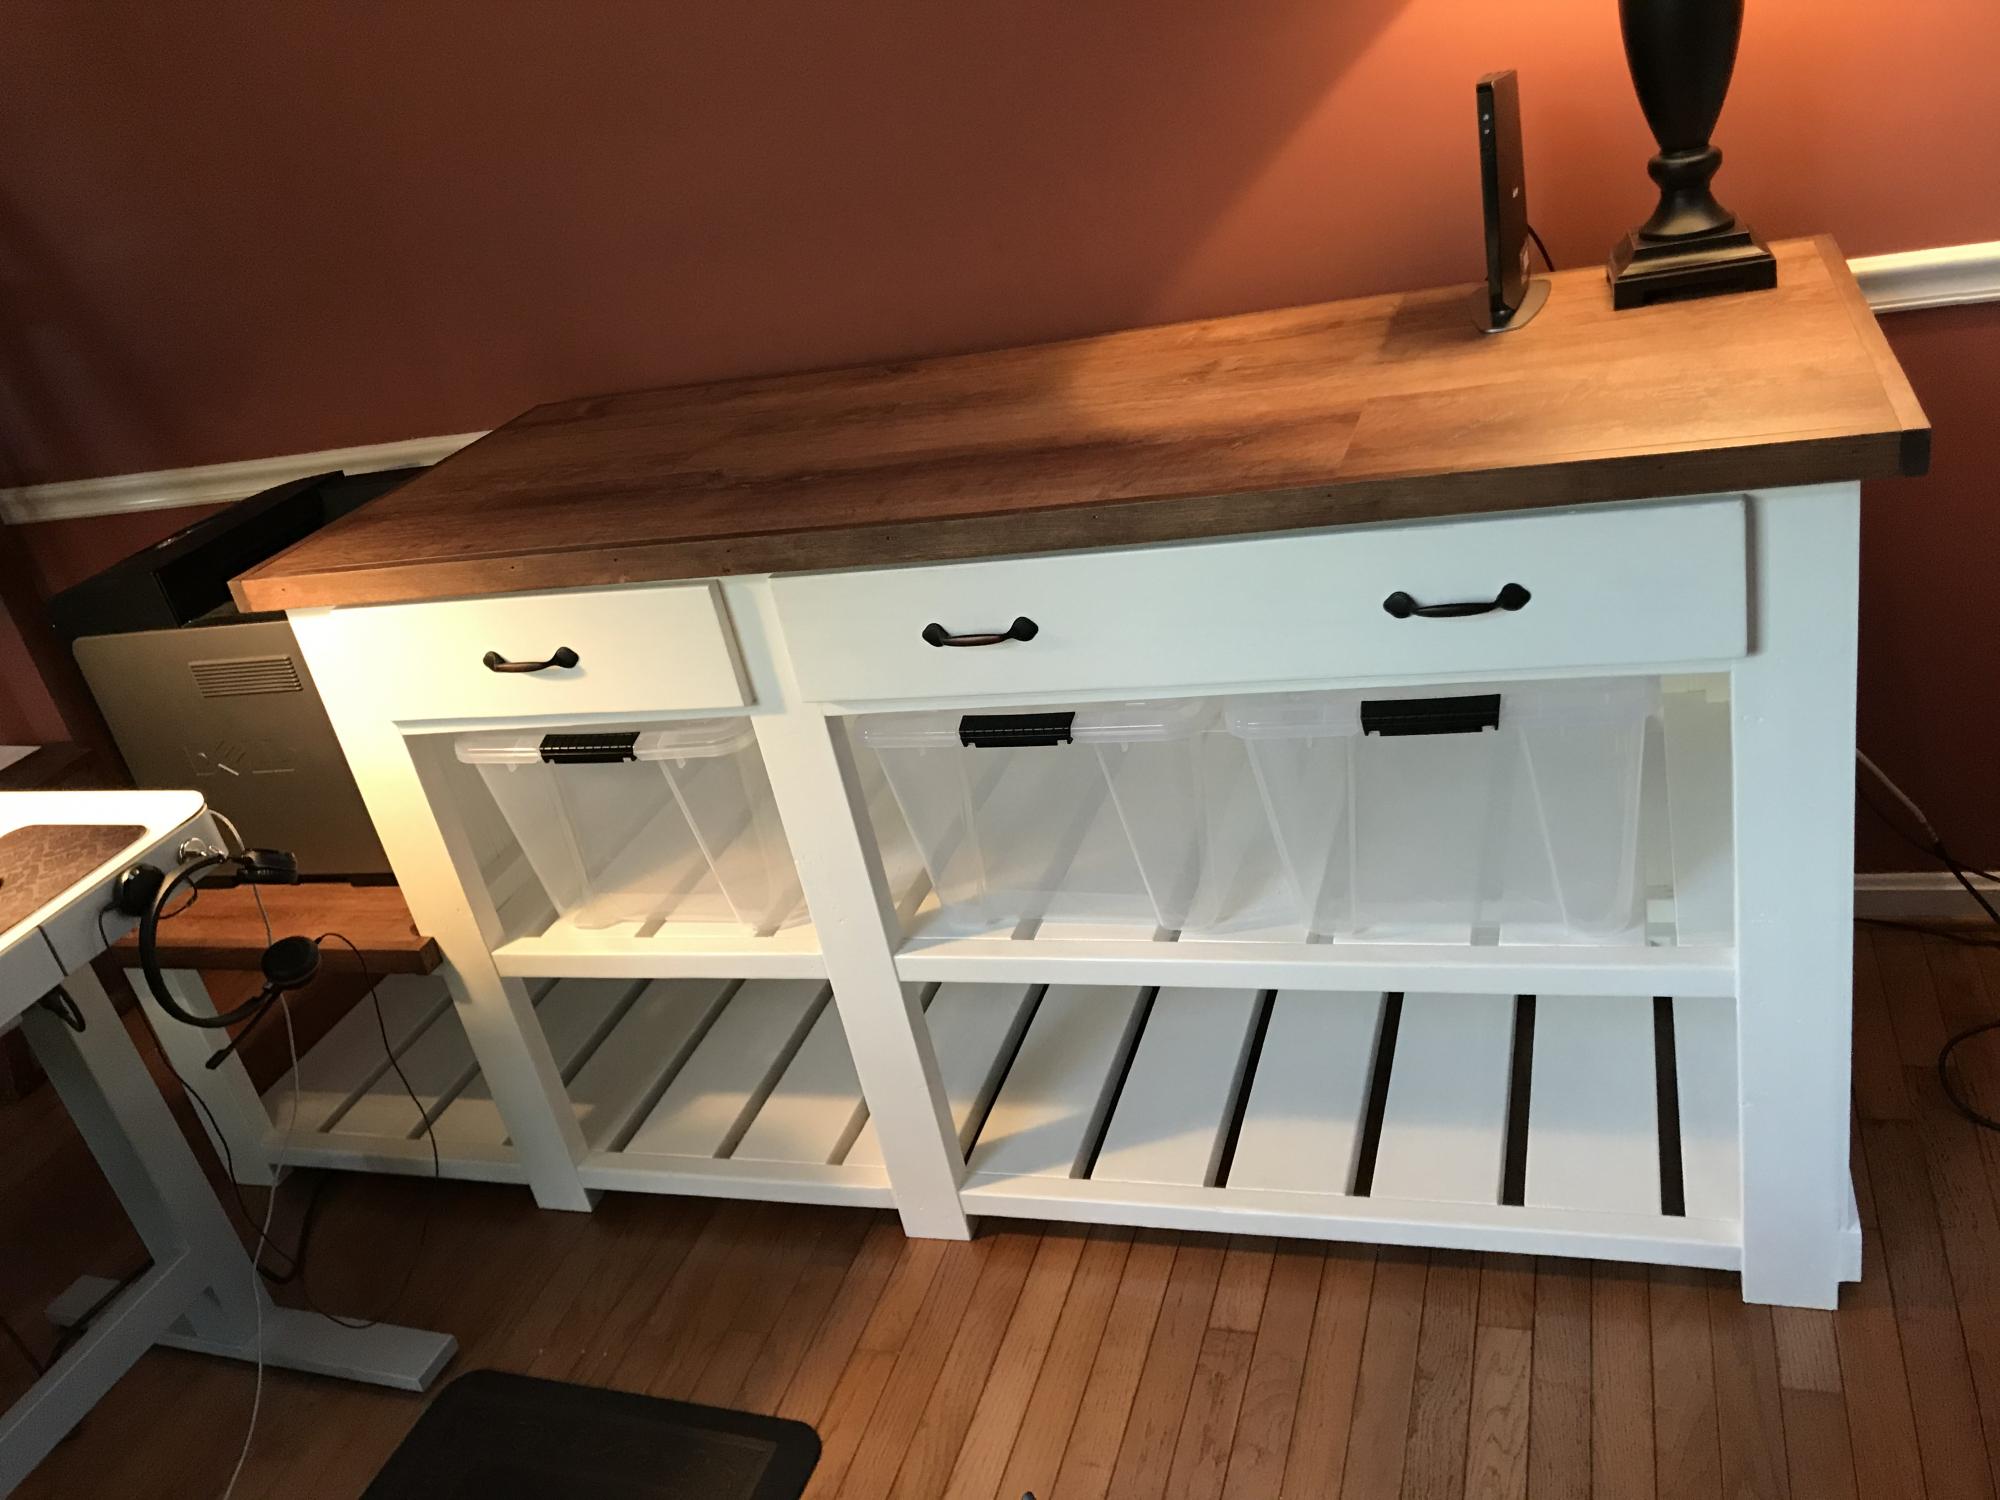
Farmhouse Console Inspired Design with Vinyl Floor Plank Top

Submitted by mowbratb on Mon, 10/19/2020 - 10:16

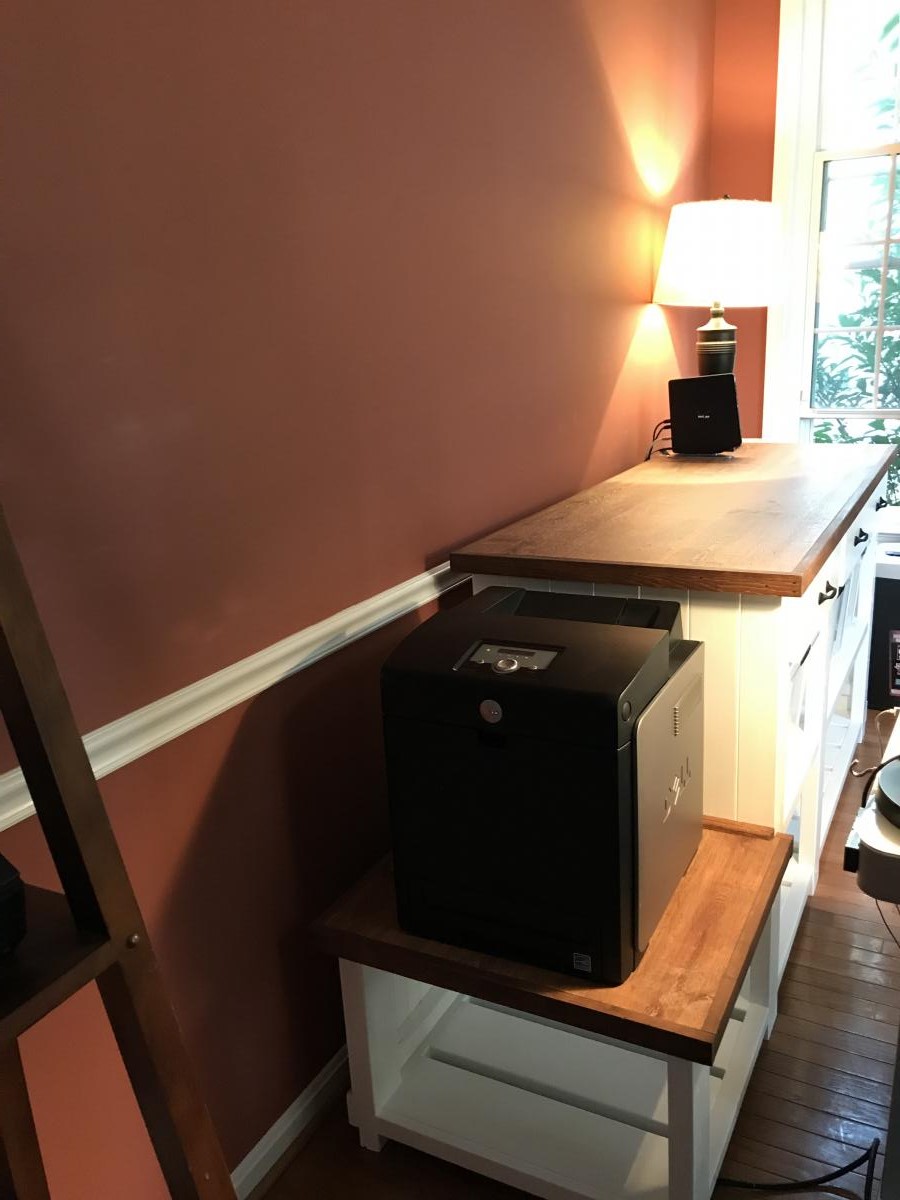
Started with the Farmhouse Console design and ended up modifying a bit but still wanted a similar look of the console. This was my first time building a piece of furniture so not too hard, just more time. Here are my changes: 37" height (12" height between shelves plus drawers and 1" top) 23" base width (wanted to use for storing clear bins) 25 3/4" top width 65 3/4" main top length 22 1/2" lower top length (wanted to a place for my printer with storage for paper below it) 88" (full top length) 34" interior width large section (2 bins for each shelf) 18" x 2 interior width for smaller sections (1 bin for upper and lower) 18" x 4 1/2" drawer opening 34" x 4 1/2" drawer opening 1 - 32 11/16" w x 21 1/4" drawer with 18" Everbilt full extension ball bearing slide set 1 - 16 11/16" w x 21 1/4" drawer with 18" Everbilt full extension ball bearing slide set Additional Notes: - Used Pine/Spruce Edge V planks (.25" thick, 3.5" width) for sides and back - Used 2x4 for drawers with 1/2 birch plywood for bottom and 1x6 face (19" and 35" long) - Assembled with pocket screws, GRK finishing screws and glue just like the farmhouse console instructions. - Had to modify the location of the 2x6 slats for the two center legs to account for the change in length to keep the 1" space between them. As noted in the title, I experimented by making the top using lifeproof vinyl "Trail Oak" floor planks glued on top of 3/4" birch plywood and trimmed it with 1 x 2 stained to match the vinyl flooring. I'm pretty happy with the turnout but was prepared to use 2/6's if it didn't look the way I envisioned.

Built from Plan(s)
Estimated Cost
~$350
Estimated Time Investment
Week Long Project (20 Hours or More)
Finish Used
1. White color, used Valspar Cabinet Furniture paint. Didn't prime underneath as the product says you don't need to but I wished I had. Took 2-3 coats to cover properly. https://www.valspar.com/en/products/interior-paints-primers/cabinet-furniture-oil-enriched-enamel
2. Top surface: Lifeproof 8.7 x 47.6 Trail Oak vinyl flooring planks, used 6 of the 7 planks from one box ($60)
3. Top Trim: Varathane (1 part Honey mixed with 2/3 part Dark Walnut) to match the vinyl planks
4. Applied brown caulking in cracks between vinyl floor planks and trim
Recommended Skill Level
Intermediate

Sideboard

Submitted by Anonymous (not verified) on Fri, 05/05/2017 - 16:26

Long sideboard. 

Estimated Cost
About $180 for the wood. About $27 for paint and $15 for stain.
Estimated Time Investment
Week Long Project (20 Hours or More)
Finish Used
Used rustolium chalk paint white for the bottom and a wiping stain in dark roast color for the top. And a lacquer on the stain. Behind the Xs on the doors is old chicken wire.
Recommended Skill Level
Intermediate

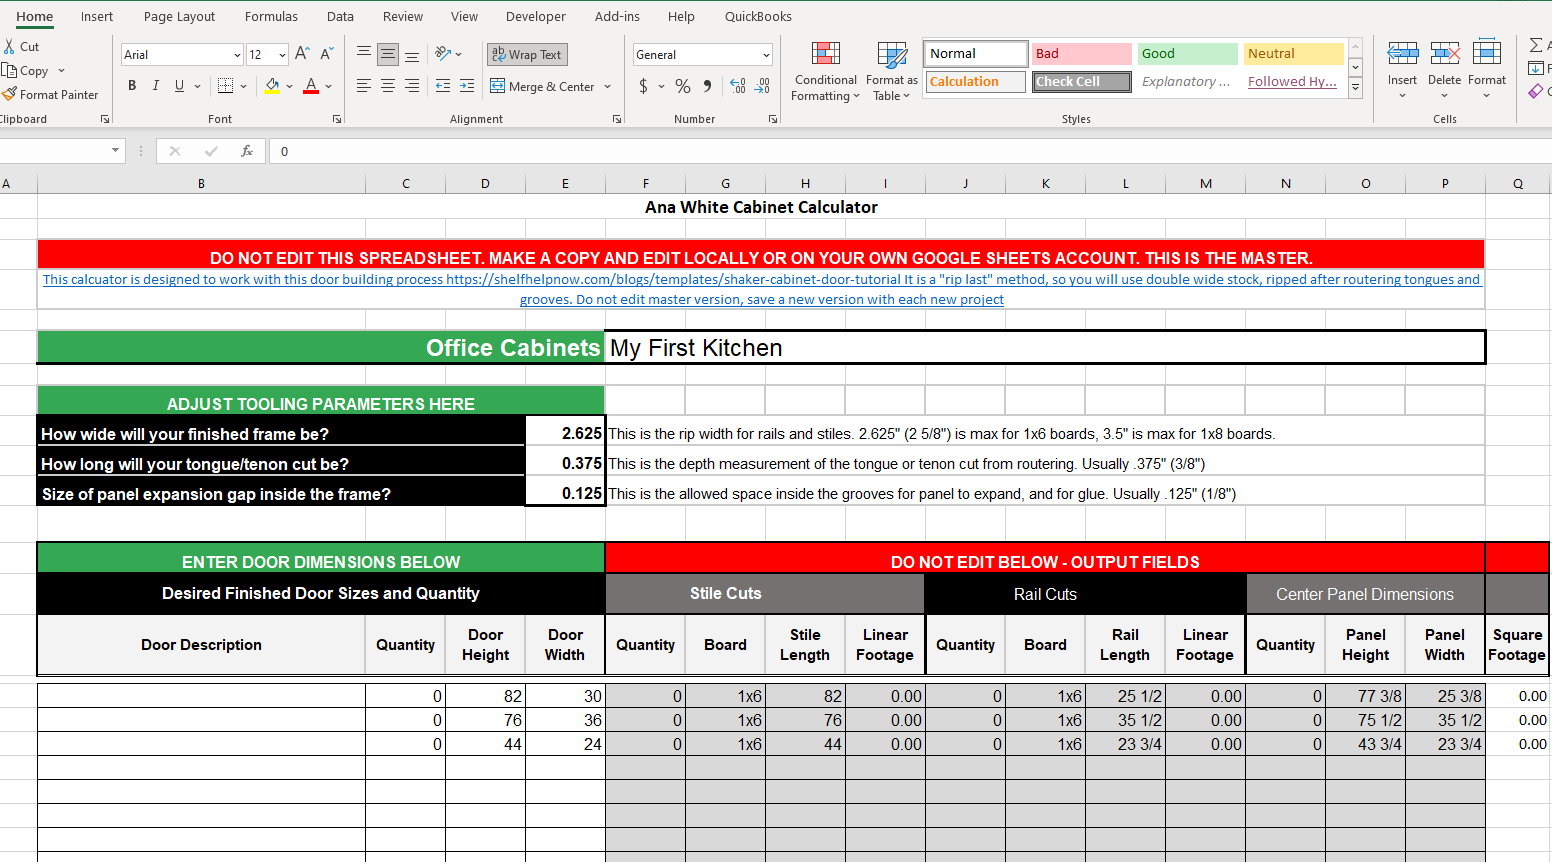
Ana White Cabinet Builder Google Sheet converted to Microsoft Excel

I was trying to use the google sheets cabinet calculator that Ana posted and found that others were accessing and editing the master at the same time. I thought perhaps a Microsoft Excel version of the calculator to download may be useful.

I wasn't able to upload to this site so I've created a Brag Post to link to it on my site.

UPDATE: Ana's website has been updated and the file is now an Excel Spreadsheet which can be downloaded.

Estimated Cost
none, just converted the functions and calculations to work in excel
Estimated Time Investment
An Hour or Two (0-2 Hours)
Recommended Skill Level
Intermediate

Braden Entryway lockers

Submitted by bowers8307 on Wed, 05/08/2013 - 12:11

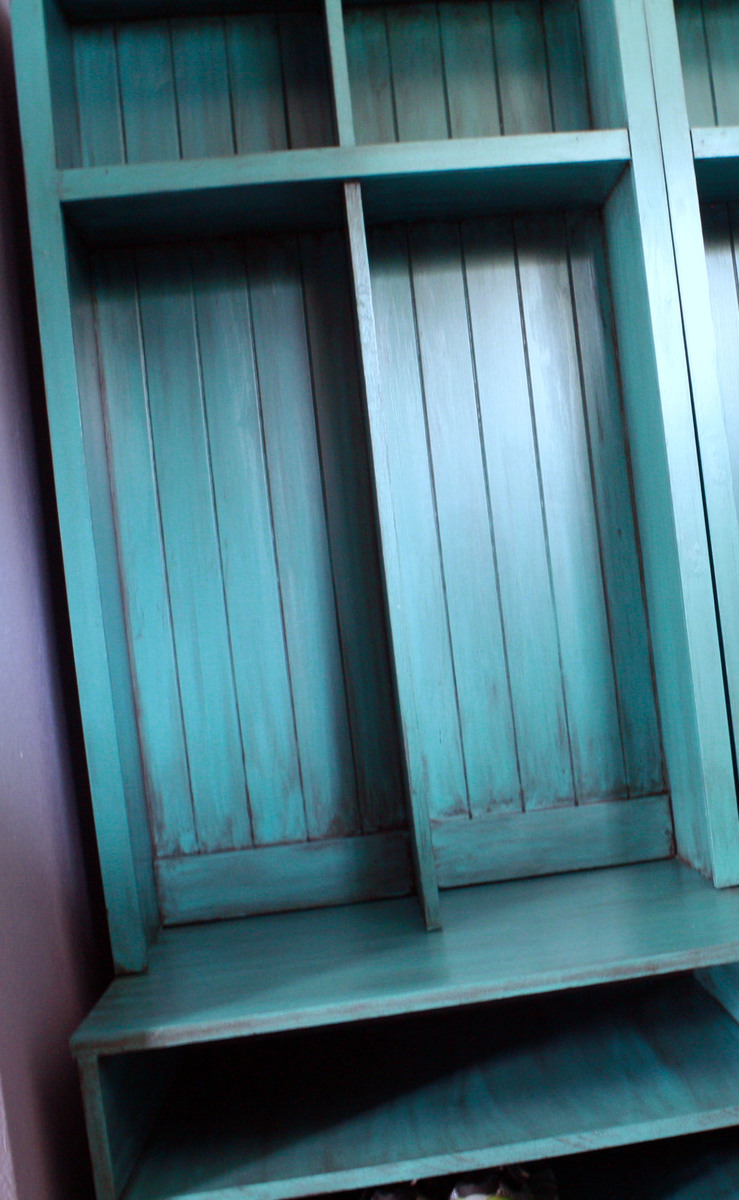
We needed some way to organize shoes, coats, book bags and the the things that need a home when you have 4 kids. I found the plans for the Braden entryway units and I loved them! I showed them to my husband who built them for me one Saturday afternoon. We decided to use piece of paneling for a wall on the back of the lockers and used MDF for the shoe bases since we wanted them to be sturdy. I painted them Valspars "Tidal Teal" and then technique glazed them with a black brown color. I LOVE THEM! They are colorful and fun and so functional. I love this site and have many other projects for my husband to build as long and I get to do the fun part, PAINTING!!

Estimated Cost
$300
Estimated Time Investment
Weekend Project (10-20 Hours)
Finish Used
Technique glazing. Valspar's Tidal Teal and black/brown technique glaze.
Recommended Skill Level
Beginner

Comments

Jen Morningstar

Sat, 06/28/2014 - 18:42

This was the first piece of wood work that I have worked on since I was 19; however, your site is so filled with such beautiful work, that I just had to make something.
Luckily we were in need of an entryway--a place to sit and tie shoes, hang coats, and have cubbies to store hats, mitts, scarves, as well as my gardening tools!
I modified your Braden Entryway Collection to fit the space I had, but I hope you agree that it turned out quite nicely, despite my novice alterations.
I'm very fond of the look and smell of bare pine, so the piece is only finished with Tung oil.
Thank you so much for such a rich site, and for an incredibly detailed 'how to,' I don't think I could have managed without it. I wish I could send a picture to you, but I have yet to figure out how to do that.

Pergola (attached directly to the house)

Submitted by dwm22 on Thu, 05/23/2013 - 17:34

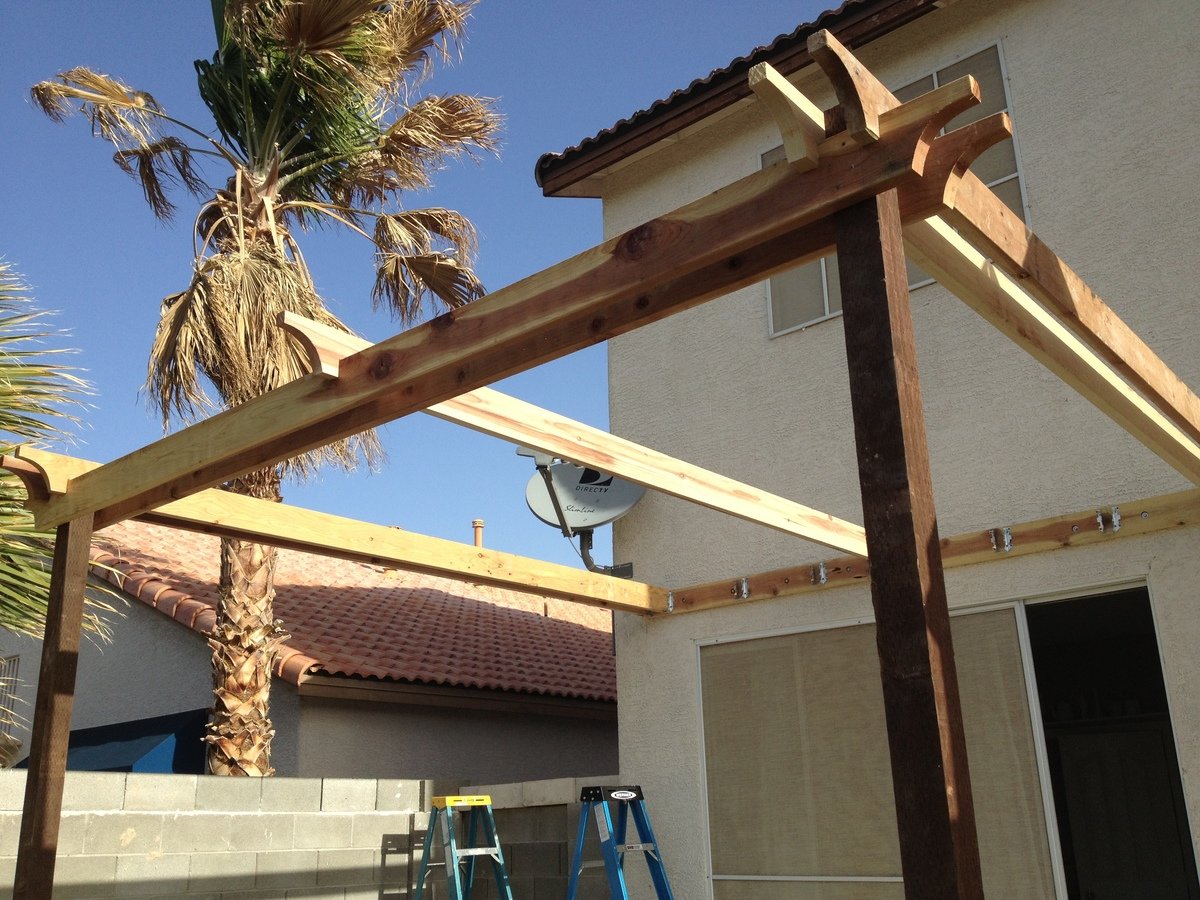
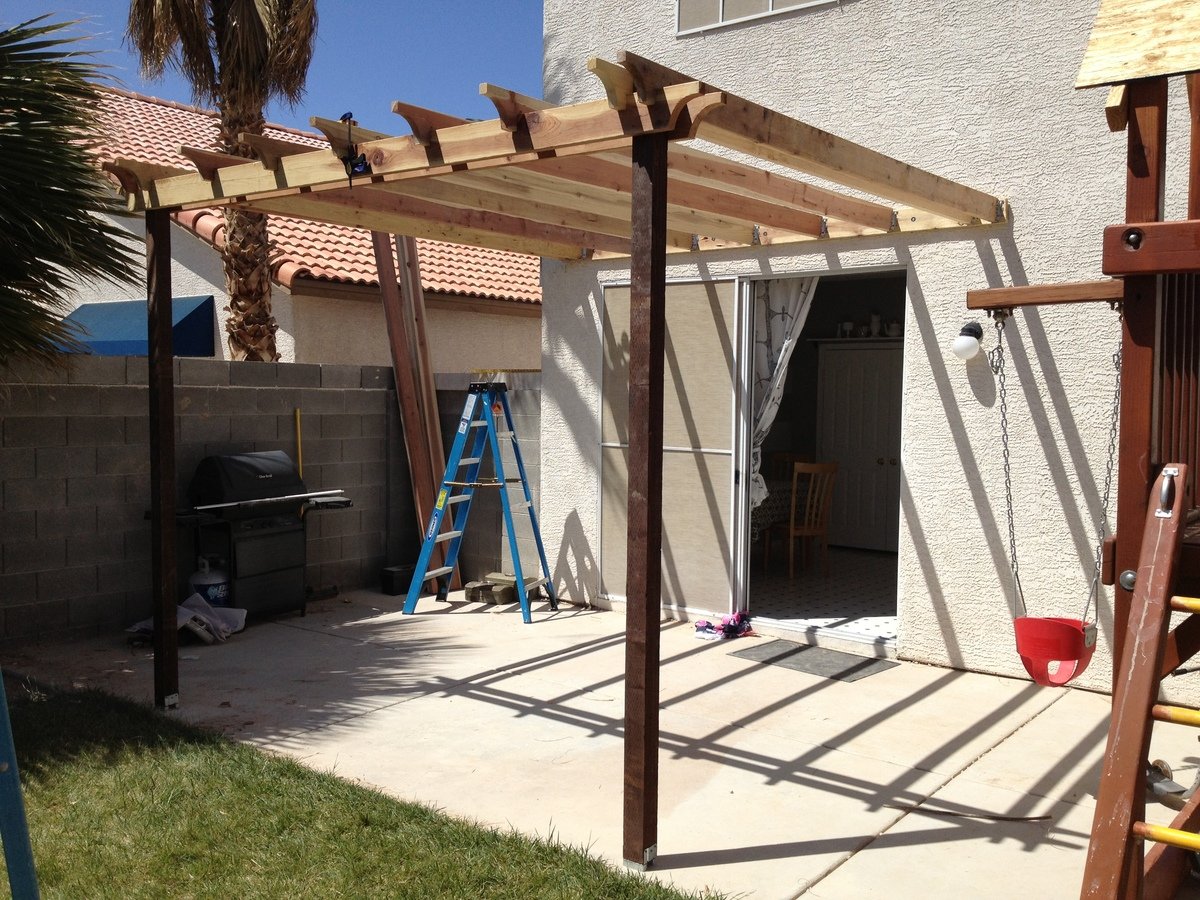
Instead of building a free-standing, 4-poster Pergola, I attached one side directly to the house. There are various Pergola design types and shapes. Simply Google for "pergola" images and decide which design you like best, or combine design ideas together (as I did).

Couple things to consider:
A: Is your Pergola more for decorative purposes or actual shade?
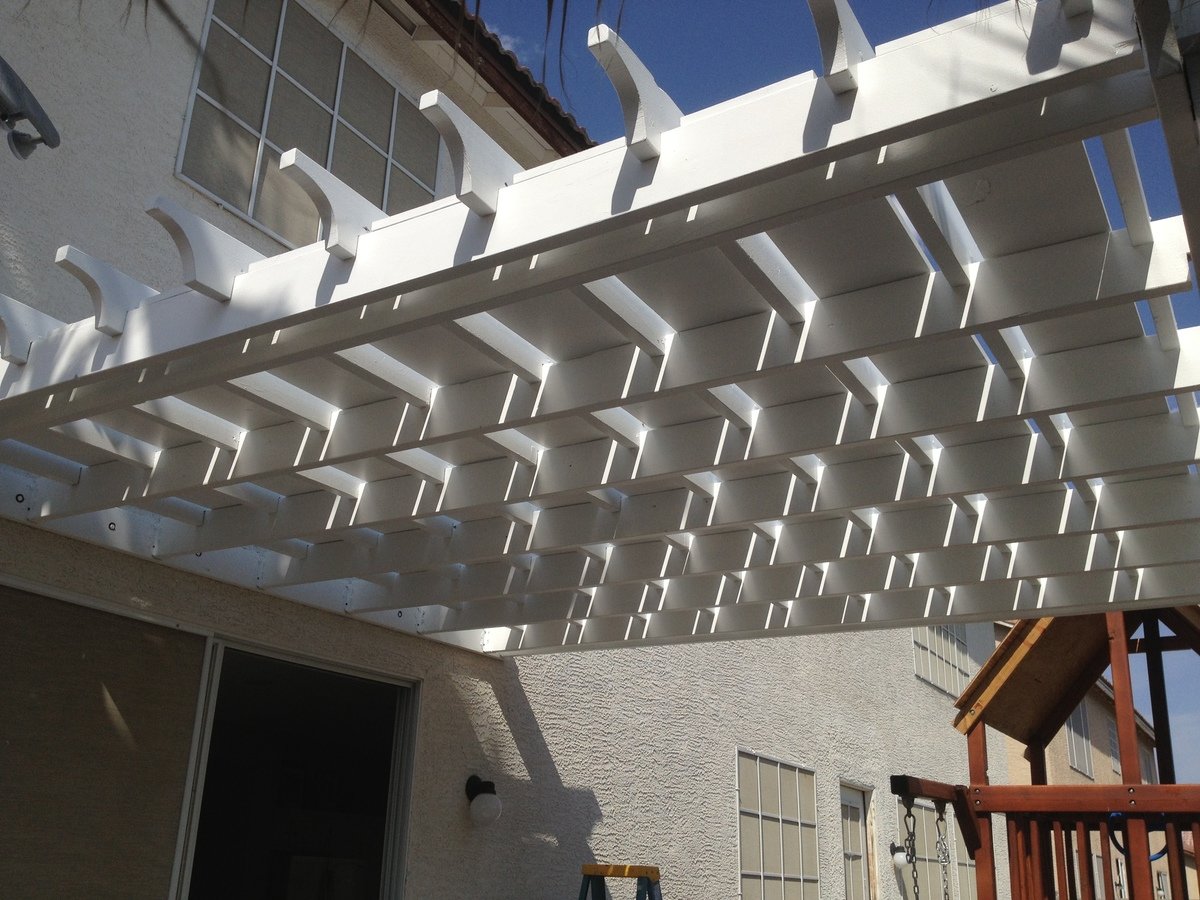
My design was more for actual shade (but with a decorative design), which is why I added the 1in x 12in x 12ft Pine boards between the cross beams at the very end (last picture). If your design is more for decorative purposes, you can space out your support beams and cross beams wider (using less wood and money).

You can also choose to use 2x4s as your support beams with 2x2 cross beams on top (essentially furring strips) either close together or spaced farther apart. This would also reduce the overall cost of your Pergola and make it much lighter as well. I chose to use all 2x6s for both support beams and cross beams.

B: What path does the sun follow across the sky over your Pergola?
If the sun passes directly over your Pergola and you want a lot of shade, you'll obviously need to consider this in your design (i.e., more cross beams that are close together).

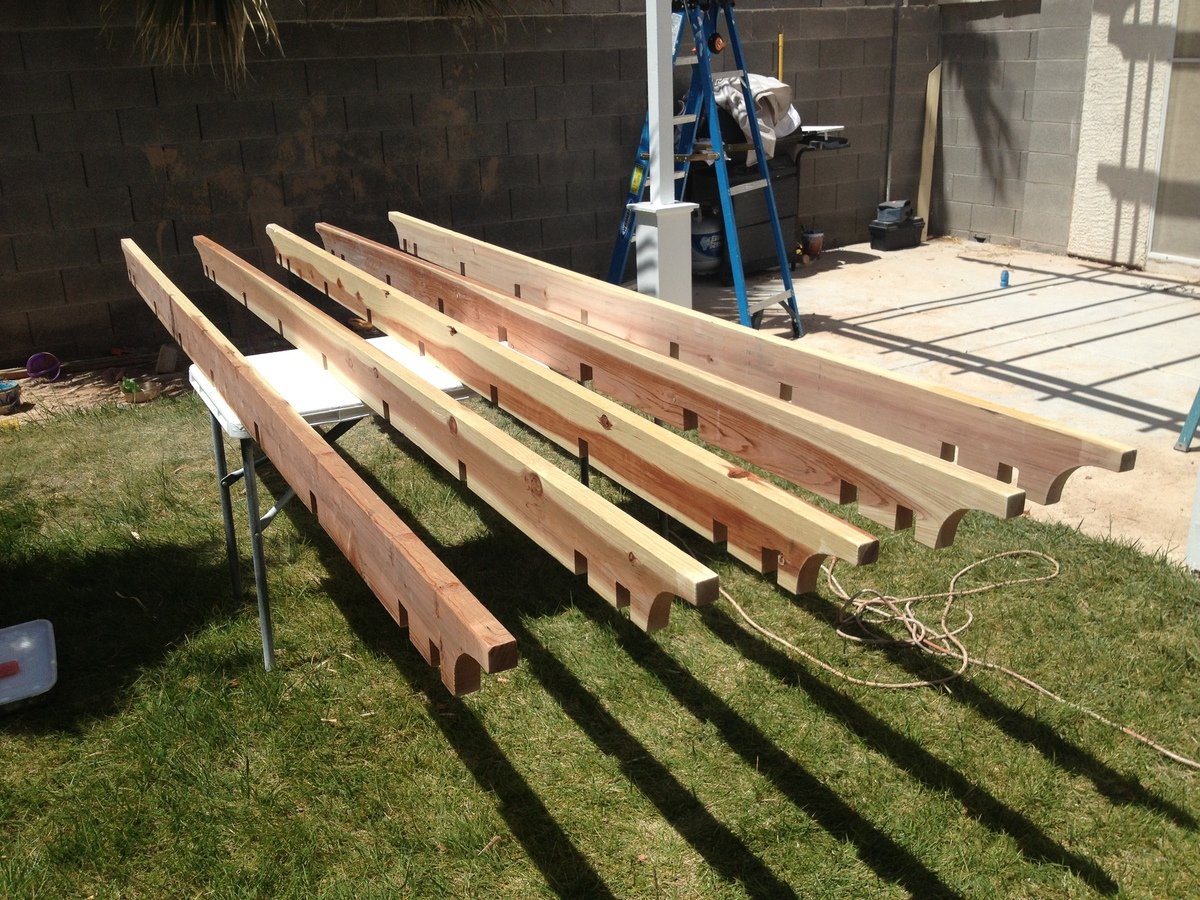
C: Do you want your support beams and cross beams to inter-lock (by cutting square notches and assembling them like linking logs), or simply stacked on top of each other? (Again, Googling for Pergola images will help you see the differences in designs.)

I chose to interlock all of my beams by cutting notches and fitting them together. Obviously more time consuming to measure each notch, cut, and chisel them but the stability of inter-locking beams should hold up a little better in the strong winds of Las Vegas.

HOW TO (abbreviated)

Overall Pergola Dimensions: 10ft Height, 12x12ft

Tip: Paint or stain all your wood prior to assembly. Much easier. You can always touch-up scuffs and scrapes after it's built.

1. 2x6x12 installed directly onto the house (thru the stucco into the studs) using 3/8in. x 5in. lag screws. (Tip: Seal the top edge of the 2x6x12 that's against the stucco so water doesn't run behind it and down into the lag screw holes.)
2. Install the 2x6 Double Shear Hangers (as many as you need for your design)
3. 4x4 post anchors secured directly into the cement patio using Tapcon 3/16 in. x 2-3/4 in.cement anchor screws.
4. 4x4x10ft posts screwed on top of the anchors. Ensure level on all sides (use a partner to help hold the posts).
5. Attach the front and side 2x6 beams to the 2 posts (again, use a partner to help hold posts while you're up on the ladder screwing your beams to the posts)
6. Attach the remaining 2x6 support beams.
7. Attach the 2x6 cross beams on top (whether you inter-lock them by cutting notches or simply resting them on top, be sure to toe-nail screw them in with 2in exterior screws).
8. Lay 1x12x12ft pine boards on top in between the cross beams and secure with 2in exterior wood screws.
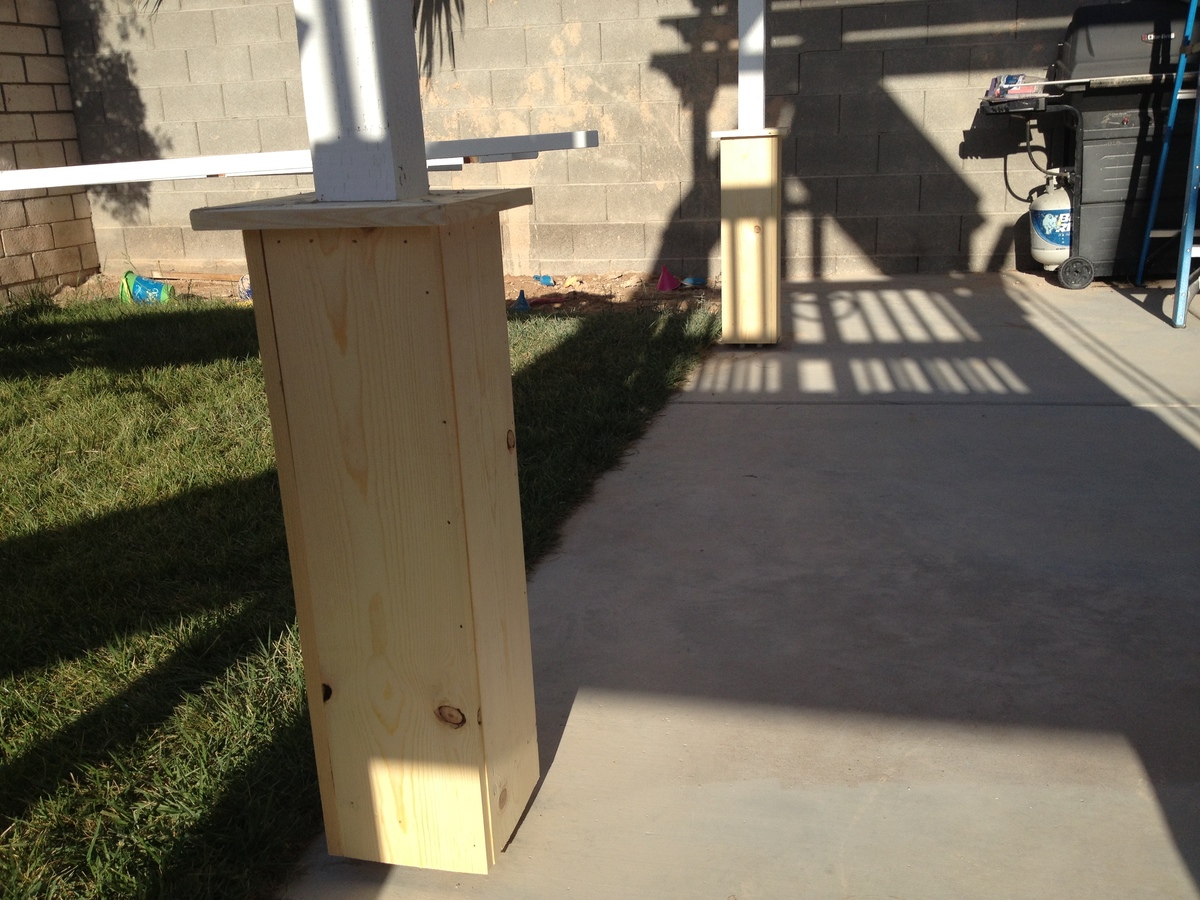
9. Construct the post bases ("sleeves" or "leggings") which greatly adds to the look, as outlined in the "Weatherly Pergola" plans.
10. Touch-up paint / stain any areas you need.

Built from Plan(s)
Estimated Cost
800
Estimated Time Investment
Week Long Project (20 Hours or More)
Finish Used
BEHR Premium Plus Ultra - Ultra Pure White Satin Acrylic Exterior Paint (2 coats applied with roller)
Recommended Skill Level
Intermediate

Comments

bullitt453

Tue, 05/28/2013 - 07:29

Great work and very detailed post. I plan to build something similar for my parents once they are done with their renovation.

Modified garden shed for a combo dog house

Submitted by CDH906 on Mon, 05/18/2015 - 09:49

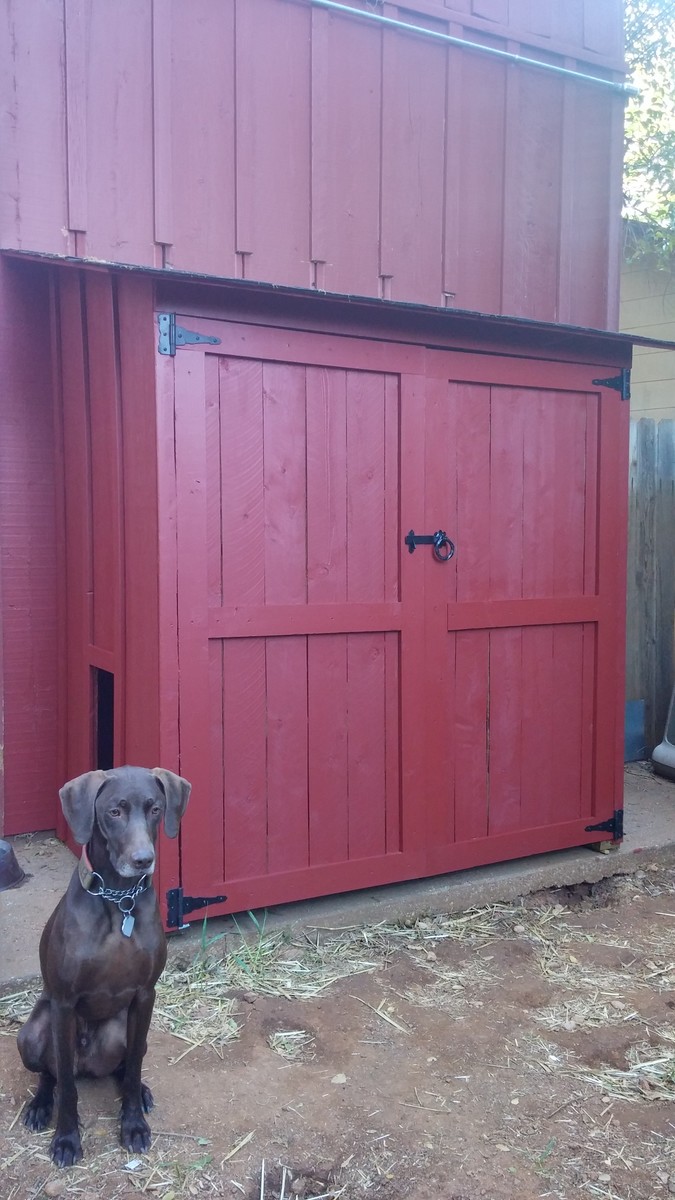
I needed a garden shed (for potting supplies) and a dog house, but I wanted it to look good. I started with Ana's plans, but screwed up a cut and was too lazy to go to the store, so I modified the plan a bit - also we didn't want a lot of venting off the roof.

OUR MODIFICATIONS:
NO BACK WALL - I did not build a back wall, as we pushed it all the way up to the house. (You need to check your codes for this if it's allowed. The way I'm integrating mine w/o breaking the exterior waterproofing of the house and it's unconditioned made mine OK)

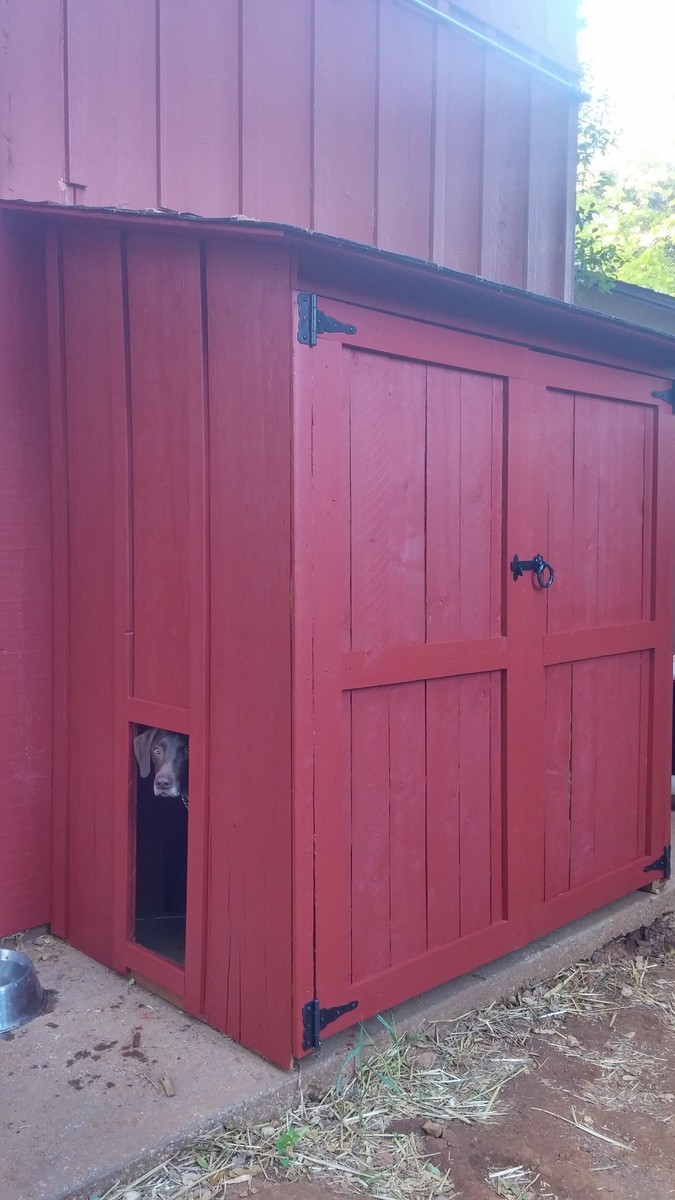
DOG HOUSE- I cut away a hole for our dog between the battens. And as you can see - he loves it. He's got his Coolaroo dog bed inside. We also added a 'ceiling' to the lower dog house half, that divides the gardening storage from dog house. The large shelf inside that acts as a dog house ceiling, and above are my un-used pots, hand tools etc. (no worries no chemicals with the puppy)

PAINTED EXTERIOR- I painted it red to match the house, and will also be putting garden pavers in front of the doors.

ROOF- We did put an underlayment down on the roof before the asphalt shingles.

LESSON LEARNED- If your dog is a Mama's boy like mine, he may try to climb a ladder to remove you from a roof which he has determined is not OK for you to be up there.

*One concern is - most sidewalks slope away from the house, so we had to shim the sill plate so front of the shed doesn't lean outward causing the doors to pull open constantly. As you can see from the photo I still need to flash at the roof where we cut back our houses' battens.

COST- We live in CA - and this project was more expensive than anticipated, our lumber/roof shingle costs were around $270 alone, and keep in mind we didn't build a back panel. I have very little scrap left over too. When I was nearly done the hinges were an additional $15 a piece, $10 for the latch. And we had the primer and paint in the garage. Underlayment for roof, I already had in the garage too.

TIM-: I started this project on a weekend, but it ended up taking longer; probably because I didn't block out the weekend just for this project. I spread it over the course of a month, so hours wise it probably wasn't as bad as it felt... You do need two people though, and that's where I ran into some trouble, I kept trying to work on it when my husband wasn't home. Probably 24hrs, 3 easy going days. Could probably be done in a weekend if you were dedicated and didn't get distracted (or screw up a cut like I did, which sent me to the drawing board to fix my mistake)
Built from Plan(s)
Estimated Cost
$350
Estimated Time Investment
Week Long Project (20 Hours or More)
Finish Used
Exterior house primer and paint
Recommended Skill Level
Intermediate

Comments

Ana White

Mon, 05/18/2015 - 11:52

Great mods, love how you incorporated the dog house! Thank you for sharing!

Wooden Play Parking Garage

Submitted by DMax2010 on Fri, 06/21/2013 - 14:23

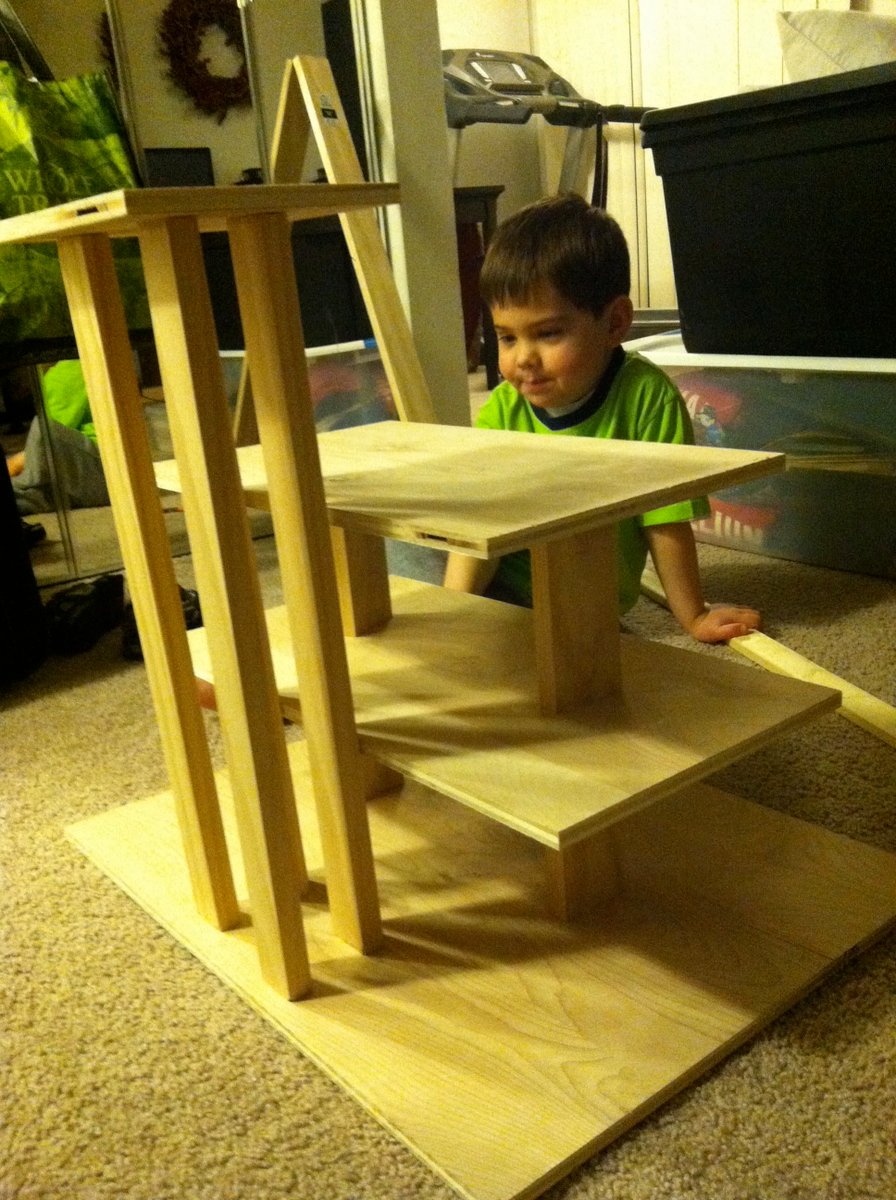
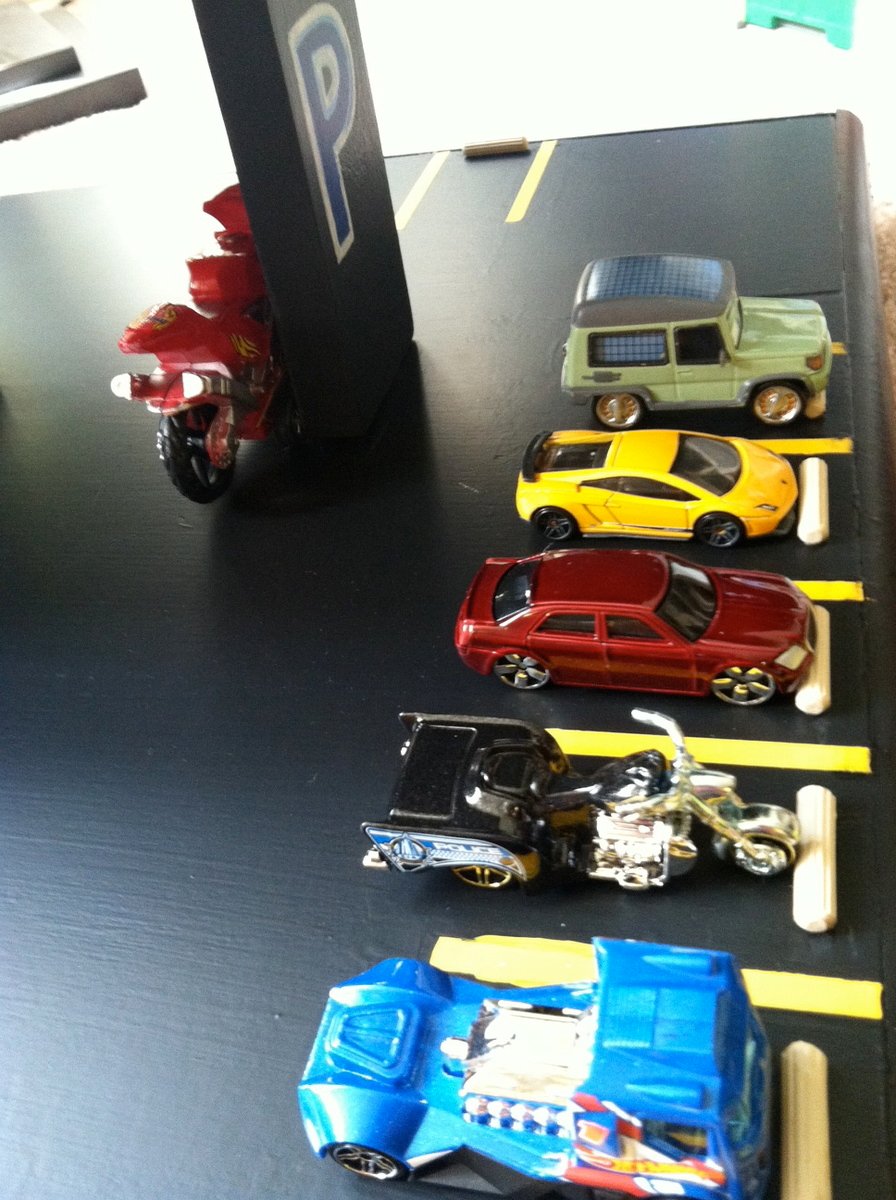
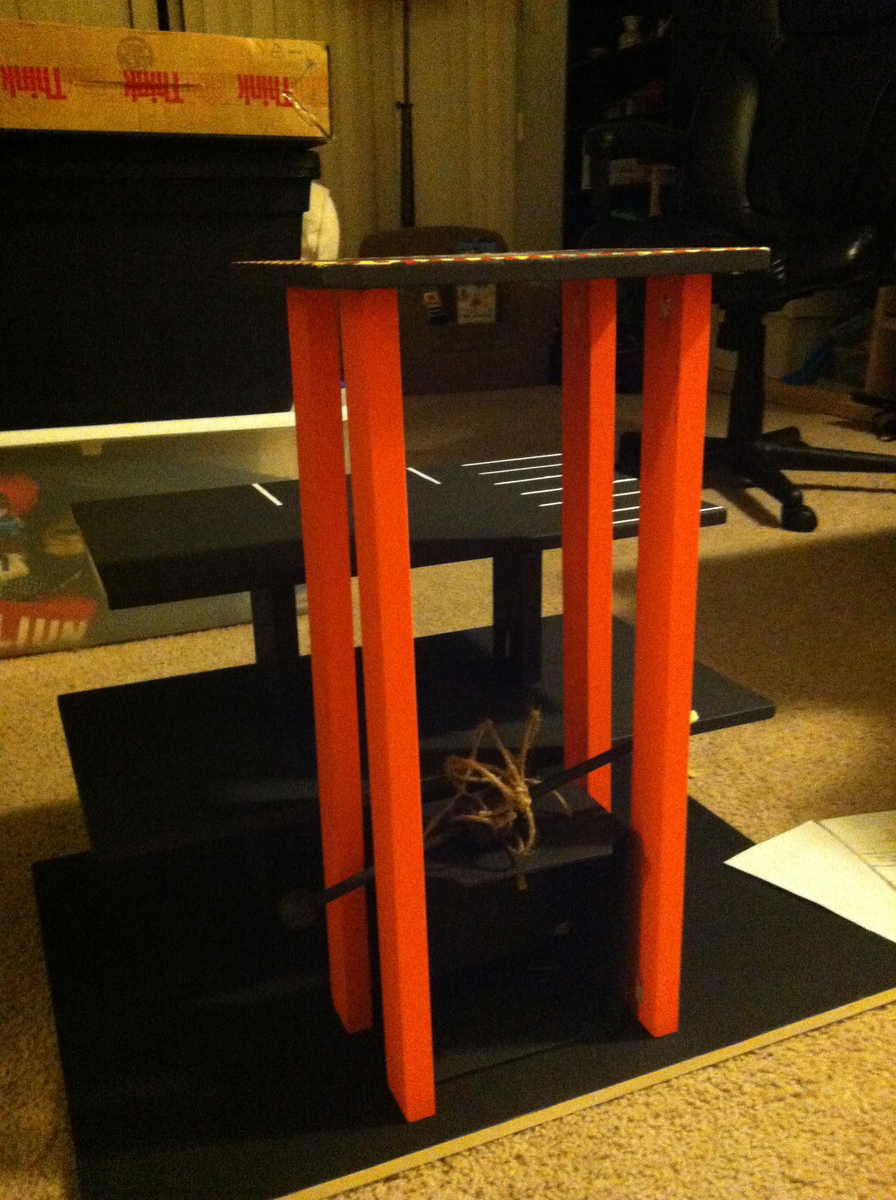
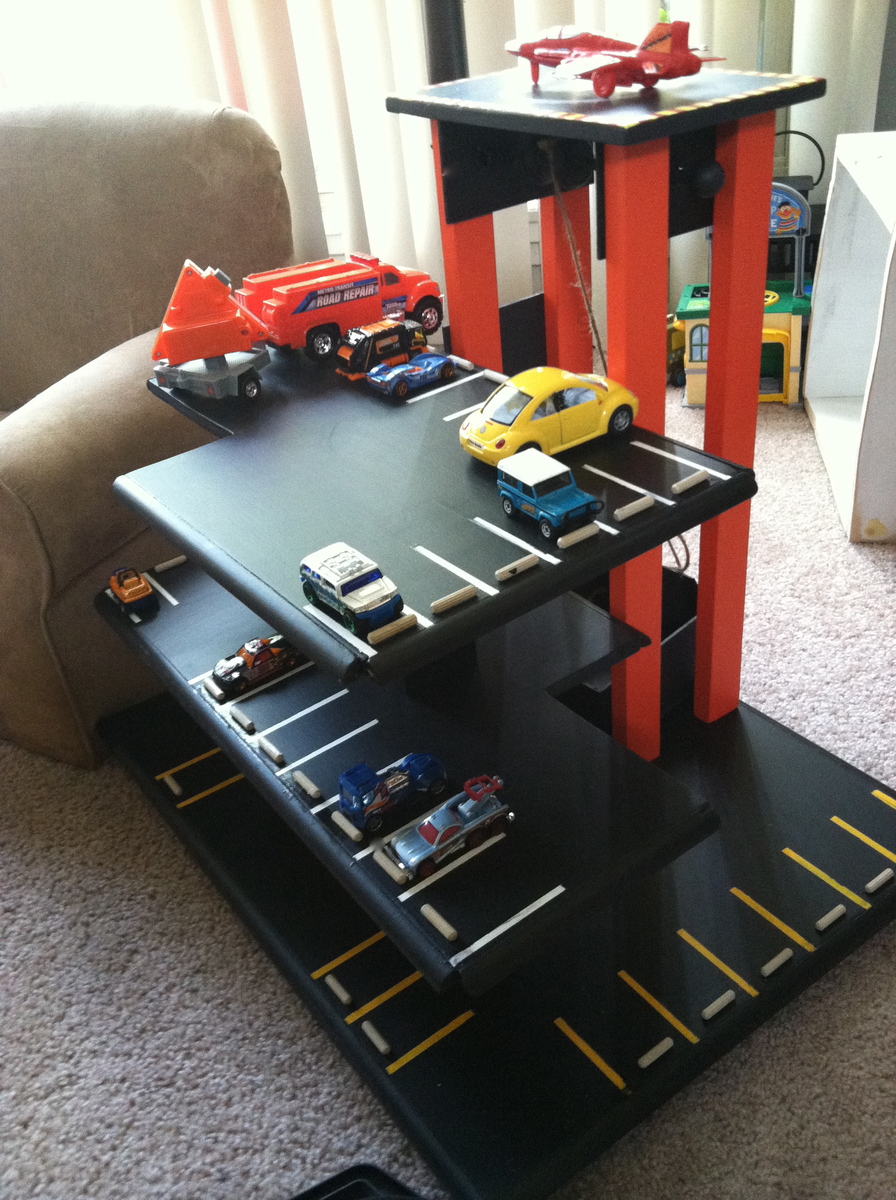
I was looking for a wooden parking garage plan for my little guy, but couldn't find one! I looked a bunch of the dollhouse plans for inspiration and found a wooden toy garage online that I based my plans on. I still need to add the ramps and a few more parking spots, but my son loves it! It has an elevator (need to refine it) and helicopter landing zone!
Estimated Time Investment
Weekend Project (10-20 Hours)
Finish Used
Chalkboard paint for parking levels, regular orange craft paint for the elevator
Recommended Skill Level
Beginner

Comments

DMax2010

Sat, 06/29/2013 - 09:53

My son loves little cars and parking garages, so it was fun to do.

terdickison

Mon, 07/01/2013 - 11:26

I love this! I want one. Better hide this screen before the kid sees it and gets some ideas :)

snoopy369

Tue, 02/25/2014 - 10:05

Hi, curious if you ever finished the project. I'm planning to do something similar next week and would love to see the finished project (and plans if you made them!)

Green Adirondack Chairs

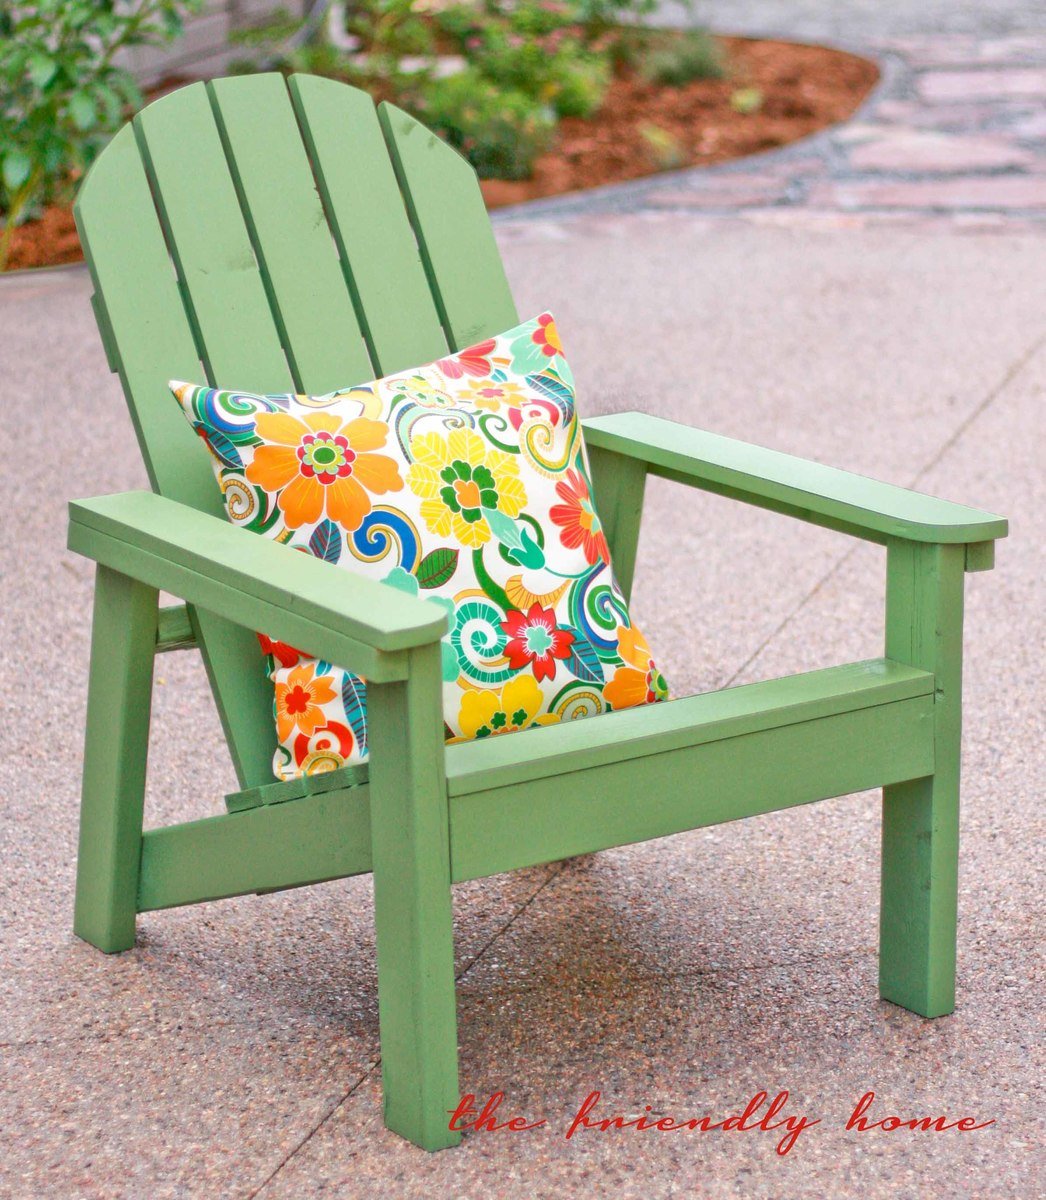
These are great chairs! Easy to build, comfy to sit in. Check out my blog post for more info.

Estimated Cost
$32 per chair for lumber, plus finishing and hardware
Estimated Time Investment
Day Project (6-9 Hours)
Finish Used
Exterior latex paint + primer in one, color matched to Sherwin Williams Dill
Recommended Skill Level
Beginner

Comments

WorkShopWendy

Thu, 06/27/2013 - 20:23

Hi Hillary, Great job. These are great chairs aren't they, and sturdy. I work at Home Depot and I hosted the Do it Herself work shop for them. Very easy to build and inexpensive. I really like the color you chose, very cheery.

keribeth

Fri, 06/28/2013 - 15:58

I'll be making four of these this week in turquoise to match the little ones I made for the kids. Yours is an inspiration!

Seasonal And Holiday