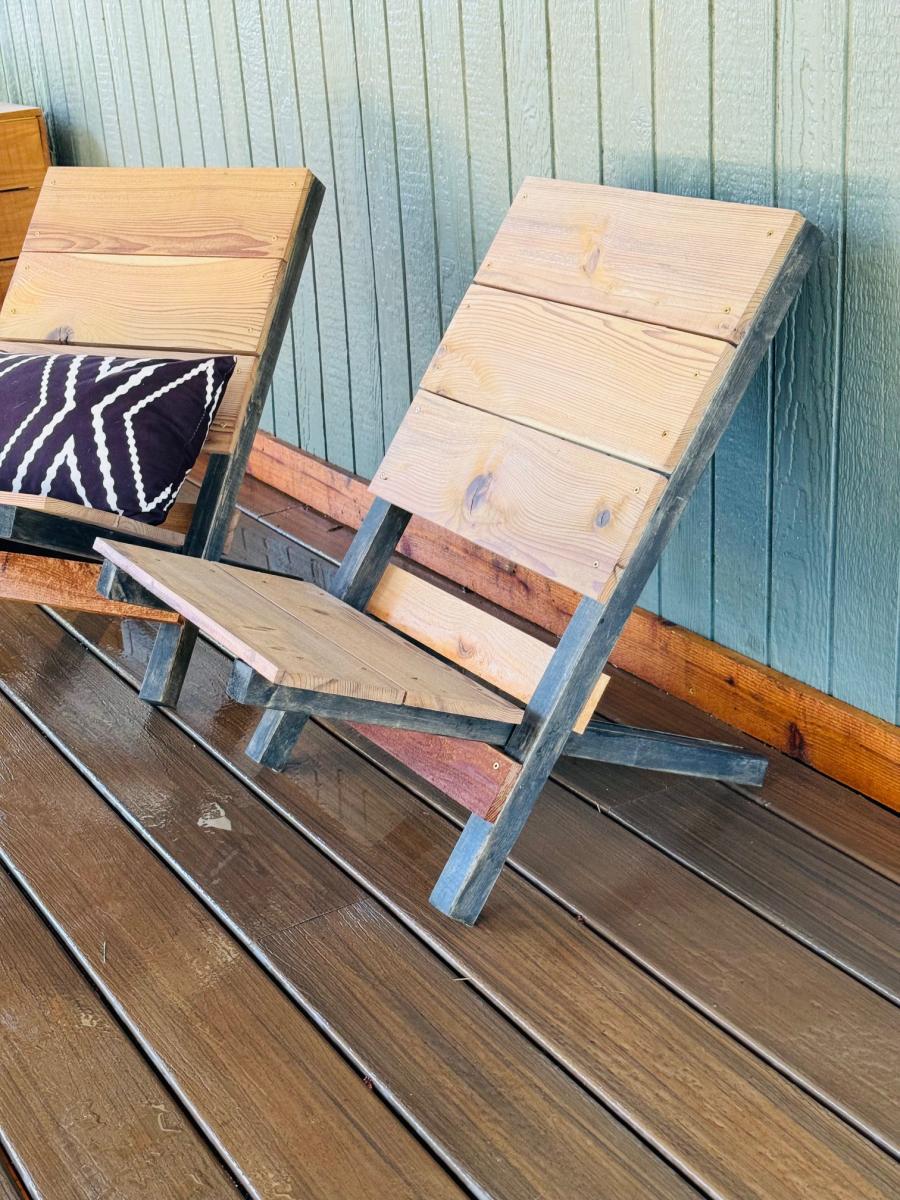
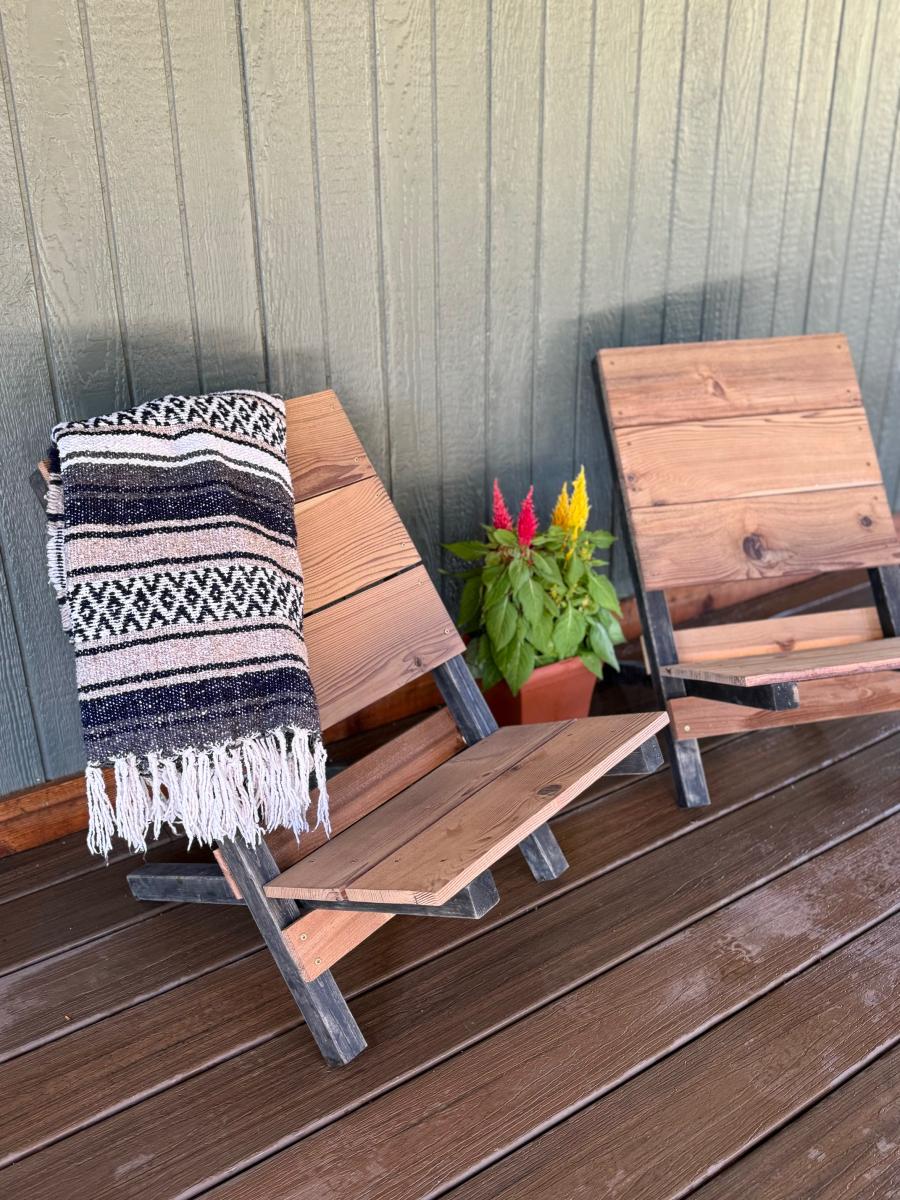
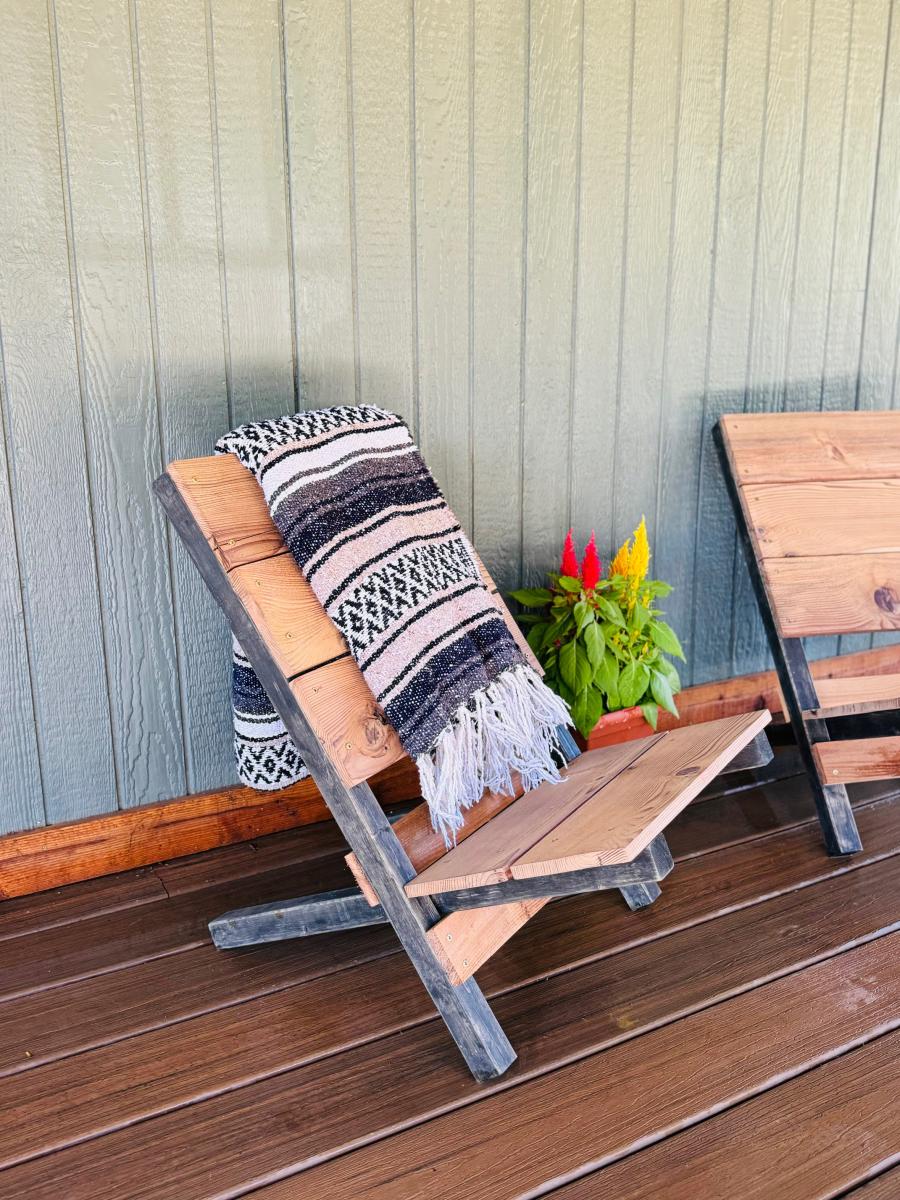
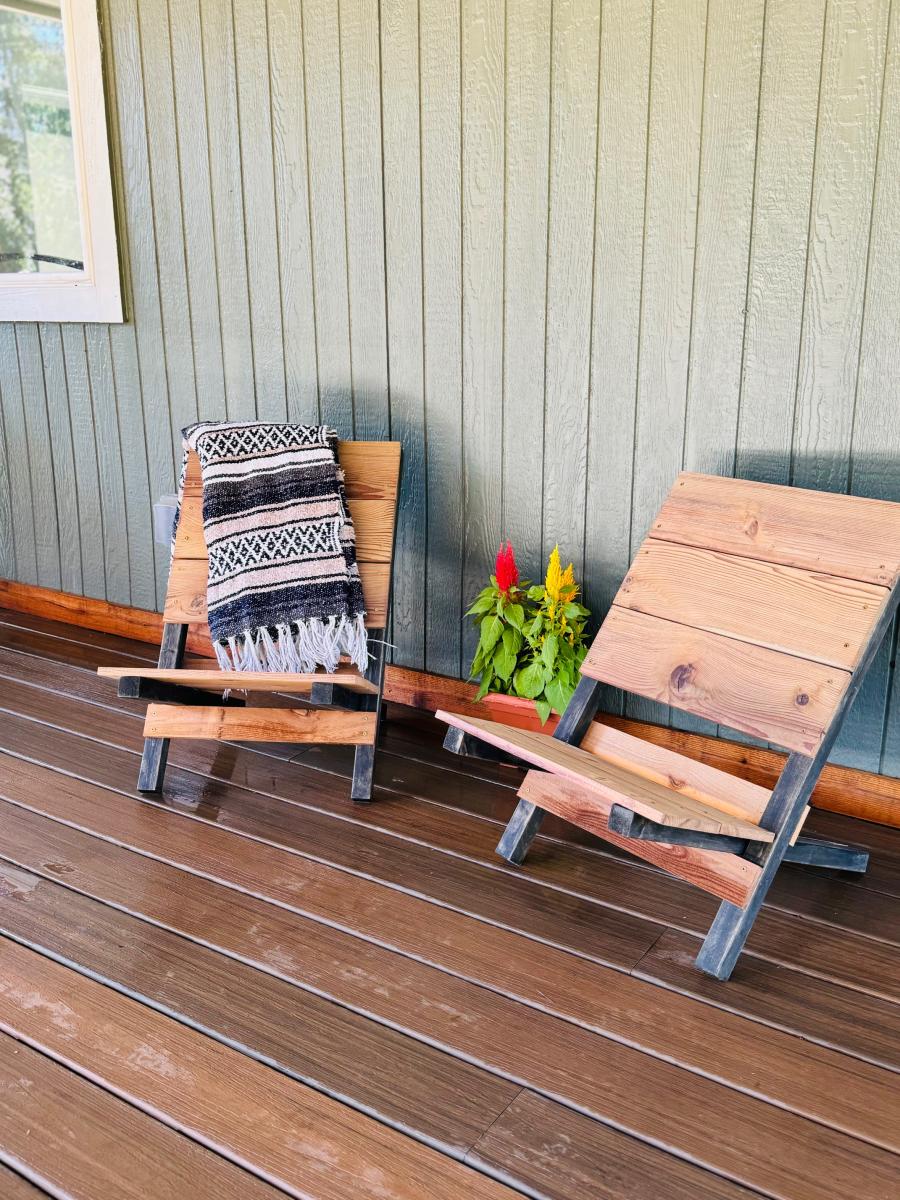
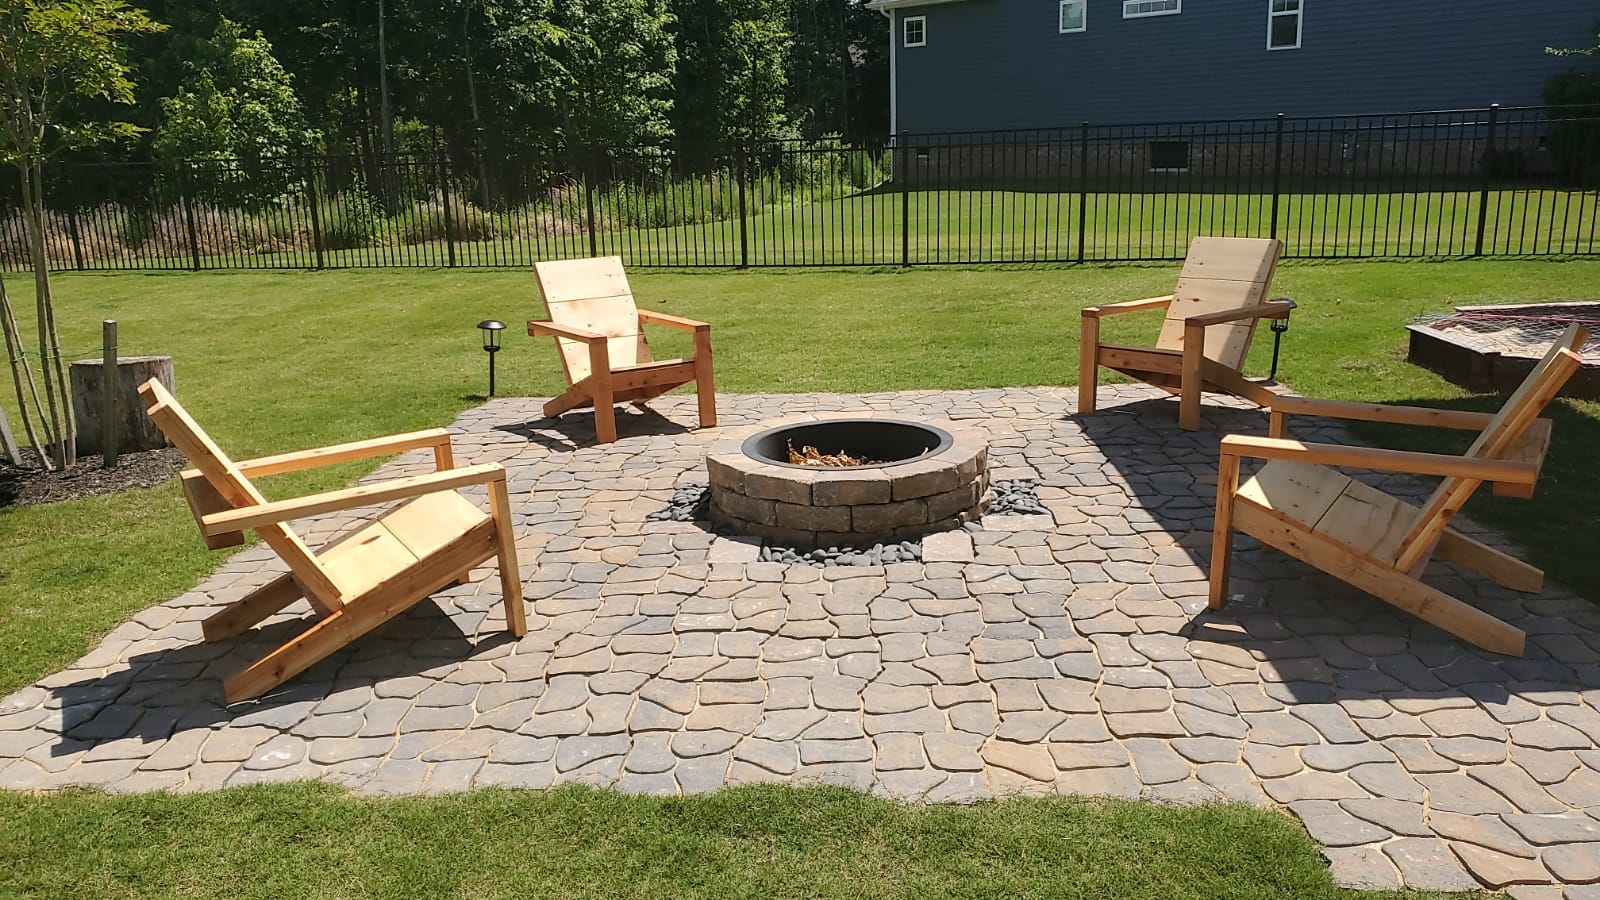
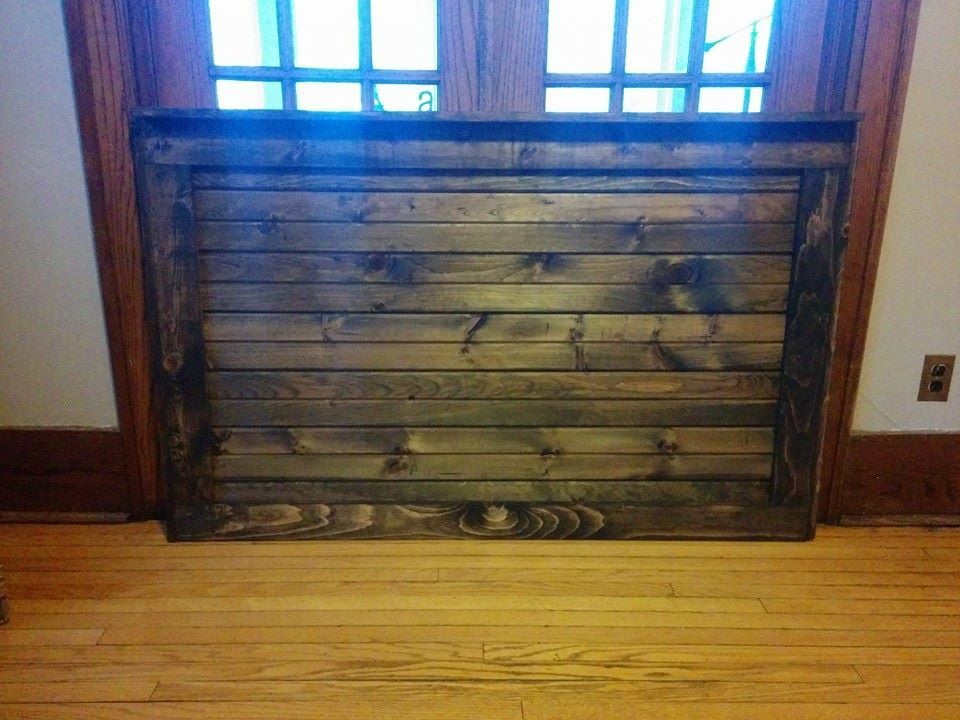
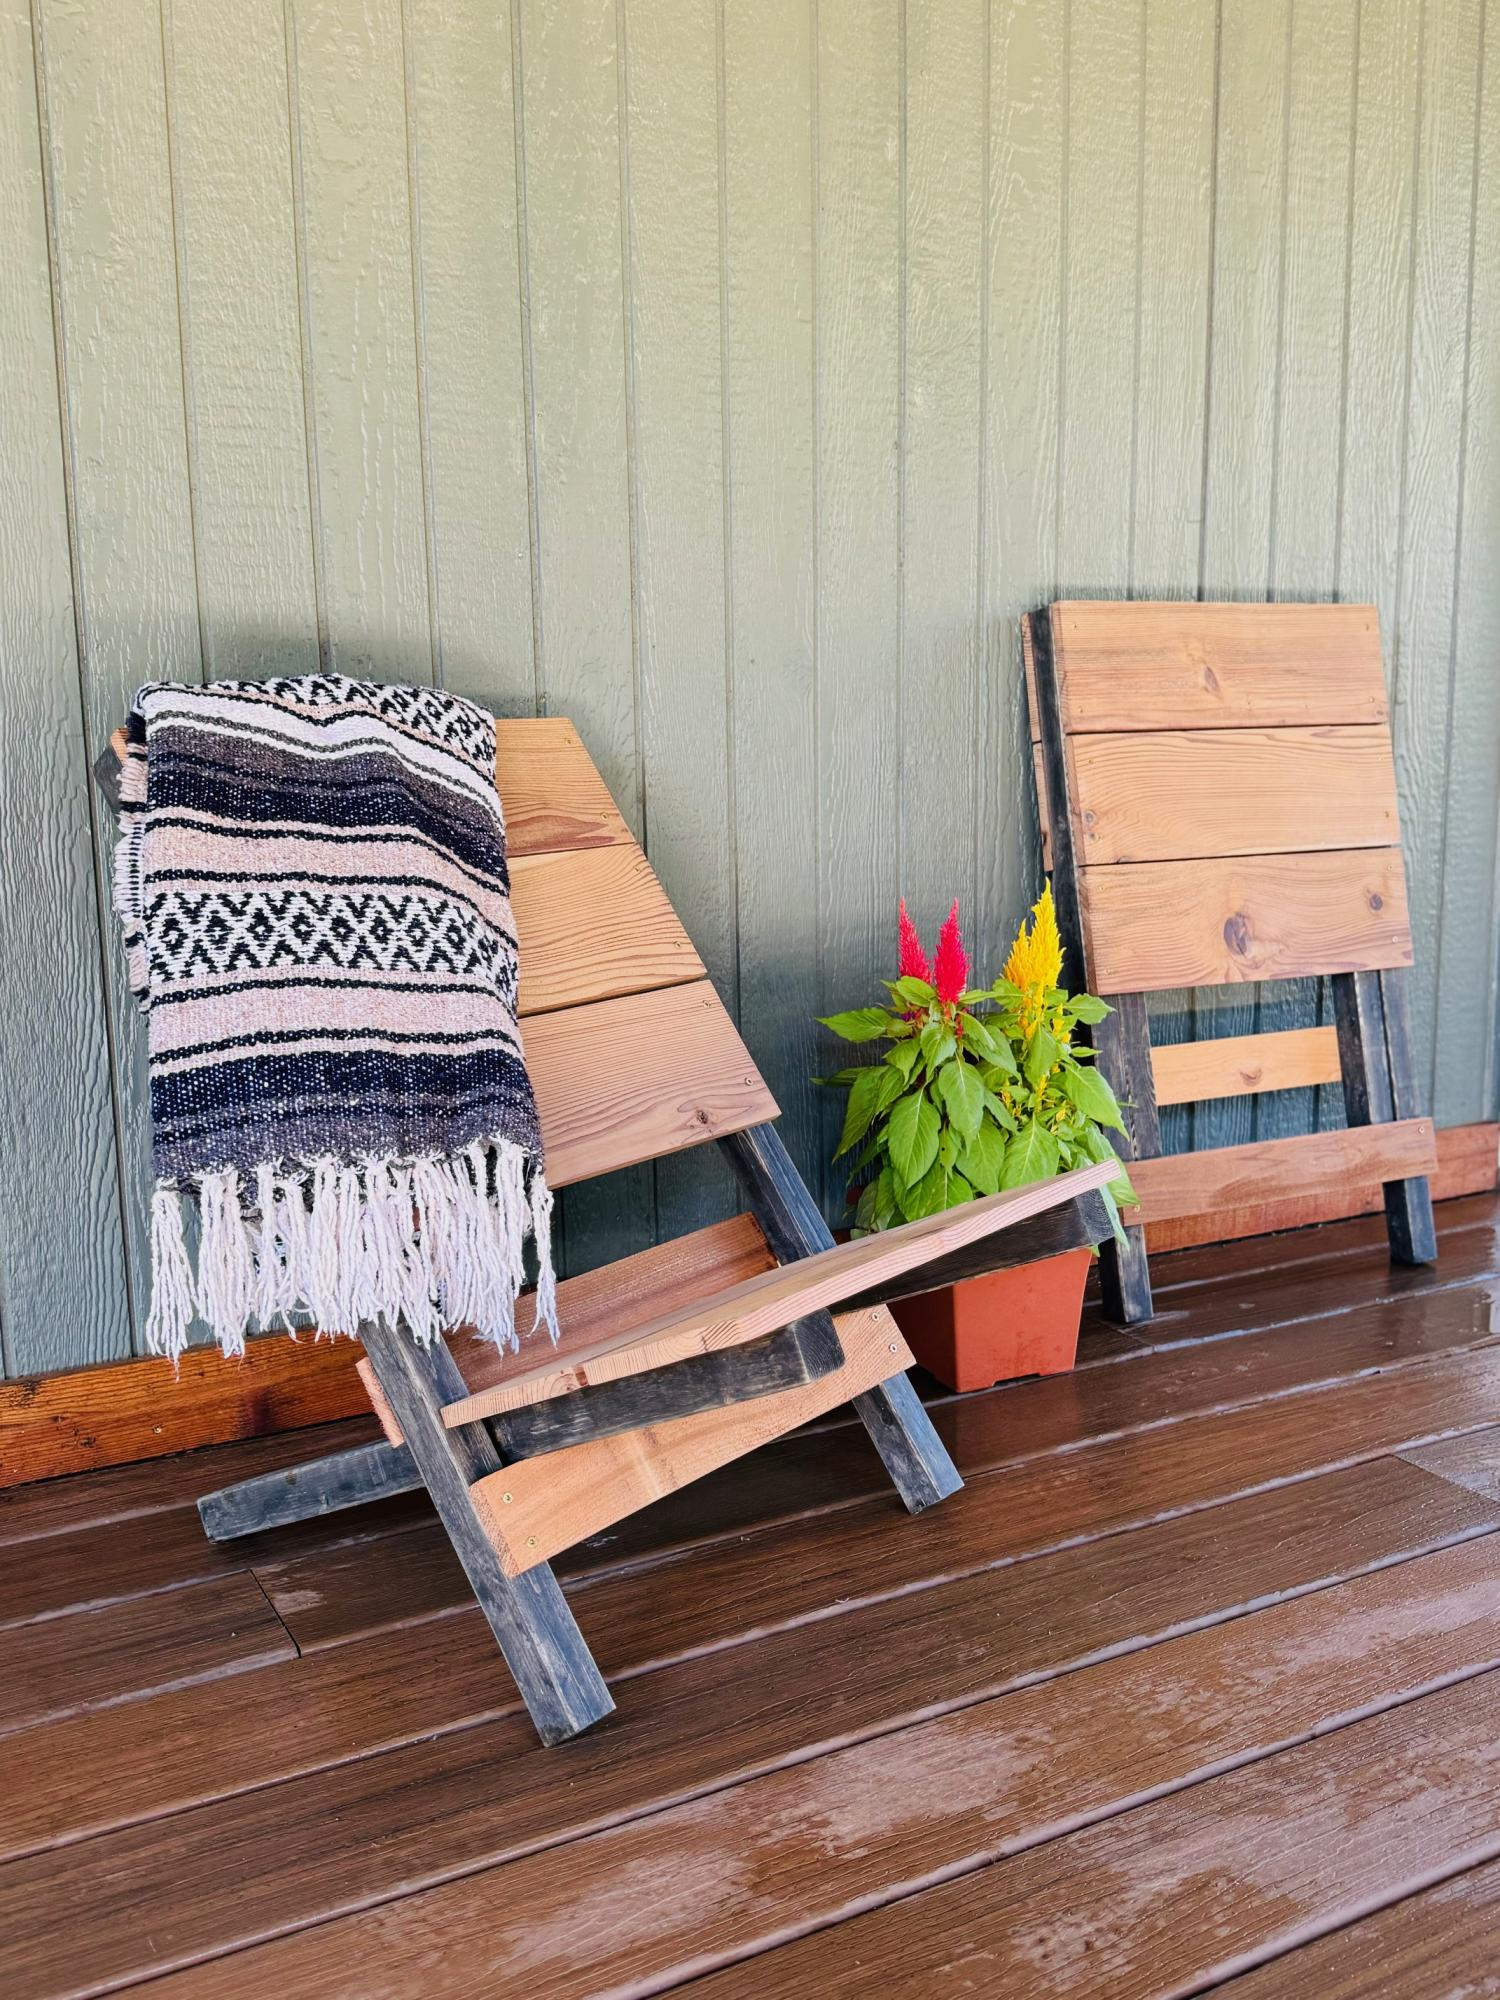
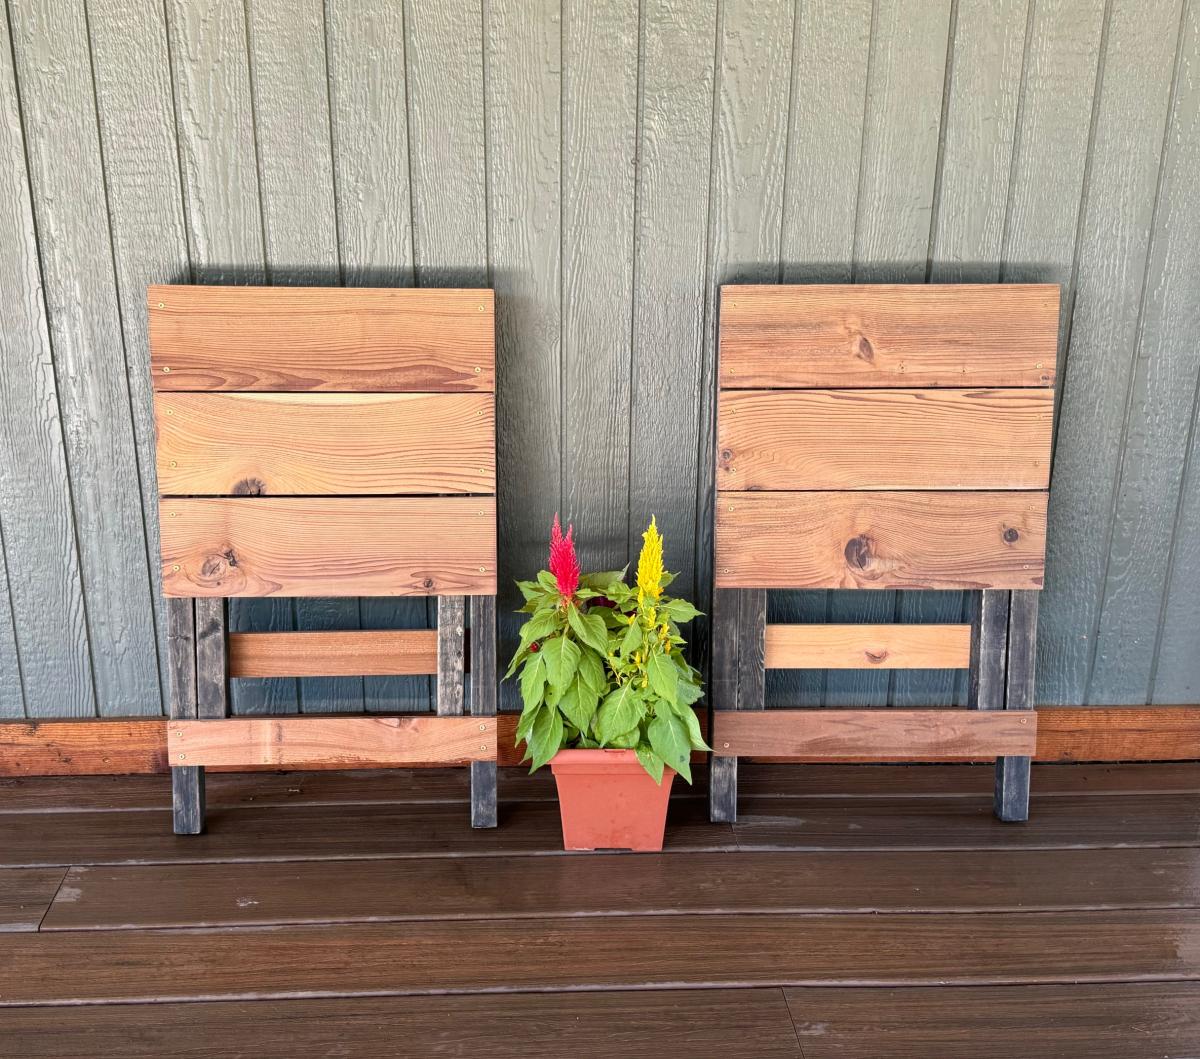
Sectional from Crib Mattresses!
![](/sites/default/files/stay%20home-7.jpeg)
I modified the kids couch plans to make a sectional sofa for my apartment! We removed all but one of the arm rests. So when pillows are removed it doubles as a twin bed for our friends!
![](/sites/default/files/crib%20mattress%20sectional%20sofa%20diy.jpeg)
I modified the kids couch plans to make a sectional sofa for my apartment! We removed all but one of the arm rests. So when pillows are removed it doubles as a twin bed for our friends!
Holiday Table by Ryan B
This is a farmhouse style kitchen table that I built for Mom's little kitchen. She needed more counter space and more storage space and had the perfect corner for it to fit in. These are based off my own plans which I have not published on Ana-White yet.
I needed more storage for our TINY kitchen. I found the nursery armoire plans and asked my dad to help me build it for a pantry! We modified it some by making it taller and adding more shelves inside (sorry no pics of that). For the doors I wanted to do something fun so we cut lots (over 700!) of small pieces of wood and inlaid then in a herringbone pattern - IN LOVE! For the handles we used copper pipe and I am IN LOVE with those too! Enjoy!
~ Maggie
Thu, 04/10/2014 - 18:32
You did a marvelous job on this, that herringbone inlay is amazing!
I made this for my daughter as a Christmas gift. She was thrilled and still plays with it every day. The tutorials are detailed and easy to follow. I used material left over from some of my other projects. There was a learning curve for the sewing portion so it took me longer to learn how to use the sewing machine. I am a better carpenter than a tailor :)
Thanks Ana...I will try more of your projects.
Used quarter and half inch ply. Used closet rod for main beam. Cutout for carry handle. Used Velcro to hold closed. First time. Only used jigsaw and drill
Added this easy to do built in fireplace to a plain, ugly wall. Now it’s just….WOW! Thanks Ana for the idea and inspiration. DIYers 🤘
see the full post at:
http://crabandfish.blogspot.com/2012/06/fish-made-work-bench.html
we bought our first home two months ago and have been doing a lot of small improvement projects. we decided to build your sturdy work bench in order to have a dedicated space for cobbling new projects together.
I had admired the x frame table from Anthropologie but knew it was out of my price range. When I saw these plans from Ana White, I knew I had to try to make my own table. This was my first wood working project and turned out that it wasn't too difficult. I constructed the table in a weekend. The first one I built was 5' long (used 4 2x10 boards) so that it would fit in our townhouse kitchen. When we moved to a larger home, I was able to create a new larger top and extended the base. The new table is 8' (used 4 2x12 boards). I absolutely love the table. Thank you Ana!
I adapted this from the Gaby Kitchen Island . I loved the design but my kitchen is way too small for an island. I was in need of a table for the microwave so this was the first design I turned to.
This is my second project and I am really happy with how it turned out! I needed more storage in my kitchen but I only had a 3 foot wide wall to put this up against, so I altered the plans to 5 feet 7 inches tall by 3 feet wide. The handle is an antique from my great great grandmother and dates back to the 1800s. I think it adds some character to the piece.
Thank you for the plans Ana! I can't wait to start my next project!
Fri, 05/15/2020 - 08:31
This looks so beautiful! Similar to you, I have a 3 foot wide wall to place this against. As a beginner here, and my head hurting when I do try to adjust the measurements... Would you happen to still have the measurements that you utilized?
I drove to my dads house to get the wood. He has had rough cut 1X12's sitting in the back yard for several years. They are warped, dirty, cracked..... I think my husband thought I was crazy for wanting to do this. 6 months after getting the wood I finally started. I first took the boards and sanded the caked on red dirt off. Then my 8 year old helped me rip them on the table saw into an 8 inch piece and a 4 inch piece. Then sanded again. The boards turned from red or grey to a yellow color. My husband told me to do it right I needed to use a jointer and he showed me how and I needed to use biscuts to join the planks together, we borrowed one and he showed me how to use the tool. It is so cool, I want to buy one. Then I called my neighbor over to help me, he brought a power planner over and showed me how to use it. It made all the boards the same heighth and REALLY sanded them good (remember these are rough cut boards). Then we used a belt sander to make them really smooth. Then we used a router with a Vgrove bit down the planks where the 1x8's meet. He had two fluted, tapered columns in his garage he has been trying to get rid of so we cut them down and used them as the posts for the headboard and footboard. I cut the arch with a jig saw. Looks pretty darn great! I surprised people with the wood I used! Thank goodness for biscuts, jointers, planners and belt sanders! Best part......cost me a whole $15 to get to this point. I had to buy wood glue, biscuts, and sand paper.
I want to use a laquer finish and try to use a glaze in the grooves. I will try to attach a finished picture when it is done.
Tue, 06/26/2012 - 14:12
That is gorgeous! Such memories you made by building it this way! Priceless!
We needed some storage by the back door for shoes and dog accessories so it would be easier for us to take our dogs out for walks. I saw the plan for the shoe dresser and thought it would be great since we would be storing shoes in it. I made it narrower to fit our space and also made it deeper. The cost was mostly in the hardware.
Needed new bedside tables to go with the new bed frame. Loved the outcome.
Dad and I milled out a cherry tree 3 years ago. After drying out it was time to build. Google dining room tables for a design and found Ana's site. Found an octagon shaped table and changed to a hexagon. Great plans and had so much fun building.
This was a labor of love for my son’s Christmas gift. He wants to be a chef and all he has wanted was an island in our kitchen. Thanks Ana for such an amazing and simple (enough) plan.
Very fun! And easy and now all my friends want one.
My husband and I built these shelves in our garage this past weekend. This is one of our first diy projects and we are very happy with how it turned out. The shelves are 30" deep, around 8 feet tall and 12 feet long. This was also our first time using the Kreg jig, which we loved!