Modern Adirondack Chair
I love the way these chairs came out, thanks for the plans. I used pallet wood for the slats and rounded everything over with my router. Also added a 2x4 across the top of the back to give it a more solid look.
This was a last minute, first completed, wood project right before Christmas! I wasn't sure about my own skills and if I would complete it in time, but behold it only took 3 evenings (spare time) to complete! This was really simple and gave me time to learn what I was truly capable of and any areas I could improve upon. We finished it and on Christmas morning our little girls, 2 and 3 years old, got their very own princess dress up area. I'm excited for those two girls to make the best sister memories together. Thank you so much for the plans!
My husband and I built this together, we stuck to the plans provided for the Martha Inspired Craft Table, however we left off the trim around the drawers for a simpler look. The drawer pulls were purchased at Home Depot. We used poplar wood that we stained with Georgian cherry gel stain from General Finishes.
These worked perfectly for the space in our tiny house. Loved the way they turned out!
I built the above corner bench based off of the frameless drawer bench plans (they are on the shelf help site) which are very similar to the essential entryway bench plans, but the drawers are included. The long bench is 60", the shorter side 42".
For the carcass i did use the shelf help pre cut plywood.
When I started the project beginning of 2021, there was no tutorial for the corner part yet, so I was very glad to see I did the right way when the corner 'add on' came out, also found on the shelf help site).
The shaker fronts were shown in the barn door console plans, so I adopted that.
I get loads of compliments and obviously even more when people hear I built it myself.
The hardest part about this project were the drawer slides and getting them to line up and work as expected. The I broke the soft close on one of the big drawers during final assembly and still didn't bring myself to exchange the slide to a working one... 😊
But overall I'm really proud of it!
Tue, 10/05/2021 - 12:03
Thank you so much for trying out Shelf Help, what a grand project!
Well I told my sister that I bought a saw and some tools and I was going to attempt to build my own dining room bench... being the snarky "younger" sister that she is, she suggested I start with a cutting board instead. :)
But hey... go big or go home I figured, so I tackled my first ever carpentry project: the Triple Pedestal Bench from Ana's plans!
I attempted to cut down the measurements for the top from 106" (in the plans) down to 70" (to fit my table) BUT I screwed up my measurements (I suck at math...shocker!) and ended up with an 86" long beautiful beast of a bench
somehow... so beginners mistake! At least now I have some practice under my belt for when I have the time to tackle this project again and start over and make a new one that actually fits my dining table...
And while it's far from perfect, I absolutely love it... it turned out better than I had hoped and I still have all my fingers and limbs attached! Thank you God !:)
I built the Twin Storage Bed twice in a (very) full week of vacation. The project was big, but straightforward. The headboards are my own design, and are really strong with the addition of a 1x3 on the outsides to support.
The kids were part of the building, so they were especially excited to sleep in them....over the week I was building them, we moved them out of cribs, onto the floor in crib mattresses, then to bigger mattresses, and finally to their big-kid beds.
What a great set of plans! The only glitch was that I cut the supports for the middle according to plan (15-1/2") and discovered when I assembled the beds they were a little too short for comfort. So I used them to add to the piece on the back of the long boxes, and used pre-fab particle board to make the cover, which probably works better with our foam mattresses anyway. I drilled a couple of holes in the smaller of the particle board sheets to make it easy to lift off and use the middle for storage of some items.
Thanks for the support to do my first big project!
The bed in grey, also made the backboard taller (and doubled support on back) because the bed will have a box spring (photo 2). Awesome plans, love the look already. Excuse the background mess. The back wall is part of the same project! Thanks again for the plans!!
Note to future builders, learn from my one fatal mistake, be really picky on your quality of wood. I had some slight frame issues because on a bad board that resulted in about a 1/4 inch bow on one side. My slats are all use rival but you can see some done touch both sides...that is the bow. Still no one will likely notice but me.
Second, there was no info on spacing along the frame for attaching the 2x4 to the 2x6. I used 12", maybe overkill.
I built it. My wife stained and polyester it.
we’re back with another furniture project. This time we built the Simplest Nightstand. Actually, we had enough lumber that we were able to build two of them! It was a little more difficult than the coffee table and side table, but still wasn’t bad once Lee figured it out. The hardest part was getting the drawer to fit right. The first one Lee built, he didn’t get the drawer bottom square, but the second time around went much smoother. The first time, he cut all of the pieces out at once, but the second time, he cut and fit each piece separately. This proved to be very helpful. For the side pieces, we used plybead instead of plywood, and nailed trim pieces underneath the table top. Also, instead of using two separate pieces on the table top, we used the top off of an old tv tray that we weren’t using anymore. It was the perfect fit, and looks really good! Both tables cost us 50 dollars and took about 6 hours to build both of them. The first table took 4 hours to build, but the second one only took 2! We absolutely love your easy to use plans, and can’t wait to try another one! There’s so many great plans to choose from, we’re not sure what to try next!!
We love our new tables, thanks again for another great plan! We’ll be back!
Read more about Lee and Beth's Projects.
I made this for a friend who needed some separation of 2 rooms. It works well as a see through wall/storage. I seen a photo of this and made it to the specs of that. It is 65" x 31.5" x 11 1/4". It turned out really well and very sturdy. The boxes are 12"x20". Bottom shelf is 7" from the bottom. I used all shelving wood which I would change now if I knew how much it chipped away and how heavy it is.
Just a classic looking tv stand. Way cheaper than buying at the store....
Recently built this table my first build actually. I told my wife we needed a new table because we didn't have enough room for our youngest to move up to the table she said let's build one. Well I did the "building" and she did the staining painting and sanding. She is currently putting new fabric on our old chairs. And now she has me building a bed. Her words when I finished "I didn't know you could build stuff". My reply "that was part of the plan lol". Thanks for all the designs.
I started out several years ago building the Modern Adirondack Chairs using Ana White's plans. Customers loved the modern design and I was able to fulfill orders in any color or stain. Customers even asked if I could make a children's and adult size chair. These pans are available upon request.
As the trend towards outdoor living increased due to the pandemic, I expanded my product line to tables, benches and patio planters. I even created my own design for a fire pit rack and bench based upon Ana's designs.
Today, I have a thriving business for commercial and residential fire pit furniture and accessories.
I continue to follow Ana White for inspiration and ideas, George
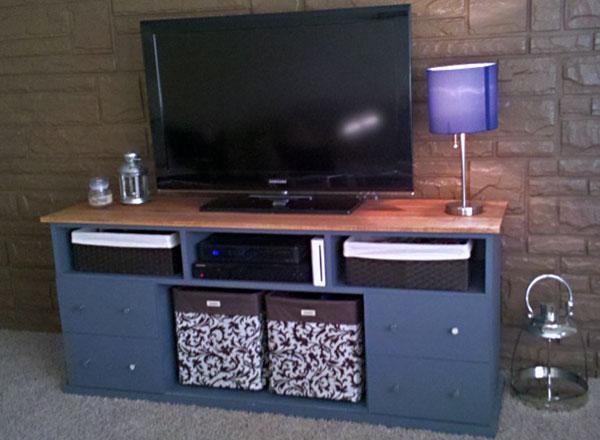
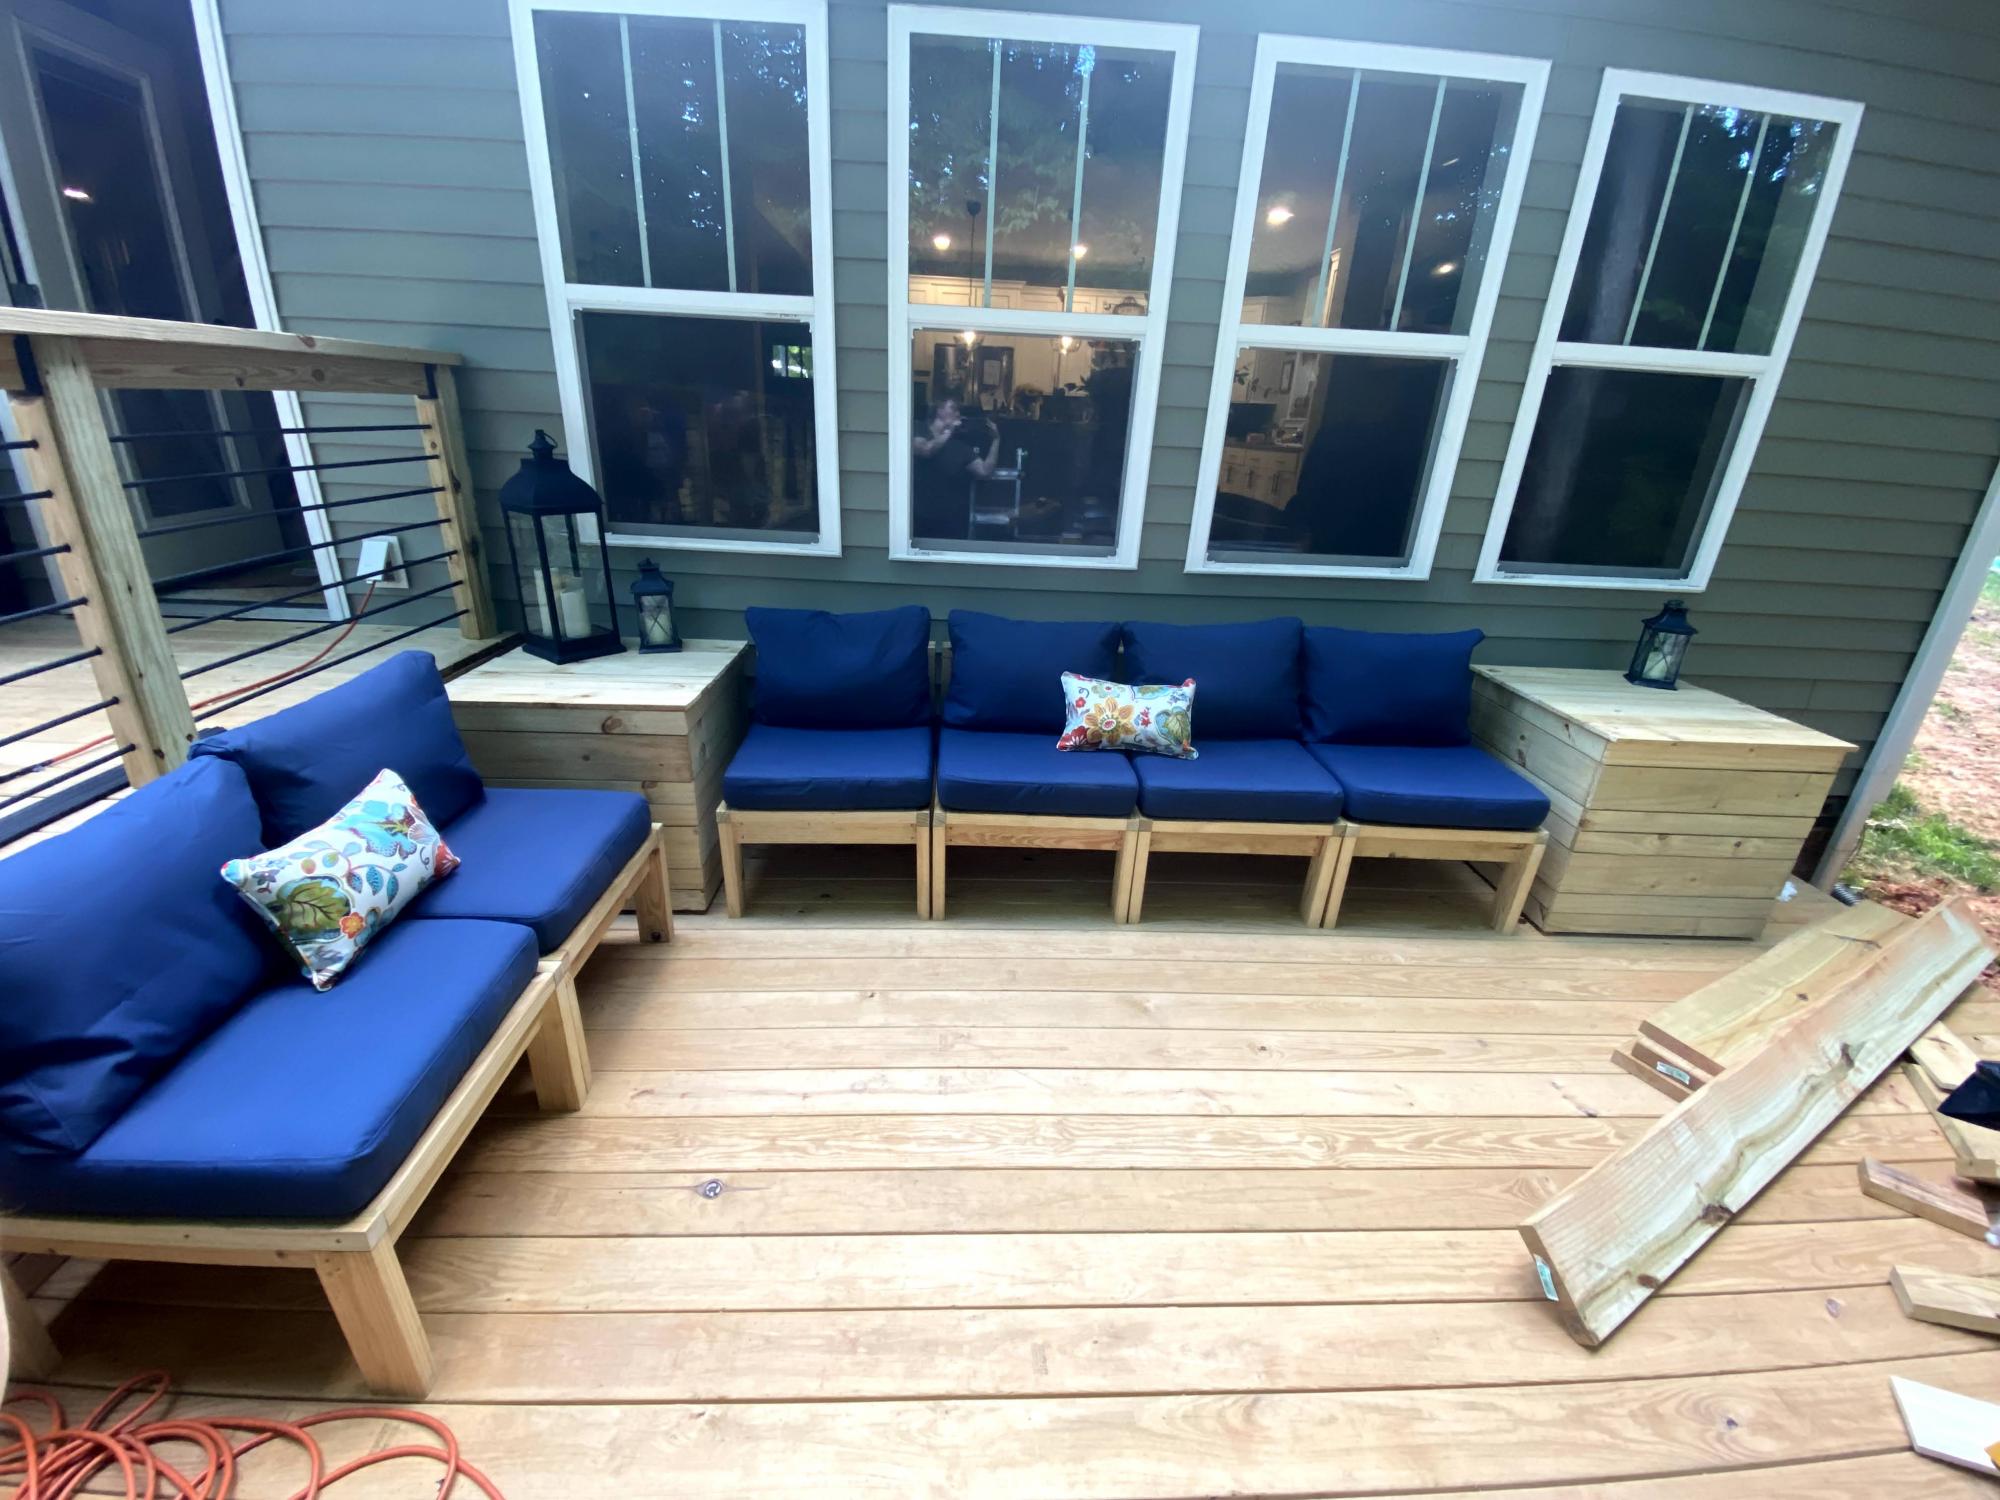
We started this project when Young House Love agreed that I should paint the old, dated brick wall. Then we bought new couches. Then we needed a TV stand, and a coffee table to match.
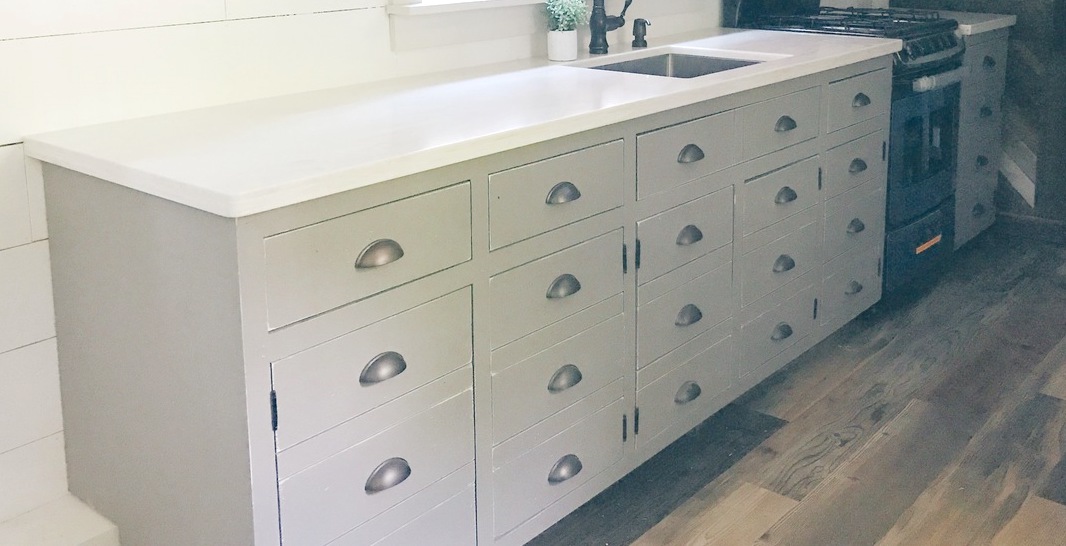
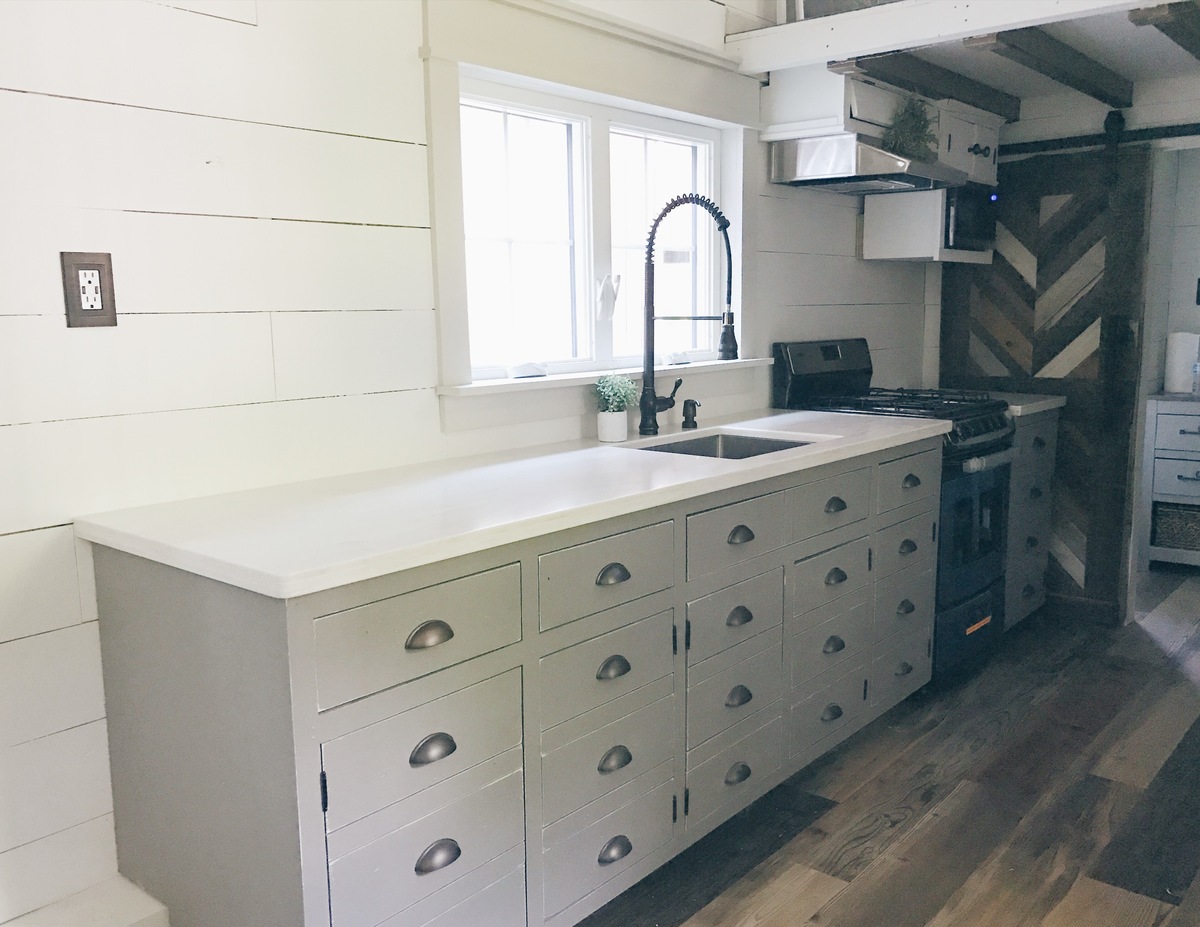
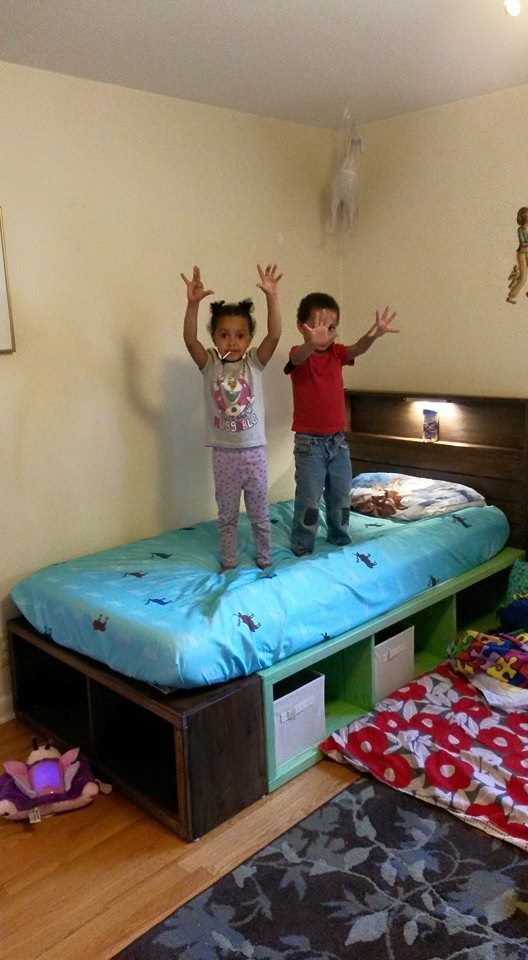
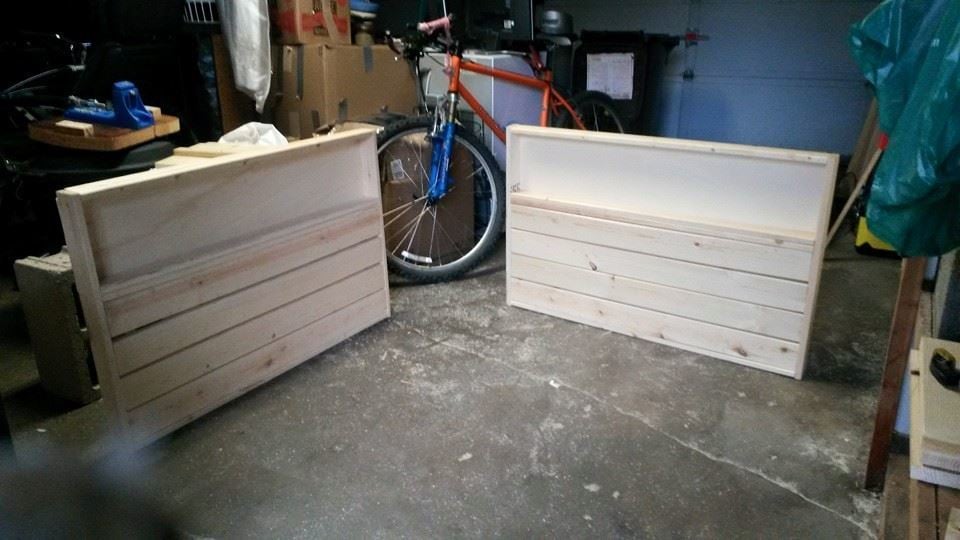
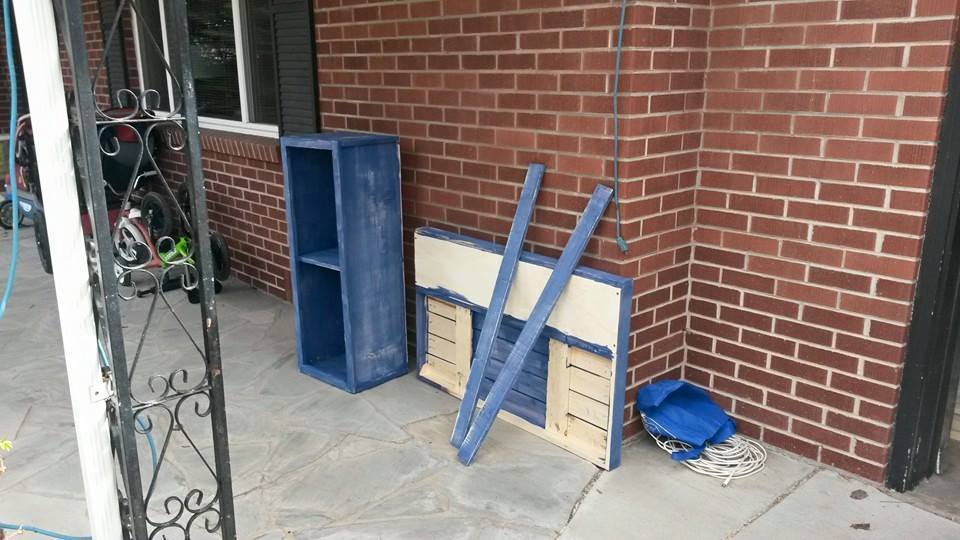
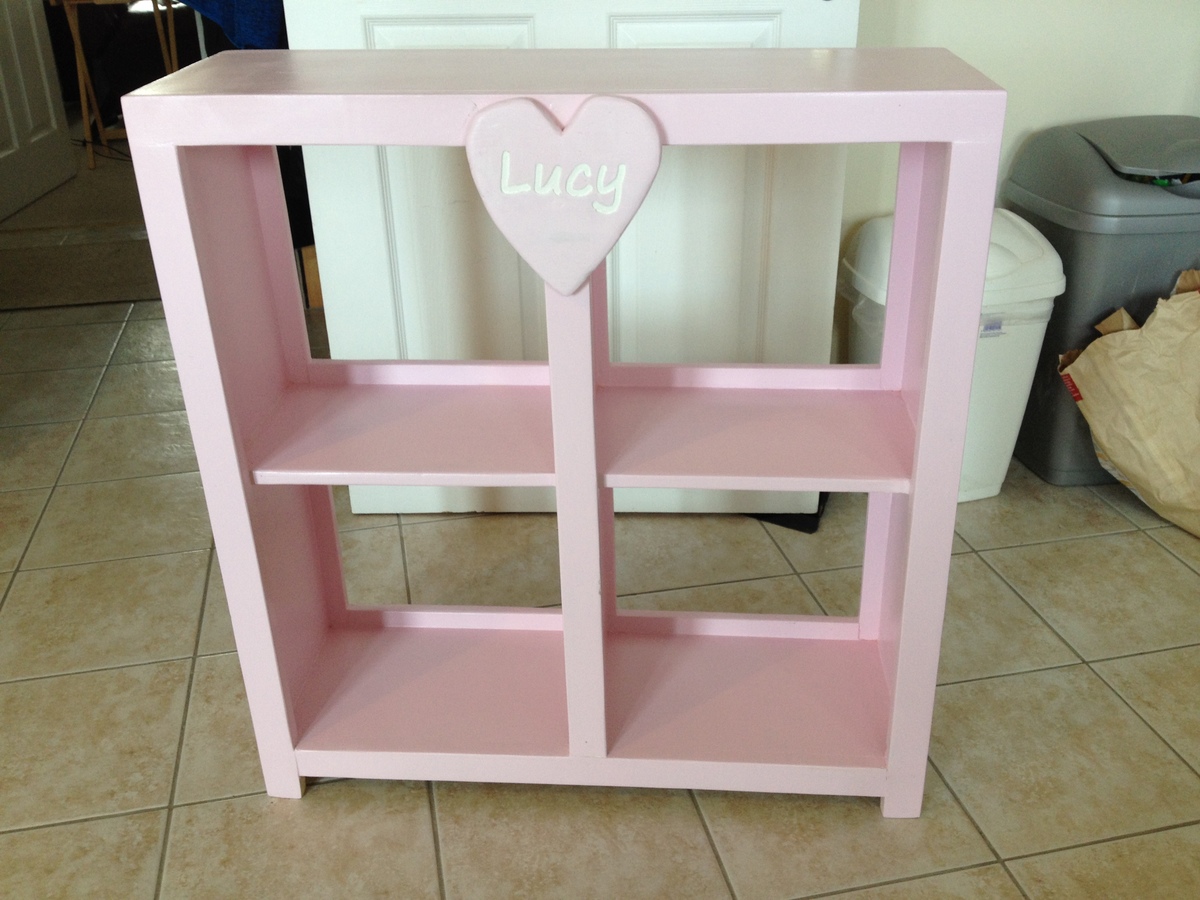
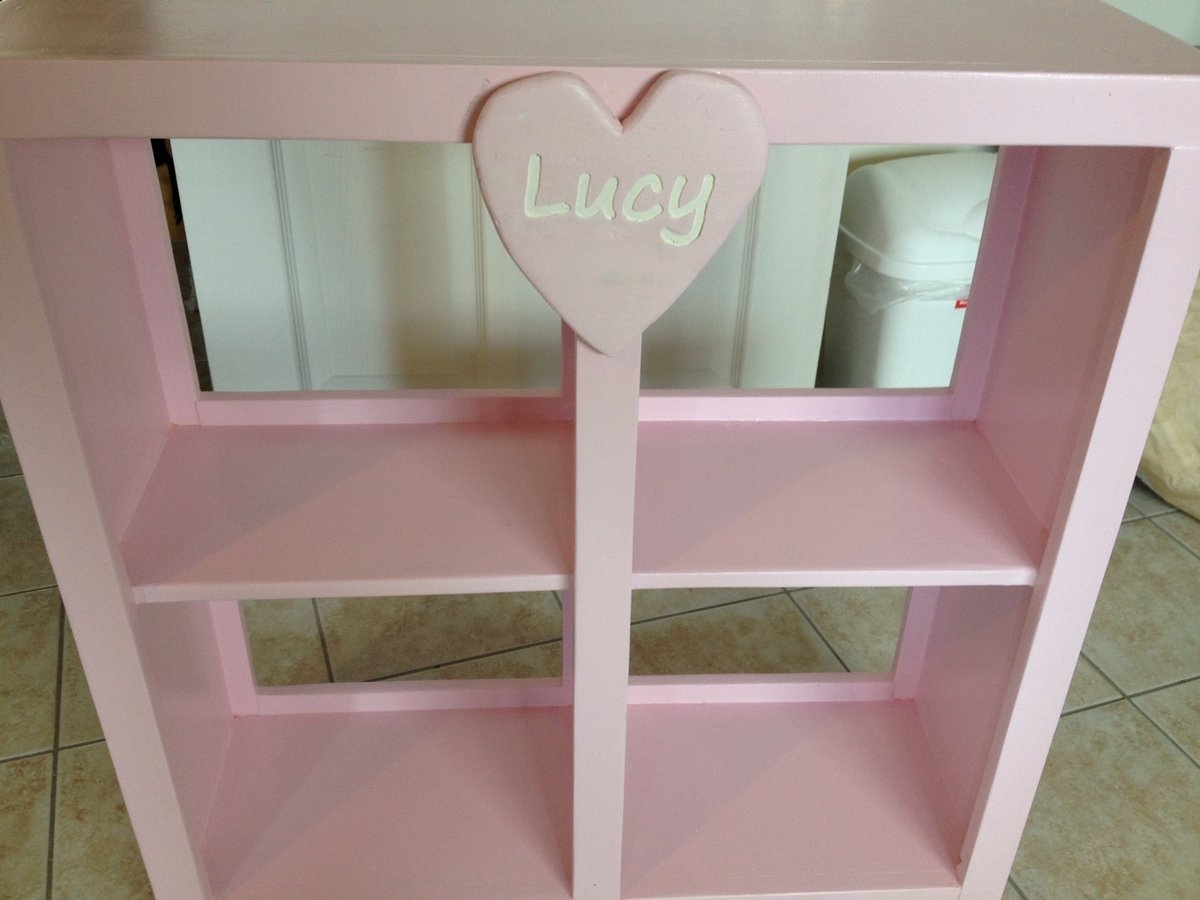
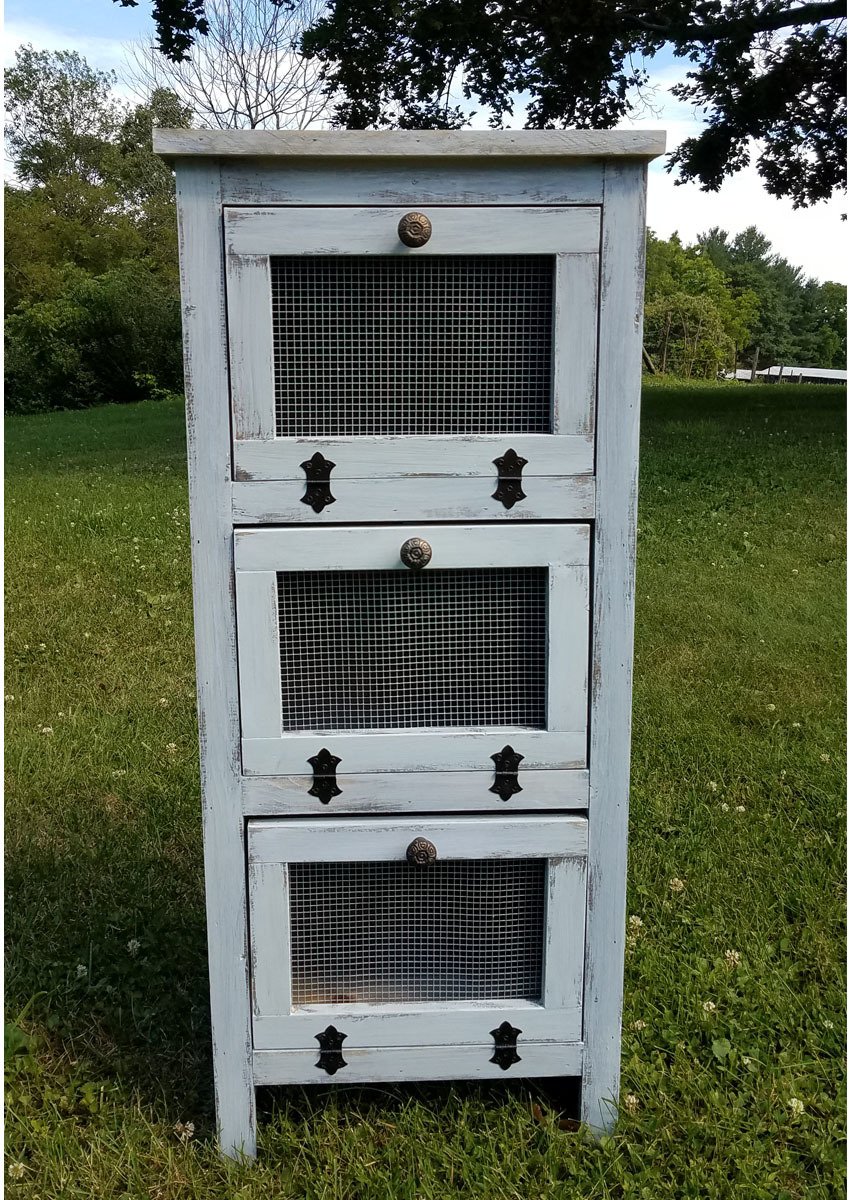
This started out a project for me. I was in love with those 16 little drawers. My husband .. not so much. I saw a way to secure all my stuff from my soon to be crawling little one. Hubs saw 16 little blocks. So, after it was all done, we tore off the drawer faces, and started over.
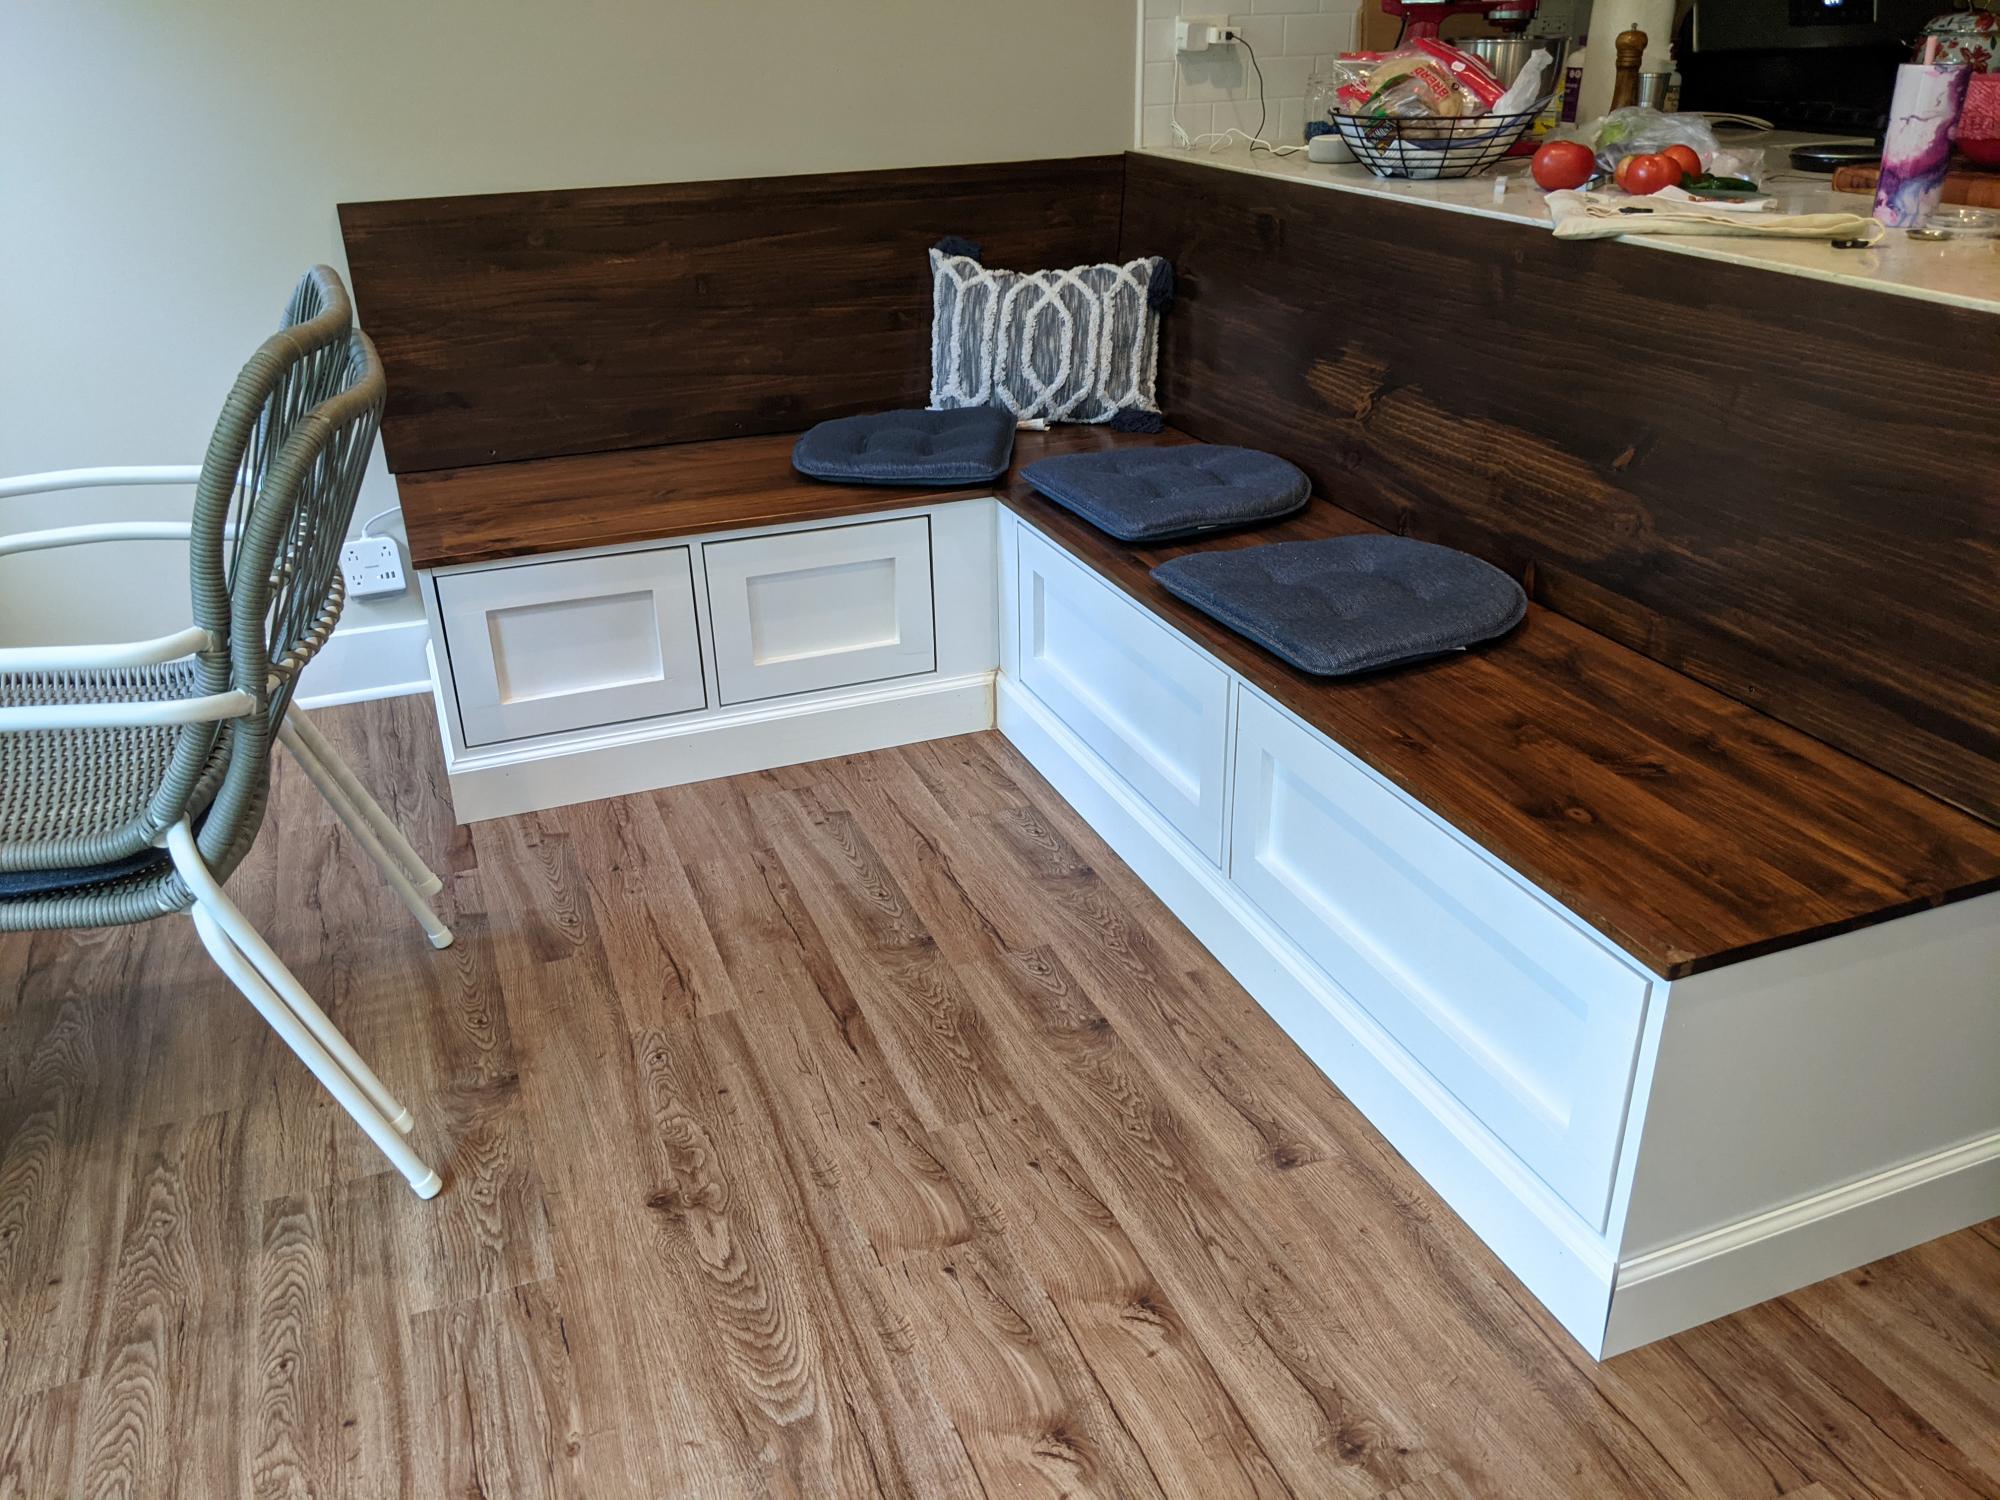
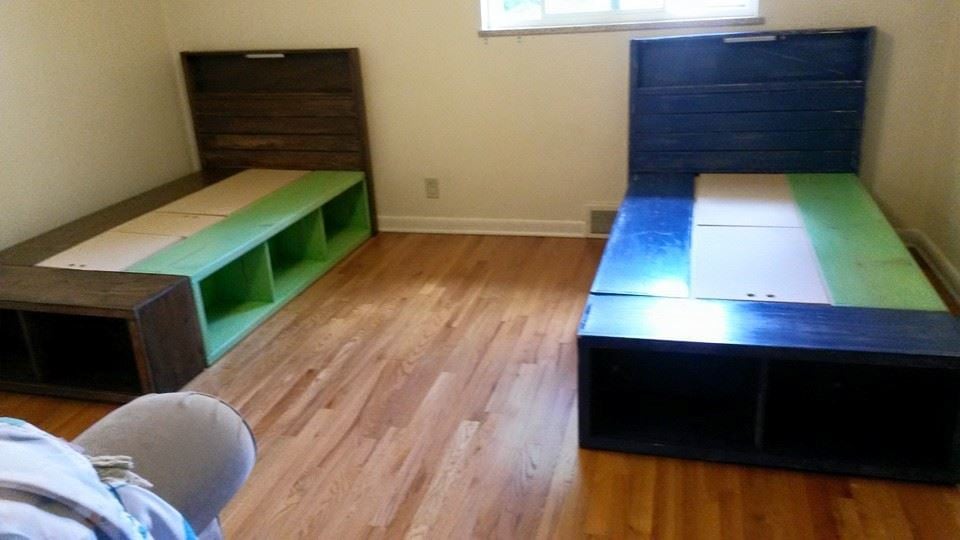
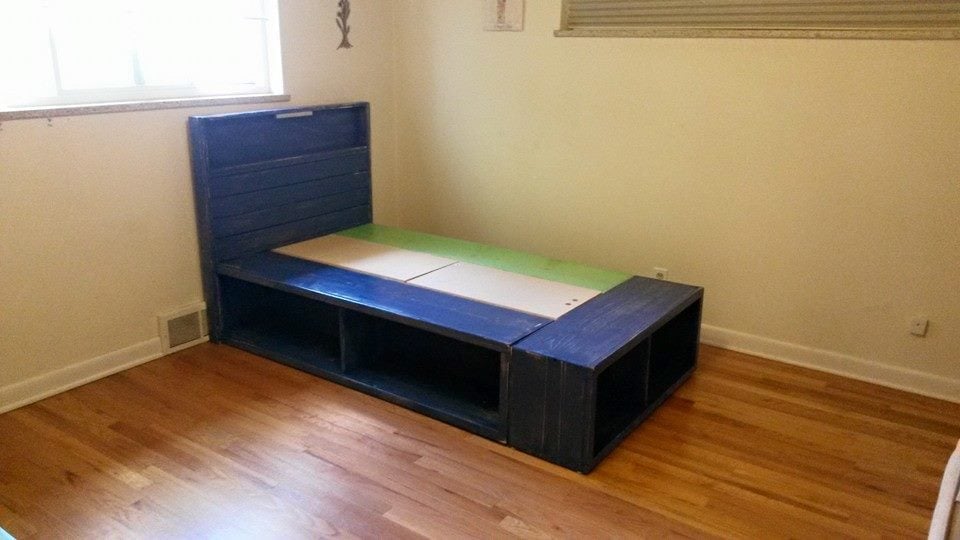
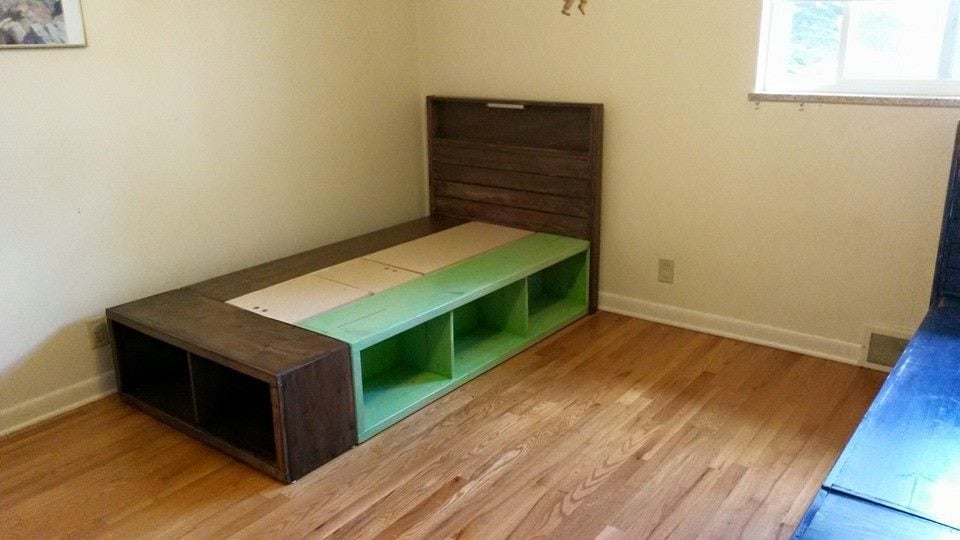
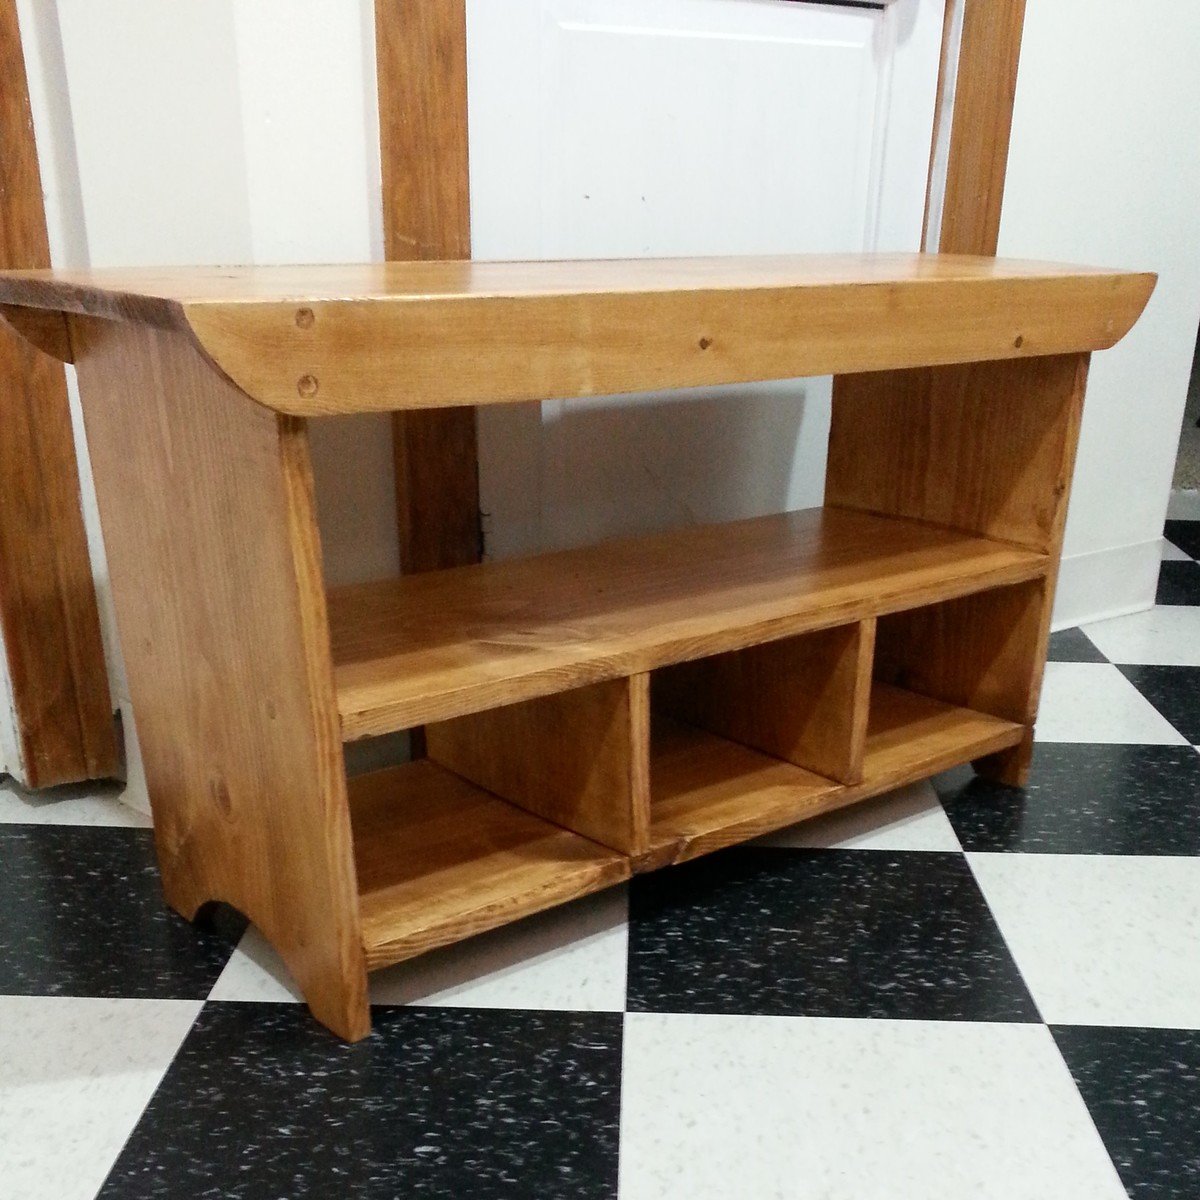
I decided to not to do the doors. I was too worried about baby smashing her fingers, or me tripping over them and breaking the hinges, so we went with bins. They have a metal frame for durability, but are wrapped in a durable canvas to make them safe for baby. They’re a perfect fit for the center, and the feet side effortlessly across the paint. (There’s no polyurethane on mine yet!)
Extra Info:
The smaller baskets are from Target. ($12 for both)
The large baskets are from the Container Store. ($20 each)
Lumber was from Lowes of Streetboro, OH. (About $80)
This was my first building project from scratch! I have modified some thrift store finds, but this was the first from lumber. I learned to countersink! I was amazed at how easy this was, and I'm so excited that this bench will sit by our front door for my three boys to perch on when they put on or take off their shoes. I went with 3 cubbies to hold three pairs of shoes. It also works great for a couple of kids to sit on at the table for when we have guests and need some spare seating.
I am a beginer and I am following my dream of having my own tools and workshed. As a result of finding your site Ana I believed I could achieve it and now I have.
Thanks so much for your great plans and inspiration. This bookshelf is my third project from your site.
I will post the two other projects pictures when they are finished, they need paint touchup.
I followed the plans as written and my veggie bin came out looking awesome.
I love the versatility of this furniture. I wanted the ability to move it around in different seating sets. It was my first project with no help from my husband. So very easy to do and follow. I made a few tweaks and made wood plugs for all the screw holes. I plan to stain it later. I used ikea cushions.
Tue, 10/05/2021 - 10:47
YES, love the different options to use and move around as needed! Way to go, thanks for sharing!
When Ana posted plans for this I immediately fell in love with it. I had a friend visiting, and I thought this would be a great project for us to do together.
A lot of time spent on this project was taking apart pallets, not an easy job. My poor friend did that part, she is great! I think the old pallets really made this look as good as it does, they were already so rustic.
The pallets were free and collecting free pallets was an adventure of it's own. I found a large piece of particle board in the depot's scrap bin for 51 cents! Can't beat that.
Modern Adirondack Chairs
Comments
Ana White Admin
Thu, 09/30/2021 - 20:39
Beautiful!
Wow, that's awesome, thank you for sharing!