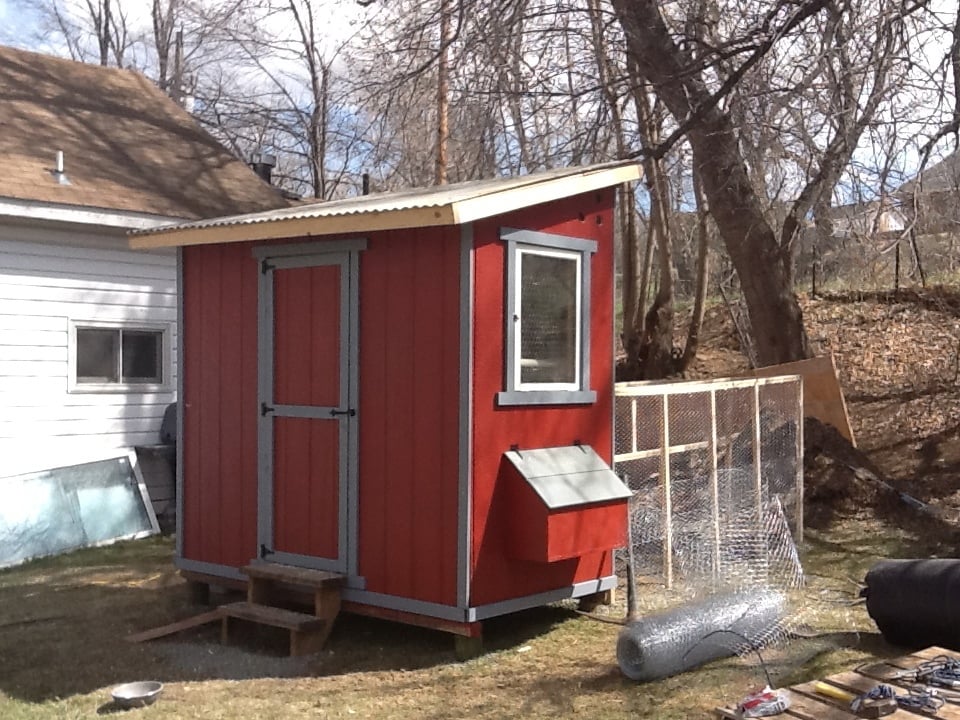
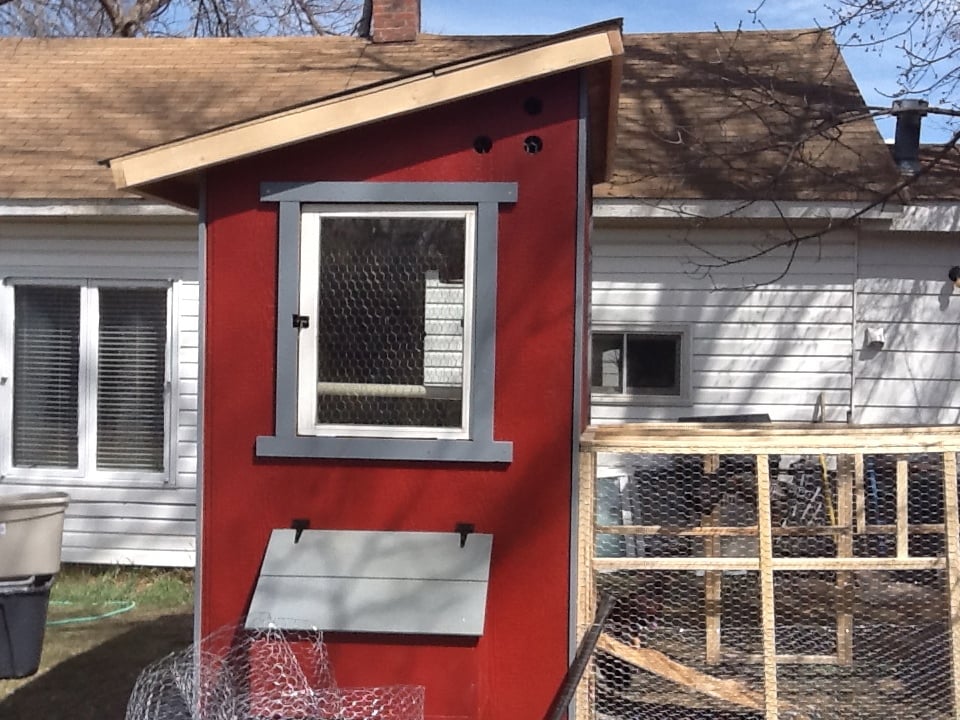
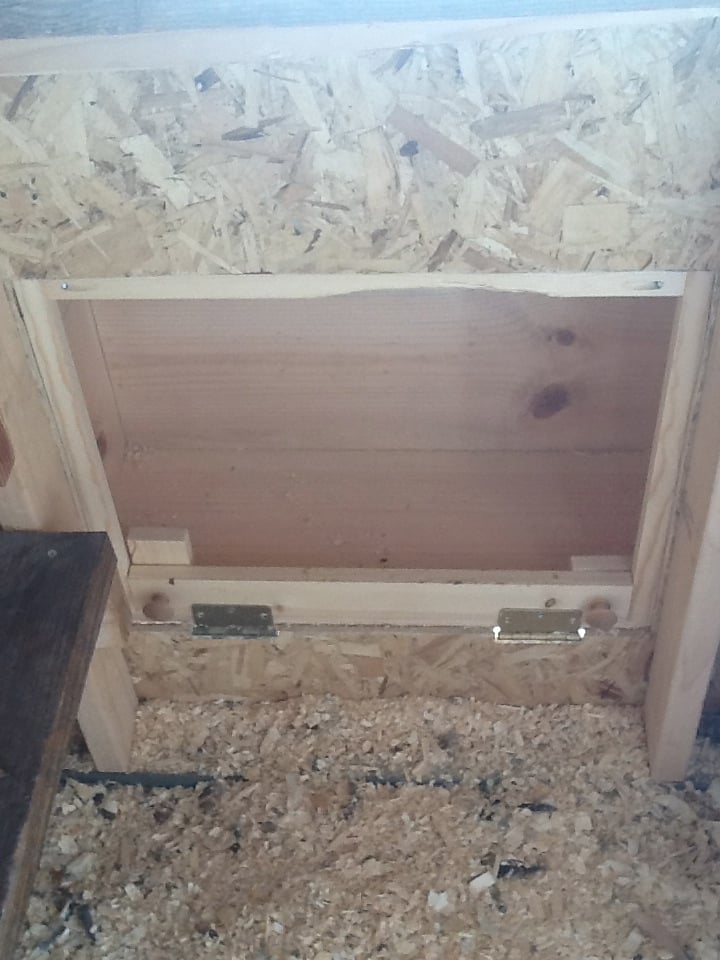
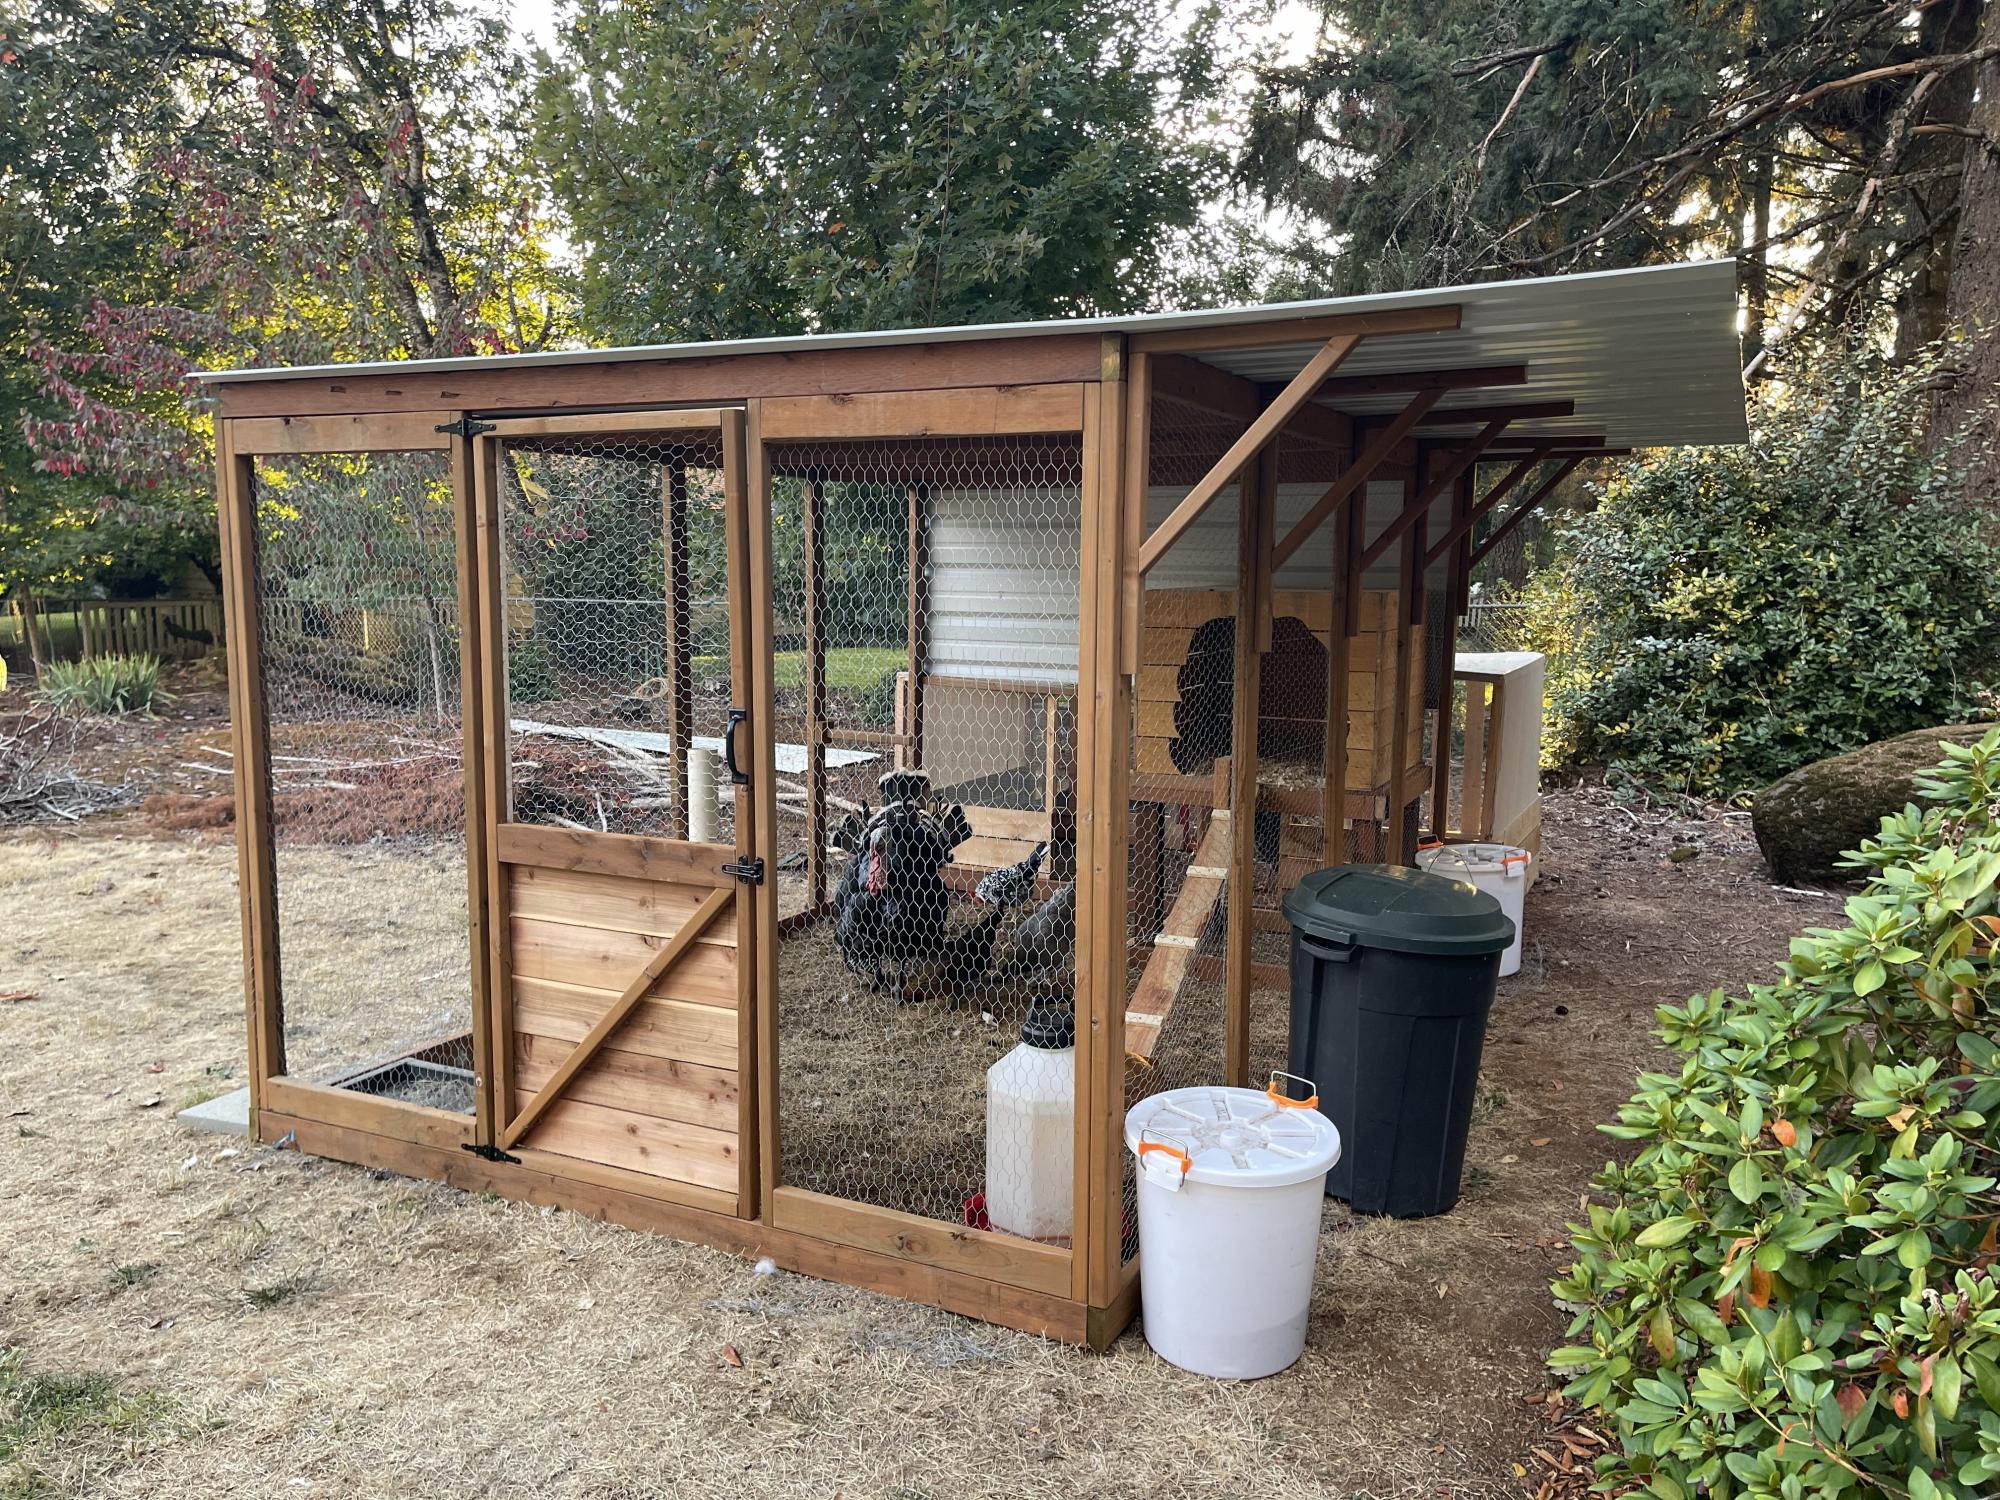
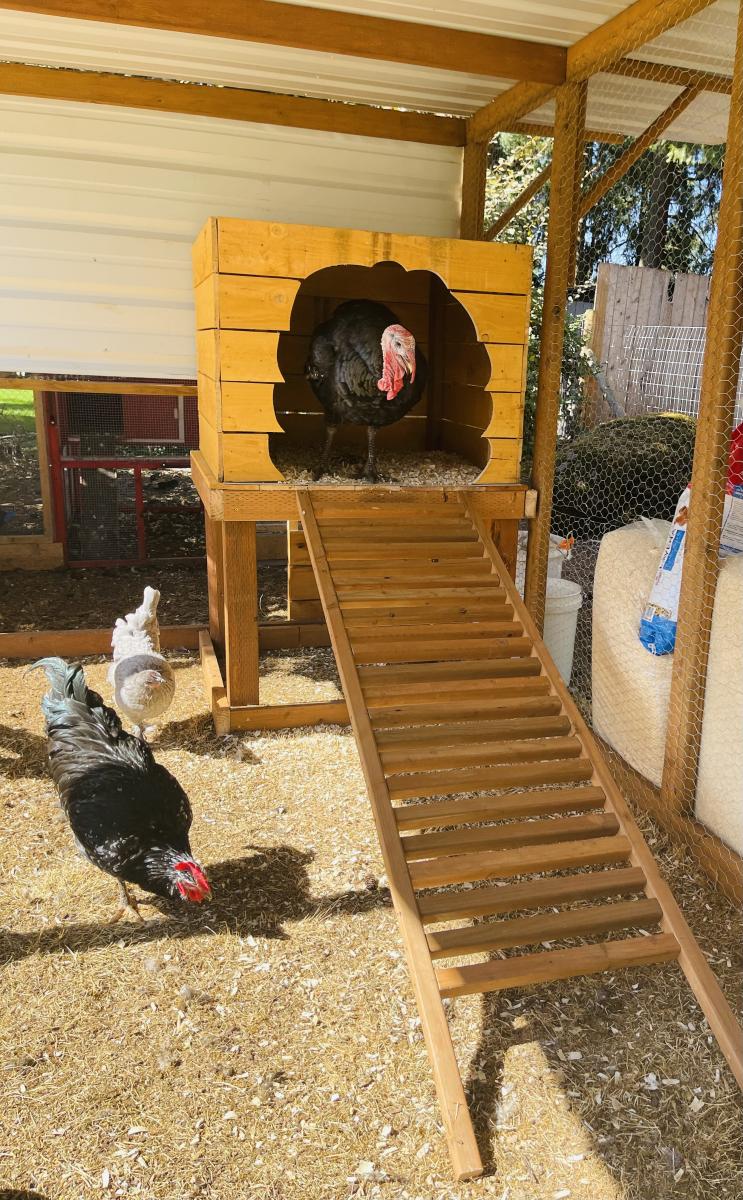
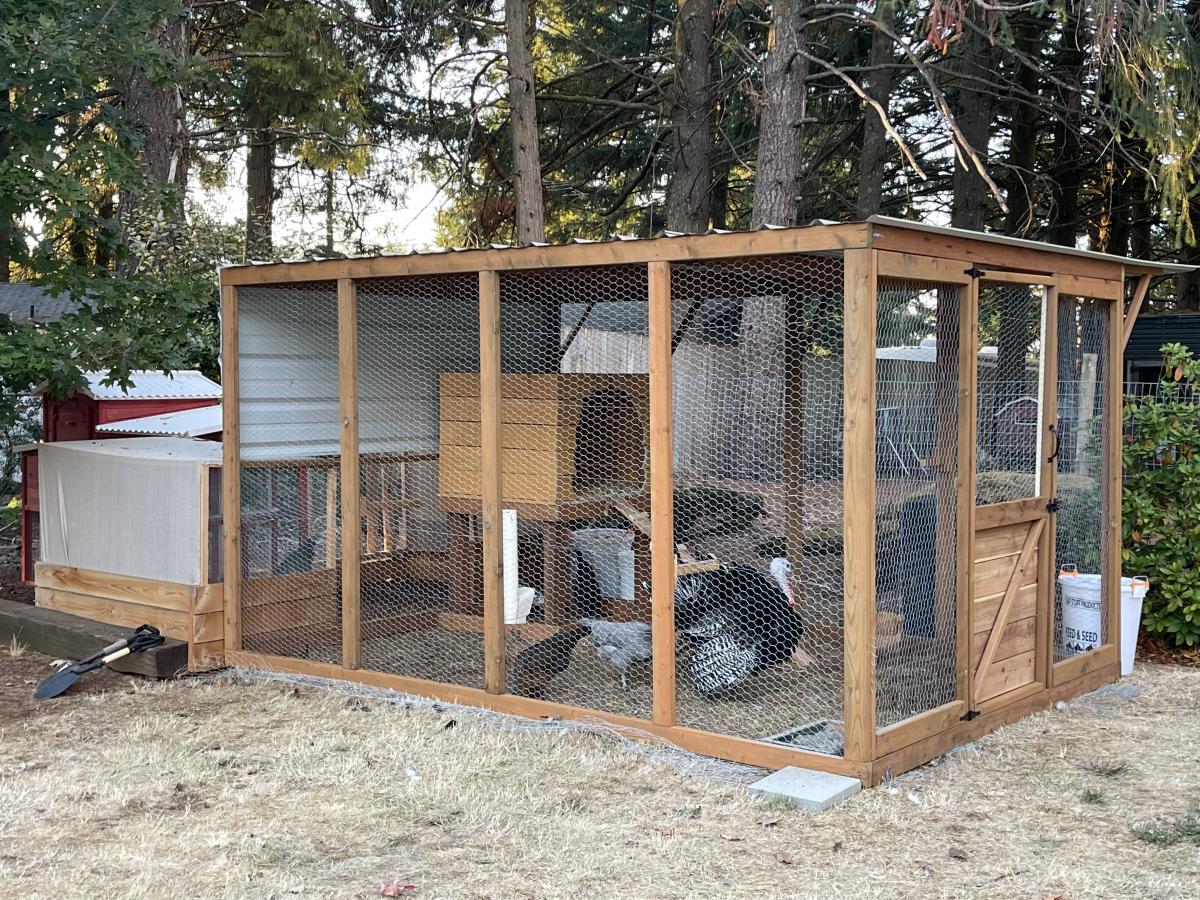
I used the chicken shed plans to create the coop, with a modification to include two nesting boxes, one on each side.
I slightly modified the nesting boxes, using a U shaped frame and added hinges for the front to swing down and the pine shavings to be swept out.
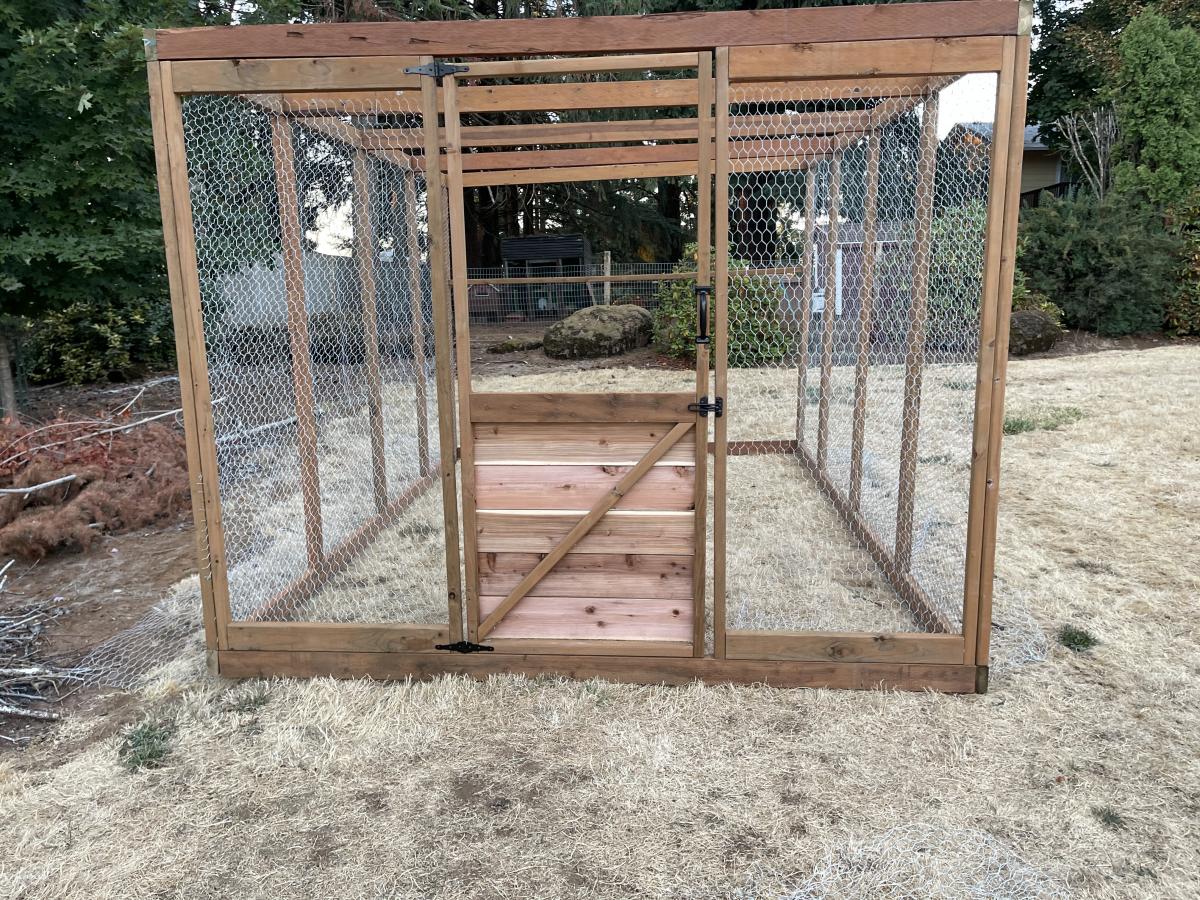
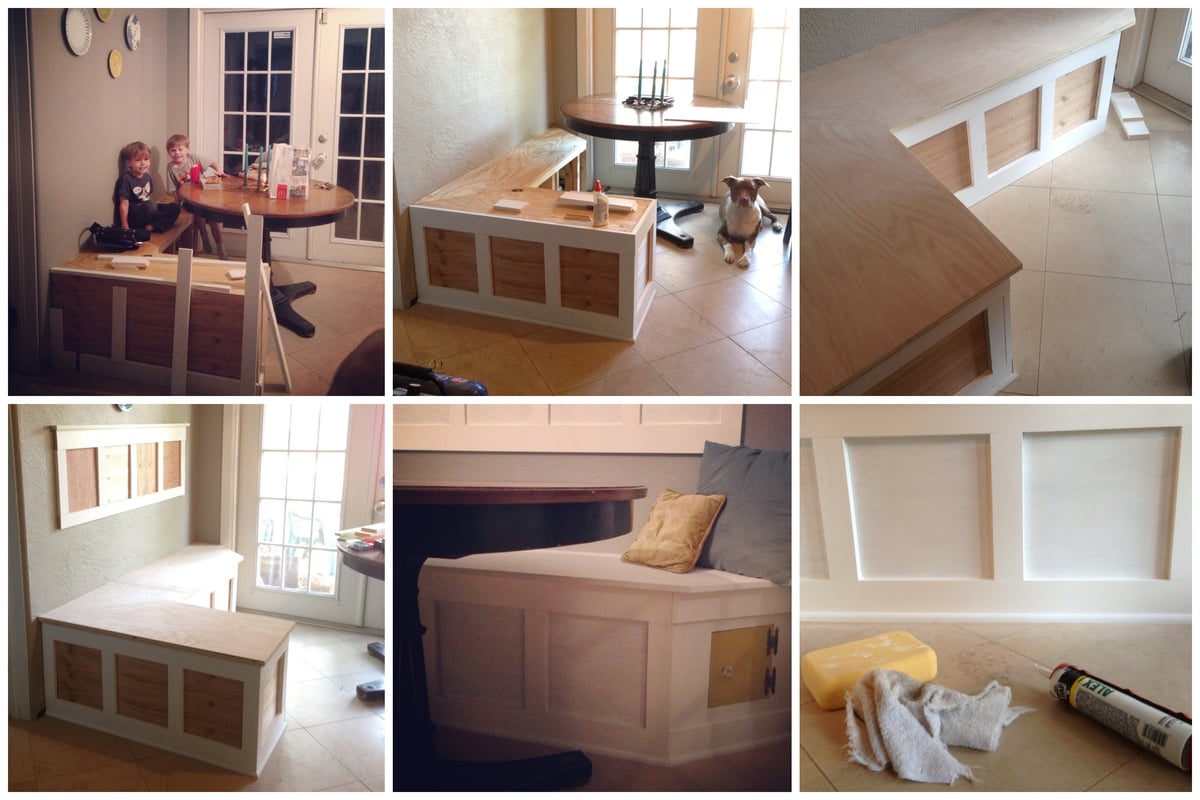
For the siding, we found it easiest to do the tack and trace method. We tacked each full sheet of siding in place and traced the cuts for the window, roof line, doors, and nesting boxes. We then took them down, darkened the lines, cut 'em, and re-hung them. It made it a million times easier, IMHO.
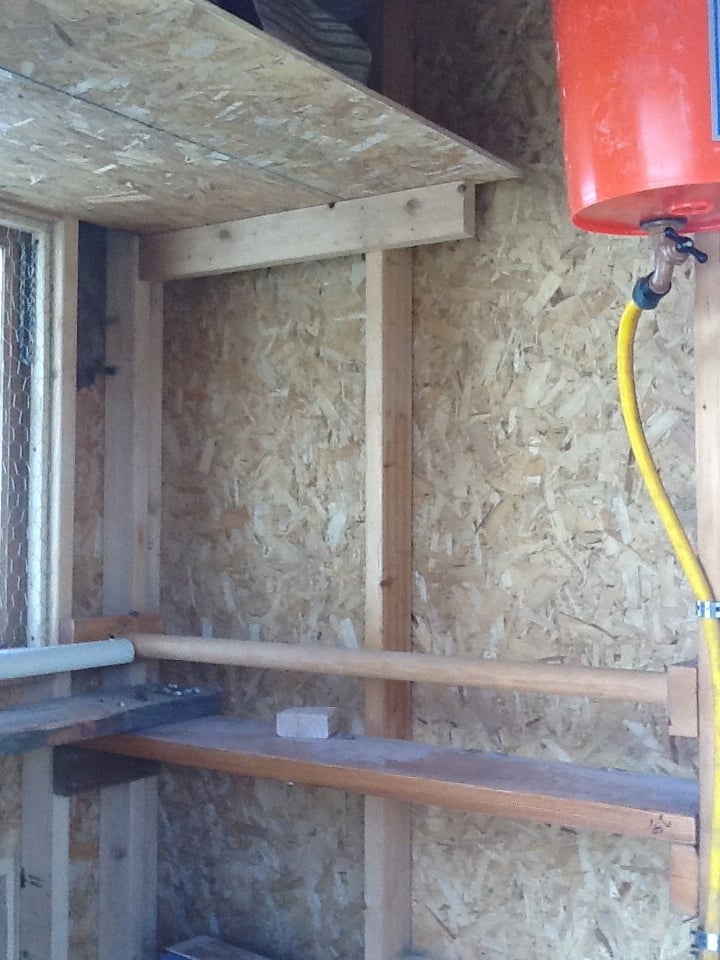
For the inside, I designed several roosting bars with poop platforms. The water is a gravity fed chicken nipple/pvc setup, which I found online.
The food stations, also gravity fed, are (new) sewer pipes with wye connectors.
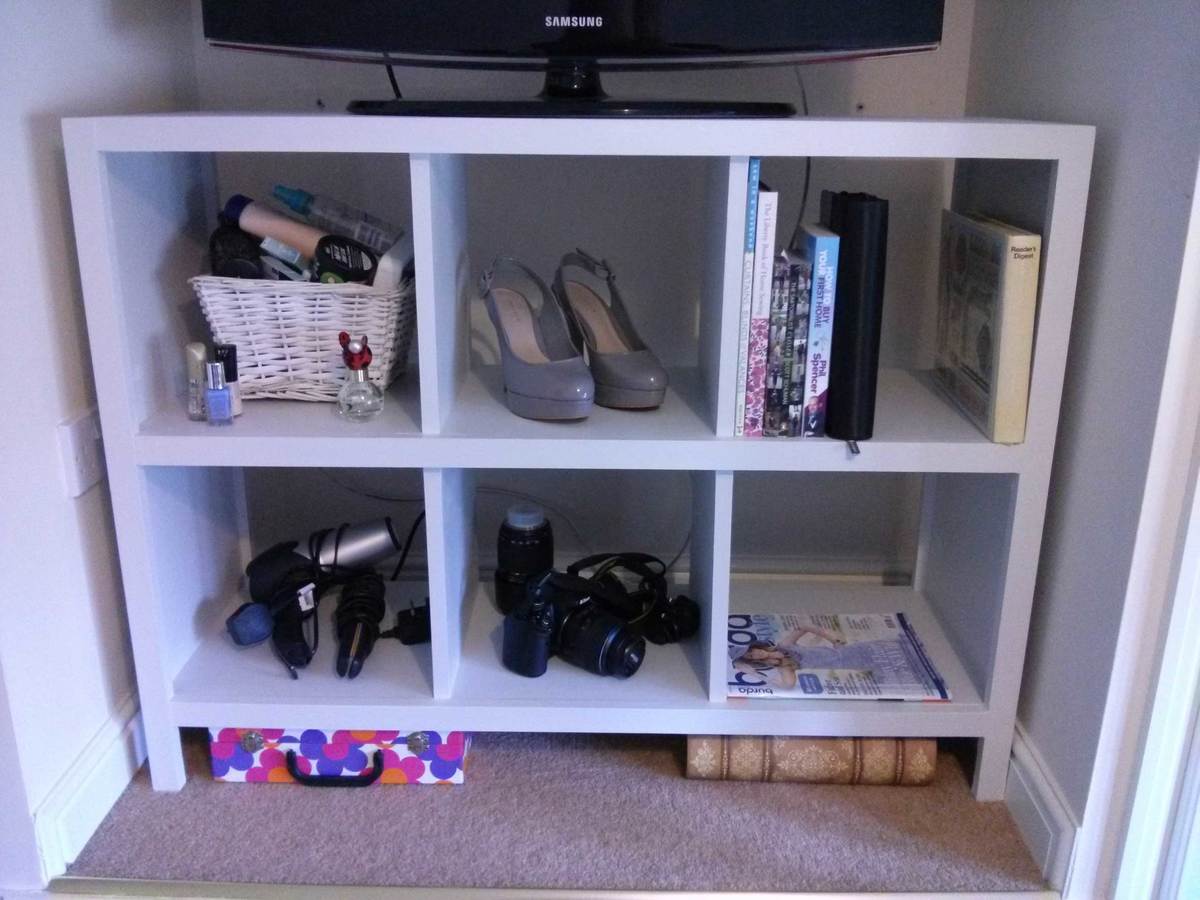
I used the roof and siding scraps to make shelves for storage inside.
By sourcing reclaimed materials, I built the coop, run, interior, feeding stations (5), and waterer for $550. I only bought 27 pieces of new lumber (15 2x4's and the 12 8 foot long 1x3's)
Even the paint was free! (We have a drop and swap at the haz mat recycling center run by the county. We have gotten 100's of dollars of free paint, stain, and varnish there. I even used a can of free spar varnish to seal the inside of the coop)
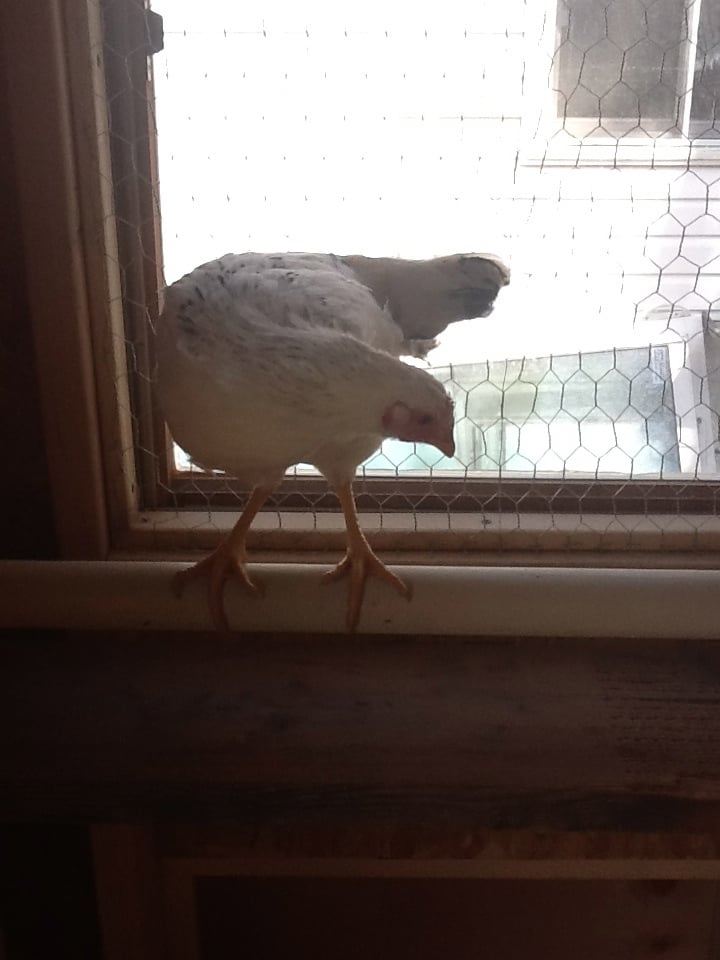
There are still a few pieces of trim to be cut and painted, but the girls are inside eating, drinking, and merry!
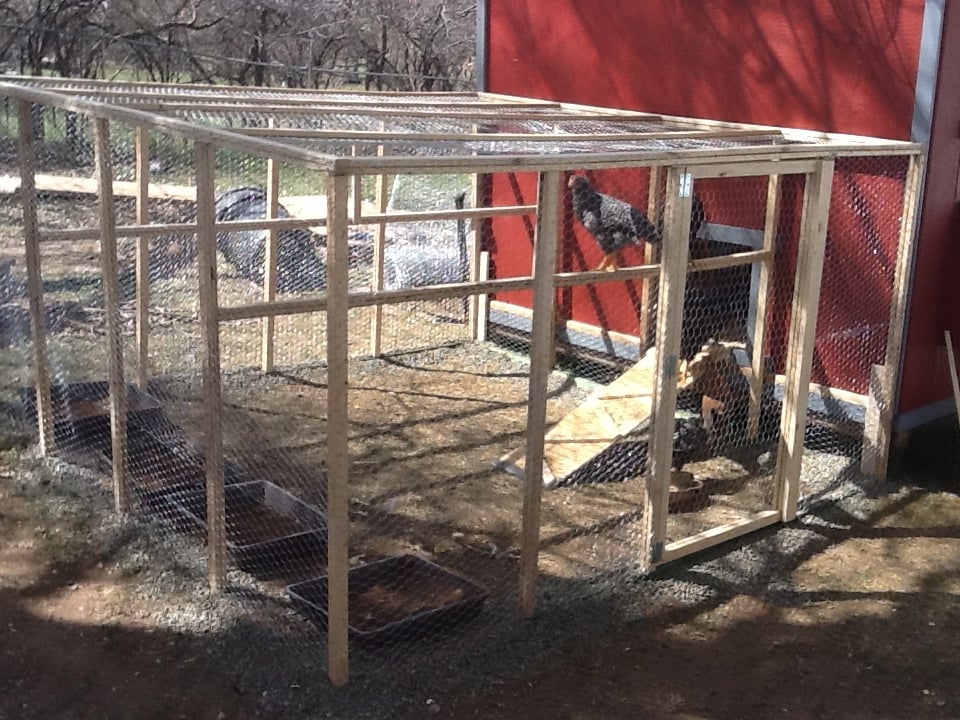
I did find that at the Home Depot, if you buy chicken wire, it costs way more then 150 feet x 36 inch "stucco netting". The stucco netting was $54 for 150 feet, and chicken wire is $76 for the same amount. It is the exact same wire.
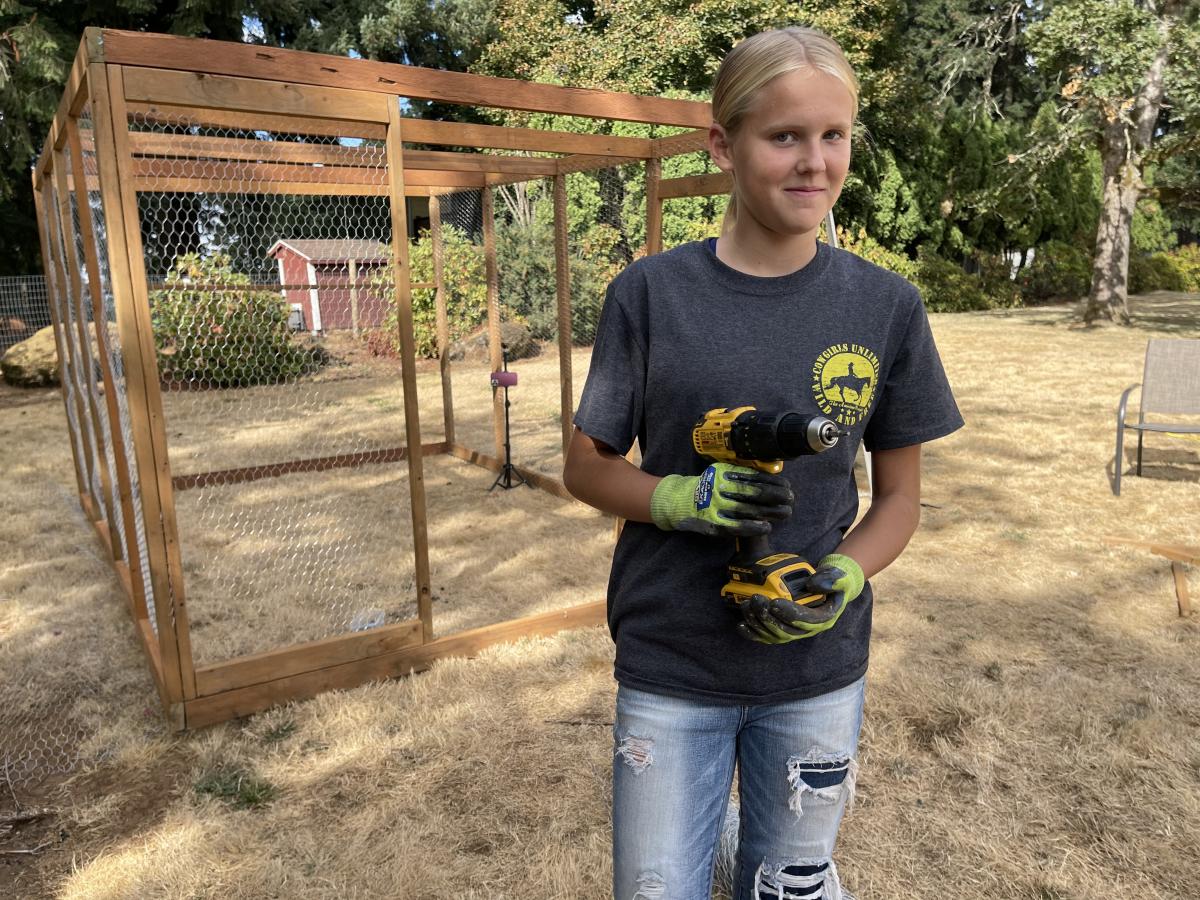
I built the run out of resourced 1x2 furring strips. They were a pain to work with, very prone to breaking when not supported, but with the entire run costing $25 for wood and $54 (with half a roll left over) for chicken wire, I can handle some extra time and effort.
If anyone has any questions for me, feel free to contact me! I'd love to help!


Comments
yvonne_urra-bazain
Tue, 03/26/2013 - 03:35
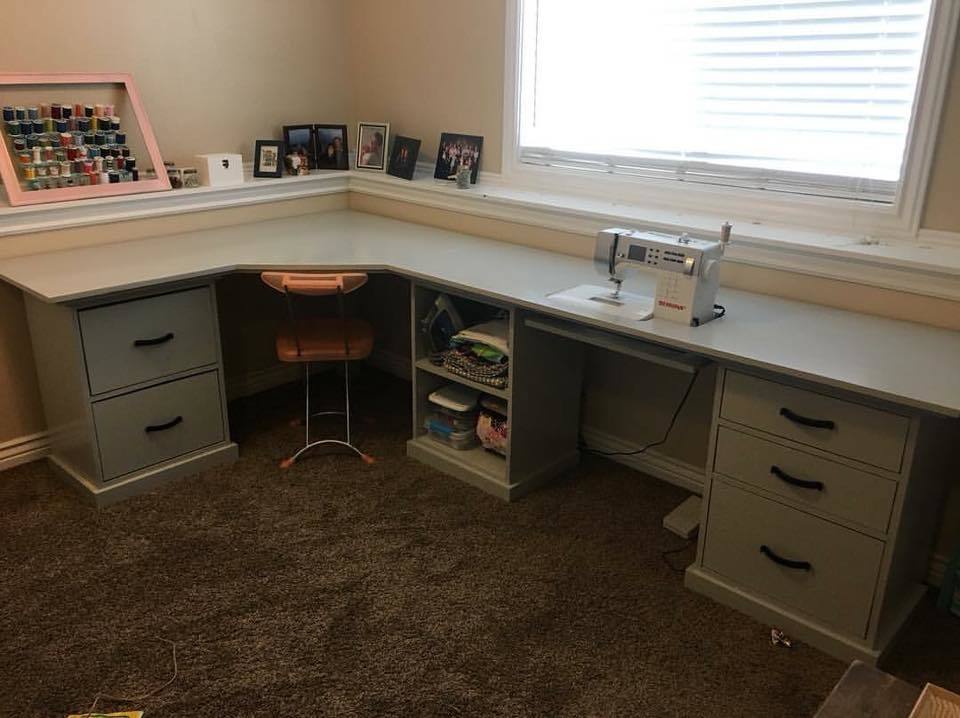
Great work on your first
Great work on your first project. :) Light grey lends itself to all color possibilities, so I understand how it will be tricky to choose your fabric. :)
katiemakes
Tue, 03/26/2013 - 15:07
Thanks
Thank you :) the fabric problem is made worse because I work in a fabric shop, so just have way too much choice!