Community Brag Posts
Adirondack chair
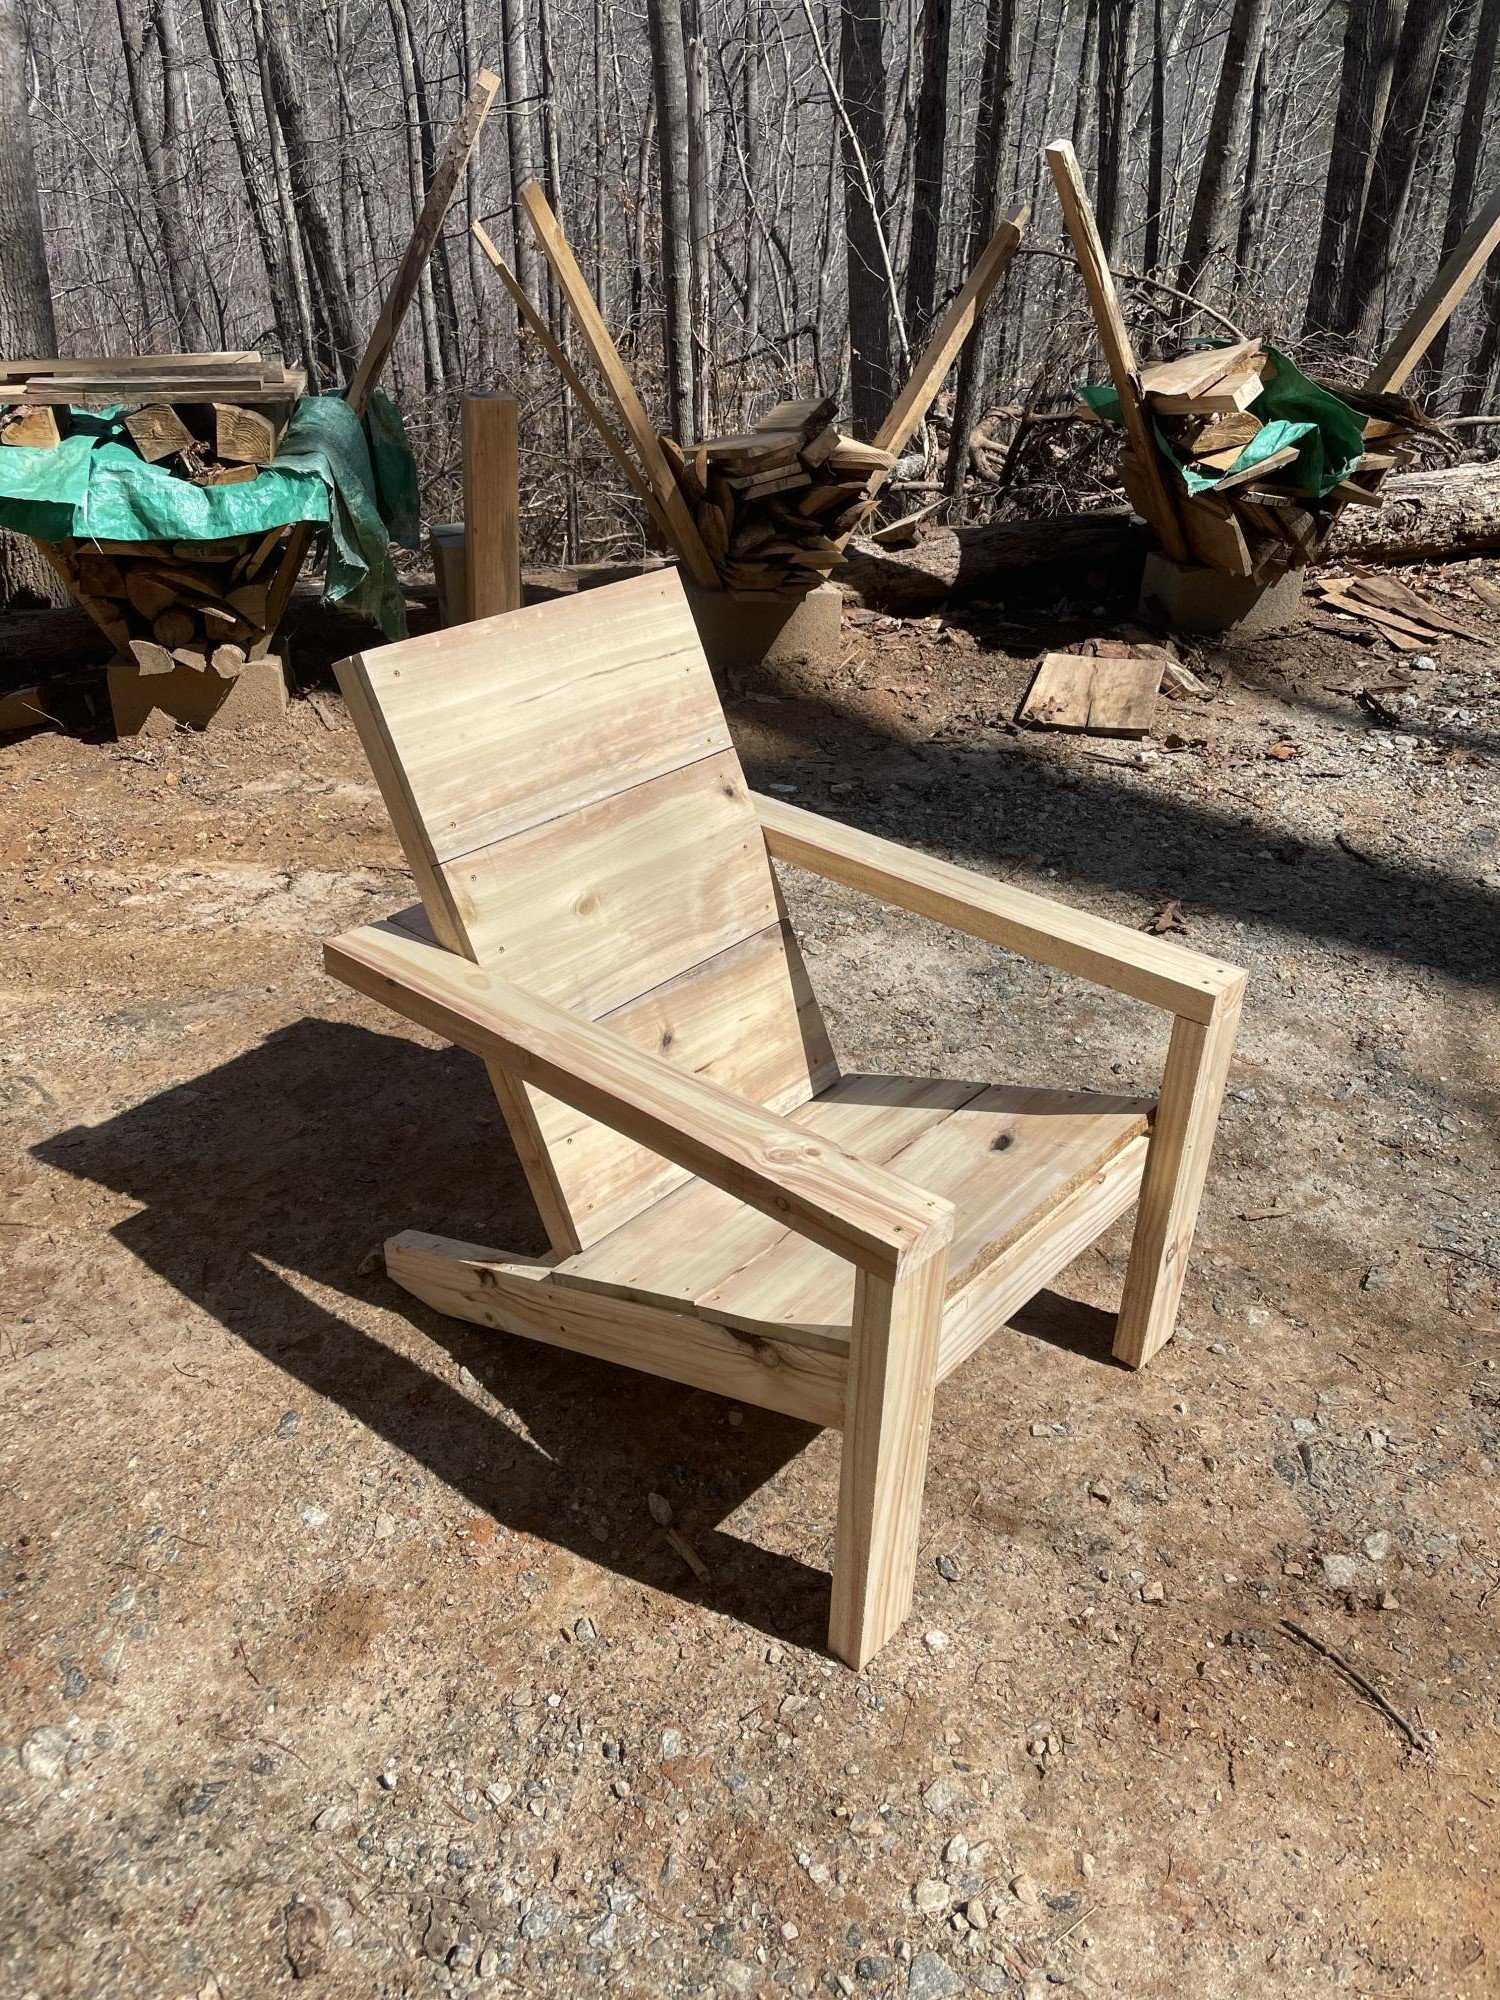
Our first build, all of the lumber was sourced from our land, milers on our sawmill and planed here. White pine frame, poplar seating. Great plans Ana! It was so nice to have success on our first furniture piece!!
Built from Plan(s)
Estimated Cost
$20
Estimated Time Investment
Day Project (6-9 Hours)
Finish Used
None yet
Recommended Skill Level
Beginner
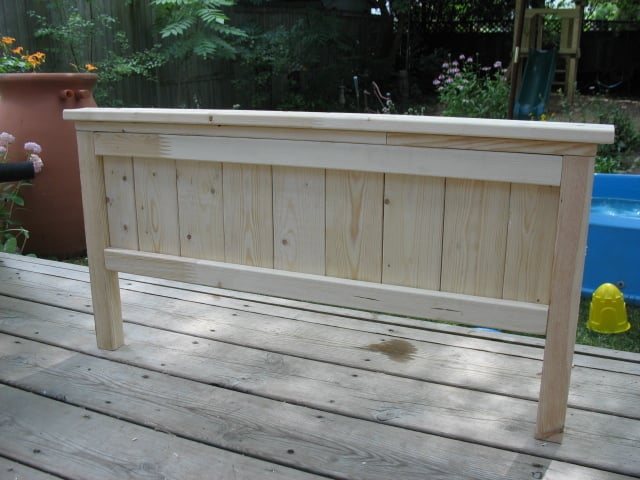
Little Big-Girl Farmhouse Bed
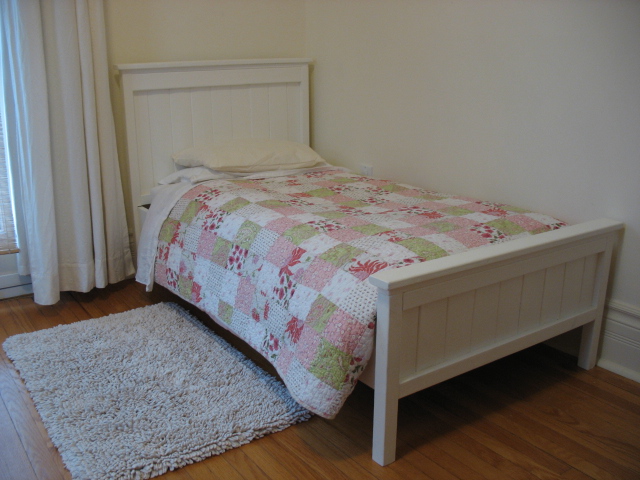
This bed was my 3rd project from Ana white. I'm just getting around to posting it now....
The headboard and footboard were made 2 inches wider than the original plans to account for my wider crib mattress. For my mattress width (28"), I required an extra 1x4 for the headboard and footboard center panels (7 instead of 6), along with 2 1x3s. This meant that I needed to add one extra 1x4 to my shopping list. I only required one 1x6, at a 10 foot length (since I didn't make the arch on the headboard).
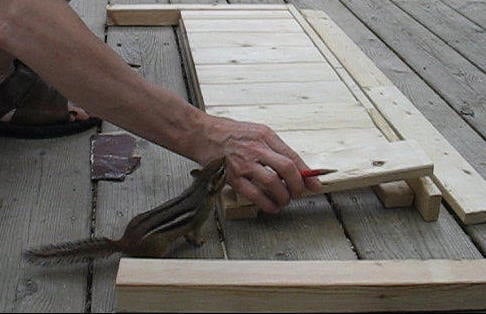
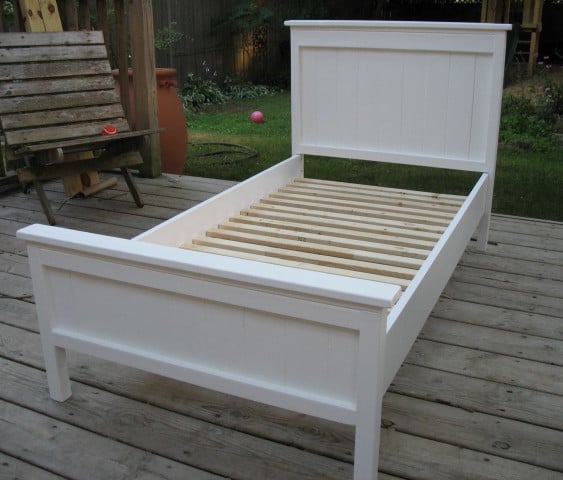
Most of the work was done on our backyard deck, my outdoor workshop. I usually enjoyed the company of a little chipmunk as my "helper". He became very tame over the summer, allowing me to pick him up and pet him. At times, he would sit on my lap or ontop of my shoulder while I was working on a project. He was always with me, just hangin' out. I'm not really sure how long this project took, as I was usually distracted by his company!
I really enjoyed making this project! Our daughter was SO excited to sleep in her new big-girl bed!
Thanks Ana for the great plans!

Built from Plan(s)
Estimated Cost
Wood, $28.45. Paint, $36.97 per gallon (I already had the paint from another project)
Estimated Time Investment
Weekend Project (10-20 Hours)
Finish Used
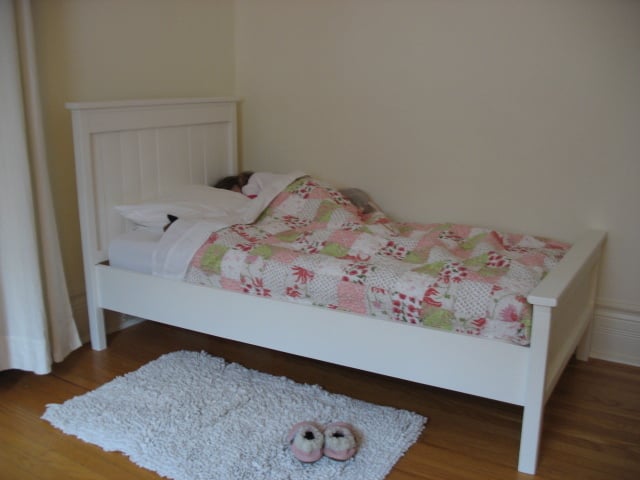
Behr Premium Plus Self Priming Paint - I had 2 separate gallons of this in different colours and finishes. One was semi-gloss white (I found this to be too shiny, and the shade too cool). The other gallon was a flat finish, in a Farrow and Ball colour "Pointing".
Since the walls of the room are already in the "Pointing" colour, I wanted to keep the bed whiter than the walls, just slightly off white. I ended up mixing some of both gallons together. The result? - a lovely eggshell finish in a warm white colour. Perfect.
Since the walls of the room are already in the "Pointing" colour, I wanted to keep the bed whiter than the walls, just slightly off white. I ended up mixing some of both gallons together. The result? - a lovely eggshell finish in a warm white colour. Perfect.
Recommended Skill Level
Beginner
Comments
Wed, 03/13/2013 - 13:40
Little Helpers
Hi dmcarwin - Thanks so much for your comment!
I love my little helper as well. You, however, must be a VERY busy lady! With 6 little helpers??? How do you ever find the time for all your fabulous projects? You truly amaze me!

In reply to Little Helpers by Tea Granny
Wed, 03/13/2013 - 15:35
Ha ha!
You are so sweet, I don't do projects in a normal time frame, they are more like, cut the wood one day, sand the next, build another, etc....It is rare I do a build all at once, for obvious reasons! But I truly love it and so I make the time for it when I can! I just checked out the rest of your projects they are fabulous!

Wed, 03/13/2013 - 18:07
Normal time frames
Oh, yes. I certainly know about the non-normal time frames. My projects are done during nap-time or in the middle of the night. I finished a play kitchen at 4am on Christmas Day! Cutting it close - after numerous 4am nights, a couple all-nighters ...and about 40 hours later. I definitely was an elf in the workshop.
The play kitchen is pictured in the background of my second photo for my Toddler Chalkboard project. I used Ana's plans and another plan as my inspiration, heavily modified the measurements. I have not had time to post it yet, but soon....
Okay, so I've just checked out your blog! Wonderful.

Sun, 08/09/2015 - 06:51
This is gorgeous!!!!! My
This is gorgeous!!!!! My daughter will be two in two weeks, and while I'm not quite ready for a big girl bed, and we don't need her crib for another baby yet, I'm so excited to finally find the perfect plans when I am ready. You did a GREAT job, it's just beautiful. When I compare this to the $400 plus beds in stores I just shake my head and say THANK YOU ANA for giving us great alternative options. Thank you for the inspiration!!
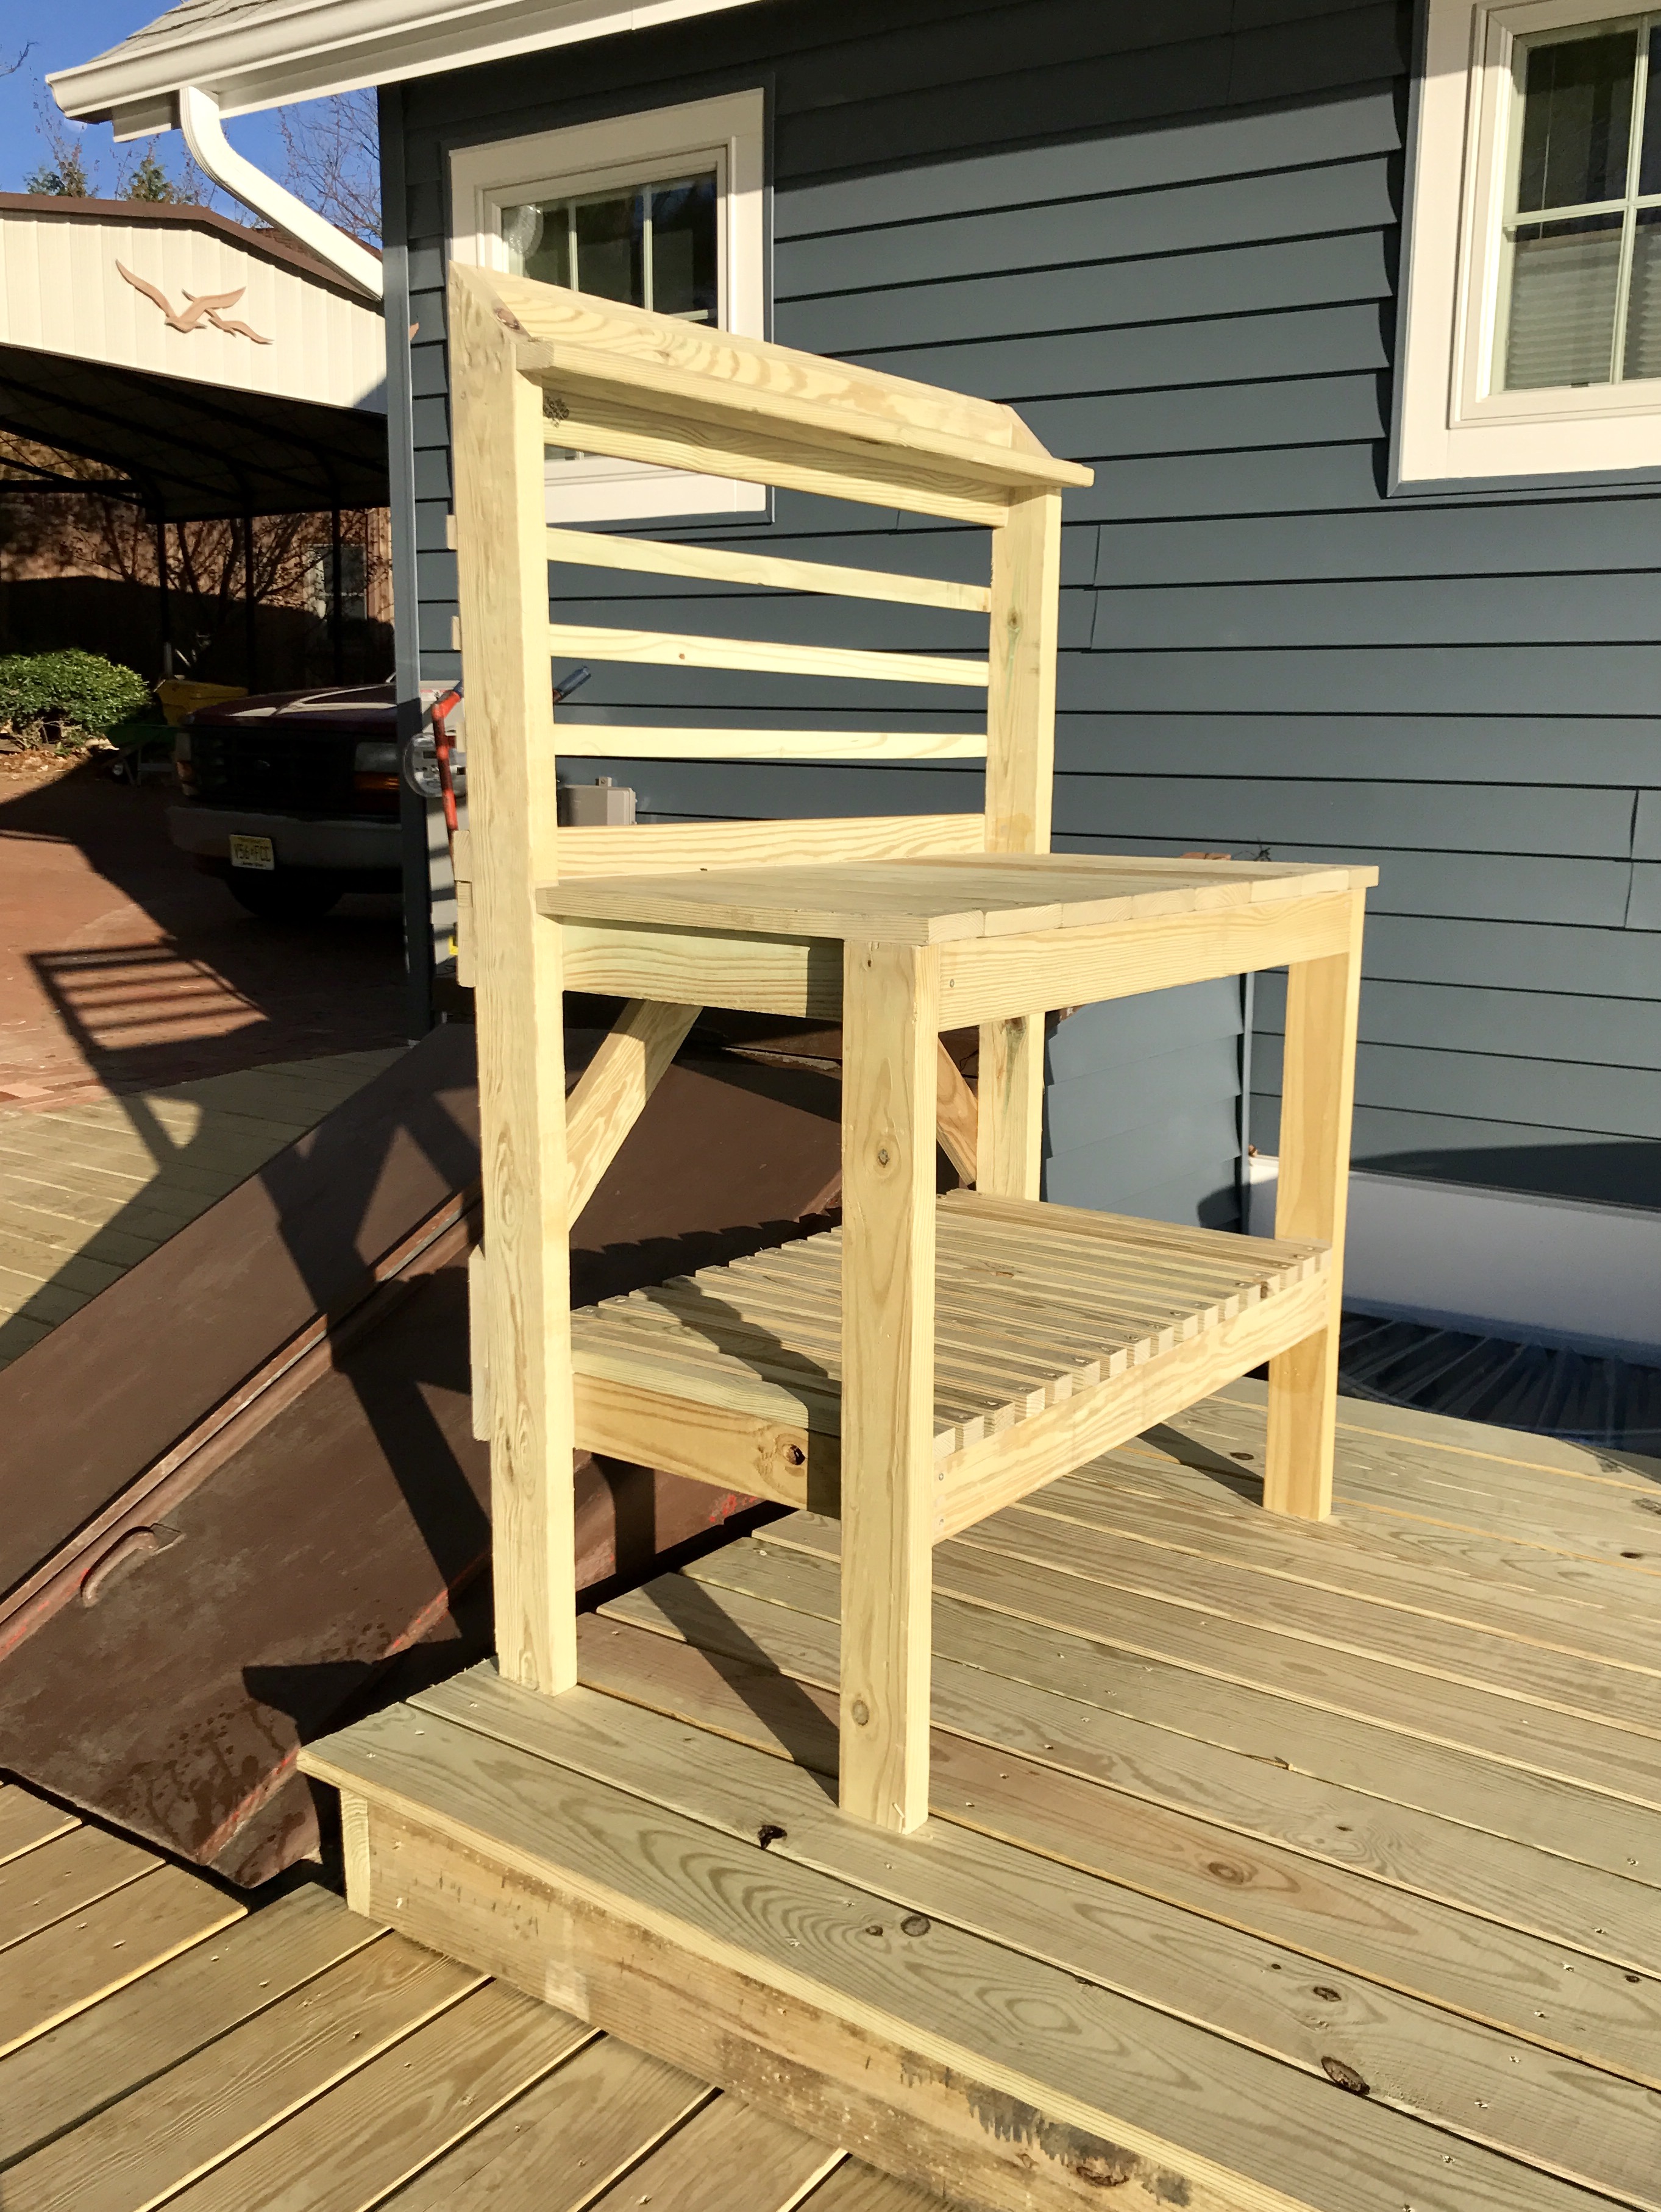
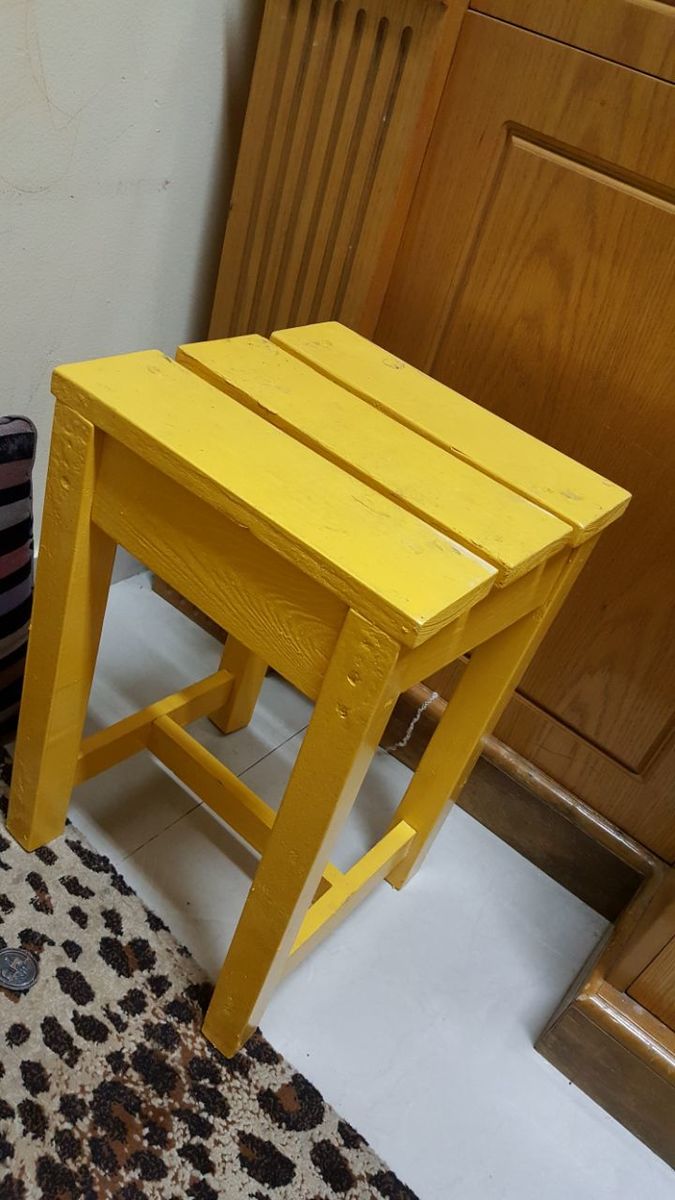
corner shelf
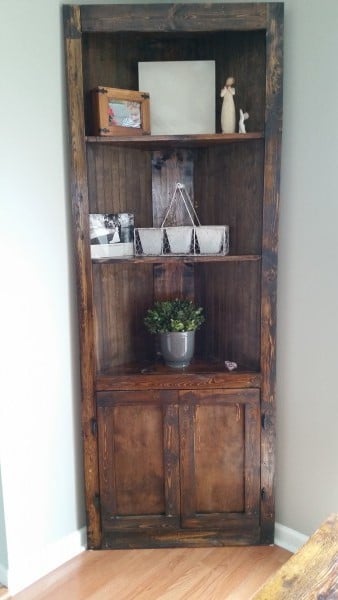
This was very easy to make. Stained with minwax dark walnut. It's very sturdy too.
Built from Plan(s)
Estimated Time Investment
Day Project (6-9 Hours)
Finish Used
Minwax dark walnut
Recommended Skill Level
Beginner
Comments
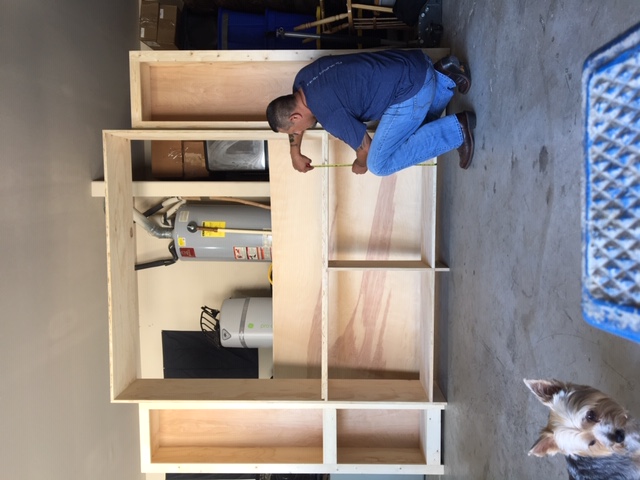
Entertainment Center Cabinet
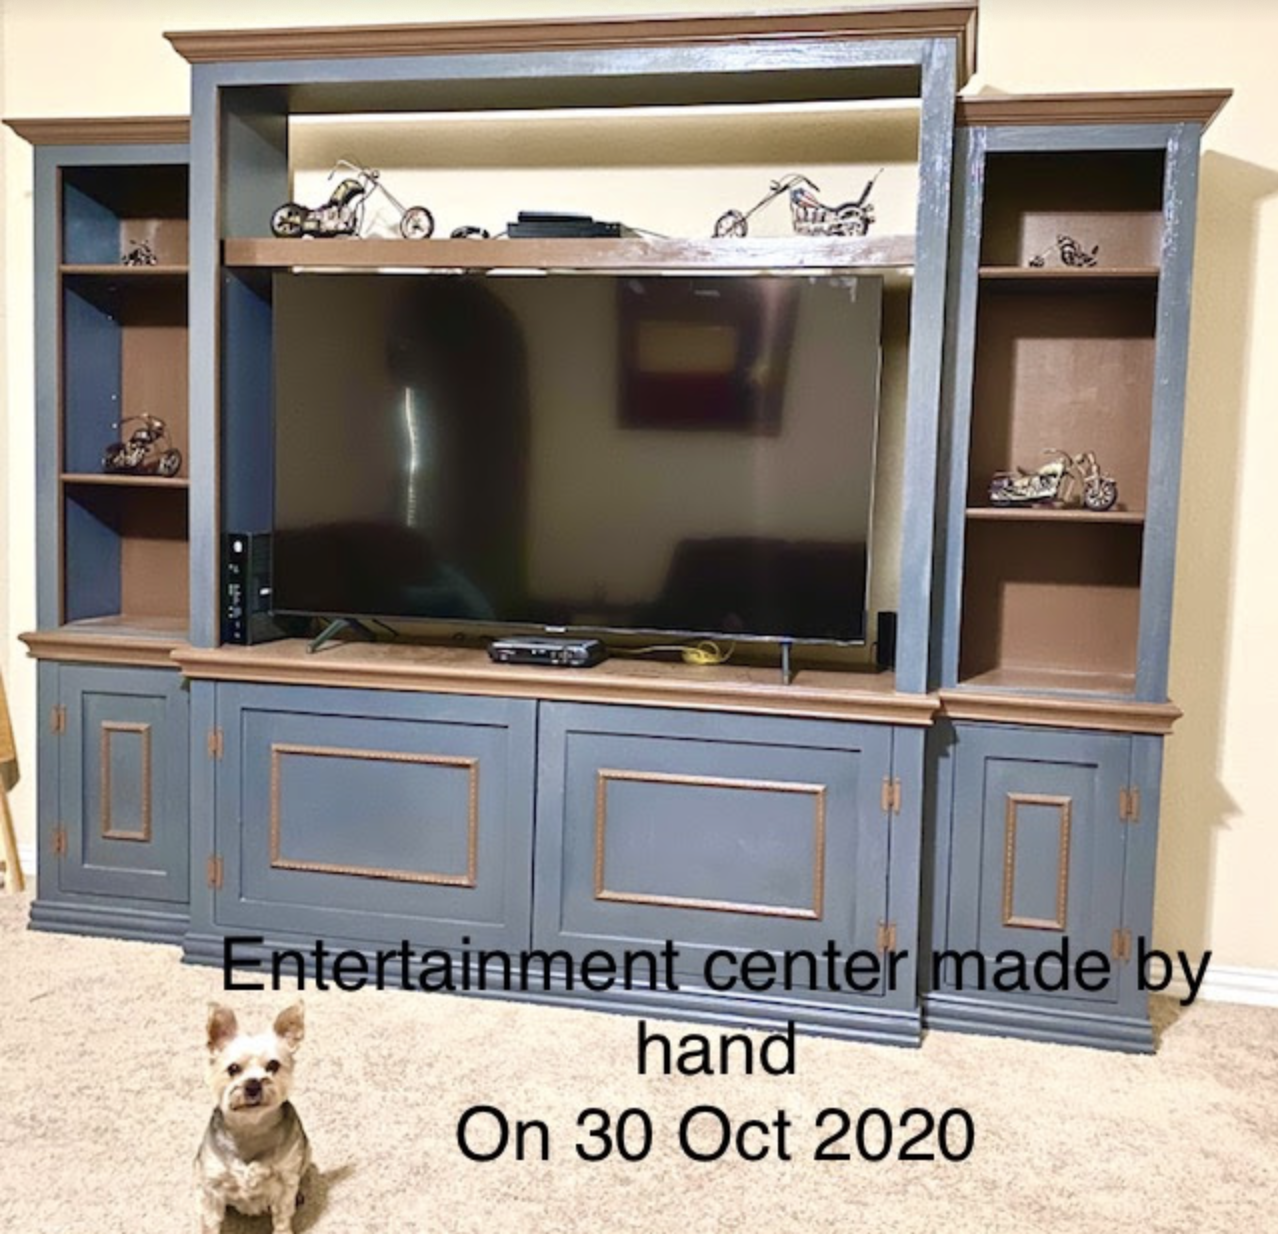
I had a very good time building this entertainment center. I've received many compliments on the outcome.
Comments
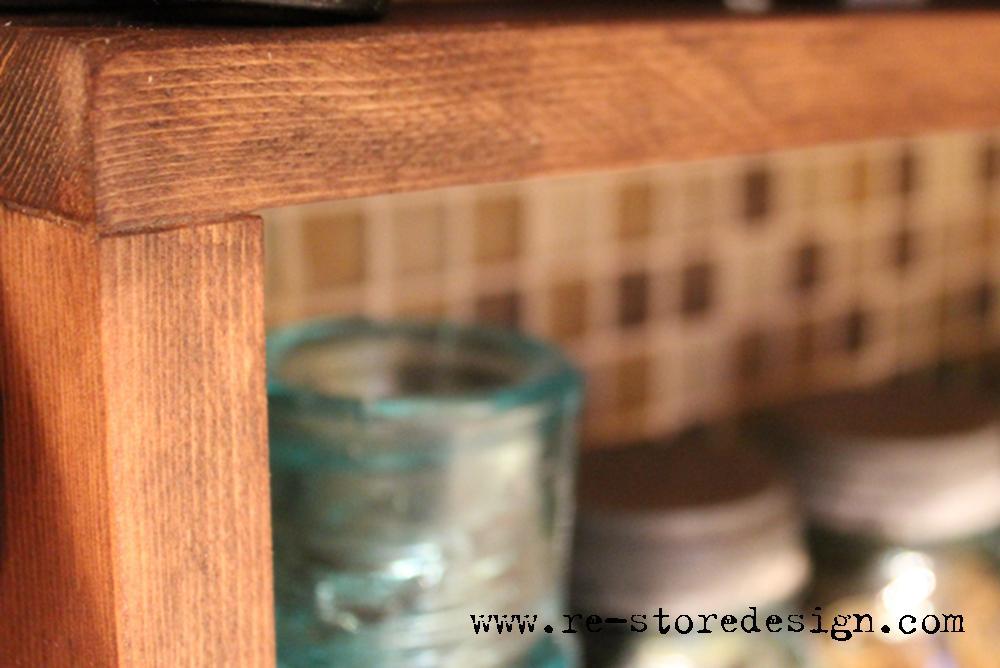
Reclaimed Wood Counter Shelves
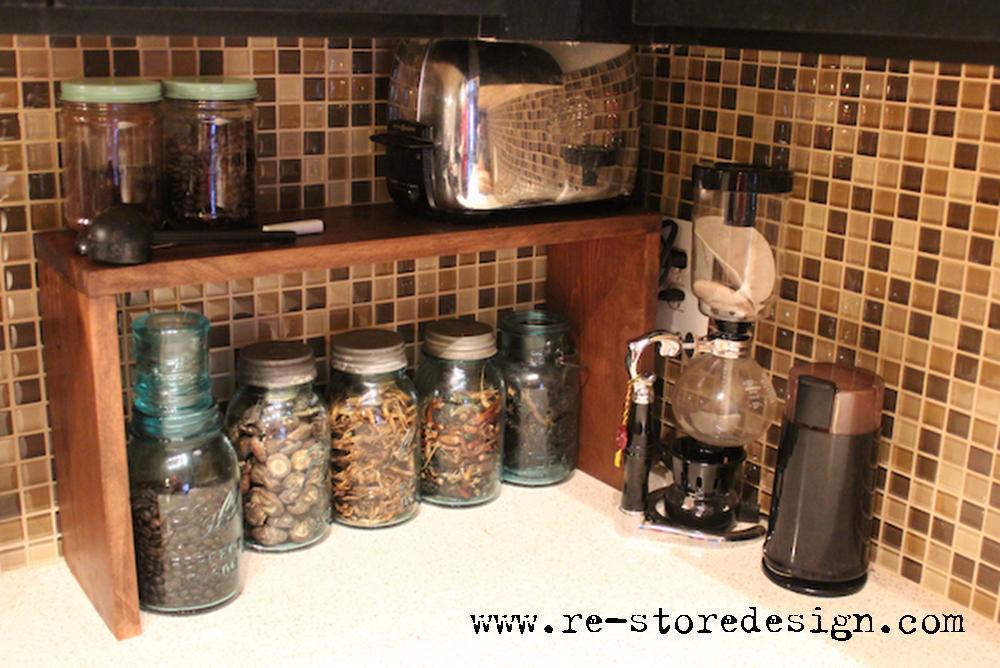
Made from reclaimed pine moulding.
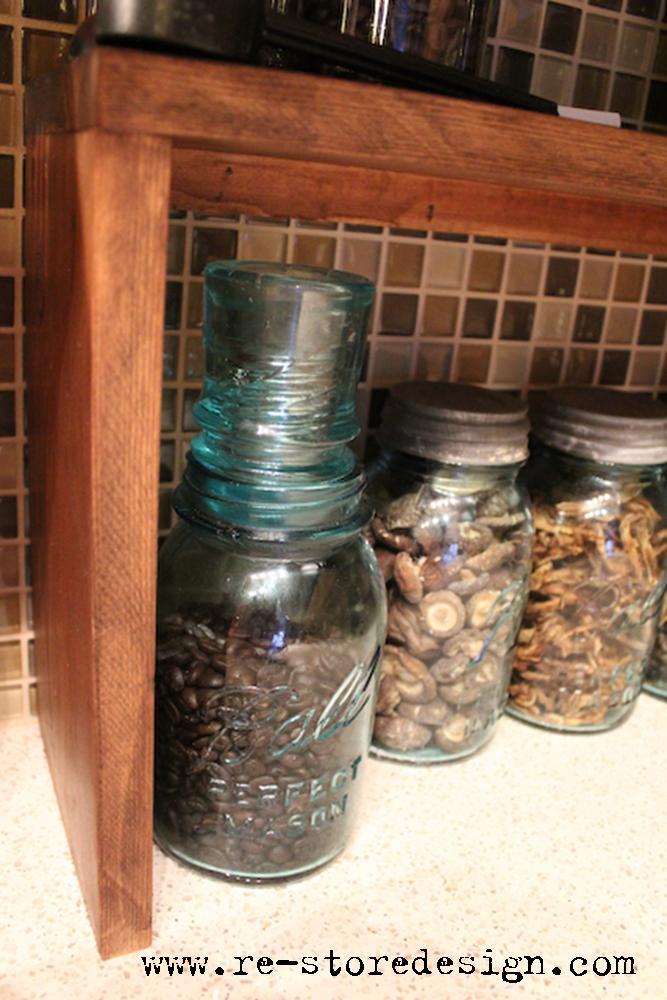
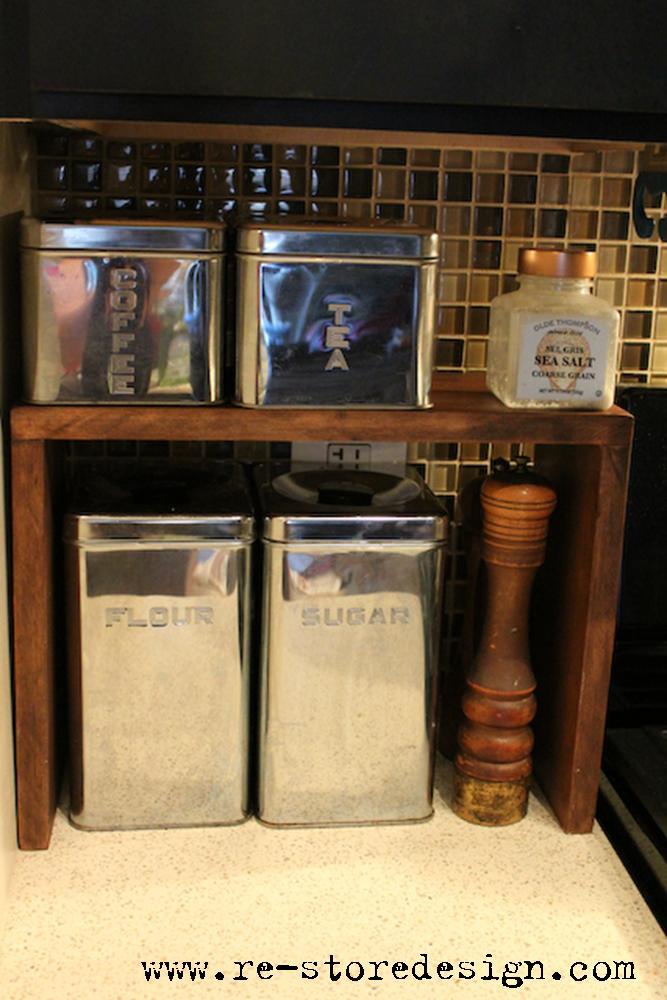


Estimated Cost
$10
Estimated Time Investment
An Hour or Two (0-2 Hours)
Finish Used
Varathane Kona
Recommended Skill Level
Starter Project
Comments

Christmas Chalkboards
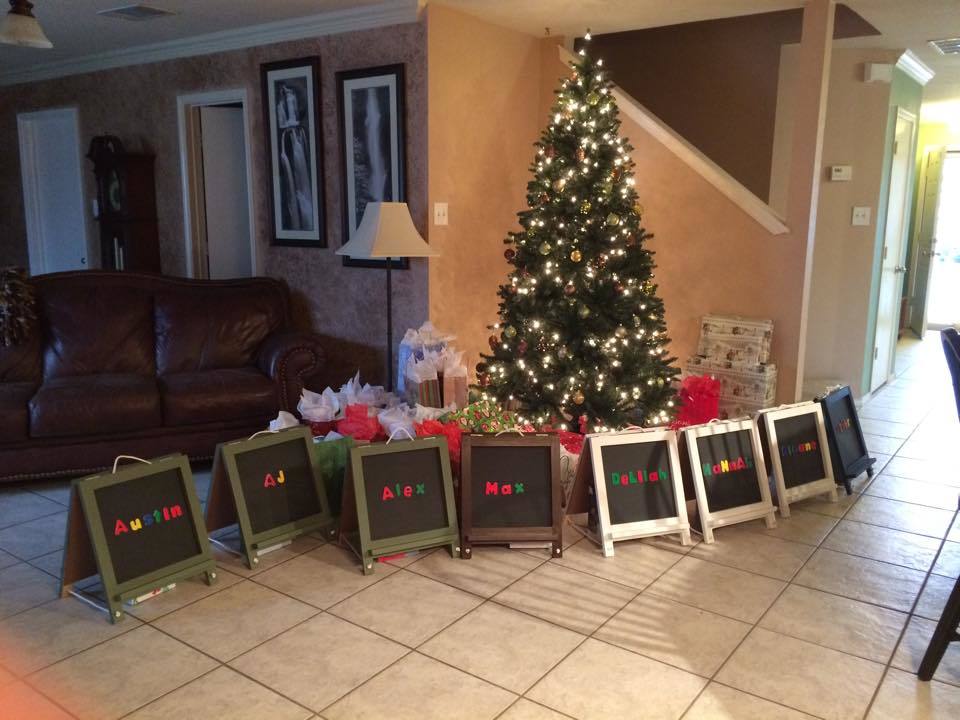
I wanted something special to give the kids in our family for Christmas so I made them all these magnetic chalkboard easels. I gave them chalk and magnetic alphabet letters to go with it. The kids ranged from ages 6 months to 8 years and they all loved them!
Built from Plan(s)
Estimated Cost
$25/ea
Estimated Time Investment
Afternoon Project (3-6 Hours)
Finish Used
magnetic primer and chalkboard paint on the plywood and various colors for the frames
Recommended Skill Level
Beginner
Comments
Mon, 02/02/2015 - 12:21
Thanks Ana! I am having so
Thanks Ana! I am having so much fun using plans from your site. My husband created a monster in me when he helped me start learning how to use the power tools last Christmas. Now I just can't stop. currently my daughter and I are working on a large storage bed for her. You have inspired me that nothing is impossible!
Thu, 04/30/2015 - 01:19
Great idea to make these
Great idea to make these magnetic as well. I was just wondering if you would be willing to share what you used to make them magnetic. Thanks in advance
K
Tue, 05/12/2015 - 05:31
magnetic
sorry just saw this comment - I used the magnetic primer by Rust-Oleum. Used this in place of standard primer. You have to use at least 2 coats and even then, it won't hold a very heavy magnet. i would imagine the more coats you put on, the stronger it will be. It's not cheap, but was great for this application.
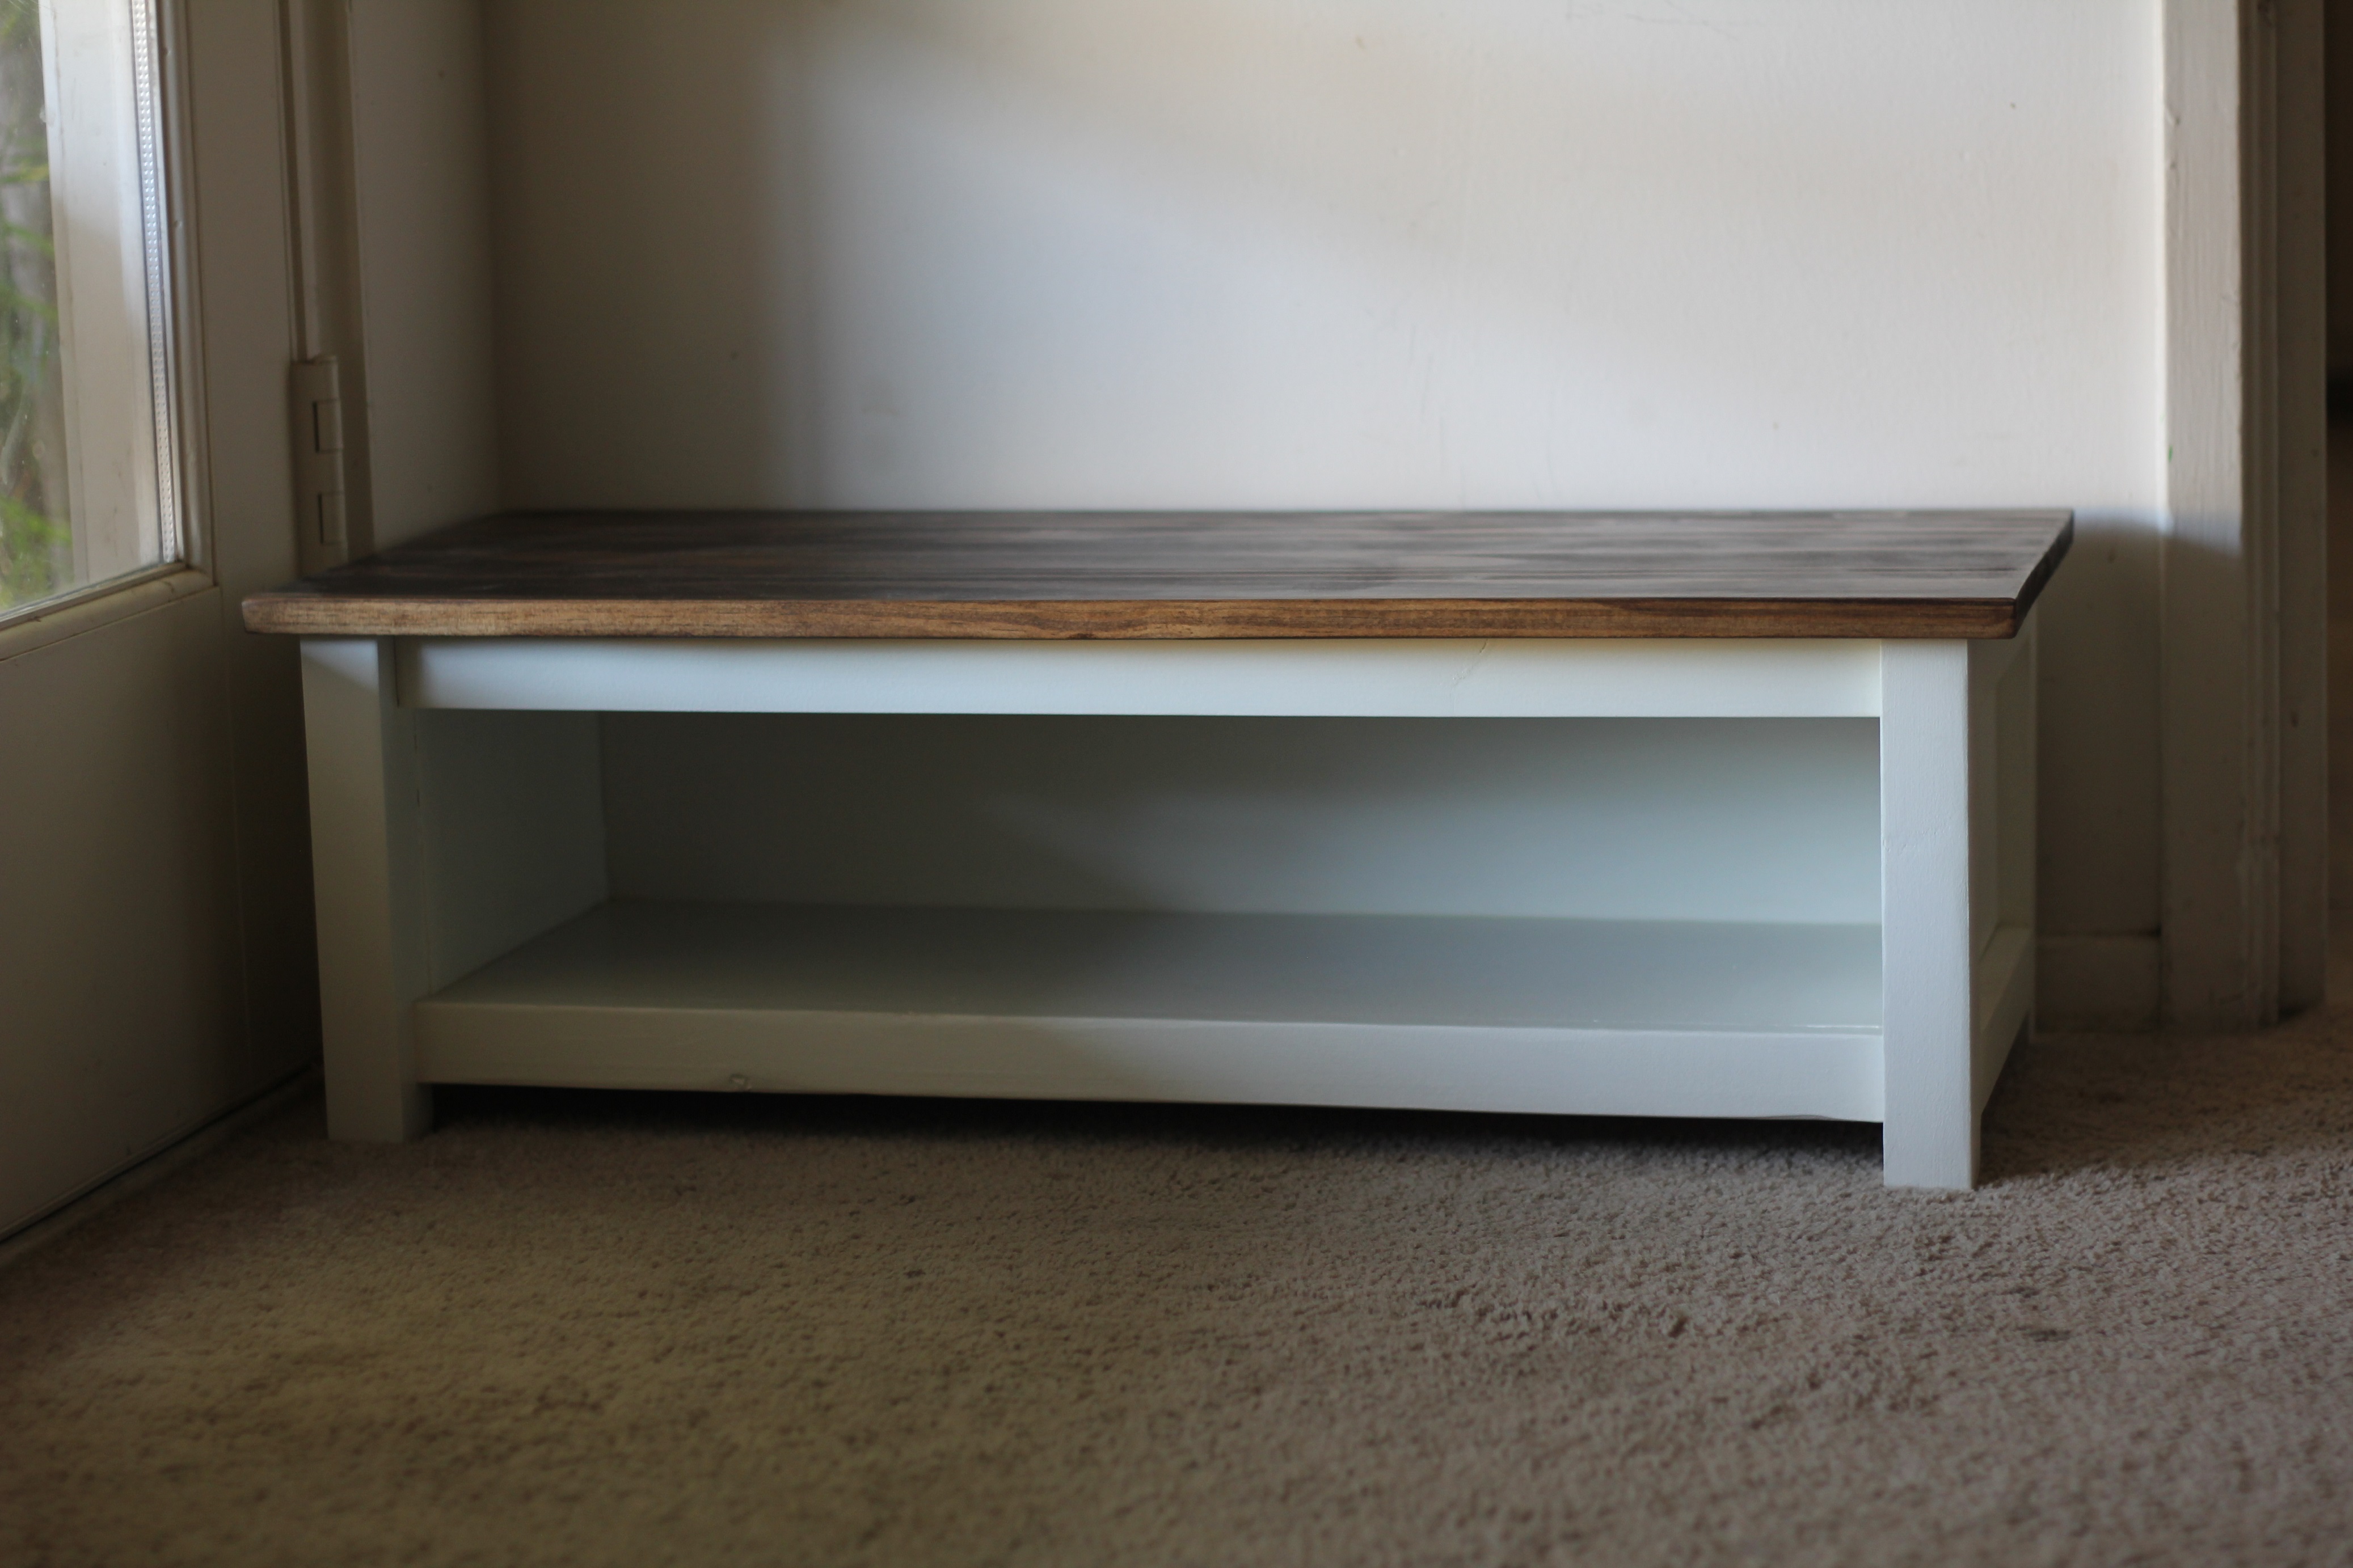
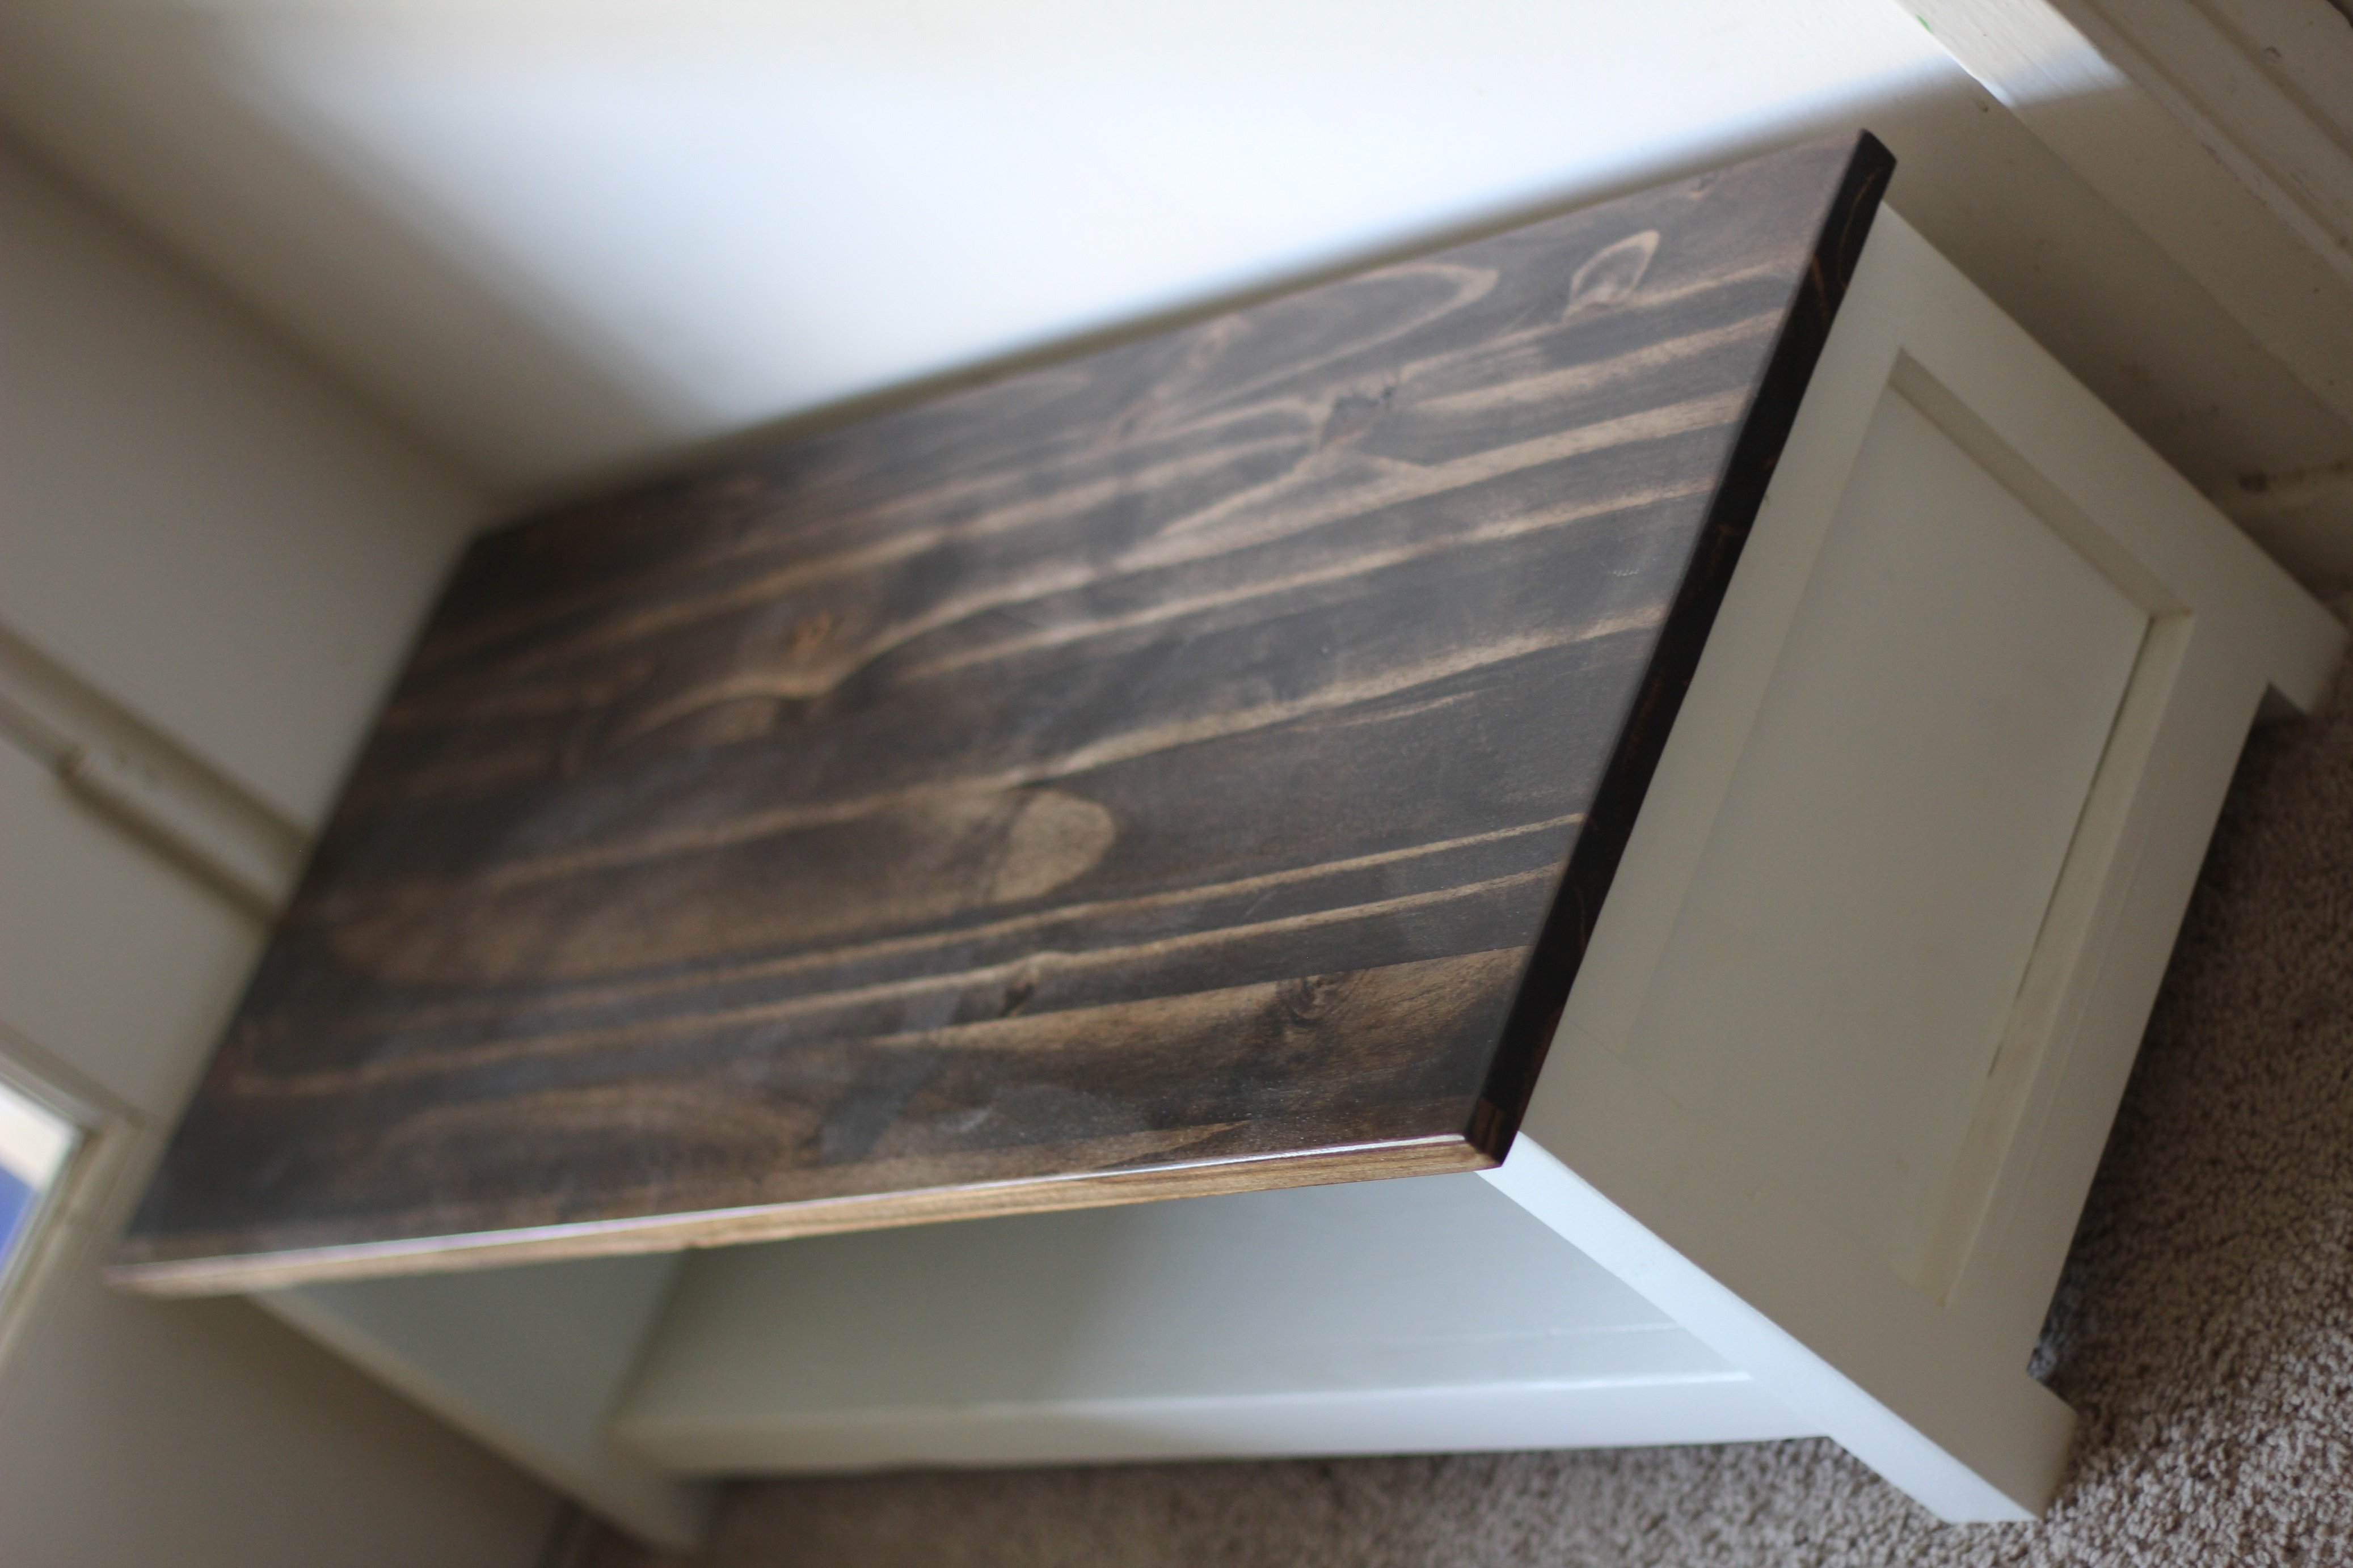
Shoe Shelf
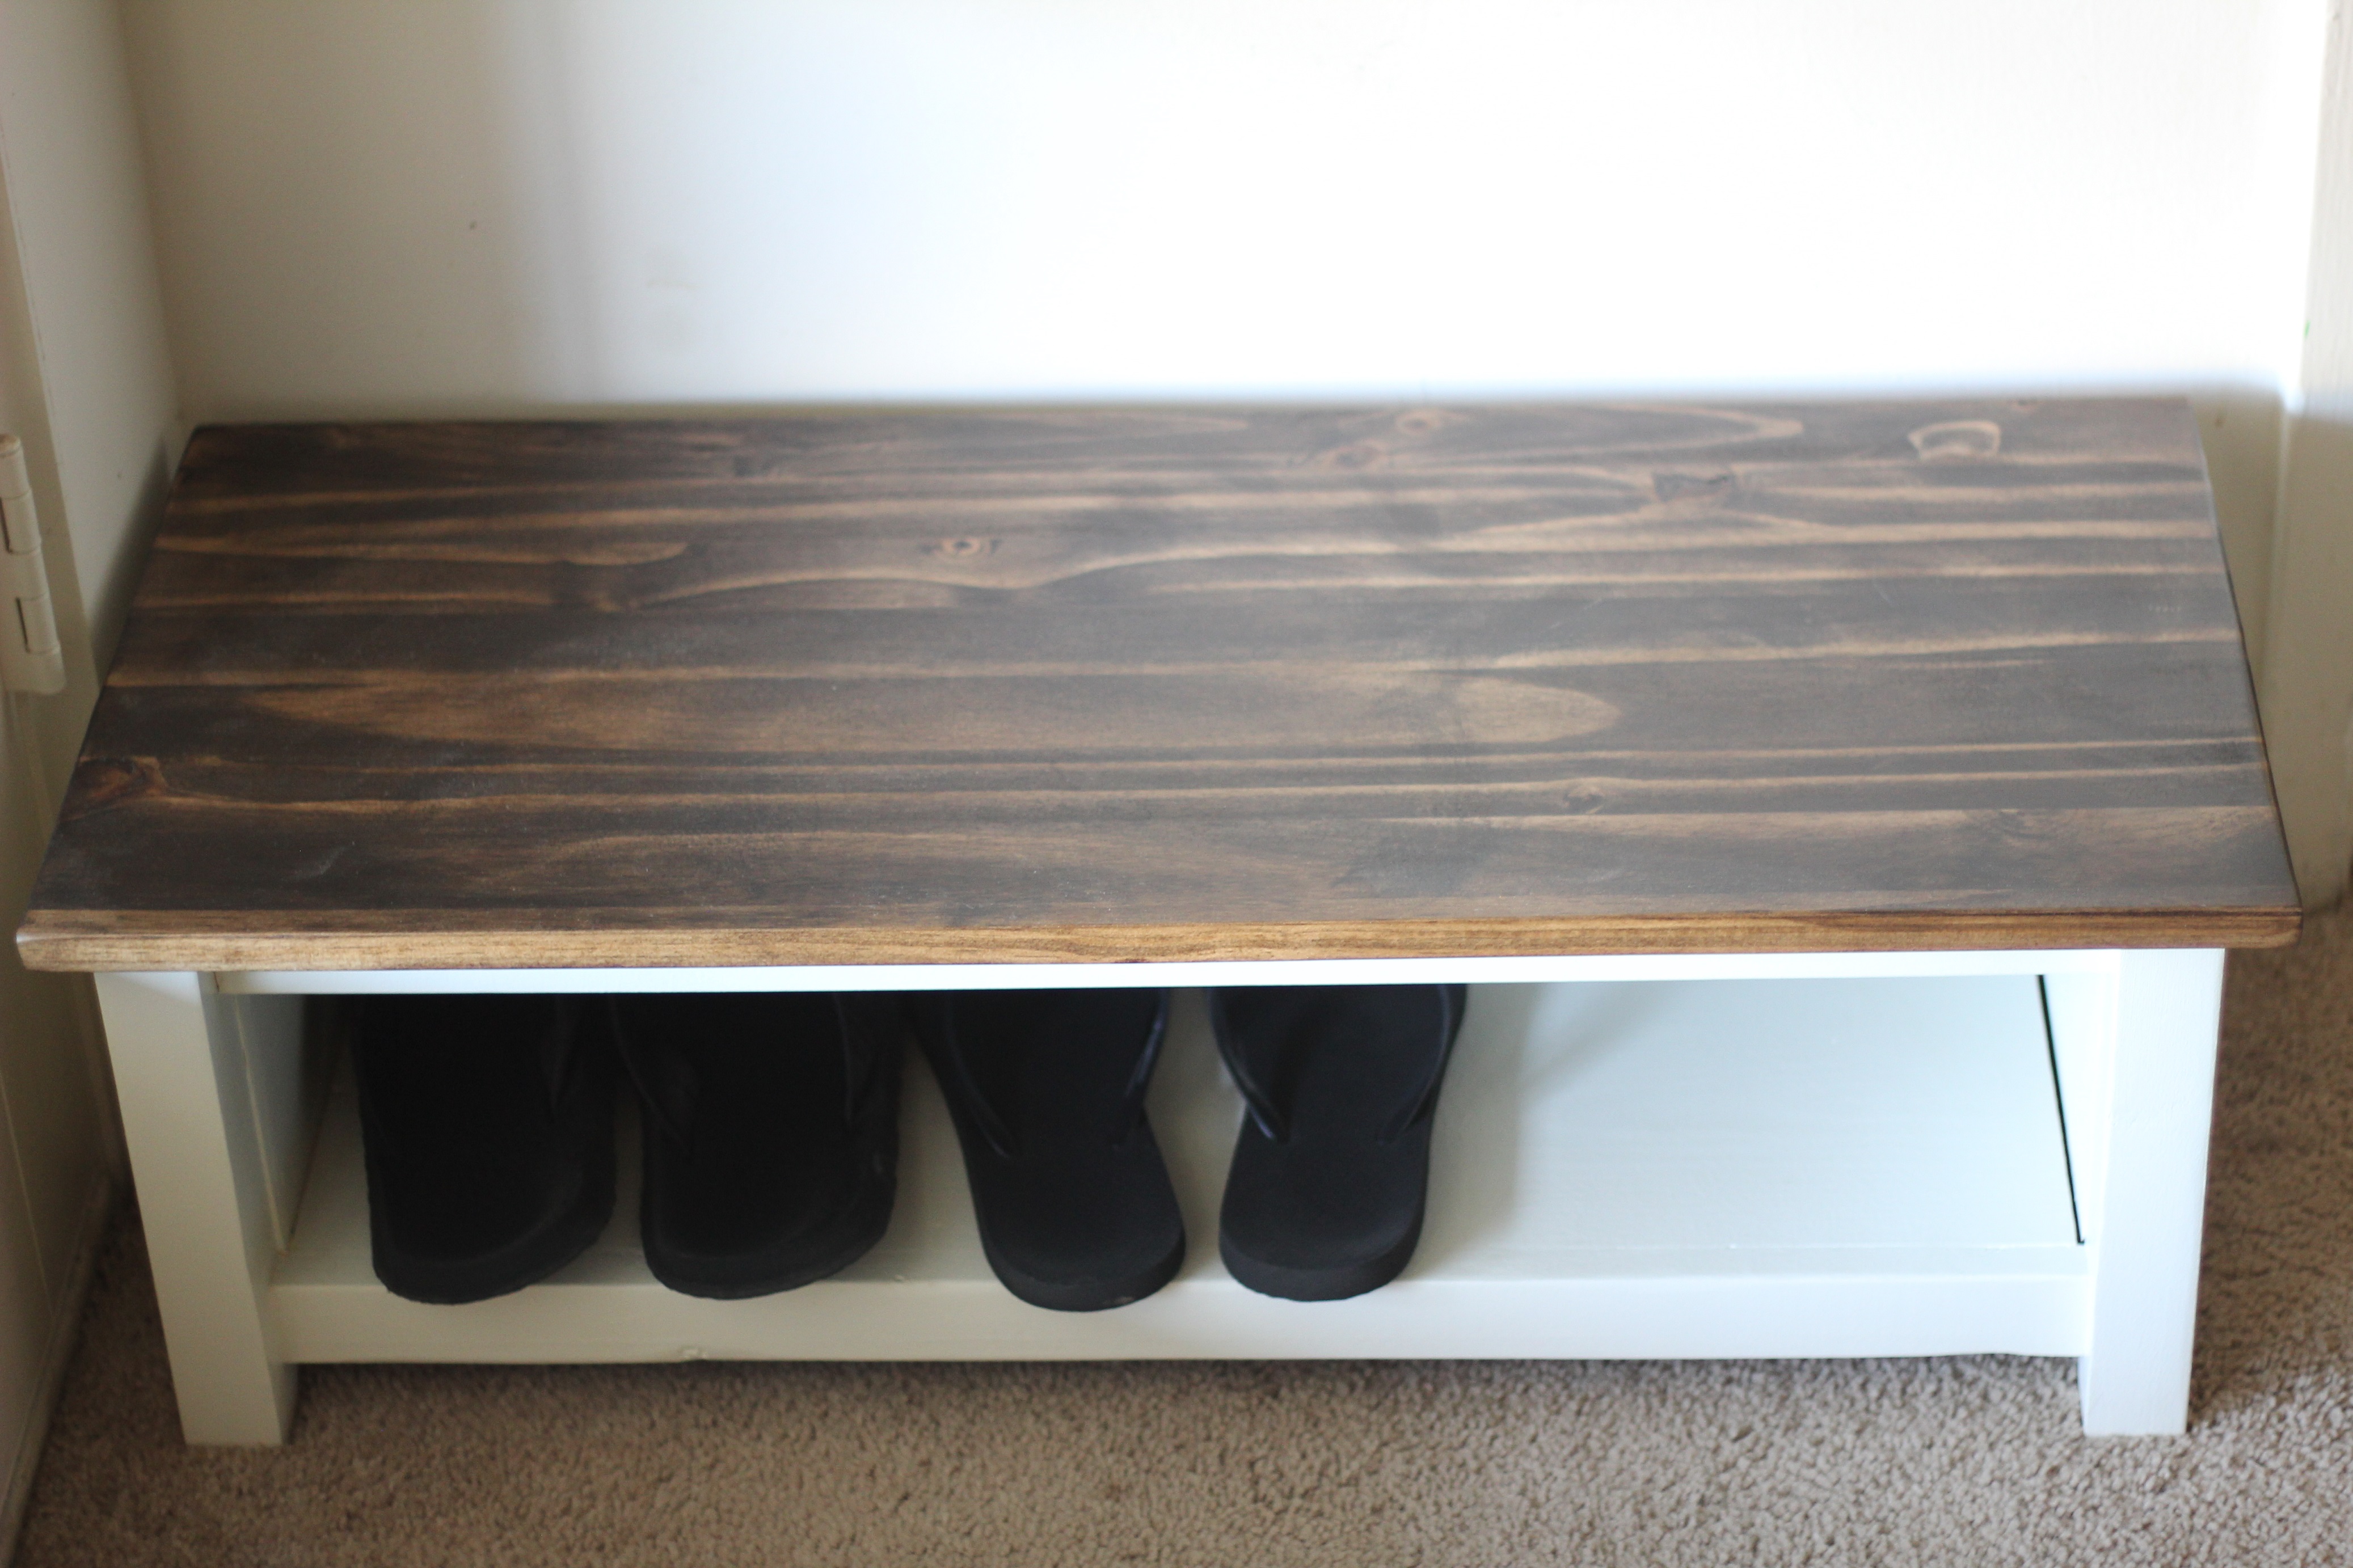
Husband wanted a shoe shelf for the back door entry, and I needed a quickie weekend project, so this fit the bill. Adapted from fix this build that's plan, but modified for a smaller space and less shoe storage. Easy project, and looks great.
Estimated Cost
$7- the project panel was on clearance at HD for the top, the rest was scrap lumber- ply, 2x2's and 1x2's.
Estimated Time Investment
Weekend Project (10-20 Hours)
Finish Used
kona stain, white paint, poly
Recommended Skill Level
Beginner
Barn door bookcase
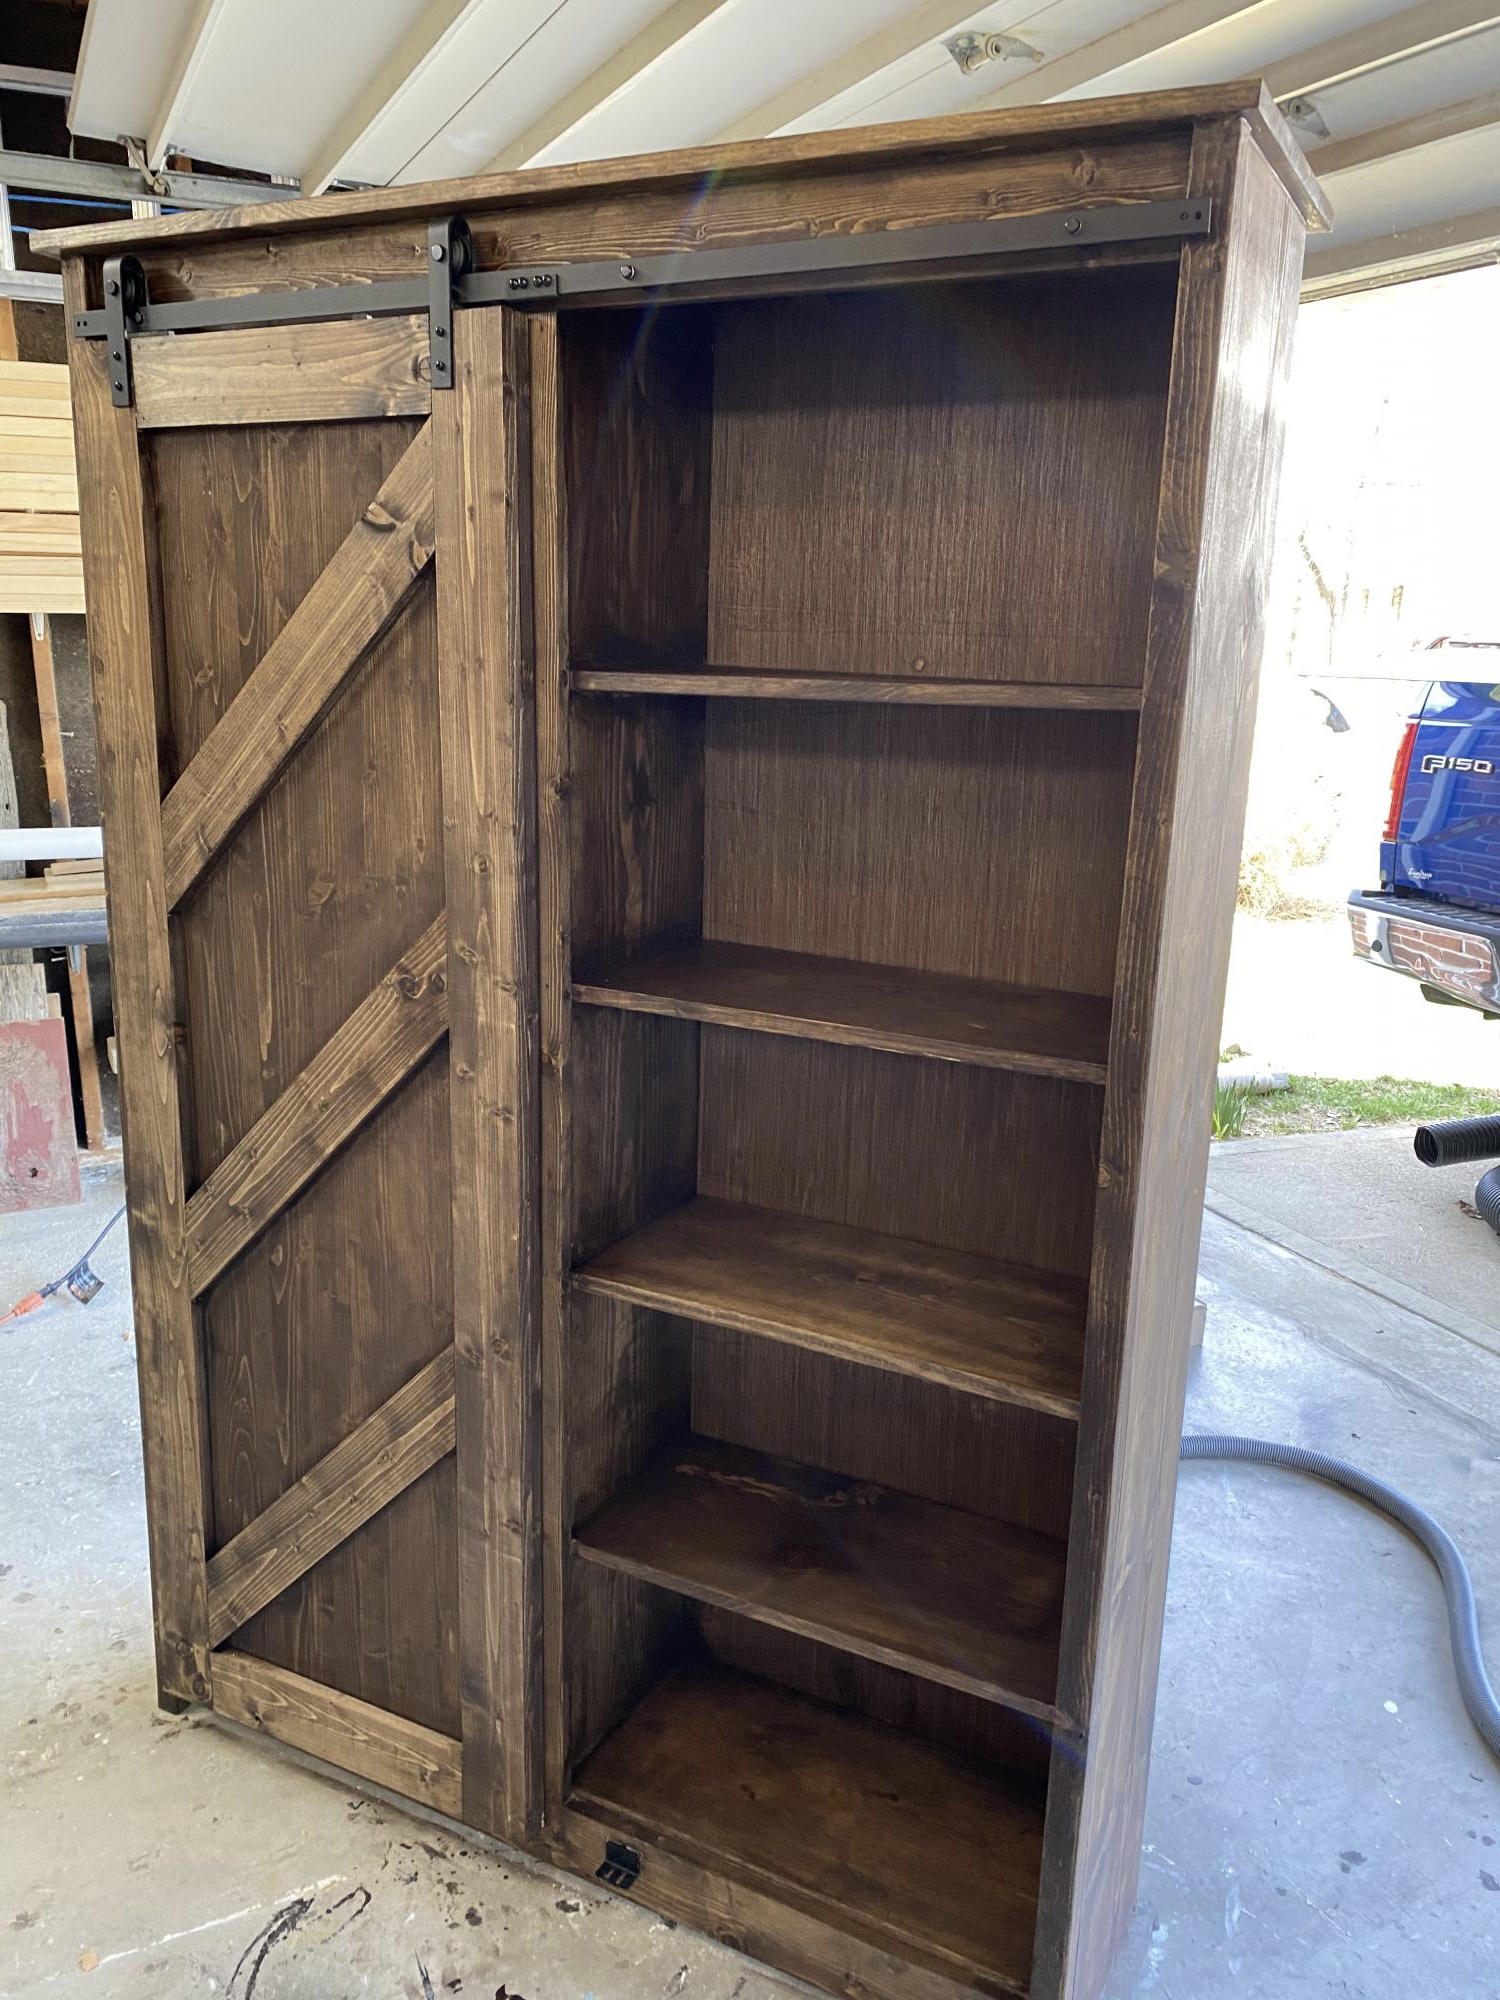
Fun project!
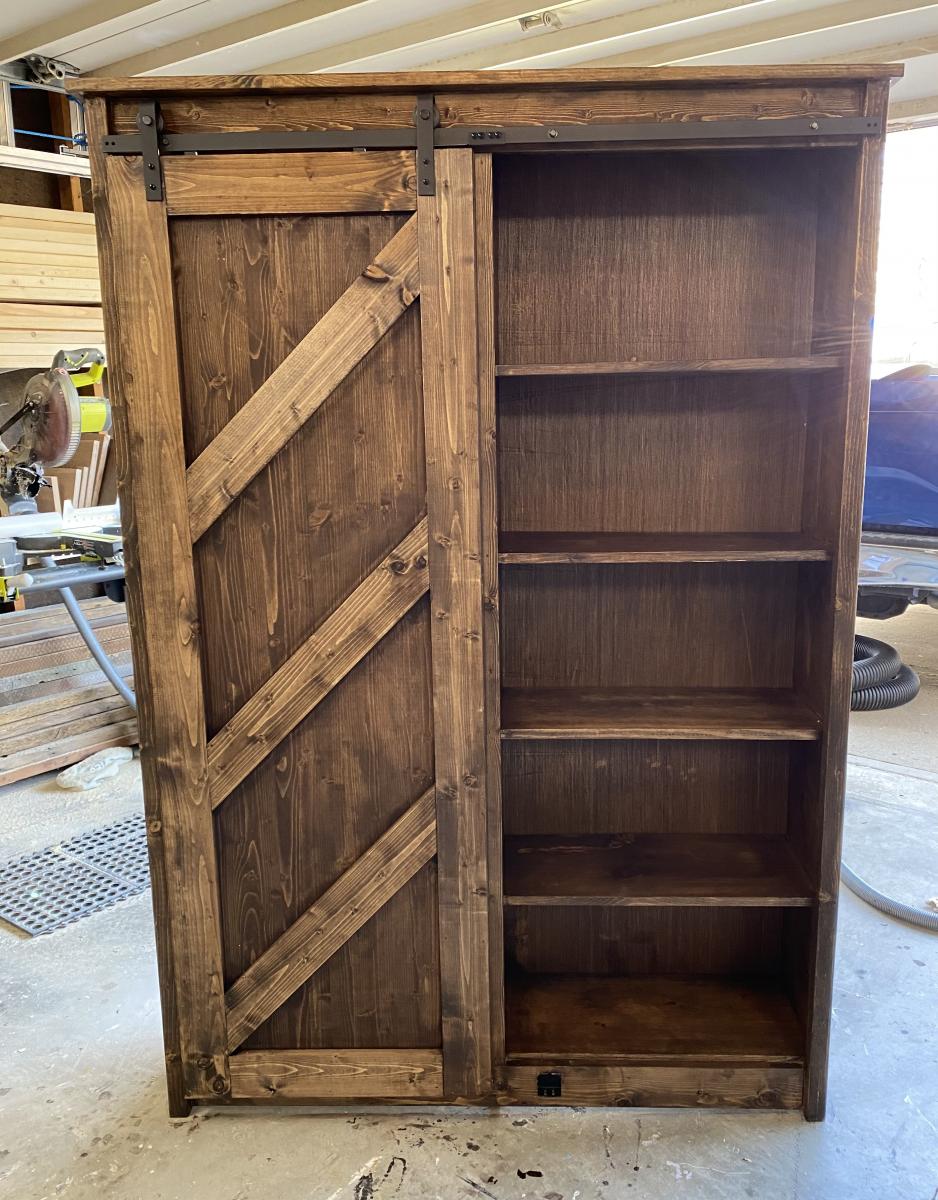
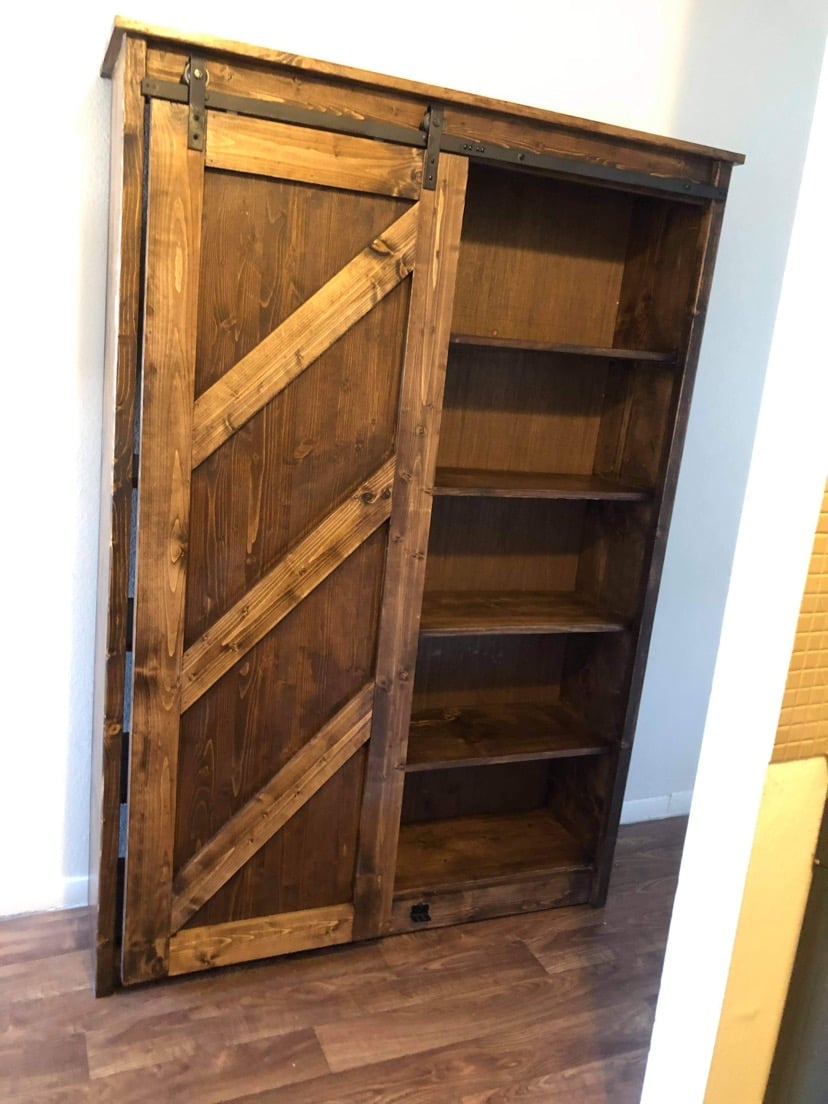
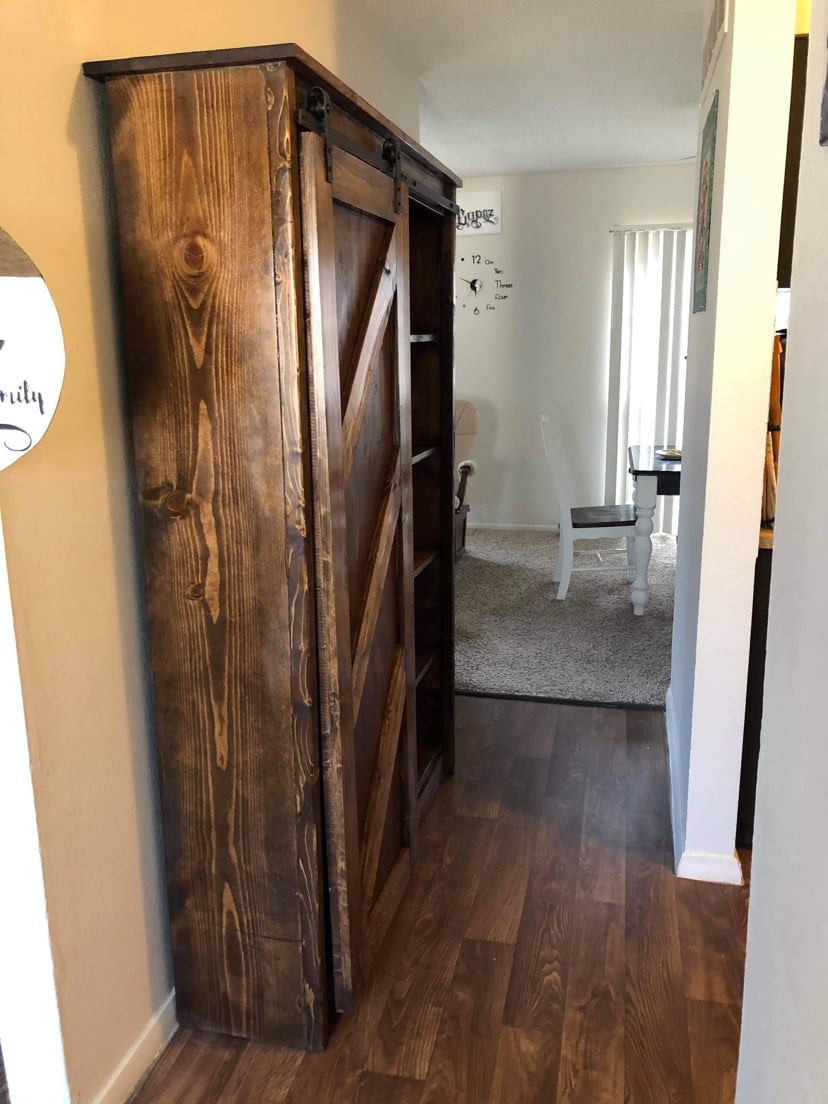
Built from Plan(s)
Comments
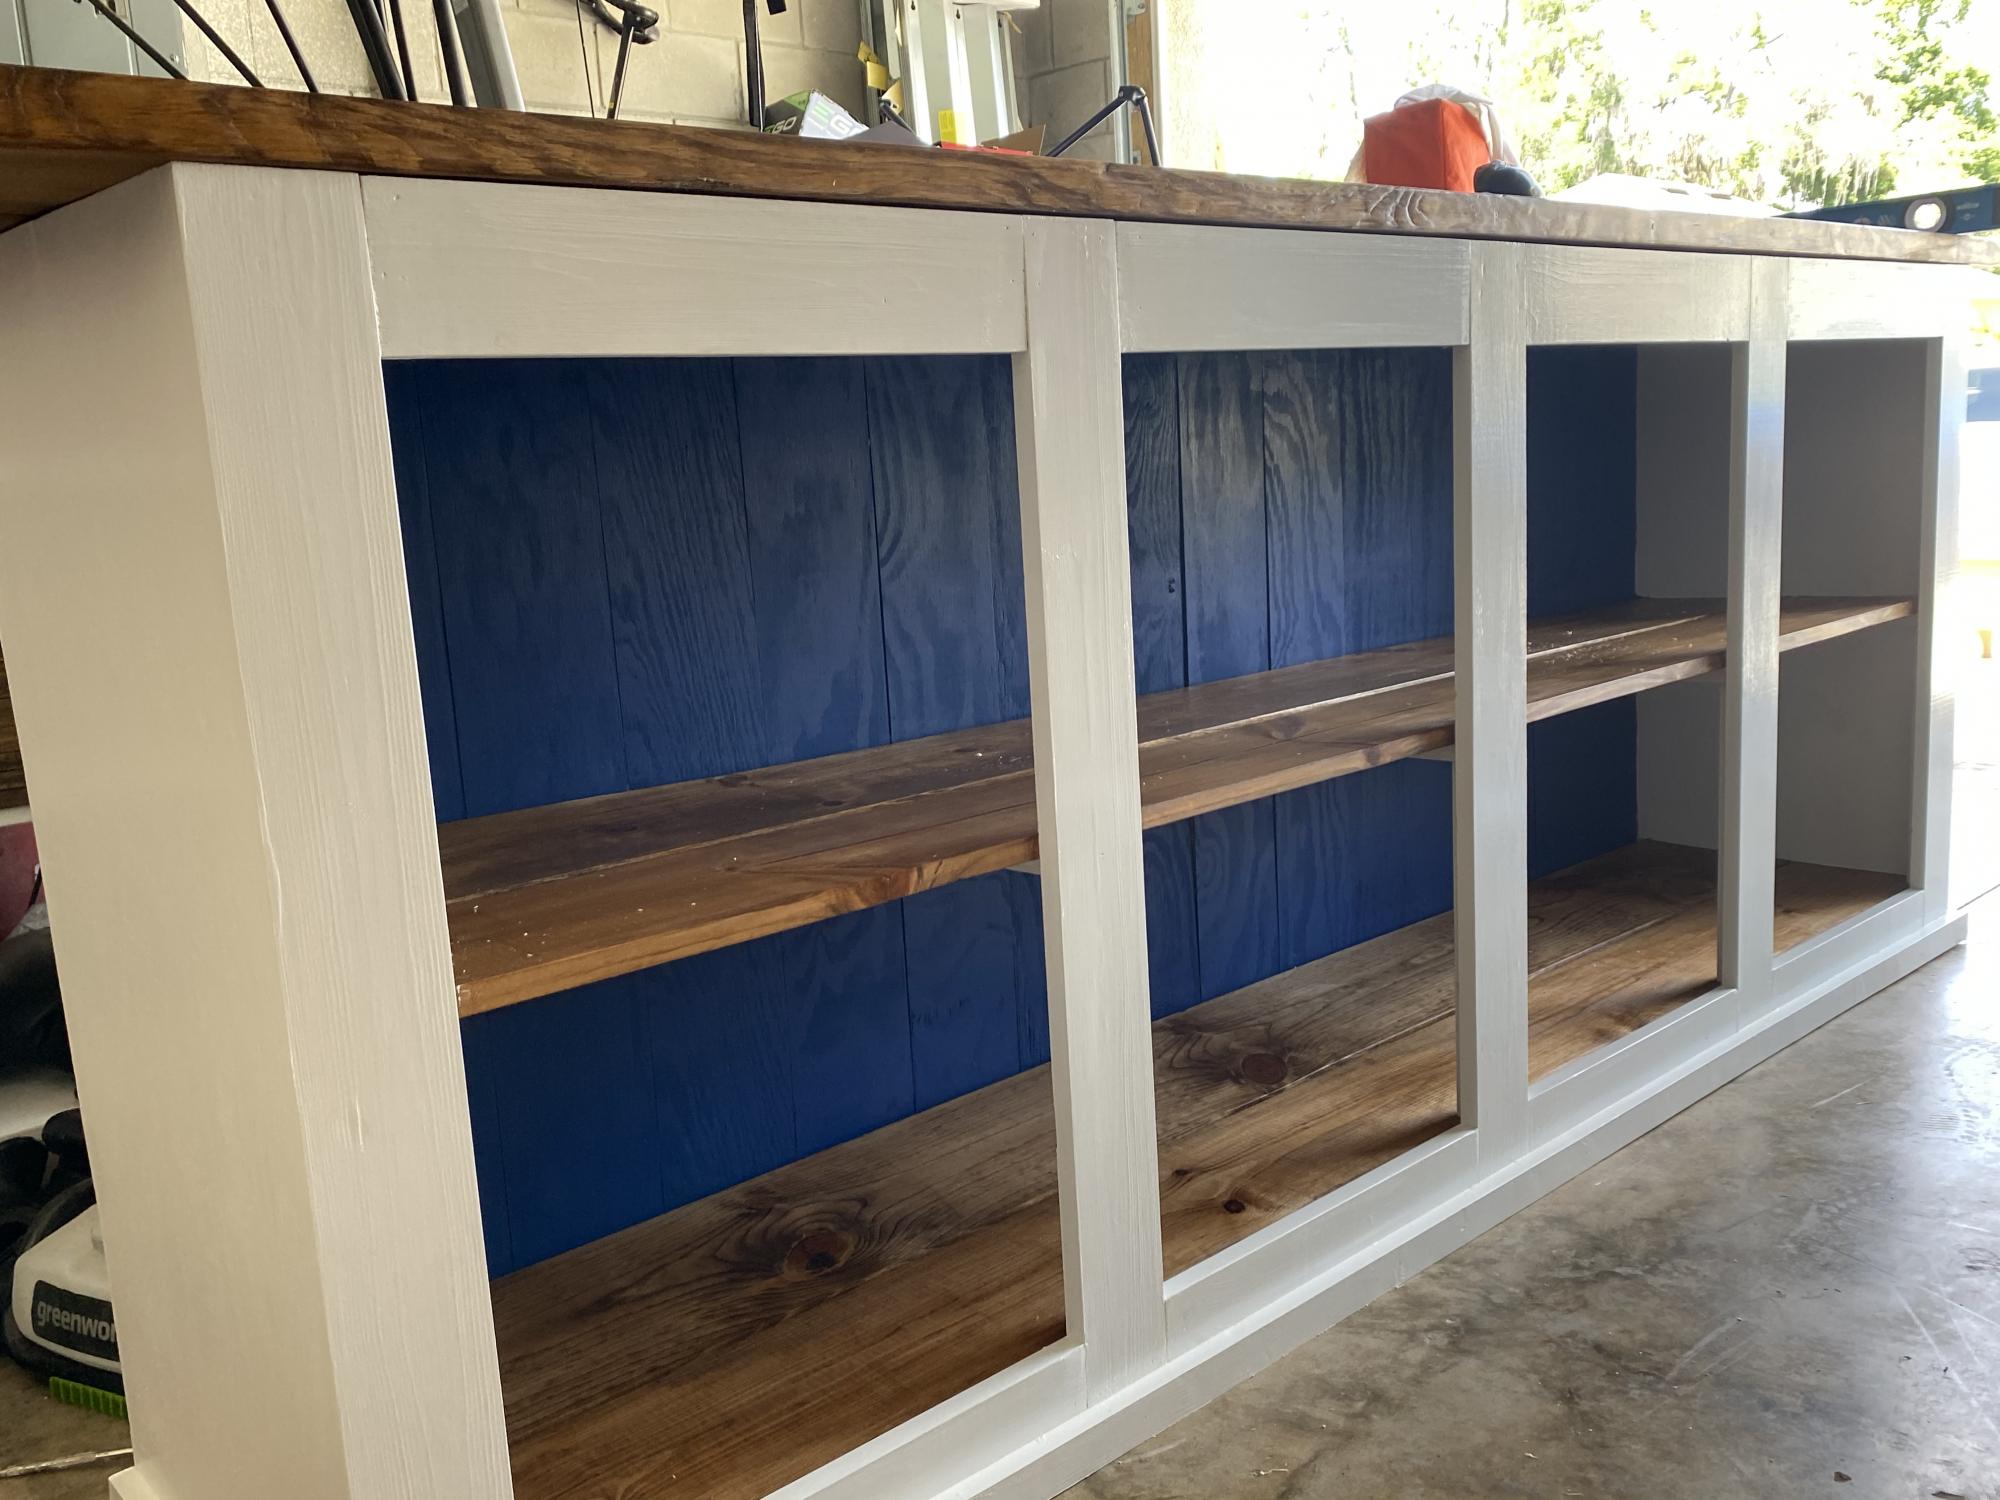
Blue Subway Bookshelf for my school room
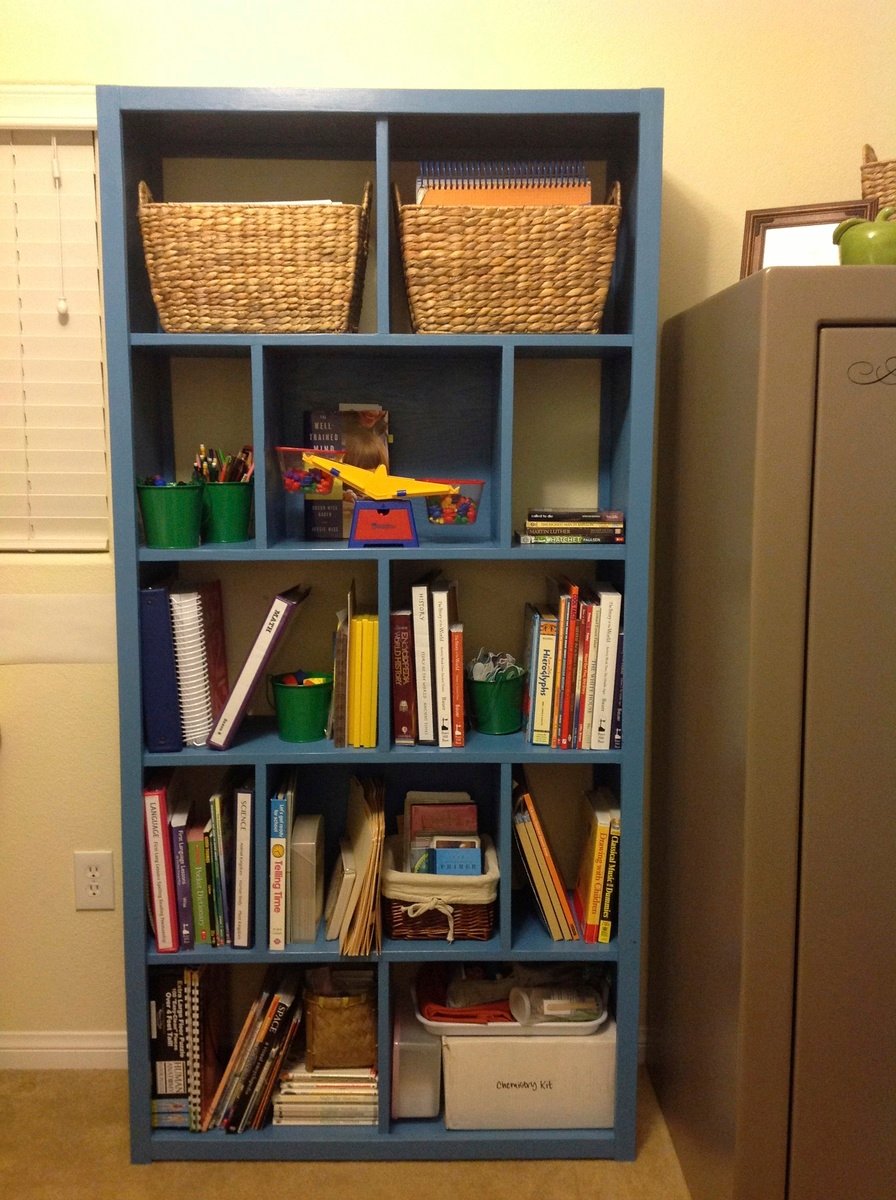
I can take no credit, except for choosing this amazing project! My man took off a couple days from work to make this as a late Christmas gift. It's beautiful and gives just the organization I needed in my homeschool room. I could not love it more!
We added a few more inches height to each shelf to make it taller than the original design. It's perfect.
Built from Plan(s)
Estimated Time Investment
Day Project (6-9 Hours)
Finish Used
Semi-gloss paint
Recommended Skill Level
Beginner
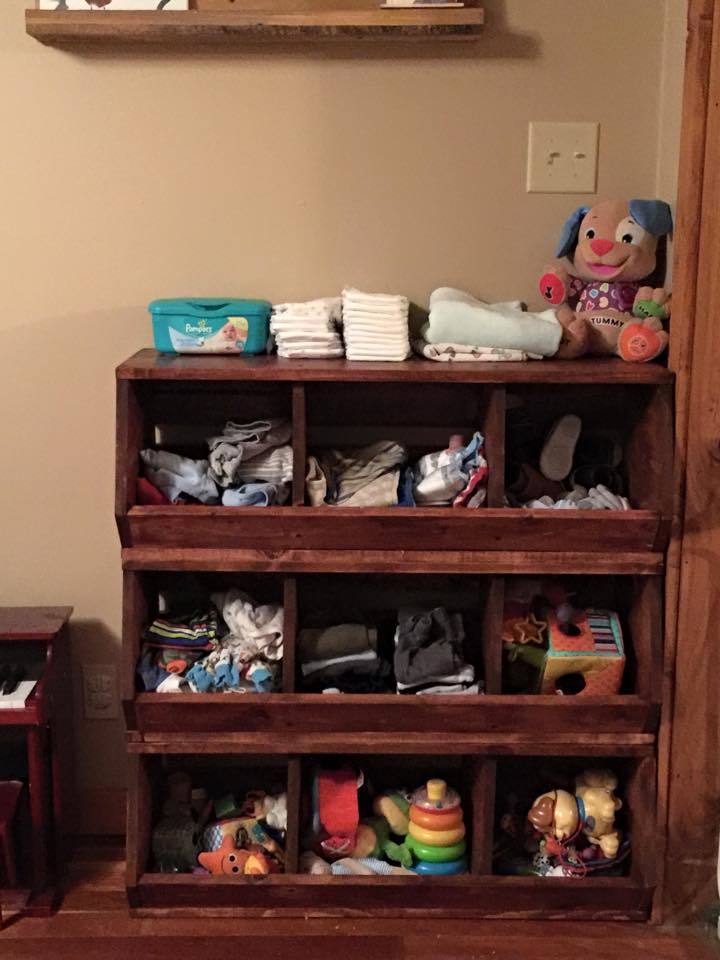
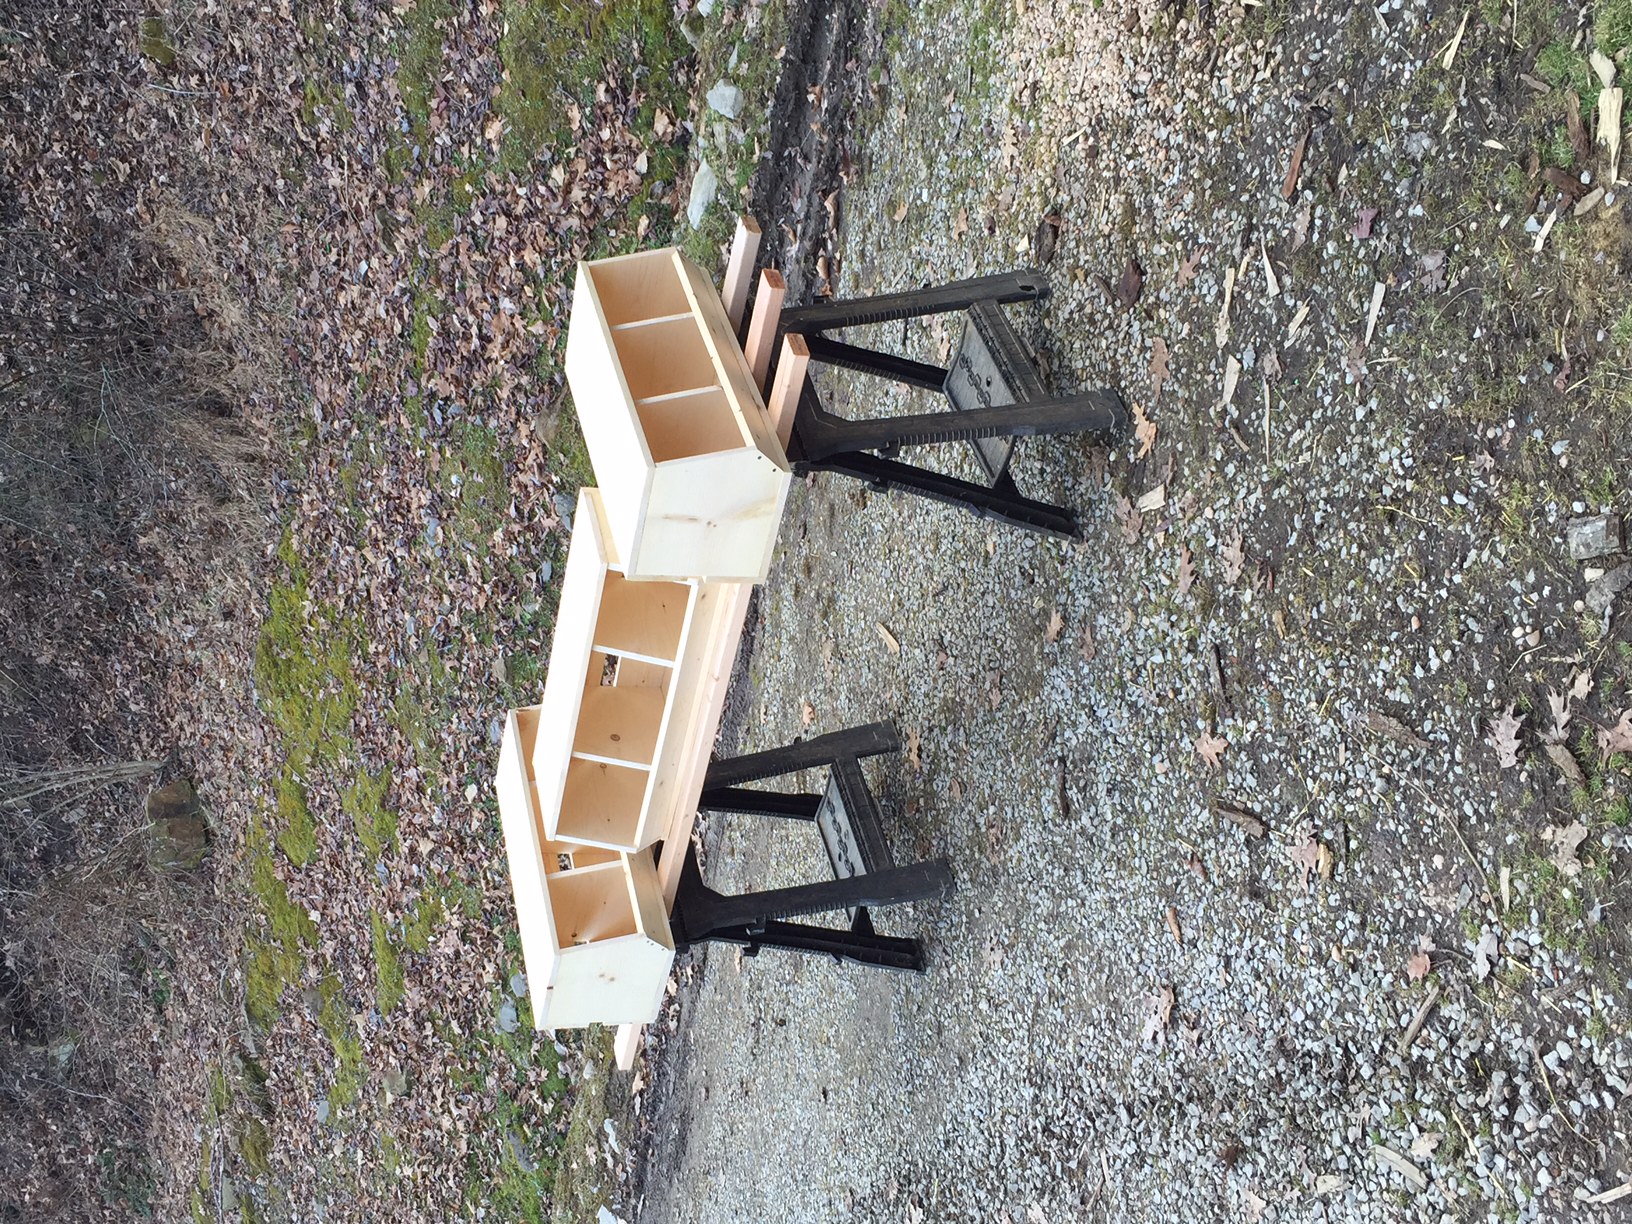
1x12 Wood Bulk Bins
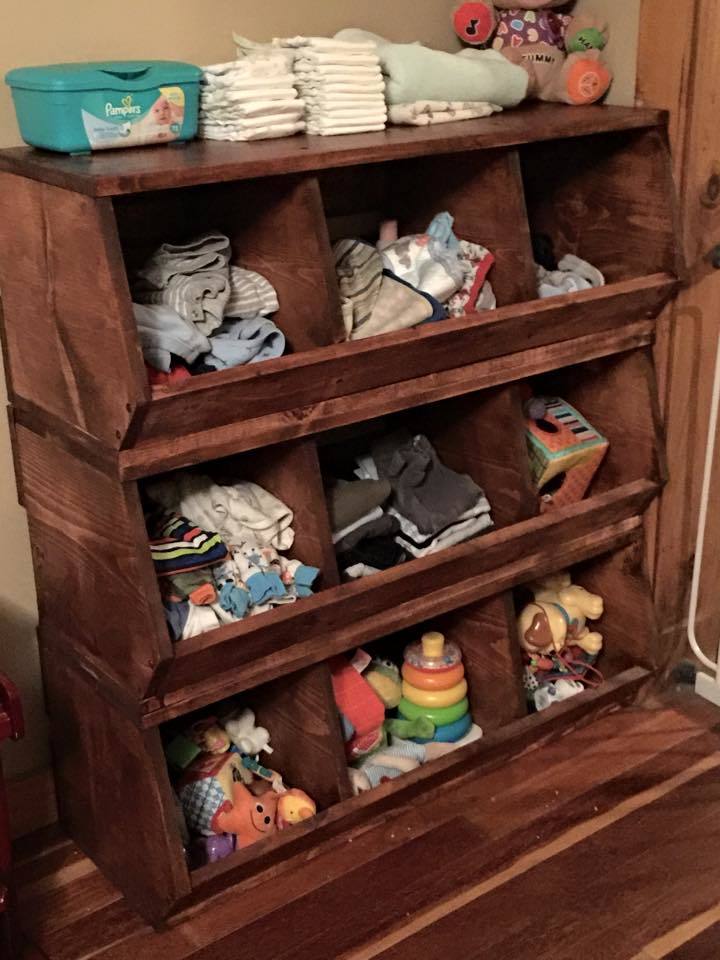
I made my bins 36 incheg to fit my space. My big box blue store has 1x12x8 utulity shelving boards for $13 compared to $27 for the 12 footers.
Built from Plan(s)
Estimated Time Investment
Day Project (6-9 Hours)
Recommended Skill Level
Beginner
Comments

Tue, 01/27/2015 - 15:15
This is super cute! It looks
This is super cute! It looks similar to mine! Thanks for sharing!
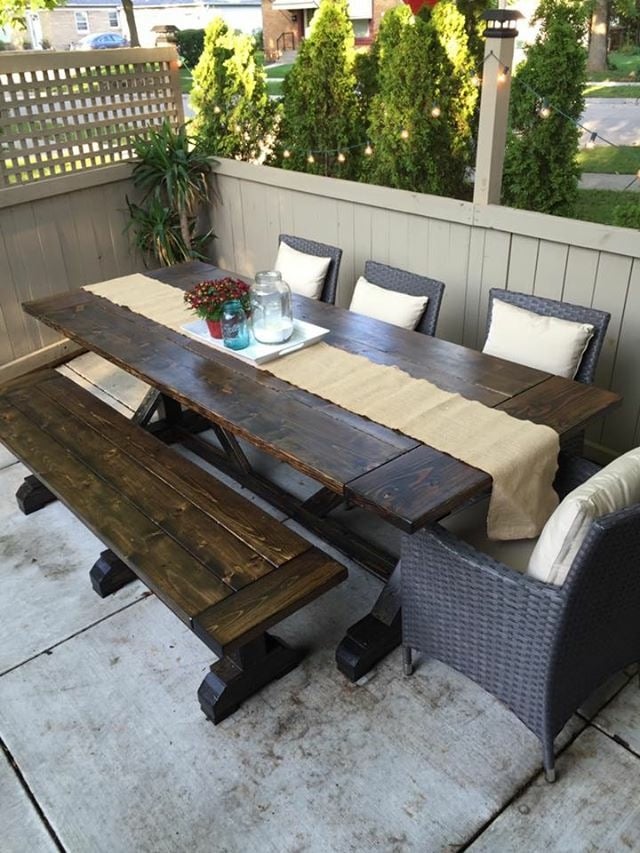
Fancy X Farmhouse Table
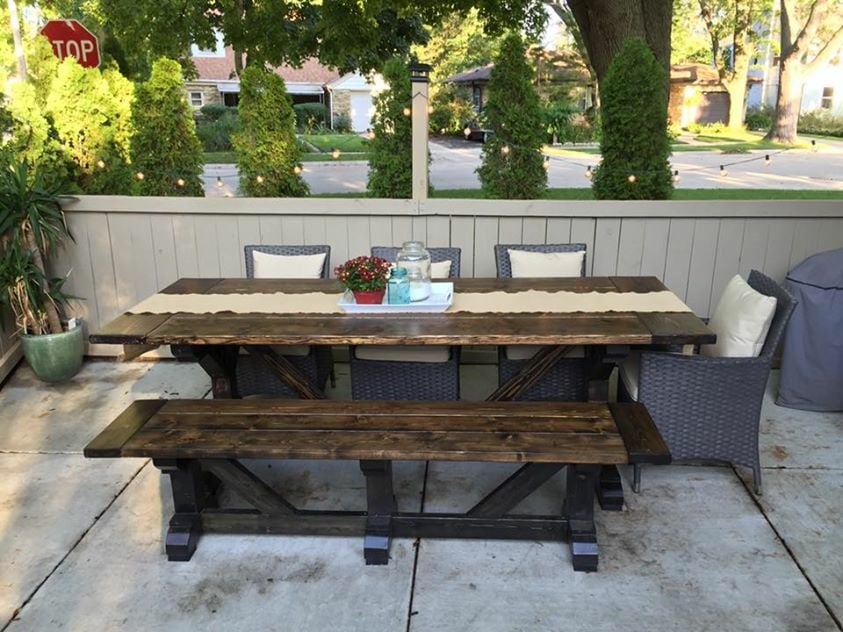
This is a table and bench that I built for our patio!

Built from Plan(s)
Estimated Cost
$200 (wood, fasteners, stain, urethane, sand paper, composite feet)
Estimated Time Investment
Weekend Project (10-20 Hours)
Finish Used
Minwax Ebony and Dark Walnut Stains, Minwax Helsman Spar Urethane.
Recommended Skill Level
Intermediate
Entertainment center
1st project in the bag. I love how this turned out. Now to decide on the doors!
Built from Plan(s)
Estimated Cost
$350
Estimated Time Investment
Week Long Project (20 Hours or More)
Comments
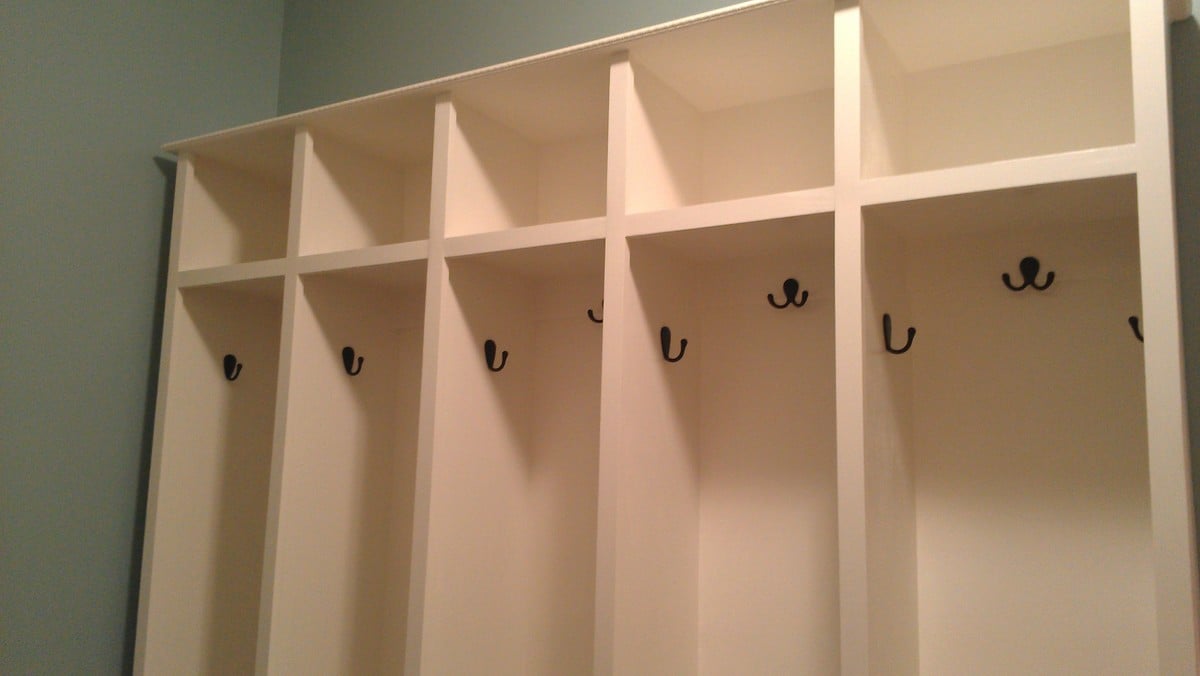
Mudroom Lockers
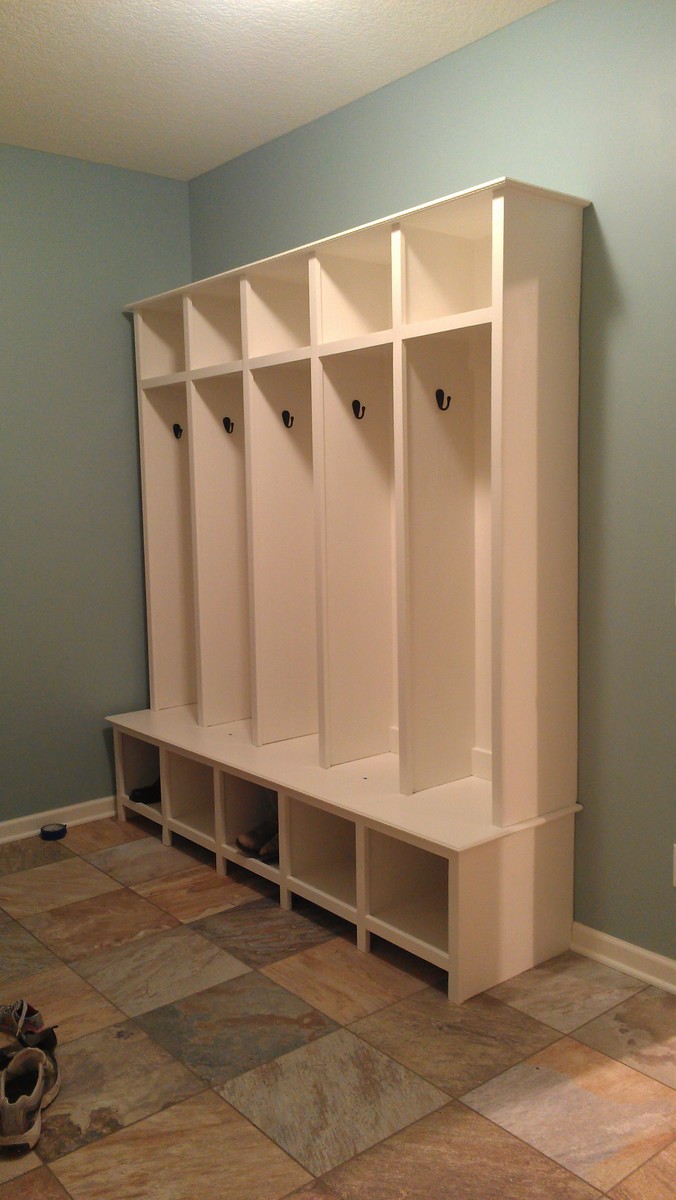
I saw a brag posted by jaimecostiglio (mudroom locker and bench unit) and really wanted to build one for my mudroom! I didn't extend the bench out as far out as her original plan but there is still plenty of room to sit and put shoes on. We are a family of 4 but I built 5 lockers. Kind of wish I had built 6 because my husband is occupying 2 (one for his regular coat/jacket and the other for his motorcycle gear - so not fair).
Anyway, we love it and everyone who visits are amazed that we built it from scratch! This was our very first building project and it took a while because we wanted to make sure it was perfect. It's actually screwed into the wall so it will most likely stay with the house if we ever move.
Estimated Time Investment
Week Long Project (20 Hours or More)
Recommended Skill Level
Intermediate
Comments
Sat, 03/30/2013 - 14:29
It looks great!
I am looking forward to building one of these, too. Yours looks great! I would definitely unscrew it and bring it with me with a move!:)
Simple Chairs with some color
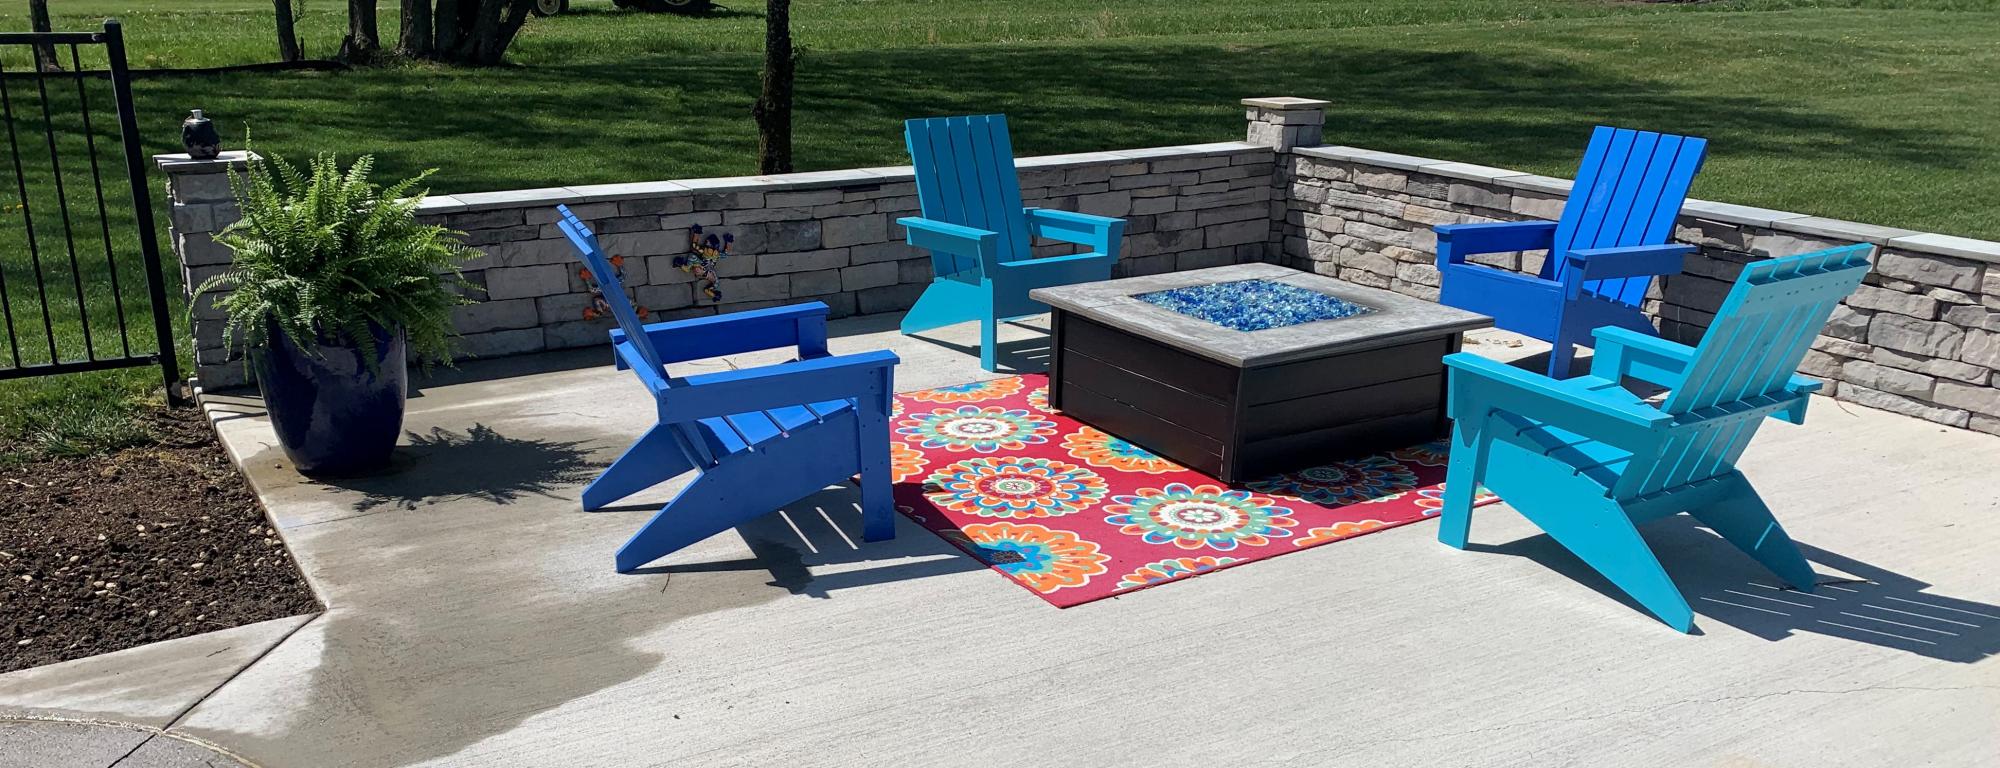
My son and I conquered this project over the winter. Cut all the pcs and the assembled 4 chairs for less than $150.
Built from Plan(s)
Comments
Our Daughter's Playhouse
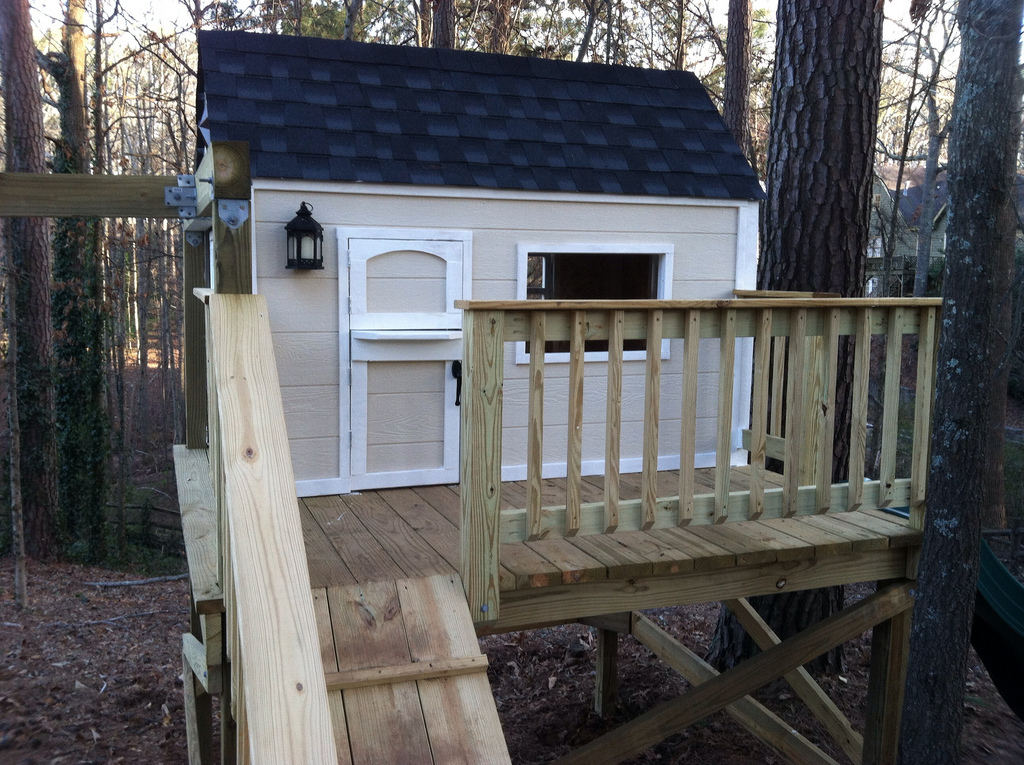
We built this in early 2013. We ended up turning the house 90 degrees on the deck, because the slide worked best off the backside of the deck due to the various heights around the deck. The sloped back yard caused some challenges, but in the end it's a very sturdy deck with the cross beams attached. Thanks for posting these plans online for us, our 3 daughters are loving the playhouse and swingset! Here are some more pics of the project: http://www.flickr.com/photos/11031534@N00/sets/72157633009259873/
Built from Plan(s)
Estimated Time Investment
Week Long Project (20 Hours or More)
Recommended Skill Level
Intermediate
Comments
Fri, 03/22/2013 - 16:39
This is great!
Love this - my grandson's back yard is too small to build something like this; which is why we had to settle for his loft bed airport/clubhouse.
Thu, 06/27/2013 - 05:24
Question overload (hope you don't mind):
I'm planning on building two A-Frames and no playhouse, so my questions are focused there.
Did you do any modifications to swing portion of the plans?
Is it sturdy enough for an adult to swing on as well?
It looks like you put the posts in the ground, did you cement them in too?
How high off the ground is the bottom of the support beam for the swing?
Is there any issue side-to-side swaying?
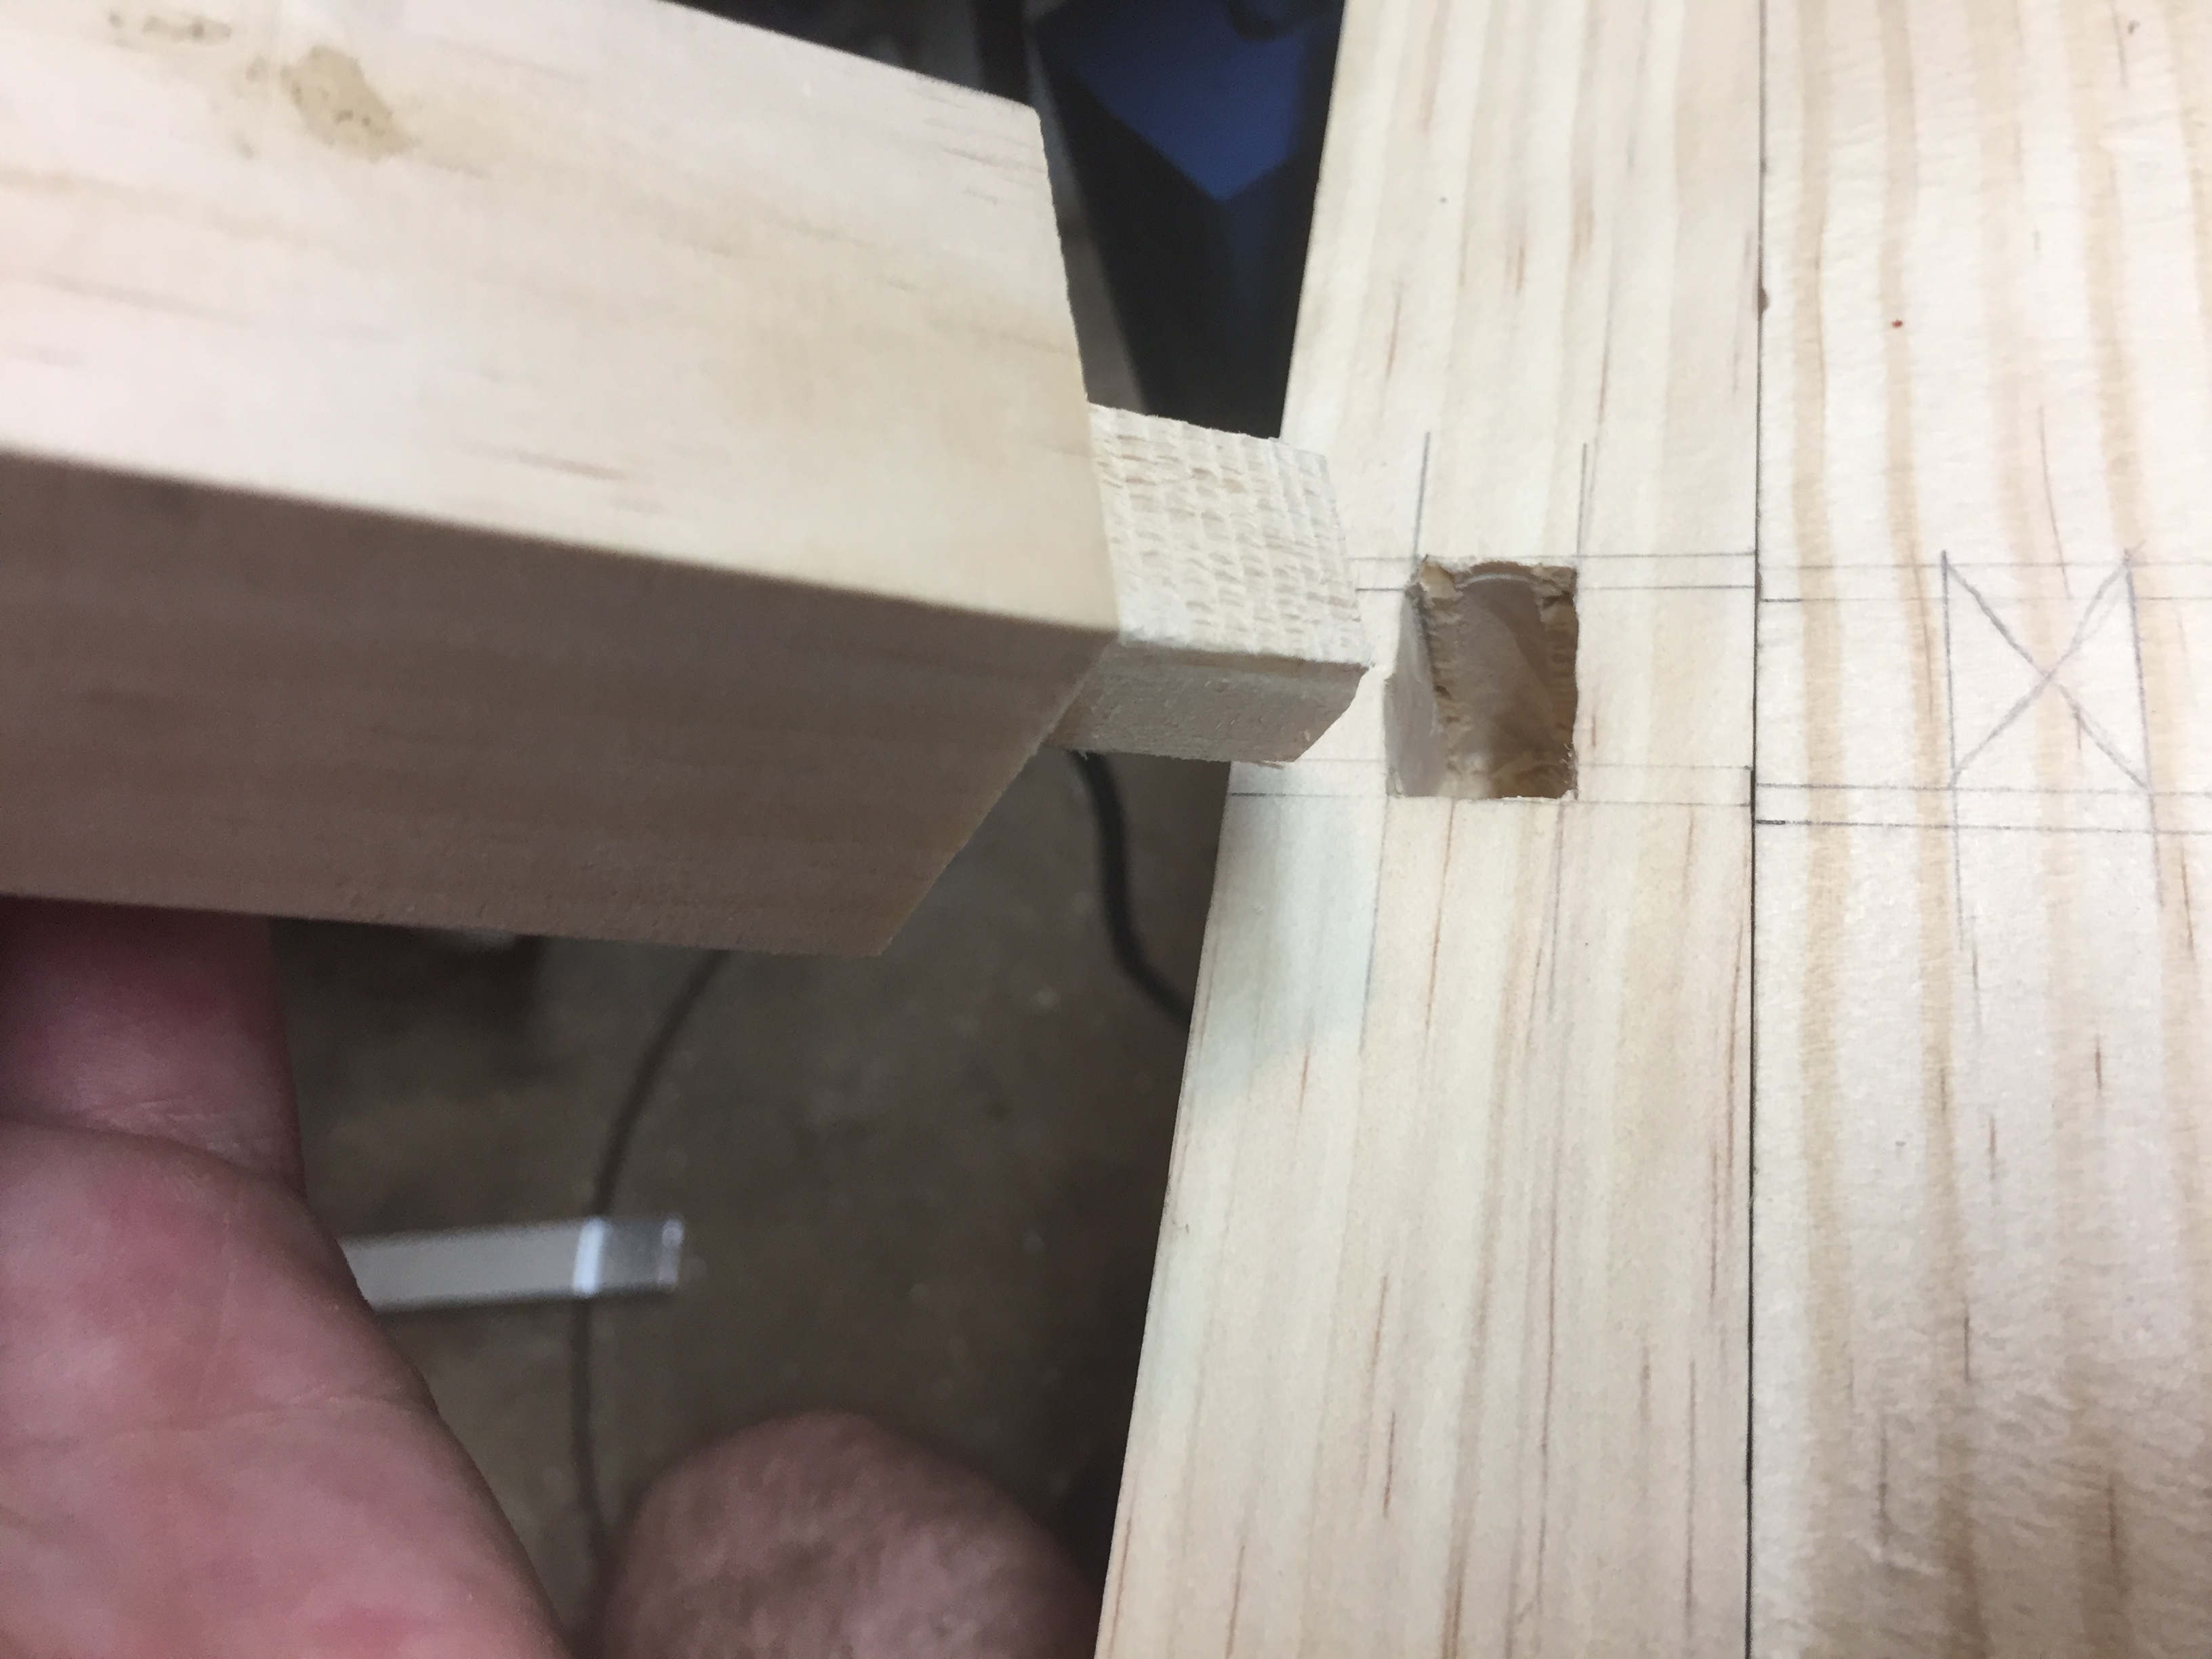
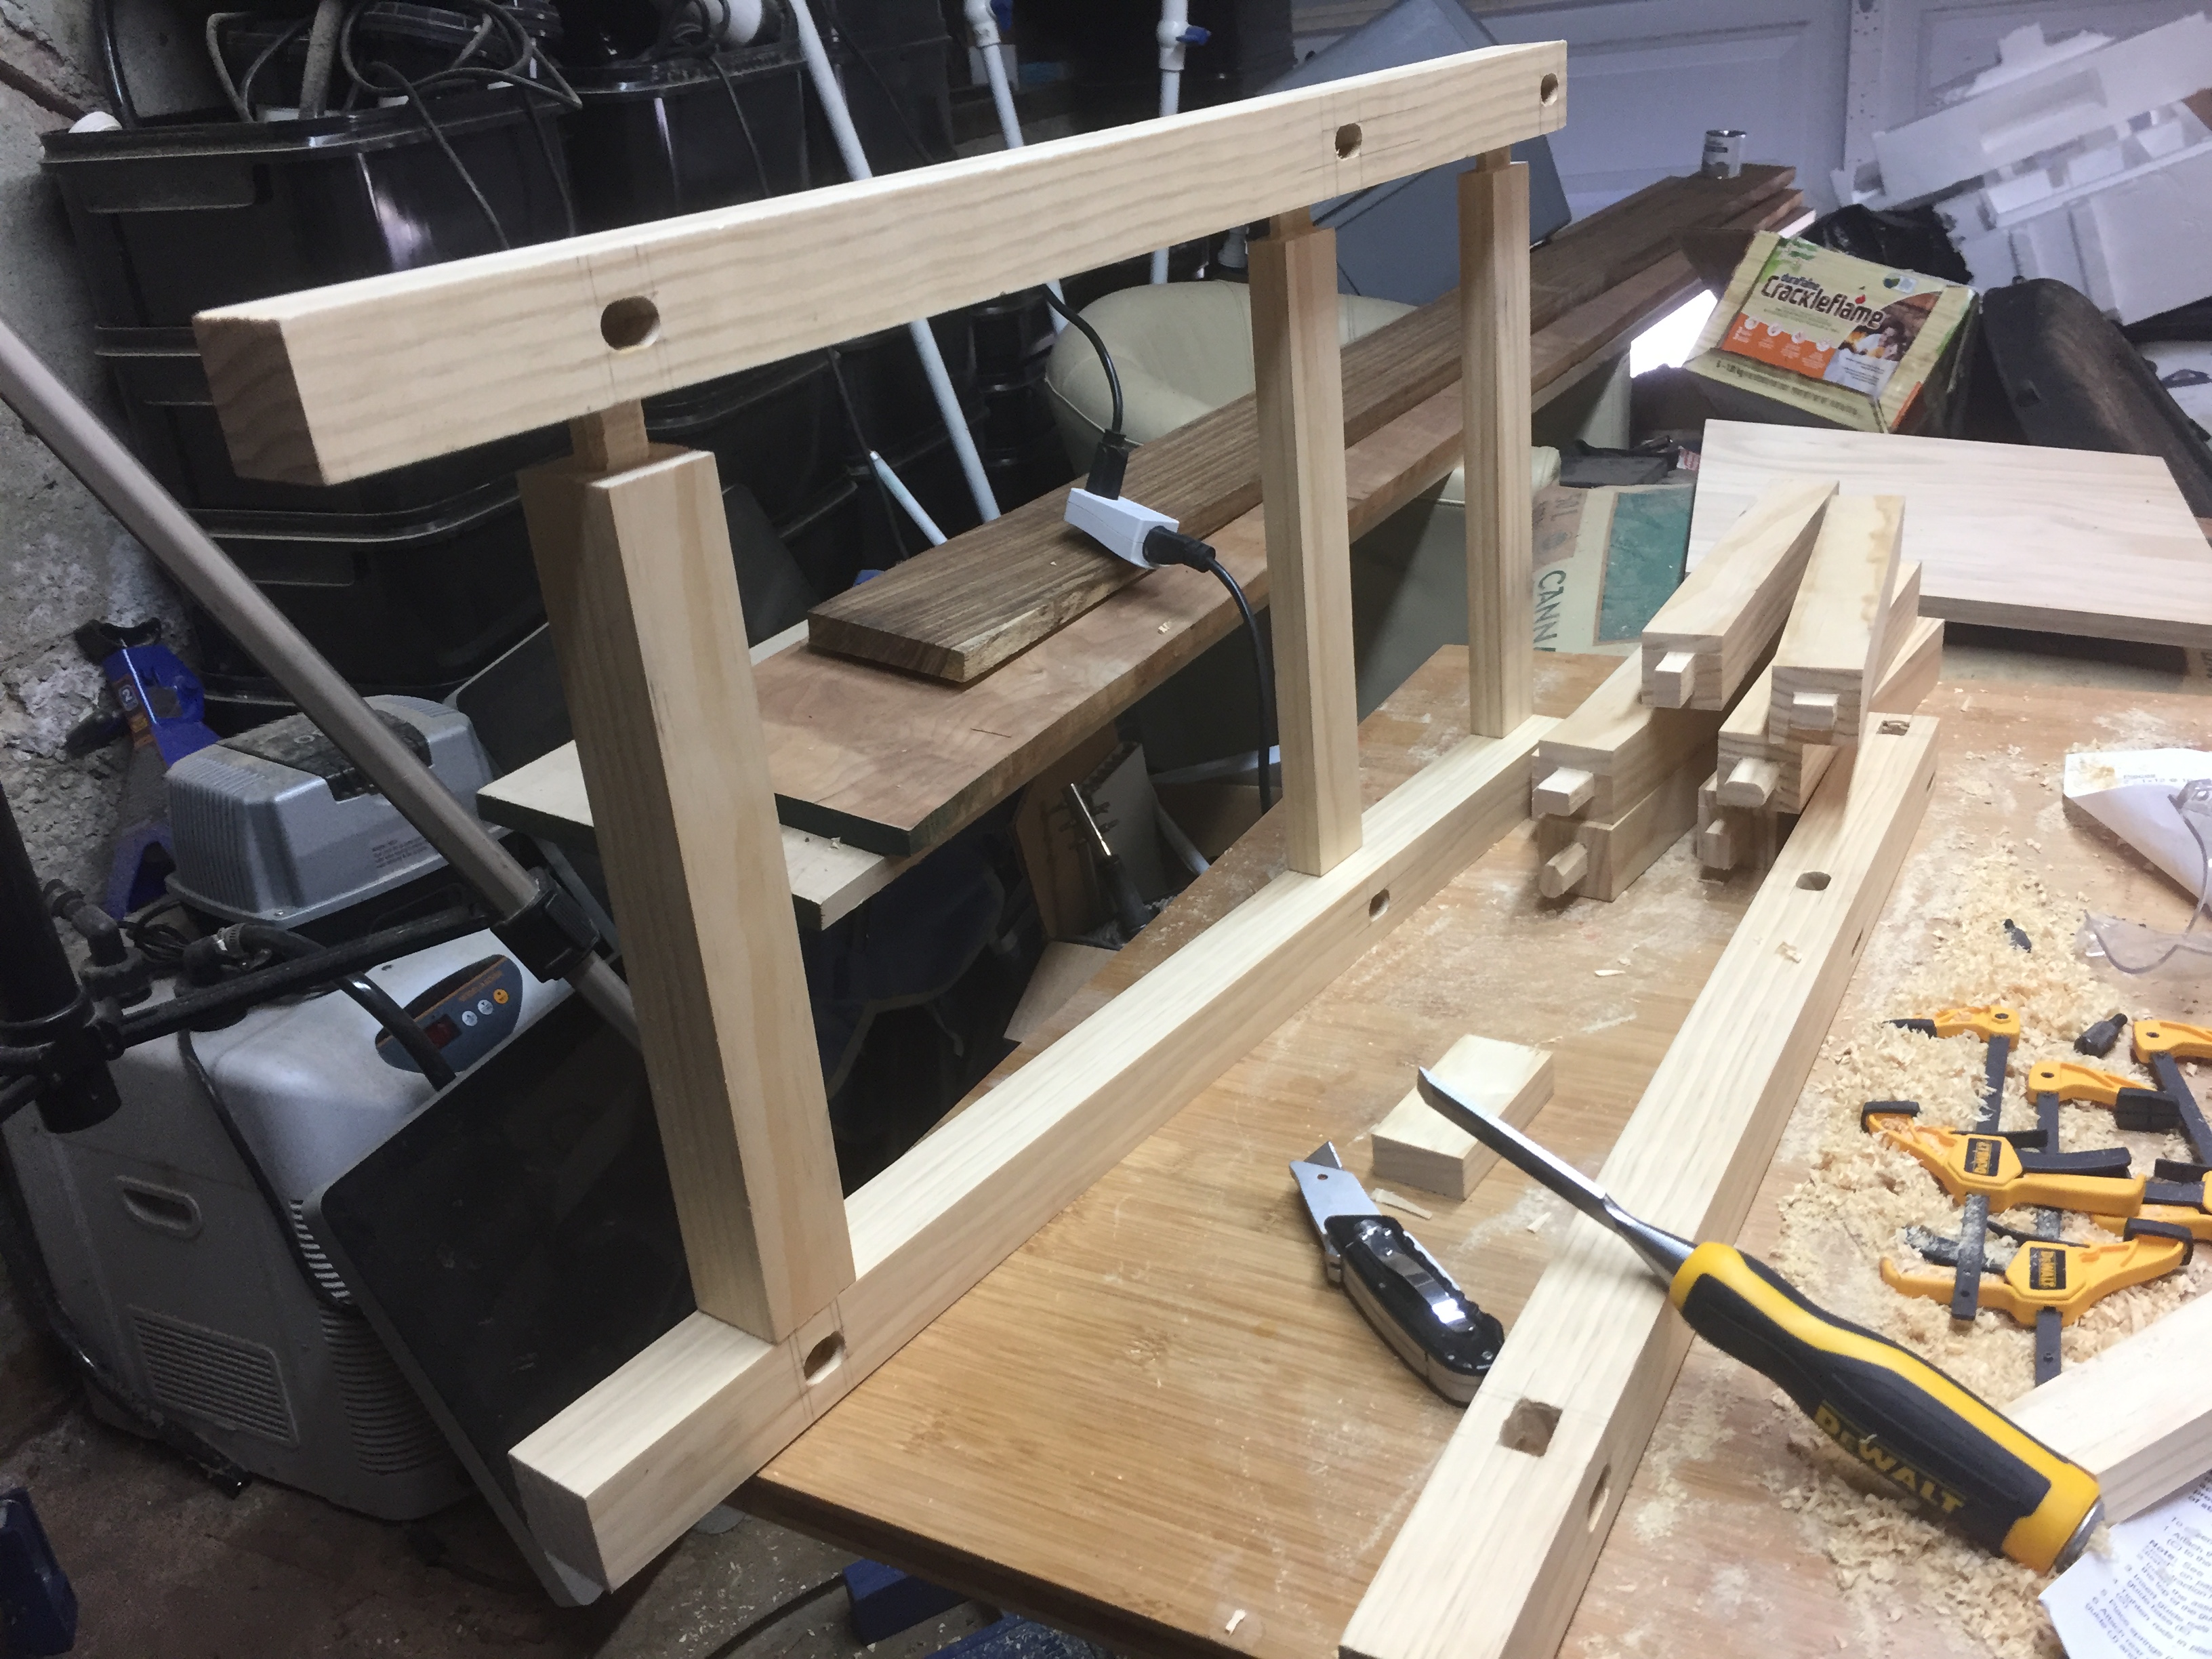
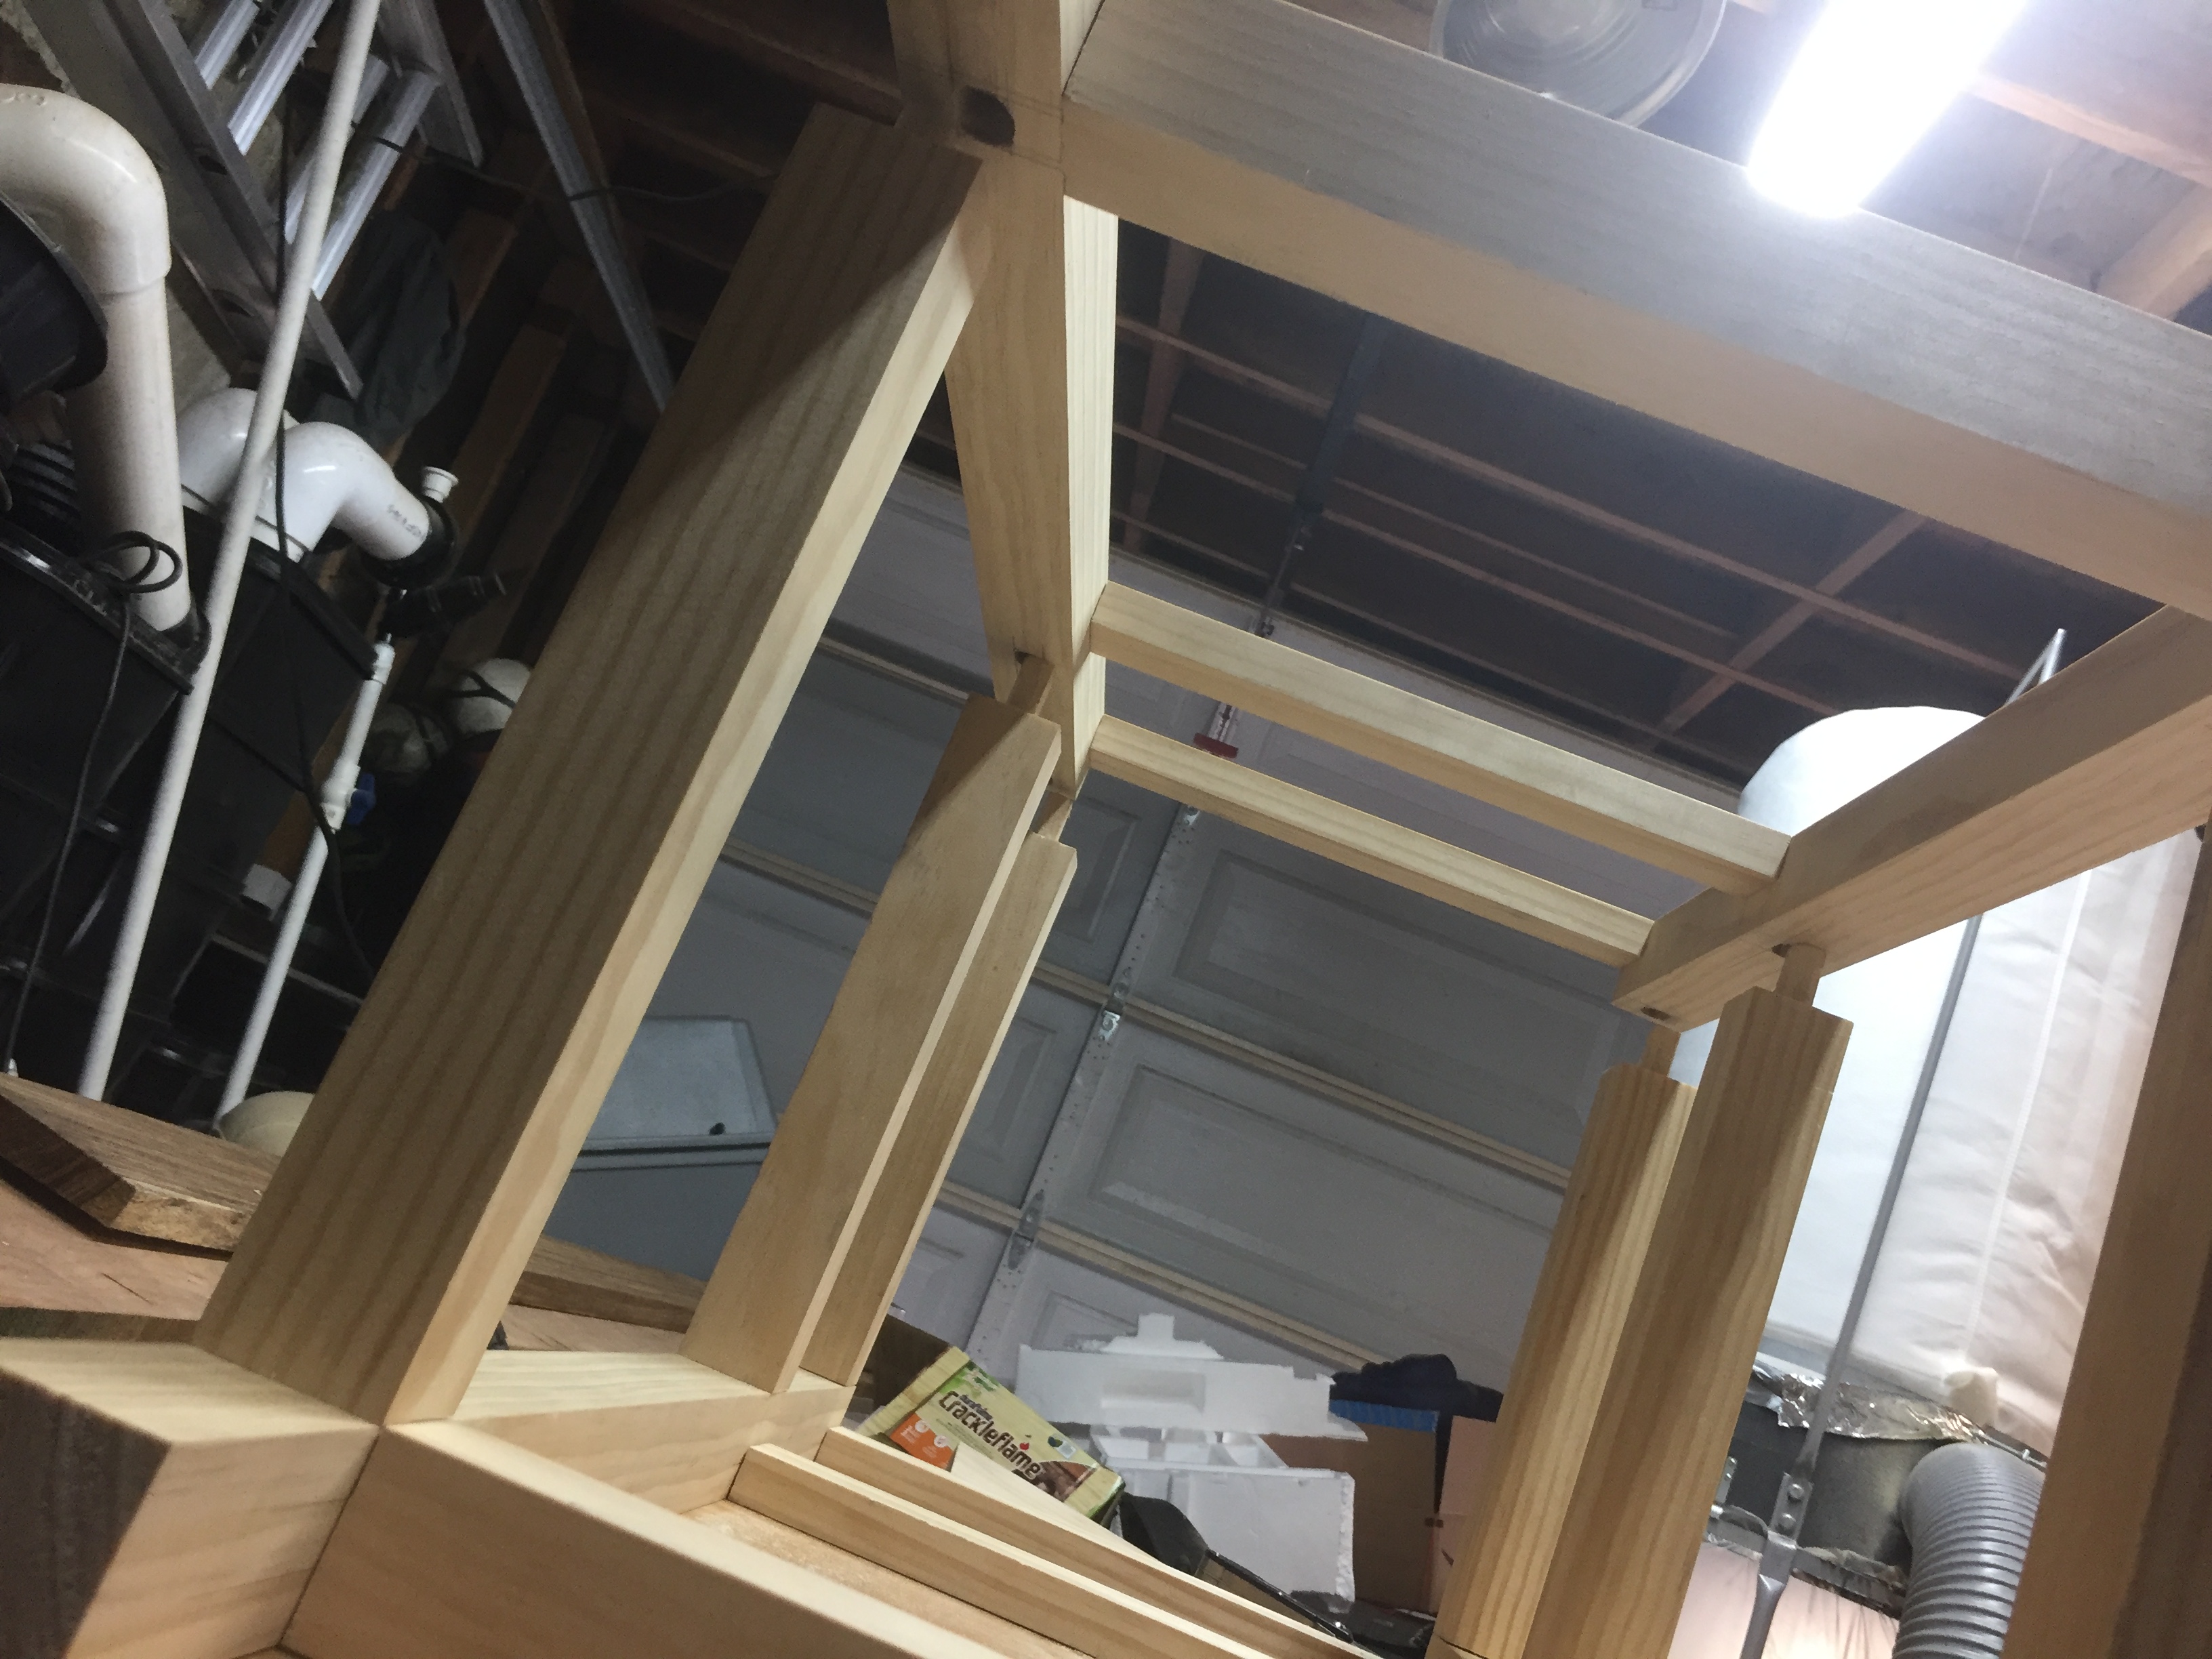
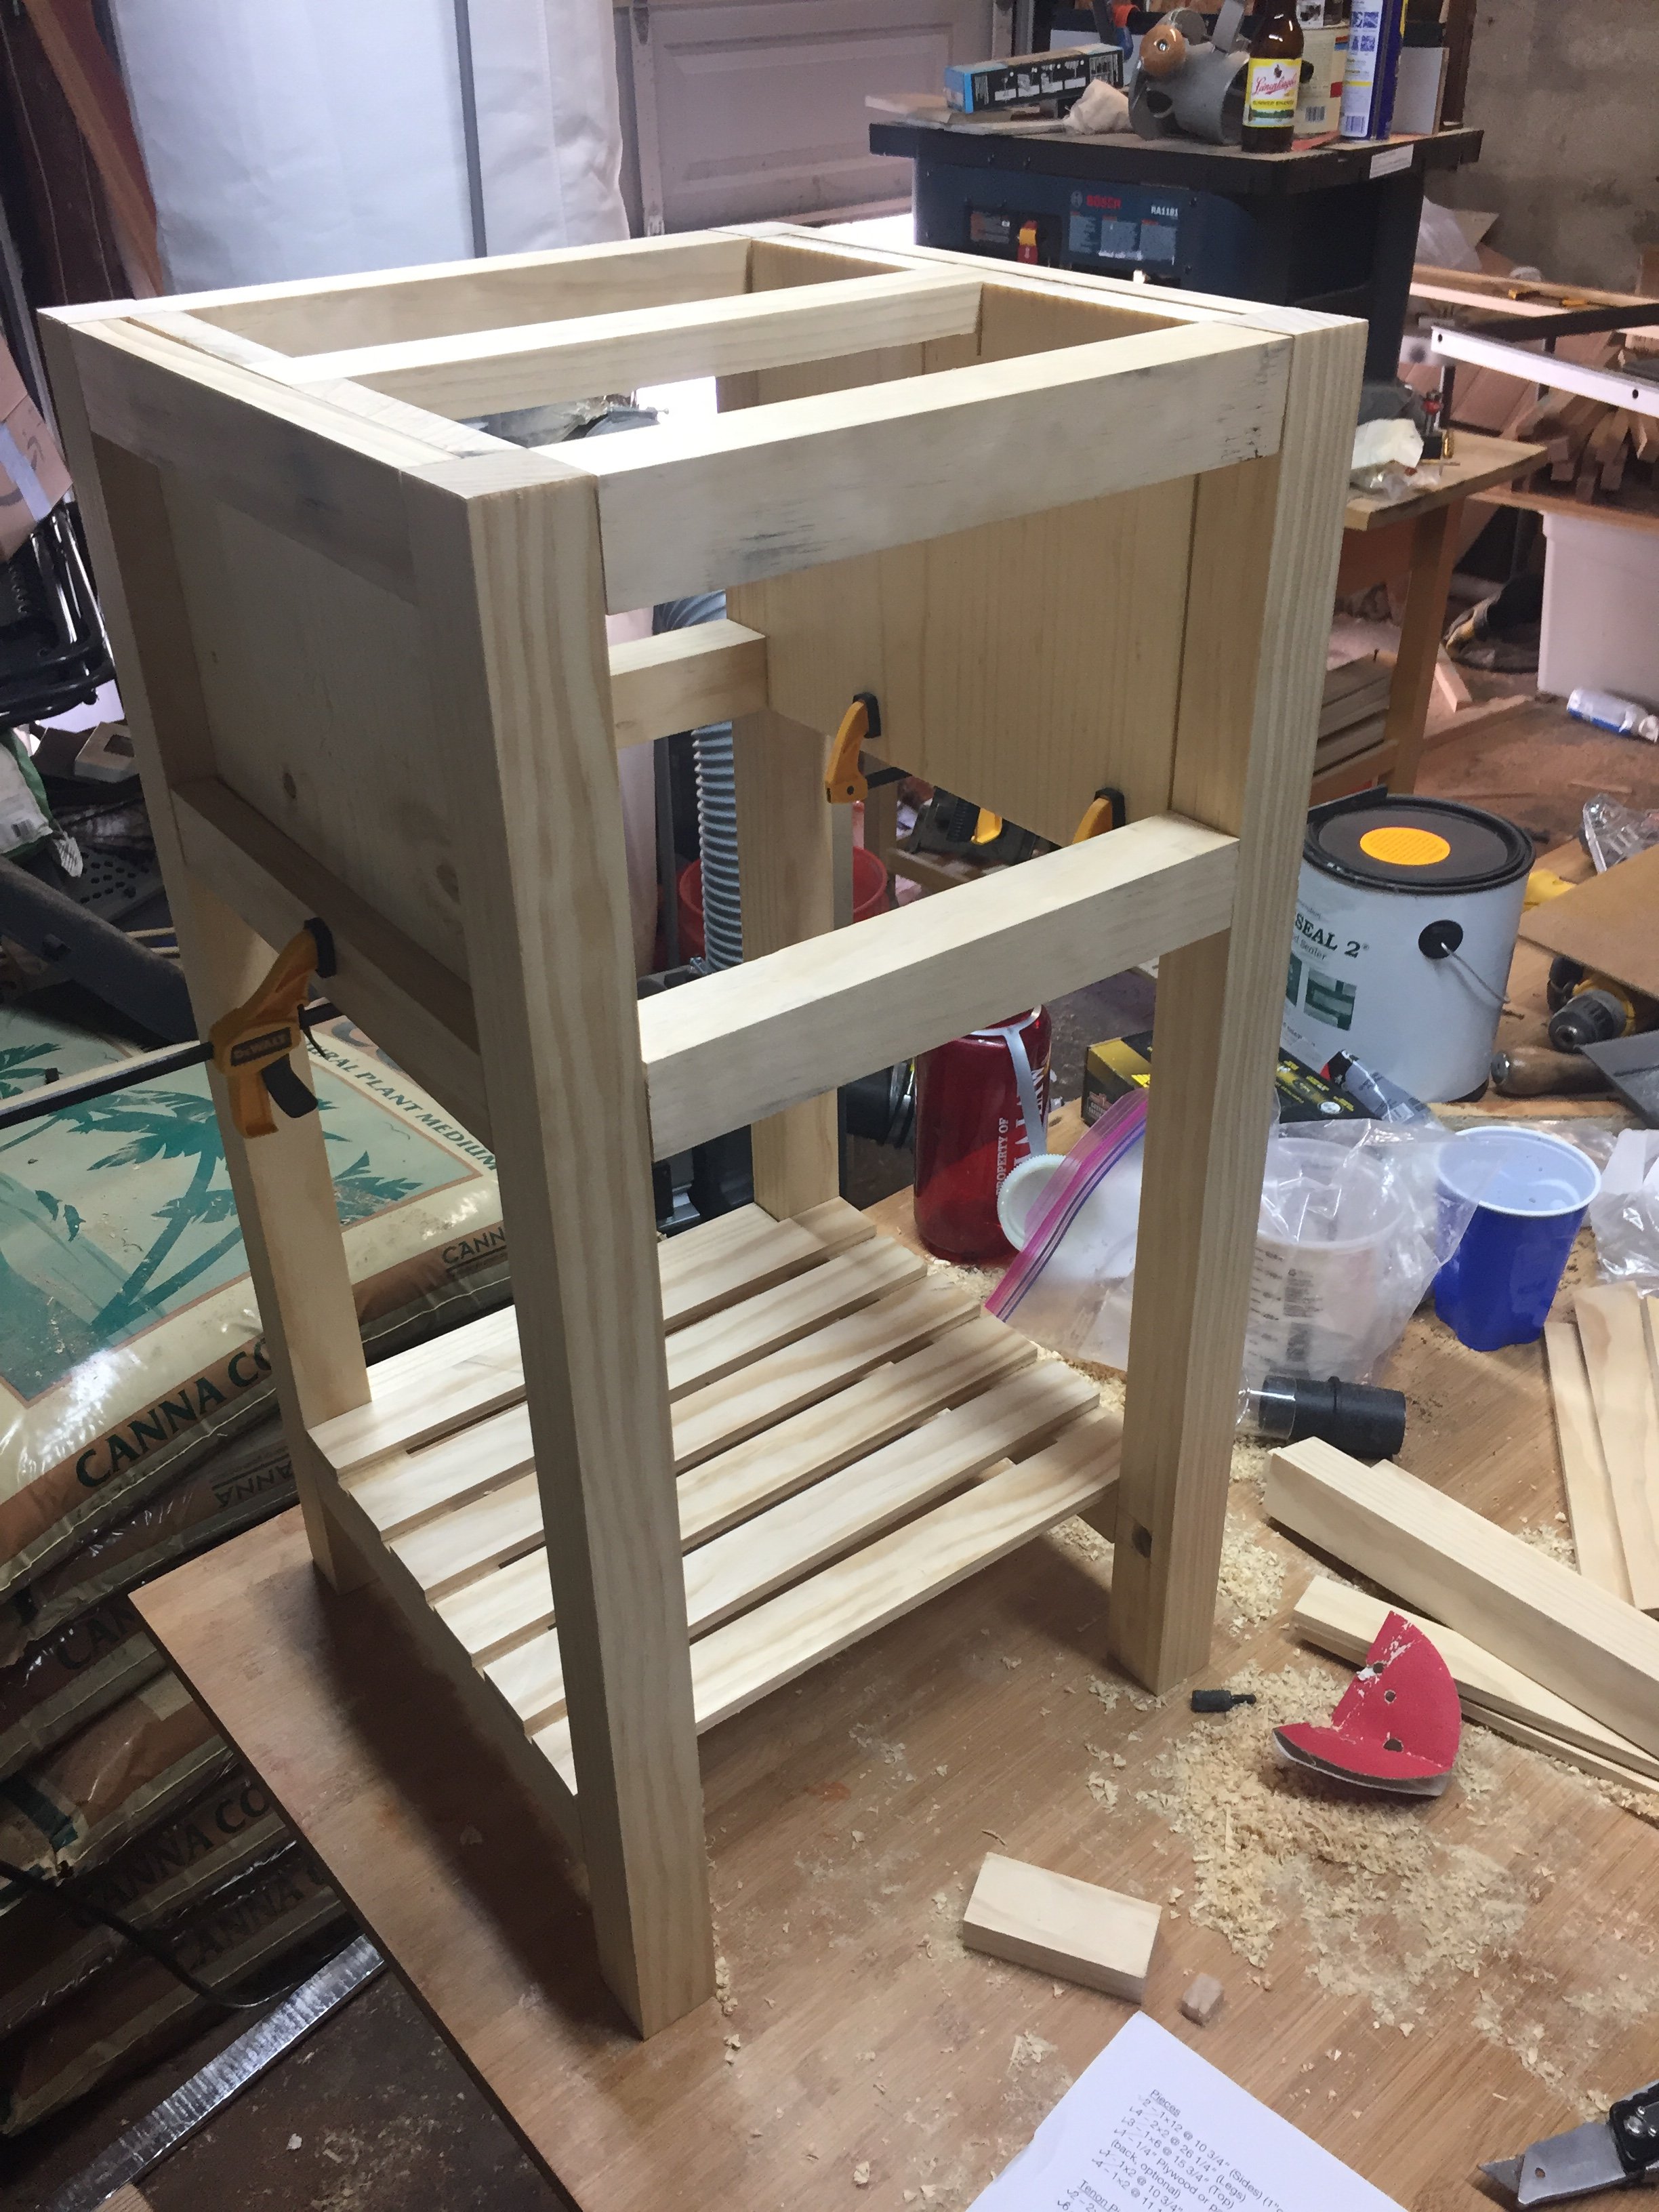
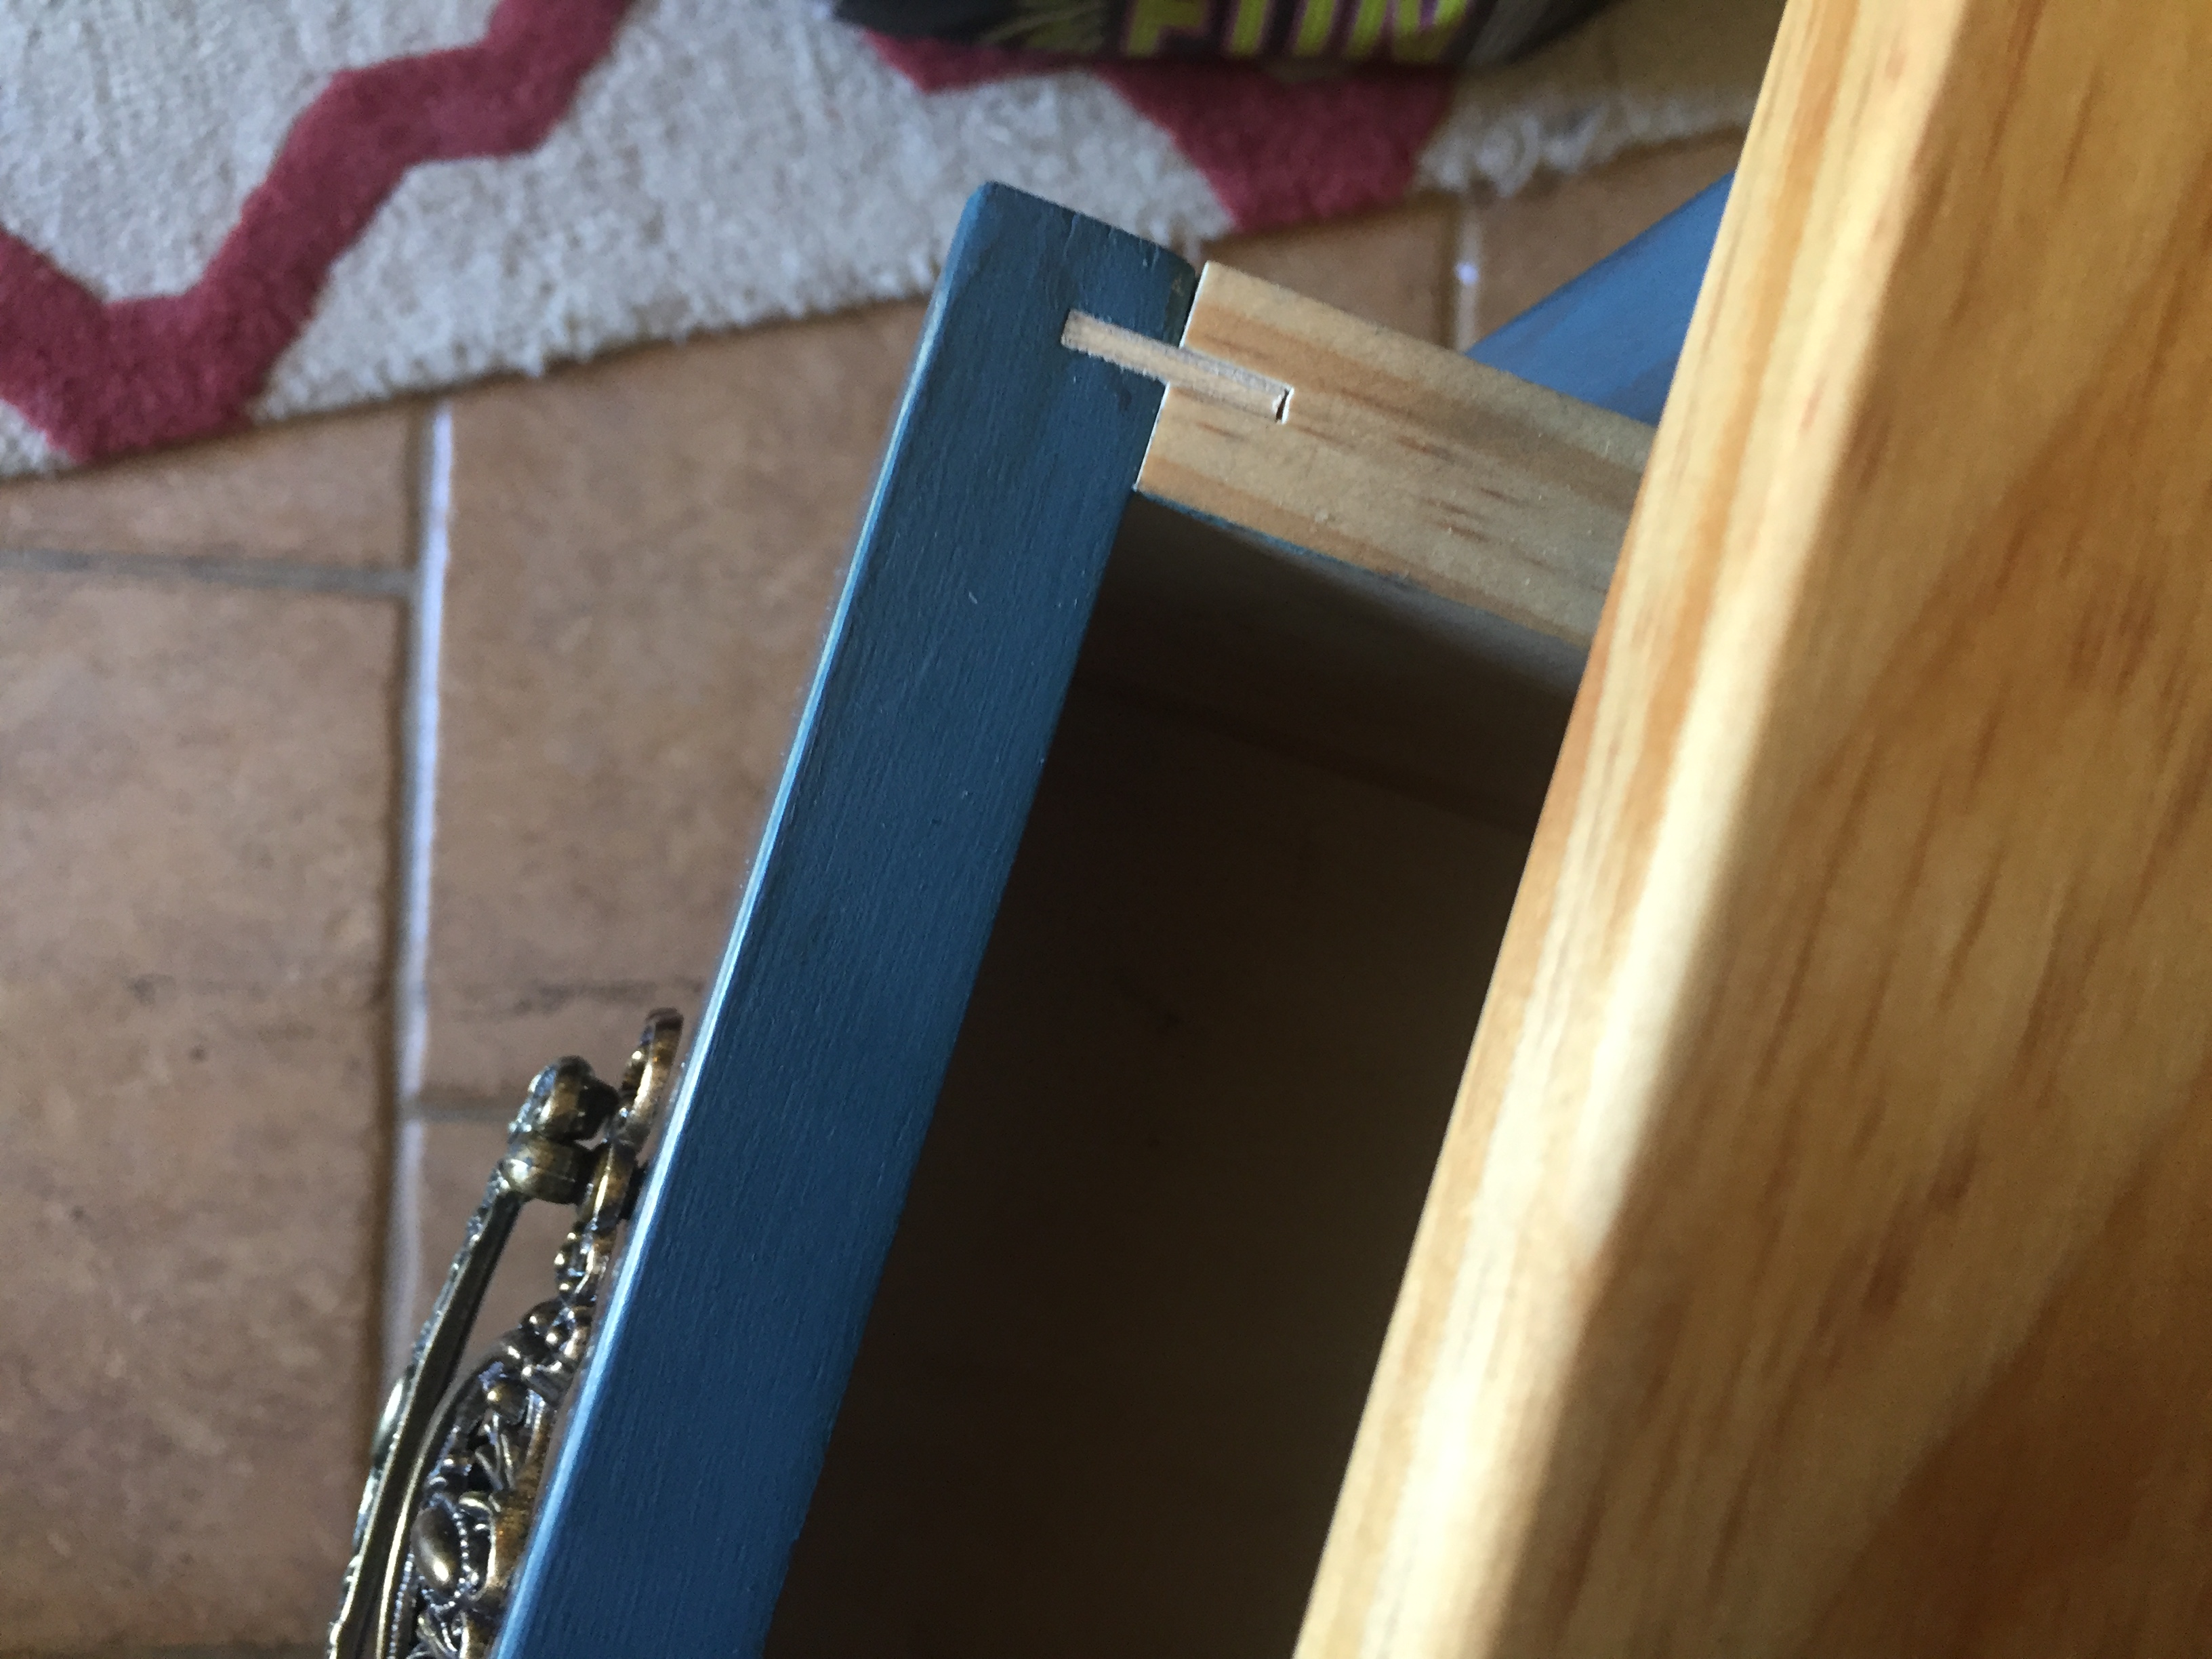
Provincial Colonial Hybrid (Mortise and Tenon) end table
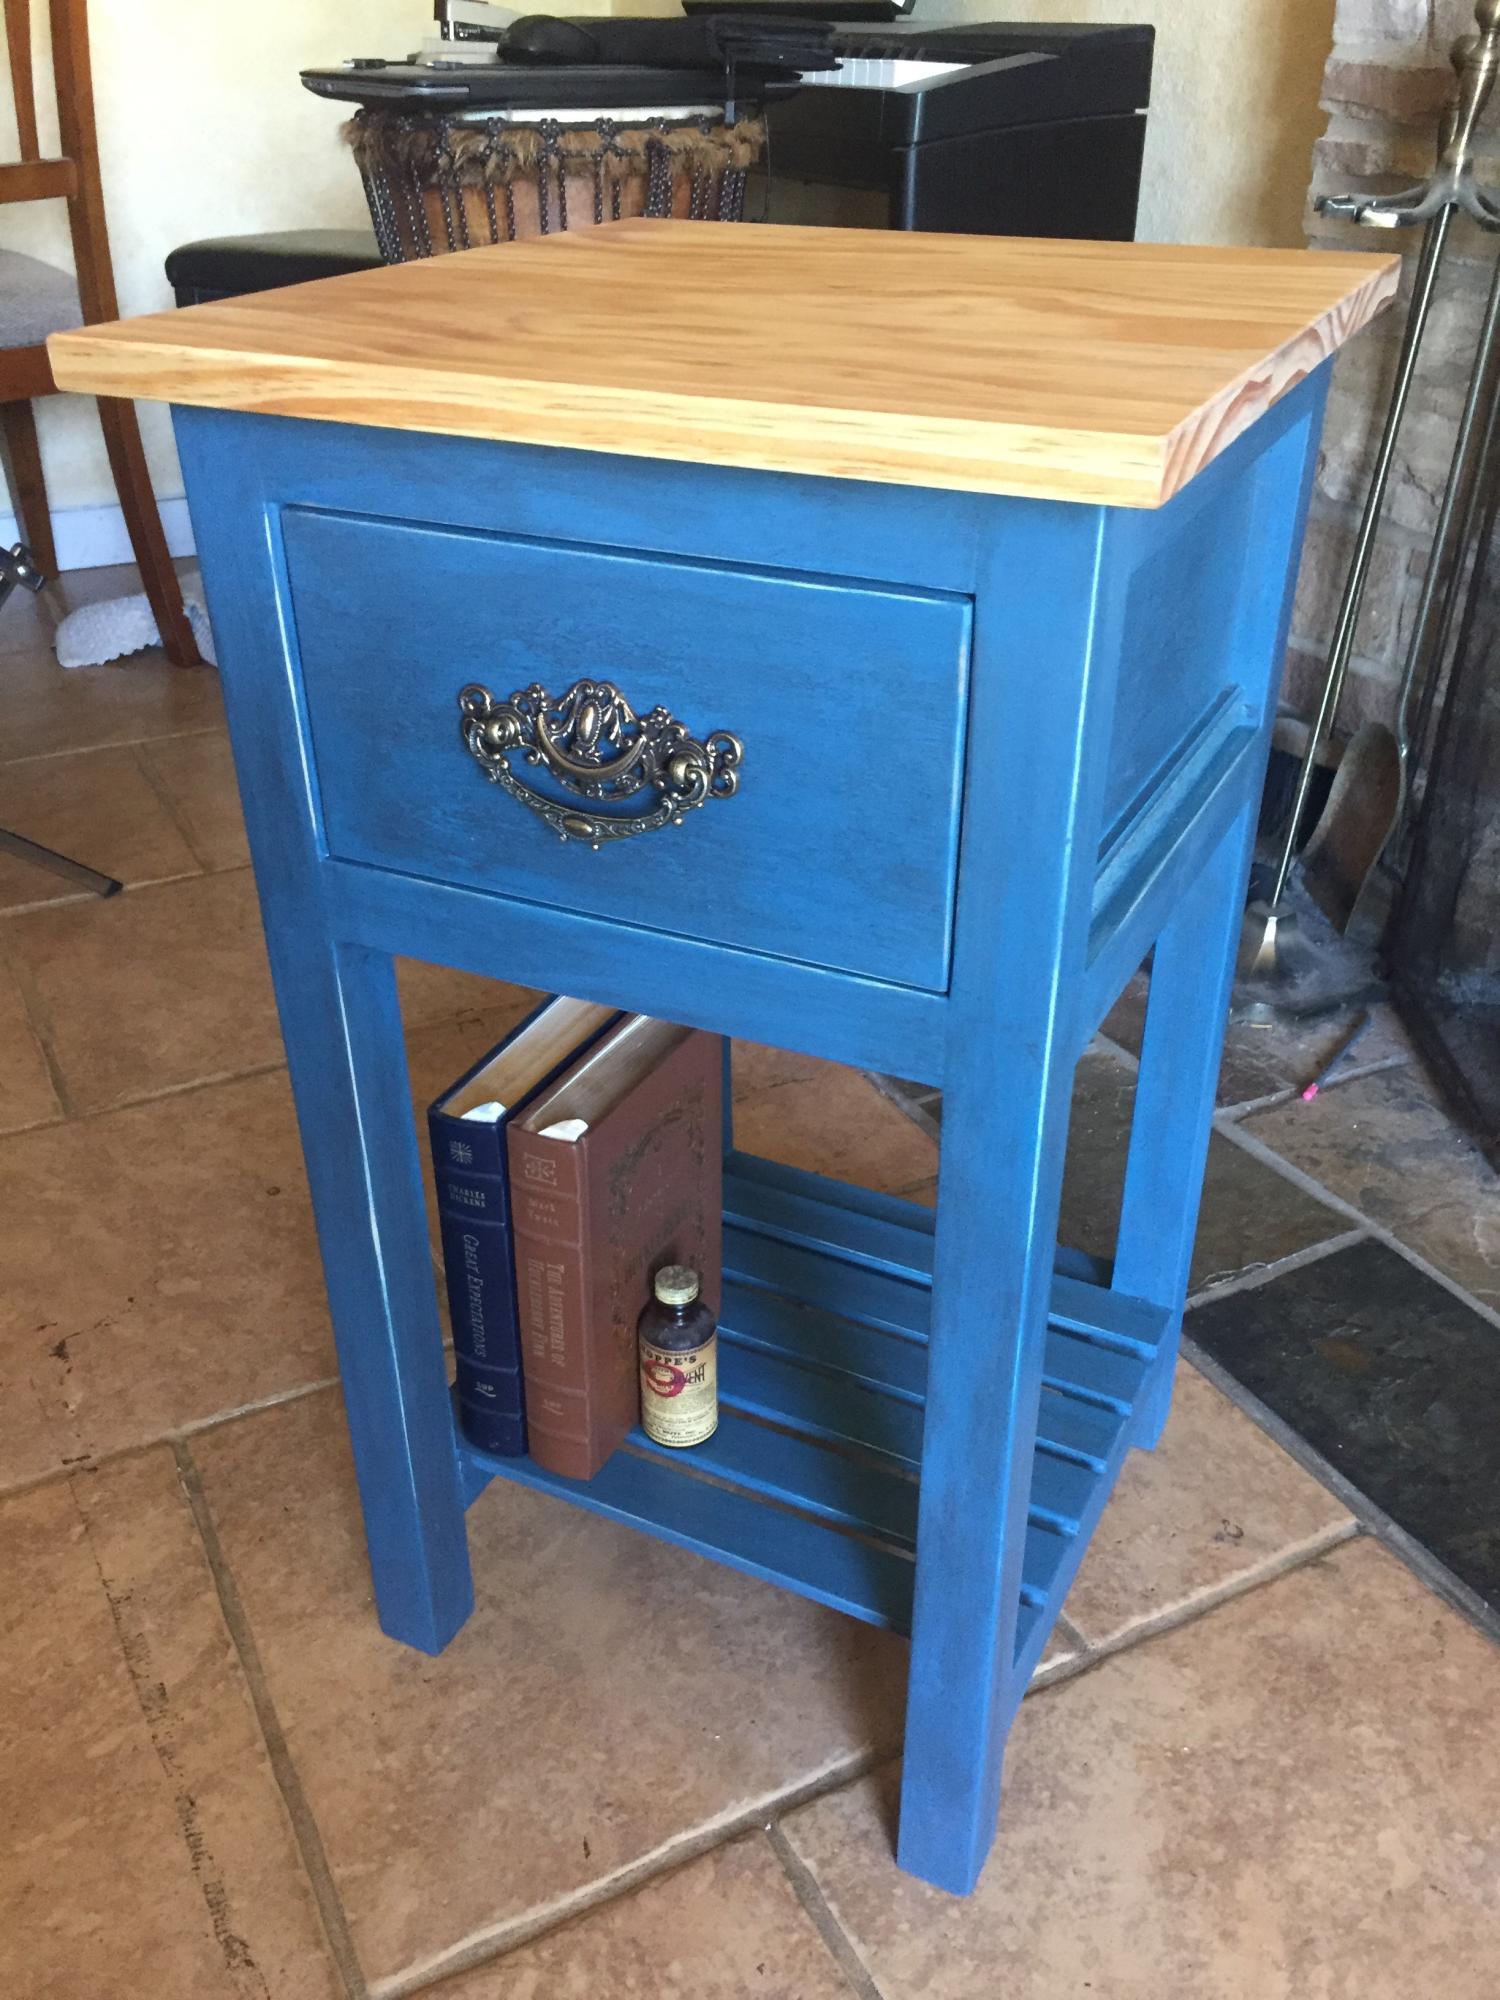
I built this for my girlfriend who specifically likes french provincial finishes but colonial farmhouse structure. There is absolutely no metal/screws in this build, frame assembled with mortise and tenon joinery and drawer is assembled with splines. I finished traditionally with a danish oil treatment for the top, and the frame/drawer was painted with Aubusson Blue chalk paint, corners sanded, then graphite washed, then waxed with a traditional paste wax and hand buffed. This is the first time I've built without pocket screws or modern finishes and I am hooked! It did take me four times as long though, so it's not for every project. Just the ones that are for someone special ;)
Built from Plan(s)
Estimated Cost
TOTAL: $207
Select pine: $110
Danish oil: $8
Paint/graphite wash/paste wax: $74 (plenty left for other projects)
Drawer pull (Rockler): $15
Select pine: $110
Danish oil: $8
Paint/graphite wash/paste wax: $74 (plenty left for other projects)
Drawer pull (Rockler): $15
Estimated Time Investment
Week Long Project (20 Hours or More)
Finish Used
Danish Oil, Aubusson Blue chalk paint, graphite wash, soft clear paste wax
Recommended Skill Level
Intermediate
Farmhouse Queen bed
Built this farmhouse Queen bed as an anniversary gift to my husband 🥰
Built from Plan(s)
Comments
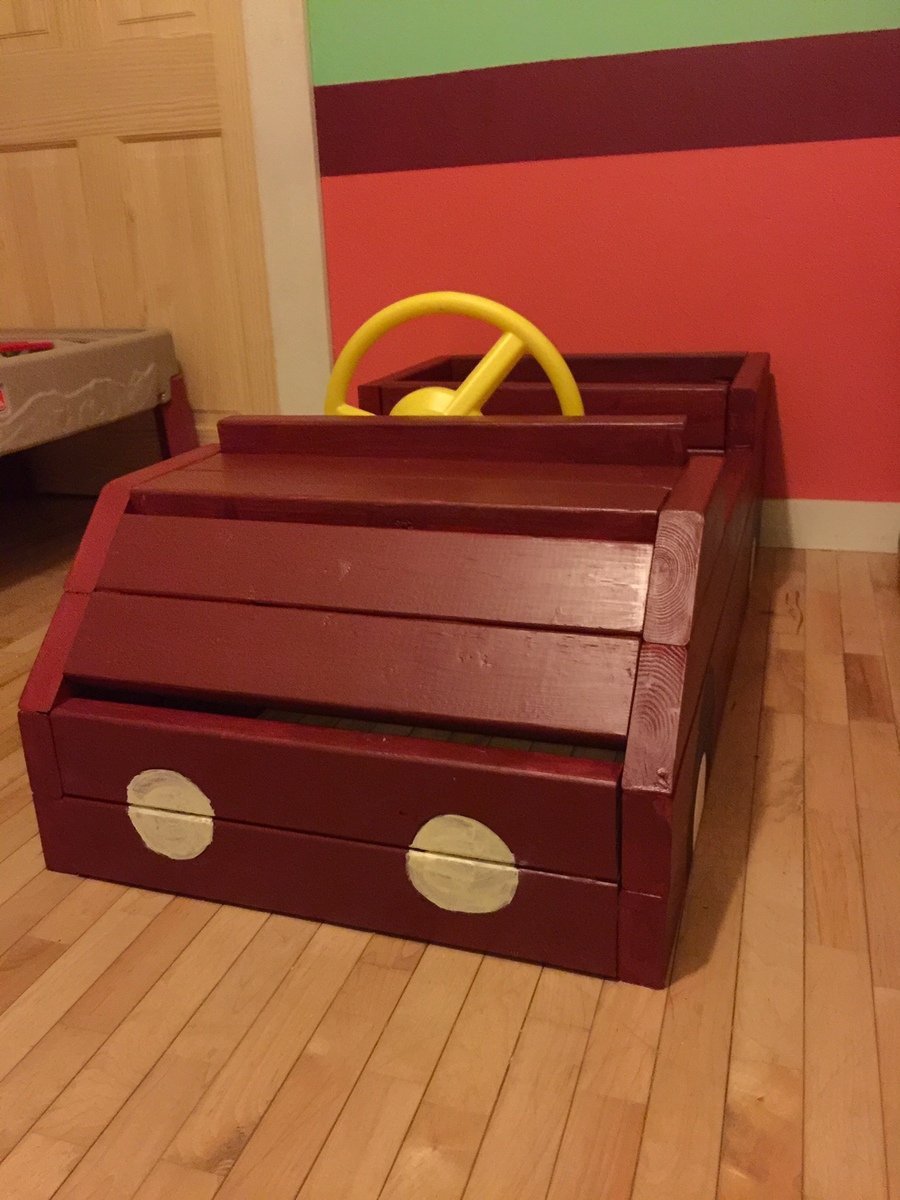
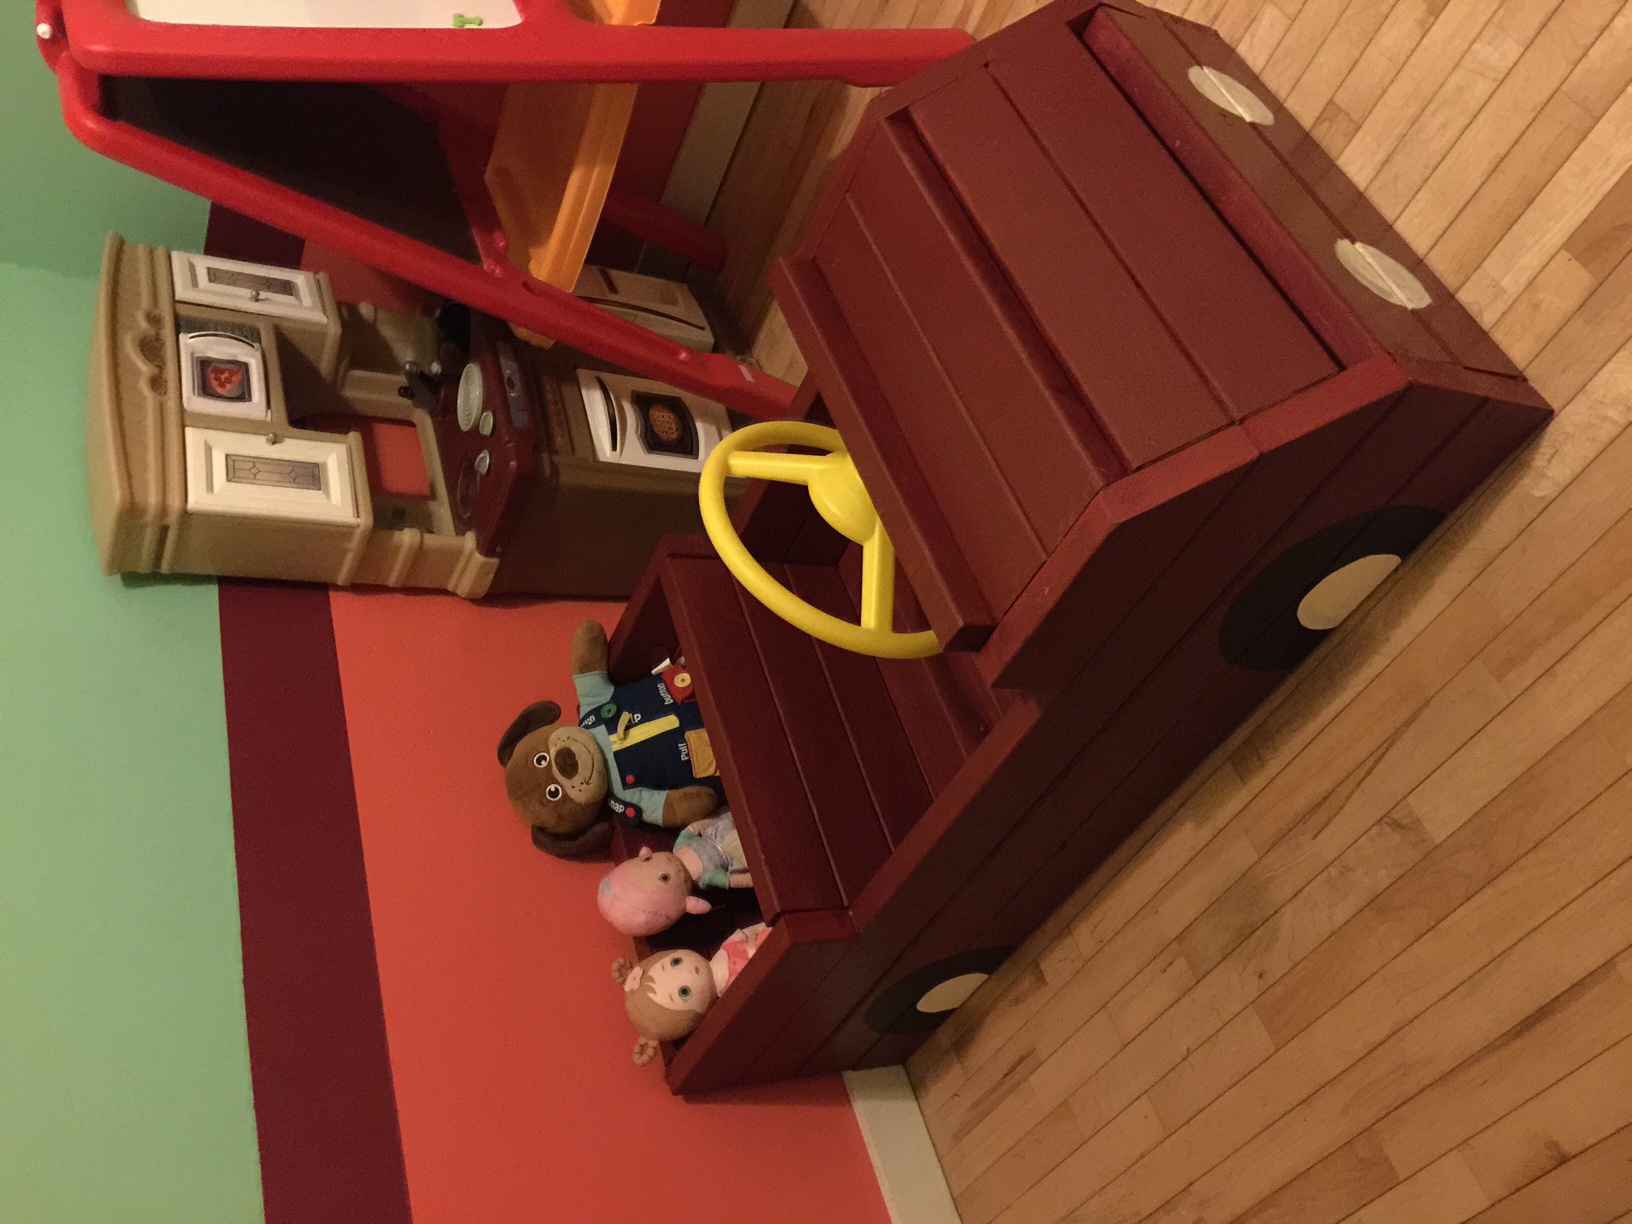
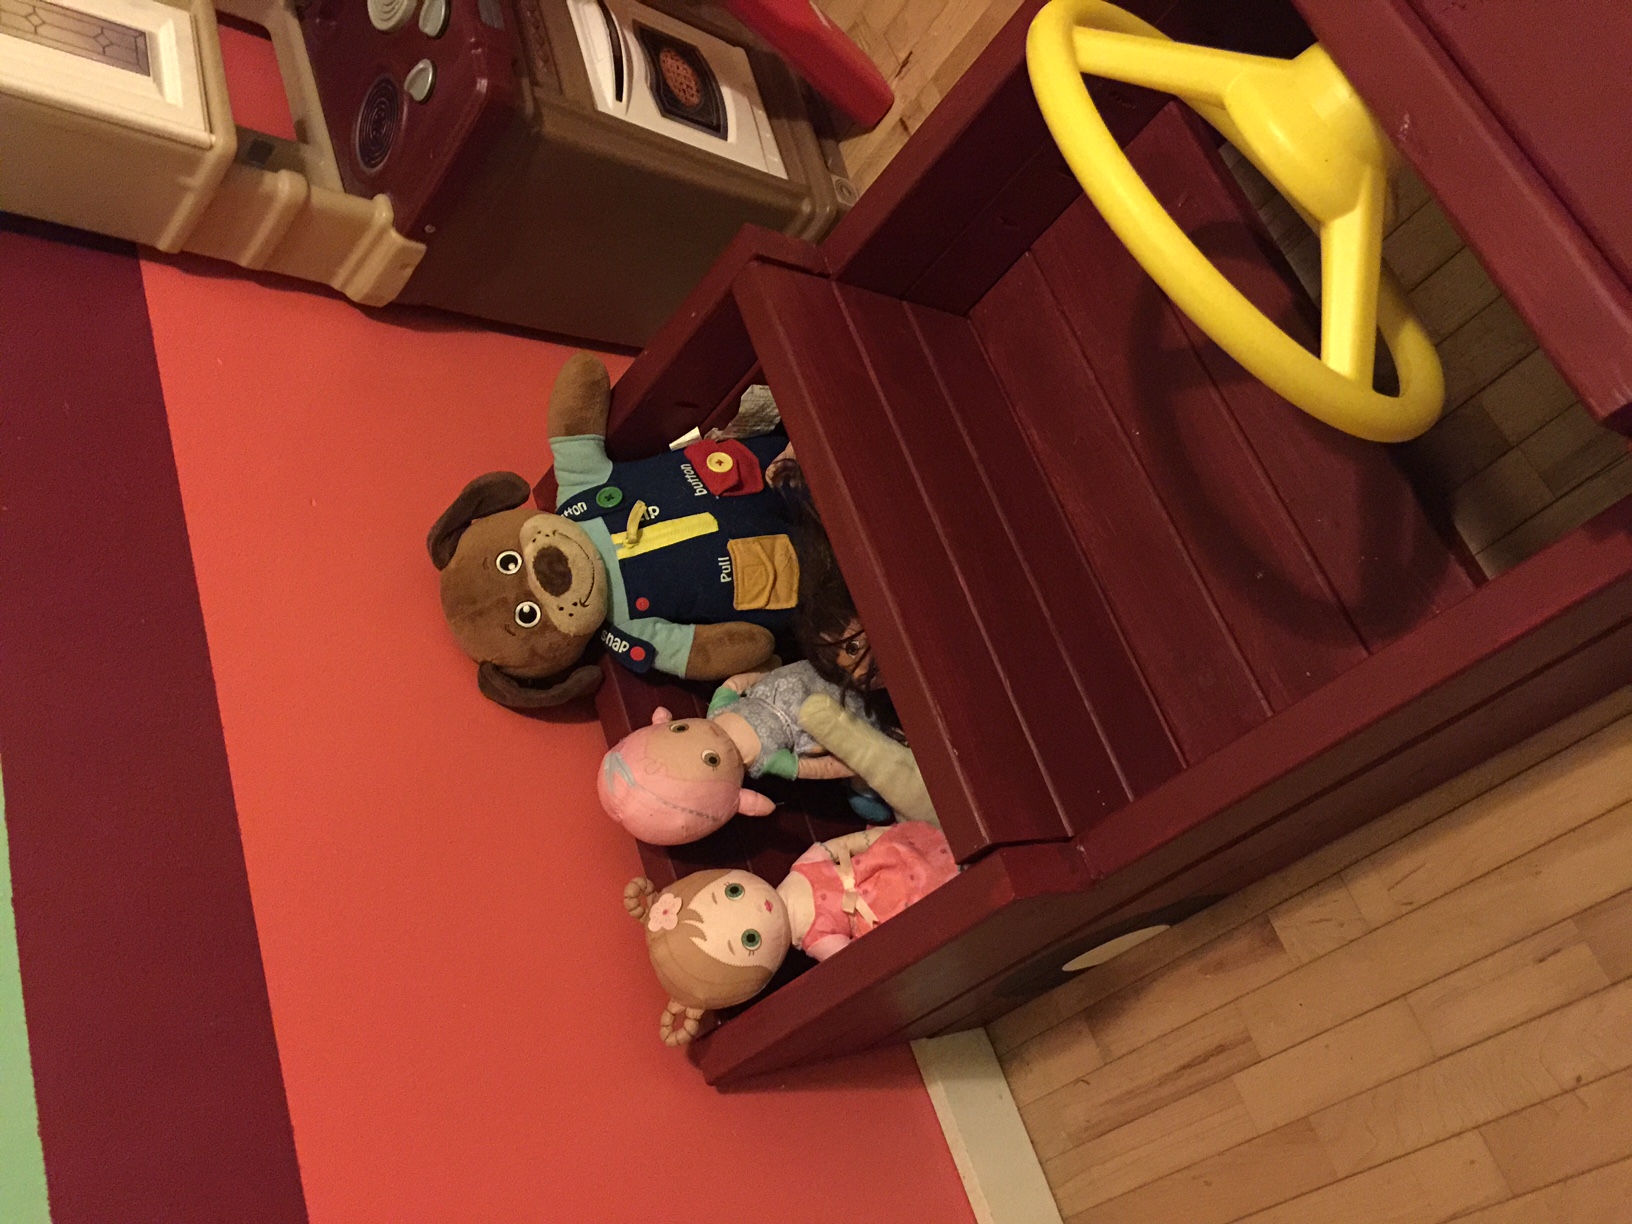
Little e's Train Table
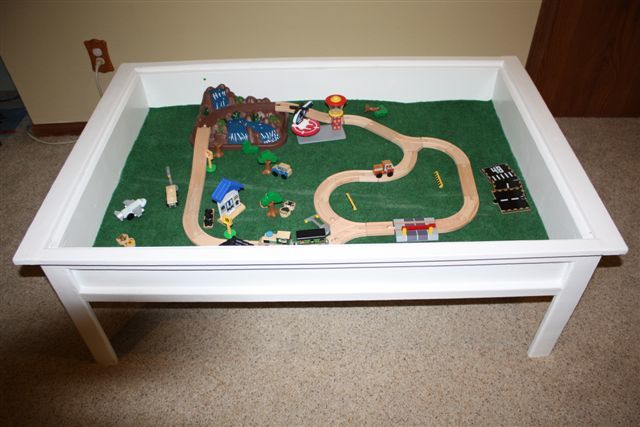
I made this train/activity table for my niece's 2nd birthday. I did omit the bottom shelf to allow more leg room when sitting/kneeling on the floor. The one BIG issue I encountered was that I cut the top inset to fit perfectly. Then I painted it.... the pieces no longer fit due to the extra paint thickness. UGGGGG! So, I had to go back to sanding to get that nice fit again.
I put in a scrap of indoor/outdoor carpeting for "grass" for the train set to sit on. This is not glued in, so it can be removed if they decide to use it for something other than the train. I painted it using cabinet paint to give it a little extra protection against scratches and scuffs since it will be used by a two year old. I painted the inset white on one side, but I put chalkboard paint on the other side. This way, it's like three tables in one! An activity table, chalkboard table, and a train table! She loves it!
I need to get a picture of it with the top on so you can see the white and chalkboard sides. It was a really fun build!
I may build the smaller Lego version for my own house - not to play with Legos, but to keep the dog's tail from knocking over any beverages I set down! It also would be a nice place to store the laptop when not in use.


Built from Plan(s)
Estimated Time Investment
Weekend Project (10-20 Hours)
Finish Used
I primed it using Kilz and then used Dutch Boy Cabinet and Trim paint and Rustoleum Chalk Board paint for the inset.
Recommended Skill Level
Beginner