Community Brag Posts

Window seat with storage

I wanted a window seat that would fit my window. There was no way I could afford to buy anything. Ana's site inspired me to modify her plans to create what I wanted. My husband and I worked on this during the weekends and between my son's nap. The piece is so large that 2 people were needed just to pick up the wood. The finished piece is 8' long, 2' deep and 18" tall. If we ever move, it might have to stay with the house.

Estimated Cost
150.00
Estimated Time Investment
Weekend Project (10-20 Hours)
Finish Used
3 coats of Swiss coffee (Home Depot)
2 coats of poly
Recommended Skill Level
Beginner

Comments

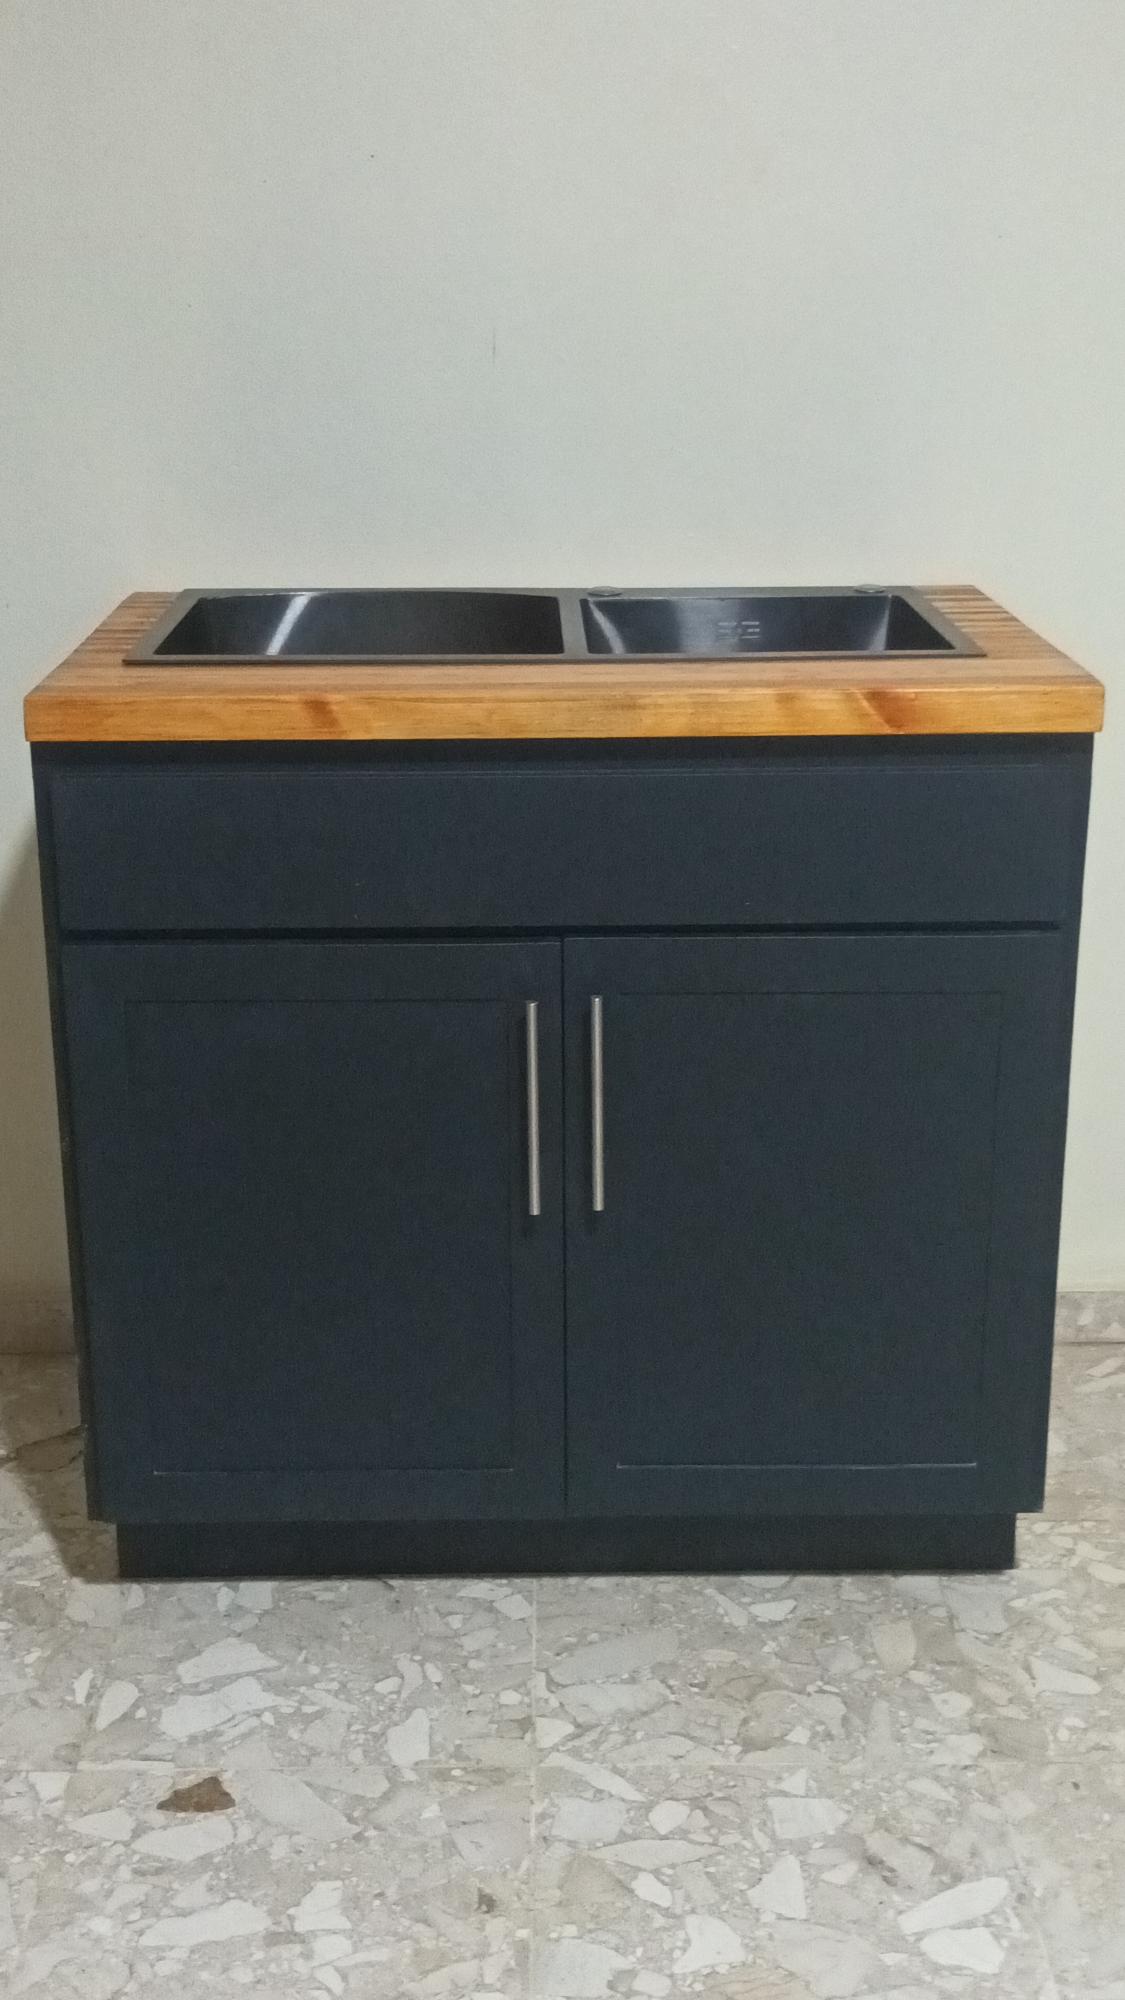
A little take on Ana's sink

Submitted by Anonymous (not verified) on Sun, 02/19/2023 - 21:55

This was a build to convince my wife that I should do the cabinets in our new house...now I have to do them all. I should have just said, Sure, go to Ikea!"

Comments

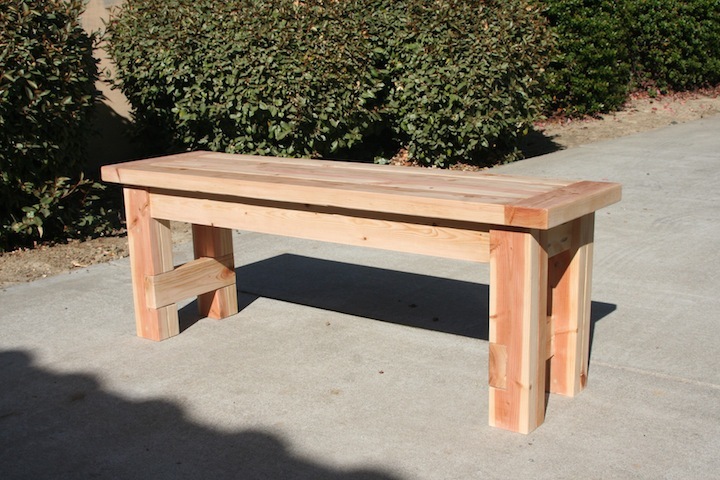
Farmhouse Bench

Submitted by pwky on Thu, 10/24/2013 - 15:03

First time building furniture. This turned out much better than I thought. After this I probably could've build the farmhouse table myself instead of paying way too much for my wood dining table. Only if I have found Ana's site sooner. :)

Having a Kreg jig also made the whole process much easier.

Estimated Cost
$40 without the stain
Estimated Time Investment
Day Project (6-9 Hours)
Finish Used
Rustoleum Kona and Minwax pre-stain conditioner and semi-gloss poly
Recommended Skill Level
Beginner

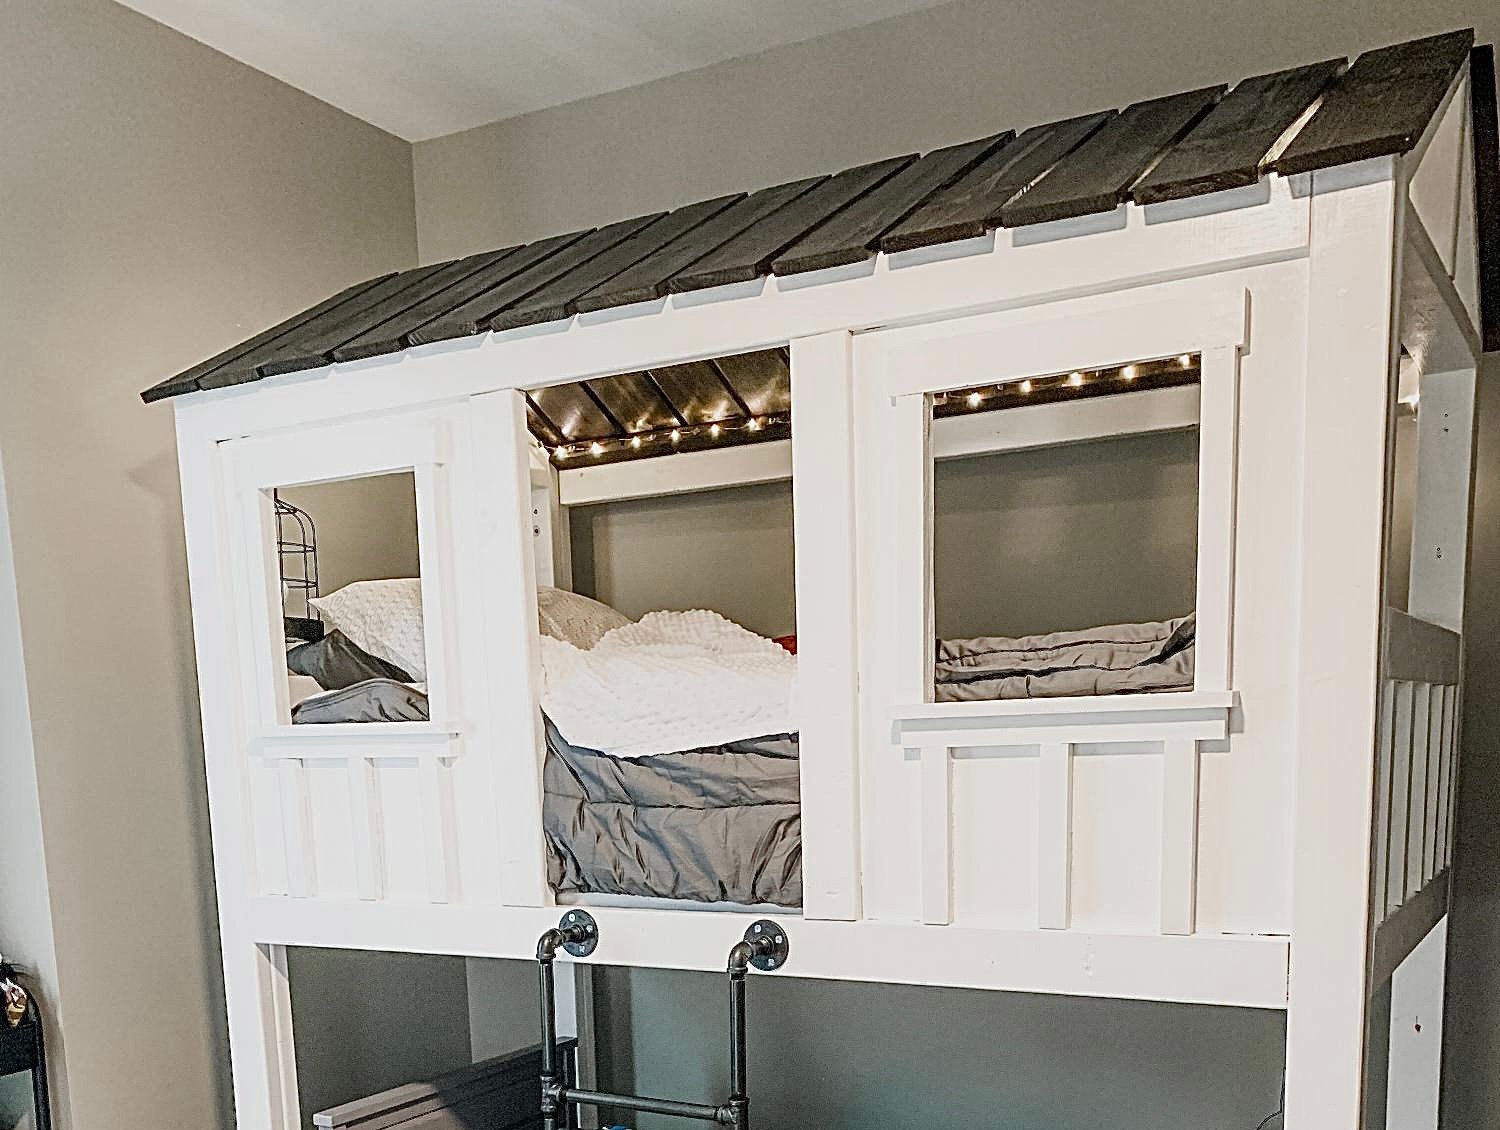
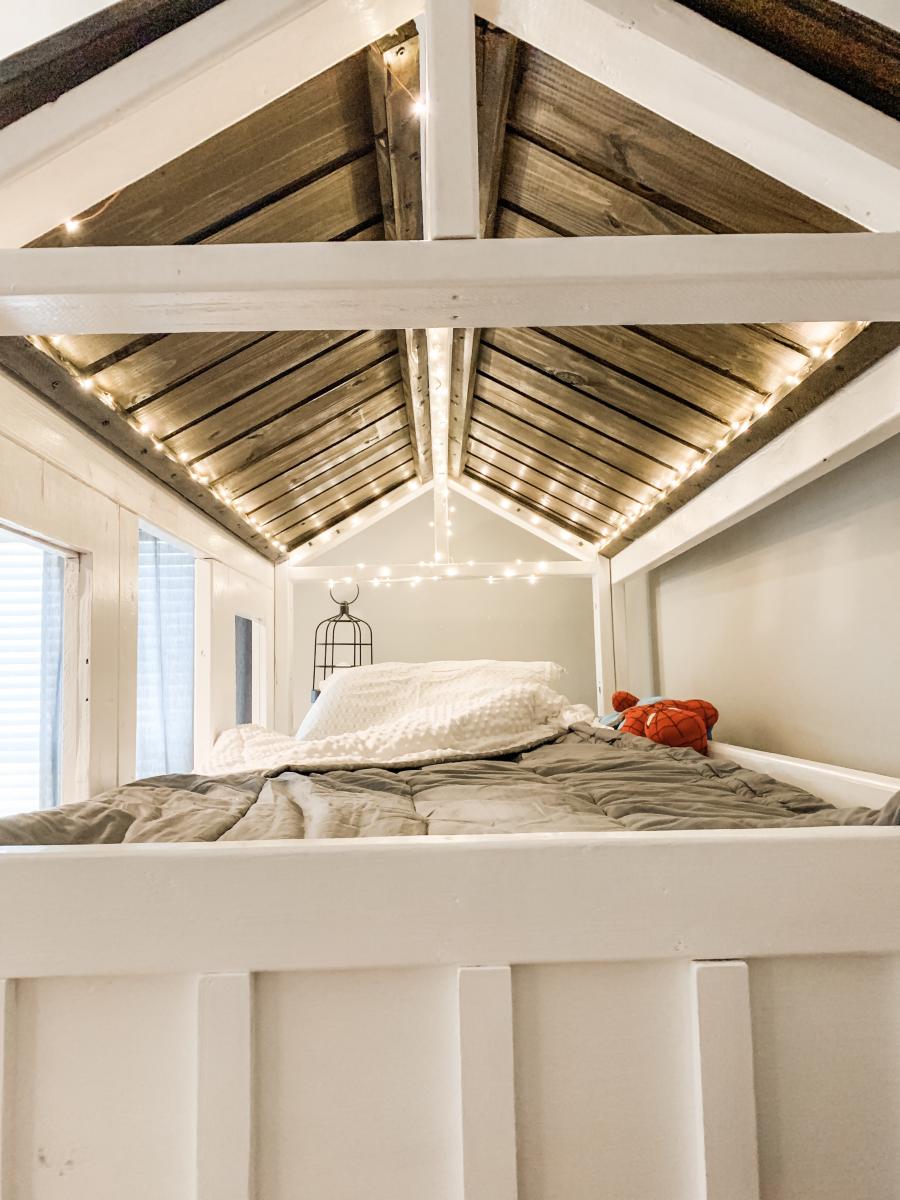
Cabin loft bunk bed

Submitted by Anonymous (not verified) on Wed, 10/02/2019 - 08:49

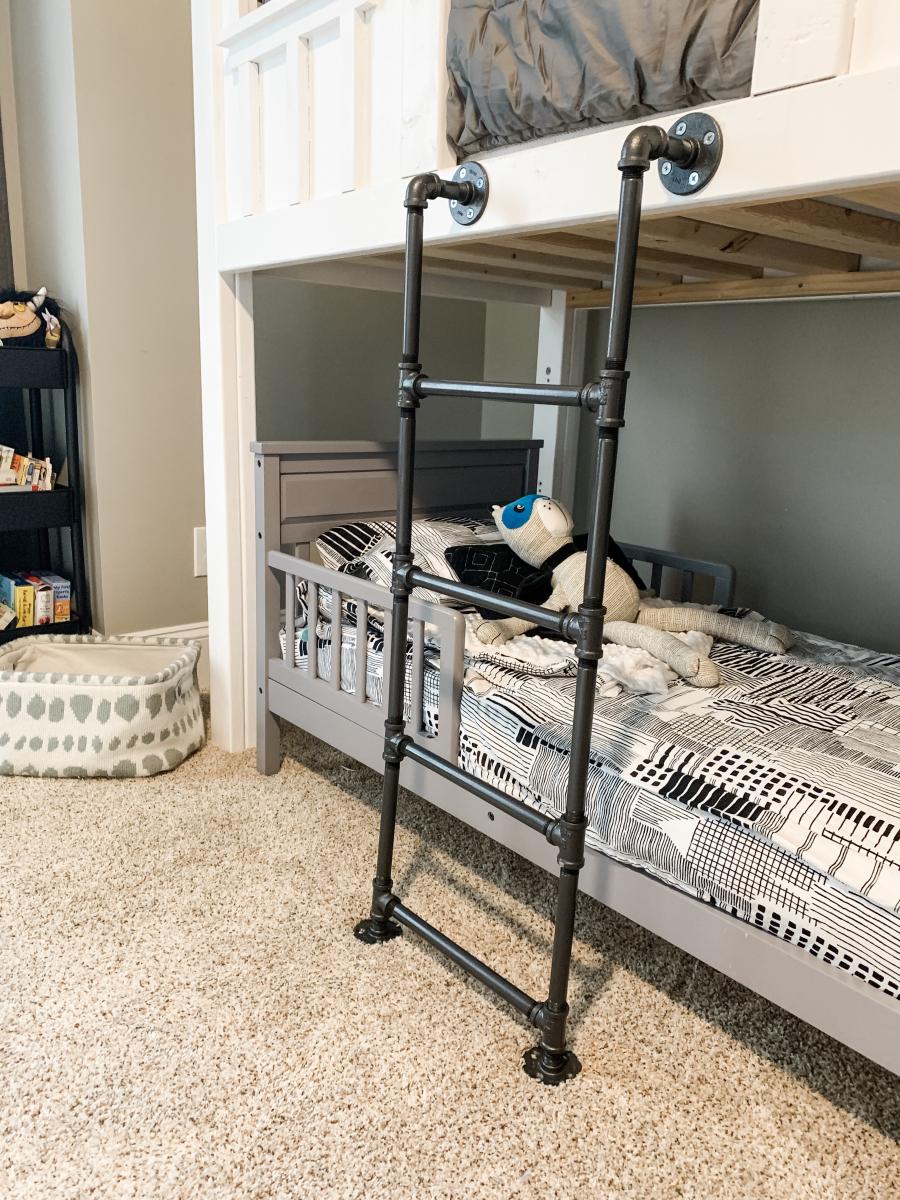
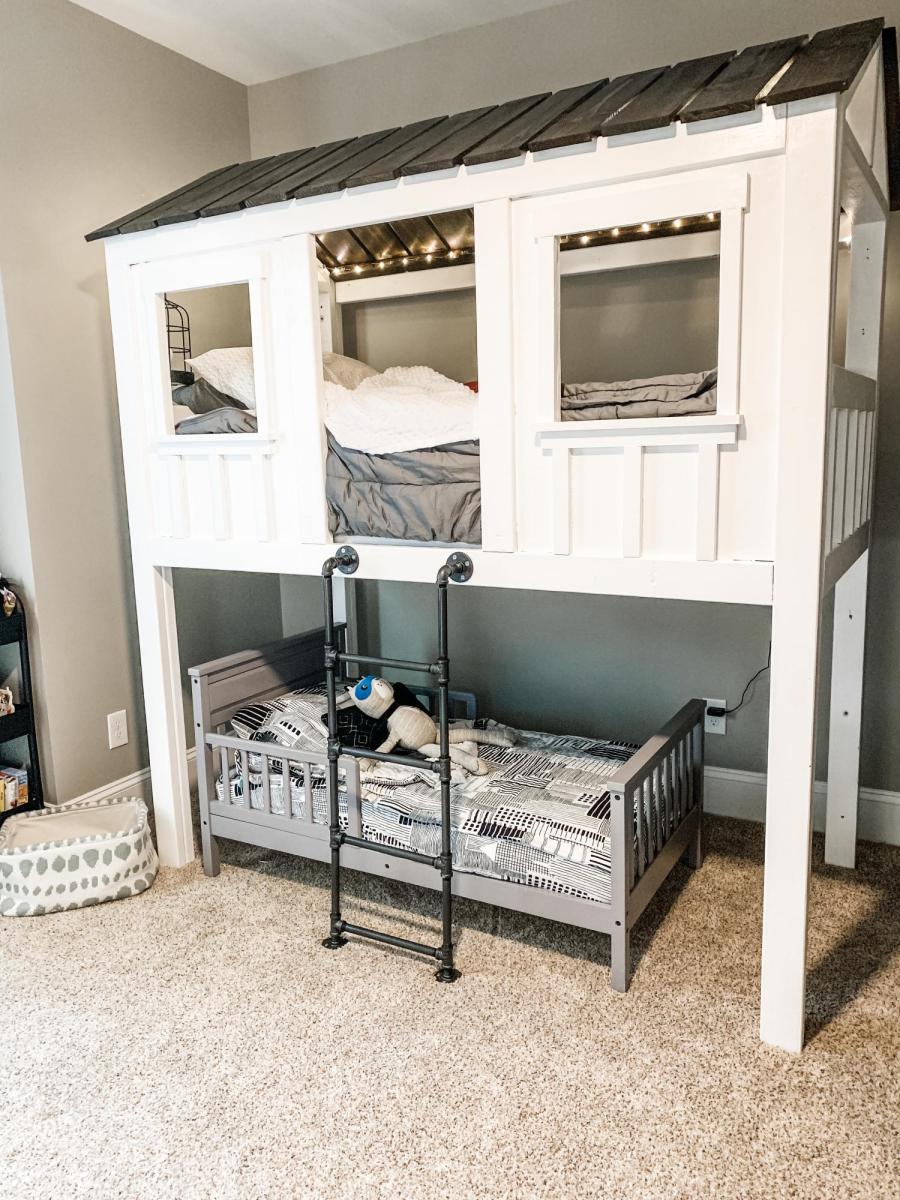
Elevated loft bed for my two boys! Easy build with the plans from Ana White! I modified this version and elevated it so I could fit my youngest underneath. It was my first time using a Kreg Jig and I’m obsessed now. I would recommend buying top quality wood and increasing all numbers by 2-3 inches to make getting the mattress in easier. I would also recommend a lower profile mattress than I used. Happy Building!

Built from Plan(s)
Estimated Cost
$300
Estimated Time Investment
Weekend Project (10-20 Hours)
Finish Used
I used SW marshmellow and stained the roof walnut. Ladder is made out of steel piping that I spray painted (with primer) black.
Recommended Skill Level
Beginner

Comments

Planter Porch Steps

Submitted by kstarbird on Thu, 12/26/2019 - 15:06

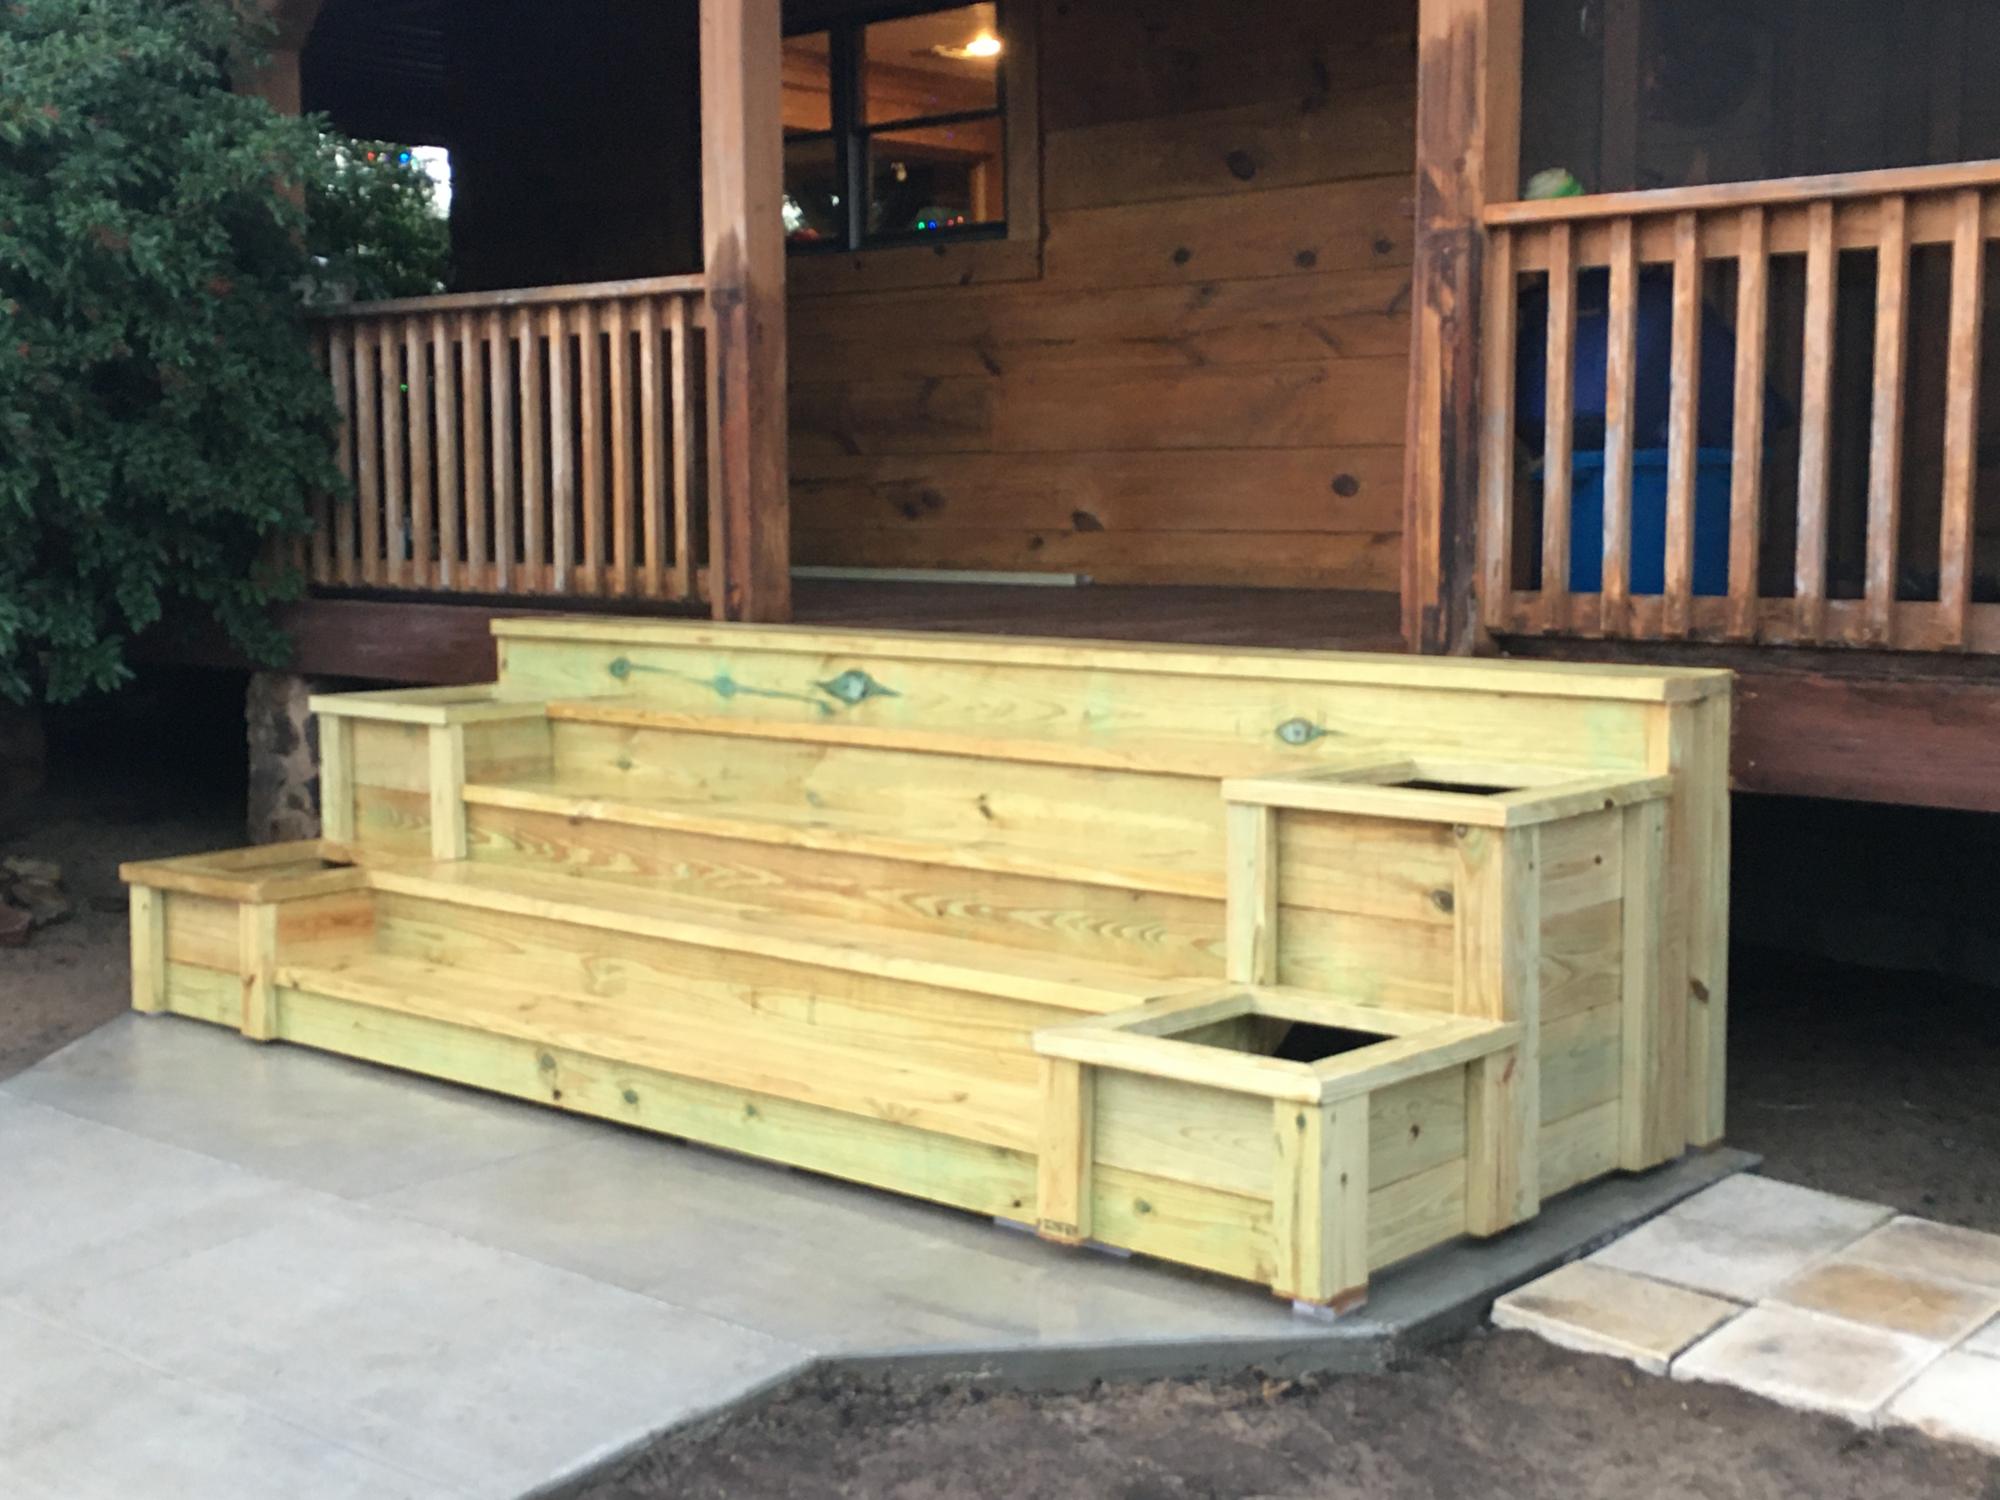
Plan modified to be built on stringers due to hight. 

Finish Used
Pending

Comments

Seasonal And Holiday

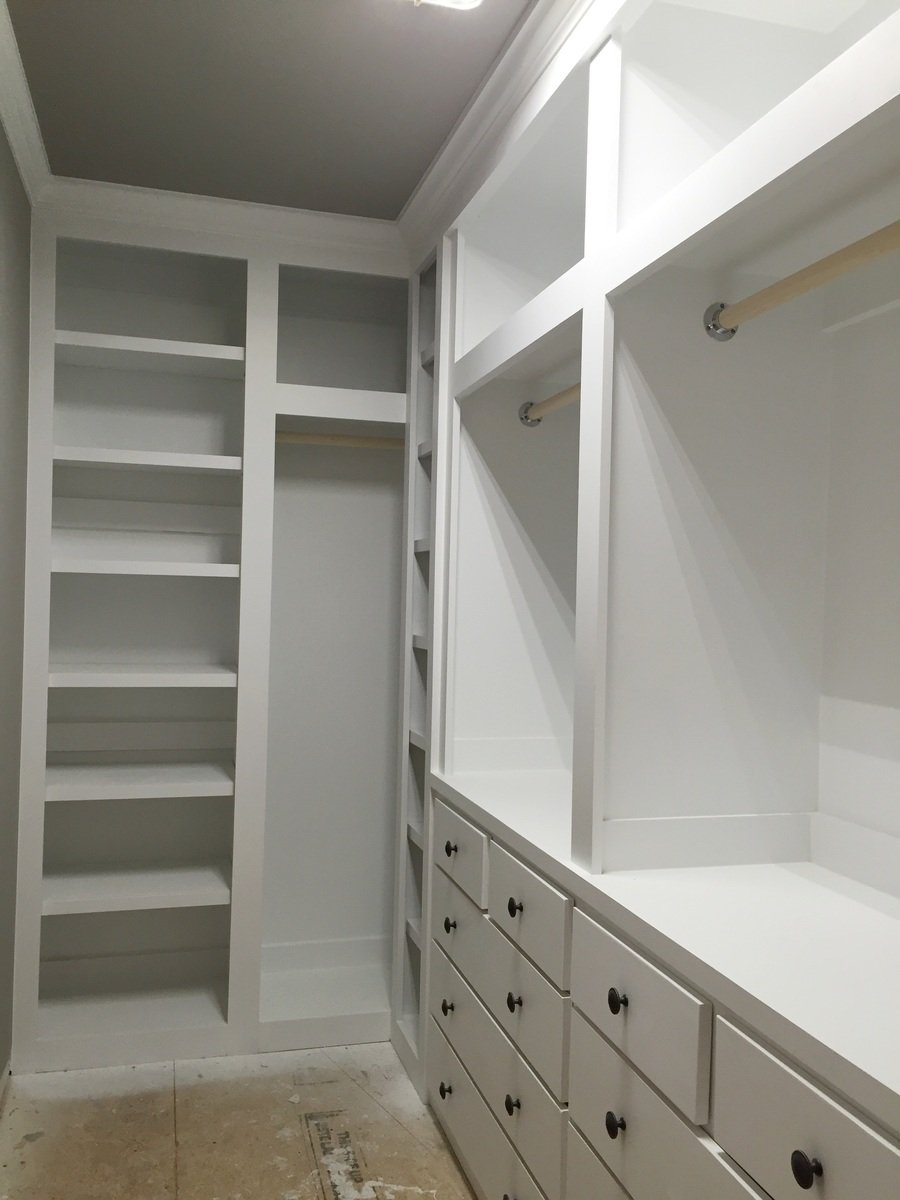
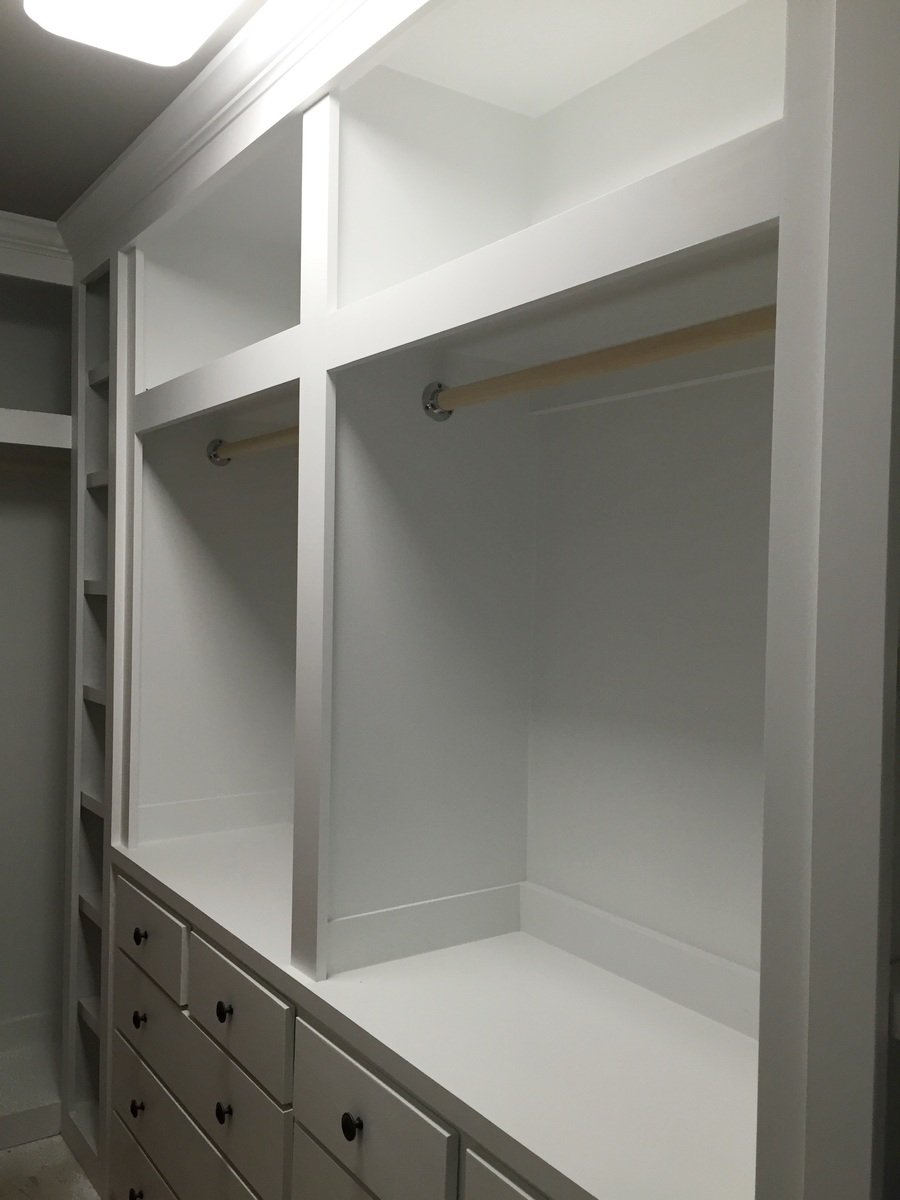
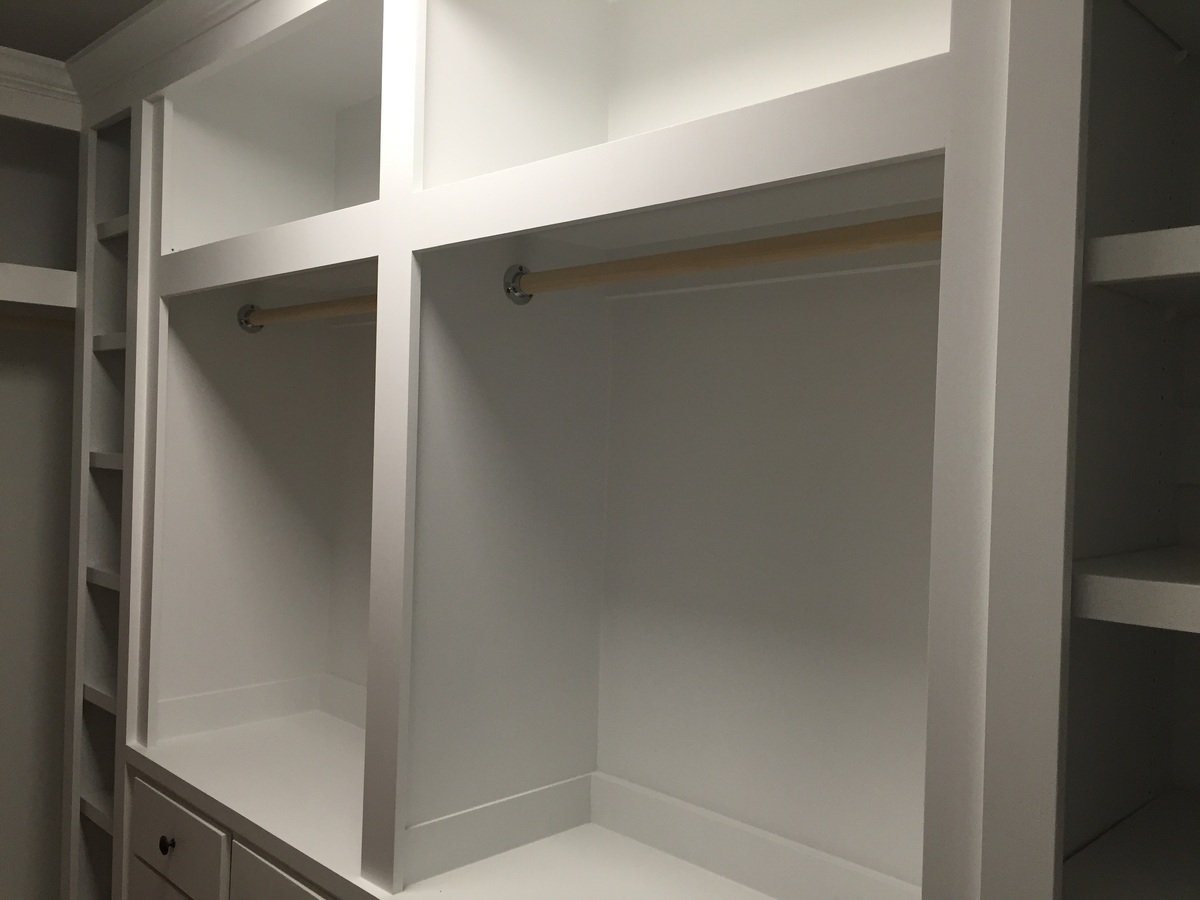
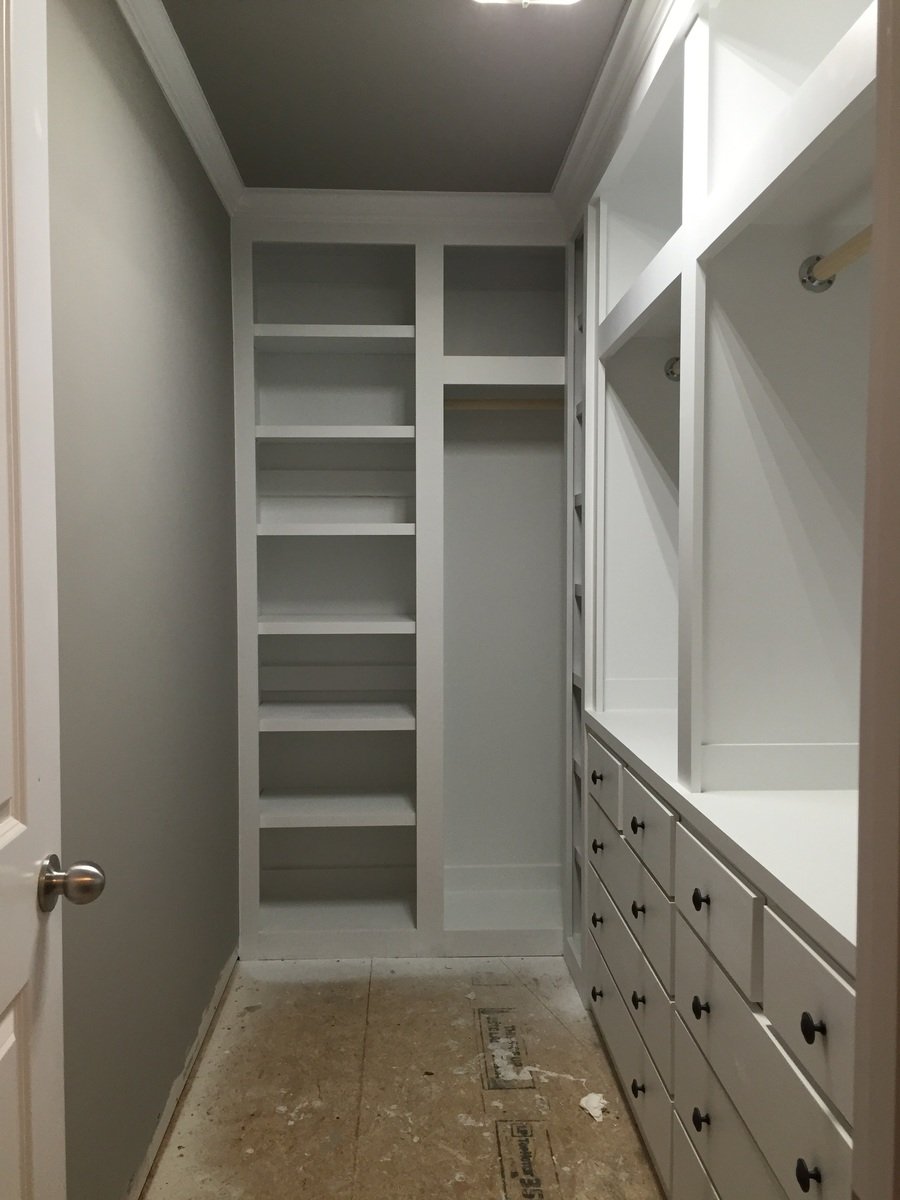
Built in closet

Submitted by AndyH on Mon, 06/13/2016 - 19:14

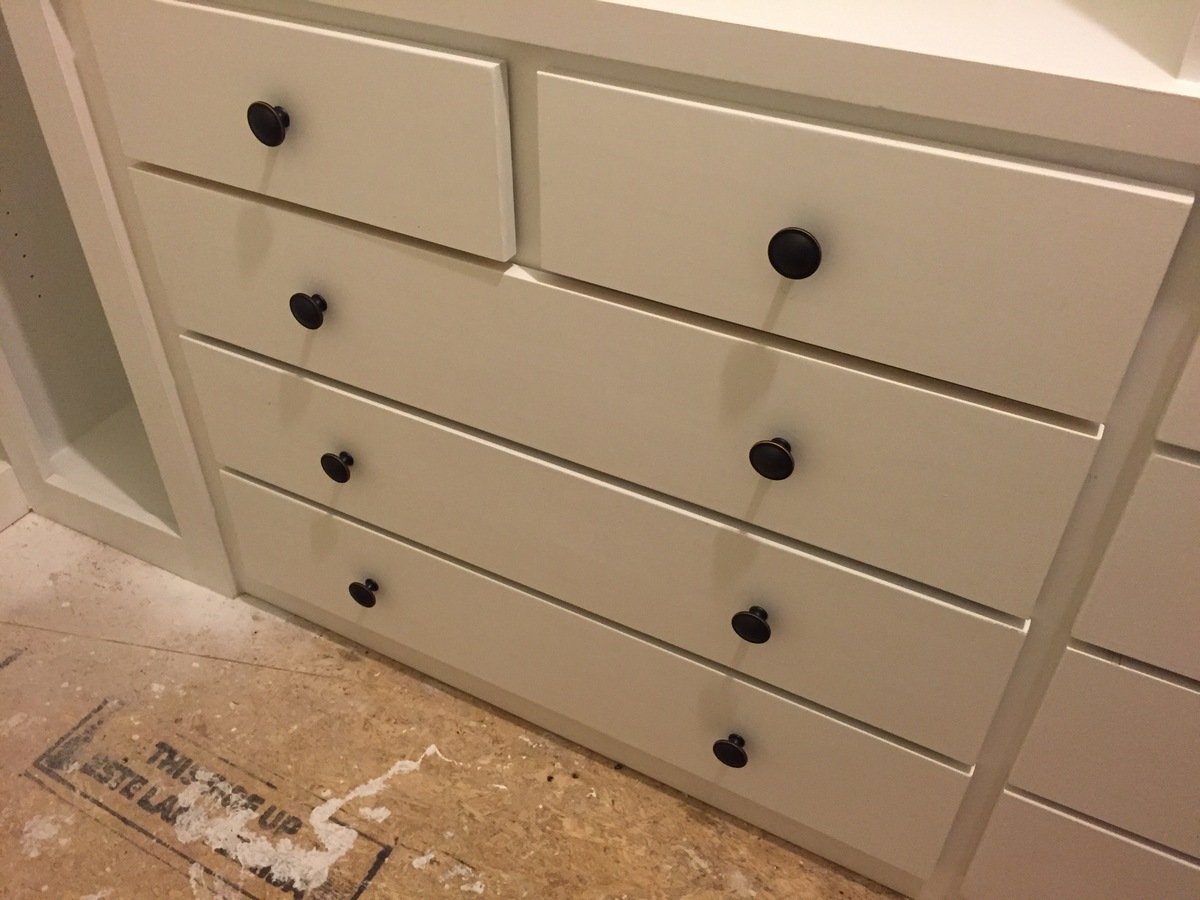
Built in closet to replace builder grade wire wracking.  Closet is approximately 11 feet by 5 feet.  consists of two shoe racks with 7 shelves each.  6 large drawers and 4 small drawers.  Two hanger sections with storage  above them.  End wall has hanger for longer items and storage above and a cabinet with shelves.

Yet to finish the floor.

Estimated Cost
$1000
Estimated Time Investment
Week Long Project (20 Hours or More)
Finish Used
Sherwin Williams Extra White satin paint.
Recommended Skill Level
Intermediate

Comments

DIY Small Manger

Submitted by Anonymous (not verified) on Wed, 01/03/2024 - 08:34

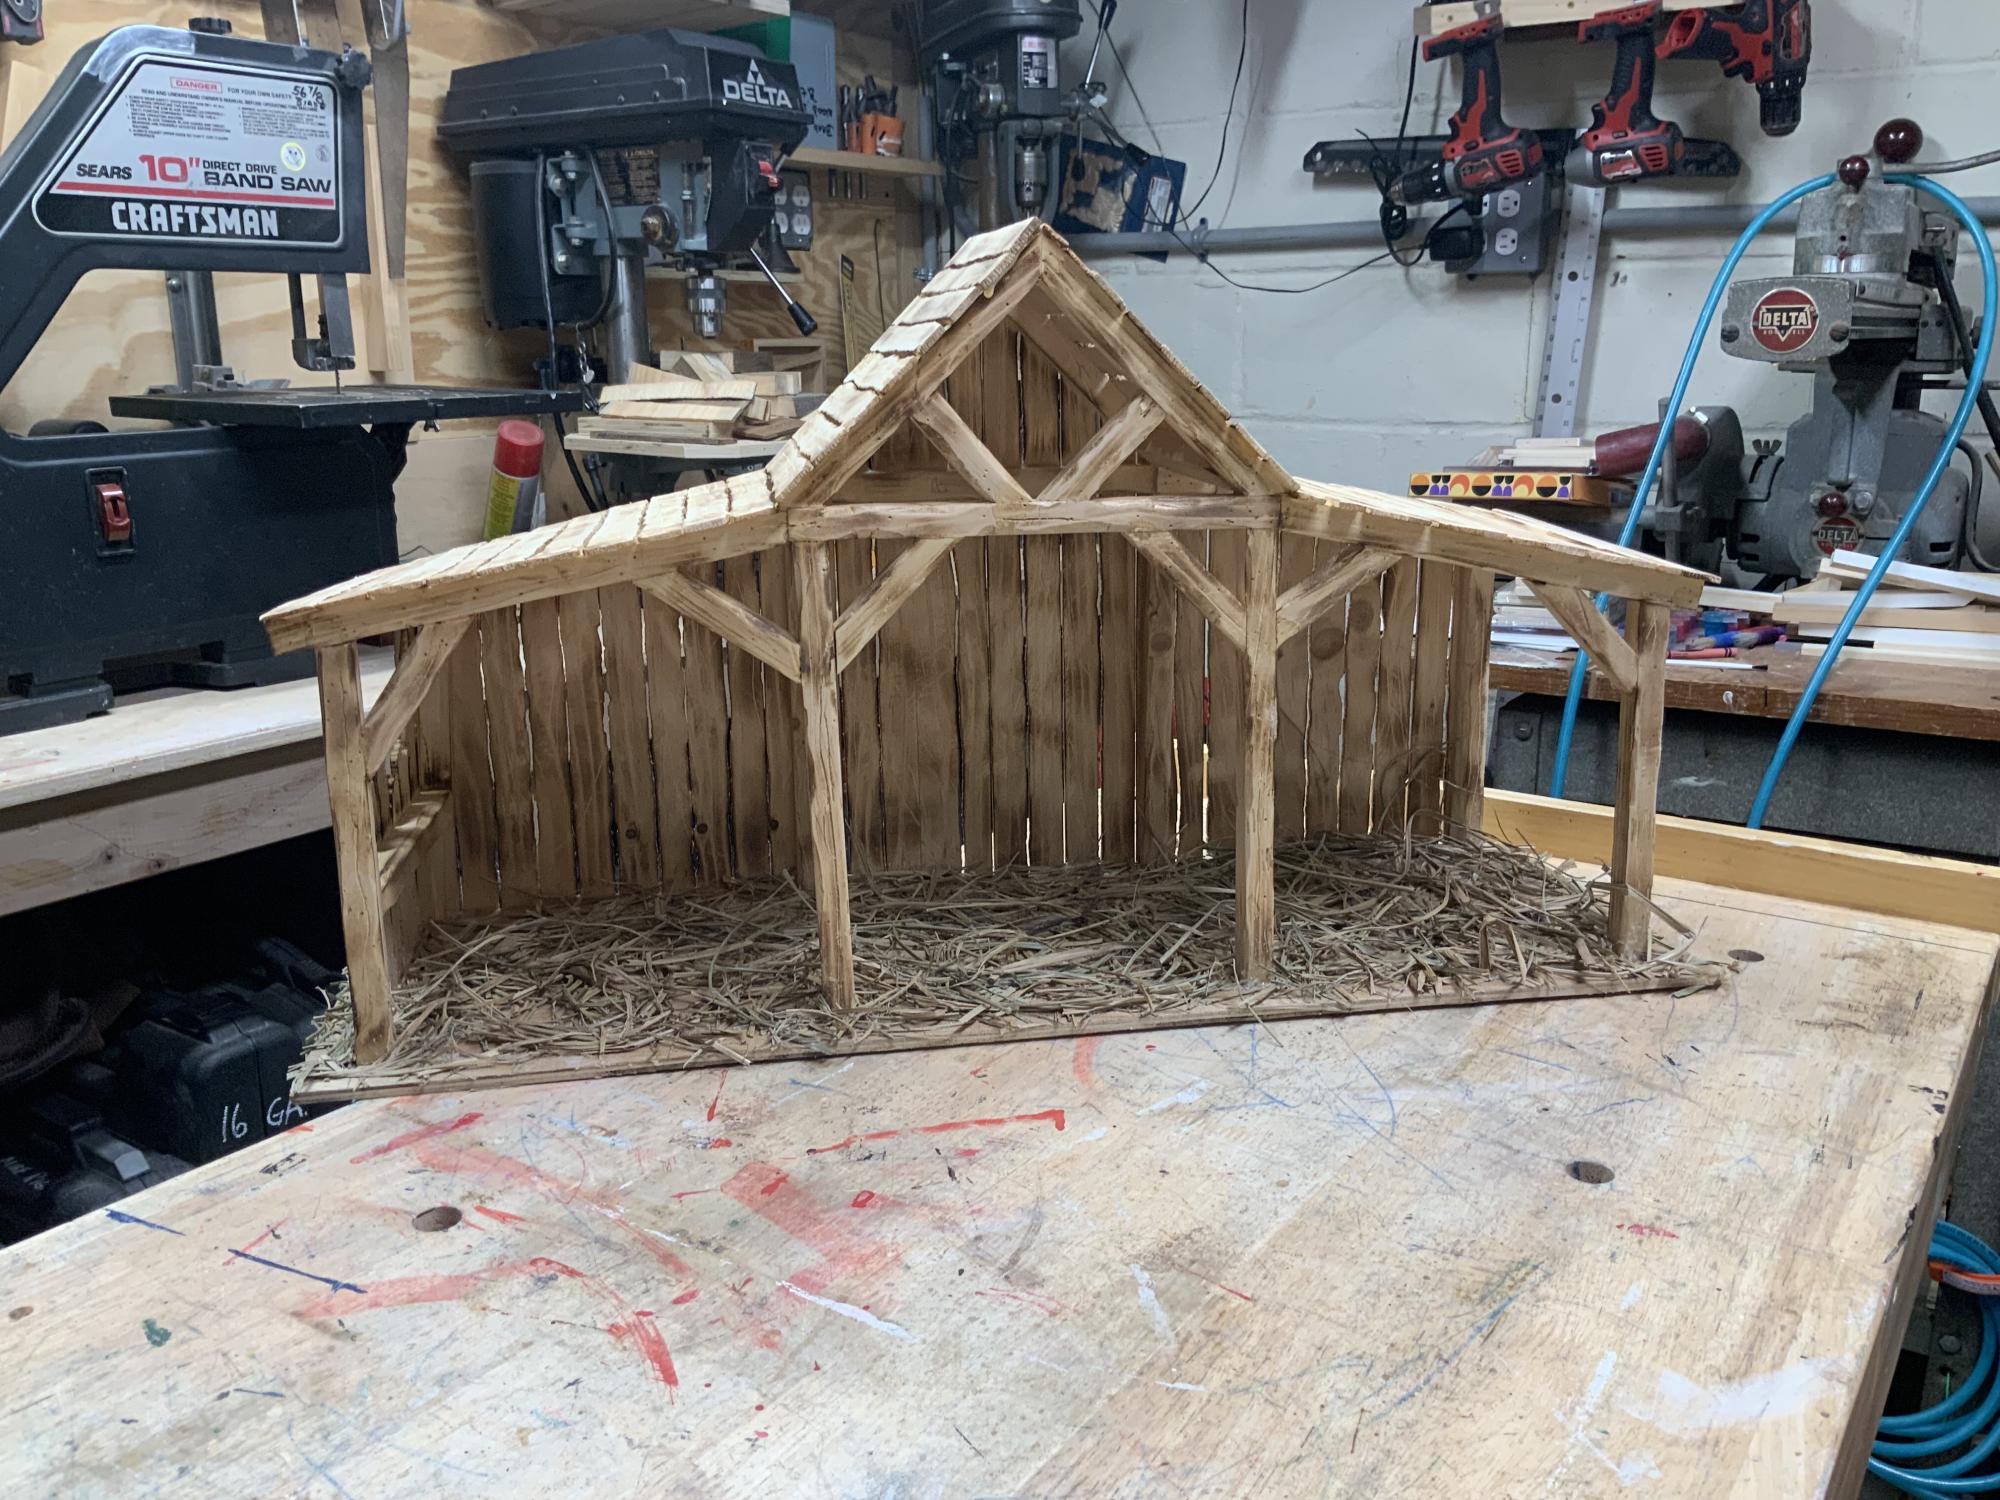
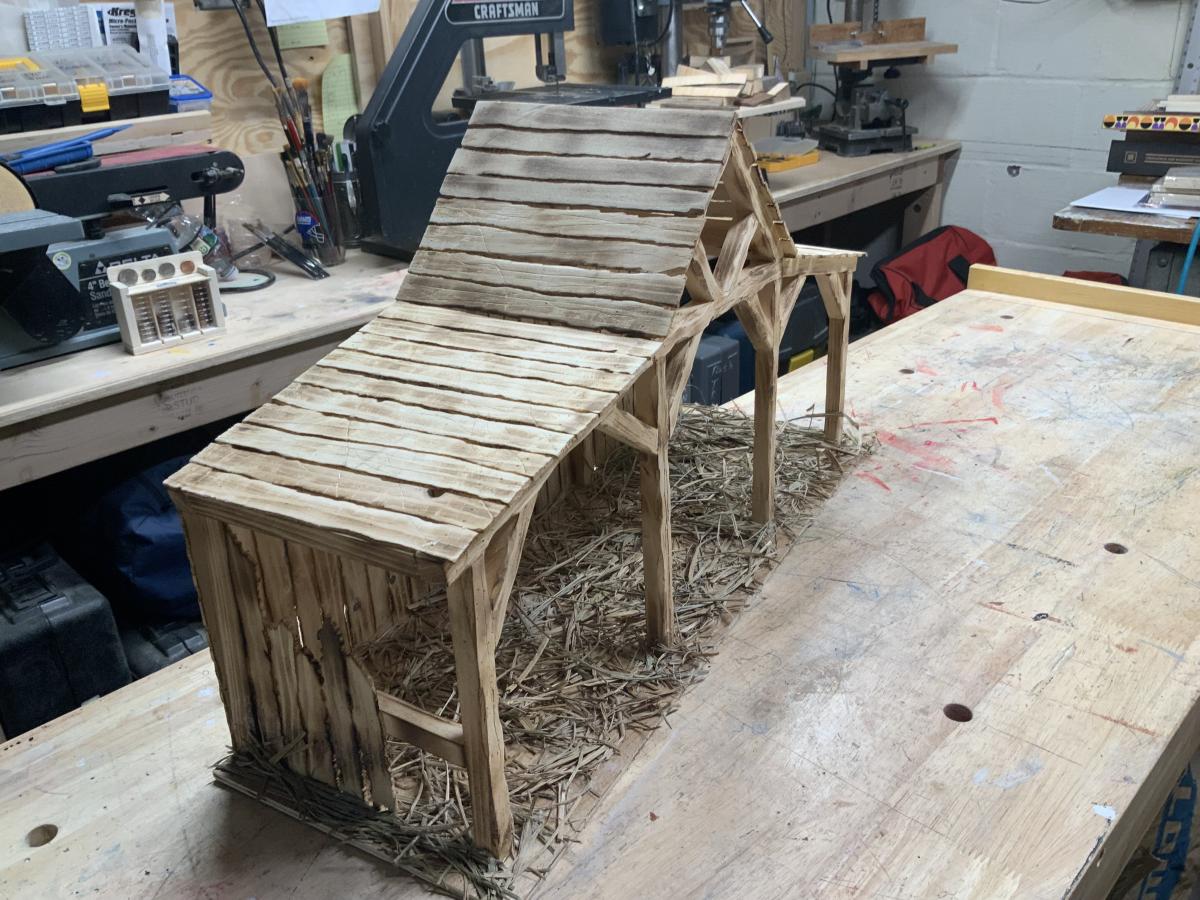
Seen a picture somewhere and I liked it . It was on my mind so I made this Nativity Manger, no plans just went for it by memory.

Mike

Farmhouse Style Vanity Base with Slatted Shelf

Submitted by ellemm on Thu, 05/08/2014 - 21:06

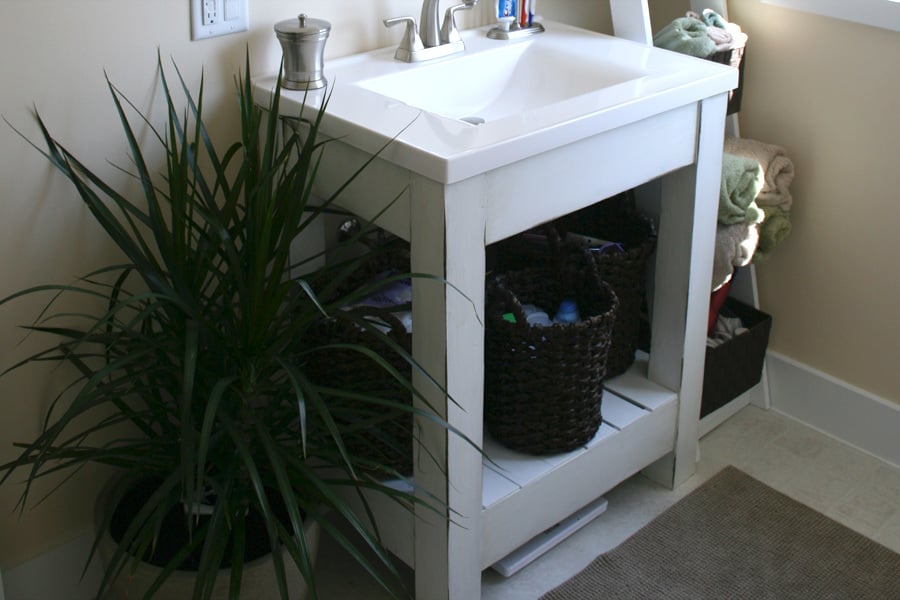
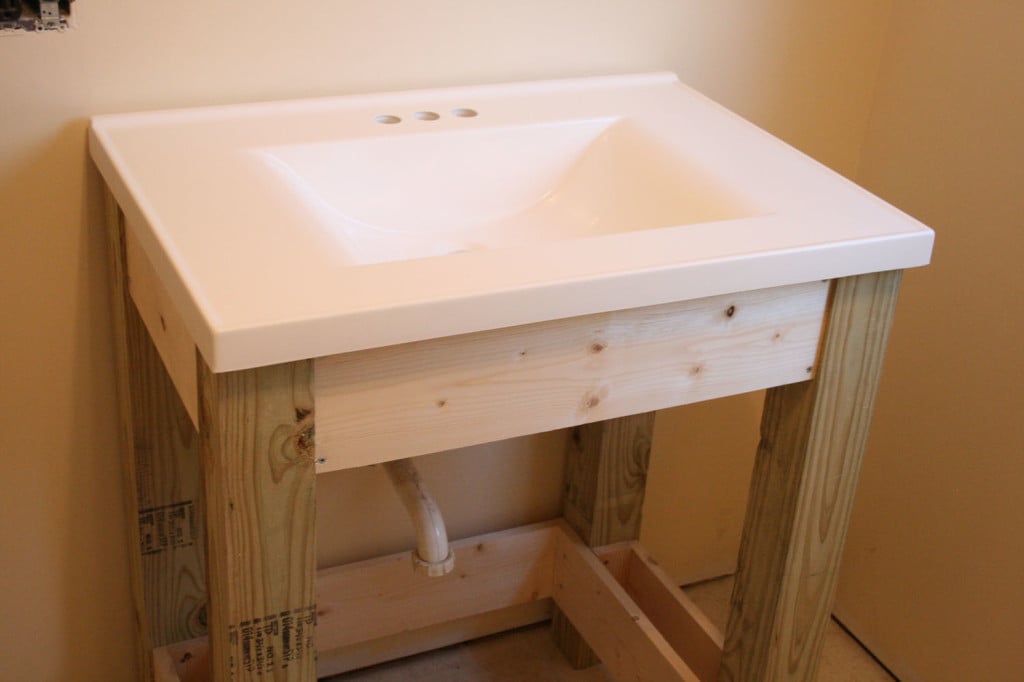
Our first build! After finding a vanity top we loved for our DIY bathroom renovation, my husband and I went in search of a chunky, open base with simple lines and a shelf on the bottom. Nothing at the store appealed to us, and I had been talking about all the projects I wanted to build from Ana's site for weeks, so we decided to try the Simple Open Farmhouse Style Vanity. We would just add a shelf to the bottom and omit the top!

This was a really easy plan to scale for our sink, and because we were not doing the top we could make all the necessary cuts with a chop saw.

The only purchases we had to make for the base were screws, slats and a 12-foot-long 4×4 that the guy at the store cut into four 36″ pieces for me. It’s pressure-treated lumber meant for outdoor use, but it was on sale and they didn’t have any other 4x4s. The rest of the materials were 1x4s and 2″ screws that we already had on hand.

For the bottom shelf, we just duplicated the spacers, aprons and skirts from the top, and placed wide slats over that. They look crooked in the photo because they haven't been glued on yet, and using the baskets makes them shift around!

With the vanity top in place the counter height is a little over 37 inches. We are tall people, so this is a tall sink! Perfect for our first build. Thanks Ana!
Estimated Cost
Under $20
Estimated Time Investment
Afternoon Project (3-6 Hours)
Finish Used
I finished this with a very dark stain followed by two coats of white latex semi-gloss, then sanded back the edges to give it a distressed look. I covered it with three coats of polyurethane, which gave it a slightly off-white cast, which I wanted. Polycrilic would have been a better choice if I wanted it to remain bright white.

In figuring out how to finish the vanity, I looked at several of Ana's finish options, wanting a distressed white finish. The closest process to what I did is in the "Authentic Vintage Distressed Finish with Minwax Stain" post!
Recommended Skill Level
Beginner

Comments

Beginner farm table bench/outdoor seating

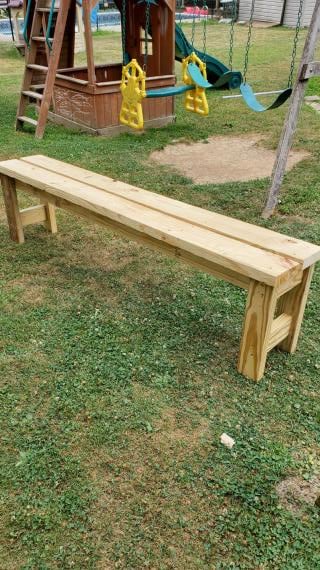
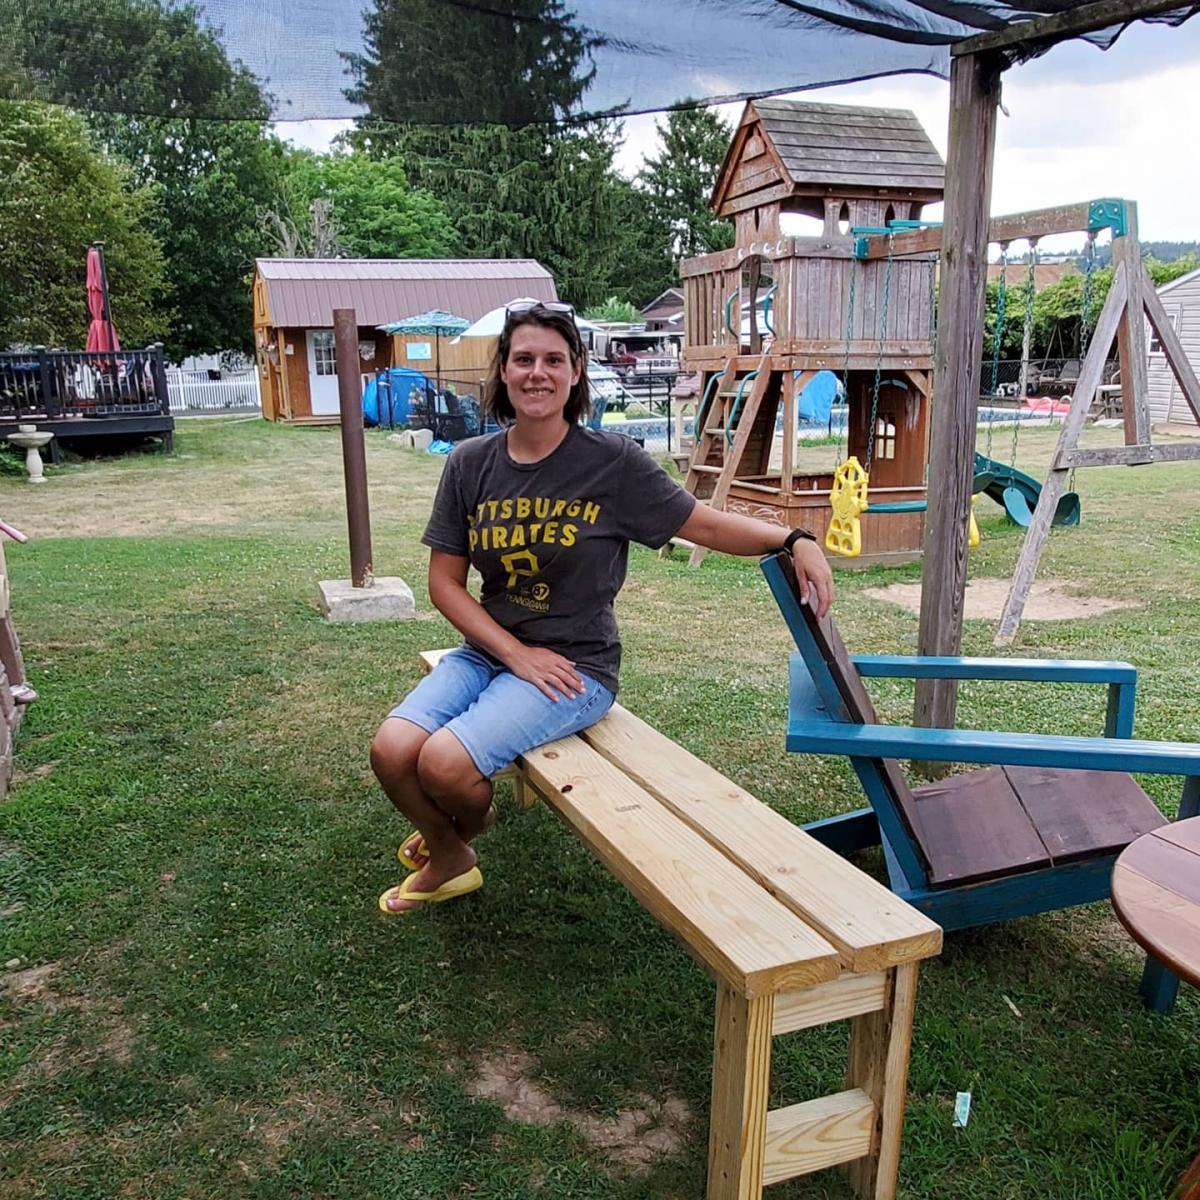
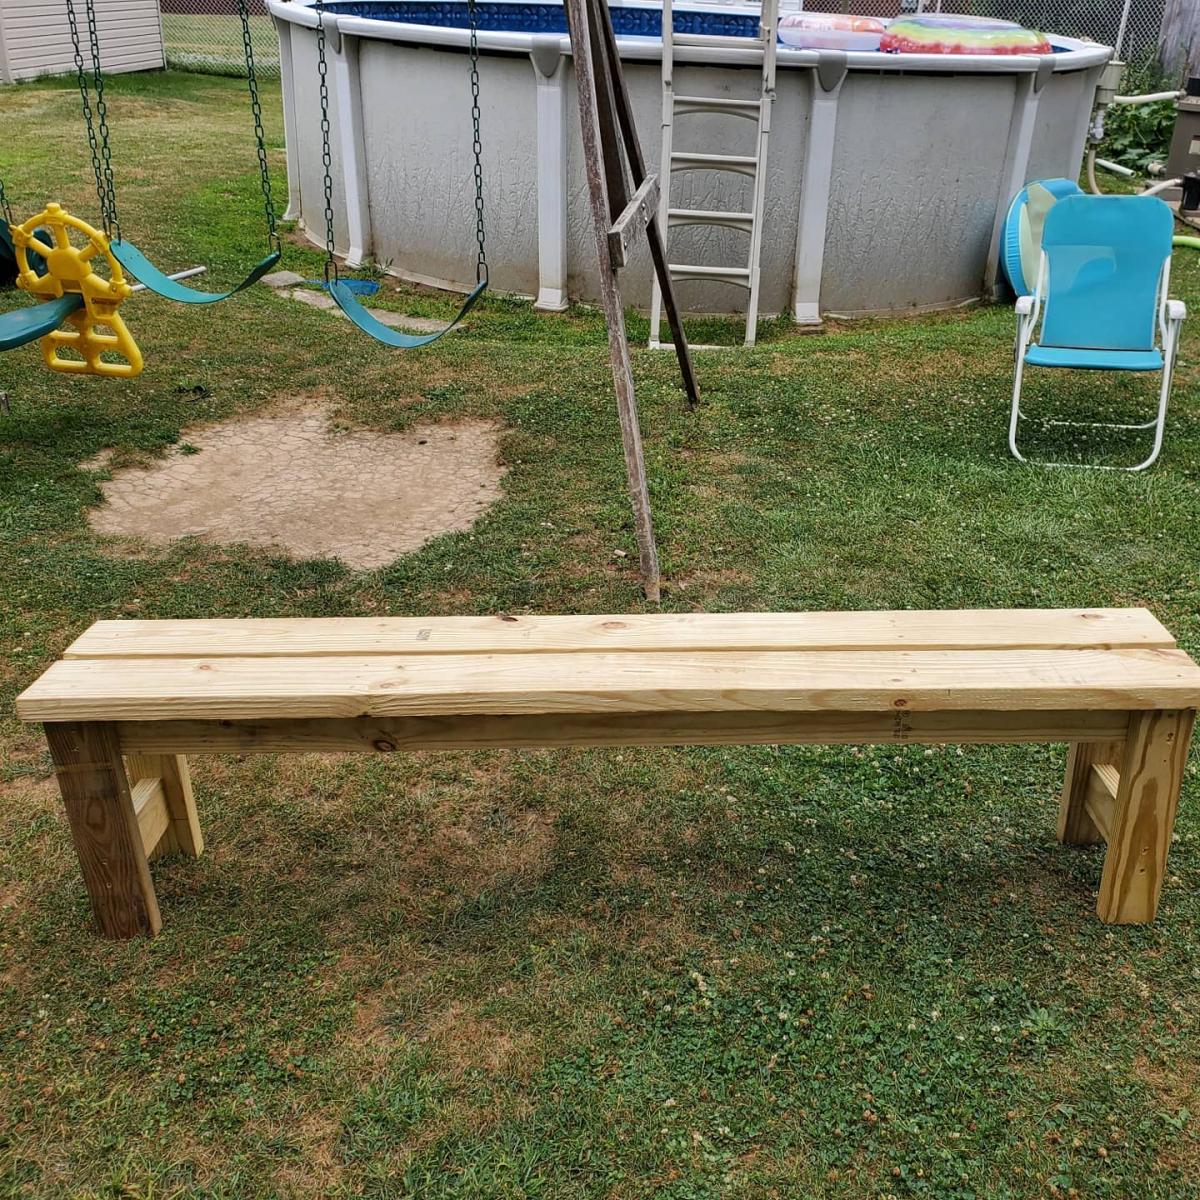
Great, sturdy, easy build!!! Looks amazing and will be my new picnic outdoor seating. I cannot wait to build the next bench and table to go along with it. Thank you for the plans!!!!

Estimated Time Investment
An Hour or Two (0-2 Hours)
Finish Used
I have not finished it yet, but will stain then use an outdoor poly.
Recommended Skill Level
Beginner

Ryan's Washer/Dryer Pedestal

Submitted by zoolander on Fri, 12/05/2014 - 17:25

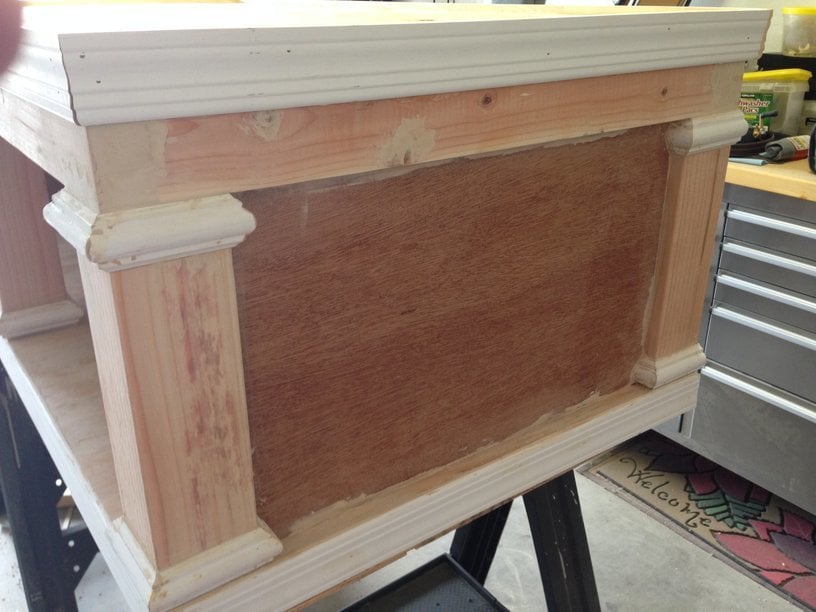
I loved this design.  I couldn't believe that they wanted to charge me almost $600 for the pedestals for the washer/dryer set that I bought on black friday, so I decided to give this project a go.  I basically used the same construction plans from Sausha's project, but I dressed mine up a bit.  First, I chose a bit larger trim for the tops and bottoms of the posts.  Then, I bought some 2" baseboards and did the top and bottom with baseboards.  On the bottom, I had to use my tablesaw to trim off about 1/2" because I used 1x1" boards on the bottom so that I could have more space for baskets.  Then, on the top, I inverted the baseboard and allowed it to overlap a bit so that if it were to vibrate, the washer/dryer could not fall off the edge.  I also added some fabric on the top (stuff that I use to cover the bunk boards on my boat trailer...kind of like a very thick and durable felt material) to cut down on vibration and also keep the units in place.  Finally, I added sides by using wedge trusses on the inside of my side posts and then I put a 1/8" piece of plywood over top and nailed/glued it to the trusses.

It turned out great.  Thanks for the plans Sausha!
Estimated Cost
$125
Estimated Time Investment
Weekend Project (10-20 Hours)
Finish Used
paint
Recommended Skill Level
Intermediate

Comments

Zlk200

Mon, 12/21/2015 - 17:38

Did you use sanded plywood? Did you use any veneers for the exposed 2x4's to get a smooth finish or did you paint right on it?

lastly, what is the name of the trim you put on the 4x4s? I've hard a hard time finding it. Thank you!
In reply to by Zlk200

zoolander

Wed, 06/29/2016 - 13:59

Sorry for the super delayed response.  I didn't realize this question was here.  I did not plane anything.  I did sand the surfaces a bit, but I didn't get too crazy.  I put 3 thick coats of paint on it which made it pretty smooth.  If you look very closely in person, you can still see a bit of wood grain, but it is only noticable if you really get down and look.  I did use a lot of wood putty to fill all of the gaps and crevaces and then I sanded those parts pretty well.  


With regard to the trim, the top literally just standard baseboard material turned upside down, and then the little trim on the tops and bottoms of the 4x4s is just another standard strip of moulding that I got from Lowes.  I think they call it "Chair Rail" moulding.  Its the stuff that you put down if you are doing some sort of paint separation or wainscoting.

http://www.lowes.com/pd/1-625-in-x-12-ft-Mdf-Chair-Rail/3403018

I used woodglue on all of the moulding and tacked it on with a nail gun.  Then I filled all of the nail holes with wood putty and also use the putty to fill gaps where the corners came together to make that look smooth.

I hope that helps...you are probably already done with your project by now, but I figured that I would answer anyway.  :)

Shabby Chic Farmhouse Bed

Submitted by RVmama on Fri, 02/08/2013 - 18:18

This was our first major project, so we learned a lot while we were doing it. We painted our bed white, and rather than using metal bed rails (which no one seemed to sell), we improvised and fastened 2x4s to the inside of our side rails. Then we cut slats to rest on the 2x4s and run the width of the bed. The 2x4s lend great stability to the side rails, and are much less costly, not to mention easier to obtain. ($10 vs. $75) This bed is sturdy and solid. I think we will be handing it down to our grandchildren in fifty years!

Recommended Skill Level
Beginner

King Modern Farmhouse Bed

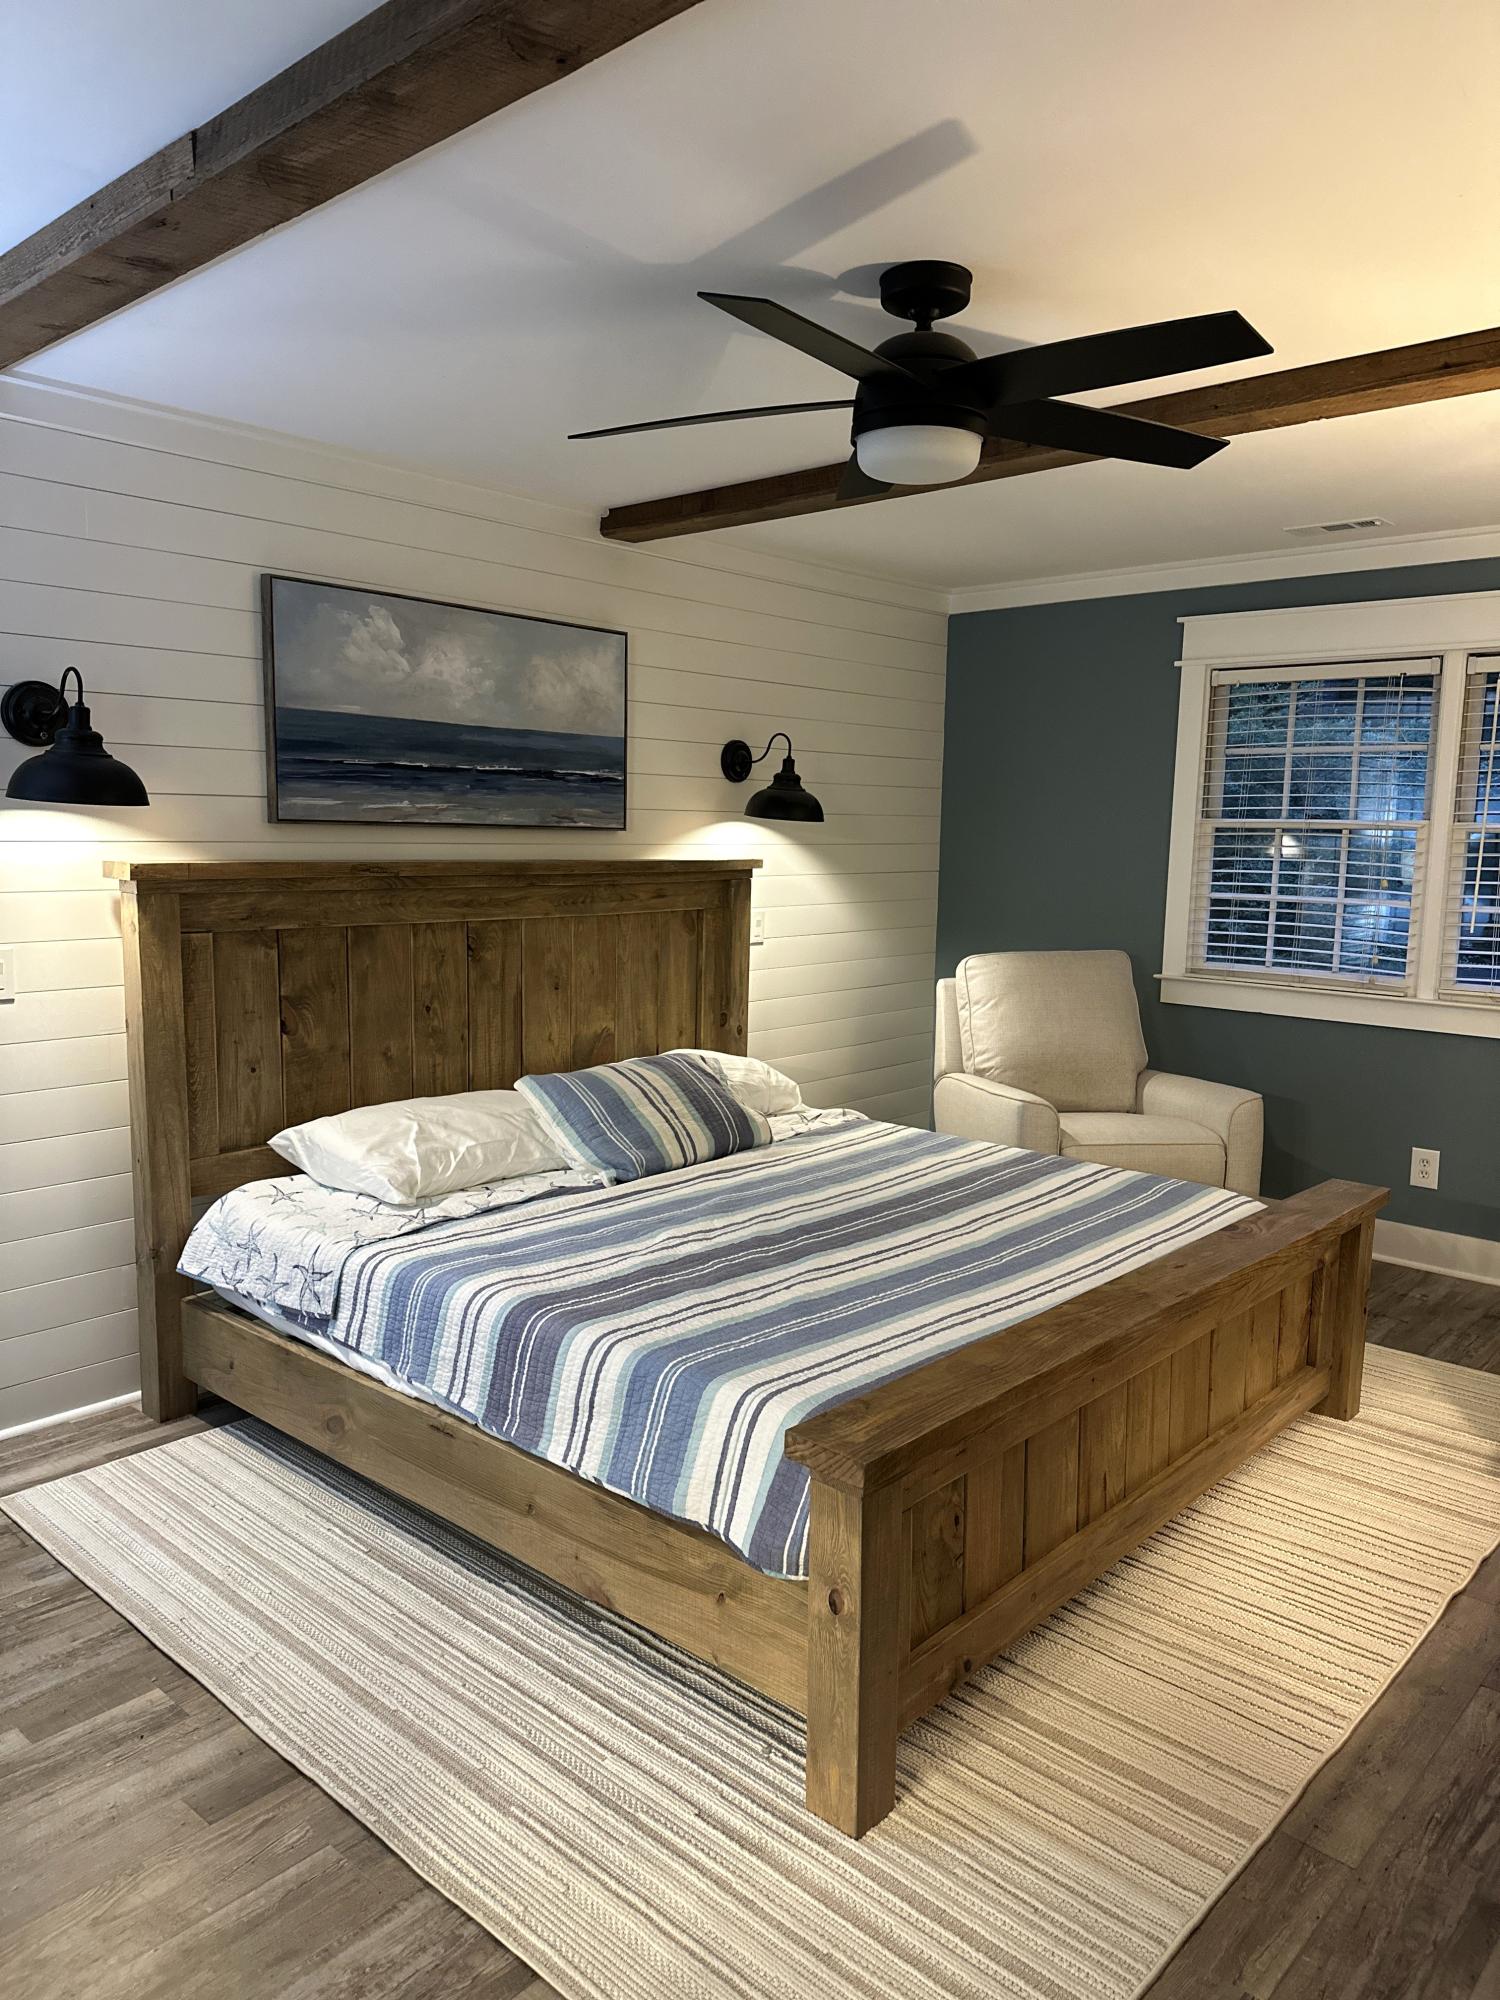
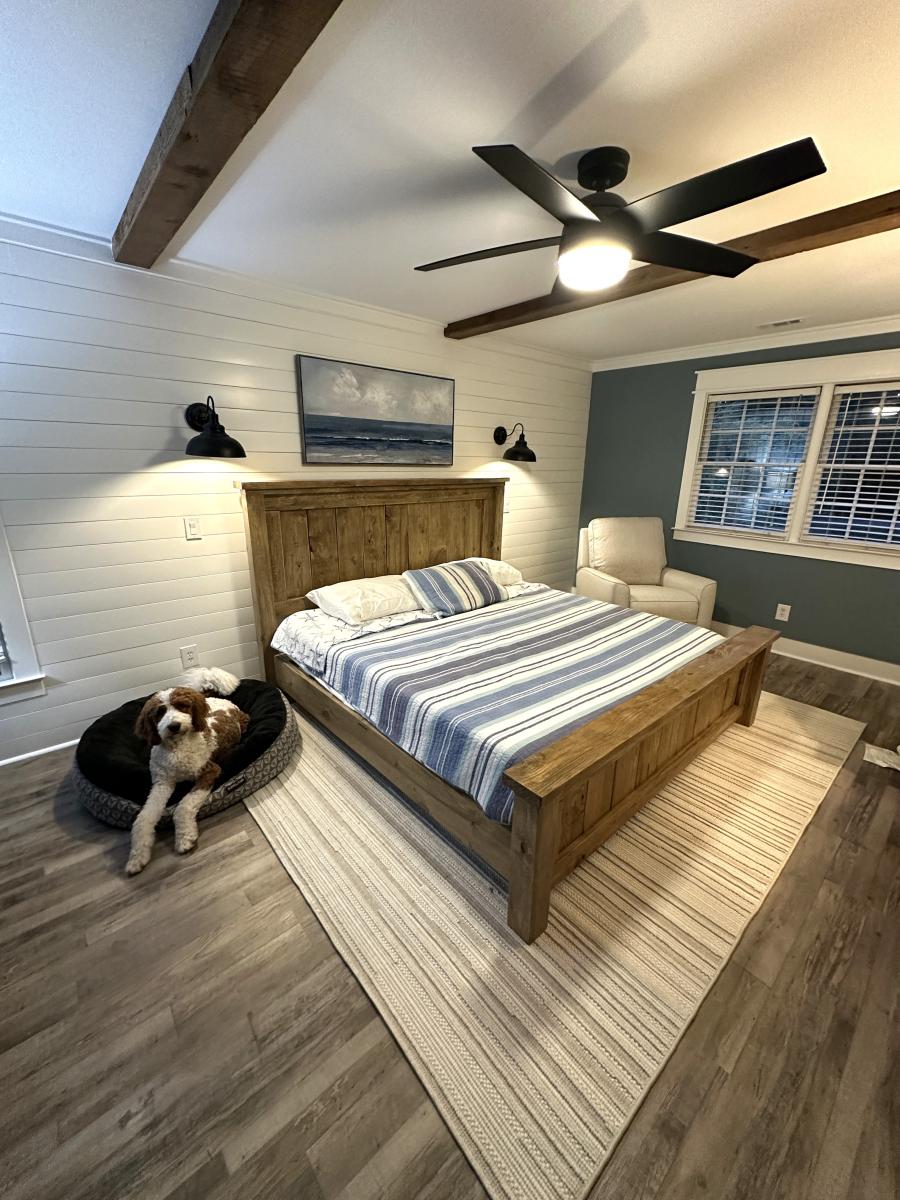
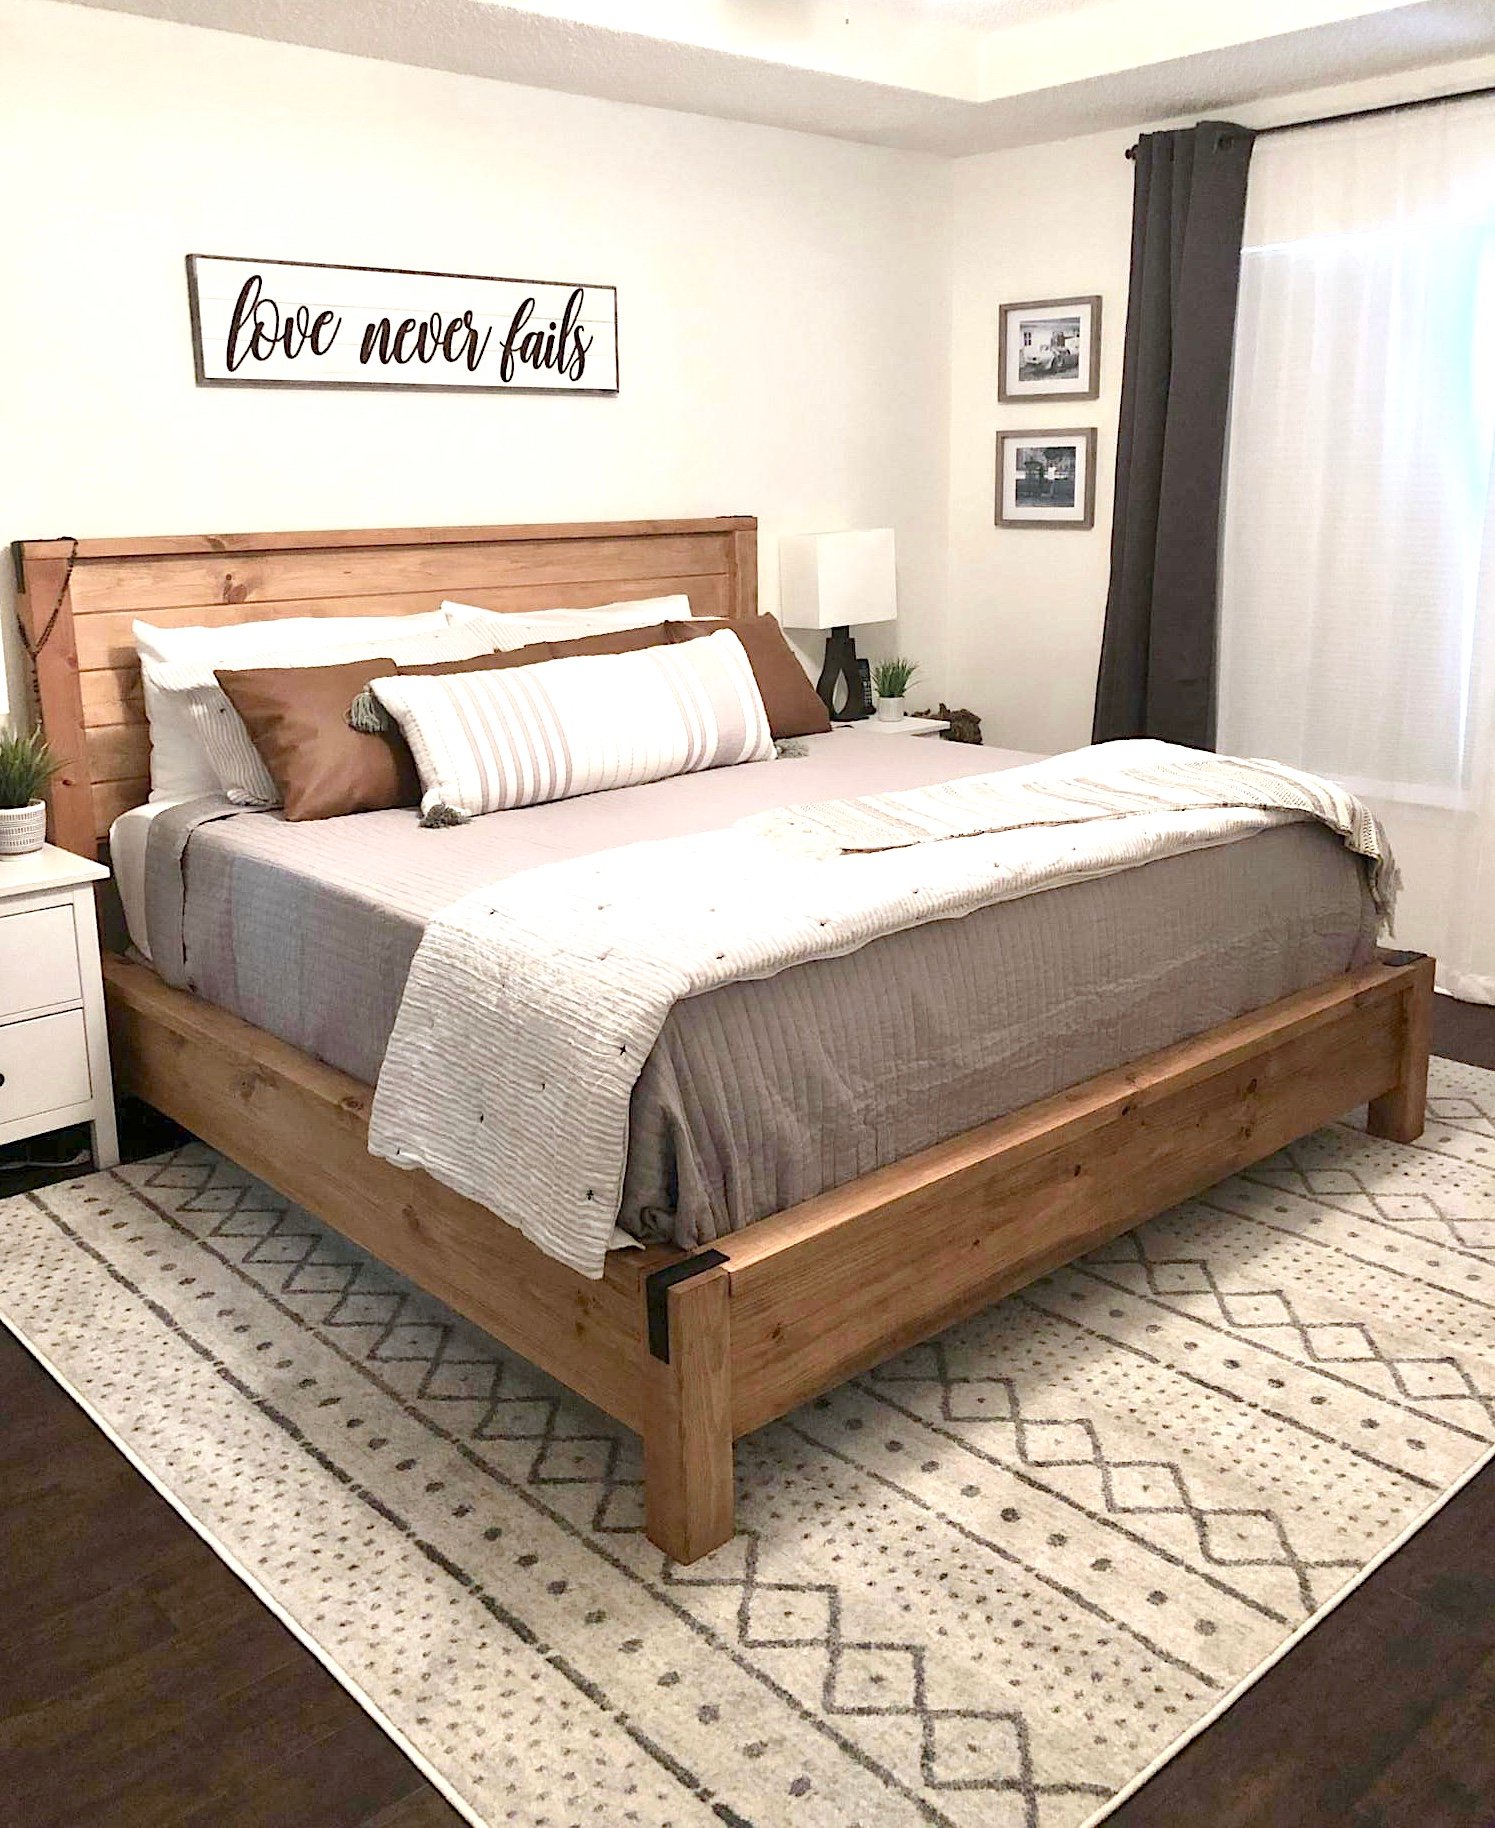
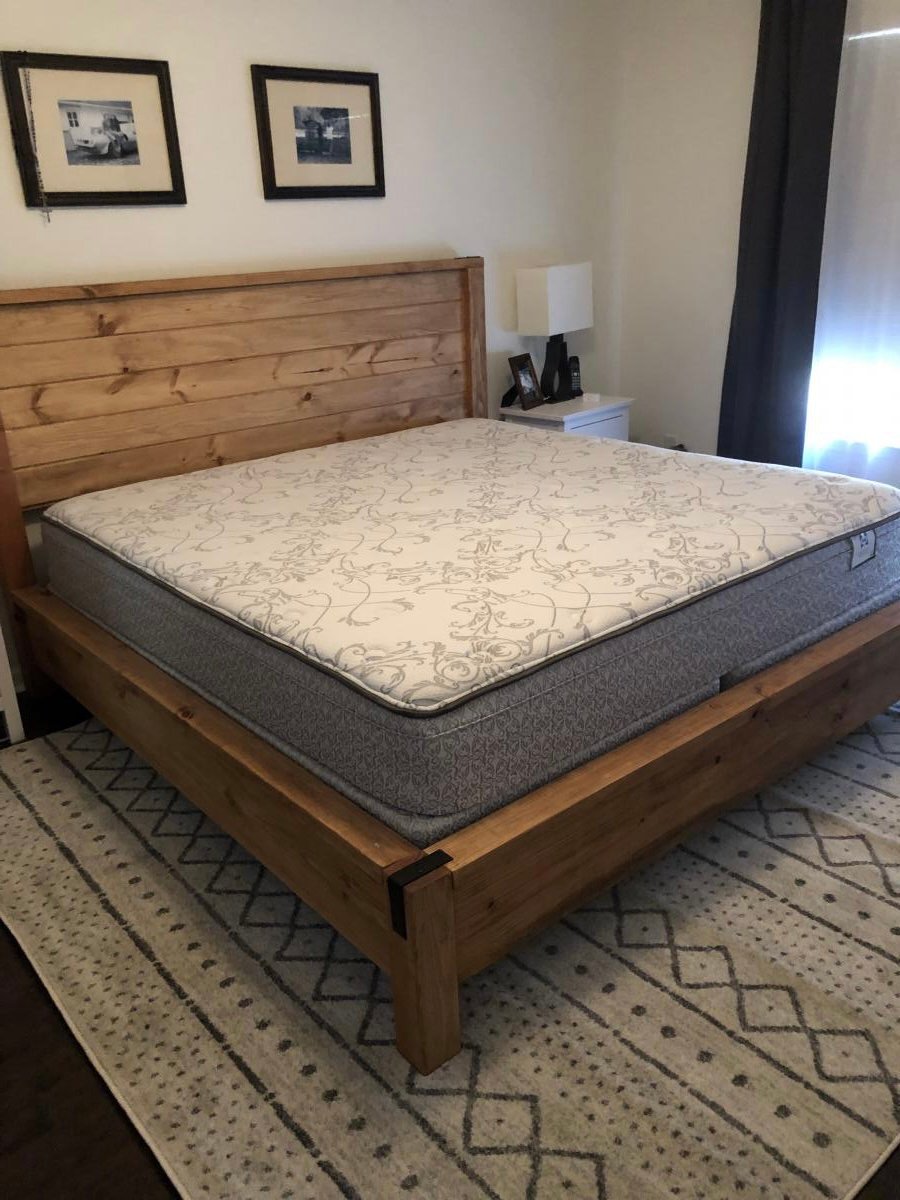
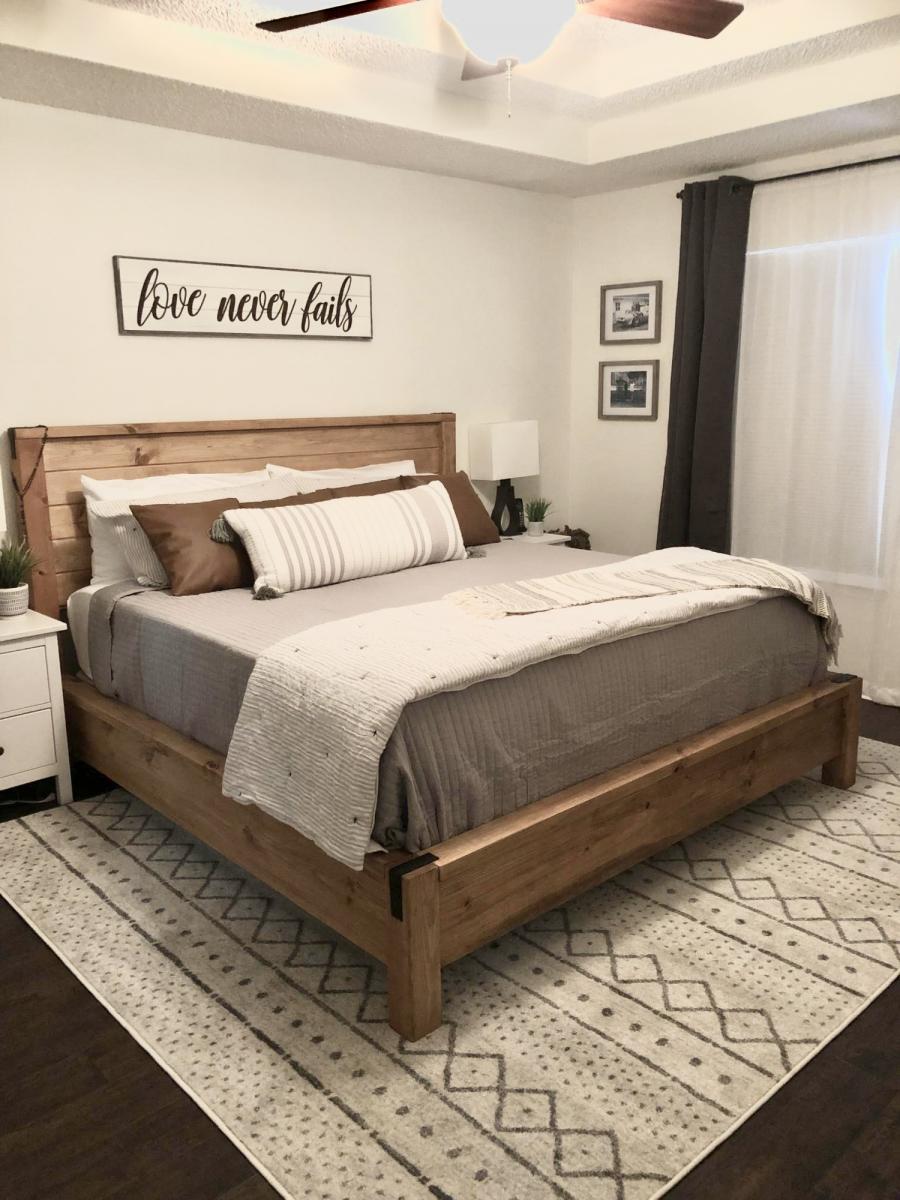
Made this bed from Ana's plans. Modified it with rail so I can add my box spring. Cost was approximately $160 for lumber, screws and stain. Absolutely loved the plans and easy to follow or modify if needed.

Built from Plan(s)
Estimated Cost
160.00
Estimated Time Investment
Afternoon Project (3-6 Hours)
Finish Used
Minwax wood conditioner, Minwax Special Walnut Stain
Recommended Skill Level
Intermediate

Comments

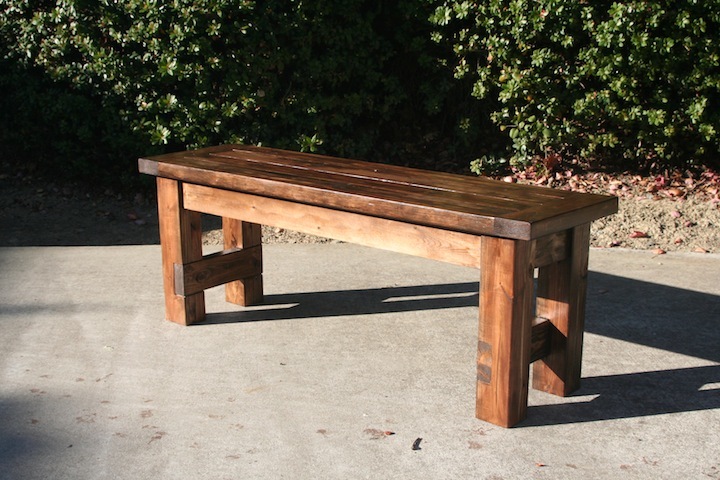
Farmhouse Bench

Submitted by jasonD on Thu, 04/04/2013 - 17:46

Bench was an experiment. Wanted to see how the style looks in the kitchen. The wife loved it, so onto the farmhouse table.

Estimated Cost
$30
Estimated Time Investment
Afternoon Project (3-6 Hours)
Finish Used
watco danish oil dark walnut with a coat of poly for top.. Black paint for bottom.
Recommended Skill Level
Beginner

Foldable Farmhouse Rustic Dining Table

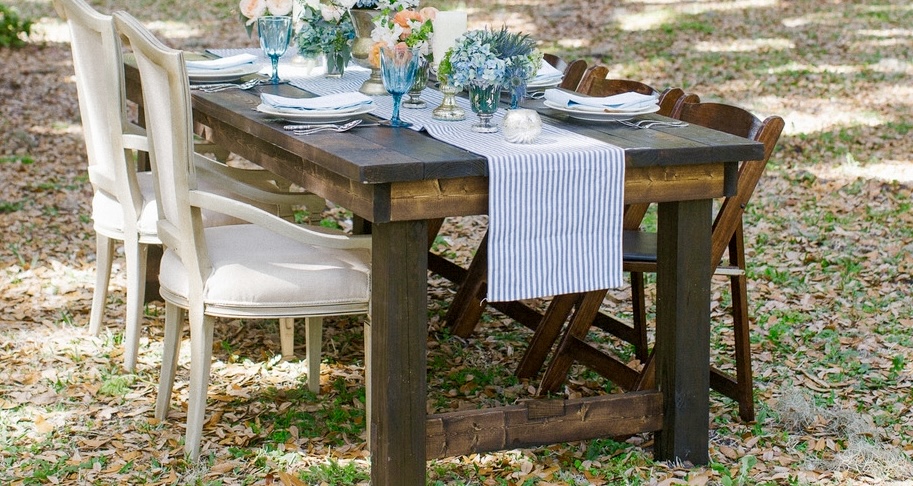
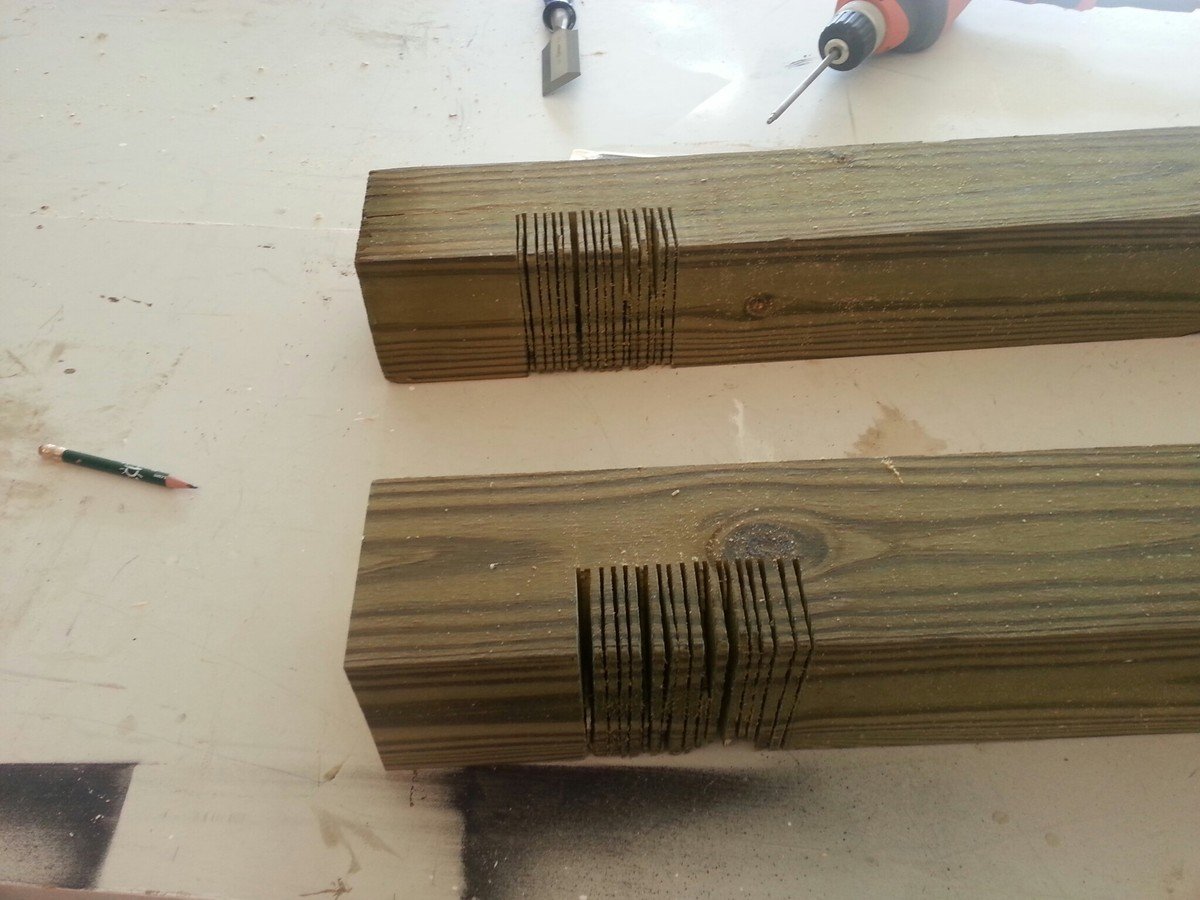
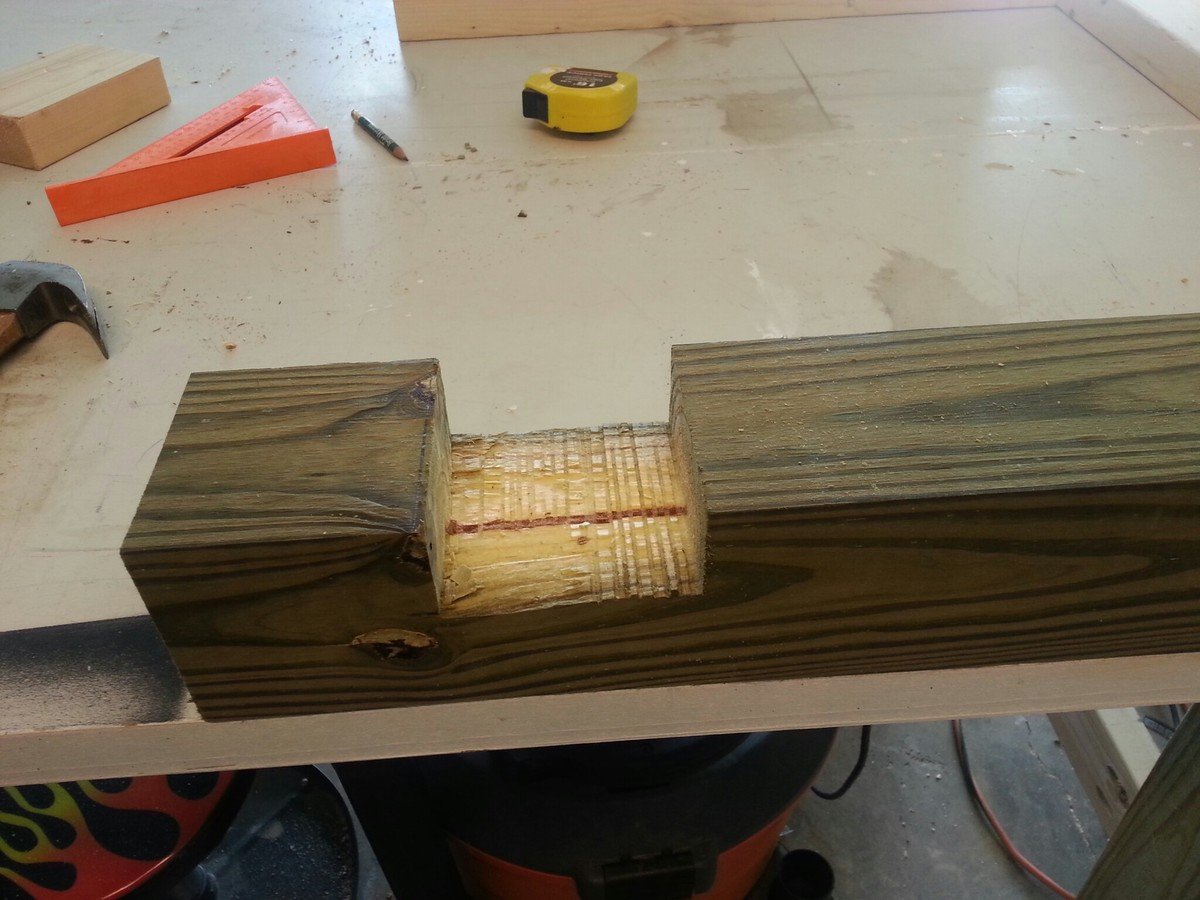
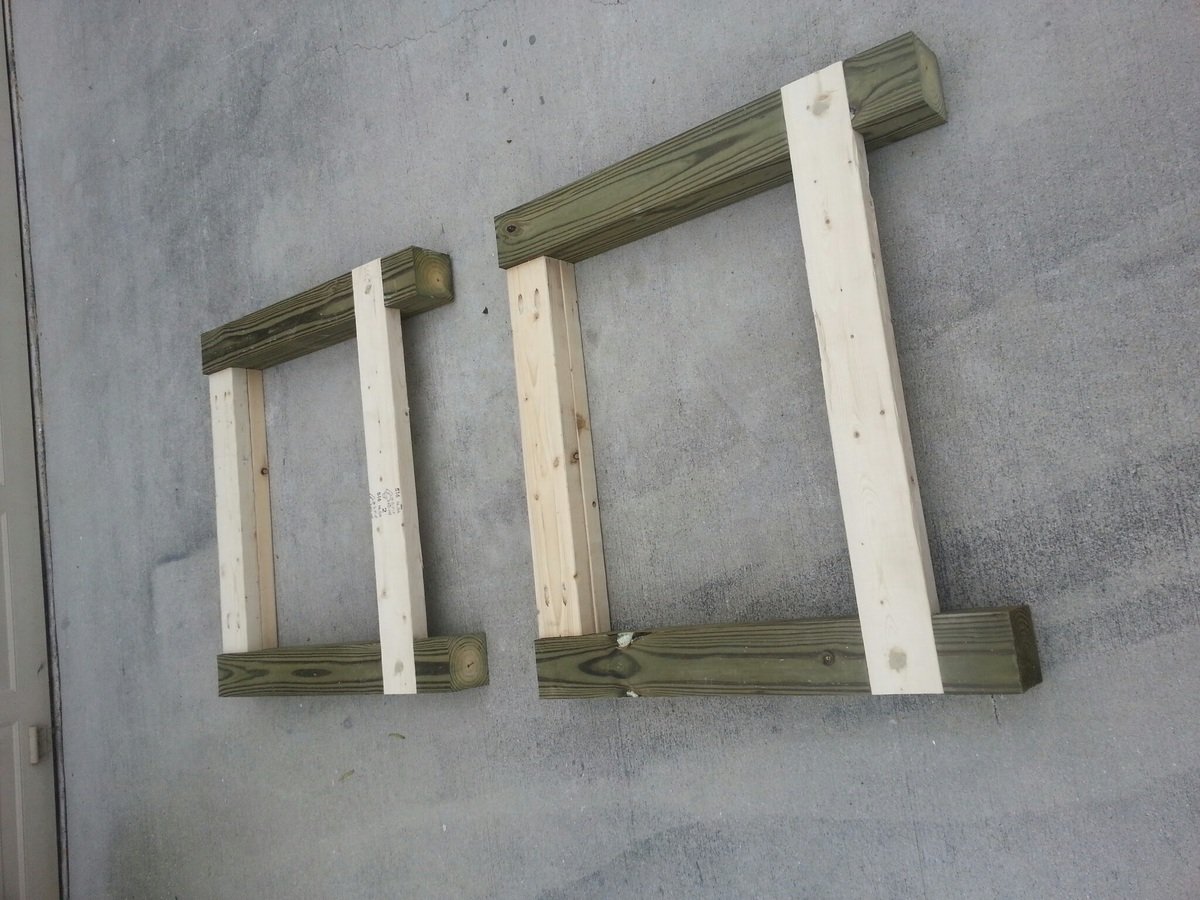
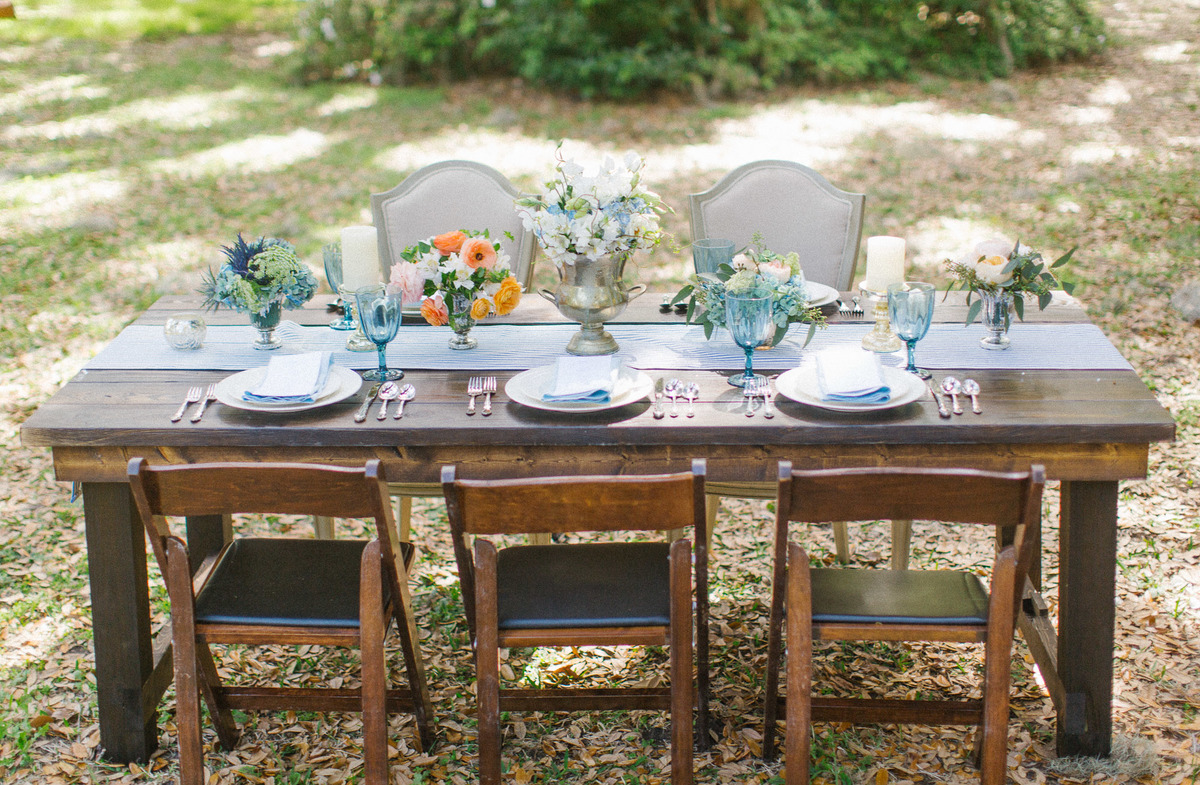
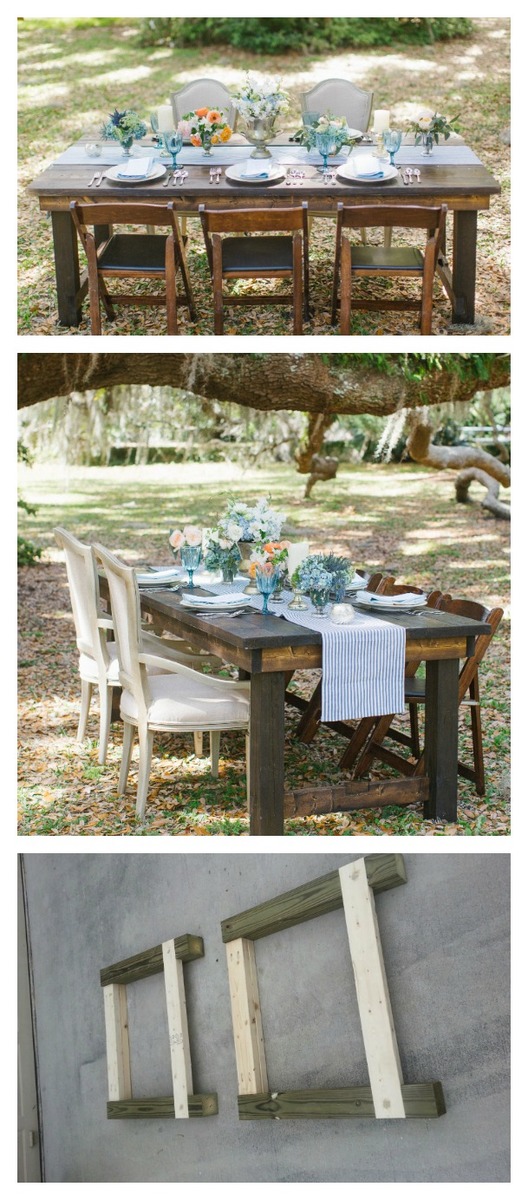
My wife wanted a portable farmhouse style rustic dining table that she could take to photoshoots and other events. I started with a top made with 2x6s and make the legs with 4x4s and the rest with 2x4s. Stain is dark walnut with a clear coat on top.

The legs are attached with door hinges and can fold into the top for more portable use. There is also a board that can be inserted in the bottom slots so that when in use the legs can not fold in.

So far the rustic dining table is working out great, although this table is VERY HEAVY and needs 2-3 strong people to carry it around. I have also made a lighter version using 1x6 tops and all 2x4 frame and legs.

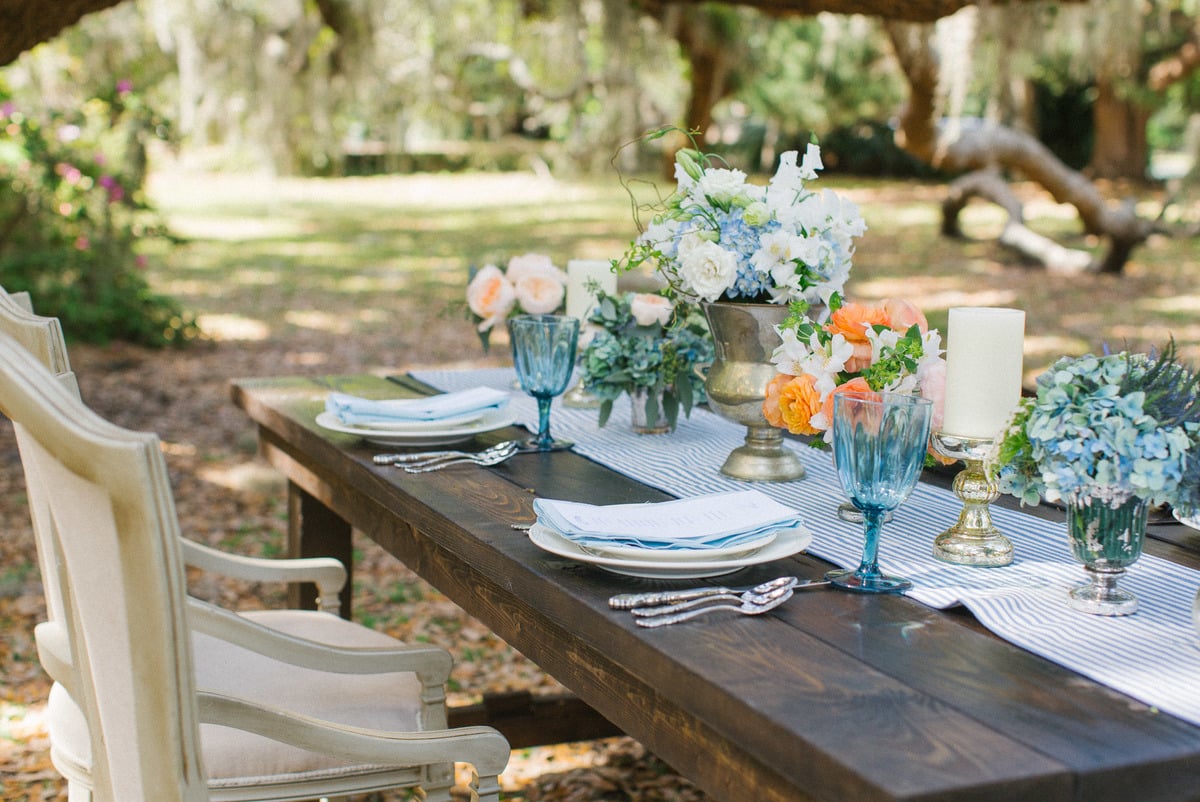
Photos courtesy of Jennifer Blair Photography Designed by Amber Veatch Designs

Estimated Cost
150.00
Estimated Time Investment
Weekend Project (10-20 Hours)
Finish Used
Miniwax Dark Walnut
Recommended Skill Level
Intermediate

Comments

Juanita_r

Wed, 06/12/2013 - 04:15

Oh I really hope that you are able to put these modified plans up!!! A foldable farmhouse table.... what will they think of next!

Unicorn1960

Sat, 10/22/2016 - 17:21

I cannot find the plans for the tiny house drawers any where.  Can someone please point me in the right direction.  Thank you! 

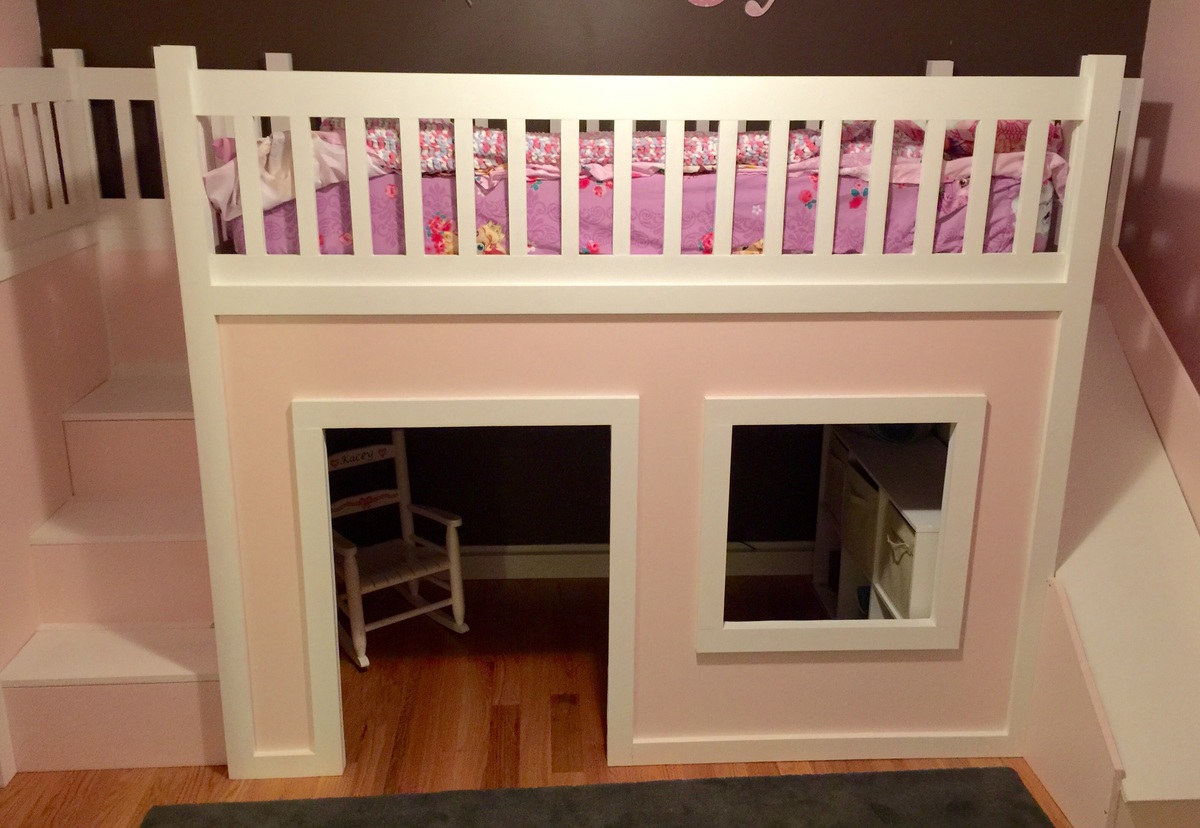
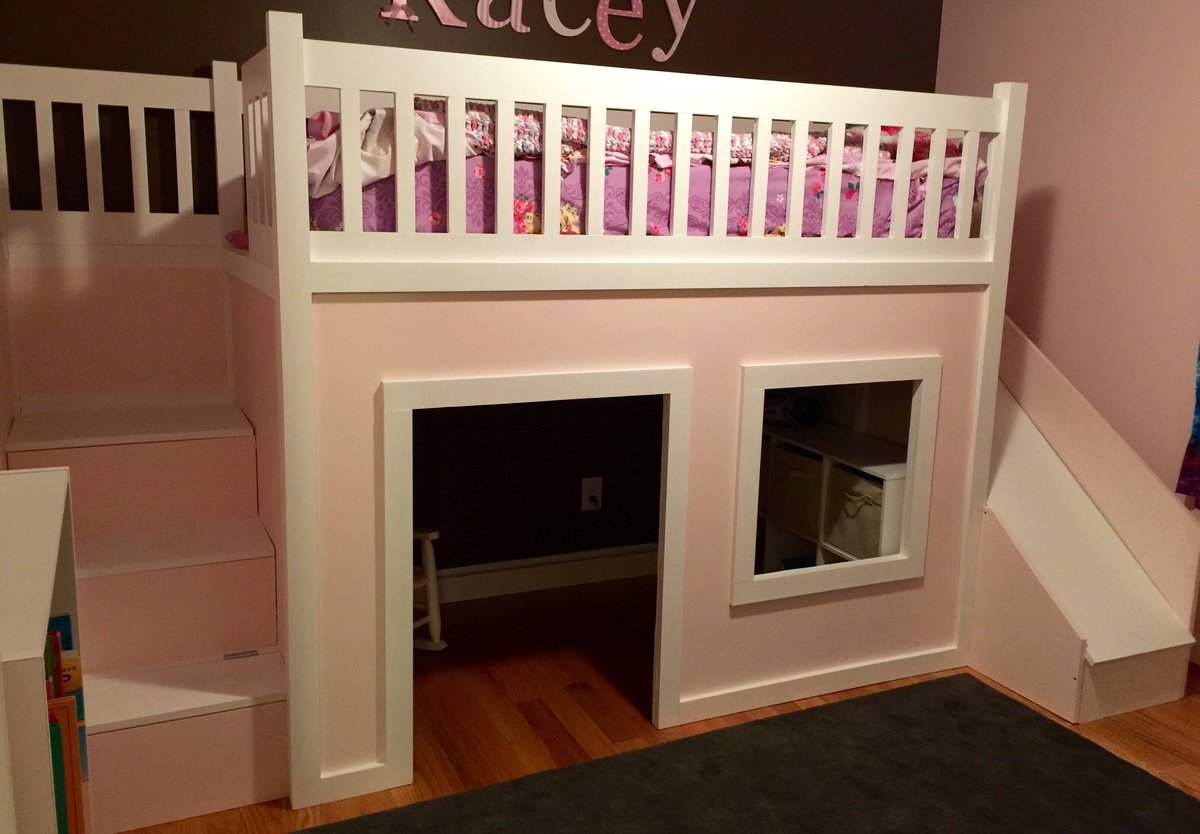
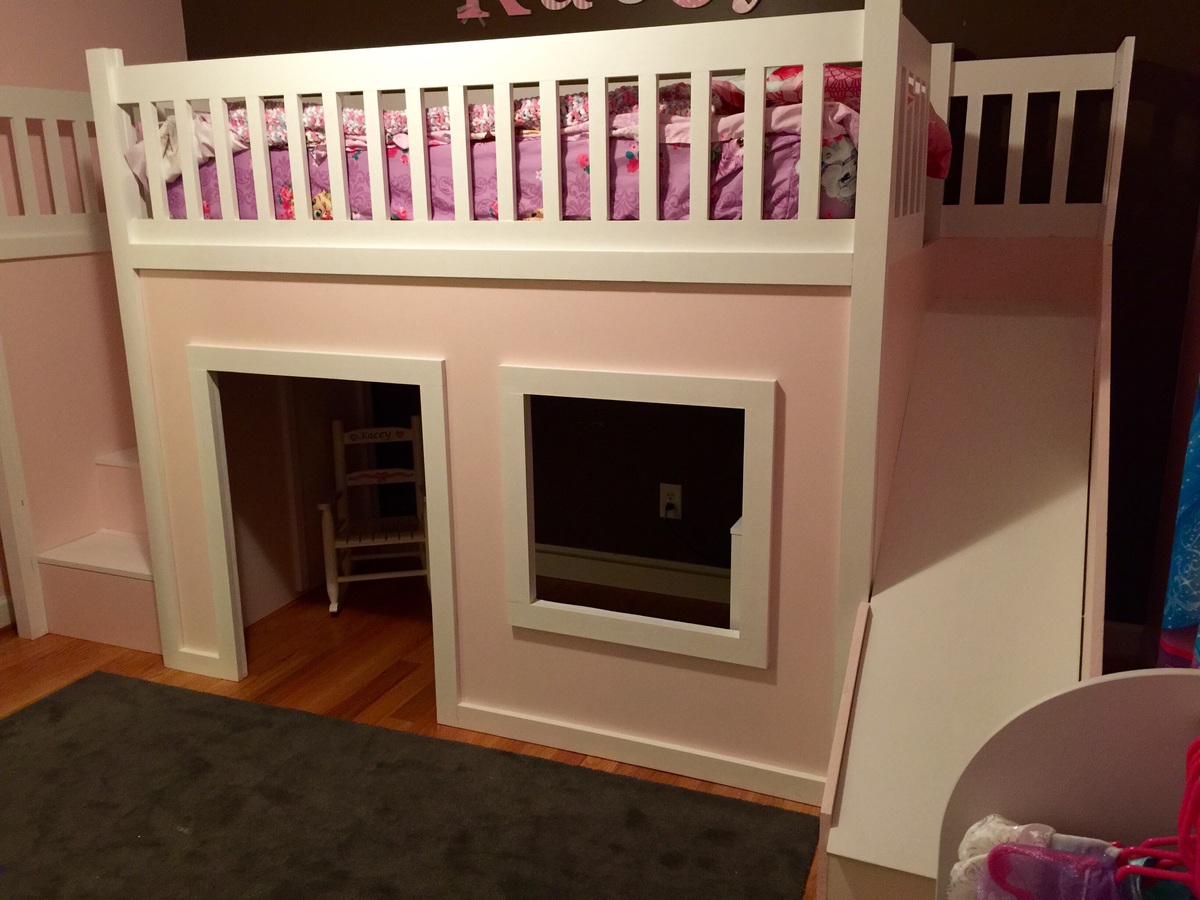
Playhouse loft bed with stairs and slide

Submitted by alminter on Wed, 07/08/2015 - 21:29

This is by far the biggest project I've completed yet. It actually surprised me how easy it was to complete. It did take me about 4 days to build the project and an additional week to sand and paint the project.

I followed the playhouse loft plans and the storage stairs plans, adjusting only the back to allow for the additional length of the slide. I didn't add the windows to the sides (I didn't see any point in having them there). I also used the castle loft plans for the slide. When I first started this project I was planning on making the slide completely separate. I changed my mind mid project after I had the side wall cut to length at Lowe's, so I just added that small piece to the left of the slide to make up for the gap. I also made this project in 4 separate pieces (stairs, slide, front wall, back) so I could put it together in her room in one evening and not have to kick her out. Once we moved it to her room all I had to do was screw the four corners in and attach the back wall and bed slats.

I definitely recommend not using particle board. I had no idea what the difference was between particle board, mdf and plywood when I started this project. Particle board was less then half the cost of plywood, but looking back I would pay the extra for the plywood. I don't feel like the screws hold well in the particle board and it also chipped on the bottom some. I actually had a chunk come off in the corner where I must of screwed to closely to the edge. I'm sure this is basic knowledge for most, but for those newbies (like me) just a little tip.

I had a lot of fun building this bed (not so much sanding and painting) and learned a lot. Now off to browse for my next project :)

Estimated Cost
400-500
Estimated Time Investment
Week Long Project (20 Hours or More)
Recommended Skill Level
Beginner

Comments

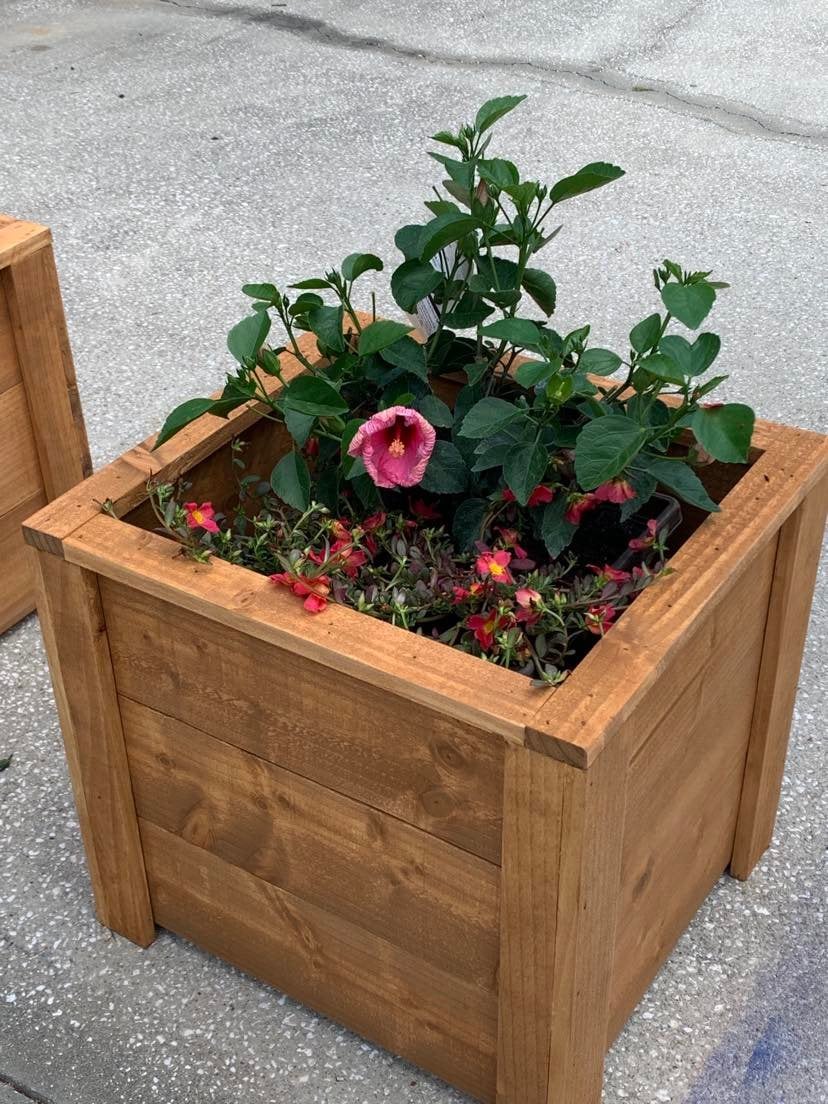
Picket Planter Boxes

Submitted by JaxCopper on Mon, 05/09/2022 - 19:09

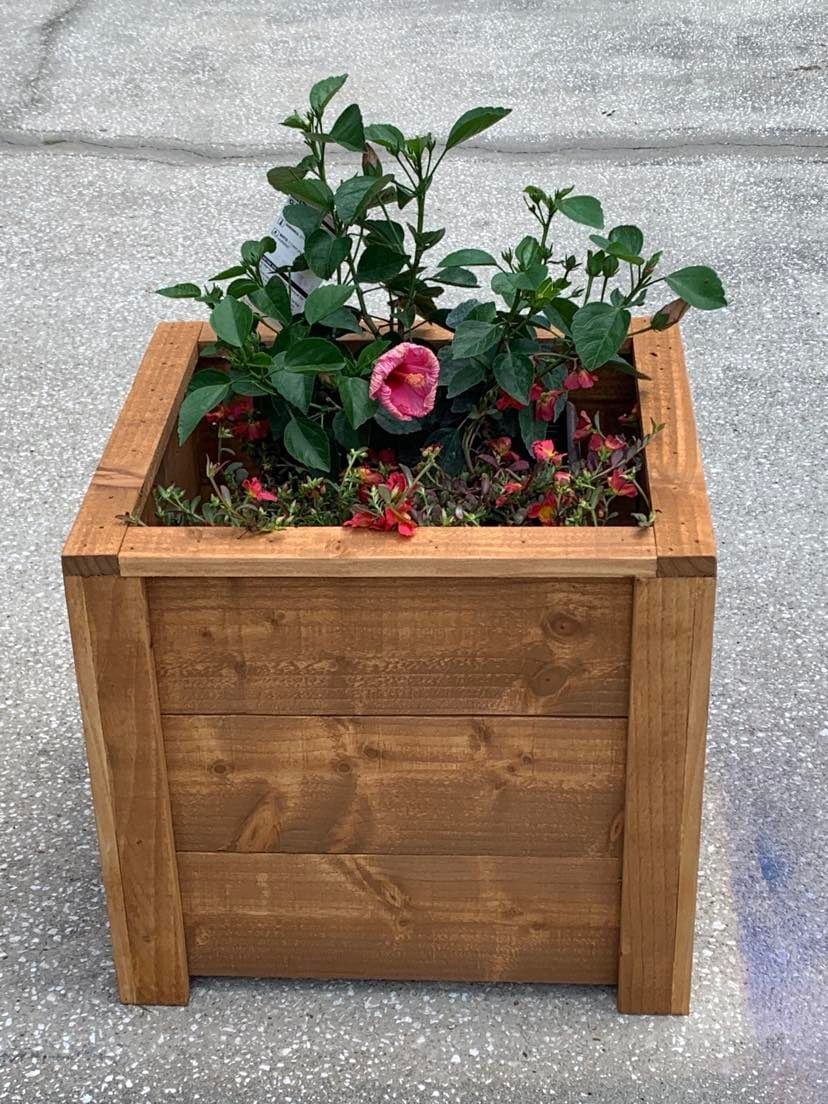
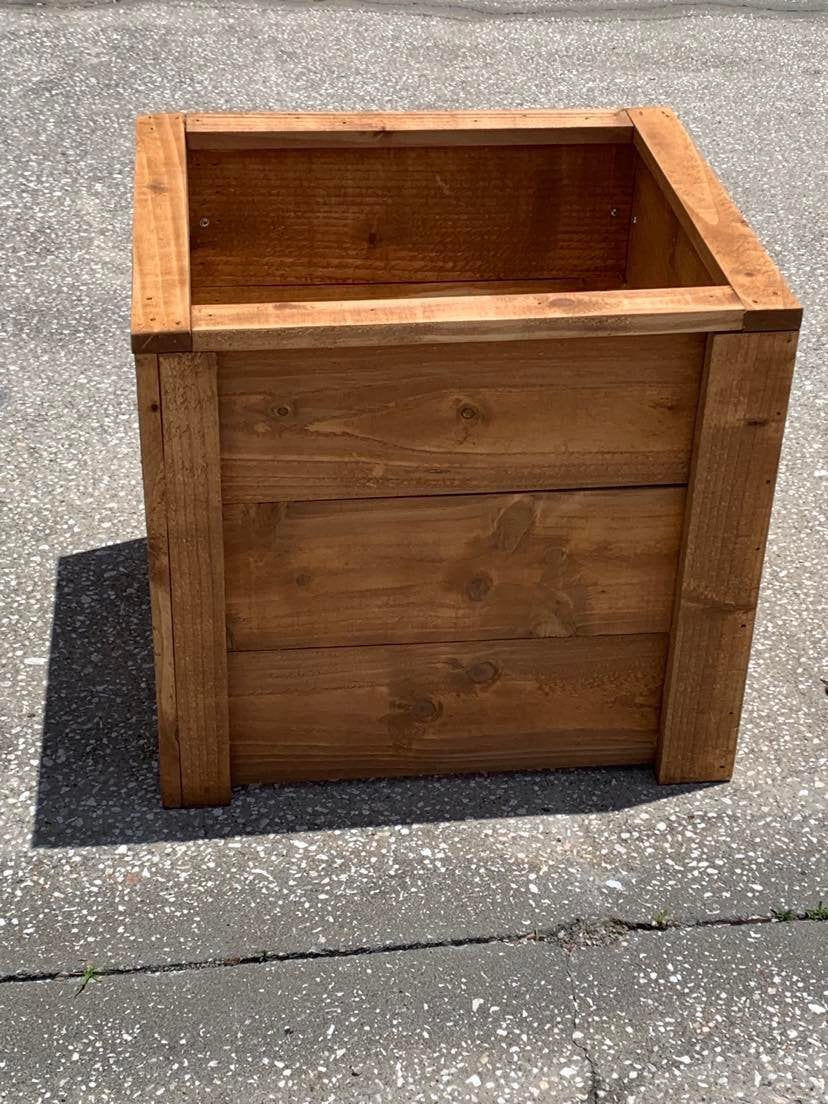
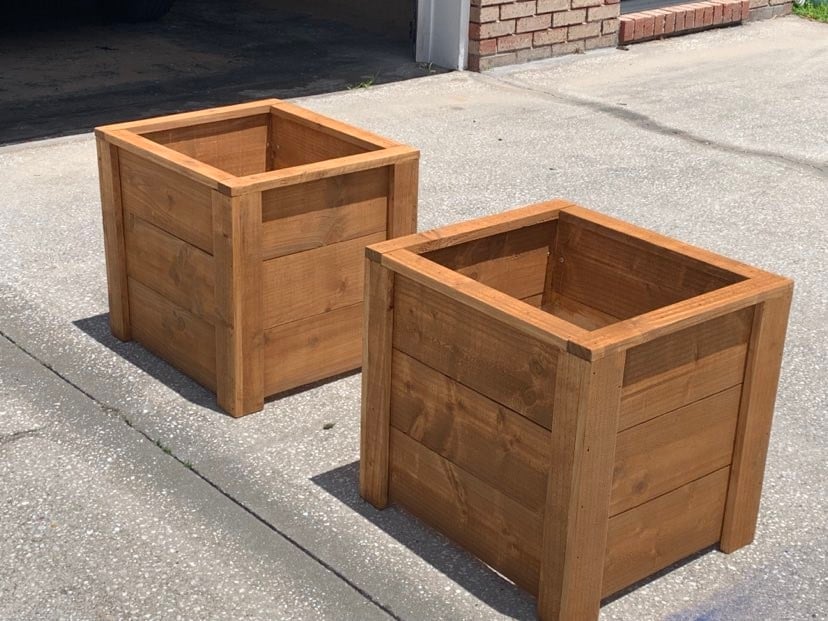
Thanks Ana, I built your planter box, actually built 2 of them, one for each mom. The were a huge hit and I already have people asking me to build them one.

So loved building this planter box. Thanks for all you do for your fellow woodworkers!

Dale G
Callahan, FL

Comments

Reclaimed Wood Night Stand

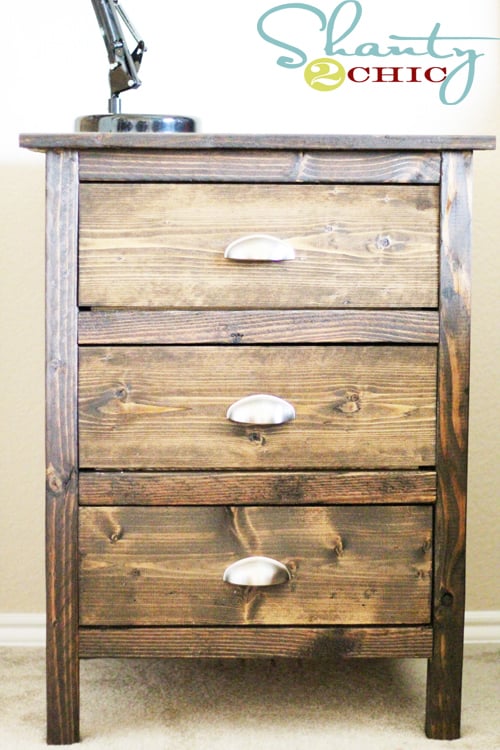
Love these night stands! I spent $40 on lumber for two night stands and $30 on the hardware! You can see more pics of my finished night stands at www.shanty-2-chic.com

Estimated Cost
$50 - $70
Estimated Time Investment
Day Project (6-9 Hours)
Finish Used
Minwax Dark Walnut Stain and Minwax Polycrylic
Recommended Skill Level
Intermediate

Comments

acgosiger

Mon, 08/29/2011 - 09:56

I am going to be making these for our master bedroom (hubby and I currently do not have matching night stands). NOw that i see them finished i am even more excited! You did a fantastic job on them!

takahler (not verified)

Mon, 08/29/2011 - 20:10

We made two of these same night stands earlier this month. I haven't taken a good enough picture to post on here. I need to do that. Great job!

Guest (not verified)

Wed, 09/28/2011 - 22:17

This is wonderful. I'm looking for something similar to build in the next couple weeks. Could you share the plans for it please?

Toni (not verified)

Mon, 05/28/2012 - 06:25

My hubby made these for my daughter and they turned out awesome.So now I have to have them too. He is working on them now, but we are making them out of some oak we already had. Can't wait. Now I need a matching headboard!! Looking for plans...

Mudroom Hutch

Submitted by Anonymous (not verified) on Fri, 11/18/2022 - 09:51

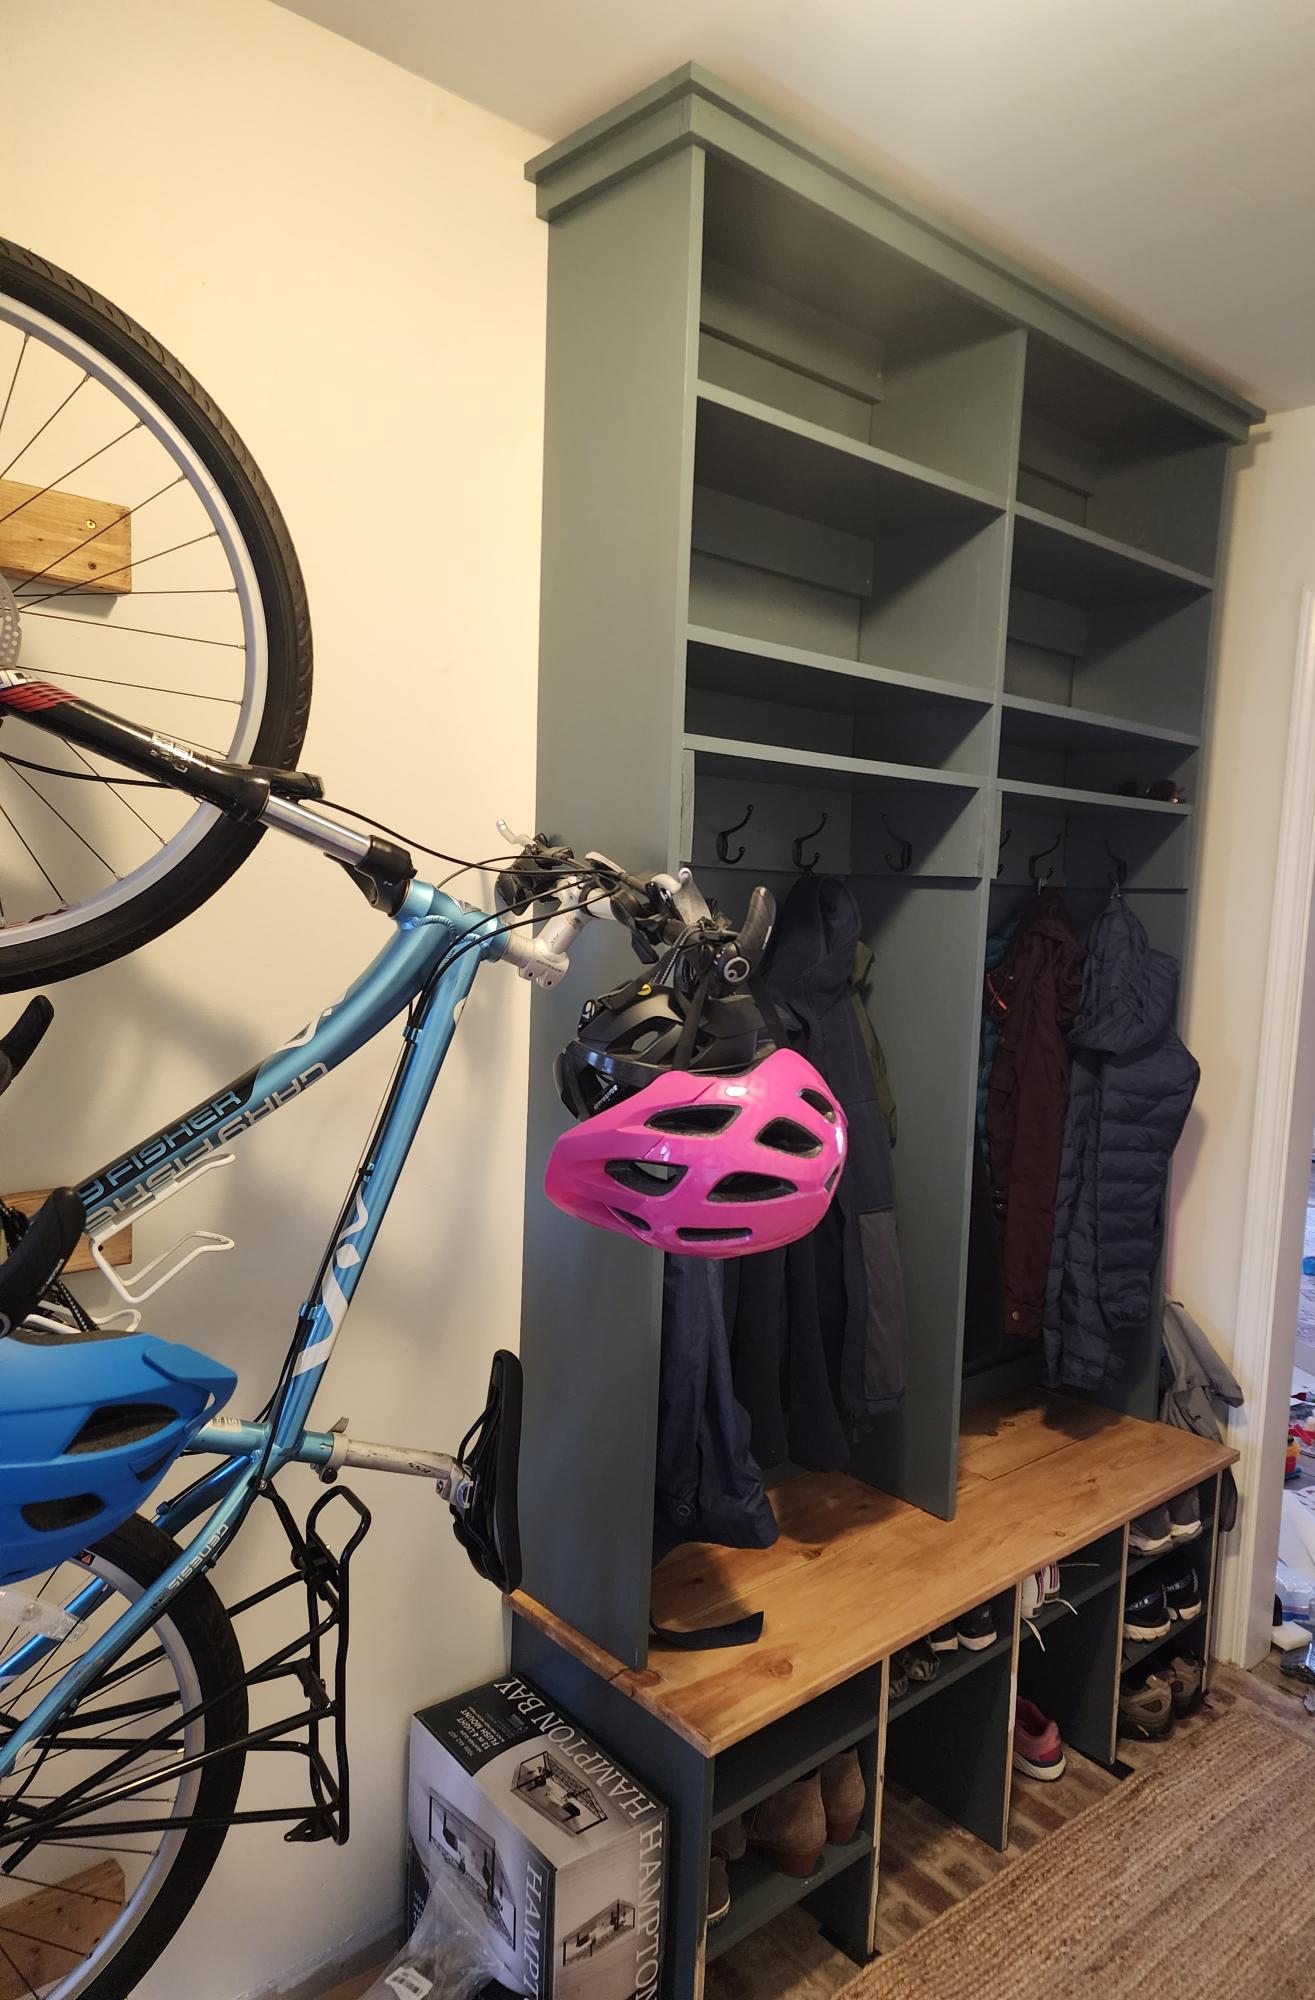
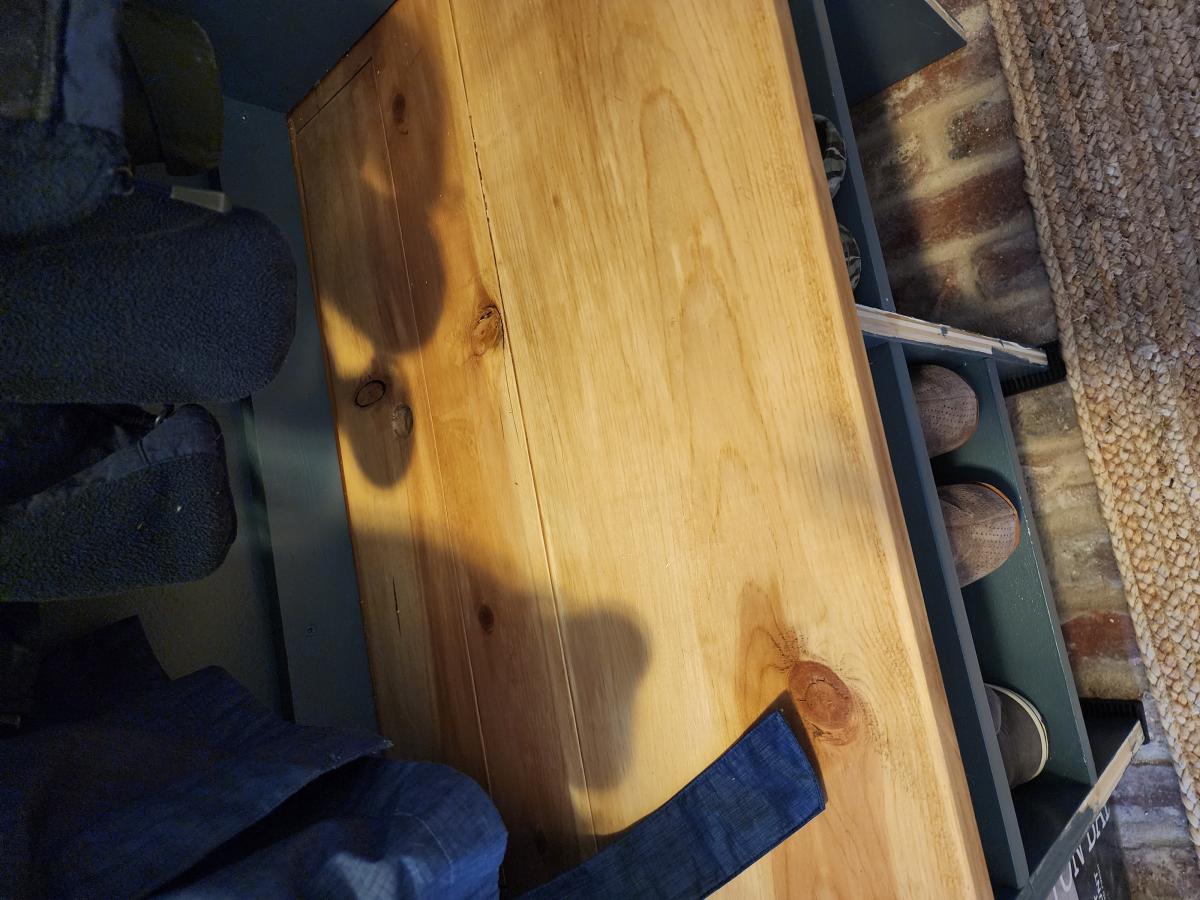
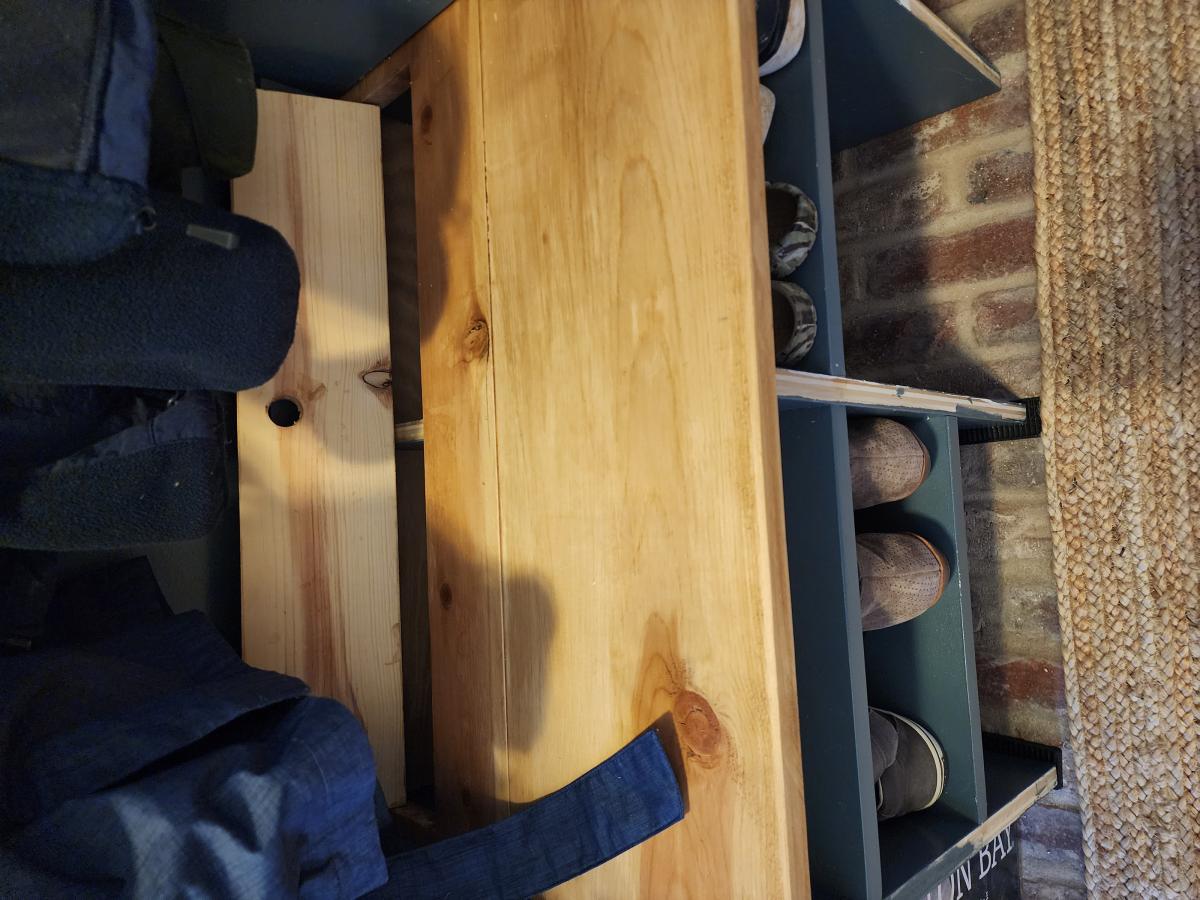
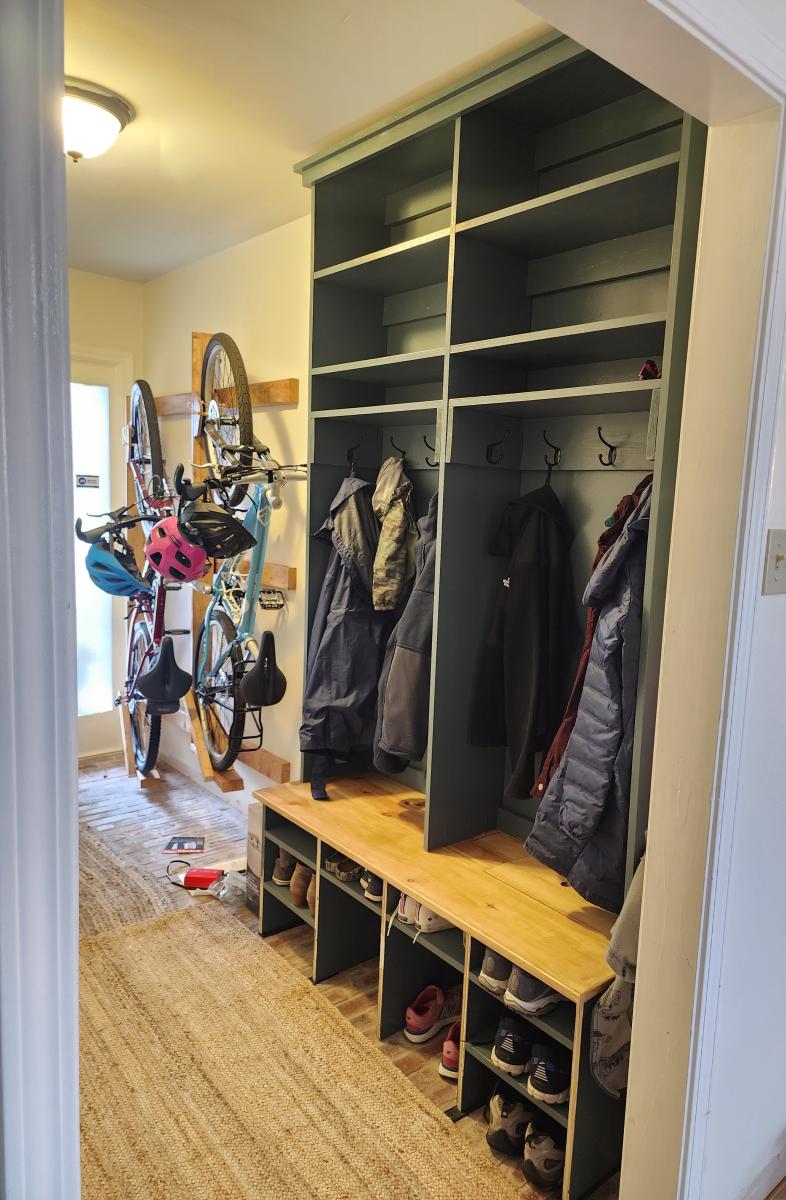
I have been dreaming of this project for YEARS! I used shelfhelp to design the shelf size and the open bottom mudroom plans with matching hutch and the plan with lift up boot storage for inspiration. I still need to add trim but I'm so excited I couldn't wait to say THANK YOU for all the inspiration and help! We absolutely LOVE it!!

Comments

Back