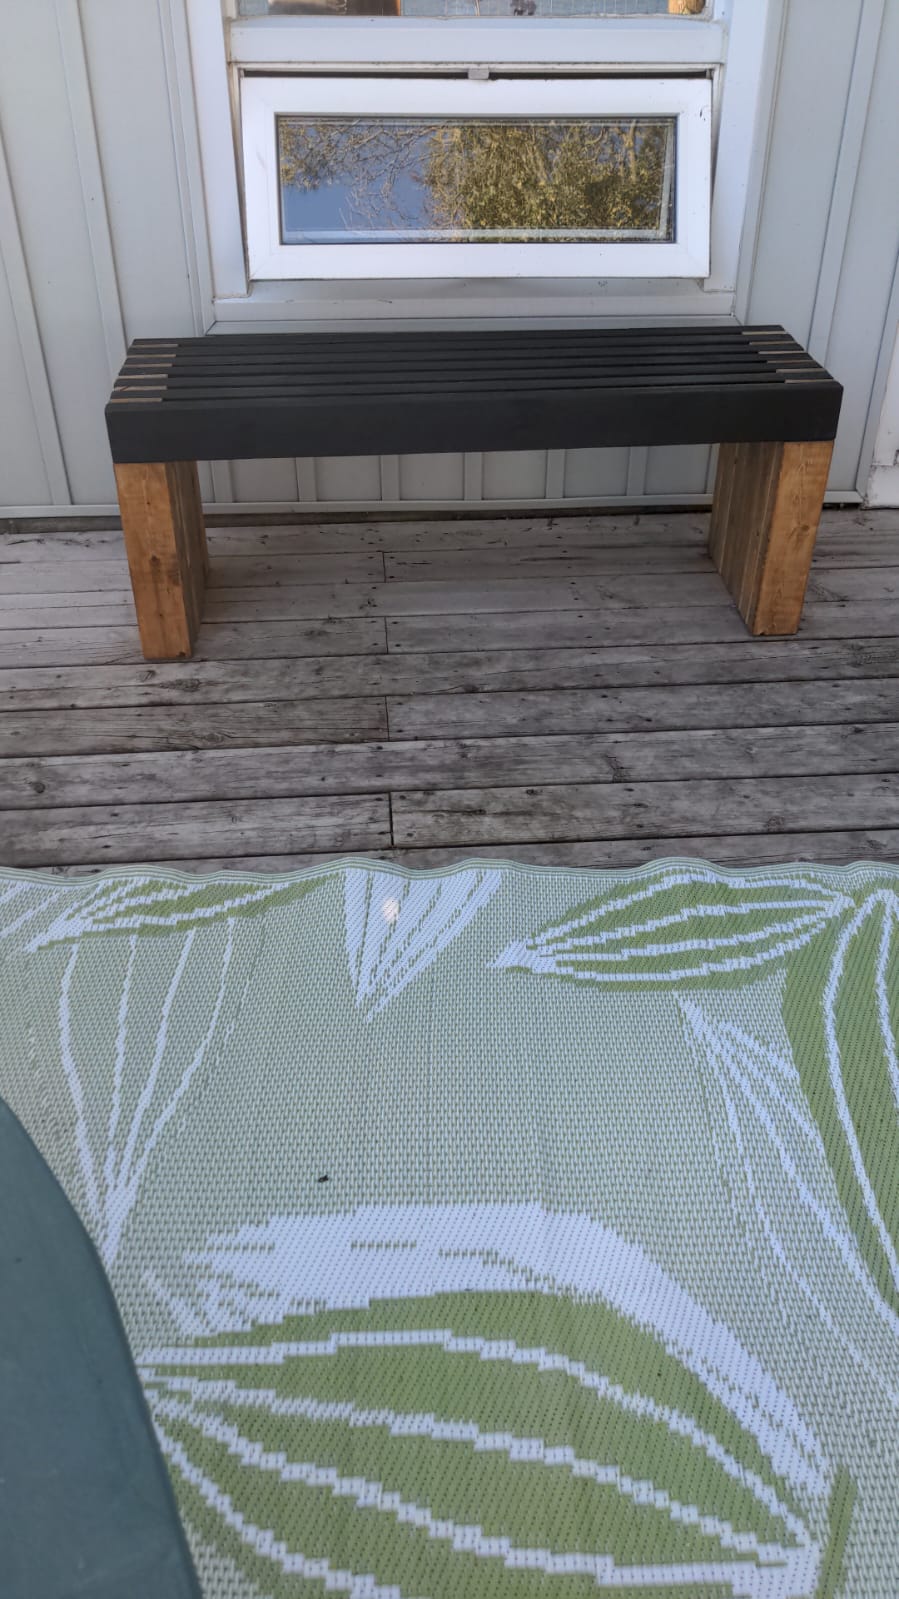
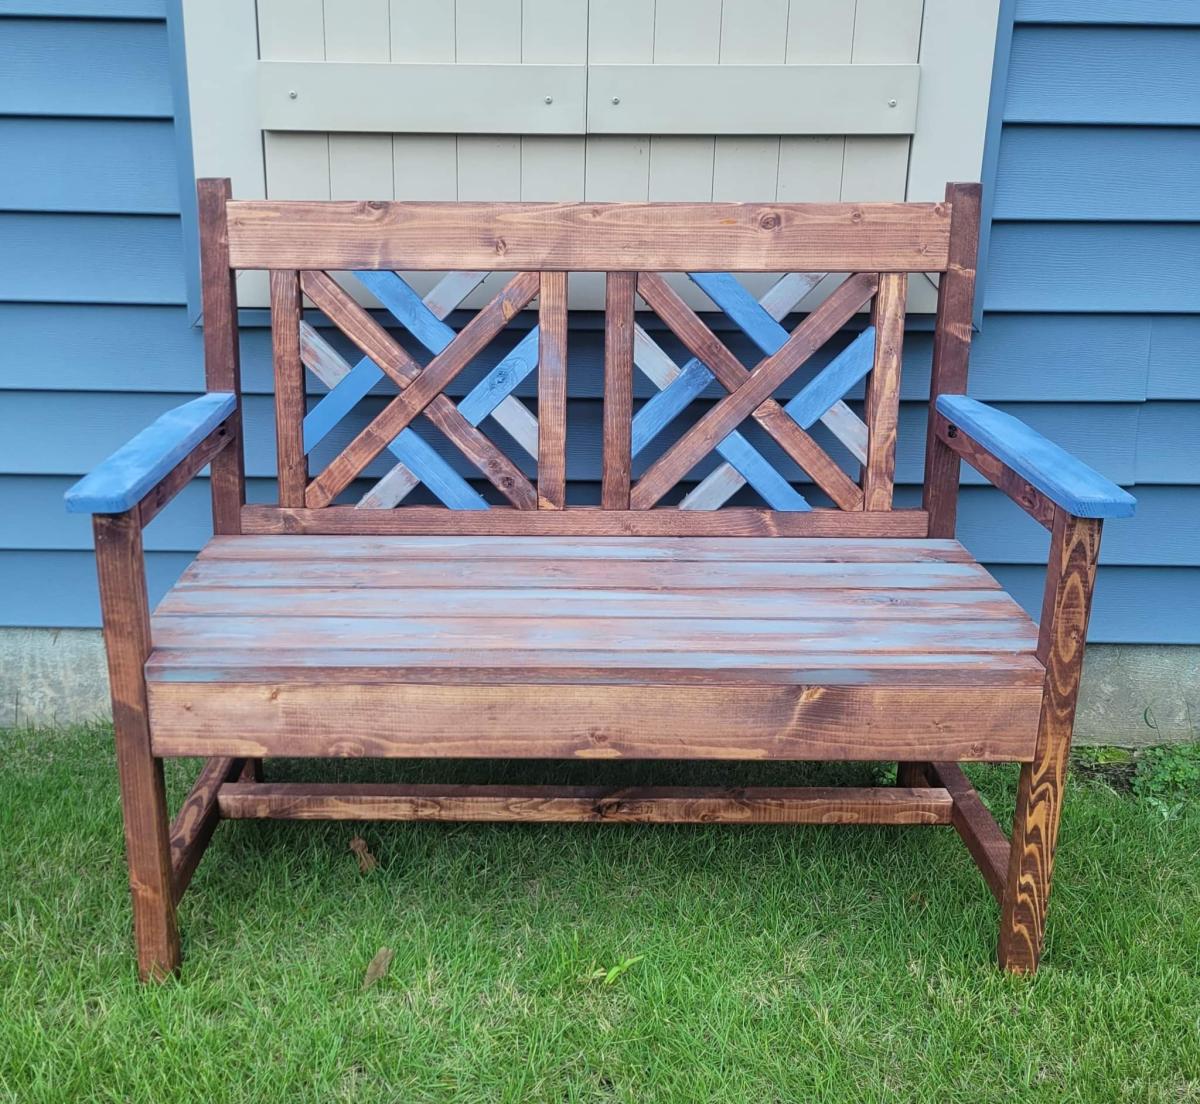
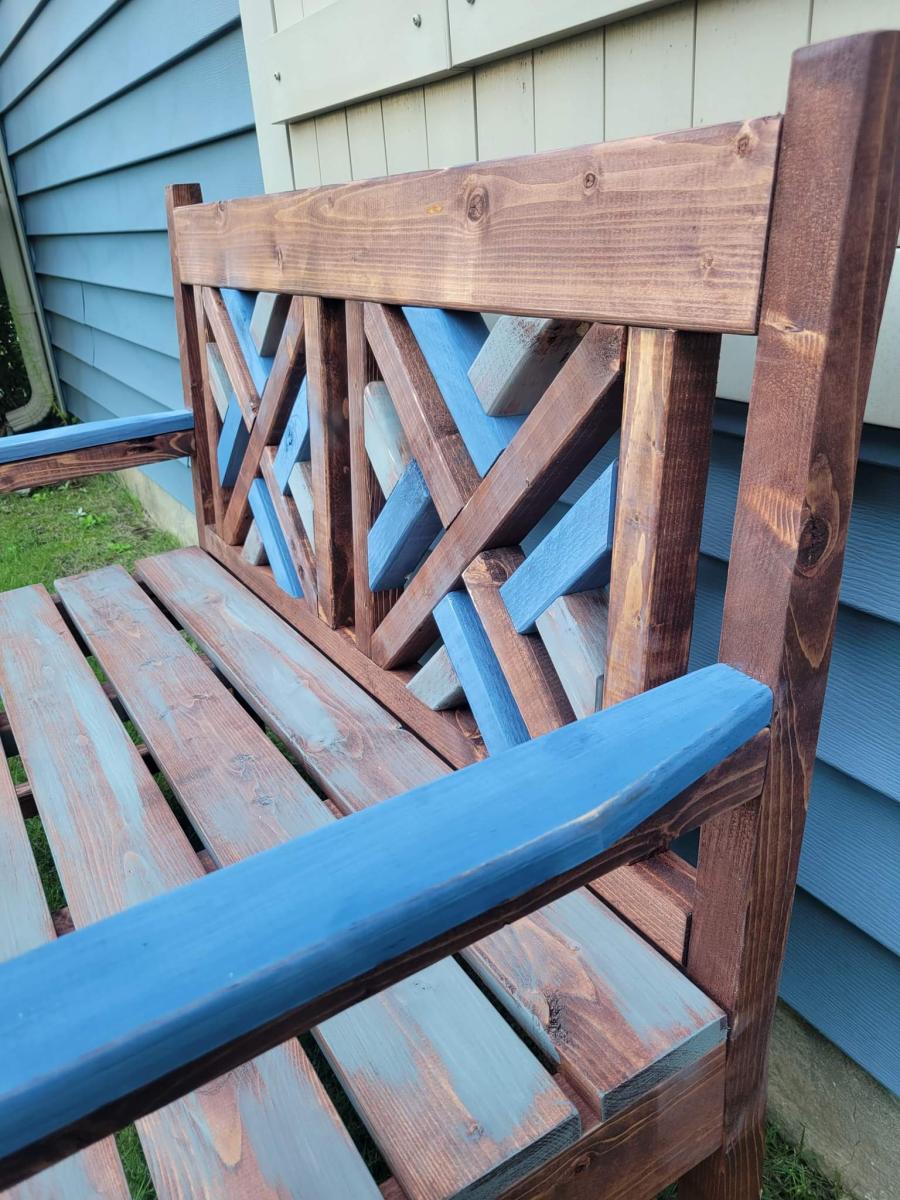
Arbor bench from leftover trellis
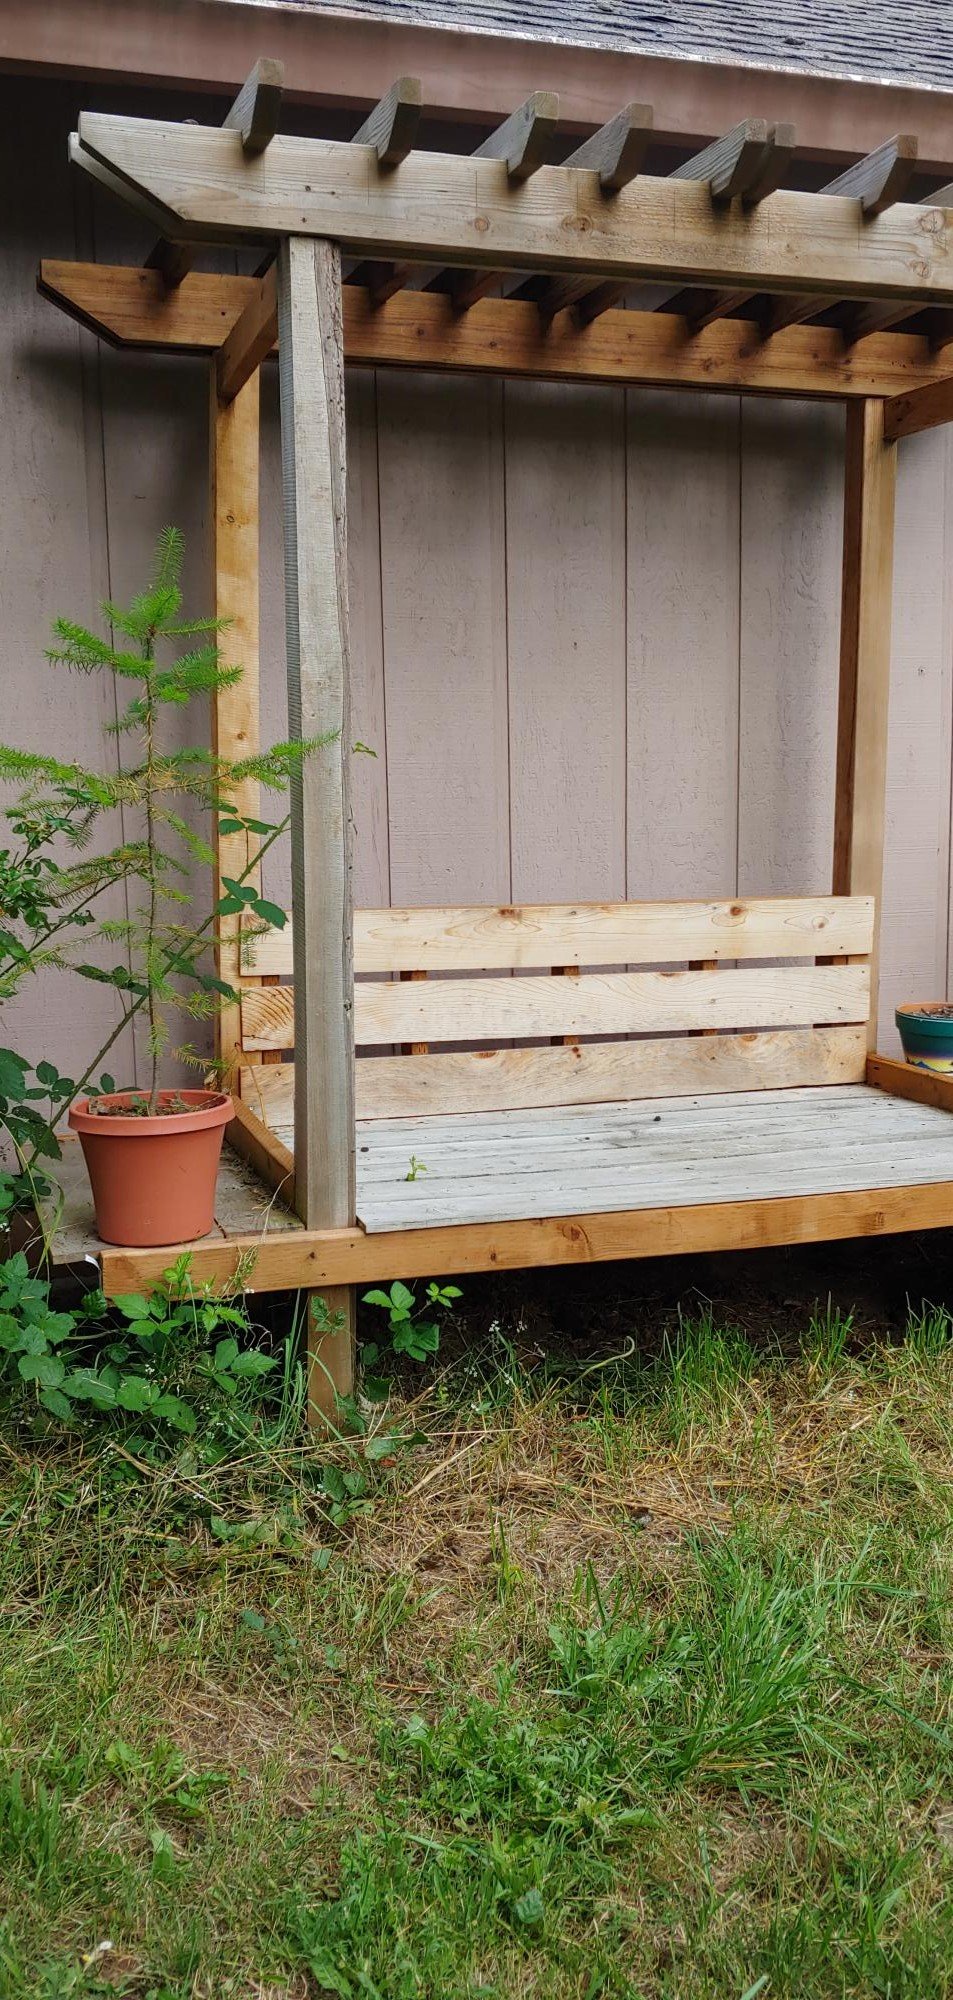
The previous owners planned to built a rose Arbor, and left the pieces in our barn. Using the Arbor bench plan I was able to use all the pieces to build this version. Great summer hangout!
Built from Plan(s)
The previous owners planned to built a rose Arbor, and left the pieces in our barn. Using the Arbor bench plan I was able to use all the pieces to build this version. Great summer hangout!
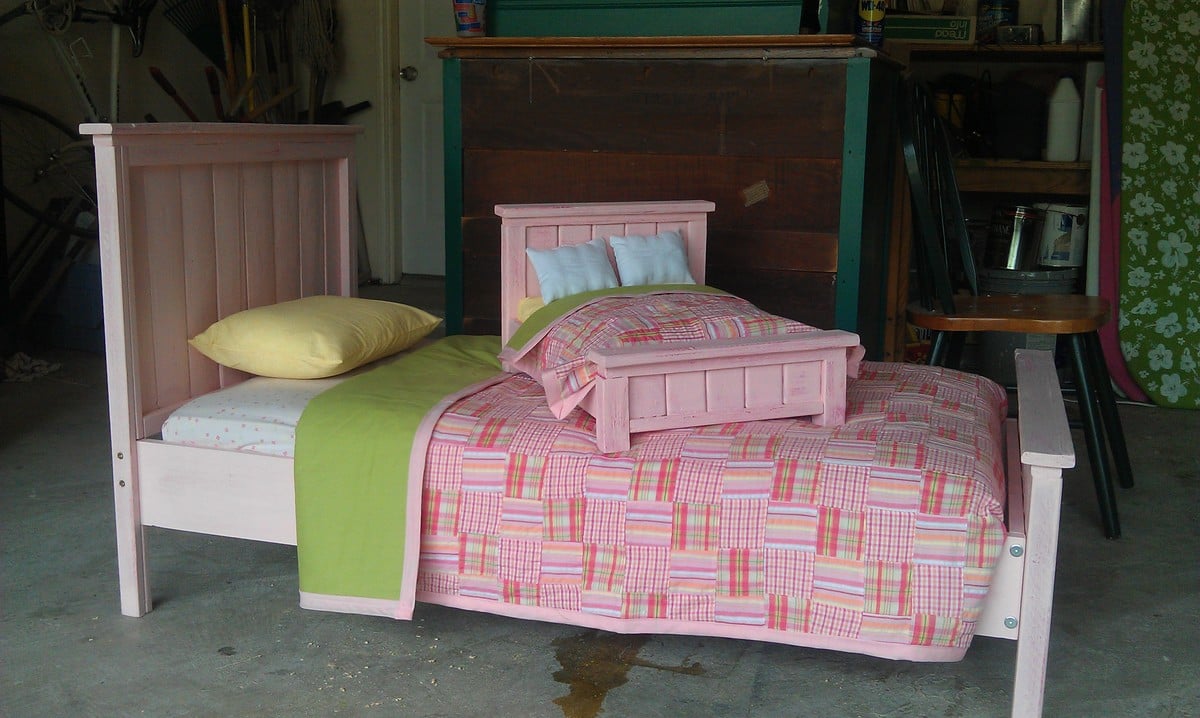
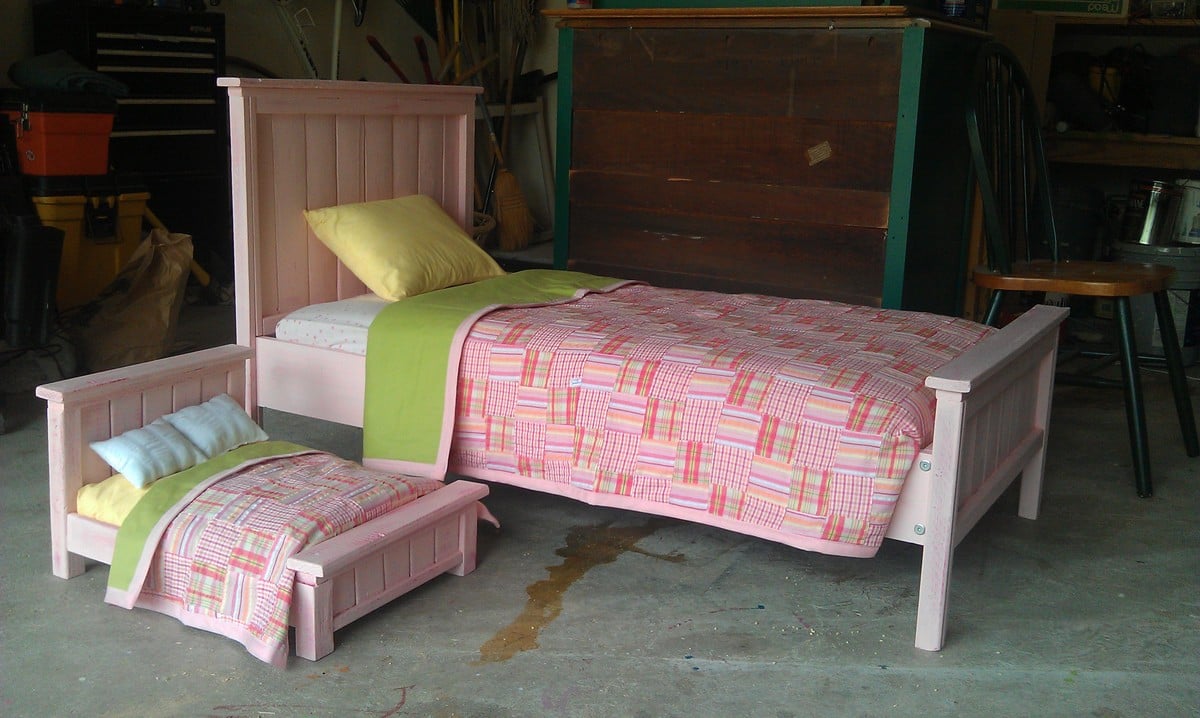
Having done a few doll beds I decided to tackle a toddler bed. I ended up donating this pair to an auction benefiting Montrose Street Reach and Little Footprints Children's Ministry. If you are interested check out http://www.littlefootprintscm.com

Wed, 08/03/2011 - 06:57
How wonderfully generous of you and they came out great!
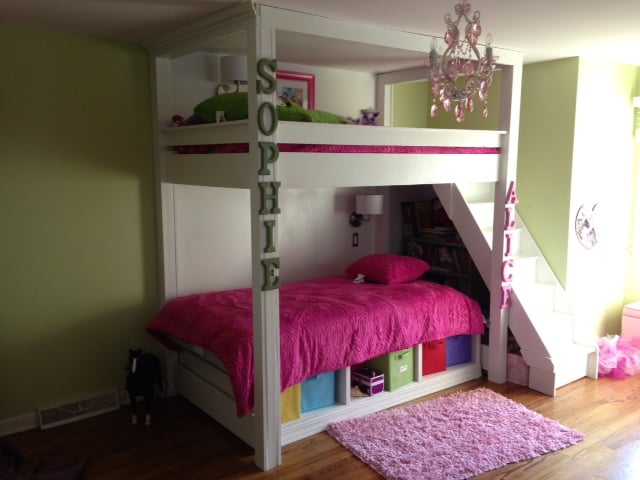
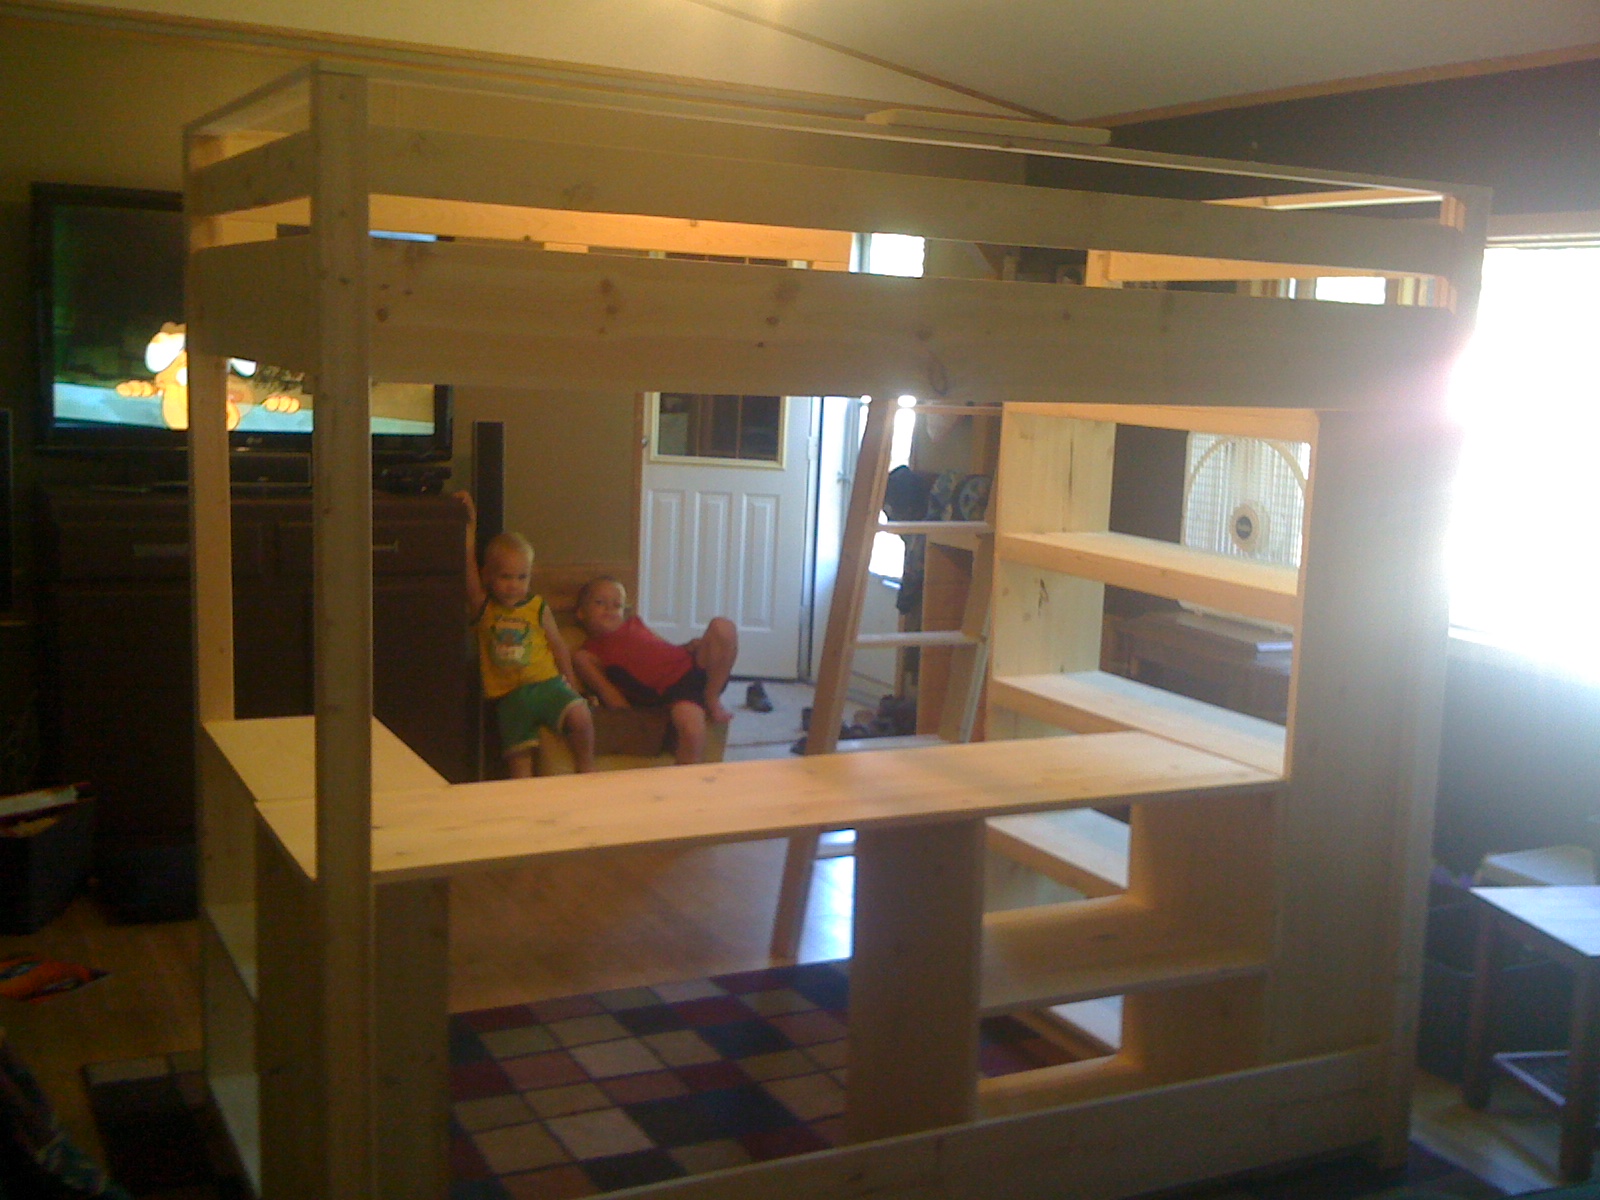
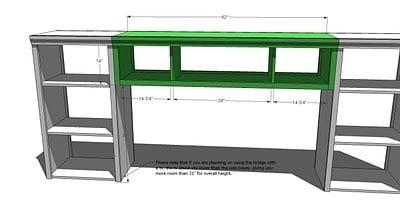
I combined the loft bed and the storage daybed to make this bunk bed. I also modified the plans slightly so that the posts extended to the ceiling and added stairs instead of a ladder.
Wed, 08/28/2013 - 18:41
Lwinchip, this is so beautifully done and practical, too! I love it! Thanks for sharing...I love how the posts that go all the way to the ceiling. I'm going to copy you with my granddaughter's loft that I plan to build soon (is that okay?). :-)
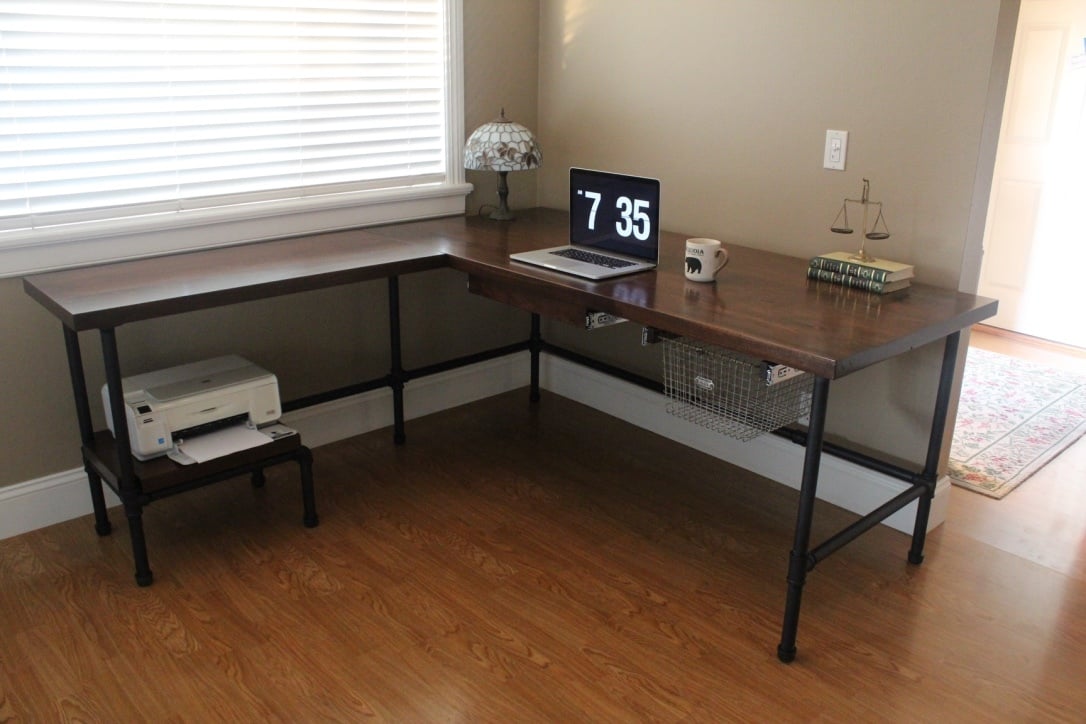
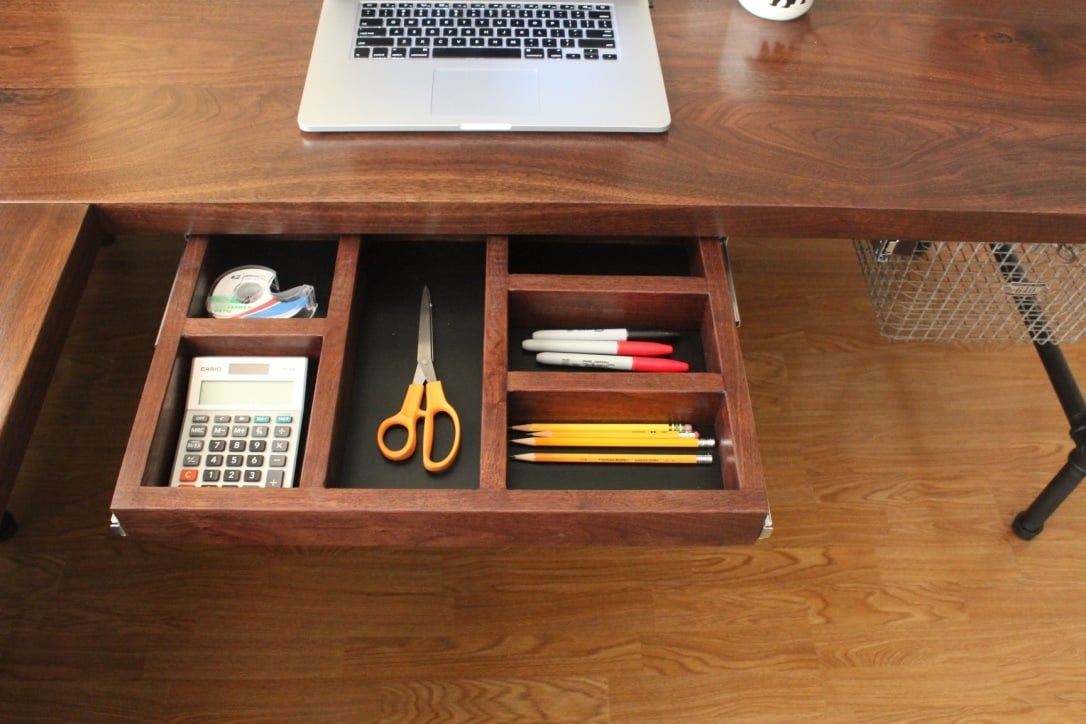
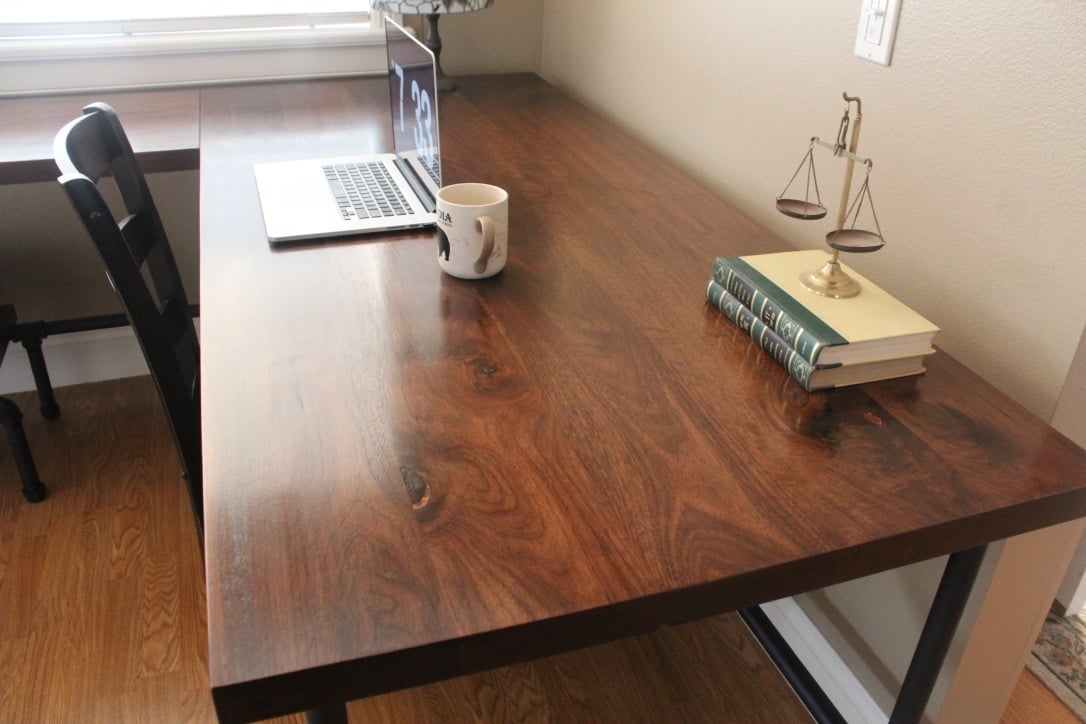
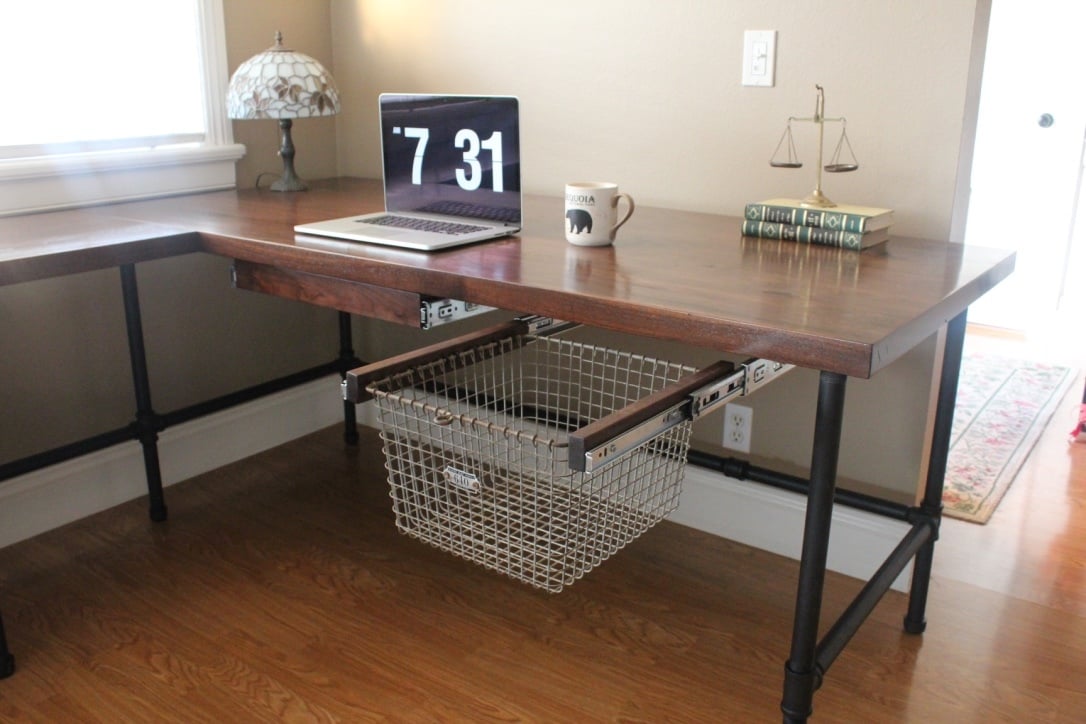
Just finished up this industrial L-shape desk. The desk top is solid walnut. I added a pencil drawer and a vintage locker basket mounted to a drawer slide. :)

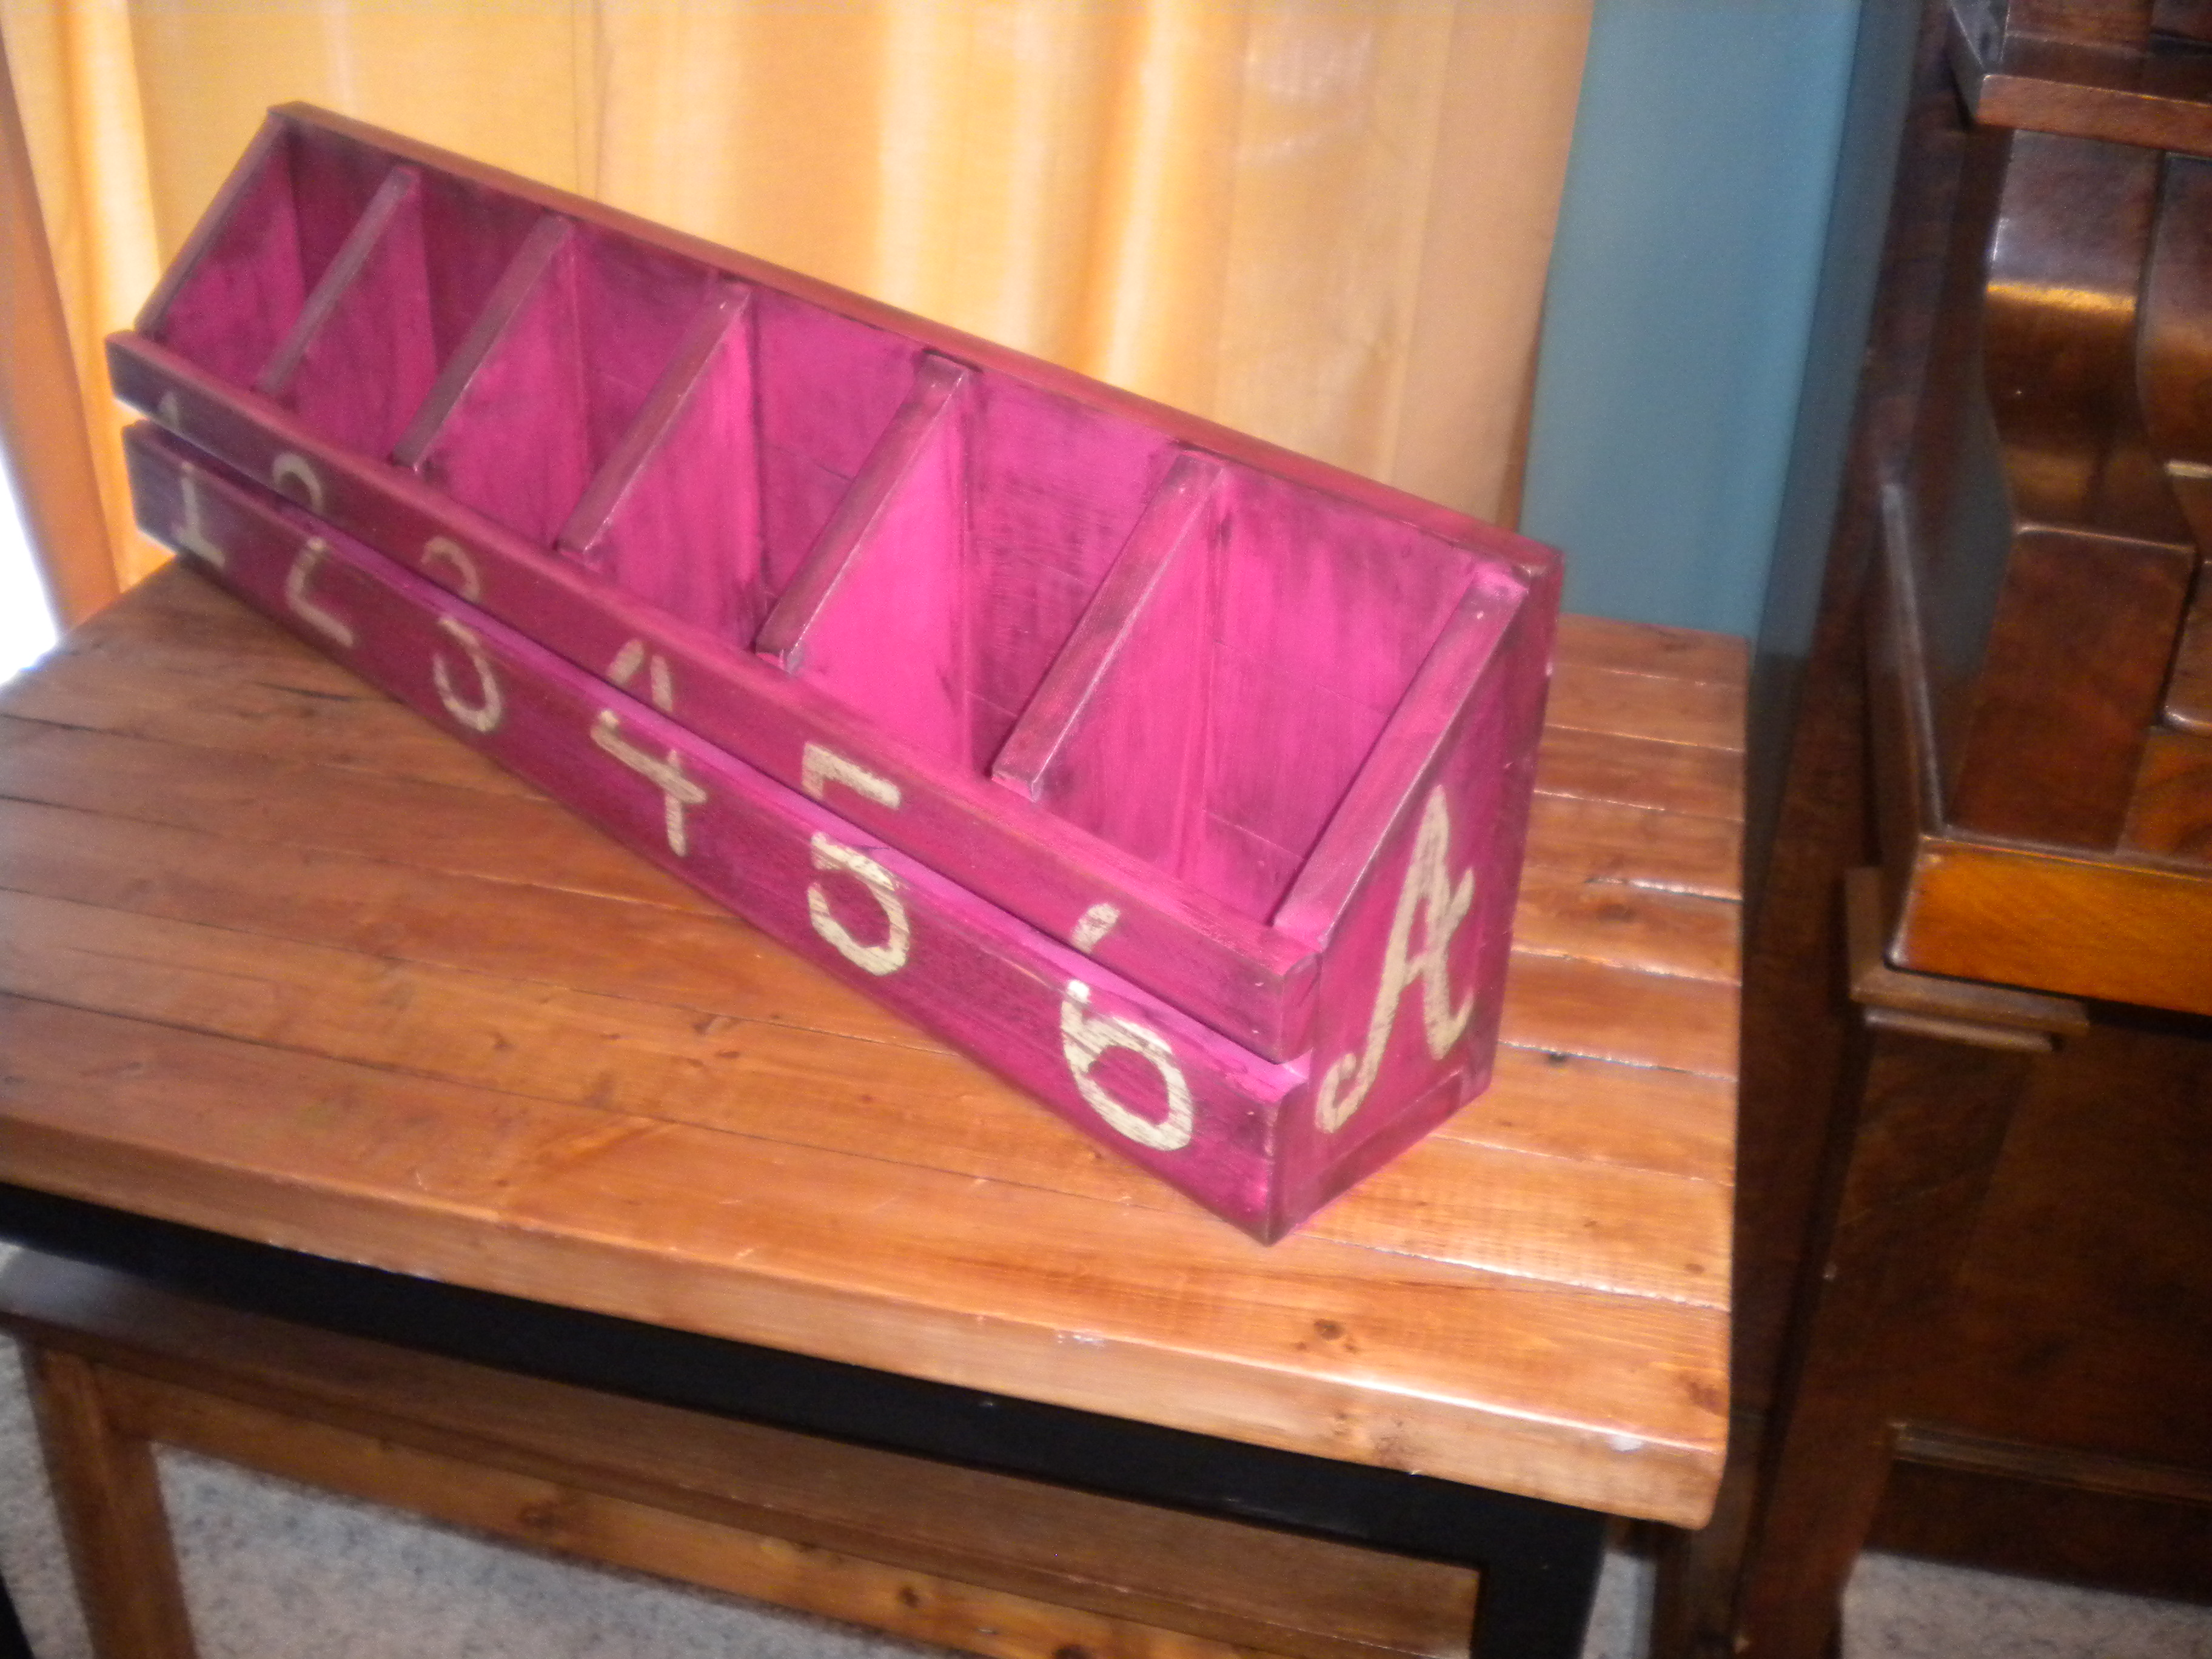
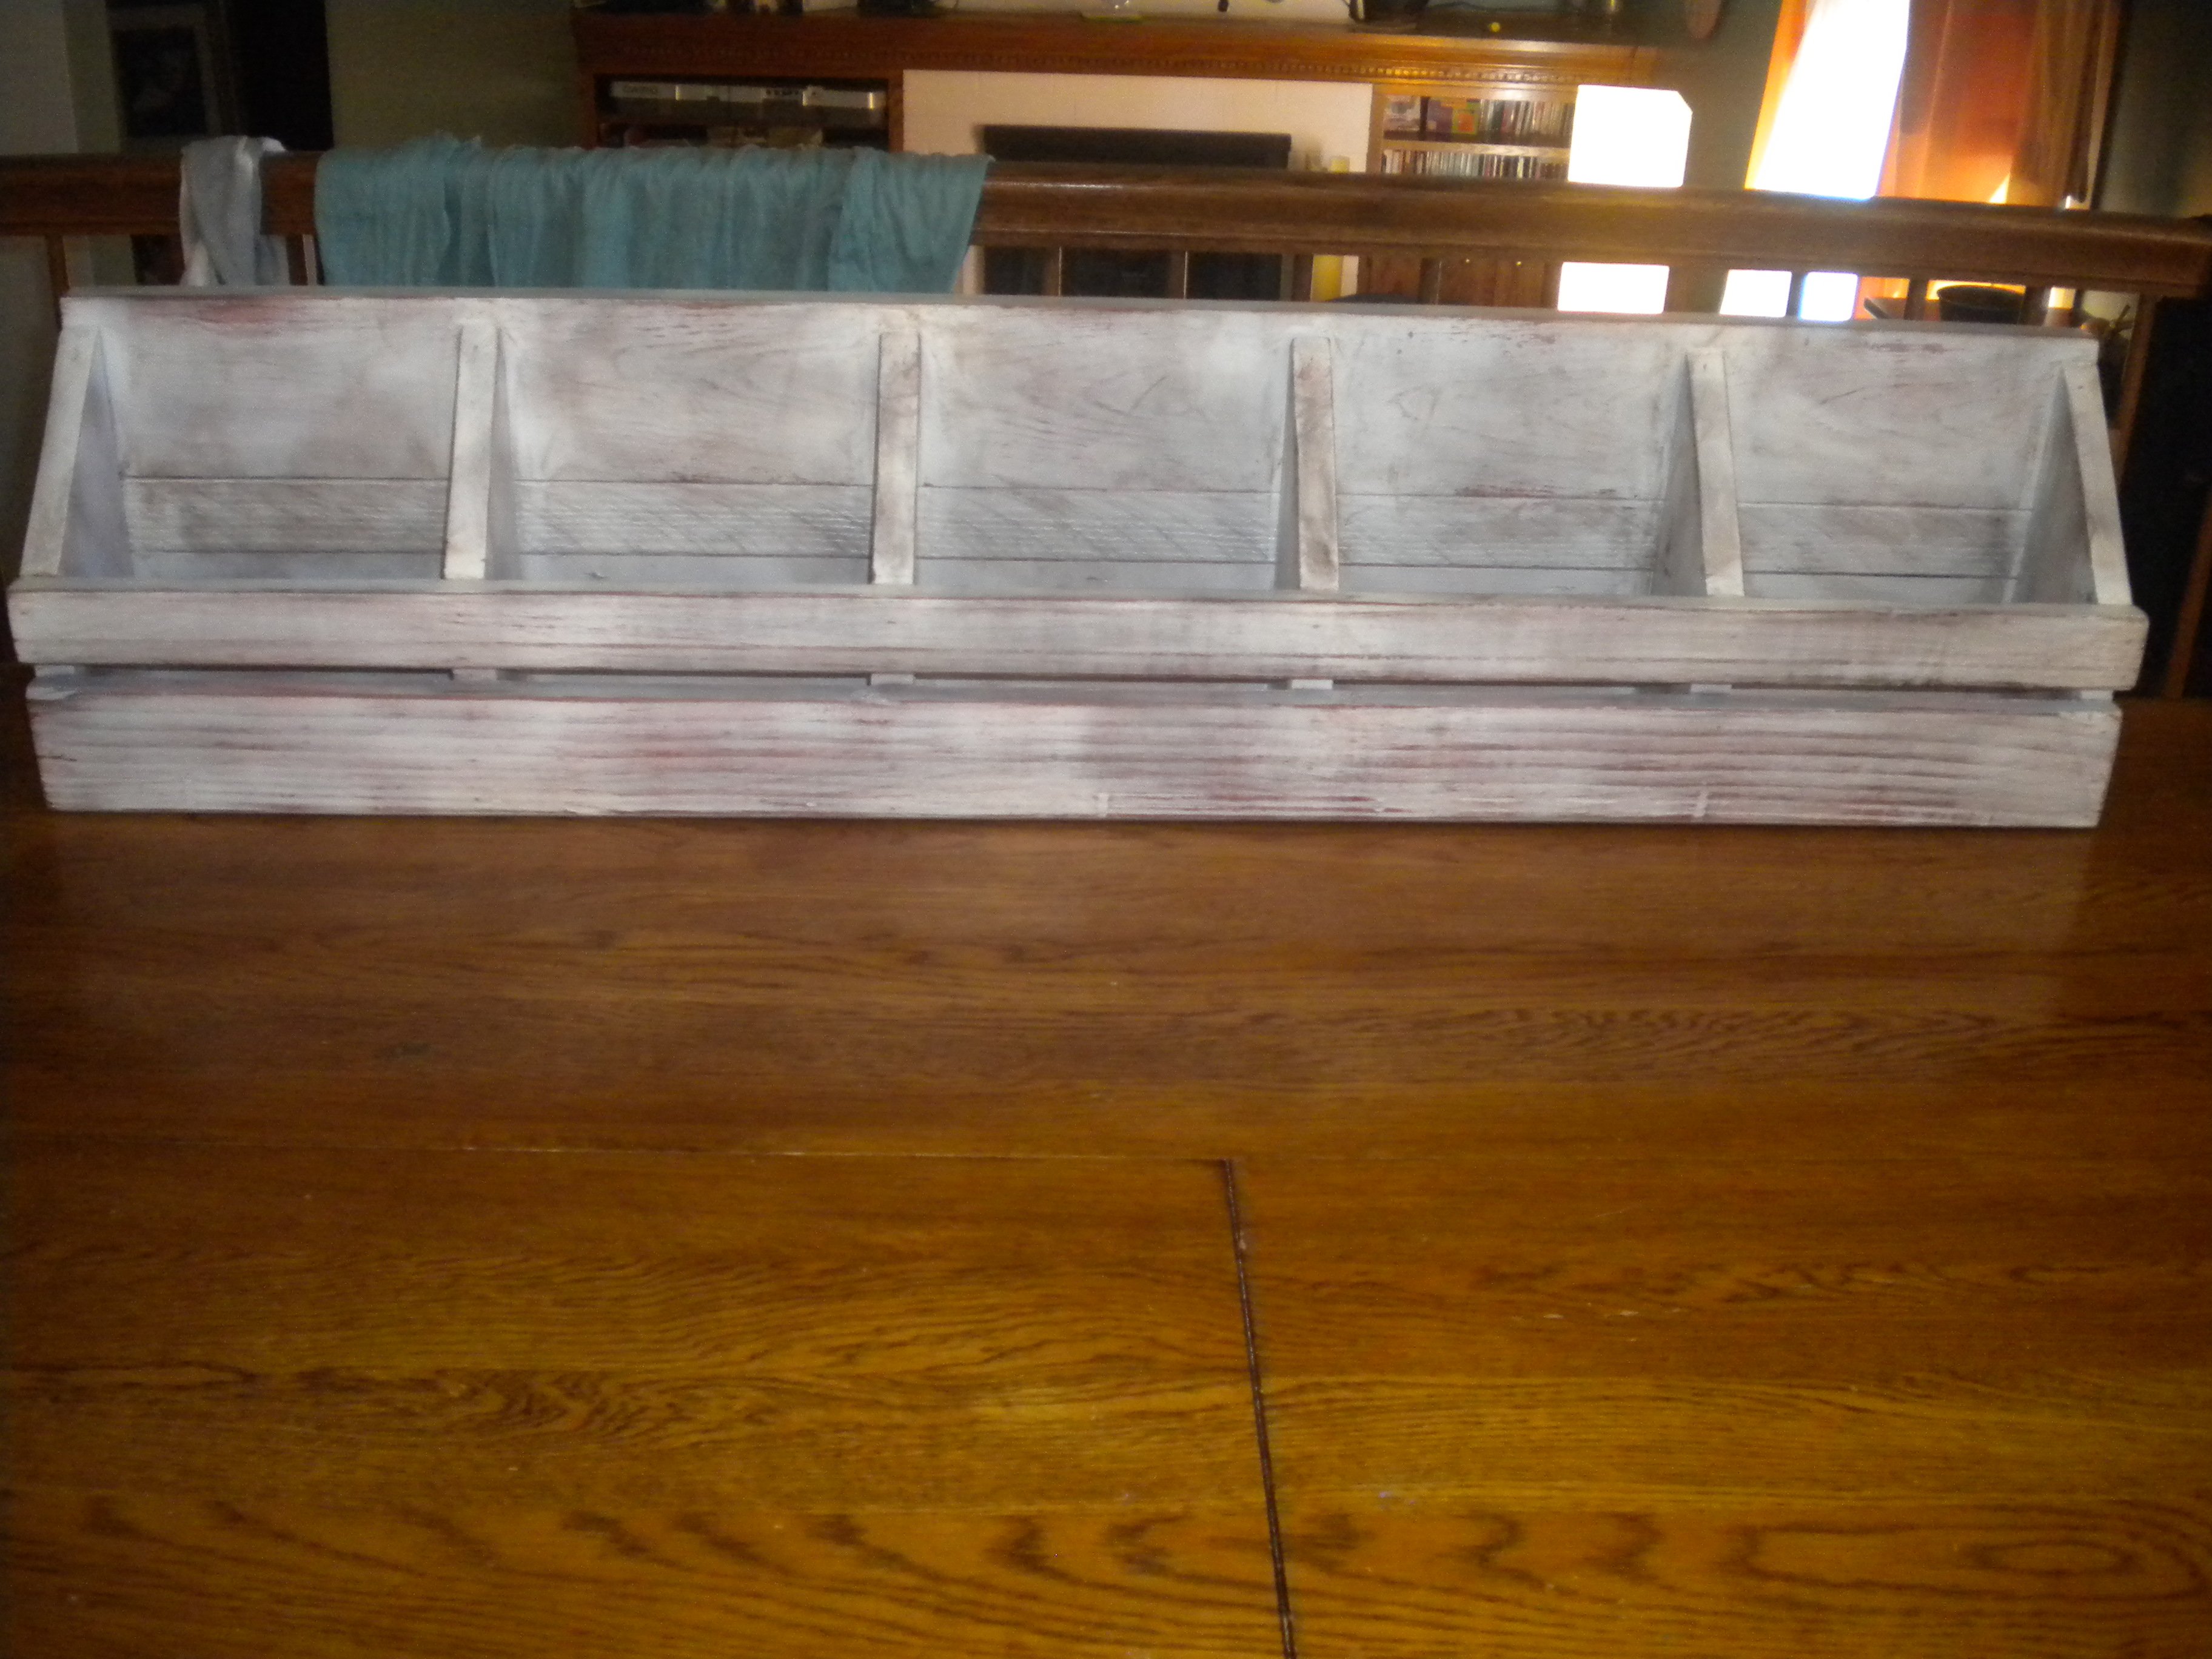
I made this house using oak plywood for the floors a using a straight edge and paper knife to score it to look like planks and made the lengths vary by using a chisel. The roof is made from 1/4" underlayment painted with red oil base paint and cut to make it look like shingles. It is on heavy duty 4" casters. I have made two identical houses for the same lady who purchased them for an aging aunt. This is the first of the two and was lost in a house fire. The second one was to replace this one. If I make another house I will be installing working lights in it. This is a very large house and fun to build


Mon, 11/05/2018 - 11:29
Fantastic build! I'm sorry to hear about the fire, glad you could make another one!
Loved making this bench! Simple enough using a stop block on my mitre saw.
Followed directions except made it shorter in width. I got so many compliments!
I saw this and fell in love! I've made three so far!
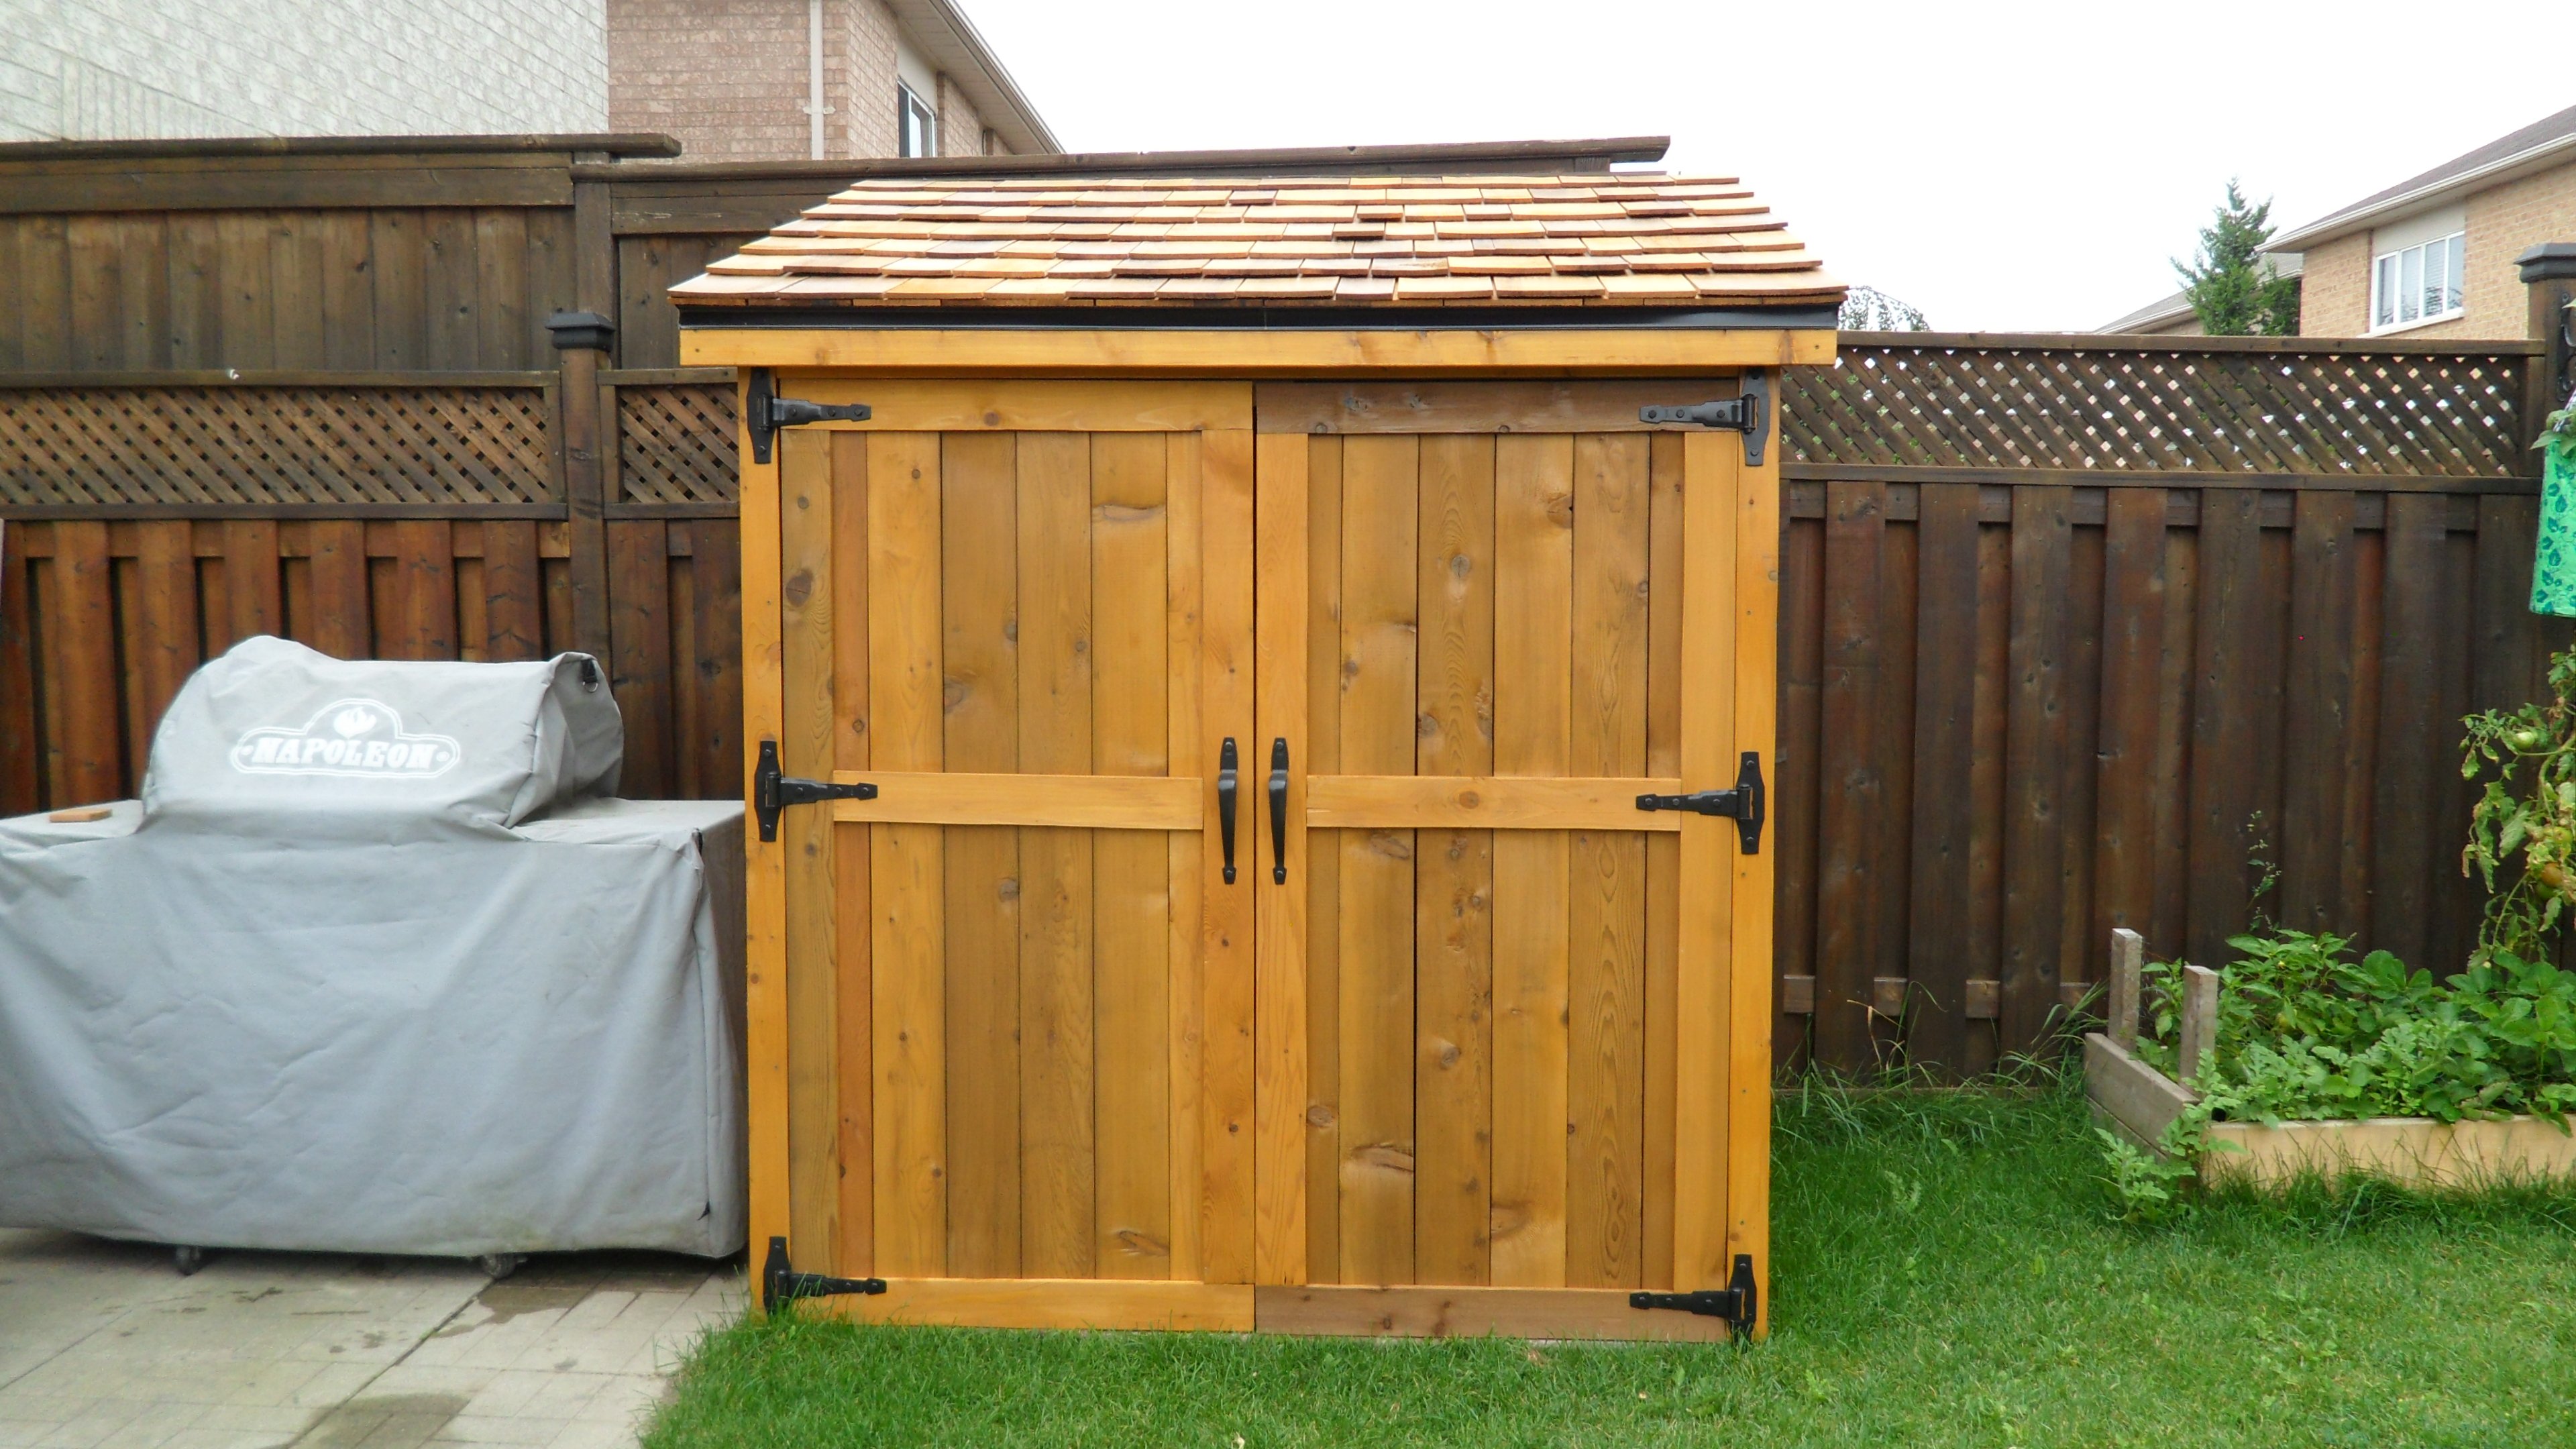
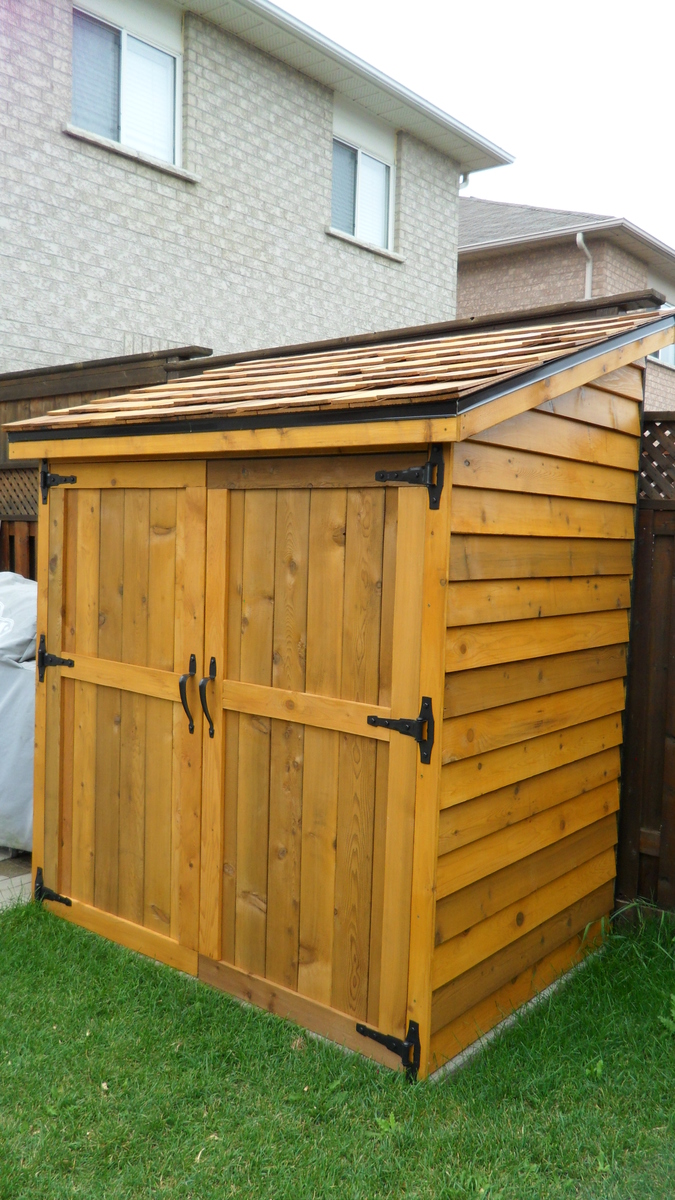
Thanks for the shed plans, I've been looking all over for something like this. I used 3/8" ply wood for the back wall to save money but spent what was saved and more on the shingles and stain/seal. I made the shed exactly 6' wide and 4' deep to fit the 6 2'x2's patio slabs.
The entire project took about 2 weeks to complete and cost about $700. We pay more in Canada but at least I finally got the shed I wanted.

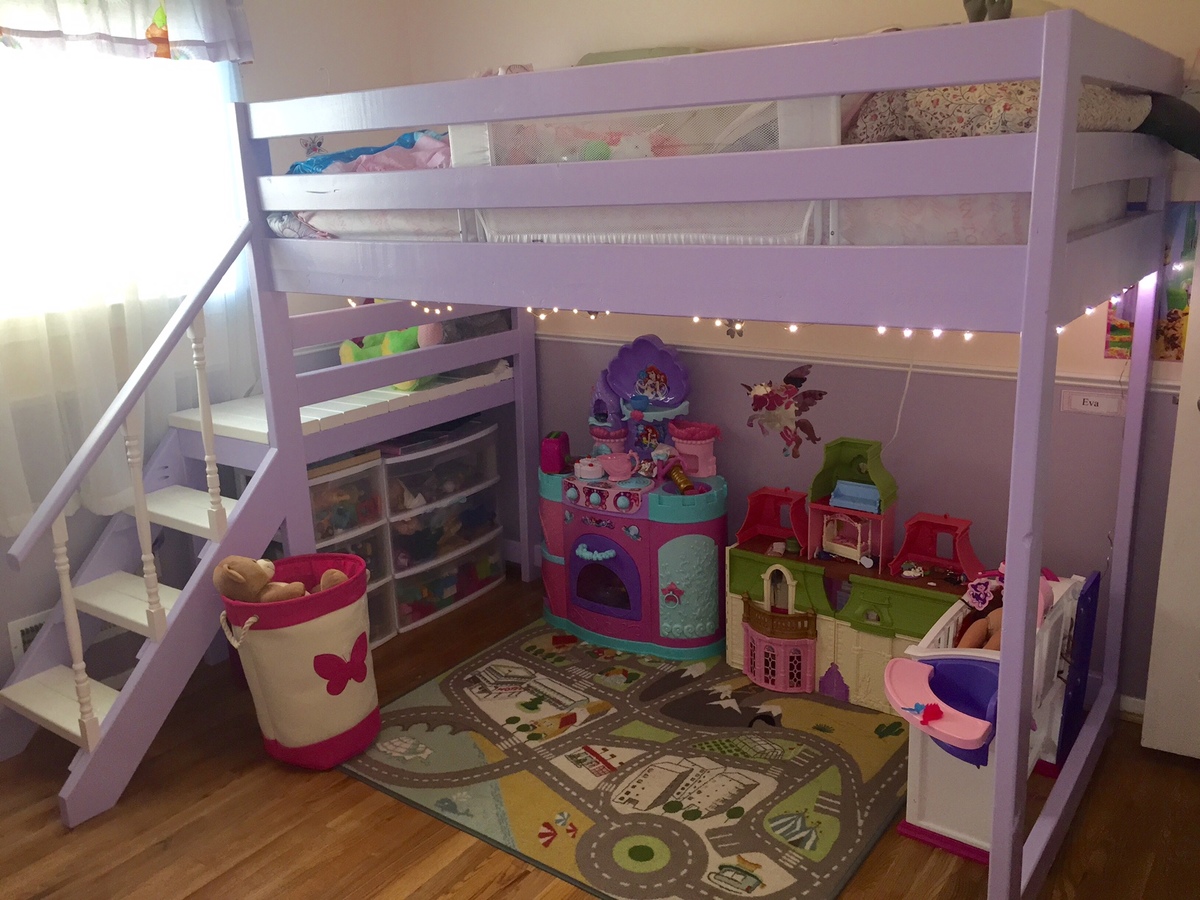
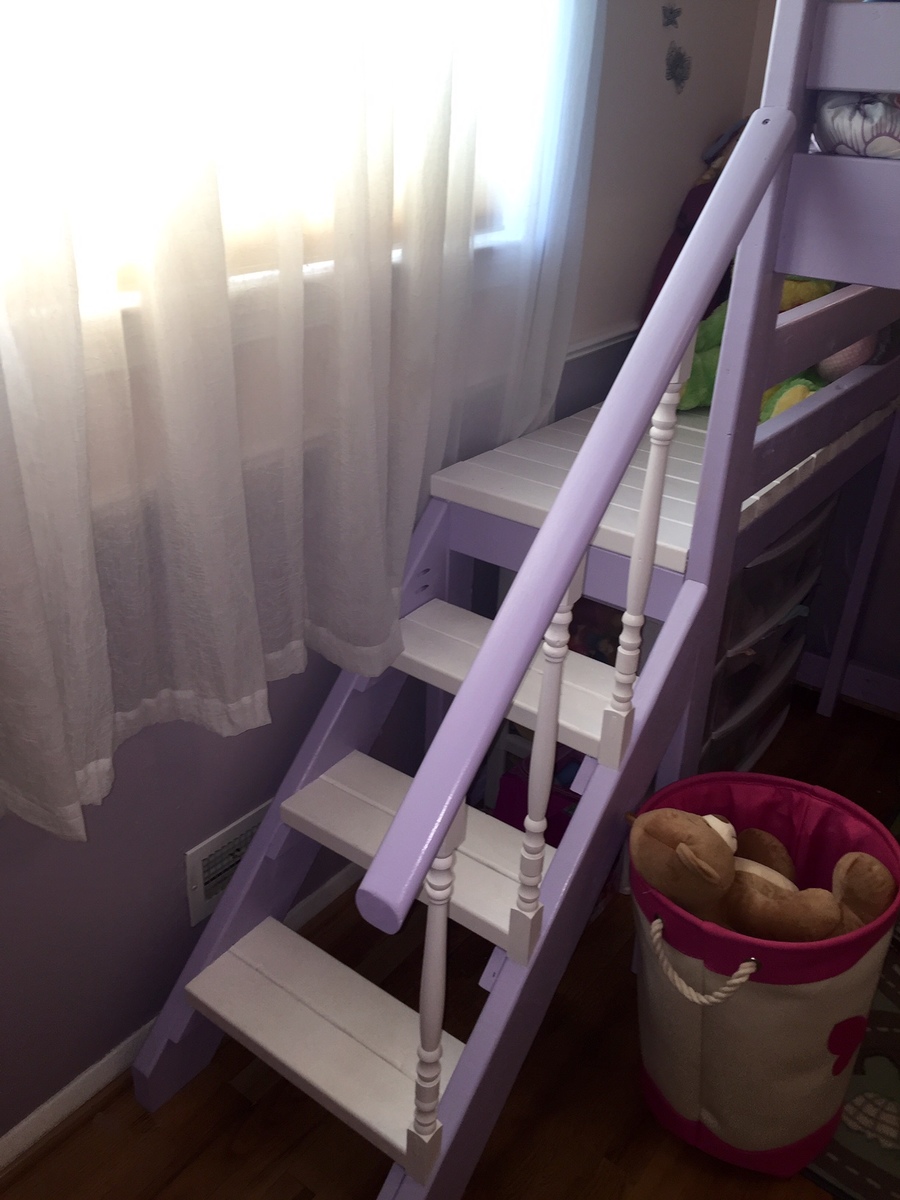
I wanted to create a loft bed for my daughter so that she could have space underneath to play since her room is small. This was the perfect solution! I went ahead and added a stair rail so she could feel a little safer coming down the stairs (she is 4 yrs old). She loves her princess bed and what's best she wants to sleep in it instead of with mommy and daddy! This was my first wood working project.
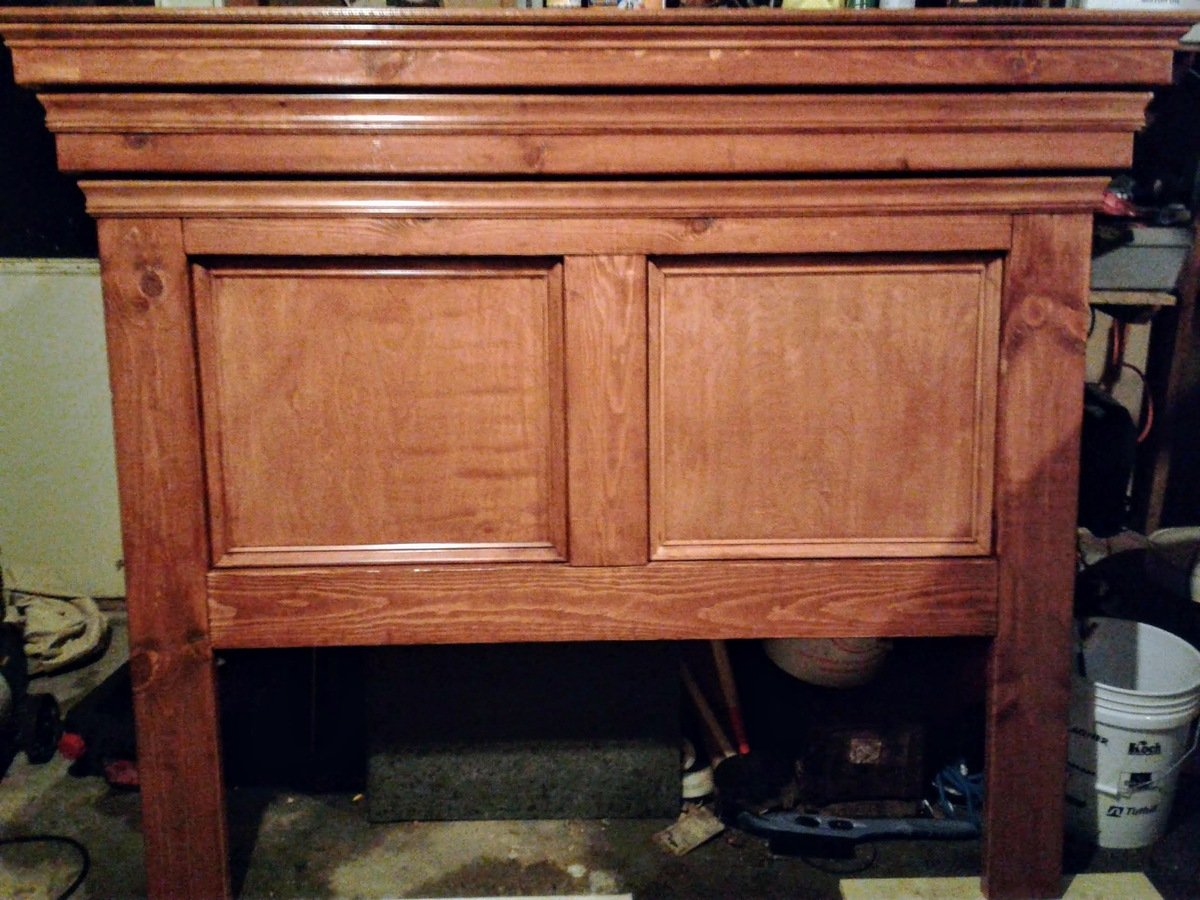
Mantle moulding plan modified with a center 2 X 4 and used sanded plywood for the back. Finished with a few different mouldings but turned out great. Nice plan. With pre-stain, stain and poly, project extended to about a week.
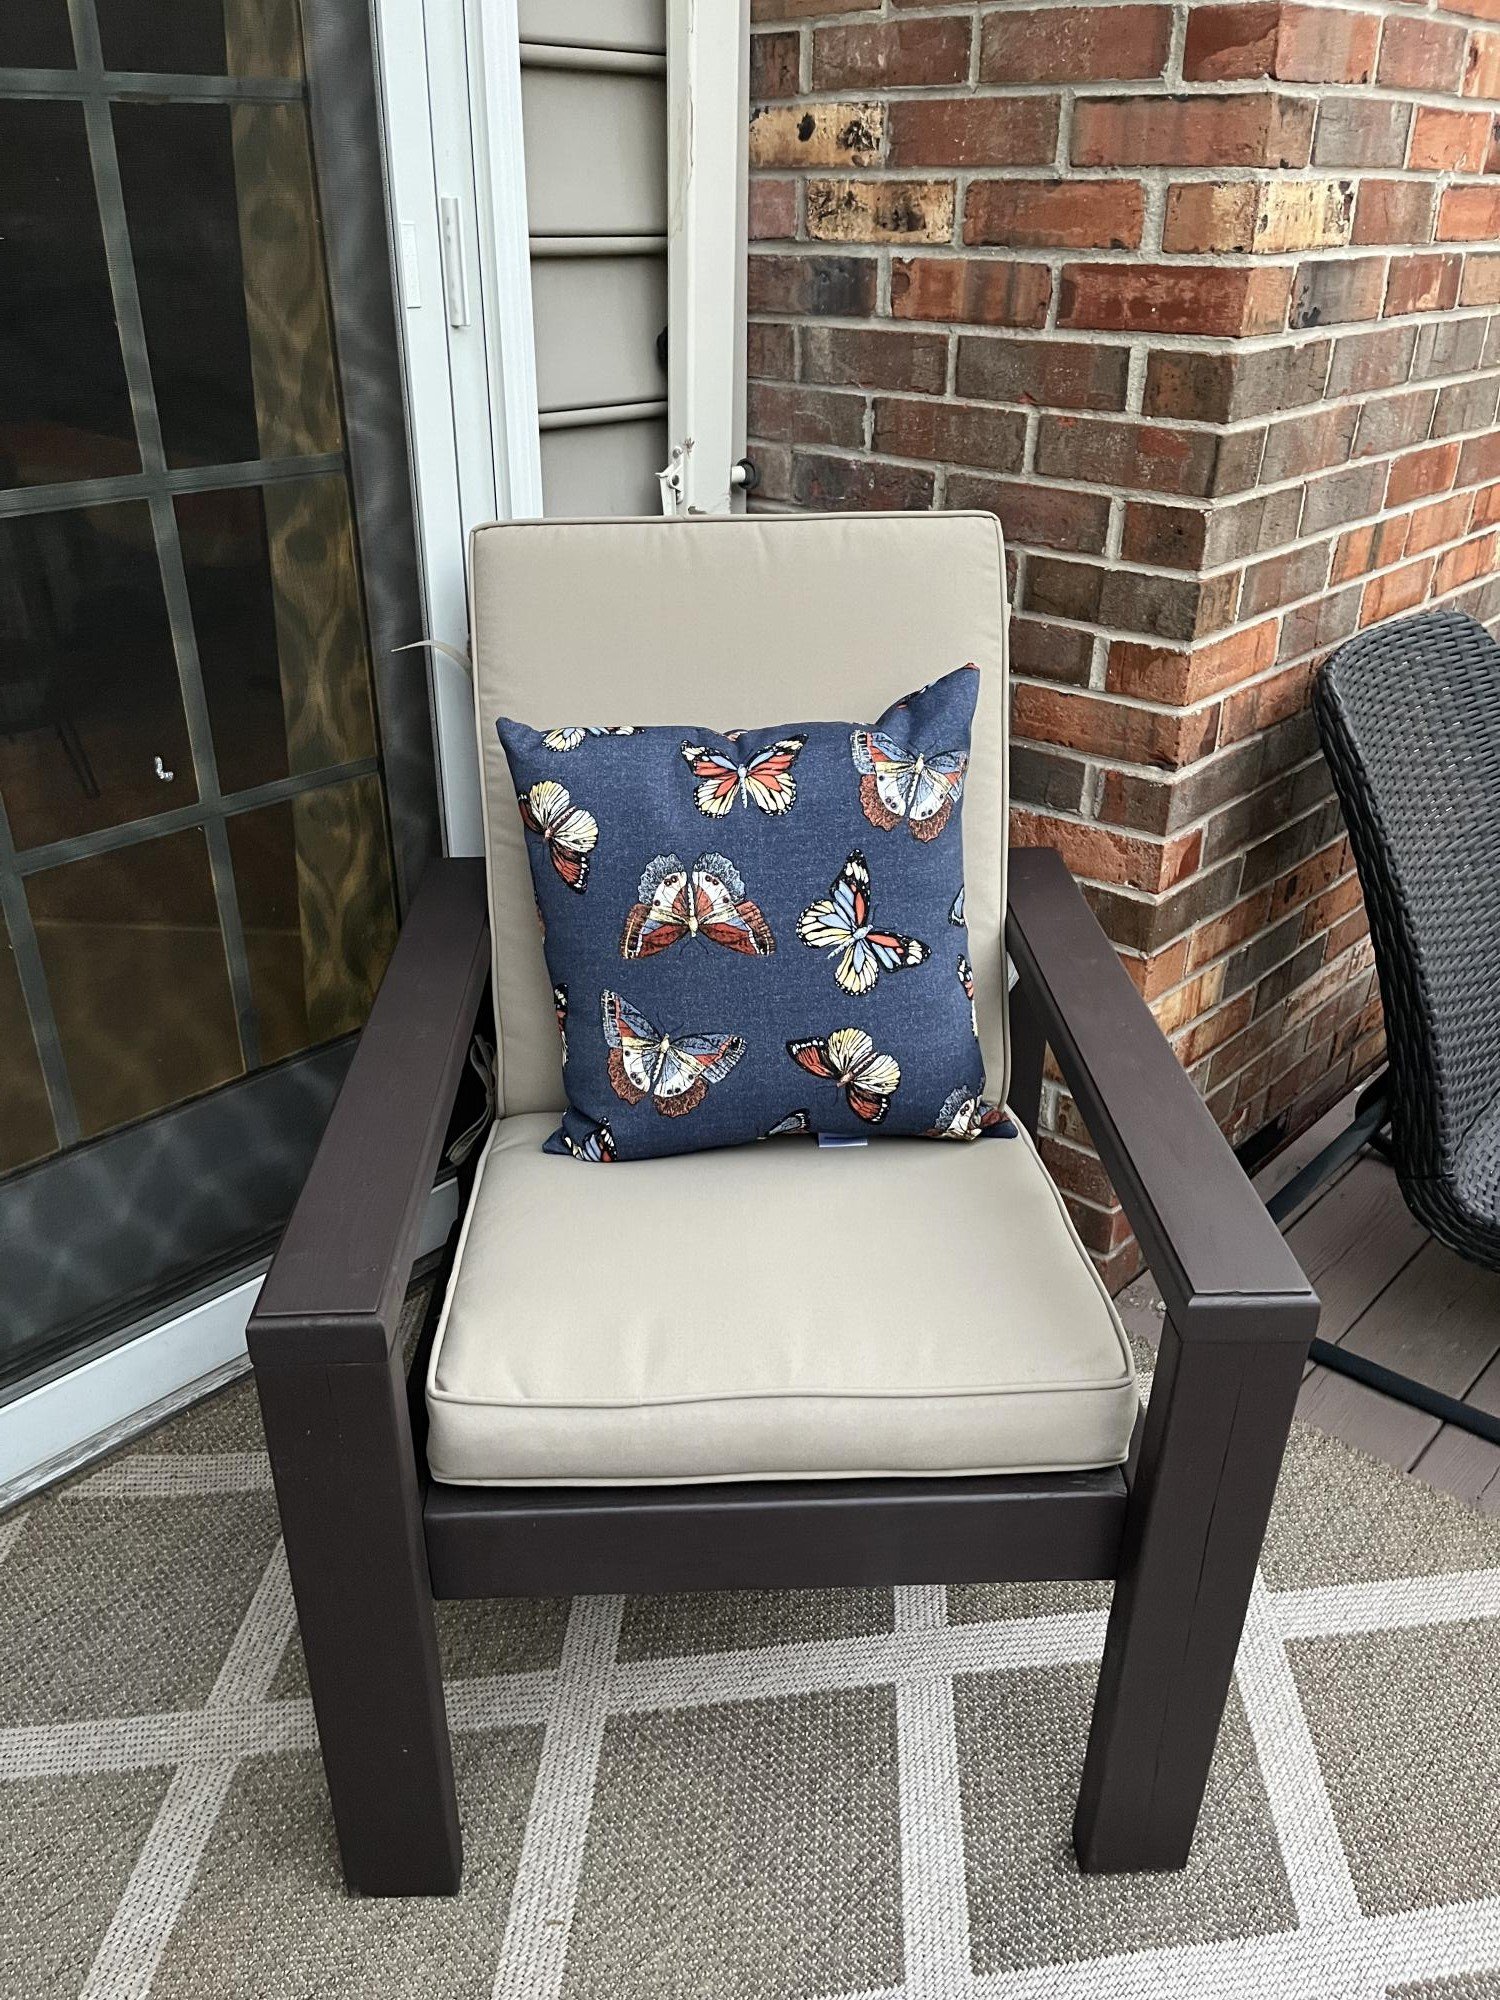
I was so excited to try this plan! It was the perfect size for this corner! Now I need to make a few of the chairs for the deep seat cushions! Thank you for these great plans, Ana!

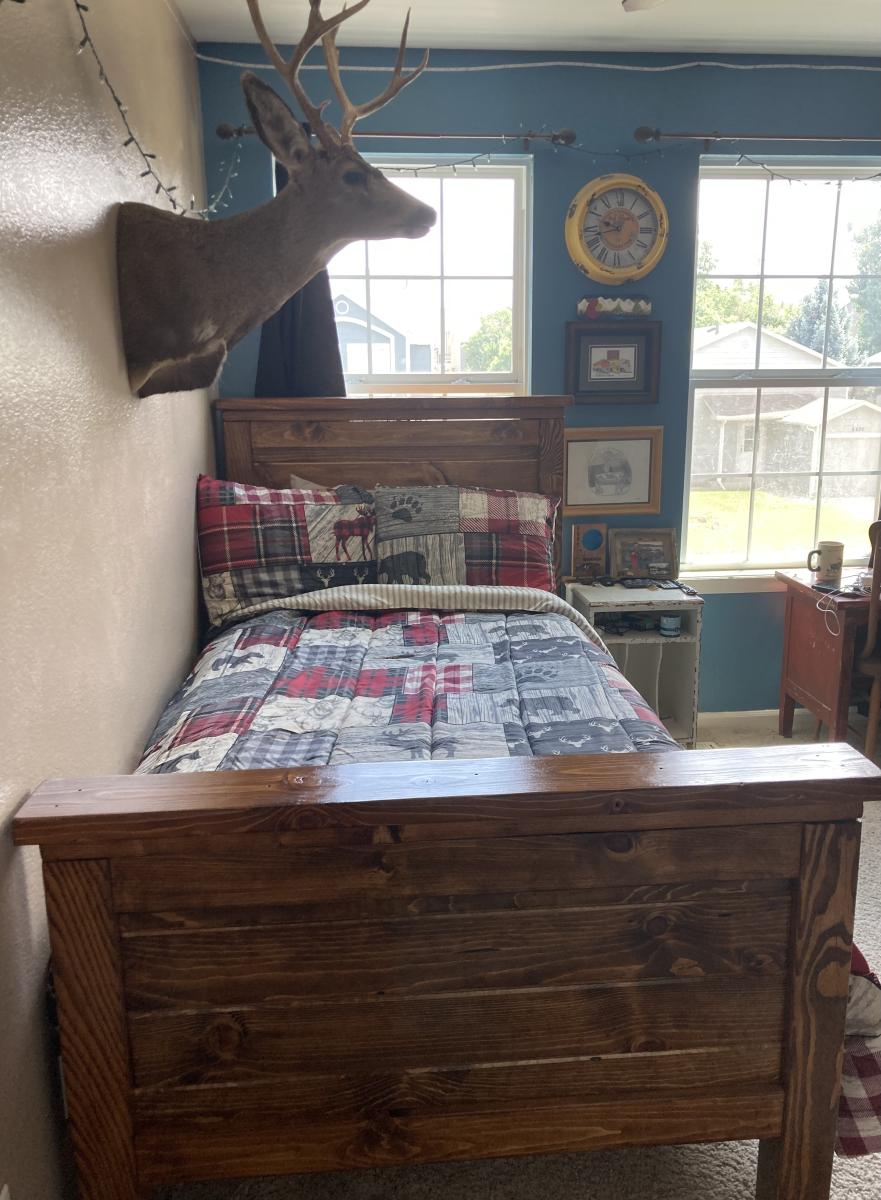
The bed on the left is the one that I made. I used as much reclaimed wood as possible for this project. I had a bookcase that wasn't stable that had a lot of 1 x 4s so I took it apart and used them. In the second picture, I made the elephant wall art with some 1 x 2s and stapled the fabric to it. It hangs on the opposite wall. It was a fun project. (did not make the bench) I have a lot of interruptions when I build, so I am not sure about the length of time.

My first Ana white project!
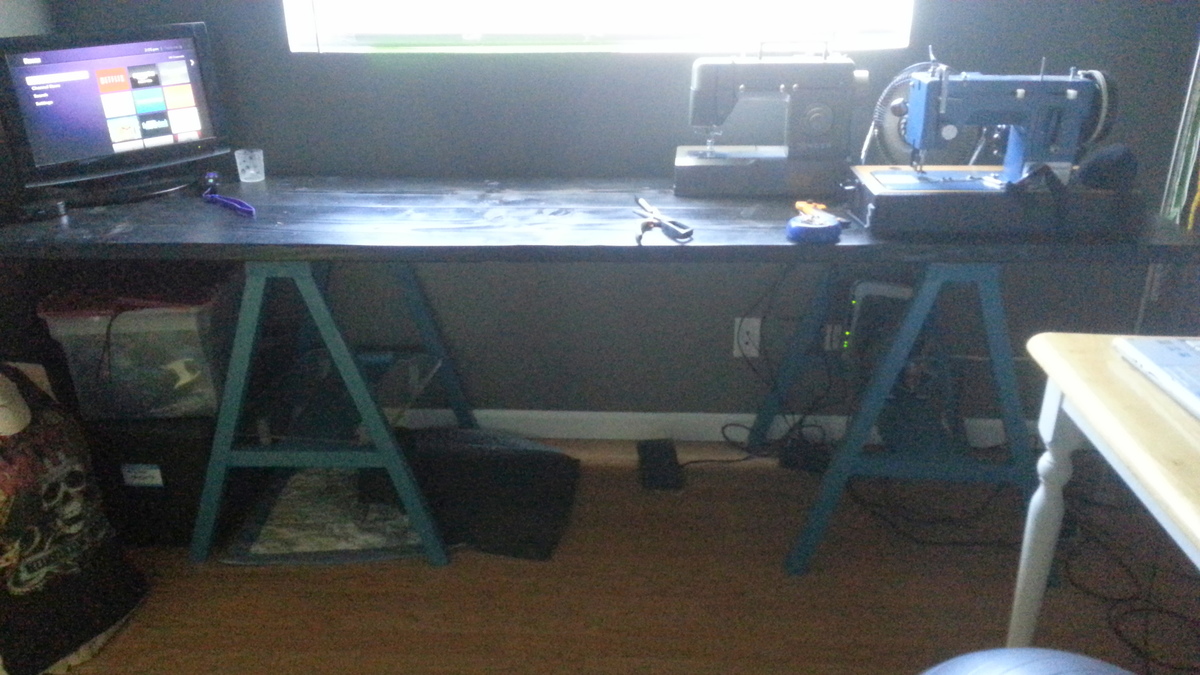
It was easy and I really tried to take my time to make it look nice. Great new BIG table for my sewing room! LOVE IT!!
Stained the top 2x12's black and the legs are oops paint that are a teal color.
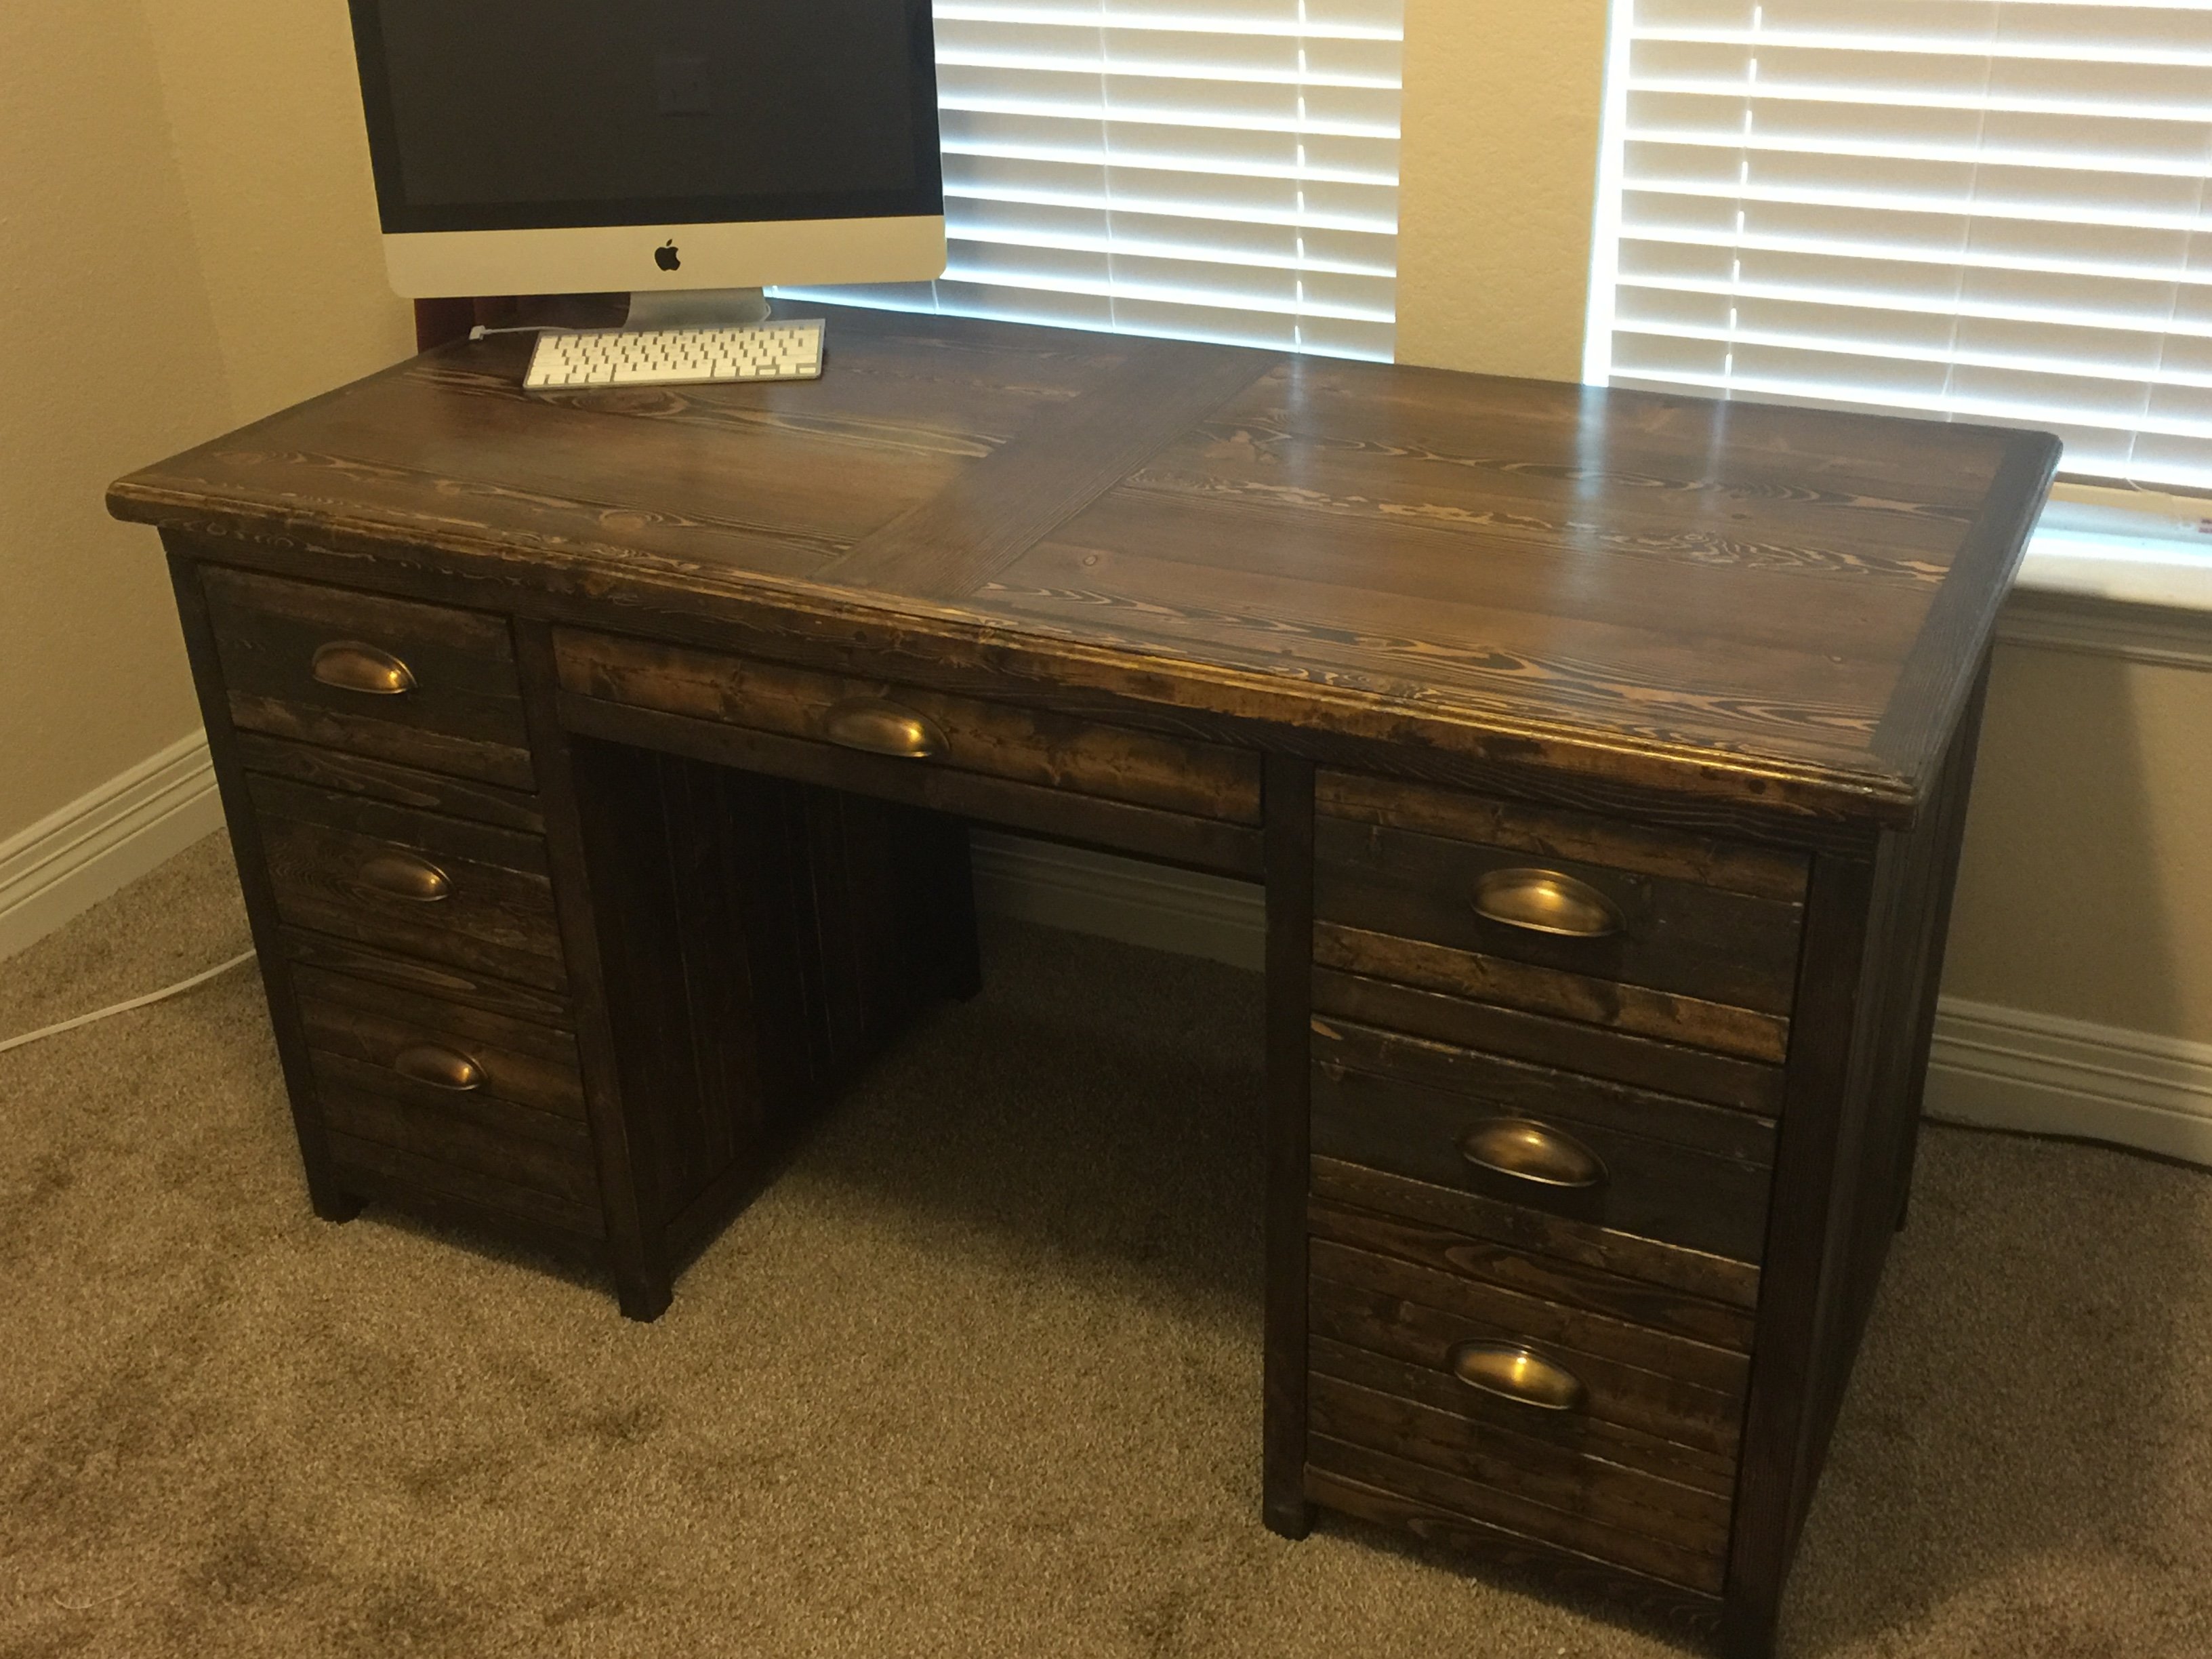
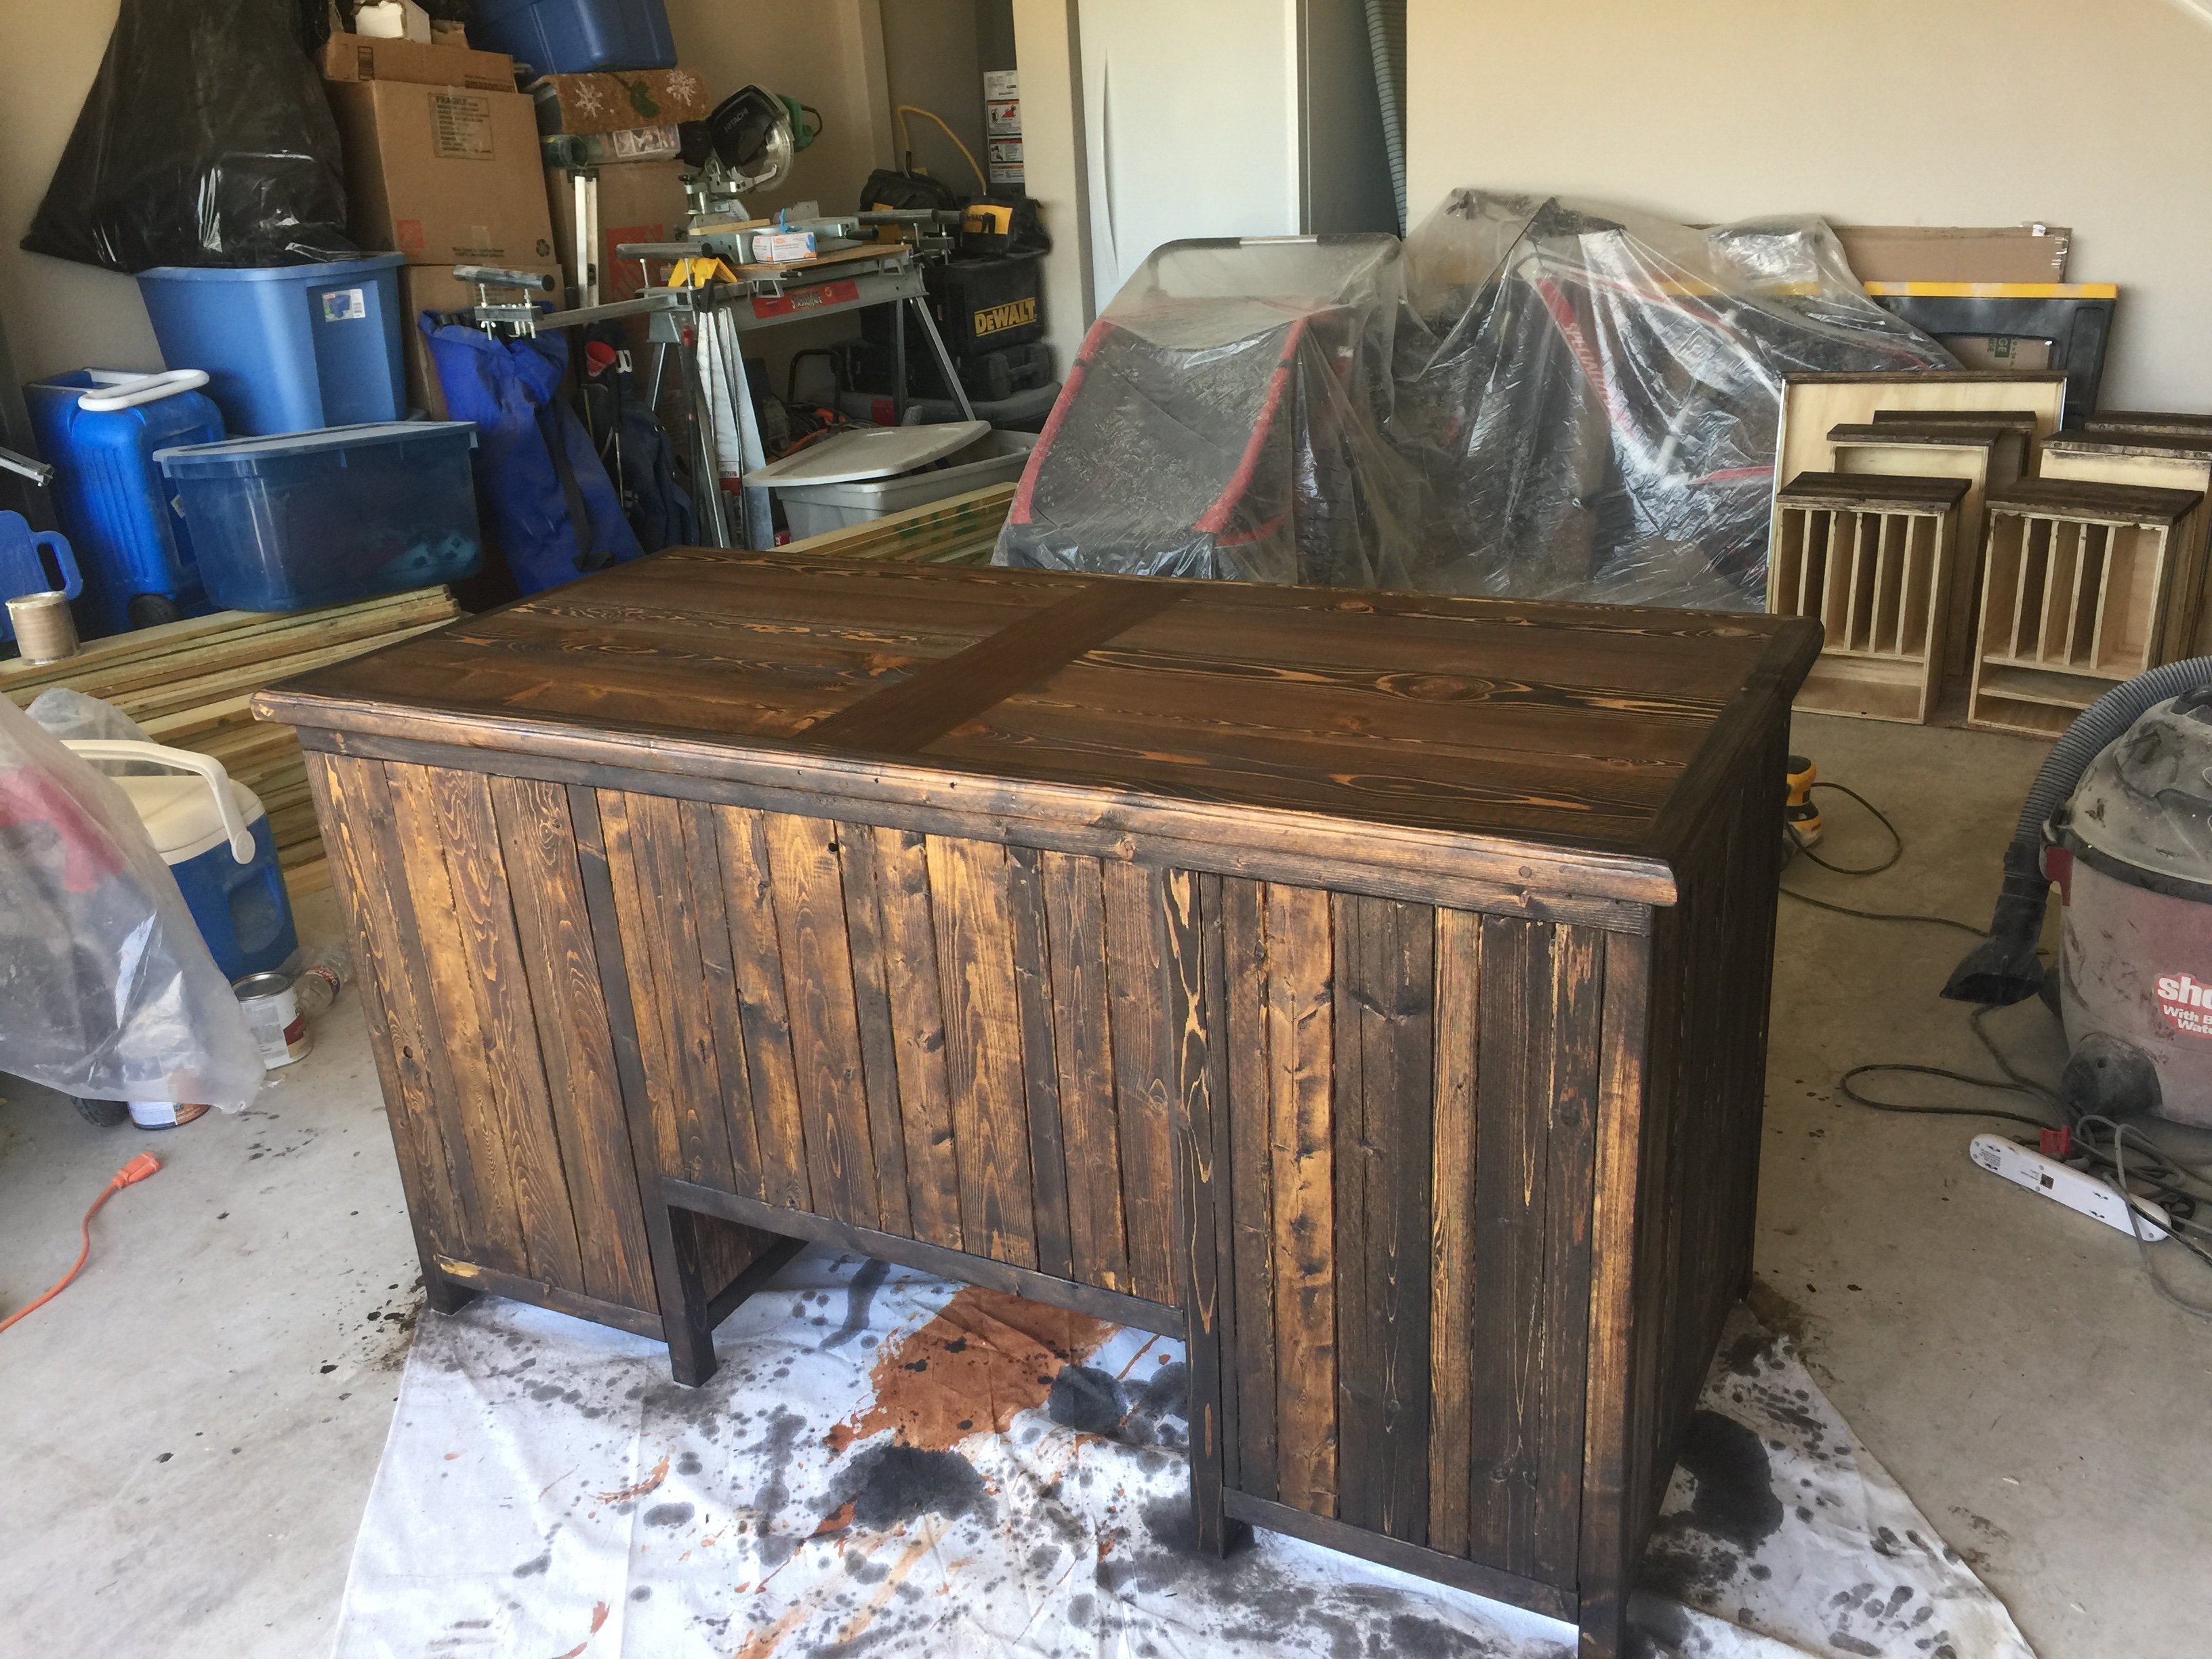
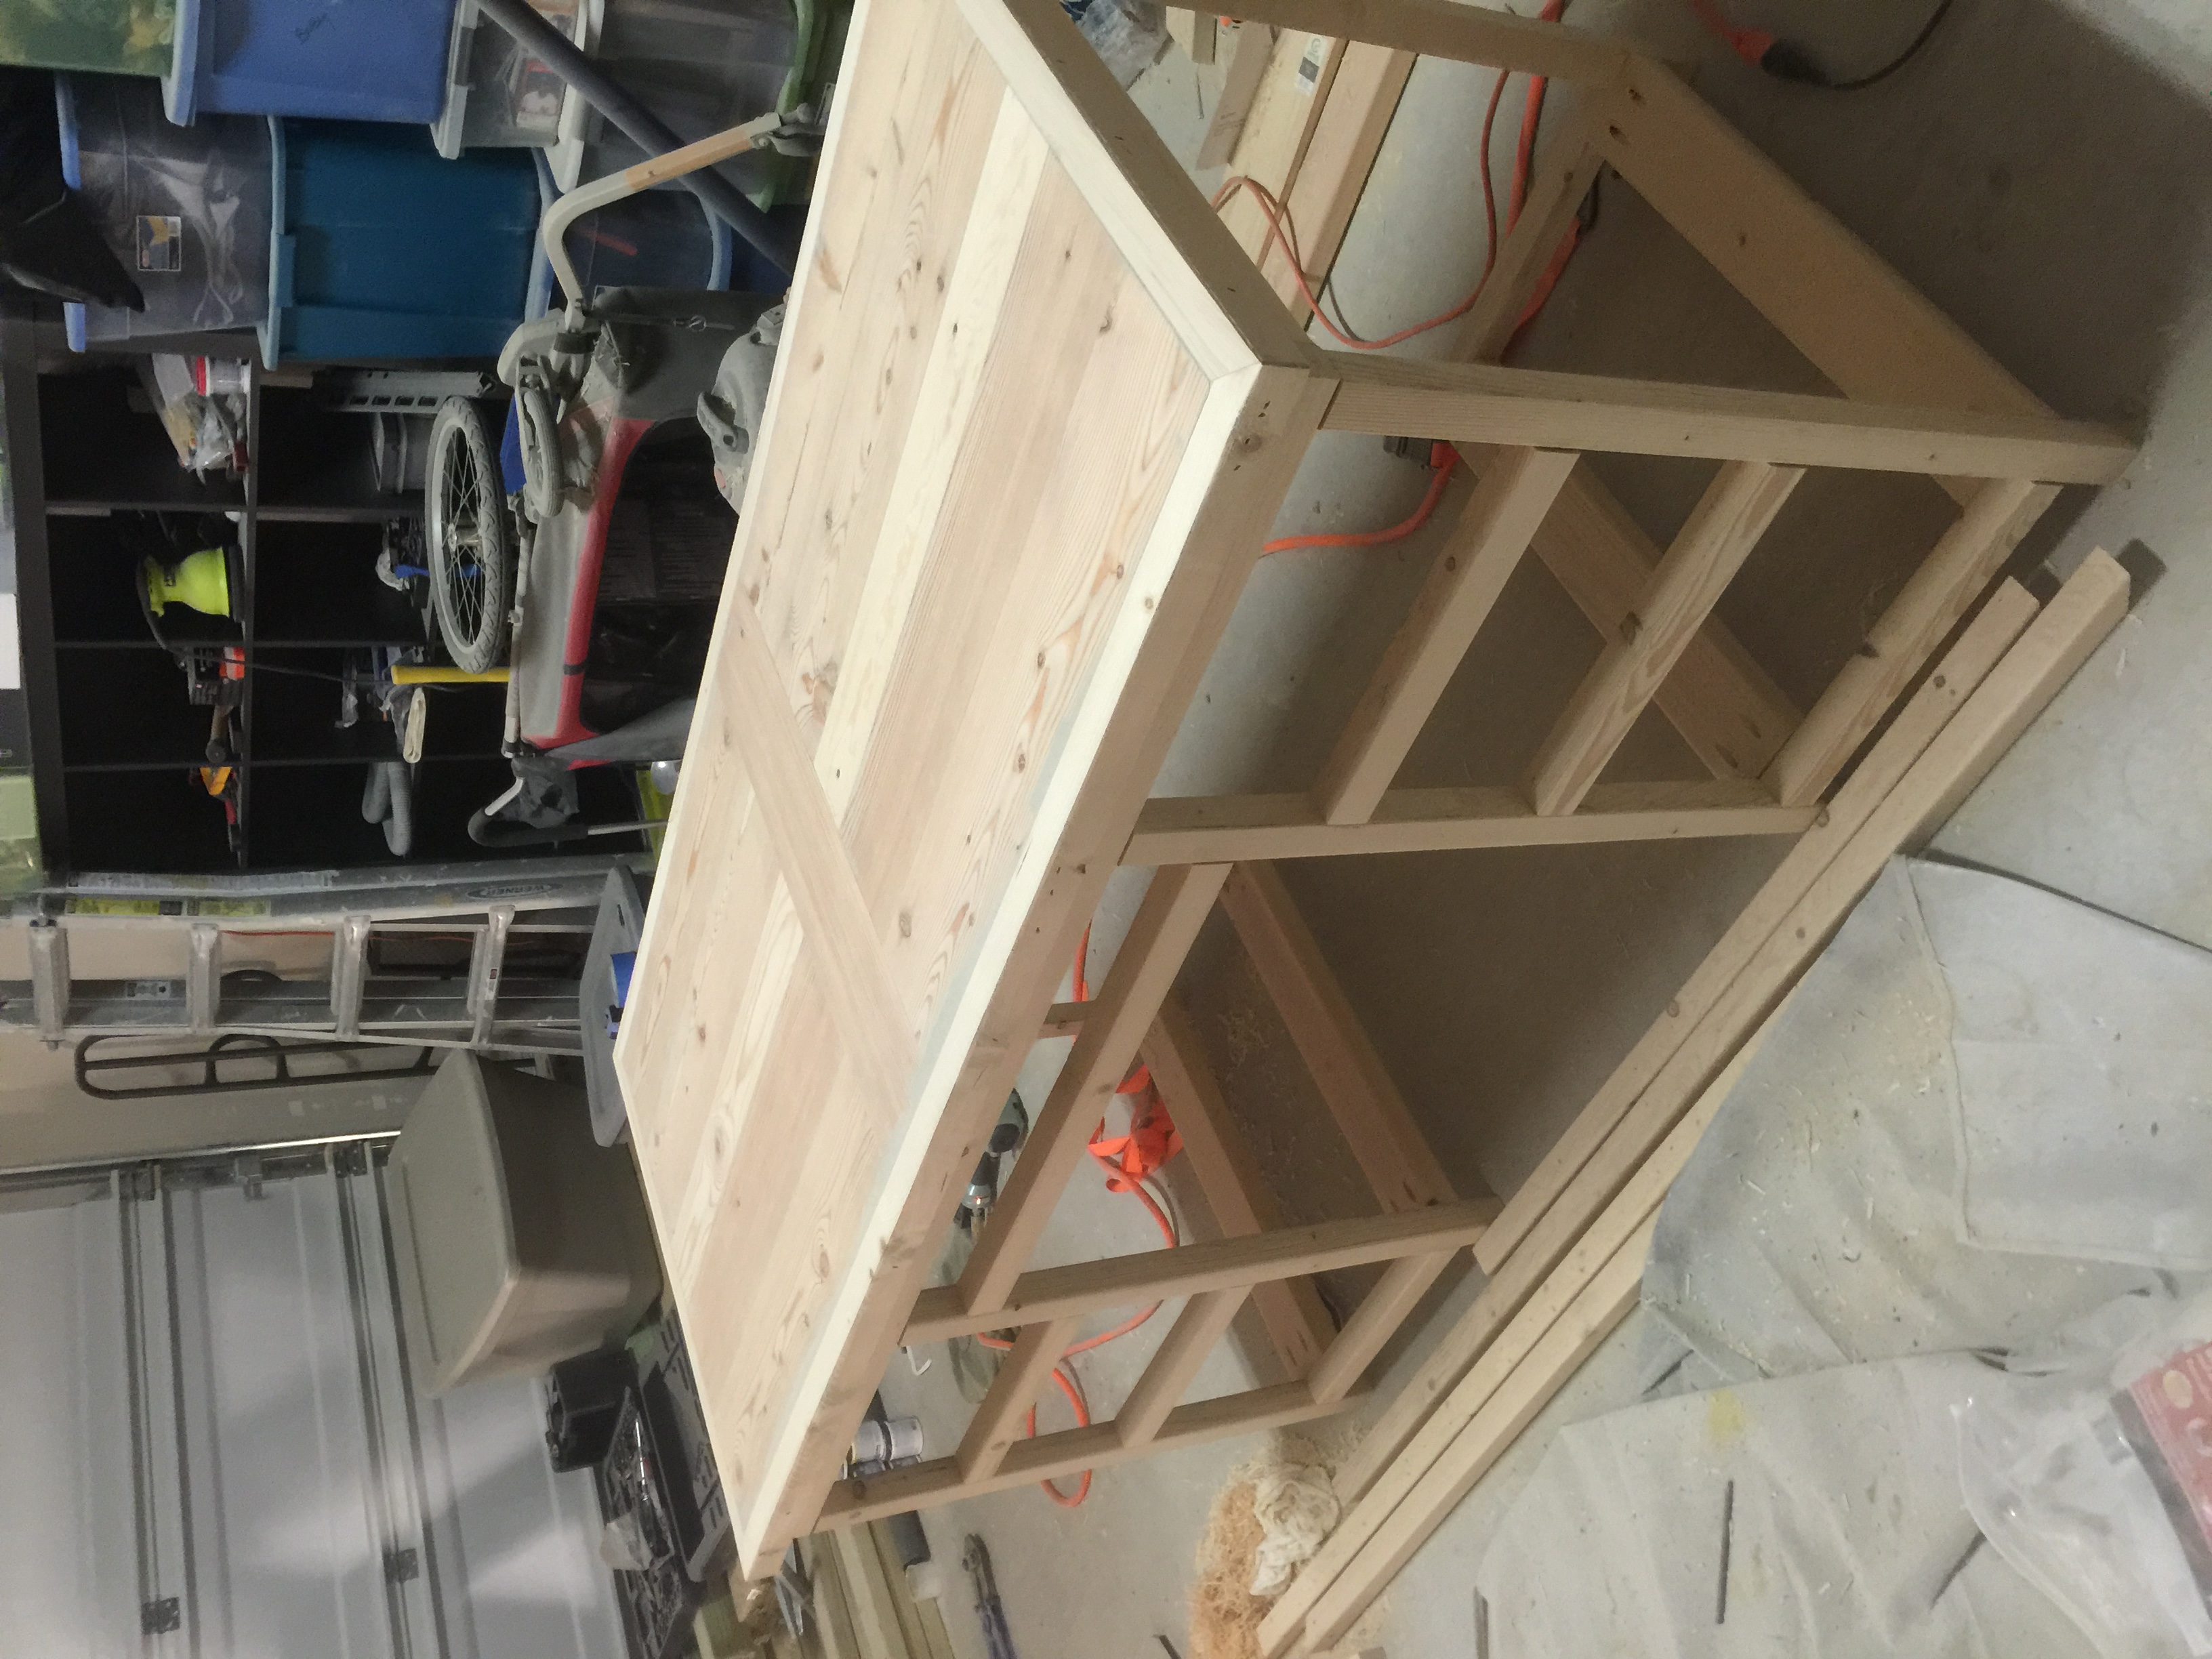
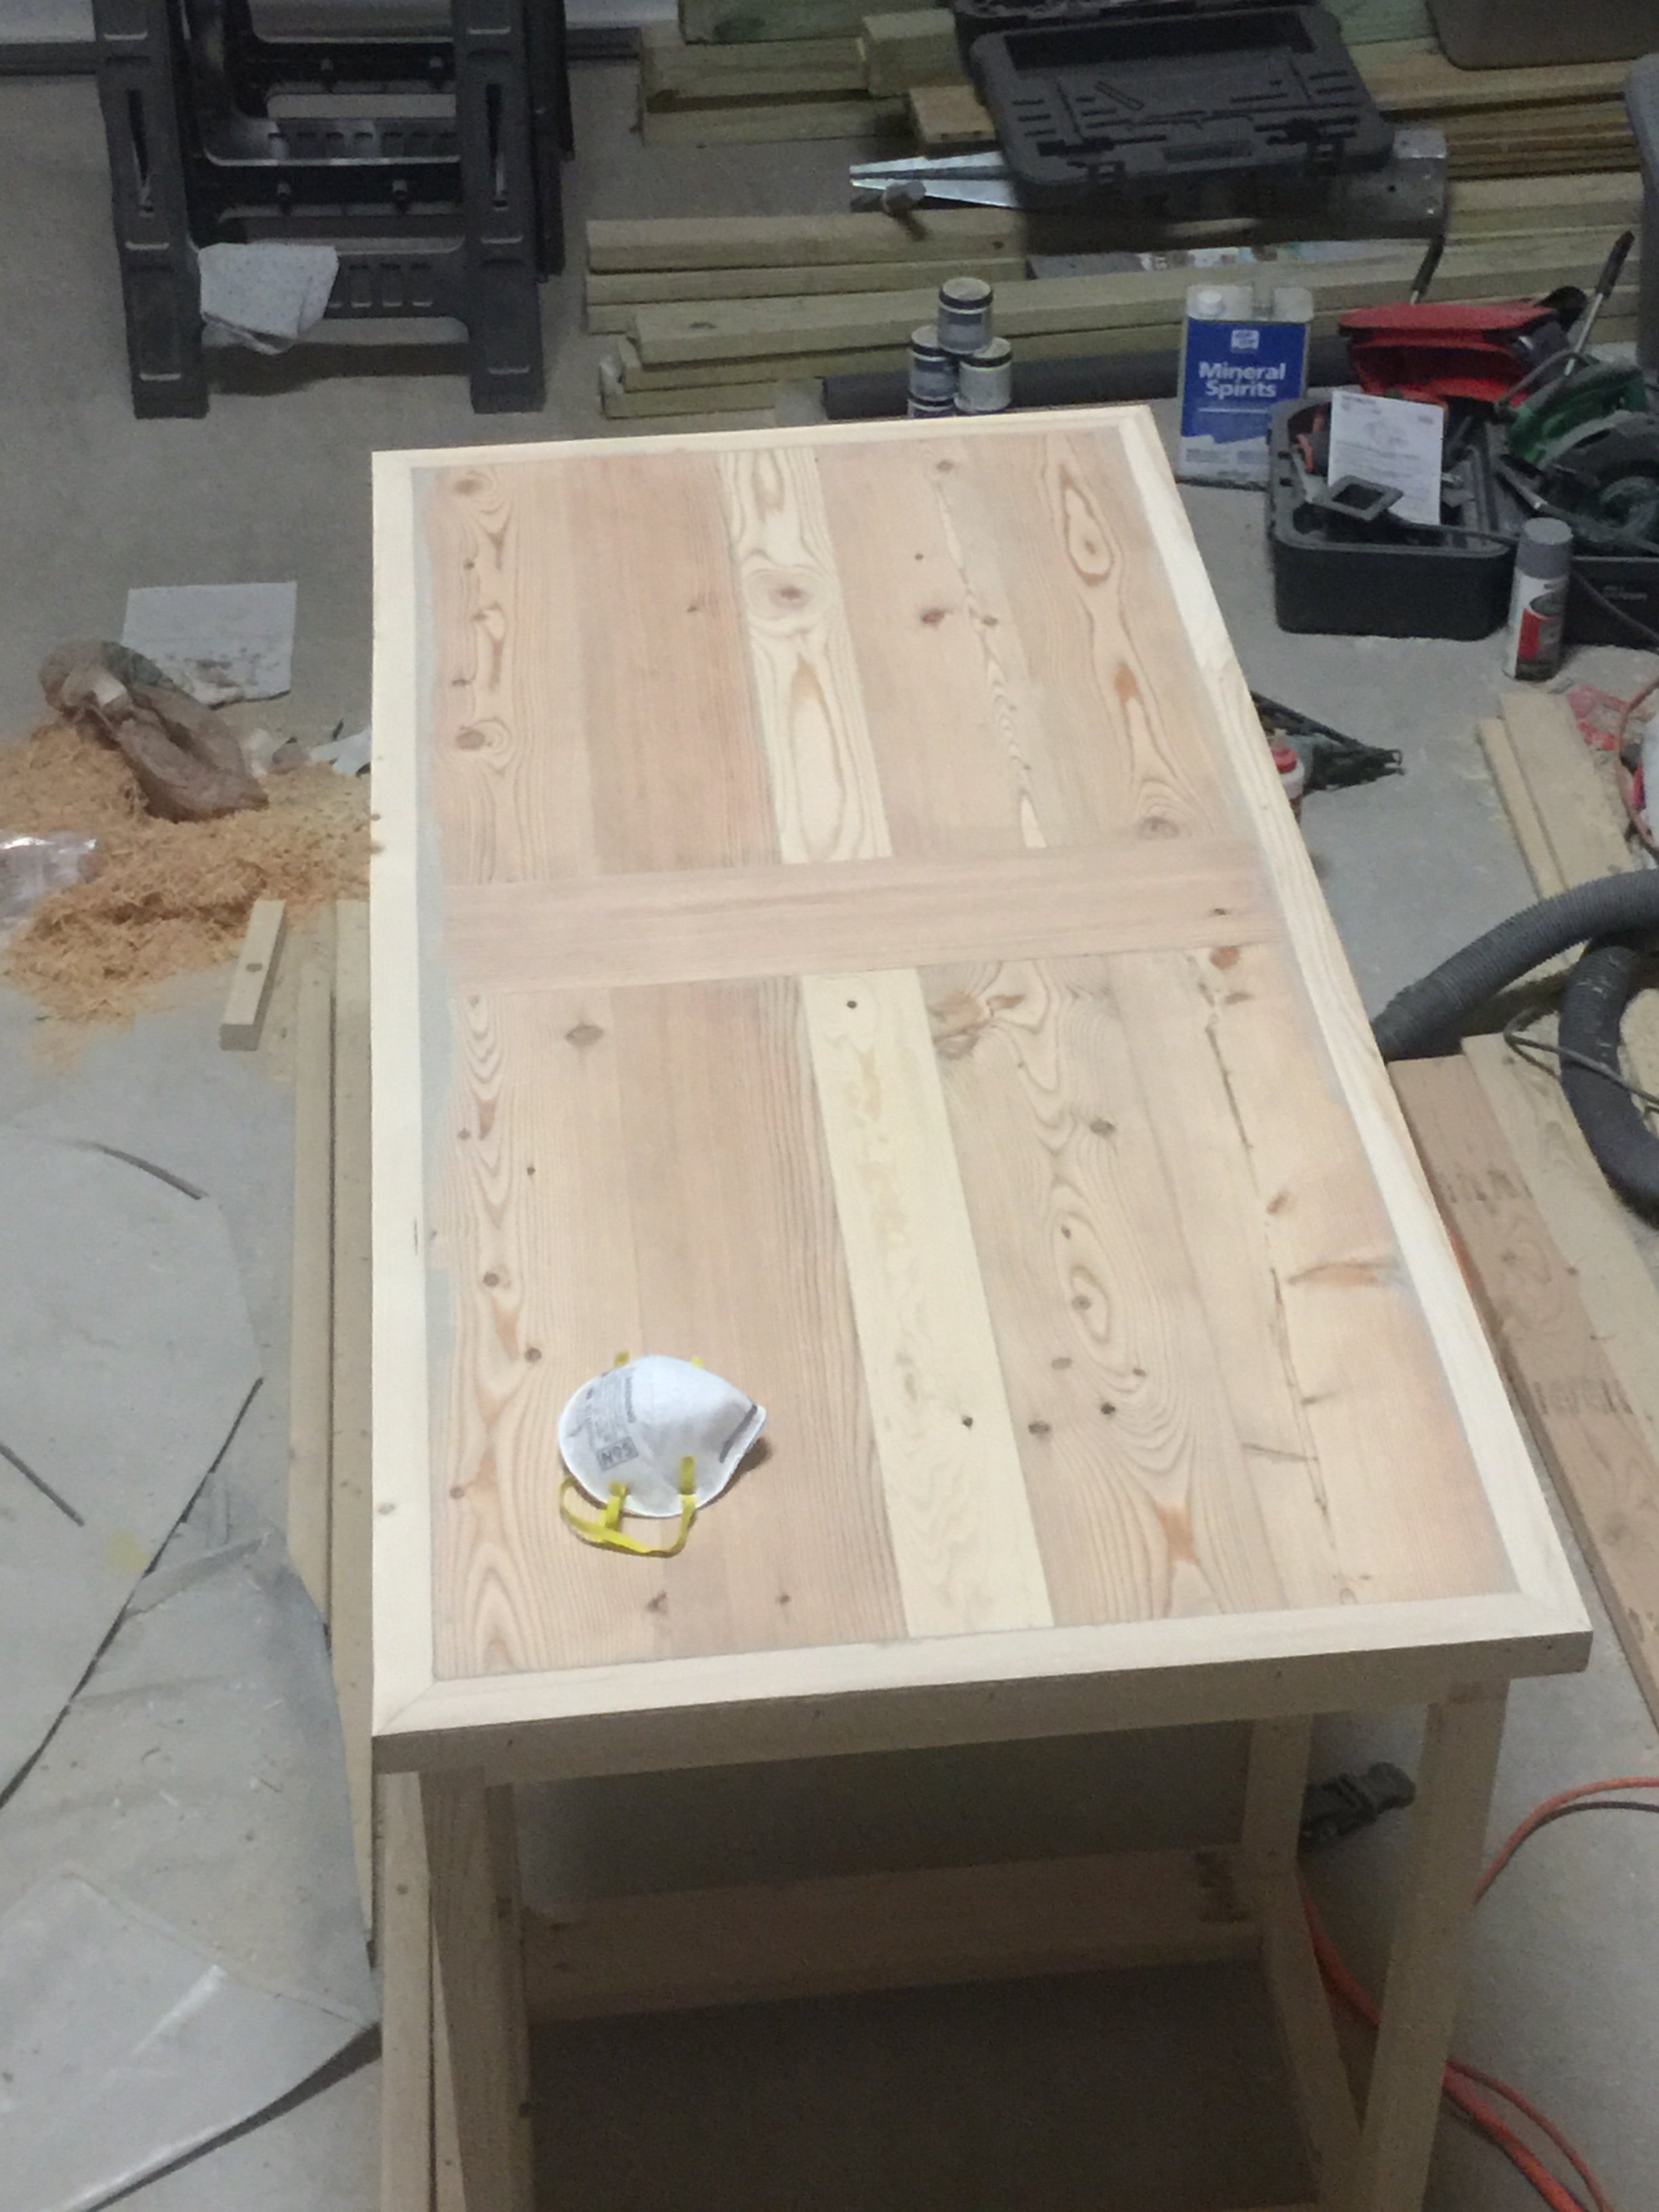
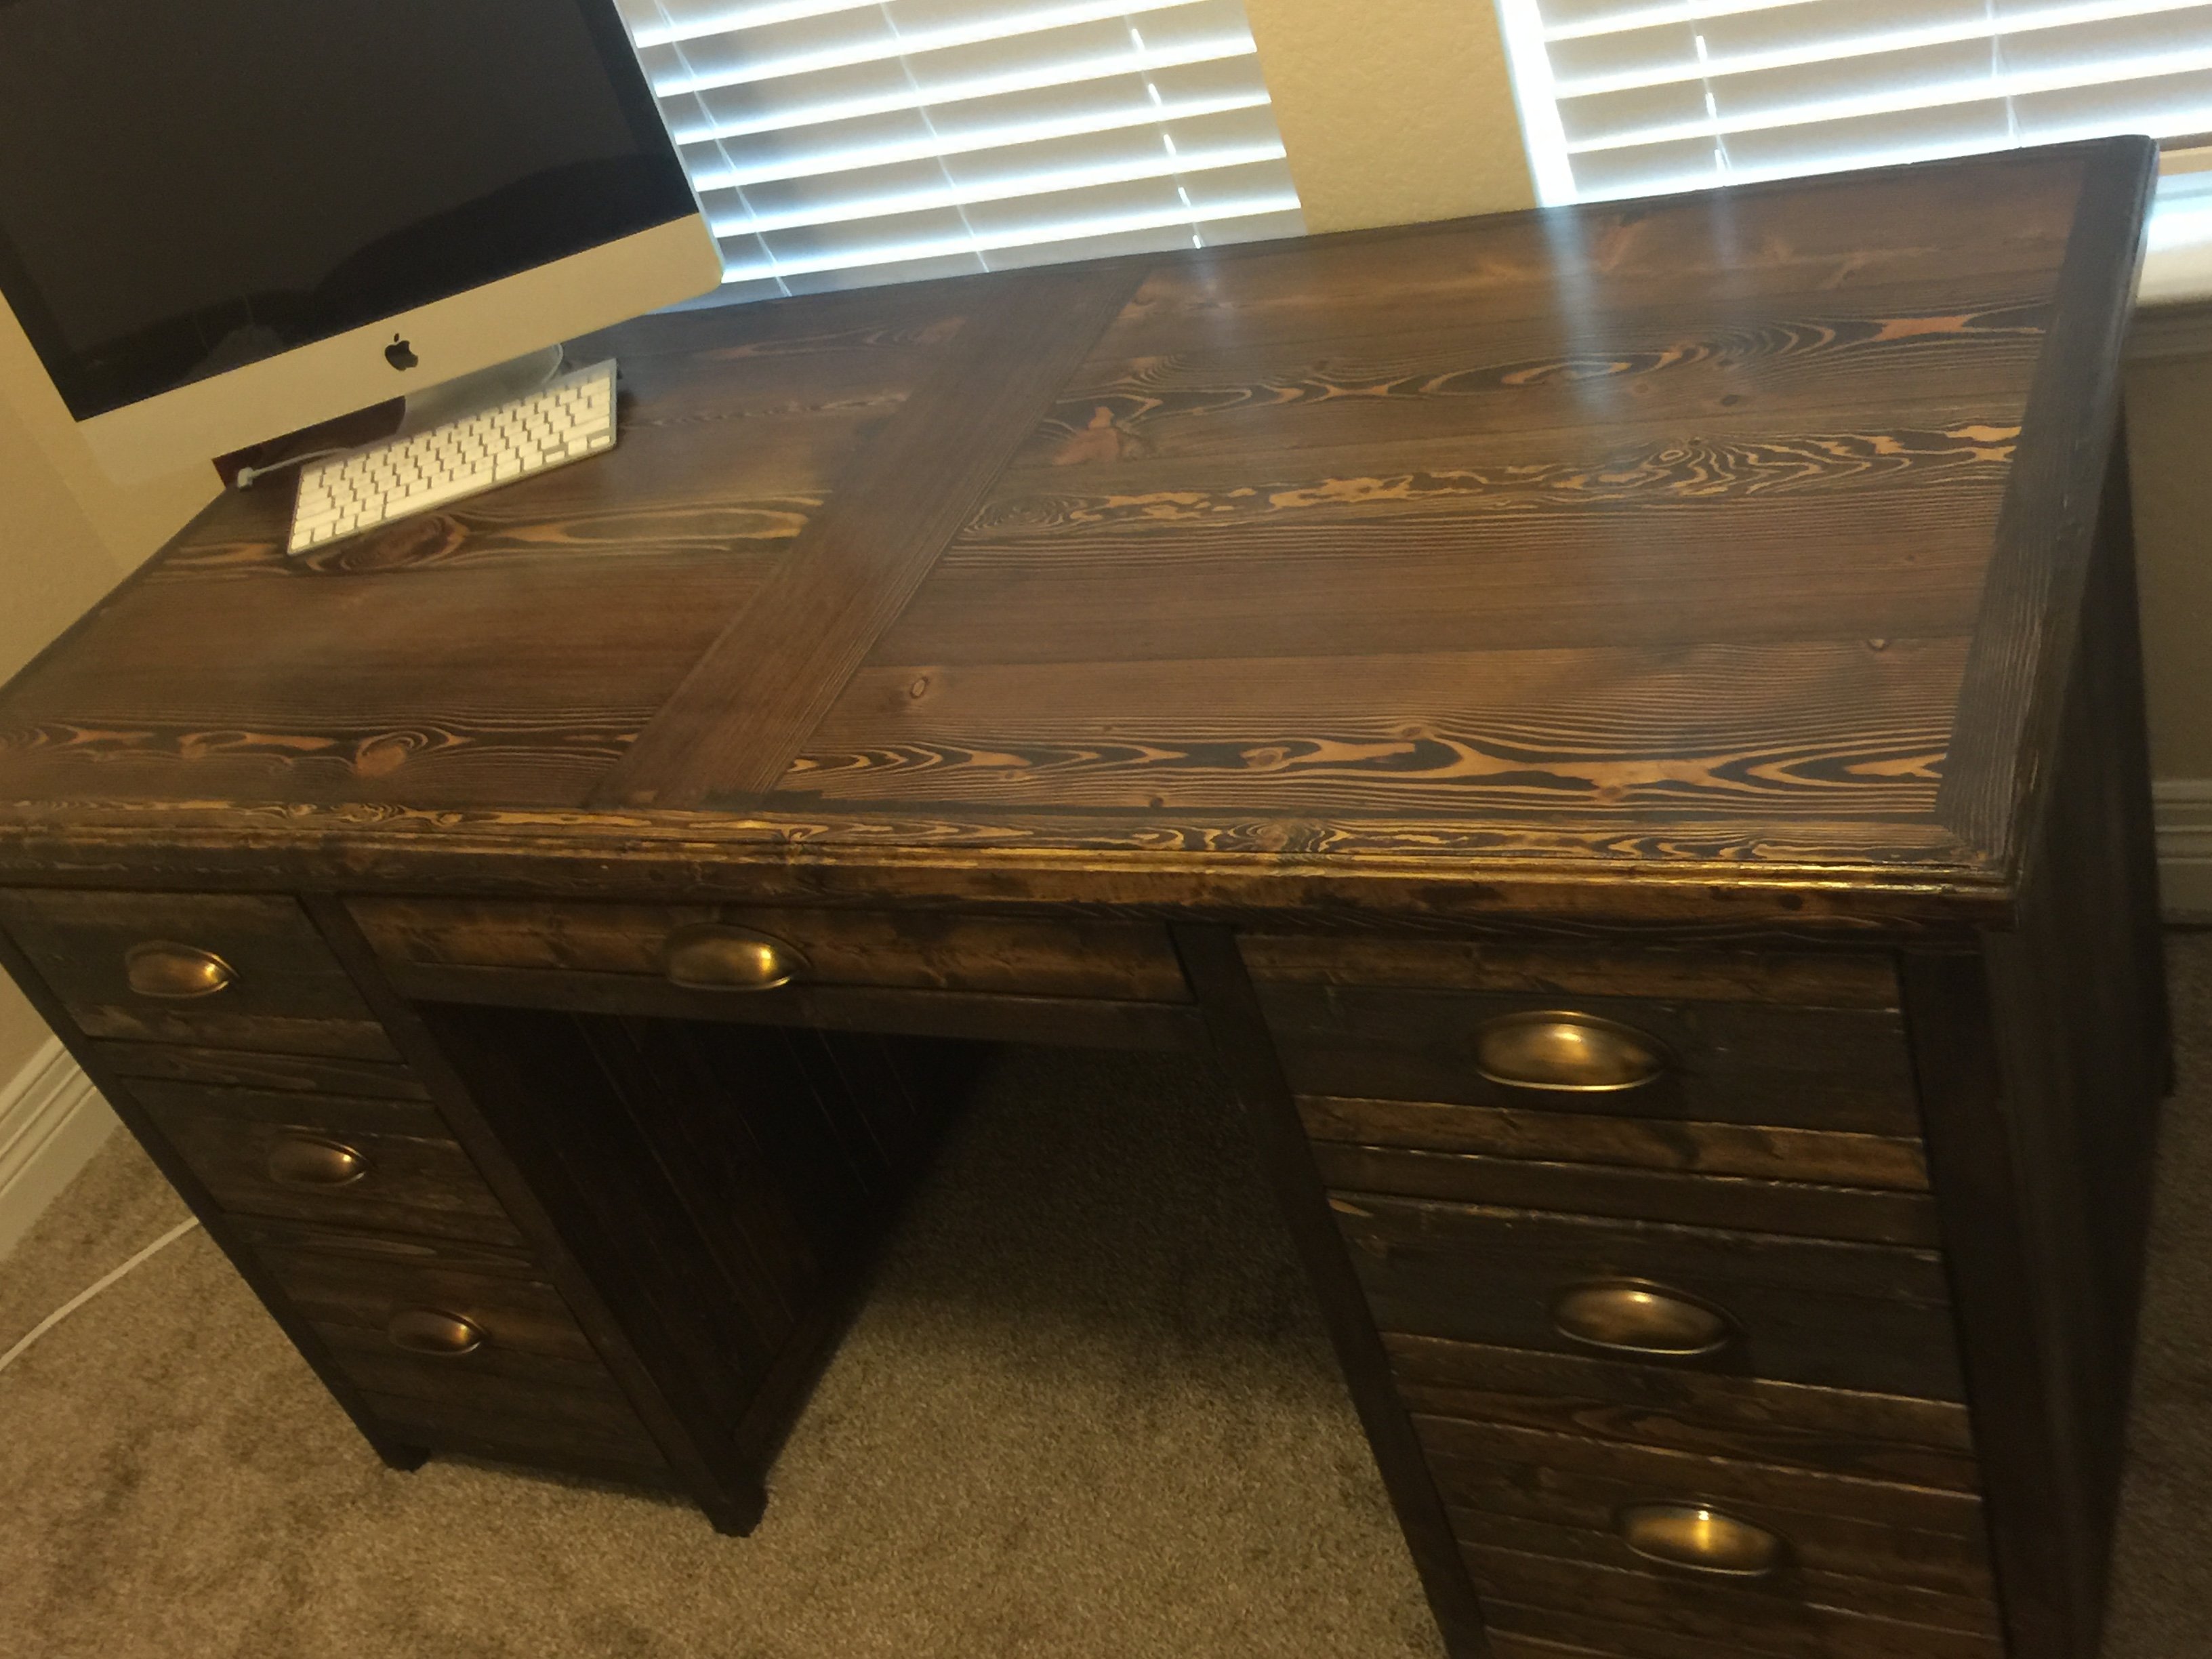
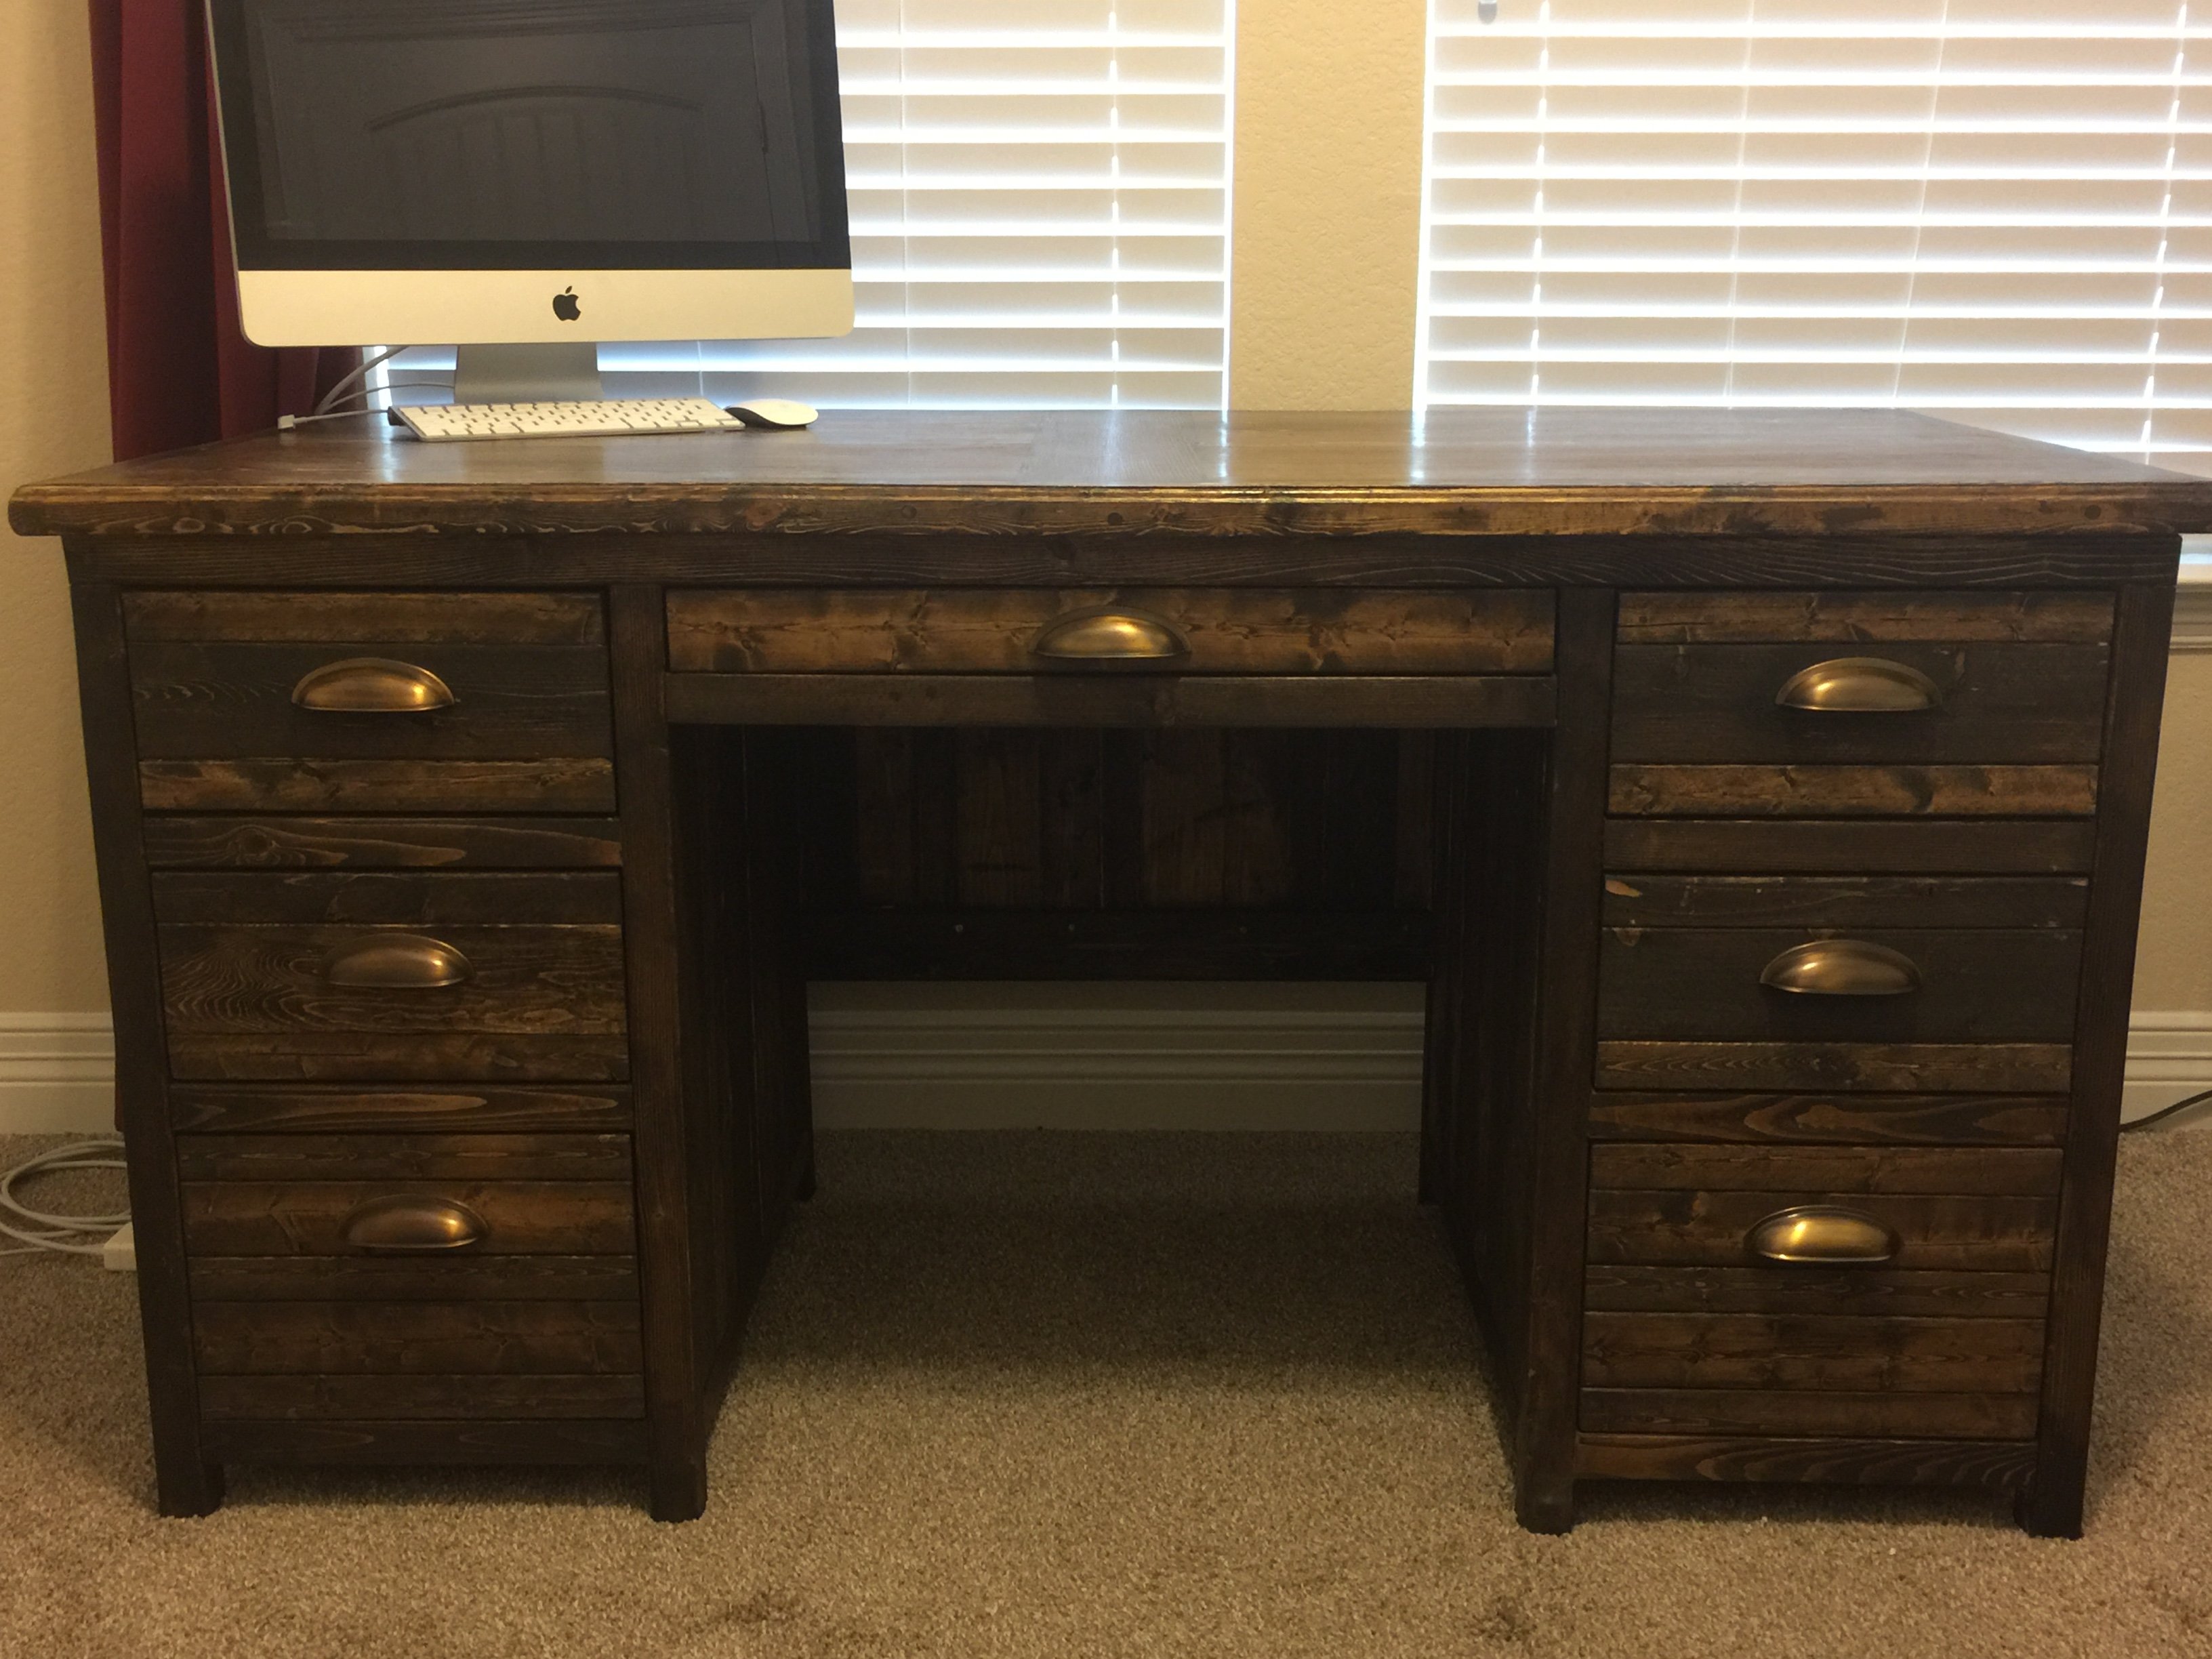
Started off with the plans for the Printers tripe console table and the lengthed, widened and lowered it into a desk. Did a very light sand on everything except the desk top to acheive a "rugged" look. On the desk top I sanded it for what seemed like forever and then added three coats of polyurethane. Ended deciding on a dark walnut stain
Thu, 12/31/2015 - 09:55
First, hats off. This is beautiful. I have a question, what are the overall dimensions of the desk? Thanks.
Pat
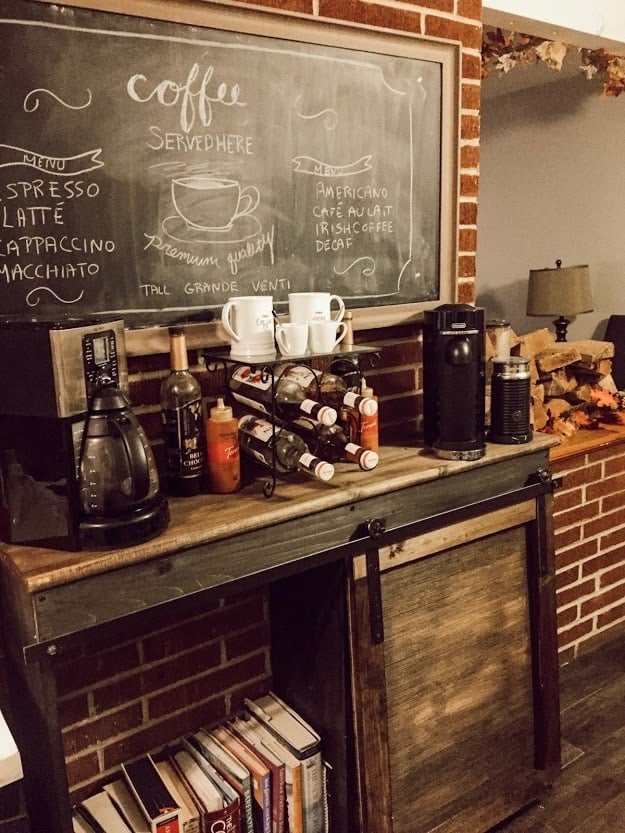
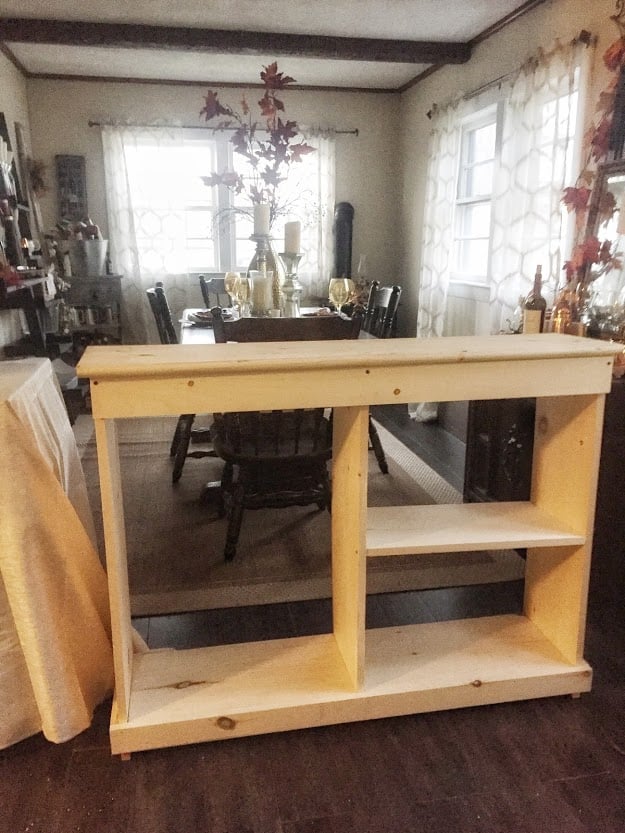
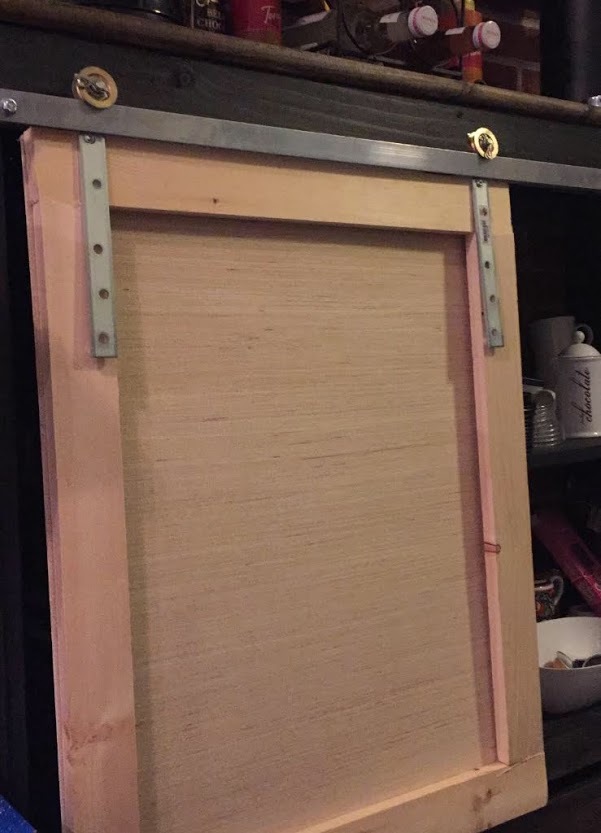
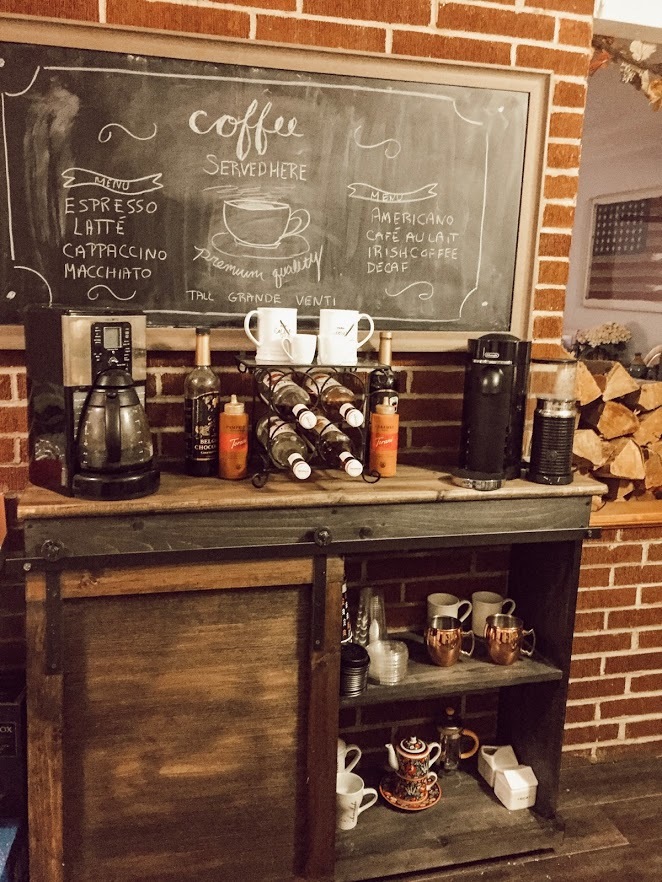
This was my first time using my own measurements for an Ana White build. I was really nervous but having completed a few other projects by following plans exactly, I felt confident I had gained the skill to branch out of my comfort zone. I had been looking at coffee bars for my kitchen, but at $300 and up, cheaply made and in the wrong dimensions,. I just knew I could build something with better quality for a portion of the price. This project took me half a day to build the carcass and then another afternoon to figure out the door hardware and stain. I used all 1 x boards and the final bar is 12" wide so I used 1 x 12 boards for everything except the trim. All in all you could complete it in a few hours, it was really simple. I made the door hardware by popping open two pulleys and attaching them with metal somethings (not sure what they are) that I found at Lowes. I then ran a flat bar across the front using spacers like Ana did in hers. I painted the hardware with Rustoleum Oil Rubbed Bronze spray paint and stained the top of the bar with Minewax Dark Walnut, the bottom is Minewax Ebony. I still need to poly. One thing I changed up was the top. Instead of using a piece of plywood, pine, or combining pieces together, I used a stair tread! It was a little thicker than a typical 1 x, and also had a rounded edge which I think gives the piece a finished look! This is a piece of furniture I will truly use every single day and I couldn't be happier with how it turned out! The grand total? $60 for the wood and $20 for the hardware. $80 all in all (I had the stain leftover from another project). There's no way I could have bought a piece this nice for that price!

Wed, 09/09/2020 - 12:33
This looks great, time to enjoy a cup of coffee and read a good book!
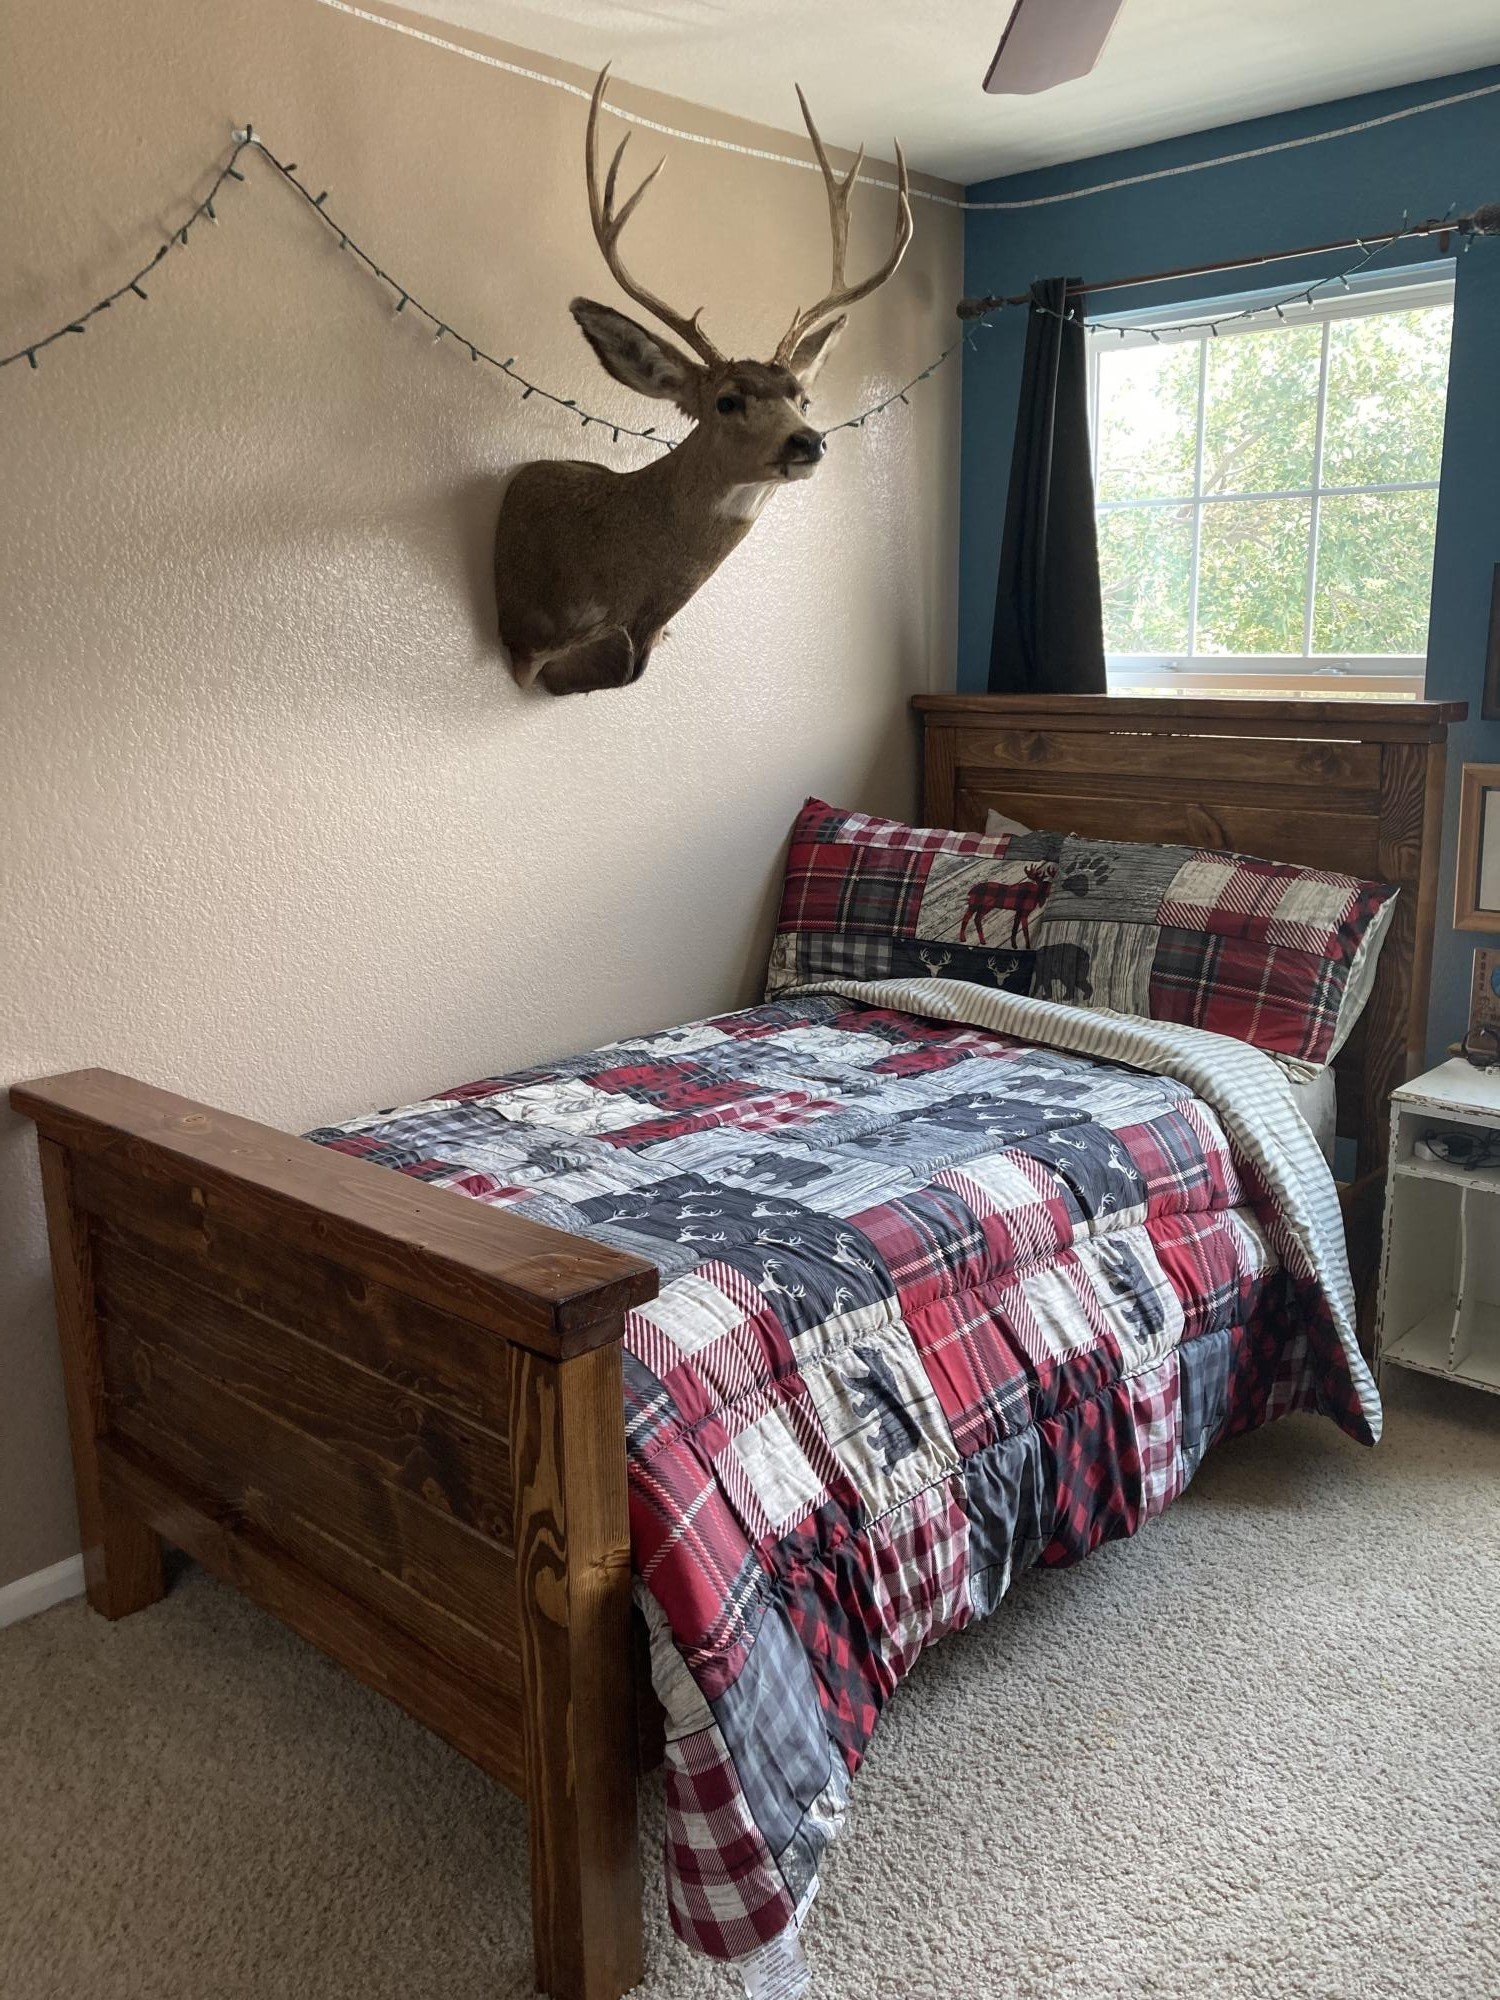
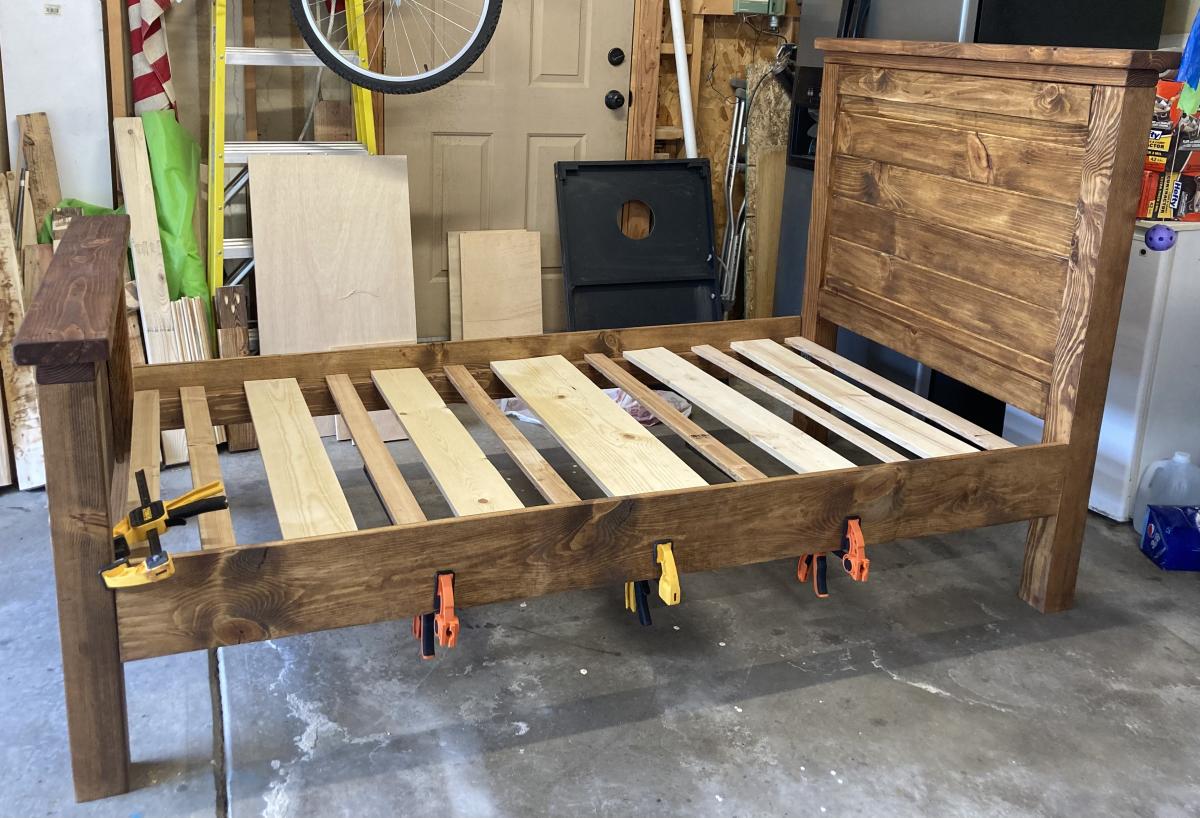
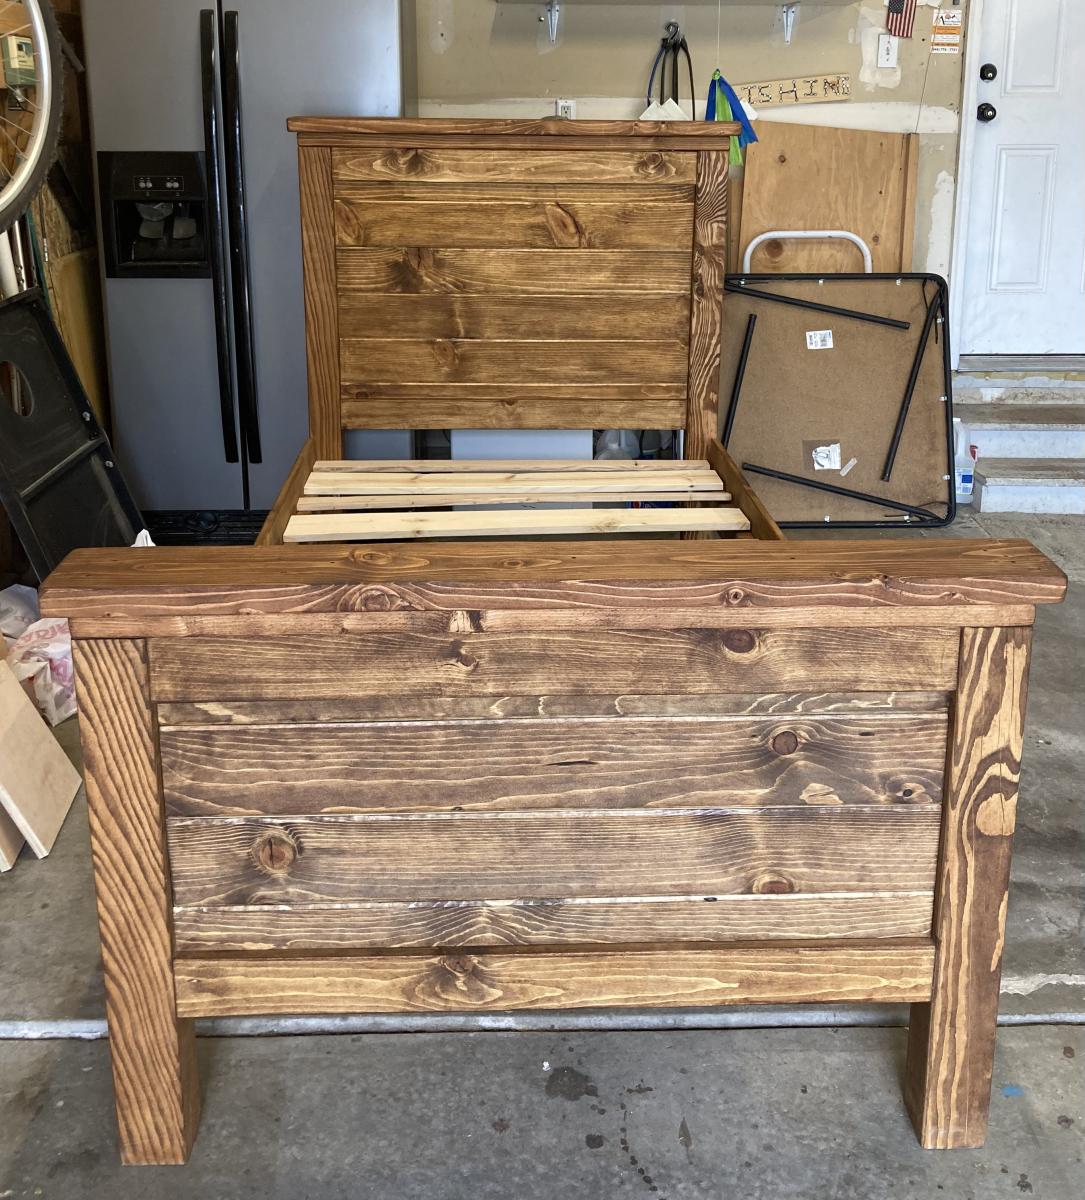
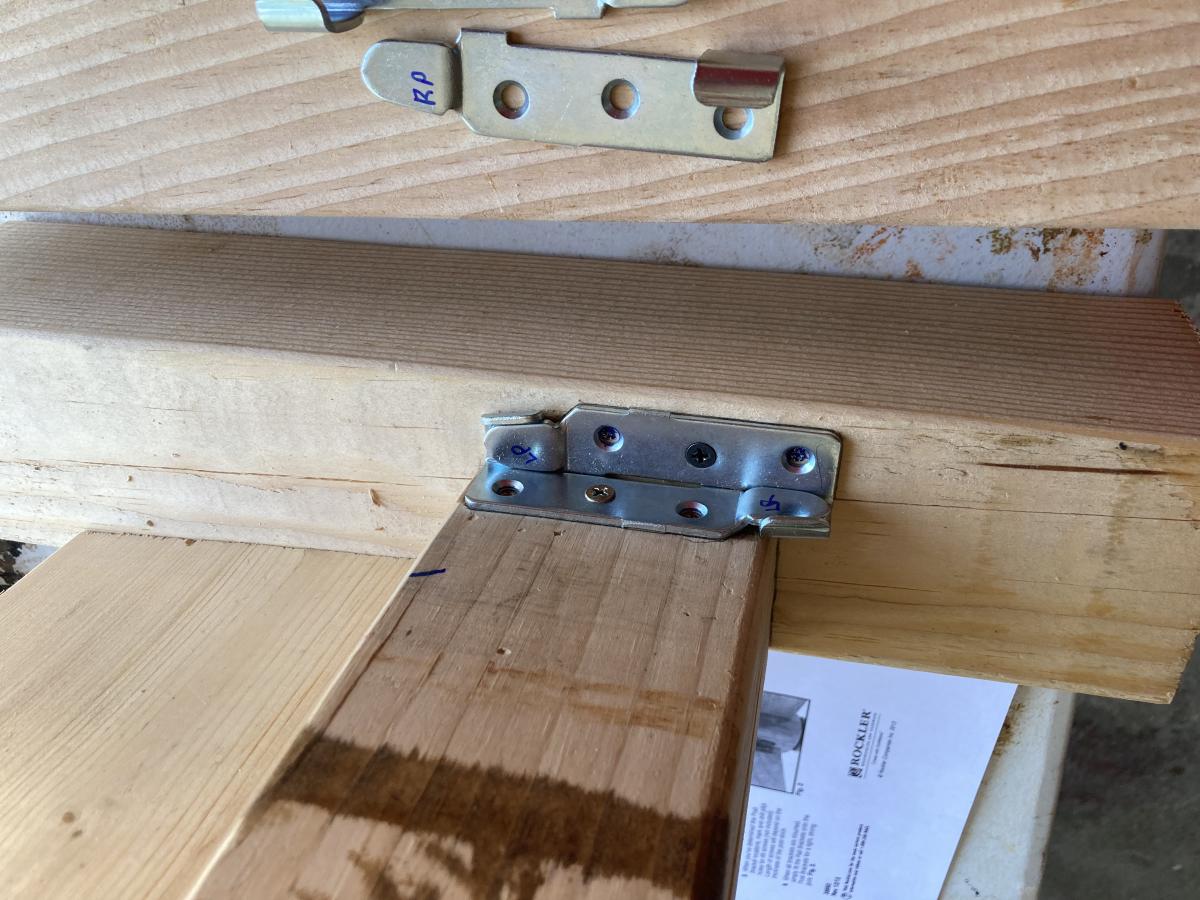
My son grew and needed a bed fit for a high schooler! We went through all of Ana’s beds and picked this one, but he wanted tongue and grove on his headboard and footboard. This was a smooth build and agreed with some other builders to have a bed breakdown framing system. I chose mine from Rockler. I have used their products before and have been very happy. My son also wanted it raised a little bit higher for storage. The stain is golden oak. We were so happy about this bed, so thank you once again, Ana!
Sat, 08/20/2022 - 20:58
WOW, this is gorgeous, love the finish! Thank you so much for sharing.
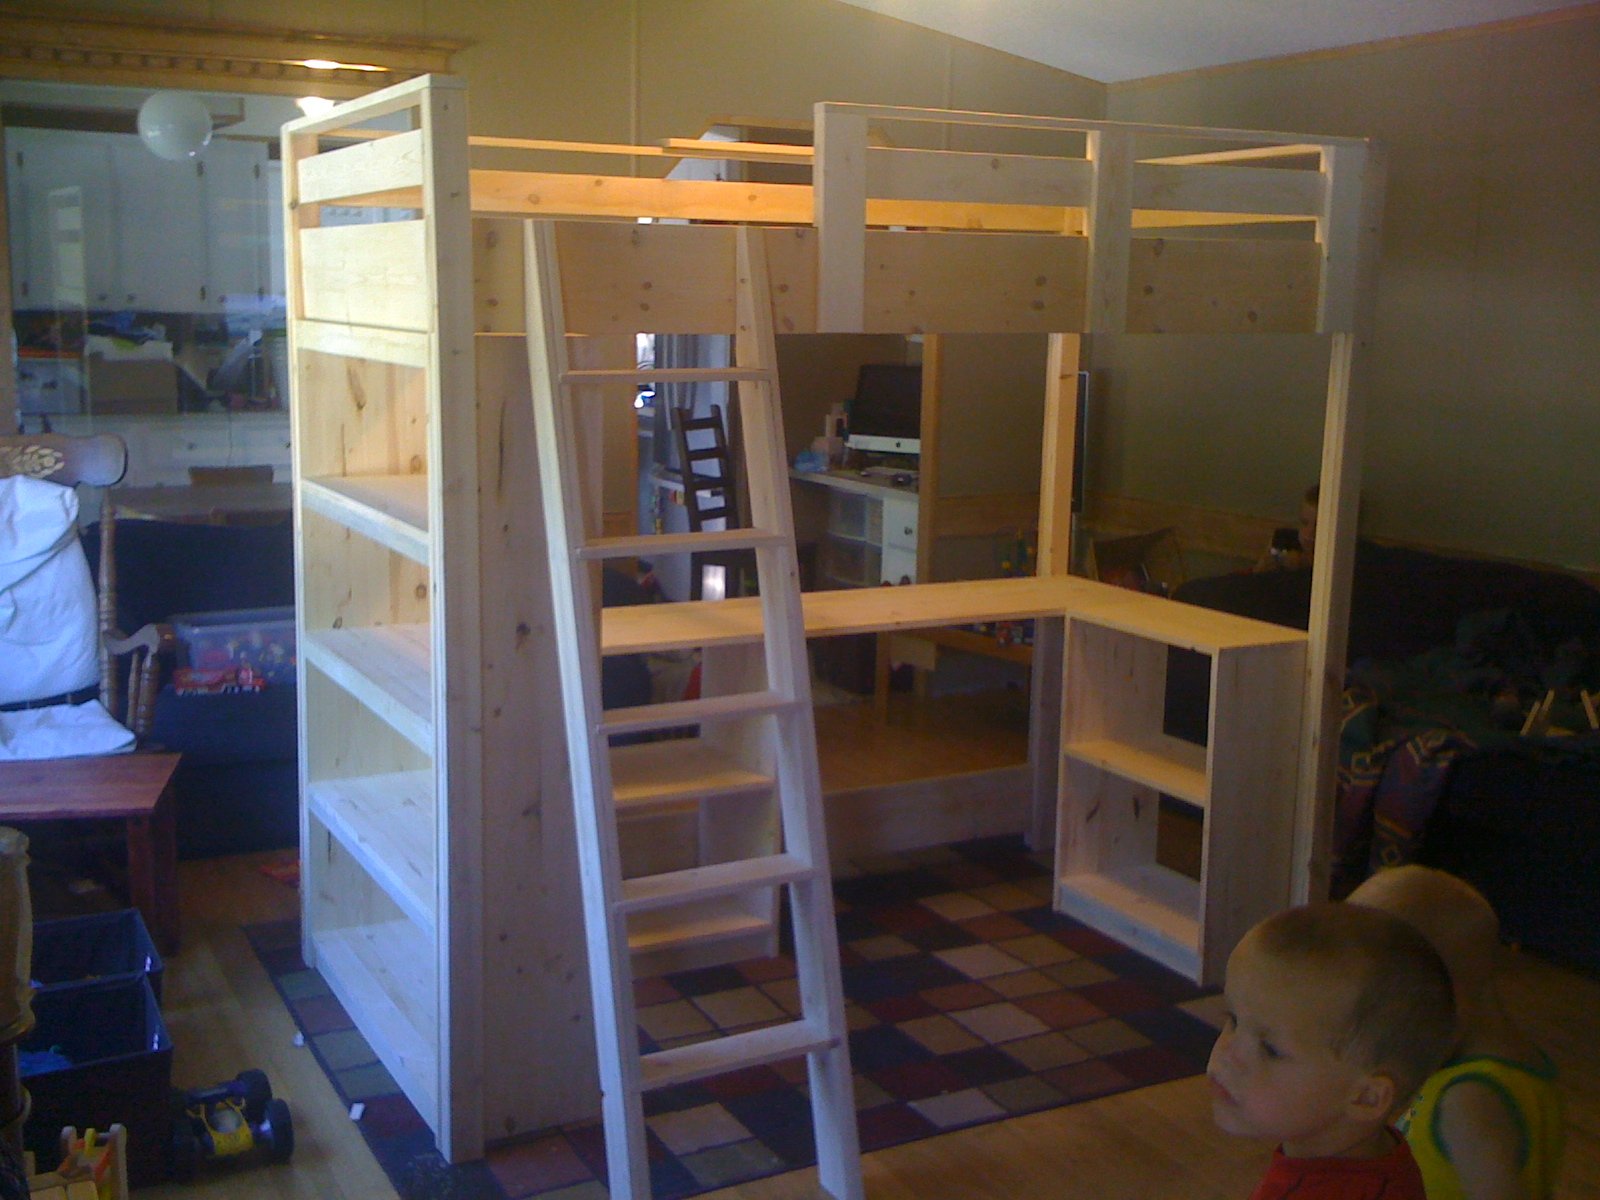
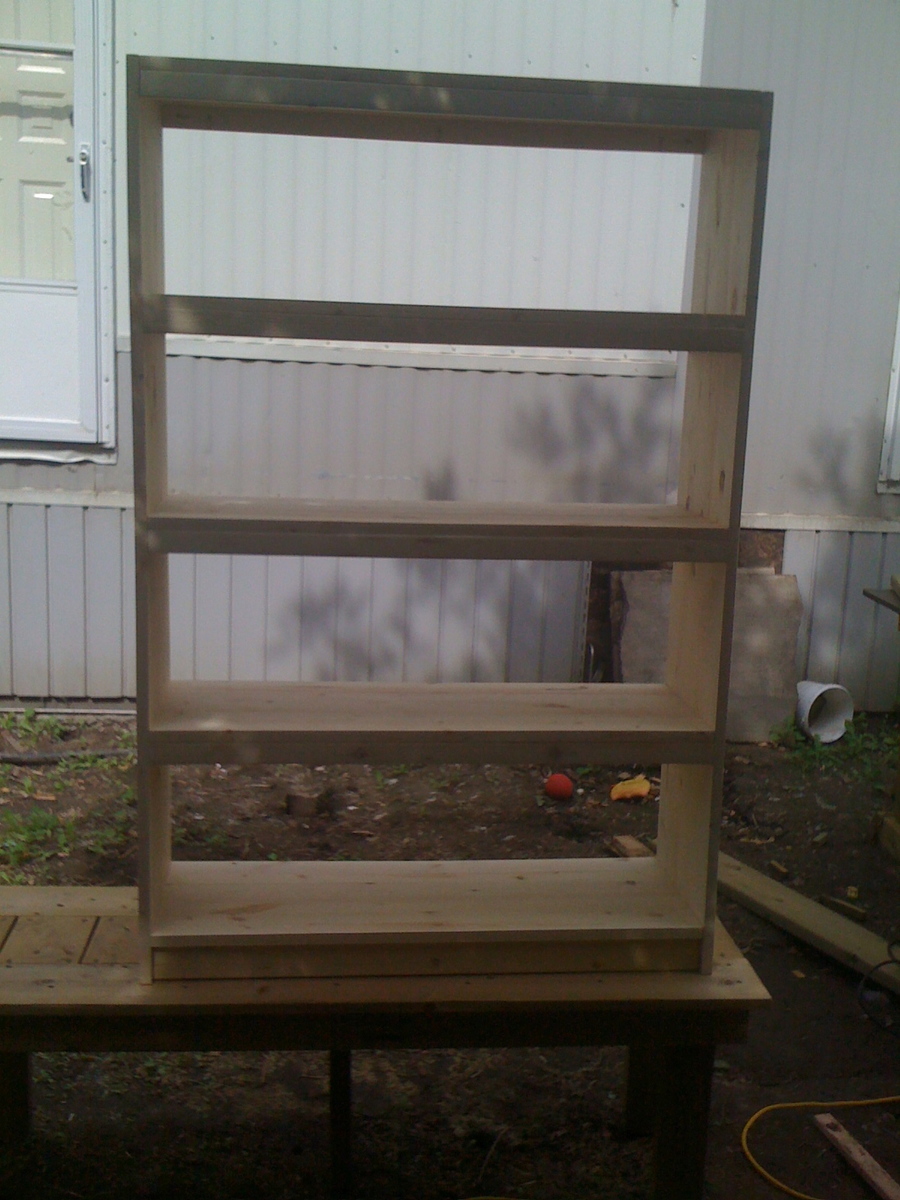
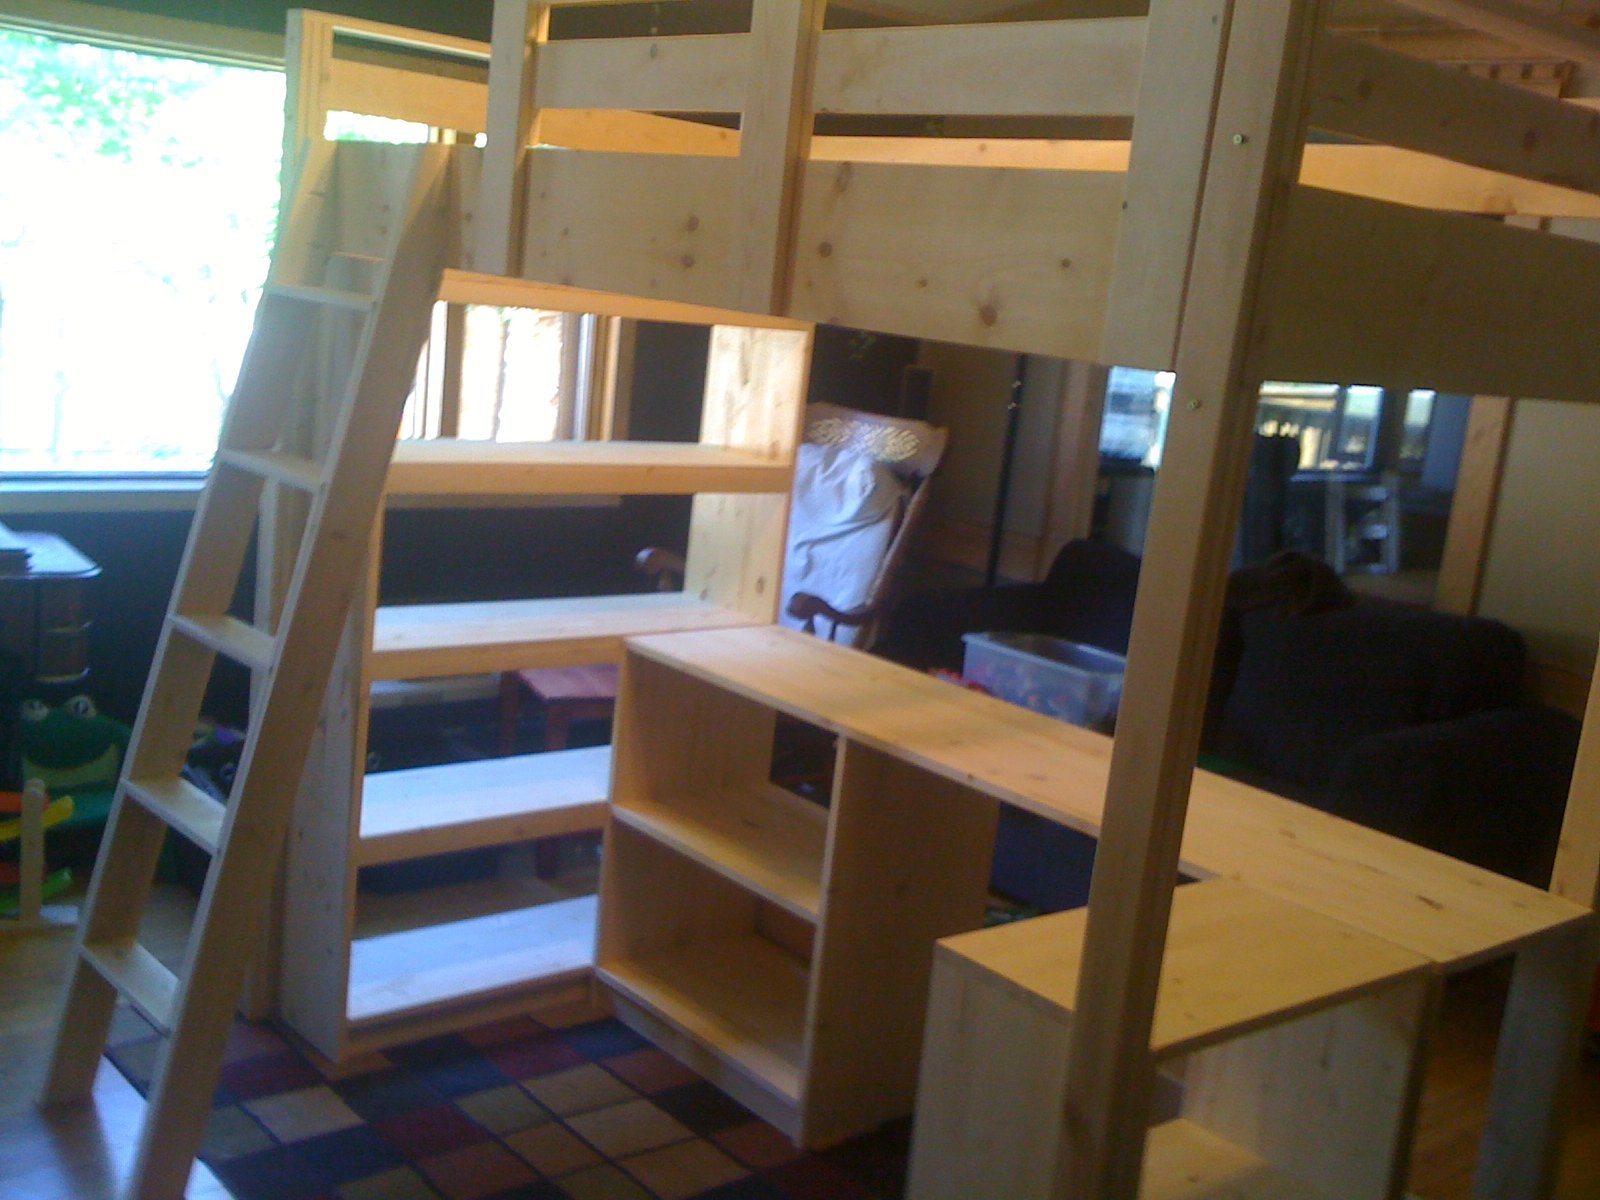
A few months back a friend of my Sister asked if I would build a bed for her 10 year old daughter. I was excited to do it! So I finished up the projects I had already started and then went to work. I had never built bookshelves before. I wanted it clean and "hole-less" on the outside, so we found a Kreg Jig and I started learning. SUPER easy!! I believe it has been painted white. I can't wait to go see it!!
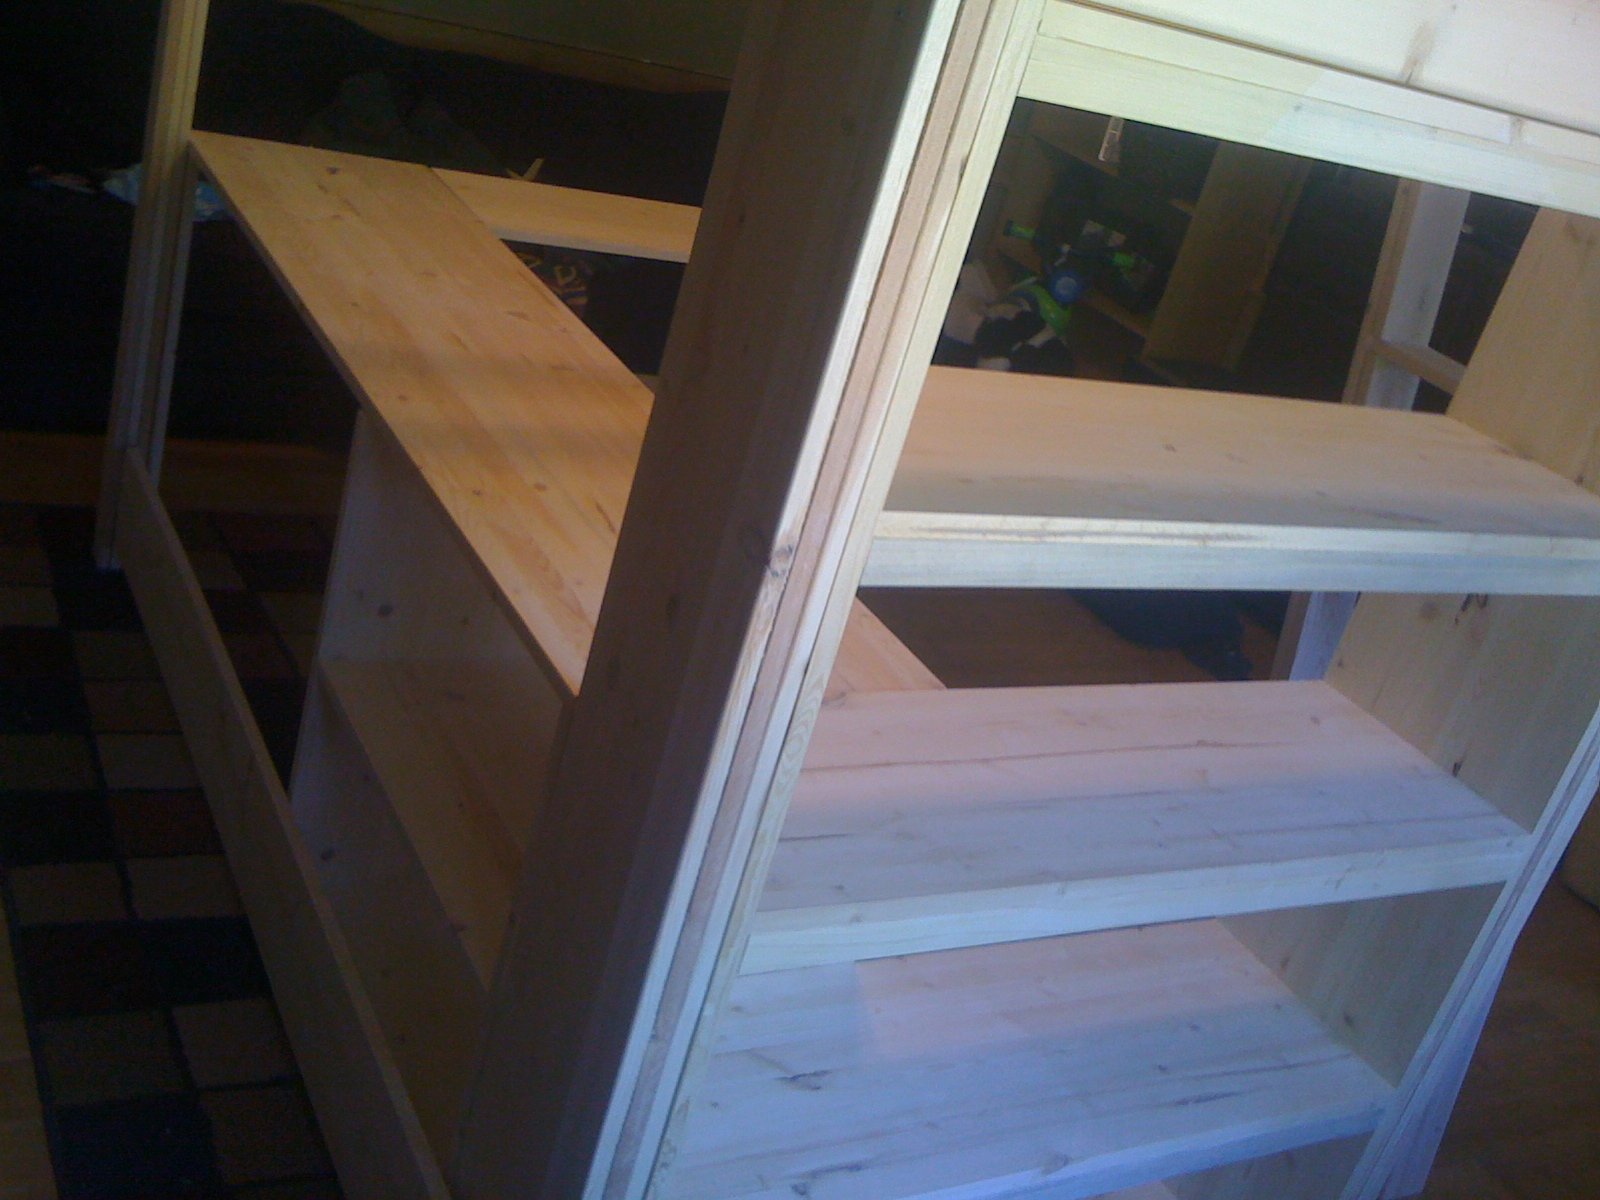
I followed Ana's plans except I used 2*2s for slats and used 16" wide boards for one of the bookshelves and the desk top. I want them to be able to use this for years to come and not out-grow it too quickly.

Fri, 10/21/2011 - 09:39
Where did you get 16" wide boards? We're thinking of making the same loft with the 16" desk and 16" small book cases. I was planning on using plywood.
In reply to Loft bed with 16" deep desk and small book cases. by Guest (not verified)
Thu, 11/24/2011 - 10:32
My apologies, I just saw this.
I got them from Home Depot down the shelving isle.
Sat, 02/25/2012 - 05:56
hello just a quick question about the railing. Is it screwed on or is it just sitting over the wood? Very nice bed.
In reply to hello just a quick question by judee (not verified)
Tue, 08/07/2012 - 15:06
My apologies, I just saw this now. It is screwed on, but from the inside.
Tue, 08/07/2012 - 13:35
How many 2x2s did you use? I think I am going to do the same to make sure that I do not outgrow the bed. Also did you have to change the size of the little bookshelves when you changed the desk to 16" instead of 12" ? I'm trying to build the whole set on my own (im 14)
In reply to How many 2x2s did you use? I by WannaMakeA LOFTBED (not verified)
Tue, 08/07/2012 - 15:09
I think I used around 20 2x2's, and did use a center beam to add strength. I only changed the one bookshelf to a 16" (the one under the desk). The other one I left as a 12". Good luck building your bed!
Sun, 05/12/2013 - 19:37
Hook fam, Thanks so much for your work and for the pictures. I really like how you left the lower back side of the big book shelf off and still included the desk behind. Love the 16" too and I think I will go with that for the desktop but leave the 12" for the shelves. Thanks again! This is now my next project!!!

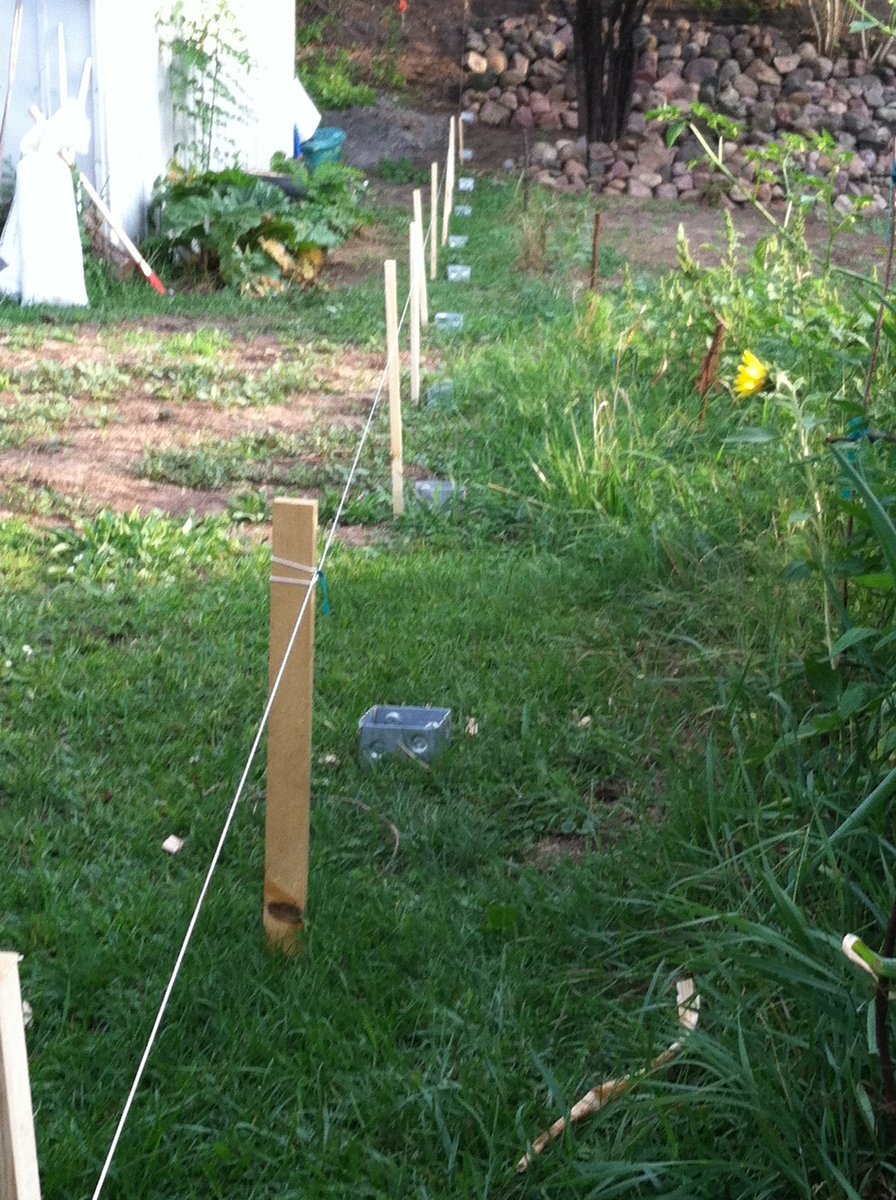
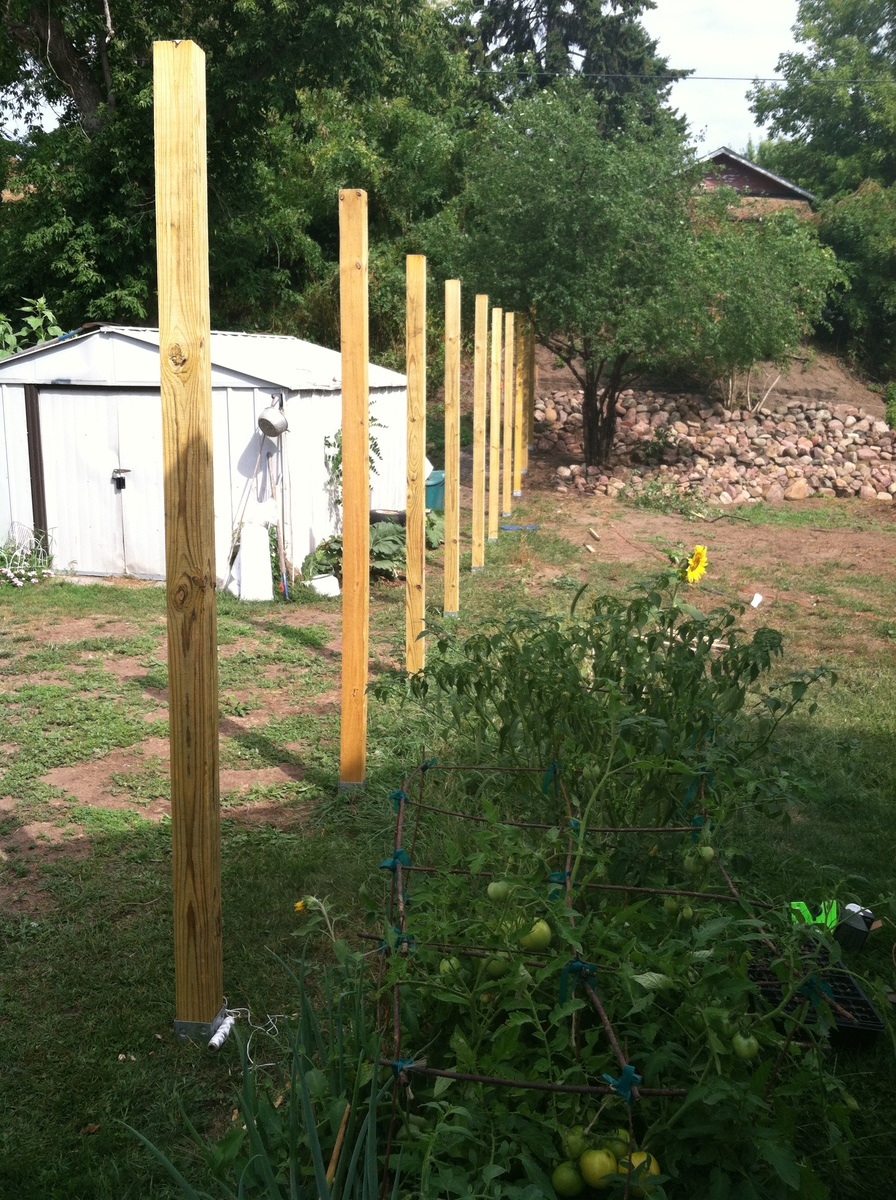
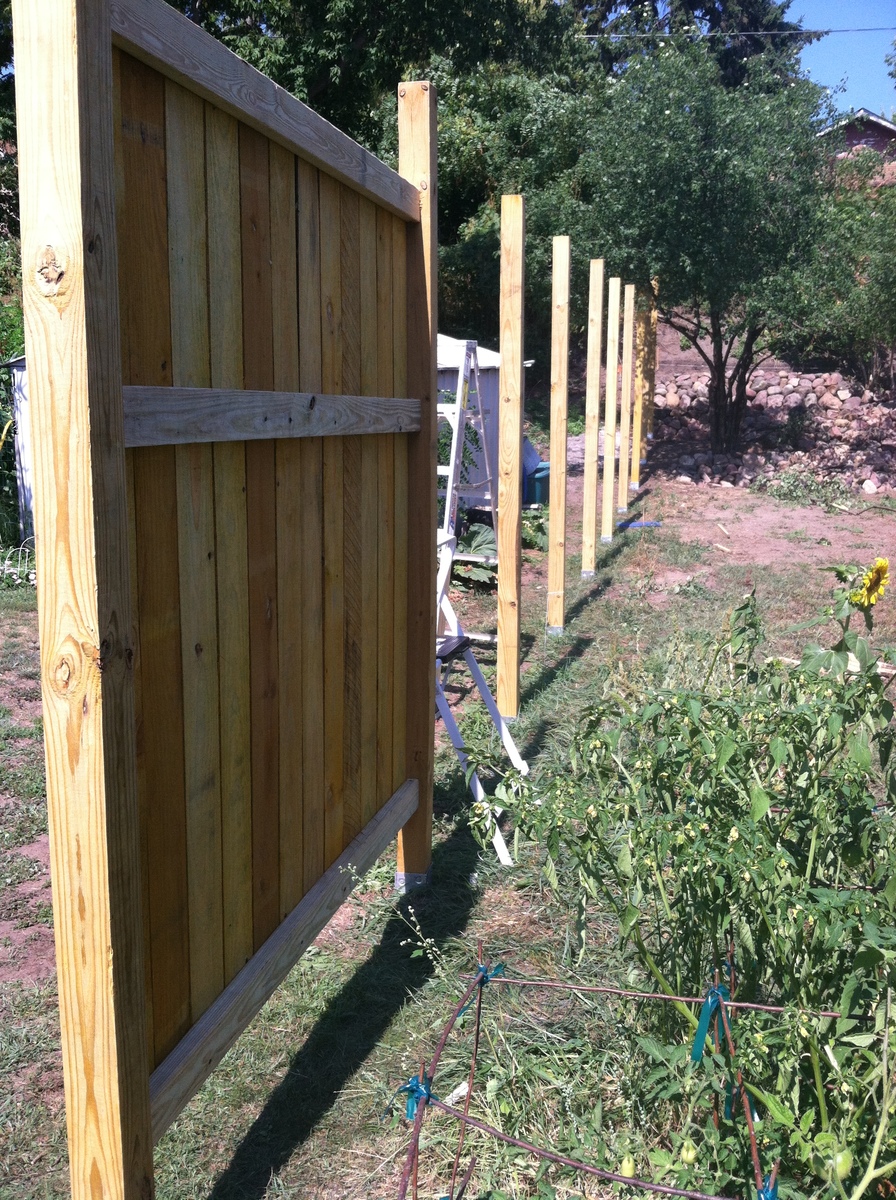
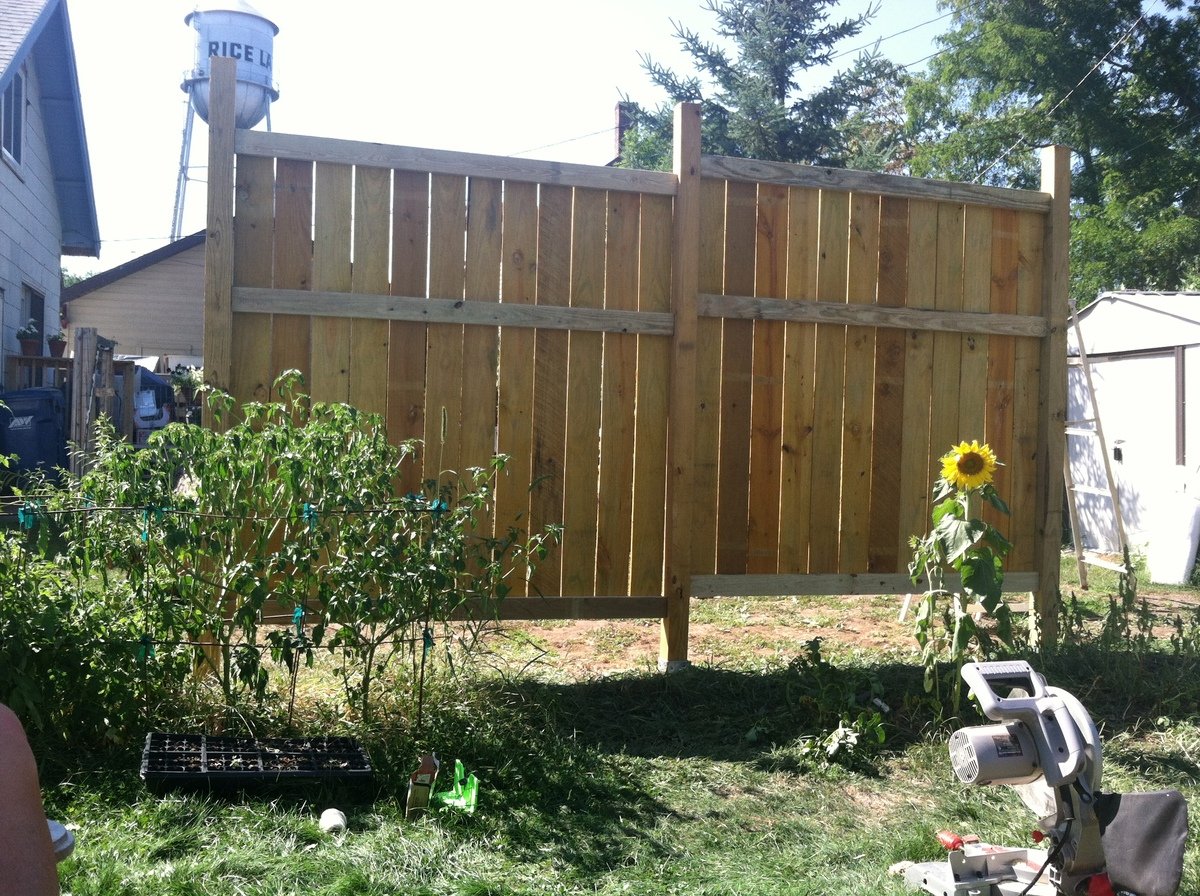
Thank you for the plans for this fence! So many sites tell you what you need to do to plan for a fence, but don't give you any dimensions, materials, etc.
I didn't do it exactly like your instructions, but close enough to give you all the credit!! I am a 45 year old woman, with only a little do-it-yourself experience. I went to the hardware store, and asked "what are these PH screws?" and felt a little stupid. But my friend Tanya and I built this fence this weekend, with a post level, stakes and string, a chop saw, two 18v drills,a sledgehammer, a string level and a sharpie! We are so proud of ourselves.
I still need to trim off the tops of the posts, and do a few little tweaks. Also, we did not dig post holes. We used oz-posts, and pounded them in with a sledgehammer, attached the wooden posts into the oz-posts with heavy-duty construction adhesive and 8 screws, and straightened them with a huge wood clamp. And next weekend, I'll be putting in raised flower beds along the bottom to cover the lower space. :-))
Wed, 09/04/2013 - 07:36
If you check out the oz-post website (just google "oz-post"), there are video tutorials. We pounded them in with sledgehammers which kicked our butts. The oz-posts are about $16 each from Home Depot, which adds to the cost of your fence. But renting a jackhammer was $130 per day plus $30 per running hour, PLUS gas. Renting a post hole digger and buying cement is also expensive. So, buy yourself a sledgehammer, and use chunks of pressure treated wood to put in the tops and wack away!! We first used just regular wood, which splintered terribly, and then spent a lot of time trying to pry them out. If you do get the wood stuck in the posts, drill in a couple screws through the top, and pull them out with someting attached to the screws. Use chunks of pressured treated 4x4s and try to hit it square in the middle!! Good luck!
Thu, 10/30/2014 - 12:46
I know this has nothing to do with woodworking or fence buidling...but that water tower in one of the picture reminds me of one I saw during a drive through Wisconsin.
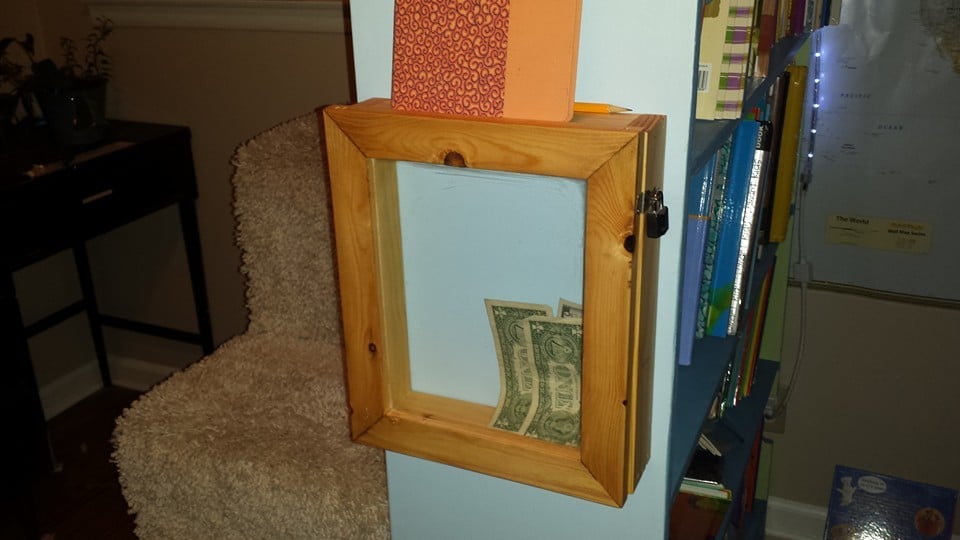
This is just a simple shadow box with a glass door... took only a couple hours to throw together. The project itself isn't braggable... but the purpose is pretty cool if I do say so myself... it is a bank for my son. There is a slot in the top to put money in, and the door locks with a pad lock. The orange book sitting on top of it is his bank register. He gets money for completing his schoolwork on time and chores and his goal is to save $300. When he does that I will give him the last $100 to buy an Xbox.

Made this for my little girls room
Wed, 12/26/2018 - 13:54
Love it! Thanks so much for sharing a brag post!
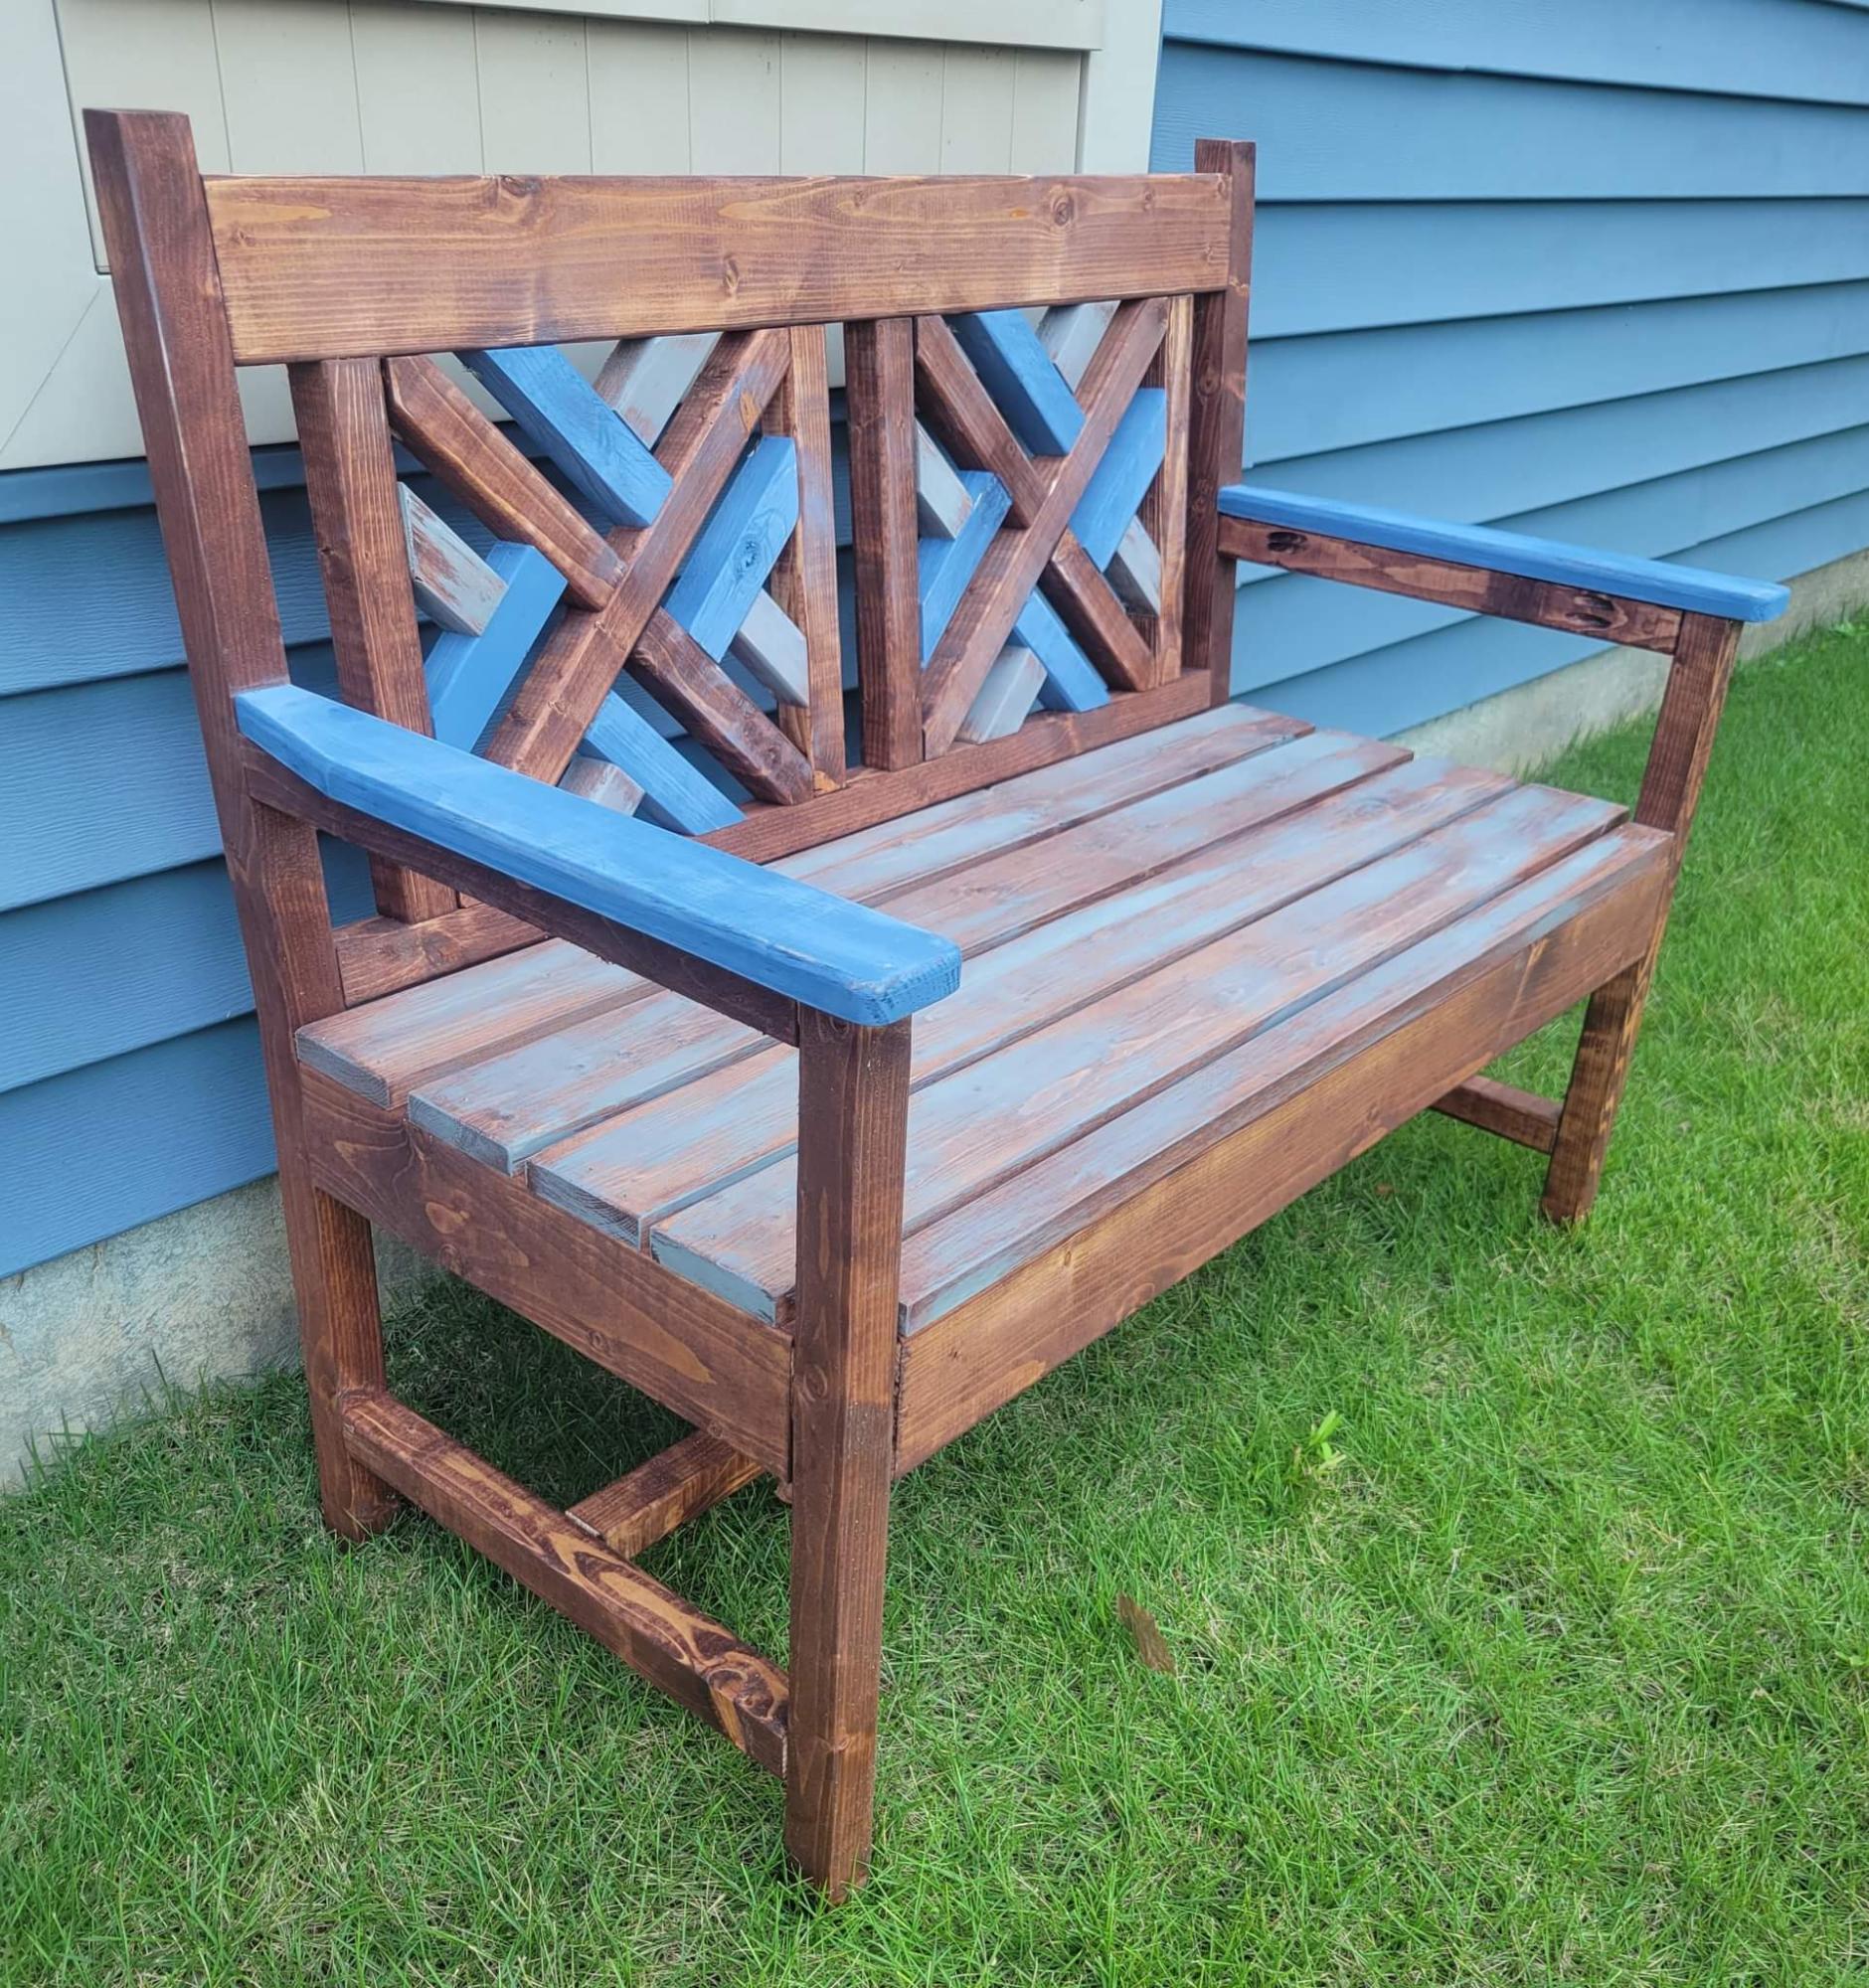
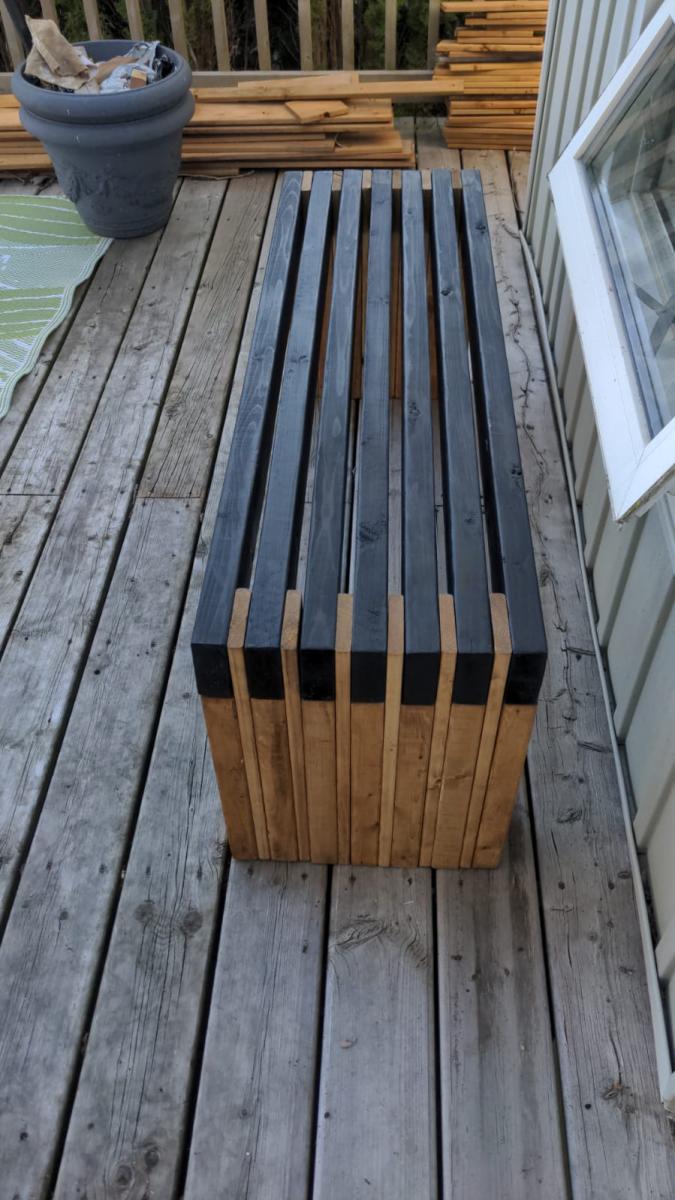
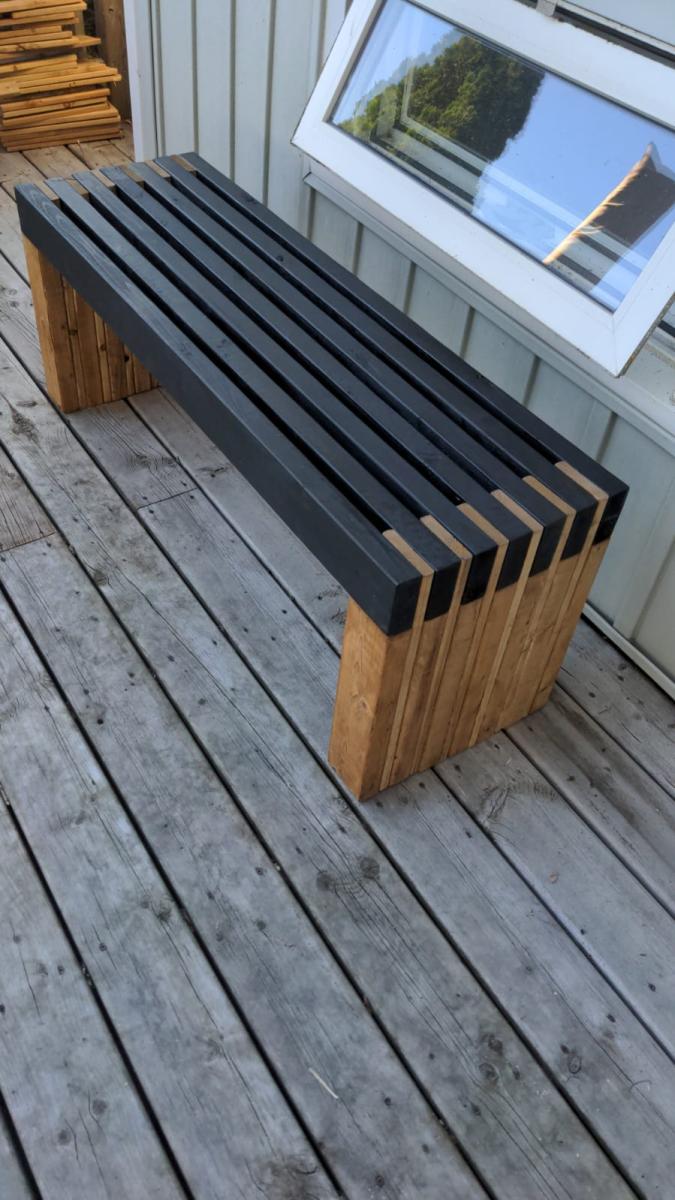
What a fun project! My 2x2 scraps had started to accumulate, and I couldn't think of anything to do with them. Ana White to the rescue! Built this one for the fun of it, and my wife had fun with the colors. Great plan as always. I added 2x2s to support the seat slats, but im sure it'd be fine without


Comments
Ana White Admin
Mon, 07/18/2022 - 14:20
Great bench!
This looks fantastic!