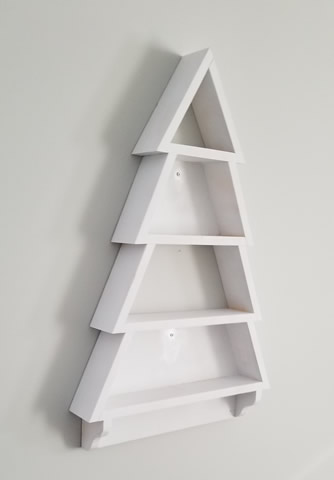
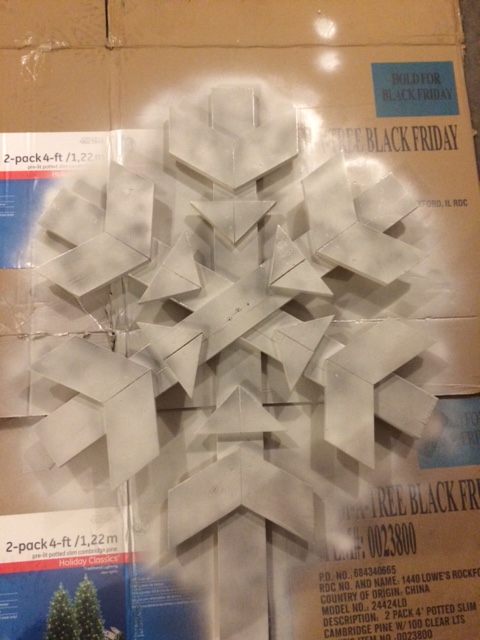
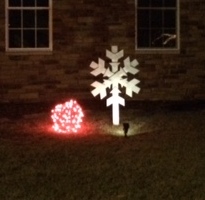
Outdoor Wooden Snowflake
Great plan from Ana White! I changed a few things with the size of the snowflake and I added a long stake to put it in the ground outside!
Built from Plan(s)
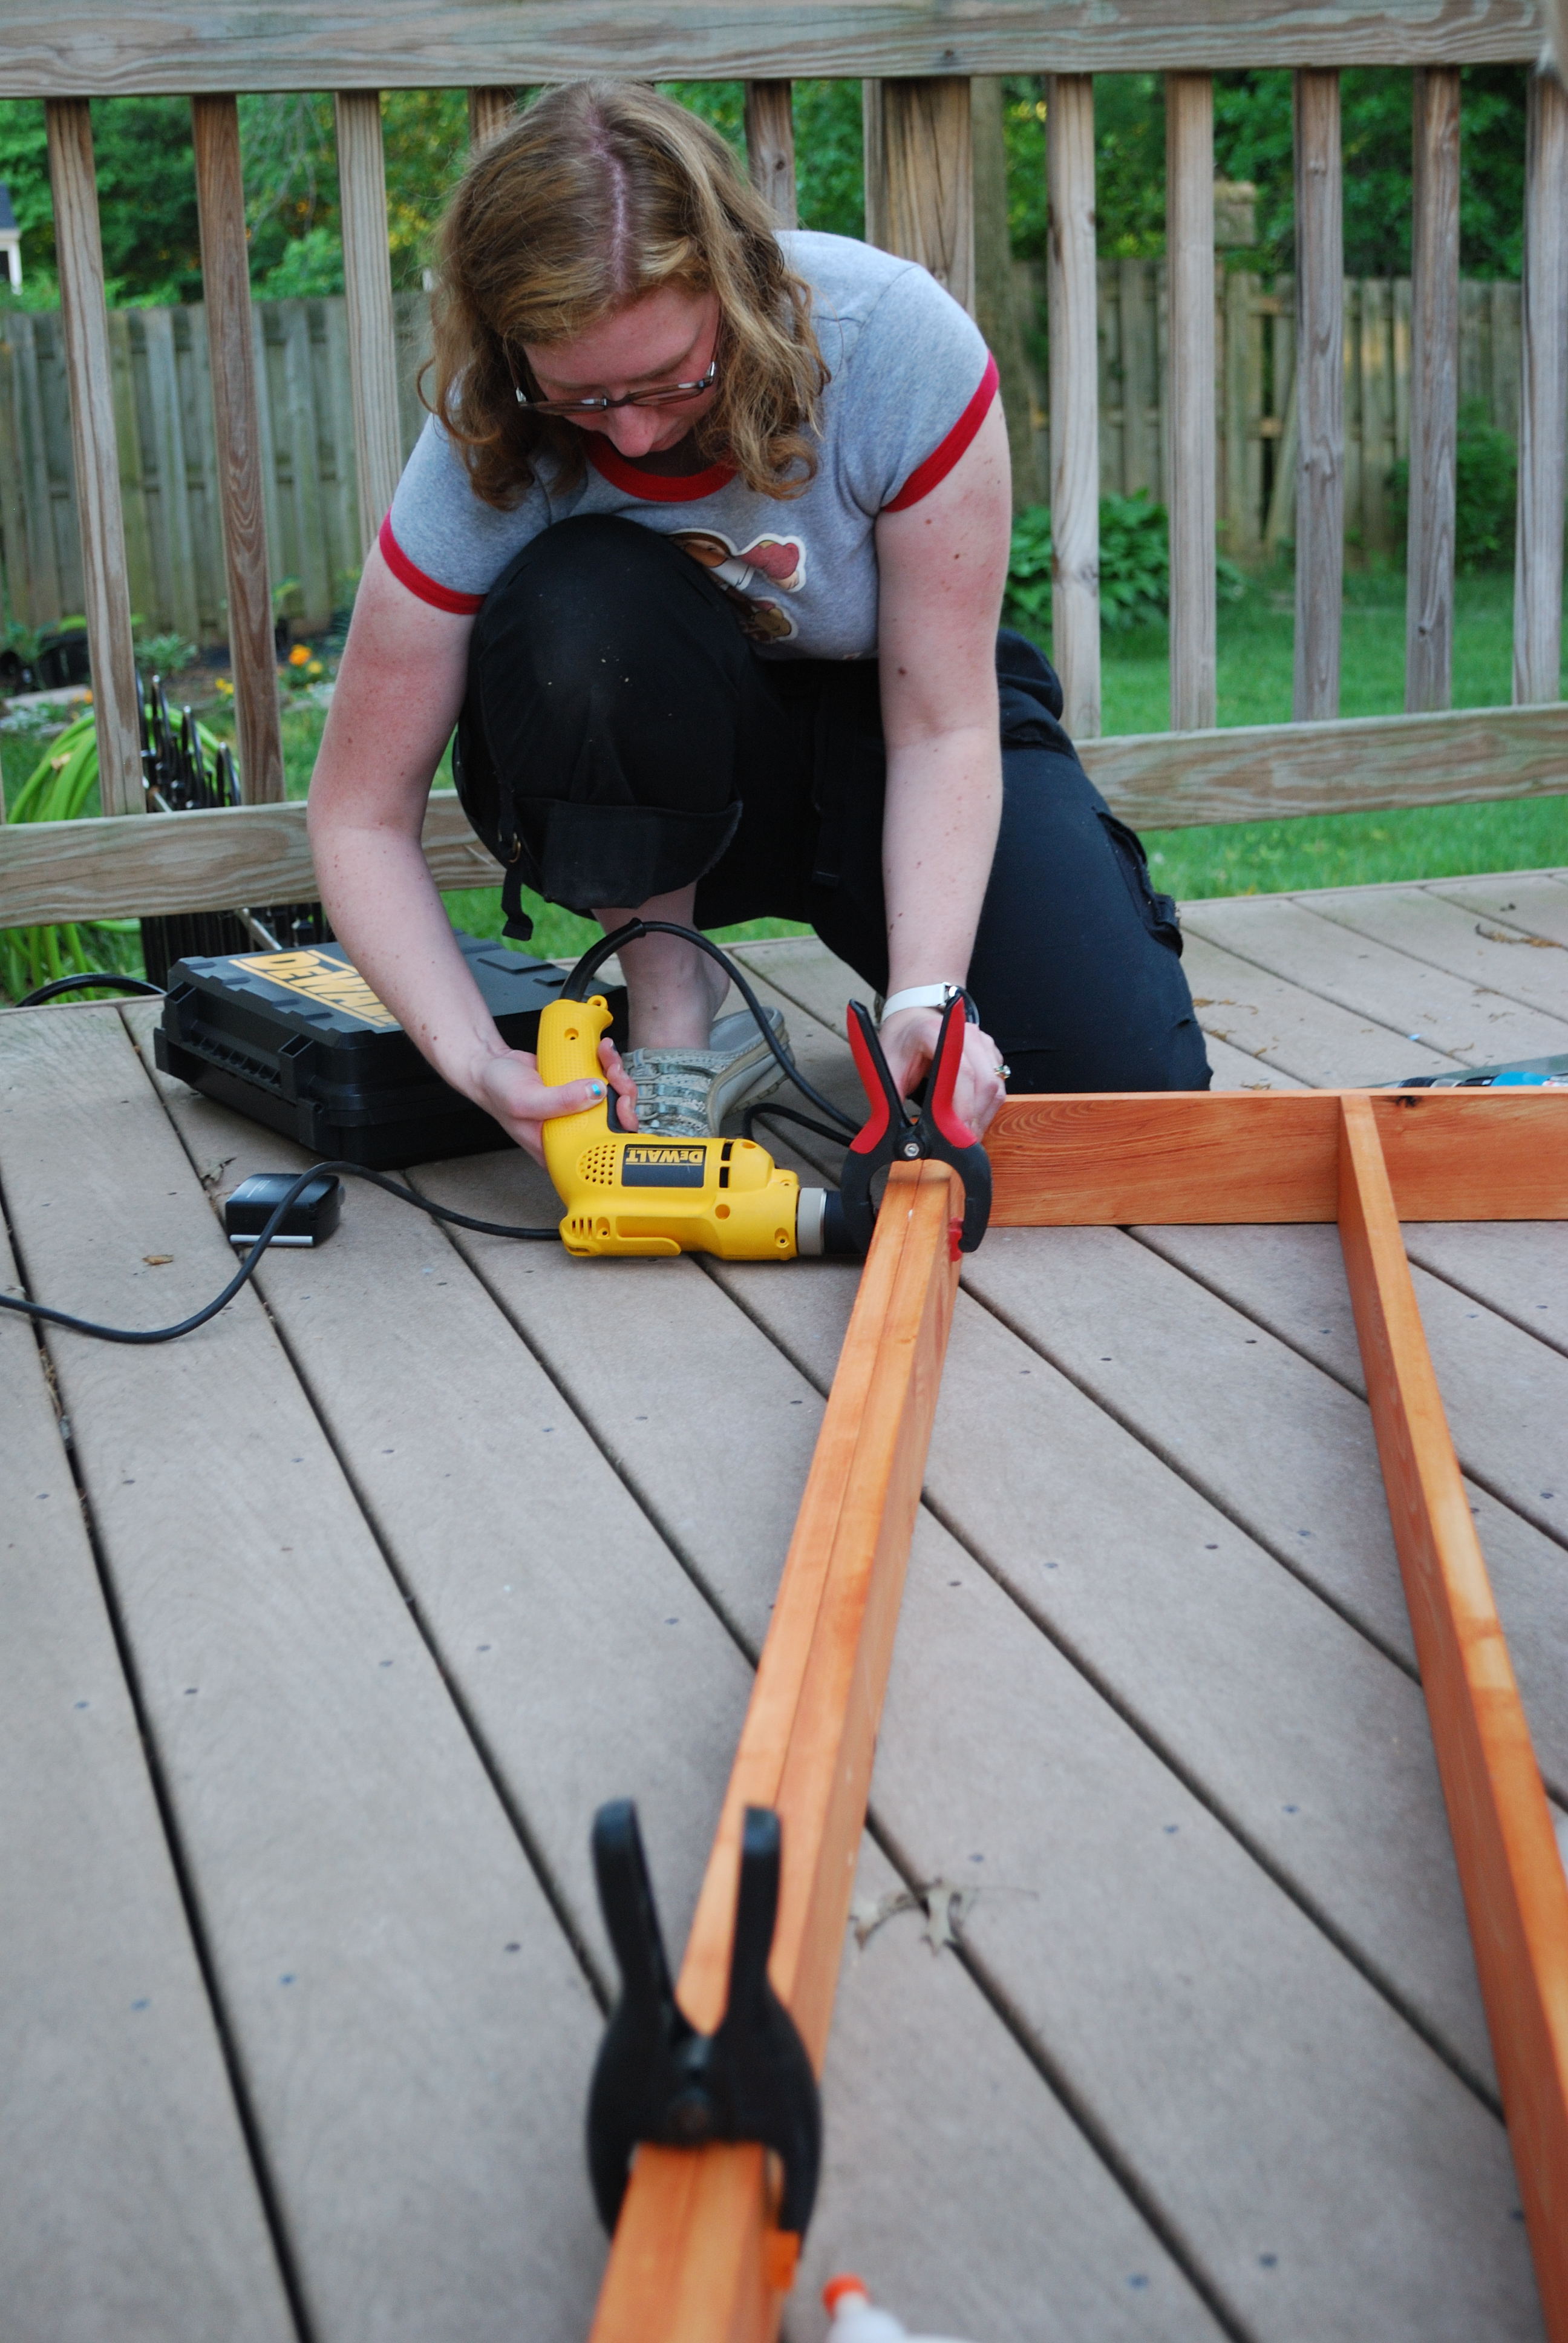
Estimated Time Investment
Afternoon Project (3-6 Hours)
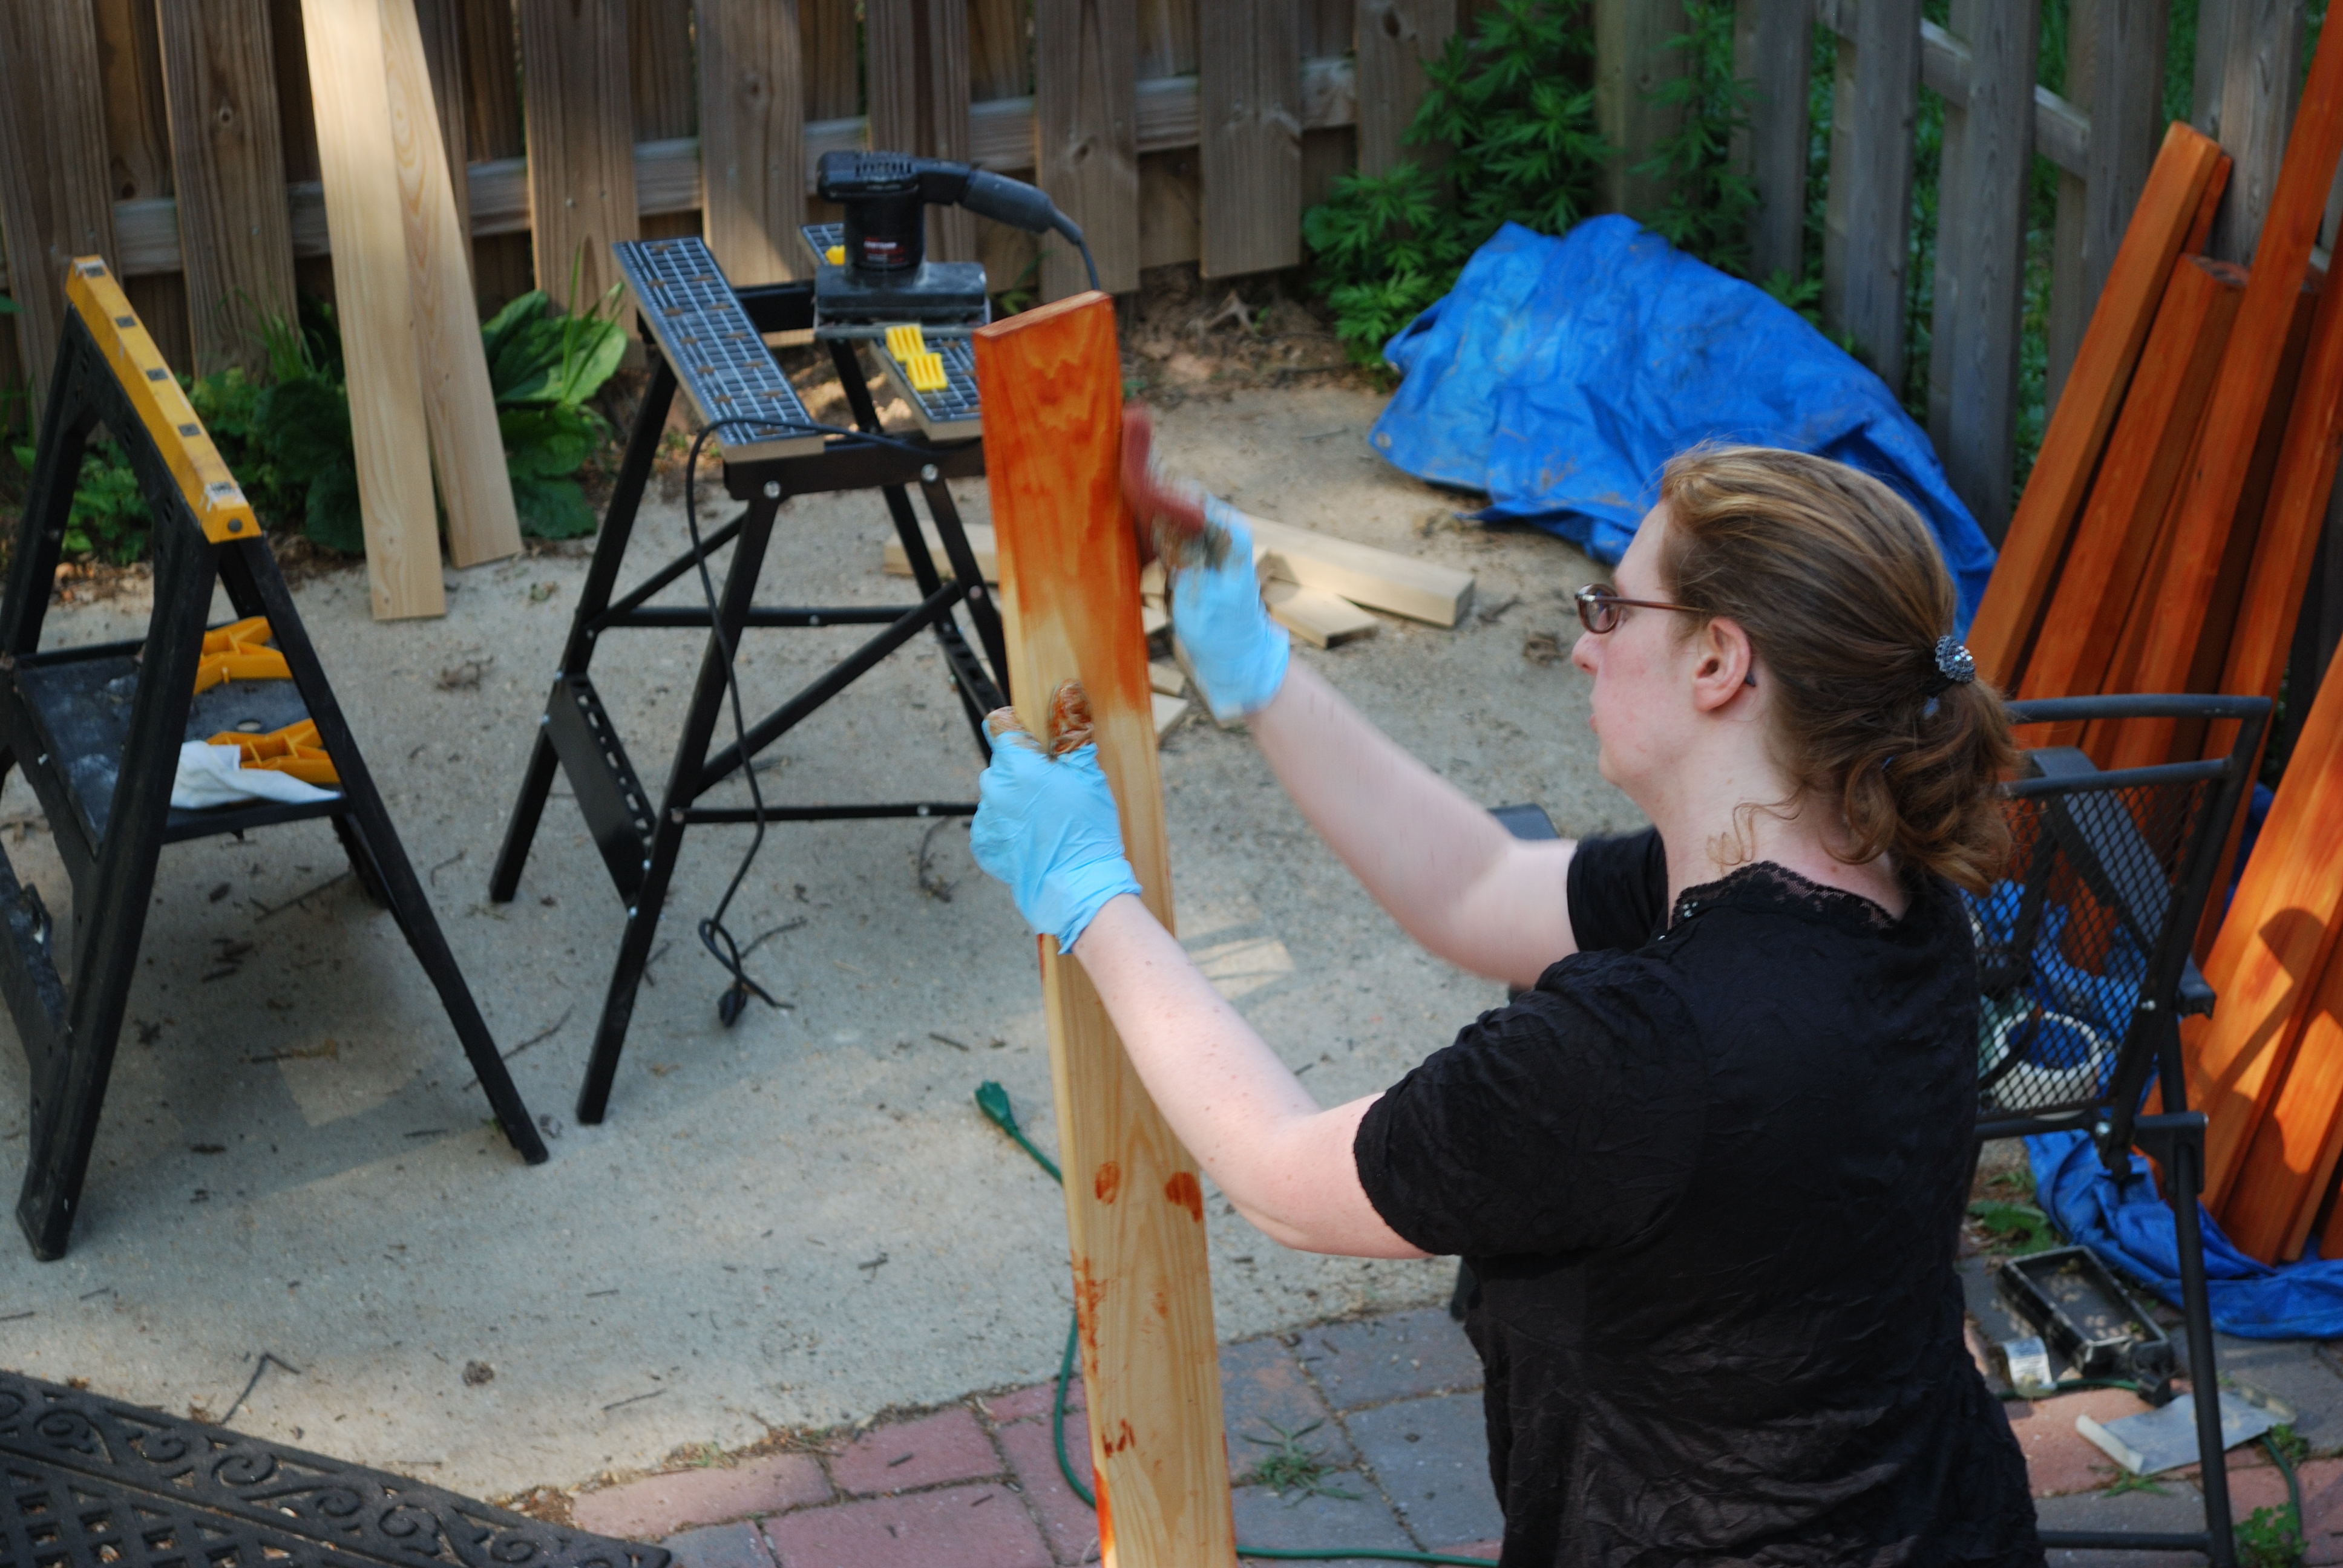
Finish Used
Metallic Silver and White spray paint
Recommended Skill Level
Beginner