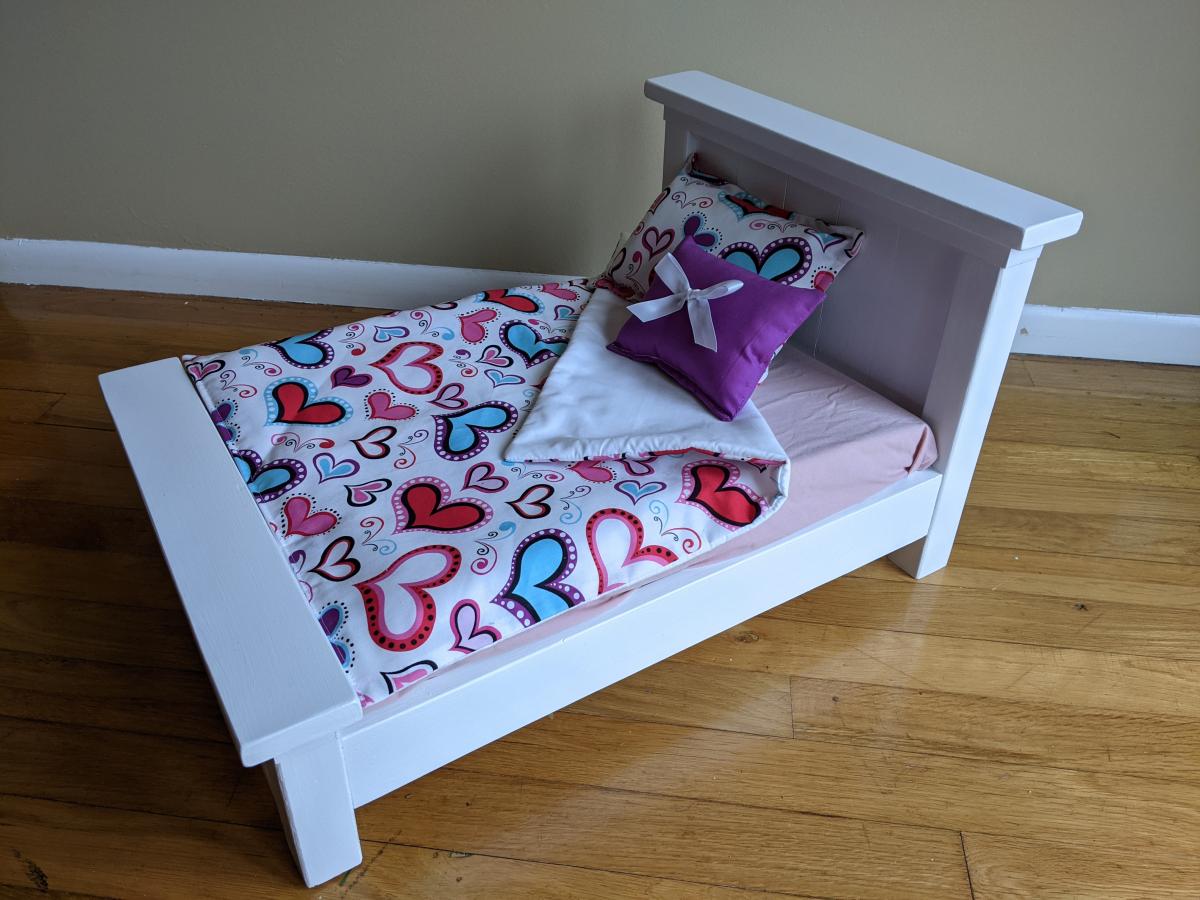
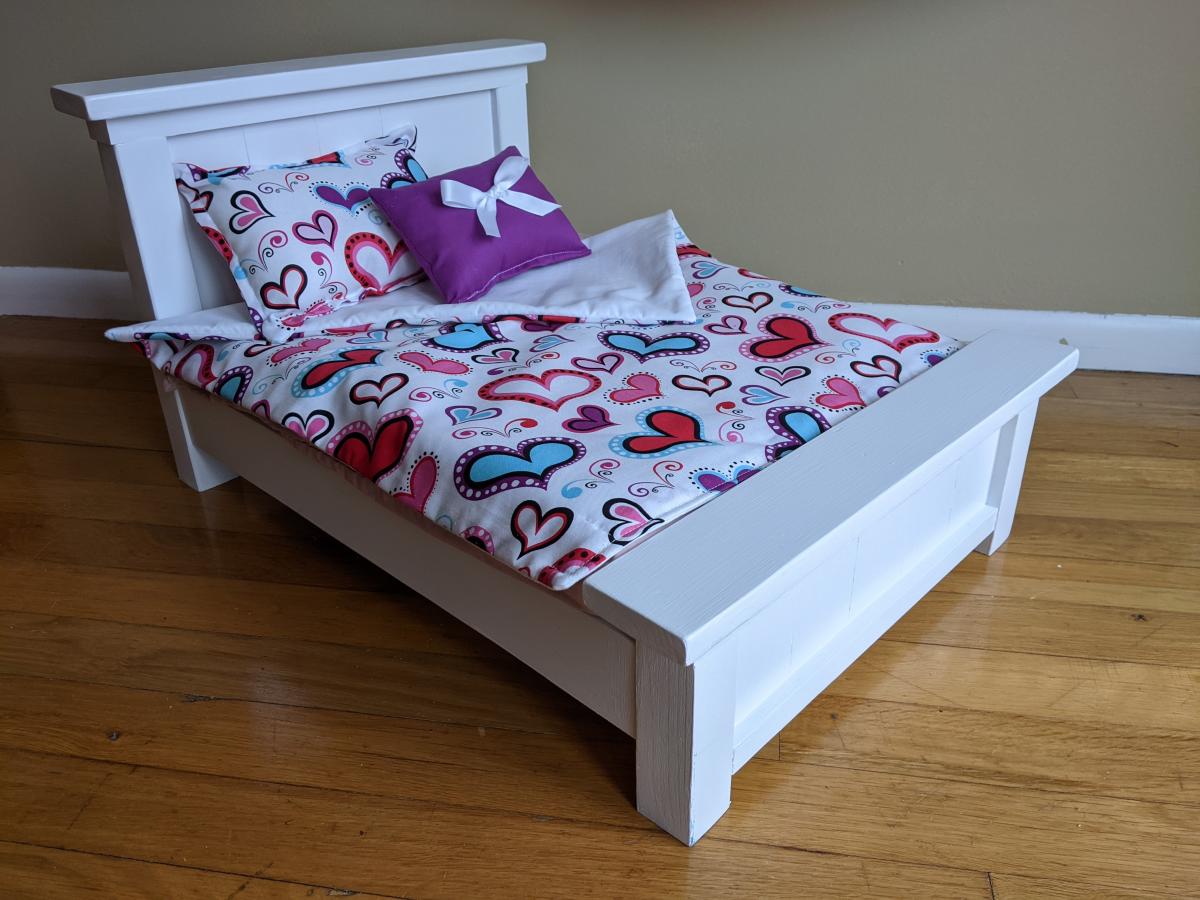
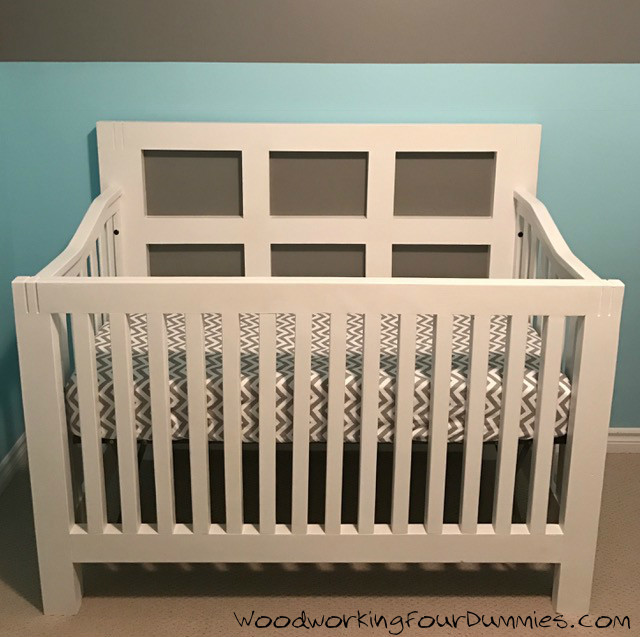
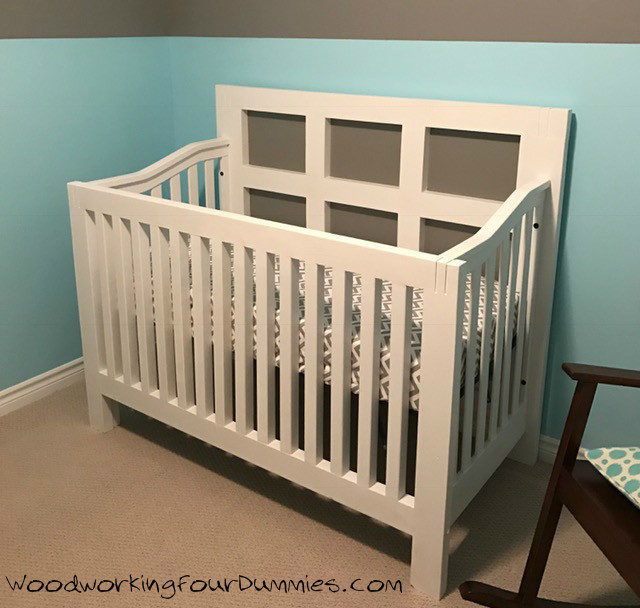
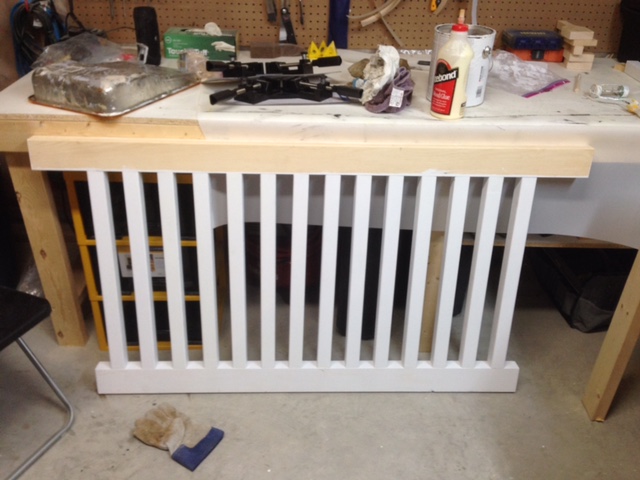
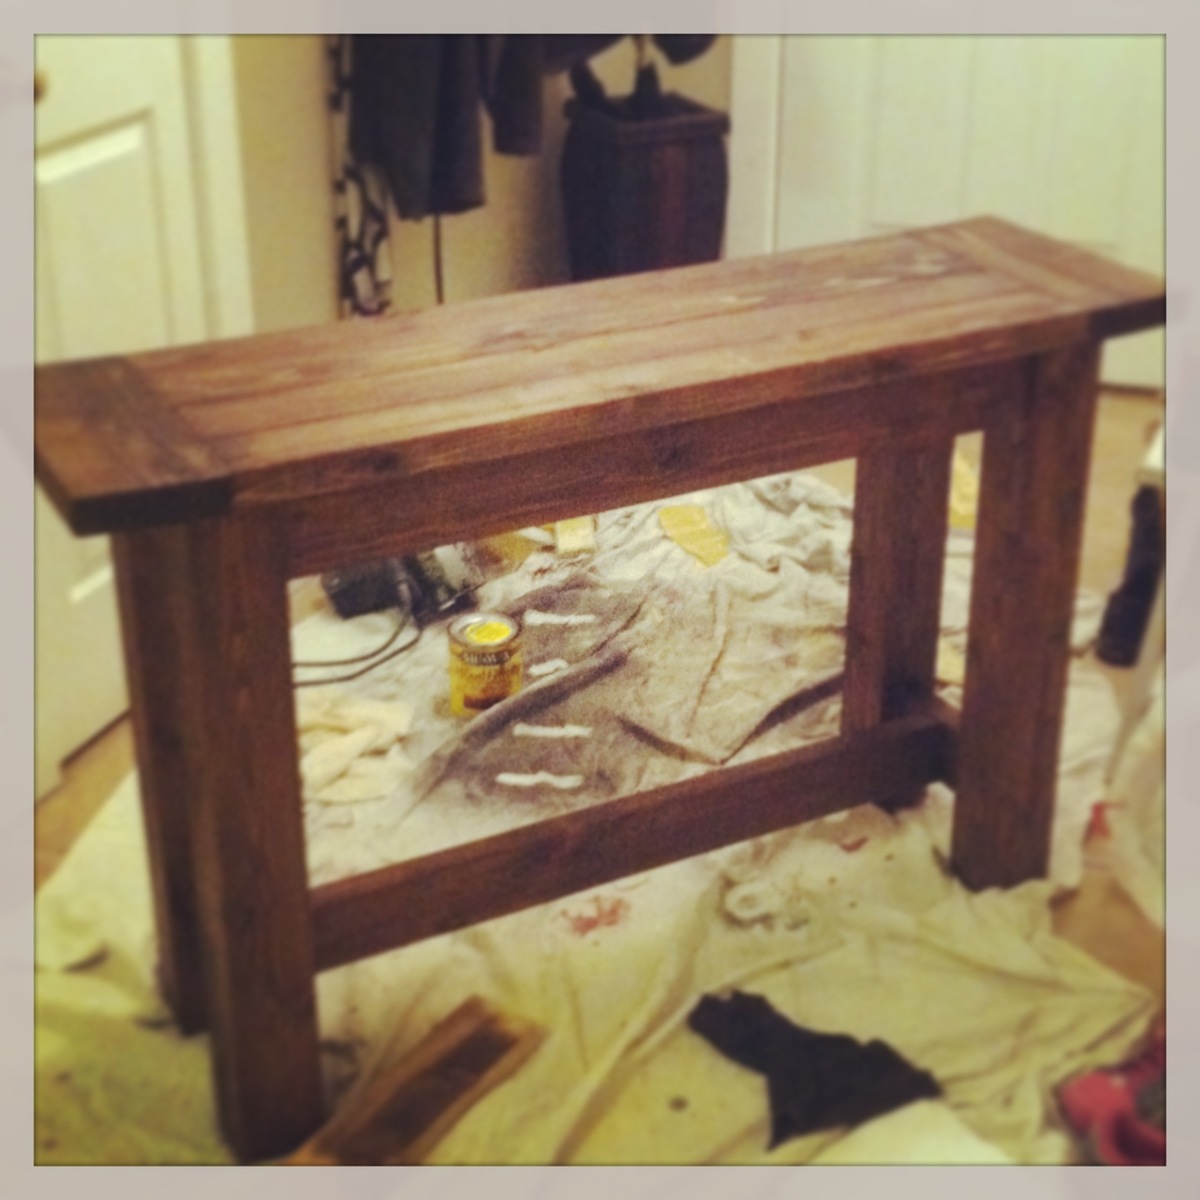
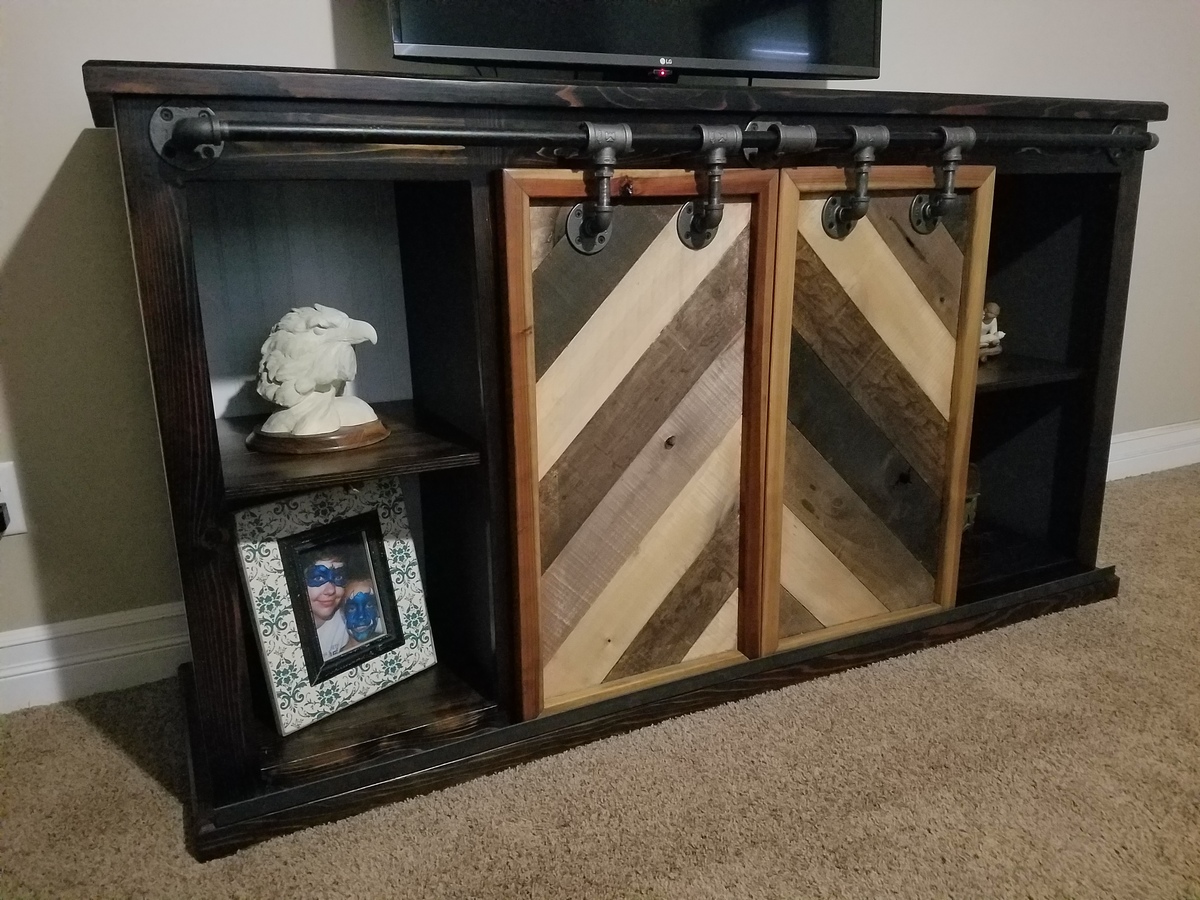
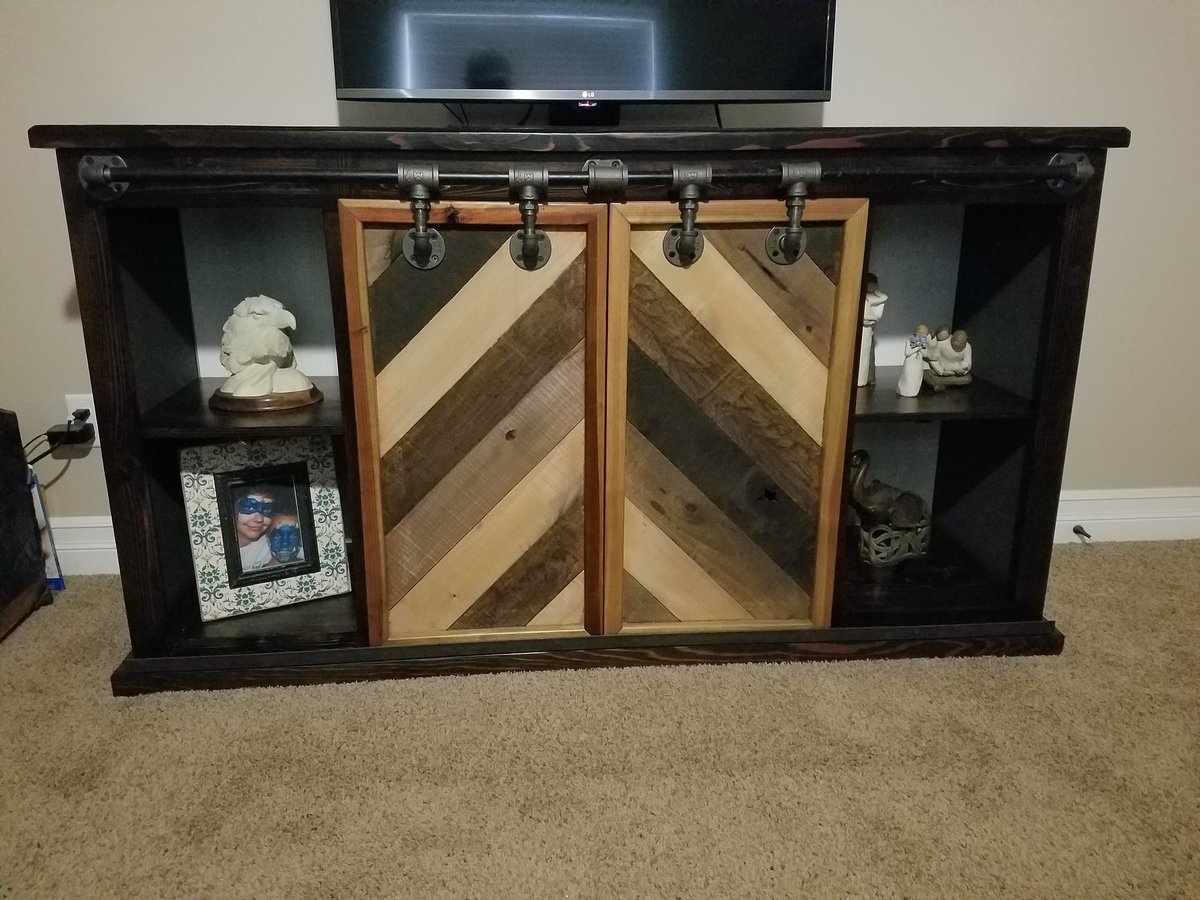
Barn Door Media Cabinet
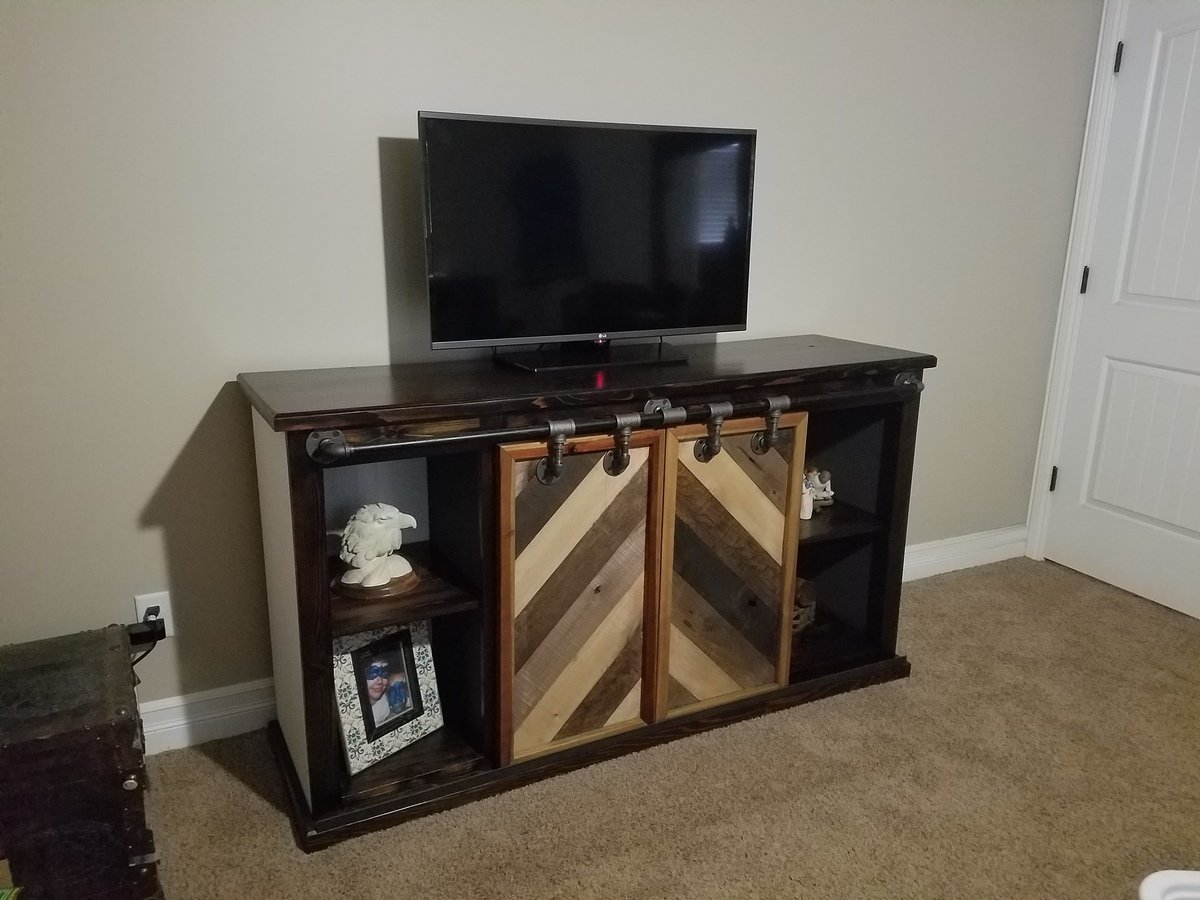
This was a fun project. It took nearly 3 months to complete. Nights, weekends and a few finish redo's :).

Built from Plan(s)
Estimated Cost
$700
Estimated Time Investment
Week Long Project (20 Hours or More)
Finish Used
Paint, stain and polyurethane
Recommended Skill Level
Intermediate